Kitchen
20 Closet Pantry Ideas That Turn Small Spaces Into Smart Storage
By Anna Wells · · 11 min read
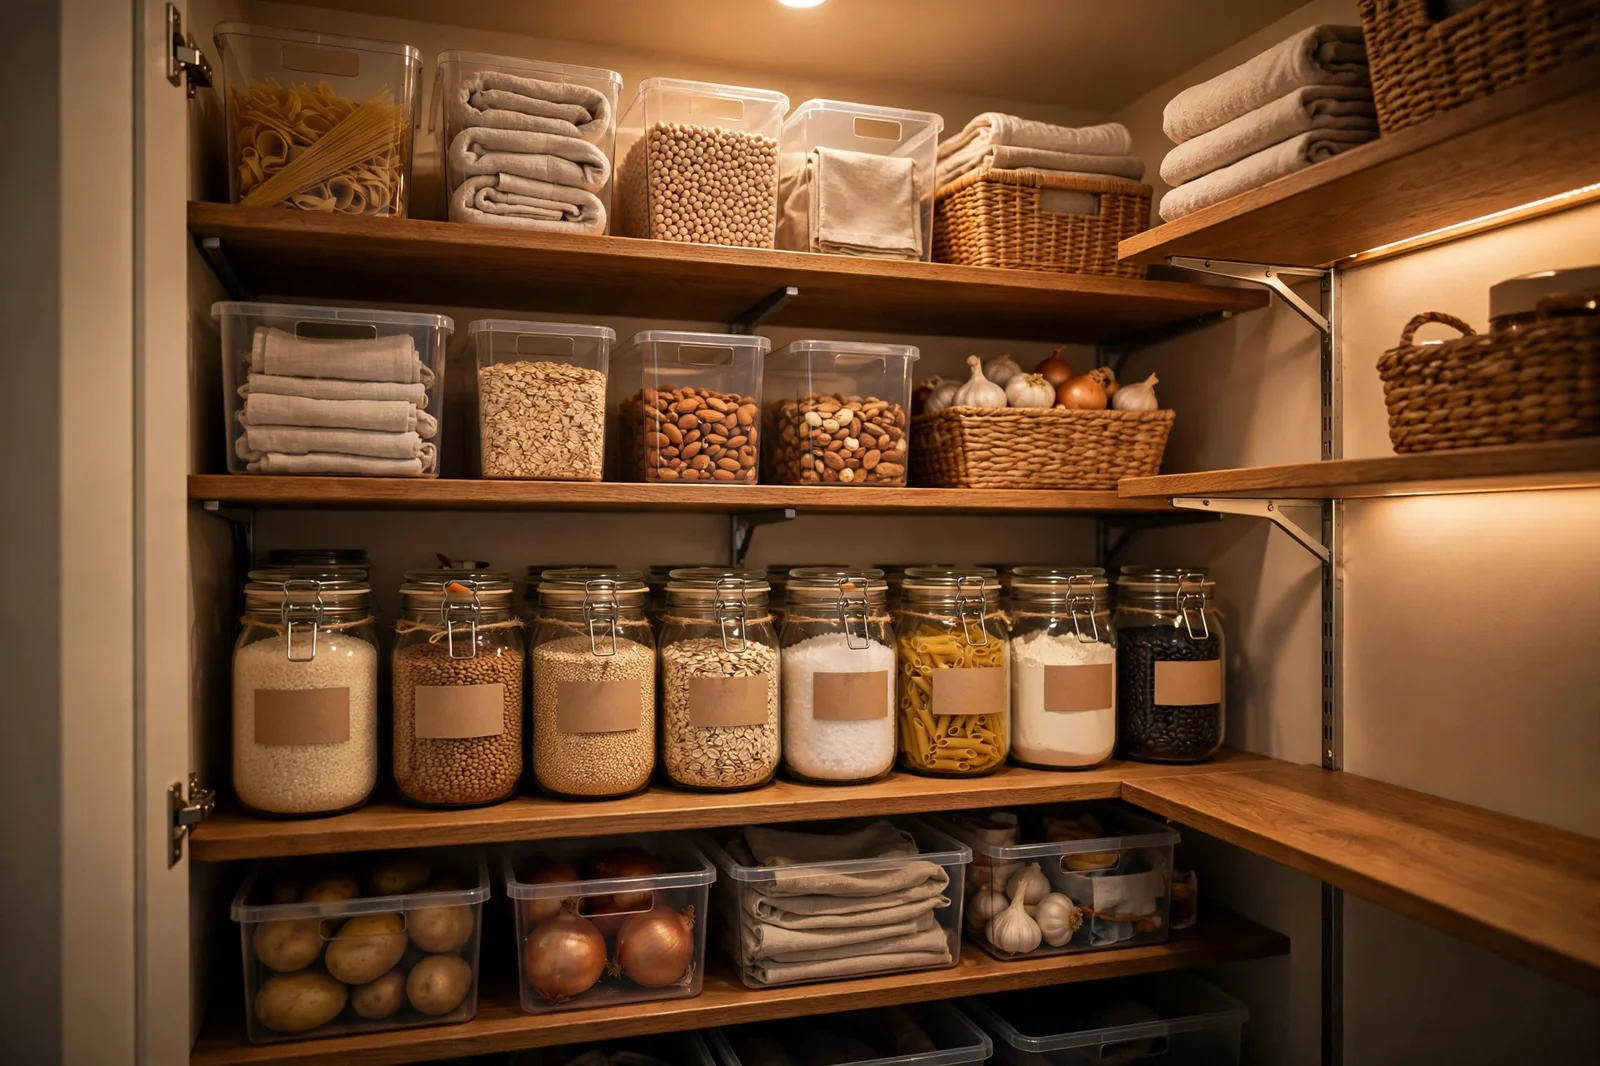
If your kitchen constantly feels too full, the problem is usually storage, not size. A small closet pantry, organized properly, can easily outperform a large messy one. These 20 closet pantry ideas show how to use every inch: adjustable shelving, clear bins, door racks, zones, lighting and simple routines that keep the space working beautifully.
A closet pantry is one of the hardest-working spaces in a home, and one of the easiest to get wrong. Deep fixed shelves swallow items, dark corners hide expired cans, and without zones everything migrates into chaos. The good news: a small, well-organized closet pantry beats a big, messy one every time. These 20 ideas cover the shelving, containers, lighting and habits that turn a cramped closet into smart storage that makes cooking easier and grocery shopping saner.
1. Install Adjustable Shelving
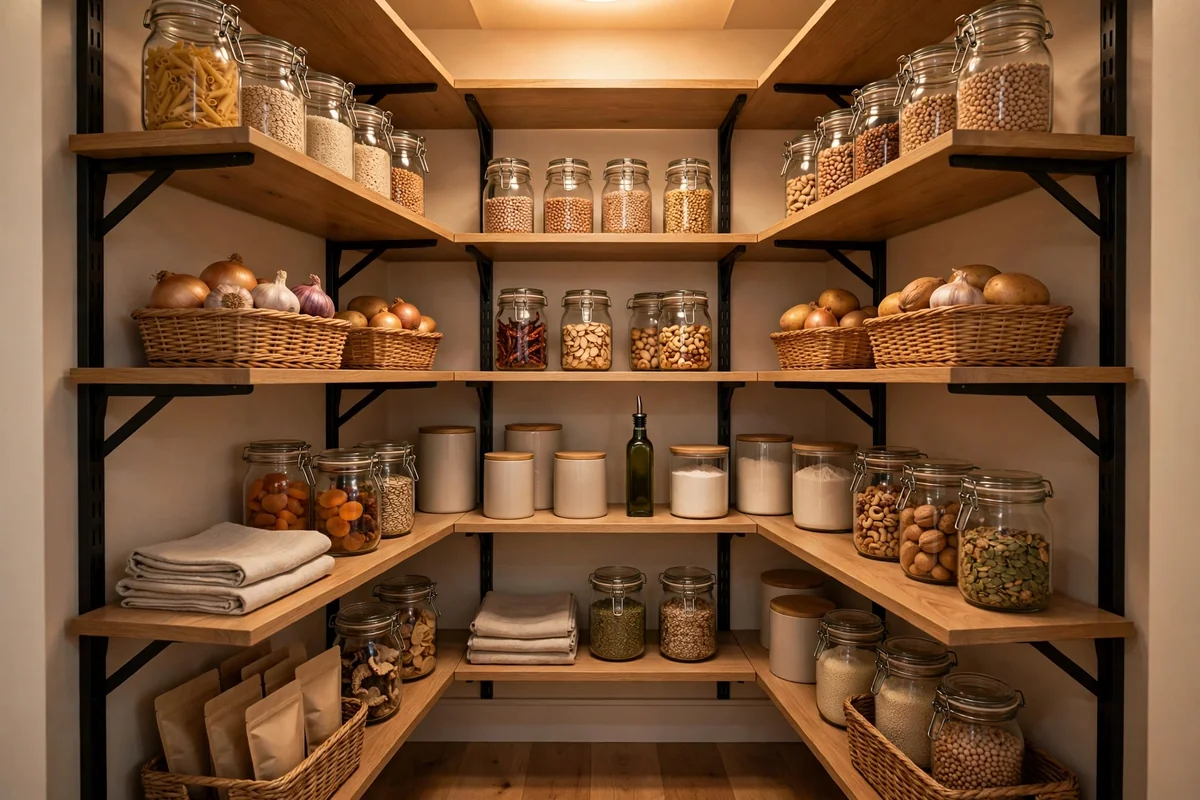
Fixed shelves are limiting; adjustable shelving is the smartest upgrade for a small pantry. Track-mounted standards or shelf-pin systems let you reconfigure as needs change: tall cereal boxes one season, short jars the next. Space most shelves 10 to 14 inches apart, with one 18-inch section for appliances or bulk items. This flexibility keeps the pantry working instead of forcing you into one layout.
Install standards level and anchored into studs; a loaded pantry shelf is heavy. Solid wood or thick melamine shelves resist sagging better than thin wire. Plan the layout on paper first, measuring your tallest items. Avoid fixed single-shelf closets that waste the vertical space above short goods. Adjustable shelving costs $50 to $150 in materials and pays for itself in usable space immediately.
2. Use Clear Storage Bins
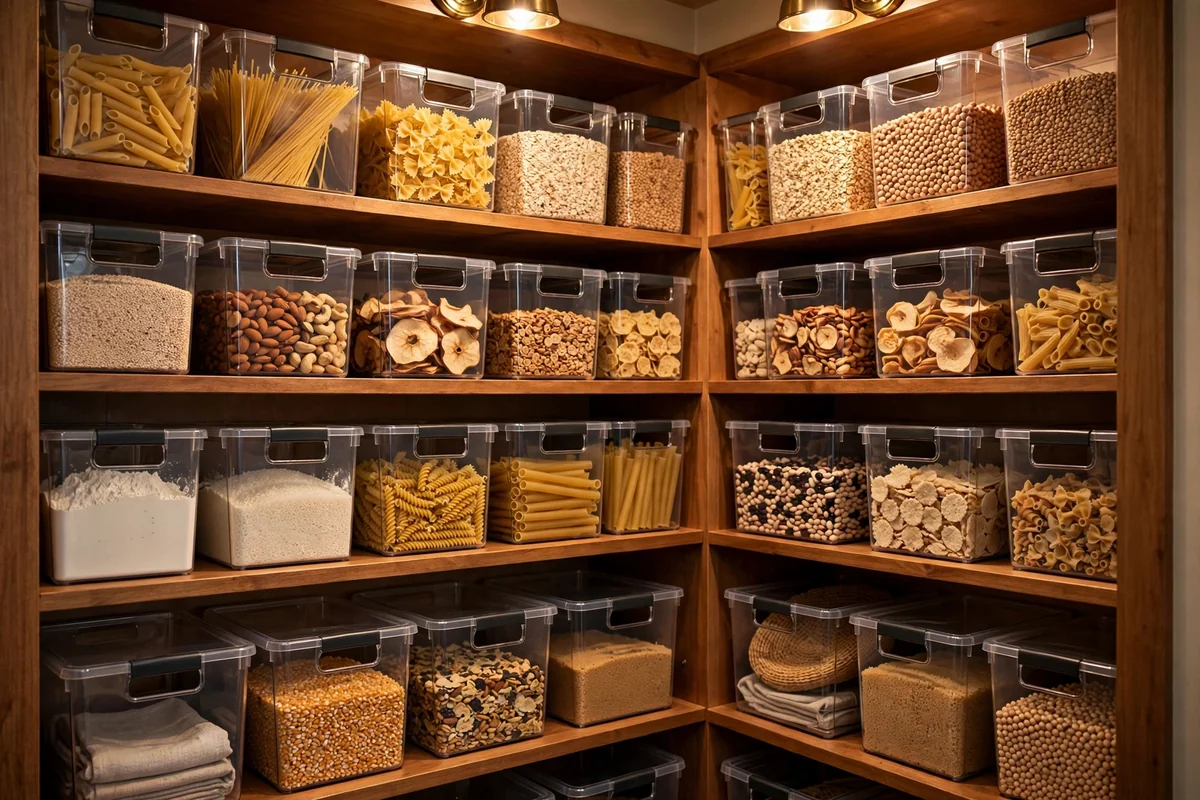
Clear bins make everything visible, which means less searching and less overbuying. Group similar items, snacks, baking supplies, breakfast foods, in bins sized to your shelves: 6 to 10 inches wide for narrow shelves, deeper bins for wide ones. Choose bins with handles so they slide out like drawers. Transparency is the point; opaque bins just recreate the hidden-chaos problem.
Measure shelf depth before buying so bins do not stick out past the shelf edge. Keep one bin per category rather than mega-bins that become jumbles. Dishwasher-safe bins are worth the small premium for easy cleaning after spills. Avoid bins without handles on deep shelves; you will never pull them out. Clear bins turn a closet pantry into a visual inventory you can scan in seconds.
3. Decant Into Uniform Jars
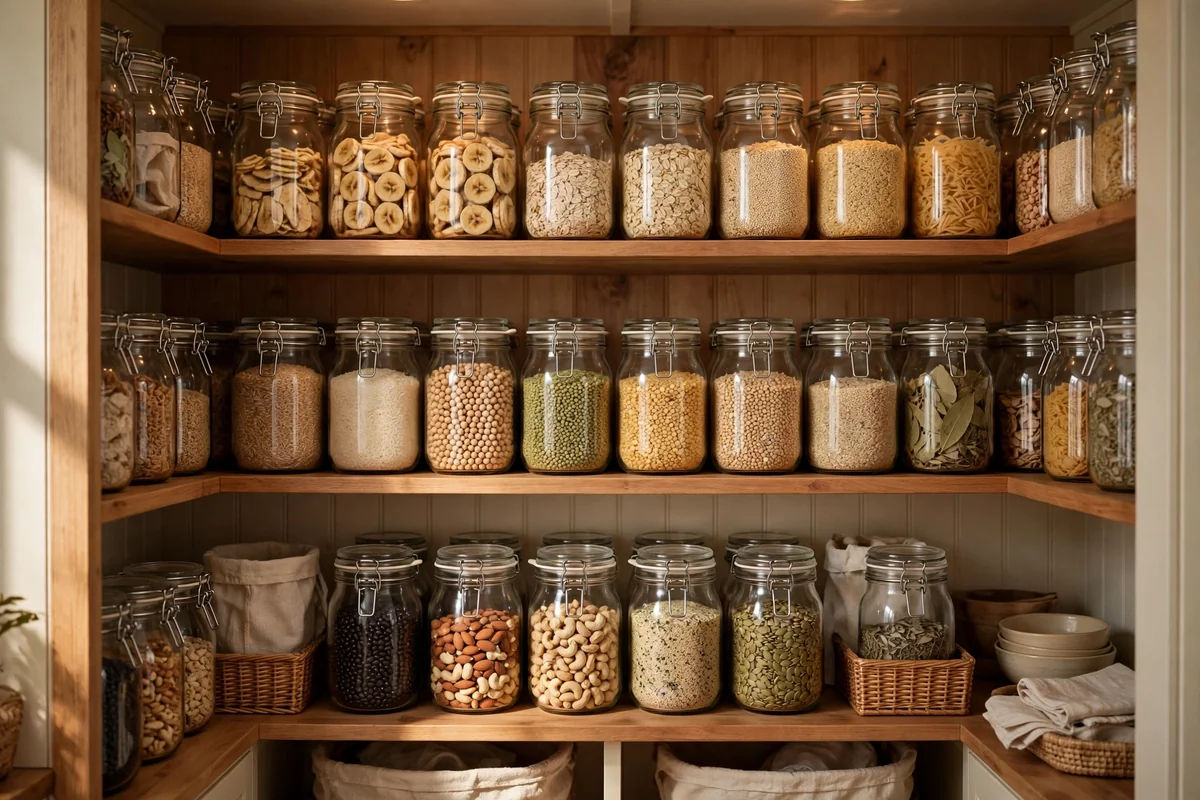
Decanting dry staples into uniform airtight jars keeps food fresher and looks beautifully tidy. Flour, sugar, rice, pasta, oats and coffee all benefit. Choose square or straight-sided jars that tessellate without wasted space; round jars leave gaps. Match jar sizes to how fast you use each item so nothing goes stale in an oversized container.
Airtight seals matter more than aesthetics; test lids before committing to a whole set. Label each jar with contents and the date decanted. Keep the original packaging’s cooking instructions until you know them by heart, or photograph them. Avoid decanting everything at once; start with your five most-used staples. Uniform jars turn open shelves into a display and make quantities visible at a glance.
4. Label Everything Clearly
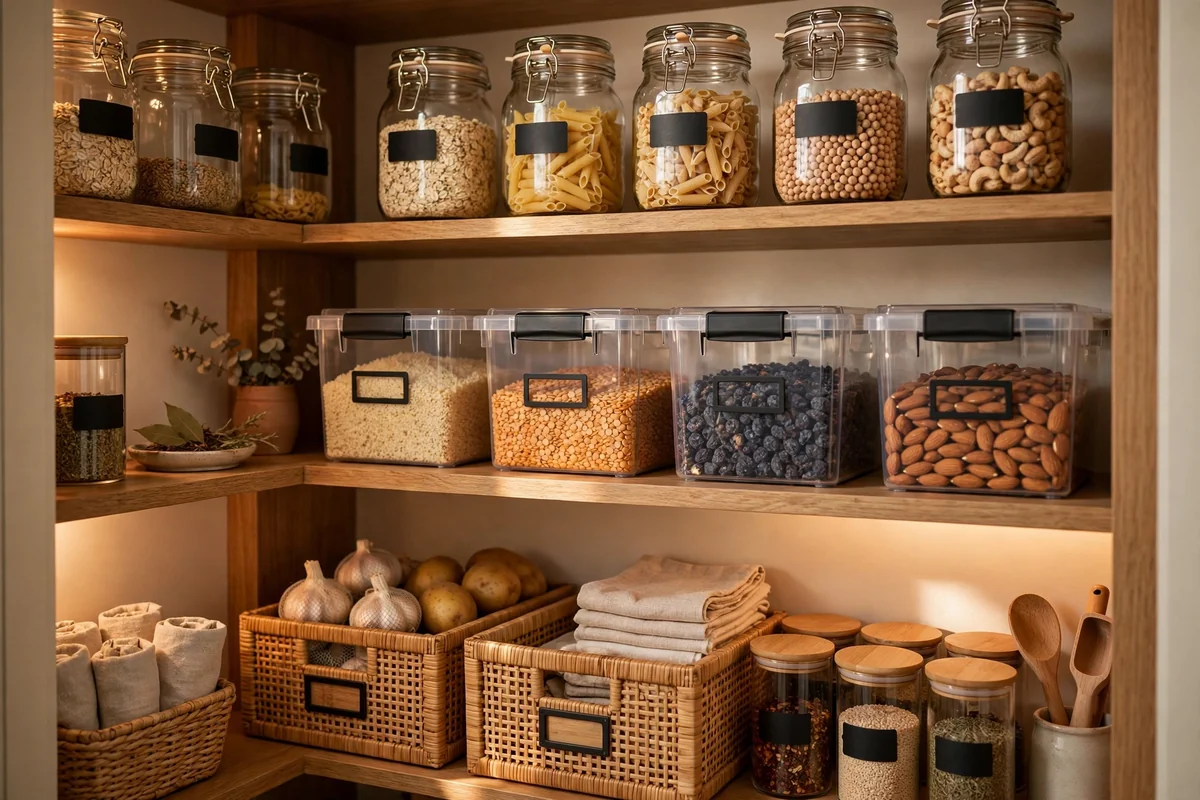
Labels are what make a pantry system survive contact with the rest of the household. Label bins, jars and zones so everyone puts things back correctly. Simple is best: a label maker, chalkboard labels or masking tape and a marker all work. Include contents and, for bins, the category. Date labels on decanted goods prevent mystery staleness.
Place labels where they are read: front-center on bins, on jar lids as well as bodies for stacked items. Keep a label maker in the kitchen so new labels happen immediately, not someday. Avoid cute-but-cryptic labels; clarity beats charm when someone is hunting for baking powder at 7 a.m. Labels are the cheapest way to make an organization system permanent instead of personal.
5. Add Door-Mounted Racks
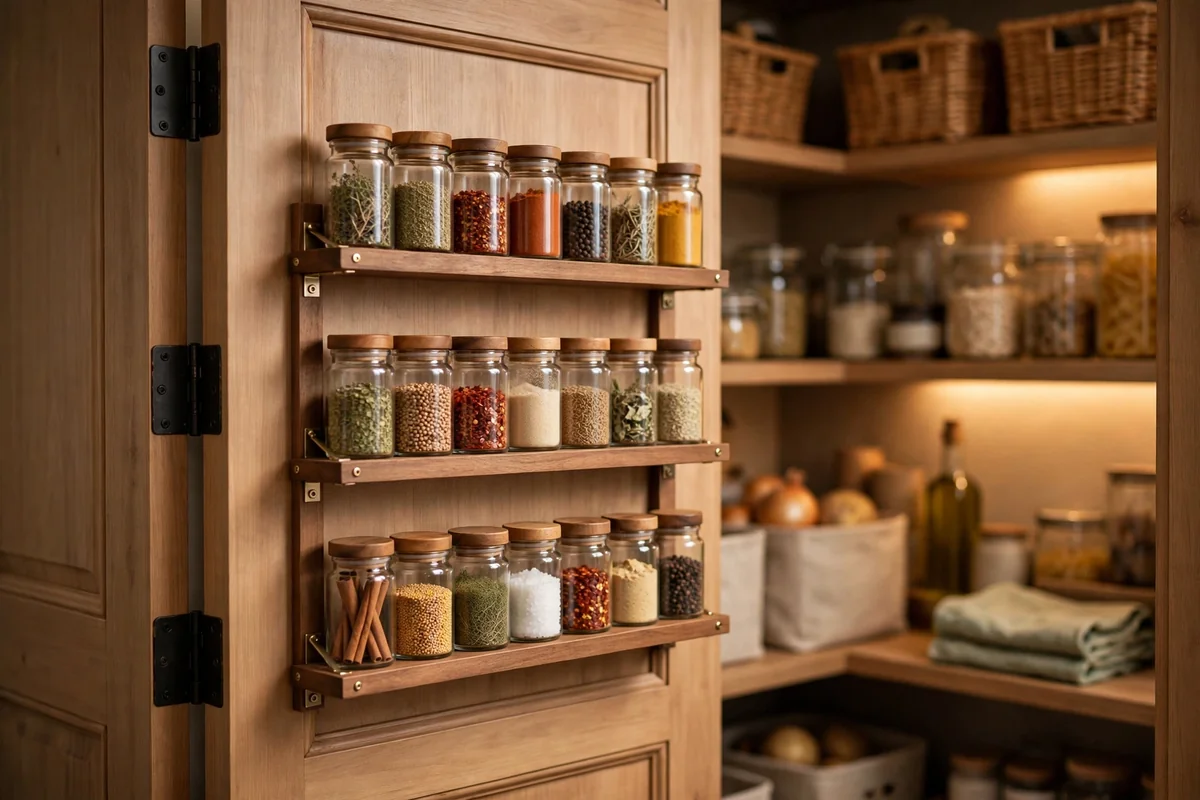
The inside of the pantry door is prime real estate. Door-mounted racks hold spices, small jars, packets and wraps in space that would otherwise be wasted. Choose racks 3 to 4 inches deep so the door still closes; measure the gap between door and shelves first. Over-the-door models need no drilling, while screwed-in racks hold more weight securely.
Distribute weight evenly and keep heavy items low to avoid stressing hinges. This is ideal for the small, losable items that clutter shelves: spice jars, sauce packets, tea boxes. Check door swing clearance so racks do not hit adjacent walls. Avoid overloading; a door rack is for light items, not cans. Used well, the door adds the equivalent of an entire extra shelf to a small pantry.
6. Use Tiered Shelf Risers
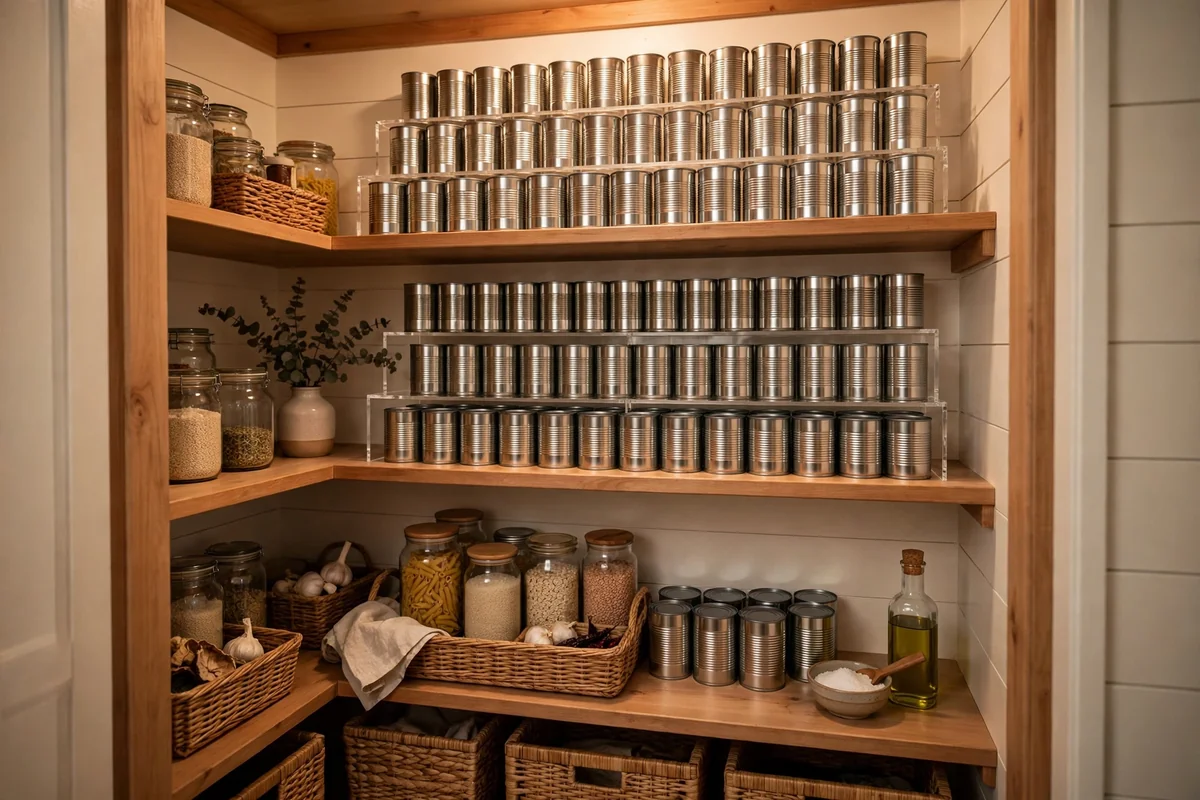
Tiered risers turn one shelf into stadium seating for cans and jars. The stepped design means nothing hides behind anything else; every label is visible. Two- and three-tier bamboo or metal risers fit standard 10 to 12-inch-deep shelves. Group by category on each riser: canned tomatoes together, beans together, soups together.
Measure shelf height before buying; risers need clearance above for the tallest item on the top tier. Non-slip versions stay put when you grab a can. This is the single best fix for the classic problem of cans disappearing into deep shelves. Avoid stacking cans directly on shelves behind each other; the riser pays for itself in found food. For under $20, risers end the archaeology digs.
7. Lazy Susans for Deep Shelves
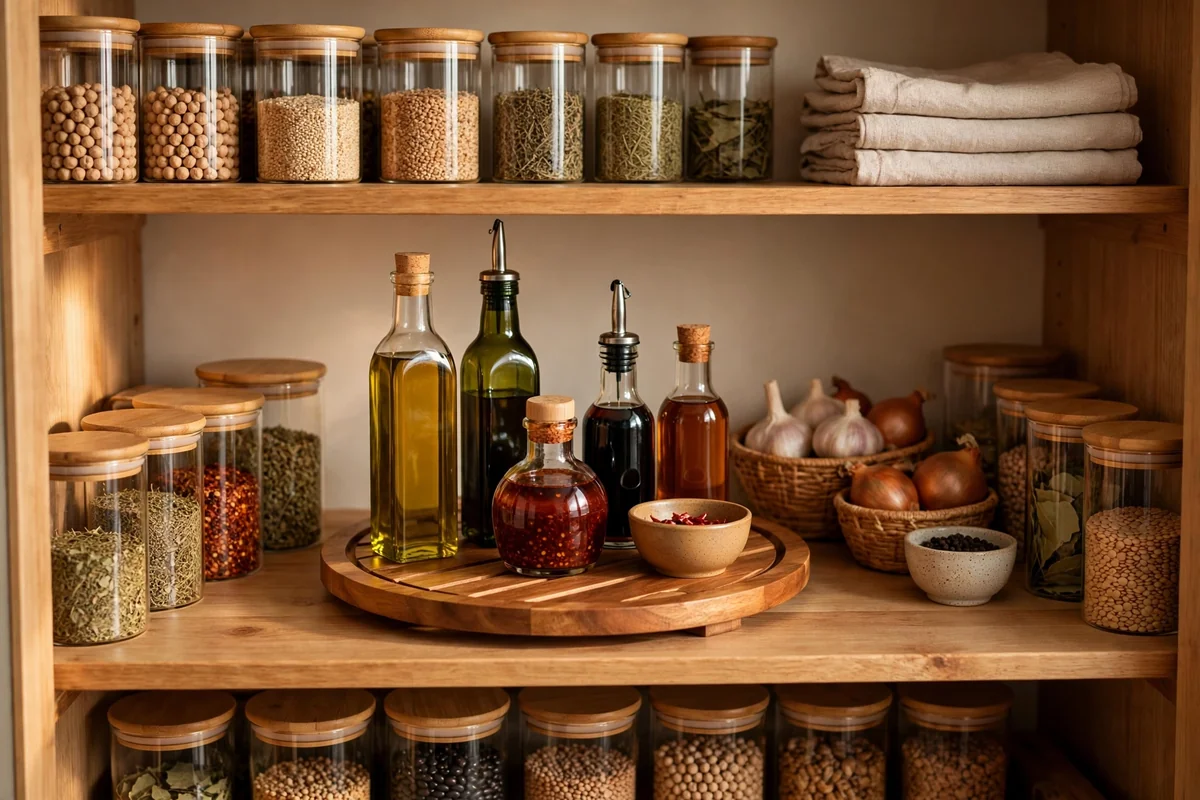
Lazy Susans rescue deep shelves and corners where items go to be forgotten. A 10 to 12-inch turntable brings oils, vinegars, sauces and vitamins to the front with a spin. Choose turntables with a raised rim so bottles do not slide off, and non-skid bases that stay put. Two-tier versions double the capacity in the same footprint.
Keep turntables for the categories you reach for constantly; rarely used items do not need prime spin real estate. Wipe them monthly since spills collect in the rim. Avoid oversized turntables that waste shelf space around the edges; measure first. In corner pantries, a large turntable can make an otherwise dead zone fully usable. The spin-to-find principle eliminates the shove-aside-and-forget cycle.
8. Install Pull-Out Drawers
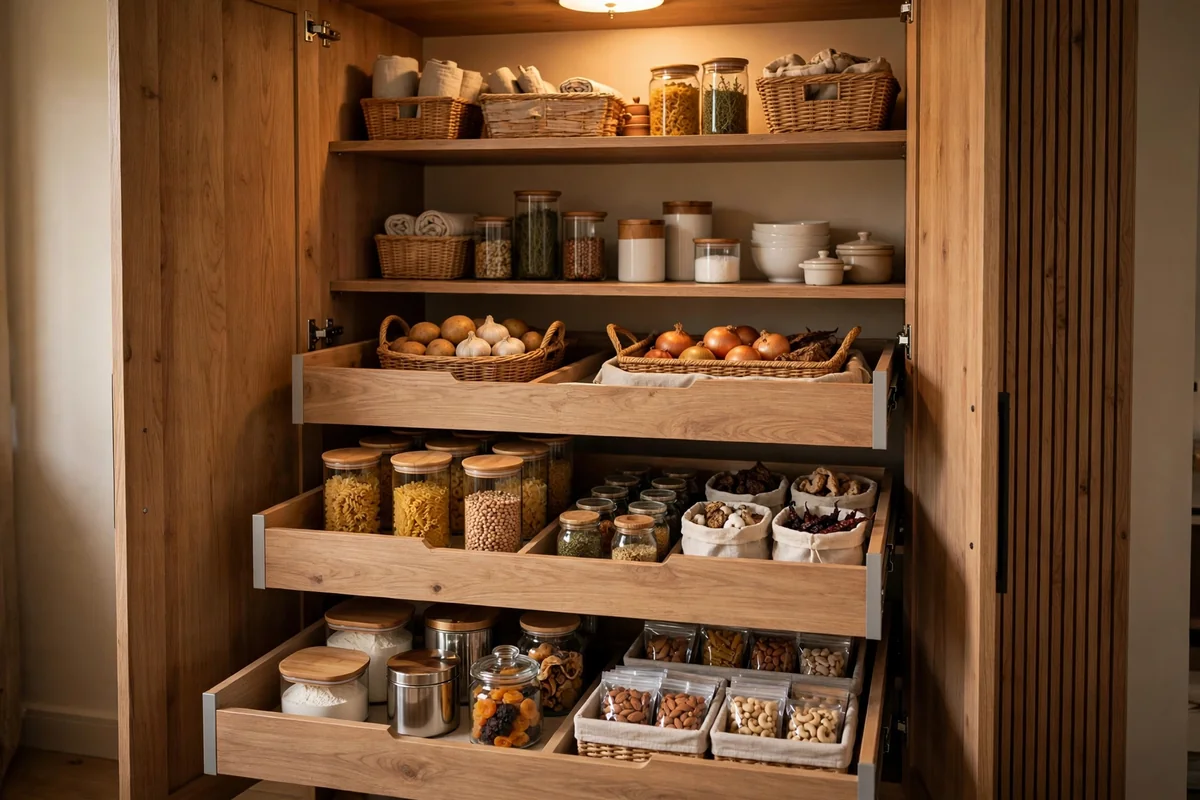
Pull-out drawers or sliding baskets bring the back of deep shelves to you. Instead of reaching past front items, you slide the whole drawer out and see everything. Retrofit wire or wood pull-outs fit standard shelf openings; measure width, depth and height carefully. Full-extension slides are worth the upgrade over three-quarter ones.
Install drawers at heights you use most: heavy items like pots and bulk goods low, everyday items at waist to eye level. Keep drawer contents categorized so each pull-out has a clear identity. The cost runs $30 to $80 per drawer, but each one effectively doubles the usable depth of its shelf. Avoid drawers without stops; a fully loaded drawer sliding out completely is a hazard. Pull-outs are the closest thing to a walk-in experience in a reach-in closet.
9. Vertical Dividers for Trays
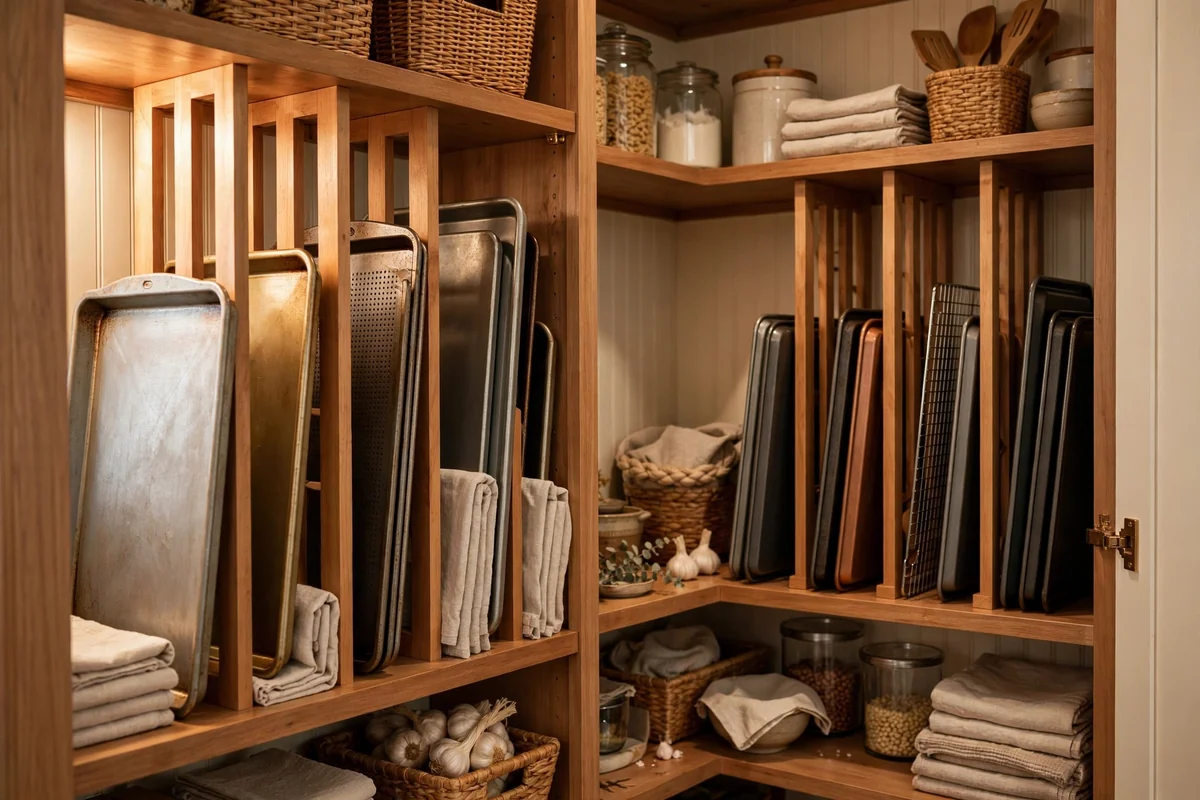
Baking sheets, cutting boards and trays stack badly and slide everywhere; vertical dividers fix this. Tension-rod dividers, wooden slots or metal file-style organizers turn a shelf section into vertical filing for flat items. Dedicate 8 to 12 inches of shelf width near the pantry’s edge for this zone, keeping flat items upright and instantly grabbable without unstacking anything.
File items by size with the largest at the back. This single change ends the crashing avalanche every time you need a sheet pan. Keep dividers snug so items stand upright without leaning. If your pantry is narrow, mount dividers on the door instead. Avoid horizontal stacking for these items; vertical filing is faster, quieter and safer. It is a small zone with a disproportionate peace dividend.
10. Create Basket Zones
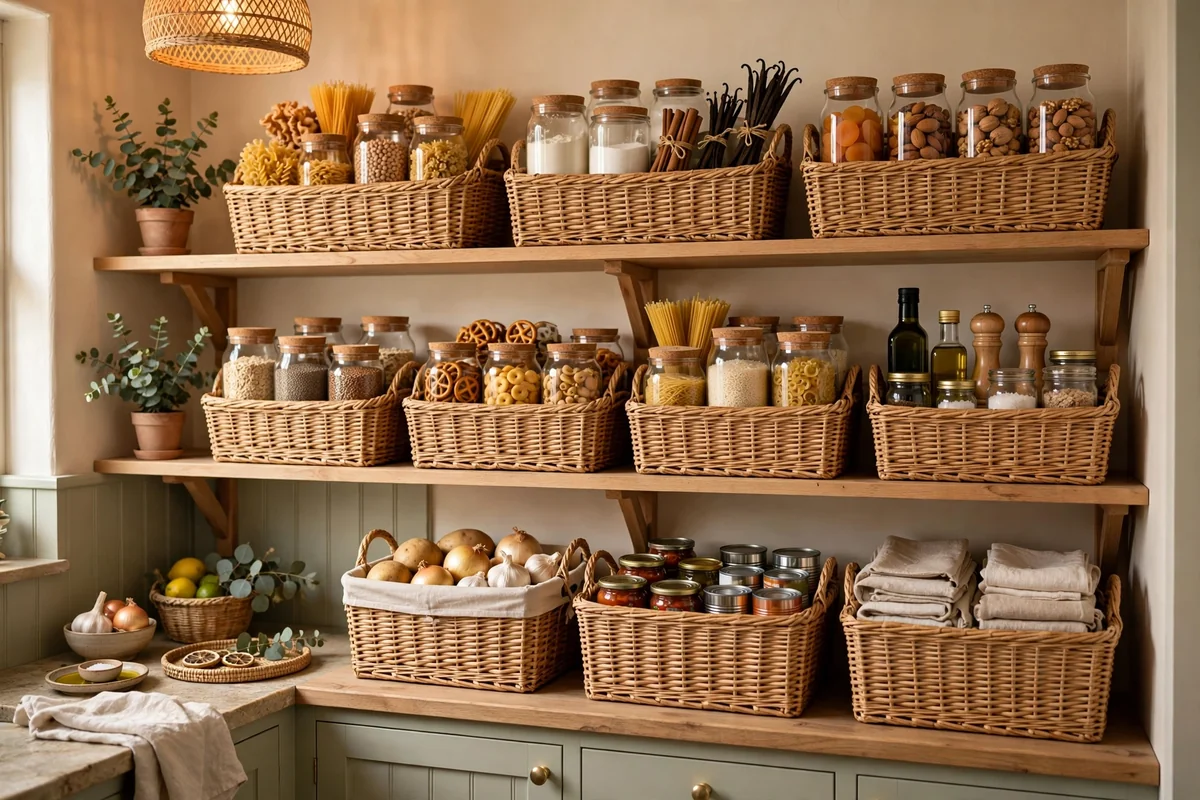
Woven or wire baskets create warm, defined zones in a pantry. Assign each basket a category: snacks, lunch supplies, baking, breakfast. Baskets with handles pull out like drawers, and their texture softens the utilitarian look of shelving. Choose baskets that fit your shelf dimensions with an inch of clearance on each side.
Label each basket so the zone holds. Natural baskets need occasional dusting and should stay away from direct moisture; wire baskets wipe clean easily. Keep one basket per person for personal snacks to end the hunting. Avoid oversized baskets that become junk catch-alls; medium baskets enforce curation. Baskets make a closet pantry feel like a curated general store rather than a storage unit.
11. Hooks Under Shelves
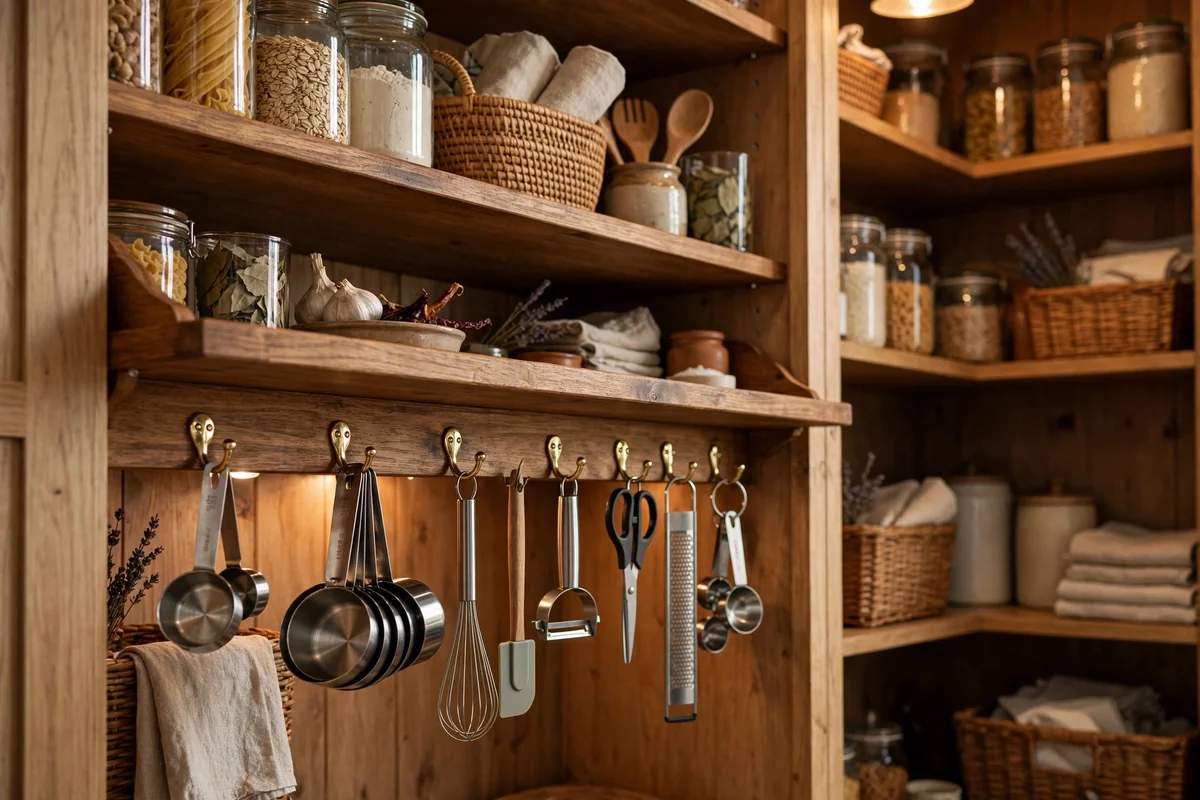
The underside of shelves is wasted space; screw-in or adhesive hooks reclaim it. Hang measuring cups, small baskets, produce bags or oven mitts beneath a shelf, keeping them visible and off the shelf surface. Adhesive hooks rated for 3 to 5 pounds work on melamine; screw-in cup hooks suit wood shelves.
Place hooks toward the front of the shelf underside for easy reach, and keep hung items short enough not to block the shelf below. This is perfect for the small tools that otherwise clutter surfaces. Avoid hanging heavy items that stress adhesive over time; check hooks quarterly. In a tiny pantry, a dozen well-placed hooks can free an entire shelf’s worth of surface. It is the kind of detail that makes a small space feel ingeniously planned.
12. Add Lighting Inside
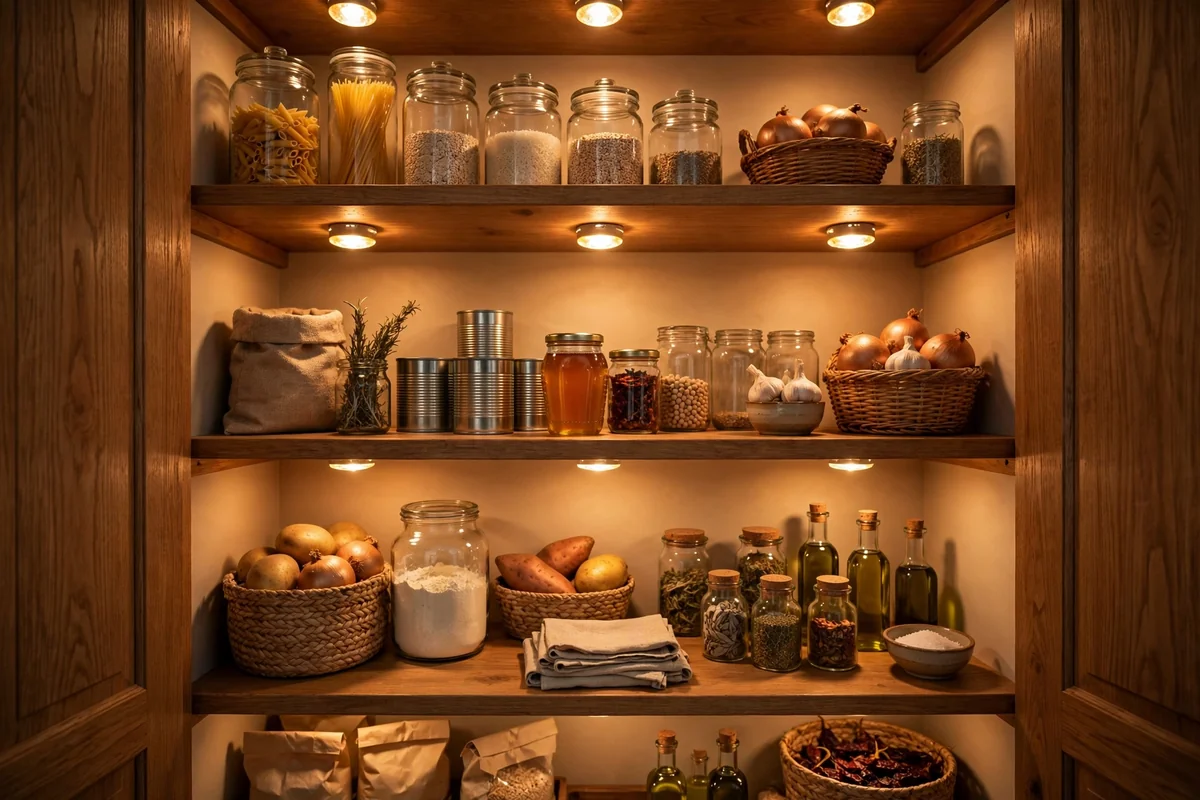
A dark pantry hides food and breeds duplicates. Battery-powered LED puck lights or motion-sensor strips under each shelf transform visibility. Choose warm white around 3000K so food looks appetizing. Motion-sensor lights are ideal: the pantry lights itself when the door opens, no switch needed, and batteries last months with brief daily use.
Mount lights toward the front of shelf undersides so they wash down over items rather than glaring. In walk-in pantries, a plug-in strip along the top shelf works if an outlet exists. Rechargeable pucks beat disposable-battery ones for long-term cost. Avoid cool blue-white light that makes everything look clinical. For $20 to $40, lighting is the upgrade that makes every other organization effort visible, literally.
13. Keep an Inventory List
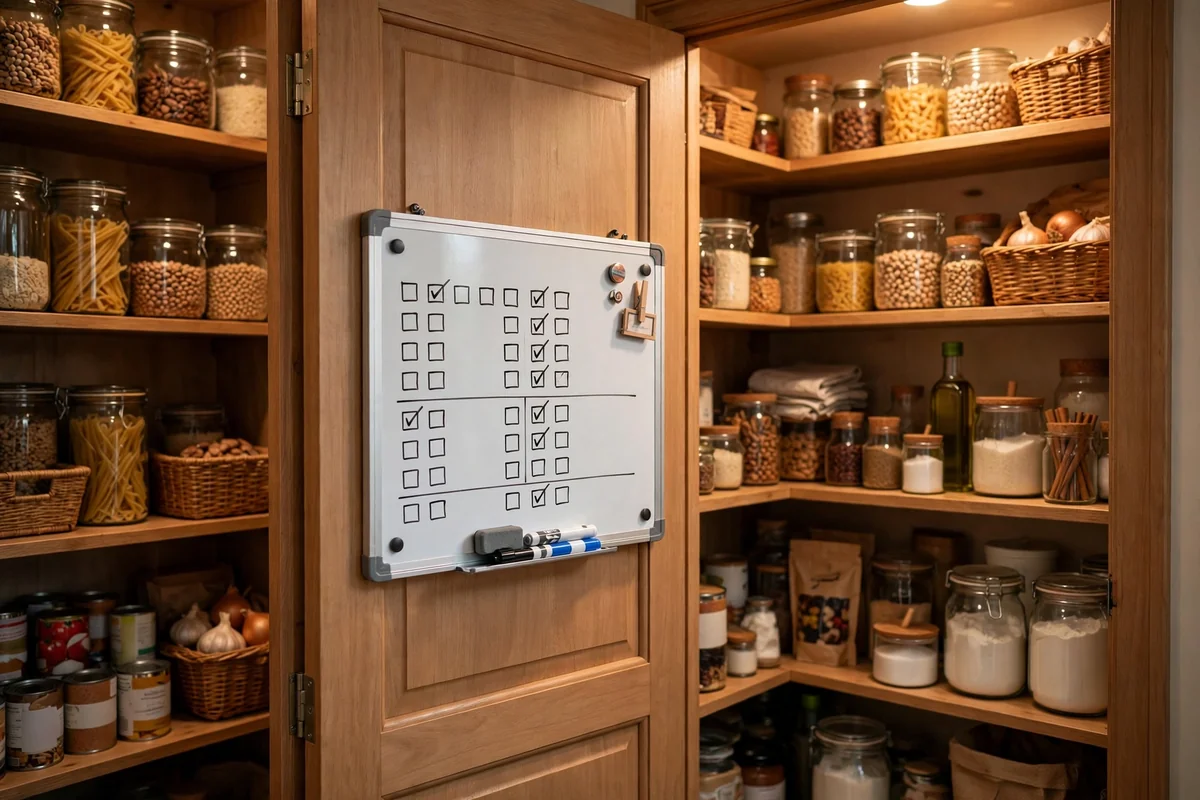
An inventory list ends duplicate buying. Mount a small whiteboard or chalkboard inside the pantry door and note staples as they run low; snap a photo before grocery trips. Alternatively, keep a running note on your phone. The door location matters: the list must be visible during the natural flow of noticing you are out of something.
Keep the list short and categorized: grains, cans, baking, snacks. Erase items as you restock. Teach the household to add to it; a list only one person uses fails. Avoid elaborate spreadsheet systems nobody maintains; the best inventory is the one that actually gets used. This simple habit saves real money by ending the three-open-jars-of-the-same-thing phenomenon.
14. A Slim Rolling Cart
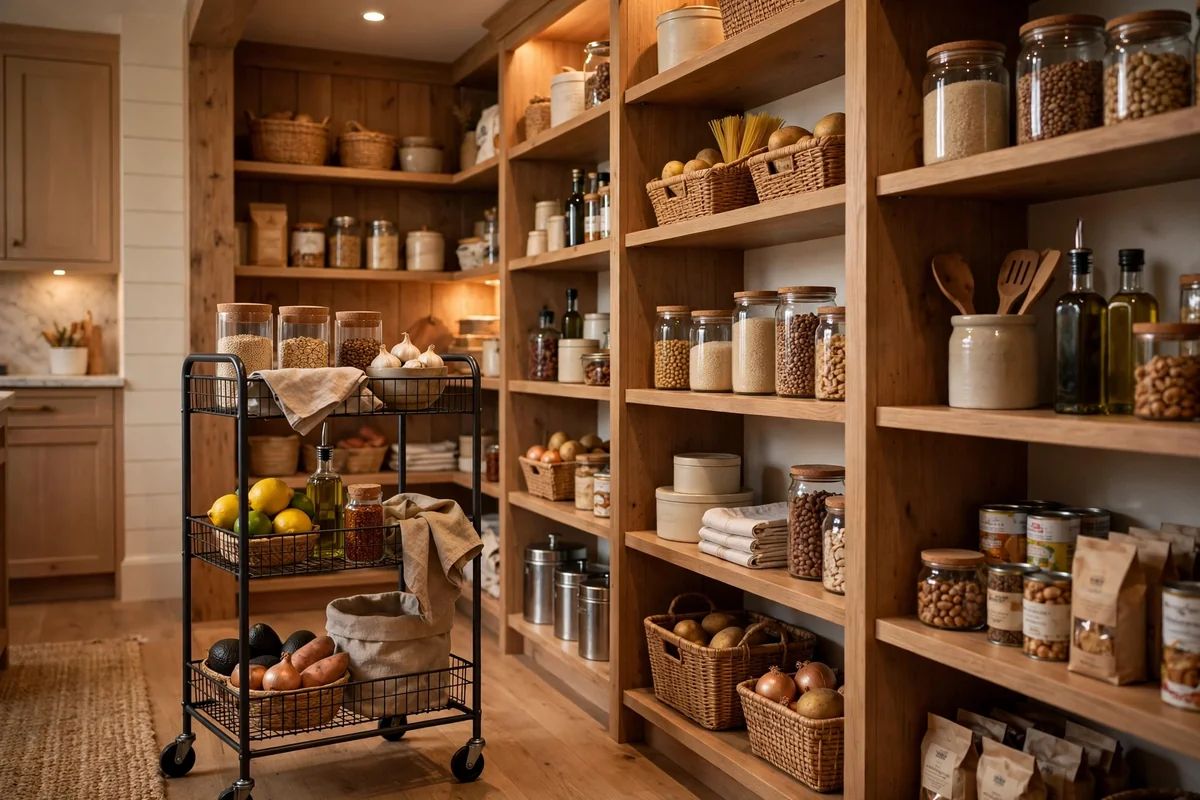
A slim rolling cart, 6 to 8 inches wide, slides into the gaps beside shelves or between pantry and wall, turning dead space into storage. Use it for spices, oils, cans or cleaning supplies. The wheels let you pull the whole unit out for full access. Measure your gap carefully; these carts come in specific widths.
Keep heavy items low for stability and avoid overloading top tiers. Label each tier so the cart stays organized when rolled back. This is ideal for renters since it needs no installation. In narrow pantries, two slim carts flanking the door can add as much storage as another shelf. The humble gap cart is proof that small spaces reward creativity more than square footage.
15. Over-the-Door Organizers
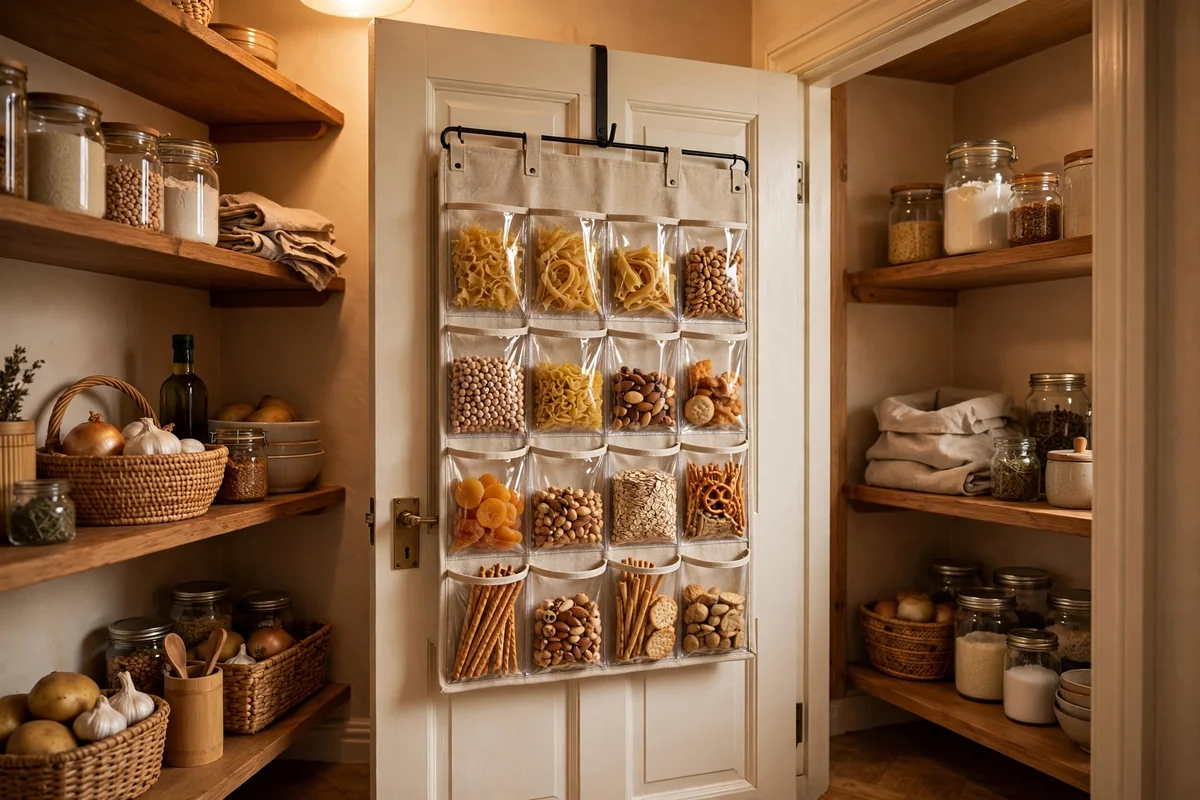
Over-the-door organizers with clear pockets or wire baskets multiply door storage without tools. They are perfect for packets, spice sachets, small boxes and wraps. Choose sturdy models with hooks that fit your door thickness; padded hooks protect the door’s finish, and clear pockets keep everything visible at a glance without any digging.
Reserve this for light items; heavy cans stress both the organizer and the door. In rental pantries, this is the top no-drill upgrade. Keep pockets categorized and purge them quarterly, since small pockets attract clutter. Avoid blocking the door’s full swing; check clearance before loading. Paired with door-mounted racks, the door can hold an astonishing amount of a small pantry’s inventory.
16. Group Items by Zone
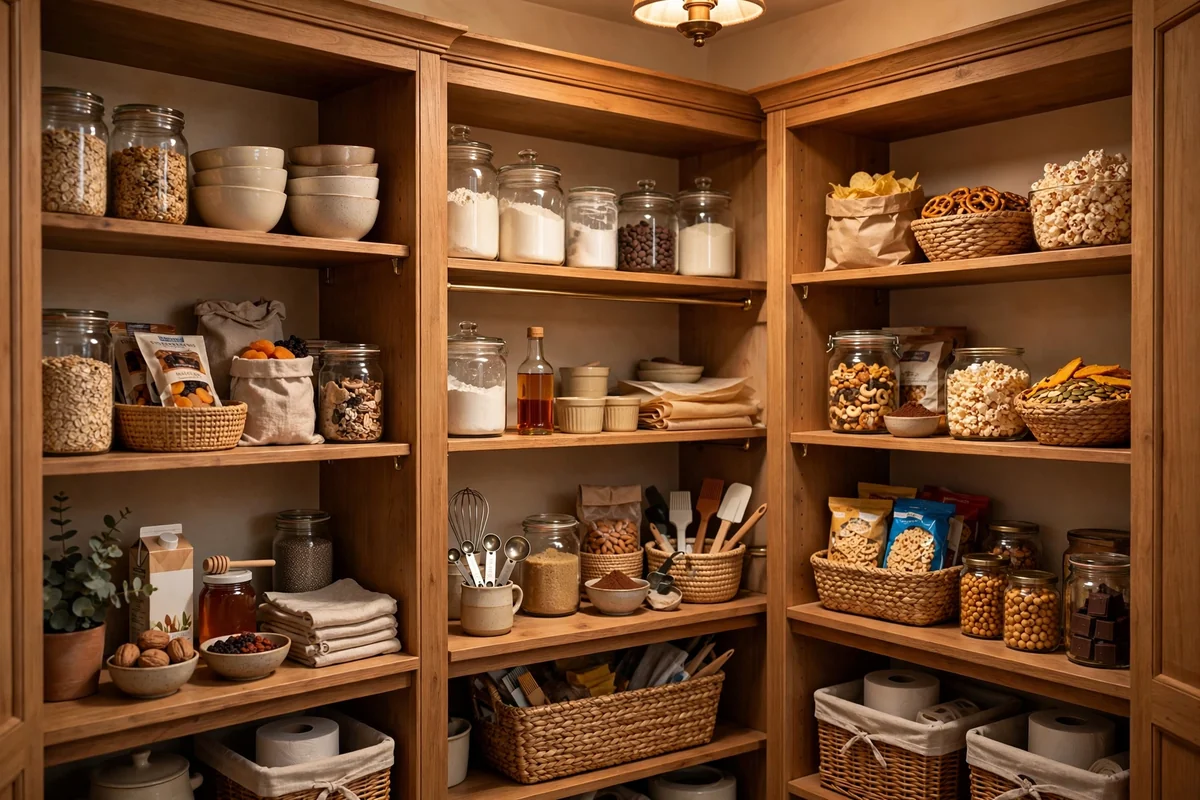
Zones are the logic that holds everything together. Divide the pantry into breakfast, baking, snacks, dinner ingredients, and backstock, assigning each a shelf or section. Within zones, group like with like. Put daily zones at eye level, occasional zones high or low. Everyone in the household should be able to learn the zones in a day.
Keep zones strict: when baking supplies migrate into snacks, the system decays. Use bins and labels to enforce boundaries physically. Reassess zones seasonally; holiday baking season may need a temporary zone expansion. Avoid more zones than you can maintain; five clear zones beat ten fuzzy ones. Zoning turns a pantry from a warehouse into a workstation where cooking flows naturally.
17. A Kid-Friendly Snack Shelf
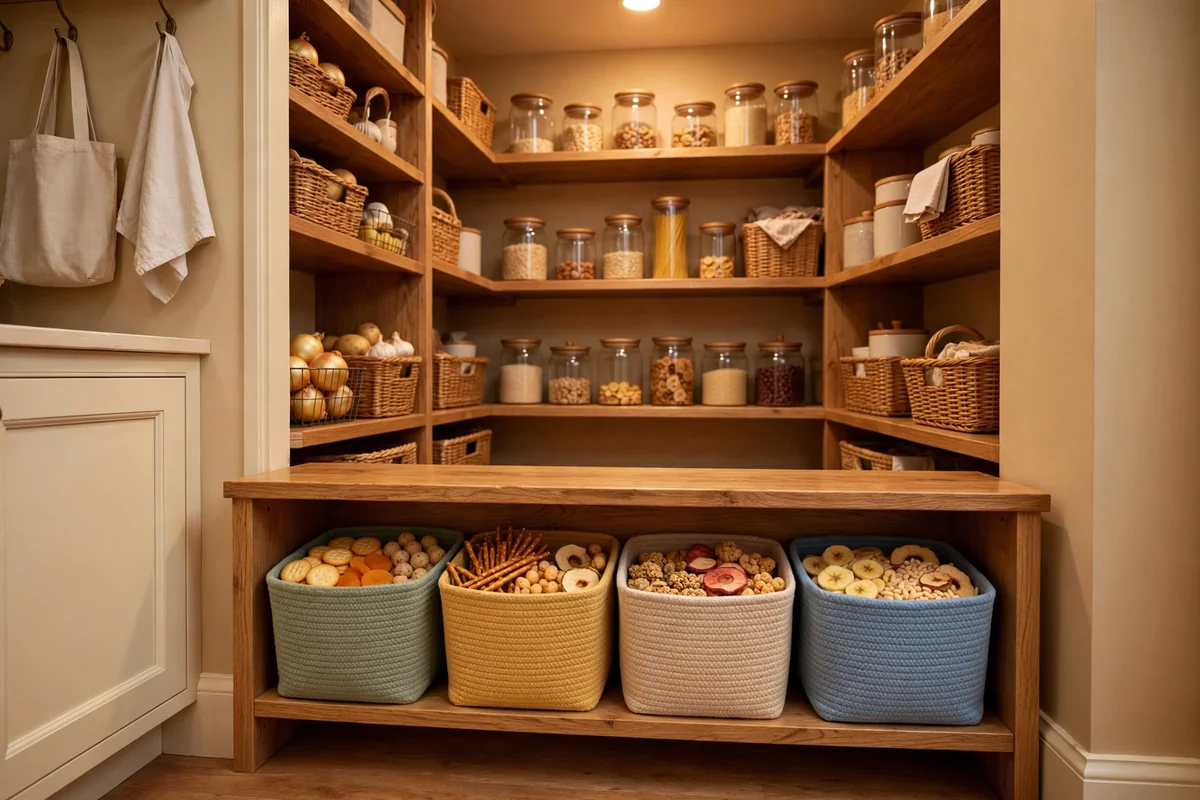
A dedicated low shelf for kids’ snacks ends constant asking and rummaging. Stock it with parent-approved options in a bin or two at a height kids can reach safely. The shelf teaches independence: kids grab their own snack and the pantry stays otherwise undisturbed. Keep it at 24 to 36 inches high depending on ages.
Rotate the selection to keep it interesting and check it weekly for crushed or expired items. Include a small water bottle station nearby if space allows. Avoid putting anything unsafe or off-limits on this shelf; its whole purpose is worry-free access. For families, this single zone reduces daily pantry chaos more than any container. Independence for kids, peace for parents.
18. Bulk Storage Up High
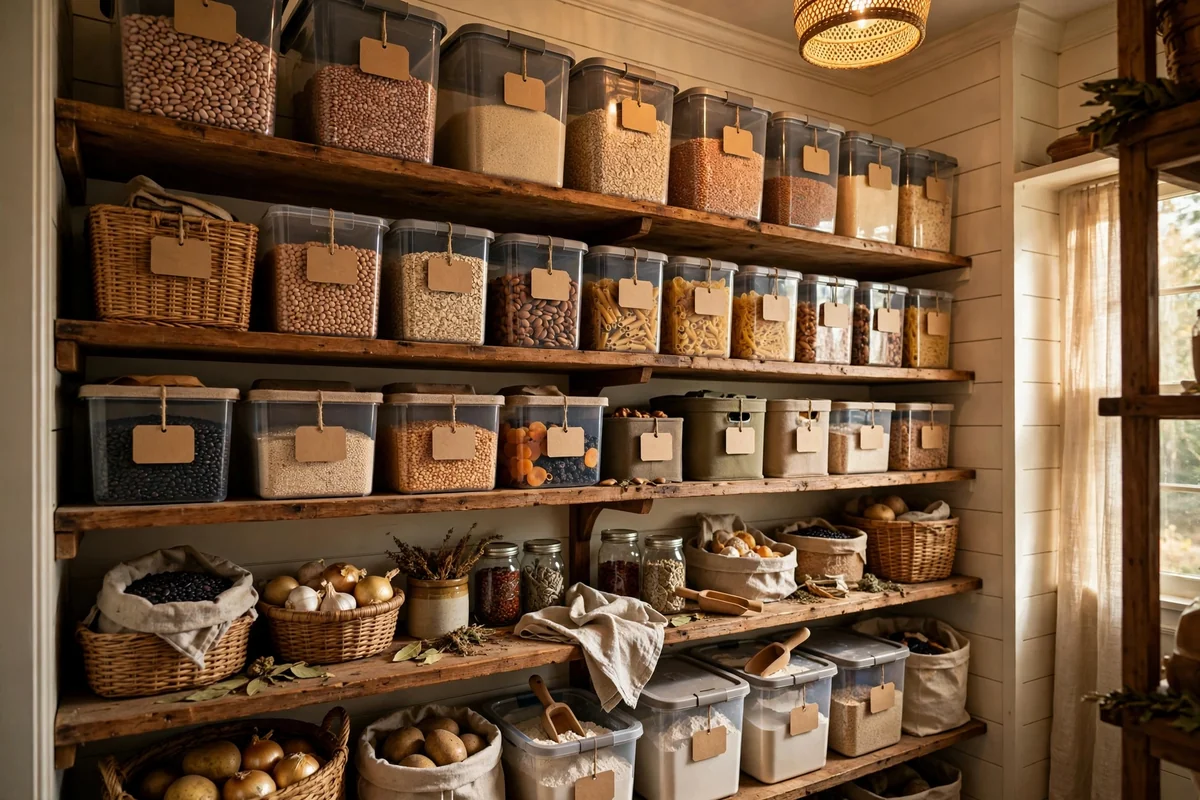
High shelves are for bulk and backstock, not daily items. Store extra paper goods, bulk grains, duplicate cans and seasonal supplies up top in labeled bins. Keep a sturdy step stool nearby; if reaching is annoying, the zone will not be used. Decant bulk buys into daily jars below and refill from the high backstock.
Keep high bins lighter than low ones for safe handling overhead. Label bins on the side facing out so contents are identifiable from below. Avoid storing anything needed daily up high; frustration will kill the system. Check backstock before shopping so bulk buying actually saves money instead of creating duplicates. High shelves turn vertical space into a warehouse that feeds the working shelves below.
19. Tame the Spice Collection
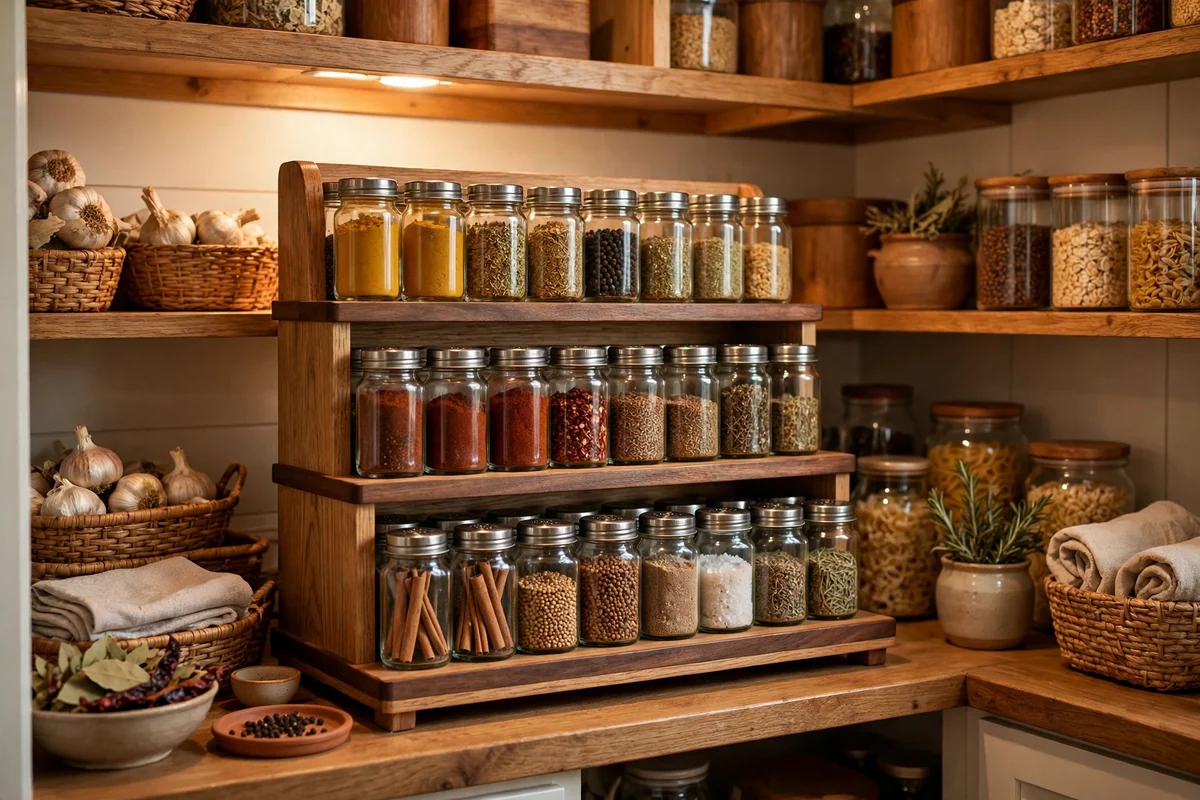
Spices deserve their own system: a tiered riser, a door rack or uniform jars in a drawer. The goal is seeing every label without moving anything. Alphabetize or group by cuisine; either works as long as it is consistent. Decant into uniform jars only if you cook enough to justify it; small original jars on a riser are fine for most.
Check dates annually; ground spices fade after a year. Keep spices away from heat and steam, so not above the stove if avoidable. A dedicated spice zone near the prep area saves endless hunting. Avoid duplicate purchases by checking the rack before shopping. Spices are small but used constantly; their organization has an outsized effect on cooking pleasure.
20. A Regular Purge Routine
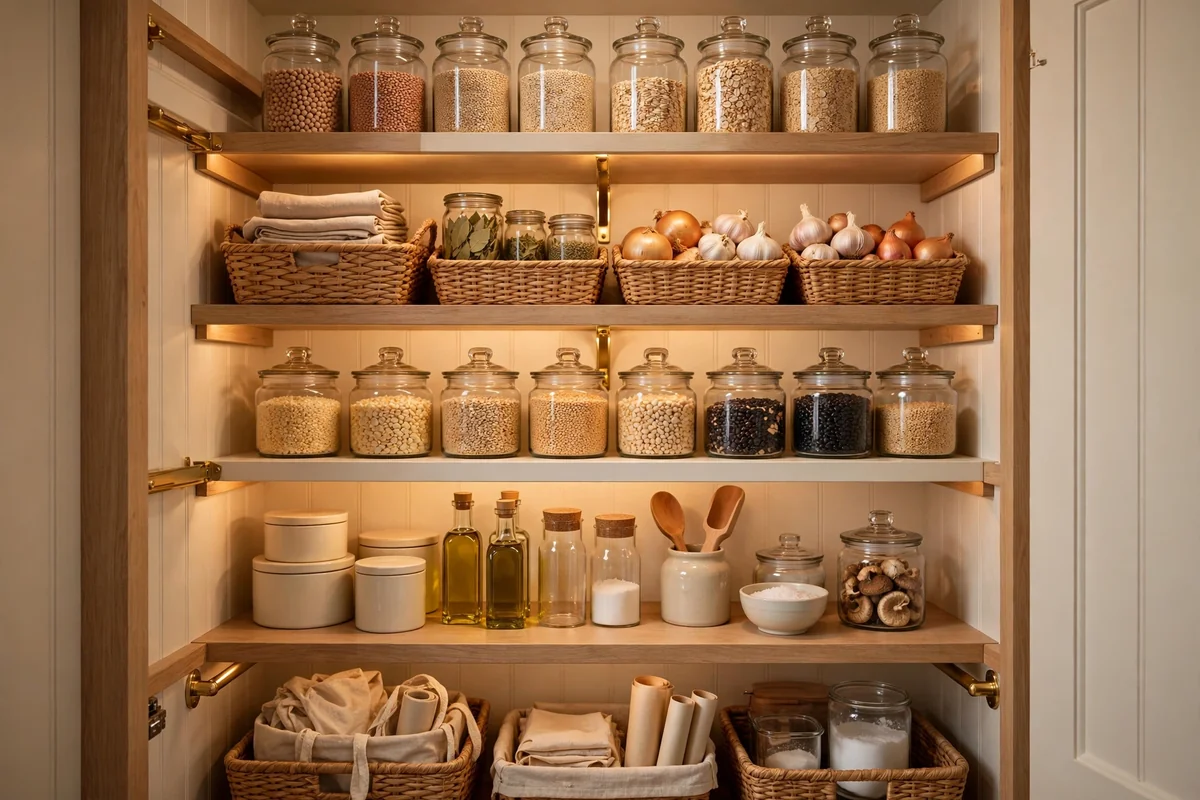
Every system decays without maintenance, so schedule purges. Monthly, scan for expired items and obvious strays. Quarterly, pull everything out, wipe shelves, check dates and regroup zones. The full reset takes about an hour and prevents the slow slide back to chaos, so put it on the calendar like any other household appointment.
During purges, question duplicates and relocate zone-violators. Wipe shelf liners and check for pest signs, especially in bulk zones. Donate unopened extras you will not use. Avoid the marathon annual cleanout; small regular purges are easier and keep the pantry permanently functional. Maintenance is the unglamorous secret behind every beautiful pantry photo: the system is only as good as its upkeep.
Conclusion
A closet pantry does not need to be big; it needs to be smart. Adjustable shelves, clear containers, strict zones, good light and regular purges turn even the smallest closet into storage that makes cooking calmer and shopping smarter. Start with one shelf this weekend and build from there. Your future self, mid-recipe and finding everything instantly, will thank you.
Frequently Asked Questions
How do you organize a small closet pantry?
Start with adjustable shelving, then group items into zones with clear bins and uniform jars. Use the door for racks, add lighting, label everything, and keep daily items at eye level. Small pantries work best with strict zones and regular purges.
What is the best shelving for a closet pantry?
Adjustable shelf systems on tracks or shelf pins are best because they adapt to tall and short items. Space shelves 10 to 14 inches apart for most goods, with one taller section for cereal boxes and small appliances.
Should you decant pantry items into jars?
Decanting dry goods like flour, sugar, rice and pasta into uniform airtight jars keeps food fresher, looks tidy and makes quantities visible. It is worth it for staples you buy regularly; skip it for items you use rarely.
How do you add light to a pantry without wiring?
Battery-powered LED puck lights or motion-sensor strip lights work beautifully. Mount them under shelves with adhesive, choose warm white around 3000K, and recharge or replace batteries every few months.
How often should you clean out a pantry?
Do a quick check monthly for expired items and a full purge every three to four months. Pull everything out, wipe shelves, check dates, and regroup zones. Regular small purges prevent the chaos from returning.