Home Improvement
20 Curtain Hanging Heights and Rules That Make Windows Look Taller
By Anna Wells · · 20 min read
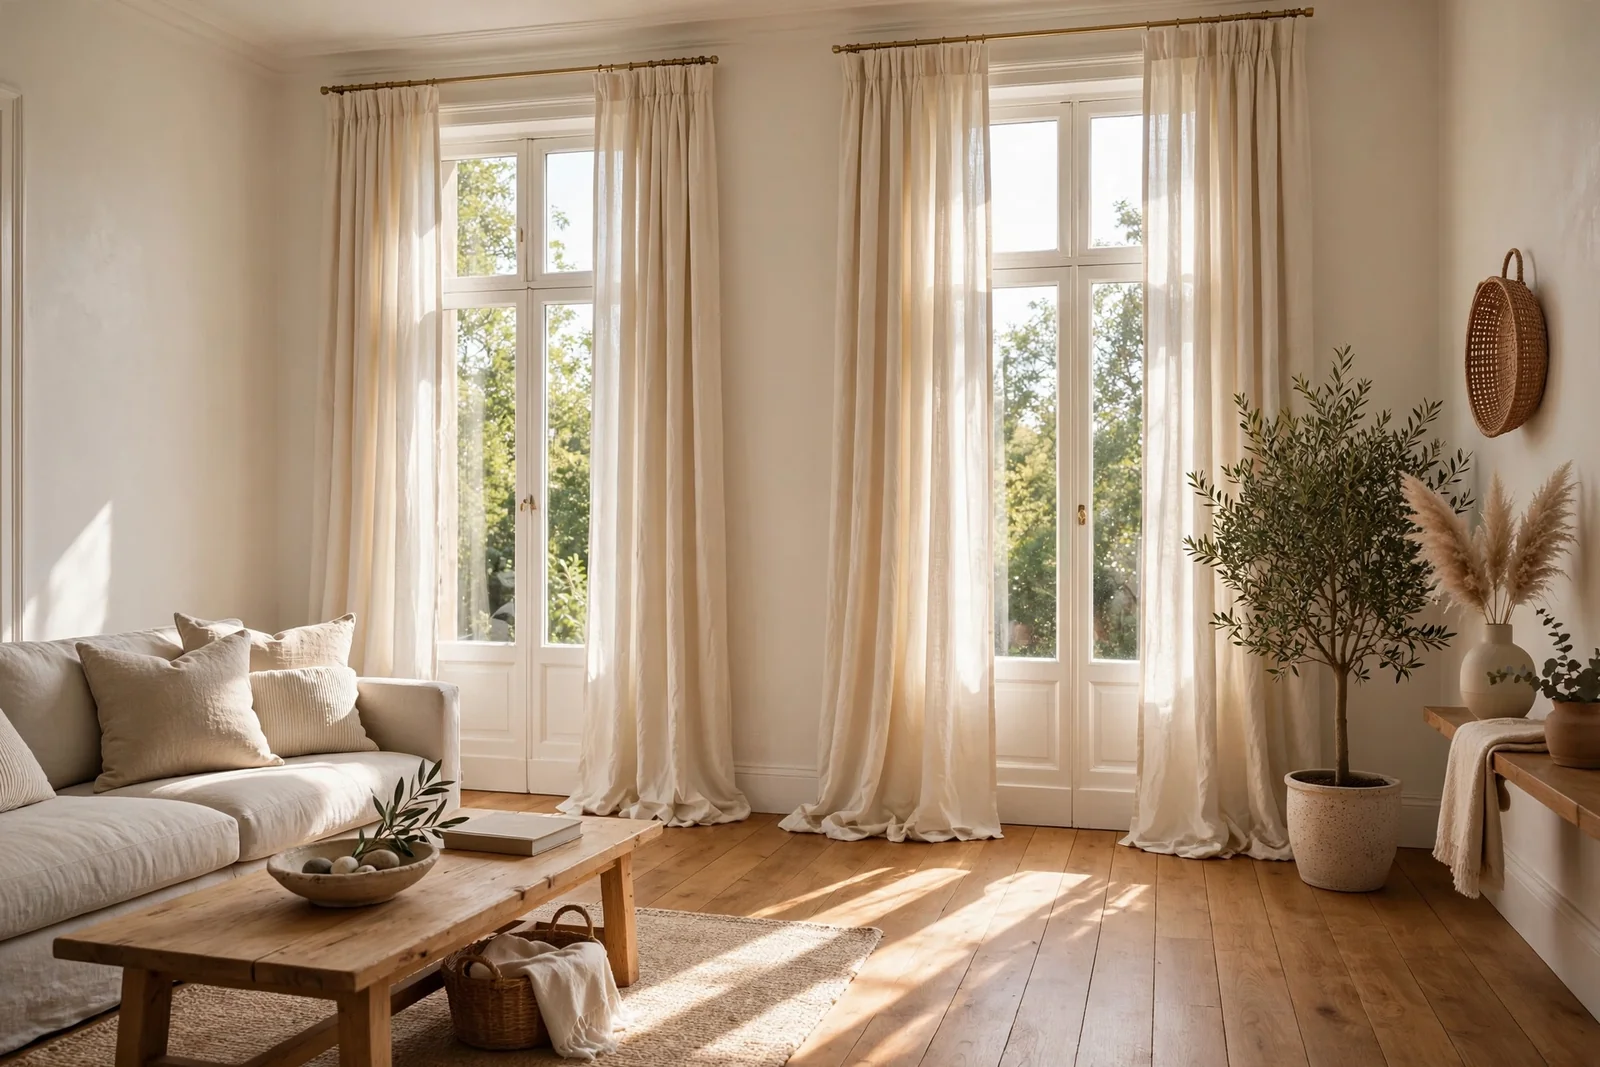
Twenty exact rules for hanging curtains: rod heights, drop lengths in centimetres, fullness ratios and five common mistakes, all measured.
The difference between a window that feels grand and one that feels squashed often comes down to centimetres: where the rod sits, where the hem falls, and how wide the fabric spreads. These are small numbers, but they shape how light enters the room and how tall the walls appear.
You can hang the same curtains in the same room and get two completely different results, simply by moving the rod 10 cm higher or choosing a longer drop. Most crooked-looking windows are not crooked at all; they are just measured from the wrong starting point.
This guide collects 20 practical rules for hanging curtains with confidence: exact heights above the frame, drop measurements for sill, apron, floor and puddle lengths, rod widths, fullness ratios for different fabrics, special cases like bays and radiators, and the five mistakes to avoid.
Grab a steel tape measure and a pencil, and let’s make your windows look taller.
1. Mount the Rod 10 to 15 cm Above the Window Frame

For most windows, the sweet spot is a rod mounted 10 to 15 cm above the top of the frame casing, which visually stretches the wall and makes standard ceilings feel taller. Measure from the top edge of the casing rather than from the glass, mark both bracket positions with a pencil, and check them with a spirit level before drilling. In a room with a 240 cm ceiling, 12 cm above the casing usually looks balanced without crowding the cornice. Keep both ends identical so the rod never runs downhill.
The exception is a room with very tall ceilings, where 15 to 20 cm above the frame can work, and small cottage windows, where 8 to 10 cm keeps the proportions right. Avoid hanging the rod less than 5 cm above the frame, since that makes the window look squashed and leaves no room for rings and hooks to move. Budget tip: stick painter’s tape on the wall to preview the height before drilling a single hole.
2. Choose Ceiling Mounting When the Wall Space Is Tight
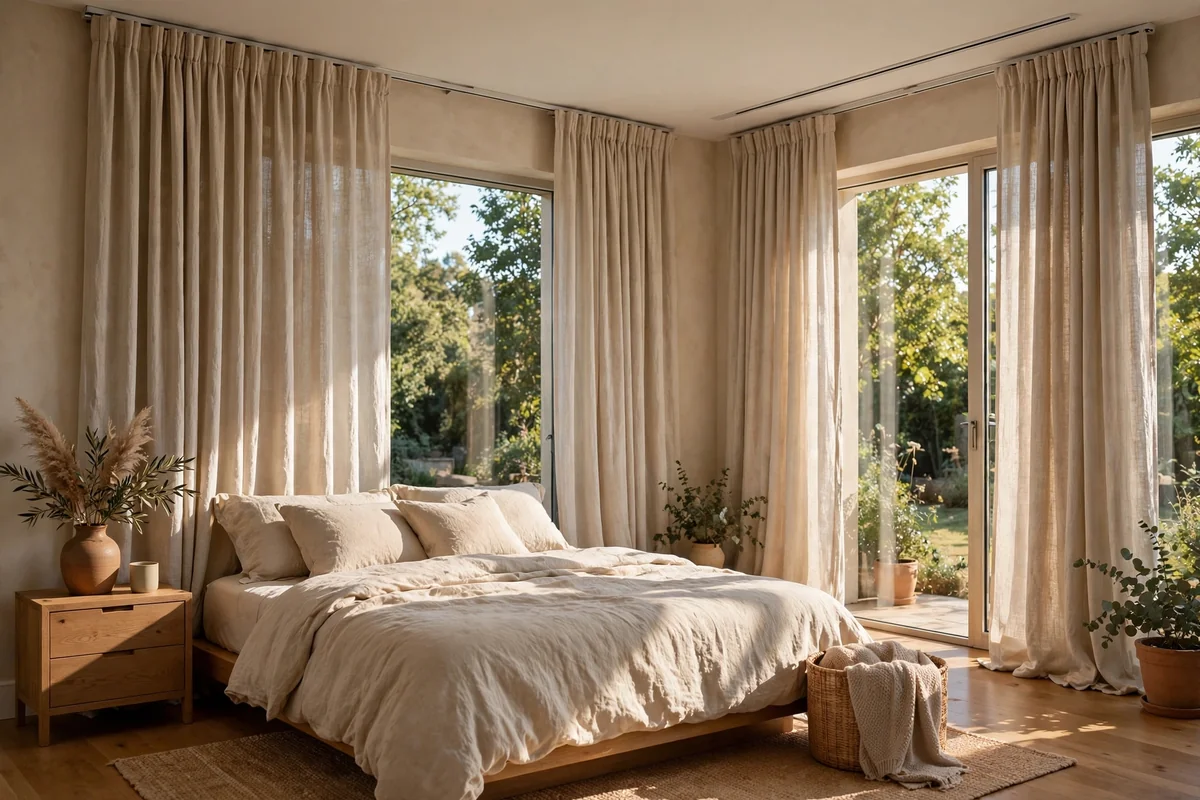
When only a few centimetres of wall sit above the frame, a ceiling-mounted track or rod removes the guesswork and gives the tallest possible look. Ceiling mounting also suits full-width glass walls, picture windows and rooms where you want floor-length panels that start at the very top. Fix the track into ceiling joists or use specialist ceiling plugs, since curtain fabric plus lining can weigh several kilograms across a wide span. Measure the drop from the ceiling down to the finished floor.
Pair ceiling-mounted panels with a cord or wand draw system so you never tug the track sideways, which loosens fixings over time. In bedrooms, ceiling tracks let blackout panels overlap the wall by 5 to 10 cm at each side, blocking light leaks around the frame. The mistake to avoid is using shallow screw fixings in plasterboard without proper anchors; a falling track is dangerous and takes paint with it.
3. Measure Sill Length With a 1 cm Air Gap
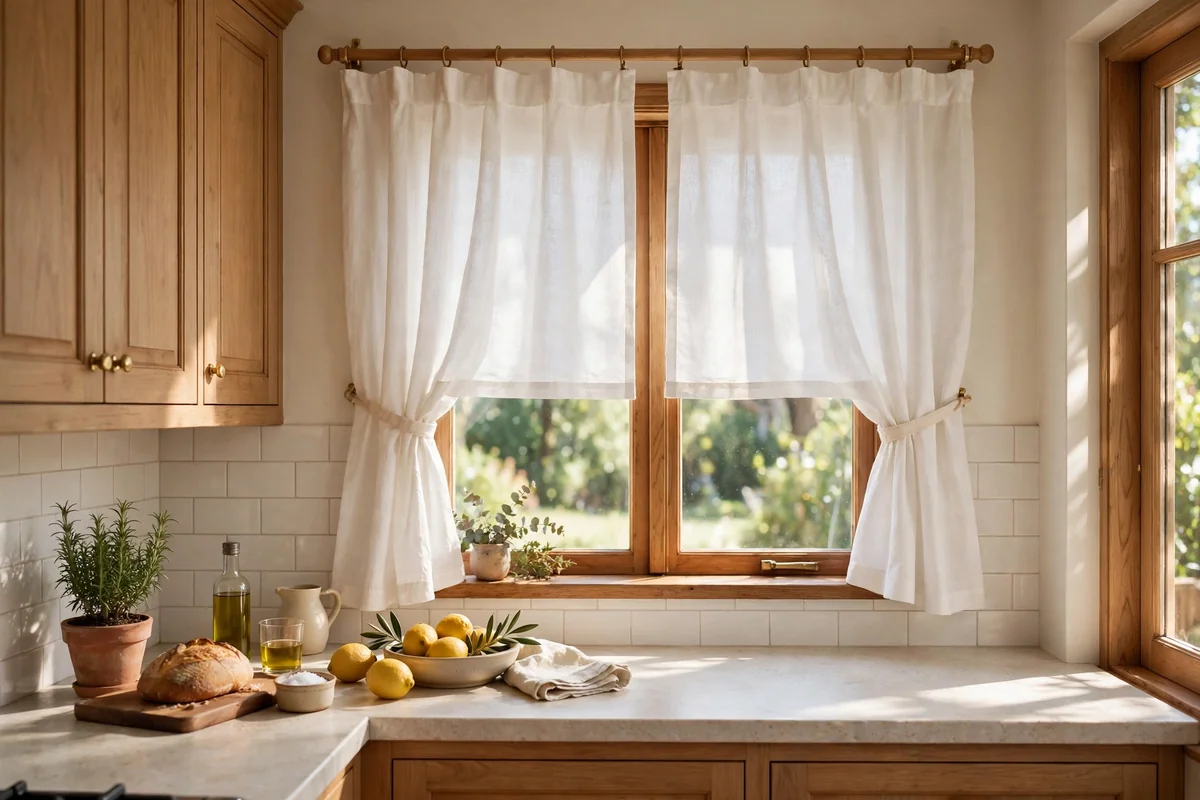
Sill-length curtains should end about 1 cm above the windowsill, hovering just clear of the surface so the hem never snags or picks up dust. To measure, hook your tape at the bottom of the rod or the top of the ring and drop it to the sill, then subtract 1 cm for the finished length. This length suits kitchens and bathrooms where a longer panel would trail in the sink or block a radiator. Choose a crisp cotton or linen that holds a straight hem.
Hem weights or a sewn-in chain in the bottom hem keep sill-length panels hanging dead straight instead of flaring. The common mistake is cutting sill curtains exactly to the sill, which lets them rest on the ledge and look untidy; that 1 cm gap is the whole secret. Budget tip: ready-made sill lengths are the cheapest to buy, so this is the style where ready-made almost always wins on price.
4. Finish Apron-Length Panels 3 to 5 cm Below the Sill

Apron length finishes 3 to 5 cm below the windowsill, covering the apron board beneath the casing for a tidier look than a sill-length panel. Measure from the rod to the underside of the sill, then add 4 cm for the finished drop, and keep the hem perfectly level so it reads as a deliberate line. This length works well in home offices and guest rooms, where full-length curtains would fight with a desk or a daybed placed under the window. Linen blends drape softly at this length.
Because the hem sits below the sill, apron panels can catch on window handles that open inward, so check the clearance before you order. The mistake to avoid is splitting the difference: a hem that lands 1 cm below the sill looks accidental, not styled. If your sill depth varies across the house, measure every window, since older casings rarely match. This length needs only slightly more fabric than sill length, keeping costs close to the budget tier.
5. Cut Floor-Kissing Panels to Just Touch the Floor

The floor-kiss finish means the hem just grazes the finished floor, touching without weight, which suits most living rooms and master bedrooms. Measure from the underside of the rod to the floor at three points across the window, because floors slope, and use the shortest measurement, or subtract 1 cm if the floor is very uneven. Bare wood and hard floors forgive a gentle touch of fabric; thick pile carpet can swallow the hem, so subtract 1 cm for deep carpet. Press the hem so it falls straight.
Buy curtains 2 to 3 cm longer than the exact measurement if you plan to steam or train the folds, since heat can shrink fabric slightly and you can always shorten a hem. The mistake to avoid is measuring only at the centre of the window, then discovering the ends hover 2 cm off the floor. Budget tip: standard 228 cm ready-made drops fit a 240 cm ceiling with a rod 12 cm above the frame, which is why this length is so popular.
6. Allow a 2 to 5 cm Break for a Relaxed Drape
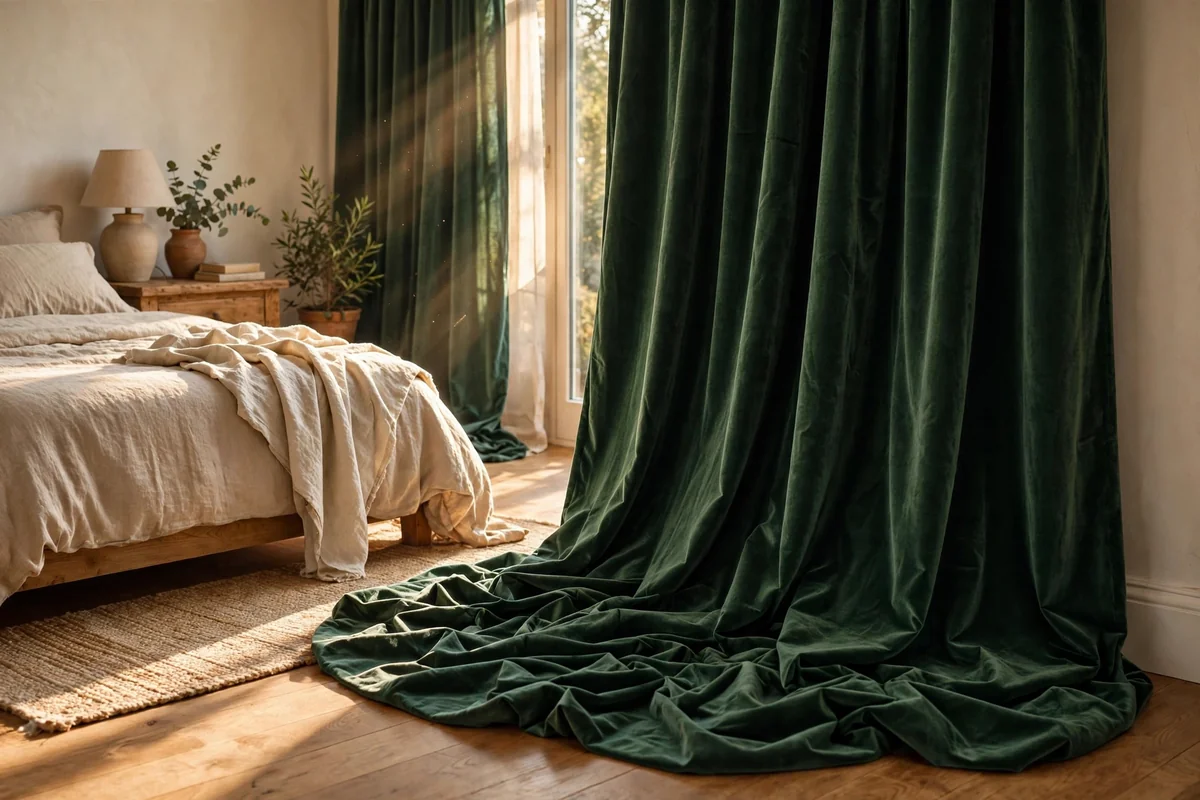
The slight break, sometimes called a trouser break, lets the hem fold softly where it meets the floor, with 2 to 5 cm of fabric pooling at the front. Measure the exact floor drop, then add 3 cm for the finished length, which creates a gentle single crease rather than a tangle of fabric. This finish suits relaxed living rooms, bedrooms and any fabric with body, such as velvet or heavy linen, since lightweight sheers look crumpled instead of calm at this length. Keep the floor beneath clear.
Vacuum or sweep the floor area weekly, because a hem that touches the floor collects dust along the crease. The mistake to avoid is adding 8 cm or more by accident, which turns a planned break into a messy pile; measure the addition as carefully as the drop. If you are unsure between a kiss and a break, order the break length and shorten later, since taking fabric off a hem is simple but adding it back is not.
7. Puddle Panels 10 to 20 cm for a Luxurious Finish

A full puddle pools 10 to 20 cm of fabric on the floor around each panel, giving a formal, generous look that suits dining rooms, dressing rooms and heritage-style bedrooms. Measure the floor drop, then add 12 to 15 cm for the finished length, and arrange the fabric in soft folds once hung rather than letting it fall flat. Heavy fabrics like velvet and brocade hold their folds beautifully, while cotton puddles need fluffing after every wash. This is the most fabric-hungry length, so expect a higher bill.
Reserve puddles for rooms with low foot traffic, since shoes scuff hems and pets treat pooled fabric as a bed. The mistake to avoid is puddling cheap, stiff polyester, which kinks instead of folding and shows every crease from the packaging. Steam the hem after hanging and leave the folds overnight to train them. Budget tip: buy the next standard size up and add length only with a proper sewn hem, never a raw folded edge.
8. Extend the Rod 20 to 30 cm Past Each Side of the Frame

A rod should extend 20 to 30 cm beyond the frame on each side, so open curtains stack back onto the wall instead of covering the glass. Measure the frame width, add 40 to 60 cm in total, and centre the rod on the window so both extensions match. For narrow windows under 90 cm wide, 20 cm per side is plenty; for wide windows over 180 cm, use 30 cm per side so the stacked panels have somewhere to go. This single rule makes small windows look much larger.
Heavy curtains need a centre bracket on spans over 150 cm to stop the rod bowing, so factor that into your width. The mistake to avoid is a rod that ends exactly at the frame, which leaves open curtains covering a quarter of the glass each and shrinks the view. Budget tip: extendable rods are cheap and cover odd widths, but check their weight rating for lined curtains, since a drooping rod undoes every other good decision.
9. Plan Stack Back So Open Curtains Clear the Glass

Stack back is the wall space each open curtain occupies, roughly 25 to 30 percent of the rod’s extended width per panel, and it must sit fully on the wall for the glass to stay clear. When measuring, mark the frame edges on the wall and confirm the stacked panels will end outside those marks, or your daylight shrinks every morning. Wider panels stack deeper, so a 140 cm panel needs more wall than two 70 cm panels of the same fullness. Hold a tape up to test before buying.
Choose return rods or wrap-around brackets in tight rooms, since they bend the panel back to the wall and squeeze extra clearance from shallow space. The mistake to avoid is measuring only the glass, then discovering the open curtains block the first 15 cm of each side. If wall space is truly absent, consider a top-down blind inside the recess with dress curtains pinned permanently to the sides, which keeps the look without stealing light.
10. Match Fullness Ratio to Fabric Weight
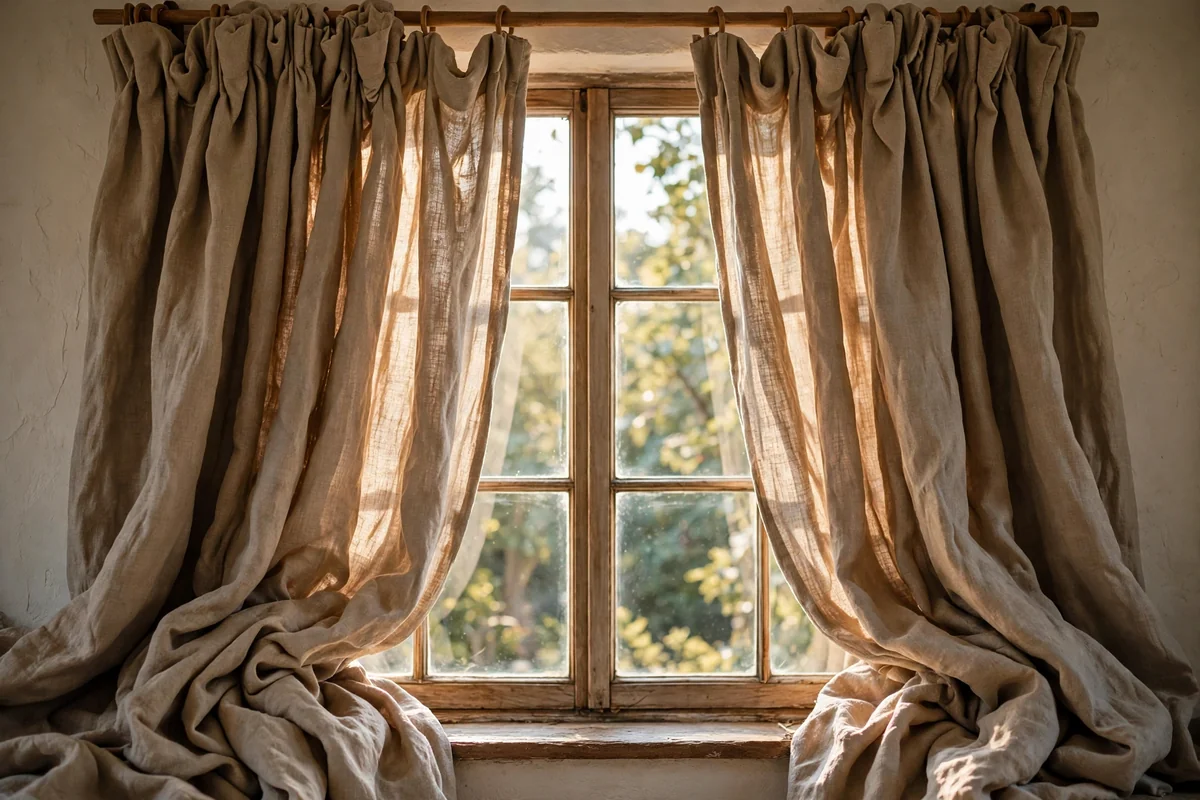
Fullness is the ratio of total fabric width to finished rod width: use 2 to 2.5 times for sheer voile, 1.75 to 2 times for medium cottons and linens, and 1.25 to 1.5 times for heavy velvets and interlined panels. Measure your rod’s full span, multiply by the ratio for your fabric, and divide between panels. A 200 cm rod with medium linen needs 350 to 400 cm of fabric across both panels. Skimpy fullness is why curtains look flat even when every other measurement is right.
Add 10 cm per panel for side hems and returns before you multiply, since seams eat fabric. The mistake to avoid is buying two 130 cm panels for a 260 cm rod in sheer fabric, which stretches the weave thin and lets every streetlight show through. Budget tip: achieve fullness with an extra panel rather than pricier wide widths; three mid-price panels usually cost less than two luxury widths and gather just as well.
11. Check Bracket Projection Before You Choose the Rod
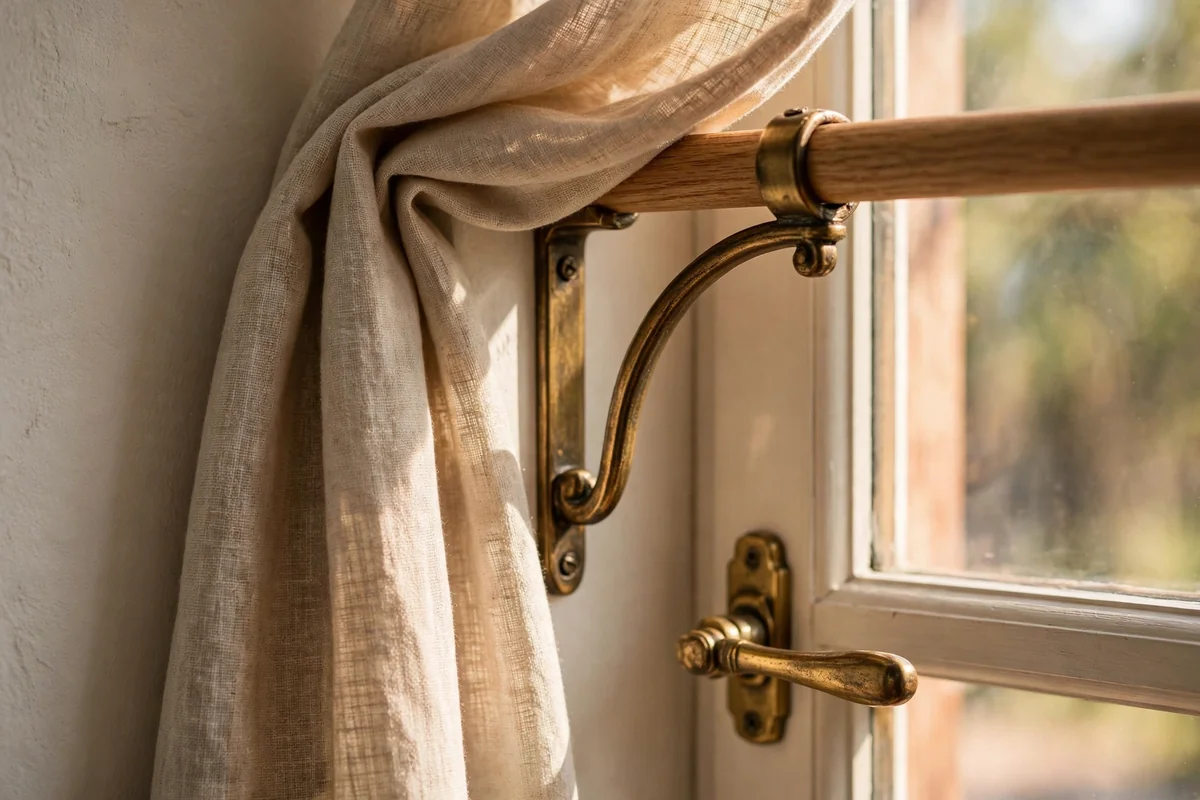
Bracket projection is the distance the rod stands from the wall, and it must clear the deepest obstacle on the frame, usually a handle, a deep sill or a roller blind cassette. Measure the deepest point from the wall, then choose brackets with at least 2 to 3 cm more projection, so fabric slides freely without catching. Standard brackets give 8 to 10 cm; deep-projection brackets reach 12 to 15 cm for bulky window furniture. Test with a tape held flat against the wall.
In kitchens, heat and steam from a kettle can mark curtains that swing against a cold window, so generous projection also protects the fabric. The mistake to avoid is buying a slim bracket set online without measuring, then watching panels snag on the handle every time they close. Budget tip: adjustable brackets cost a little more than fixed ones but save the whole project when the sill depth surprises you.
12. Hang Bay Windows on Angled Rods or a Curved Track

Bay windows need a rod that bends around each angle or a flexible ceiling track that follows the bay’s curve, with the panels measured in straight sections. Measure each section of the bay separately, add the angle allowances shown on the rod kit, and keep a 15 cm overlap at each bend so panels slide without sticking. A corded track is worth the extra cost in bays, since dragging panels around three angles by hand wears the gliders quickly. Mount 10 cm above the frame as usual.
Choose a track over a rod when the bay has more than three sections, because long multi-bend rods sag at the joints. The mistake to avoid is treating a bay as one flat window, which leaves gaps at the angles and panels that refuse to close. For a seat or radiator under the bay, drop panels to the sill or just below, never to the floor, so the seating stays usable and heat keeps flowing.
13. Leave 15 to 20 cm of Clearance Above Radiators

Curtains above a radiator should end at least 15 to 20 cm above the top of the radiator, so warm air rises freely into the room instead of being trapped behind fabric. Measure from the rod to a point well clear of the radiator, and choose sill or apron length depending on the gap. Heavy, lined curtains that rest on a radiator waste heat and can scorch or fade on the back face. Keep the fabric off the fins entirely, even when the heating is off in summer.
If you love the look of full-length panels, hang them to the sill and add a separate floor-length dress panel pinned to each side that never closes. The mistake to avoid is measuring to the radiator’s top and stopping there, which leaves the hem sitting in the heat stream and yellowing within a season. Budget tip: shorter ready-made curtains are cheapest, and this is one case where the shorter length is the correct one, not a compromise.
14. Give Blackout Linings Extra Width and a Full Drop
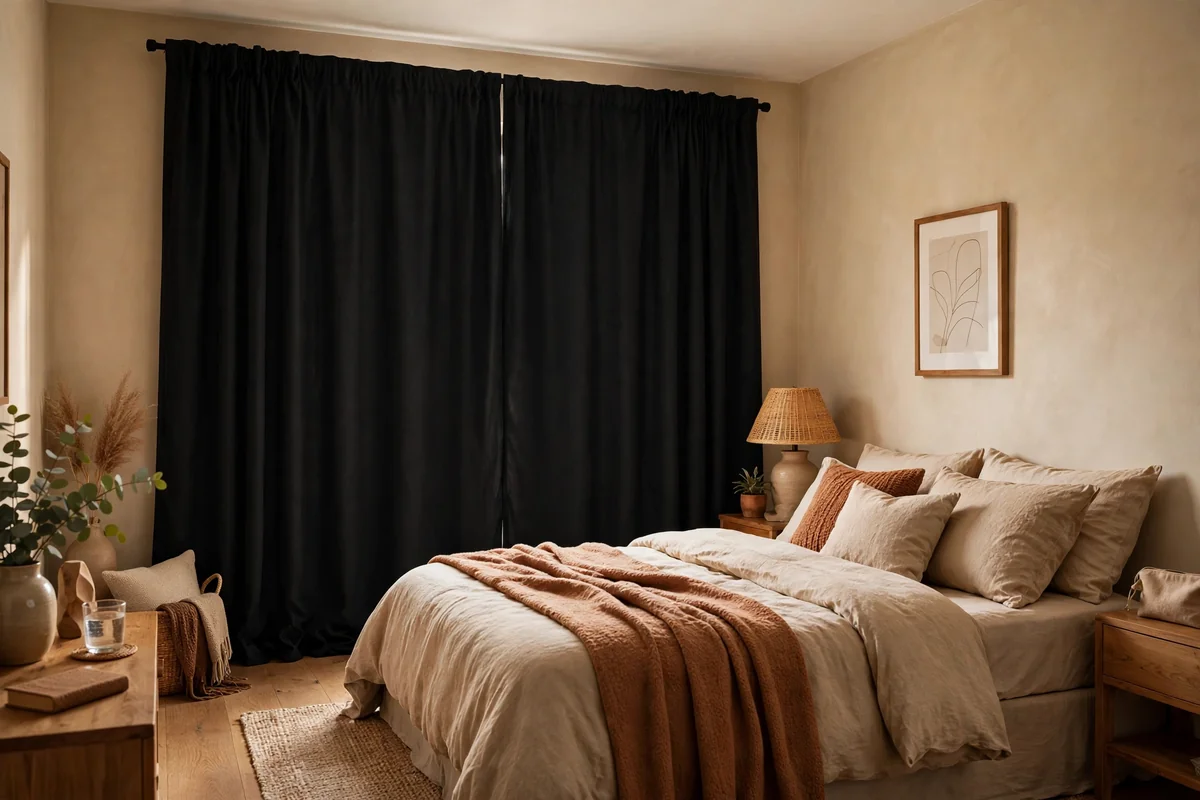
Blackout curtains only work when they overlap the wall generously, so extend the rod 25 to 35 cm past each side of the frame and mount 12 to 15 cm above it. Choose panels at least 2 times the rod width in fabric, because blackout linings need deep folds to seal the edges, and drop them to the floor or into a 10 cm puddle to block light from below. Test at night with the lights off, since pinholes around hooks show up only in the dark. This matters most in bedrooms.
Wrap-around returns or a pelmet at the top stops the classic light leak above the rod. The mistake to avoid is buying blackout panels the same width as the glass, which leaves glowing edges at dawn that wake light sleepers. Wash blackout linings rarely and gently, since the coating cracks with harsh cycles; a vacuum with an upholstery tool handles most dust. Expect to pay the mid tier for decent blackout pairs.
15. Use Tension Rods Inside the Recess as a Renter-Friendly Fix
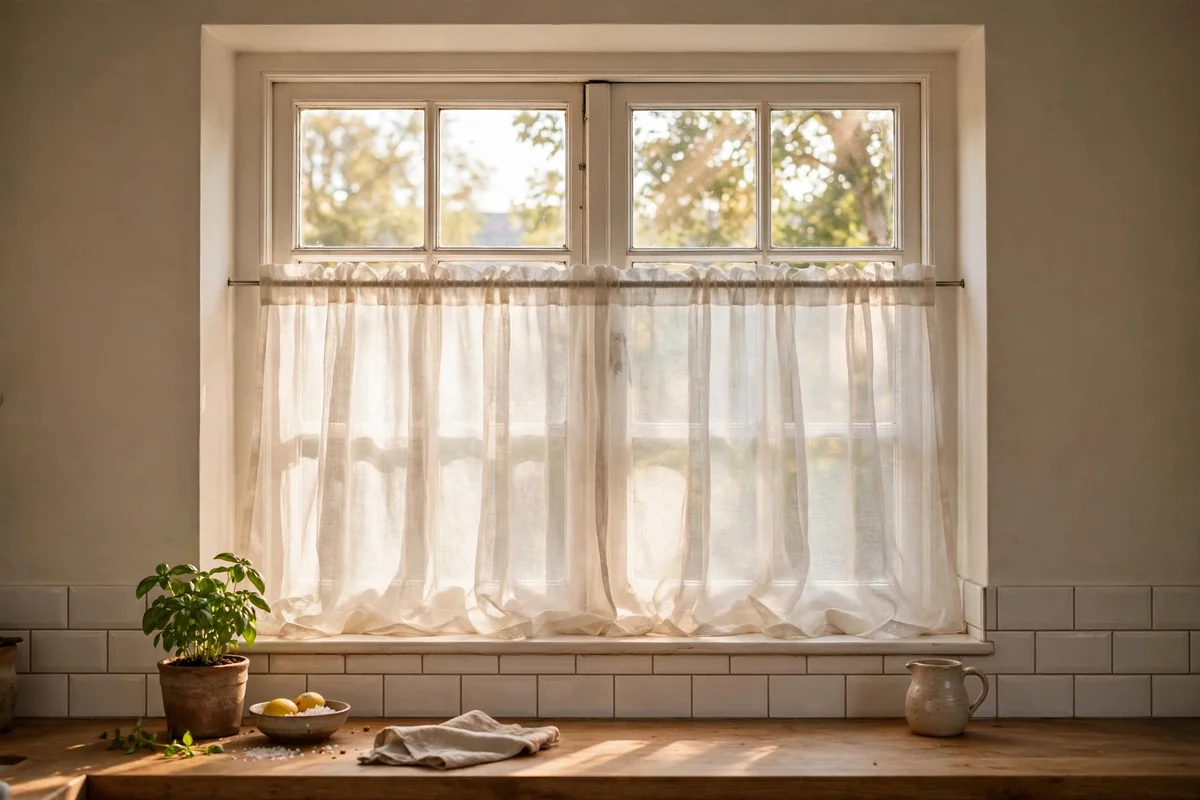
A spring tension rod fitted inside the window recess gives renters the height rule without drilling, and it suits lightweight cafe curtains, sheers and voile panels best. Measure the recess width at three points, buy a rod that spans the range, and twist it tight so the rubber ends grip the plaster firmly. Hang it 5 to 8 cm below the recess top, which keeps the glass mostly covered while following the spirit of the 10 cm rule. This is also the kindest fix for tiled bathroom walls.
Limit tension rods to about 150 cm spans and light fabrics, since heavy lined curtains slowly slide or drop, sometimes in the night. The mistake to avoid is hanging a full velvet panel from a tension rod, which ends in a pile on the sill and possibly a cracked tile. When you move, the rod comes down without a trace, leaving no holes to fill. Budget tip: tension rods are the cheapest hardware in the shop, often under 15 pounds or dollars.
16. Mistake One: Rods That Stop Short at the Frame
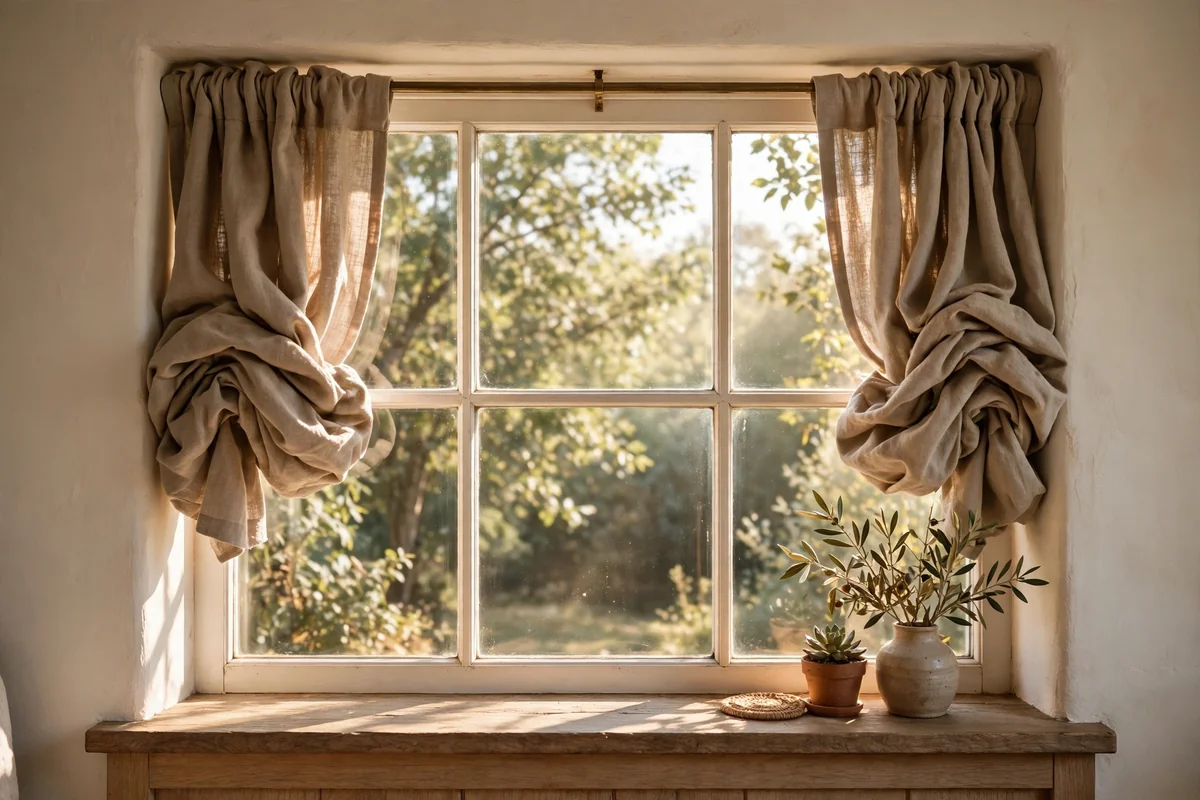
The most common measuring mistake is a rod that ends at the frame edge or only 5 cm beyond it, which forces open curtains to cover the glass and makes the window look cramped. Fix it with the numbers: frame width plus 40 to 60 cm of total extension, centred evenly, with 20 to 30 cm of clear wall on each side. If your wall truly runs out, a wrap-around rod that bends back to the wall gives a few extra centimetres of stack space without new holes. Rehanging takes under an hour.
Walk outside the room and look back in; rods that are too narrow are obvious from the doorway, where the window seems to wear a too-tight belt. The cost of the fix is modest, usually one longer rod and two extra brackets, far cheaper than new curtains. While you are at it, check the height too, because narrow rods are often hung too low as well. Correct both at once and the window reads twice its actual size.
17. Mistake Two: Curtains That Hover in an Awkward Gap
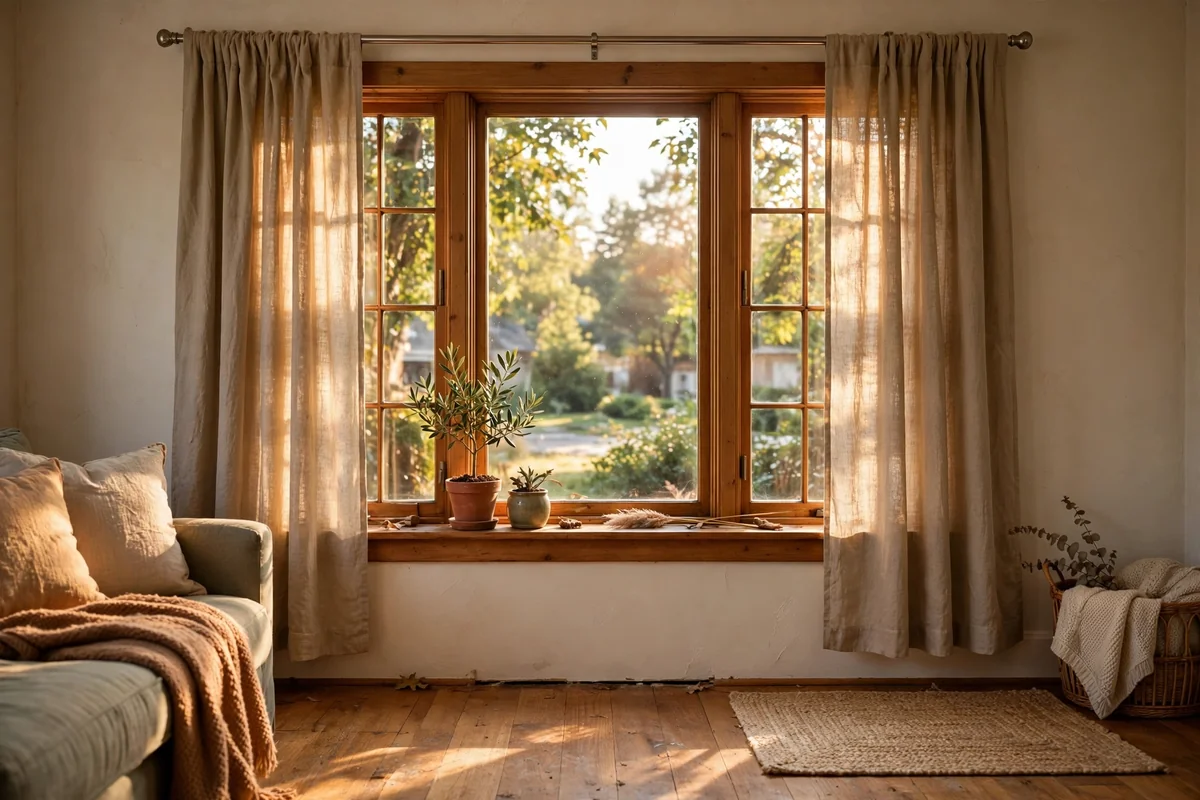
Panels that end 8 to 20 cm above the floor look accidental, like trousers that shrank in the wash, and they are the classic sign of measuring from the frame instead of the rod. The fix is a steel tape from the underside of the rod to the floor, measured at three points, then choosing the correct drop for your chosen finish: 0 cm for a kiss, plus 3 cm for a break, or plus 12 cm for a puddle. Add 5 cm of hem allowance when sewing from scratch, and press before you measure twice.
If your current curtains hover, moving the rod down 10 cm is sometimes easier than buying new fabric, provided it stays within the 10 to 15 cm rule. The mistake compounds in rented homes, where tenants hang old curtains on a landlord’s low rod without remeasuring. Before spending anything, hold a sheet at the right length and photograph it; the photo shows instantly which finish flatters the room. Then spend once, correctly.
18. Mistake Three: Hanging the Rod at Frame Level
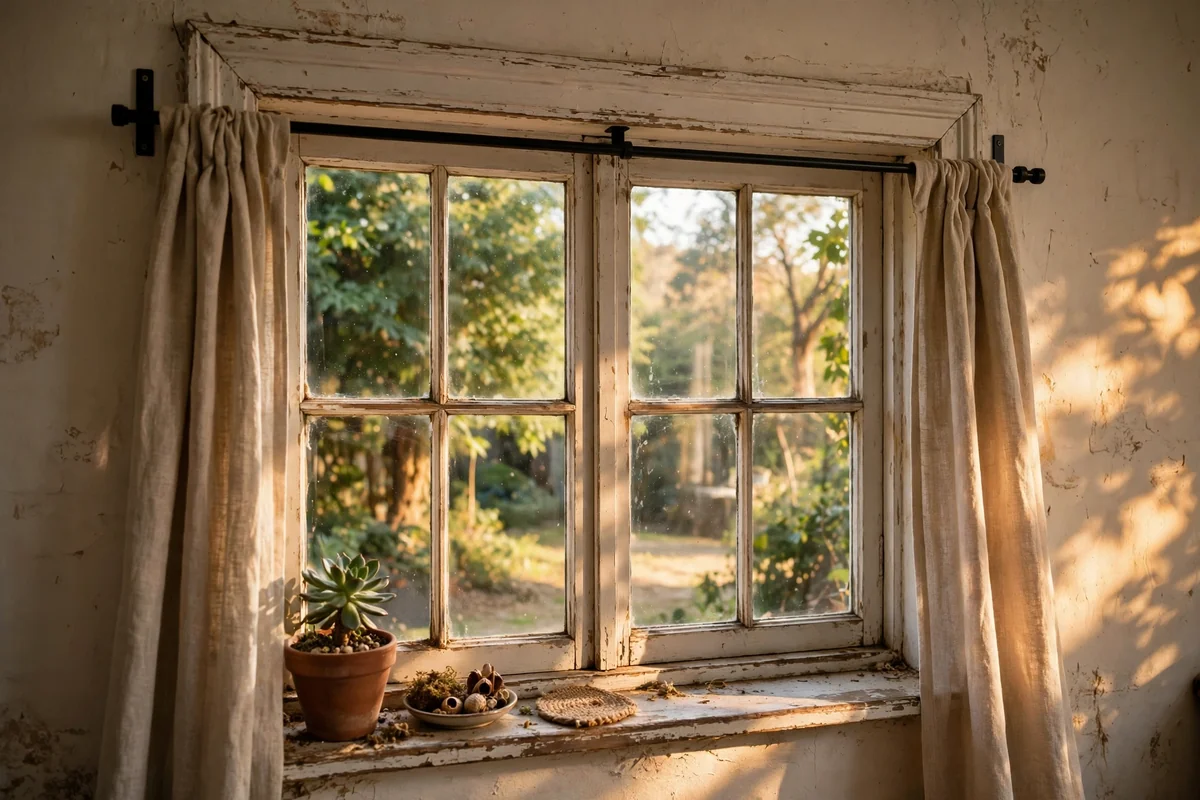
Mounting brackets level with the top of the frame, or only 2 to 3 cm above it, compresses the window and wastes the wall’s height. The correct fix is moving the rod to 10 to 15 cm above the casing, which usually means patching two old holes and drilling two new ones, a thirty-minute job with filler and touch-up paint. In rooms with picture rails or coving, split the difference and mount halfway between the frame and the rail. The lift in perceived ceiling height is immediate and dramatic.
This mistake is common because hardware kits suggest bracket positions that suit the lowest ceiling, not your room. The rings and hooks also need 4 to 5 cm of travel room above the frame, which frame-level mounting steals, so curtains scrape the casing when they close. If patching holes worries you, hang a wider, higher rod over the old fixings; the old holes hide behind the new panels. Measure twice, drill once, and enjoy the taller window.
19. Mistake Four: Buying Fabric Equal to the Rod Width
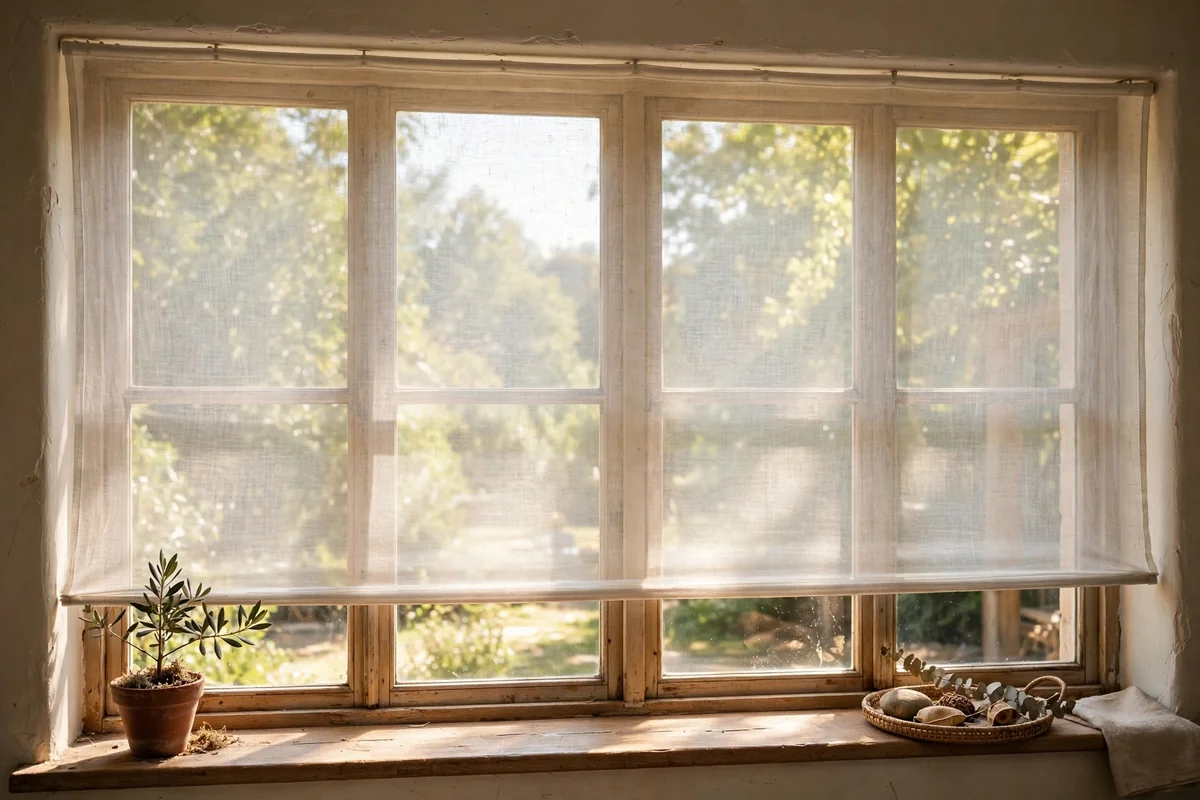
Ordering curtain panels that match the rod width exactly leaves panels that stretch flat across the window with no folds, looking thin and unfinished. The fix is the fullness ratio: total fabric at least 1.5 times the rod width for heavy fabrics, 1.75 to 2 times for cottons and linens, and 2 to 2.5 times for sheers. For a 240 cm rod in medium linen, that means 420 to 480 cm of fabric split across two panels. Gathered folds are what catch the light and give curtains their beauty.
Pencil-pleat and pinch-pleat headings gather fabric automatically, but eyelet panels show skimpiness immediately, so match the heading to your budget for fabric. The mistake often hides behind sale prices, where a narrow pair looks like a bargain until it hangs. If you already own flat panels, add a matching third panel and redistribute the gathers; the extra width usually rescues the look. Always measure fabric width, not just drop, before checkout.
20. Mistake Five: Forgetting Tiebacks and Stack Placement

The final mistake is hanging beautiful panels and leaving them loose, with no plan for where open curtains rest or how tiebacks shape them. Decide the tieback height before you drill: roughly two-thirds of the drop from the rod, or 75 to 90 cm from the floor for standard panels, which shapes a gentle waist without dragging the hem. Fix tieback hooks into the wall or frame reveal, not the plaster alone, since a heavy panel can pull a weak hook out. Test the hold before you walk away.
Plan the stack position too, confirming open panels clear the glass and rest on the wall extensions you measured. The mistake to avoid is tiebacks set at different heights, which reads as careless in every photograph. Matching pairs of tiebacks cost little, and a simple rope or fabric band suits heritage rooms better than shiny metal. Once set, open and close the curtains daily for a week; fabric trains into its folds and the whole window settles.
Good curtain hanging is mostly arithmetic: 10 to 15 cm above the frame, 20 to 30 cm of rod beyond each side, and a drop that matches the finish you chose, from a 1 cm sill hover to a 15 cm puddle. These numbers do more work than any expensive fabric, because correct proportions flatter even modest curtains, while wrong ones flatten even the finest velvet. Keep a steel tape in the drawer and these rules beside it.
If you change only one thing this week, raise the rod. Moving it to 12 cm above the frame costs two new holes and an hour of your time, yet it is the single fastest way to make a window look taller and a room feel more gracious. Hang the panels, stand in the doorway, and enjoy the difference a few careful centimetres make.
Frequently Asked Questions
How high above the window frame should I hang a curtain rod?
Mount the rod 10 to 15 cm above the frame casing for most rooms, which lifts the eye and makes ceilings feel taller. Use 8 to 10 cm for small cottage windows and up to 20 cm for very tall ceilings. Never hang the rod less than 5 cm above the frame, or the window will look squashed and the rings will scrape the casing.
What is the rule for curtain length: sill, floor or puddle?
Choose by room and fabric. Sill length ends 1 cm above the sill for kitchens; apron length sits 3 to 5 cm below the sill where a desk sits beneath; floor kiss just touches the floor for living rooms; a 2 to 5 cm break suits relaxed velvets; a 10 to 20 cm puddle is for formal rooms. Measure every window, since floors and sills rarely match.
How much wider should the curtain rod be than the window?
Extend the rod 20 to 30 cm beyond the frame on each side, so open curtains stack onto the wall instead of the glass. A 120 cm window needs a rod of 160 to 180 cm. For blackout curtains, use 25 to 35 cm per side to block light at the edges. Add a centre bracket on spans over 150 cm to support heavy fabrics.
How much fabric do I need for full-looking curtains?
Multiply your rod width by a fullness ratio matched to the fabric: 2 to 2.5 times for sheers, 1.75 to 2 times for cottons and linens, and 1.25 to 1.5 times for heavy velvets. A 200 cm rod in medium linen needs 350 to 400 cm of fabric across the panels. Add 10 cm per panel for side hems before multiplying, or panels will hang flat.
Can I hang curtains over a radiator?
Yes, but keep the hem 15 to 20 cm above the radiator’s top so warm air flows into the room instead of being trapped behind fabric. Choose sill or apron length for that window. Never let lined curtains rest on the radiator, since the heat stream yellows and weakens fabric within a season. For a floor-length look, pin dress panels to the sides that never close.