Home Improvement
20 Laundry Closet Ideas That Make a Tiny Space Work Harder
By Anna Wells · · 16 min read
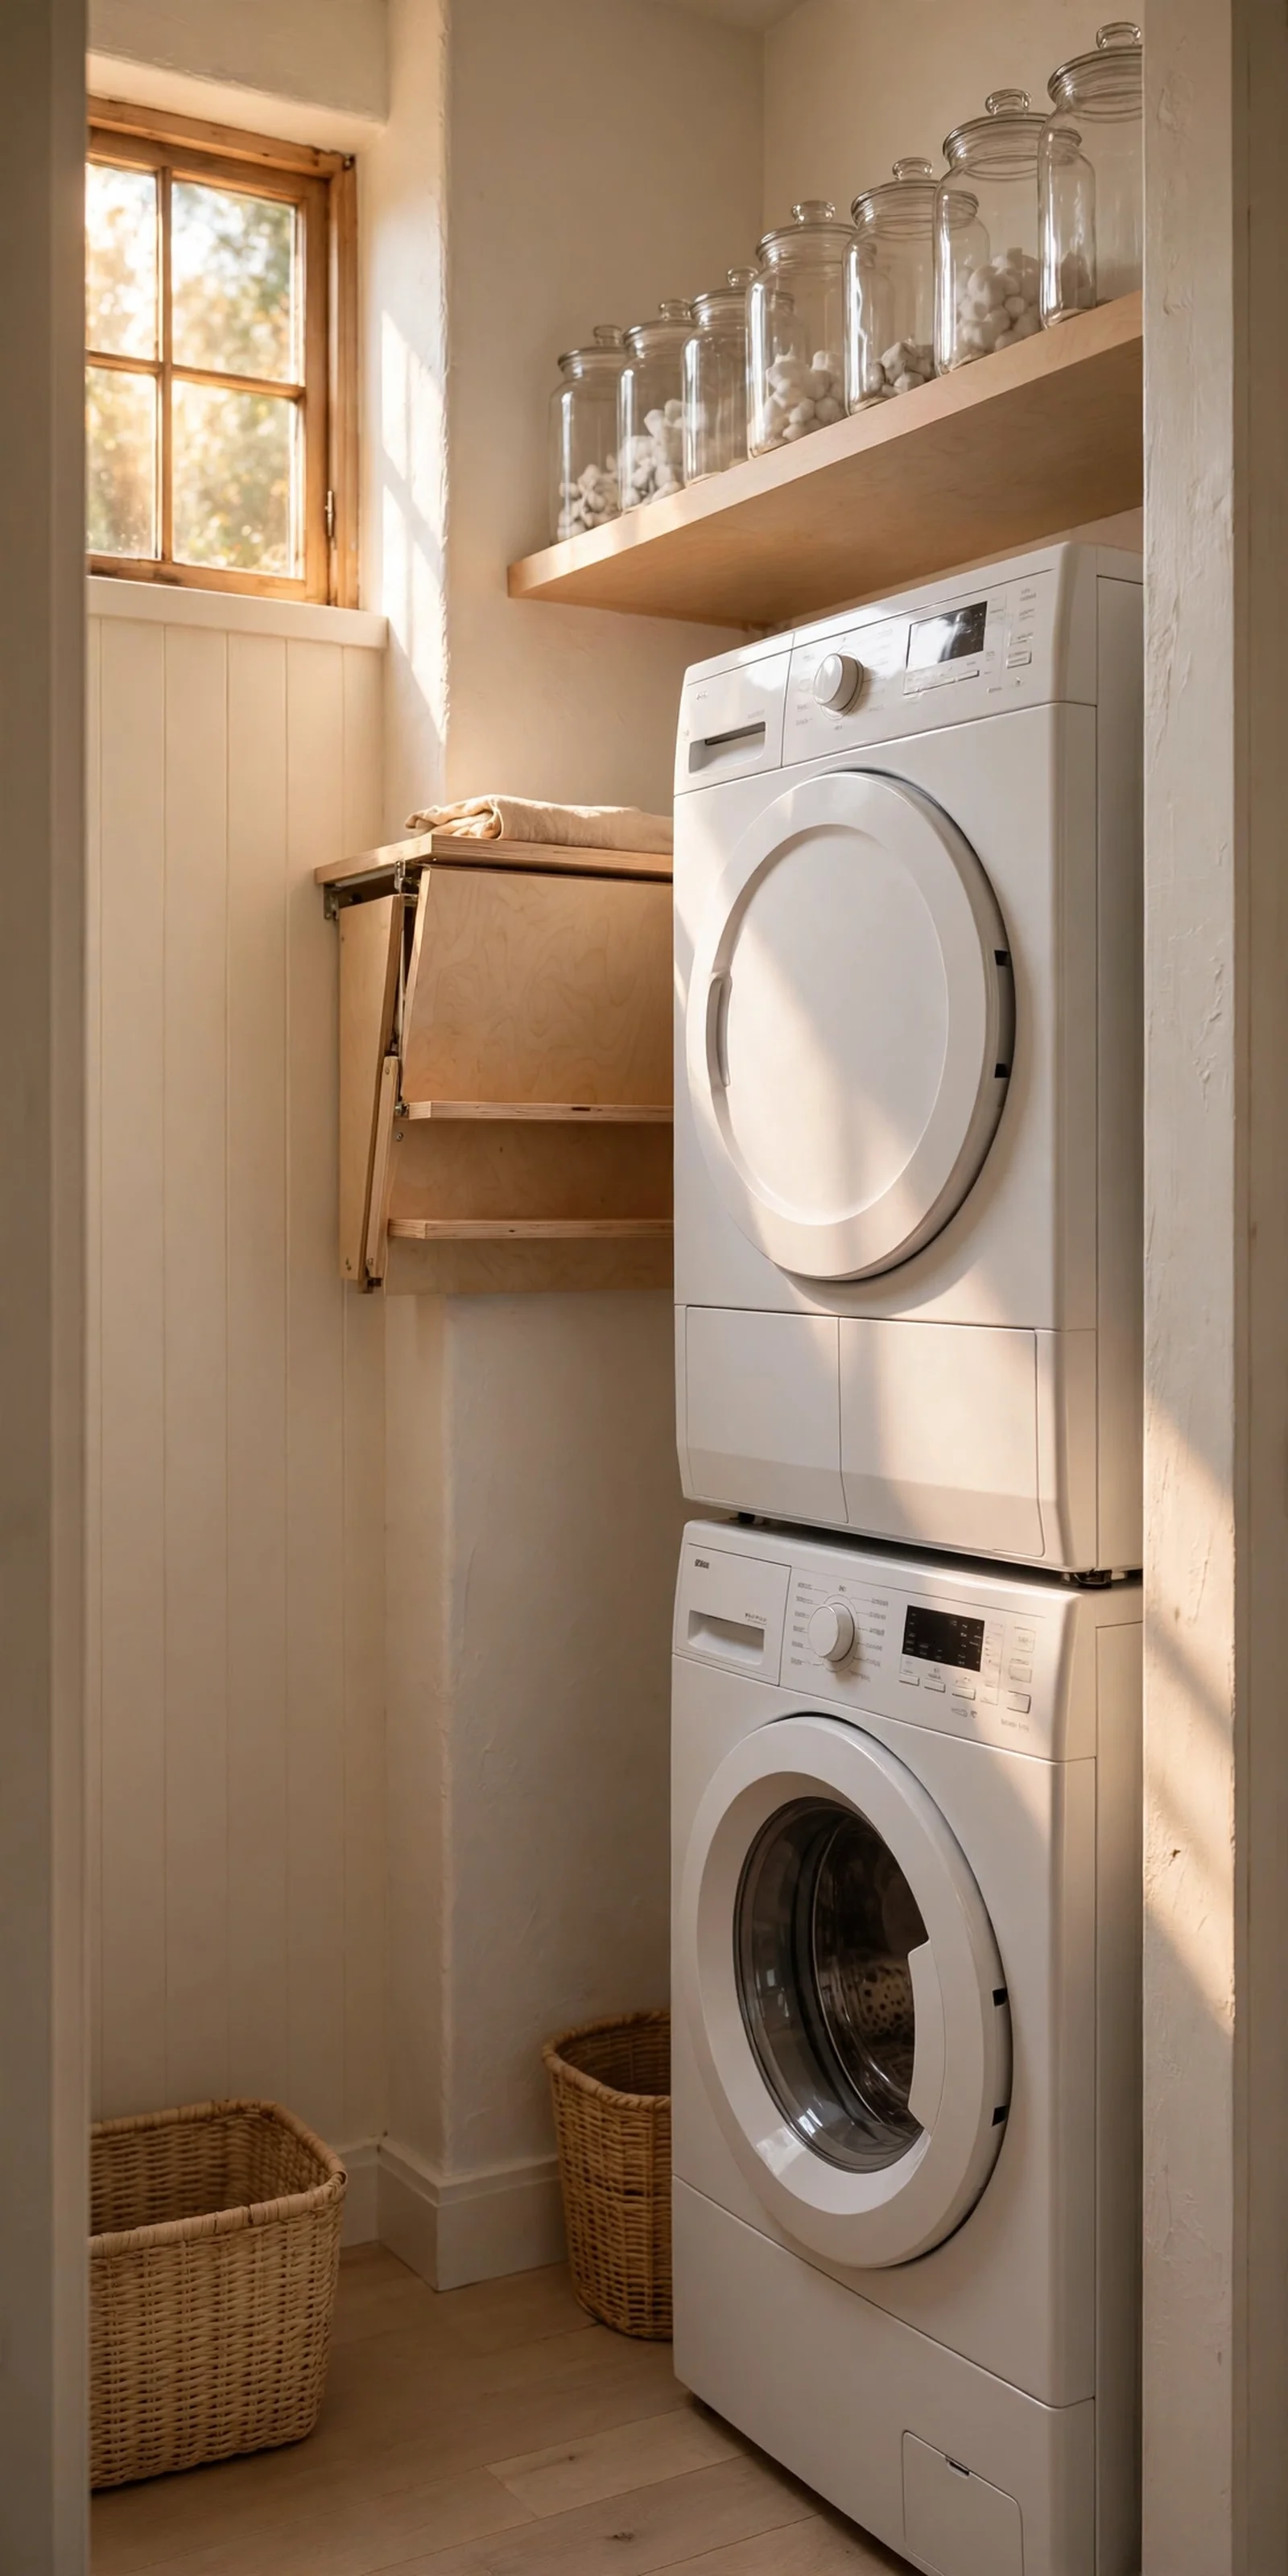
Twenty practical ideas that turn a narrow laundry closet into a calm, hardworking corner: safe stacking, fold down shelves, slim pull outs with honest widths, door storage, lint safety, warm lighting and tidy supplies kept beyond small hands' reach.
The laundry closet is the smallest room in the house and often the one that fights back hardest. The door swings into the machines, the detergent bottle topples every time you reach past it, and folding clean sheets means balancing them on top of the dryer while the whole pile slowly slides.
A few honest centimetres of planning change all of that. Stacking the machines with the proper kit, adding a shelf that folds down for folding and folds away again, and measuring the true gaps before buying storage turn a narrow cupboard into a corner that works twice as hard as it looks.
This guide gathers twenty practical ideas for exactly that kind of space: safe stacking and clearances, ventilation and lint care, slim pull outs with their real widths, rails and door racks, lighting that reaches the dark corners, and plain decanted containers stored well beyond small hands.
Each idea carries measurements, materials and a budget note, plus the common mistake to avoid, so you can start this weekend with a tape measure and a short shopping list.
1. Stack the Washer and Dryer With the Manufacturer’s Matching Stacking Kit
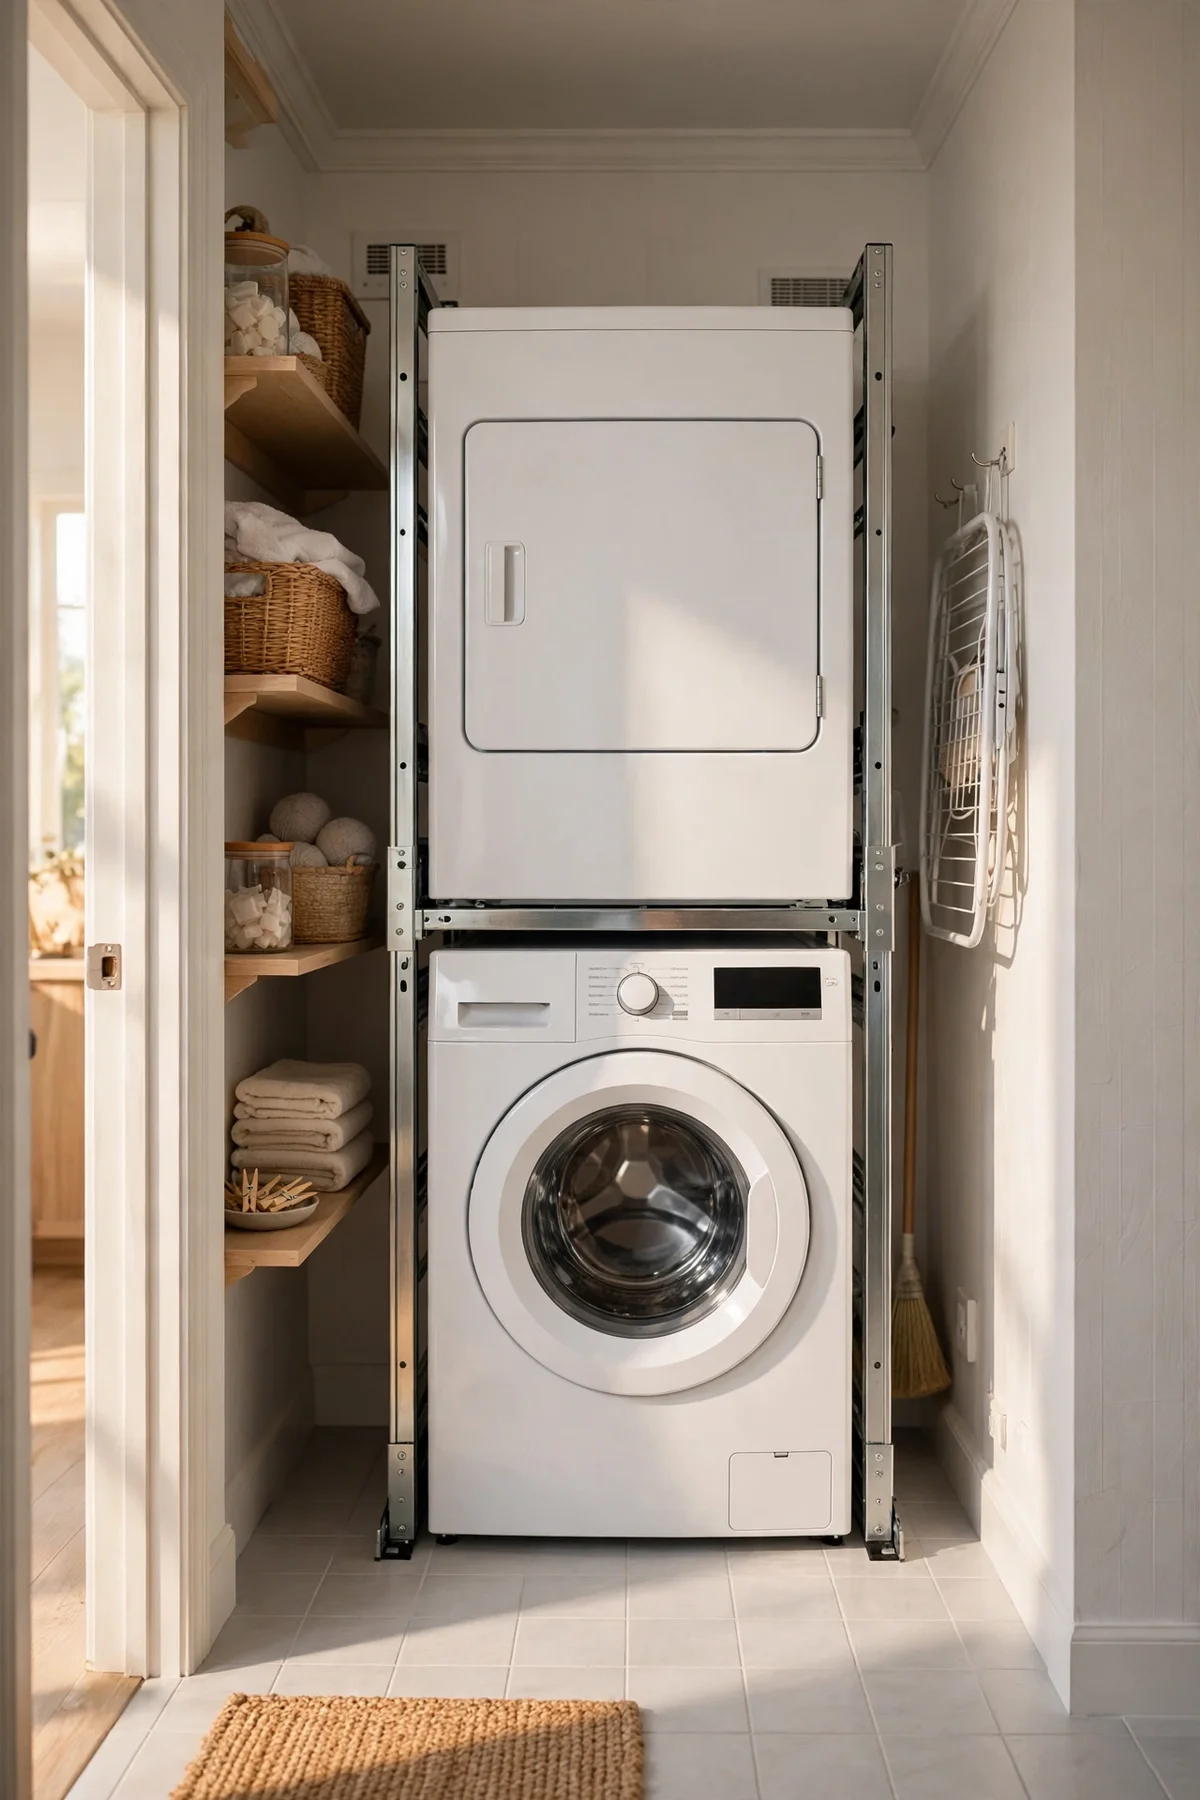
A stacking kit made for your exact machine models is the only safe way to raise the dryer onto the washer, because its side rails and locking pins are cut to that pair’s footprint and vibration pattern. Buy the kit sold under the washer or dryer brand, usually 30 to 80 pounds or dollars, and check the compatibility list against both model numbers before ordering. Set the washer down first and level it with a spirit level so its feet sit fully and firmly.
The mistake to avoid is buying a cheap universal kit for machines that shake differently, because the dryer can walk a few centimetres each cycle until the vent hose strains and the plug pulls. Tighten every kit screw fully, then run a fast spin and watch the stack for rocking. Keep the laundry basket and step stool clear of the machines so nobody ever leans on the column.
2. Secure the Stack Against the Back Wall With an Anti Tip Bracket
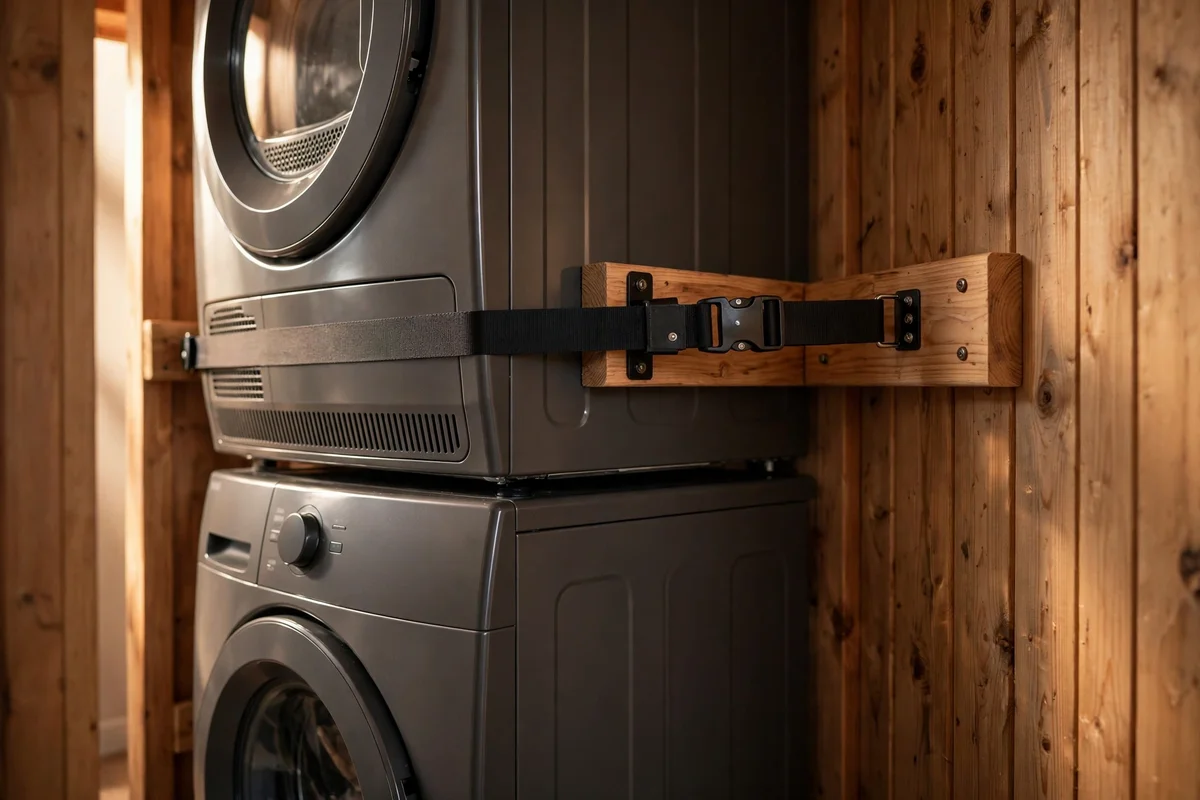
A stacked pair is tall and top heavy, so anchor it with an anti tip strap or bracket fixed into a wall stud. Find the stud with a detector, position the bracket at the dryer’s upper rear corner, and drive 5 cm screws through the bracket into solid timber. Two straps, one on each side, share the load and cost 10 to 20 pounds or dollars for the pair.
The mistake is fixing the strap into plasterboard alone, which crumbles the first time the dryer shudders on spin. If the back wall has no stud where you need it, fit a horizontal timber batten across two studs first and anchor to that. Check the straps once a year and retighten after any move, since vibration slowly works screws loose.
3. Leave the Correct Side and Rear Clearances Around Both Machines
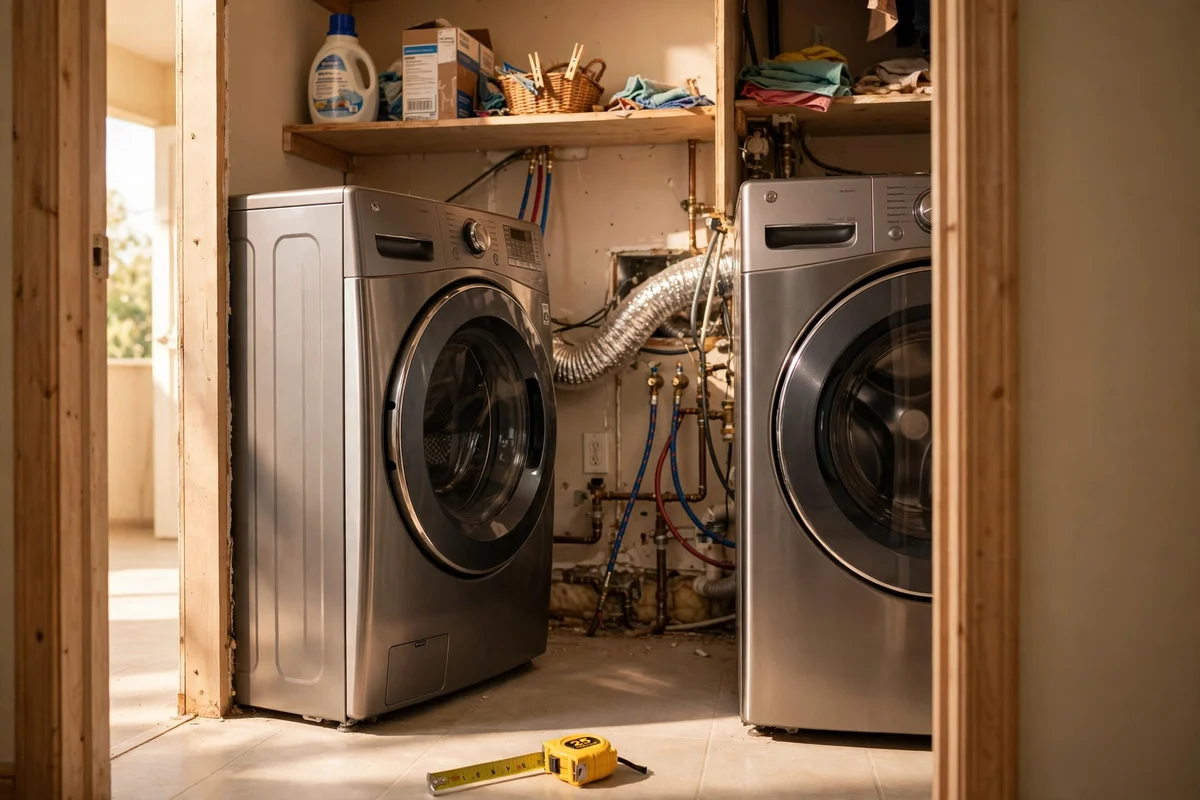
Machines need breathing room: leave 10 to 15 cm behind the pair for hoses and the vent, 2 to 3 cm on each side, and at least 2 cm above the dryer for the stacking kit and airflow. Measure the closet width against the machines’ true width before you buy anything else, because a pair that is 120 cm wide in a 124 cm closet leaves almost nothing for storage.
The mistake is pushing the machines flush against the back wall to gain floor space, which kinks the inlet hoses and the vent and can cause slow leaks or overheating. Pull the pair forward on moving pads while you connect everything, then slide them back to the marked clearance. A pencil line on the floor keeps the position honest after cleaning.
4. Fit a Fold Down Birch Shelf Over the Machines as a Folding Counter
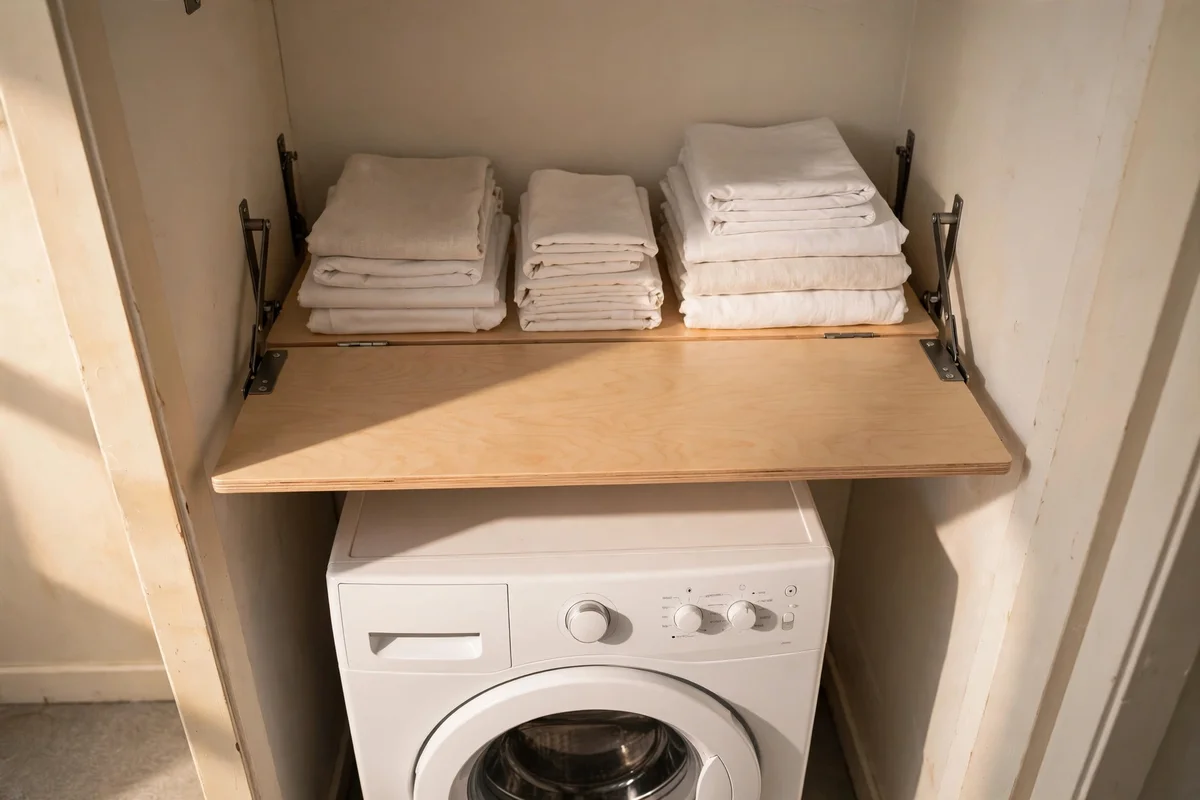
A 60 by 45 cm birch plywood shelf hinged to the wall at 90 cm height gives you a proper folding counter that vanishes when you need the machine lids. Use two folding brackets rated for 30 to 50 kg, fixed into studs or a timber batten, and round the front corners with sandpaper so sheets glide instead of catching. Eighteen millimetre plywood stays rigid across the span.
Seal the shelf with two coats of water based varnish so steam and damp laundry never raise the grain. The mistake is using plain medium density fibreboard near constant moisture, which swells at the edges within a year. When the shelf is up, the closet door still closes; when it is down, you have a full sorting and folding station in thirty seconds.
5. Mount a Solid Shelf Above the Fold Down Unit for Bulk Supplies
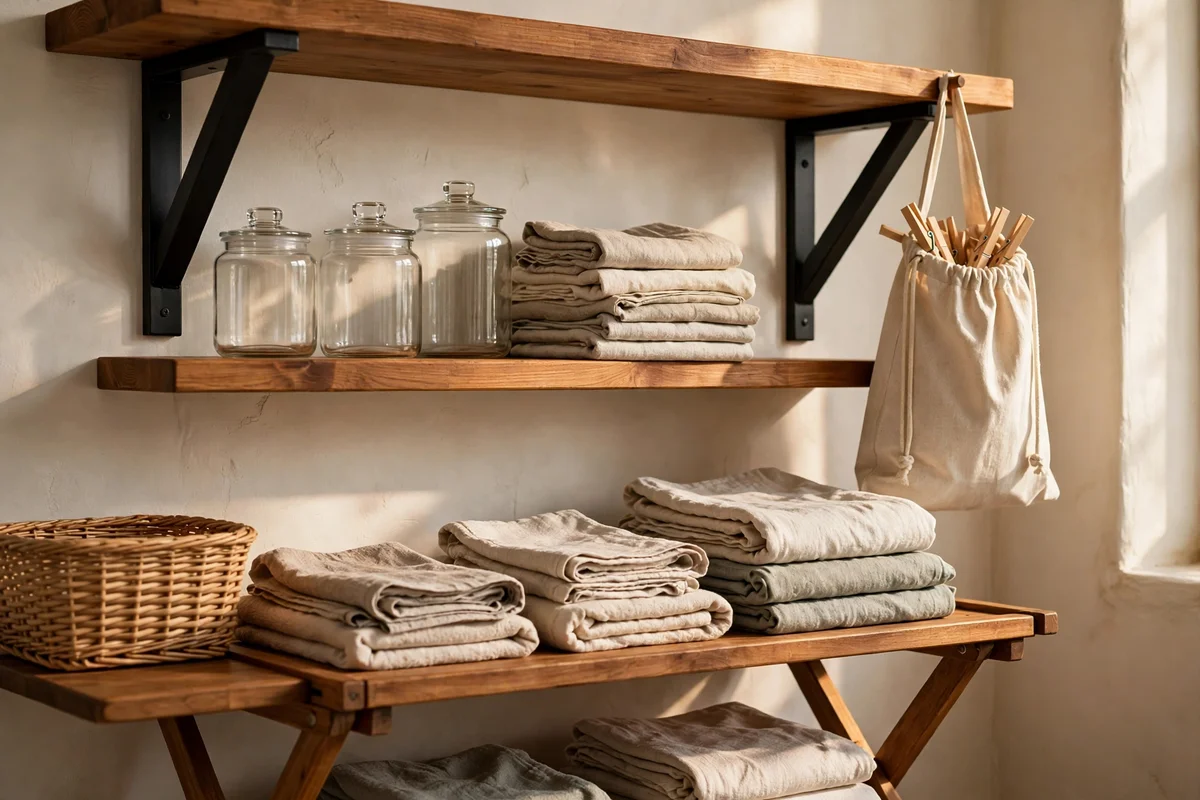
A 25 cm deep shelf fixed at about 170 cm holds the bulky refills that would otherwise live on the floor: the big detergent bag, spare pegs and cleaning cloths. Space sturdy L brackets every 60 cm into studs, choosing brackets rated for at least 15 kg each, and keep the shelf depth shallow enough that tall bottles cannot hide behind one another.
Put the heaviest items toward the wall and the lightest at the front edge so the shelf never feels tippy when you reach up. The mistake is loading a pretty floating shelf with no visible brackets far past its rating, which bows within months. Two solid timber brackets cost little and carry far more than a hollow decorative board.
6. Slide a 12 to 15 cm Pull Out Tower Into the Gap Beside the Washer
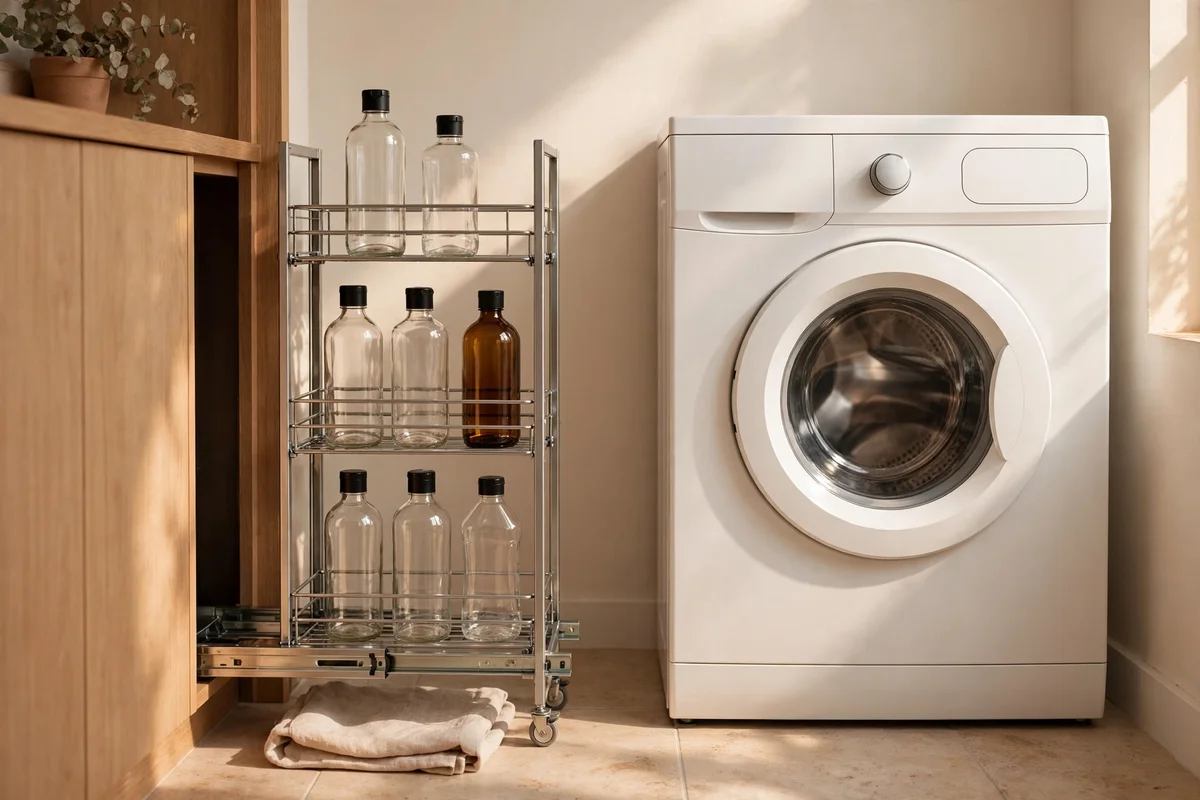
The narrow gap beside the machines is wasted space in most closets, and a slim pull out tower turns it into bottle storage. Here is the honest measurement: a tower sold as 15 cm wide usually needs an 18 cm opening once its frame and runners are fitted, so measure your real gap at top, middle and bottom before ordering anything.
Choose soft close runners so the tower glides out without rattling the machine beside it. The mistake is forcing an oversized unit into the gap, which rubs the washer’s side panel and blocks the machine door from opening fully. A 12 cm tower that fits properly beats a 15 cm one that has to be hammered into place.
7. Choose a 20 cm Pull Out Cabinet When the Gap Allows the Extra Width
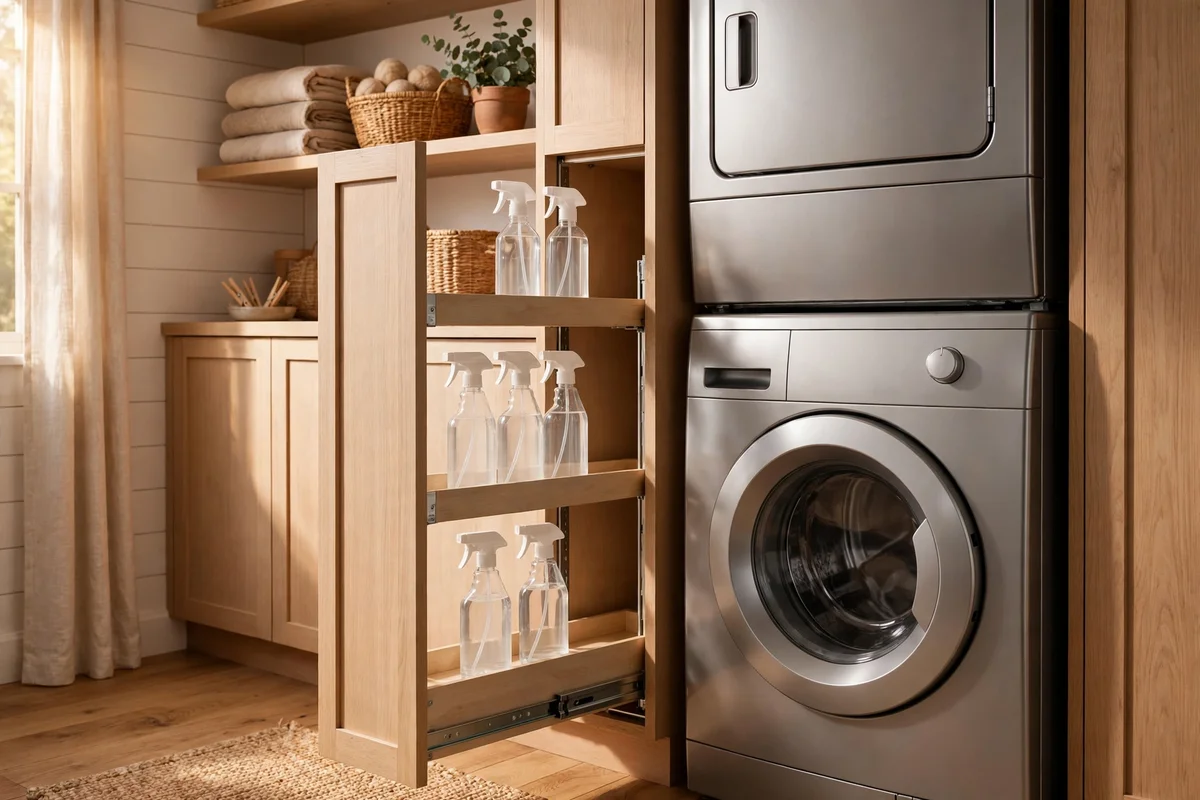
If your measured gap is 22 cm or more, a 20 cm pull out cabinet is the sweet spot: wide enough to hold spray bottles side by side and tall enough for a folded step stool to lean beside it. Check that its depth matches the machines, usually 55 to 60 cm, so it sits flush and does not poke past the door frame.
Fix the cabinet to the side wall with two short screws so a full load of bottles cannot tip it forward when you pull it out. The mistake is leaving a tall slim cabinet freestanding, because the first hard pull brings it down on your foot. Under 100 pounds or dollars buys a solid metal runner version that lasts for years.
8. Measure the True Gap With a Tape Before Ordering Any Slim Unit
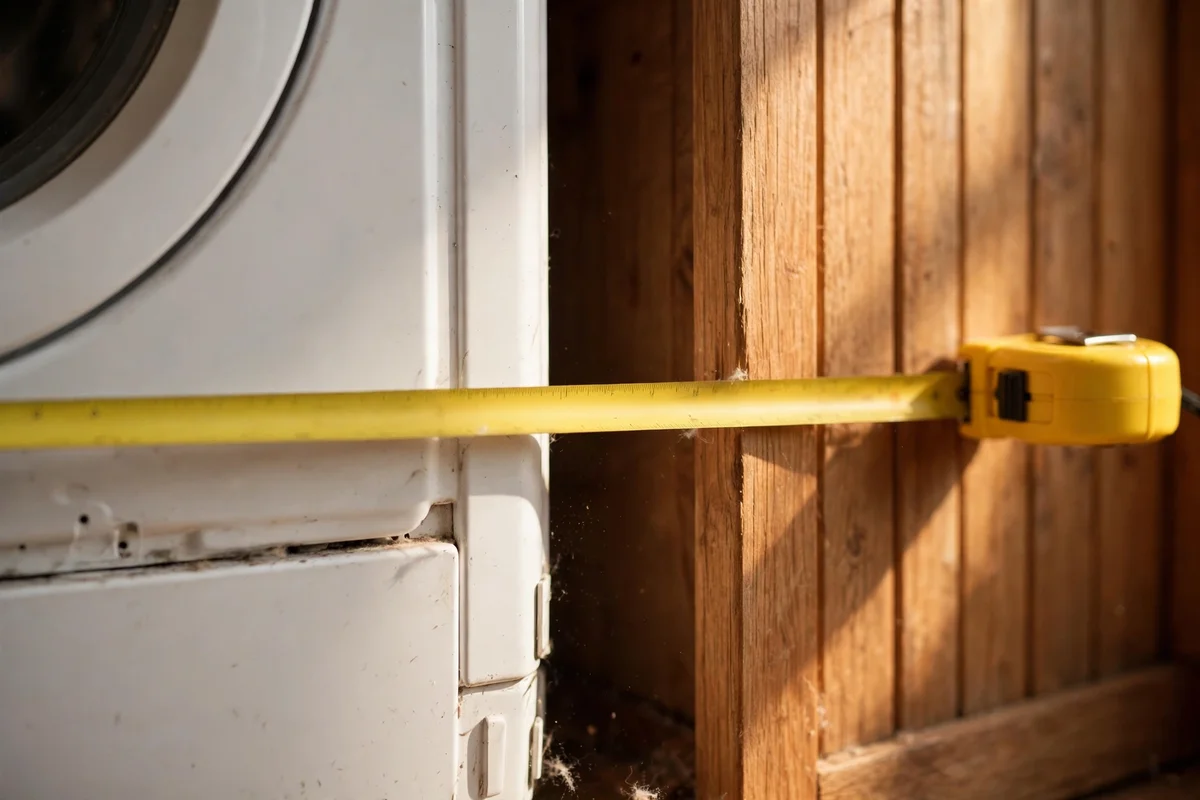
Walls are never as straight as they look, so measure the gap beside the machines at the top, the middle and the bottom, then use the smallest number. Hoses and plugs can eat 5 cm of the visible gap at the back, and skirting boards add another 2 cm at floor level that the unit’s plinth must clear or sit above.
Order a unit one size smaller than your smallest measurement rather than gambling on a perfect fit. The mistake is trusting the builder’s floor plan or the estate agent’s brochure, both of which round generously. Ten minutes with a tape measure saves a return, a restocking fee and a dented side panel.
9. Fix a Stainless Wall Rail With S Hooks for Brushes and Lint Rollers
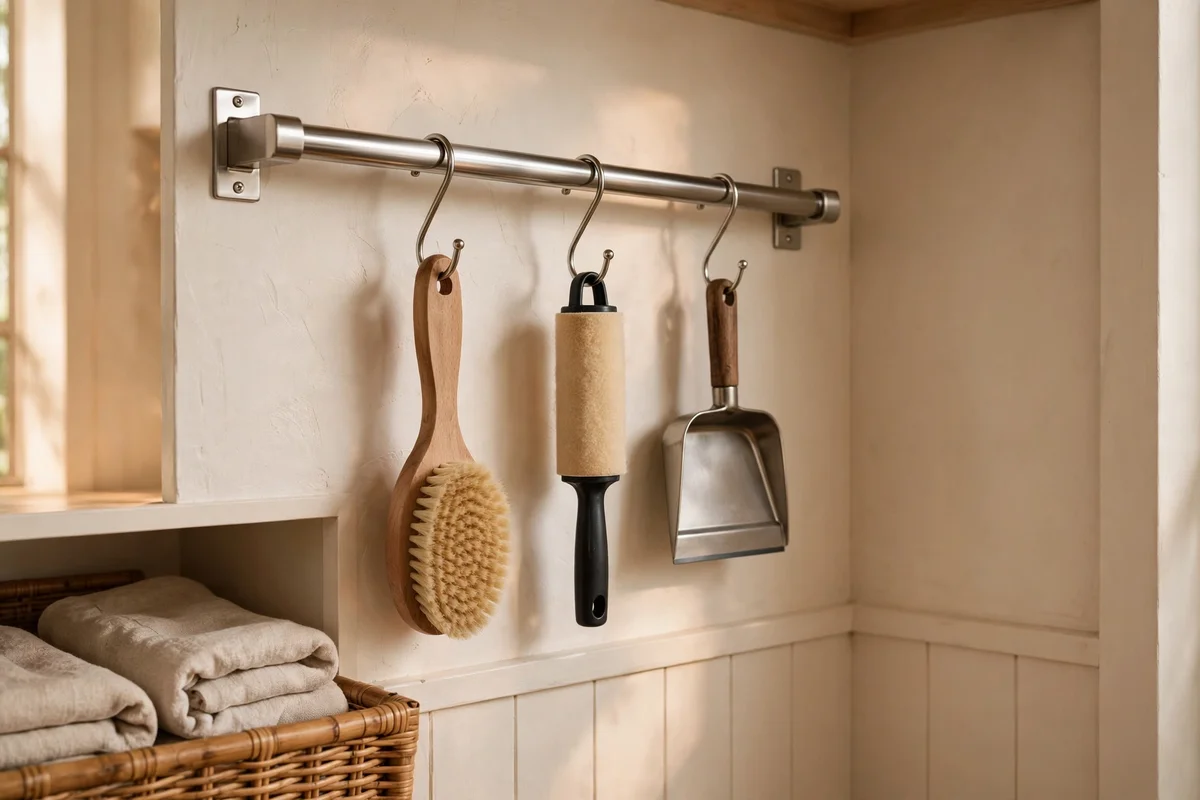
A 40 to 60 cm stainless rail on the side wall at 150 cm height keeps the small tools off the shelf and in sight: the clothes brush, the lint roller and a small dustpan. Fix it into a stud with proper screws, since even light tools add up, and space S hooks about 10 cm apart so handles hang without tangling.
Wipe the rail with a dry cloth once a month to keep it bright in the steamy air. The mistake is using stick on adhesive hooks in a closet that fills with warm damp air, because the pads soften and drop everything onto the machines at night. A screwed rail and a handful of hooks cost 15 to 30 pounds or dollars.
10. Hang the Ironing Board on Two Heavy Duty Hooks on the Side Wall
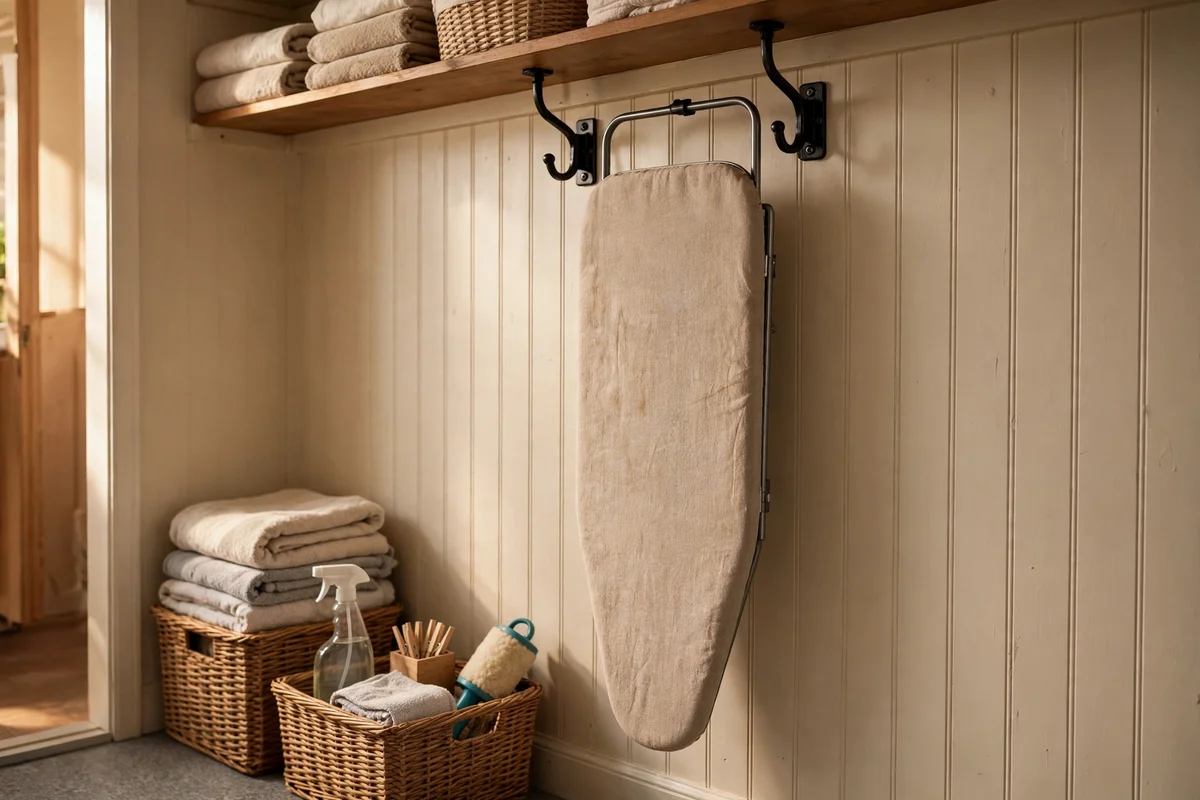
An ironing board leaning in the corner always slides down at the worst moment, so hang it flat on the side wall instead. Fix two hooks rated for 10 kg each, spaced 60 cm apart at about 170 cm height, into studs, and rest the board’s frame across them with the nose pointing down so it cannot swing.
Check that the board hangs clear of the pull out tower and the door swing before you call it done. The mistake is using a single hook, which lets the board twist, pivot and eventually crash onto the machines. Two hooks, ten minutes and under 15 pounds or dollars end the leaning board problem for good.
11. Keep a Vented Gap Behind the Machines for Airflow and Heat Escape
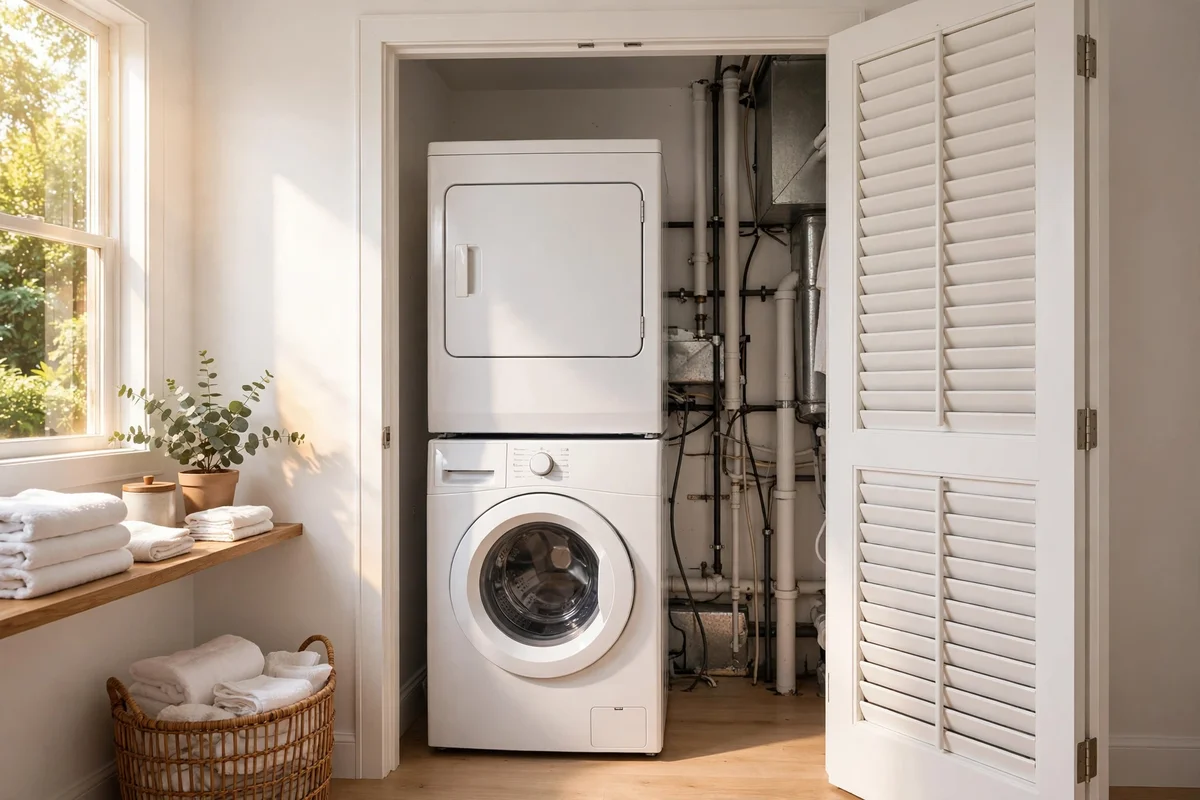
Dryers push out warm moist air, and a sealed closet traps it against the walls until mould appears. Leave 10 cm of clear space behind the machines and make sure the closet door or a panel carries ventilation, ideally a louvred section near the top where warm air rises and one near the bottom for fresh air to enter.
The mistake is boxing the machines into an airtight cupboard to hide the noise, which overheats the dryer and shortens its life. If the door is solid, a joiner can cut in two louvre vents for a modest fee, or a vented replacement door panel does the same job. Good airflow also dries the room between loads.
12. Clean the Lint Trap and Check the Vent Run Every Three Months
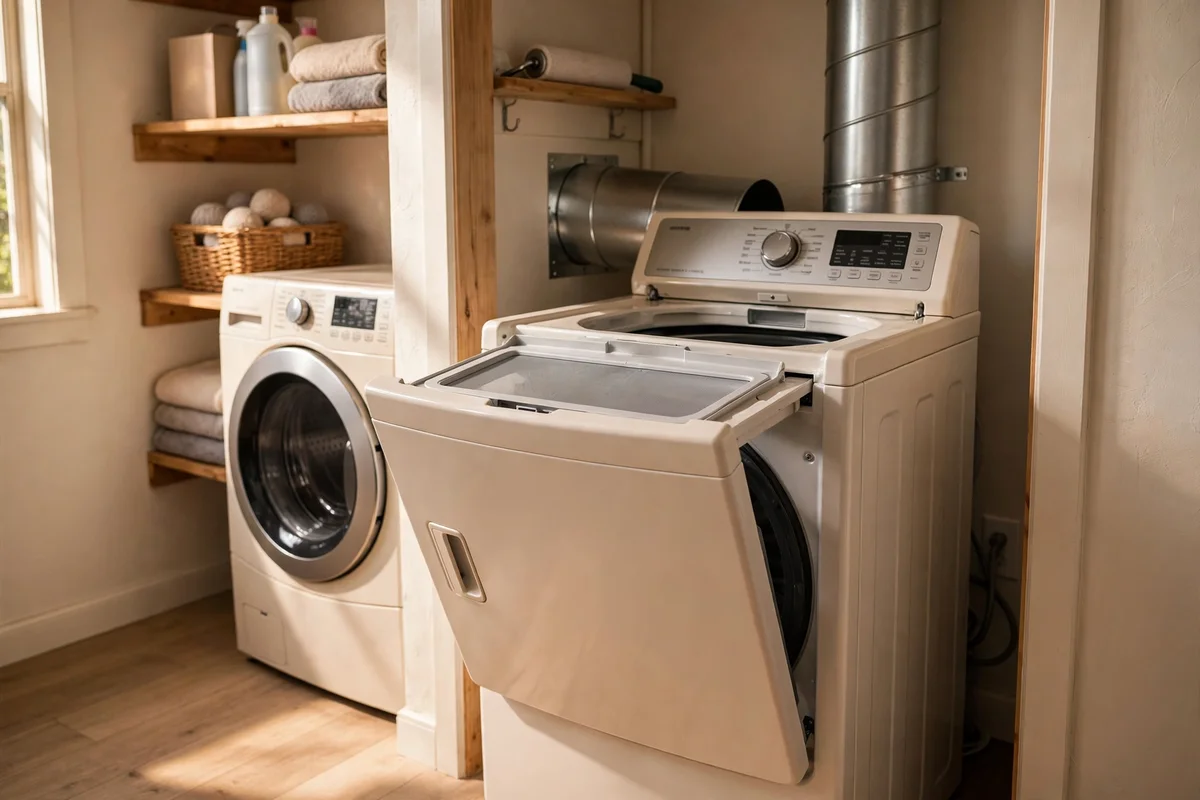
Empty the dryer’s lint trap after every single load, because a clogged trap is the most common cause of slow drying and wasted energy. Every three months, pull the machine forward, detach the vent hose and vacuum the lint from both ends, checking the full run for crushed or sagging sections that trap fluff.
The mistake is running a flexible foil vent that crushes flat behind the machine the first time it is pushed back. Replace foil with rigid or semi rigid metal duct, which holds its shape and resists lint build up. Put a recurring reminder in your phone for the quarterly check; it takes fifteen minutes and protects the whole house.
13. Fit a Fine Mesh Lint Catcher on the Washer Discharge Hose
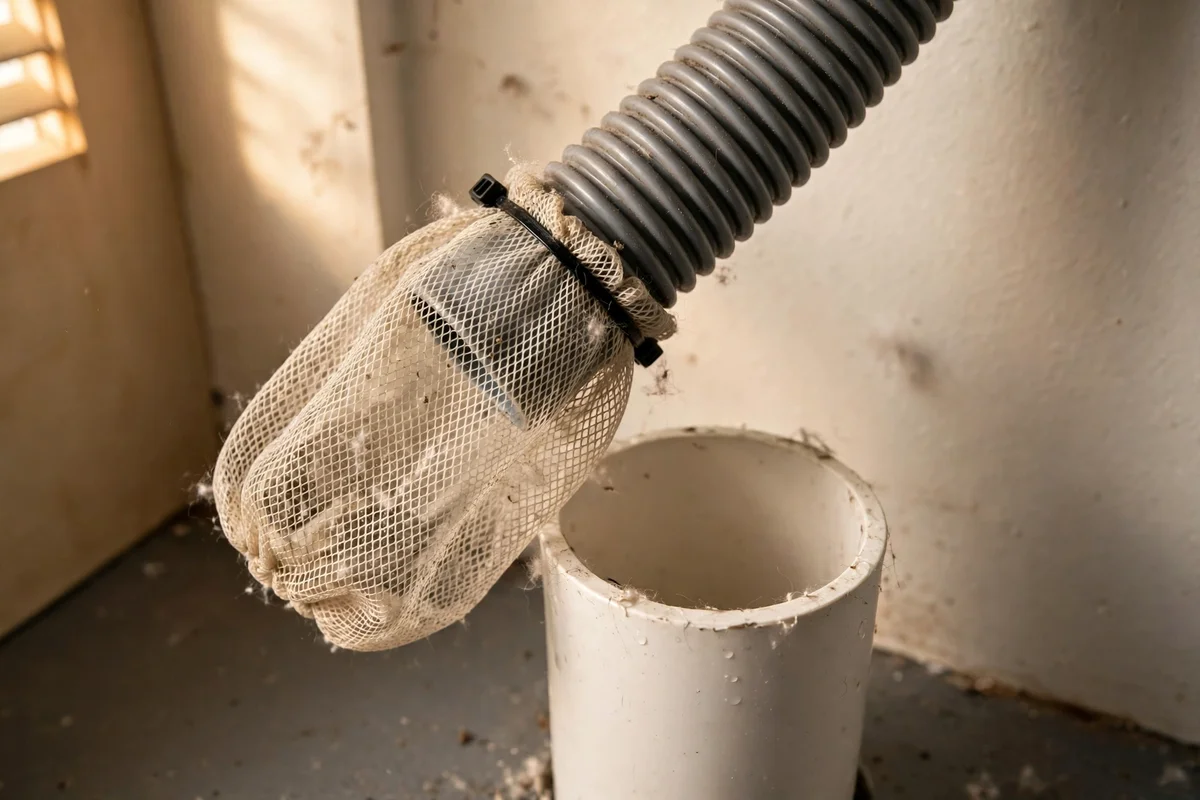
Washer discharge water carries lint and threads that slowly clog the standpipe, so slip a fine mesh lint catcher over the hose end where it enters the pipe. The nylon sock style costs a few pounds or dollars for a pack, fits in seconds with its drawstring, and catches the fluff that would otherwise mat inside the drain.
Replace the catcher once a month or when it looks full, since a blocked sock makes the washer pump work harder and drain slower. The mistake is pushing the discharge hose too far down the standpipe past the catcher, which can cause siphoning and constant refilling. Leave 10 to 15 cm of hose inside the pipe and no more.
14. Mount an Over the Door Wire Rack for Sprays and Small Bottles
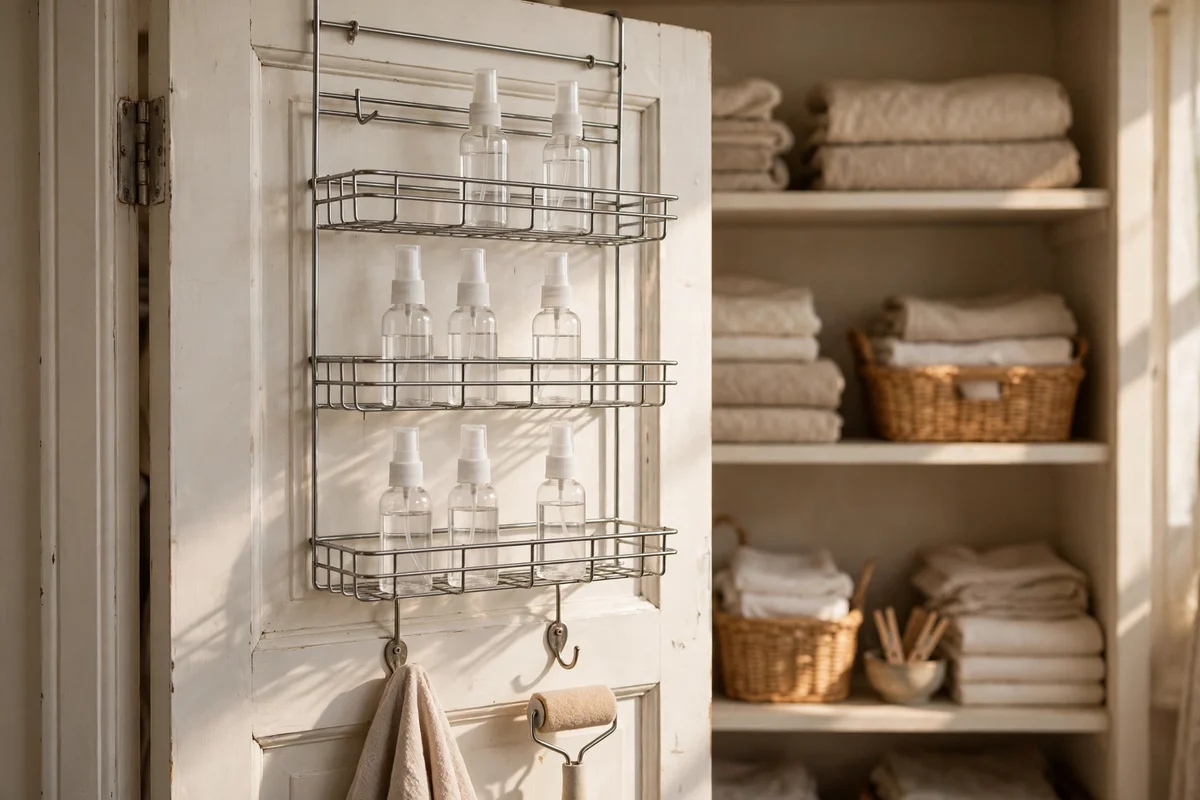
The inside of the closet door is free storage if you hang a wire rack over the top edge. Choose a rack with hooks that clear the door frame, load it with 6 to 8 light spray bottles and stain pens, and check that the door still closes and latches with the rack in place before you fill every shelf.
Keep the total load under 5 kg so the hinges never strain, and put the heaviest bottles on the lowest tier. The mistake is screwing a heavy rack into a hollow core door, which pulls out within weeks. An over the door hook design needs no screws at all, suits renters, and lifts away on moving day.
15. Use a Slim Hook Board Inside the Door for the Measuring Cup and Scoop
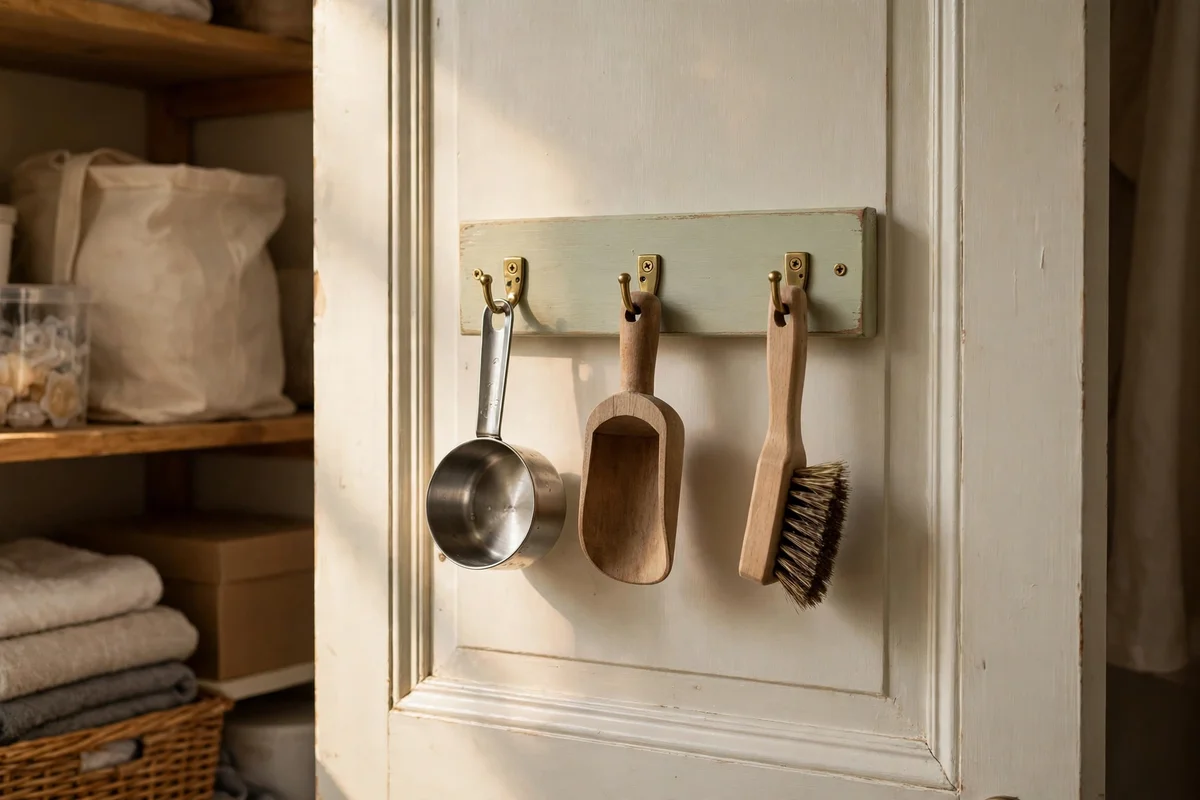
The detergent scoop always vanishes just when the drum is waiting, so give it a home on the inside of the door. Fix a small 30 by 20 cm timber board with three short hooks at chest height, and hang the measuring cup, the scoop and the stain brush where you see them the moment the door opens.
Use screws no longer than 2 cm so they bite without poking through the door’s outer face. The mistake is using long wood screws that burst through the other side and spoil the door’s finish. A painted board that matches the door colour looks built in, and the whole project costs less than 10 pounds or dollars.
16. Light the Closet With a Hardwired Motion Sensor LED Batten
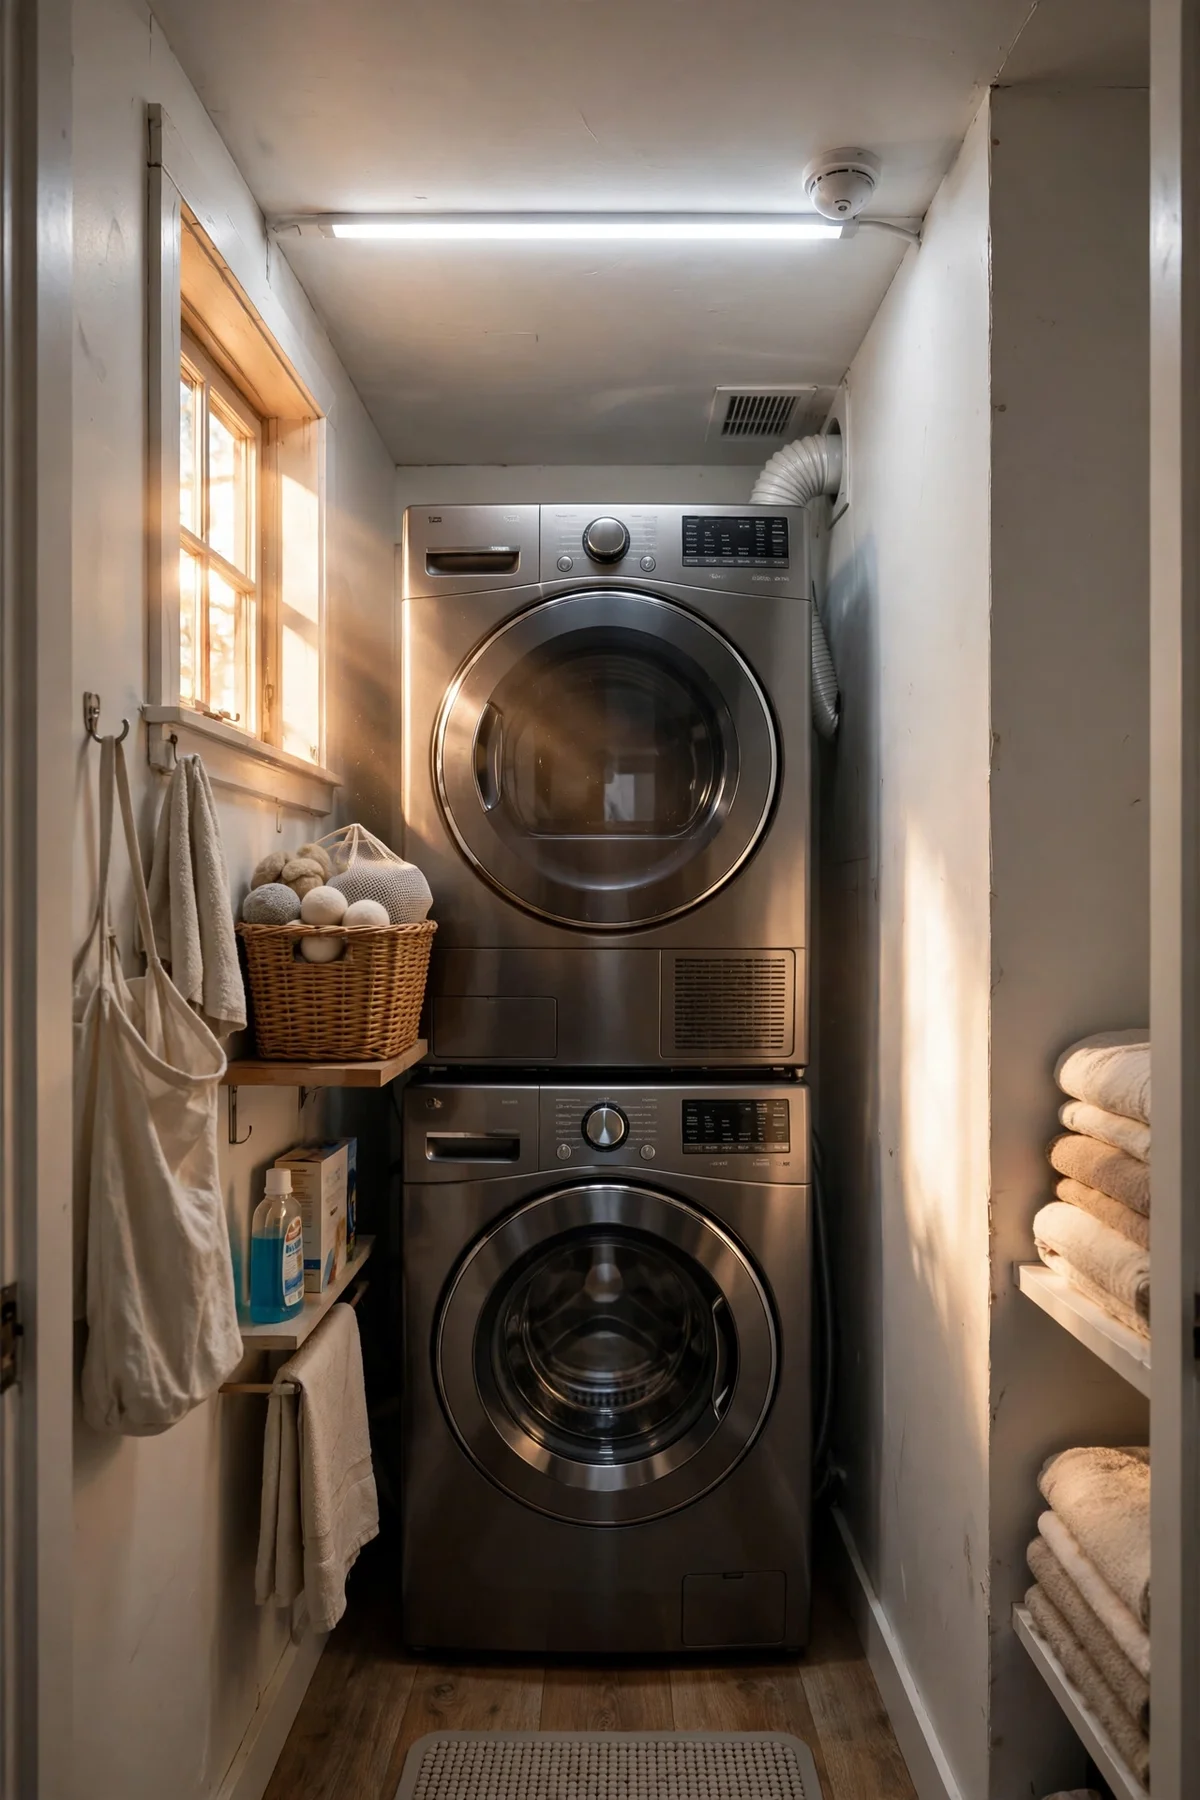
Dark closets hide stains and swallow socks, so fit a 30 to 60 cm LED batten on the ceiling or high on the back wall. Choose a neutral 4000K colour temperature, which shows true fabric colours for stain spotting, and a built in motion sensor so the light greets you with full hands and switches itself off after a minute or two.
If there is an existing ceiling rose, an electrician can swap it in under an hour; a batten costs 20 to 40 pounds or dollars plus fitting. The mistake is choosing a warm 2700K bulb that flatters the room but hides a tomato stain until it sets in the wash. Neutral light is a working light, and the closet is a workplace.
17. Add Stick On Battery Puck Lights Under the Shelf for Shadow Corners
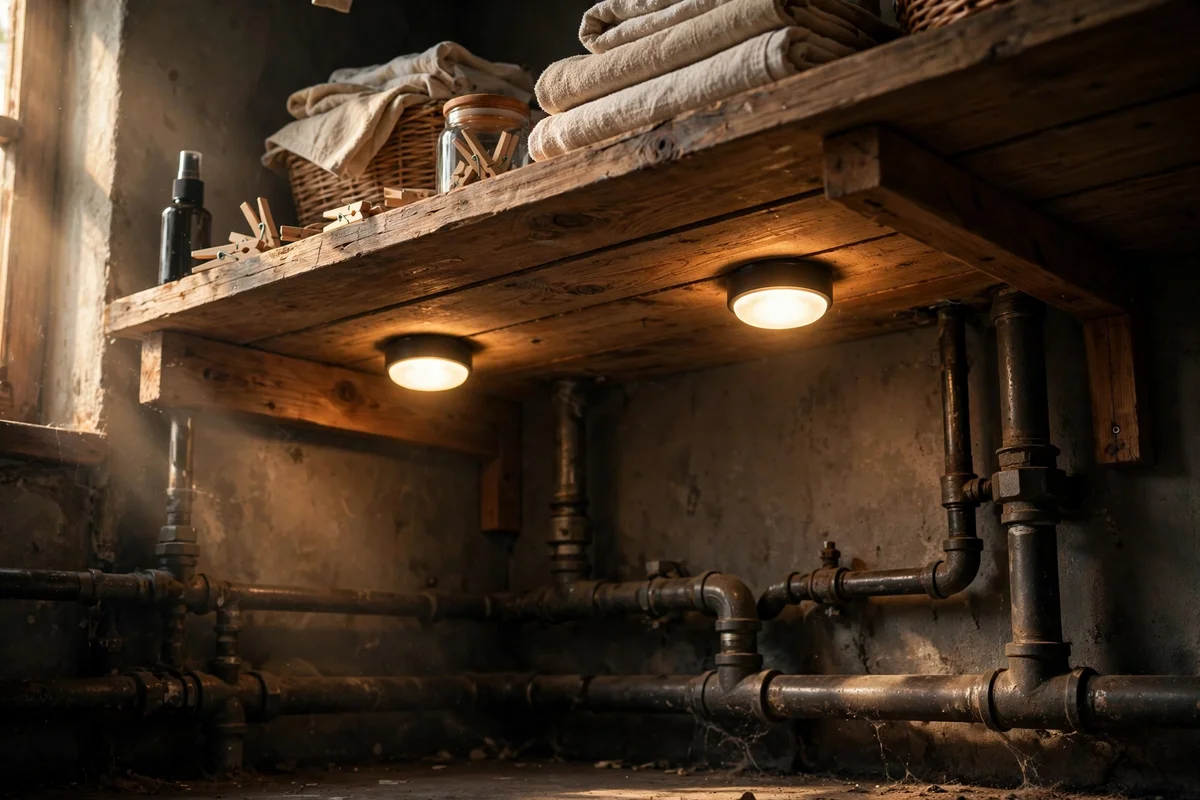
Even with a good batten, the shelf and the pull out tower cast shadows, so add two or three battery puck lights where the main light cannot reach: one under the folding shelf, one inside the dark corner by the pipes. Motion sensor pucks switch on as your hand approaches and cost 8 to 15 pounds or dollars for a pack.
Stick them with the supplied pads on clean dry surfaces and keep them clear of direct steam from the dryer vent. The mistake is placing a puck where the batteries bake beside the dryer outlet, which drains them in weeks. Good quality batteries last six to twelve months, and a quick wipe keeps the lens bright.
18. Decant Detergent Into Plain Sealed Jars With a Long Handled Scoop

Decanting turns a clutter of branded bottles into a calm row of plain sealed jars that suit the quiet look of the closet. Use 2 to 3 litre glass or sturdy PET jars with silicone sealed lids, pour in the powder or pods, and add a long handled scoop that reaches the bottom without your knuckles touching the detergent.
Keep the original packaging’s safety and dosing information in a folder elsewhere, since plain jars carry no instructions. The mistake is decanting into open bowls or unsealed canisters, which spill at the first knock and absorb moisture from the steamy air. Sealed jars keep powder flowing freely and the shelf looking serene.
19. Store the Decanted Jars on the Highest Shelf Beyond Small Hands
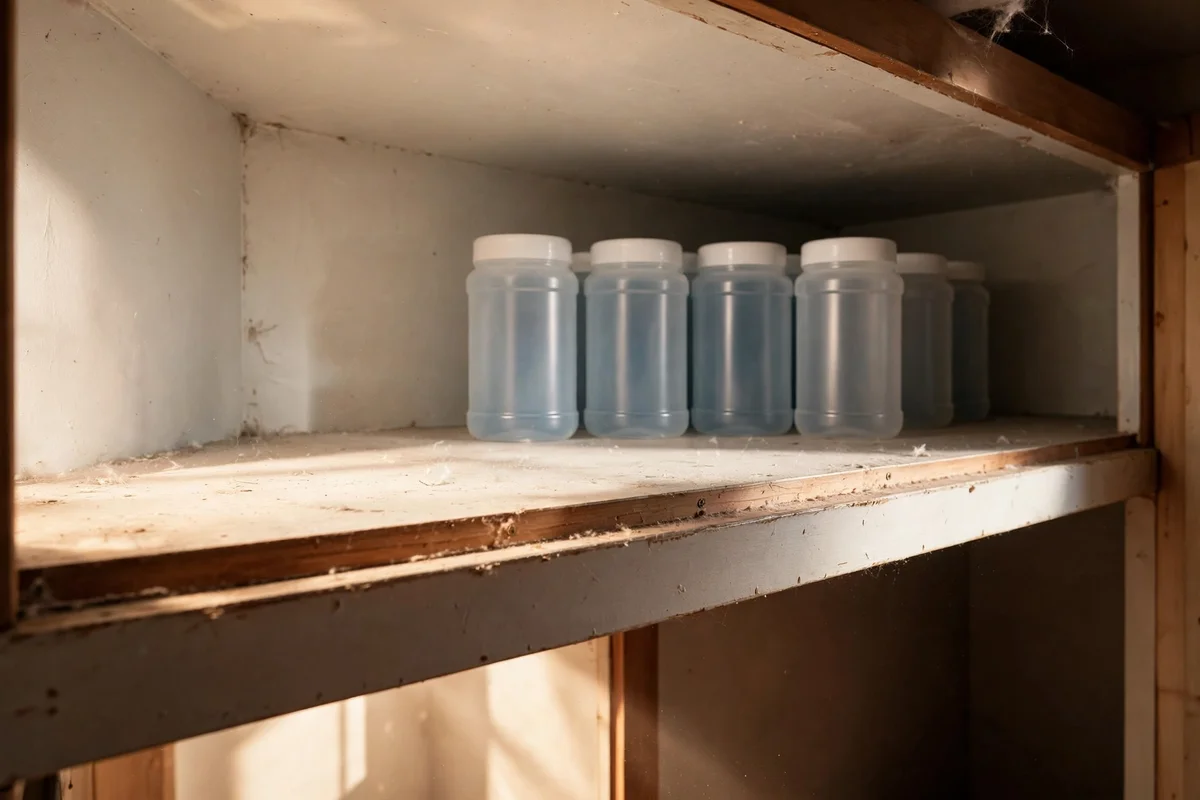
Concentrated detergent is harmful if swallowed, so the decanted jars belong on the highest shelf at 175 to 185 cm, pushed toward the back where small hands cannot reach even on tiptoes. Reserve that top shelf for cleaning supplies only, and keep everyday laundry items like pegs and cloths on the lower shelves.
Fix a slim 3 cm lip rail along the shelf’s front edge so jars cannot slide off when the machines vibrate. The mistake is storing detergent on the floor or a low shelf because the high shelf felt too far to reach daily; a small step stool kept beside the closet solves the reach without moving the danger down.
20. Fit a Childproof Latch on the Closet Door Itself
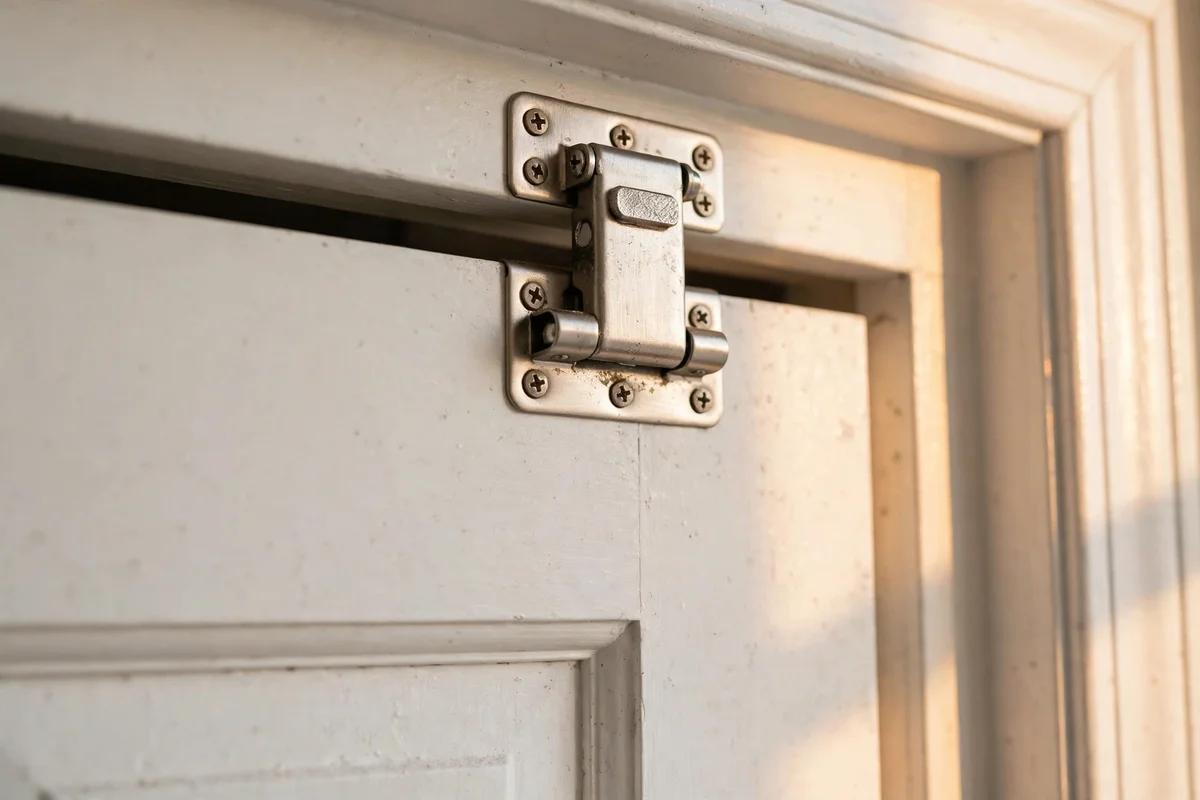
A closed door alone never stops a determined toddler, so fit a childproof latch as the final layer. A magnetic catch or a simple slide bolt mounted at 150 cm height keeps the door firmly shut against small hands while staying easy for any adult to open with one movement. No key to lose, no code to forget.
Check the latch monthly by giving the door a firm tug, since vibration and daily use loosen fixings over time. The mistake is fitting the latch low enough for an older sibling to reach and then forgetting about it, which quietly removes the whole protection. High, simple and checked: that is all a latch needs to be.
A laundry closet never needs to be big; it needs to be measured, anchored and given honest jobs. The ideas in this guide share one spirit: safe stacking on the maker’s kit, storage cut to the true centimetres of the gaps, air that can move, lint that is caught early, light that reaches every corner and supplies kept calm and high. Small careful choices, repeated across the whole cupboard, give a tiny footprint the manners of a much bigger room.
Start this week with the easiest win of all: take a tape measure and write down the real widths, depths and clearances of your closet, because every shelf, tower and rail you buy depends on those numbers. Once the measurements are on paper, the rest of the plan almost writes itself, and your next laundry day will feel noticeably calmer.
Frequently Asked Questions
How much does it cost to set up a small laundry closet properly?
Between 80 and 250 pounds or dollars for the full set of upgrades, depending on what you already own. A stacking kit, a fold down shelf, one slim pull out tower and a door rack cover the essentials for around 150. Lighting and childproof latches add 30 to 50. Spend first on safety items like the stacking kit and vent ducting, then on storage.
Can I stack any washer and dryer together?
No. Stack only pairs the manufacturer lists as compatible, using the maker’s own stacking kit. Machines must share a brand family and similar depth so the kit’s rails and pins lock properly. Check both model numbers against the kit’s compatibility list before buying, and never stack a dryer on a washer that is narrower than the dryer.
How wide must the gap be for a slim pull out unit?
Measure the real opening at top, middle and bottom and use the smallest figure. A tower sold as 12 cm wide needs about a 14 cm opening, and a 15 cm tower needs about 18 cm once its frame and runners are fitted. Hoses, plugs and skirting boards can steal 5 cm at the back, so measure behind the machines too.
Is it safe to run a dryer inside a closed closet?
Yes, provided the closet is ventilated. Leave 10 cm behind the machines, fit louvre vents high and low in the door or panel so warm moist air escapes, and clean the lint trap after every load. Never run a dryer in a fully sealed cupboard; trapped heat and moisture cause mould and strain the machine.
How do I keep laundry supplies safe from children?
Store all detergents and stain removers on the highest shelf at 175 to 185 cm in sealed plain jars, add a 3 cm lip rail so nothing slides off, and fit a childproof latch at 150 cm on the door itself. Never rely on a simply closed door, and keep the original safety information filed where adults can find it.