Bathroom
20 Pedestal Sink Storage Ideas That Add Space From Nothing
By Anna Wells · · 21 min read
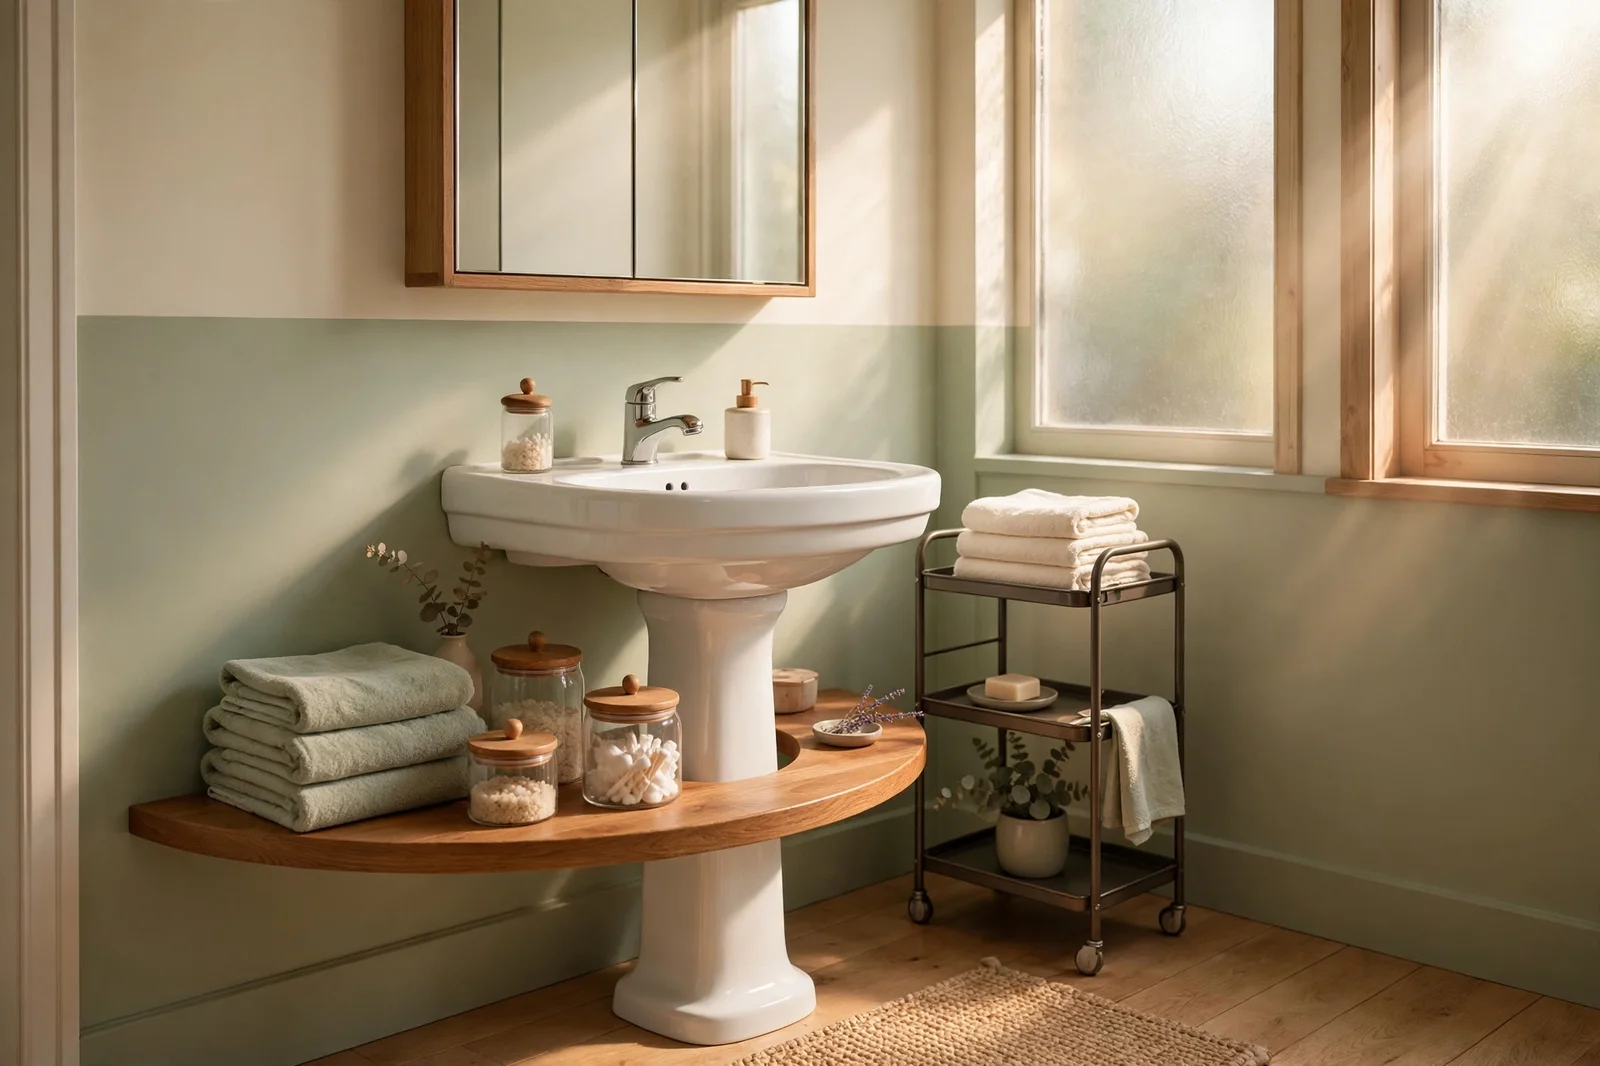
Twenty practical storage ideas that turn the bare curve of a pedestal sink into a calm, working corner, without blocking the pipes or crowding the room.
A pedestal sink is beautiful and quietly frustrating. It gives the bathroom its open, airy lines, and then it gives you nowhere to put anything. Toothpaste migrates to the windowsill, spare towels pile on the floor, and every bottle seems to audition for a spot that simply does not exist.
The way forward is to build around the porcelain instead of fighting it. The curve of the pedestal, the wall above the basin and the narrow gaps on either side are all storage waiting to happen, once each one gets the right shelf, basket or hook.
Below are twenty concrete ideas, from a wrap-around shelf and a slim rolling trolley to baskets under the basin curve and a mirrored cabinet that does the heavy lifting. Each one names sizes, materials and budgets, plus the mistake to avoid. Pick the idea that solves your biggest daily annoyance and start there this weekend.
1. Fit a Curved Shelf That Wraps the Pedestal Base
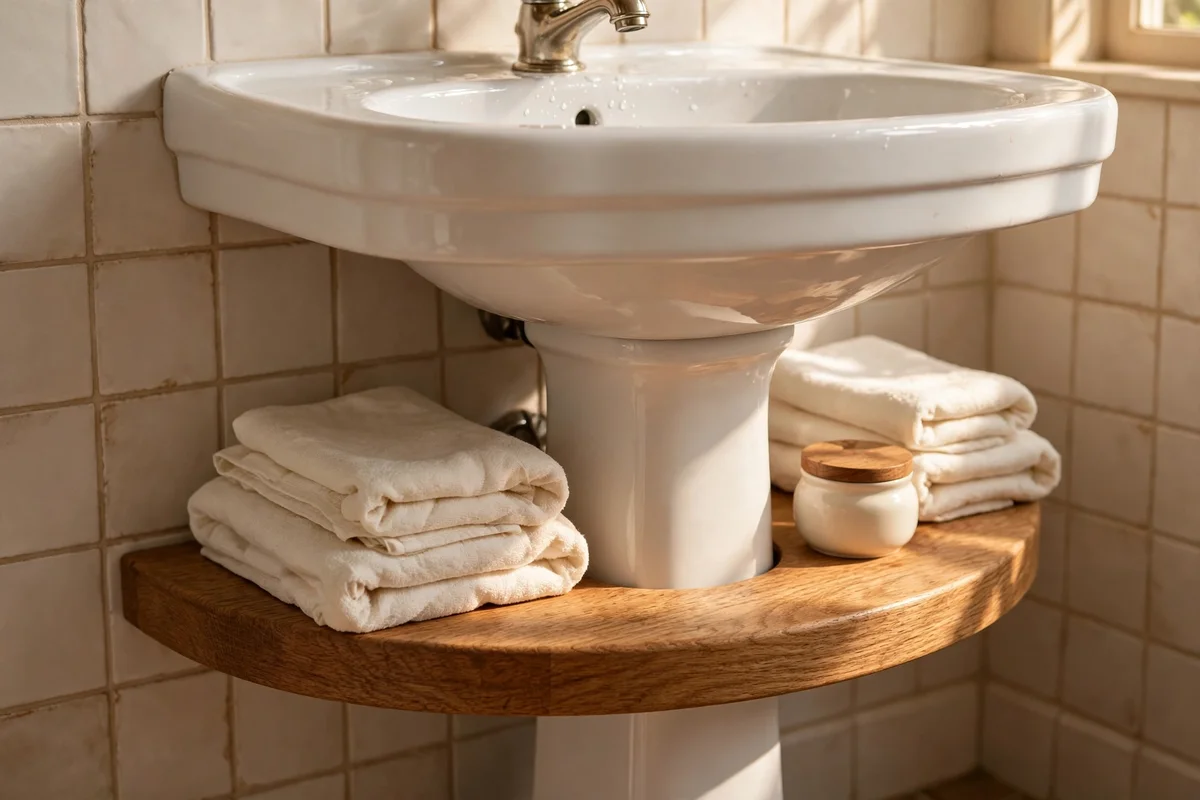
A U-shaped or curved shelf cut to fit around the pedestal turns dead air into a working surface of about 30 to 40 cm deep on each side. Measure the pedestal at its widest point, usually 18 to 24 cm, and leave a 2 cm clearance so the shelf never presses against the porcelain. Fix it to the wall with two brackets rated for at least 8 kg, then seal the cut edge with silicone to stop water swelling the board. A budget shelf in sealed pine or MDF costs little, while oak veneer lifts the look.
Use this shelf for folded hand towels, a small lidded jar of cotton pads and one spare soap, keeping heavier bottles on the floor below. Stack towels no more than three high so the pile stays stable and looks neat from the door. The common mistake is loading the shelf with cleaning sprays that need a tall cupboard instead; keep those under the main bathroom cabinet. Wipe the shelf weekly, since splashes land there first, and re-seal the silicone bead once a year. This single shelf adds more usable space than most people expect.
2. Add a Small Fitted Cabinet That Hugs the Pedestal Column
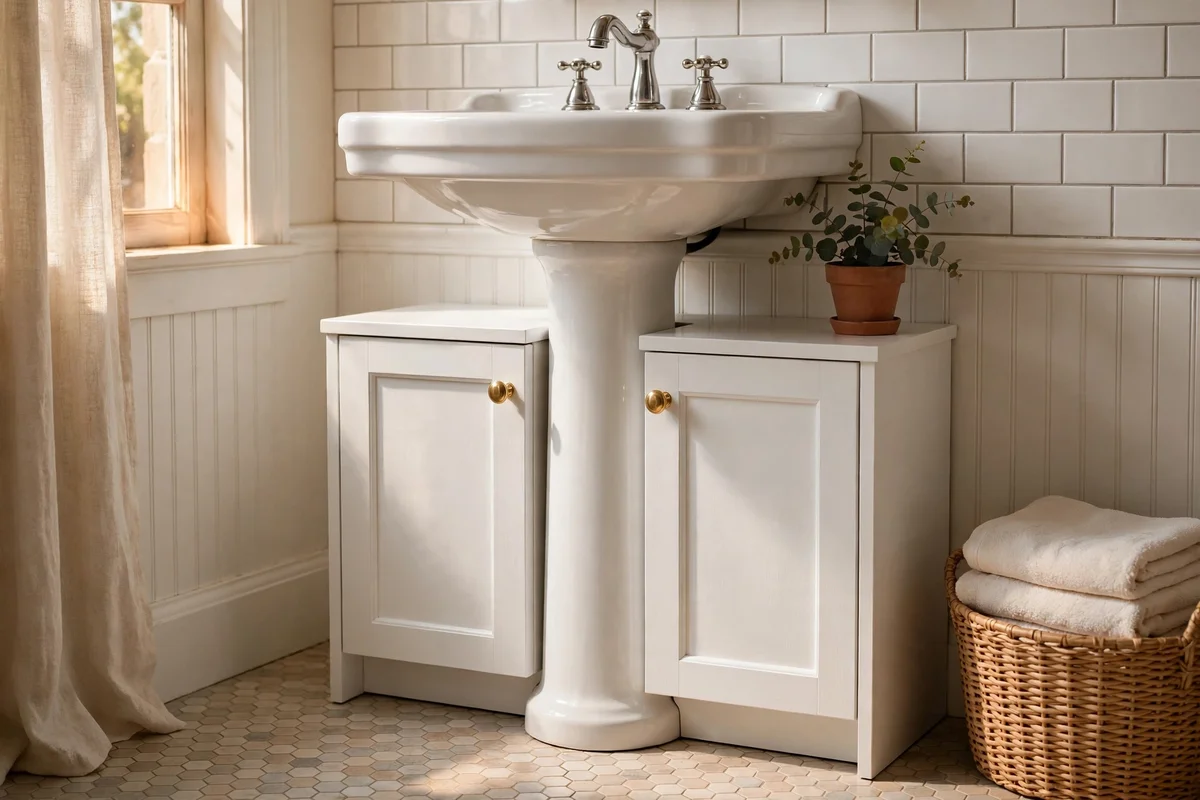
A shallow cabinet built to hug the pedestal column hides clutter behind closed doors and still looks like part of the bathroom. Aim for a depth of 20 to 25 cm and a width of 40 to 50 cm, with a U-shaped cut-out at the back that clears the porcelain by 2 cm on each side. Two small doors with soft-close hinges keep toothpaste and bottles out of sight, and a wipeable finish such as painted MDF or laminate stands up to daily steam. Wall-mount the cabinet 10 to 15 cm above the floor so the baseboard line stays clean.
Keep daily items on the top shelf and overflow stock lower down, with one small basket inside for loose items like floss and spare blades. The mistake to avoid is building the cabinet so deep it eats the walkway; anything past 25 cm deep makes a small bathroom feel cramped. Leave the pipe area at the back untouched so a plumber can reach the trap without removing the cabinet. A local carpenter can build this for a mid-range budget, or a confident DIYer can adapt a stock wall cabinet in a weekend.
3. Slide a Slim Rolling Trolley Into the Gap Beside the Sink
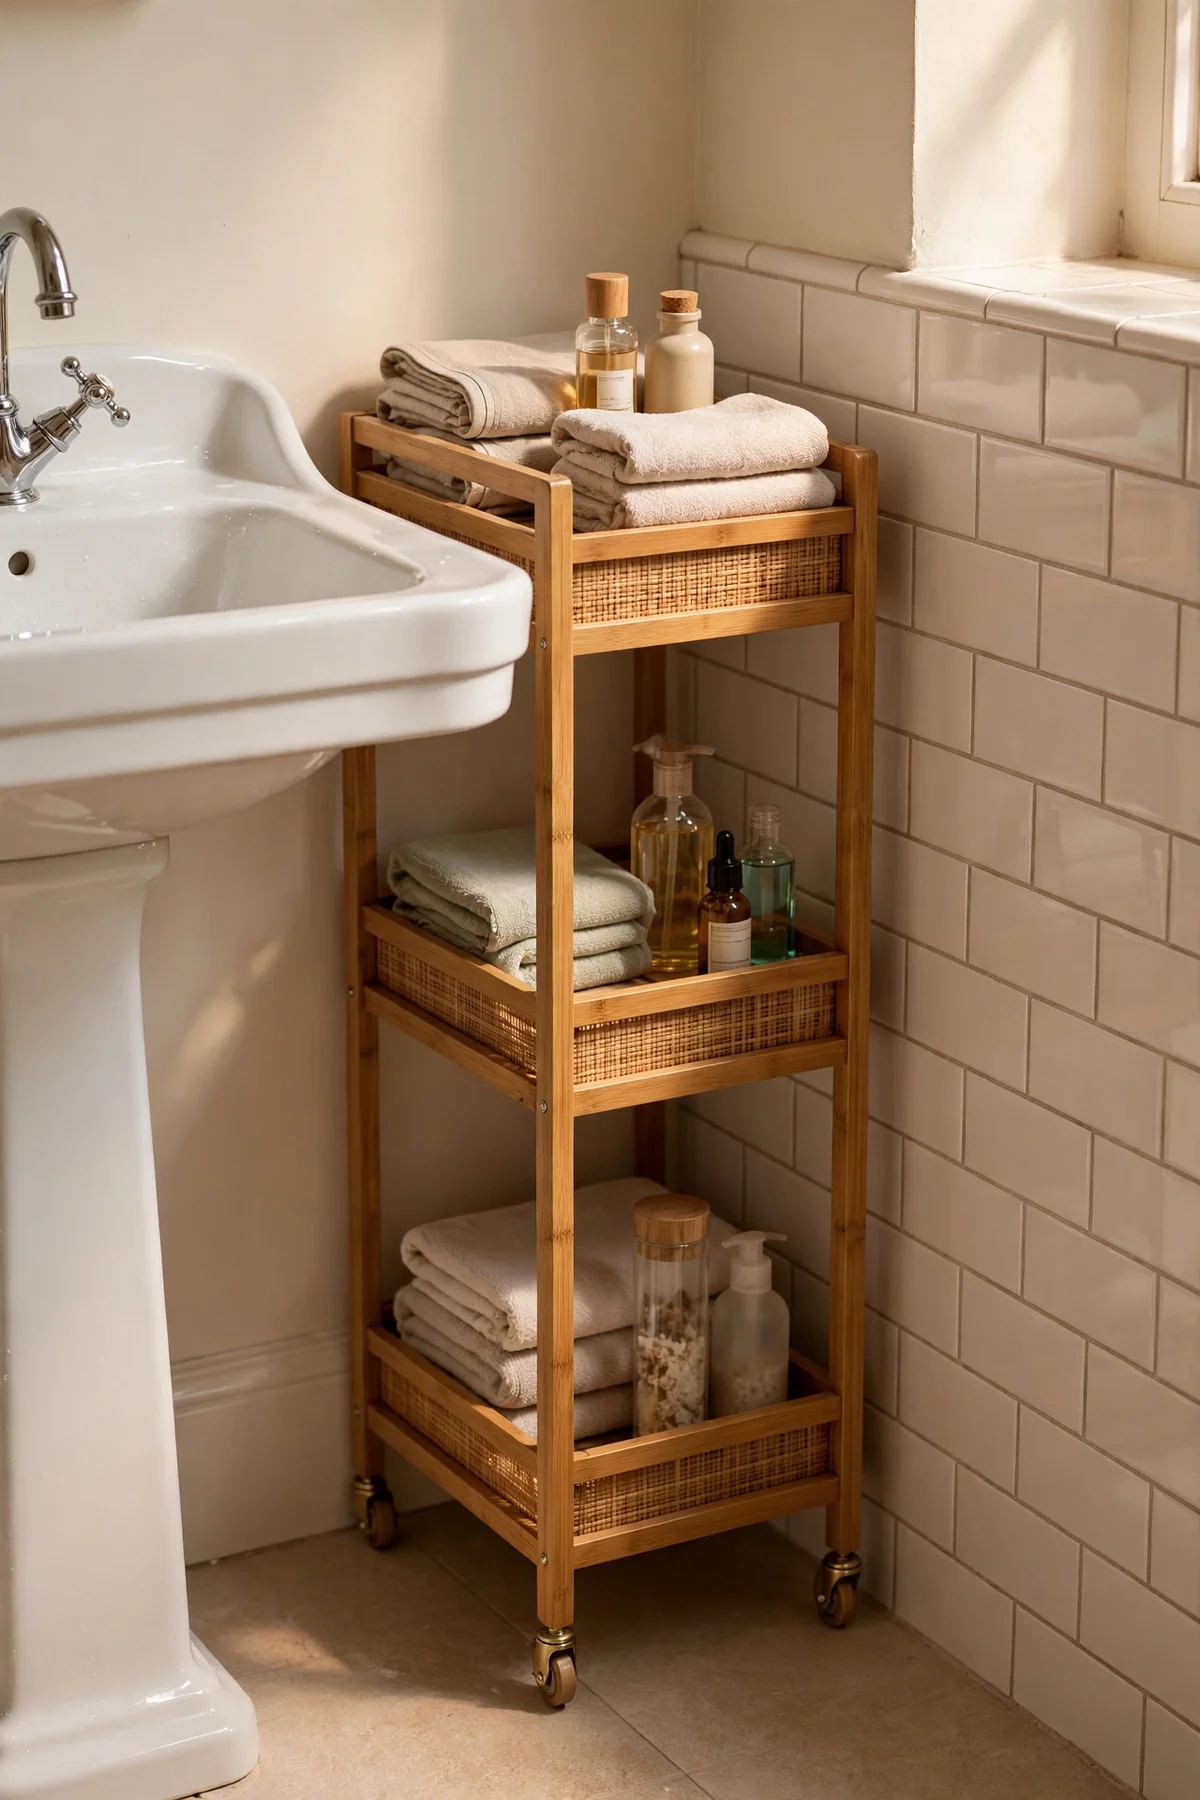
The 15 to 25 cm gap between the pedestal and the wall or bath is perfect for a slim rolling trolley with three or four tiers. Look for a trolley 55 to 70 cm tall so the top tray sits just below the basin rim and doubles as extra counter space. Metal or bamboo trolleys wipe clean and handle damp air well, and castors make the whole unit glide out for cleaning day. Budget trolleys start very low in price; a mid-range one with lockable wheels costs a little more but stays put.
Load the trolley by frequency: daily wash items on top, weekly bits like face masks and spare contact lens cases in the middle, and bulky backups at the bottom. The mistake to avoid is letting the trolley drift into the walking path, where it becomes a bruise on the shin; push it fully home after every use. In a rental, a freestanding trolley needs no drilling at all, which makes it the friendliest option here. Measure your gap before buying, since a trolley that is 2 cm too wide simply will not roll in.
4. Tuck Woven Baskets Under the Basin Curve
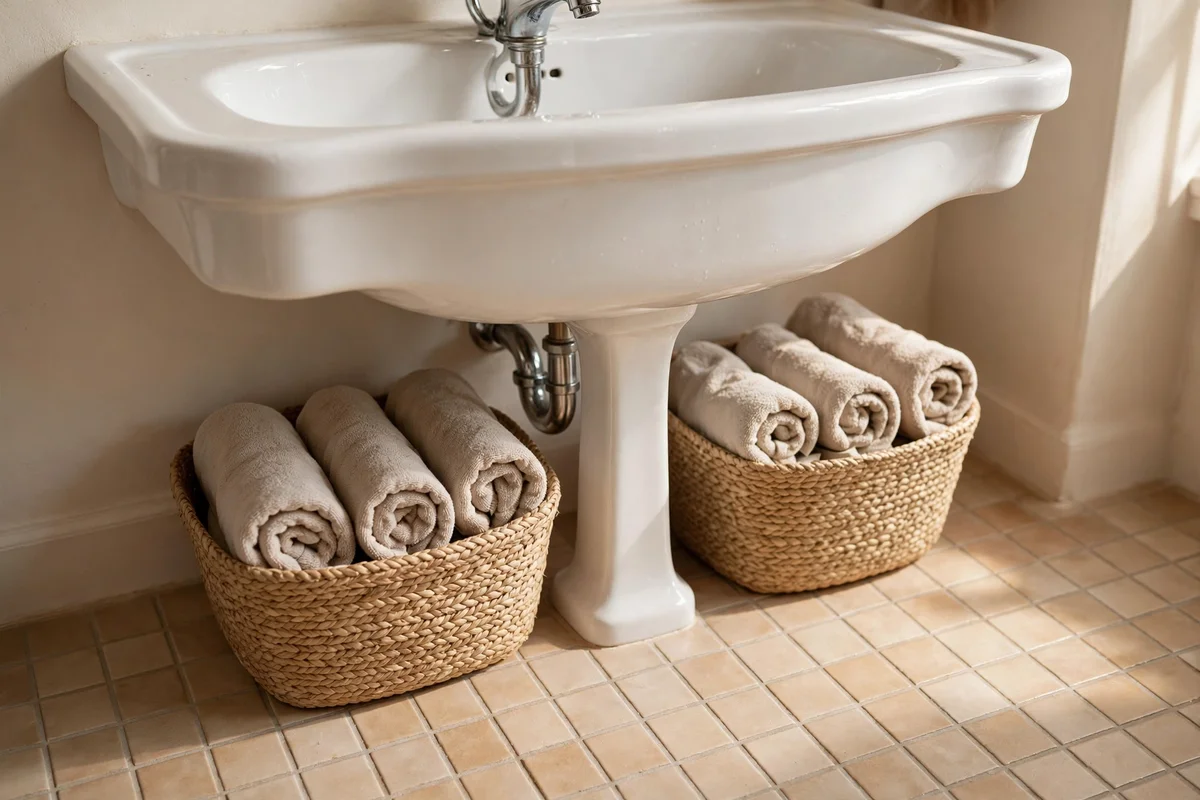
Two or three low woven baskets slid under the basin curve turn wasted floor space into soft, forgiving storage. Choose baskets 25 to 35 cm wide and no taller than 20 cm so they disappear beneath the bowl without touching the pipes. Seagrass, water hyacinth or rattan suit humid bathrooms, and a washable liner keeps toilet rolls or towels inside them dry. Budget sets of two cost little, while a single handwoven piece is an investment that lasts for years.
Give each basket one job: one for rolled hand towels, one for spare toilet rolls, one for the hair tools you reach for every morning. Roll rather than fold towels to fit two or three extra into the same basket. The mistake to avoid is choosing open weave baskets for tiny items, since cotton buds and clips slip straight through the gaps; use a liner or a lidded box inside for small things. Once a month, pull the baskets out and shake off the dust that settles behind the pedestal.
5. Stack Lidded Boxes Into a Tidy Column Under the Sink
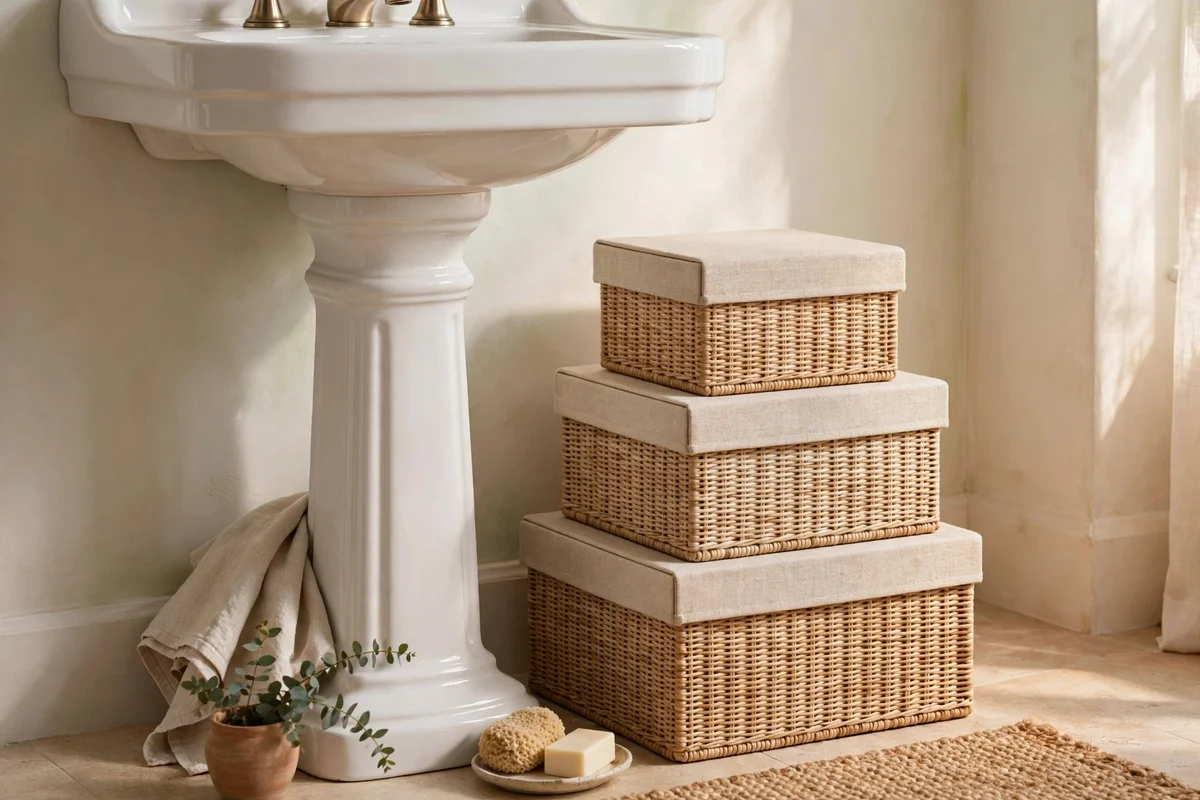
Lidded boxes stacked two or three high under the basin create a tidy column that hides visual clutter completely. Pick square or rectangular boxes 20 to 30 cm across, in moisture-safe materials like lacquered bamboo, sealed wood or sturdy recycled plastic. A uniform colour, for example warm white, oat or soft grey, makes the stack look intentional rather than improvised. Give each box a position rule instead of a label, such as top box for daily items and bottom box for stock.
Keep the stack to a height you can lift the top box off with one hand, usually no more than 45 cm total. The mistake to avoid is piling boxes in front of the trap and shut-off valves, so always leave a clear lane to the pipes at the back. In a rental this is a zero-damage upgrade, and a set of three matching boxes is a budget buy. Every few weeks, lift the boxes and wipe the floor beneath, since this corner collects hair and dust faster than anywhere else.
6. Hang a Mirrored Cabinet Above the Sink
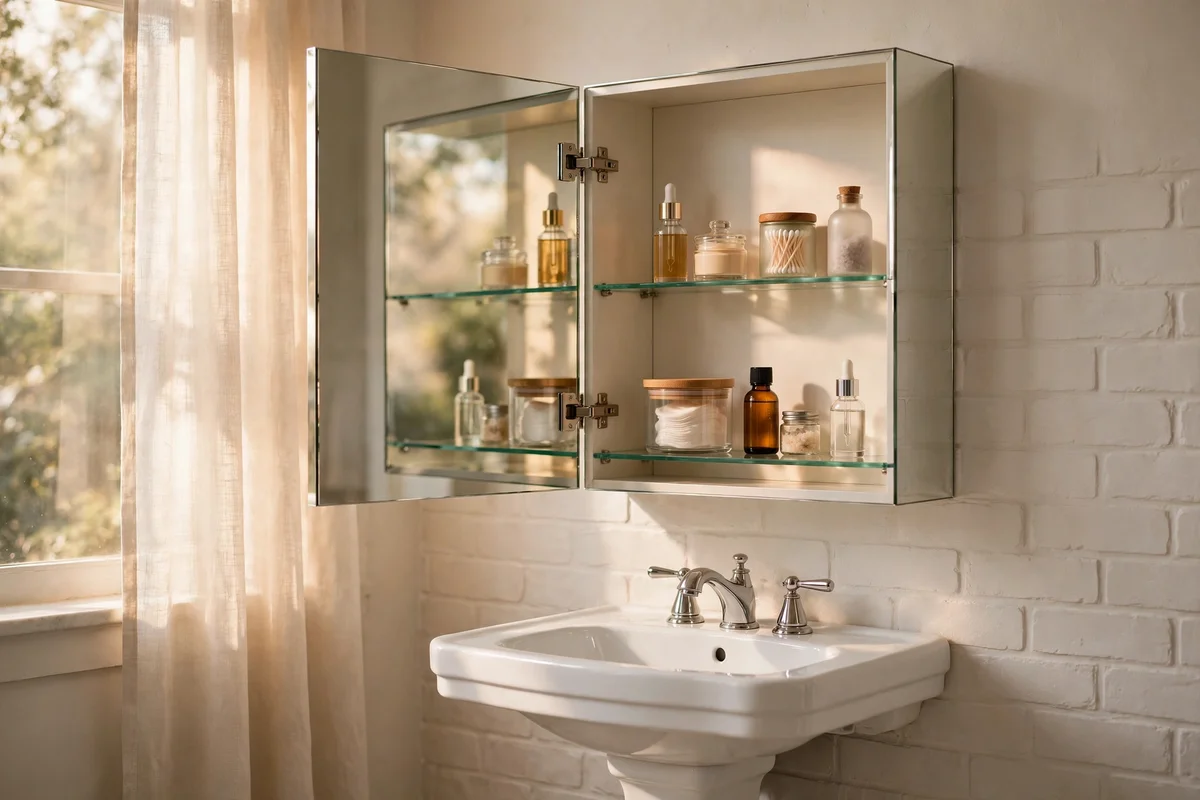
A mirrored cabinet above the basin is the single biggest storage gain in a pedestal bathroom, because it adds shelves without taking any floor or counter space. Choose a cabinet 50 to 70 cm wide with two or three adjustable glass shelves, and hang it so the mirror centre sits at the eye level of the household, usually 150 to 160 cm from the floor. Recessed models sit flush in the wall for a streamlined look, while surface-mounted ones need only four screws. Pick a cabinet with a soft-close door to avoid morning slams.
Line the shelves by height: tall bottles at the back on the top shelf, daily creams and medicines in the middle, small items like spare toothbrush heads in a cup on the bottom. The mistake to avoid is overloading the door racks, since heavy bottles strain the hinges over time; keep the heaviest items on the fixed shelves. Ventilate the bathroom well after showers, because steam is what clouds a mirror cabinet from the inside. A mid-range cabinet with decent hinges is worth the extra cost over the cheapest models.
7. Mount a Small Rail on the Wall for Hand Towels
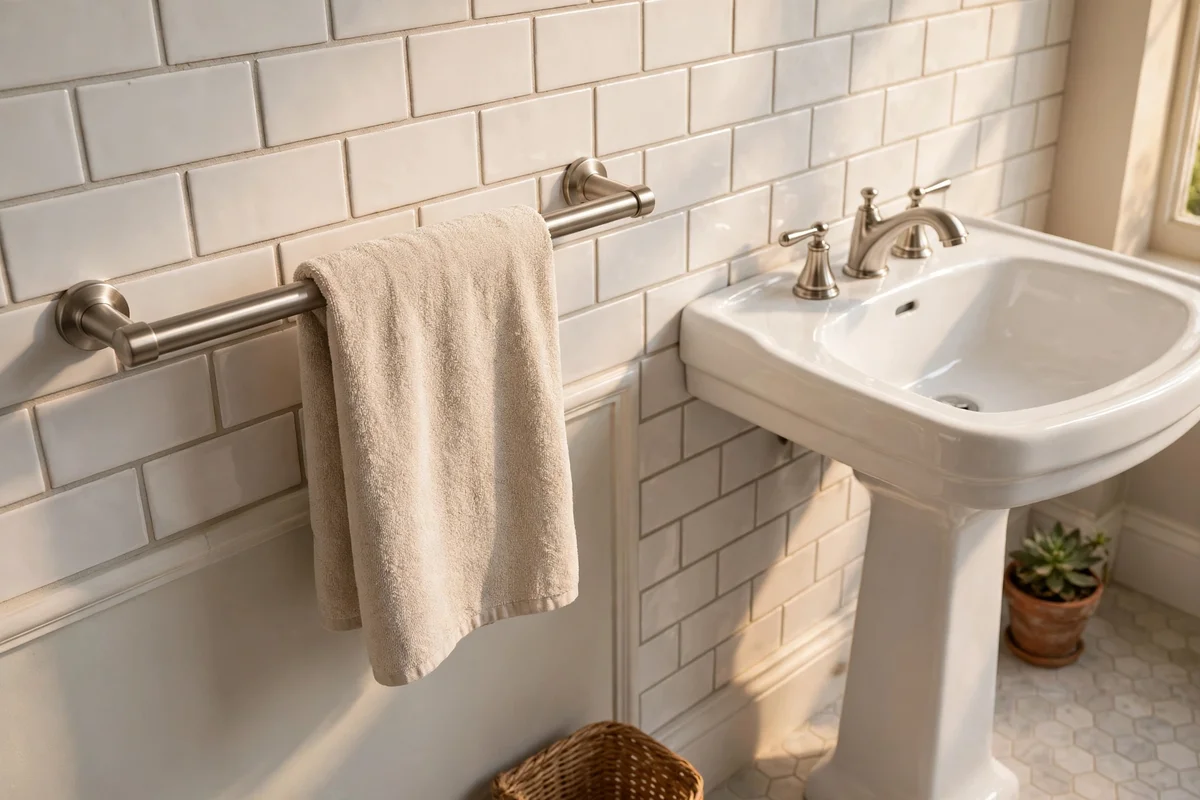
A rail 30 to 45 cm long mounted on the wall beside or below the basin holds one or two hand towels within easy reach. Fix it at a height of about 120 cm so the towel hangs clear of splashes but stays easy to grab with wet hands. Brushed nickel, aged brass or matte black finishes all suit a pedestal bathroom, and a rail with rounded ends will not snag sleeves. Use proper wall anchors, since a damp towel plus the rail can weigh more than 1 kg.
Hang one everyday towel and keep the second hook or space free for a guest towel, so the rail never looks crowded. The mistake to avoid is mounting the rail directly above an electrical socket or switch, where wet hands and water meet wiring; keep at least 30 cm of clearance. Swap towels every two to three days to keep the rail area smelling fresh. A simple rail is one of the cheapest upgrades in this list and takes under twenty minutes to fit with a drill.
8. Fix Two Sturdy Hooks Beside the Basin for Towels and a Wash Bag
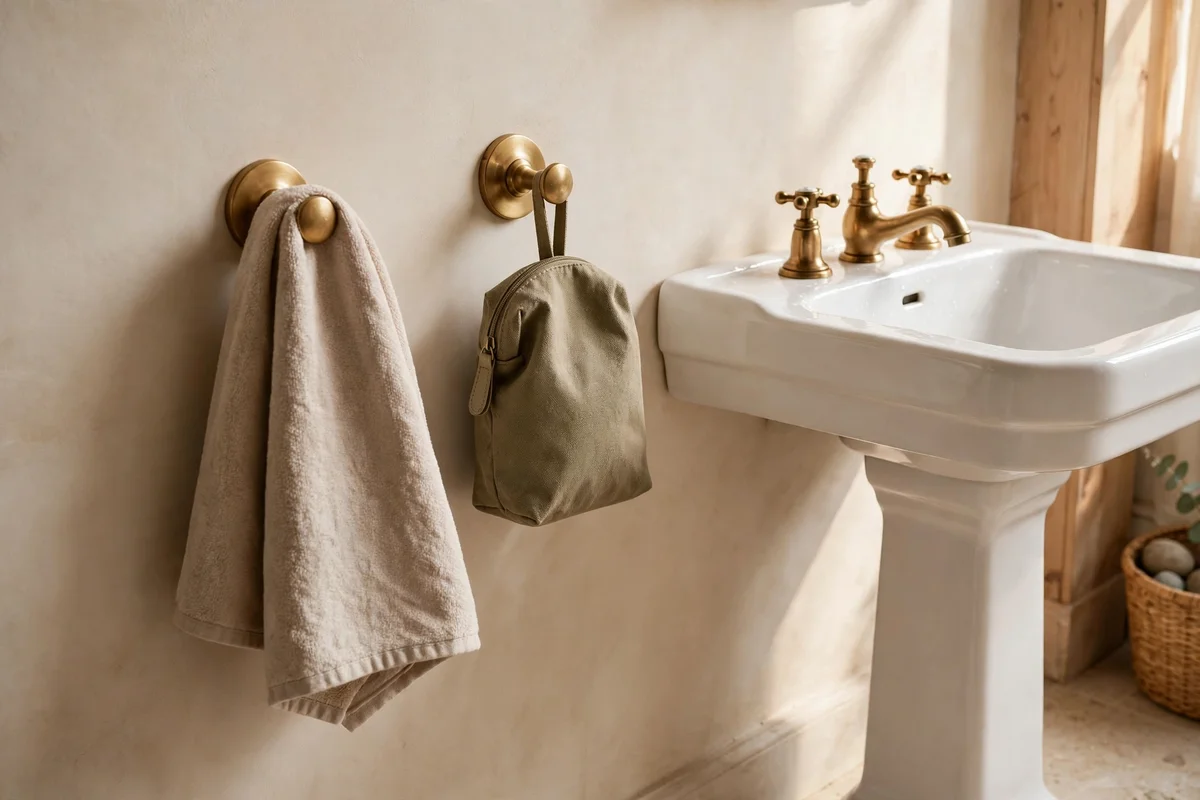
Two individual hooks on the wall beside the pedestal give towels and a wash bag a home without any shelf or rail. Space them 25 to 35 cm apart at a height of about 130 cm, so a folded towel hangs clear of the basin splash zone. Choose hooks rated for at least 2 kg each, since a damp bath towel is heavier than it looks, and pick finishes that match your tap for a calm, coordinated look. Self-adhesive hooks work in rentals, but check the weight rating and the wall surface first.
Reserve one hook for the everyday hand towel and the other for a small wash bag or a lightweight robe. The mistake to avoid is hanging a hook on the back of the bathroom door when the pedestal is across the room, because wet hands will drip all the way over; keep hooks within one step of the basin. A pair of solid brass or stainless hooks is a budget buy that lasts for years. Wipe the hooks monthly, since limescale and soap film build up where metal meets the wall.
9. Keep Only Daily Essentials Within Arm’s Reach of the Basin
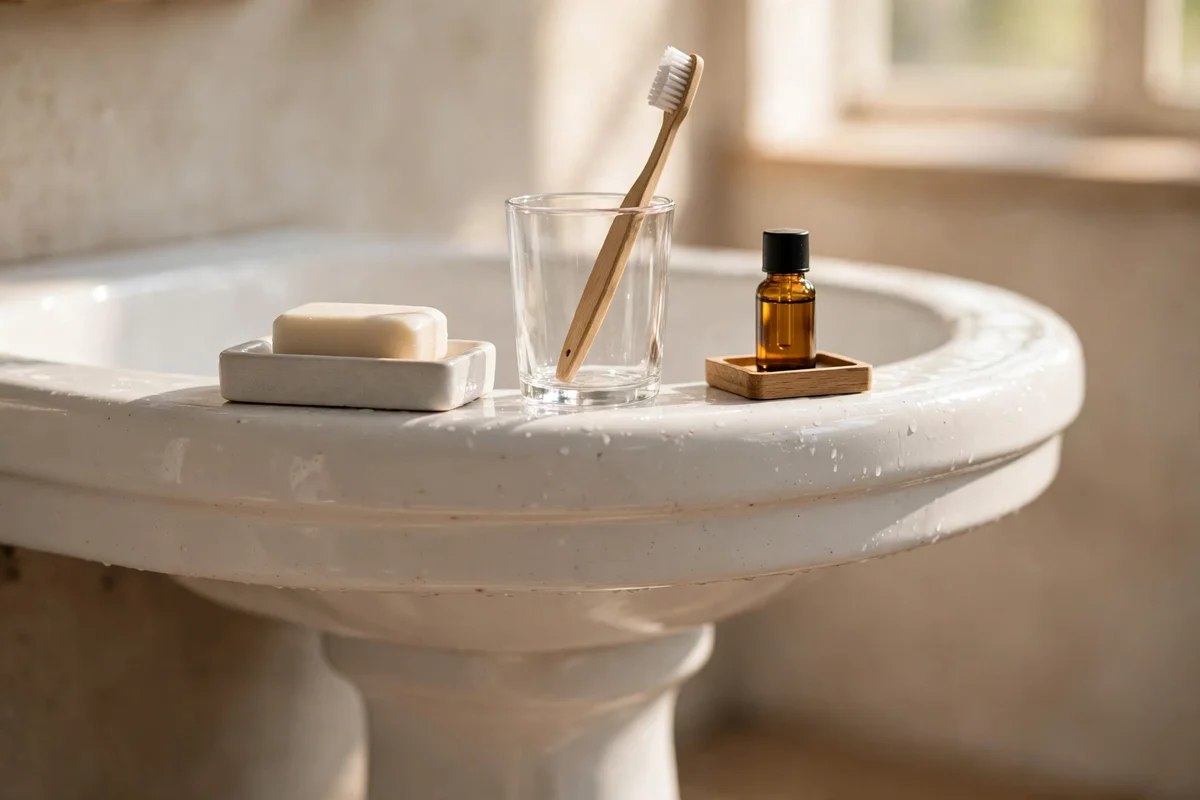
The basin edge is precious real estate, so give it only to the items you touch every single day: soap, a toothbrush holder, one moisturiser and a small tumbler. Everything else moves to the trolley, the baskets or the mirrored cabinet. This one rule instantly makes a small bathroom feel calmer, because the eye reads clear surfaces as space. Count your daily items; if the number is above seven, something on the list is not truly daily and can be stored one step further away.
Corral the daily set on one small tray or in one wash bag so the whole group lifts away in seconds for cleaning. The mistake to avoid is keeping three half-used bottles of the same product by the basin at once; finish one before opening the next and the clutter halves overnight. Review the daily set once a month, since products creep back. Families can give each person one small caddy, so four sets of basics stay sorted instead of spreading across the whole rim.
10. Store Backups and the Cleaning Kit Elsewhere in the Bathroom
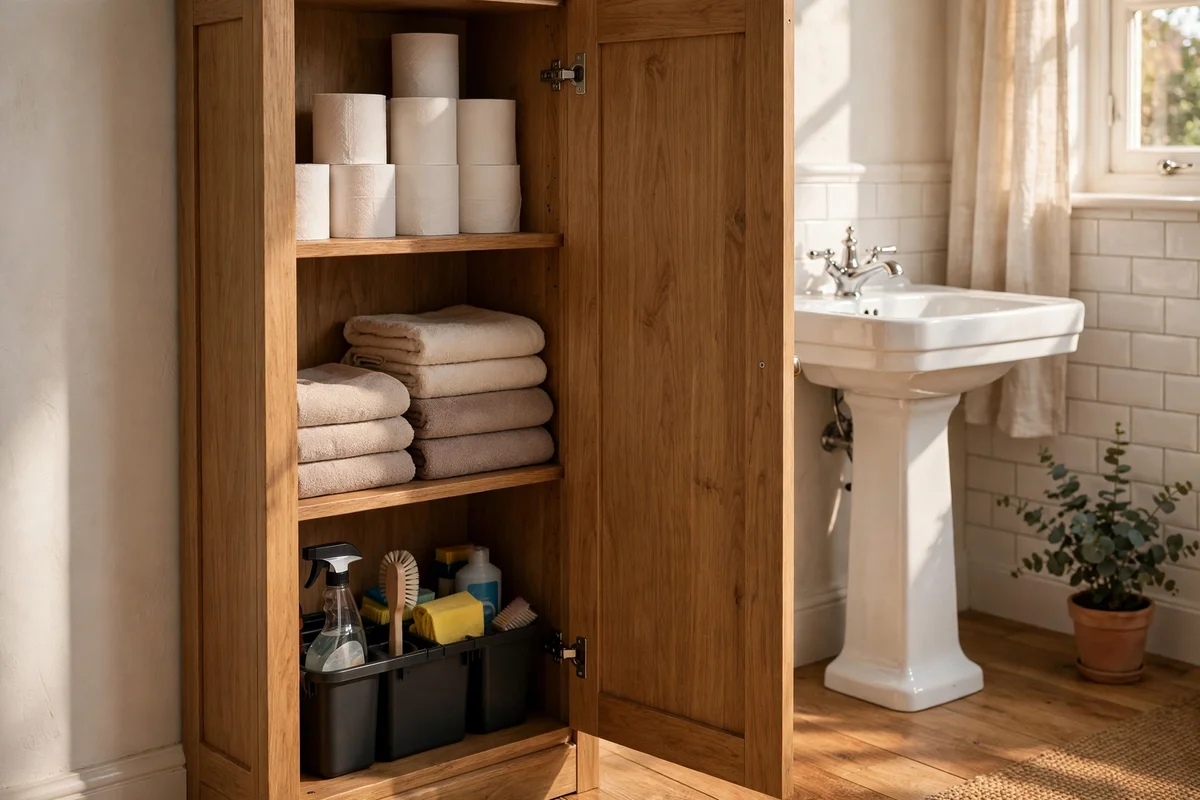
Bulk packs of toilet rolls, spare shampoo and the cleaning sprays do not belong near a pedestal sink, where every spare centimetre counts. Move them to a tall cupboard, the top of a laundry basket, or a shelf above the door, which most bathrooms leave completely empty. Decant cleaning products into one small caddy so the whole kit travels to the bathroom and back out again after use. This keeps the sink corner for daily life and the heavy storage where it cannot be seen.
Keep a tiny cleaning kit, one cloth and one spray, hidden in the trolley or the lowest basket so quick wipe-downs still happen. The mistake to avoid is storing bleach and strong chemicals in a damp corner under the basin, where moisture eats the labels and the caps; a ventilated cupboard is safer. Check backup stock once a month and write the shopping list then, so you never buy a fourth spare shampoo. Families with children should keep medicines and chemicals on a high shelf with a door that closes.
11. Place a Small Ceramic Tray on the Basin Edge for Soap and a Tumbler
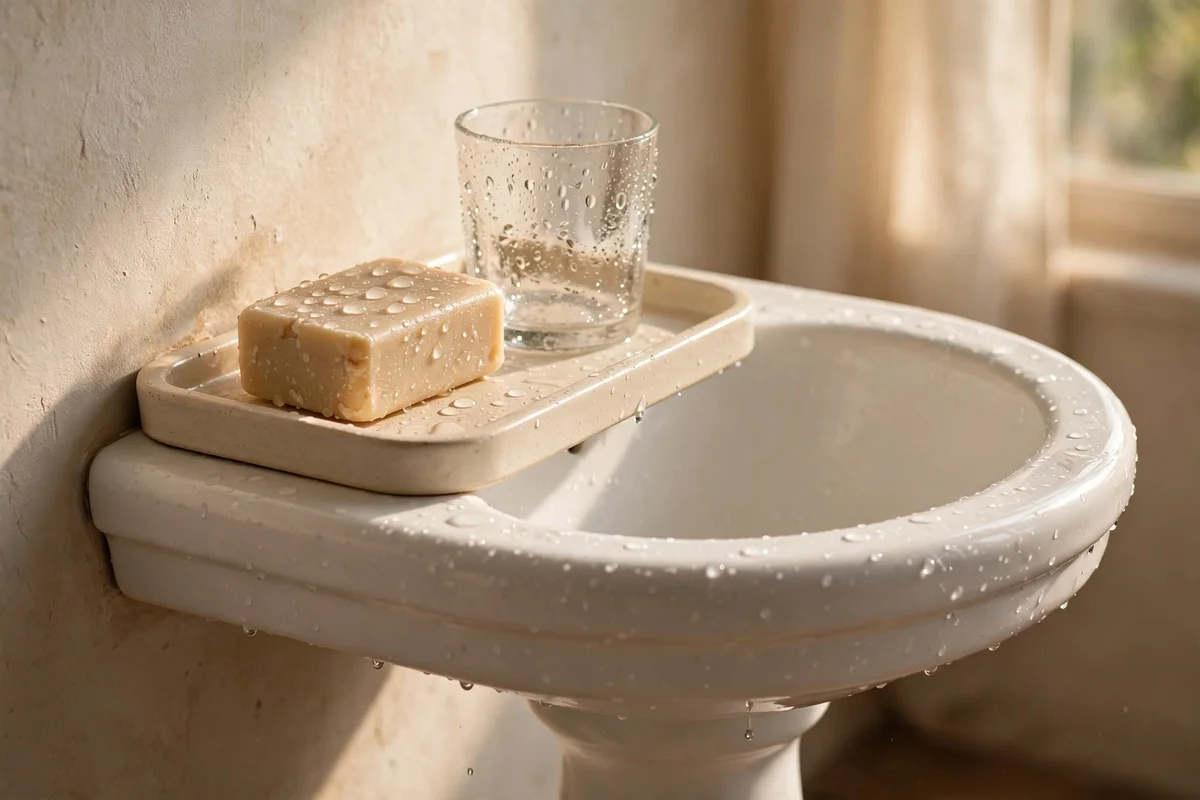
A tray 15 to 20 cm across on the back corner of the basin edge stops soap and the tumbler from wandering all over the rim. Choose ceramic, stone or sealed bamboo, since these materials handle daily splashes without staining, and pick a raised lip of about 1 cm so water stays put. A tray also makes cleaning faster: lift one object instead of five. Neutral colours such as cream, sand or soft grey blend with most bathroom suites and keep the arrangement calm.
Limit the tray to three items at most: a soap dish, a tumbler with toothbrushes and one small bottle. The mistake to avoid is placing the tray where it blocks the tap handles, so test the reach with wet hands before settling on a spot. Empty and rinse the tray weekly to stop soap scum building up underneath. A simple tray is a budget buy, often costing less than a takeaway coffee, and it is the fastest single change on this list.
12. Choose a Tall Narrow Cabinet for the Wall Above or Beside the Sink
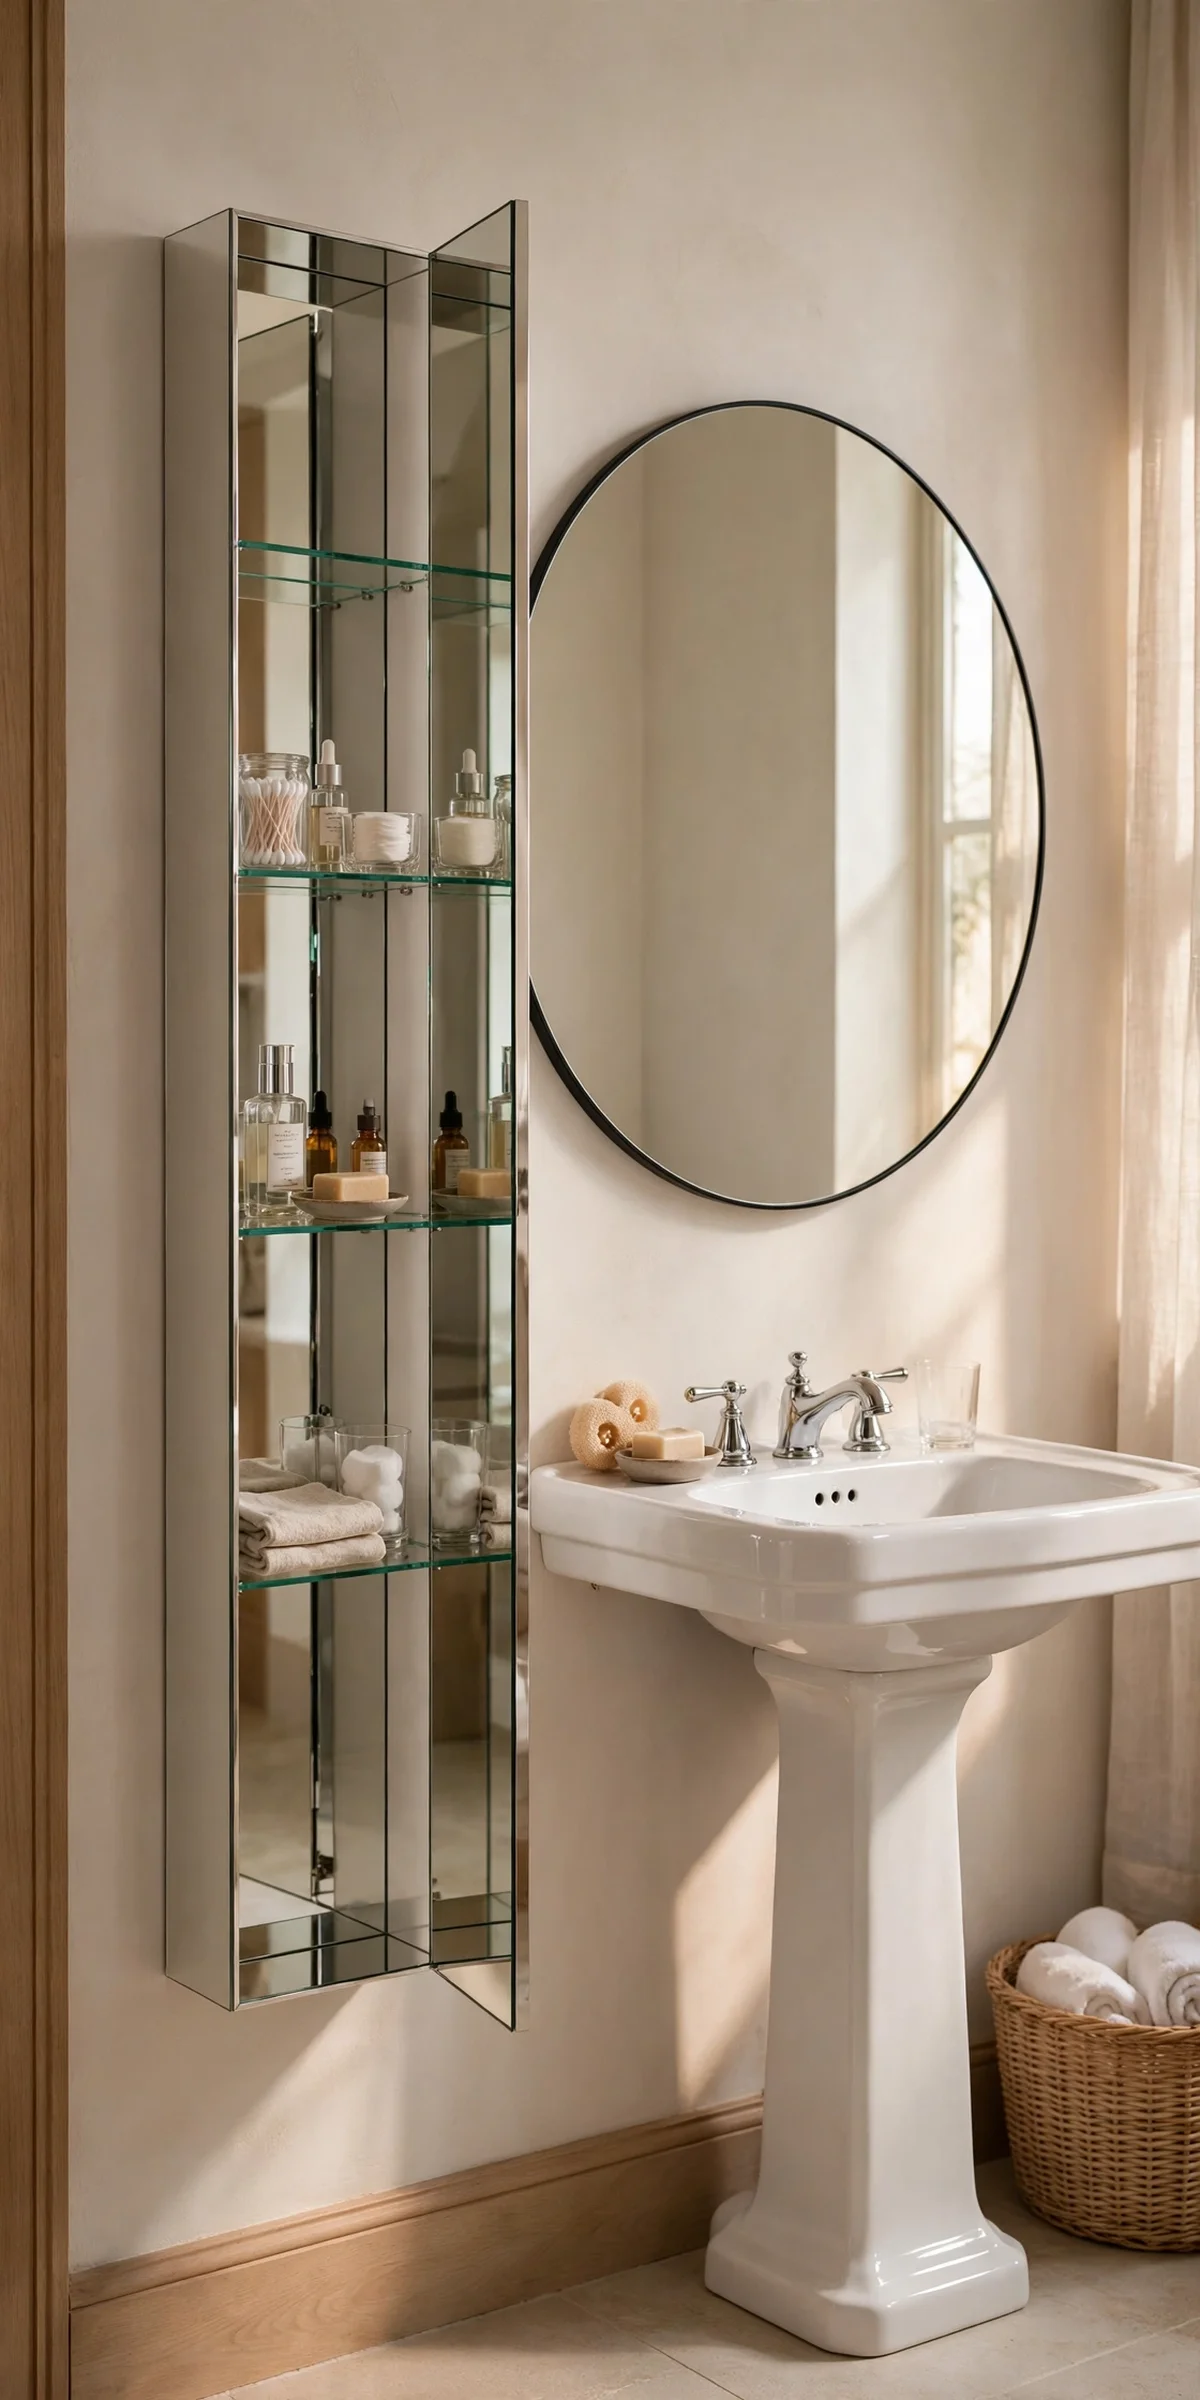
A tall, narrow wall cabinet of about 30 to 40 cm wide and 60 to 90 cm high adds serious storage while occupying almost no visual space. Hang it beside the mirror or on the side wall at a height where the middle shelf meets your reach, roughly 140 to 150 cm from the floor. A single door with a mirror on the front doubles the usefulness, and adjustable shelves let you fit tall bottles below and small jars above. Painted finishes in warm white or soft sage suit most bathroom styles.
Use this cabinet for the mid-frequency items: spare toiletries, first-aid basics and the hair styling tools you use twice a week. The mistake to avoid is hanging it so high that the top shelf becomes a forgotten graveyard; if you cannot see into a shelf, do not store daily things there. Fix the cabinet into a stud or use proper hollow-wall anchors, since a loaded cabinet can weigh 8 to 10 kg. A mid-range cabinet with a mirrored door costs more than a plain shelf but replaces two purchases in one.
13. Set a Tiered Stand on the Floor Beside the Pedestal
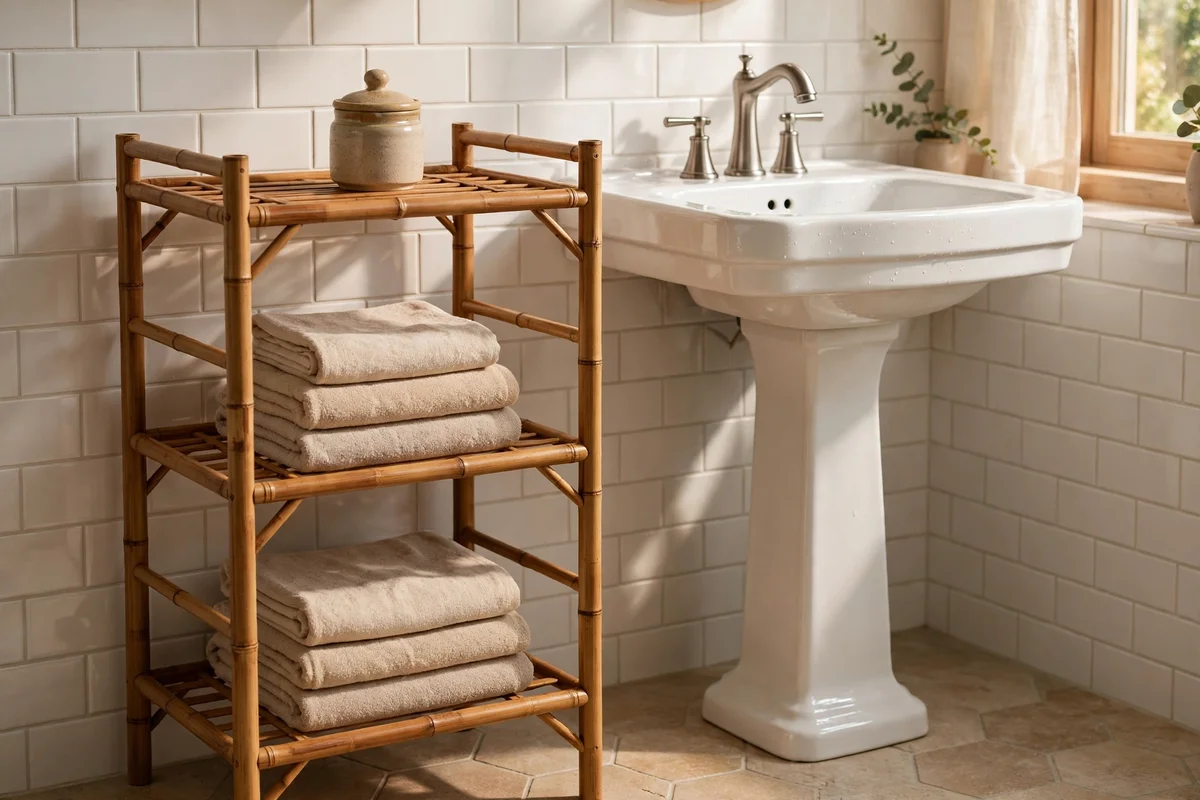
A two or three tiered floor stand, about 25 cm wide and 60 to 80 cm tall, turns a strip of dead floor into layered storage. Bamboo, powder-coated metal or sturdy rattan all survive bathroom humidity, and a stand with a small footprint slides neatly between the pedestal and the bath. Put folded towels on the lowest tier, daily bottles in the middle and a small plant or a lidded jar on top. Budget stands cost little, while solid teak is a long-term investment piece.
Keep the top of the stand for display and the lower tiers for work, so the eye sees calm and the hands find function. The mistake to avoid is letting the stand drift away from the wall into the walkway, where it catches hips and elbows; tuck it fully into its slot after cleaning. Wipe metal stands monthly to catch early rust spots, especially around the feet. A tiered stand also works in a rental, since it needs no screws at all and moves with you.
14. Add a Slim Floating Shelf Beside the Mirror
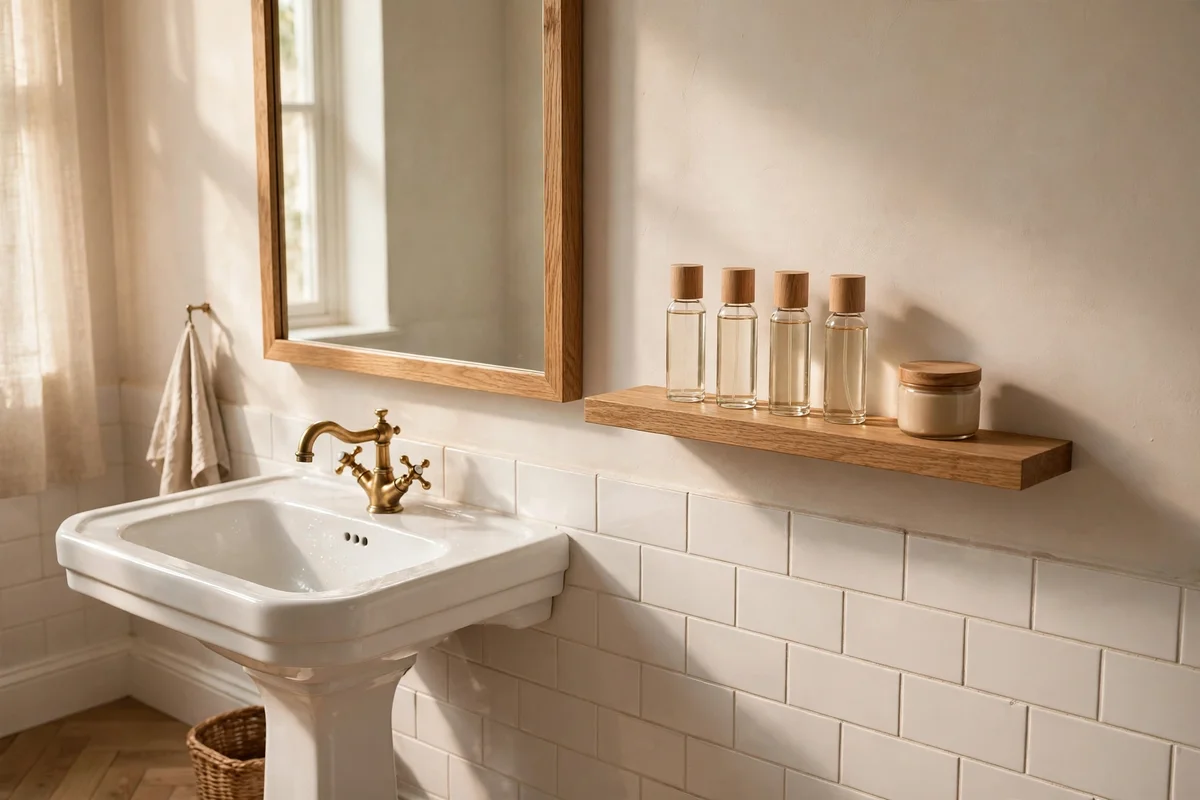
A floating shelf 40 to 60 cm long and only 12 to 15 cm deep, mounted beside the mirror at eye level, holds extra bottles without crowding the basin. Keep the shelf at least 10 cm clear of the mirror edge so reflections do not double the visual clutter. Solid oak, walnut or sealed pine all look warm against tiled walls, and hidden brackets give the clean floating effect. One shelf is usually enough; two works only in wider bathrooms where the wall space genuinely allows it.
Style the shelf with a short row of matching bottles, one small lidded jar and nothing else; restraint is what makes a narrow shelf look expensive. The mistake to avoid is loading it with heavy glass bottles on a single weak bracket, so use two brackets rated for the full weight plus a margin. Dust the shelf weekly, since eye-level surfaces show dust first. A single oak floating shelf with hidden brackets is a mid-range buy that takes half an hour to fit.
15. Fit a Compact Corner Shelf in the Gap Next to the Pedestal
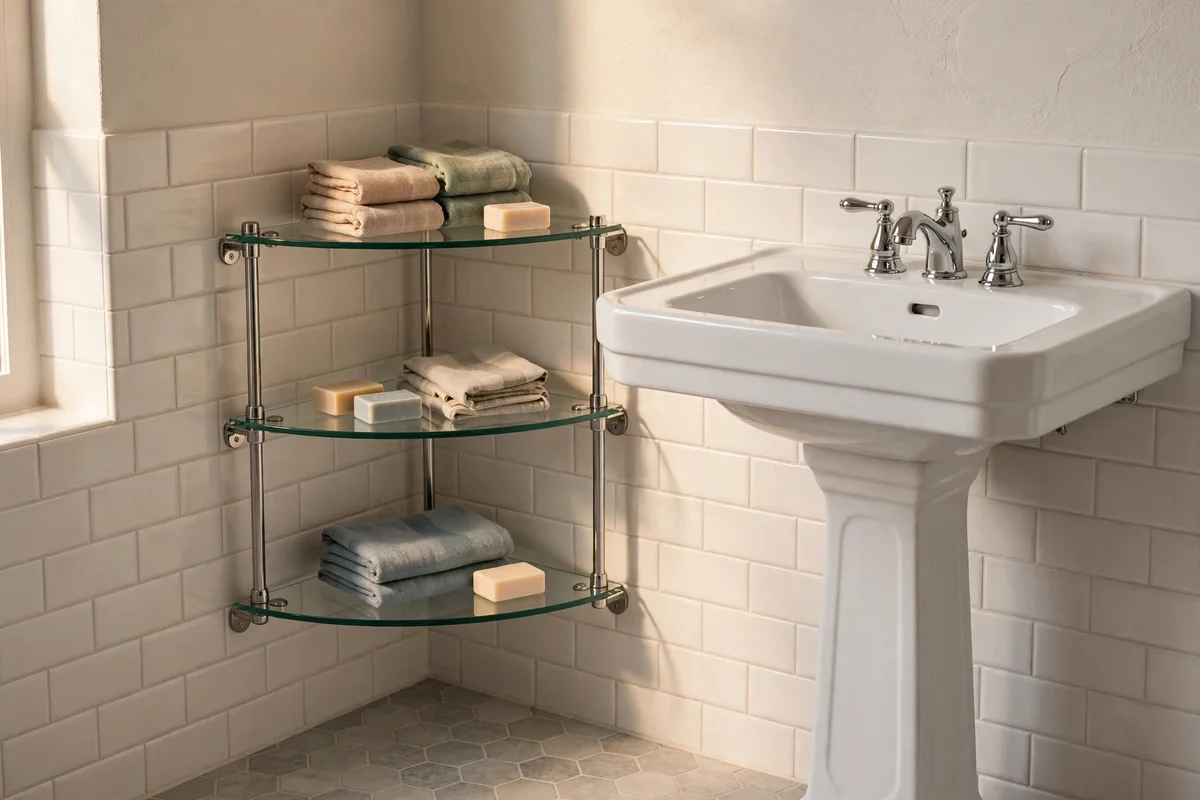
The corner where the pedestal meets the wall often hides a triangle of unused space big enough for a compact corner shelf. Choose a corner unit 25 to 35 cm along each wall, with two or three tiers, and mount the lowest tier about 60 cm from the floor so it clears the basin curve. Glass or light wood keeps the corner feeling open rather than heavy. This is a budget-friendly fix, and most corner shelves fit with just two screws into each wall.
Use the corner shelf for the overflow that does not fit the basin tray: a spare soap, the hand cream, a small stack of flannels. The mistake to avoid is choosing a deep corner unit that juts past the basin edge and catches shoulders; keep the depth under 30 cm. In a rental, a tension-mounted corner caddy needs no drilling and wedges between floor and ceiling instead. Wipe glass tiers monthly so water spots do not build up and dull the shine.
16. Decant Cotton Pads and Swabs Into Lidded Glass Jars
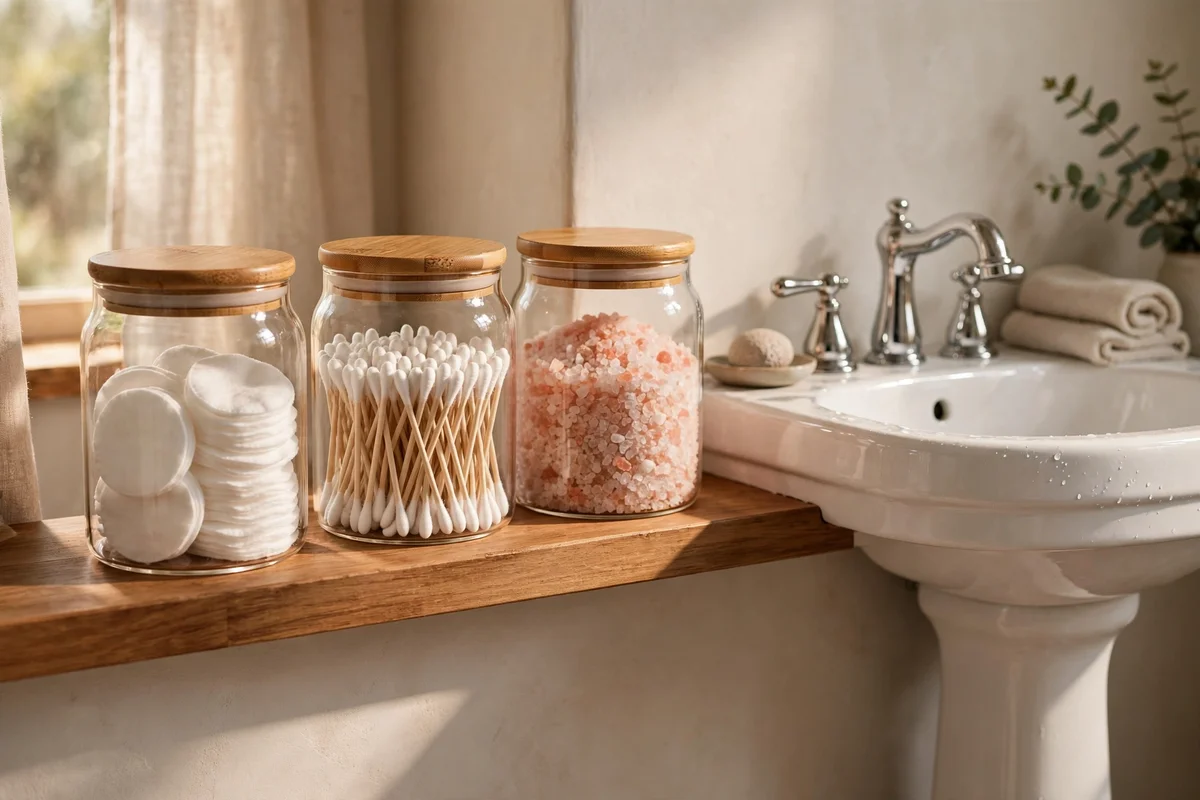
Bulky cardboard packaging eats shelf space, so move cotton pads, swabs and bath salts into lidded glass jars that stack or line up neatly. Choose jars 10 to 15 cm tall with wide mouths, so a hand reaches in easily, and pick lids that seal well against bathroom steam. A row of three matching jars on the wrap shelf or the trolley top looks calm and costs little. Glass lets you see when stock runs low, which ends the habit of buying duplicates.
Keep one jar for daily cotton pads, one for swabs and one for bath salts or spare hair ties, and refill them from the bulk packs stored elsewhere. The mistake to avoid is using open jars in a steamy bathroom, since moisture ruins cotton pads and swabs quickly; a proper lid is non-negotiable. Wash the jars monthly in warm soapy water and dry them fully before refilling. A set of three glass jars with bamboo lids is a budget buy that instantly upgrades the look of any shelf.
17. Decant Bulky Bottles Into Slim Refillable Bottles
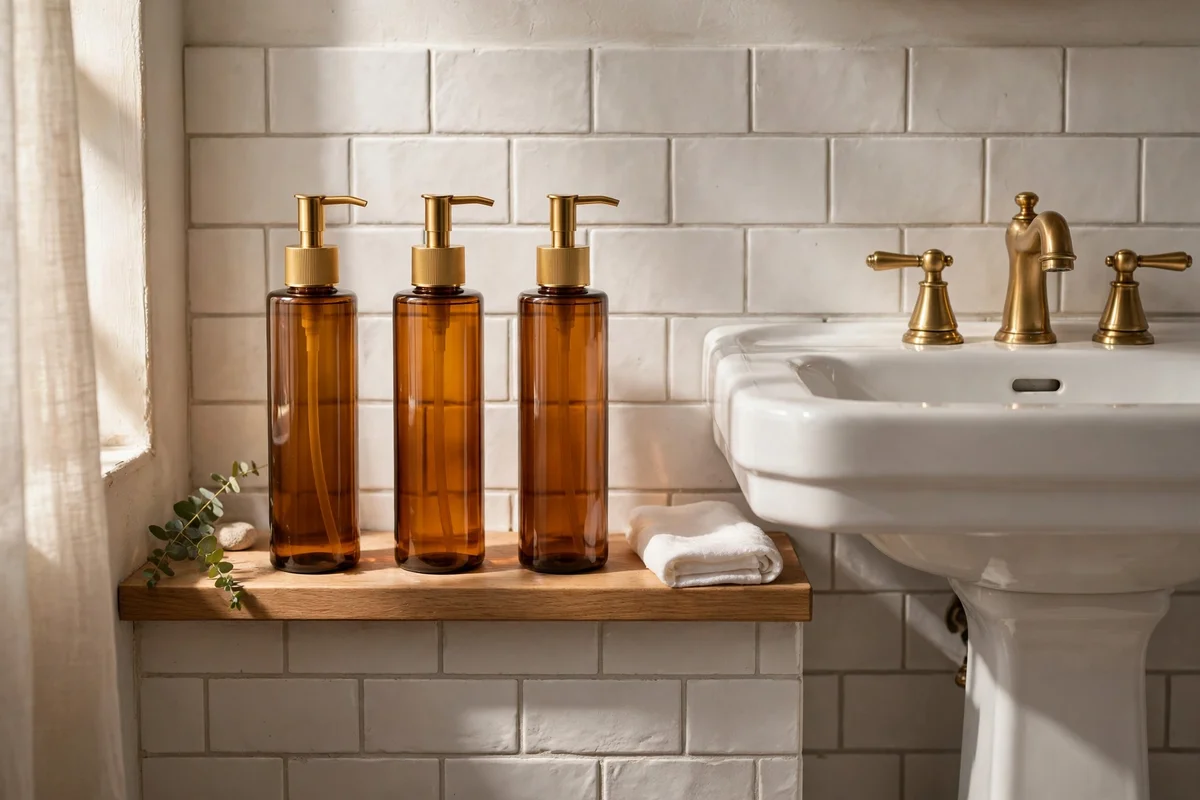
Family-size shampoo and shower gel bottles are wide and wasteful of narrow shelves, so decant them into slim refillable bottles of 200 to 300 ml. Choose pump bottles 6 to 8 cm in diameter, in one matching set, so three bottles fit where one giant one used to stand. Keep the big originals in the backup storage spot and refill monthly. Amber or frosted plastic hides water spots, and a pump dispenses the right amount without waste.
Label the refillable bottles by position or colour, not by handwritten stickers that peel in the steam; one colour per product keeps things clear. The mistake to avoid is decanting products with active ingredients, like medicated shampoos, into unmarked bottles where someone could mix them up; keep those in their original packaging. Rinse refillable bottles every two or three refills to stop residue building up. A matching set of slim bottles is a small budget spend with an outsized visual payoff.
18. Keep a Lidded Basket for Spare Rolls Beside the Pedestal
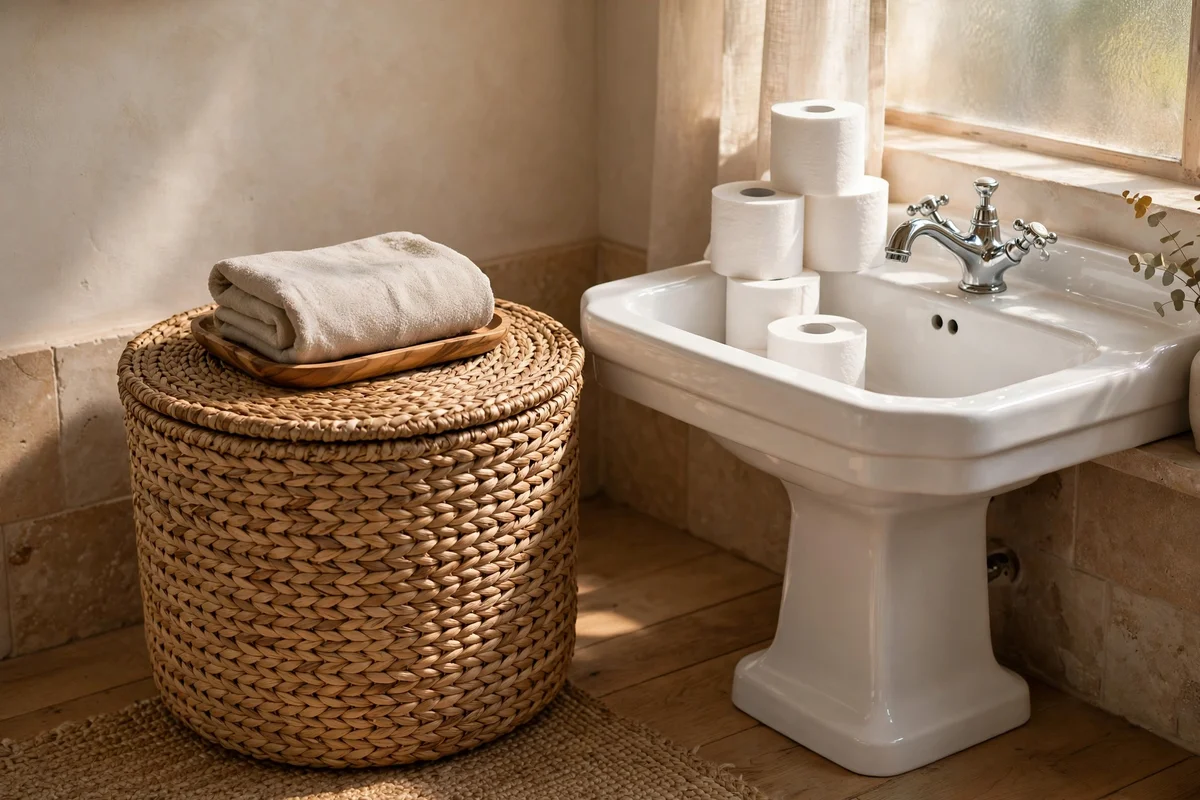
Spare toilet rolls always need a home near the bathroom, and a lidded basket beside the pedestal keeps them dry, dust-free and out of sight. Choose a basket 30 to 40 cm tall and 25 to 30 cm wide, which holds four to six rolls standing upright. A fitted lid stops steam from softening the paper, and a washable liner protects the basket from splashes. Seagrass or lidded rattan blends with most bathroom styles and costs little.
Restock the basket when it drops to two rolls, so you never face an empty holder mid-visit. The mistake to avoid is stacking rolls in an open basket right beside the shower, where overspray soaks the outer layer; a lid or a spot further from the water solves it. Shake out the liner monthly to remove dust. This basket doubles as a side table of sorts, and a small tray on its lid can hold a spare hand towel or a reed diffuser.
19. Leave the Trap and Pipes Clear for Quick Plumbing Access
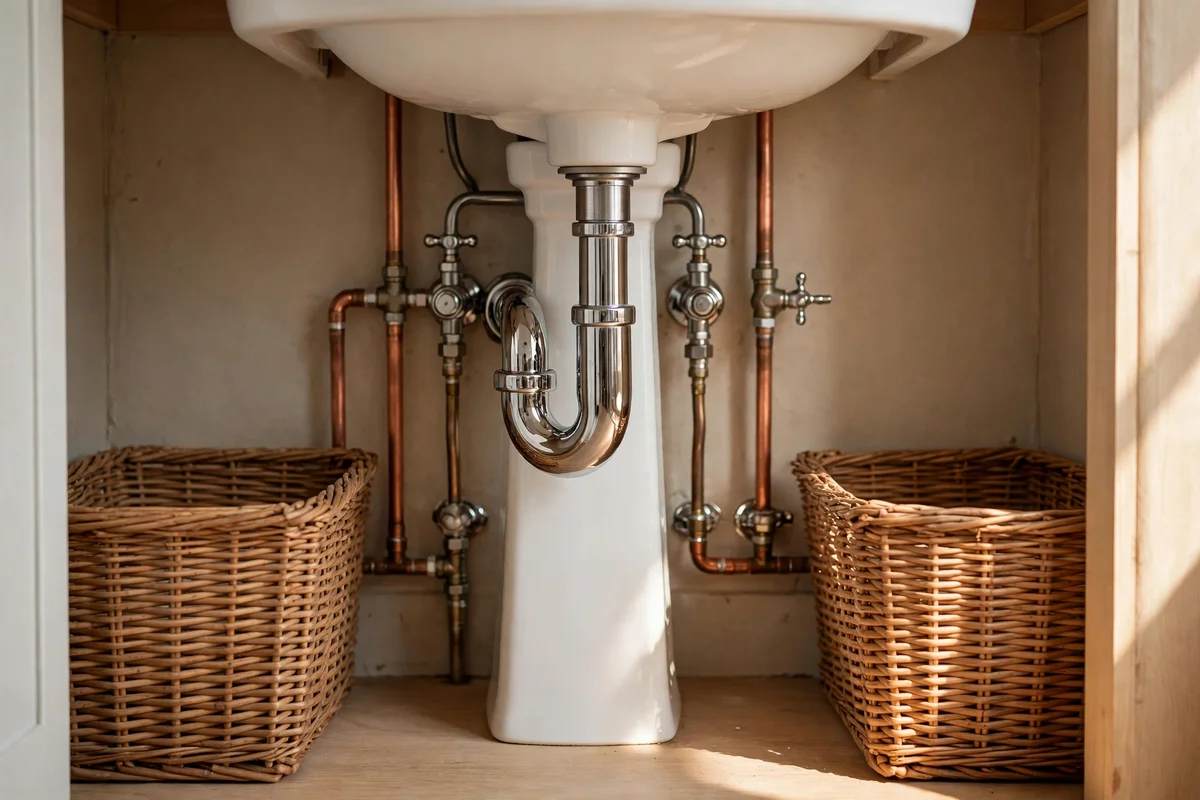
Every storage plan around a pedestal sink must leave the trap and shut-off valves reachable, because a blocked drain or a leak needs fast access. Keep a clear lane at least 20 cm wide behind your baskets and boxes, straight back to the pipes. Choose storage that lifts away in seconds, such as baskets or a rolling trolley, rather than fixed panels that need unscrewing. Knowing where the shut-off valve is, and being able to reach it, turns a midnight leak from a flood into a footnote.
Once a month, pull the storage back and check the pipes for drips, damp patches or a musty smell, which are the early signs of a slow leak. The mistake to avoid is sealing the back of a fitted cabinet flush against the wall with no access hatch, since a plumber will have to cut it open. Fit a removable panel or leave the cabinet back open if you build one. Teach everyone in the household where the shut-off valve sits, so the right tap gets turned in an emergency.
20. Finish With a Weekly Five Minute Reset of the Sink Corner
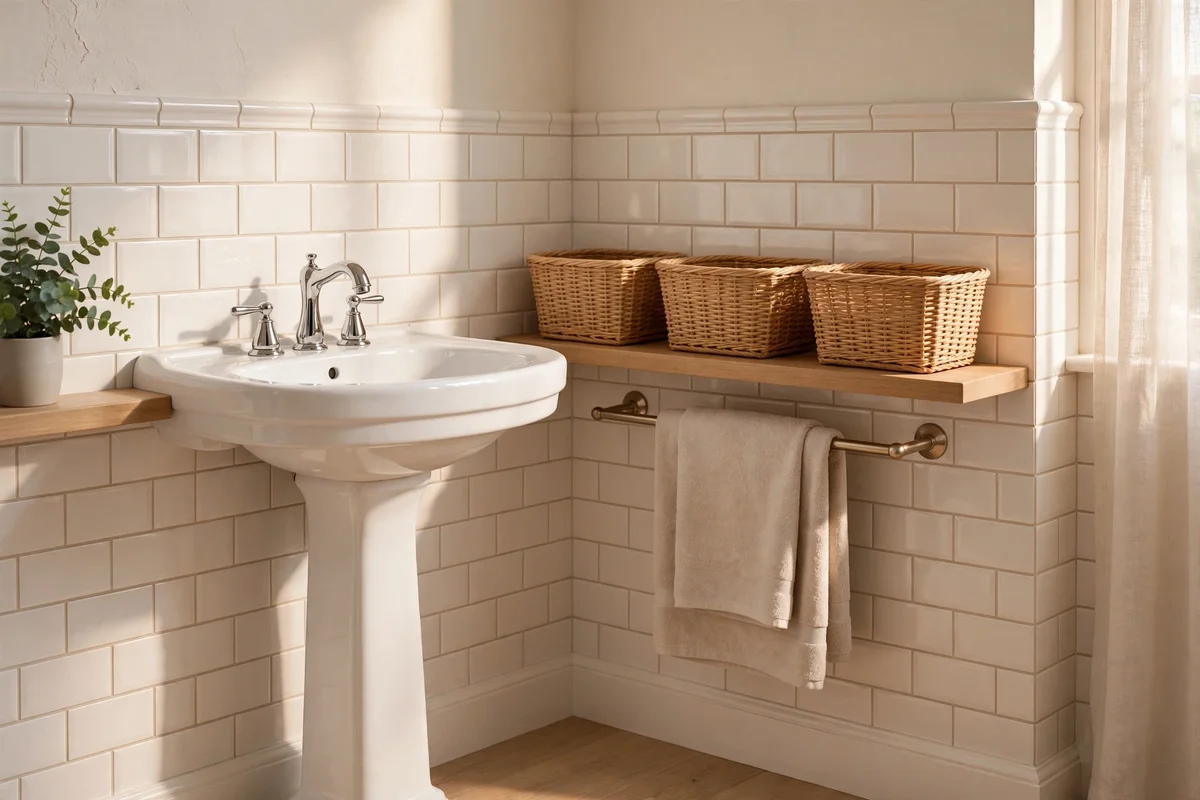
Storage only works if it stays organised, so give the sink corner a five minute reset once a week. Lift everything off the shelf, tray and trolley top, wipe each surface with a damp cloth, and put back only what belongs there. Toss empty bottles, return stray items to their baskets, and straighten the towel rail. This tiny routine stops the slow creep of clutter that turns clever storage back into a messy corner within a month.
Do the reset on the same day as the bathroom clean, so it becomes one habit instead of two chores. The mistake to avoid is treating the reset as a big tidy-up that needs an hour; five minutes with a timer keeps it light and repeatable. Involve the whole household by giving each person their own caddy to check. A small bathroom stays calm not because it has perfect storage, but because someone tends it briefly and often.
A pedestal sink asks for a different kind of tidiness than a vanity: less hiding, more intention. The twenty ideas above all work with the porcelain curve instead of against it, turning empty air into shelves, baskets, rails and jars that each hold one clear job. Start with the single change that solves your biggest daily annoyance, whether that is a tray for the soap or a mirrored cabinet for the bottles.
Keep the trap lane clear, keep the daily set small, and give the corner its five minute weekly reset, and the calm will last. A small bathroom rewards the household that tends it briefly and often far more than it rewards the one that buys the most storage. Choose one idea today, fit it this weekend, and enjoy a sink corner that finally has a place for everything.
Frequently Asked Questions
Where can I put things if my pedestal sink has no storage at all?
Build around the pedestal rather than replacing it. A wrap-around shelf, a slim rolling trolley and baskets under the basin curve add three layers of storage without touching the plumbing. Above the sink, a mirrored cabinet holds bottles and medicines, while hooks and a small rail take the towels. Keep backups and cleaning products in another cupboard so the sink corner stays for daily items only.
How much does it cost to add storage around a pedestal sink?
A basic setup costs between 30 and 80 pounds or dollars: a small tray, two hooks and a set of baskets. Adding a slim trolley and a floating shelf takes the total to roughly 80 to 150. A mirrored cabinet or a carpenter-built wrap cabinet is the investment tier, usually 150 to 400 fitted. Start with the cheapest layer, live with it for a month, then spend on the piece you still miss.
Can I add storage around a pedestal sink in a rented home?
Yes, and several ideas need no drilling at all. A slim rolling trolley, stacking lidded boxes, baskets under the basin and a tiered floor stand are all freestanding. Self-adhesive hooks rated for the weight work on smooth tiles, and a tension-mounted corner caddy wedges between floor and ceiling. Keep the original fittings in a bag for move-out day, and avoid anything fixed that your landlord has not approved.
What size baskets fit under a pedestal basin?
Most pedestal basins leave 40 to 60 cm of floor width and about 20 to 25 cm of clear height beneath the curve. Choose baskets 25 to 35 cm wide and no taller than 20 cm, so they slide in without touching the pipes. Measure your own pedestal at its widest point before buying, and leave 2 cm of clearance on each side. Two low baskets side by side usually fit better than one wide one.
How do I stop the area under a pedestal sink from looking messy?
Give every item a container and every container a job. Lidded boxes in one colour hide clutter, baskets with liners keep small things from spilling out, and a weekly five minute reset stops drift. Keep the daily set at the basin small, move backups elsewhere, and always leave a clear lane to the pipes. When everything under the sink lifts away in seconds, the corner stays easy to clean and easy on the eye.