Home Improvement
20 RV Makeover Ideas for a Calmer Life on the Road
By Anna Wells · · 21 min read
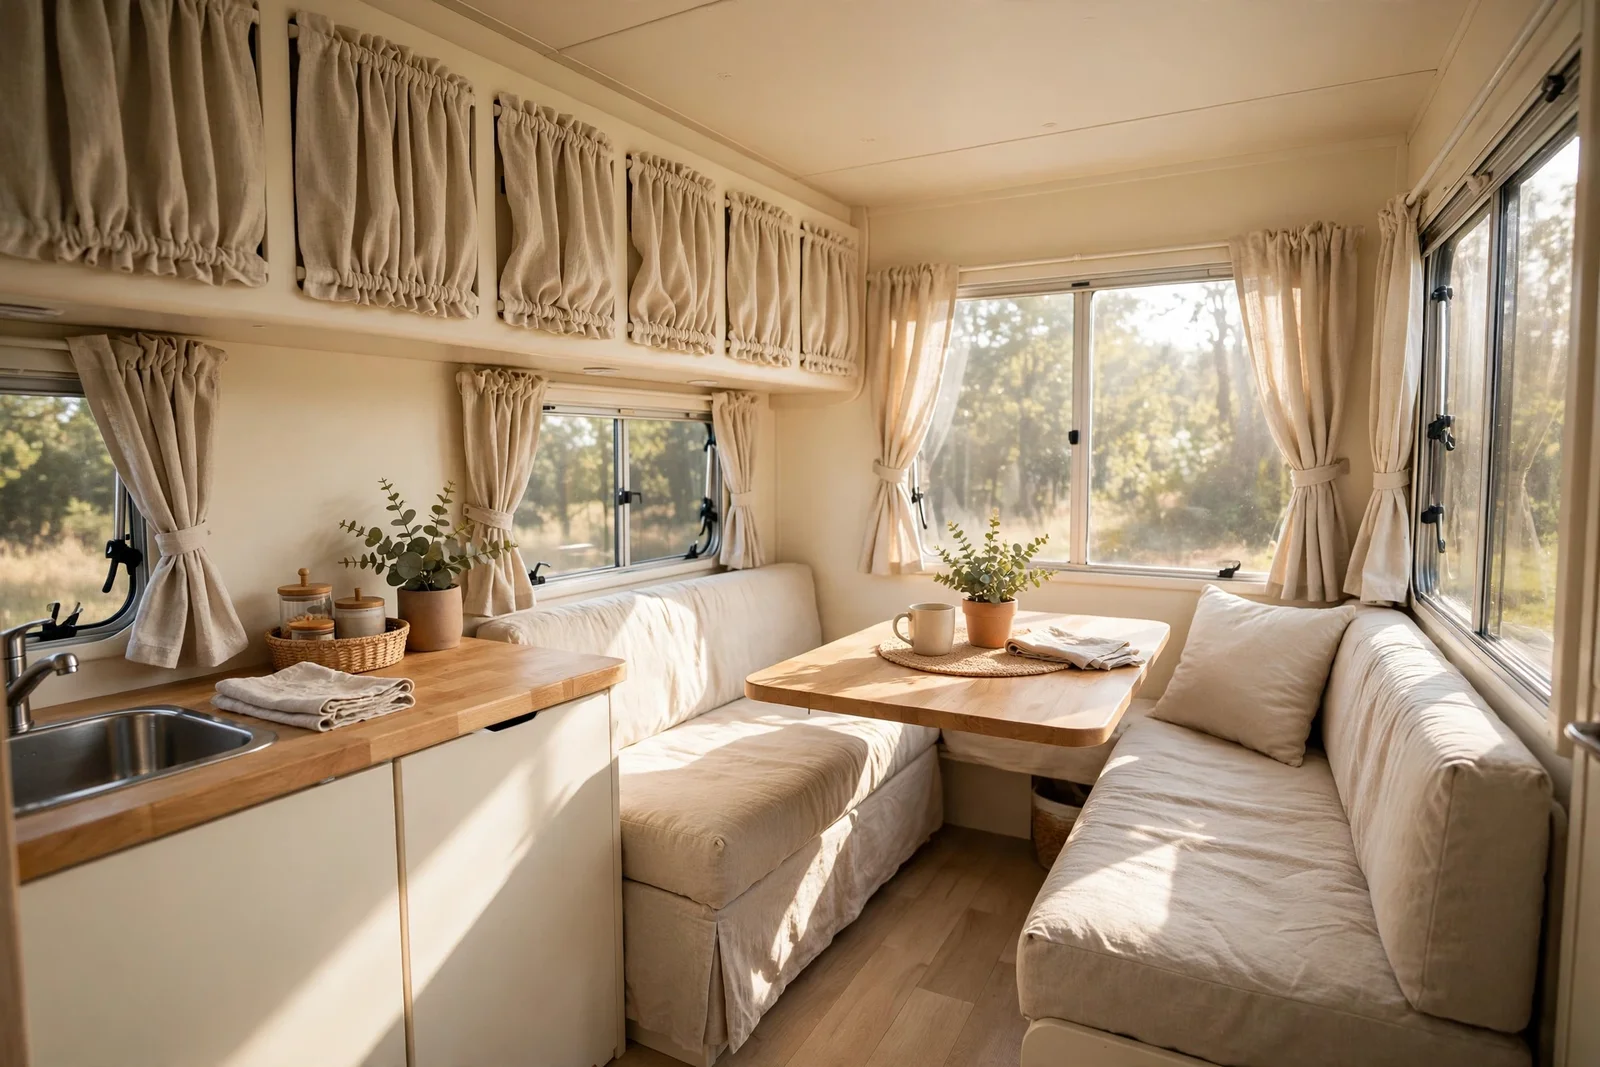
Twenty calm, family-friendly RV makeover ideas, from warm paint and peel-and-stick floors to light storage and cosy bedding, all honest about weight.
Morning light slips through the small windows and lands on tired brown cabinets, and for a moment the whole van feels smaller than it is. Every family who tours in a caravan knows that feeling: the road is wide and free, but the box you sleep in can feel dated and dim.
A calmer life on the road does not need a full rebuild or a workshop. It needs warm light tones on the walls, floors that wipe clean, storage that respects the weight limit, and bedding that handles both August heat and October frost. Small, honest changes compound into a van that feels like a little home.
This guide gathers twenty practical ideas, each one tested against real touring life: paint that flexes with the body, peel and stick surfaces rated for movement, curtains instead of heavy doors, and storage where every gram is counted honestly. Nothing here needs specialist tools, and most projects finish in a weekend.
Work through them in any order, starting with whatever bothers you most each morning. By the end you will have a brighter, lighter, calmer caravan, ready for slow miles, long easy evenings under the awning, and mornings that start gently.
1. Paint the Interior Walls a Soft Warm Linen White
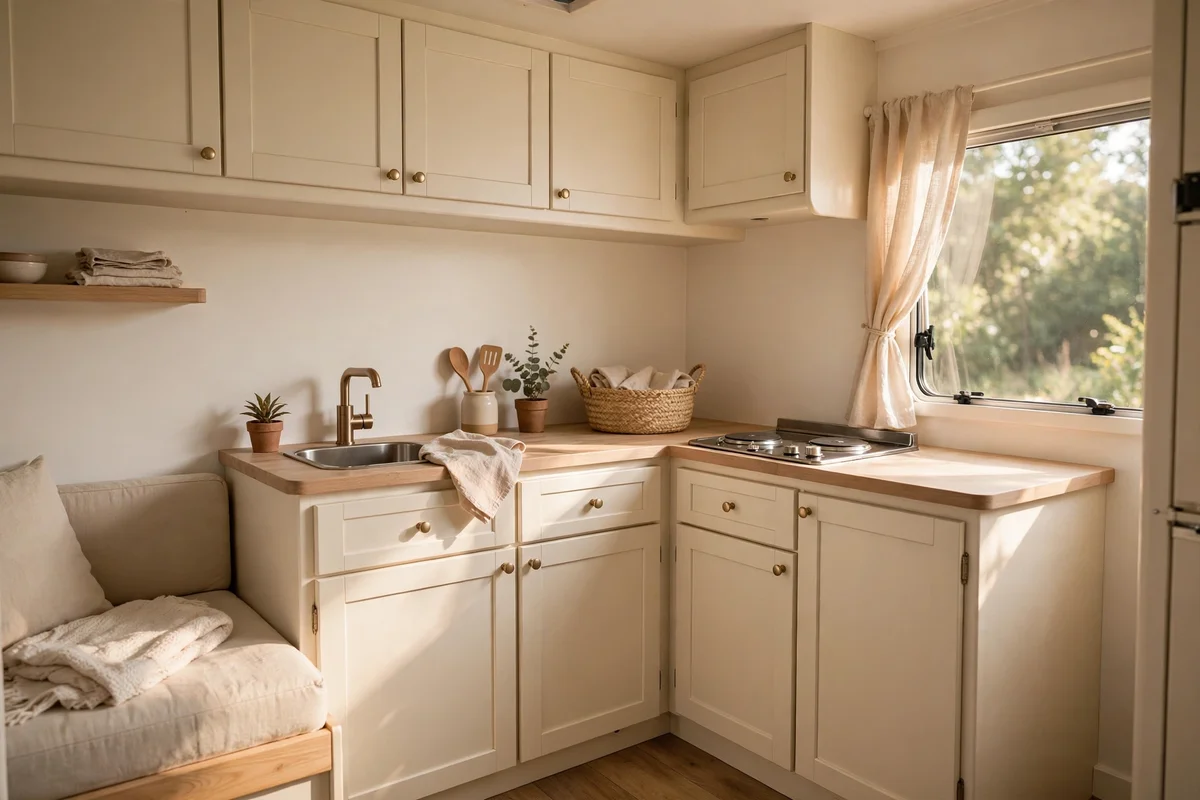
Most RV walls are glossy beige or patterned vinyl that shout 2008. Two coats of a flexible interior paint made for mobile homes, such as a urethane-acrylic cabinet and wall formula in a warm linen white, transform the box into a calm room. Clean with sugar soap, lightly sand any gloss, and wipe down before painting. One 3.8 litre tin covers roughly 35 square metres, enough for most 6 to 7 metre vans, and costs 30 to 45 pounds or dollars. The whole job adds under 4 kg to the rig, since dry paint film is almost weightless.
The mistake to avoid is using ordinary house paint, which cracks when the body flexes over speed bumps. Flexible formulas move with the wallboard instead of fighting it. Work in thin coats with a small foam roller and a 4-hour recoat gap in normal weather. Ventilate well: open the door and roof vent while you paint, since the small space concentrates fumes. Warm whites like linen, oat and soft ivory bounce natural light deeper into the narrow corridor and make cupboards look cleaner.
2. Refresh Cabinet Doors With Warm Cream and Flexible Cabinet Paint
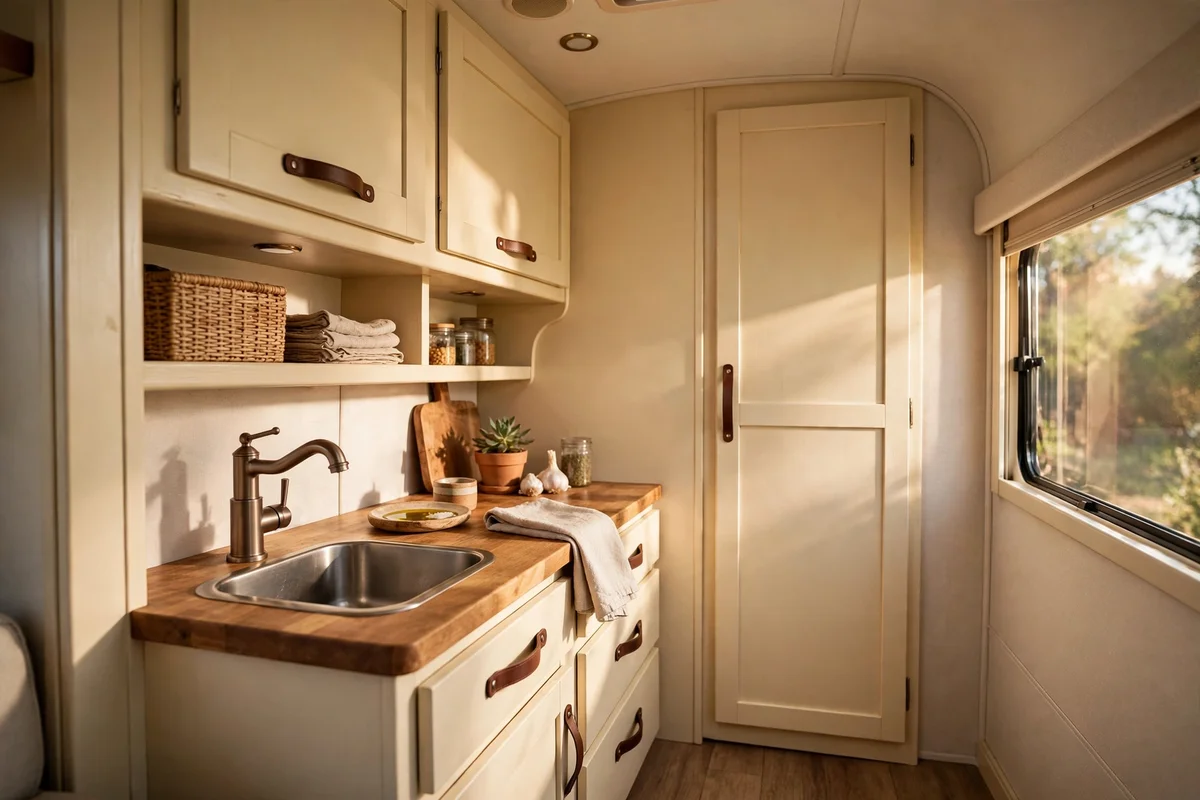
RV cabinet doors take daily knocks from knees, dogs and luggage, so they need a paint that flexes rather than chips. Remove the doors, label each one with masking tape on the back, and sand to a dull finish with 180-grit paper. A urethane-modified acrylic in warm cream gives a soft hand-built look that hides dust better than stark white. Two thin coats with a foam roller usually finish a full galley in one 1-litre tin, costing 12 to 20 pounds or dollars. The dried coats add well under 1 kg in total.
The common mistake is skipping the deglosser step on factory-finished doors; paint then peels in sheets by the second trip. Wipe every surface with a liquid deglosser before sanding, and let hinges and screws dry in a labelled bag. Rehang doors only after 48 hours of cure time so soft paint does not bond to the frame. Keep one small jar of the exact colour for touch-ups after rough roads. Warm cream pairs beautifully with the linen walls from the previous step.
3. Lay Peel and Stick Vinyl Planks Rated for Heat and Movement
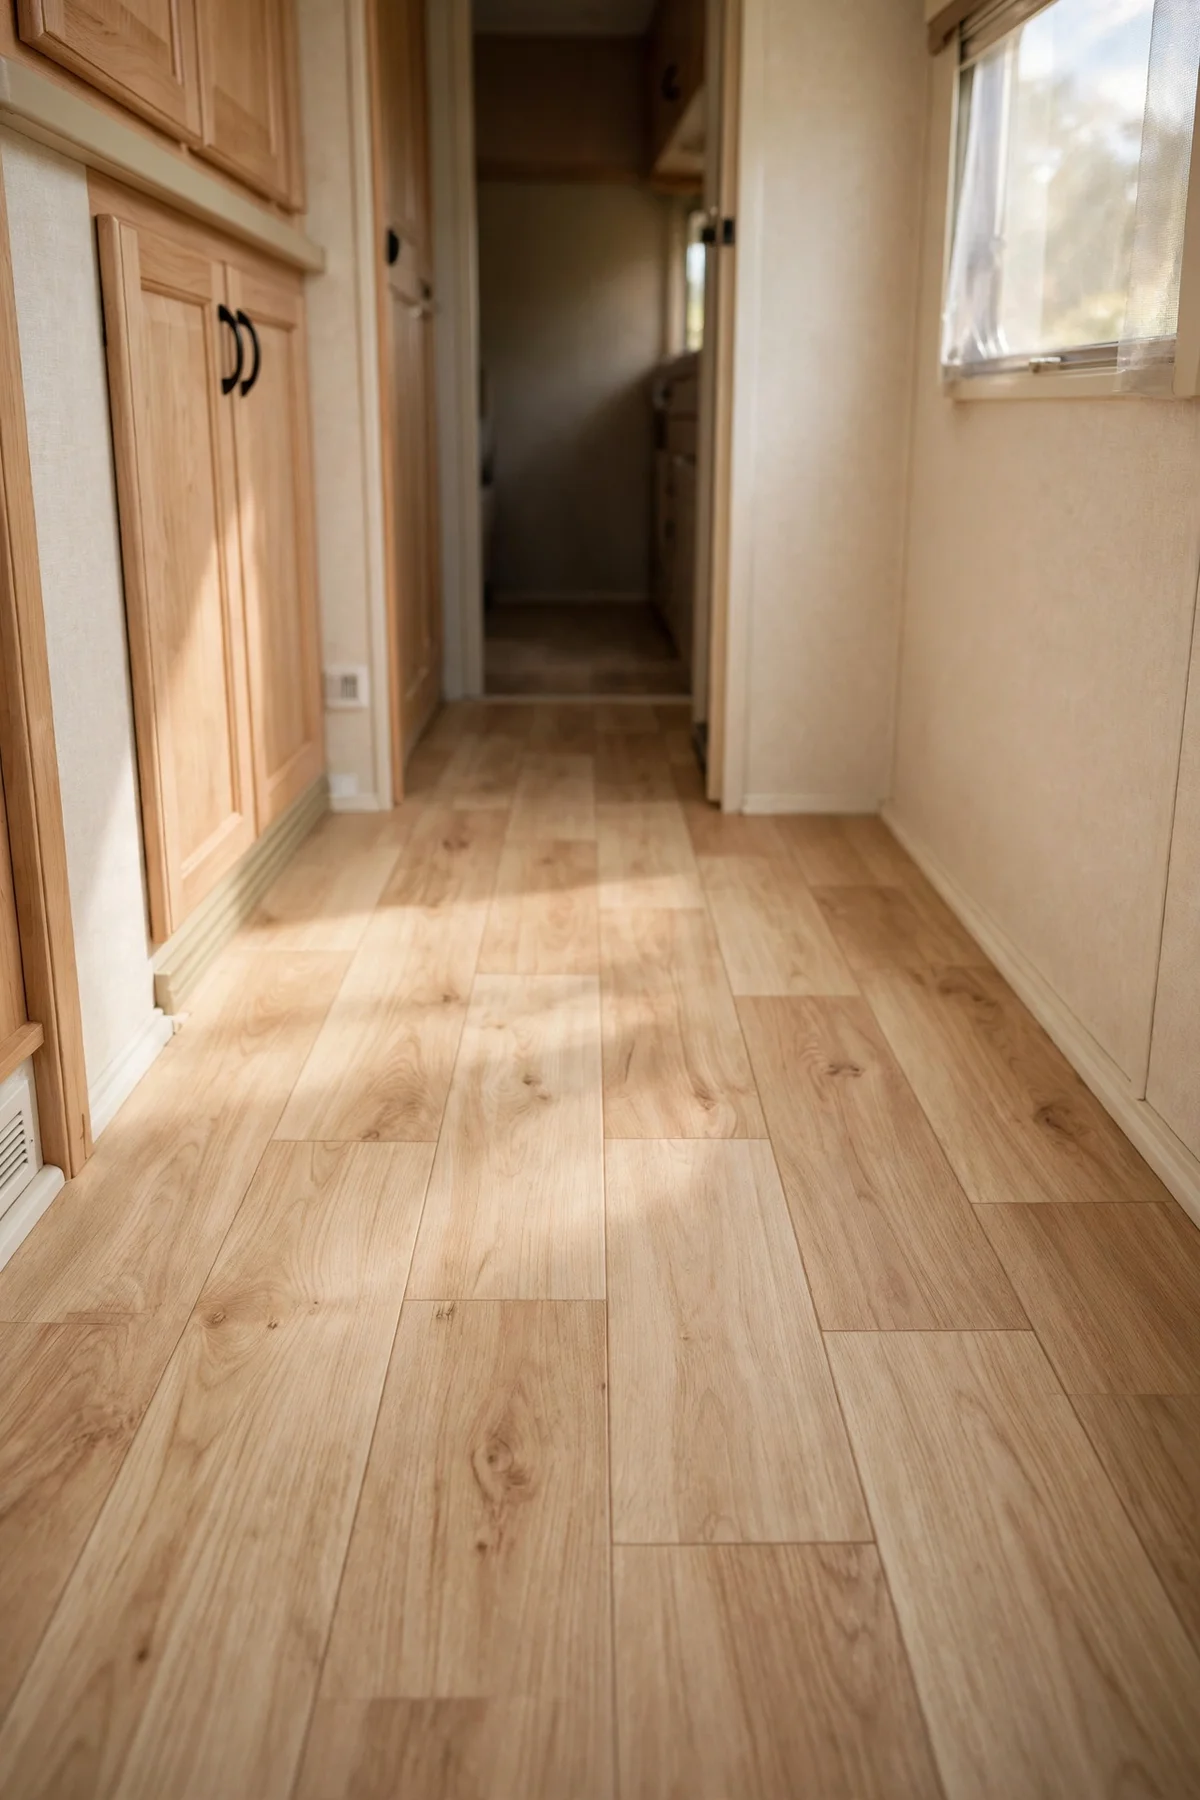
Old carpet in an RV traps crumbs, damp and dog hair, and sheet vinyl often curls at the edges. Peel and stick vinyl planks rated for at least 60 degrees Celsius suit mobile floors that flex and bake in the sun. Choose a warm oak or pale ash finish in planks 90 cm by 15 cm, which read as real timber at a glance. Most 6-metre vans need two to three boxes covering about 5 square metres, costing 60 to 90 pounds or dollars in total. The vinyl adds about 6 kg for a typical van.
The mistake to avoid is laying planks over old carpet or dirt, which guarantees lifting by the first hot day. Strip the old floor, vacuum twice, and lay a thin flexible primer if the subfloor is rough plywood. Start at the door and work toward the bed so cut edges hide under furniture. Leave a 3 mm gap at walls for expansion, hidden by quarter-round trim. Press each plank with a rolling pin or floor roller for full adhesion.
4. Backsplash the Cooktop Area With Peel and Stick Subway Tiles
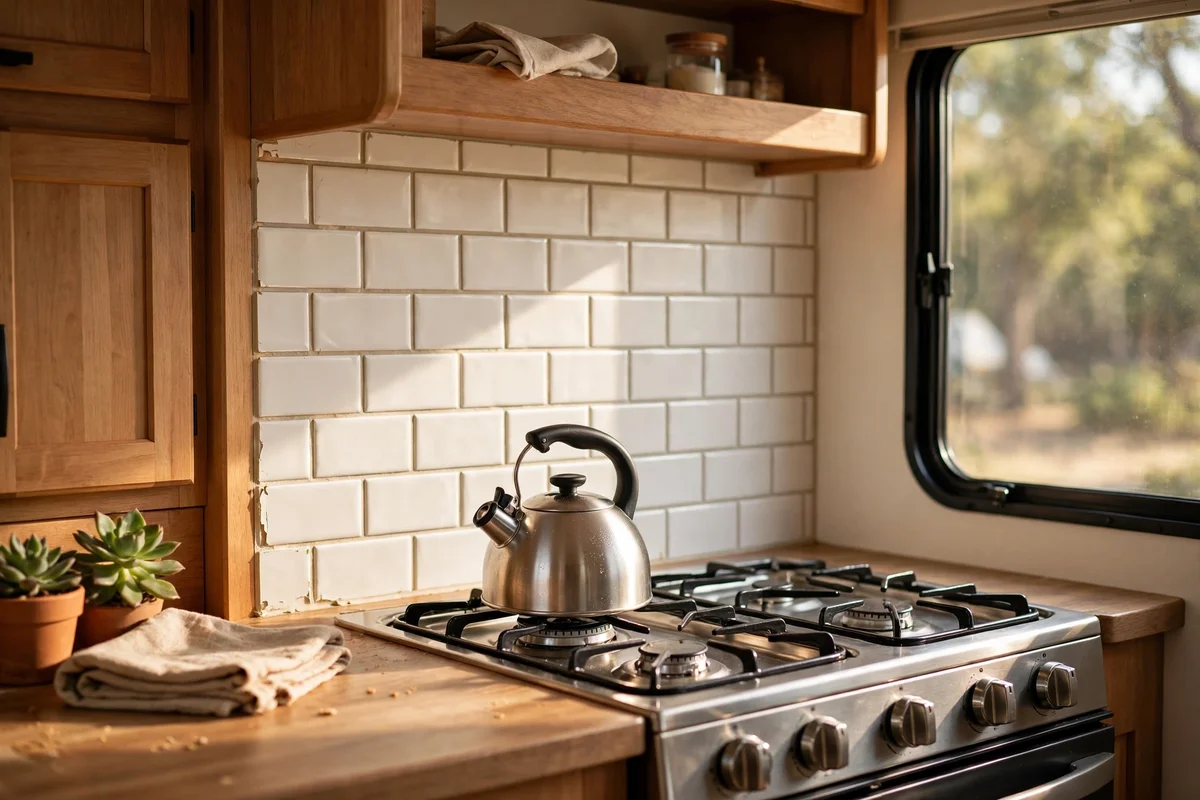
Grease and tea splashes stain the bare wallboard behind most RV cooktops within a season. Peel and stick subway tiles, 10 by 20 cm in warm white or soft sage, wipe clean in seconds and brighten the galley. Buy tiles rated for heat and humidity, and choose genuine stone or gel tiles over paper-thin foil ones. One pack of ten sheets, each about 30 by 30 cm, covers the typical 1.2-metre splashback zone and costs 15 to 30 pounds or dollars. Tiles add roughly 2 to 3 kg for the splashback area, far lighter than real ceramic.
The mistake to avoid is sticking tiles over greasy walls, which lets them slide down overnight. Degrease with sugar soap, dry fully, and mark a level line before the first tile goes up. Overlap sheet edges by 2 mm so no wallboard shows through the grout lines, and roll the finished wall with a wallpaper seam roller. Keep two spare sheets for repairs after bumpy roads. Warm white tiles reflect the cooktop light and make evening tea-making feel calmer.
5. Replace Heavy Cupboard Doors With Gathered Cotton Curtains
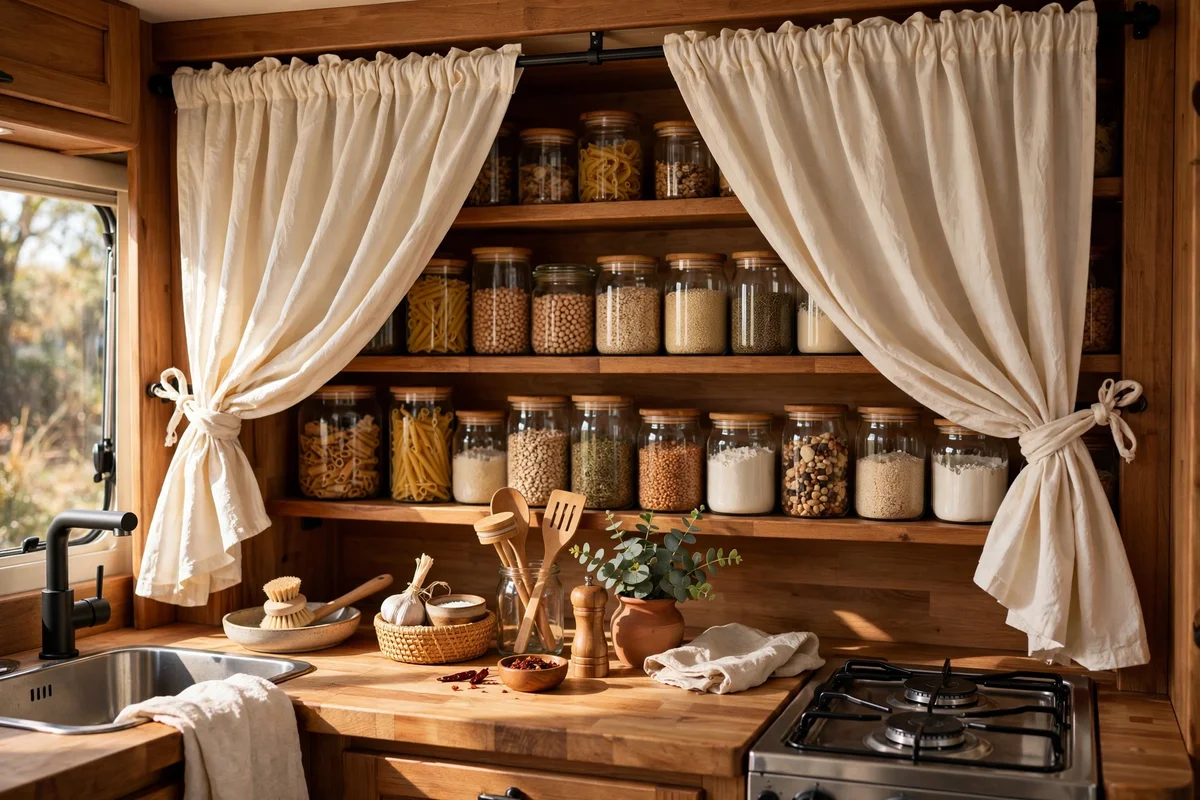
Solid cupboard doors in small RVs bang open on corners and add visual heaviness. Replacing upper cupboard doors with gathered cotton curtains on slim tension rods softens the whole galley in an afternoon. Choose a medium-weight cotton in warm cream or dusty sage, cut panels 1.5 times the opening width for a proper gather, and hem to clear the worktop by 2 cm. Four rods and about 2 metres of fabric usually cost under 40 pounds or dollars. Removing the doors sheds 4 to 6 kg while curtains add barely 500 g, a genuine weight win.
The mistake to avoid is using slippery polyester fabric, which slides off the rod every time the van rocks. Cotton with a little texture grips the rod and washes well after cooking steam. Fix each rod inside the frame with rubber ends rated for the opening width, and add a small cord tie-back for travel days. Keep one original door in storage if you ever sell, since buyers like the option. The fabric brings gentle movement that rigid doors never can.
6. Double the Wardrobe Space With a Second Tension-Rod Rail
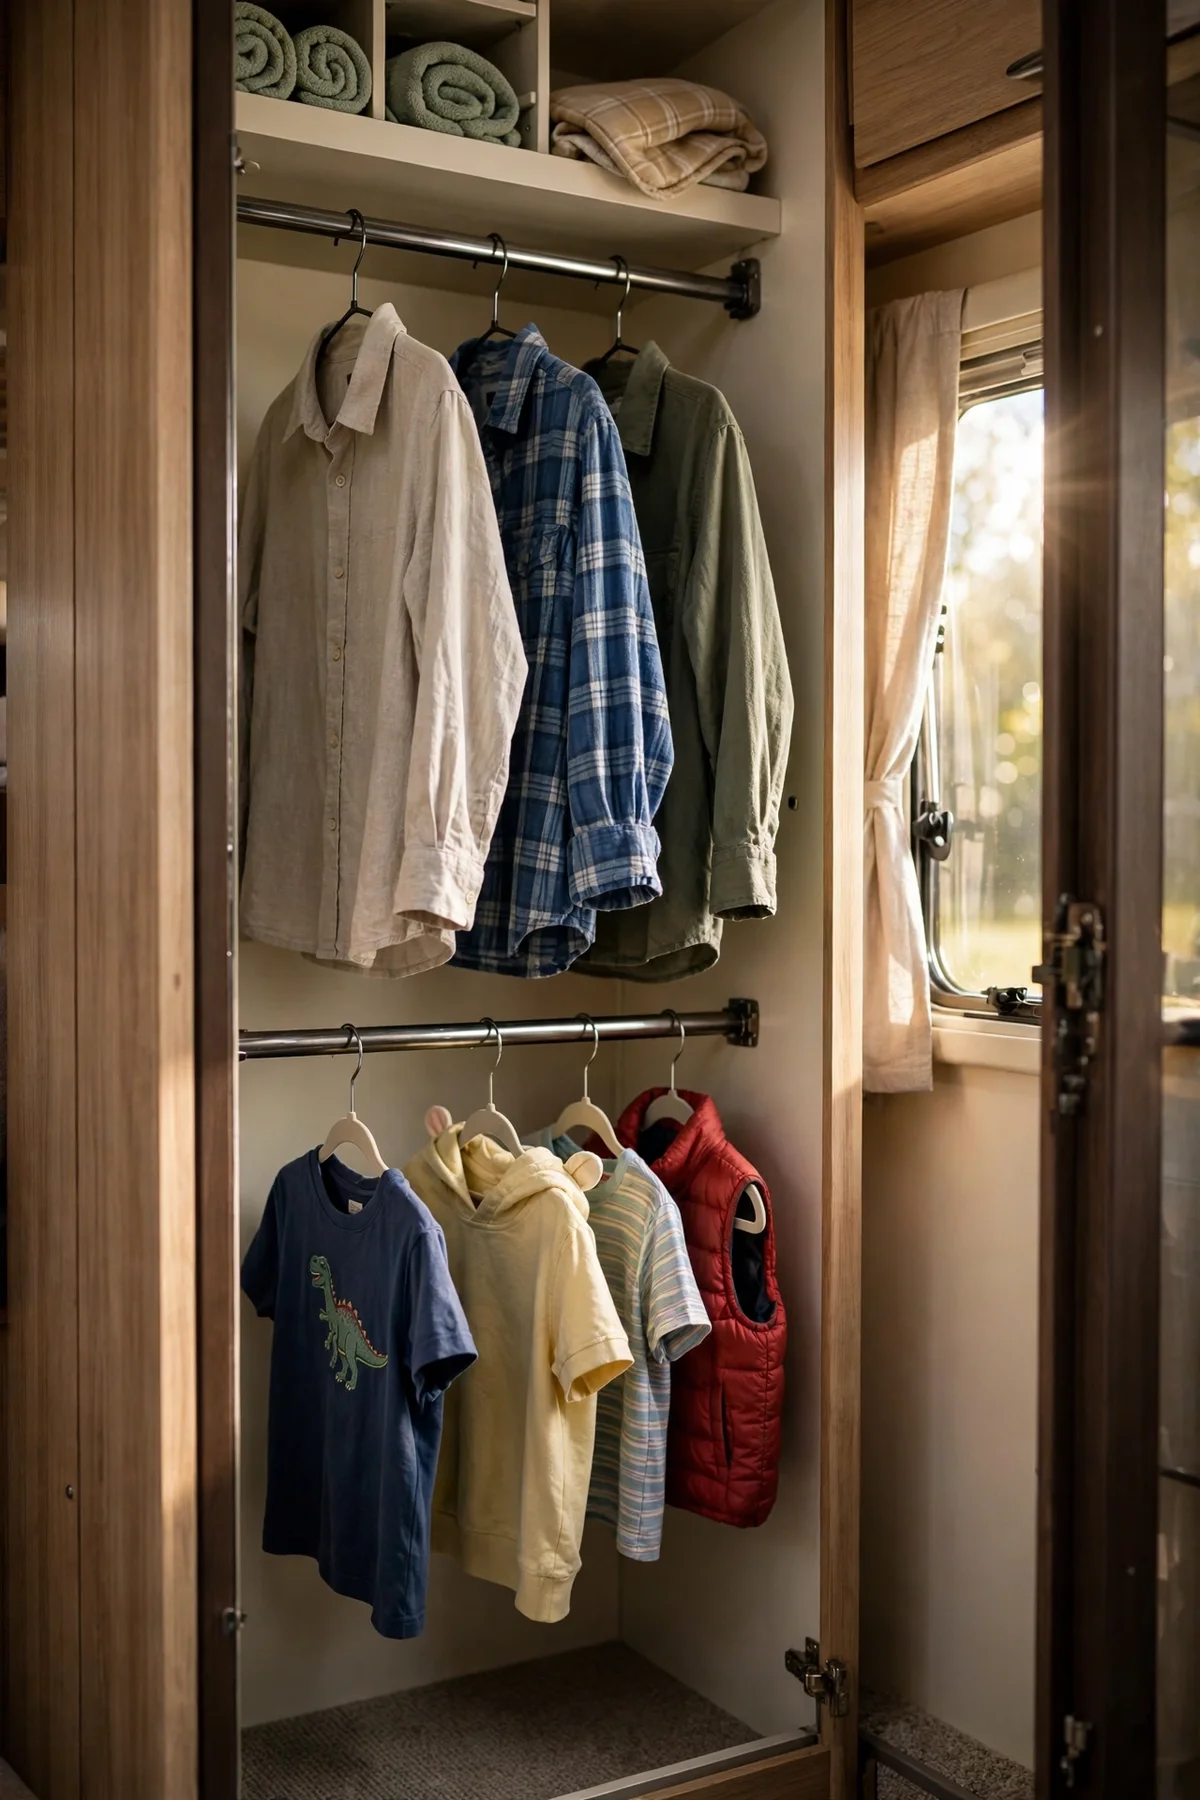
RV wardrobes are tall and narrow, so one long hanging rail wastes the lower half on folded jumpers. A second tension rod fixed 90 to 100 cm below the main rail doubles hanging space for shirts and children’s clothes without a single screw. Choose a steel tension rod rated for 8 to 10 kg, and keep heavy coats on the original fixed rail. Two rods and a set of slim velvet hangers cost 20 to 35 pounds or dollars. The rods add under 1 kg, and velvet hangers weigh 20 g each versus 60 g for wood.
The mistake to avoid is loading the lower rod with heavy jackets, which bends the rod and dents the wardrobe sides. Reserve the tension rail for shirts, light dresses and children’s clothes under 8 kg total. Twist the rod firmly until it stops turning, then test it with a firm downward pull before hanging anything. Fold bulky jumpers into slim packing cubes on the wardrobe floor instead. The double rail keeps the morning routine calm, even in a one-metre-wide wardrobe.
7. Hang Soft Fabric Pockets Along the Bunk Walls for Nighttime Bits
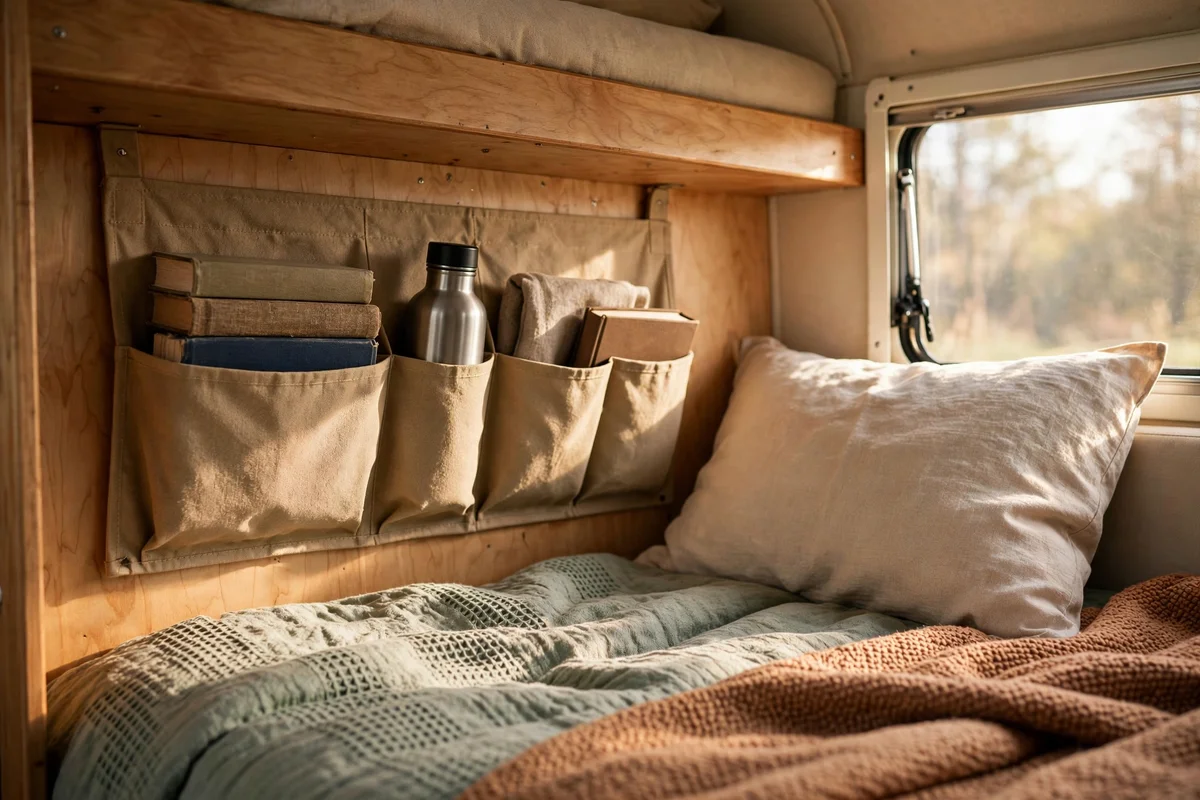
Bunk sleepers collect books, water bottles, torches and phones with nowhere to put them. A fabric wall organiser with six to eight pockets, hung from two adhesive hooks rated for 2 kg each, keeps everything within arm’s reach. Choose a cotton canvas organiser about 50 by 80 cm in a warm neutral that matches the bedding. Position it 20 cm above the mattress so pockets do not press against sleeping faces. Expect to pay 12 to 25 pounds or dollars. The organiser weighs under 400 g empty; hooks add grams, and the contents you choose set the real load.
The mistake to avoid is hanging the organiser with drawing pins, which tear out of thin wallboard on the first rough road. Use adhesive hooks rated for bathroom humidity and press them on for a full 24 hours before loading. Assign each pocket a job: torch top left, book middle, water bottle bottom, so night fumbling ends. Keep the bottom row for soft items only, since hard toys land on sleepers when the van sways. Wash the organiser twice a year; canvas survives the machine easily.
8. Swap Heavy Crockery for Bamboo and Enamel Tableware
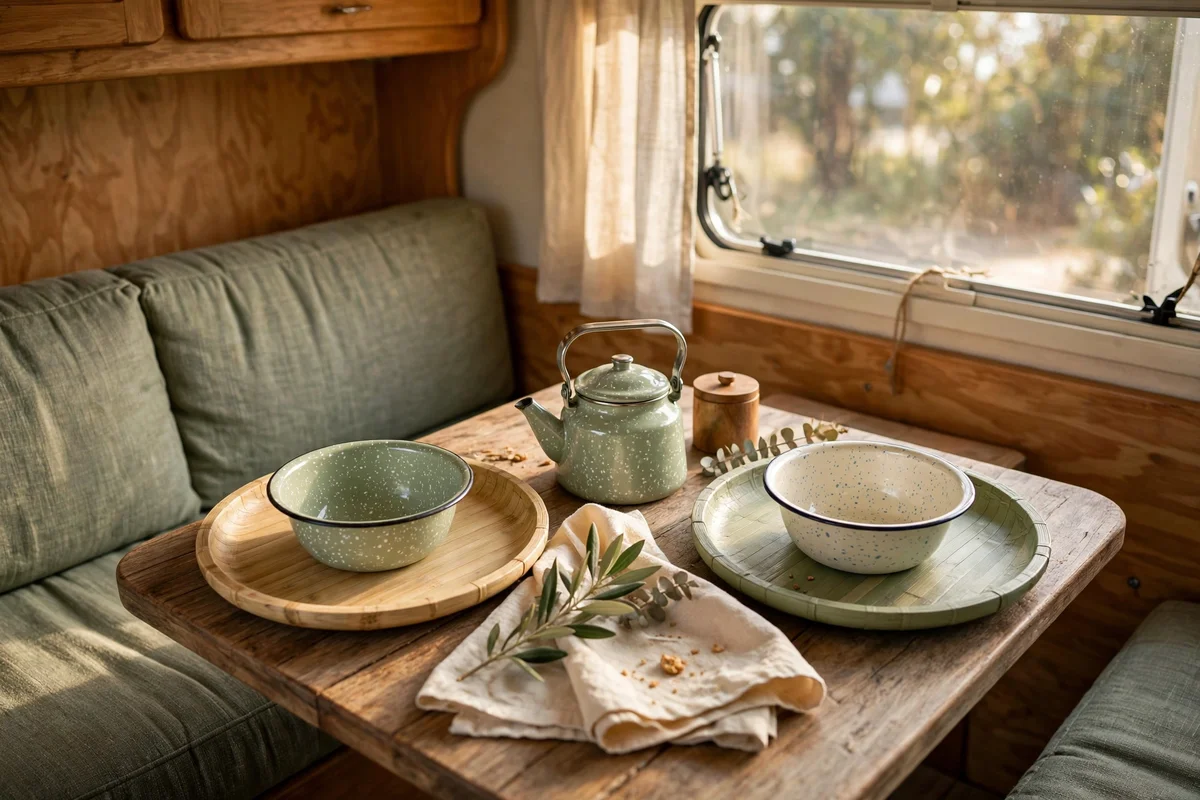
A set of six ceramic dinner plates weighs nearly 4 kg and chips on every cattle grid. Bamboo fibre dinner sets give the same warm table look at a quarter of the weight, and enamel plates add a heritage campsite charm that never breaks. Choose bamboo in cream or sage with a smooth matte finish, and keep two enamel bowls for soups and porridge. A six-person bamboo set plus four enamel bowls costs 25 to 45 pounds or dollars. The swap saves about 3 kg per six-place setting, weight you feel on every hill.
The mistake to avoid is buying ultra-cheap bamboo sets that warp in the drying rack after two washes. Look for dishwasher-safe labelling and a weighty feel in the hand; good bamboo should feel like ceramic. Store plates vertically in a felt-lined rack so they do not rattle, and nest enamel bowls with a tea towel between each. Keep one ceramic mug each if you love them, but move the everyday stack to the lighter set. The table still looks gracious at every family meal.
9. Fit a Folding Wall Table That Seats Four and Stows Flat
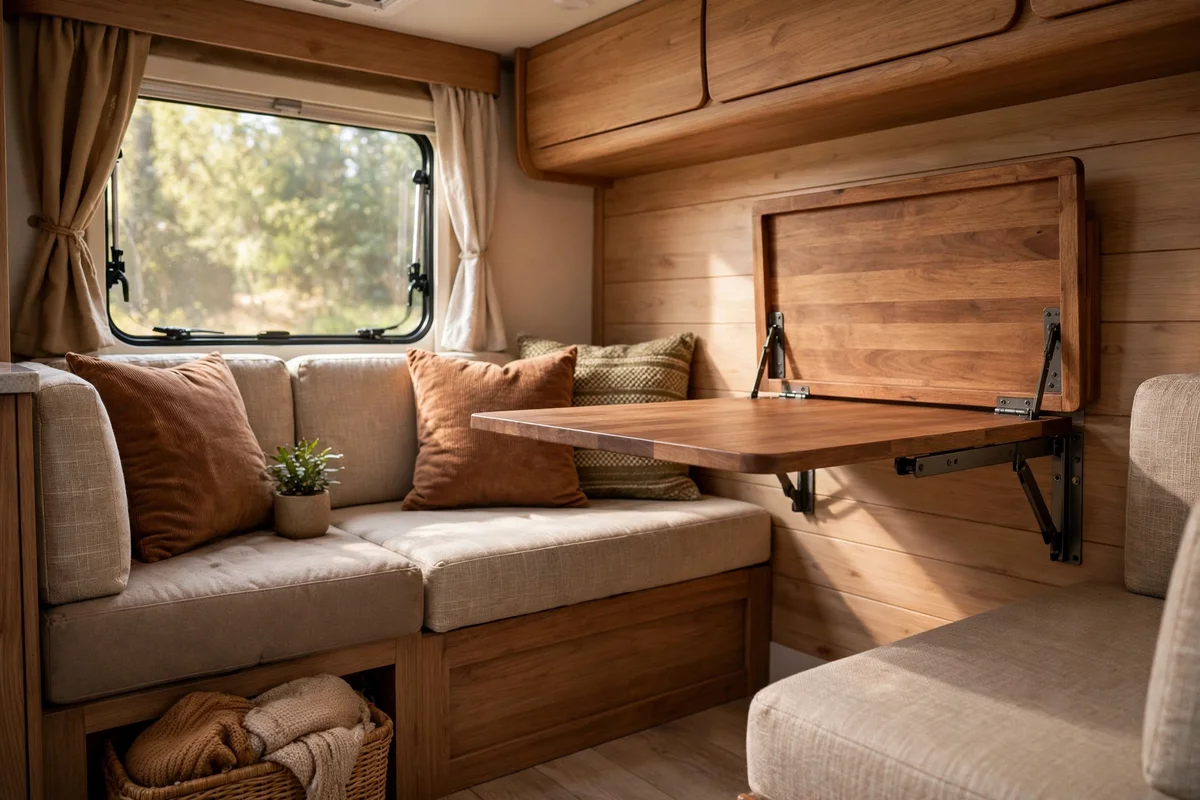
Fixed dinette tables eat floor space all day for two short meals. A wall-mounted drop-leaf table, 80 by 60 cm open and just 8 cm deep folded, seats four for tea and homework then disappears against the wall. Choose a light plywood or bamboo top sealed with hardwax oil, mounted on brackets rated for 30 kg. Position the top 74 cm from the floor, standard dining height, beside the existing bench seats. Kits cost 50 to 80 pounds or dollars. The whole unit weighs 4 to 6 kg, lighter than most fixed pedestal tables it replaces.
The mistake to avoid is fixing the brackets into thin wallboard alone, which pulls out under a loaded table. Bolt through into a wall stud or fit a 30 cm square plywood backer plate inside the cupboard behind. Add a small magnetic catch to hold the leaf flat against the wall in transit. Fold it down for map-spreading, games and schoolwork, then lift it away for yoga or packing space. The nook finally works all day, not just at mealtimes.
10. Slipcover the Dinette Cushions in Washable Warm Linen
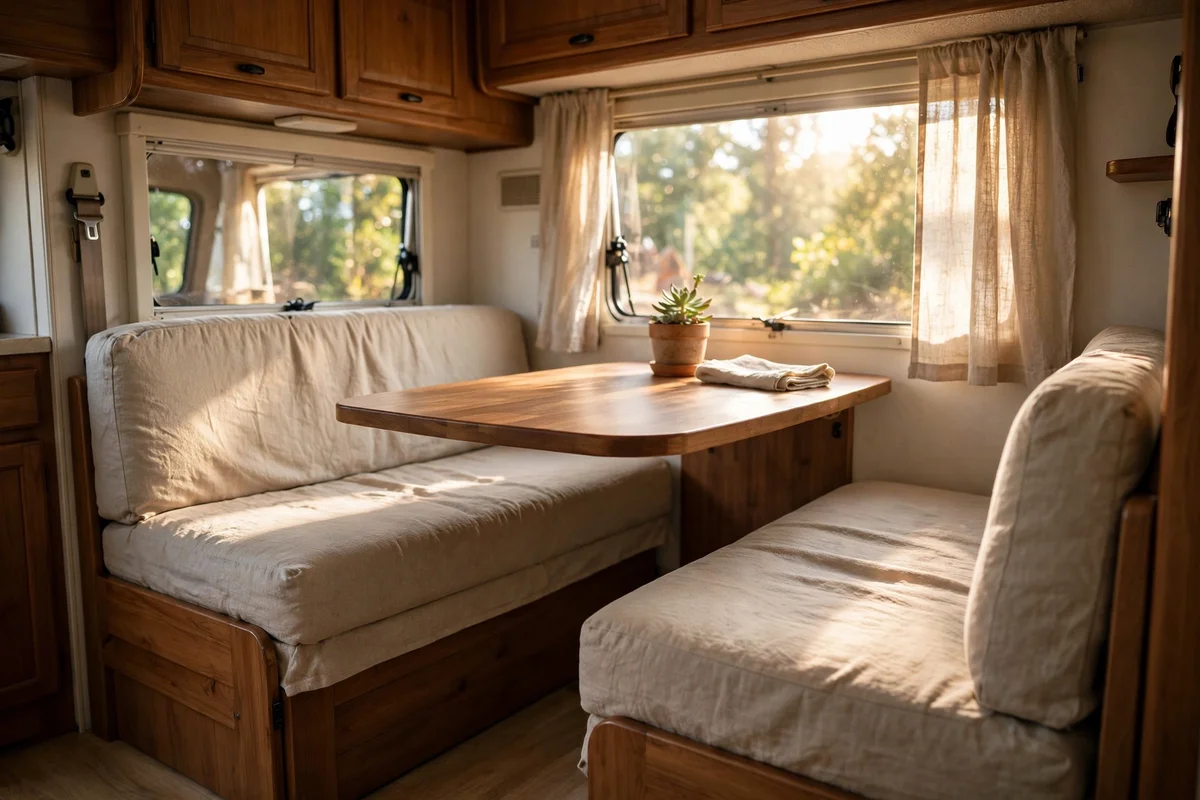
Dinette cushions in tired brown vinyl make the whole van feel older than it is. Washable linen-look slipcovers in oatmeal or warm stone, cut with a 2 cm seam allowance and closed with hidden zips, refresh the nook for the price of a tank of fuel. Measure each cushion twice, and allow 3 metres of 140 cm wide fabric for a standard four-cushion dinette. Prewash the fabric to stop shrinkage surprises; budget 30 to 55 pounds or dollars. Slipcovers add under 1.5 kg for the full set, and linen breathes better than vinyl on hot days.
The mistake to avoid is sewing covers drum-tight, which splits seams when someone leans back hard. Leave 1 cm of ease all round and choose a zip 5 cm shorter than the cushion edge for a neat finish. Tuck a thin layer of quilt batting under the top panel for extra comfort on long game evenings. Keep the old vinyl underneath as a waterproof base for muddy-boot days. The nook now invites lingering over a second pot of tea.
11. Layer Bedding for Warm Days and Cold Nights on the Road
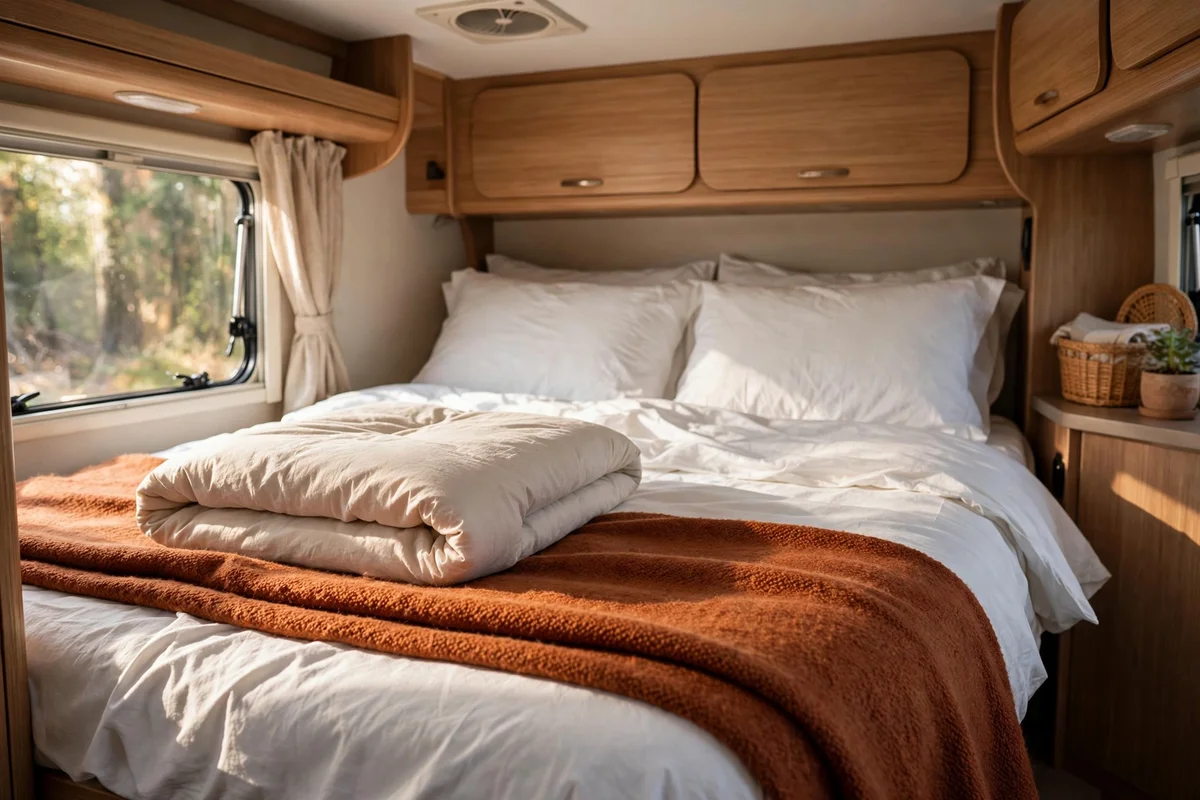
One heavy duvet suits exactly one temperature, which never matches a week of travel. Layering solves it: breathable cotton sheets as the base, a medium wool throw for cool evenings, and a light 4.5-tog duvet folded at the foot for real cold. Choose sheets in warm white and a throw in rust or ochre for a calm, collected look. A full layering set for a double bed costs 60 to 110 pounds or dollars and packs into one storage cube. The layers total about 5 kg; the trick is peeling layers off, not carrying extra blankets.
The mistake to avoid is polyester bedding, which traps heat on warm nights and feels clammy by morning. Natural fibres regulate temperature and dry faster when hung over the awning rail. Fold the duvet into a lumbar roll by day so the bed reads as a sofa. Keep one spare sheet set in a vacuum bag under the bed; it halves the storage space. Small children sleep better when the bed feels familiar, so keep the same throw from home.
12. Soften the Fixed Mattress With a Slim Breathable Topper
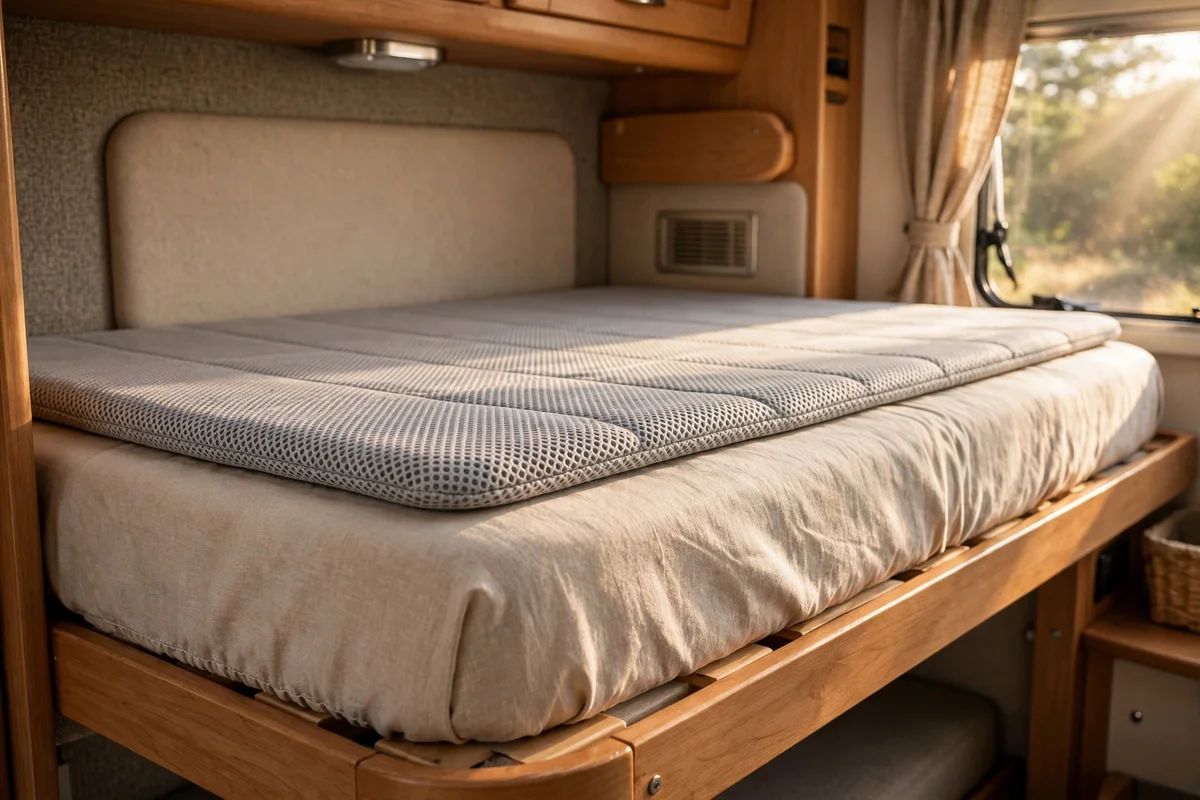
RV mattresses are famously firm, often just dense foam over plywood. A 5 cm breathable topper in natural latex or ventilated memory foam softens the sleep surface without raising the bed so high that the roof feels close. Measure the bunk or double base exactly, since RV beds run smaller than house sizes; a short double is often 190 by 135 cm. A quality topper costs 50 to 90 pounds or dollars and rolls up for storage. Latex toppers weigh about 4 kg for a double; foam runs lighter at roughly 2.5 kg.
The mistake to avoid is a thick 10 cm topper, which lifts sleepers into the roof lockers and overheats the bed. Five centimetres is the sweet spot for comfort without bulk. Air the topper for a day before first use to clear factory smells, and use a fitted sheet with deep 30 cm corners to hold it in place. Rotate it head to foot each month so it wears evenly. Pair it with the layered bedding above and the fixed bunk finally sleeps like a proper bed.
13. Welcome Muddy Boots With a Washable Mat at the Entry Step
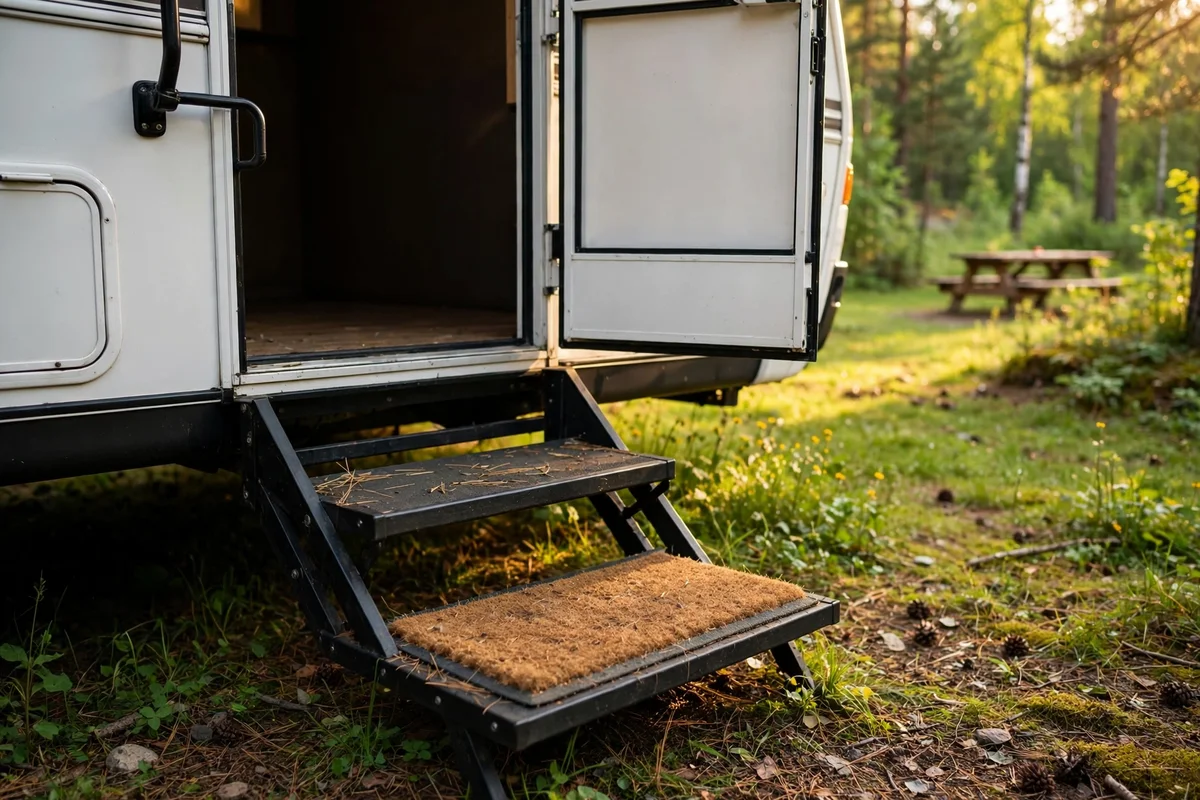
Every campsite deposits half its field inside the van through the entry step. A washable coir-look mat, 60 by 90 cm, traps grit before it reaches the new vinyl floor and shakes clean in seconds. Choose a rubber-backed mat rated for outdoor use so morning dew does not soak through to the step. Keep a second smaller mat, 40 by 60 cm, just inside the door for the final wipe. Two mats cost 18 to 35 pounds or dollars. The pair weighs about 2 kg and saves the floor from grit that would cost far more to repair.
The mistake to avoid is a mat with no backing, which slides off the step and becomes a trip hazard in the dark. Rubber backing grips metal steps even in rain. Shake the mat out every morning and hose it monthly; coir-look fibres dry fast in sun. Pick a warm natural tone with a simple border rather than a joke slogan, which dates quickly. The entry suddenly feels like a proper little porch, and the floor inside stays calm and clean.
14. String Warm Solar Fairy Lights Along the Awning Rail
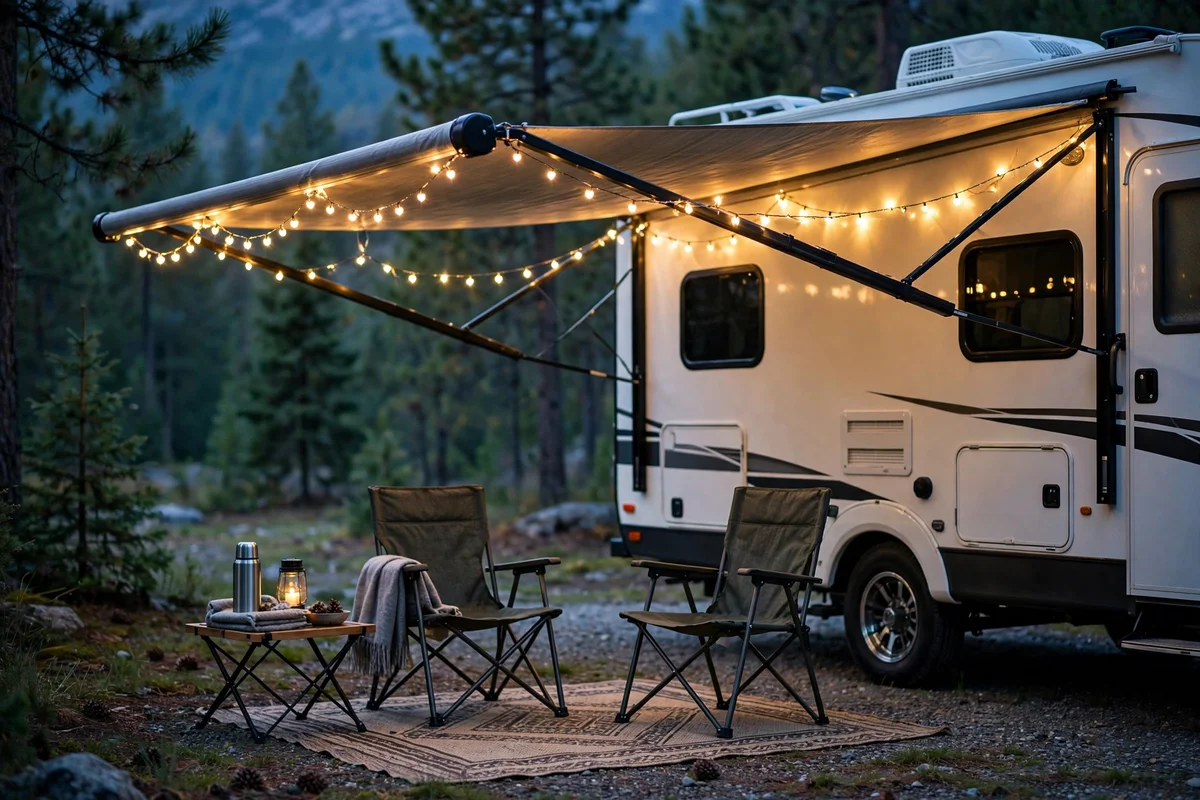
Nothing says calm evening like a soft string of warm white lights over the outdoor sitting area. Solar fairy lights on a 10-metre copper wire, with about 100 LEDs, charge by day and glow for six to eight hours after dusk with no wiring at all. Drape them along the awning rail in a gentle swag, securing every metre with small removable clips. Two strings cover a 3-metre awning generously and cost 12 to 25 pounds or dollars. Each string weighs under 200 g including the small solar panel, negligible for any rig.
The mistake to avoid is cool white or flashing modes, which kill the calm mood and annoy neighbouring pitches. Choose steady warm white at 2700 to 3000K and skip multi-colour settings entirely. Bring the strings in during storms and store them coiled in a small bag to stop tangles. Angle the solar panel south for the best charge, and wipe it monthly for full brightness. Family evenings stretch longer when the awning glows softly overhead.
15. Dress Every Window With Cream Thermal Roman Blinds
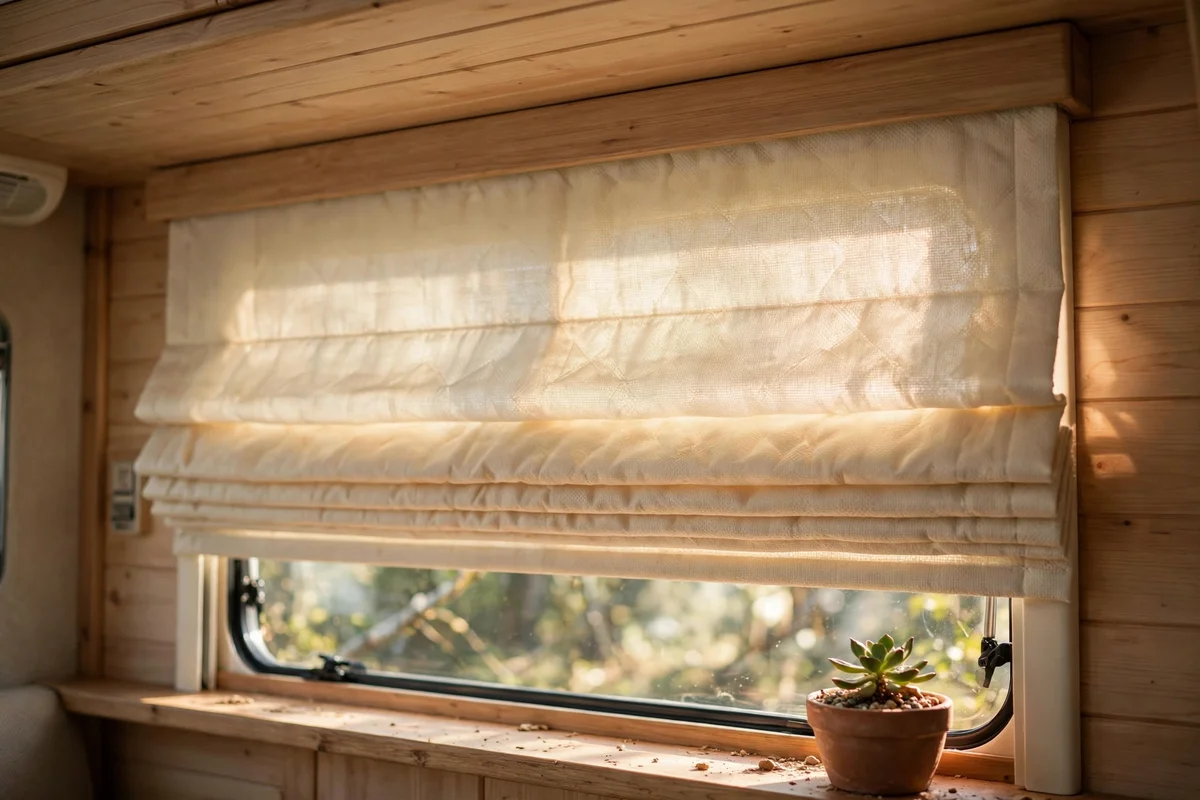
Thin RV curtains leak heat in winter and let the low sun blast through at 6 am. Made-to-measure thermal Roman blinds in cream, cut to each window within 5 mm, insulate the glass and filter light beautifully. The thermal lining reflects summer heat and holds warmth on cold nights, cutting condensation on the glass. Four to six blinds for a typical van cost 80 to 150 pounds or dollars, and each fixes with two slim brackets. Each blind weighs 300 to 500 g; six blinds add about 2.5 kg, far less than heavy drapes.
The mistake to avoid is mounting blinds that overlap the window frame seals, which traps damp behind the fabric. Fix brackets to the inner frame face, leaving the rubber seals clear. Choose a cordless or cleated-cord design so little hands stay safe, and raise blinds fully on travel days to stop them swinging. Cream fabric bounces daylight around the small interior and pairs with the linen walls. The van holds its temperature noticeably better from the first night.
16. Mount Rechargeable Reading Lights by the Bed and Dinette
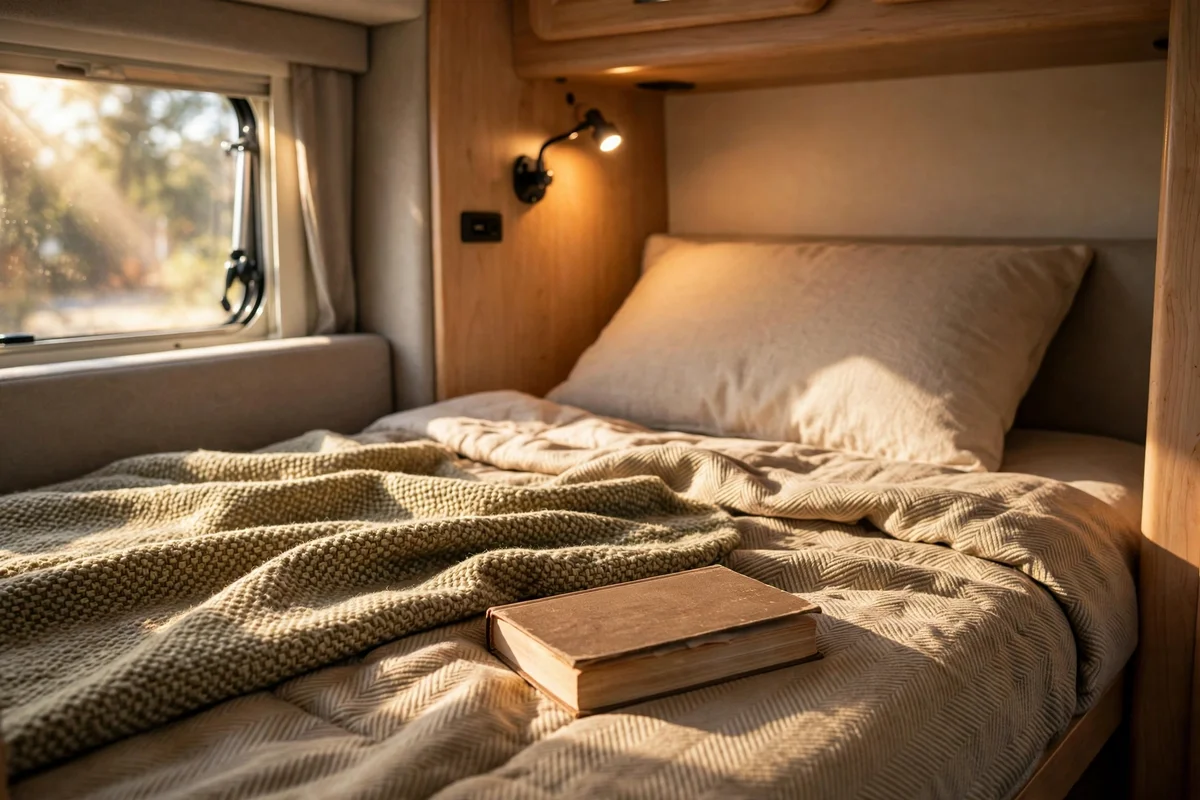
The single ceiling light in most RVs leaves bunks and corners in gloom. Rechargeable LED reading lights with a warm 2700K glow, fixed by adhesive base or screw mount, give each sleeper their own pool of light for books and puzzles. Choose lights with three brightness levels and a 360-degree swivel head, charged by USB every week or two. Four lights cover bunks and dinette for 25 to 45 pounds or dollars. Each light weighs about 150 g, and the USB cable stays in the drawer, so the set barely registers.
The mistake to avoid is cool daylight bulbs, which feel harsh in a small space and disturb sleepy children. Warm white keeps the evening wind-down gentle. Mount lights 30 to 40 cm above the pillow at a slight angle so the beam falls on the book, not in eyes. Charge all four on the same day each week, perhaps Sunday morning, so none dies mid-chapter. The bunks become proper reading nooks, and the main light can stay off.
17. Swap Bulky Knobs for Slim Leather Cabinet Pulls
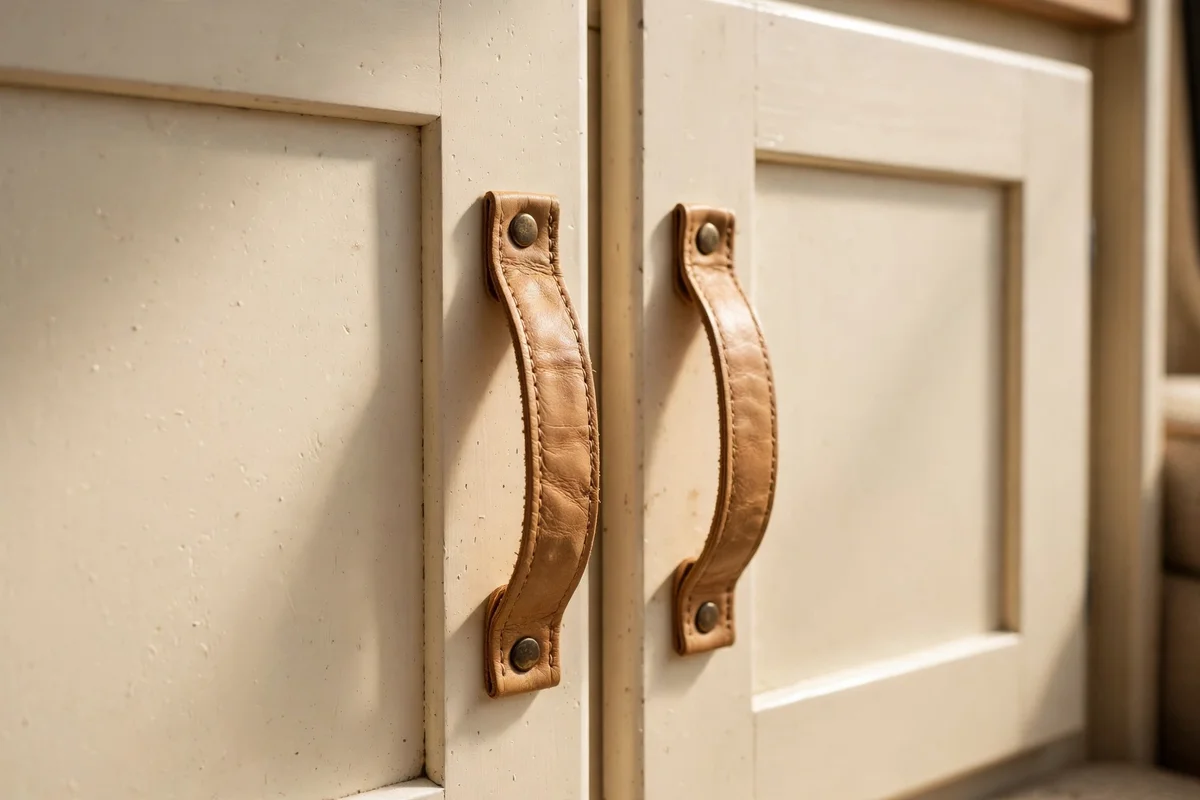
Chunky factory knobs catch hips and jumpers in narrow RV aisles. Slim leather pulls, about 12 cm long in tan or cognac, sit almost flat against cabinet doors and age beautifully with handling. They fix with the existing single screw hole, so no drilling is needed, and a dab of wood glue on the back stops spinning. A set of twelve pulls costs 15 to 30 pounds or dollars online. Leather pulls weigh about 15 g each, slightly lighter than the metal knobs they replace.
The mistake to avoid is over-tightening the screw, which cracks the leather at the hole within weeks. Snug is enough, and the glue does the real holding work. Wipe pulls with a dry cloth; avoid oils that darken the leather unevenly. Keep two spares in the parts drawer for the day one finally wears through. The cabinets feel softer to the hand and the aisle gains precious centimetres, which matters every single day on the road.
18. Style a Calm Tea Corner on the Counter With a Wooden Tray

A dedicated tea corner turns the galley from a cooking strip into a welcoming spot. A 40 by 30 cm acacia tray holds a glass teapot, four small cups, a lidded jar of loose tea and a tiny jug for juice at breakfast. Keep the tray against the back wall, 10 cm from the hob, with a non-slip mat underneath for travel days. The whole setup costs 20 to 40 pounds or dollars secondhand. Tray and contents weigh about 1.5 kg; store the teapot in the sink on rough roads to protect it.
The mistake to avoid is crowding the tray with ten gadgets, which turns calm into clutter. Four cups, one pot and one jar are enough for a family of four. Choose a teapot with a locking lid or a deep infuser basket so it pours safely when the van rocks. Rinse cups straight after use; dried tea stains small cups fast. Morning tea at the dinette, tray carried over together, becomes the trip’s gentlest ritual.
19. Park a Slim Shoe Caddy Beside the Entry Door
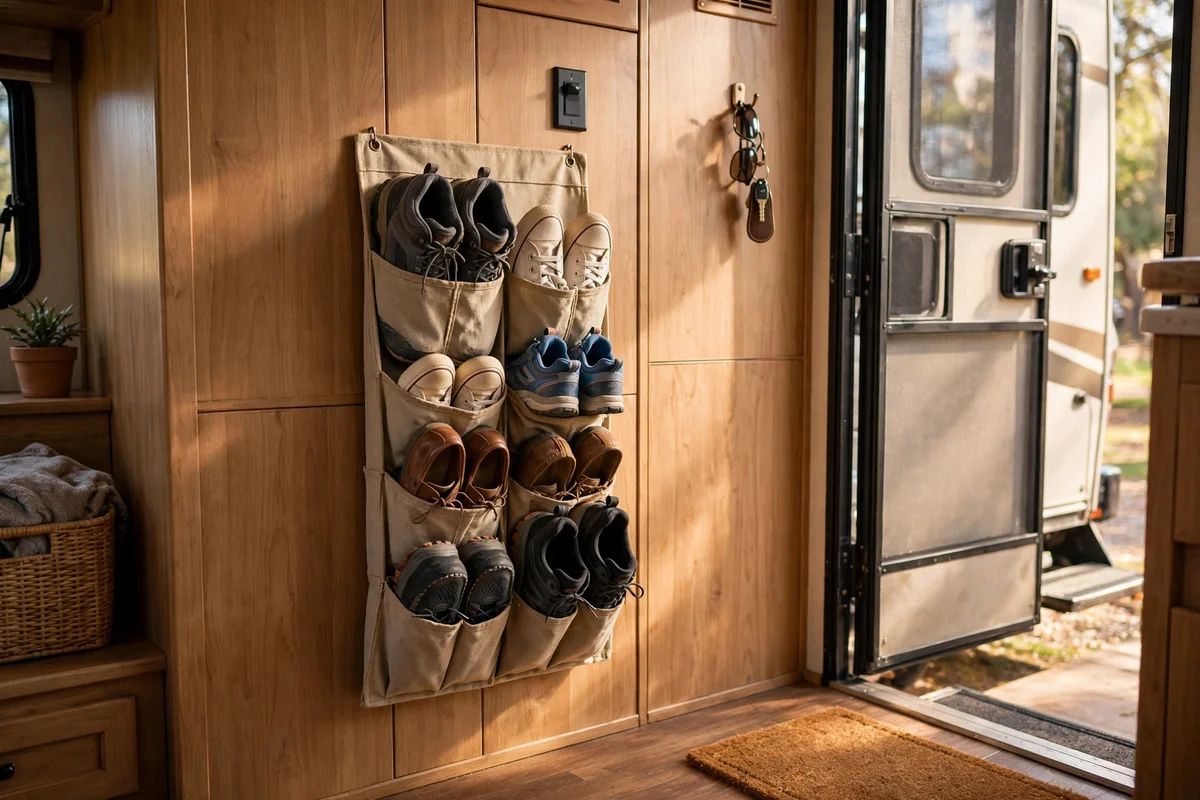
Four pairs of shoes loose on the floor trip everyone and track mud across the new planks. A slim fabric shoe caddy, 60 cm tall and 25 cm deep with six pockets, hangs on the entry wall or stands beside the step. Choose a washable canvas caddy with a rigid back so it does not collapse, and assign each family member one pocket. A sturdy caddy costs 15 to 28 pounds or dollars. The caddy itself is under 600 g; the honest weight is the shoes, so keep muddy boots outside in a crate.
The mistake to avoid is a floor-standing rack, which becomes a projectile on sharp bends. Wall-hung or door-hung storage stays put in transit. Fix the top hooks to a solid frame member, not thin panelling, and empty the caddy before long drives if it swings. Shake shoes outside before they go in, and keep a small brush in the top pocket. The floor stays clear, the planks stay clean, and the entry feels twice as wide.
20. Lay a Soft Flatweave Runner Along the Hallway Lane
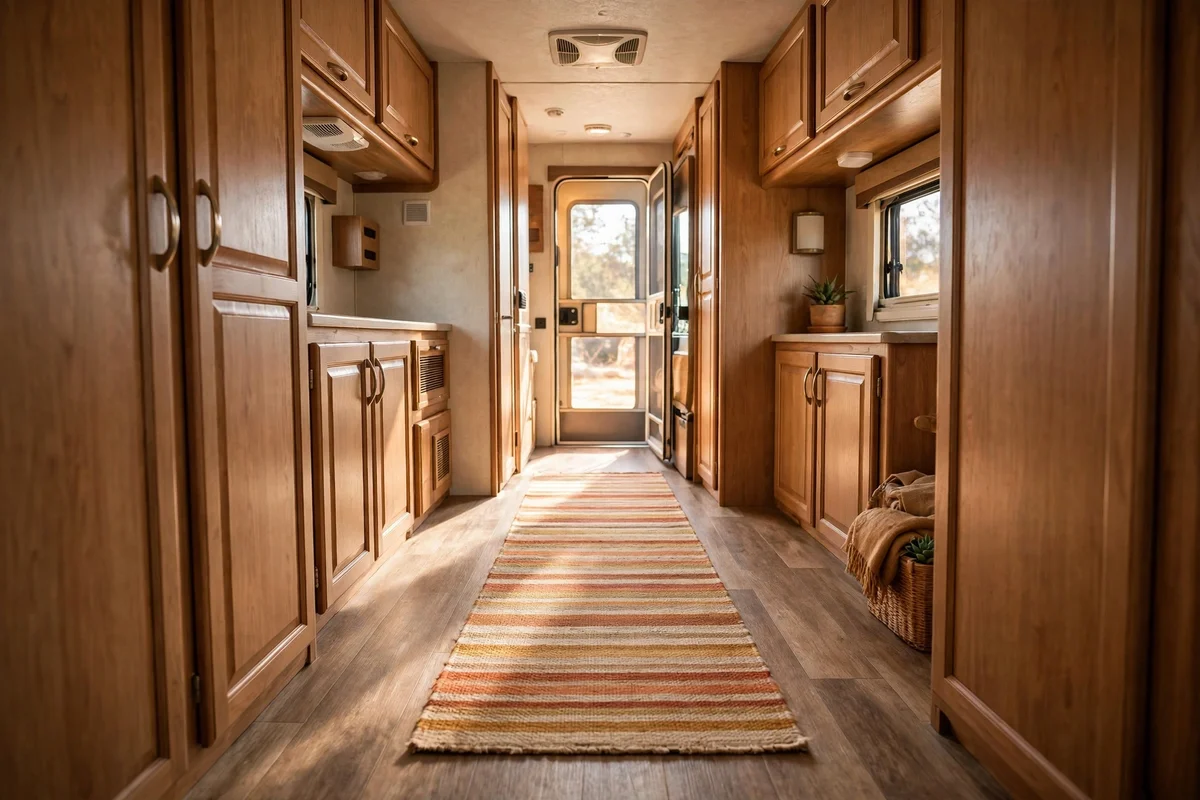
The narrow lane between bed and galley is the van’s busiest path and shows wear first. A flatweave runner, 200 by 60 cm in warm stripes or a simple border, cushions bare feet and protects the vinyl planks underneath. Choose a low-pile cotton flatweave with a non-slip rug pad cut 2 cm smaller all round. A good runner costs 25 to 50 pounds or dollars and rolls up in seconds for sweeping. Runner and pad together weigh about 2 kg; lift both on travel days if they creep toward the door.
The mistake to avoid is a thick shaggy rug, which jams the door swing and traps crumbs no brush can reach. Flatweave lies under 5 mm and shakes out over the step in seconds. Wash it twice a season in a large machine, and rotate it end to end so wear spreads evenly. Warm stripes lead the eye down the van and make the whole interior feel longer. It is the cheapest way to add softness underfoot.
The calmest caravans are not the most expensive ones; they are the ones where every choice was made slowly and honestly. Warm paint, a floor that wipes clean, curtains that move softly, bedding that suits the season: none of these ideas shouts, and that is the point. Pick the change that would lift your mornings most, and give it one unhurried weekend.
Start with the walls if the whole van feels dark, since light paint changes everything downstream. Then weigh each addition as you go, keeping the honest habit this guide models, because a calm trip is also a safe one. Before long the van will feel less like a vehicle and more like a small travelling home, ready for tea at dusk and slow miles at dawn.
Frequently Asked Questions
What does a basic RV interior refresh cost?
A paint, floor and fabric refresh for a 6-metre van typically runs 250 to 500 pounds or dollars if you do the work yourself. Paint and peel and stick flooring are the big tickets; curtains, knobs and lights are small extras. Spread the spend across two or three weekends so each layer can cure and settle. Doing walls first often reveals you need less than you thought.
How much weight do these makeover ideas add?
Done as written, the full set adds roughly 20 to 30 kg, and the swaps like curtains for doors and bamboo for ceramic actually save weight. Always check your rig’s payload plate before starting, and weigh bulky items on bathroom scales. Keep heavy things low and over the axle, and treat the payload limit as a hard ceiling, not a target.
Will peel and stick tiles stay put on bumpy roads?
Yes, if the surface is degreased and the tiles are rated for heat and movement. Clean with sugar soap, dry fully, and roll every tile with a seam roller for full contact. Avoid the cheapest paper-thin foil tiles, which lift at the corners. Keep two spare sheets for repairs, and expect a well-laid splashback to last several touring seasons.
What paint works on RV walls and cabinets?
Use a flexible urethane-acrylic paint made for cabinets and trim, which moves with the body instead of cracking. Degloss and lightly sand factory finishes first, then apply two thin coats with a foam roller. Ordinary house emulsion cracks over speed bumps within months. Allow 48 hours of cure time before rehanging doors or loading shelves.
How do I keep the van warm in winter and cool in summer?
Layer your approach: thermal Roman blinds on every window, layered bedding you can add or remove, and rugs or runners over cold floors. Ventilate daily to fight condensation, especially when cooking. In summer, park with the awning shading the sunny side and open roof vents for airflow. Small, reversible changes beat expensive fixed heating and cooling.