Home Improvement
20 Stain Fixes for White Clothes That Bring Back a Bright, Clean Finish
By Anna Wells · · 20 min read
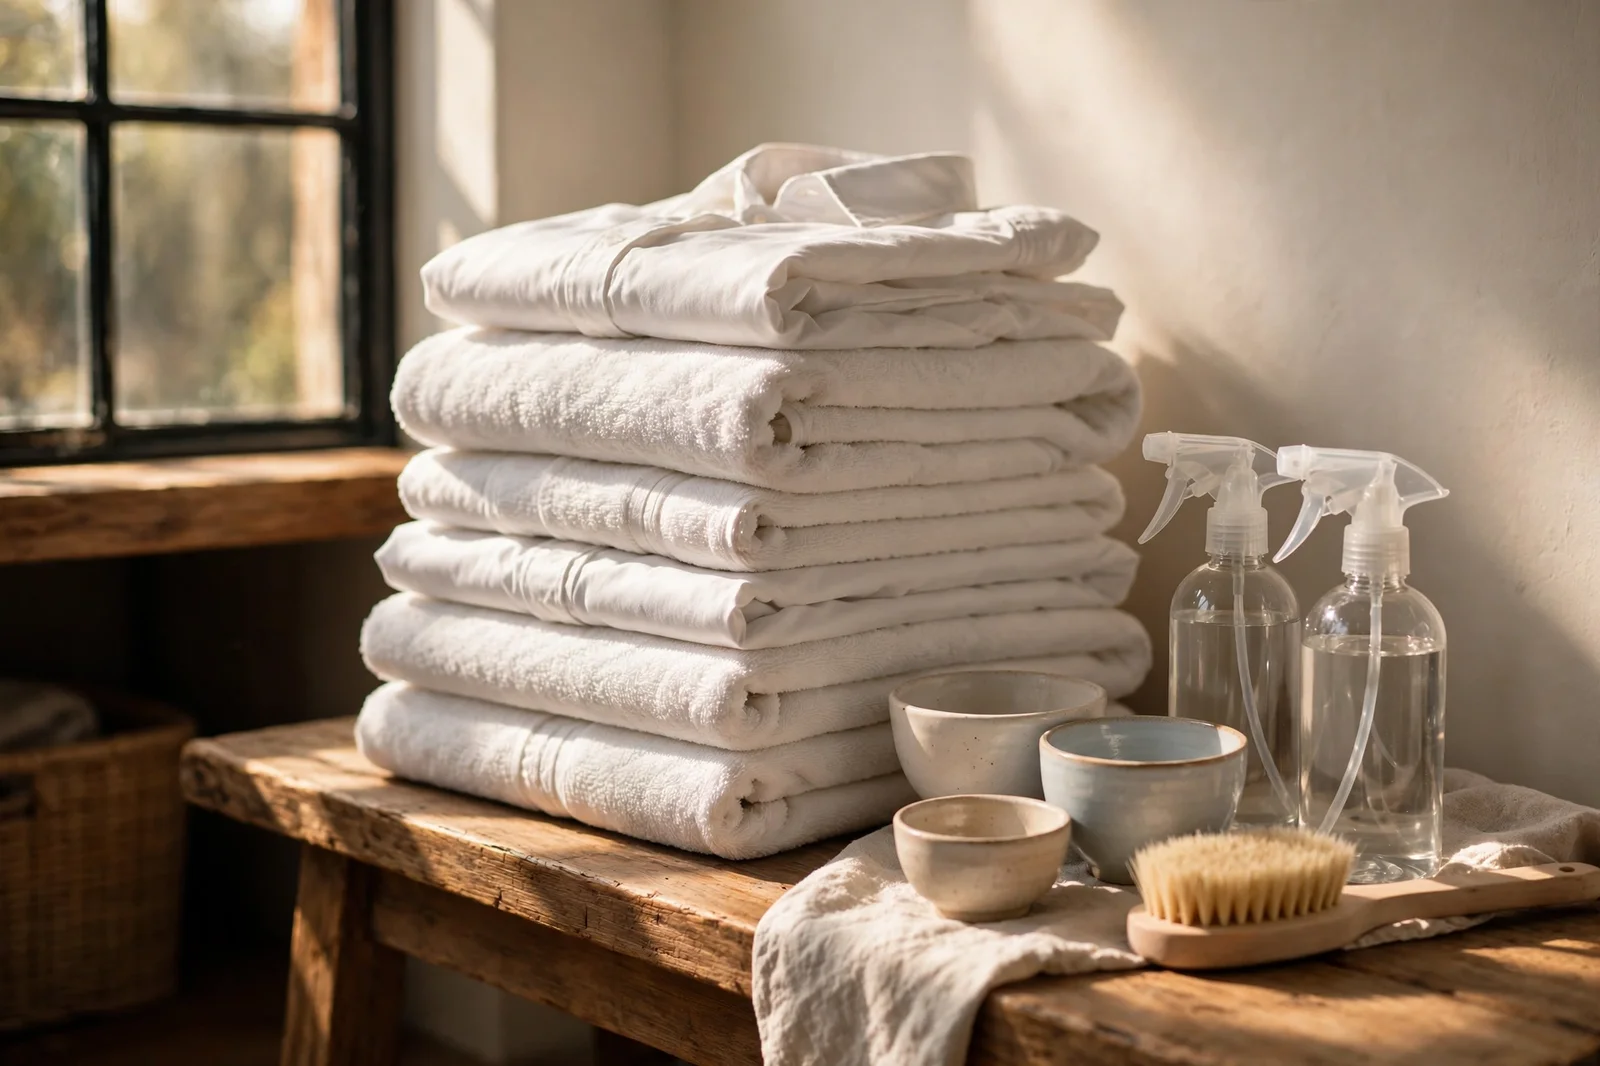
Twenty practical stain treatments for white clothes, from coffee rings to sweat yellowing, using simple cupboard supplies and patient timing.
There is a particular sinking feeling when a splash of coffee lands on a favourite white shirt, or when the underarms of a crisp blouse start to yellow despite careful washing. White clothes show everything, which is also what makes them so satisfying to rescue. A plain white tee or tablecloth returned to a bright, clean finish feels like a small, quiet victory in a well-run home.
The good news is that most household stains answer to patient, simple methods and a handful of affordable cupboard supplies. Baking soda paste, mild dish soap, white vinegar, hydrogen peroxide, oxygen-based bleach, laundry bluing and a little sunshine between them cover coffee, wine, grease, grass, mud, rust, ink and sweat yellowing. This guide walks through twenty concrete fixes, each with quantities, timing and one honest mistake to avoid.
Before you start, remember two golden rules. Treat stains as early as you can, and match the method to the fabric, not just the mark. Delicate silk and wool need gentler handling than sturdy cotton, and a hot wash that helps one stain can permanently set another. Keep this guide near the laundry basket and work through it stain by stain.
1. Blot Coffee Spills Fast, Then Pre-Treat With Mild Dish Soap
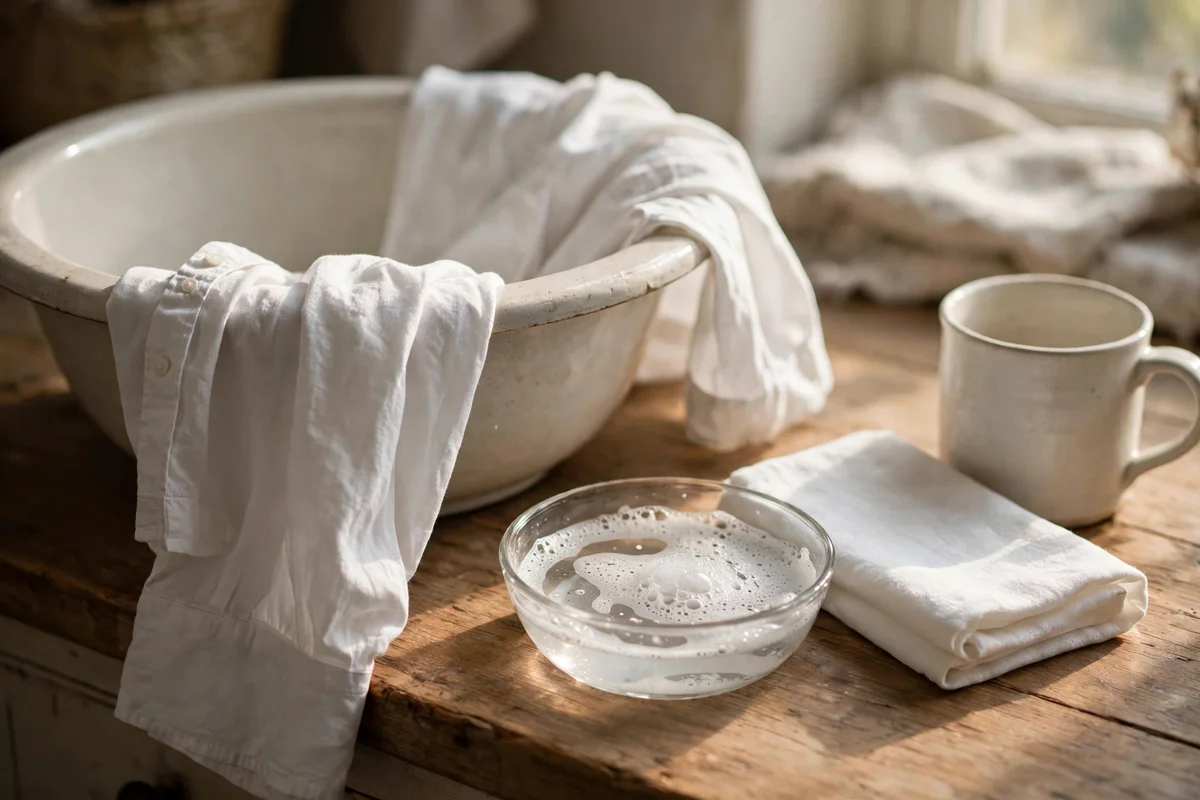
Coffee spreads in minutes, so grab a clean white cloth and blot from the outer edge toward the centre, which stops the brown ring from creeping outward into fresh fabric. Never rub, since rubbing drives coffee deeper into the weave and frays delicate cotton fibres. Rinse the spot under cool running water from the back of the fabric so the stream pushes the stain out rather than through. Mix half a teaspoon of mild dish soap into one cup of lukewarm water, work the solution into the mark for two minutes, then rinse again.
The common mistake is reaching for hot water, which bakes coffee proteins into the cloth and makes the mark permanent. Keep the water cool or just warm to the touch until the stain has lifted completely. After pre-treating, wash the garment with your usual whites load on a warm cycle, around 40 degrees Celsius, and check the spot before it goes into the dryer, because dryer heat sets any leftover shadow. Air dry in shade first; if a faint tint remains, repeat the soap soak once more.
2. Flush Red Wine Marks With Cold Water and White Vinegar
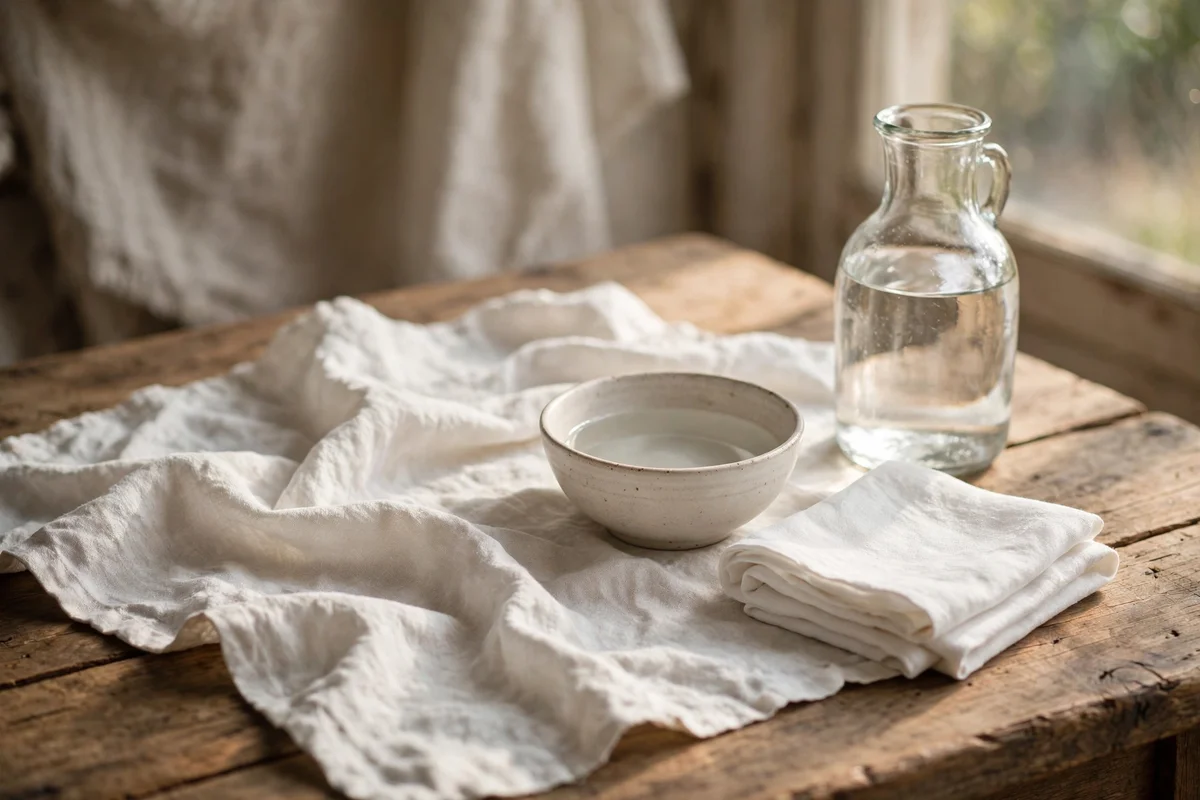
Red wine looks dramatic but responds well to speed. Blot up as much liquid as you can with a dry white cloth, pressing straight down so the colour does not spread sideways through the fibres. Flush the back of the stain with cold running water for a full minute; you will see the colour lighten as it loosens. Then soak the spot in one part white vinegar to two parts cold water for fifteen minutes, which helps dissolve the pigments before the main wash.
The mistake to avoid is salt piling or hot water, both of which folk remedies praise but which can set the dye deeper into cotton. After the vinegar soak, wash on a warm cycle with your usual detergent and check the garment in good light before drying. If a faint pink shadow remains, repeat the vinegar soak rather than adding chlorine bleach, which can yellow whites over time. A small 500 ml bottle of white vinegar costs very little and lives happily by the laundry sink.
3. Draw Turmeric and Curry Tints Out With Baking Soda Paste
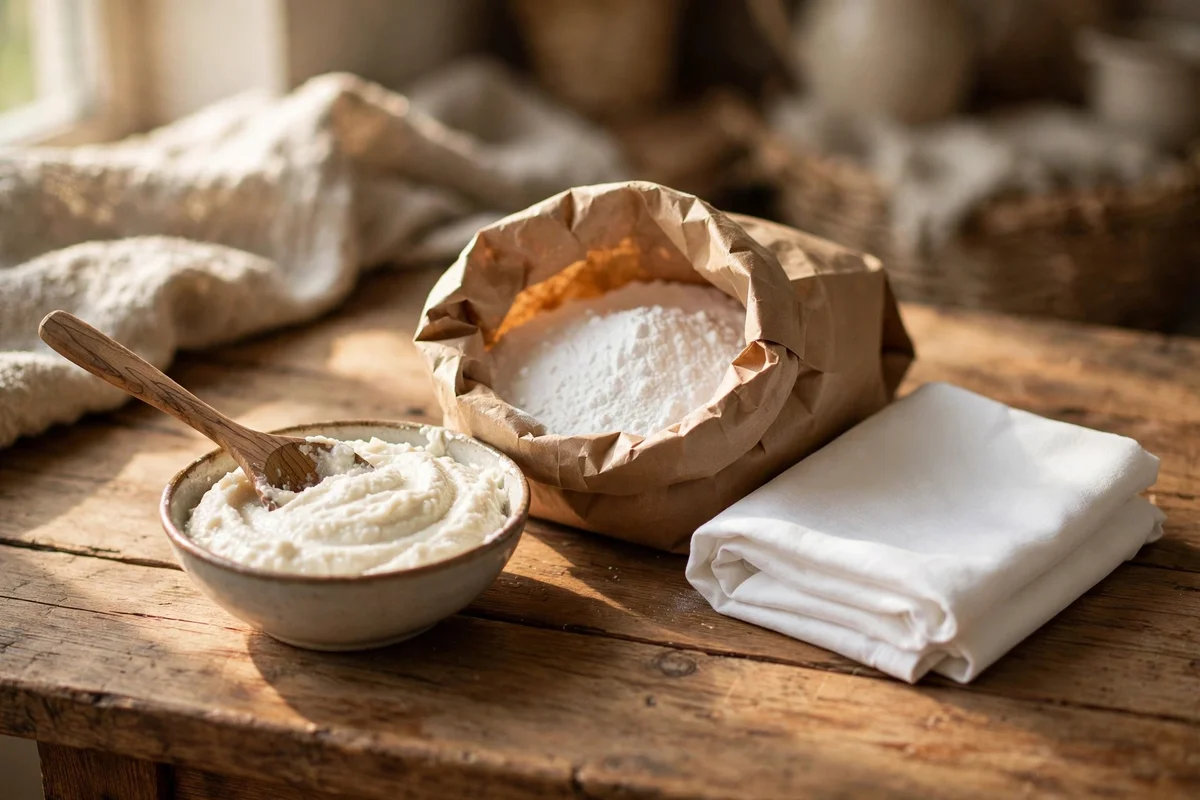
Turmeric stains glow bright yellow and frighten everyone, but they are not permanent if you act calmly. Scrape off any dried sauce with a blunt knife, taking care not to push it further into the cloth. Mix three tablespoons of baking soda with just enough cool water to form a thick paste, spread it over the stain in a layer about 3 mm deep, and leave it for thirty minutes. The paste draws the oily pigment up out of the fibres as it dries.
Rinse the paste away with cool water and wash the item on a warm cycle with an oxygen-based bleach added at the dose on the box. The mistake to avoid is heat before the stain is gone: ironing or tumble drying a turmeric mark bakes the colour in for good. For stubborn tints on white cotton, lay the damp garment in direct sunlight for an hour, since ultraviolet light gently bleaches natural dyes. A 500 g box of baking soda costs pocket change and covers dozens of treatments.
4. Break Down Greasy Food Spots With Warm Dish Soap Soaks
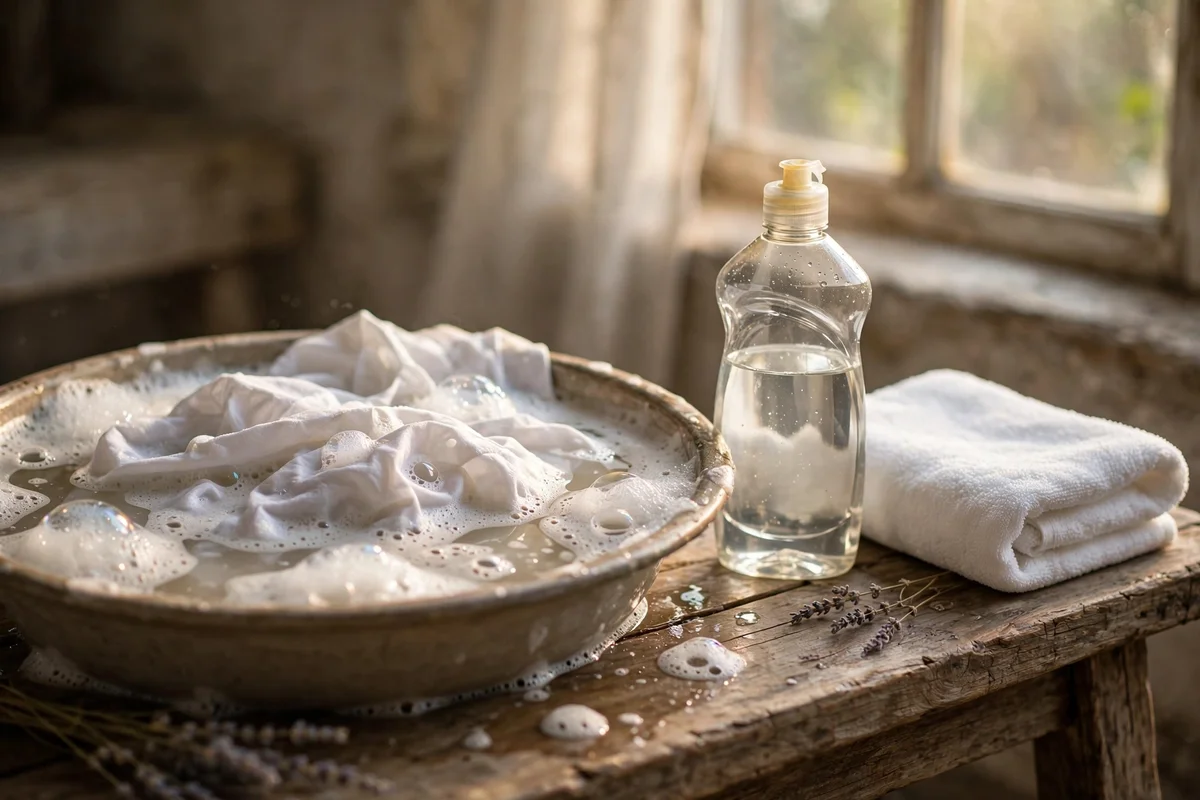
Butter, olive oil and fried food leave translucent halos on white shirts that water alone cannot shift. Dish soap is designed to cut grease, so mix one teaspoon of mild, dye-free dish soap into a basin of warm water and submerge the stained area for twenty minutes. Gently massage the fabric against itself every five minutes to work the soap through the fibres. For a single small spot, apply a drop of neat soap directly, let it sit for ten minutes, then rinse with warm water.
The mistake to avoid is washing in very hot water straight away, which can oxidise the oil and turn the halo yellow permanently. Keep the water warm, not scalding, until the greasy feel has completely gone from the cloth. Wash afterwards at 40 degrees with your regular detergent and a scoop of oxygen bleach for extra lift. Choose a clear, fragrance-free dish soap, since coloured or strongly scented versions can leave their own tint on bright whites.
5. Soak Berry and Fruit Juice Stains in Diluted White Vinegar
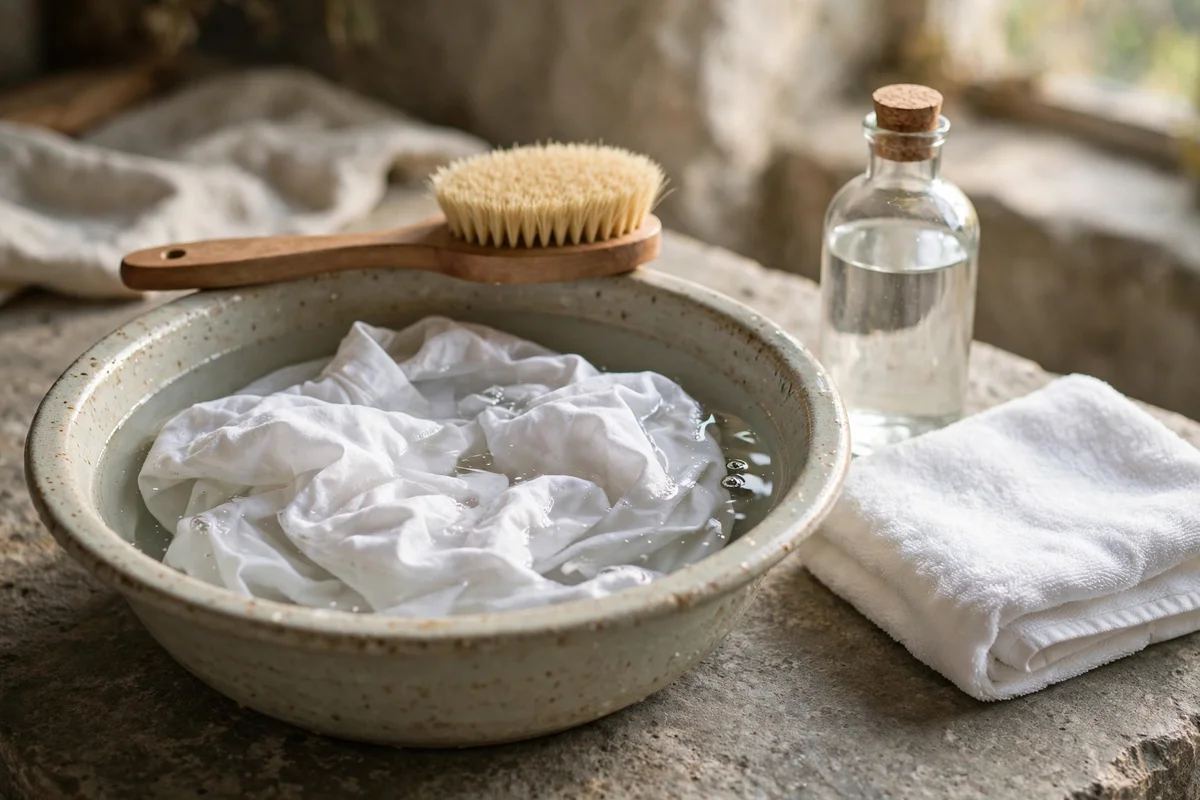
Raspberry, blackberry and grape juice leave pink and purple marks that look permanent on white cotton. Rinse the stain under cold running water as soon as you can, then soak the garment in a basin with one part white vinegar to four parts cold water for thirty minutes. The mild acid loosens the fruit pigments without harming cotton fibres. After soaking, rub a little mild dish soap into the spot with a soft brush, working from the edges inward, then rinse thoroughly.
Never use hot water on berry stains, because heat bonds the natural dyes to the fabric and makes them almost impossible to remove later. The mistake to avoid is leaving the garment in the vinegar soak for hours, which can weaken delicate seams; thirty minutes is plenty. Wash on a warm cycle with oxygen bleach, then inspect in daylight before the dryer. For berry stains on white linen, a second short vinegar soak usually finishes what the first one started.
6. Refresh Sweat-Yellowed Underarms With Hydrogen Peroxide
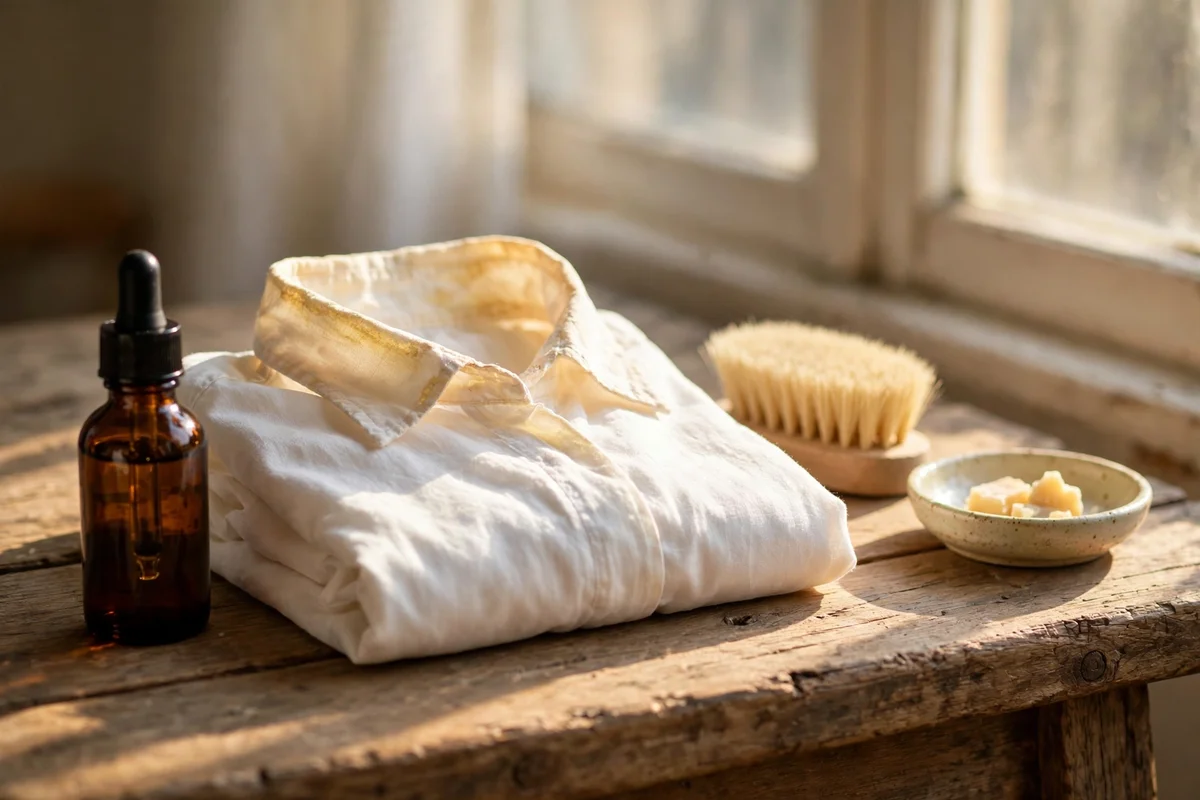
Yellow underarm patches come from the mix of sweat and deodorant building up over many wears. Mix one part 3 percent hydrogen peroxide with one part mild dish soap and two parts cool water, then sponge the solution onto the yellowed area and let it rest for thirty minutes. The peroxide gently oxidises the yellow tint on white cotton without the harshness of chlorine bleach. Work the solution in lightly with a soft brush, then rinse under cool water.
Hydrogen peroxide is for whites only in this strength; keep it away from coloured garments, since it can lighten dyes. The mistake to avoid is mixing it with vinegar in the same bowl, which creates an irritating fume and weakens both cleaners, so use them in separate steps. After treatment, wash the garment with an enzyme detergent on a warm cycle. For heavy yellowing, repeat the soak once more before expecting a perfect result, and finish with a short spell in gentle sunlight.
7. Work Enzyme Detergent Paste Into Grimy Collars and Cuffs
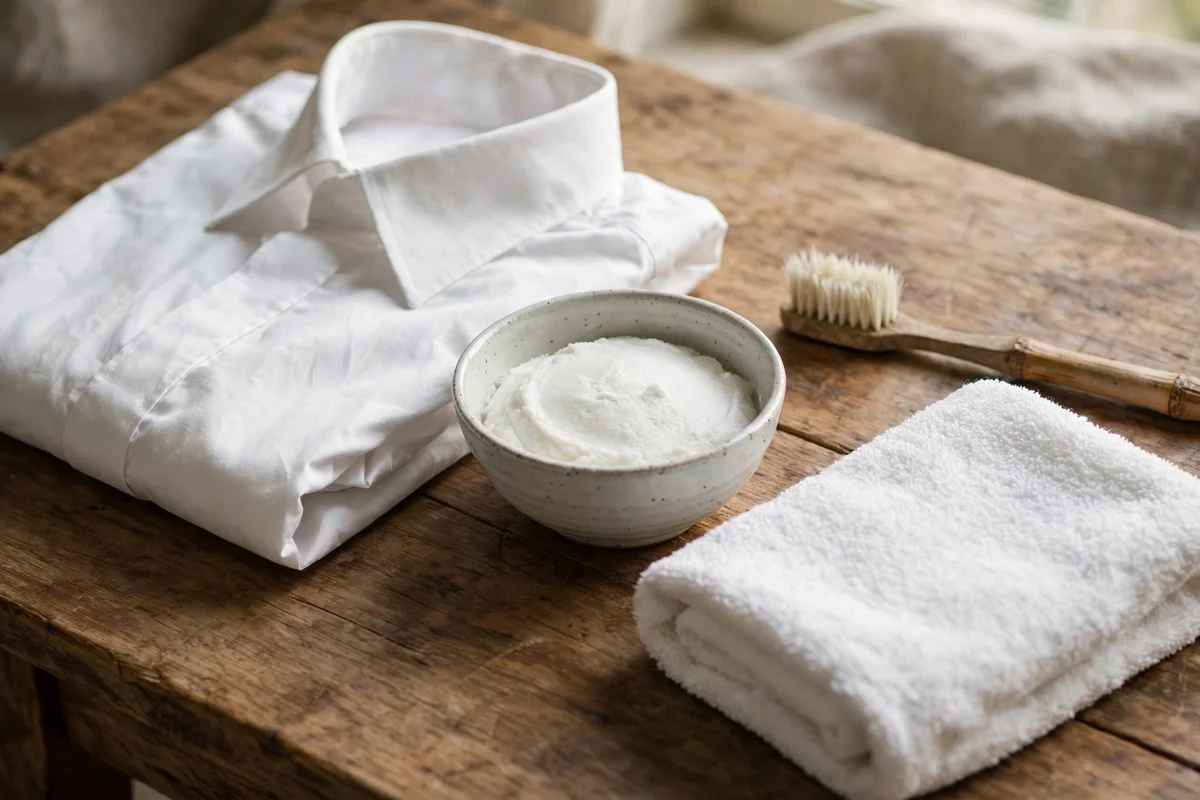
Collar rings and greyed cuffs are built from body oils and skin cells pressed into the fabric over weeks. Make a paste from two tablespoons of enzyme-based laundry detergent and a splash of cool water, spread it thickly along the collar band and cuff edges, and leave it for at least one hour. Enzymes break down the proteins and oils that ordinary soap leaves behind. Gently scrub with an old soft toothbrush, following the weave of the fabric rather than across it.
Wash the shirt inside out on a warm cycle so the treated areas get full water flow. The mistake to avoid is using hot water on the paste, which cooks the proteins into a permanent grey shadow; cool to warm water is the rule here. For dress shirts worn weekly, a five-minute enzyme pre-treat before every wash stops the grime from building up at all. A box of enzyme detergent costs about the same as a regular one and lasts for months of pre-treating.
8. Loosen Grass Stains With White Vinegar Before Washing
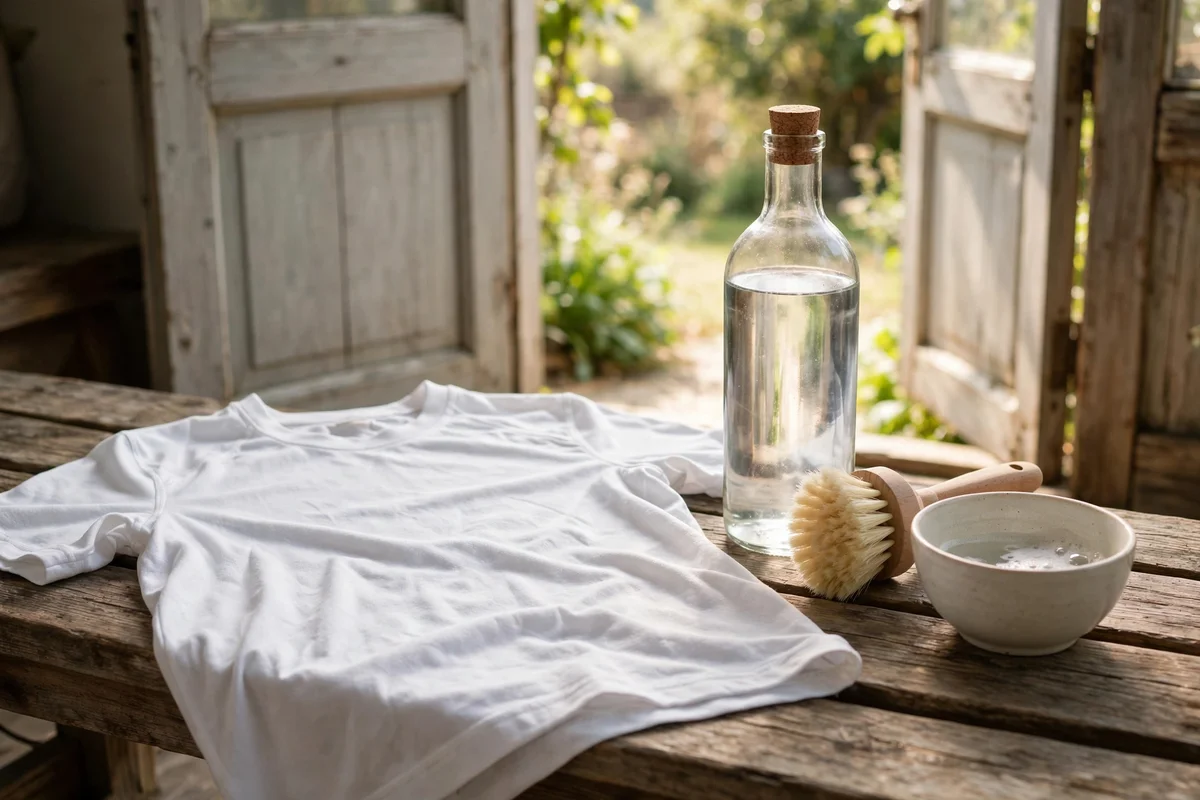
Grass stains are a mix of green chlorophyll and plant proteins that bond quickly to cotton. Brush off any loose blades, then soak the stained area in undiluted white vinegar for thirty minutes to loosen the green pigment. Follow with a paste of mild dish soap worked gently into the fibres with a soft brush. The vinegar first, soap second order matters, because the acid releases the colour and the soap then lifts the residue away cleanly.
Wash on a warm cycle with oxygen bleach and check the stain in natural light before drying. The mistake to avoid is treating grass marks with chlorine bleach, which can react with the green pigment and leave a yellow-brown patch that is worse than the original. White school shirts and sports kits benefit from this routine after every muddy afternoon. For deep set marks, repeat the vinegar soak once more rather than scrubbing harder, since harsh scrubbing wears the fabric thin.
9. Let Caked Mud Dry Fully, Then Brush It Away
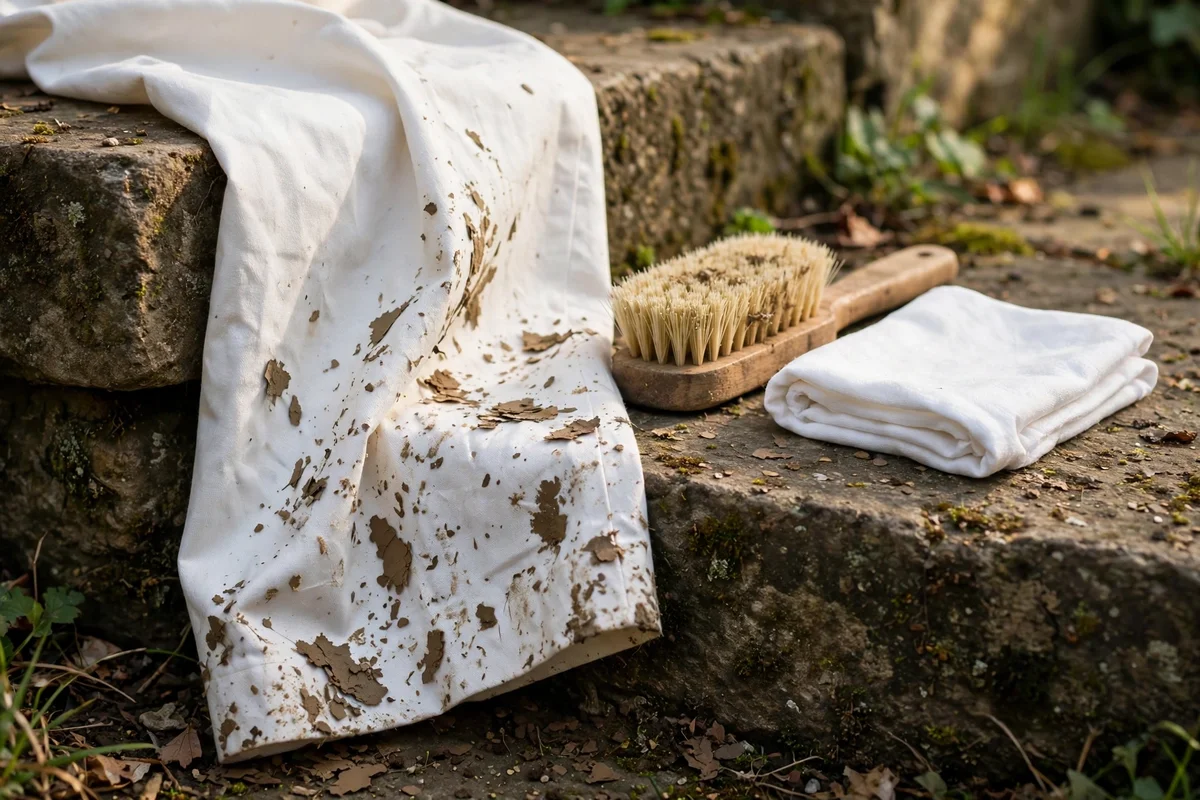
Mud seems urgent, but wet mud smears deeper when you rub it. Leave the garment somewhere airy until the mud is completely dry and crumbly, which usually takes a few hours. Shake the garment outdoors, then brush the dried soil away with a stiff laundry brush, working from the outside of the mark inward. What remains is usually a faint brown shadow rather than a real stain, and that shadow is far easier to wash out.
Soak the brushed area in cool water with a spoonful of mild detergent for thirty minutes, then wash on a warm cycle. The mistake to avoid is using hot water on mud, since soil contains organic matter that heat can set into the fibres. For muddy white trousers and kids’ play clothes, an oxygen bleach soak of one hour lifts the last of the brown tint. Let the garment dry in the shade first, and only use the dryer once the fabric looks clean.
10. Fade Rust Spots With Lemon Juice and Gentle Sunlight
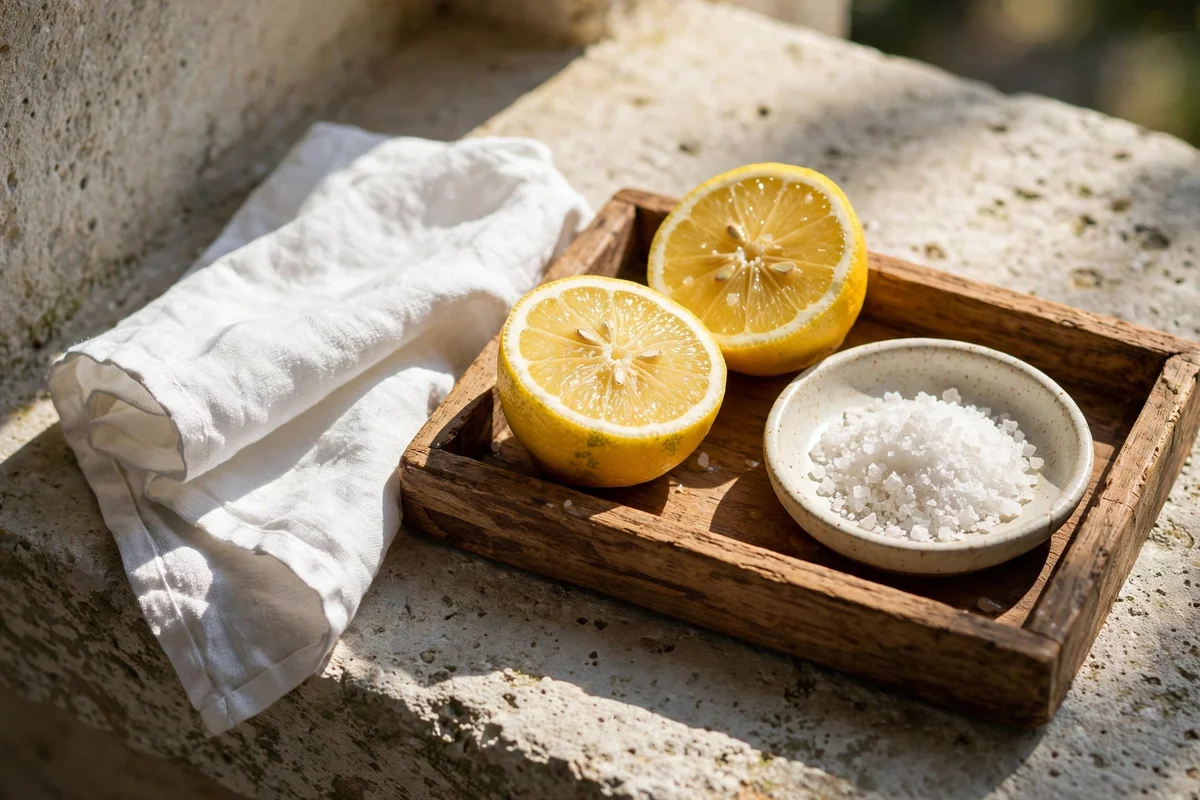
Rust marks from old radiators, metal buttons or garden tools need acid, not soap. Squeeze fresh lemon juice over the spot until the fabric is damp, sprinkle a little table salt on top, and lay the garment in gentle sunlight for one to two hours. The citric acid dissolves the iron oxide while the sun speeds the reaction. Keep the fabric damp with extra juice if it dries too quickly, since a dry cloth stops the fading process.
Rinse thoroughly with cool water and wash as normal; repeat the treatment once for older, darker rust. The mistake to avoid is reaching for chlorine bleach on rust, because bleach reacts with iron and makes the orange mark darker and more permanent. Lemon juice is gentle on cotton and linen, but test it on a hidden seam of delicate fabrics first. Two or three lemons cost very little, and one bottle of lemon juice from the shop works just as well.
11. Dab Ballpoint Ink With Rubbing Alcohol and a White Cloth
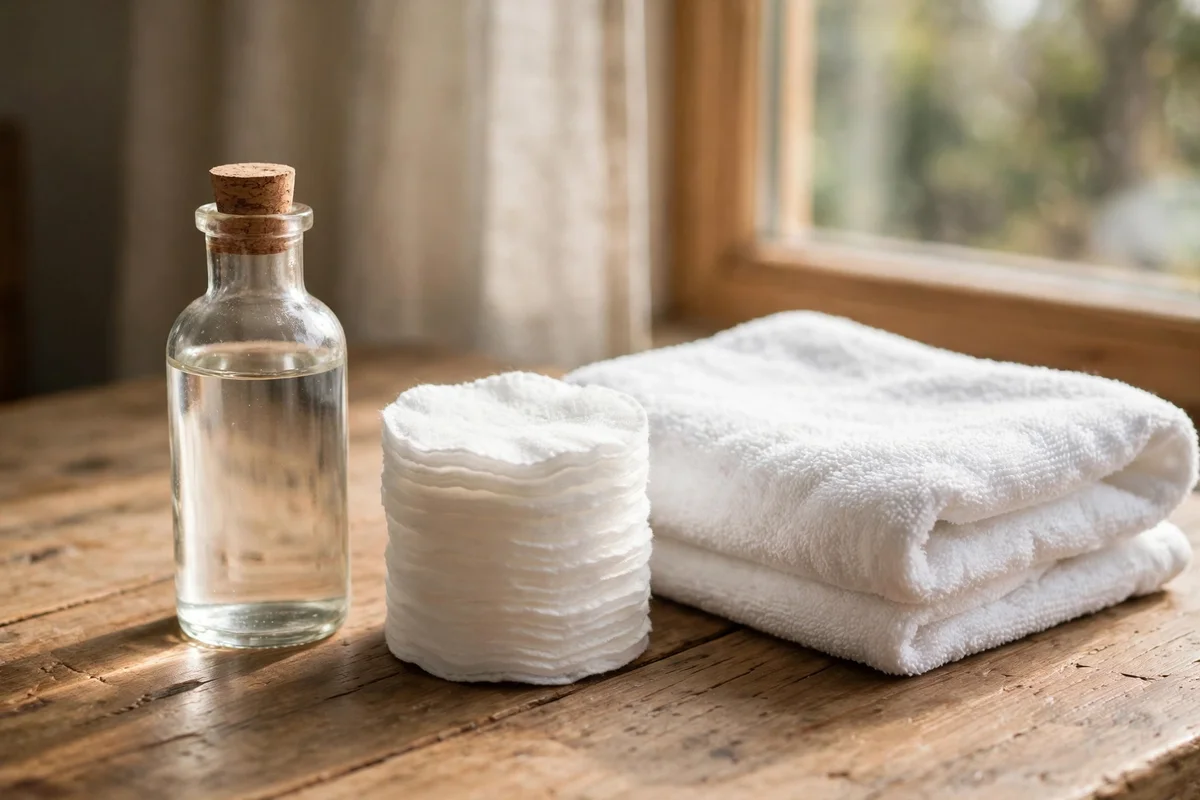
Ballpoint ink dissolves in rubbing alcohol, so place the stained area face down on a clean white towel and dab the back of the stain with alcohol on a cotton pad. The towel underneath absorbs the loosened ink so it does not spread into clean fabric. Work in small circles and replace the pad as it picks up colour, continuing until no more blue or black transfers. Use a plain white towel underneath, never a coloured one, to avoid dye transfer.
Rinse with cool water, then wash on a warm cycle with your usual detergent. The mistake to avoid is using hot water or the dryer before the ink is gone, since heat sets ink permanently into the weave. Treat ink as soon as you notice it, because old ink marks are much harder to dissolve. A small bottle of rubbing alcohol is inexpensive, keeps for years in the medicine cabinet, and handles several ink emergencies without waste.
12. Lift Tomato Sauce With Cold Water and Baking Soda
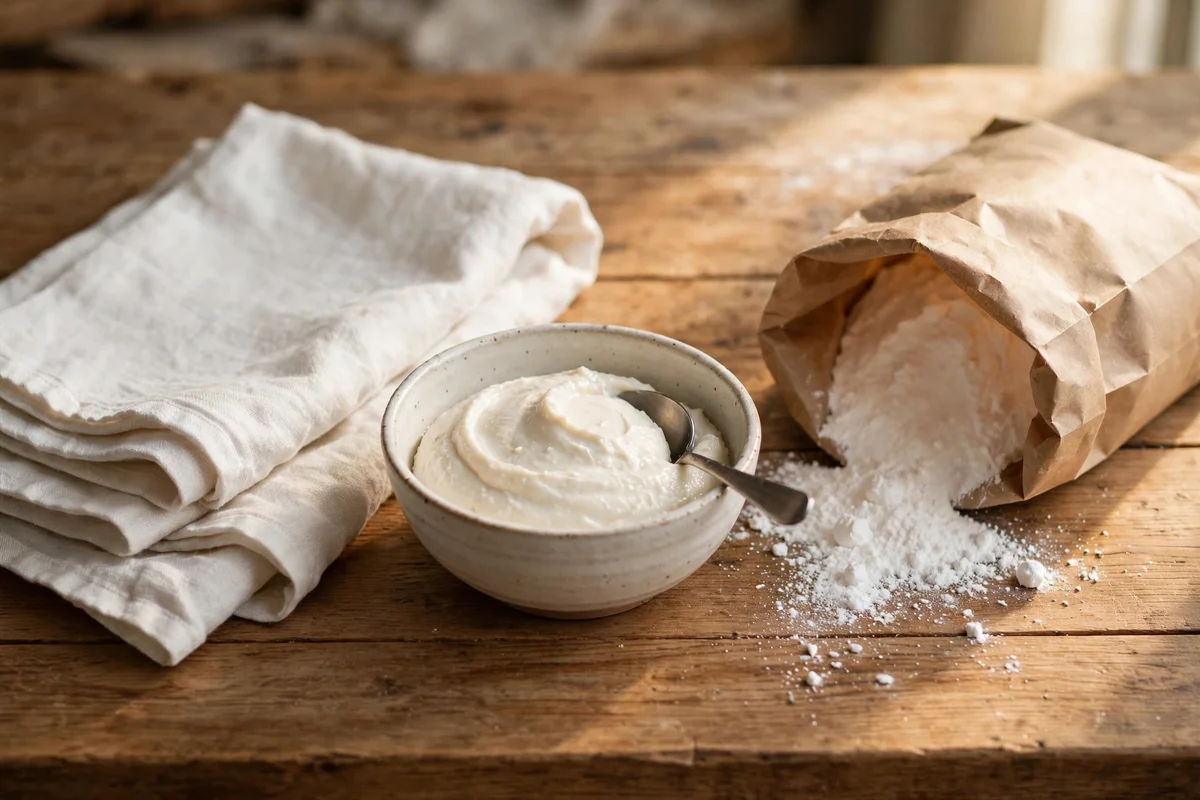
Tomato sauce stains combine oily residue with bright red pigment, so they need a two-step approach. Scrape off the excess with a spoon, then rinse the back of the stain under cold running water for two minutes. Spread a paste of three tablespoons of baking soda mixed with cool water over the mark and leave it for twenty minutes to draw out the oil and colour. The paste method is gentler than scrubbing, which can push the red deeper into white cotton.
Rinse the paste away and wash on a warm cycle with oxygen bleach for a bright finish. The mistake to avoid is hot water at any stage, since heat sets tomato pigment into a stubborn orange shadow. For sauce splashes on white tablecloths, treat each spot before the cloth goes into the laundry basket, because dried tomato is far harder to shift. Leftover paste rinses cleanly from the sink, and the baking soda box serves the whole kitchen as well.
13. Overnight Soak Dingy Whites in Oxygen-Based Bleach
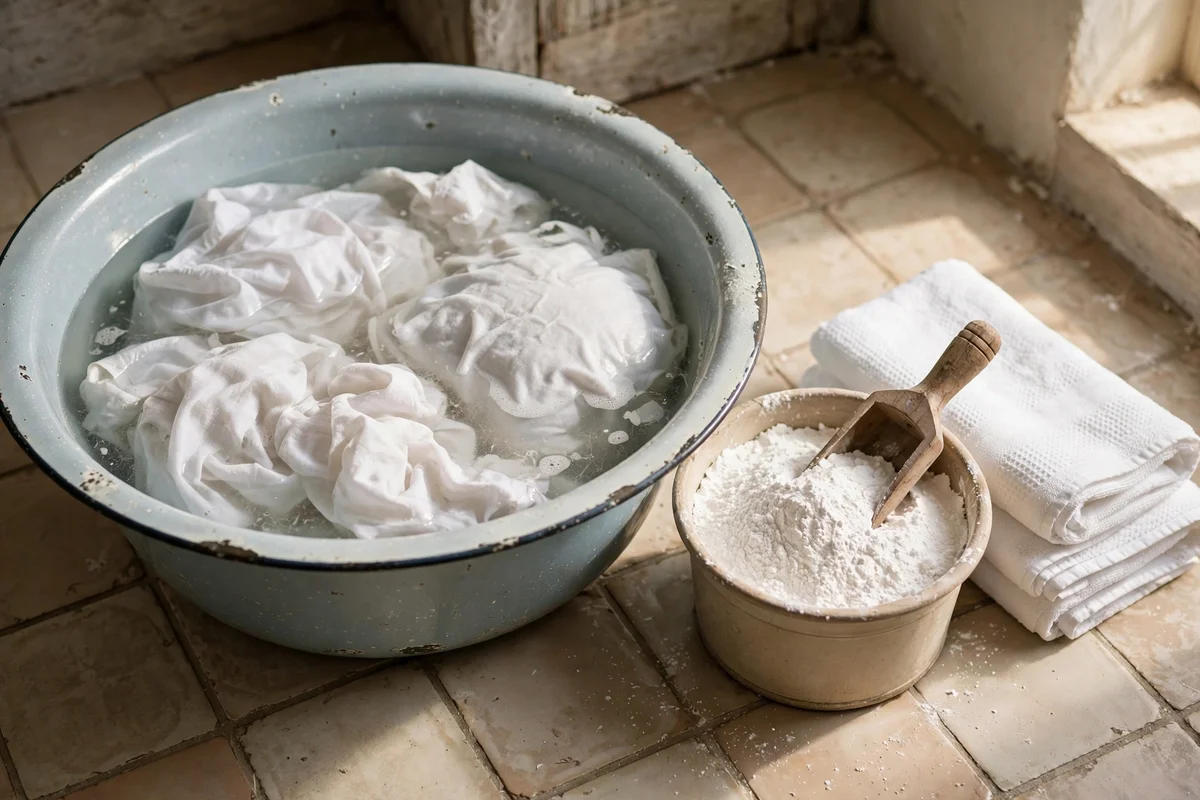
Whites that have gone grey all over need more than a normal wash. Fill a basin or clean bucket with warm water and add oxygen-based bleach at the dose printed on the box, usually one to two scoops per 10 litres. Submerge the dingy garments fully, pushing out air bubbles so every part touches the solution, and leave them to soak for six to eight hours or overnight. The slow fizz of the oxygen bleach lifts embedded greyness without harsh chemicals.
Wash the soaked items on a warm cycle with your regular detergent, then dry in gentle sunlight for extra brightness. The mistake to avoid is using chlorine bleach instead, which can yellow whites and weaken elastic over time. Oxygen bleach is colour-safe and kinder to fabric, though it works best in warm water. A tub of oxygen bleach costs a few pounds or dollars and revives dozens of loads, making it the cheapest brightening habit in the laundry room.
14. Add a Drop of Laundry Bluing to Greyed White Loads
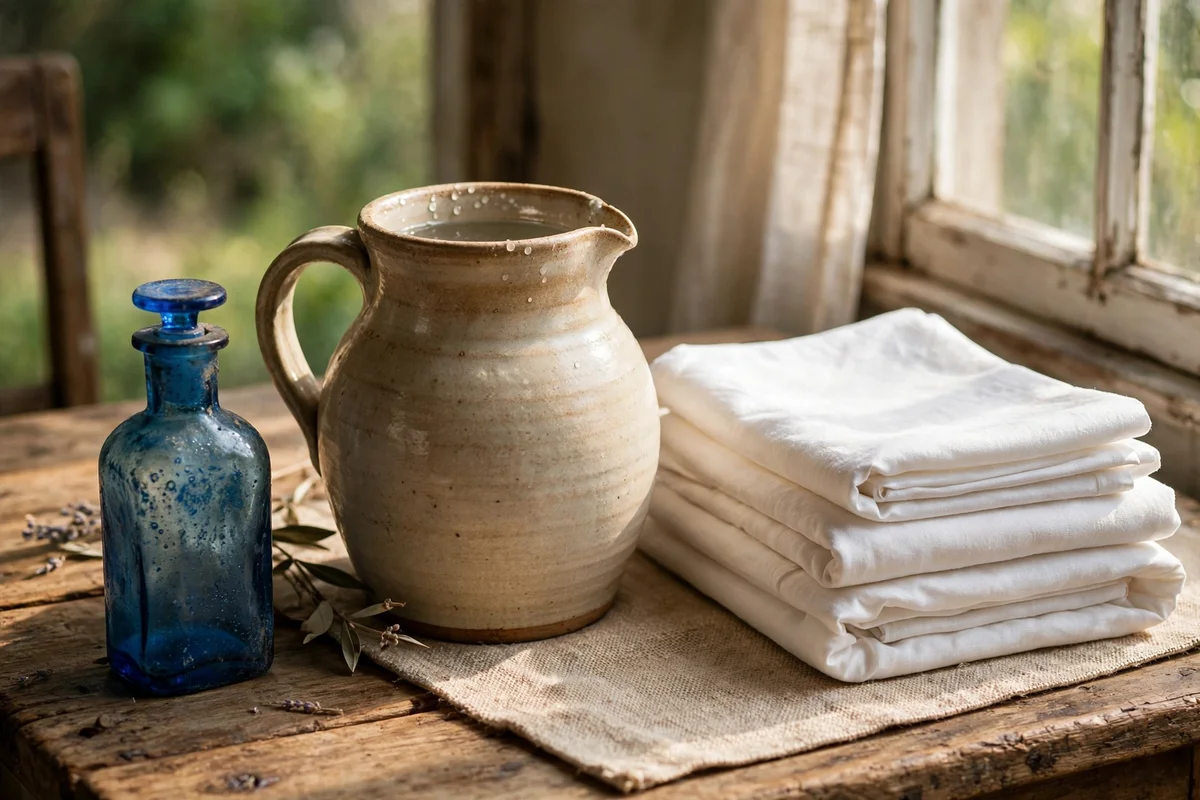
Laundry bluing is an old-fashioned liquid that adds the tiniest blue tint to wash water, which makes greyed whites look brighter to the eye. Add just a few drops, diluted in a litre of cold water first, to the final rinse of a white load, and never pour it directly onto fabric, since concentrated bluing leaves blue spots. The effect is optical rather than chemical: the faint blue counteracts the yellow-grey cast that builds up over many washes.
Use bluing only occasionally, perhaps once a month, since overuse builds a blue-grey film of its own. The mistake to avoid is adding it to a load that already contains fabric softener in the same rinse, because the two products can react and leave streaks. A single bottle of bluing lasts for years, as each wash needs only a few drops. It suits cotton sheets, white shirts and table linen especially well, giving heritage laundry a fresh, bright finish.
15. Finish Freshly Treated Whites in Gentle Direct Sunlight
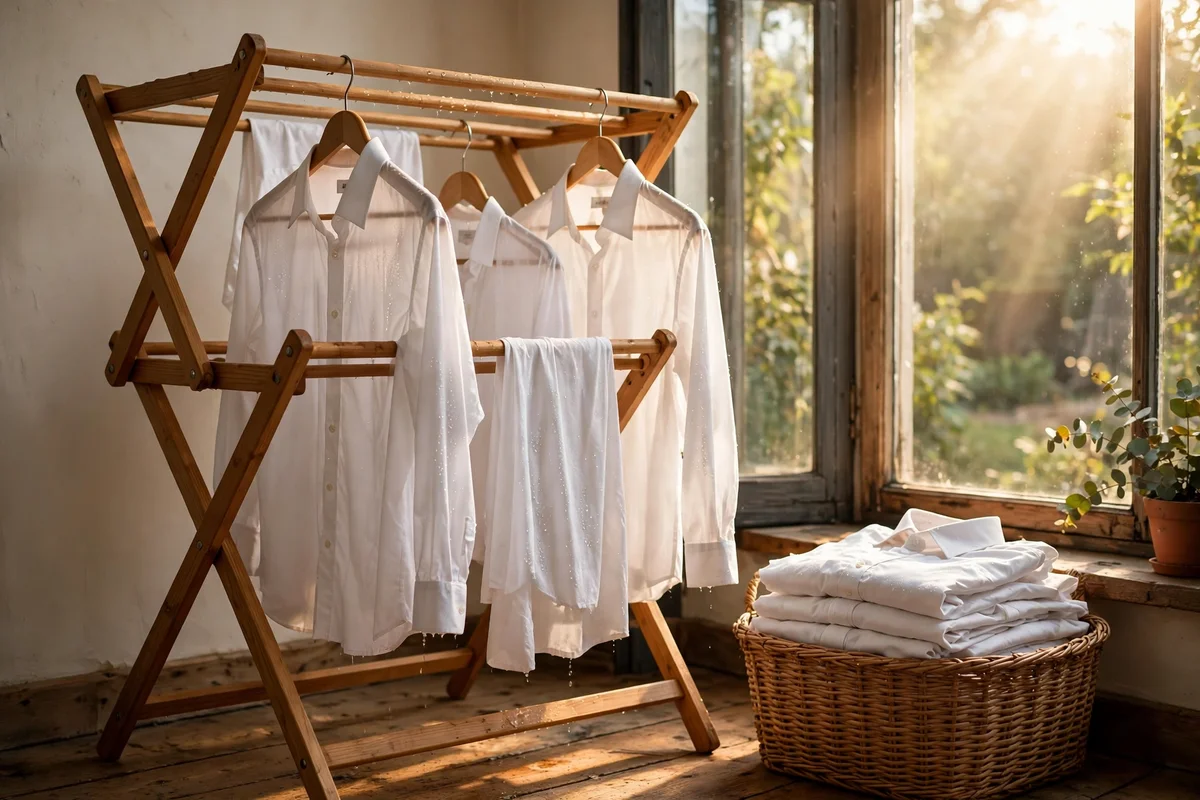
Sunlight is the oldest whitening aid and it costs nothing. After treating and washing a white garment, hang it damp in direct sun for one to two hours, turning it once so both sides get even light. Ultraviolet rays gently bleach residual yellowing and freshen the fabric naturally. Morning or late afternoon sun works best, since the fierce midday heat of high summer can scorch delicate cotton and weaken elastic over repeated exposure.
Bring whites indoors once they are dry, since leaving them out all day can fade trims and stiffen the cloth. The mistake to avoid is sun-drying garments that still hold an untreated stain, because sunlight then sets the mark instead of lifting it. Always treat first, wash second, and sun third, in that order. A simple folding airer on a sunny balcony or near a bright window gives the same benefit for homes without a garden.
16. Keep Protein Stains in Cool Water, Never Hot
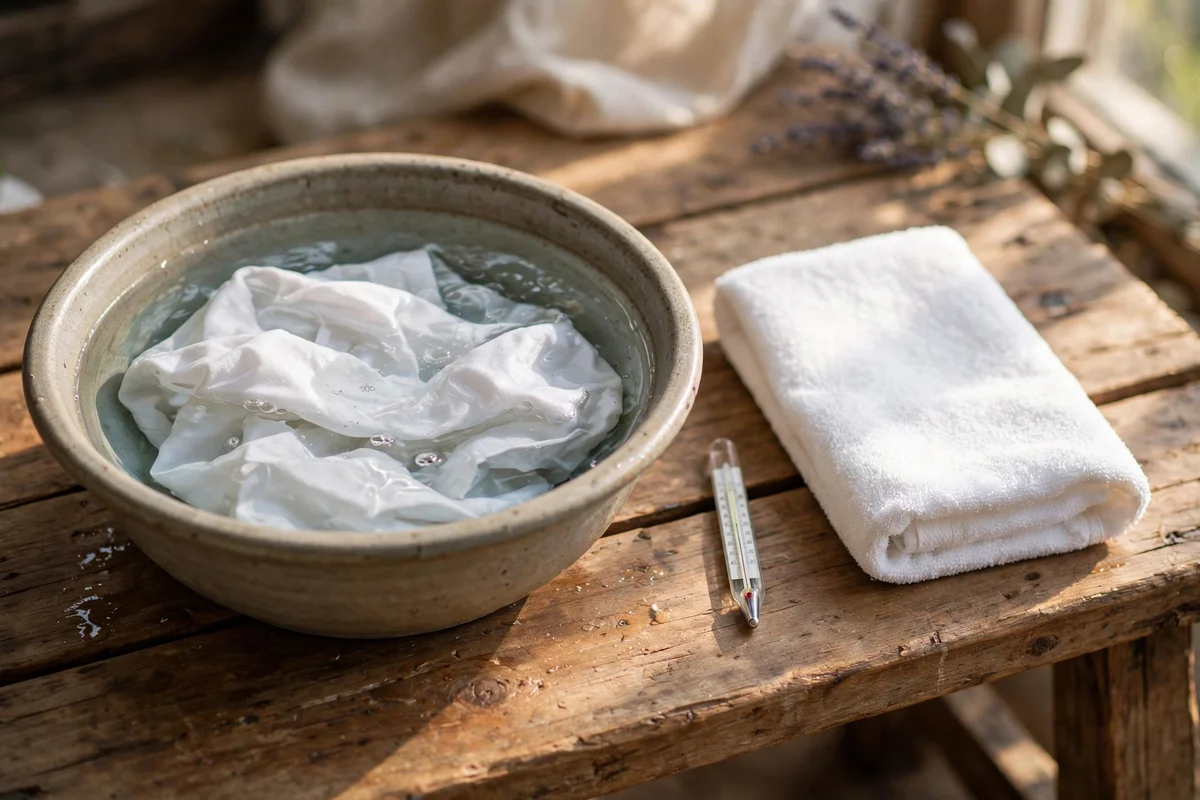
Blood, milk, egg and sweat are protein stains, and heat cooks protein into the fabric just as it cooks an egg in a pan. Always start with cool or lukewarm water, rinsing the back of the stain for several minutes before any soap touches it. Once the bulk of the stain has flushed away, apply your chosen treatment, whether enzyme paste, dish soap or vinegar soak. Only move to warm washing temperatures after the mark has visibly lifted.
The mistake to avoid is tossing a stained white shirt straight into a hot wash, which is the fastest way to make a treatable mark permanent. Set the machine to 30 degrees for the first wash after treatment, and only raise the temperature once the stain is gone. This rule also protects delicate fibres from thermal shock. Keeping a small printed note of wash temperatures inside the laundry cupboard door helps the whole household follow the same careful habit.
17. Keep Chlorine Bleach Away From Wool and Silk
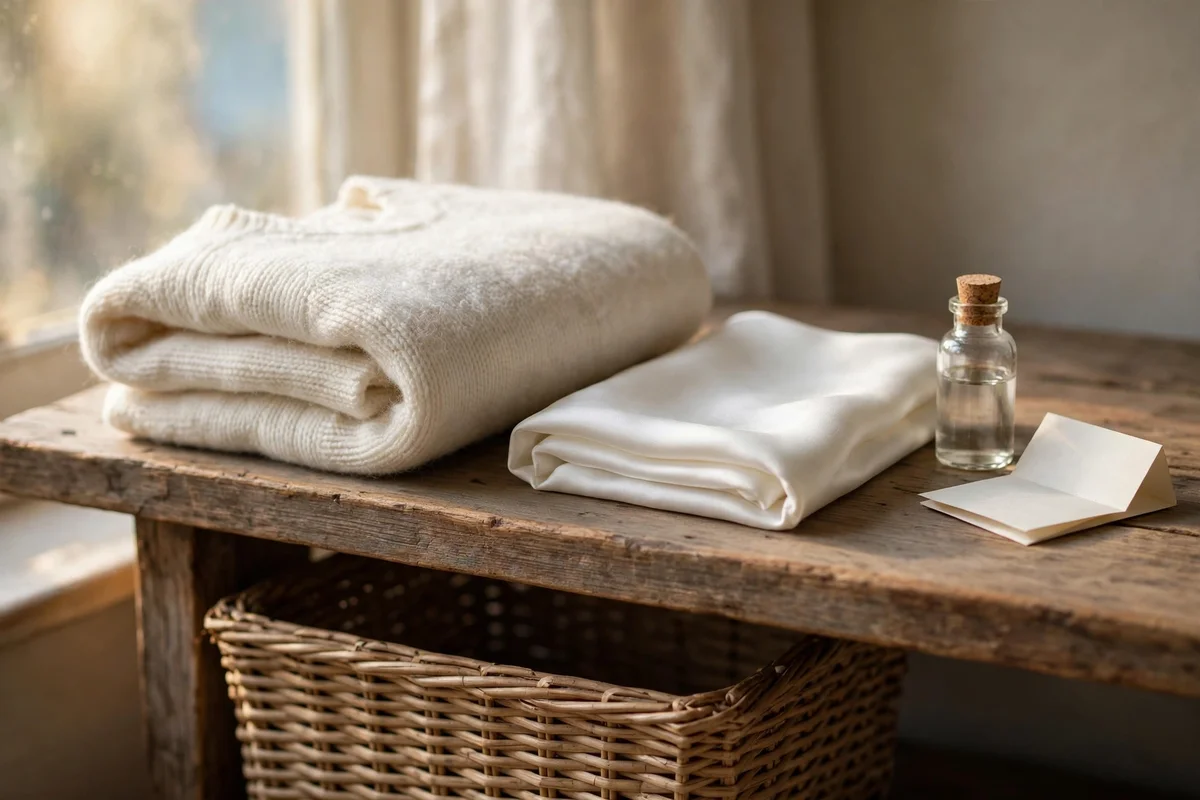
Chlorine bleach is strong enough to dissolve wool and silk fibres, turning a white woollen jumper yellow and brittle after a single soak. Never use it on animal fibres, and keep it away from elastic and spandex, which it weakens quickly. For whites made of wool, silk or blends, choose oxygen-based bleach or a gentle vinegar soak instead, and always read the care label before adding any product to the water.
Even on sturdy cotton, use chlorine bleach sparingly and well diluted, since repeated strong doses thin the fabric and leave a yellow cast. The mistake to avoid is pouring bleach directly onto a garment, which creates bleach spots that cannot be reversed. Dilute it in water first, add garments second, and rinse thoroughly afterwards. For most household brightening, oxygen bleach and sunlight do the same job with far less risk to your favourite whites.
18. Sort Whites by Fabric Weight and Soil Level
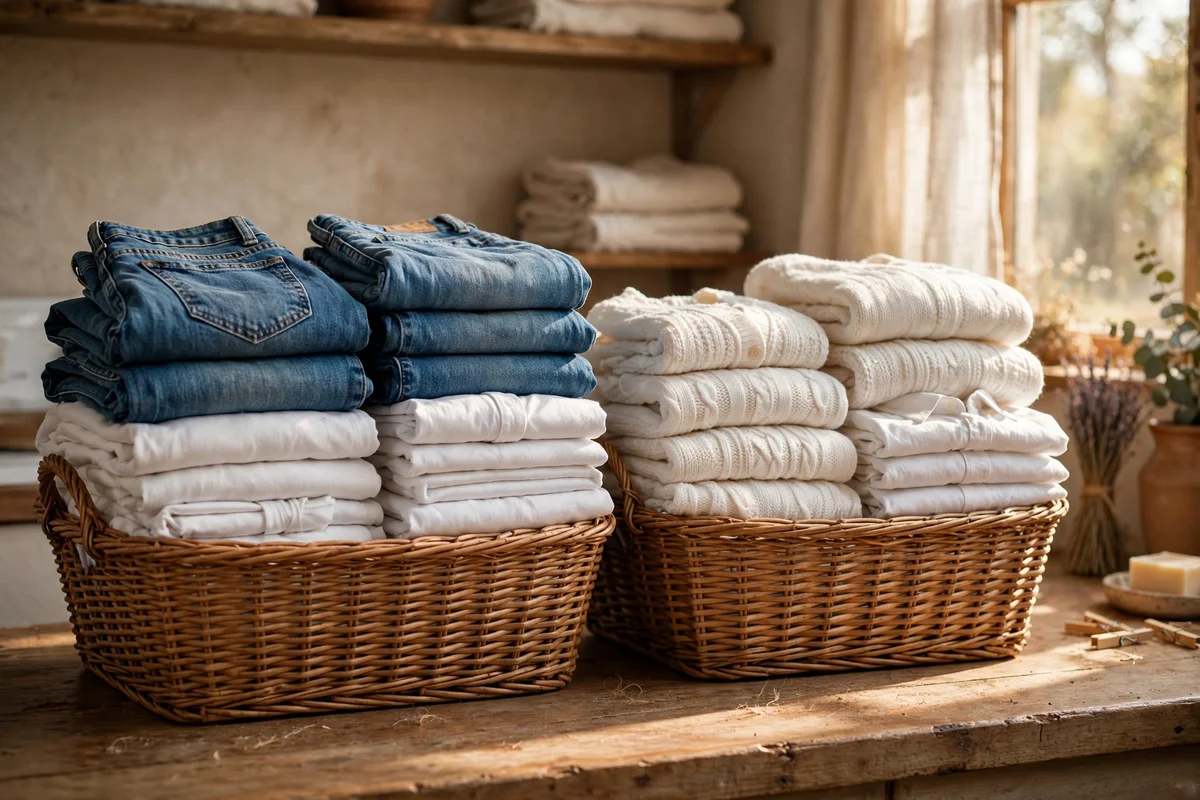
A load that mixes heavy denim-white jeans with delicate white blouses lets the heavy items grind the light ones during the spin. Sort whites into two baskets: sturdy cottons and linens in one, and fine shirts, underwear and delicate knits in another. Wash the sturdy group on a normal warm cycle and the delicate group on a gentle one. This simple split keeps whites brighter for longer, since each fabric gets the agitation and temperature it suits.
Also separate heavily soiled items, like muddy sports whites, from lightly worn ones, so grime does not transfer in the wash. The mistake to avoid is washing whites with even pale coloured clothes, since light greys and creams shed enough dye to dull bright white over time. A dedicated whites-only wash with a scoop of oxygen bleach every few weeks keeps the whole drawer fresh. Two laundry baskets, one for sturdy whites and one for delicates, cost very little.
19. Spot Test Every New Treatment on a Hidden Seam
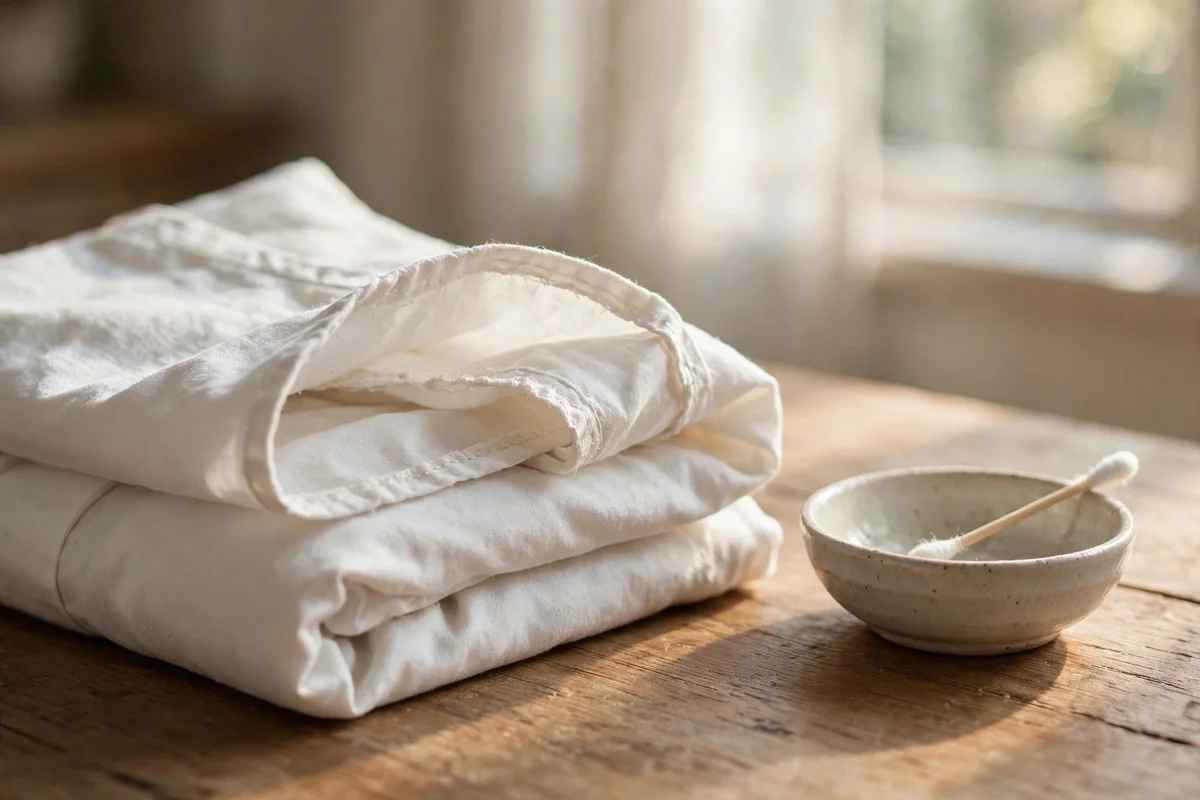
Every fabric reacts differently, so test each new paste, soak or solution on a hidden spot before treating the visible stain. Choose an inside seam, a hem allowance or the fabric behind a button, and apply a small amount of the mixture. Wait ten minutes, rinse, and check for colour change, stiffness or thinning. This two-minute habit prevents the heartbreak of a treatment that removes the stain but damages the cloth around it.
The mistake to avoid is testing on the stain itself, which tells you nothing about how the surrounding clean fabric will react. Pay special attention when treating vintage or heirloom whites, since older fibres are weaker and dyes may be less stable. Keep a small notebook of which treatments worked on which garments, so next time you can skip the guesswork. Patient testing is the quiet difference between laundry that survives and laundry that thrives.
20. Assemble a Small Stain Kit of Bowls, Bottles and Brushes
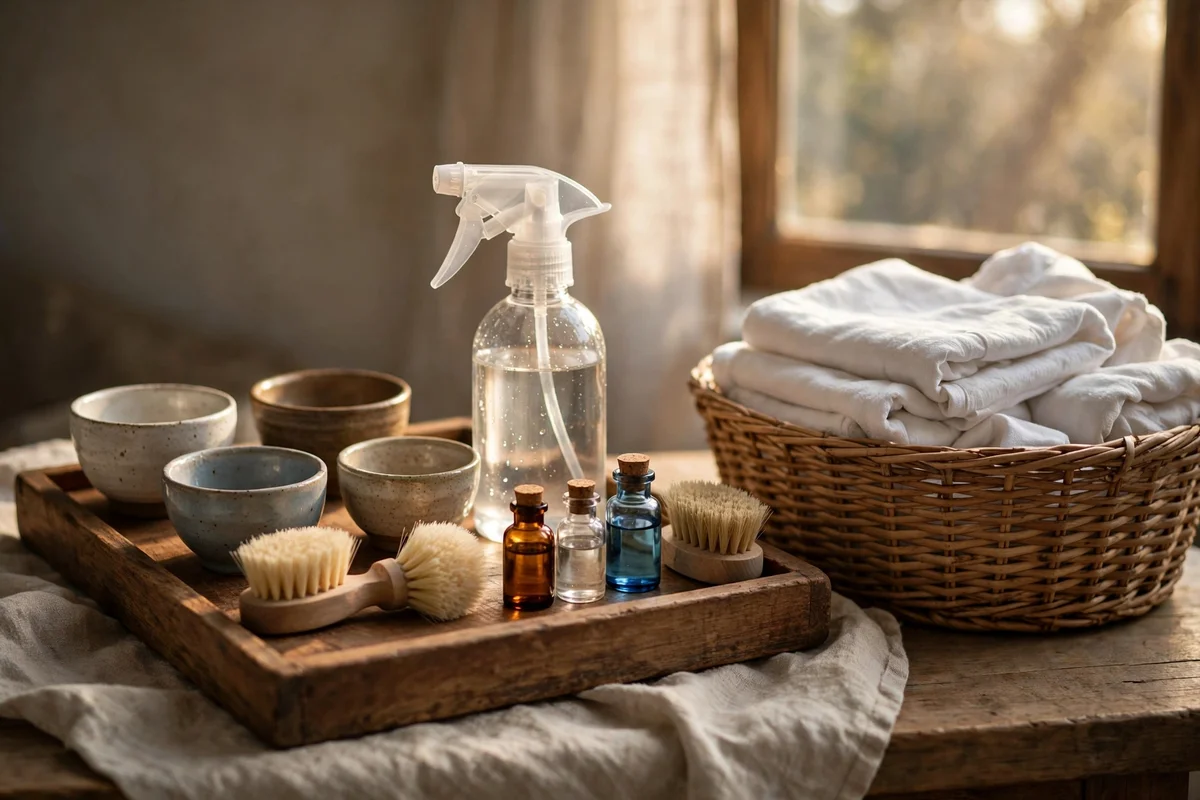
Fast treatment wins, so keep a small stain kit beside the laundry basket and you will never hunt for supplies mid-spill. You need two small glass or ceramic bowls for mixing pastes, a spray bottle for diluted vinegar, a soft laundry brush, an old soft toothbrush for collars, clean white cloths, and small labelled bottles of baking soda, hydrogen peroxide and mild dish soap. A sturdy tray or lidded box keeps everything together and tidy.
Restock the kit every few months and check that the hydrogen peroxide bottle is still sealed, since it loses strength once opened. The mistake to avoid is storing the kit where children can reach it, so keep it on a high shelf in a closed box. With this kit ready, treating a coffee splash or grass mark takes five minutes instead of half an hour of searching. A well-organised laundry corner turns stain care from a chore into a calm, capable routine.
White clothes reward the patient. Whether it is a coffee splash lifted with dish soap, a yellowed collar refreshed with peroxide, or a greyed sheet brightened by an overnight soak, every fix in this guide follows the same rhythm: act early, treat gently, rinse well, and finish in sunlight. Keep your small kit by the laundry basket, and the next spill becomes a five-minute task instead of a lost garment.
If you try only one idea this week, start with the stain kit, because having bowls, bottles and brushes within reach makes every other treatment twice as easy. Then pick the stain that troubles you most, follow its steps calmly, and enjoy the quiet satisfaction of whites that look freshly bought. A bright, clean finish is never an accident; it is the result of small, careful habits repeated well.
Frequently Asked Questions
Can I use hot water on white clothes to remove stains faster?
Not on protein stains like blood, milk, egg or sweat, since heat cooks the protein into the fabric and makes the mark permanent. Rinse those in cool water first, treat the spot, and only then wash warm. For greasy or oily stains, warm water is fine and helps soap cut the grease. Match the water temperature to the stain type, not to your impatience.
Is chlorine bleach safe for all white fabrics?
No. Chlorine bleach damages wool, silk and elastic, and it can yellow whites with repeated use. Reserve it for sturdy white cotton and linen, always diluted, and never pour it directly onto fabric. For most brightening, oxygen-based bleach, hydrogen peroxide soaks and sunlight are safer and do the job just as well.
How do I keep white clothes from going grey over time?
Wash whites separately from coloured clothes, sort by fabric weight, and add a scoop of oxygen-based bleach to the wash every few weeks. Avoid overloading the machine so garments rinse cleanly. Once a month, try a drop of laundry bluing in the final rinse, and dry whites in gentle sunlight whenever the weather allows.
What should I do the moment a stain happens away from home?
Blot, never rub, with a clean tissue or napkin, working from the edge toward the centre. Rinse with cold water if a tap is nearby. Do not apply heat, and avoid coloured wipes that could transfer dye. When you get home, treat the spot while it is still fresh using the method in this guide for that stain type.
Can old, set-in stains still be removed from white clothes?
Sometimes, with patience. Rehydrate the mark with a long cool soak, then apply the treatment for that stain type twice, leaving each application on longer than usual. Oxygen bleach overnight soaks work well on old yellowing. If heat has set the stain, through the dryer or ironing, it may be permanent, but it is always worth one careful attempt first.