Bathroom
21 Bathroom Storage Ideas That End Counter Clutter
By Anna Wells · · 20 min read
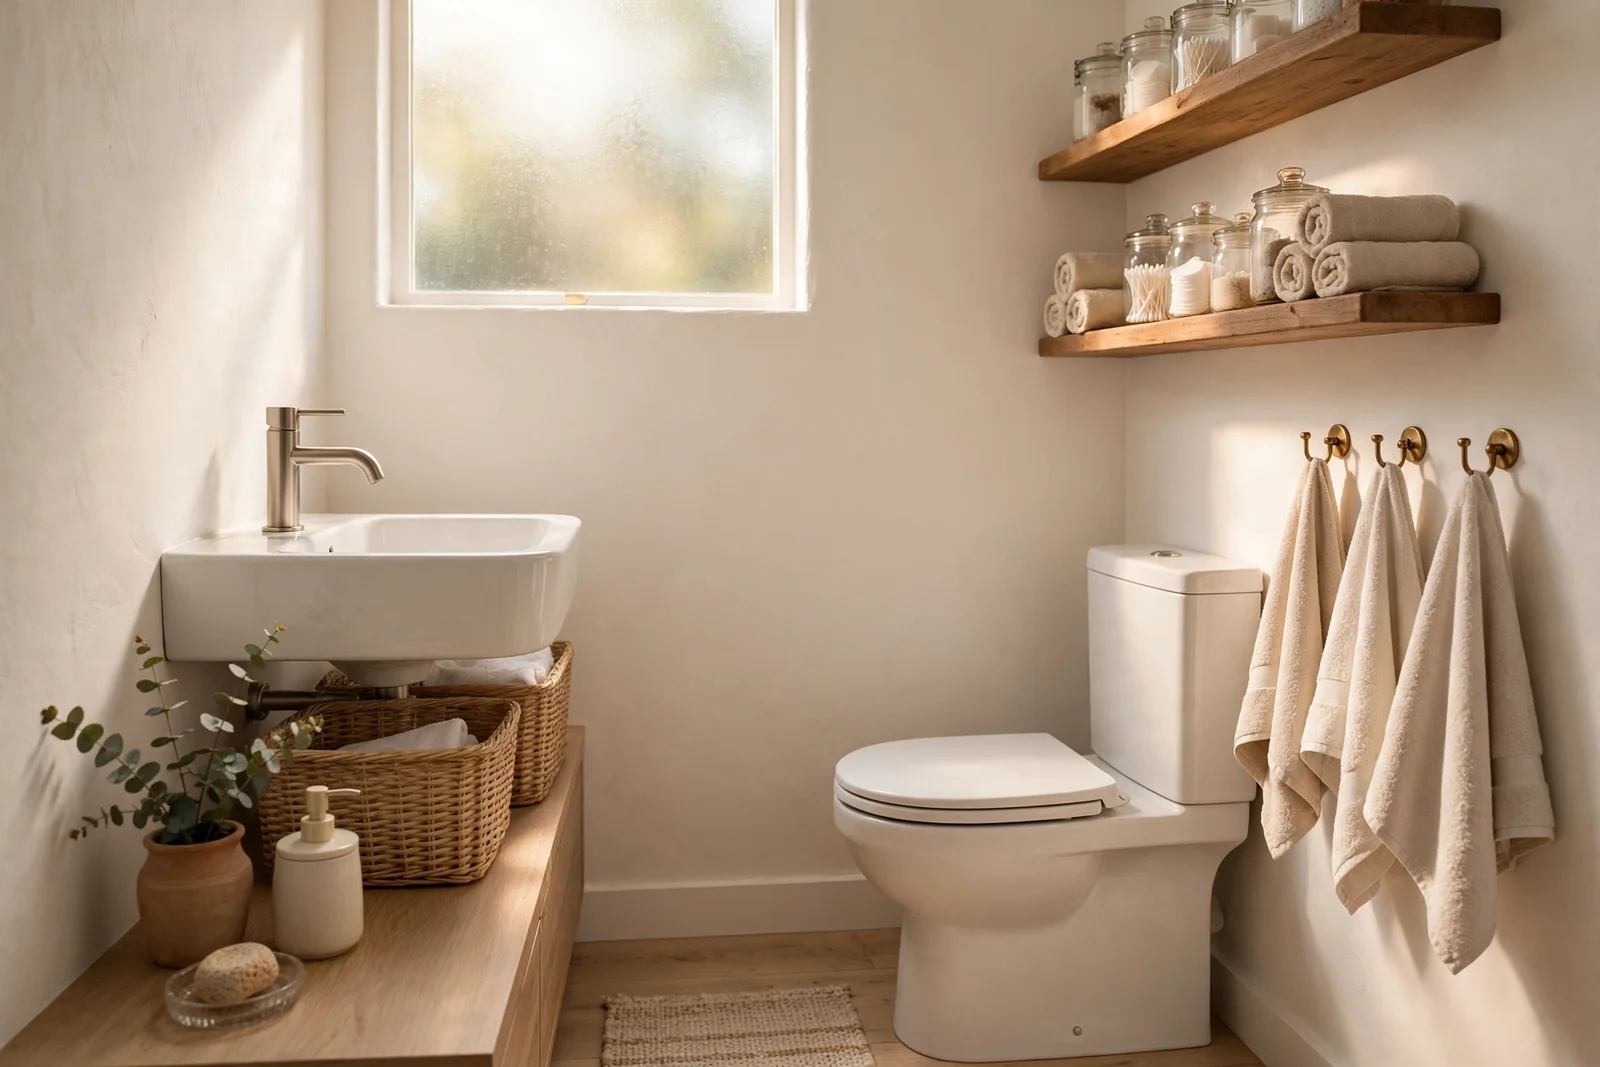
A quiet morning should never begin with a hunt for the moisturiser among a crowd of bottles, and it should never end with a damp towel sliding off a crowded rail. In a small bathroom, every centimetre earns its keep, so the right storage turns a cramped room into a calm one. These 21 bathroom storage ideas are built for real homes: renters, families and anyone who shares one sink between several people. Each idea names exact sizes, safe fixings and honest budgets, so you can start this weekend. Begin with the easiest win and let the calm spread from there.
A steamy bathroom punishes clutter more than any other room, because damp air settles on every open bottle and loose cotton pad. The fix is not a bigger room but a smarter one, where each item has a home and the counter stays nearly clear. The ideas below use hooks, baskets, risers and boxes to claim the wasted gaps: above the toilet, under the basin, inside the cabinet and even above the door.
Every idea here is chosen for small bathrooms first, so narrow gaps and awkward corners become assets instead of annoyances. You will find safe ways to fix shelves into studs, slim carts that glide into 15 cm gaps, and drawer dividers that turn one messy drawer into tidy lanes. Materials stay honest and wipeable: bamboo, ceramic, coated metal and woven fibres that forgive humidity.
Budgets stay friendly throughout, because most of these upgrades cost less than a family takeaway. Many ideas need no tools at all, and the ones that do ask only for a drill, a stud finder and basic wall anchors. Work through one or two ideas per weekend and the whole room changes within a month, without a single renovation or a plumber’s bill.
1. Fix a Sturdy Over-Toilet Shelf Unit Into Wall Studs
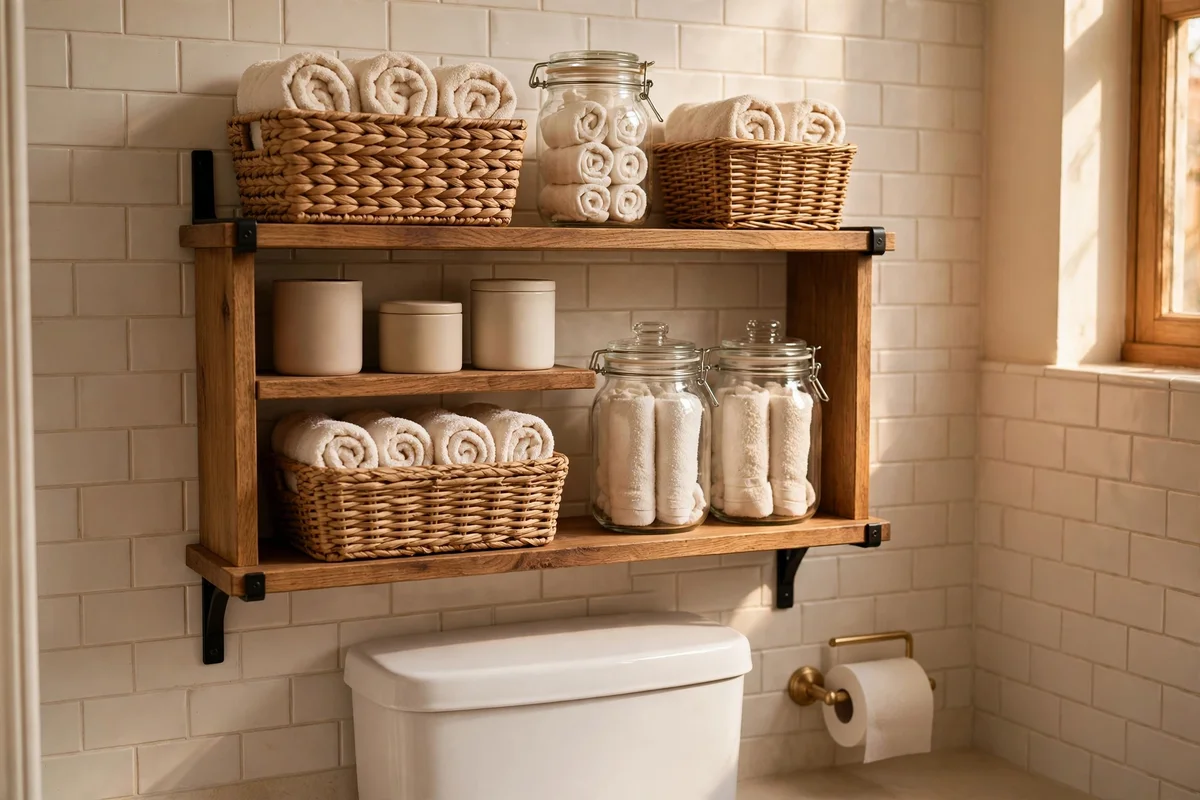
A shelf unit above the toilet adds two or three rows of storage without touching the floor, which is ideal for a compact bathroom. Choose a solid timber or powder-coated metal frame rated to hold at least 15 kg per shelf, since damp air and stacked bottles add weight over time. Fix the uprights into wall studs with screws at least 50 mm long, or use heavy-duty plaster anchors rated for the load. Keep the lowest shelf about 30 cm above the cistern lid so the lid can still be lifted for maintenance.
Style the shelves with closed baskets and sealed glass jars so the contents stay clean and dry in the steamy air. Reserve the middle shelf for daily items within easy reach, such as spare soap and folded hand towels, and put rarely used spares on the top shelf. The mistake to avoid is free-standing units that wobble when the toilet lid moves; always anchor the frame to the wall. Budget option: two separate floating shelves with brackets usually costs 20 to 40 pounds or dollars.
2. Keep the Over-Toilet Shelves Styled With Rolled Towels and Sealed Jars
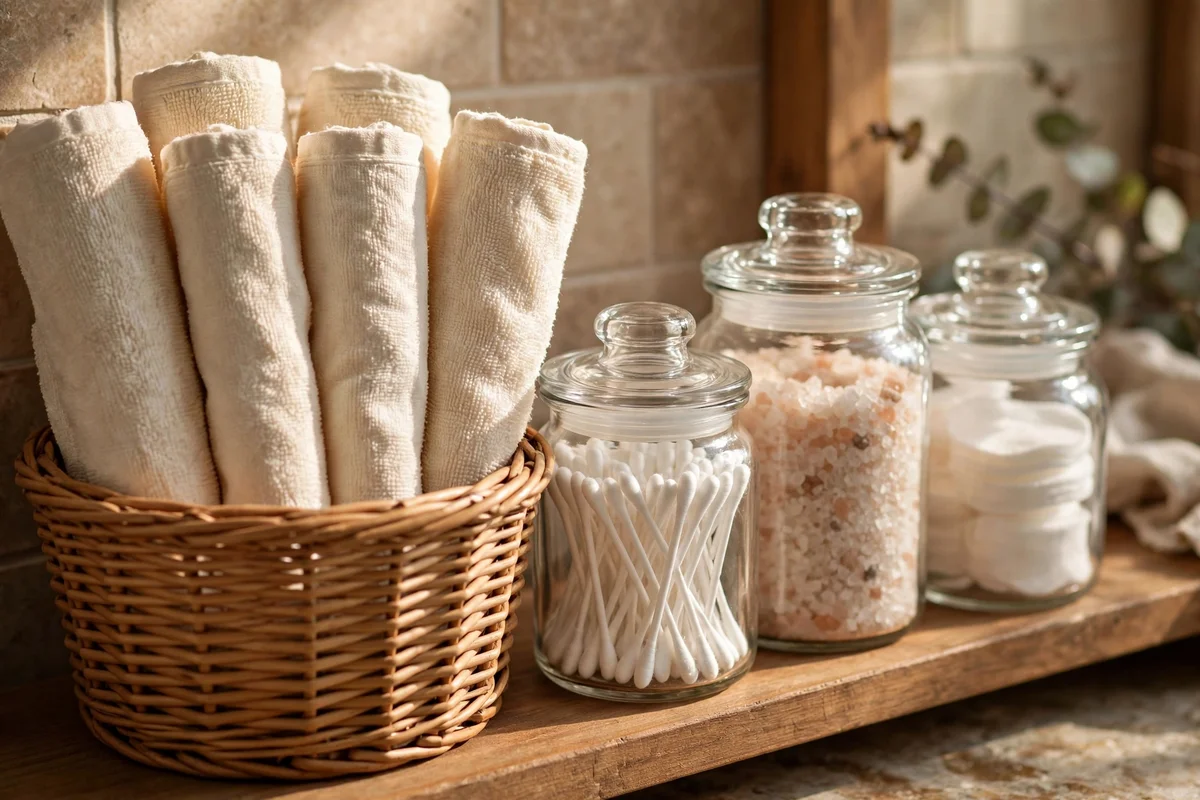
Once the unit is fixed, keep its look calm by rolling rather than folding hand towels, because rolls stack neatly and are easy to grab with one hand. Stand the rolls upright in an open wicker basket about 25 cm tall so the basket itself holds them in shape. Pair the basket with two or three sealed glass jars of matching size, roughly 500 ml each, holding cotton pads, soap bars and spare razors. Matching containers make even a busy shelf look deliberate.
Leave one third of each shelf empty on purpose, since crowded shelves collect dust and look cluttered no matter how tidy the items are. Dust the shelves every two weeks with a dry cloth, because damp bathrooms gather grime faster than dry rooms. The mistake to avoid is placing open cups or loose items near the toilet zone; always use lidded or sealed containers there for hygiene. A set of three matching jars plus one basket is a budget buy at 15 to 30 pounds or dollars.
3. Slide a Slim Rolling Cart Between the Basin and the Wall
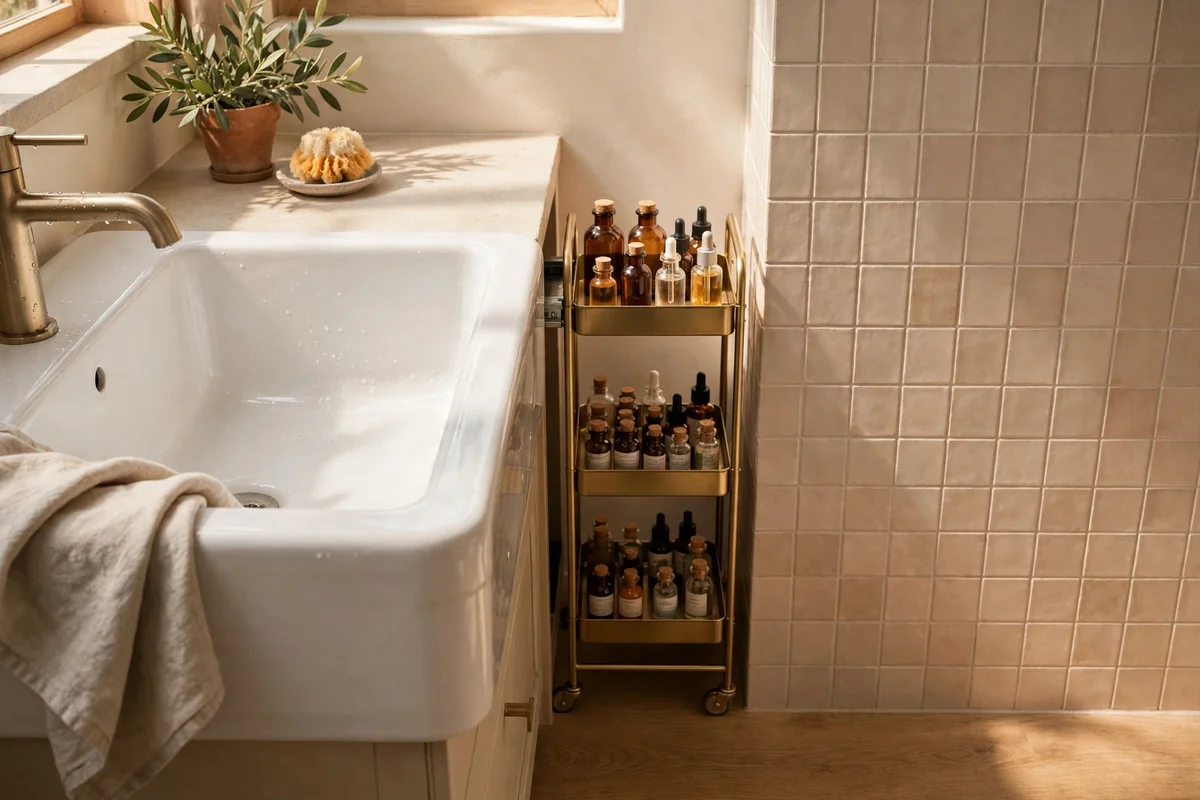
Most bathrooms have a wasted strip of 15 to 25 cm between the basin pedestal and the side wall, and a slim rolling cart turns that gap into three tiers of storage. Measure the gap before buying, allowing 2 cm of clearance on each side so the cart glides without scraping tiles. Look for a rust-resistant plastic or coated metal cart with wheels that lock, since one wobbly wheel on a wet floor is a real hazard. Three tiers of about 35 cm depth hold plenty without jutting into the room.
Park the cart with the most-used tier at hip height, roughly 80 to 90 cm, so daily creams and cleansers are at fingertip level. Keep heavier bottles, such as shampoo refills, on the bottom tier for stability. The mistake to avoid is overloading the top tier, which raises the centre of gravity and can tip the cart when rolled. A three-tier slim cart is a classic budget buy, usually 15 to 30 pounds or dollars, and needs no tools to assemble.
4. Sort the Cart Tiers by Routine: Morning, Evening, Spares
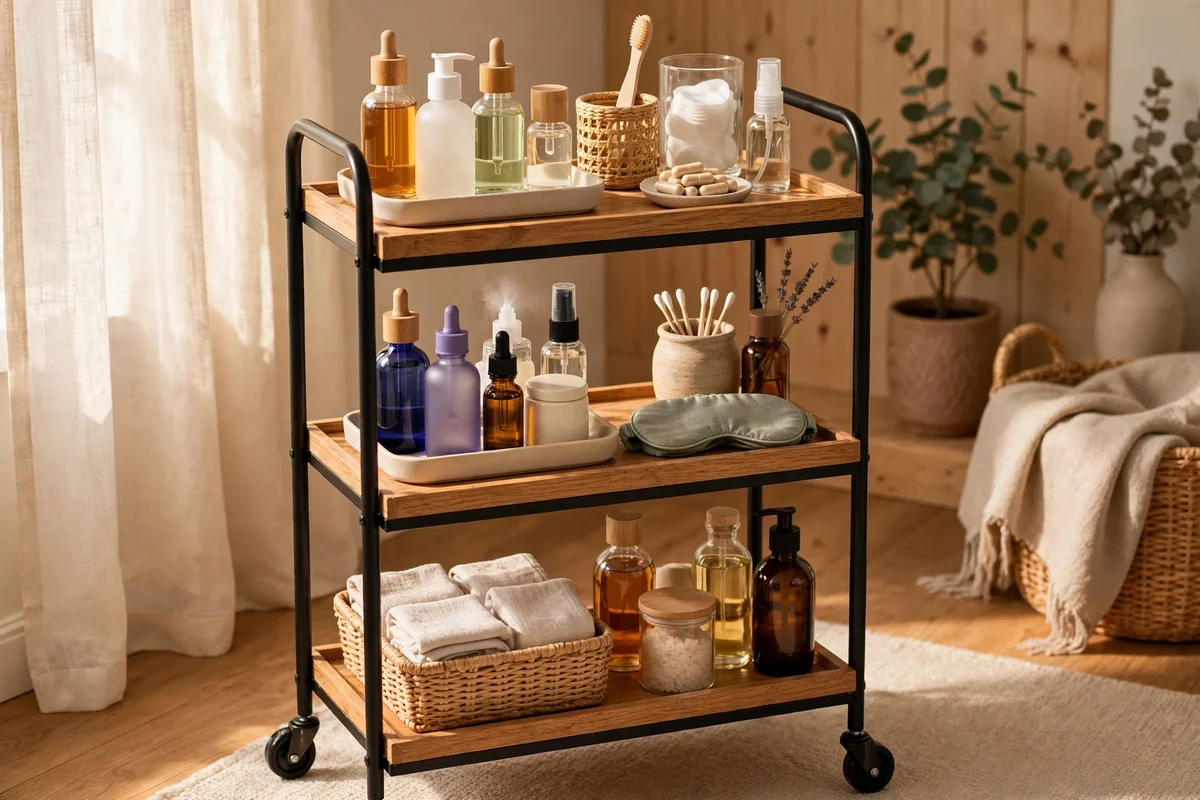
Give each tier of the rolling cart a job so you never hunt through everything for one bottle. The top tier holds the morning routine: cleanser, moisturiser and deodorant grouped in one small tray. The middle tier holds evening items: make-up remover, night cream and cotton pads. The bottom tier takes spares and refills, with the heaviest bottles at the back. This one-job-per-tier system means the whole cart stays sorted without any extra effort.
Corral the tiers with small open trays or cups so bottles do not slide when the cart moves. Wash the trays monthly, because soap drips and cream residue collect quickly in a damp room. The mistake to avoid is letting the cart become a dumping ground for items that belong elsewhere; if something is not used weekly, move it out. Trays in matching colours cost 8 to 15 pounds or dollars and lift the whole cart from cluttered to considered.
5. Tuck Woven Baskets Under a Wall-Hung Basin
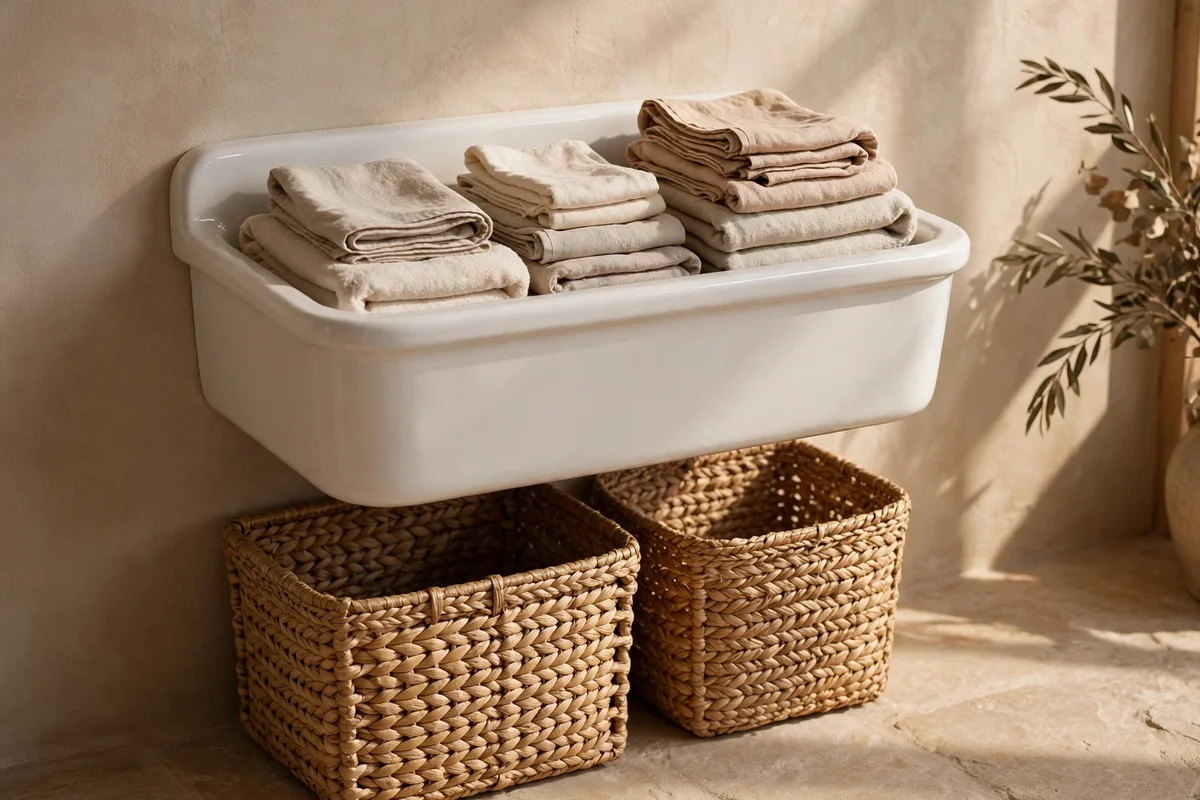
A wall-hung basin leaves the floor area beneath it completely open, which is a gift for storage if you use it well. Slide two or three shallow woven baskets, each about 30 by 40 cm, under the basin to hold spare hand towels, cleaning cloths and toilet paper. Choose baskets with low sides so contents stay visible, or tall lidded ones if you prefer a calmer look. Keep the baskets on a wipeable mat so any drips from the basin do not soak into the weave.
Leave a clear channel of about 10 cm between the baskets and the waste pipe so a plumber can reach the trap without removing everything. Air the baskets out monthly, since trapped damp air can make natural fibres musty. The mistake to avoid is cramming oversized baskets that block the pipework or jut past the basin edge; measure the clear space first. Seagrass or rattan baskets in this size cost 10 to 25 pounds or dollars each.
6. Keep One Basket for Clean Linens and One for Cleaning Kit
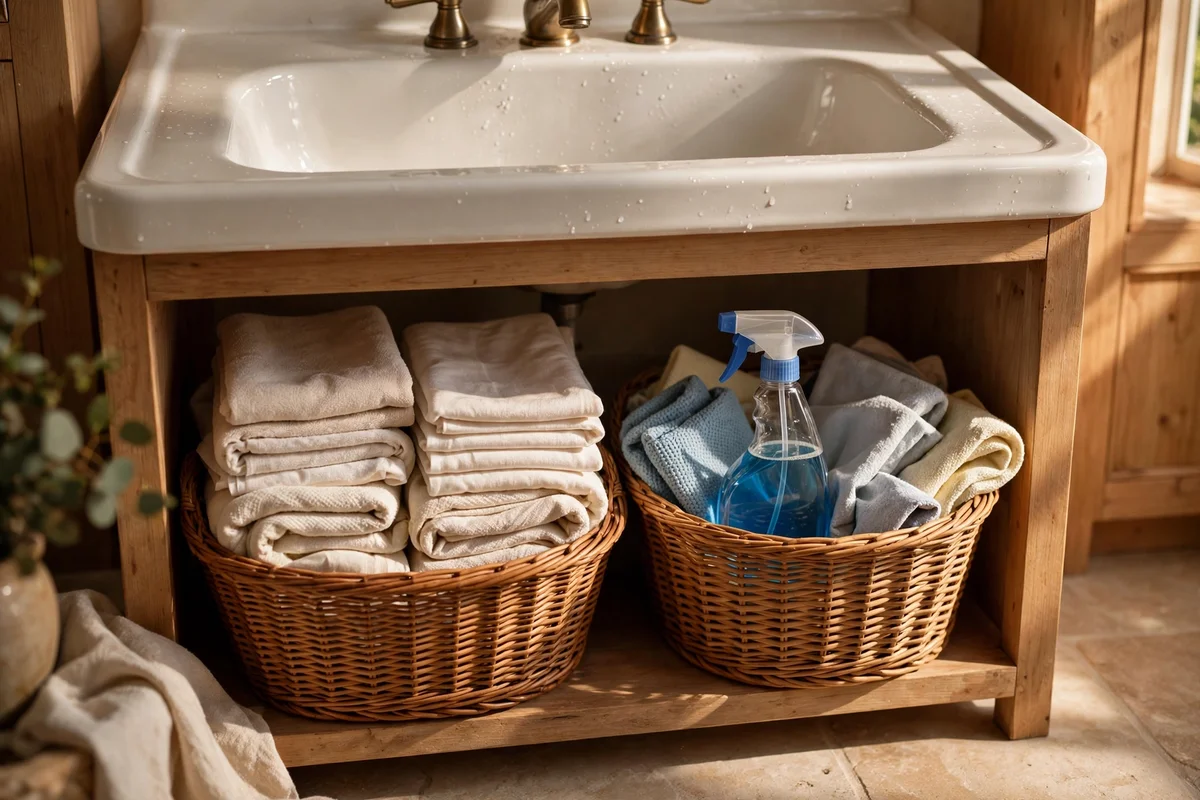
Two baskets under the basin are enough for most homes: one for clean linens and one for the cleaning kit. Fold hand towels and face cloths into the first basket in colour groups so it looks restful, about six hand towels and four face cloths per person. The second basket holds the daily cleaning kit: a spray bottle, a small brush, two microfibre cloths and a pair of gloves. With the kit always in the same spot, a two-minute wipe-down happens naturally.
Restock the linen basket weekly on laundry day so it never runs empty mid-week. Replace microfibre cloths every three months, since worn cloths smear rather than clean. The mistake to avoid is storing the cleaning kit in a distant cupboard; if it is not within arm’s reach of the bathroom, the quick daily wipe simply will not happen. Two sturdy baskets plus a spray bottle and cloths stay under 40 pounds or dollars total.
7. Use the Mirrored Cabinet for Everyday Bottles, Not the Counter
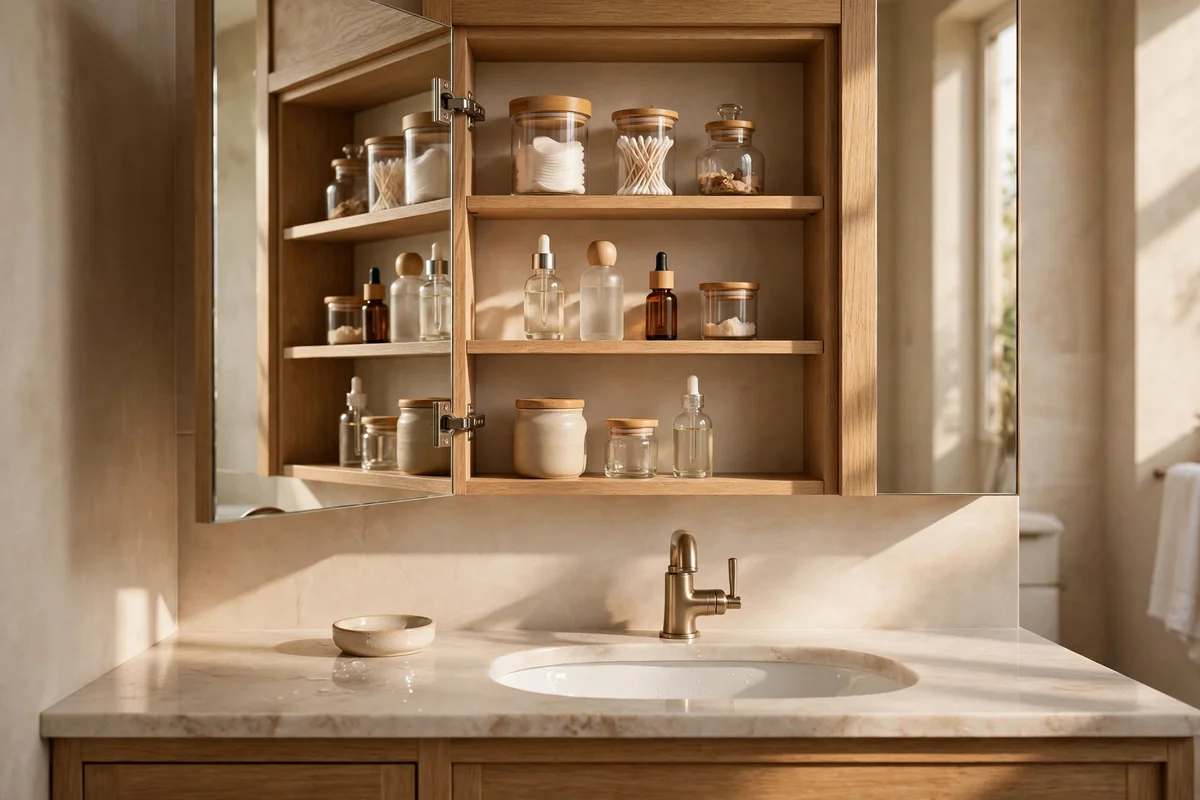
The mirrored cabinet above the basin is the natural home for everyday bottles, yet many people leave them on the counter where they collect splashes and limescale. Move cleansers, toothbrushes and contact lens cases inside, keeping only the soap dispenser and one tumbler on the counter. Most cabinets are 12 to 15 cm deep, which fits standard 200 ml bottles comfortably, and the mirror doors reflect light back into the room so nothing feels dark.
Arrange items by frequency: the front of each shelf for daily items, the back corners for things used a few times a week. Wipe the shelves monthly, because toothpaste splatter and cream rings build up behind closed doors. The mistake to avoid is shoving everything in at random depth; tall bottles at the back disappear behind shorter ones. A simple clear riser or tray inside the cabinet costs 6 to 12 pounds or dollars and doubles the usable space.
8. Unlock the Full Depth of the Cabinet With Tiered Risers
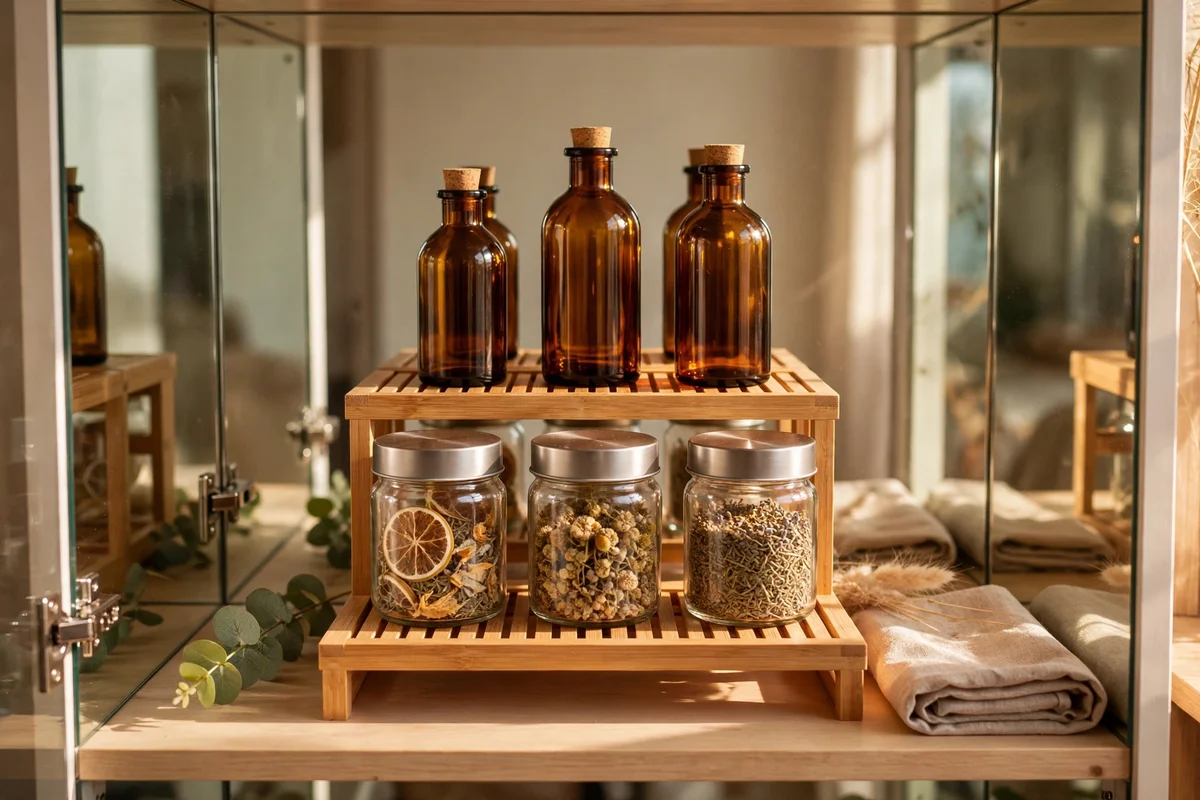
Mirrored cabinets are deeper than they look, but a single row of bottles wastes the back half of every shelf. A small tiered riser, about 20 cm wide and 10 cm tall, lifts the back row so every label is visible at a glance. Place tall bottles like shampoo refills and tall lotions on the raised back tier, and short jars and tubes on the front level. The whole shelf then reads like a neat little shop display instead of a jumble.
Choose risers in wipeable plastic or bamboo, since the cabinet air stays humid even with the doors closed. Leave 3 cm of clearance above the tallest bottle so the doors swing shut without catching. The mistake to avoid is stacking bottles two deep without a riser, because the hidden back row turns into forgotten clutter that expires unnoticed. Two small risers cost 8 to 16 pounds or dollars and work in cabinets as narrow as 40 cm.
9. Swap the Towel Rail for Sturdy Hooks in a Small Room
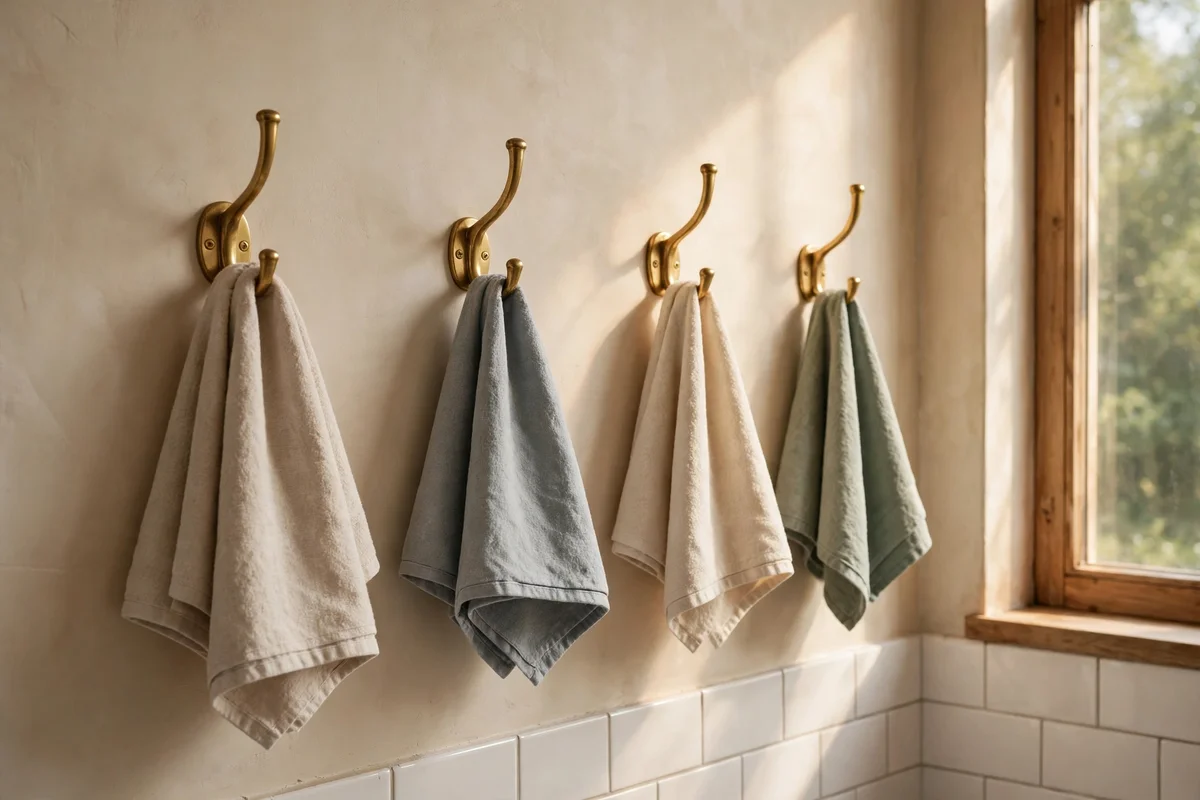
In a narrow bathroom, a towel rail steals 15 cm of wall depth and leaves towels slow to dry against the wall. Sturdy individual hooks take almost no space and hold each towel with air flowing around it, so damp fabric dries faster and smells fresher. Fix each hook into a stud or a proper wall anchor, since a soaked bath towel weighs over 1.5 kg. Space hooks 25 to 30 cm apart so towels do not touch and can breathe.
Mount the main hooks at 150 to 160 cm, a comfortable reach for most adults, with one lower hook at 100 cm for children. Choose solid brass, stainless steel or coated wood in one finish so the row looks intentional. The mistake to avoid is cheap stick-on hooks in a steamy bathroom; the adhesive fails within weeks and drops a wet towel onto the floor. A set of four solid screw-fixed hooks costs 12 to 25 pounds or dollars.
10. Add a Fold-Down Hook Rail by the Shower Door
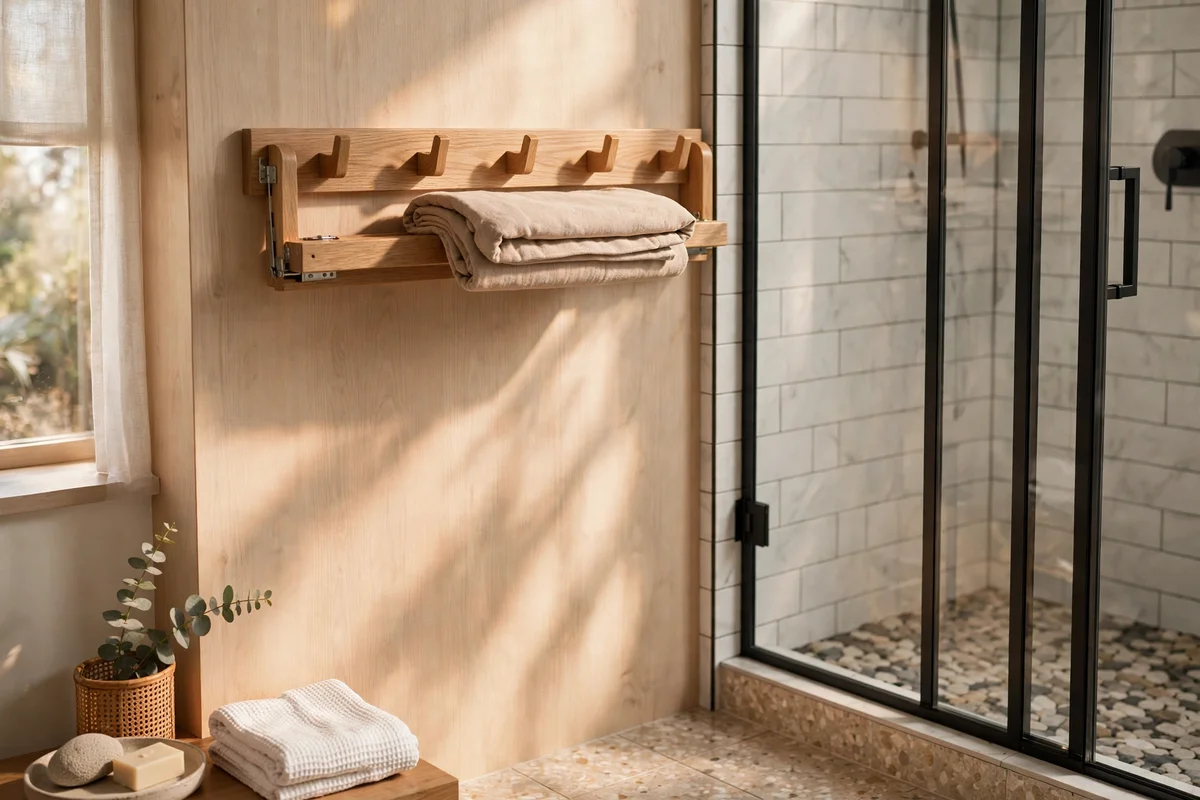
A fold-down hook rail by the shower door gives bathrobes and towels a landing spot exactly where you need them. Look for a wall-mounted rail about 40 cm wide with three to five hooks that fold flat against the wall when empty, so the walkway stays clear. Fix it into studs or masonry anchors, since the combined weight of a robe and a wet towel can reach 3 kg. Position it 10 to 15 cm from the shower edge at 150 cm high.
Use it as a temporary zone, not permanent storage, so towels return to their proper hooks after drying. Wipe the rail monthly to stop limescale marks dulling the finish. The mistake to avoid is mounting it where the shower door swings; measure the door arc first or every opening will slam into the hooks. A quality fold-down rail costs 15 to 35 pounds or dollars and is one of the most renter-friendly upgrades, needing only two screw holes.
11. Sort Daily Items Into a Lidded Box System by Task
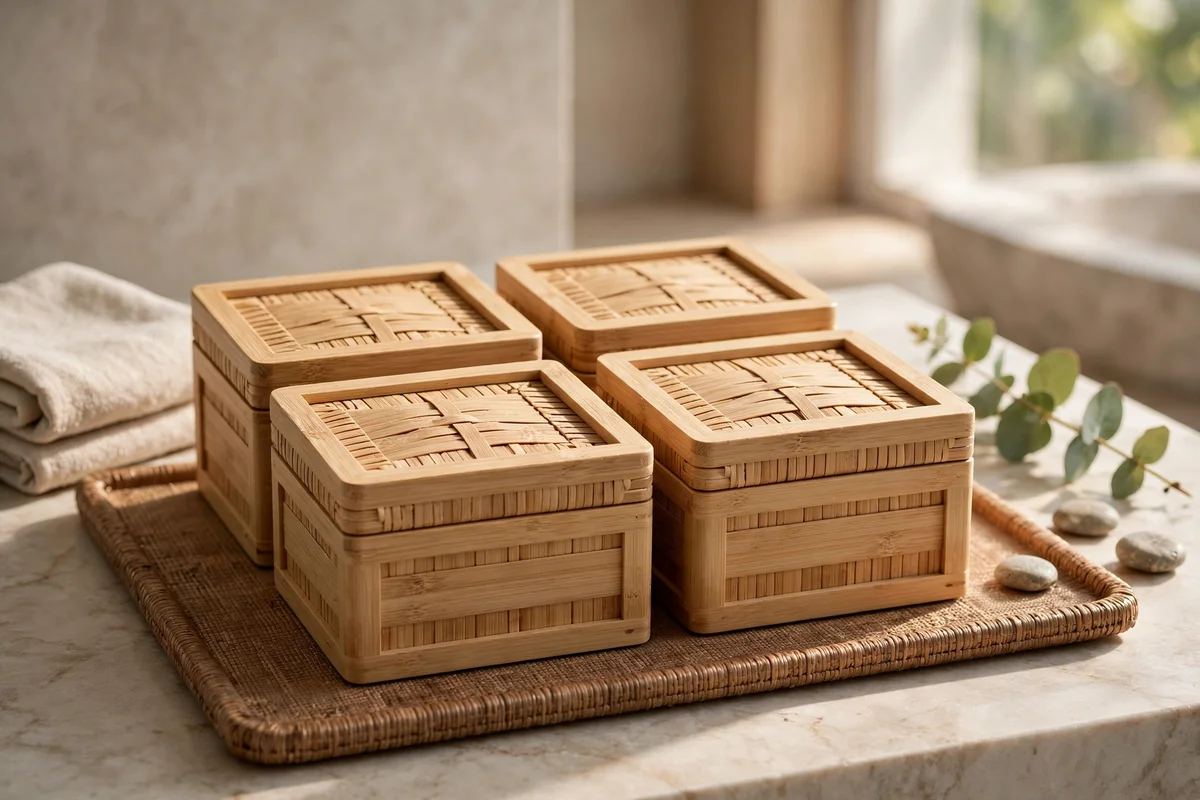
A set of three or four lidded boxes turns the bathroom counter into a calm surface with everything hidden but close. Assign each box a task: one for hair, one for skin, one for dental and one for extras like nail care. Boxes of about 20 by 15 cm and 10 cm tall hold a full routine each without hogging the counter. Lids matter because they keep steam, dust and toothpaste splatter off the contents between uses.
Store the boxes on a single tray or a low shelf so they read as one tidy unit rather than scattered clutter. Open only the box for the current task, then close it, which keeps the routine feeling unhurried. The mistake to avoid is buying the boxes before sorting the items; declutter first, then measure what remains and choose box sizes to fit. Four matching lidded boxes in bamboo or wipeable plastic cost 20 to 40 pounds or dollars.
12. Choose Plain Containers With No Labels for a Calm Look
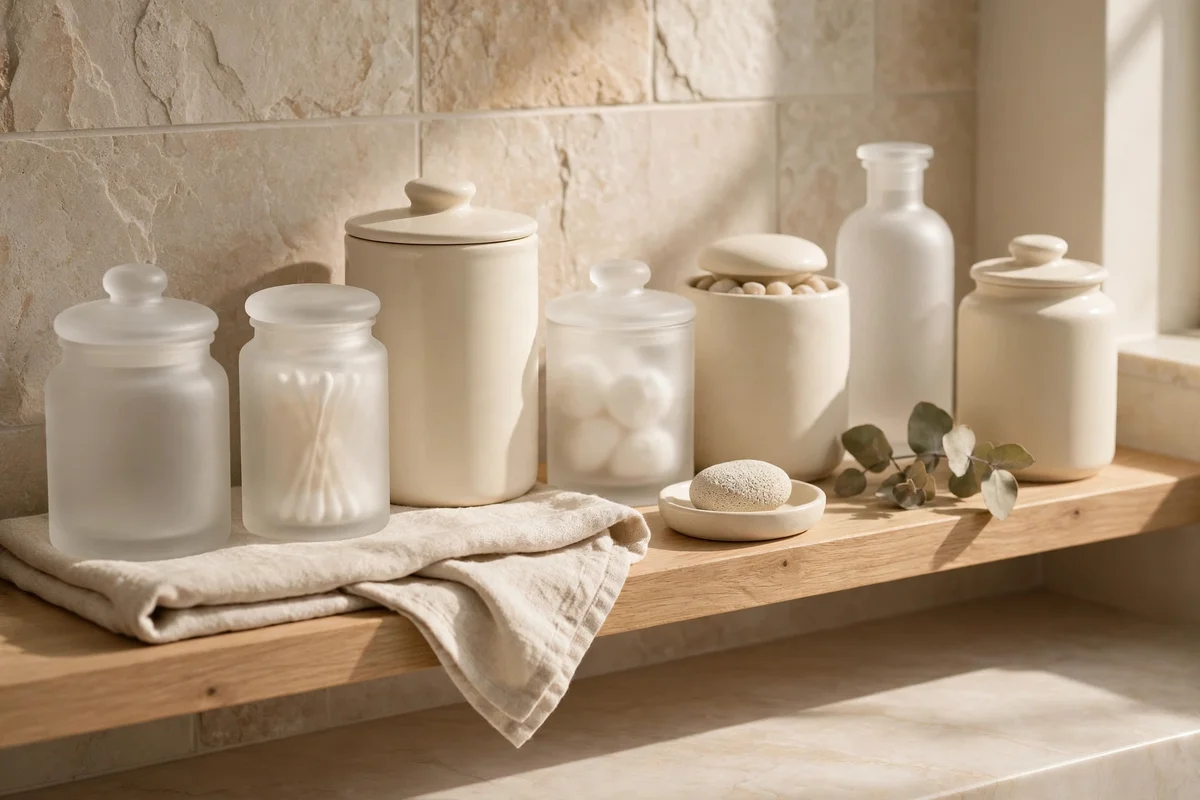
Plain containers in one material and colour give the bathroom a quiet, hotel-like calm that printed labels can never match. Choose frosted glass, cream ceramic or pale bamboo for the jars and boxes, all in the same tone so the shelf reads as one collection. Since nothing is labelled, assign each container a fixed home on the shelf and return items to the same spot every time; consistency replaces labels entirely. This works best with five to eight containers at most.
Refill containers from bulk bottles kept in a hall cupboard, which cuts packaging waste and saves money over time. Wash glass and ceramic jars every month in warm soapy water and dry them fully before refilling, since trapped moisture causes mould in a steamy room. The mistake to avoid is mixing ten different container styles; visual noise returns even when everything is technically tidy. A starter set of six plain containers costs 18 to 35 pounds or dollars.
13. Fit Adjustable Drawer Dividers Across the Vanity Drawer
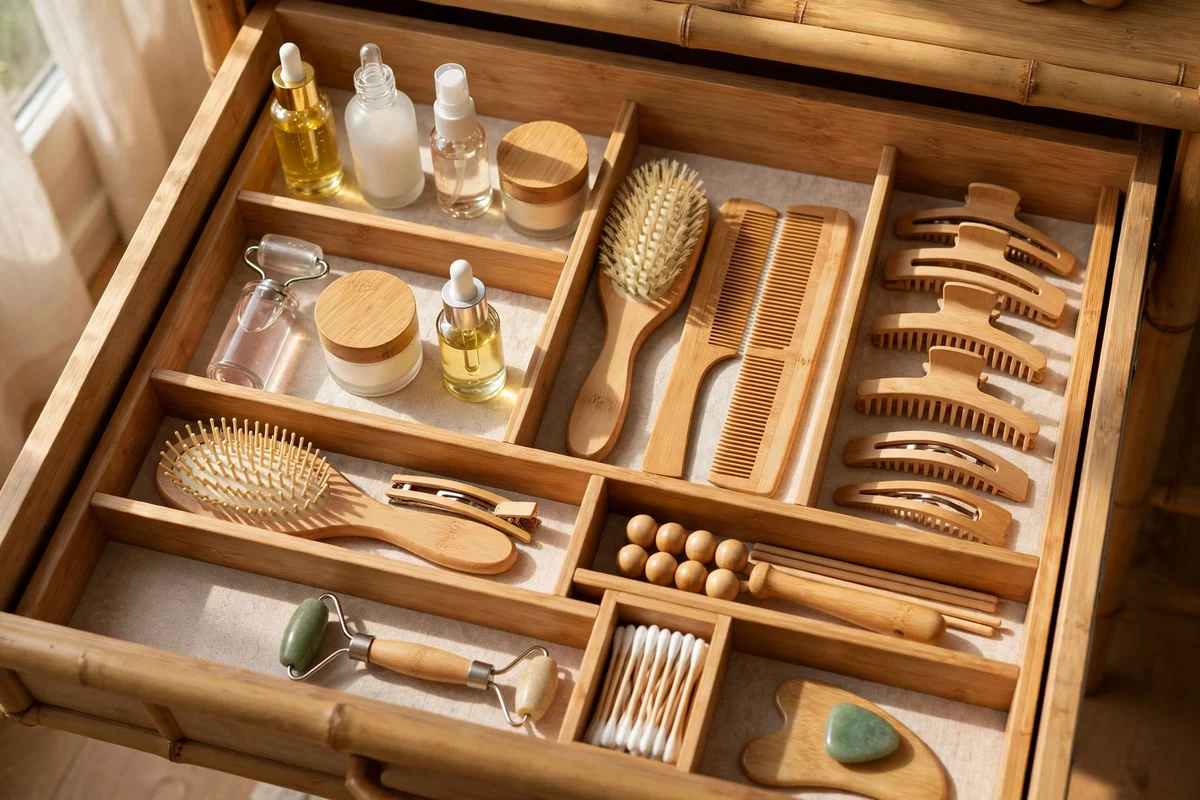
The vanity drawer is usually the biggest hidden storage zone in the bathroom, yet without dividers it becomes a tangled drawer of tubes and tangles. Adjustable spring-loaded or expandable dividers split a 50 to 80 cm wide drawer into neat lanes in seconds, with no screws needed. Set one wide lane for hair tools, a medium lane for skincare bottles and narrow lanes for toothbrushes and razors. Measure the drawer depth first so divider heights of 8 to 10 cm do not jam the drawer shut.
Line the drawer base with a washable mat before fitting dividers, since spills from leaky bottles are far easier to wipe off a mat than bare wood. Reassess the layout every season, because routines change and lanes should change with them. The mistake to avoid is fixed dividers glued in place; adjustable ones let you resize lanes as products come and go. A set of expandable bamboo or plastic dividers costs 10 to 22 pounds or dollars.
14. Decant Small Items Into the Tiniest Drawer Slots
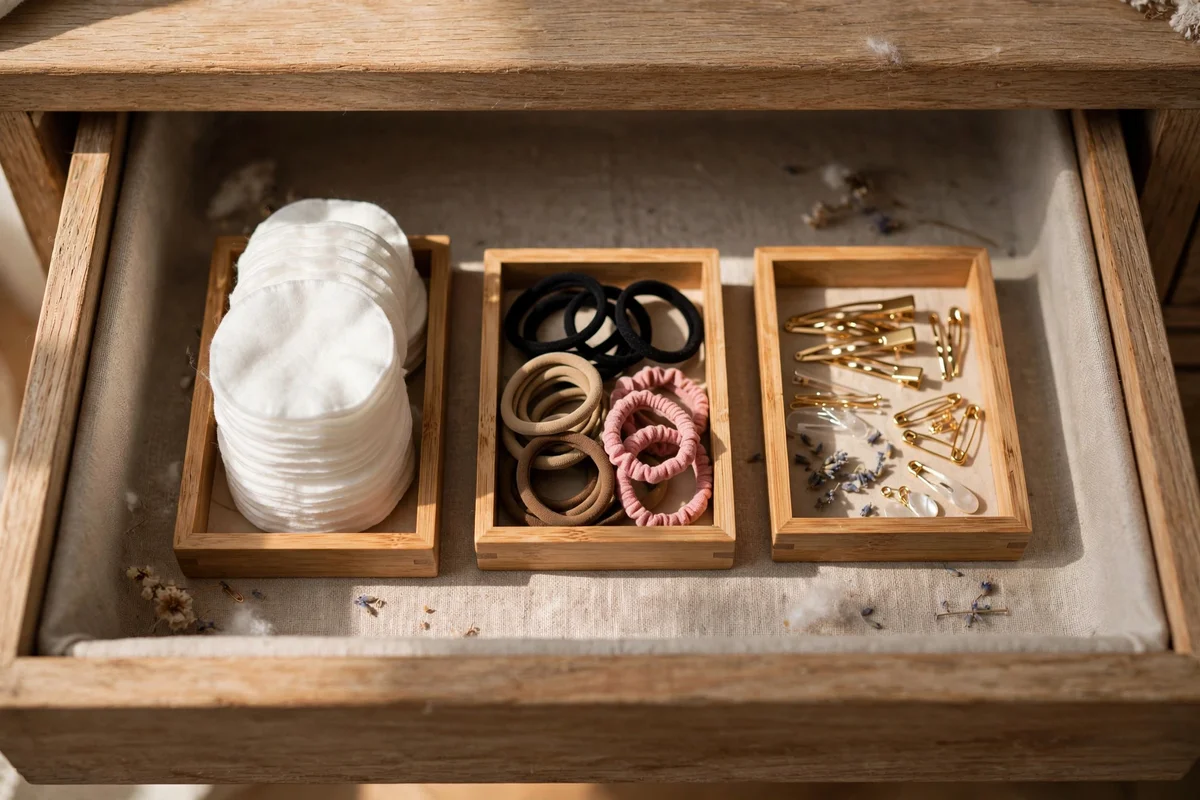
Cotton pads, hair ties, plasters and spare batteries vanish in a deep drawer, so decant them into the smallest divider slots or tiny open trays. Trays of about 8 by 8 cm hold a month of cotton pads or a tangle of hair ties without swallowing them. Keep one small tray per item type so grabbing is instant, and refill from a bulk bag stored in the hall cupboard. Small items corralled this way never drift under bigger bottles again.
Clear the tiny trays every fortnight and toss anything broken or dried out, since small slots collect half-used bits fast. Avoid decanting items into containers deeper than 6 cm, because short items disappear into deep wells. The mistake to avoid is buying a drawer organiser with fixed tiny compartments before knowing your items; measure your smallest products first. A handful of small trays costs 5 to 12 pounds or dollars and fits any drawer.
15. Add a Narrow Shelf Above the Door for Rarely Used Spares
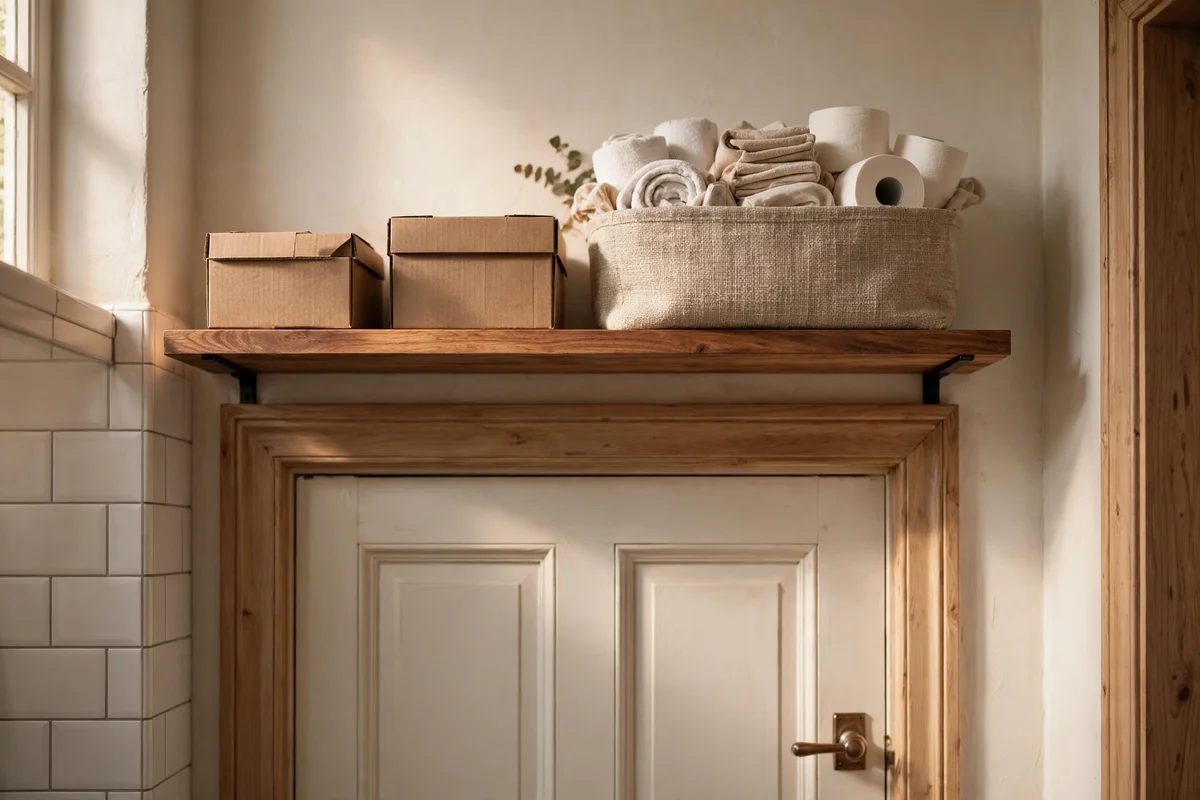
The wall above the bathroom door is almost always empty, yet it holds a perfect narrow shelf for rarely used spares. A 15 cm deep shelf running 60 to 90 cm wide sits high enough to stay out of sightlines but within reach of a small step stool. Keep the load light: spare toilet rolls, a first-aid box and guest toiletries, totalling under 5 kg. Fix the shelf into studs with two sturdy brackets so it never sags.
Store everything in closed boxes or a fabric basket so the high shelf looks tidy from below. Check the shelf contents twice a year and remove anything that has expired or dried out, since out-of-sight zones are easy to forget. The mistake to avoid is piling heavy items up there; the height makes heavy lifting awkward and unsafe. One shelf, two brackets and a basket usually cost 15 to 30 pounds or dollars.
16. Corral the Sink Edge With a Slim Stone Tray
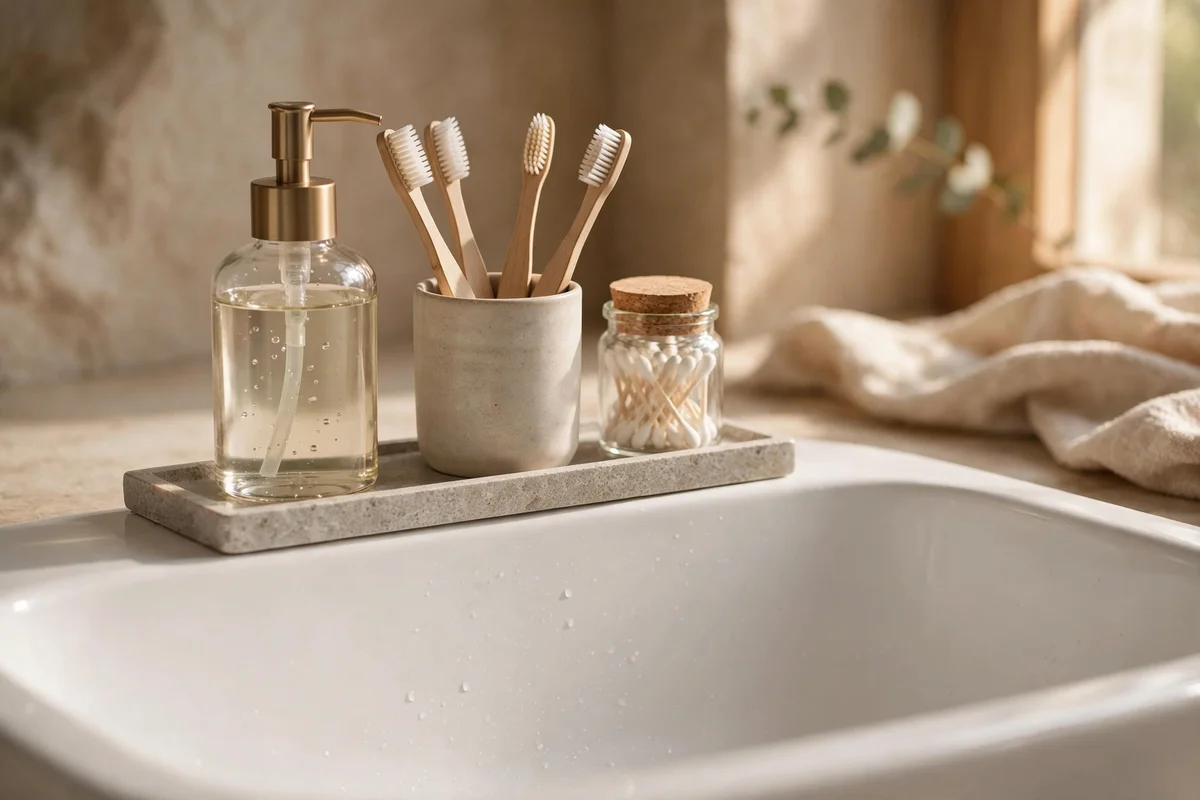
Even a well-stored bathroom needs a few daily items by the sink, and a slim stone or marble tray keeps them corralled instead of scattered. Choose a tray about 30 by 12 cm that fits the back edge of the basin, holding the soap dispenser, a toothbrush tumbler and one small cream jar. The raised lip stops bottles sliding off when the basin vibrates, and stone wipes clean in seconds with a damp cloth.
Leave at least half the sink edge clear so there is room to lean in comfortably. Rinse the tray weekly to stop soap scum building up underneath, which is the main cause of sticky residue. The mistake to avoid is letting the tray creep back to full clutter; if an item has not been used in a week, it belongs in a box or drawer. A simple stone or ceramic tray costs 8 to 20 pounds or dollars and suits any colour scheme.
17. Hang a Tension Rod Under the Sink for Spray Bottles
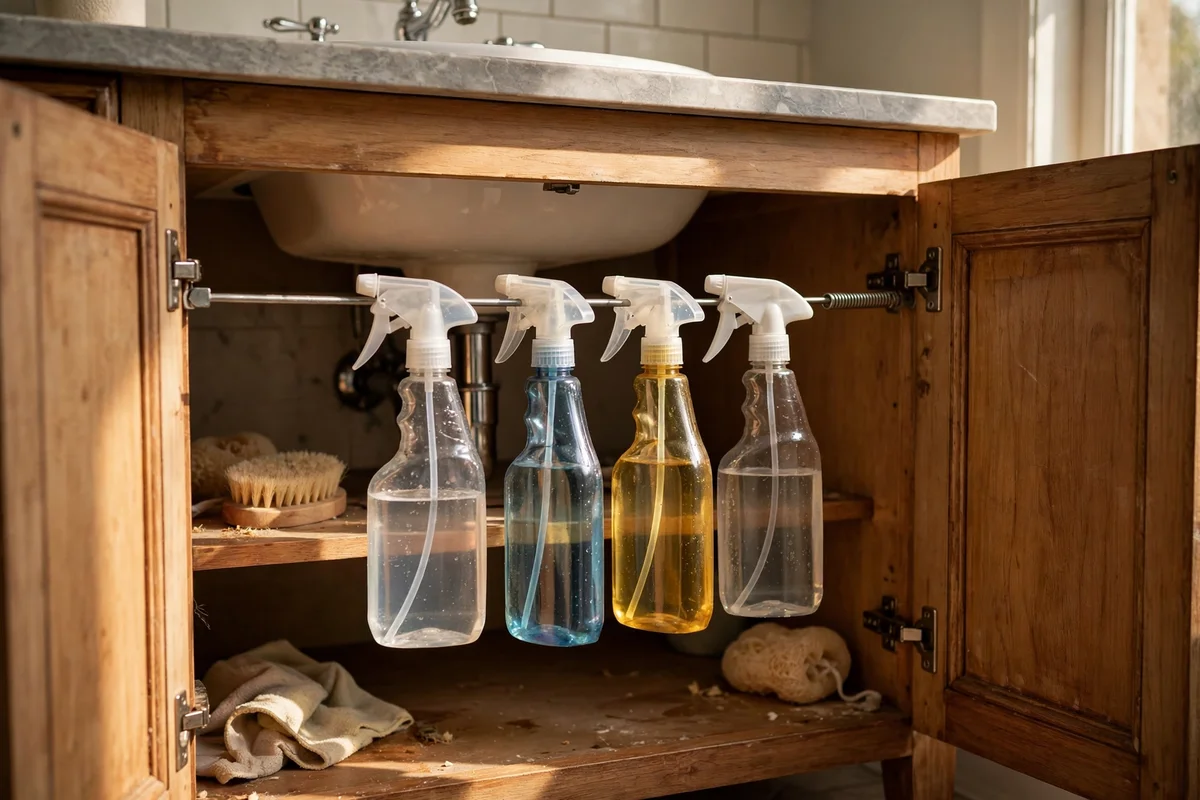
If your basin has an open-front vanity or a curtain instead of doors, a small tension rod under the sink creates instant hanging storage. Set the rod across the opening at about 40 cm high, then hang spray bottles by their trigger handles so they sit above the floor and stay easy to grab. The rod needs no screws and leaves no marks, which makes it ideal for rented homes. Choose a rod rated for at least 3 kg.
Keep only cleaning sprays on this rod and store everything else below in a washable box, so the zone has one clear purpose. Check the rod’s grip every few months, since humidity can loosen the tension mechanism. The mistake to avoid is hanging heavy refill bottles that exceed the rod rating; they will slowly slide and fall. A small tension rod costs 6 to 12 pounds or dollars and installs in under five minutes.
18. Move Medicines Out of the Steamy Bathroom Entirely
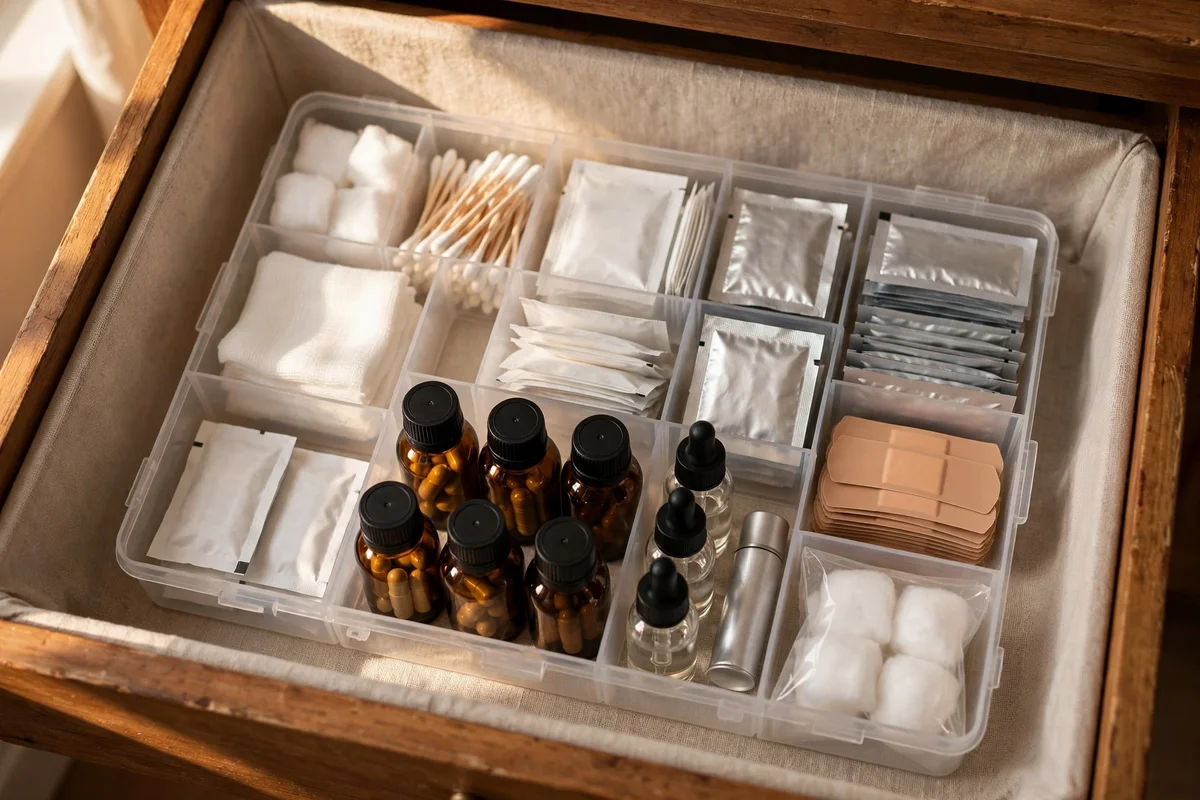
Medicines and vitamins do not belong in the bathroom, no matter how convenient the cabinet seems. Steam from daily showers pushes humidity well above 70 percent, which breaks down tablets, ruins sticky plasters and shortens the life of creams and drops. Move them to a cool, dry spot such as a high kitchen shelf or a bedroom drawer, in a single clearly marked box. Check expiry dates while you move everything, and dispose of expired items at a pharmacy take-back point.
Keep only true emergency items, like a small first-aid tin, in the bathroom, and store even that in a sealed container on the high shelf. Teach everyone in the home where the main medicine box lives so nobody hunts during a headache. The mistake to avoid is storing half-used courses of tablets in the damp cabinet; they lose strength and may not work when needed. A sturdy medicine box costs 8 to 15 pounds or dollars.
19. Store Spare Towels Outside the Bathroom for Long-Term Freshness
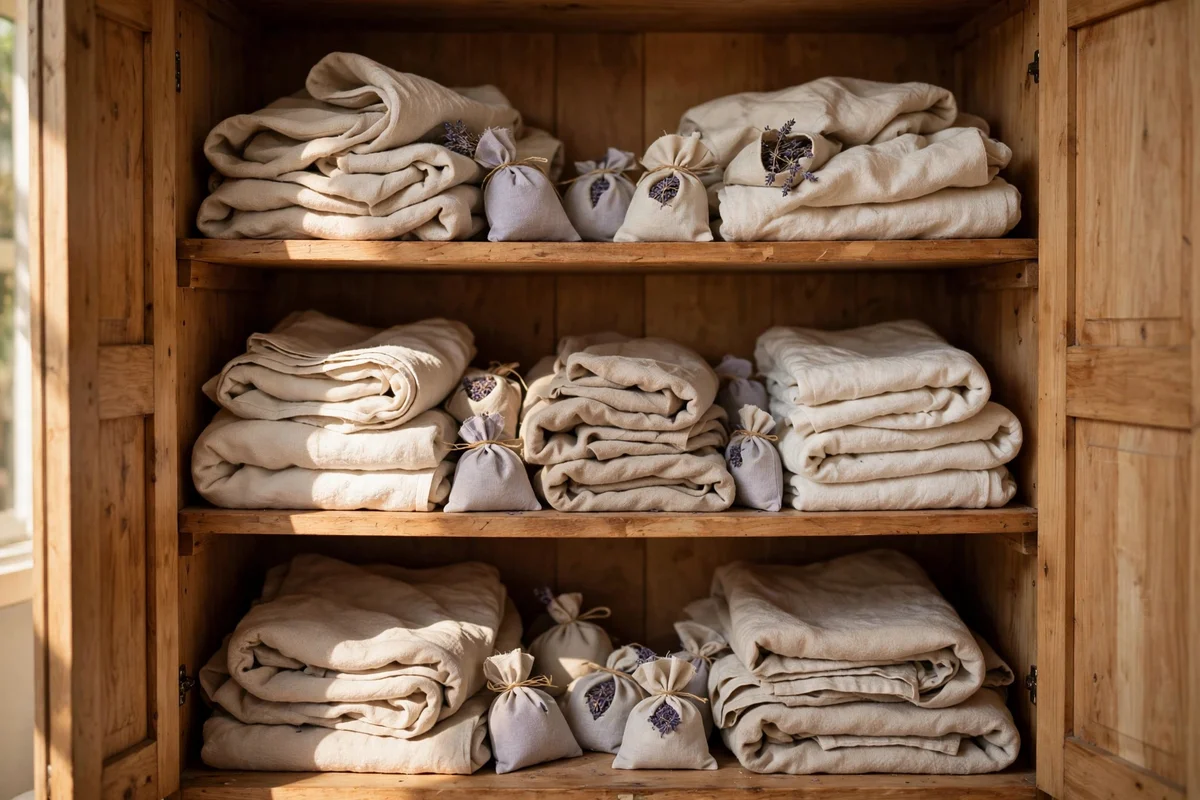
Spare towels stored long term in a steamy bathroom slowly absorb moisture and develop a musty smell, even when folded neatly. Keep only one set per person in the bathroom and store the rest in a dry linen cupboard, an airing cupboard or a bedroom wardrobe shelf. Fold them loosely so air circulates, and slip a lavender sachet between every two or three towels for lasting freshness. Towels stored dry stay soft and bright for years.
Rotate the bathroom set weekly on laundry day, swapping in the next set from the dry store. Wash towels at 40 degrees with half the usual detergent, since overdosing leaves residue that makes towels stiff. The mistake to avoid is keeping a tall stack of spares on an open bathroom shelf; it looks generous but the middle towels never fully dry. A linen cupboard shelf and a few sachets cost under 15 pounds or dollars.
20. Keep One Spare Set and Rotate It on Laundry Day
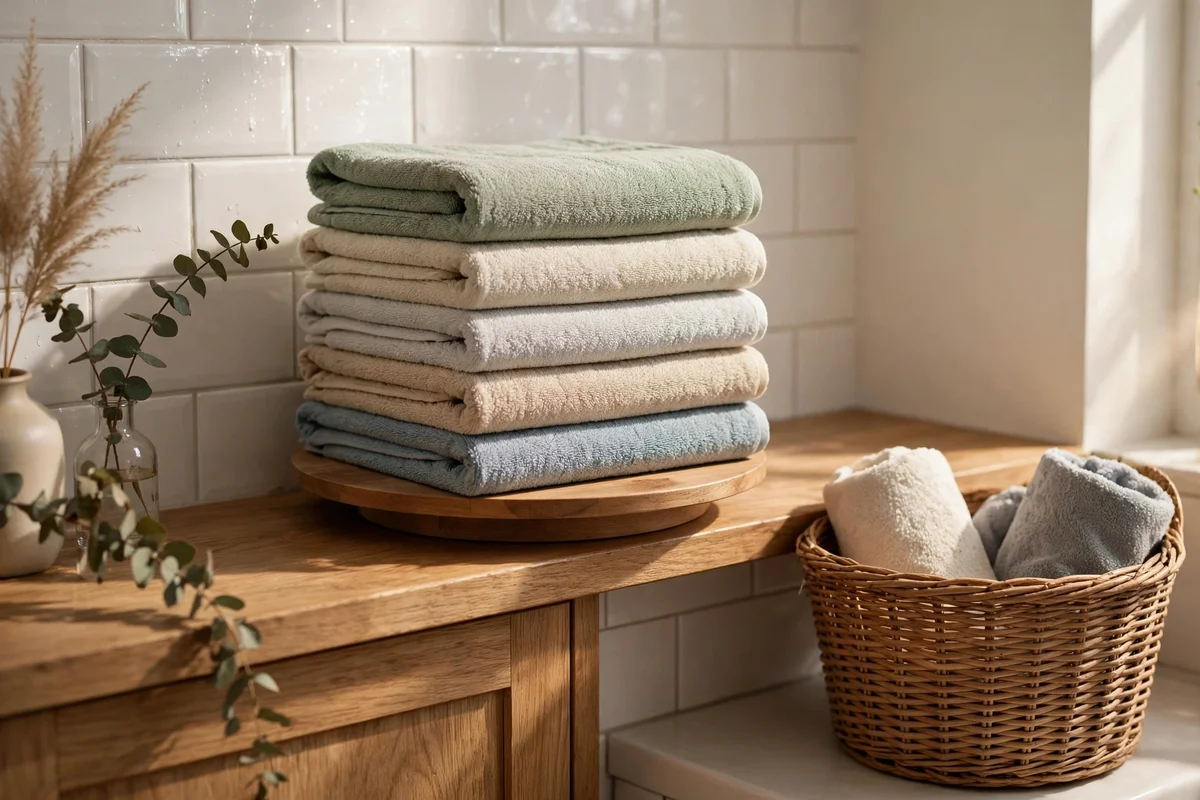
One spare set per person is enough for a calm, working bathroom linen system. That means two sets per person in total: one in use, one clean and dry in the cupboard. On laundry day, wash the used set, dry it fully and return it to the dry store, then move the clean spare into the bathroom. This simple rotation means you never run out and never hoard, and the bathroom shelf holds just one neat stack.
Dry towels completely before storing them, because even slight dampness turns musty in a closed cupboard within days. Replace towels when they lose absorbency, usually after two to three years of weekly use, and repurpose old ones as cleaning rags. The mistake to avoid is buying more sets to solve a storage problem; the answer is rotation, not volume. Two good cotton sets per person is a modest, sensible investment.
21. Do a Five-Minute Basket Audit Every Month
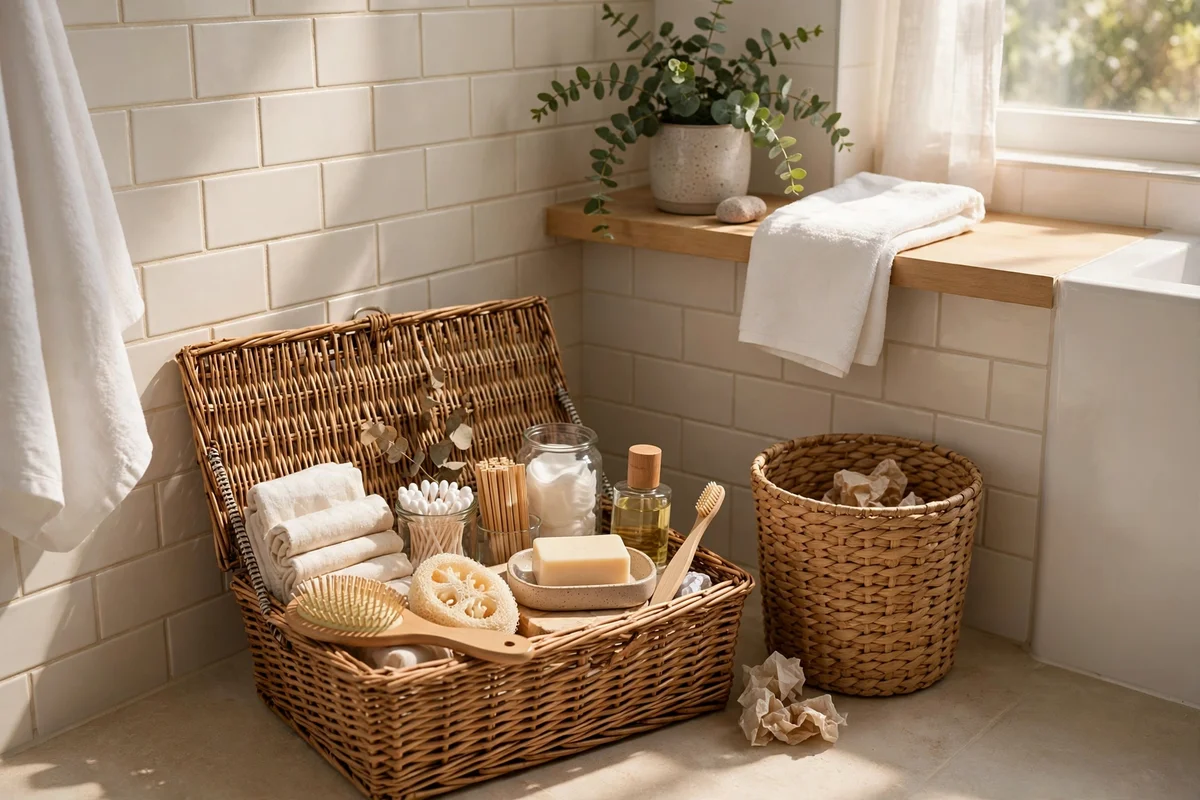
A monthly five-minute audit keeps every storage system in this list working instead of slowly filling up. Take one basket or drawer at a time, pull everything out, and return only what you use weekly; anything untouched for a month moves to another room or leaves the house. Wipe the empty container before refilling, since dust and drips collect underneath even tidy items. Set a phone reminder for the first Saturday of the month.
Check expiry dates during the audit, especially on creams, sunscreens and nail products, which lose effectiveness after opening. Most bathroom products last six to twelve months once opened, so a monthly check catches the stragglers early. The mistake to avoid is auditing without a small bin beside you; keep one for rubbish and one for relocating, so decisions happen instantly. This habit costs nothing and saves every storage idea above.
The thread running through all 21 ideas is simple: give every item a home, keep the counter nearly clear, and let closed containers do the visual heavy lifting. Hooks dry towels faster than rails, risers reveal the back of the cabinet, and a lidded box system turns a scattered routine into a calm ritual. None of this asks for a bigger bathroom, only a more deliberate one.
Start this week with the easiest win, which is moving medicines out of the steamy bathroom and into a dry room. It costs nothing, takes ten minutes, and protects your family in a way no shelf ever could. From there, pick one idea per weekend and watch the counters clear, the mornings smooth out, and the small room finally breathe.
Frequently Asked Questions
What does a small bathroom storage refresh realistically cost?
Between 40 and 150 pounds or dollars for a full refresh using the ideas here. A slim rolling cart, a set of baskets and drawer dividers cover the basics for around 60. Spend more only on fixed items like an over-toilet unit or a mirrored cabinet. Start with one zone, live with it for a week, then buy the next piece only if the system needs it.
How do I add storage to a rented bathroom without drilling?
Use tension rods, slim rolling carts, over-toilet units that lean rather than fix, and freestanding baskets. Strong adhesive hooks rated for the weight can hold towels, but test one first in the steamiest corner for two weeks. Keep the original fixings in a bag inside a cupboard for move-out day, and take your carts and baskets with you.
Is it safe to put shelves above the toilet?
Yes, if the unit is anchored into wall studs or masonry with fixings rated for at least 15 kg per shelf. Freestanding units must be strapped to the wall so they cannot topple. Keep the lowest shelf 30 cm above the cistern lid so the lid still lifts, and use sealed or lidded containers on these shelves for hygiene.
Why do my spare towels smell musty in the bathroom?
Bathrooms stay humid long after showers, and spare towels stored there absorb that moisture faster than they release it. Keep only one set per person in the bathroom and store the rest in a dry linen cupboard or wardrobe. Fold them loosely for airflow, add a lavender sachet, and rotate the set weekly on laundry day for lasting freshness.
What should never be stored in a steamy bathroom?
Medicines, vitamins, spare towels kept long term, and anything that degrades in humidity. Steam above 70 percent humidity breaks down tablets, ruins plasters and shortens the life of creams. Move medicines to a cool dry room, keep spare linens in a dry cupboard, and store only daily-use items in the bathroom itself.