Home Improvement
21 Stink Bug Removal Ideas That Keep Your Home Calm, Clean and Naturally Guarded
By Anna Wells · · 26 min read

Stink bugs slip into homes each fall through tiny gaps around windows, doors, and vents, but harsh chemicals are not the answer. These 21 natural ideas start with calm, gentle removal methods and build toward simple sealing projects that keep the next wave outside. Work through them at your own pace for a calmer, cleaner home.
Stink bugs have a talent for showing up exactly when the weather turns crisp, gathering on sunny windows and slipping through gaps you never knew existed. The good news is that you do not need harsh chemicals or expensive treatments to deal with them. A calm, methodical approach built on gentle removal and simple home sealing works better than any spray, and it keeps your living spaces feeling serene.
The secret most guides skip is that the bugs you see are only half the story. Every stink bug wandering across your ceiling found a way in through a cracked seal, a torn screen, or an unsealed utility opening. When you shift your focus from chasing insects to closing those tiny doorways, the indoor sightings drop dramatically, often within a single season.
Below you will find twenty one practical ideas arranged in the order that works best, starting with calm ways to remove the bugs already inside, then moving to the sealing and maintenance jobs that stop the next wave. Each one is budget friendly, beginner friendly, and completely free of harsh chemistry, so your home stays comfortable for kids, pets, and guests.
1. The Gentle Cup and Card Capture
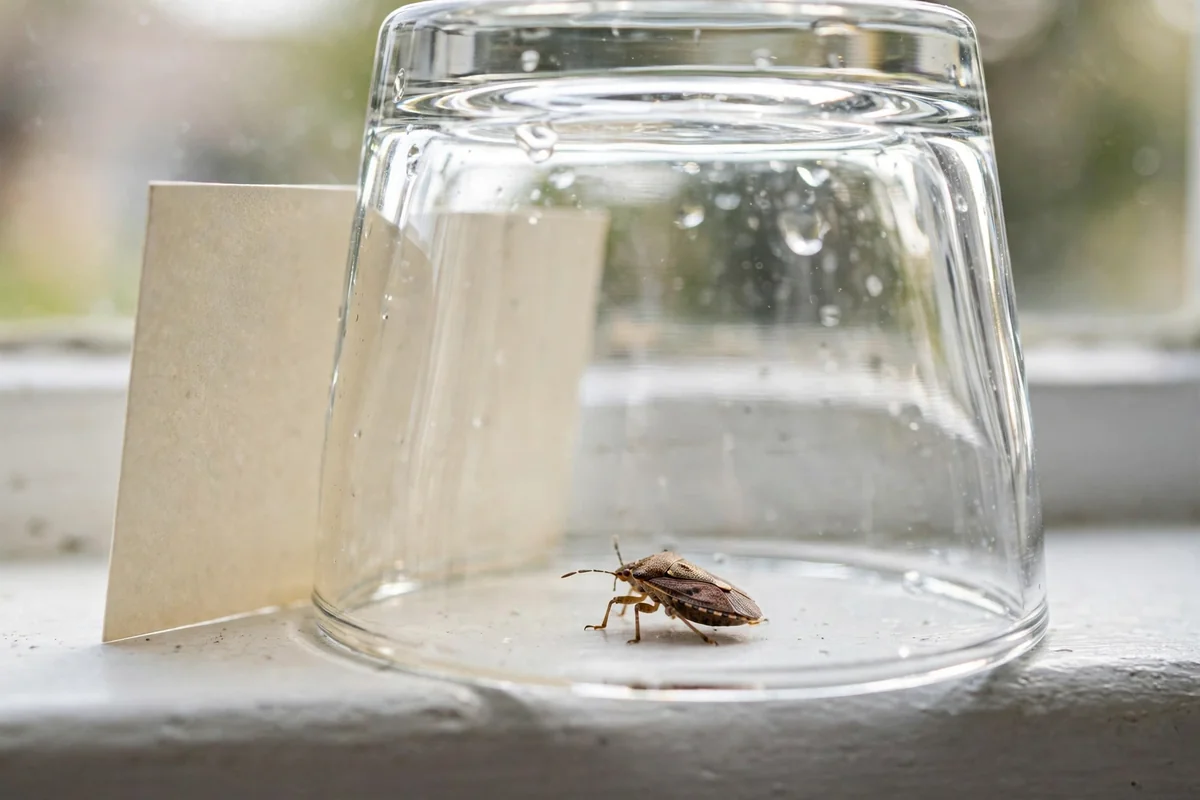
When a single stink bug is sitting on a wall or window, the cup and card method is the calmest way to remove it. Place a clear glass or plastic cup slowly over the insect, then slide a stiff piece of card or thin cardboard underneath to trap it. Move gently, because sudden motions can startle the bug into dropping behind furniture. Once secured, carry the cup outside and release the insect well away from doors and windows.
Keep a dedicated cup and card near the rooms where stink bugs appear most, so you are never hunting through cabinets mid invasion. A transparent cup helps because you can see exactly where the insect is before you commit. Avoid paper towels for this job, since pressing down is exactly what triggers the defensive odor. This simple habit keeps removal quick, clean, and completely free of lingering smells.
2. A Careful Handheld Vacuum Roundup
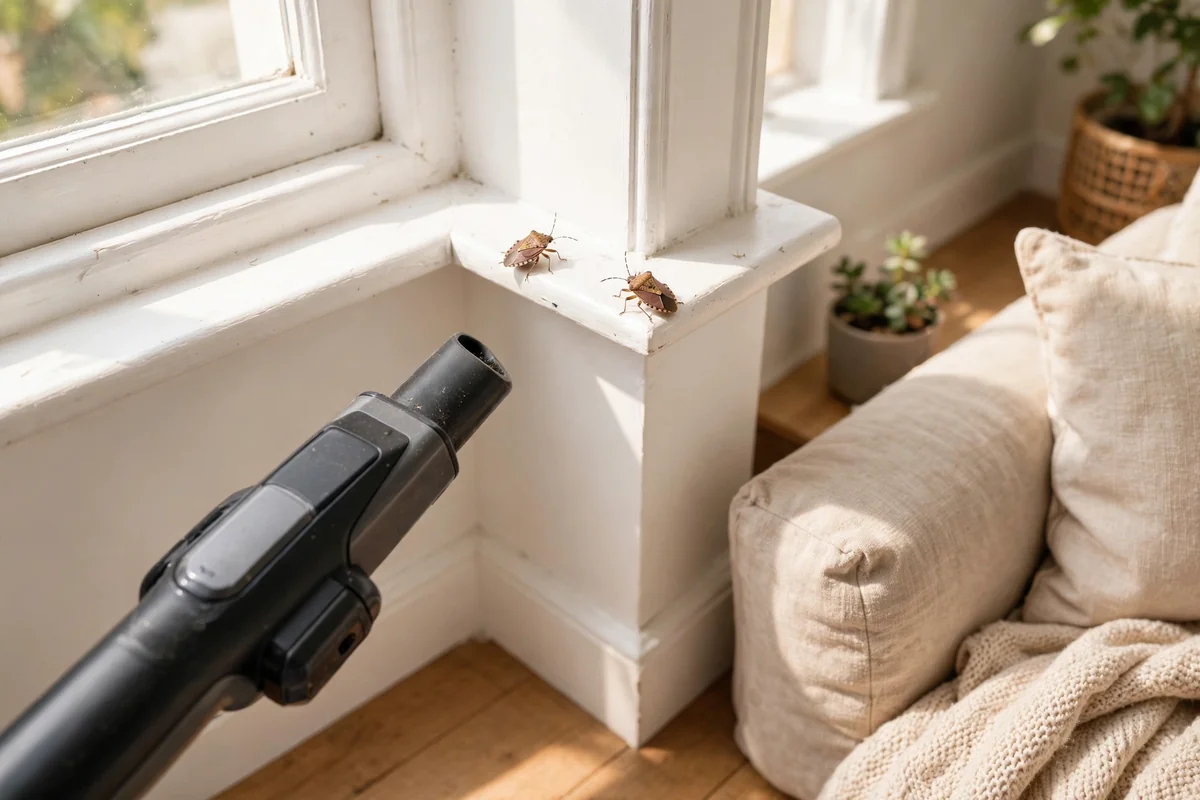
When a dozen stink bugs are sunning themselves on the same window, catching them one by one gets tedious fast. A handheld or shop vacuum with a hose attachment makes the job quick. Work slowly along the frame, sill, and nearby curtains, letting the suction lift each insect without pressing the nozzle hard against the surface. A gentle touch matters, because crushing even one bug against the trim can leave a smell that lingers for hours.
Empty the vacuum right after each roundup instead of letting captured bugs sit inside the canister or bag. Tip the contents into a sealed bag, take it straight to an outdoor bin, and wipe the nozzle with a damp cloth. If a faint odor remains in the machine, a sprinkle of baking soda left inside overnight usually absorbs it. Treat vacuuming as cleanup for bugs already indoors, and pair it with the sealing steps below for lasting results.
3. A Simple Soapy Water Lamp Trap
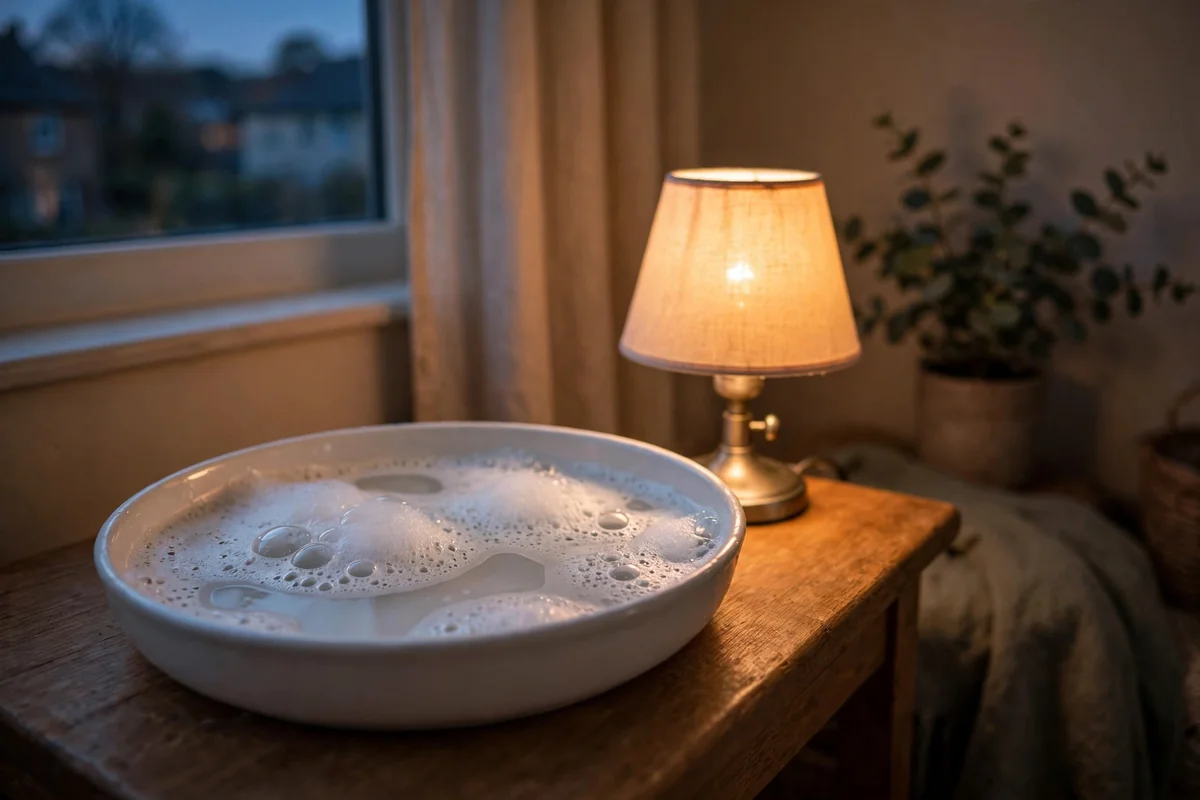
For rooms where stink bugs keep reappearing, a simple light trap can quietly collect them overnight. Fill a shallow pan or baking dish with warm water and a generous squirt of dish soap, which breaks the surface tension so insects that touch the water sink instead of escaping. Set a small desk lamp beside the pan so its glow draws the bugs toward the water, and place the whole setup on a stable table away from foot traffic.
Check the trap each morning, empty it, and refresh the soapy water every day or two for the best results. Keep the lamp cord well away from the water, and never place the trap where curious children or pets could knock it over. Remember that a trap only handles insects already inside the room. It works best as a supporting player while you seal entry points, not as a standalone solution for the whole house.
4. The No Squash Rule for Calm Removal
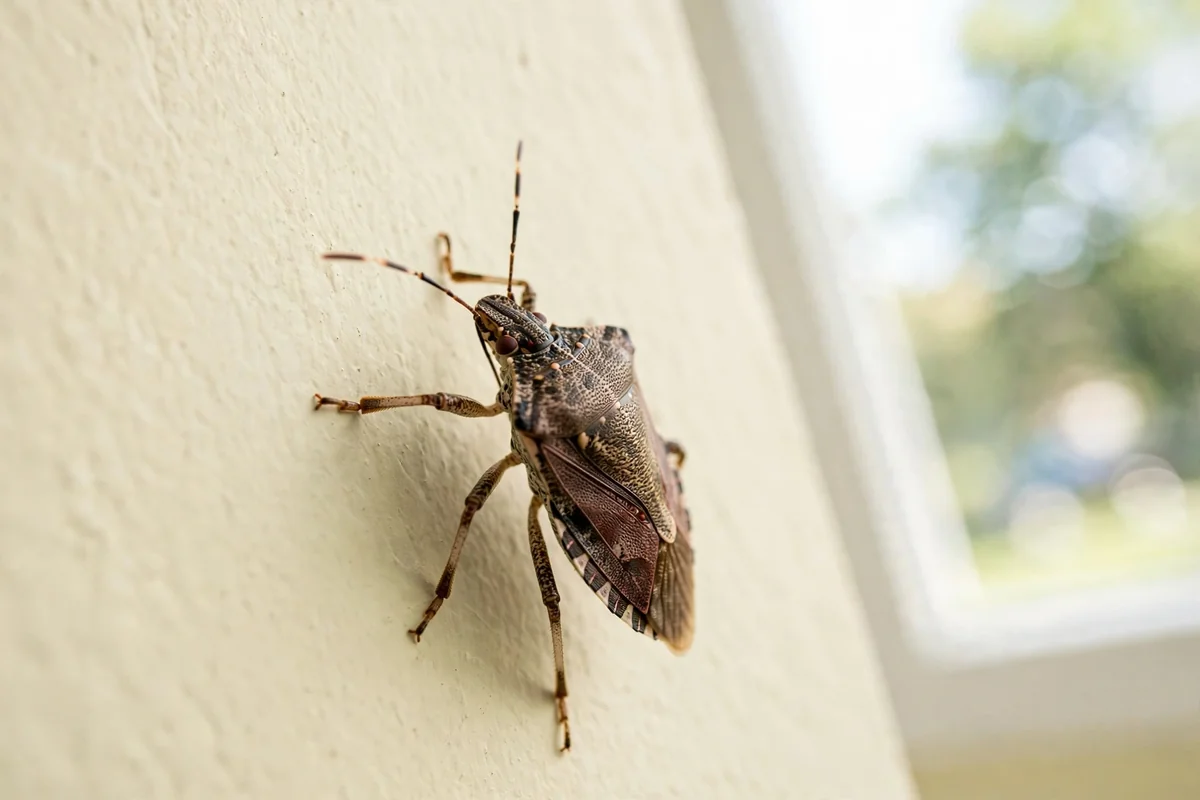
The single most important habit in stink bug season is also the simplest: never squash them. These insects earned their name because crushing triggers a strong defensive odor from glands on their bodies, and that smell can cling to walls, curtains, and upholstery long after the bug is gone. Swatting with a shoe or pressing with a tissue feels satisfying for a second, then leaves you airing out the room.
Make the no squash rule a household agreement, especially with children who love to swat first and ask questions later. Show everyone the cup method or point them to the vacuum so there is always an approved alternative ready. If someone does crush one by accident, ventilate the room and wipe the spot with a vinegar and water solution to fade the odor faster. Calm removal keeps your home smelling fresh and your walls free of smears.
5. A Daylight Inspection of Window Frames

Before sealing anything, spend a bright afternoon really looking at the windows where stink bugs gather. Check the full frame, the trim, the sash joints, the screen edges, and the exterior caulking lines. Daylight is your best tool here, because tiny cracks and gaps that disappear under lamplight become obvious when the sun rakes across them. Note every suspect spot with a small piece of painter’s tape so you can find them again when you start repairs.
Remember that the window where bugs cluster may not be where they entered. Stink bugs often crawl in through a gap elsewhere, then wander toward the brightest light in the house. Still, the window assembly is the most common culprit, so it deserves first attention. Finding even one overlooked opening during this inspection can save you weeks of chasing insects, making this quiet detective work the highest value hour of the whole project.
6. Fresh Caulk Along Window Seams
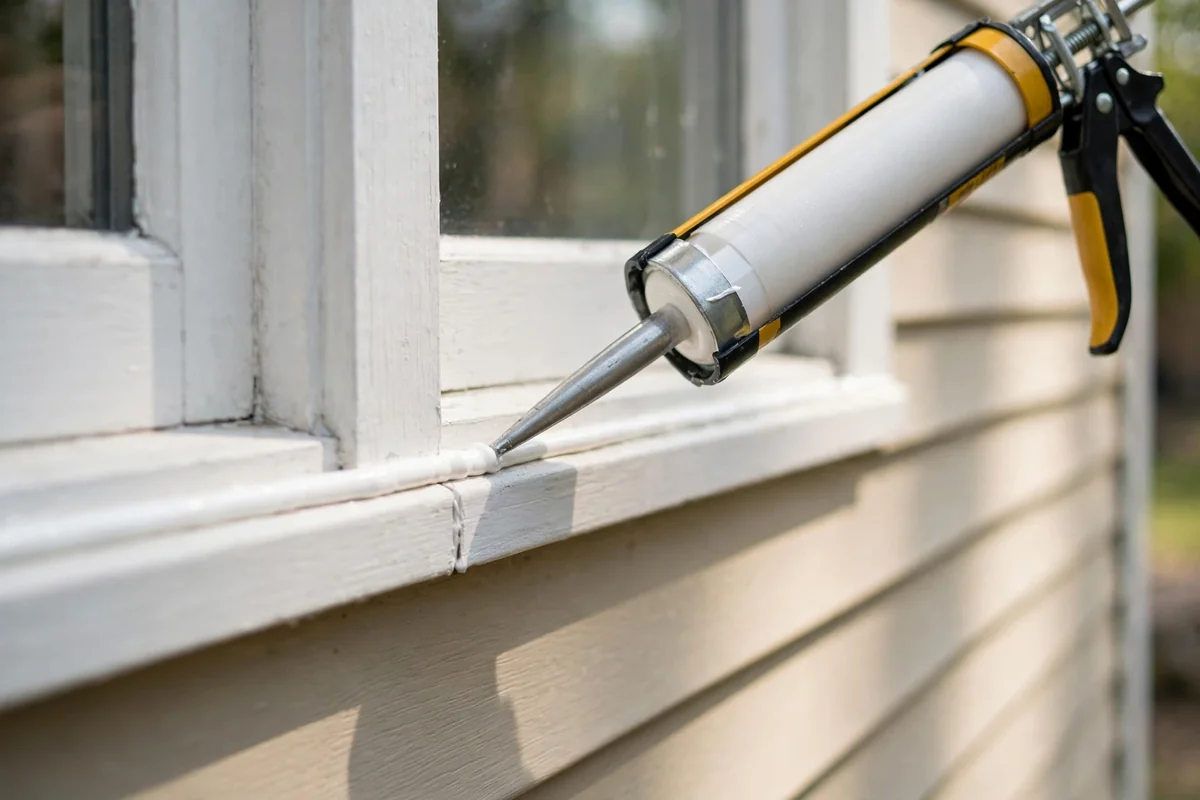
Once you have marked the cracked or missing caulk around a window, sealing it is a straightforward weekend job. Scrape out the loose, crumbly old material first with a putty knife, because fresh caulk bonds poorly when layered over failing sealant. Choose an exterior grade, paintable caulk suited to your climate, cut the nozzle at a slight angle, and lay one smooth continuous bead along the joint. Tool it gently with a damp finger for a clean finish.
Work on a dry day when temperatures sit comfortably above freezing so the caulk cures properly. A single tube typically covers several windows, making this one of the cheapest high impact fixes in home maintenance. As a bonus, sealing those drafts can trim your heating bill once cold weather arrives. The most common mistake is skipping the prep, so take the extra ten minutes to clean the joint and your results will last for years.
7. Mending Torn Window Screens
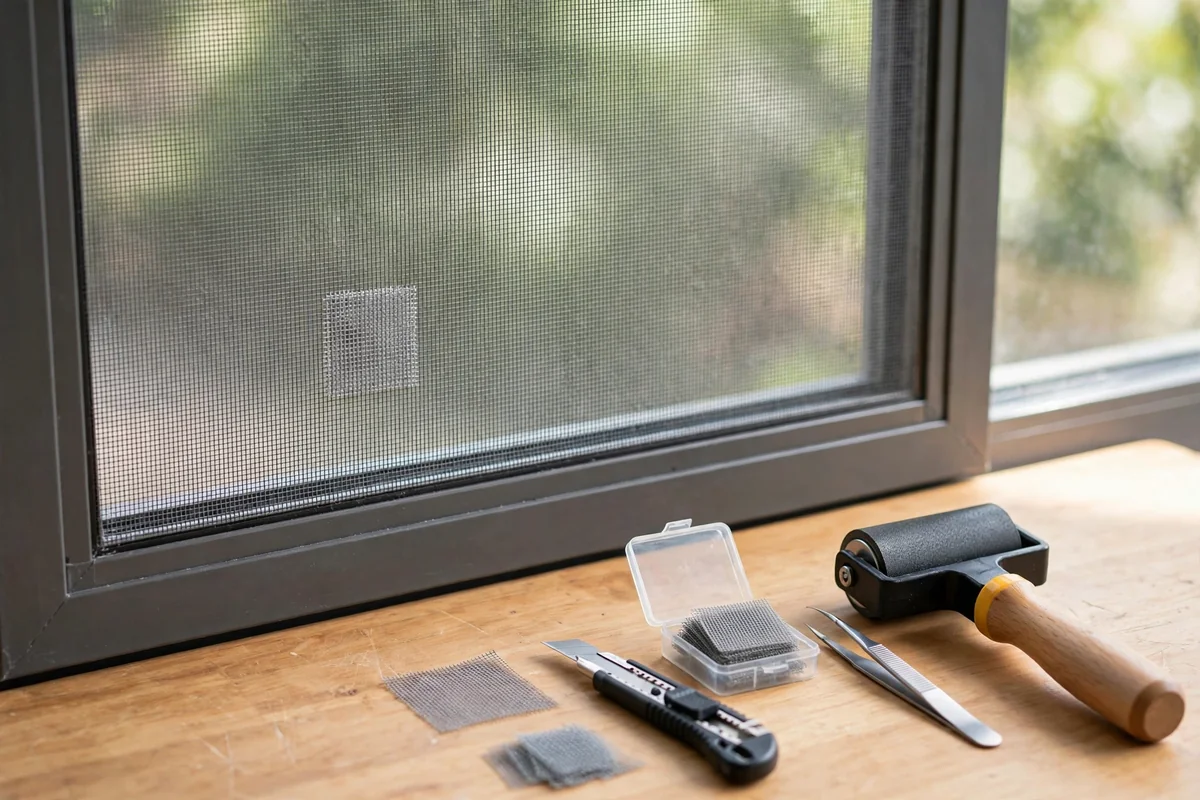
A screen with even a small tear is an open invitation, since stink bugs need only a tiny gap to slip through. Inspect every screen for holes, frayed edges, pulled corners, and sections that have popped loose from the frame. Small holes up to about an inch across can be patched neatly with adhesive screen repair tape or a woven patch kit, which costs very little and takes minutes to apply.
Replace screens that are brittle, widely torn, or warped beyond patching, because a perfect patch on a rotting frame is wasted effort. Also check how snugly each screen sits in its track, since a flawless mesh panel still fails if a gap runs along one side. Press the edges firmly and look for daylight peeking through. Screens are inexpensive compared to a season of indoor bug hunting, so treat them as routine consumables.
8. New Weather Stripping for Exterior Doors
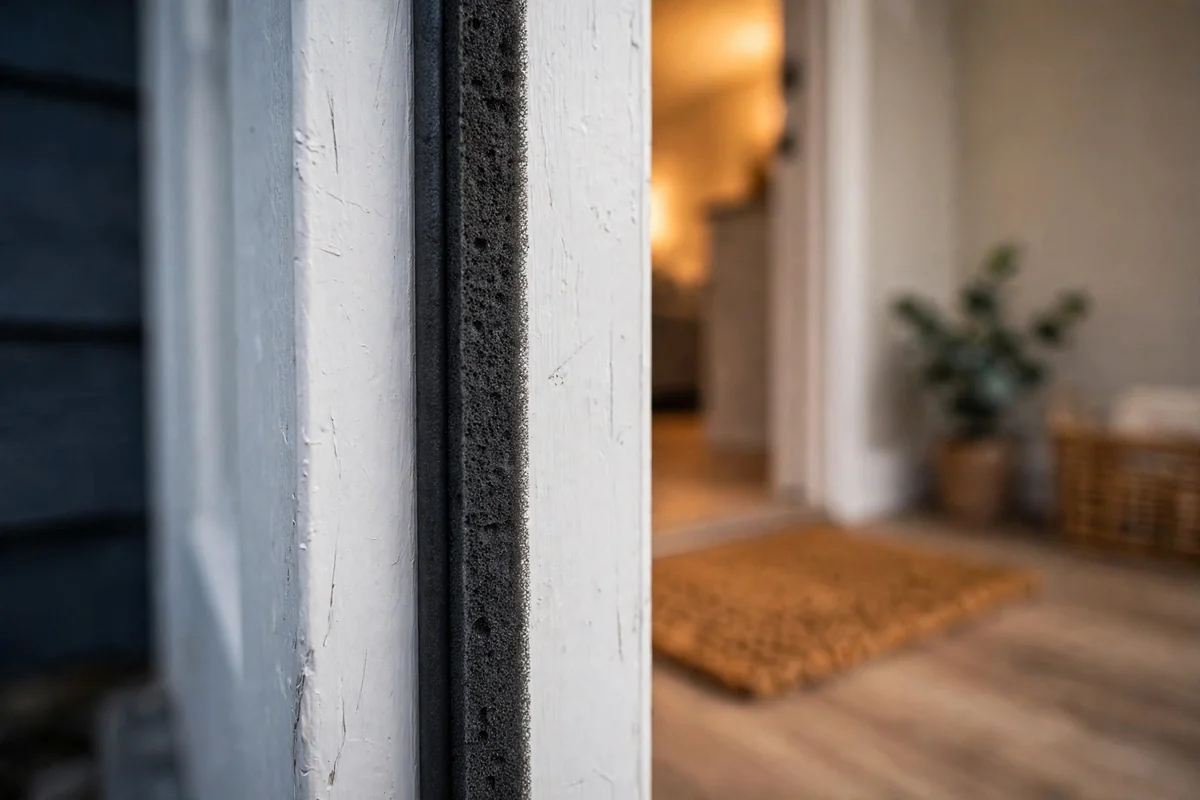
Exterior doors develop gaps as weather stripping compresses, cracks, or peels away with age, and stink bugs are quick to exploit them. On a bright day, close each door and look carefully around the full perimeter for slivers of daylight or places where you can feel a draft with your hand. Pay special attention to the top corners and the latch side, where wear usually shows first.
Replacement stripping comes in foam, rubber, and V shaped profiles, so take a small sample of the old material to the store for an exact match. Press the new stripping firmly into its channel or adhesive track, then close the door to confirm it still latches easily. The goal is a snug, even seal, not a door you must shoulder shut every morning. Fresh weather stripping also quiets rattles and trims energy waste.
9. Fitting a Snug Door Sweep
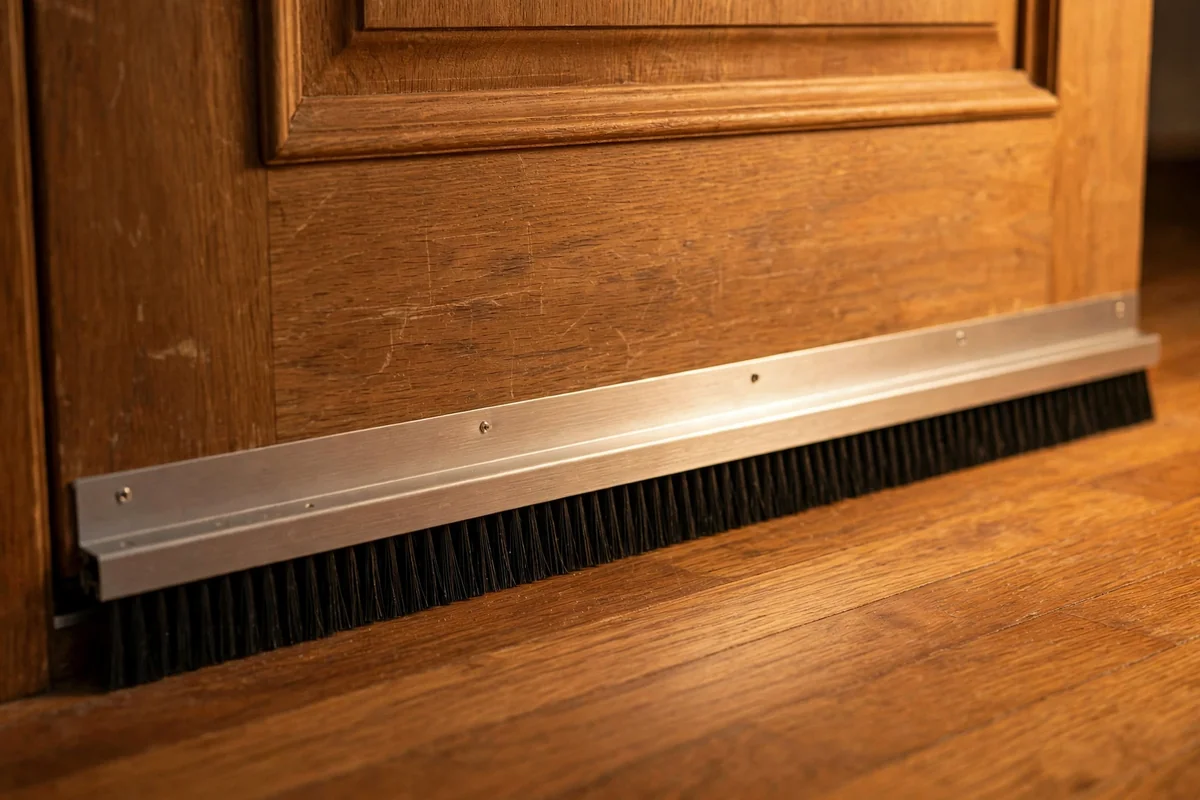
The gap beneath an exterior door is often wider than people expect, and if you can see daylight under a closed door, stink bugs can certainly march through it. A door sweep, which is a strip of rubber, vinyl, or bristles mounted along the bottom of the door, closes that opening neatly. Measure the door width carefully before buying, since sweeps are sold in standard sizes that you trim to fit.
Attach the sweep so its bristles or flap just kiss the threshold without dragging heavily, which would wear it out quickly and make the door hard to open. Focus first on doors that lead to garages, porches, and utility rooms, because insects gather in those sheltered spots before pushing further inside. This ten minute fix is one of the simplest ways to harden the entire lower edge of your home.
10. Sealing Gaps Around Pipes and Cables
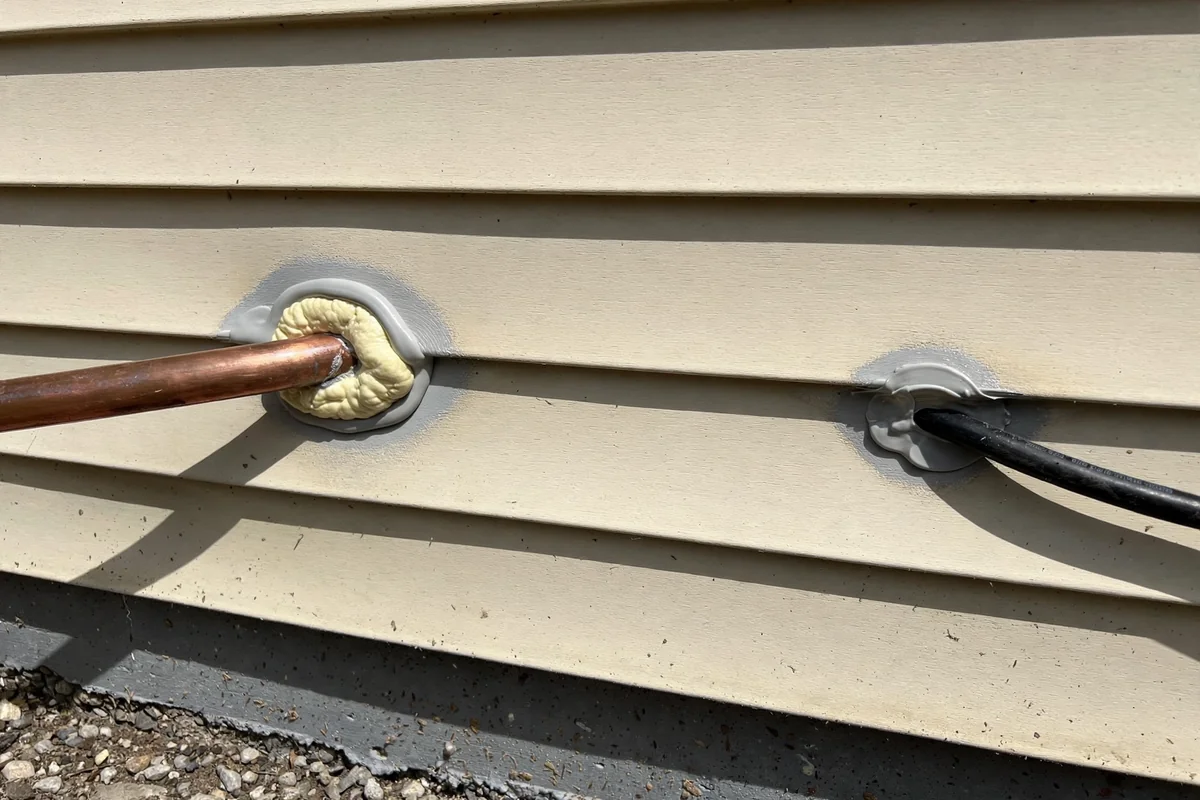
Every pipe, cable, and conduit that passes through an exterior wall needed a hole larger than itself during installation, and those leftover gaps are classic stink bug highways. Walk the full perimeter of your house and look closely where plumbing lines, air conditioning lines, electrical conduits, and cable wires enter. You will often find a visible ring of space around them, sometimes stuffed with crumbling old filler.
Small gaps seal beautifully with exterior caulk or expanding foam rated for outdoor use, applied neatly and trimmed once cured. For larger openings, use a proper escutcheon plate or have the repair done professionally so you never compromise the pipe itself. Never disturb electrical, gas, or ventilation components you do not understand. Close the unintended openings, leave the working systems exactly as they should be, and the bugs lose an easy route.
11. Tightening Siding and Trim Joints
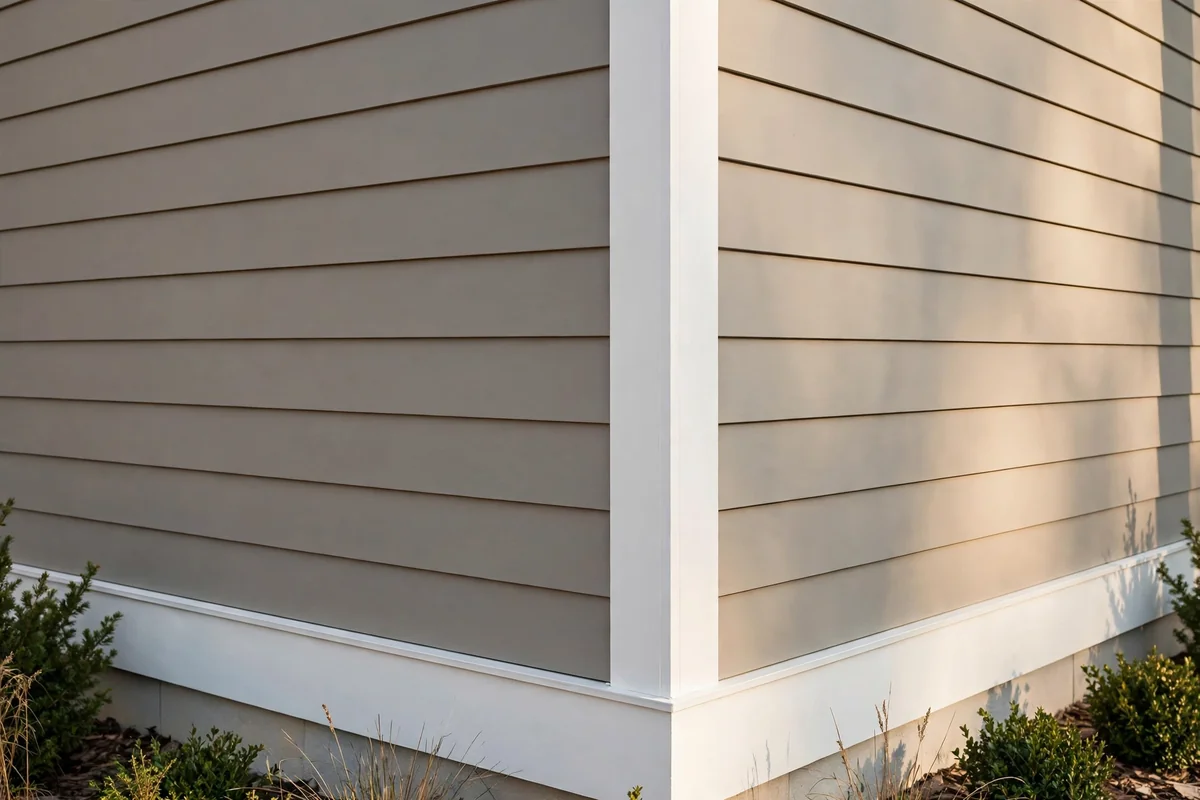
Stink bugs do not need a grand entrance. They slip in where siding meets trim, along fascia boards, and at the small construction joints most of us never notice. Walk around the house and look for loose panels, lifted edges, and cracked joints rather than trying to seal every seam you see. Focus on spots that are visibly open or move when you press them gently.
Refasten loose siding with the correct nails or clips, and seal genuine cracks with an exterior sealant matched to the material. Learn to tell an accidental gap from a designed opening, because weep holes and ventilation slots exist to manage moisture and must never be blocked. When in doubt about a building detail, leave it alone until you understand its purpose. Good exclusion work never creates a moisture problem.
12. Screening Attic Vents the Right Way

Attics offer warm, undisturbed shelter that stink bugs love for overwintering, so the vents up there deserve a careful look. From the ground with binoculars, or from a secure ladder position, check that every gable vent, soffit vent, and roof vent still has its insect screening intact. Torn, rusted, or missing mesh is an open door at the very top of your house.
Repair damaged screening with sturdy galvanized mesh that preserves full airflow, because an attic must keep breathing to avoid moisture and heat buildup. Never stuff vents with insulation or seal them shut to stop insects, since blocked ventilation causes far costlier damage than any bug. If the attic is hard to reach or already holds a large cluster of bugs, call a qualified professional rather than balancing on a high ladder with a roll of mesh.
13. A Proper Chimney Cap Check
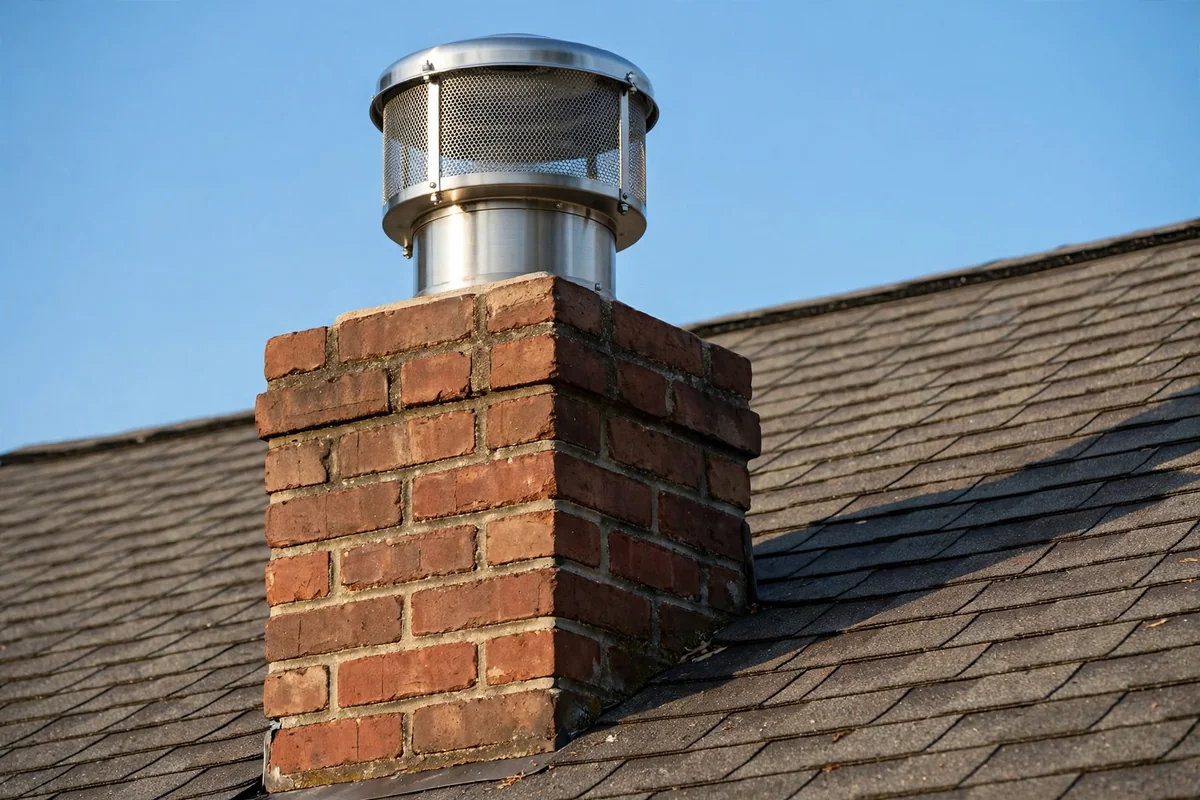
A chimney is a wide, sheltered passage between your roof and the sky, and without a proper cap it can admit far more than smoke. Check whether your chimney already has a cap with fine mesh screening, and look for rust, lifted edges, or gaps where the cap meets the flue. A sound cap keeps out stink bugs, birds, and rain while letting exhaust gases escape freely.
Do not improvise here with leftover window screen or hardware cloth, because fireplaces and fuel burning appliances have strict venting and safety requirements. The wrong mesh can trap heat, block exhaust, or create a fire hazard. If the cap is damaged or missing, have a chimney professional install the correct one for your flue size and fuel type. This is a perfect example of knowing where do it yourself pest prevention ends.
14. Securing Exhaust Vent Covers
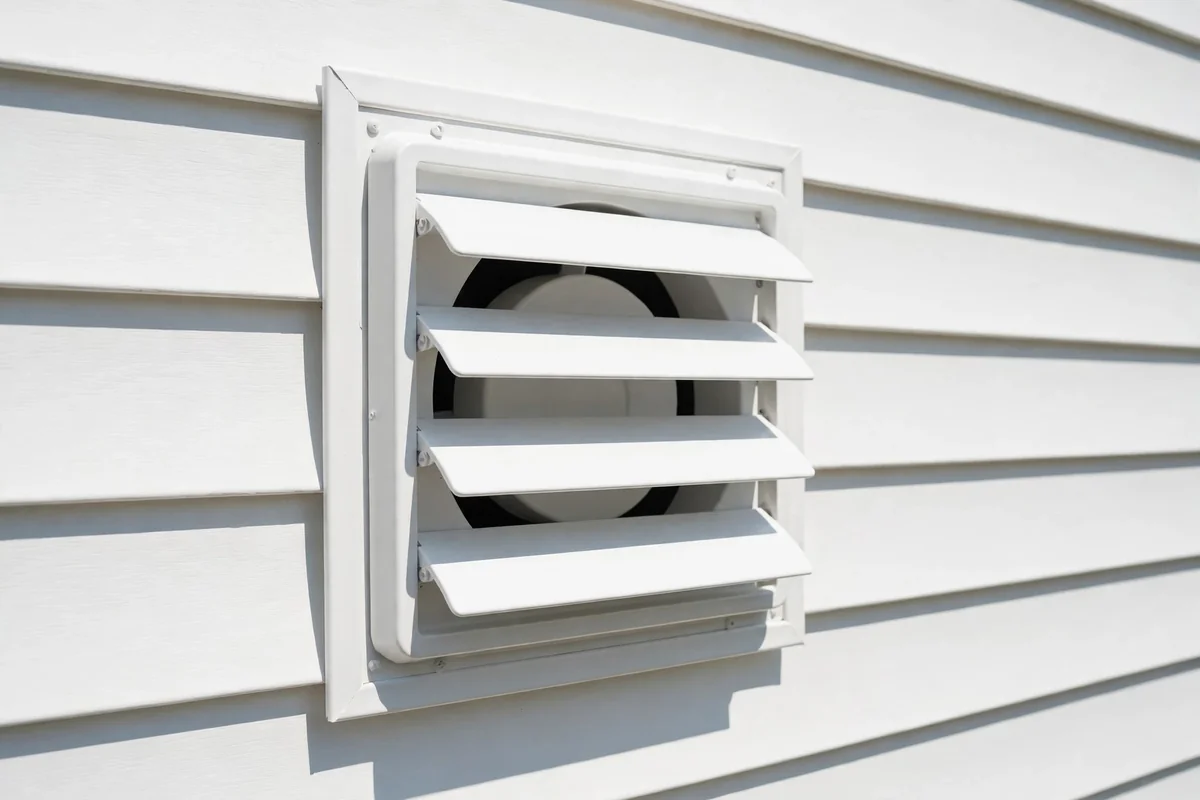
Bathroom fans, kitchen range hoods, and dryer vents all punch through exterior walls, and their covers take a beating from weather and time. Inspect each one from outside, looking for cracked housings, missing louvers, dampers stuck open, or screens that have torn loose. A vent flap hanging permanently open is essentially a small doorway that never closes.
Replace damaged covers with parts designed for that exact vent, and never block a working vent to stop insects. A dryer vent in particular must exhaust hot, moist air freely, and the wrong screening can trap lint and create a genuine fire risk. Repair the housing, restore the damper so it swings shut, and use only vent rated components. You want accidental access closed and proper ventilation fully preserved.
15. Removing Seasonal Window Air Conditioners

A window air conditioner that stays installed through the cold months creates a ring of little gaps around its panels, foam strips, and side curtains. Stink bugs searching for winter shelter find those gaps irresistible. If you no longer need cooling, remove the unit following the manufacturer’s instructions, then close, lock, and inspect the window so it seals as it was designed to.
If the unit must stay in place, inspect every surrounding panel and replace foam that has compressed, crumbled, or shifted out of position. Press the accordion side panels flat and check that no daylight peeks around the edges. Doing this job in late summer, before stink bugs begin their autumn migration indoors, is far easier than catching insects in December. Timing turns a chore into genuine prevention.
16. Sealing Interior Baseboard Gaps
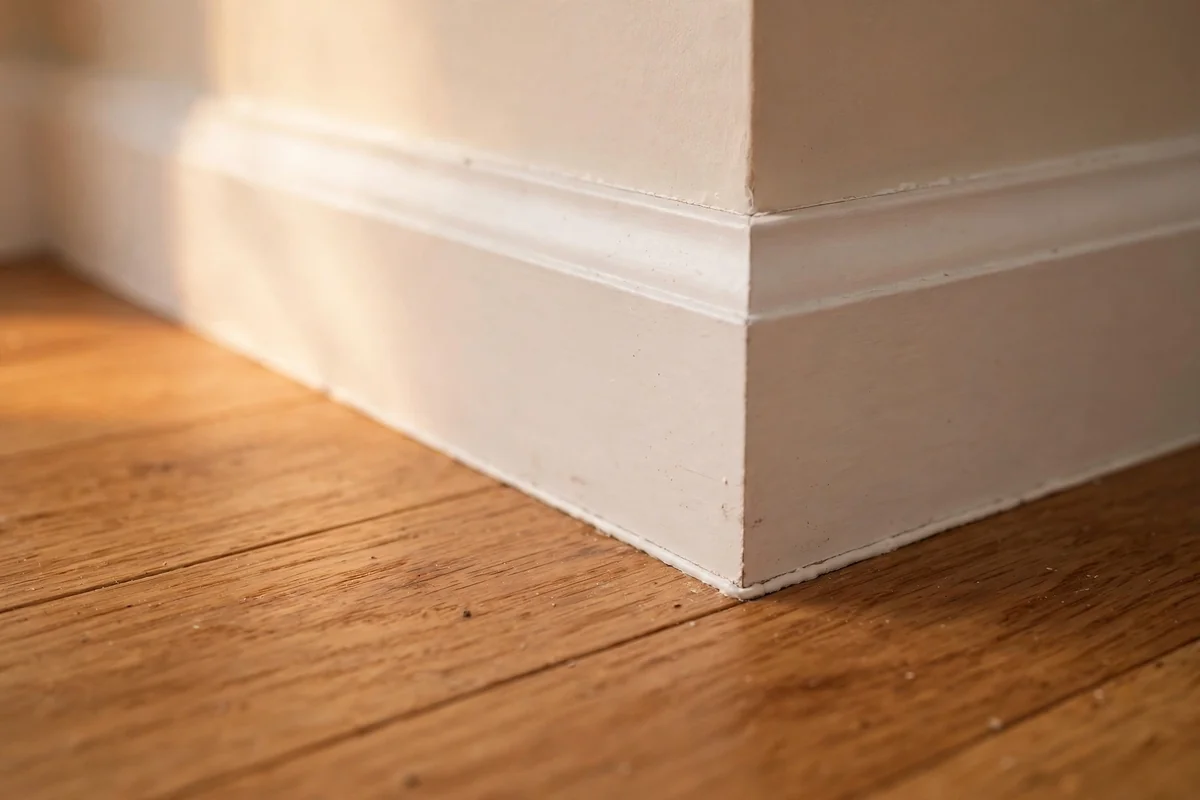
Some stink bugs seem to appear from nowhere in midwinter, and they are often emerging from hidden voids inside the walls rather than arriving fresh from outside. When you repeatedly see them near the same spot, inspect the baseboards, window trim, and door casing in that area. Small separations where trim has pulled away from the wall can be the exit route from an overwintering cluster.
Seal appropriate interior gaps with paintable caulk, smoothing the bead so it disappears under a fresh coat of paint. Do not seal weep paths or ventilation details you do not understand, and never assume every gap should be filled. Understanding where the bugs are emerging also sharpens your exterior work, because it tells you which side of the house deserves the closest inspection next spring.
17. Keeping the Foundation Perimeter Tidy

Piles of leaves, dead plants, stacked boards, and forgotten pots leaning against the foundation create perfect daytime hiding spots for stink bugs and many other insects. Clear that clutter back so you have a clean, visible strip of at least a foot or two around the base of the house. The work is simple raking, trimming, and relocating, and it instantly makes the whole perimeter easier to inspect.
Do not expect tidiness alone to solve the problem, but notice how much easier maintenance becomes once you can actually see the foundation. Cracks, utility penetrations, damaged vent screens, and crumbling seals all stand out against a clean surface. Keep mulch pulled back a few inches from the siding as well, since mulch piled against wood invites both insects and moisture. A tidy perimeter turns pest prevention into a quick visual check.
18. Checking Outdoor Items Before Bringing Them In

During the weeks when stink bugs gather thickly on sunny walls, they also settle on everything parked near those walls. Outdoor cushions, folded patio umbrellas, storage bins, garden tools, and even laundry from the line can carry a hitchhiker indoors. Give each item a quick visual once over before it crosses the threshold, paying attention to folds, undersides, and shaded crevices where insects rest.
You do not need to shake everything obsessively or inspect with a flashlight for ten minutes. Thirty seconds of attention during peak season prevents the unpleasant surprise of a stink bug crossing the bedroom ceiling at midnight. Make it a habit for the whole household, and remind guests to check bags left on sunny porches. Small vigilance at the door saves real frustration inside.
19. Starting With the Sunniest Side of the House

Stink bug pressure is rarely even around a house. They congregate on warm, sun washed walls, especially south and west facing surfaces that soak up afternoon heat. Walk the exterior on a sunny autumn day and note exactly where the clusters gather. Those hotspots tell you where to concentrate your sealing work first, from window caulk to door sweeps to utility gaps.
This targeted approach turns an overwhelming project into a manageable list. Instead of trying to recaulk every window in one exhausting weekend, you begin where the insects actually are, then work outward as time allows. Keep a simple sketch of the house with hotspot marks, and revisit it each season. Over a year or two, the map guides you to a genuinely well sealed home.
20. Doing Exclusion Work Before Autumn Arrives

Timing matters enormously with stink bugs. They begin hunting for protected winter shelter as late summer fades, so the ideal moment for exclusion work is before that migration starts. Aim to finish screen repairs, weather stripping, door sweeps, and obvious crack sealing by early fall. Once insects have settled into wall voids and other hidden spaces, your options shrink to removing the ones that wander out.
Put a recurring reminder on your calendar for late August to walk the exterior with fresh eyes. Check the repairs you made last year, because caulk ages, screens tear, and weather stripping compresses over time. Prevention done early saves far more effort than any cure attempted in December, and it keeps the whole season feeling calm instead of reactive.
21. A Yearly Home Sealing Routine

The final idea is the one that makes all the others keep working: treat exclusion as an annual habit, not a one time project. Houses shift, caulk shrinks, screens tear, and utility work can open new gaps without you noticing. A short exterior walkthrough once a year, ideally before stink bug season, catches small problems while they are still small and cheap to fix.
Keep a simple checklist covering windows, doors, screens, utility penetrations, siding joints, vents, the chimney, and the foundation, and note what you repaired each year. Over time you will spot patterns, like one window that always needs fresh caulk, and you can address the root cause. This quiet routine protects against stink bugs while also cutting drafts, which is a reward you feel every winter.
Closing Thoughts
Getting rid of stink bugs is less about fighting insects and more about caring for your home. Each sealed gap and mended screen is a small act of stewardship that pays off in quieter rooms and lower energy bills.
Start with the gentle removal methods, work through the sealing jobs at your own pace, and make the yearly walkthrough a habit. Your future self, enjoying a bug free autumn evening, will be glad you did.
Frequently Asked Questions
Why do stink bugs come inside my house in the fall?
As temperatures drop in late summer and early fall, stink bugs search for warm, sheltered spots to spend the winter, a behavior called overwintering. Your home offers steady warmth and countless tiny entry points around windows, doors, vents, and siding. They often gather first on sunny exterior walls, then slip inside through gaps as small as a few millimeters. Sealing those gaps before the migration begins is the most effective way to reduce indoor sightings.
Does squashing a stink bug attract more stink bugs?
Crushing a stink bug releases a strong defensive odor, but it does not send a signal that attracts others to your home. The real problem with squashing is the lingering smell on walls, curtains, and fabrics, plus the stain it can leave behind. Some people also find the odor itself draws attention to the area. It is always better to capture or vacuum them gently and release or dispose of them outside.
Are stink bugs harmful to people or pets?
Stink bugs do not bite, sting, or spread disease to people or pets, so they are a nuisance rather than a danger. They can damage garden plants, fruits, and ornamental shrubs by feeding on them, which is why gardeners dislike them. The main indoor concern is the unpleasant odor they release when disturbed and the annoyance of finding them on walls and ceilings. Gentle removal and good sealing handle the problem without any health worry.
What natural smells repel stink bugs?
Strong scents like mint, garlic, and clove are often recommended online, but their effect is short lived and unreliable as a primary defense. Sprays may discourage bugs from a small treated area for a day or two, yet they do nothing to close the gaps the insects use. Physical exclusion, such as caulking, screen repair, and weather stripping, works far better and lasts for seasons. Use scent sprays only as a minor supplement, never as the main plan.
How do I get the stink bug smell out of my vacuum?
Empty the canister or replace the bag immediately, then wipe the interior and nozzle with a cloth dampened with warm water and a little dish soap. Sprinkle a tablespoon of baking soda inside the empty canister, leave it overnight, and shake it out the next day to absorb lingering odor. For bagless models, washing the dust cup with soapy water usually finishes the job. Running the vacuum briefly outdoors afterward helps air it out completely.