Bathroom
21 Vintage Pink Tile Bathroom Ideas That Honour Old Charm and Feel Fresh Again
By Anna Wells · · 22 min read
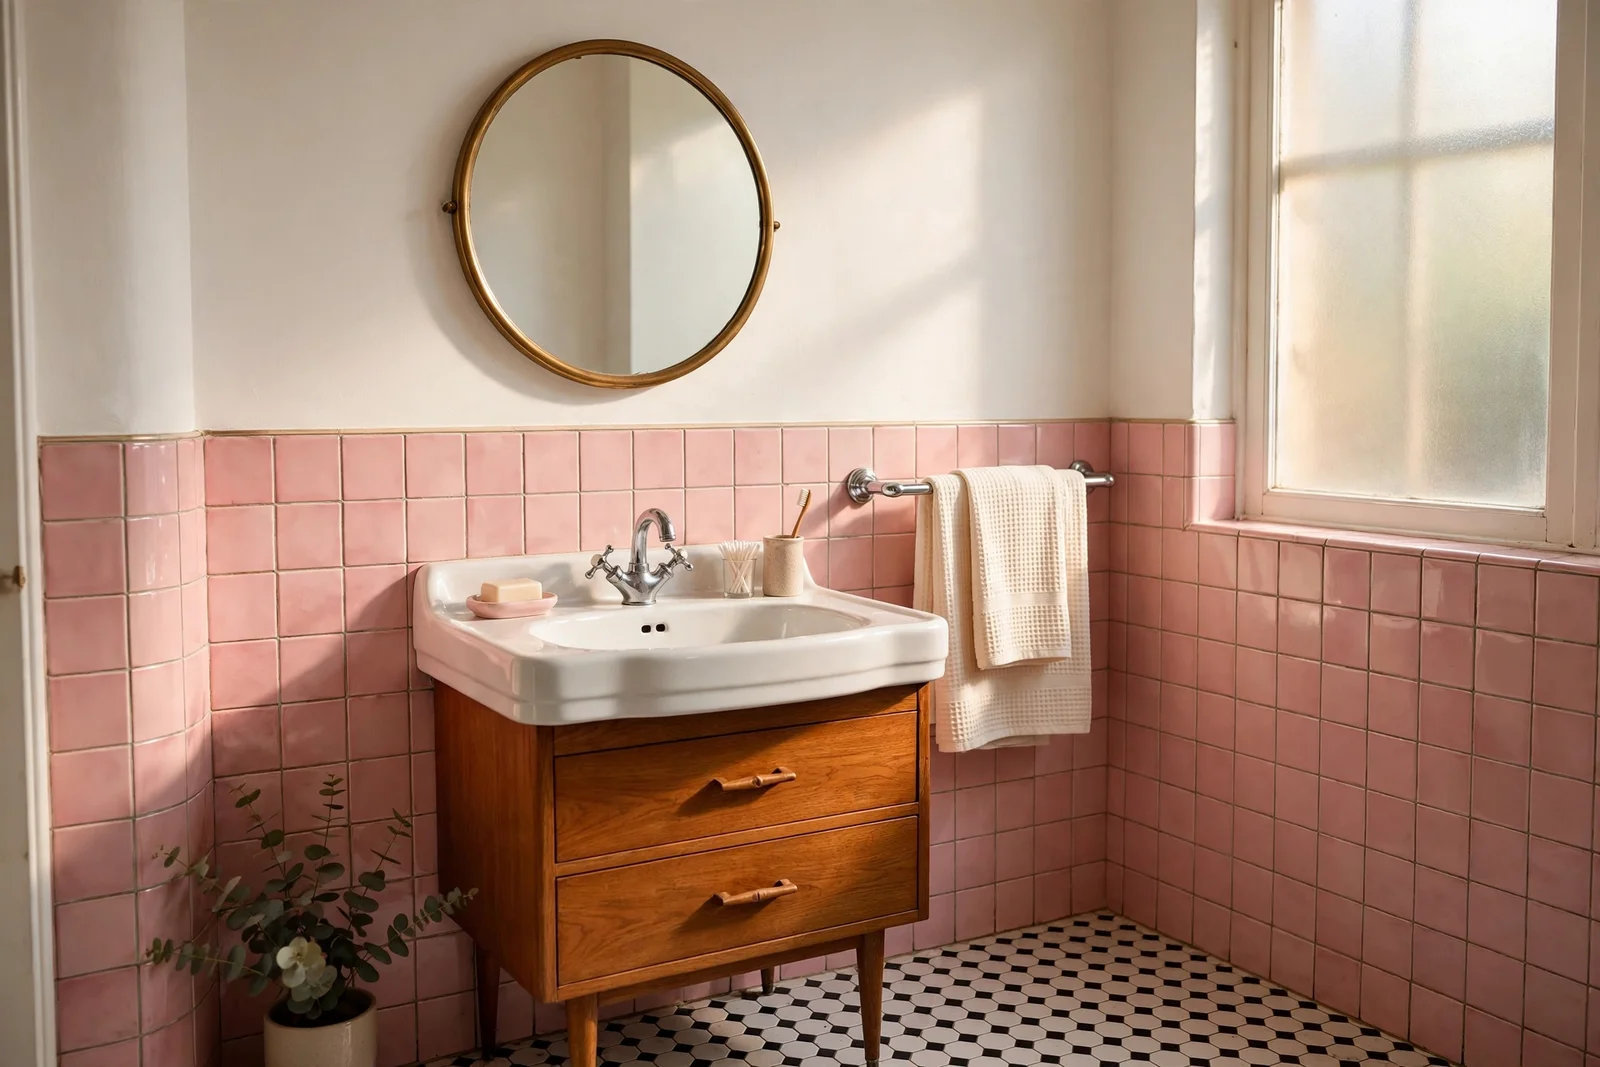
Pink bathroom tiles are not a problem to hide. These 21 gentle, practical ideas honour the vintage charm and make the whole room feel fresh again.
There is a particular quiet to a mid-century bathroom at half past seven in the morning. The pink tiles catch the first light and glow like the inside of a shell, and for a moment the whole room feels as if it is remembering something good. Many of us inherit these bathrooms and our first instinct is to apologise for them. This article asks you to do the opposite.
Pink tile was never a mistake. In the nineteen fifties it was the colour of optimism: a bathroom in rose was a small luxury, a sign the house had arrived. The tiles were thick, the glaze was deep, and the workmanship was honest. Keeping them is not nostalgia for its own sake; it is keeping something that was made well and still works.
What follows is a practical companion to that choice: twenty one concrete ideas for cleaning, colour, fixtures, light and the small decisions that make a pink bathroom feel fresh without erasing its past. Every idea is modest in cost and gentle on the original fabric. You do not need to rip anything out; you need patience, a soft brush, and a willingness to let pink be pink.
Start with the tiles themselves, because everything else, from paint colours to tap finishes, hangs on how they look once they are truly clean.
1. Deep-Clean the Tile With an Alkaline Soak and a Soft Brush
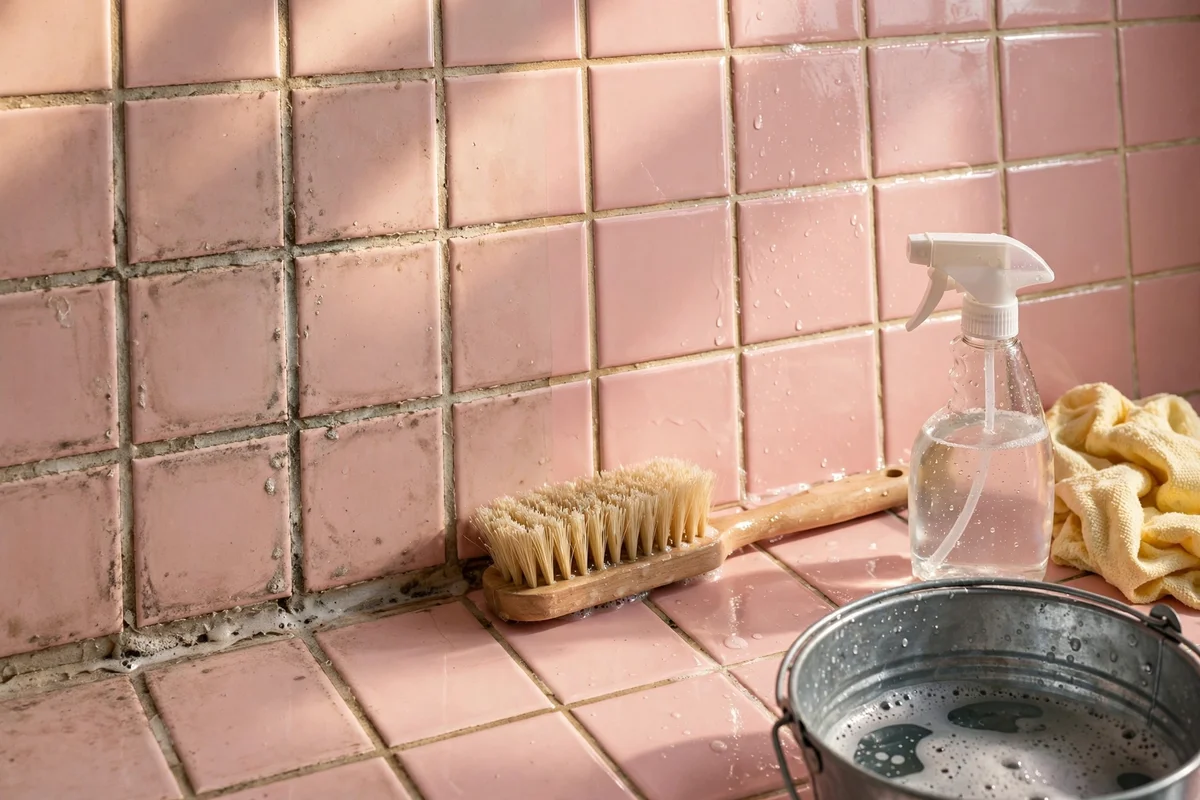
Start with a long, gentle soak. Fill a spray bottle with warm water and an alkaline bathroom cleaner, mist the tiles generously, and let the solution sit for fifteen minutes before you touch a brush. Then scrub with a soft nylon brush in small circles, working top to bottom so dirty water never runs over clean tile. A medium bathroom of about eight square metres of tile takes roughly two hours this way. Never reach for wire wool or a scraper, because the original glaze is thin and scratches dull it forever.
Rinse with a damp microfibre cloth, changing the water often, and dry with a clean towel so water spots never form on the pink glaze. For the shadow of old limescale, press a cloth soaked in diluted citric acid against the spot for ten minutes, then rinse twice. Work in sections of about one square metre and always test cleaners on a hidden patch first. The mistake to avoid is mixing bleach with vinegar or acid cleaners; the fumes are dangerous and the mix can etch vintage glaze. This is a budget job, usually under fifteen pounds or dollars.
2. Steam the Grout Lines Before You Decide to Regrout
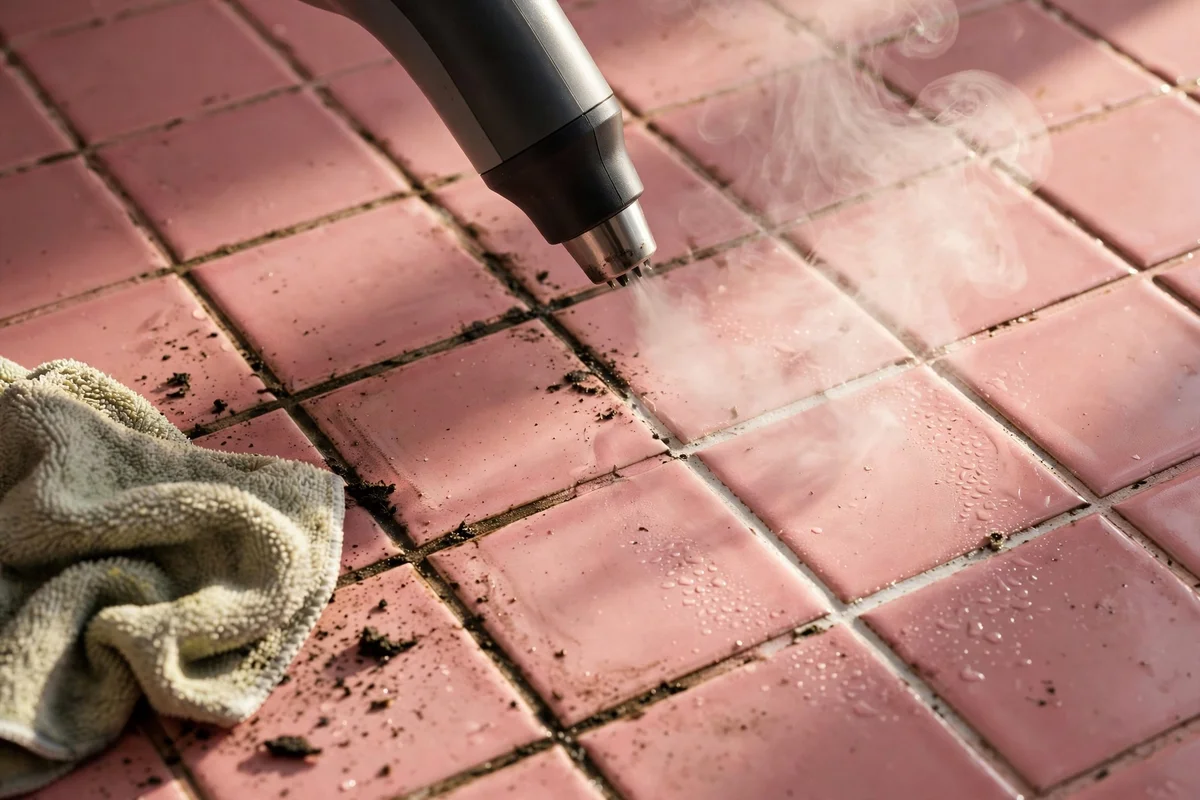
A handheld steam cleaner is the kindest way to lift decades of grime from grout lines. Hold the nozzle two to three centimetres from the joint and move slowly, about ten centimetres per second, so the steam does the work instead of your arm. Keep a microfibre cloth in the other hand and wipe each cleaned section immediately, because loosened dirt re-settles into the pores if you leave it. A small bathroom takes about an hour, and renting a steamer costs around twenty five pounds or dollars a day.
Steam only what you intend to seal or regrout afterwards, and never use it on cracked or hollow sounding tiles, where the heat can lift the bond from the wall. Test a hidden patch first, behind the door or under the vanity. The real payoff of this step is information: clean grout shows the tile’s true colour and tells you honestly whether regrouting is even needed. Many owners discover the pink looks a full shade softer once the grey film of fifty years is gone.
3. Regrout the Joints in Warm White to Soften the Pink
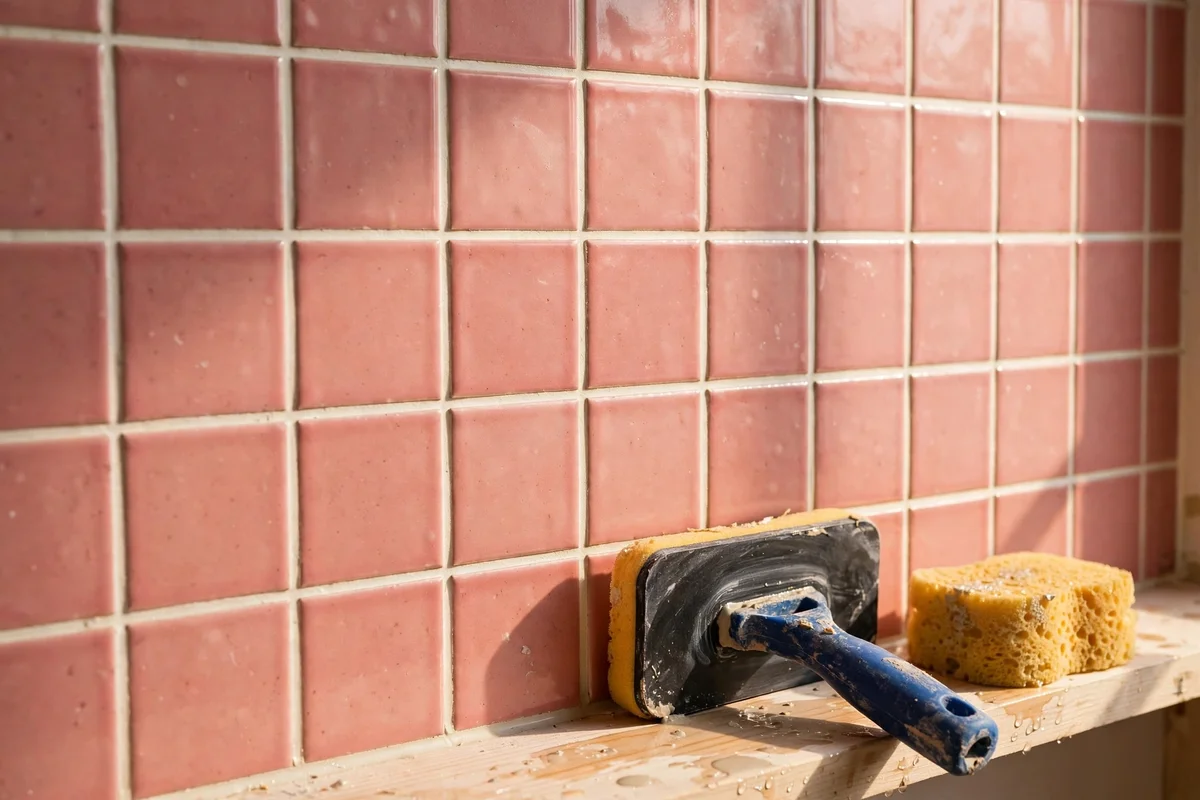
Regrouting transforms a pink bathroom more than almost any other single job. Choose a warm white or ivory grout rather than a stark bright white; pure white next to rose pink creates a harsh clinical contrast, while warm white sits gently against it. Scrape out the top three to four millimetres of old grout with a grout rake or oscillating tool, working slowly to protect the tile edges. For a small bathroom with around six square metres of tile, expect six to eight hours of careful work spread over two days.
Mix the grout slightly drier than the packet suggests, press it in with a rubber float at a forty five degree angle, and sponge off the residue within fifteen to twenty minutes before it hazes. Work in sections of about one square metre so nothing sets before you wipe it. The mistake to avoid is grouting over sound old grout, because the new layer delaminates within a year. A bag of grout, a float and a sponge cost under thirty pounds or dollars.
4. Reseal the Grout Once a Year to Keep It Looking Fresh
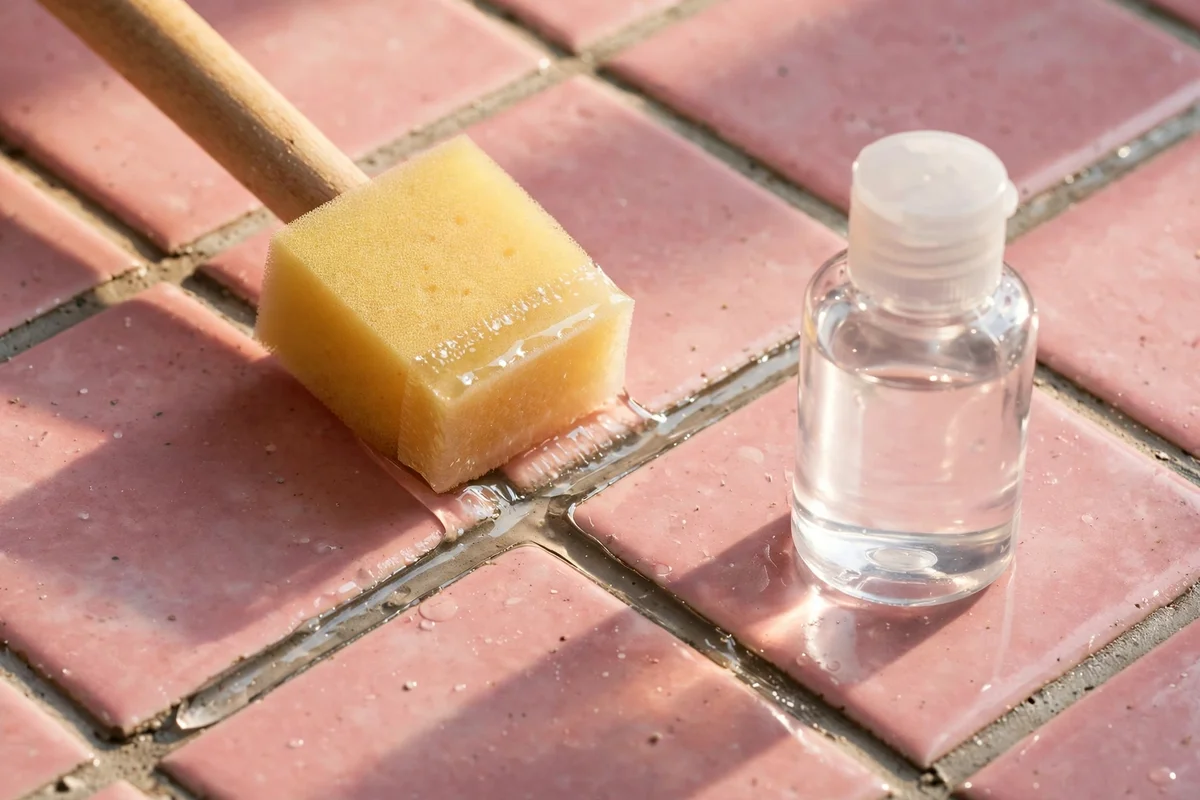
Once the grout is clean or renewed, seal it. A penetrating grout sealer soaks into the joint and keeps water, soap and dye out without changing the colour of the lines. Apply it with a small foam brush or applicator bottle, painting only the joints, and wipe any excess off the tiles within five minutes. Two thin coats an hour apart protect far better than one thick coat, and the whole job takes about ninety minutes for a standard bathroom. One bottle lasts for several yearly reseals.
Repeat the sealing once a year, ideally in autumn when the heating comes on and the air dries out. Test whether it is due by flicking water onto the grout; if it beads, the seal is holding, and if it soaks in darkly, it is time. Keep the bathroom fan running for twenty minutes after every shower regardless, because sealant slows moisture but never excuses poor ventilation. A bottle costs around twelve to eighteen pounds or dollars, the cheapest insurance a vintage bathroom owns.
5. Paint the Walls Warm White So the Pink Can Breathe
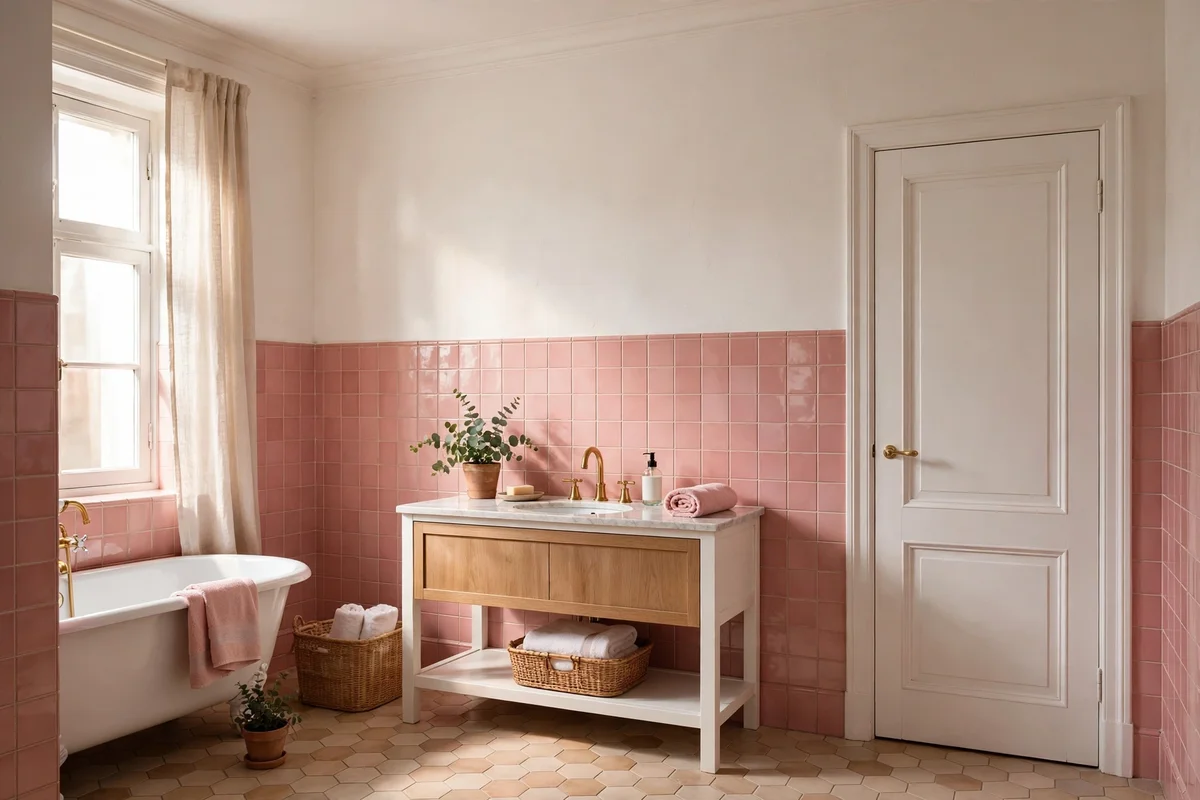
Warm white walls are the calmest companion pink tile can have. Choose a white with a hint of yellow or peach in the undertone, such as antique white or warm ivory, and avoid blue-based brilliant whites, which turn pink tiles grey and clinical. Paint only the non-tiled areas: the upper walls above the tile line, the ceiling and the door. Two coats of a moisture-resistant eggshell finish usually cover four to five square metres per litre, so measure the wall area before you buy.
Sample three shades as large swatches, at least A3 size, and study them in morning and evening light before you commit; pink shifts noticeably under warm bulbs. Keep the woodwork in the same warm white so the room reads as one continuous calm surface. The mistake to avoid is painting over tiles or original woodwork with wall paint to save time, since different surfaces need different products. A four litre tin covers most bathrooms for under forty pounds or dollars.
6. Wash the Upper Walls in Cream for a Softer Glow
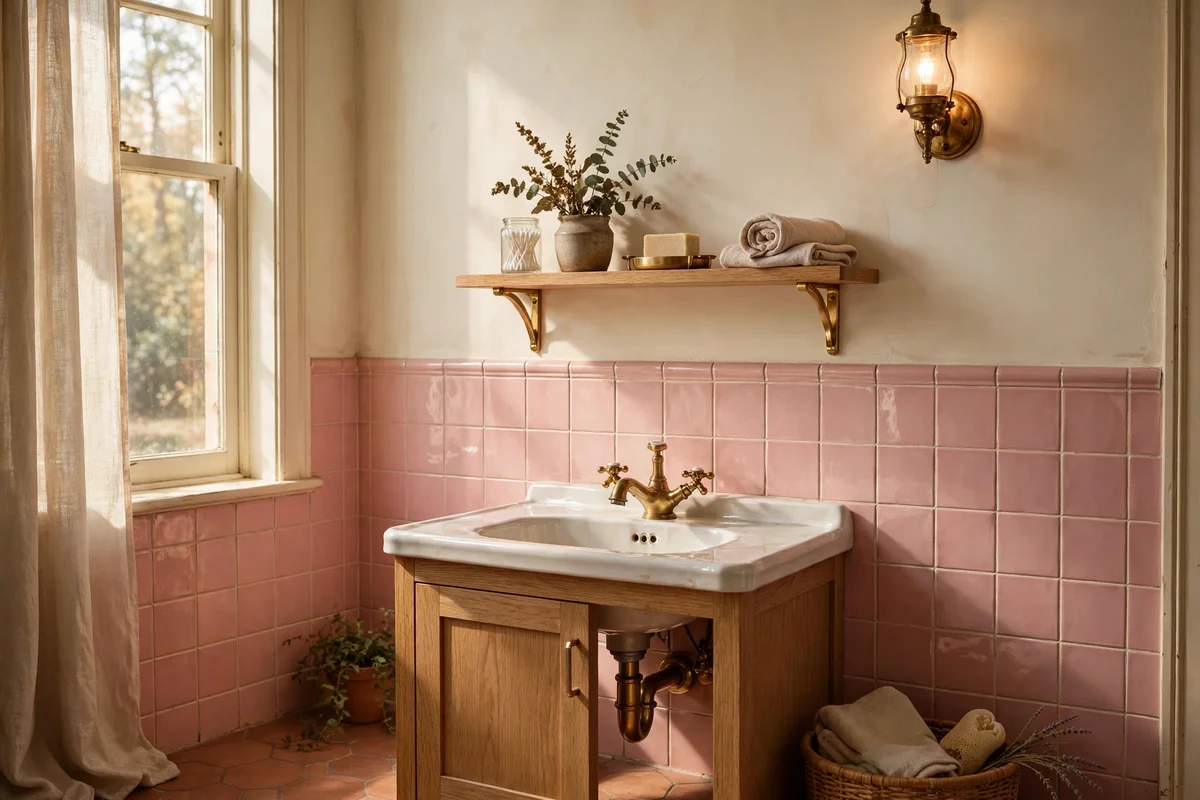
Cream walls bring a vintage warmth that flatters rose pink without competing with it. Look for creams described as linen, ivory or parchment, with a yellow to caramel undertone, and keep the depth soft enough that the walls read pale against the stronger tile colour. A satin or eggshell finish bounces light gently and survives bathroom humidity far better than flat matt paint. Choose cream when warm white feels too stark and you want the room to hold you a little.
Cream works hardest where the tiles stop: the upper third of the wall above the tile line is its natural place. Carry the same cream onto the ceiling to lift a low mid-century ceiling, which is often only 2.3 to 2.4 metres high. Pair cream walls with warm wood and brass, never with cool chrome and grey, or the room splits into two temperatures. Ventilate well for forty eight hours after painting so moisture never gets trapped under the film.
7. Try Sage Green on One Wall to Ground the Pink
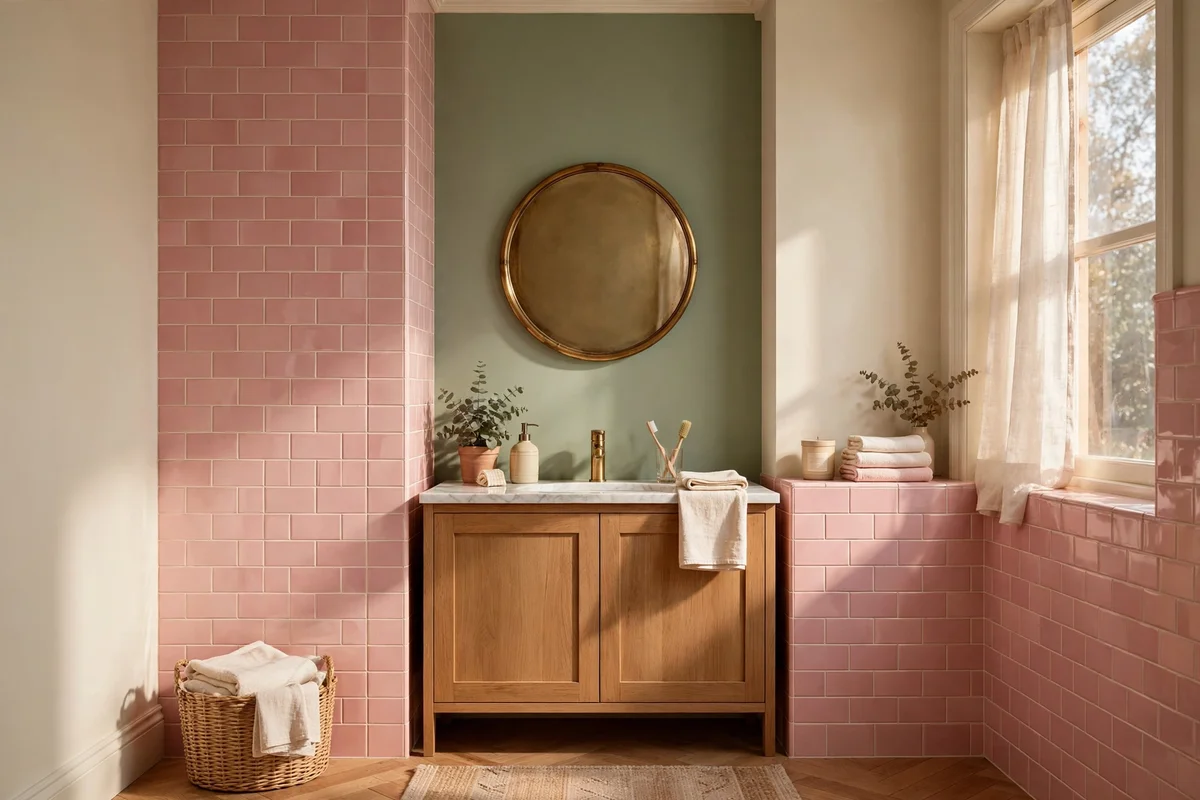
Sage green is the colour that calms pink down rather than matching it. As a muted, greyish green it sits opposite pink’s warmth and quiets the whole room, like foliage around roses. Use it on one feature wall only, ideally the wall the mirror hangs on, and keep the remaining walls warm white or cream. A mid tone sage with grey in it suits vintage tiles far better than a bright herbal green, which can look cartoonish beside them.
Introduce sage in smaller doses if a whole wall feels bold: a painted stool, a lidded laundry hamper, or towels in sage and cream mixed at a ratio of roughly one sage piece to three neutral ones. The mistake to avoid is pairing pink and green in equal saturated amounts, which pushes the room toward a novelty sweet shop look. One litre of sample paint and a single wall make a weekend project under thirty pounds or dollars.
8. Lay a Soft Grey Floor to Quiet the Whole Room
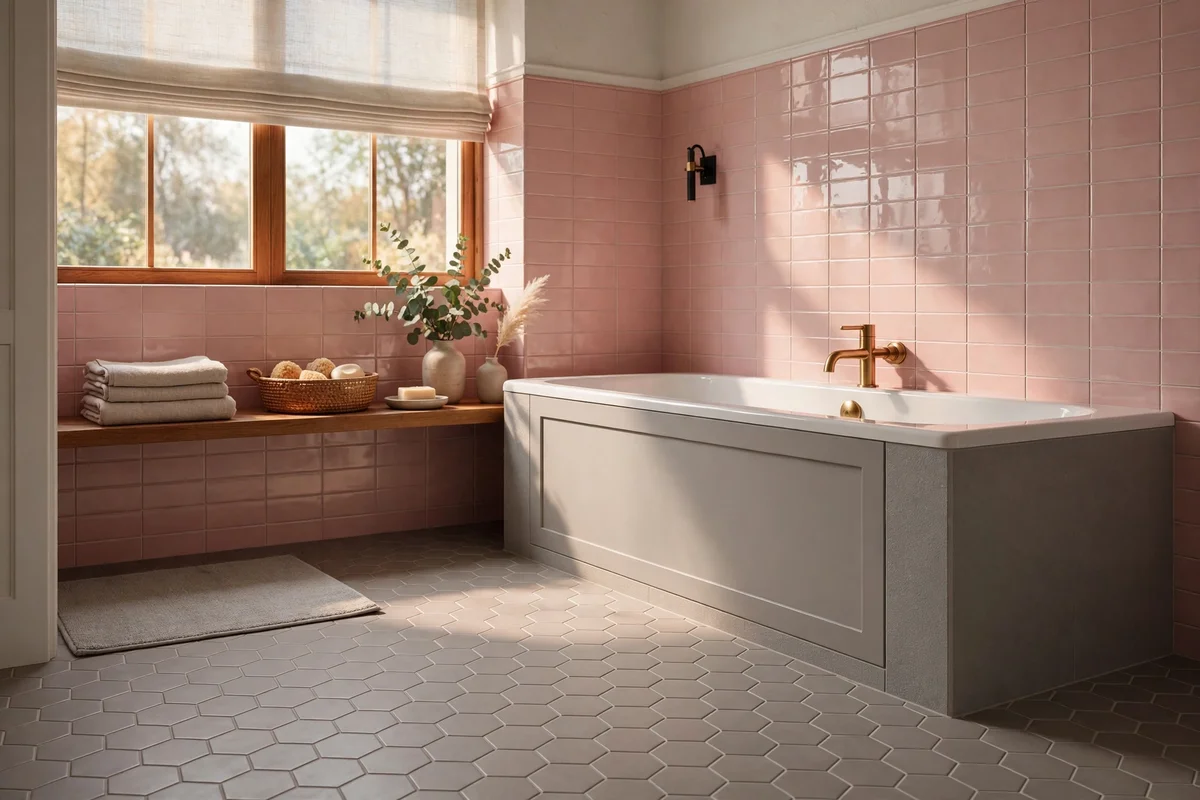
A soft grey floor gives pink tile the quiet base it needs. Choose a warm grey, something like greige or a pebble tone, rather than a cold blue grey, and lay it in a small format: hexagons or square tiles around ten centimetres suit the era far better than large modern planks. If a full floor replacement is too much, a large flatweave cotton rug in soft grey does similar work and costs a fraction. Keep the rug washable and low pile so it dries quickly.
Echo the floor colour in small accessories, a grey soap dispenser or a grey lined waste bin, so the base feels intentional rather than leftover. In tiny bathrooms, extend the same grey onto the bath panel to remove a visual break and make the floor read longer. Avoid pairing the pink with a dark charcoal floor, which drags the light level down and makes the tiles look murky. A mid grey sheet vinyl floor is a genuine budget option, often under two hundred pounds or dollars fitted.
9. Fit a Warm Oak Vanity That Suits the Era
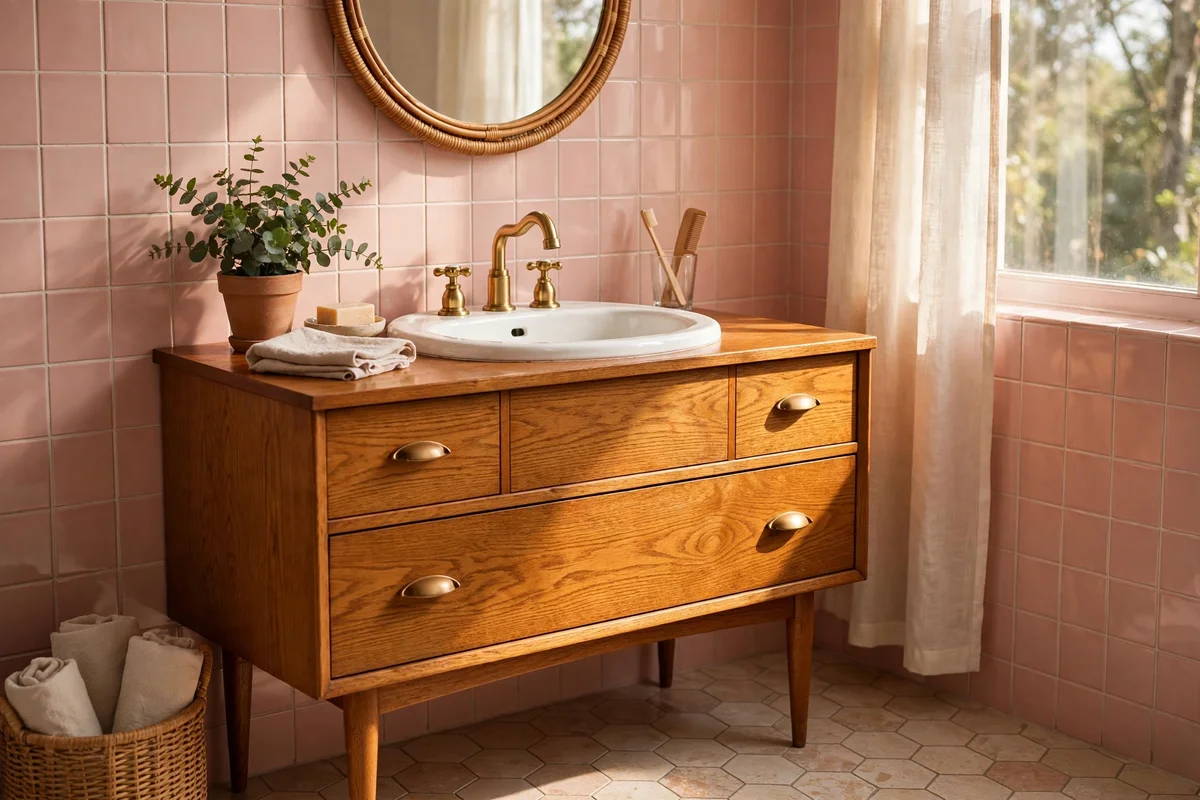
A warm oak vanity anchors the pink tile in wood and gives the bathroom the furniture it deserves. Look for mid-century shapes: tapered legs, a floating cabinet, or a simple box on turned legs, in a honey or medium oak tone rather than pale ash or dark walnut. A vanity between 60 and 90 cm wide suits most vintage bathrooms, and keeping it on legs lets the floor run underneath, which makes small rooms feel larger. Second hand mid-century vanities appear regularly at reclamation yards.
Top it with a white ceramic basin, ideally a shallow rectangular or oval one, and keep the splash zone minimal so the tiles behind stay visible. Seal the oak with a marine grade oil or a bathroom suitable varnish, recoating once a year, because steam finds unprotected wood quickly. The mistake to avoid is a dark espresso vanity; it fights the pink and shrinks the room. A refinished second hand piece plus new taps often totals under three hundred pounds or dollars.
10. Hang a Round Brass-Framed Mirror Over the Sink
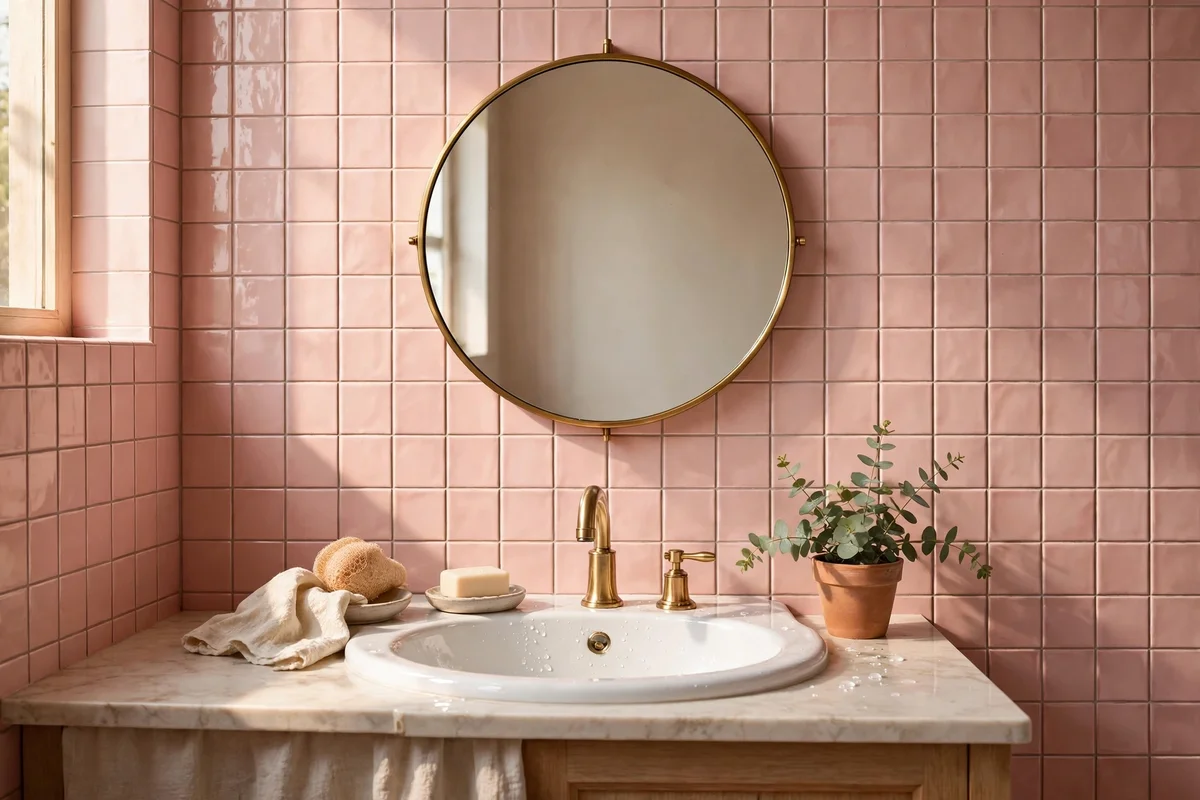
A round mirror in a thin brass frame is the era’s own answer above the sink. Choose a diameter of 50 to 70 cm for a single basin, hung so its centre sits about 150 to 160 cm from the floor, which suits most adults. The circle softens the grid of square pink tiles behind it, and brass picks up the warm undertones of the tile instead of arguing with them. Avoid bevelled edges and ornate frames; a slim, clean ring is all the decoration this wall needs.
Fix it with two fixings into the wall rather than one hook, so it hangs dead level and cannot drift crooked over time. If the original mirror is still there and in good order, keep it; a re-silvered vintage mirror has a depth that new glass never quite matches. The mistake to avoid is a mirror that touches the tile line; leave at least five centimetres of wall above the tiles so the two materials breathe. Decent brass mirrors start around forty pounds or dollars.
11. Swap the Taps for Unlacquered Brass With a Living Finish
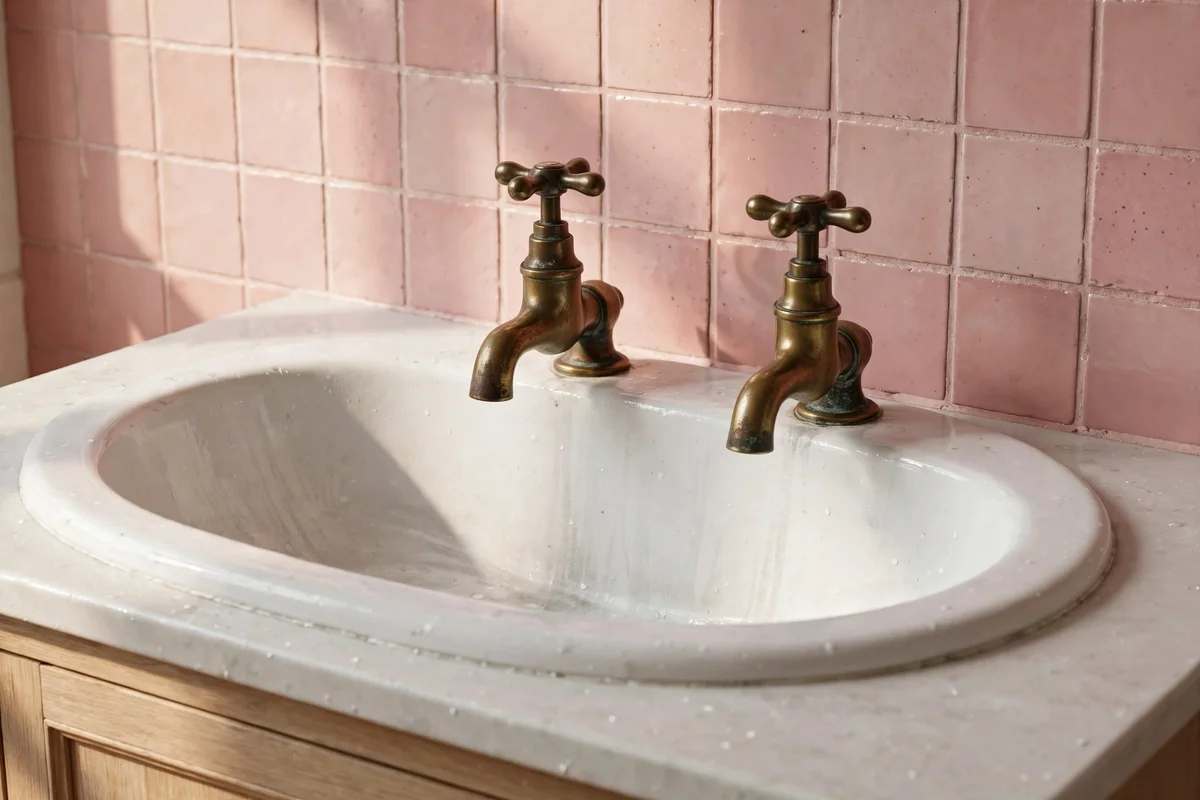
Unlacquered brass taps develop a soft, darkening patina that sits beautifully beside pink tile. Unlike chrome, which can look cold, brass deepens with age and the colour relationship only improves year by year. Choose simple crosshead or lever designs with a gentle curve, matching the era rather than copying a modern spa shape. Buy taps, waste and bottle trap from one range so the finishes match; mixed brasses from different makers rarely agree.
Clean unlacquered brass with warm water and a soft cloth only, never with polish or acid, because the patina is the finish and stripping it restarts the darkening cycle with patchy results. If you prefer the bright look, choose lacquered brass and accept that the lacquer needs recoating in five to seven years. Budget a little over one hundred pounds or dollars for a decent basin set, and avoid brass-plated plastic, which peels within two years in a steamy room.
12. Keep Polished Chrome Where the Original Bathroom Had It
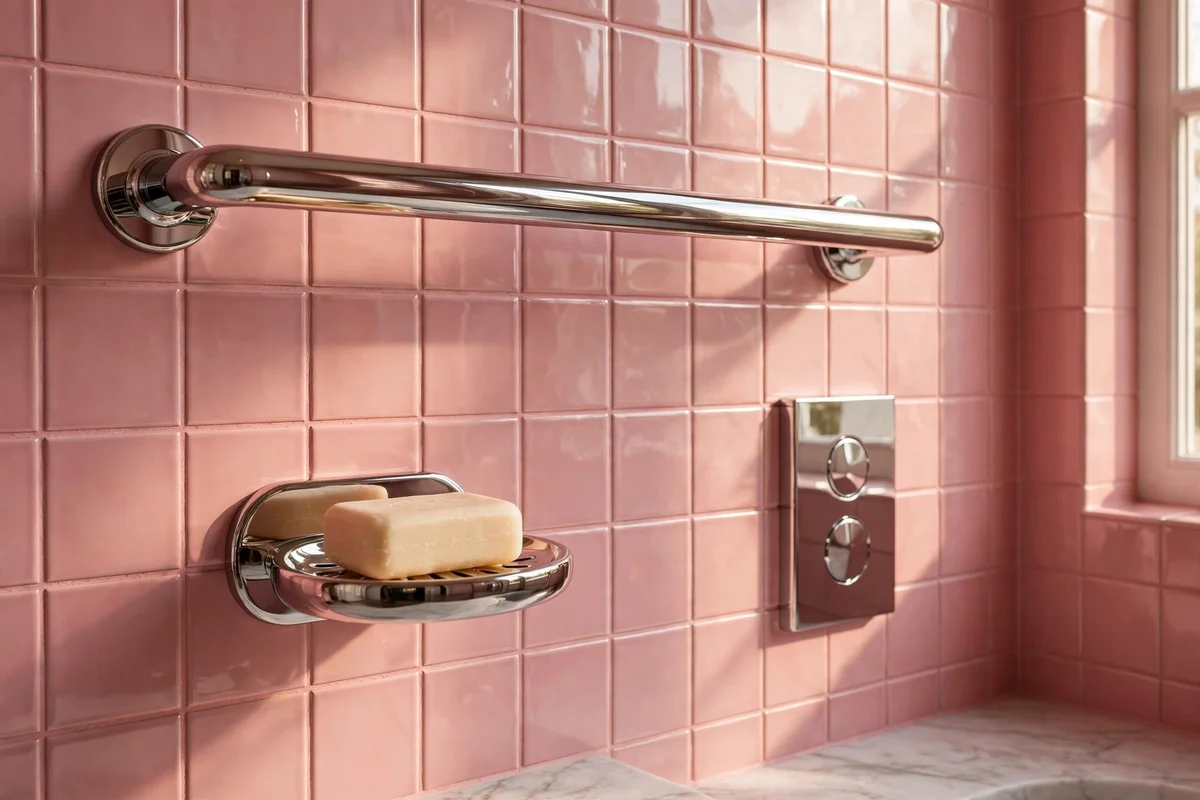
Where the bathroom still has its original chrome, keep it. Polished chrome towel rails, soap dishes and flush fittings are part of the room’s history, and chrome’s cool shine actually helps: it gives the eye a crisp counterpoint to the softness of pink. Clean it with a microfibre cloth and a little washing up liquid, then buff dry; chrome needs no polish and water spots are its only real enemy. New chrome still suits the era when the design is simple and tubular.
If you mix metals, keep chrome to the functional pieces, rails, brackets and the shower, and brass to the decorative ones, taps and the mirror frame. This ratio, roughly two thirds chrome to one third brass, keeps the room calm. The mistake to avoid is introducing a third metal, such as black or copper, into the same sightline; three finishes in a small bathroom reads as clutter. Original chrome in good order is worth keeping even when slightly worn.
13. Use Black Accents in Small Doses Only
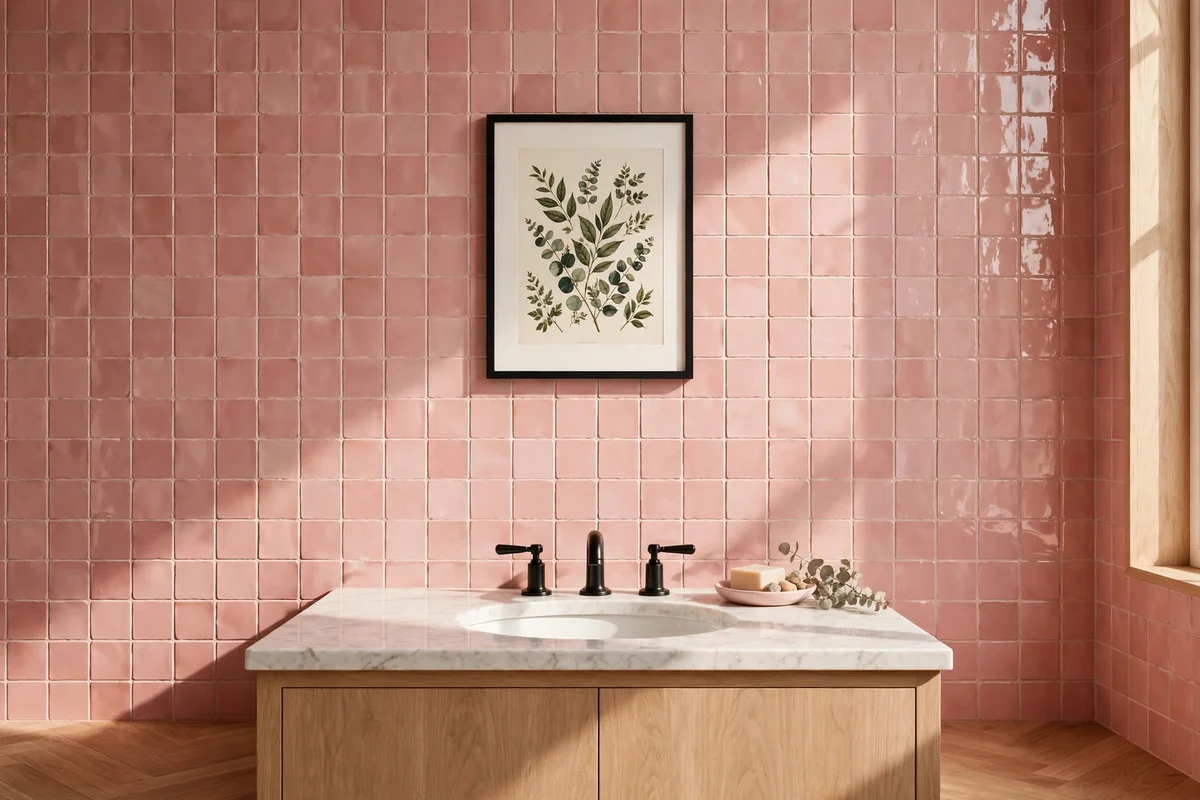
Black works in a pink bathroom only in small, deliberate doses. A thin black frame on one piece of art, black tap handles, or a narrow black border on a bath mat gives the room a crisp edge that stops the pink from feeling sugary. Keep black to perhaps five percent of what you see: one or two items, never a run of them. Matte black reads softer than gloss and suits the vintage mood far better.
Place the black accents at eye level or above, on the mirror frame or a shelf bracket, rather than low down where they read as heavy. Never paint the bath panel, the door or the woodwork black; large black surfaces swallow the light a pink bathroom depends on. If the black you have feels like too much, swap one piece for brass and watch the room relax. A black framed print plus one black handled brush is a complete black story for most bathrooms.
14. Light the Room at 2700K So the Pink Reads Warm and True
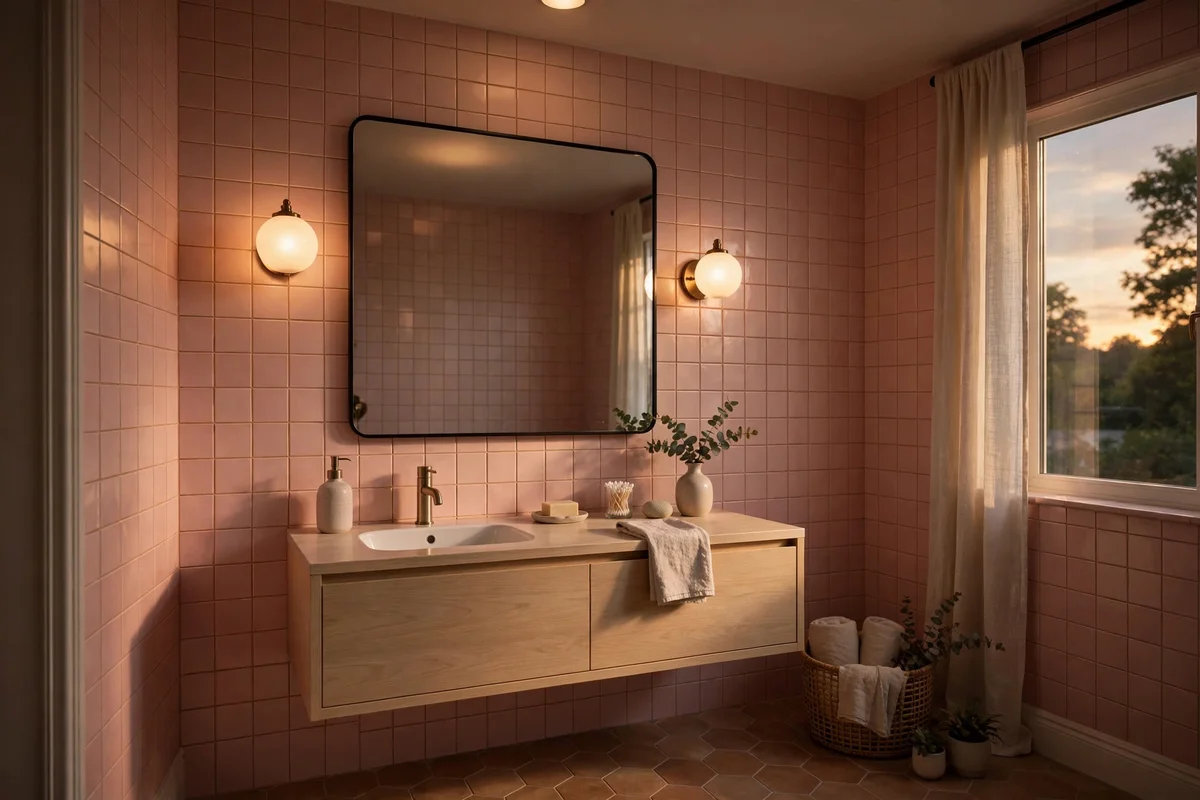
Light temperature decides whether pink tile looks warm and kind or flat and garish. Choose 2700K bulbs, a warm white that flatters both skin and rose glaze, and avoid anything labelled daylight or cool white at 4000K and above, which turns pink chalky and unflattering. Fit a dimmer if the circuit allows, because a pink bathroom at half brightness in the evening is one of the prettiest rooms in a house. Two light points are ideal: one overhead and one at the mirror.
At the mirror, mount lights at face height, one on each side of the mirror or a single bar above it, so light falls evenly without harsh shadows. Opaque glass shades diffuse the light and stop the bare bulb reflecting in the mirror; frosted globes in warm white are the classic choice. The mistake to avoid is a single harsh downlight, which carves shadows across the tile and shows every uneven joint. Good warm bulbs cost a few pounds each and change the room overnight.
15. Dress the Room in Cream Waffle Cotton and Flax Linen
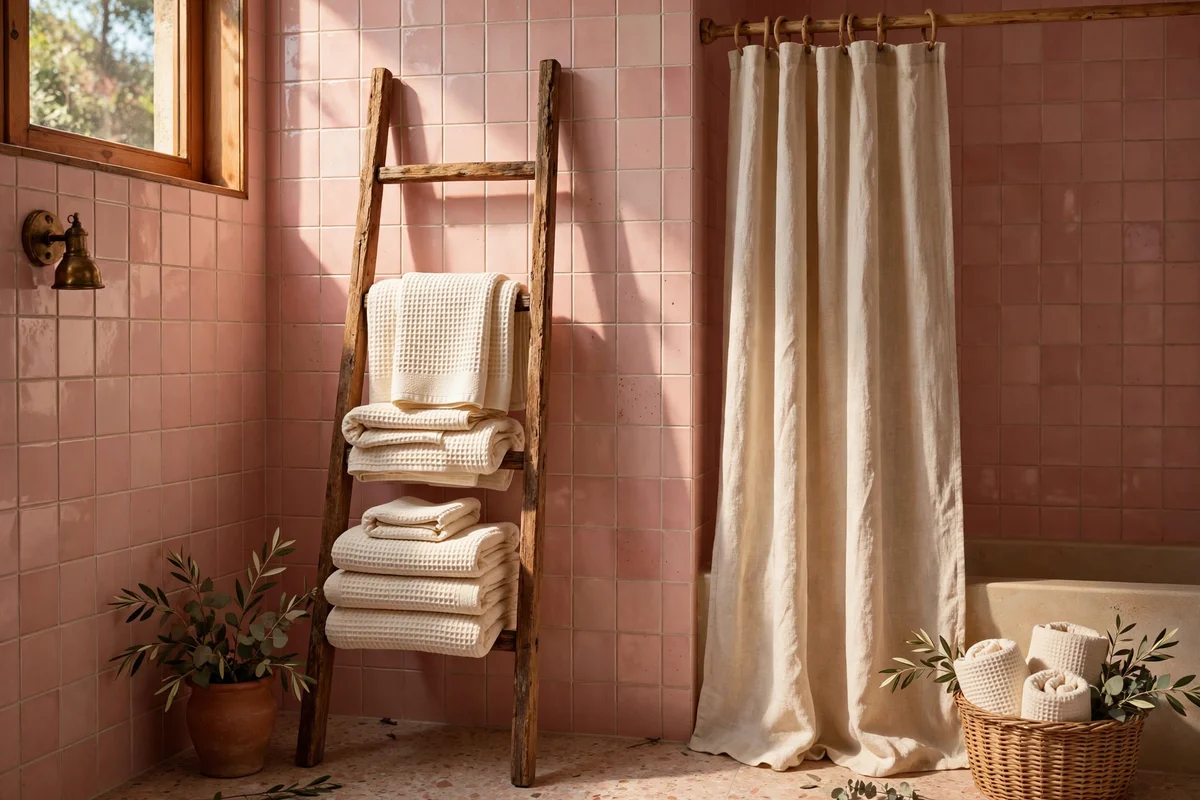
Textiles are the cheapest way to edit a pink bathroom’s mood. Dress it in cream waffle cotton towels, a flax linen shower curtain and a low pile cotton bath mat in soft white or oatmeal. Waffle weave dries quickly, suits the era and hides its creases gracefully, which matters in a family bathroom. Keep the palette to cream, white and one accent, sage or soft grey, in roughly a three to one ratio, and the textiles will quiet the pink without hiding it.
Hang hand towels on a warm wooden ladder or a chrome rail, folded in thirds so the weave shows, and choose a bath mat that washes at 60 degrees. Change the shower curtain every few years; a tired curtain drags the whole room down faster than any tile ever could. The mistake to avoid is pink towels, which double the pink and leave the room with nowhere for the eye to rest. A full set of cream waffle towels costs around thirty to fifty pounds or dollars.
16. Hang Two Framed Botanical Prints Beside the Mirror
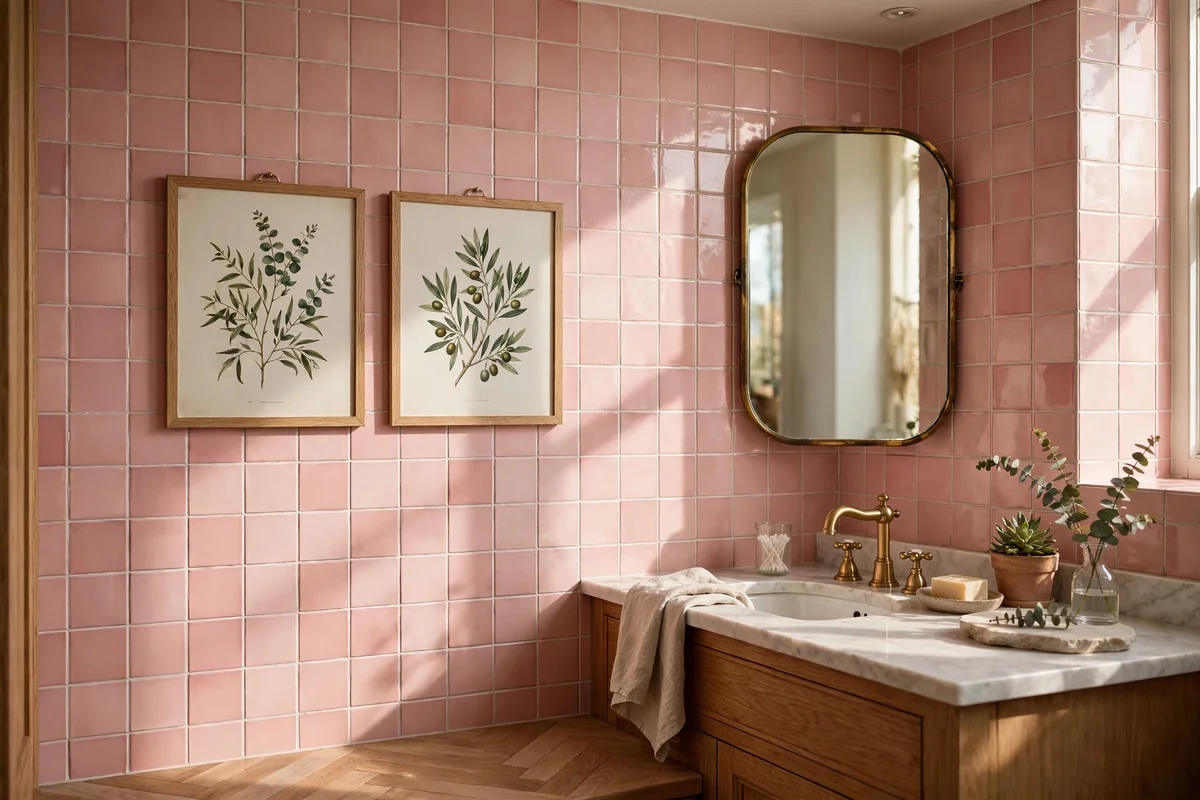
Two framed botanical prints beside the mirror give a pink bathroom a gallery calm. Choose simple line drawings or vintage style illustrations of ferns, roses or eucalyptus in muted greens and sepia, in slim oak or thin black frames of identical size, around 30 by 40 cm. Hang them as a pair with about five centimetres between them, centred at eye level. Glass fronts are fine in a ventilated bathroom; use acrylic instead near the shower where steam is heaviest.
Keep the art at least thirty centimetres from the basin edge and well away from direct splashes. Charity shops and printable archives are full of suitable botanical images for a few pounds; the frames matter more than the prints. The mistake to avoid is a big gallery wall, which crowds a small bathroom and fights the tile for attention. Two quiet pictures on one calm wall is the whole formula, and it costs less than forty pounds or dollars framed.
17. Source Salvage Tiles for Repairs at Reclamation Yards
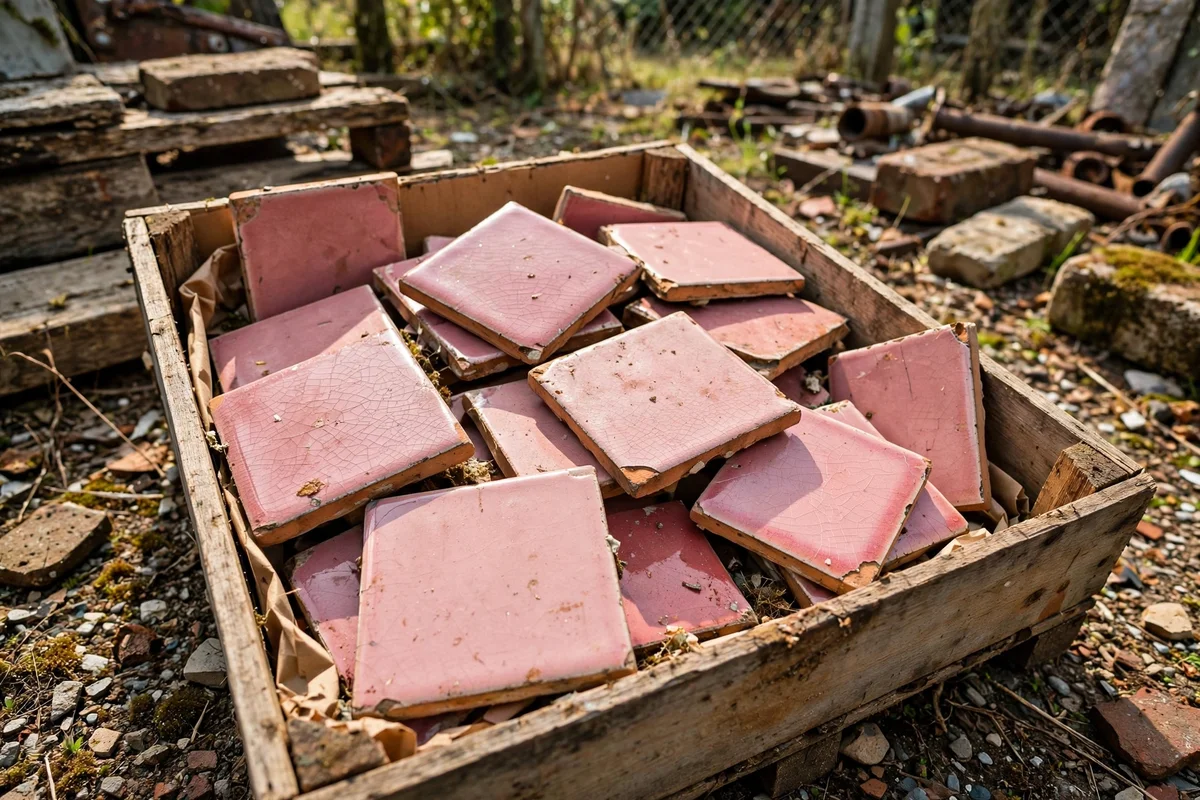
When tiles are cracked or missing, salvage yards are your first port of call. Reclamation yards, architectural salvage shops and online vintage marketplaces often hold boxes of mid-century pink field tiles in the common sizes, usually ten or fifteen centimetre squares. Take a loose tile or a good photograph in daylight to match the shade, because pink varied between makers and batches. Expect to pay one to three pounds or dollars per tile, and buy a few more than you need.
Check the tile thickness and the glaze texture as well as the colour; a tile that matches in shade but stands two millimetres proud will always catch the eye. Ask the yard whether they have matching bullnose or trim pieces too, since damaged edges are the hardest to source. The mistake to avoid is ordering modern pink tiles as substitutes; the glaze is thinner, the colour is usually cooler, and the difference shows in daylight. Patience here pays for years.
18. Set Single Replacement Tiles With a Lime-Based Adhesive
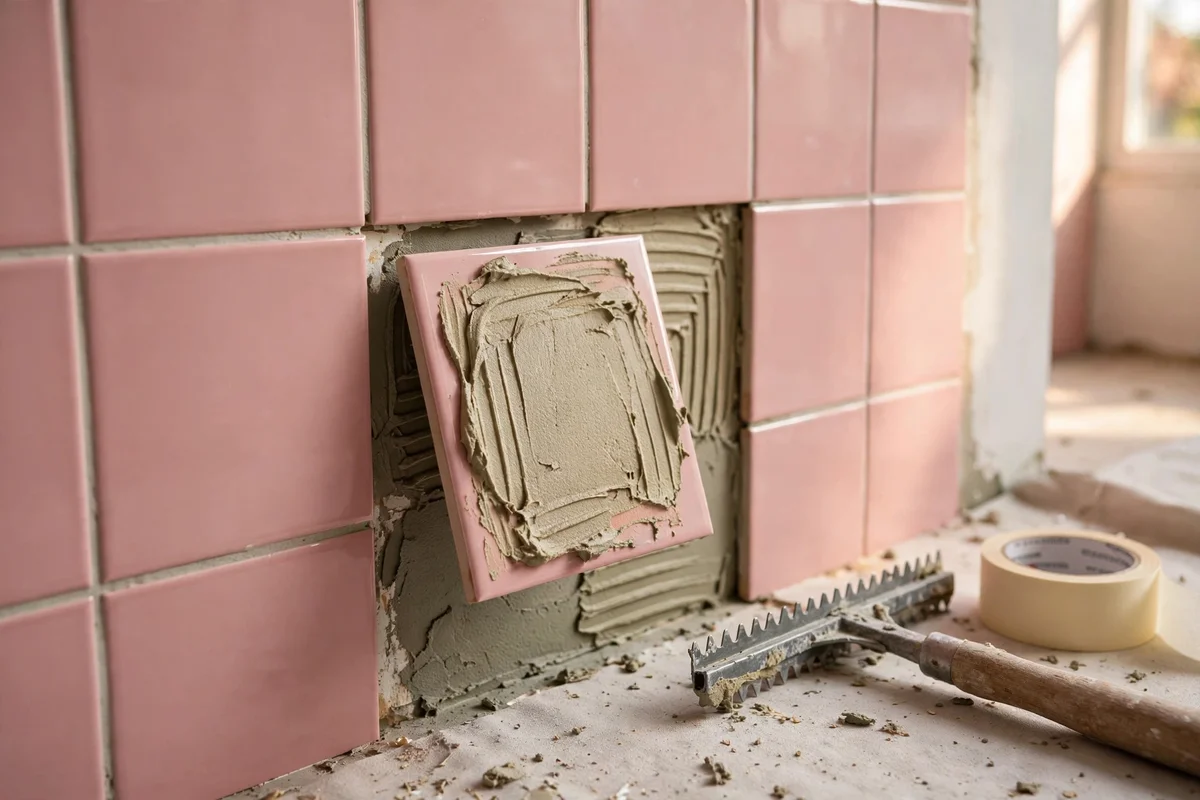
Set single replacement tiles with a lime-based or flexible cement adhesive made for repairs, not with general purpose silicone. Chip out the broken tile carefully with a grout rake and a small chisel, protecting the neighbours with masking tape, and clean the bed back to a solid substrate. Butter the back of the new tile with a three to five millimetre layer of adhesive, press it in until it sits flush with its neighbours, and check the level with a straight edge.
Leave the tile undisturbed for twenty four hours, then grout the joint with the same warm white grout used elsewhere in the room. Wipe the glaze with a damp sponge before the grout hazes, and seal the new joint after a week. The mistake to avoid is using too much adhesive, which squeezes into the joints and shows as a grey smear around the tile. One small bag of repair adhesive and a tube of grout handle a dozen tiles for under twenty pounds or dollars.
19. Disguise Chipped Edges With a Period Soap Dish or Hook
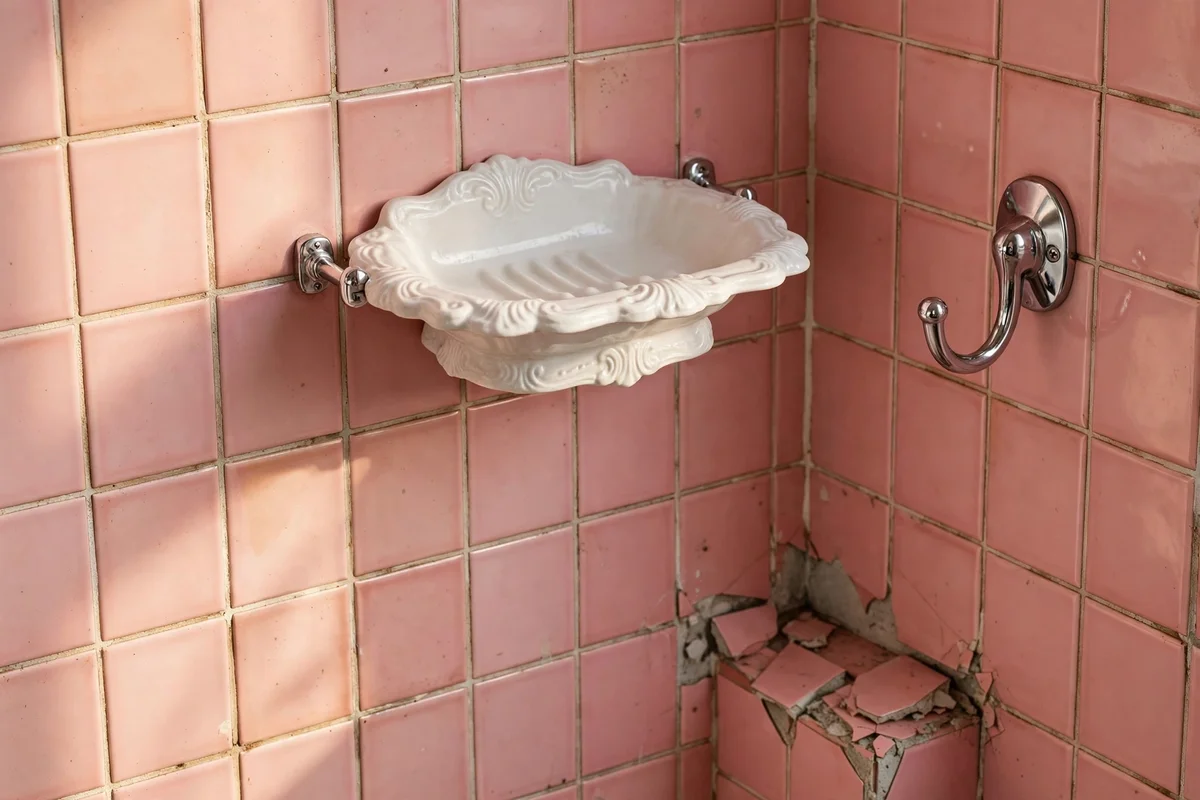
Not every damaged tile needs replacing. A chipped corner at the edge of a splashback can disappear behind a period style ceramic soap dish, a chrome hook or a small corner shelf mounted exactly over the flaw. Choose accessories with a footprint that covers the damage with a margin of at least two centimetres all round, and fix them with proper tile fixings rather than adhesive pads, which fail in steam. This is honest repair, not hiding; the tile stays, and the eye moves on.
For hairline cracks in the glaze, a clear epoxy filler smoothed flush and left unpainted stabilises the tile and is nearly invisible from two metres away. Never use coloured filler that tries to match the pink; close but wrong is more visible than the crack itself. The mistake to avoid is mounting accessories with suction cups on damaged tiles, because a cup can pull a loosened tile clean off the wall. One well placed soap dish often rescues three or four tired tiles at once.
20. Decide Honestly: Repainting Tile Versus Keeping It
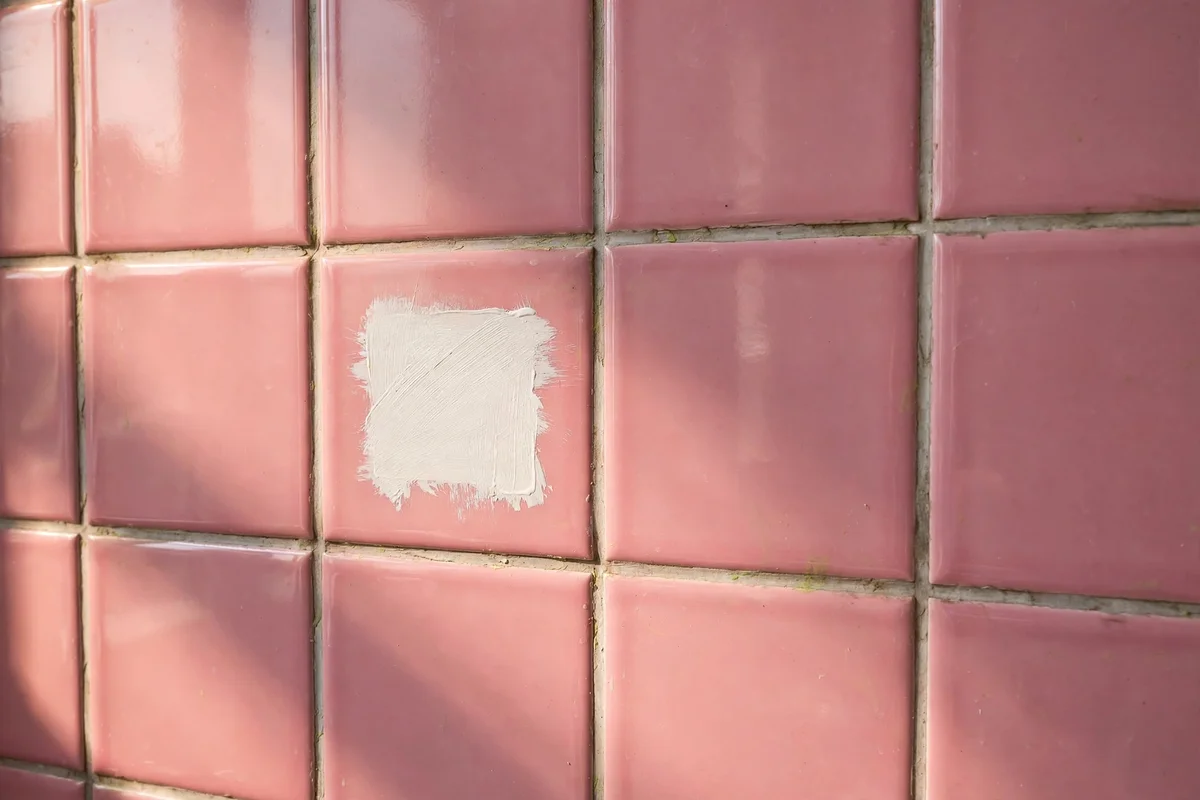
Here is the honest note on painting tile: it works as a last resort, not as a first choice. Tile paint or a bonded epoxy coating can cover pink in a weekend for under one hundred pounds or dollars, but it scratches, it peels at the edges within two to five years, and it buries the deep glaze that makes vintage tile worth keeping. Future buyers often read painted tile as a problem hidden rather than a problem solved. If the tiles are sound and you simply dislike pink, decoration and styling will carry you further than paint.
Paint only when tiles are structurally failing across a whole wall and replacement is impossible, and do it properly: degrease twice, sand the glaze lightly, prime with a bonding primer and apply two coats of a dedicated tile paint, allowing full cure times of up to two weeks before heavy use. Even then, never paint the floor or the inside of the shower, where coatings fail fastest. The mistake to avoid is painting as a quick fix before selling; a fresh coat that starts peeling during viewings costs you more than the pink ever did.
21. Keep a Small Repair Kit and One Spare Box of Tiles
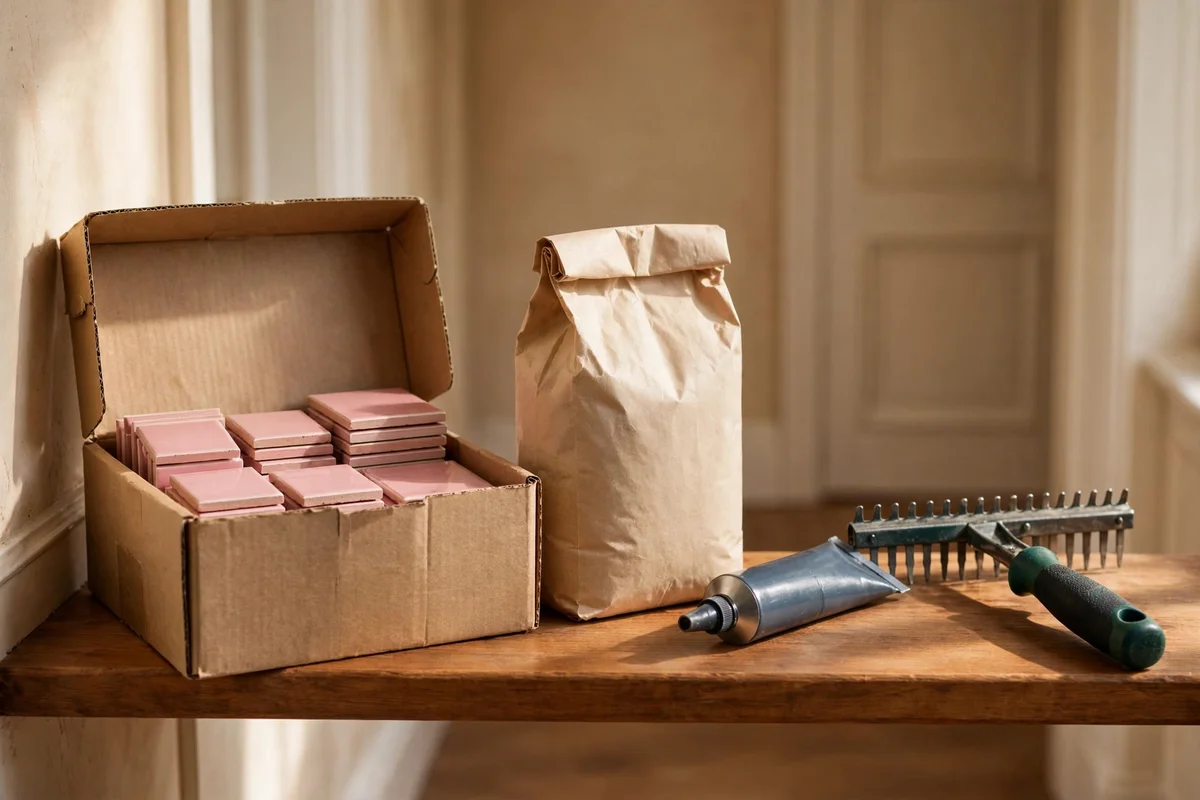
Every vintage bathroom deserves a small repair kit on a high shelf. Keep spare tiles in a labelled box, a half bag of matching grout in a sealed container, a tube of clear epoxy, masking tape, a grout rake, and the name of your grout shade written on a card inside the box. Note the paint colours and bulb types on the same card. When a tile chips or a joint cracks in three years’ time, you will have everything within reach instead of starting the hunt again.
Buy the spare box of tiles now, while salvage yards still have your shade; ten tiles is a sensible reserve and costs less than thirty pounds or dollars. Store grout powder sealed and dry, since it absorbs moisture from bathroom air and goes lumpy within a year if left open. The mistake to avoid is keeping the kit in the bathroom itself; humidity ruins grout powder and dulls spare glazes. A cupboard in the hallway keeps everything in the condition you will need it.
A pink bathroom kept with care is one of the warmest rooms a house can hold. The ideas above share a single belief: the tiles are not a flaw to cover but a story to keep telling, in warm whites and sage, in brass that darkens kindly, in light that flatters rather than flattens. None of them asks for a rip-out or a fortune, only attention paid in the right order, starting with clean tile and honest grout.
If you do one thing this week, let it be the deep clean. Spend a Saturday morning with an alkaline cleaner, a soft brush and a steam cleaner if you can borrow one, and watch fifty years of film lift off the pink. That single morning will show you what the tiles truly look like and which of these ideas you actually need. Most owners find the room halfway transformed before they spend a penny on anything else.
Frequently Asked Questions
How do I deep clean old pink bathroom tiles without damaging the glaze?
Use an alkaline bathroom cleaner and a soft nylon brush, never bleach or wire wool. Mist the tiles, wait fifteen minutes, scrub in small circles, then rinse with clean water and dry with a towel. A handheld steam cleaner lifts ground-in grime from grout lines in about an hour. Always test cleaners on a hidden patch first, since vintage glaze is thinner than modern tile and harsh acids can etch it permanently.
What wall colour works best with pink bathroom tiles?
Warm white and soft cream are the safest partners; they calm the pink without competing with it. Sage green on one feature wall grounds the colour and suits the vintage mood, while soft warm grey on the floor gives the room a quiet base. Avoid cool blue whites, which turn pink chalky, and avoid painting everything pink, which leaves the eye nowhere to rest. Sample large swatches in morning and evening light first.
Can I replace a few cracked pink tiles, or will the new ones never match?
You can, with patience. Reclamation yards and vintage marketplaces often stock mid-century pink tiles in ten or fifteen centimetre squares for one to three pounds or dollars each. Take a loose tile or a daylight photograph to match the shade, and check the thickness too, since a tile that stands proud always shows. Set replacements with repair adhesive, grout to match, and keep a spare box of ten tiles for the future.
Is painting over pink tiles a good idea?
Only as a last resort. Tile paint covers pink in a weekend but it scratches, peels at the edges within two to five years, and buries the deep glaze that makes vintage tile special. If the tiles are sound, cleaning, regrouting and restyling will carry the room further. Paint only a failing wall you cannot repair, use a bonding primer and dedicated tile paint, and never paint the shower interior or the floor, where coatings fail fastest.
What lighting suits a vintage pink bathroom best?
Warm 2700K bulbs, which flatter both skin and rose glaze. Avoid cool daylight bulbs at 4000K and above, because they turn pink chalky and unkind. Fit two light points where you can, one overhead and one at the mirror, with frosted shades to diffuse the glow, and add a dimmer for evening softness. Opaque globes stop bare bulbs reflecting in the mirror. Good warm bulbs cost a few pounds each and change the room overnight.