Bathroom
22 Ways to Get Rid of Mold in Shower Grout That Keep Your Bathroom Fresh and Clean
By Anna Wells · · 21 min read

Dark marks in shower grout can make an otherwise clean bathroom look neglected, and they return fast when moisture is not addressed. These 22 ways combine gentle cleaning methods with drying and prevention habits that keep grout fresh long term.
Moldy shower grout is one of those cleaning problems that can make an otherwise spotless bathroom look neglected. You can scrub the sink, polish the mirror, and wash every towel, yet those dark little marks between the tiles still grab the eye. What makes the problem especially annoying is how quickly it seems to return, which convinces many people they simply need a stronger cleaner. In reality, cleaning is only half the job.
A shower gives mold exactly what it needs: repeated moisture, condensation, warmth, soap residue, and grout lines that stay damp long after the tile looks dry. The lasting solution combines sensible cleaning with physical scrubbing, thorough drying, and moisture prevention. These 22 ways walk through gentle cleaning methods first, then the drying and maintenance habits that stop the dark marks from coming back. One important rule throughout: never mix household cleaners hoping for something extra strong. Use one method at a time, rinse well, ventilate, and let surfaces dry.
1. Start With Warm Water and Gentle Dish Soap
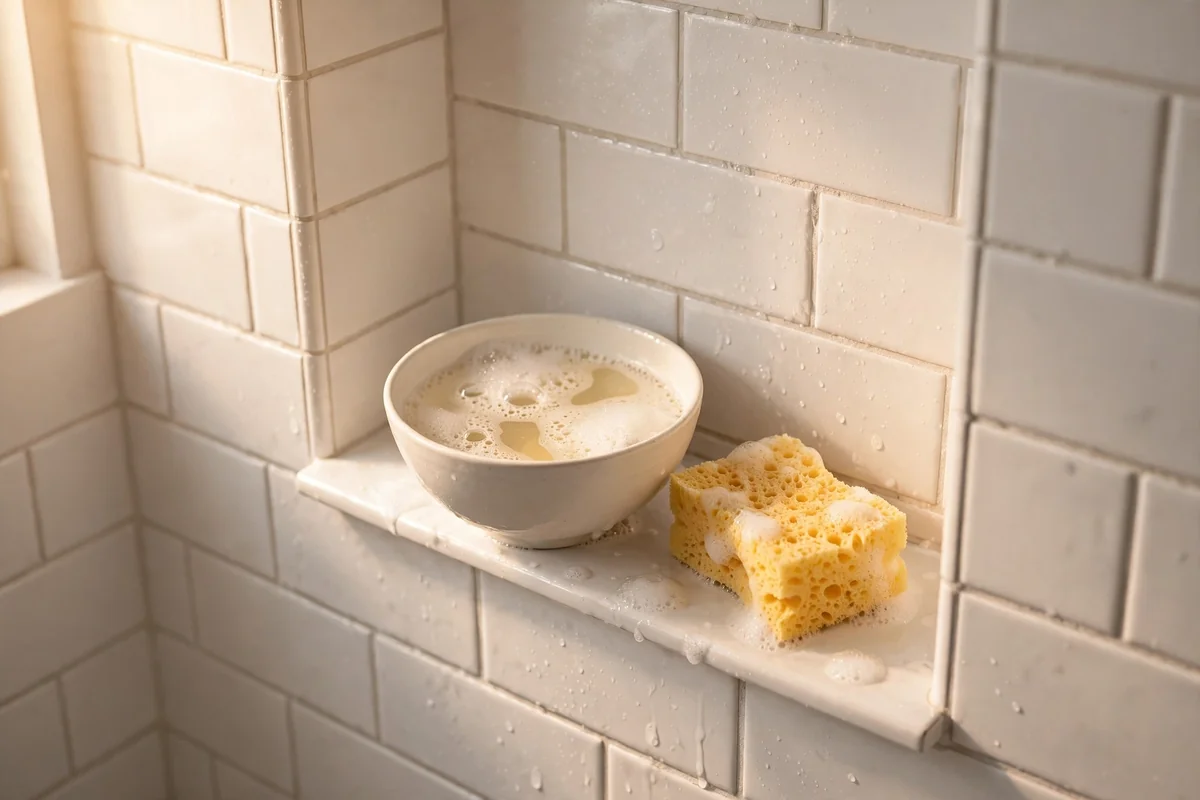
For light surface growth on otherwise sound grout, begin with the least dramatic option: warm water and a few drops of mild dish soap. Apply the solution to a manageable section of grout, give it a minute or two of contact time, and scrub with a small nylon brush. Work one area at a time rather than wetting the entire shower at once, which keeps the process controlled and lets you see real progress as you go.
The scrubbing matters more than the soap here, since you are physically loosening growth and the film collected on the grout. Afterward, rinse the residue away completely and dry the surface instead of leaving everything soaking wet. If ordinary detergent, agitation, rinsing, and drying solve the problem, there is no reason to introduce stronger ingredients. Many grout problems are really just neglected maintenance.
2. Reach for a Narrow Grout Brush
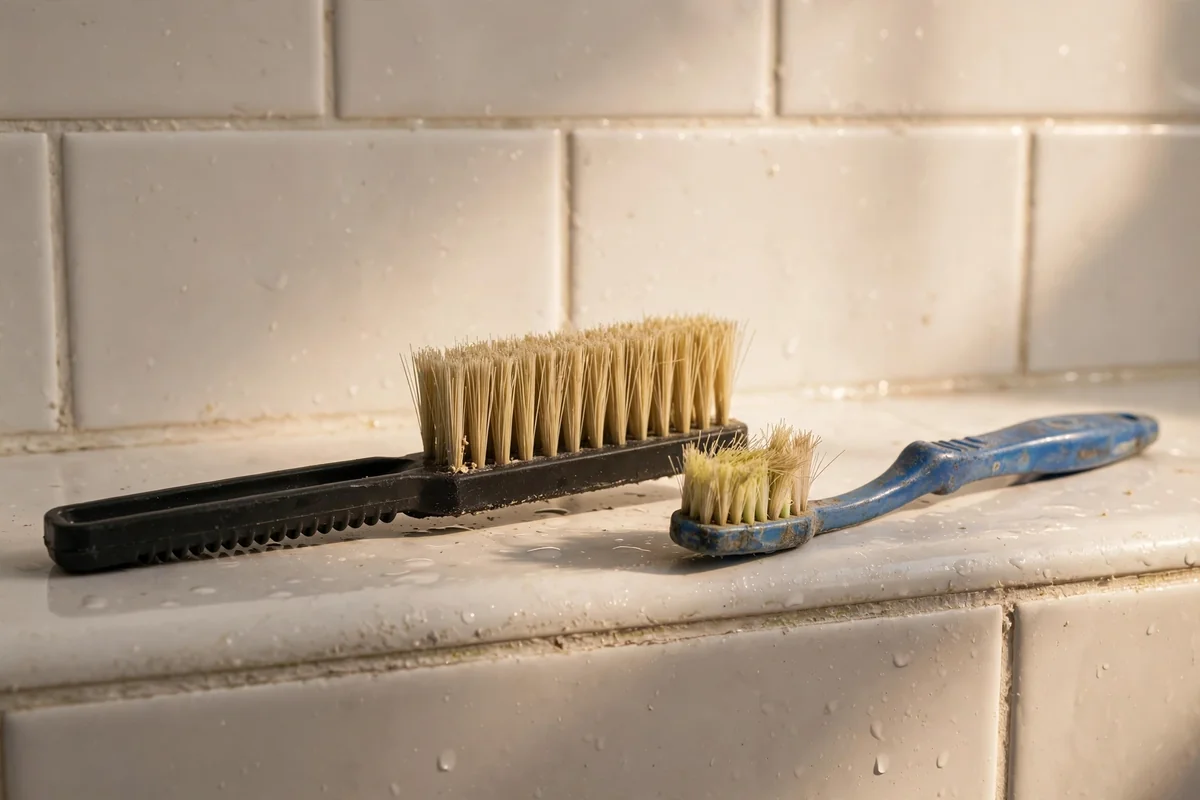
The tool makes a bigger difference than most people expect. A regular cleaning cloth glides over tile but cannot reach into the slightly recessed grout line. A narrow nylon grout brush has stiff bristles that work directly along the joint, and an old toothbrush reserved strictly for cleaning handles small areas well. A purpose-made grout brush is more comfortable when you are cleaning an entire shower, and the angled head reaches corners easily.
Scrub in short, controlled passes rather than attacking so aggressively that you damage the grout. If the grout is already cracked, powdery, or falling out, harder scrubbing is not the answer; that is a repair problem. For sound grout, a proper brush with a simple cleaning solution removes far more buildup than spraying liquid repeatedly and hoping chemistry does all the work alone.
3. Strip Soap Film Before Attacking Dark Marks
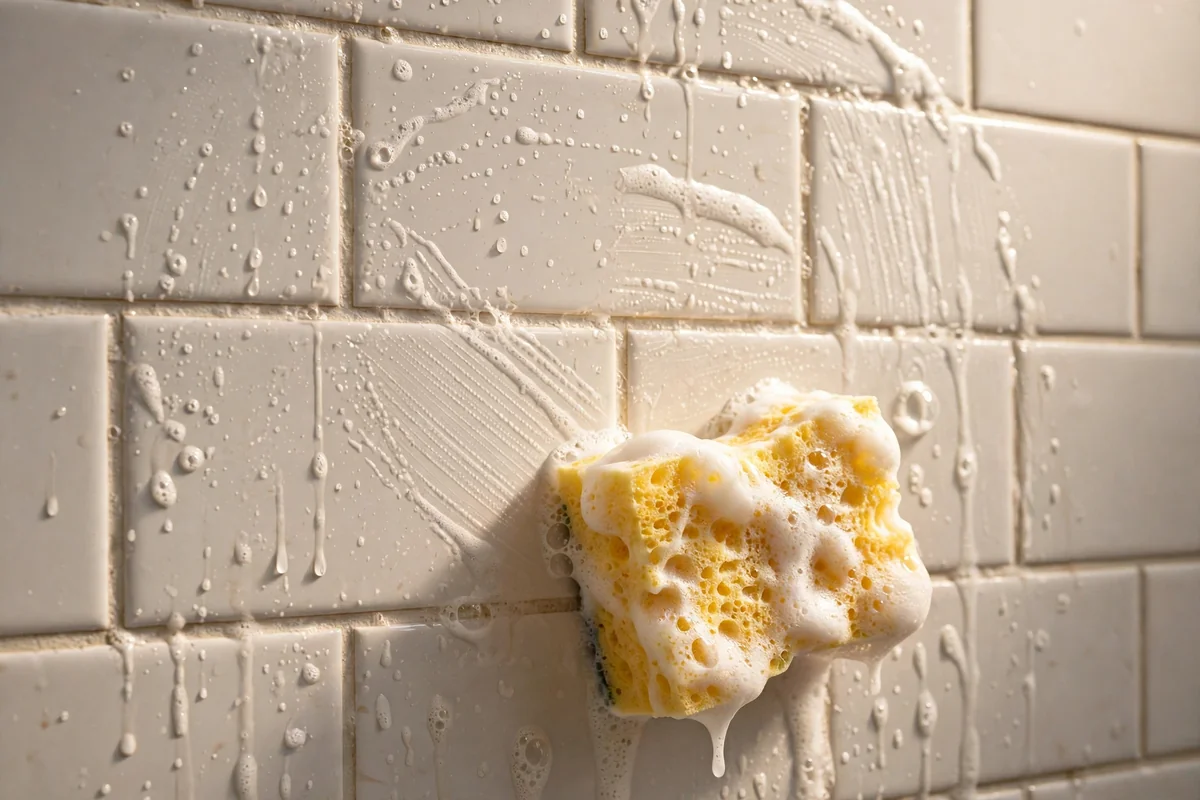
Sometimes the real obstacle is not just mold but the layer of soap residue, body oils, shampoo, conditioner, and mineral deposits sitting over the grout. Trying to reach the grout through that film makes even a good cleaner far less effective. Wash the tile and grout first with a mild detergent solution, scrub the areas with visible buildup, and rinse thoroughly before targeting the dark marks specifically.
Once that greasy layer is gone, you can see what discoloration actually remains, which keeps you from applying increasingly aggressive treatments to what was partly ordinary bathroom grime. This step also prevents the frustrating cycle of scrubbing at a stain that is really just soap scum. Clean the canvas first, then judge what still needs work.
4. Work a Baking Soda Paste Into the Joints
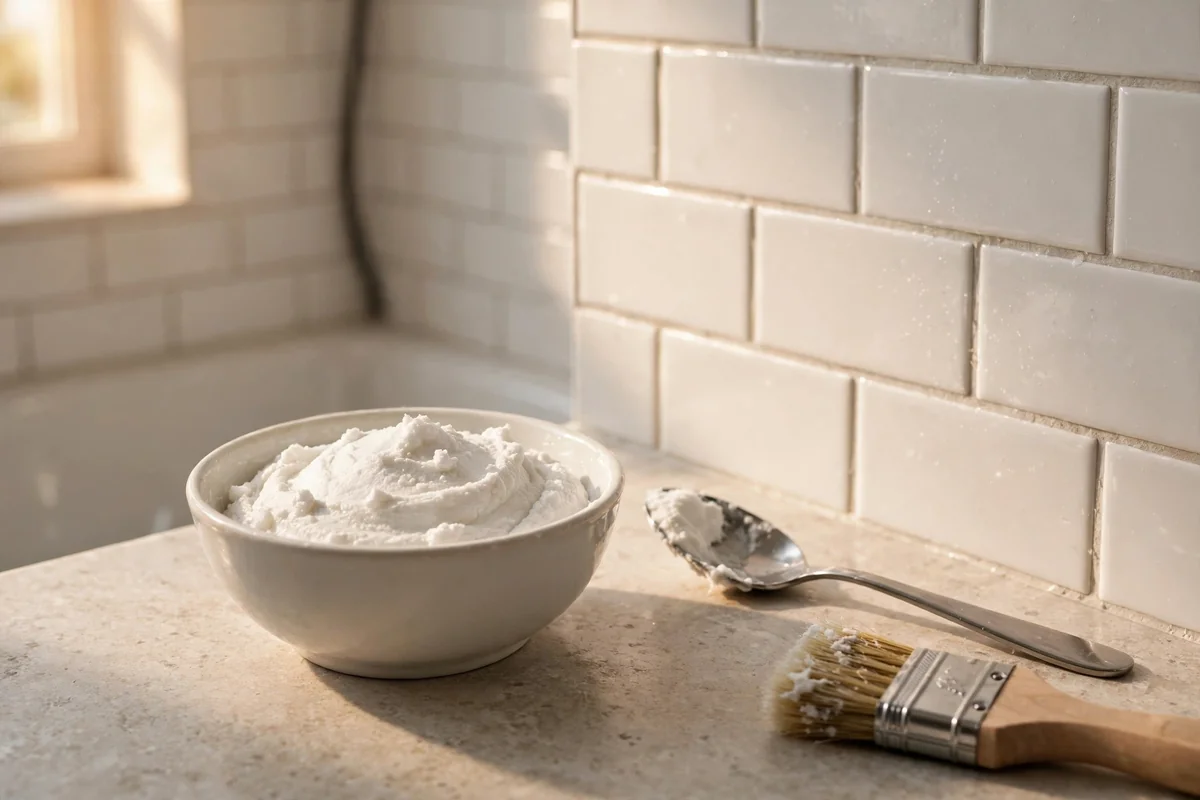
For stubborn surface grime, make a simple paste from baking soda and just enough water to reach a spreadable consistency. Apply a modest amount along the grout line and work it gently with a nylon brush, letting the mild abrasive action do the work rather than pressing hard. You do not need an enormous mound of paste; a thin, even layer along the joint is far more effective and much easier to rinse.
Rinse the grout thoroughly afterward, because dried baking soda leaves a chalky residue that makes grout look pale and dusty. Test on an inconspicuous area first, especially around natural stone or specialty tile. Think of baking soda as a gentle mechanical cleaning aid, not a miracle mold killer; it will not replace fixing the bathroom’s underlying moisture problem.
5. Give the Cleaner Time to Sit Before Scrubbing
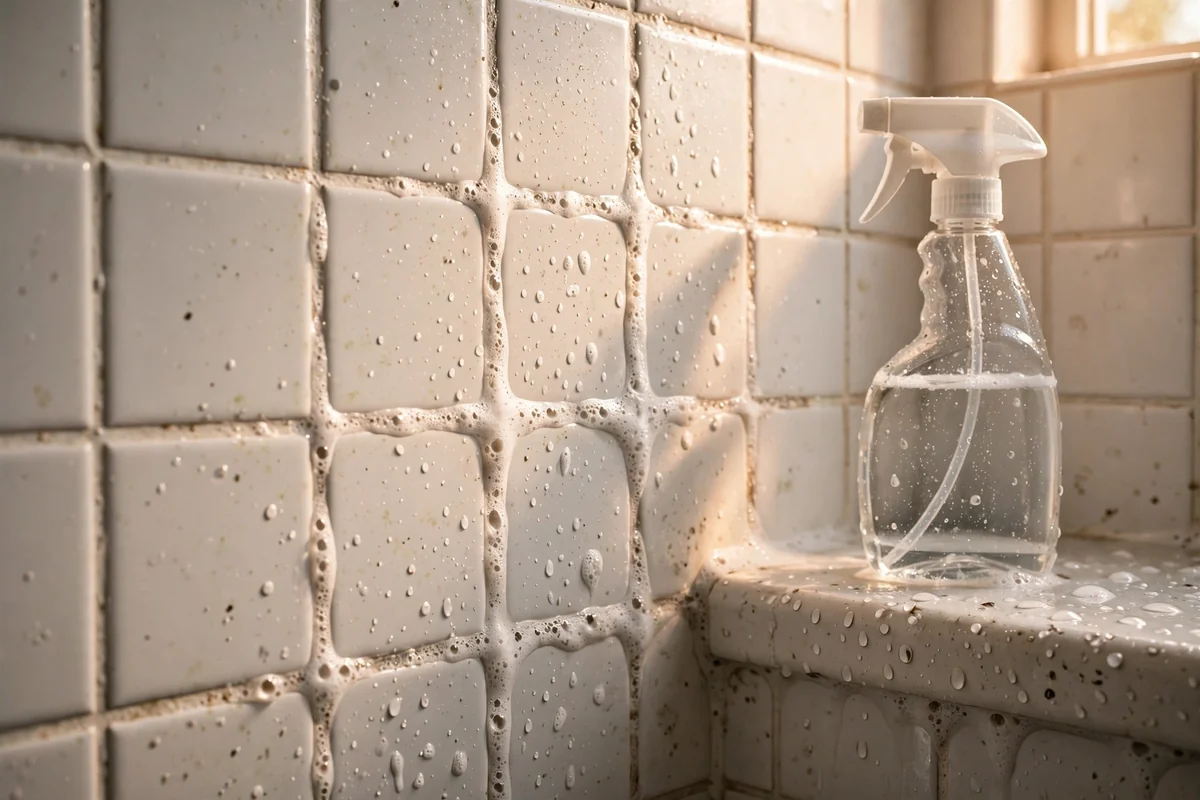
A common mistake is spraying a cleaner and immediately scrubbing as hard as possible. When the product allows it, give it a few minutes of appropriate contact time first. That dwell period softens accumulated residue and makes the physical cleaning considerably easier, which means less elbow grease and less risk of gouging the grout with aggressive brushing.
Do not leave wet mixtures sitting on grout indefinitely, though. More moisture is not automatically better in a shower that already struggles to dry. Work section by section: apply, wait a few minutes, scrub, rinse, and move on. A controlled process beats covering the whole bathroom in paste and forgetting about it for the afternoon, which mostly just feeds the dampness you are trying to eliminate.
6. Loosen Grime Carefully With Household Steam
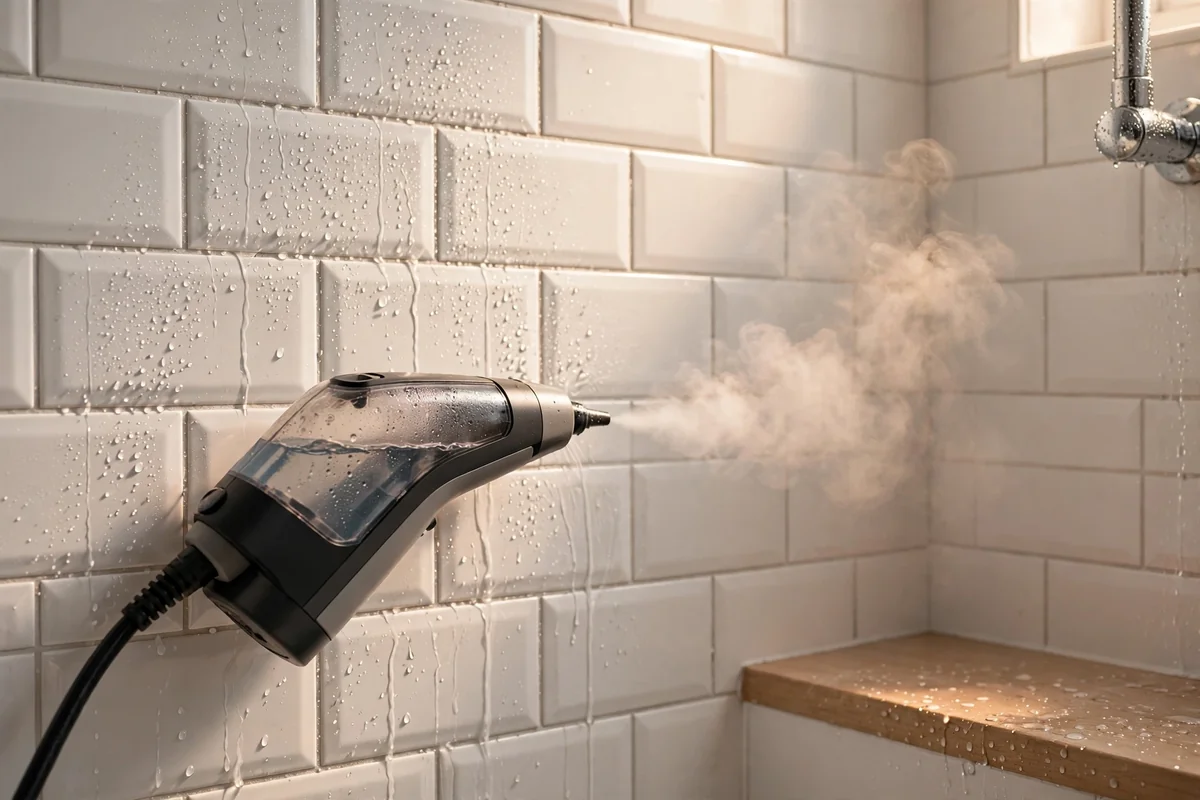
Steam can help loosen ordinary bathroom grime from tile and grout, so a household steam cleaner is a useful aid when used correctly. Follow the appliance manufacturer’s instructions, confirm that your tile, grout, sealants, and surrounding materials tolerate steam, and keep the nozzle moving rather than holding concentrated steam against one joint indefinitely. Short passes are safer and just as effective.
The critical part comes afterward: wipe away the loosened residue and dry the shower. Steam adds moisture, so using it and then closing the bathroom door on a dripping shower defeats the larger goal. Treat steam as a loosening tool, not as a replacement for ventilation, drying, or repairing a genuine moisture problem. Used wisely, it reduces scrubbing effort noticeably.
7. Rinse Every Trace of Cleaner Away
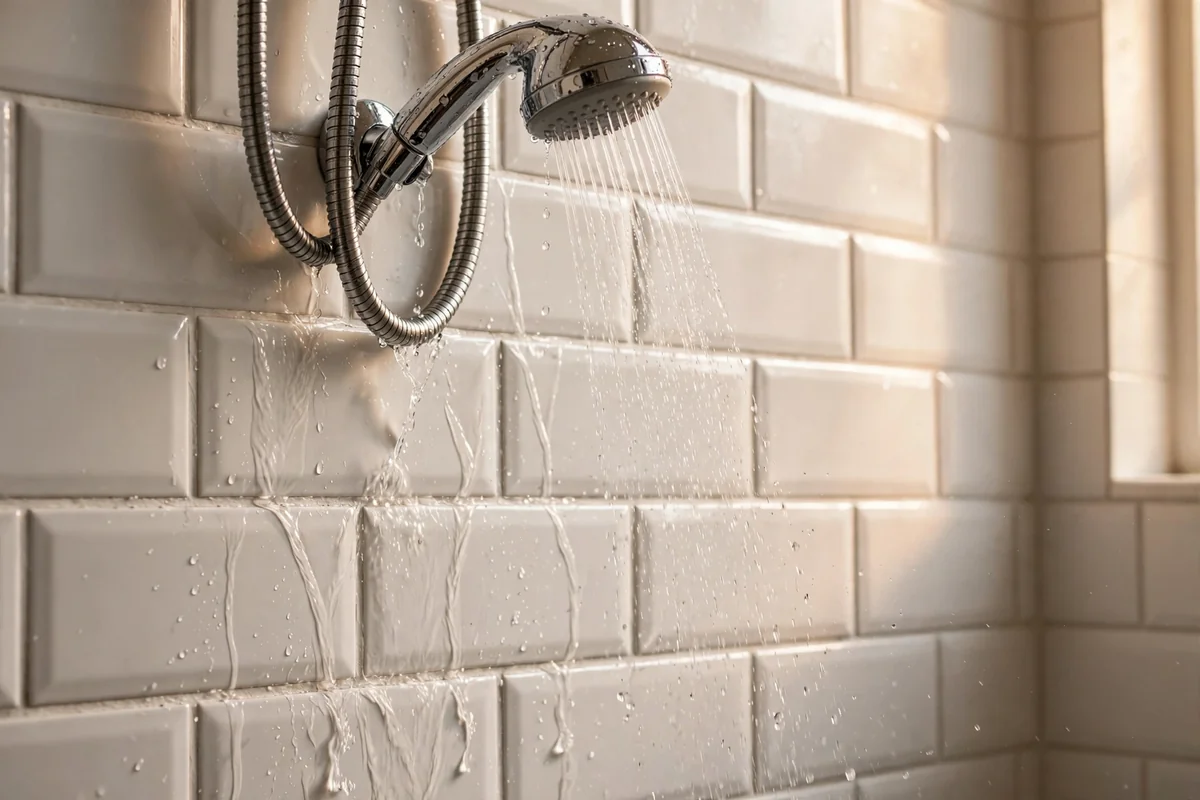
When you are focused on the dark marks, it is easy to forget that the cleaner itself needs to leave the surface. Soap, cleaning paste, and loosened grime can all settle back onto grout if you do not rinse properly, leaving a film that attracts new soil. Use clean water and work from the upper sections downward so you are not continually dirtying areas you have already finished.
A truly clean shower is not one coated in a cocktail of dried cleaning products. It is one where you have loosened the contamination, removed it, rinsed the surface completely, and allowed everything to dry. Take the extra two minutes to rinse well; skipping this step is one of the most common reasons grout looks dingy again within days.
8. Towel Dry the Grout Right After Cleaning

This may be the least exciting tip in the guide, but it is one of the most important habits. Once you have cleaned and rinsed the grout, do not leave the walls dripping and assume the work is finished. Run a squeegee over the tile, then follow with a clean microfiber cloth on corners, grout lines, shelves, and anywhere water lingers. Microfiber absorbs far more than an old towel.
That final drying step changes the environment you leave behind. Mold needs moisture, so giving grout hours of dampness after every cleaning session works directly against you. Drying also lets you see the true result of your work, since wet grout looks darker and can hide remaining discoloration. Judge the outcome only once the surface is dry.
9. Squeegee the Walls After Every Shower
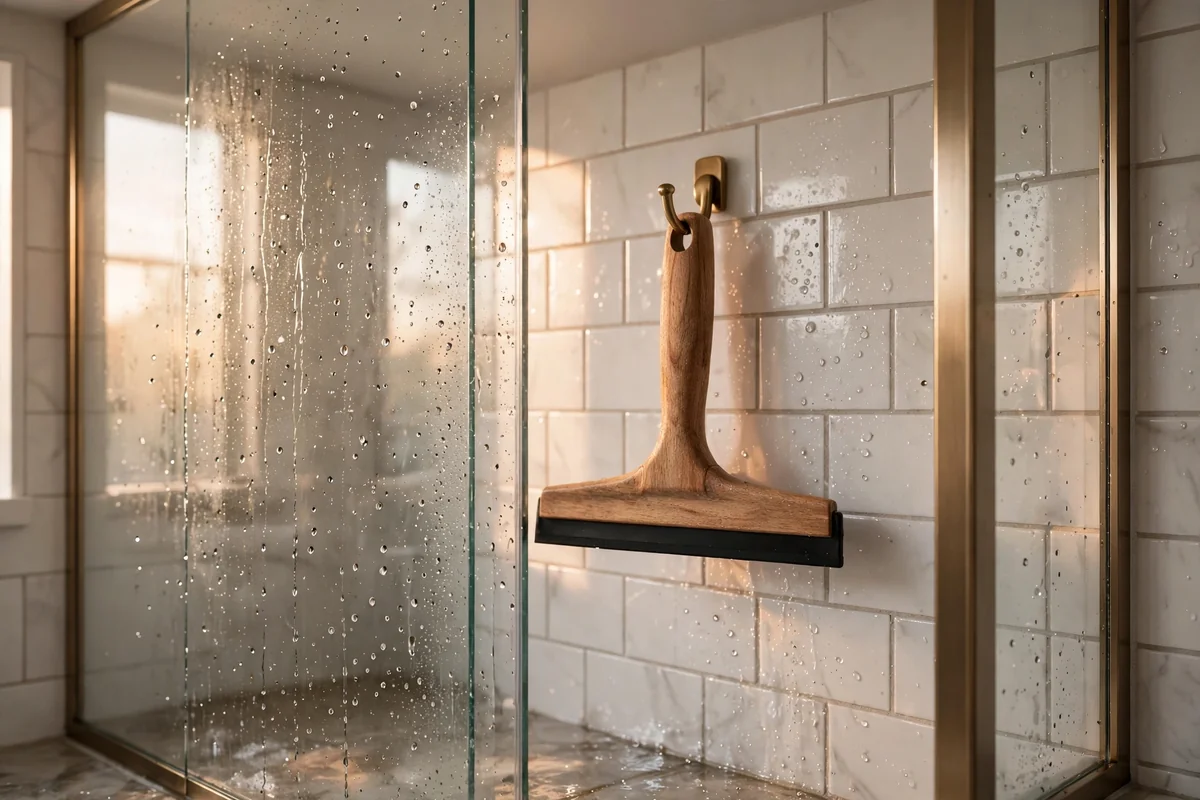
If mold repeatedly appears in the same shower, keep a squeegee within reach and use it after every bath or shower. It takes roughly a minute to pull most of the water from tile and glass, working from the top downward and directing water toward the drain. Hang the squeegee on a hook inside the enclosure so the habit is effortless.
This alone will not remove established mold, but it makes the shower far less hospitable afterward. Instead of hundreds of droplets sitting across walls and grout for hours, you remove a large portion of that moisture immediately. Most people find this single habit does more to prevent recurrence than any deep-cleaning session, and it is far easier than scrubbing grout every few weeks.
10. Run the Exhaust Fan While You Shower
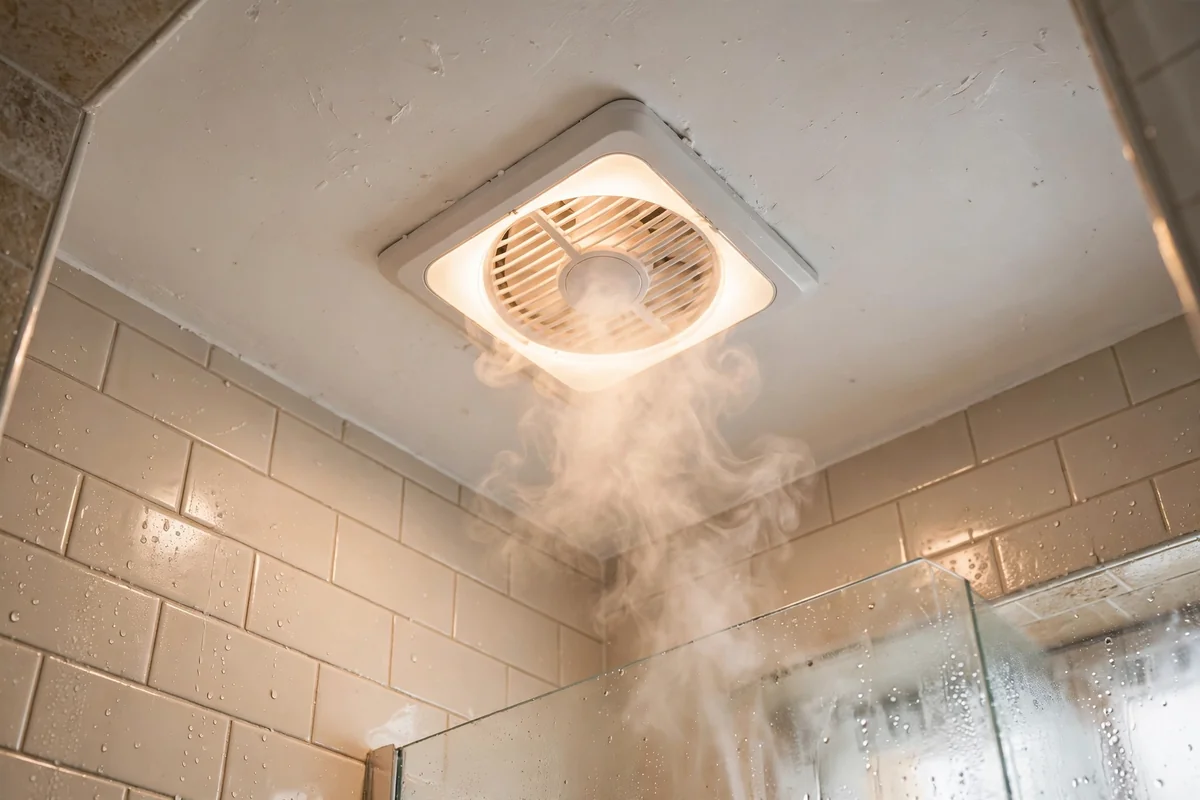
The bathroom fan exists to remove humid air, so switch it on when the shower starts rather than waiting until the mirror has completely fogged. A fan that vents properly outdoors carries moisture away before as much condensation settles on walls, ceiling, and grout. This is one of the highest-impact habits for mold prevention, and it costs nothing beyond the electricity to run the fan.
Also check that the fan is actually doing its job. A unit clogged with dust or too weak for the room’s size is not much help simply because it makes noise. Clean the grille and fan cover twice a year, and if the bathroom stays steamy long after every shower, treat that as a ventilation problem worth fixing rather than accepting recurring mold as inevitable.
11. Let the Fan Run Long After the Water Stops

Do not switch the exhaust fan off the second the water stops. The air remains humid, and the shower walls, grout, ceiling, and towels keep releasing moisture back into the room for quite a while. Let the fan run for at least 20 to 30 minutes after bathing to clear that lingering humidity, following the fan manufacturer’s guidance for safe continuous operation.
A simple timer switch makes this effortless: set it when you step out and forget about it. If you consistently find wet walls long after showering, that is a signal to improve the drying routine rather than to scrub the grout more often. Clearing the air is what lets every other prevention habit actually work.
12. Crack a Window When the Air Outside Is Dry
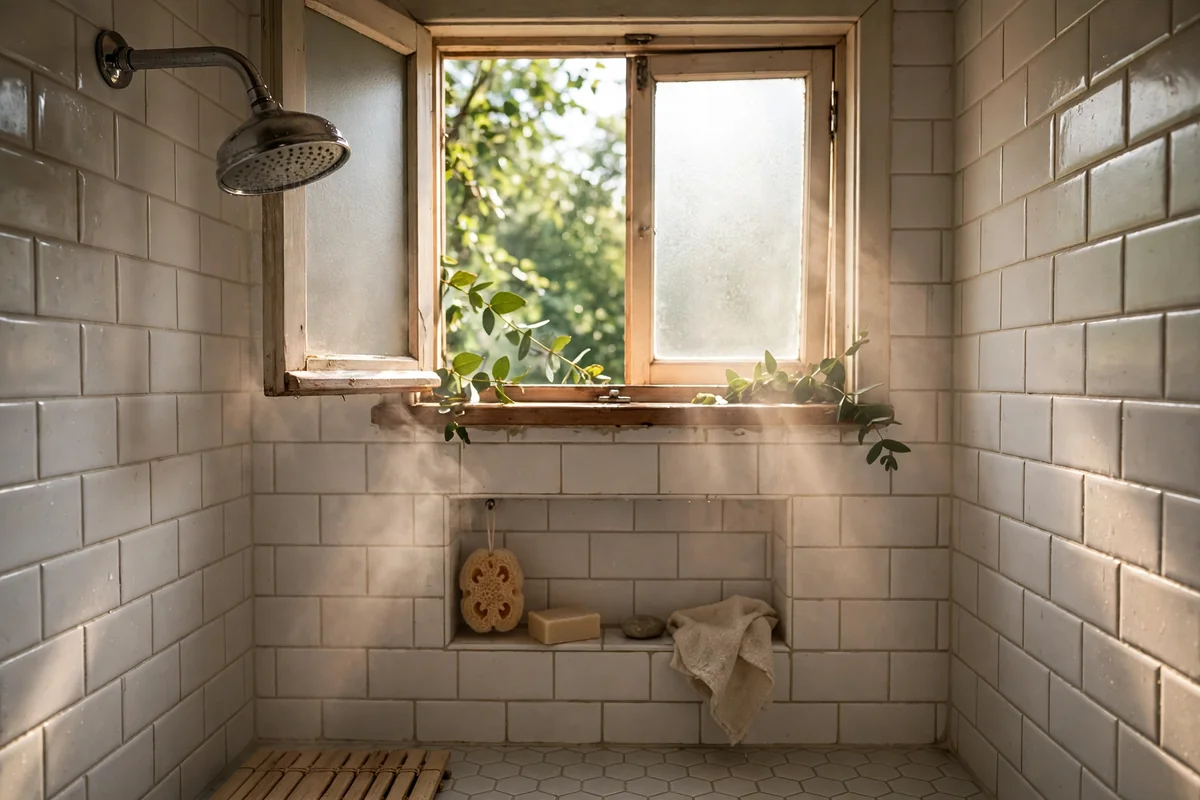
If the bathroom has an operable window and outdoor conditions are suitable, opening it after a hot shower provides valuable extra ventilation. This works best when the outdoor air is comparatively dry, since the goal is to move moisture out and help the bathroom dry, not to follow a rule regardless of weather. Even a two-inch crack creates meaningful airflow.
Do not treat an open window as universally helpful. On a very humid or rainy day, bringing damp outdoor air inside may accomplish little. Think about actual conditions: if the mirror clears faster with the window cracked, keep doing it; if the room stays muggy, rely on the exhaust fan instead. Ventilation is about results, not rituals.
13. Tame Humidity With a Small Dehumidifier

Some bathrooms simply hold humidity: no window, weak ventilation, or a naturally damp climate. In those situations, a properly sized dehumidifier used according to its instructions can meaningfully reduce the moisture hanging in the air, which helps the shower dry faster between uses. Choose a model rated for the room’s square footage and empty its reservoir regularly.
Place it safely, well away from splashing water and in line with bathroom electrical-safety requirements. Never put an ordinary appliance where it can get wet. When a suitable setup is possible, lowering ambient humidity makes an enormous difference in how quickly grout dries, and dry grout is grout that resists mold.
14. Spread the Shower Curtain Fully Open

A bunched-up shower curtain creates folds that trap water for hours, and a damp liner pressed against the wall keeps nearby grout wet far longer than necessary. After showering, pull the curtain across the full length of the rod rather than leaving it gathered at one side. Exposing the maximum surface area to moving air lets both the curtain and the wall behind it dry.
Wash or replace a liner that has become persistently moldy or damaged, since there is little point in scrubbing every grout line while a moldy curtain presses against the freshly cleaned wall. Treat the whole wet zone as one system: grout, caulk, curtain, bath mat, bottles, and ventilation all influence how damp the space remains.
15. Hang Wet Towels and Mats Where Air Moves

A soaked bath mat lying against the shower base and damp towels piled nearby feed moisture back into a room that is already struggling to dry. Hang towels where air circulates freely around them, ideally on hooks or a heated rail rather than bunched on a single bar. Move very wet mats somewhere they can dry properly instead of leaving them in a heap.
This matters most in small bathrooms, where a wet towel’s moisture quickly becomes humidity in the surrounding air. If you want the grout to dry efficiently, do not keep reintroducing water from every piece of fabric in the room. A heated towel rail is a worthwhile upgrade if towels never fully dry otherwise. These small tidying habits compound into a genuinely drier bathroom.
16. Lift Bottles to Clean the Hidden Grime Beneath
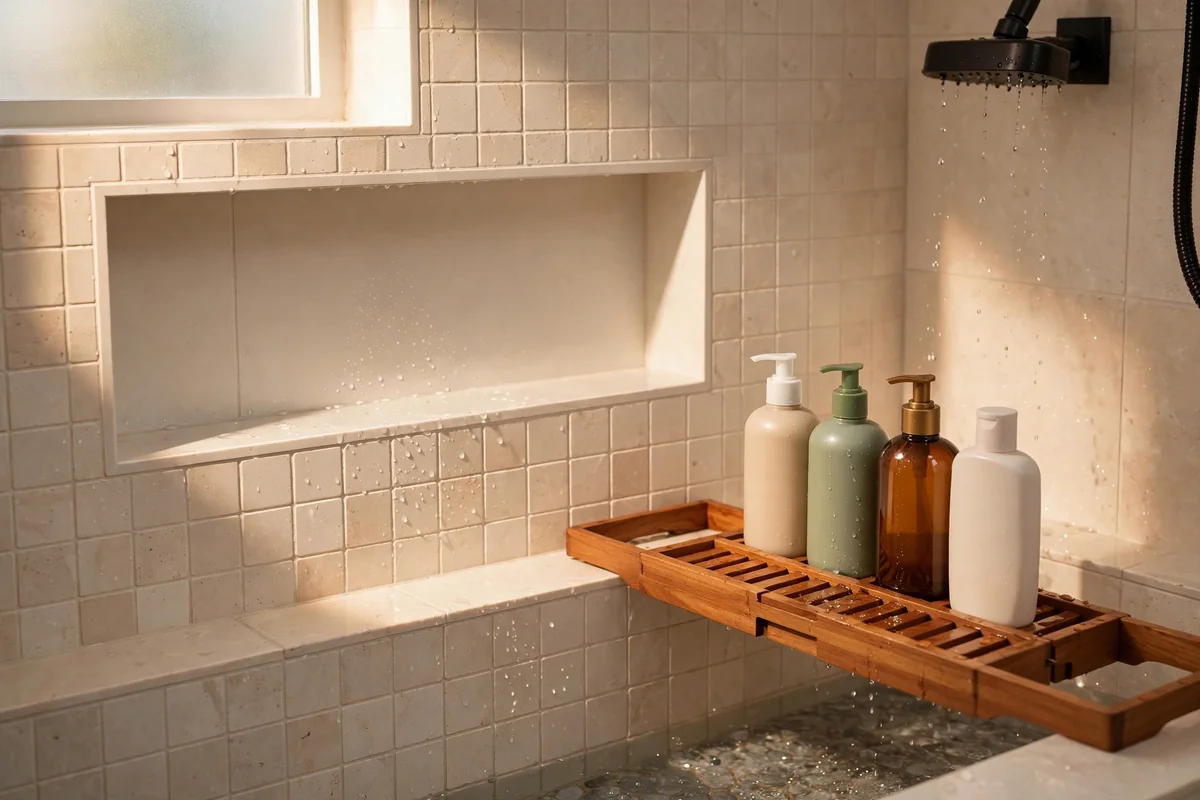
Shampoo bottles, soap dishes, razors, and storage baskets create little wet pockets where water sits unnoticed. Periodically clear everything from shelves and corners and look underneath; grime hiding behind bottles that have not moved in weeks can be surprisingly persistent. Wipe the bottoms of bottles too, since that slippery film transfers straight back onto the shelf.
Prefer storage that allows drainage and airflow rather than trapping water against tile: wire or slatted caddies, and a teak bath bench instead of solid plastic shelves sitting in puddles. Fewer objects pressed against damp surfaces means fewer sheltered spots where moisture and organic residue accumulate. A monthly bottle-lifting routine takes five minutes.
17. Stop Drips at the Showerhead and Faucet
If the shower keeps dripping long after you finish bathing, the grout never gets the long dry period you are trying to create. Repair leaking fixtures promptly rather than compensating by cleaning the same damp area repeatedly. A new washer or cartridge is inexpensive, and many drips are simple DIY fixes with the water supply turned off.
Also inspect around handles, plumbing penetrations, shelves, and corners for leaks beyond normal shower splash. If moisture is entering from behind the tile or wall, surface cleaning will never solve the underlying problem, and persistent unexplained dampness deserves proper professional investigation. Fix the water source first; thorough cleaning comes second.
18. Check Caulk Lines Separately From Grout
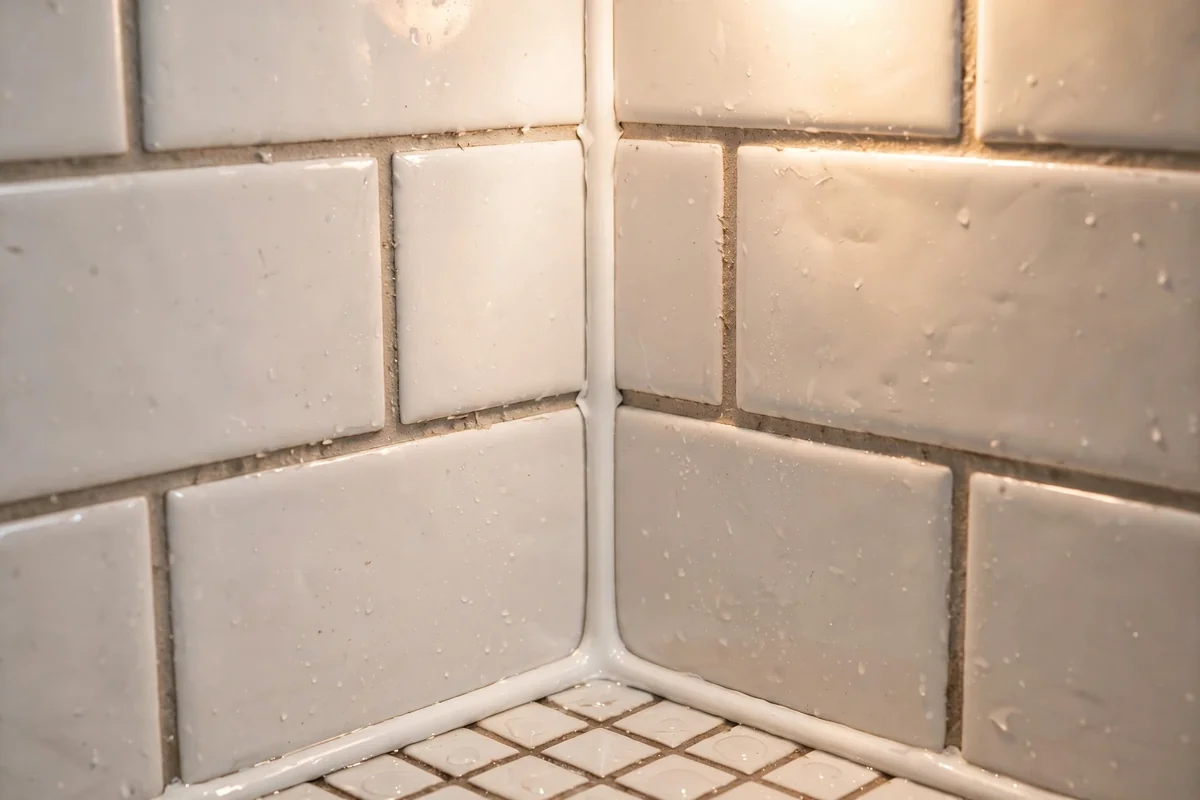
Grout and caulk are not interchangeable. Grout fills the joints between tiles, while flexible sealant belongs at changes of plane, such as corners and where tile meets the tub. When you see dark discoloration in a shower corner, first determine which material you are actually looking at, because each needs different treatment.
Mold that has penetrated badly deteriorated caulk is especially frustrating: scrubbing the surface may improve it only temporarily. If caulk is cracked, separated, deeply stained, or pulling away, remove it fully and replace it properly after the area is cleaned and dried. Never smear fresh caulk over moldy material; the growth continues underneath and returns quickly.
19. Regrout Crumbling or Missing Joints
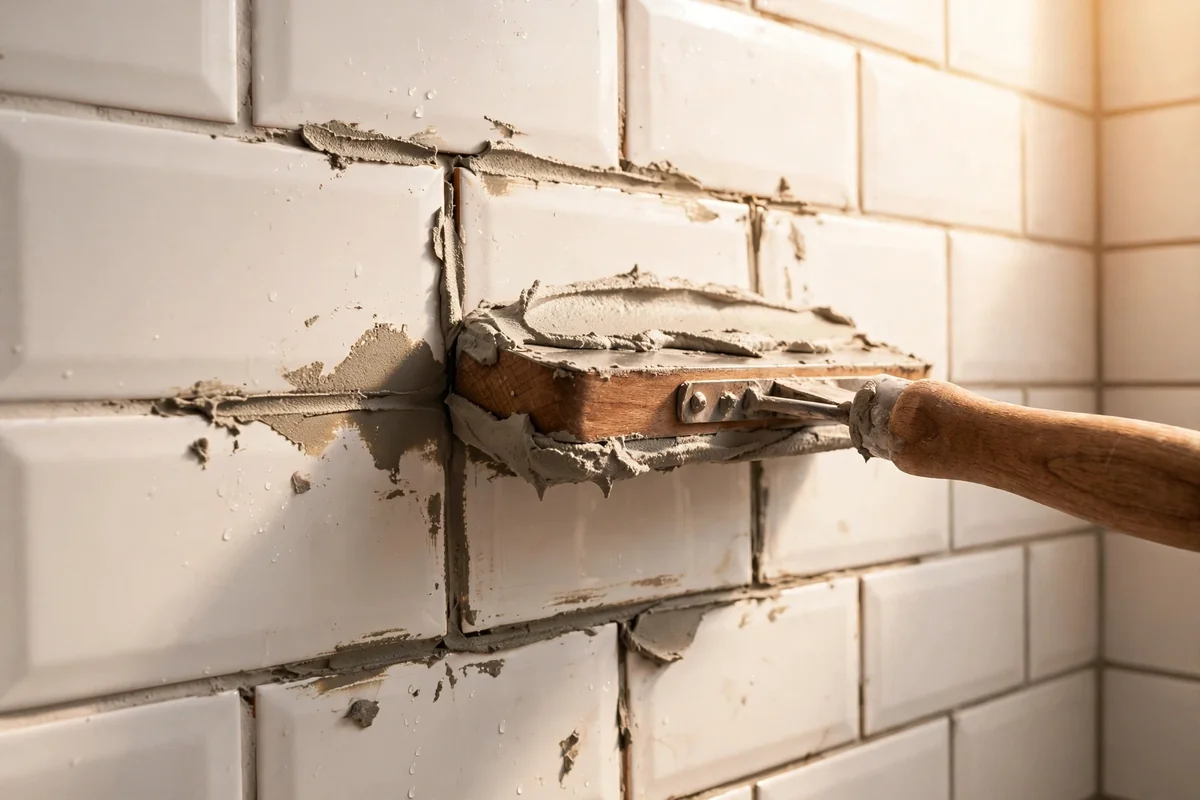
When grout is crumbling, deeply cracked, or missing in sections, stop treating the issue as a cleaning challenge. Damaged joints let water reach places it should not, and rough deteriorated material is far harder to keep clean than sound grout. No cleaner can fix a structural problem, and aggressive scrubbing only removes more of the failing material.
Clean and dry the area, then address the repair: rake out the loose material, apply fresh grout with a float, and let it cure fully before sealing. Small areas are manageable DIY projects; widespread failure may warrant professional help to check for deeper moisture damage. Sound surfaces are dramatically easier to clean and keep dry than crumbling ones.
20. Seal Clean Grout to Slow Future Growth
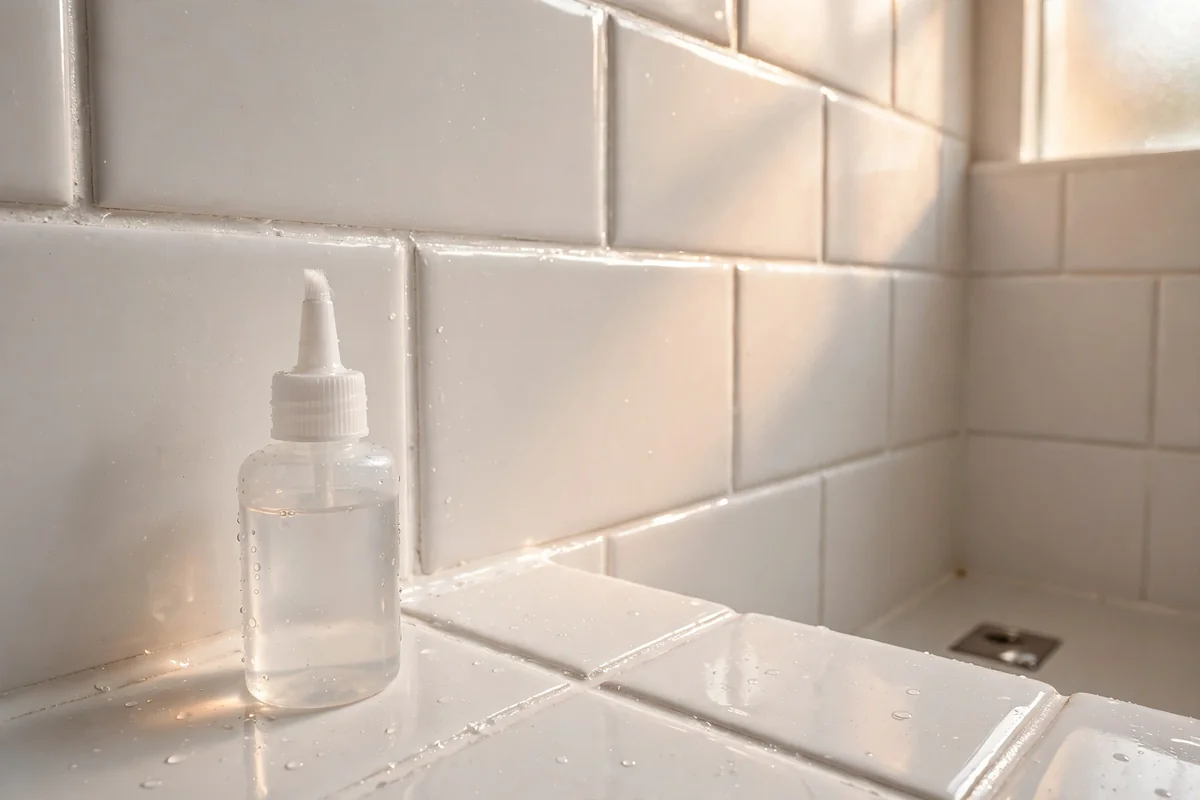
Once grout is clean and bone dry, a penetrating grout sealer adds a meaningful layer of protection. Sealed grout absorbs less water and soap residue, which means it dries faster and offers mold less to feed on. Apply the sealer according to the product directions, ventilate the bathroom well while it cures, and avoid using the shower until the recommended cure time has passed.
Test the seal annually by flicking water at the grout: beading means it is working, while darkening means water is soaking in and resealing is due. Most showers need resealing every one to two years. Sealing is not a substitute for ventilation and drying, but it makes every other habit more effective.
21. Wash the Shower Curtain Liner Regularly

The liner is often the moldiest thing in the shower, and a grimy curtain recontaminates the air and walls around it. Most fabric and plastic liners can go through the washing machine: use warm water, a small amount of detergent, and half a cup of baking soda, then hang the liner back up to drip dry. Check the care label first and skip the dryer, which can melt plastic liners.
Wash the liner monthly, or replace inexpensive liners every few months if washing is impractical. While it is in the wash, wipe down the rod and rings, which collect their own film. A fresh liner instantly makes the whole shower feel cleaner and removes a major nearby source of spores.
22. Keep a Simple Weekly Moisture-Control Routine
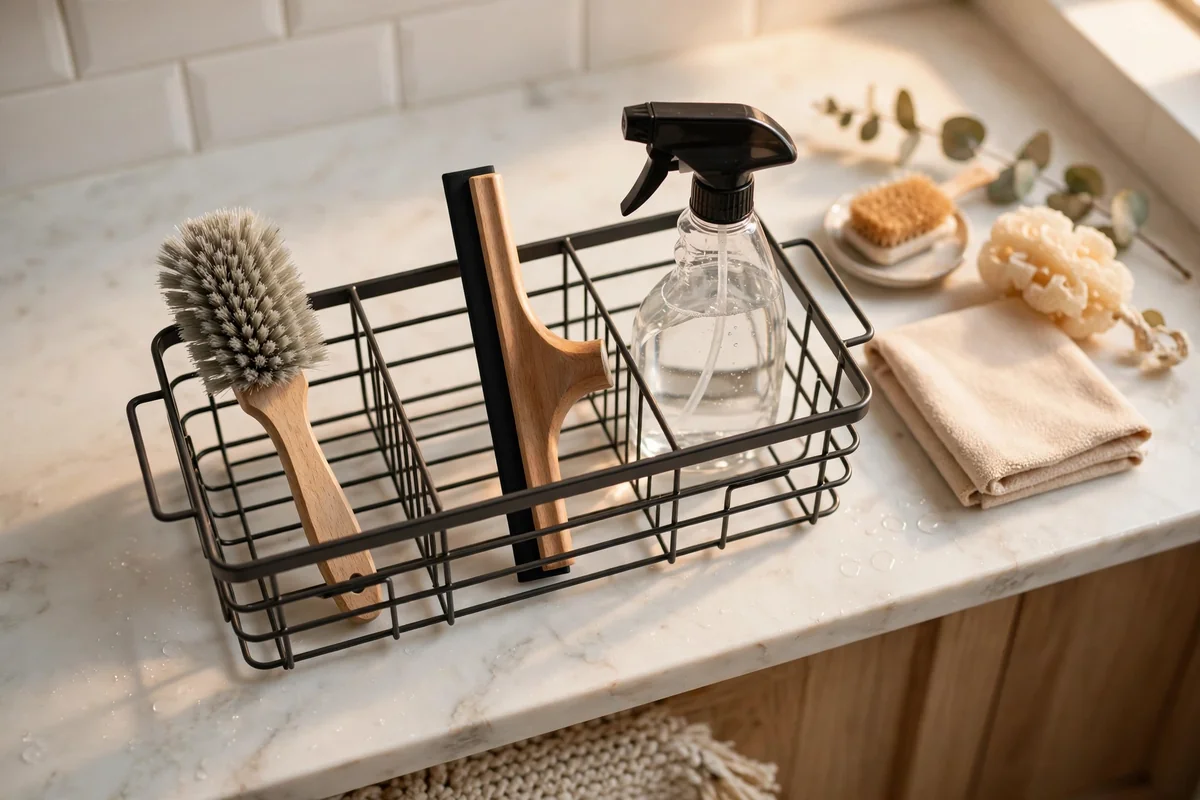
The most effective long-term strategy is not a special ingredient but a simple routine. Once a week, give the shower a quick once-over before grout becomes visibly grimy: spray the walls with a mild cleaner, scrub the trouble spots with the grout brush, rinse from the top down, squeegee everything, and confirm it all dries. Ten focused minutes beats an hour of rescue scrubbing.
Keep the tools together in a caddy under the sink so the routine has no friction: grout brush, squeegee, spray bottle of mild cleaner, and a microfiber cloth. Consistency is what breaks the cycle. A shower that is lightly cleaned and thoroughly dried every week rarely develops the deep discoloration that demands drastic measures.
Closing Thoughts
Getting rid of mold in shower grout is really two jobs: cleaning what is there and changing the conditions that let it return. Start with gentle methods, use the right brush, rinse and dry thoroughly, then build the small daily habits, squeegee, fan, open curtain, that keep moisture from lingering. Do those consistently, and your grout will stay fresh and bright with far less scrubbing.
Frequently Asked Questions
Is black mold in shower grout dangerous?
Most dark discoloration in shower grout is common surface mildew rather than a serious hazard, but anyone with allergies, asthma, or a weakened immune system should take it seriously and consider wearing a mask and gloves while cleaning. If mold covers a large area, keeps returning despite good ventilation, or you suspect moisture behind the tiles, consult a professional rather than scrubbing endlessly.
Can I use bleach and vinegar together on moldy grout?
No, never mix bleach with vinegar, ammonia, or any other cleaner. The combination can release harmful fumes. Use one product at a time, rinse thoroughly between different treatments, and ventilate the bathroom well. For most shower grout, gentle methods like detergent, baking soda paste, and good drying habits work well without harsh chemical combinations.
Why does mold keep coming back in my shower grout?
Mold returns because the shower stays damp, not because your cleaner was too weak. Grout lines can remain moist for hours after the tile looks dry, especially with poor ventilation, no squeegee habit, bunched shower curtains, or a dripping fixture. Lasting results come from drying the shower after every use and controlling humidity, not from stronger chemicals.
How can I tell if grout needs cleaning or replacing?
Try cleaning first: if the dark marks lighten substantially with detergent, a baking soda paste, and a grout brush, the grout is sound and just needed attention. If grout is cracked, powdery, crumbling, or missing in sections, or if staining remains deep after thorough cleaning, the joints likely need regrouting. Damaged grout lets water behind tiles and will never stay clean.
How often should I seal shower grout?
Most cement-based shower grout benefits from resealing every one to two years, depending on use and ventilation. Test by flicking water at the grout: if it beads up, the sealer is working; if it darkens as water soaks in, it is time to reseal. Clean and fully dry the grout first, apply sealer according to the product directions, and ventilate well while it cures.