Home Improvement
23 Attic Closet Ideas That Make Sloped Walls Useful
By Anna Wells · · 19 min read
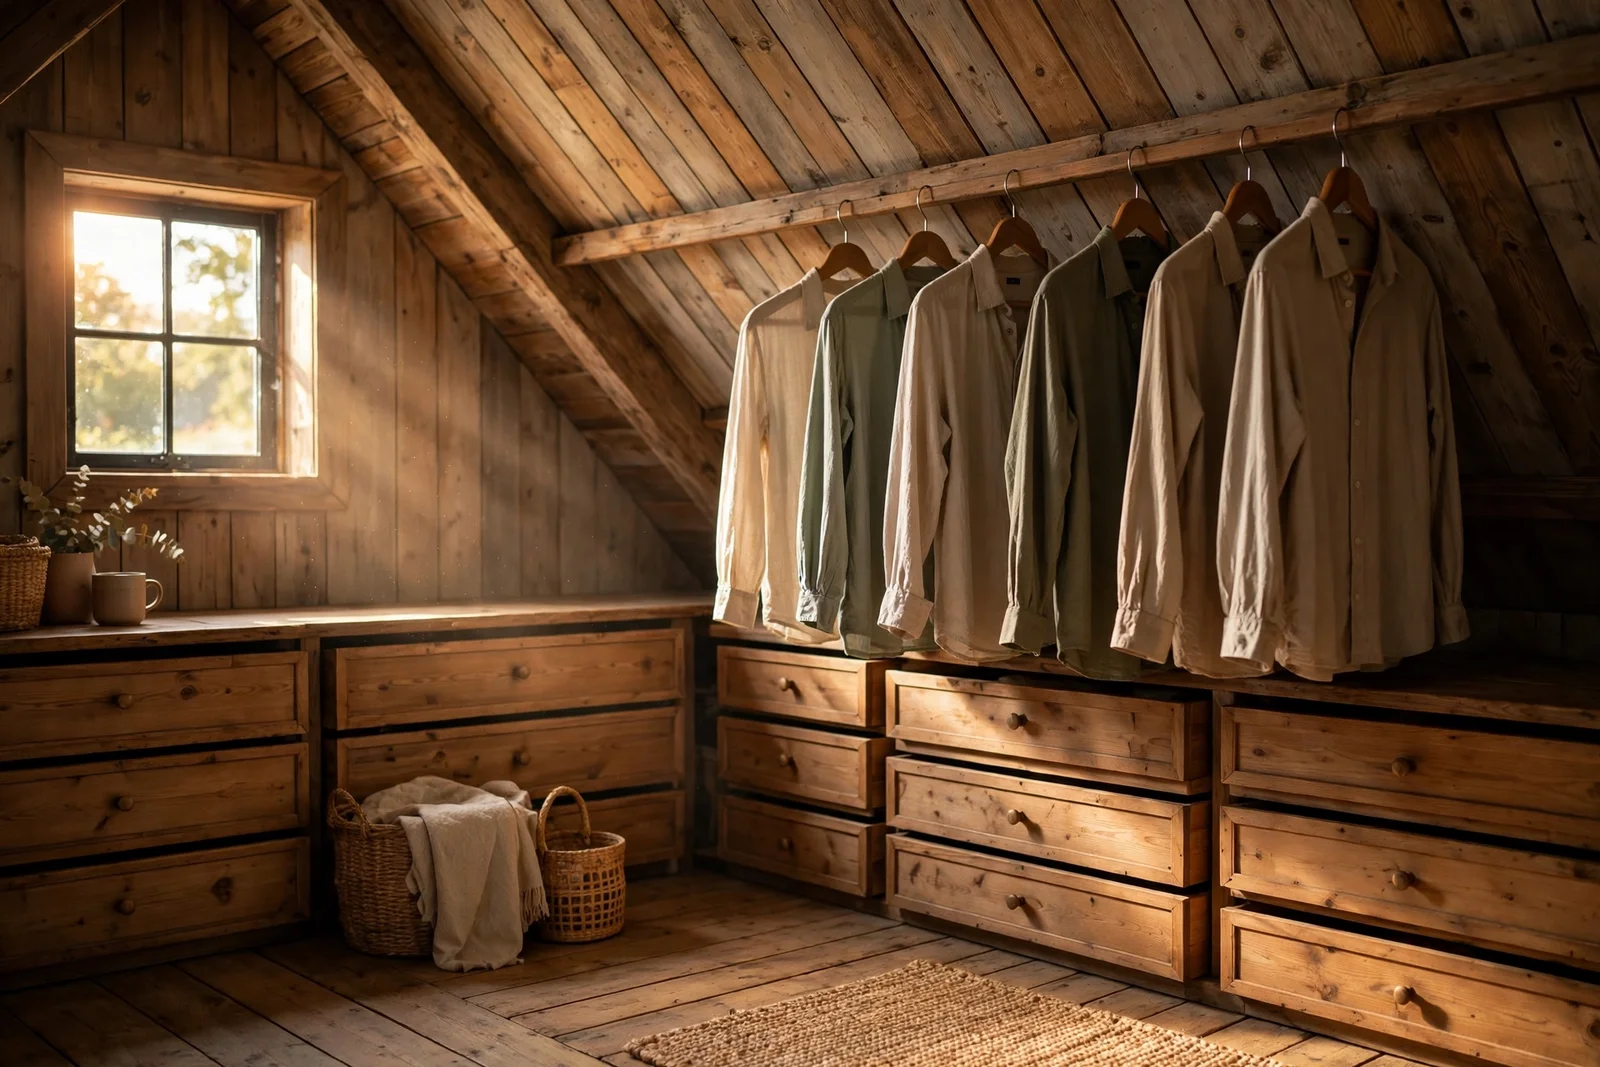
A sloped ceiling is not a wasted ceiling. These 23 attic closet ideas turn every dip of the roofline into useful storage, from rails that follow the slope to drawers tucked into the deepest eaves.
Morning light filters through the small attic window and lands on a rail of shirts hanging neatly beneath the slope. The ceiling dips low on one side and rises to full height on the other, and for years this space was just boxes and forgotten coats. With a little honest measuring and a few clever fittings, it can become the calmest closet in the house.
A sloped ceiling is not a problem to hide; it is a shape to work with. Low rails follow the roofline for shorter garments, drawers tuck into the lowest eaves, and the dressing spot sits exactly where you can stand tall. Each idea below treats the slope as a guide for where every garment belongs.
You will find 23 practical ideas here, from battery light strips to cedar-lined eaves, each with real sizes, materials and budget guidance. Nothing needs a full renovation. Most of these projects take a weekend or less, and several cost under 30 pounds or dollars.
Start with the tape measure before you buy a single fitting. Once you know where your head height honestly falls and how deep each eaves bay runs, every other decision becomes simple. The slope will tell you exactly what to do.
1. Mount a Sloped Rail That Follows the Roofline for Shirts and Short Jackets
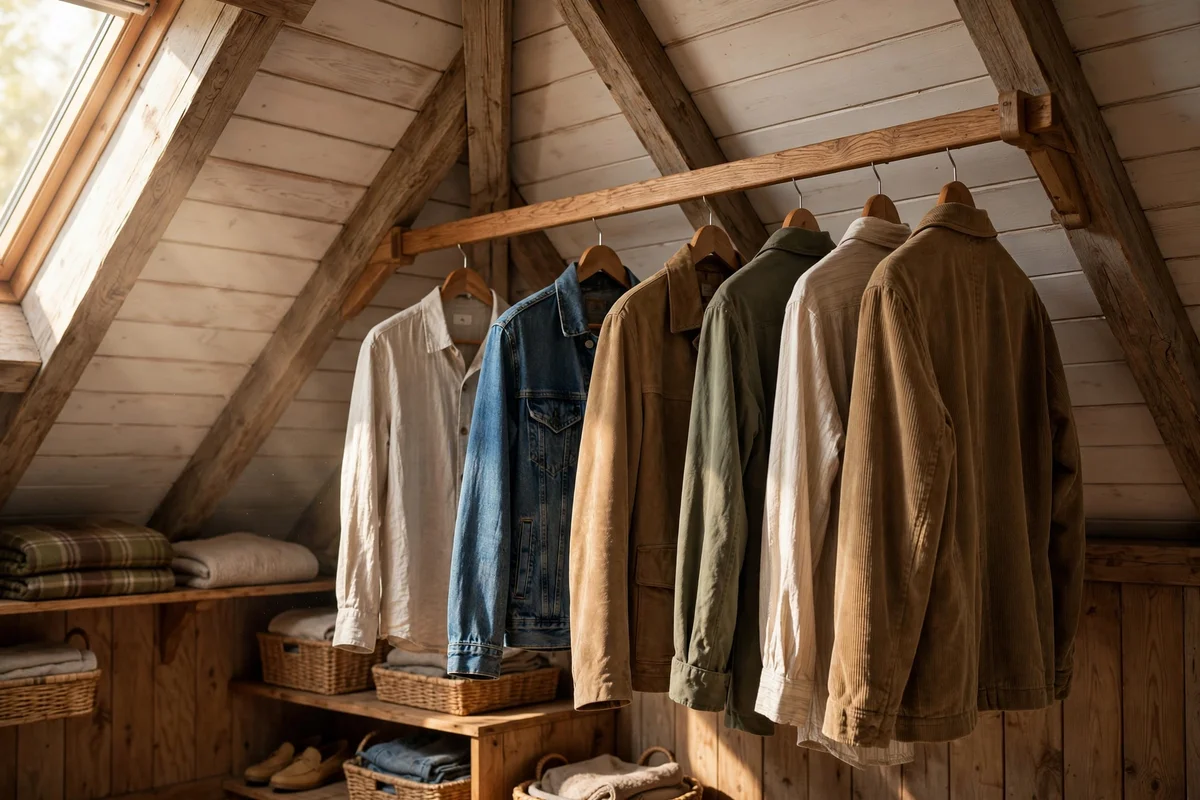
A rail that runs parallel to the slope, about 30 cm below it, turns the low side into real hanging space for shirts, folded jackets and blouses that need 85 to 100 cm of drop. Mount the rail into the rafters or solid studs with heavy brackets every 60 cm, because a full rail of clothes can weigh 15 to 20 kg. Keep the rail height consistent along its run so hangers slide freely without bunching at the low end.
The mistake to avoid is placing a standard horizontal rail too close to the slope, where shoulders crush against the plaster and fabrics fade from trapped heat. Angling the rail keeps garments clear of the wall and uses the whole run from ridge to knee wall. Budget tier: a 120 cm metal rail with brackets costs 15 to 30 pounds or dollars, and angled brackets add about 10 more for a cleaner finish.
2. Add a Second Low Rail Near the Eaves for Children’s Clothes
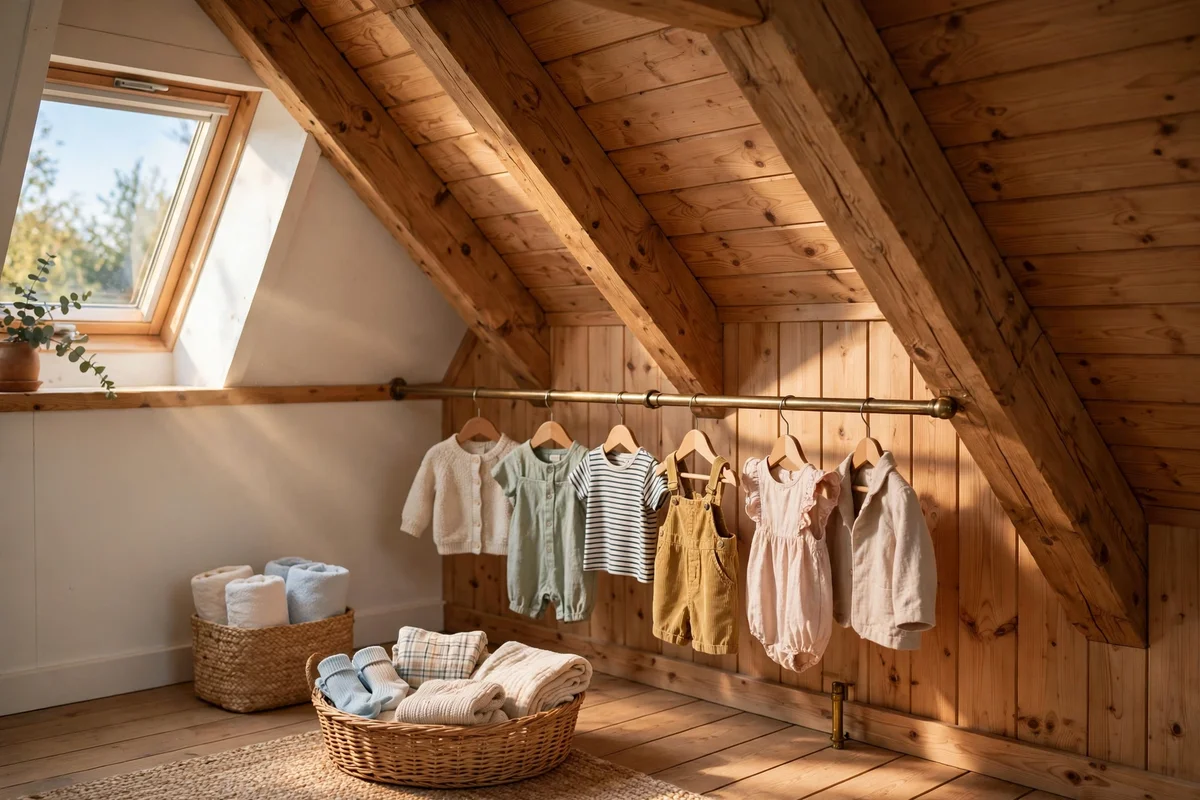
A second rail set 45 to 60 cm off the floor under the steepest part of the slope is perfect for children’s clothes, folded trousers and short skirts that need only 50 to 70 cm of drop. Because kids’ clothes are light, a simple wall-mounted rail rated for 10 kg is enough, and the low height lets children choose their own outfits without a stool. Leave 25 cm of clearance in front so hangers swing without hitting the knee wall.
Label each child’s rail with a small wooden tag tied on with ribbon, so siblings never mix up their sections. Avoid hanging heavy coats here, since the shallow depth pulls fabric against the slope and creases shoulders. This is a budget project: a short 60 cm rail, four brackets and slim hangers usually totals under 25 pounds or dollars.
3. Build Drawer Stacks Into the Lowest Bay of the Eaves
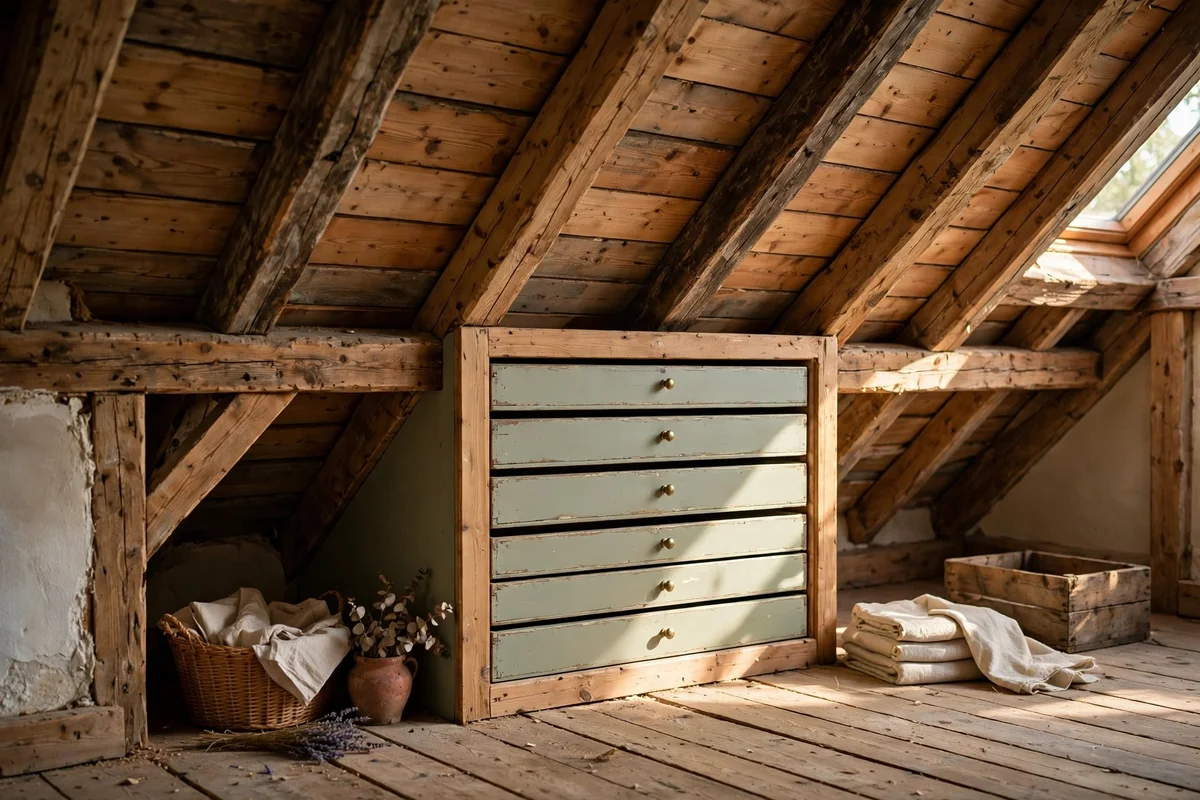
The lowest bay of the eaves, where the ceiling drops under 50 cm, is dead space for hanging but ideal for a stack of three to four drawers in a 60 to 80 cm wide unit. Use drawers 35 to 45 cm deep so they pull out fully without hitting the sloped ceiling, and line them with a breathable fabric liner to protect folded clothes. Shallower 15 cm drawers suit underwear and socks; 25 cm drawers swallow jumpers.
The common mistake is building drawers deeper than the bay’s height allows, so the top drawer scrapes the slope and paint chips onto clothes. Measure the clearance at the back of the bay and subtract 5 cm before choosing a unit. Budget tip: flat-pack three-drawer units in painted pine run 40 to 70 pounds or dollars each, far less than bespoke joinery.
4. Fit Pull-Out Cubbies Where the Ceiling Drops Below 60 cm
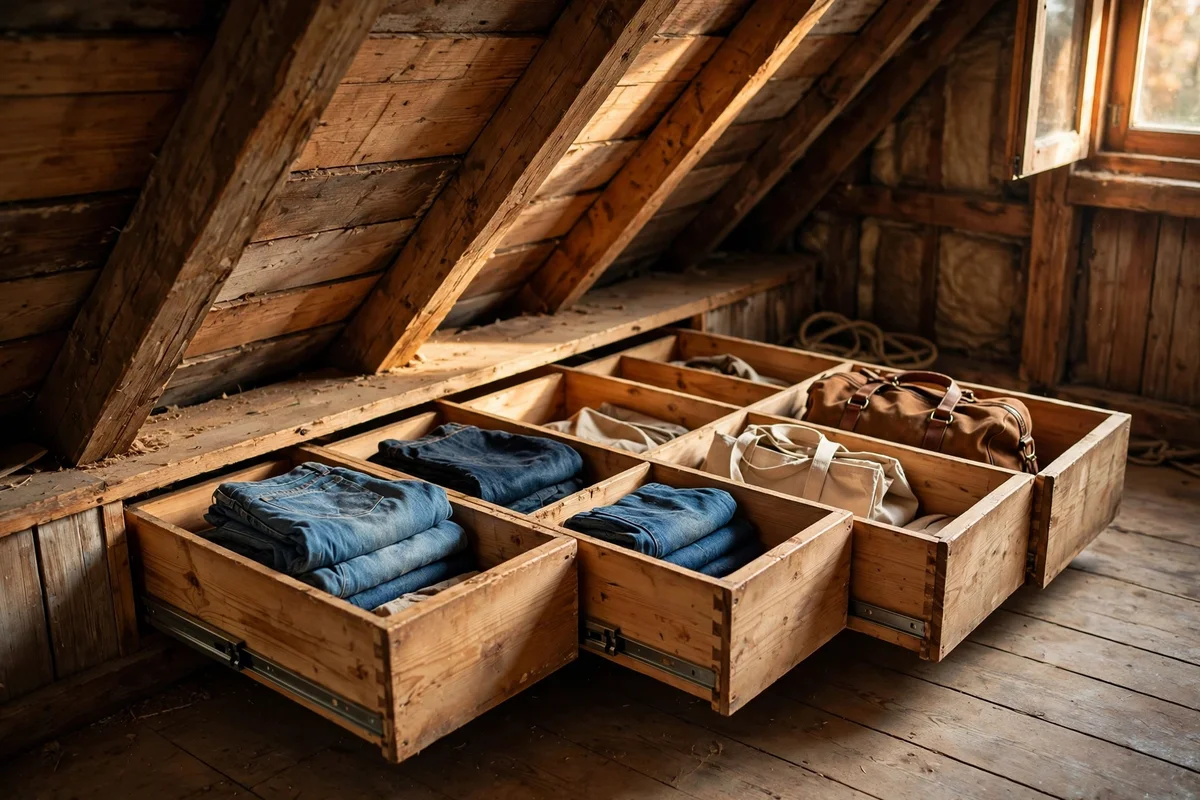
Where the ceiling drops below 60 cm, pull-out cubbies on smooth drawer runners turn a crawl space into a home for jeans, bags and folded linens. Build cubes 40 cm wide and 30 cm tall so each one holds one category, and mount them on full-extension runners rated for at least 15 kg. Front each cubby with a simple painted panel so the run reads as tidy fitted furniture rather than open boxes.
Avoid fixed shelving this deep in the eaves, since anything past arm’s length becomes a black hole you never reach. Pull-out units bring the back of the bay to you, which doubles real storage. A set of three pull-out cubbies in plywood costs roughly 80 to 130 pounds or dollars, with mid-range runners worth the small extra for smooth daily use.
5. Place Your Dressing Spot Where You Measured Honest Head Height
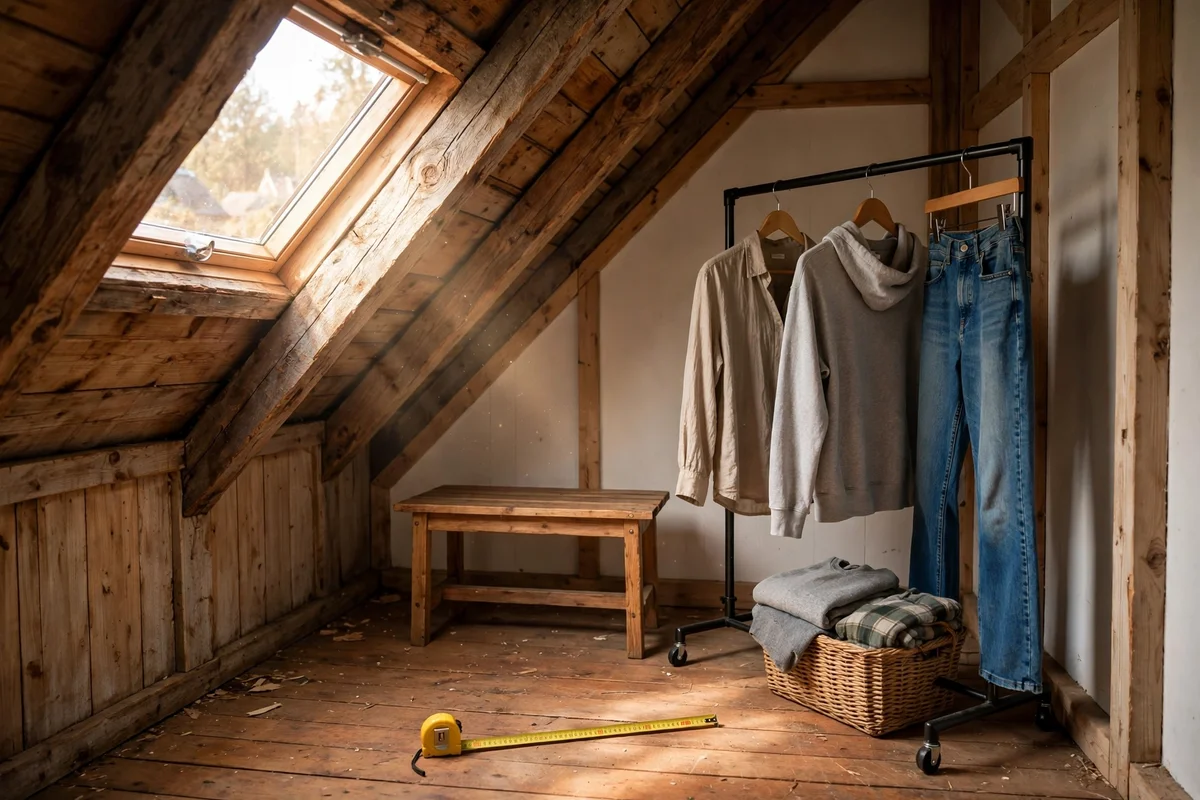
Stand in the attic with a tape measure and mark exactly where the ceiling reaches your full standing height plus 5 cm, usually around 185 to 195 cm for most adults. Place your dressing spot, a small bench and the main daily rail, on this honest footprint, never where you must duck to pull on trousers. A bench 90 cm wide gives enough room to sit and stand comfortably in the cleared zone.
The mistake to avoid is dressing where the slope starts, because daily bending becomes miserable and clothes snag on the low ceiling. Paint a discreet pencil line on the floor to mark the full-height zone so furniture never creeps into the ducking area. A simple pine bench costs 40 to 60 pounds or dollars and doubles as a seat for tying shoes.
6. Run a Battery LED Strip Along the Underside of the Slope
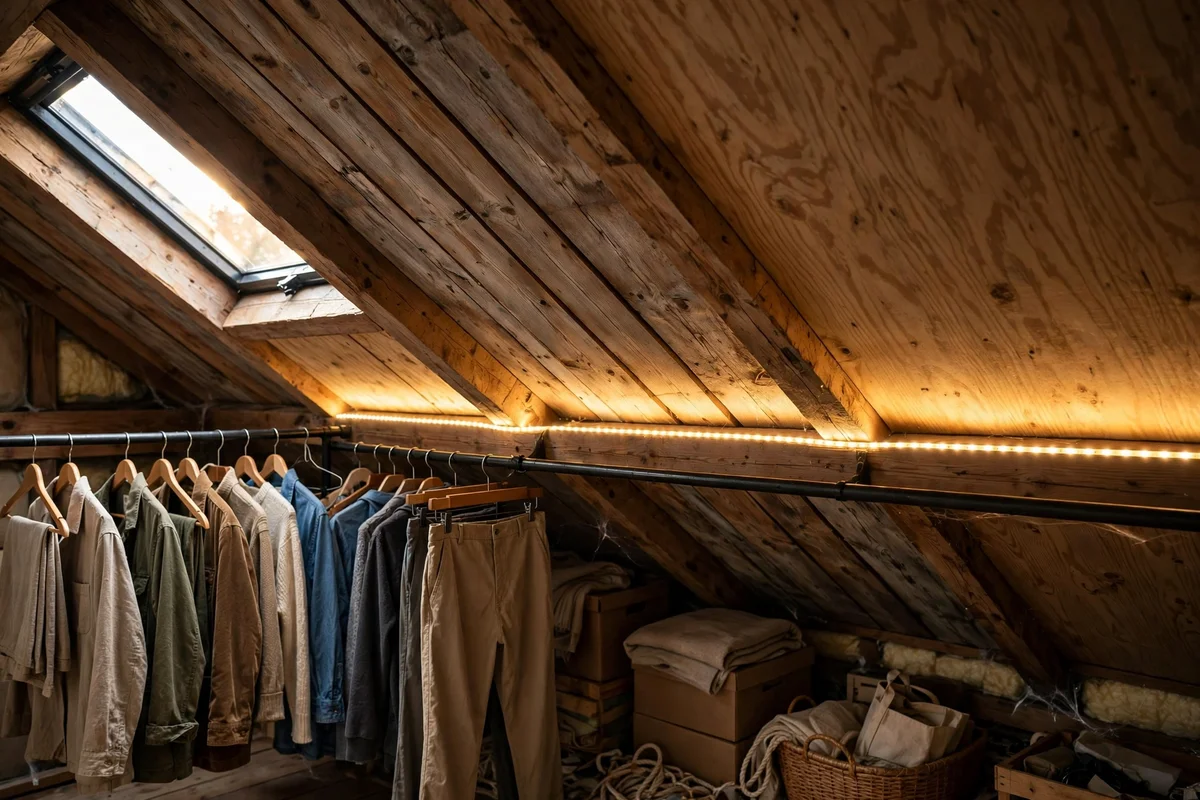
A battery LED strip tucked under the slope along the lowest 2 metres turns the darkest hanging zone into the most usable one. Choose a 3000K warm white strip, about 8 to 10 watts per metre, with a motion sensor so the light wakes when you step in and switches off after 60 seconds. Mount it on the wall just under the slope, angled slightly downward so it washes the clothes rather than shining in your eyes.
Rechargeable strips run two to four weeks per charge with daily use, and two strips cost 20 to 35 pounds or dollars. The mistake to avoid is fitting cool blue-white light, which makes fabric colours look harsh and cold. Stick to warm white throughout the closet so every rail and drawer reads in the same flattering tone.
7. Have an Electrician Wire Recessed Puck Lights Over Each Zone
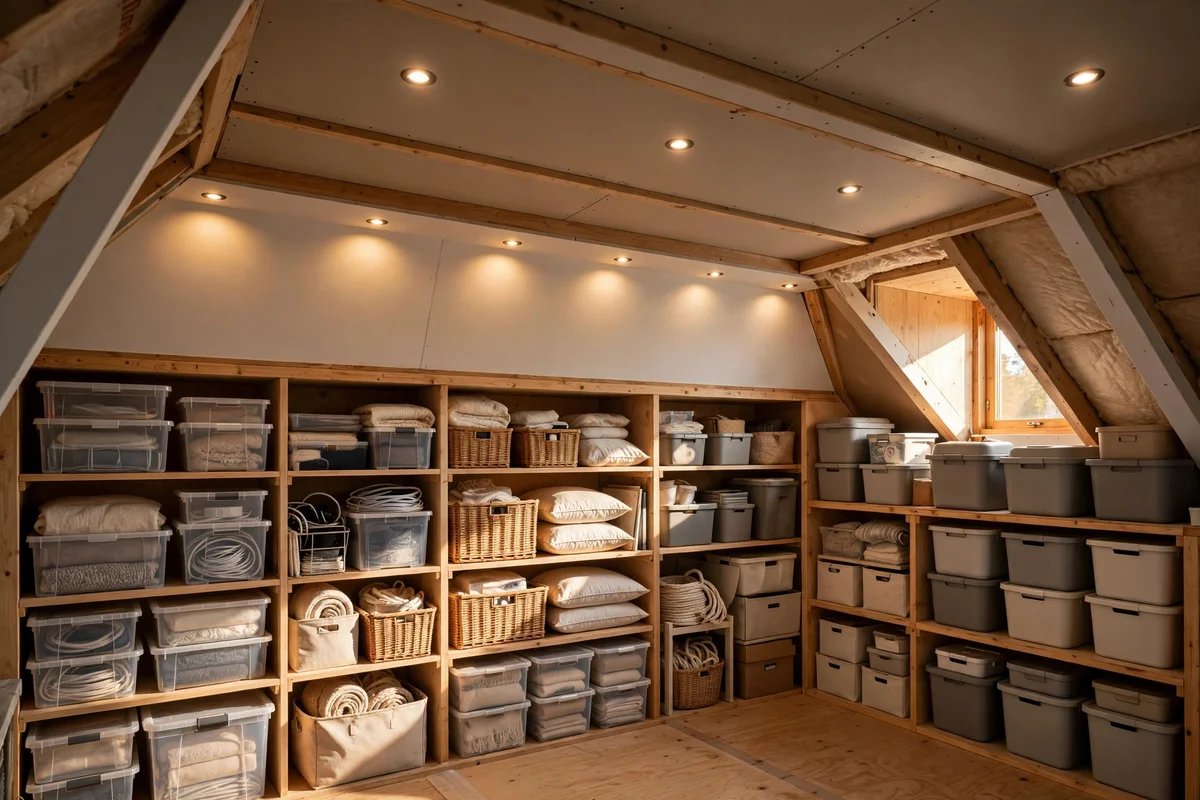
If the attic has a proper lighting circuit, an electrician can fit slim recessed puck lights into the slope above each storage zone for a clean, permanent glow. Space them 60 to 80 cm apart along the ridge and above the mirror wall, using 3 to 4 watt warm white LEDs that stay cool against the insulation. Each light costs little to run and lasts about 25,000 hours.
Never cut into the slope yourself if insulation and wiring sit behind it, since a careless cut can pierce a cable or compress insulation and cause damp. Budget for 150 to 250 pounds or dollars for an electrician to wire four to six pucks with a proper switch at the door. The result is shadow-free light that makes every garment’s true colour obvious.
8. Stack Seasonal Clothes in Plain Labelled Boxes at the Deepest Point
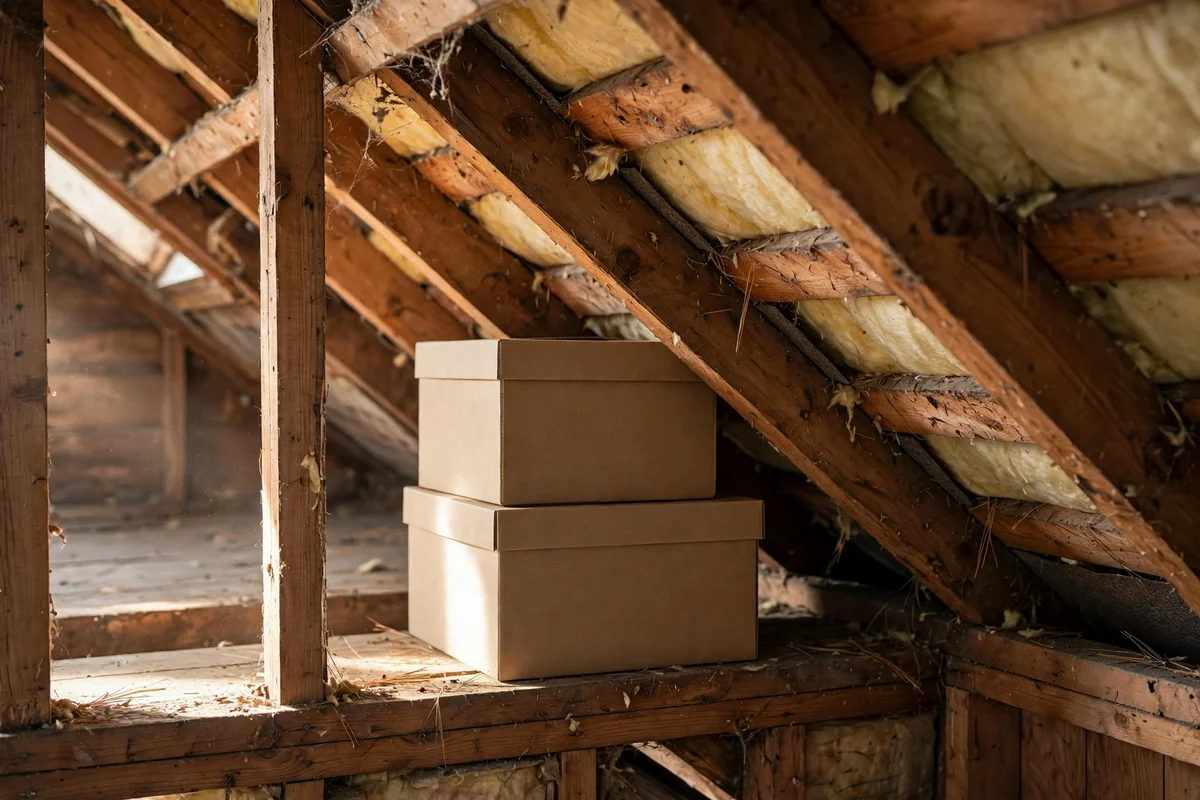
The deepest low point of the eaves, where the ceiling sits under 40 cm, is perfect for seasonal clothes you touch twice a year. Pack winter coats or summer dresses into plain boxes about 50 by 35 by 25 cm, and write the contents on the outside with a marker so you never open three boxes to find one scarf. Stack them two high, never three, so the bottom box keeps its shape.
In photographs keep these boxes plain and unlabeled, with no readable text visible, for a calm neutral look. The real mistake is storing off-season clothes loose in the eaves, where dust settles into the fibres and they smell stale by October. Breathable boxes with a silica gel packet inside cost 5 to 8 pounds or dollars each and protect clothes far better.
9. Ventilate the Closet With a Louvred Door or Passive Wall Vent
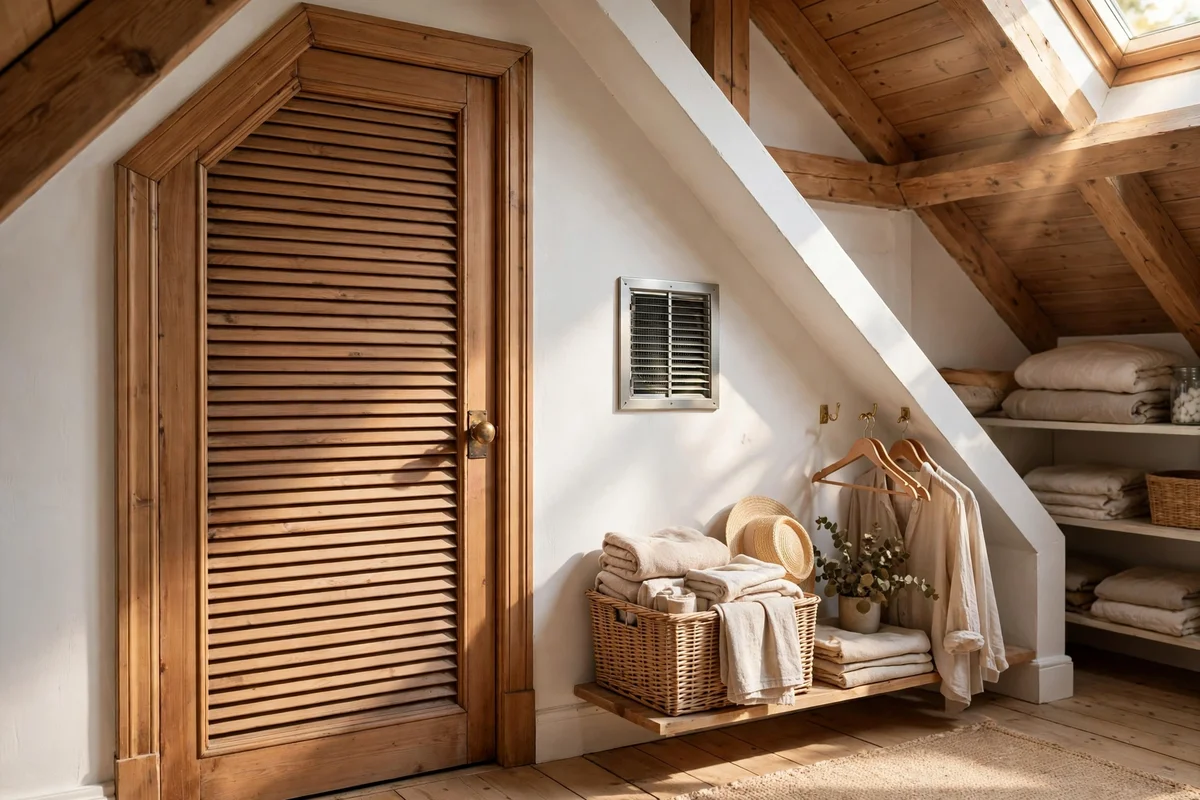
A closet under a roof needs moving air, or clothes absorb the stillness and smell musty within weeks. Fit a louvred door or cut a passive vent, about 15 by 15 cm, into the knee wall near the coldest corner, and leave the gap under the door at 1 cm so air circulates gently day and night. In summer, opening the nearest roof window for ten minutes each morning flushes the warm air completely.
The mistake to avoid is sealing the closet tight to keep dust out, which traps moisture from breath and wet coats instead. A simple passive vent costs 10 to 20 pounds or dollars and needs no power. Pair it with a small vent on the opposite side of the attic so air has a path through, and your clothes stay as fresh as the day they were hung.
10. Hang the Full-Length Mirror on the One Full Height Wall
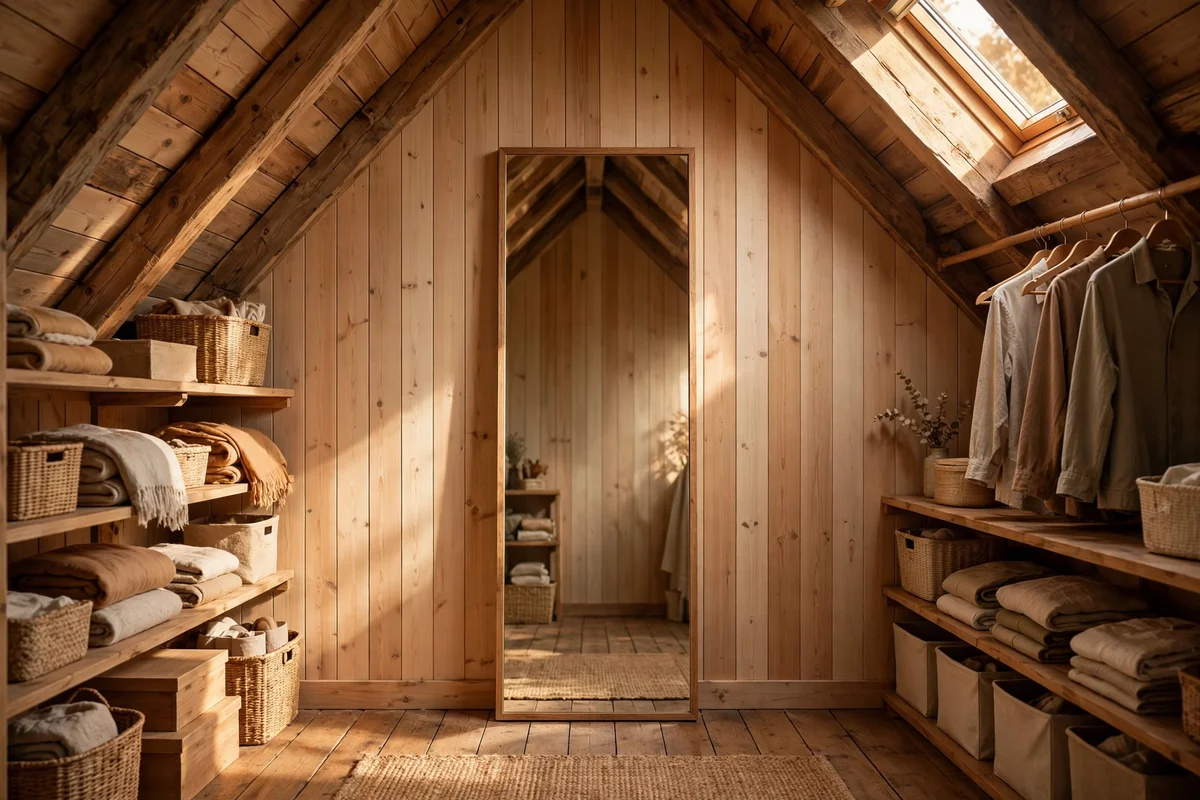
The one wall that reaches full height, usually the gable end, is the natural home for a full-length mirror 140 to 160 cm tall and 40 to 50 cm wide. Hang it so its centre sits at eye level, about 150 cm from the floor, and leave 60 cm of clear floor in front so you can step back and see a whole outfit. A slim oak or walnut frame suits the attic’s heritage feel without stealing space.
Avoid propping the mirror at an angle in the slope, where it slides, distorts your reflection and risks falling. Fix it to the wall with two solid hooks rated for its weight, typically 8 to 12 kg. A good full-length mirror costs 50 to 90 pounds or dollars, and wall mounting keeps the floor clear for the dressing spot you measured earlier.
11. Lay Interlocking Carpet Tiles Across the Attic Floor
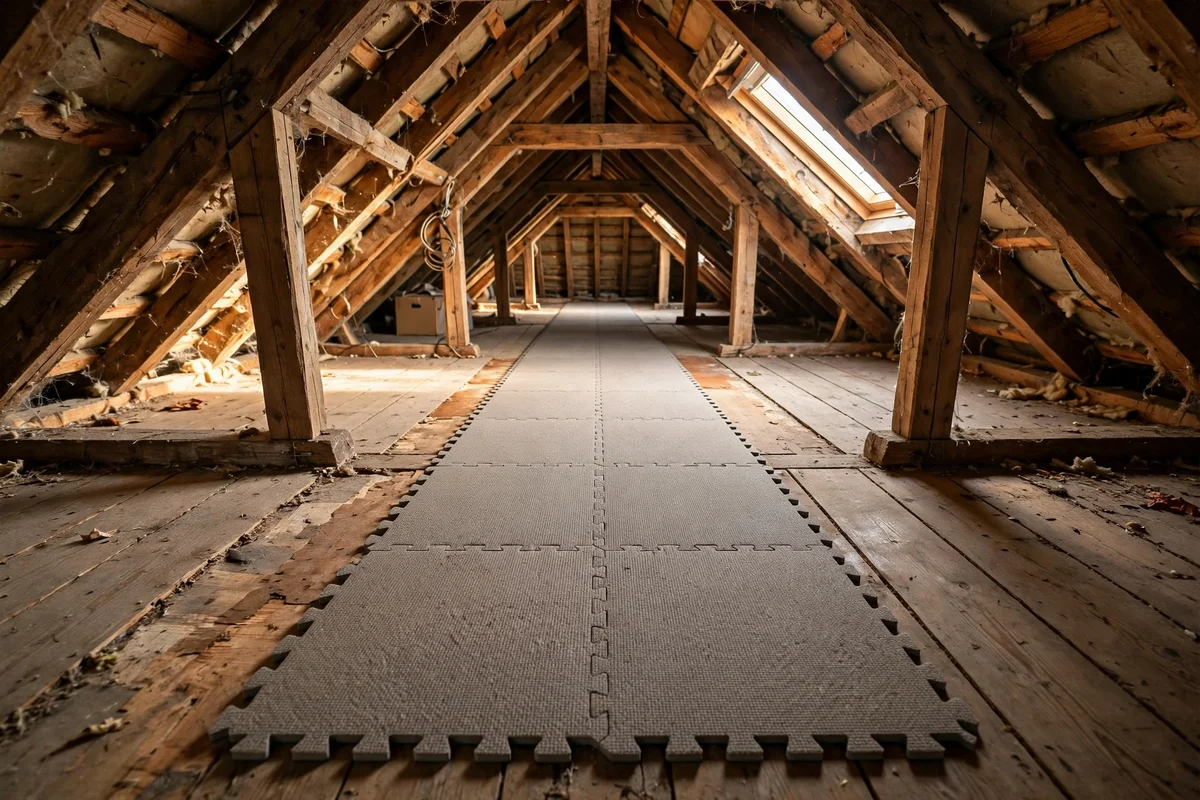
Attic floors are often bare boards that are cold underfoot and noisy when drawers roll. Interlocking carpet tiles, 50 by 50 cm each, lay flat over boards without glue and give a warm, quiet surface for dressing. Cover the main walking strip, roughly 1 metre wide along the ridge, and let the tiles run under the drawer bays for a finished look. Choose a mid-tone like warm grey or soft oat that hides dust.
The mistake to avoid is using one large rug, which bunches on uneven boards and slides when you step on it. Individual tiles stay flat and can be lifted to clean underneath. Twenty tiles cover about 5 square metres and cost 40 to 70 pounds or dollars; replace single stained tiles rather than the whole floor.
12. Line Open Cubes Along the 90 cm Height Line for Folded Knits
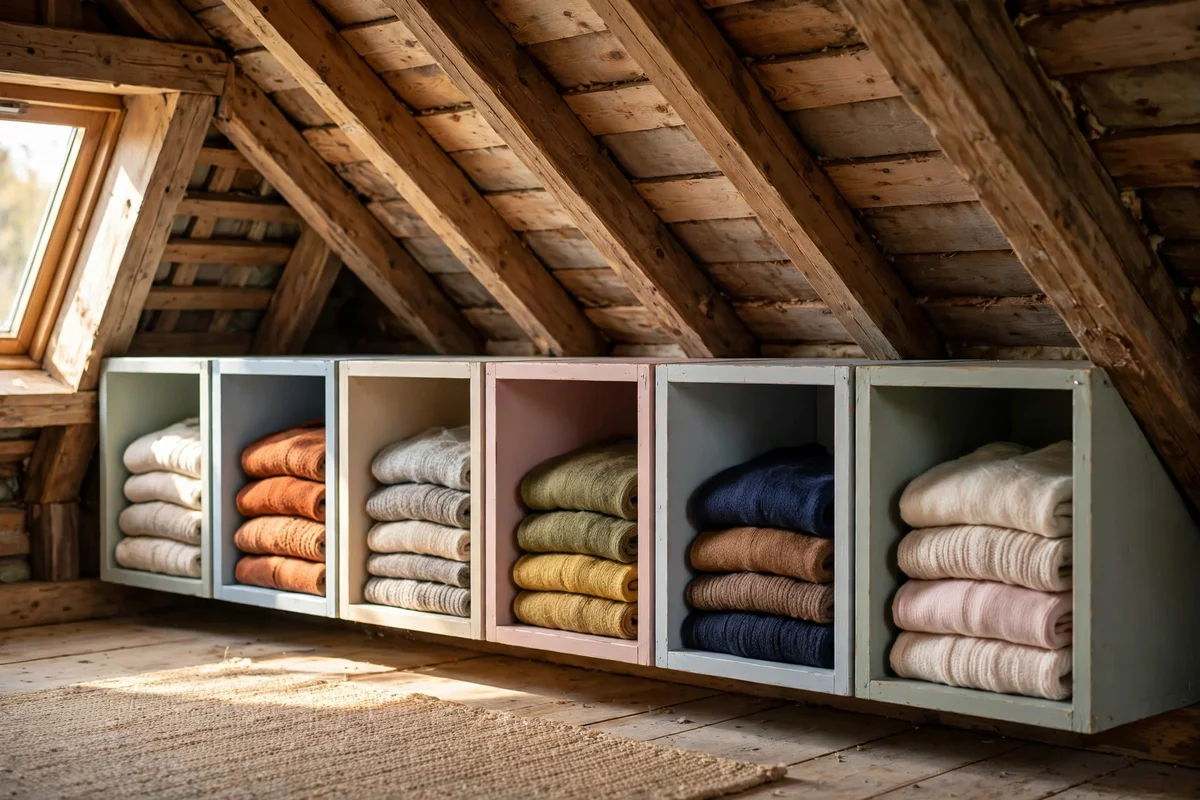
Along the line where the ceiling reaches about 90 cm, run a row of open cubes 35 cm square for folded knits, T-shirts and pyjamas. This height lets you see and reach every folded stack without bending double, and each cube holds roughly six to eight folded jumpers. Paint the cubes the same warm white as the slope so the run blends into the architecture instead of looking like extra furniture.
The common mistake is piling clothes in tall stacks, where the bottom half never gets worn and folds collapse. Keep stacks to six items and roll rather than fold T-shirts to fit more per cube. A run of four 35 cm cubes costs 50 to 80 pounds or dollars in painted MDF, with baskets as an optional mid-range upgrade.
13. Fit Soft-Close Drawers With Finger Pulls in the Hard-to-Reach Bays
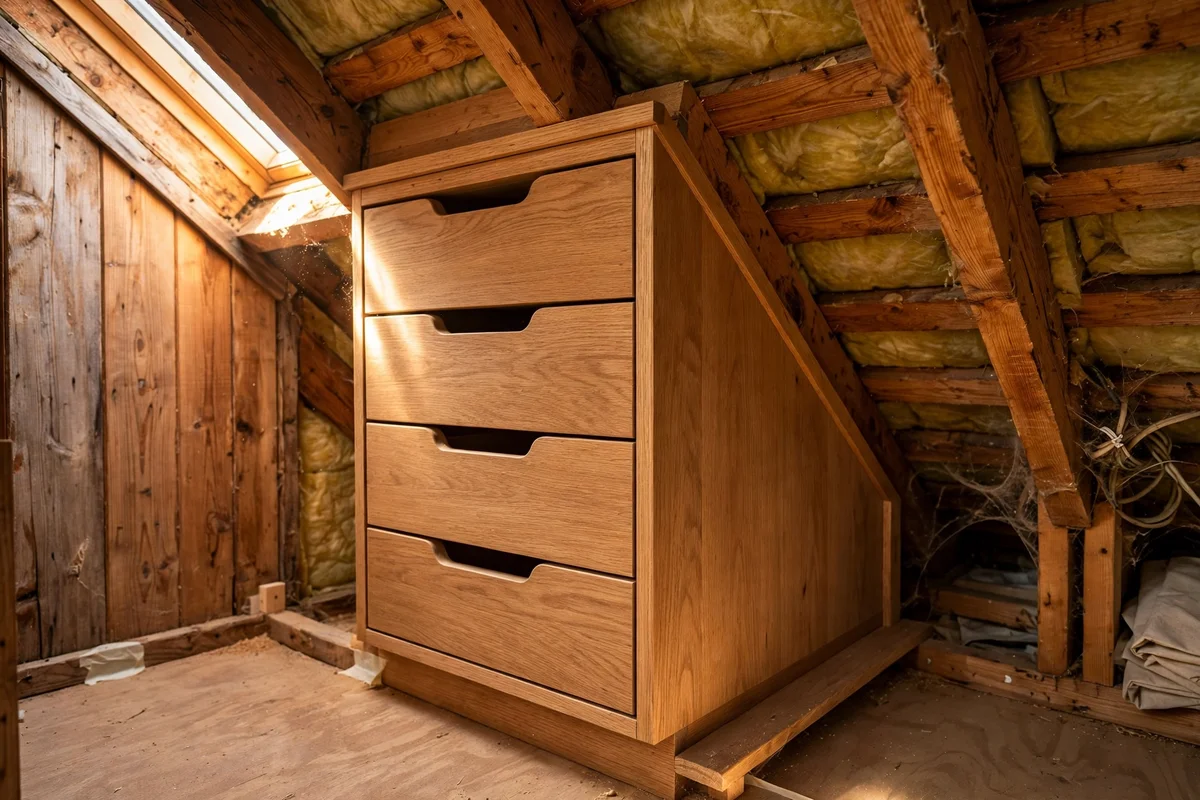
The bays hardest to reach, behind the knee wall and under the deepest slope, deserve the best hardware so they open smoothly every day. Fit drawers there with soft-close runners rated for 20 kg, and choose finger pulls routed into the drawer front instead of knobs that catch on clothing. Routed pulls cost nothing extra at build time and never snag a sleeve as you reach past.
Avoid cheap ball-bearing runners in these awkward corners, because a sticking drawer in a low bay will simply stop being used. Spend the extra 3 to 5 pounds or dollars per drawer on quality runners; for six drawers that adds about 25 pounds or dollars to the project but keeps every inch working for years.
14. Install a Pull-Down Rail Under the Ridge for Rarely Used Items
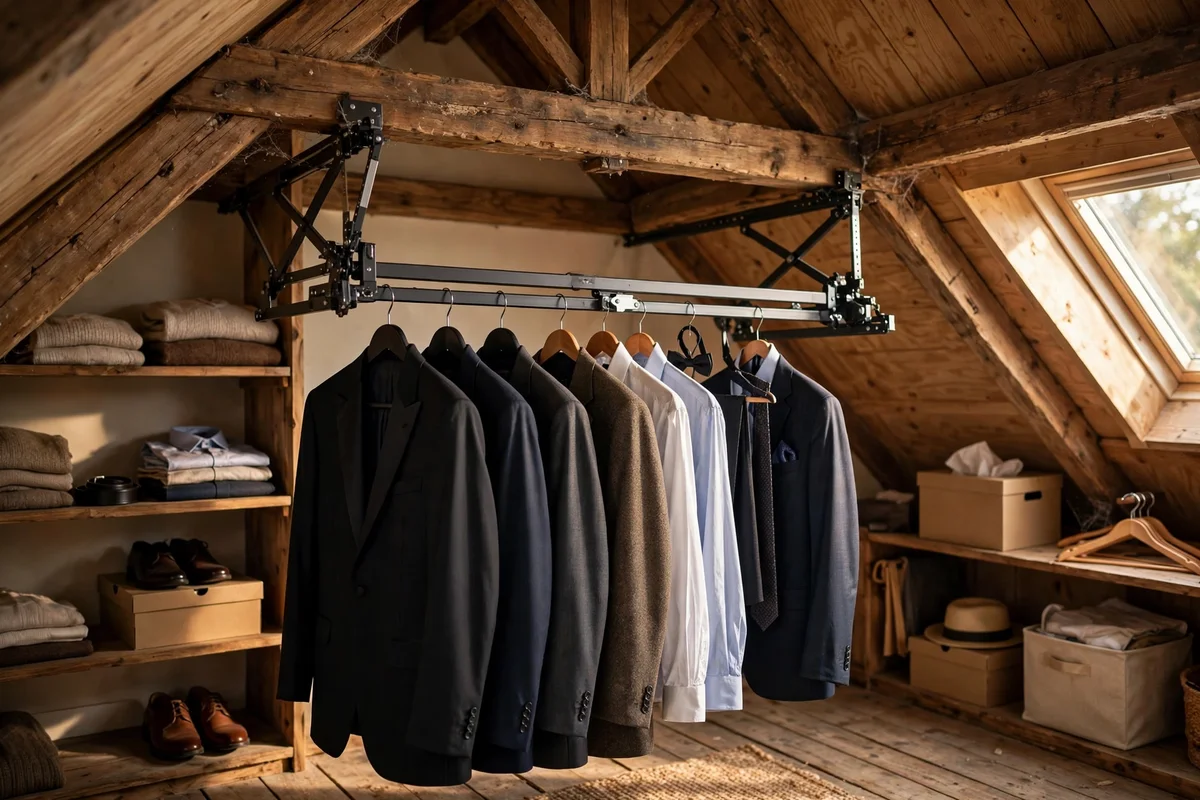
Under the ridge, where the ceiling is highest, a pull-down rail puts rarely used clothes within reach without a ladder. The rail lowers to chest height with a gentle pull and locks back up with a soft push, holding 8 to 12 kg of formal wear or guest bedding bags. Mount it into the ridge beam with through bolts, since this is the one fitting that carries weight at arm’s length.
The mistake to avoid is using the pull-down rail for daily clothes, because lowering it twice a day wears the mechanism and gets tedious within a month. Reserve it for the suit you wear quarterly and the winter coats in summer. A quality pull-down rail costs 40 to 70 pounds or dollars and installs in under an hour.
15. Angle a Shoe Rack Into the Slope Where Height Falls Below 45 cm
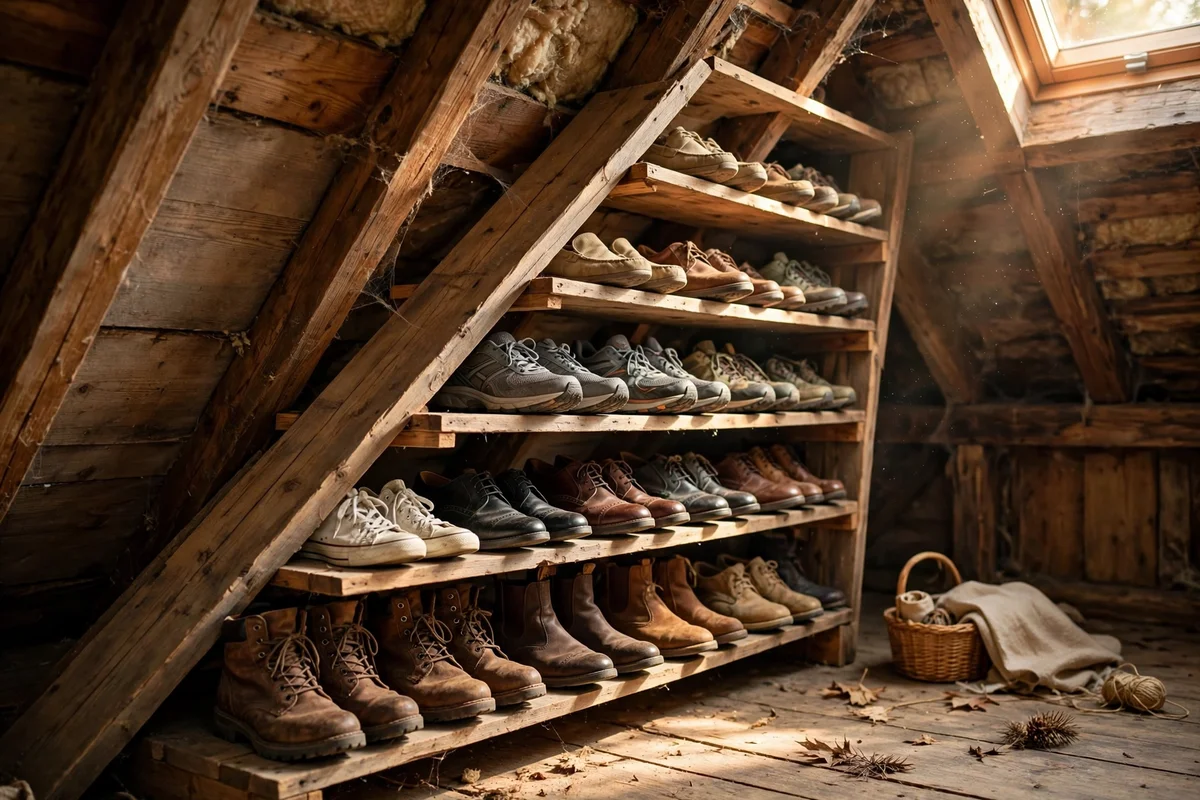
Where the ceiling falls below 45 cm, shoes still fit perfectly if the rack angles into the slope. Build or buy a slanted rack with shelves 20 cm deep, each tilted about 15 degrees so heels catch and pairs stay put. Each 60 cm shelf holds four to six pairs, so a three-shelf unit stores up to eighteen pairs in a strip barely 40 cm tall.
The mistake to avoid is stacking shoe boxes here, which wastes the angled space and hides pairs you forget. An open slanted rack keeps every pair visible, so you actually wear what you own. A three-shelf pine rack costs 25 to 45 pounds or dollars; add a boot tray at the base to catch rain and mud before it reaches the floor.
16. Sort Accessories on Hooks and Trays Along the Knee Wall
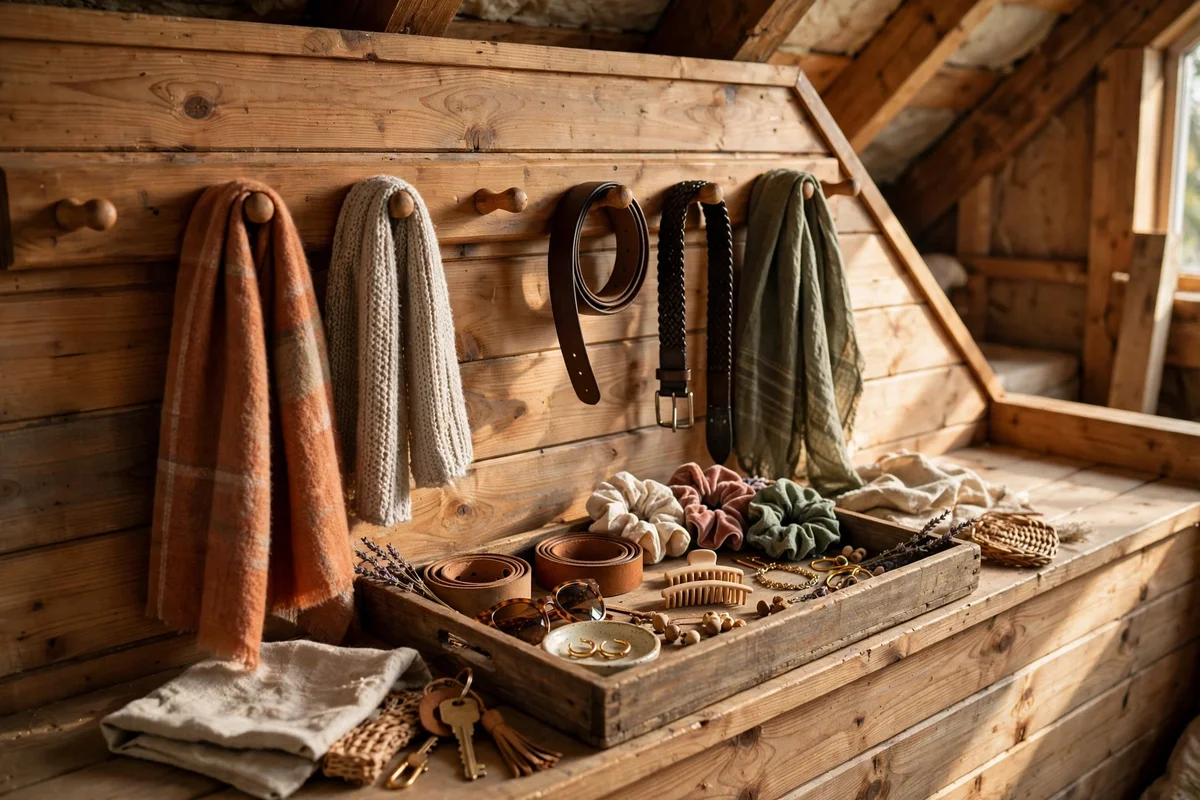
The knee wall, the short vertical wall where the slope meets the floor, takes hooks and shallow trays beautifully at 100 to 120 cm height. Fix a row of five to seven wooden peg hooks for belts, scarves and hats, and screw a 10 cm deep tray below for watches, sunglasses and small pouches. Everything stays visible at a glance, which ends the hunt through drawers every morning.
Avoid loading the pegs with heavy bags, since knee walls are often thin studwork that flexes under weight. Keep bags on the floor and let the hooks carry only light accessories under 1 kg each. A row of oak pegs with a tray costs 15 to 30 pounds or dollars and installs in one relaxed afternoon.
17. Paint the Slope in Warm White to Bounce Light Downward
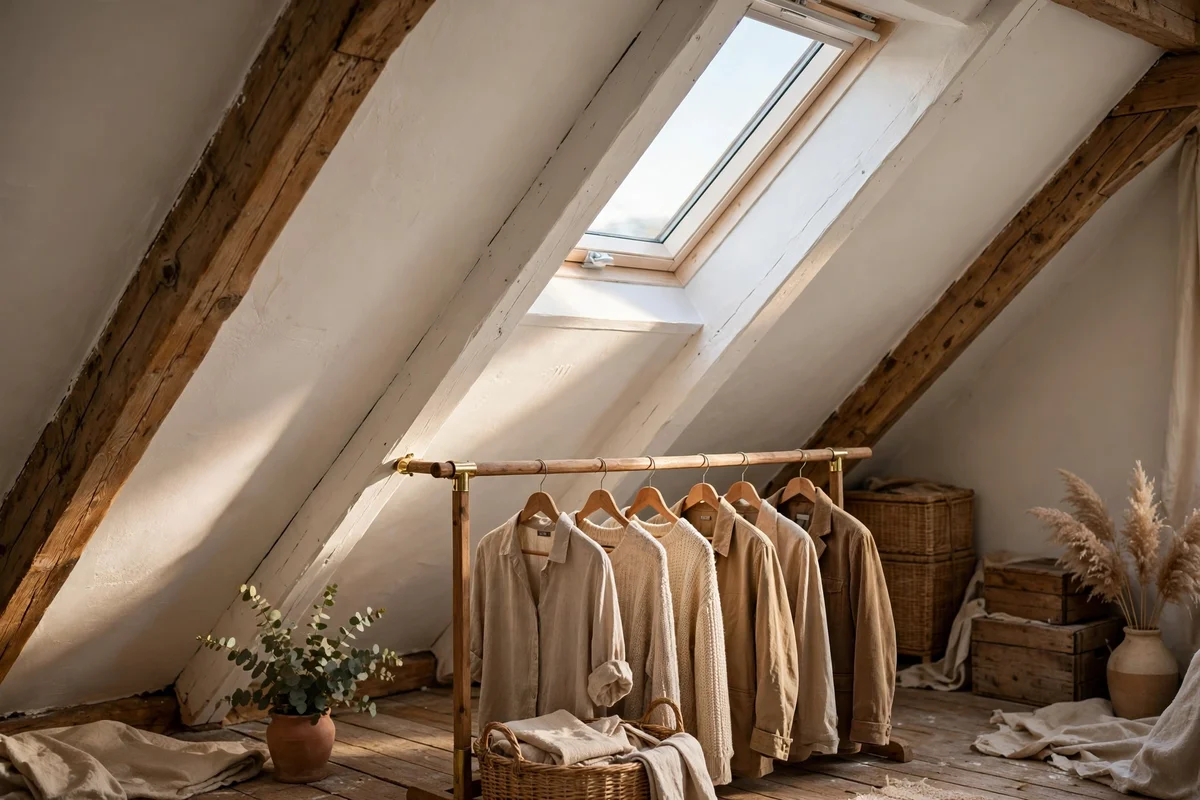
Painting the slope in a warm white, like ivory or soft chalk, bounces every lumen of light back down onto your clothes. Two coats of a light-reflecting emulsion over a stain-blocking primer cover most attic plaster, and the warm undertone keeps the space feeling cosy rather than clinical. Roll the paint on in the morning so each coat has daylight to dry evenly before evening.
The mistake to avoid is choosing a dark or grey paint to feel sophisticated, which swallows the little natural light attics get and makes finding navy socks impossible. Light walls effectively double your lighting without touching the electrics. A 5-litre tin covers about 50 square metres for 25 to 40 pounds or dollars, enough for most attic slopes.
18. Line the Eaves With Cedar Panels to Keep the Air Fresh
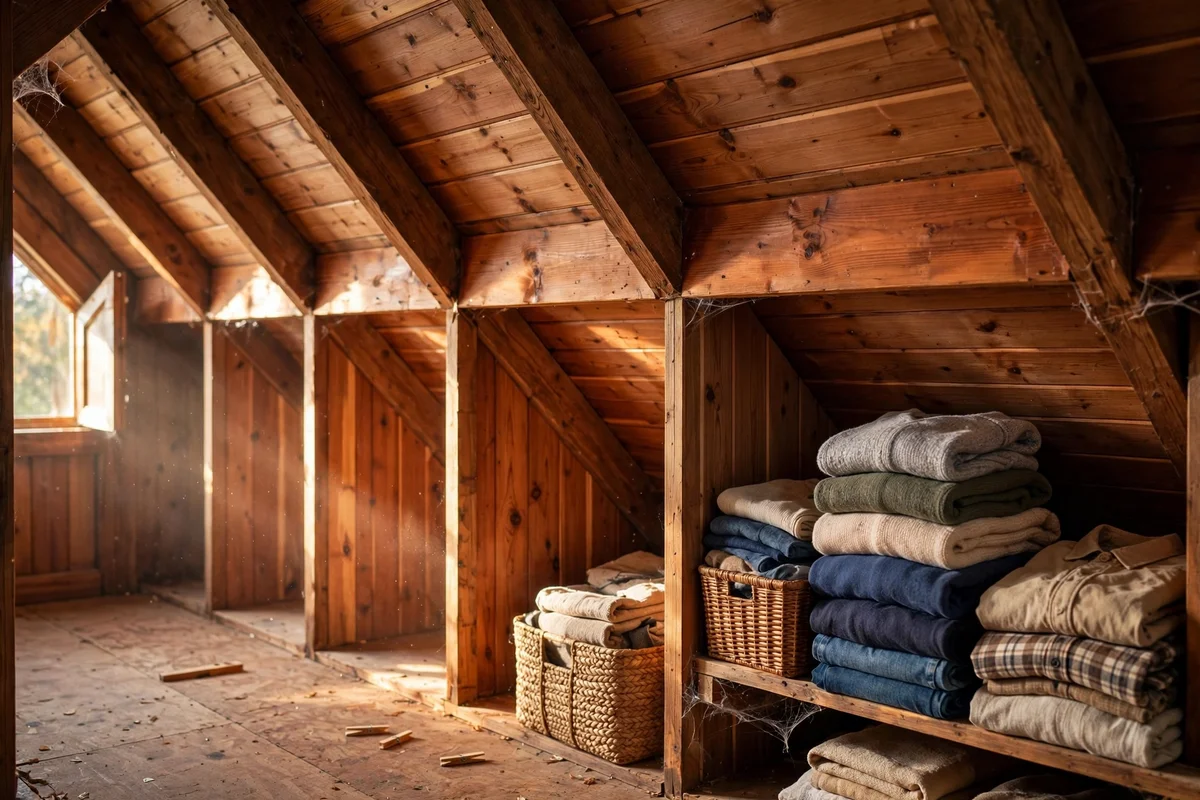
Line the inside of the eaves bays with thin cedar panels or scatter cedar sachets among the stored clothes to keep the air naturally fresh. Cedar’s gentle scent discourages moths and masks the faint dust smell old attics carry, and one sachet per box or bay is enough for steady effect. Replace sachets every six to nine months, or sand solid panels lightly to wake the aroma.
Avoid synthetic mothballs, which leave a harsh chemical smell that clings to fabric for weeks. Cedar is the family-friendly choice: safe around children, pleasant in a bedroom closet and genuinely effective. A pack of twenty sachets costs 10 to 15 pounds or dollars, while lining one bay with cedar planks is a 40 to 60 pound mid-range upgrade.
19. Fix a Small Humidity Monitor Near the Coldest Roof Section
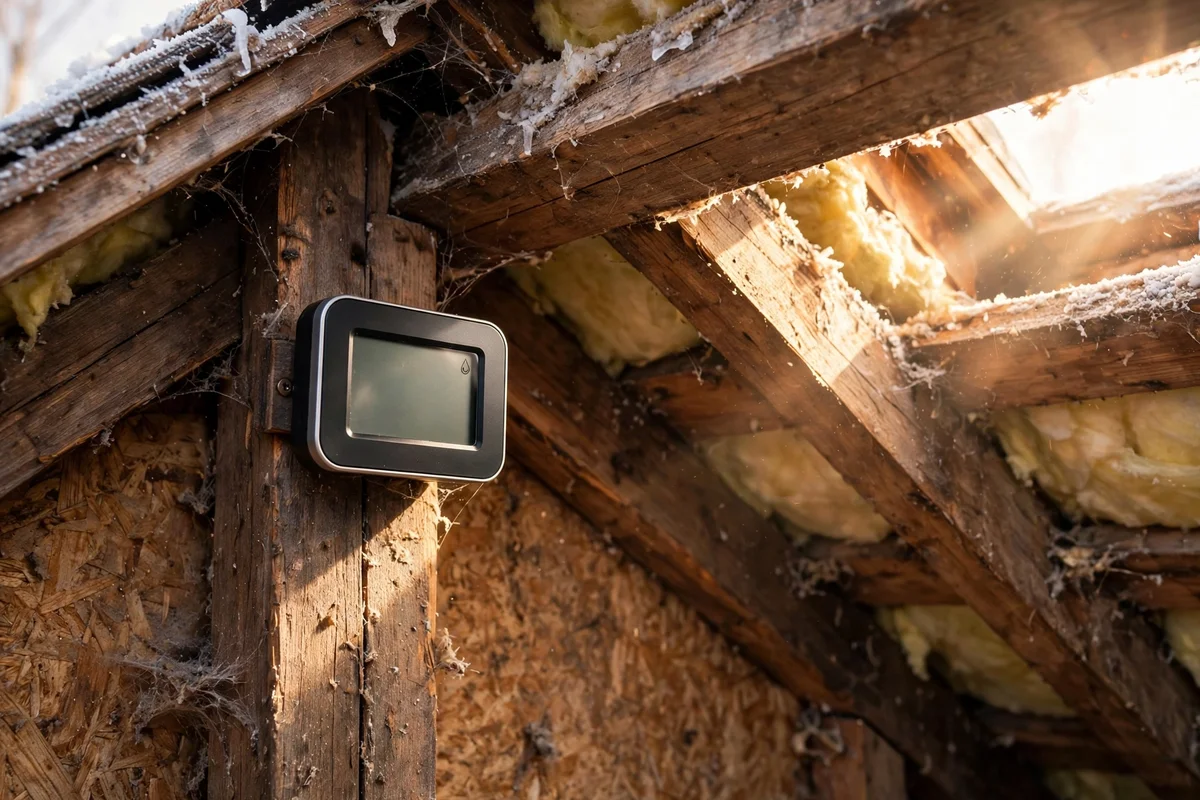
Roof sections stay colder than the rest of the house, and cold plus still air means condensation on clothes. Fix a small digital humidity monitor on the wall near the coldest slope section and glance at it weekly; aim for 40 to 55 percent relative humidity. If it climbs past 65 percent in winter, open the vent wider and leave the closet door ajar for a few hours.
The mistake to avoid is ignoring the first musty smell, which signals mould spores settling into fabric long before you see them. A monitor costs 8 to 15 pounds or dollars and takes the guesswork out completely. For persistent damp above 70 percent, a small rechargeable dehumidifier at 30 to 50 pounds or dollars protects both clothes and the roof timbers.
20. Mount a Fold-Down Valet Hook on the Tall Wall for Outfit Planning
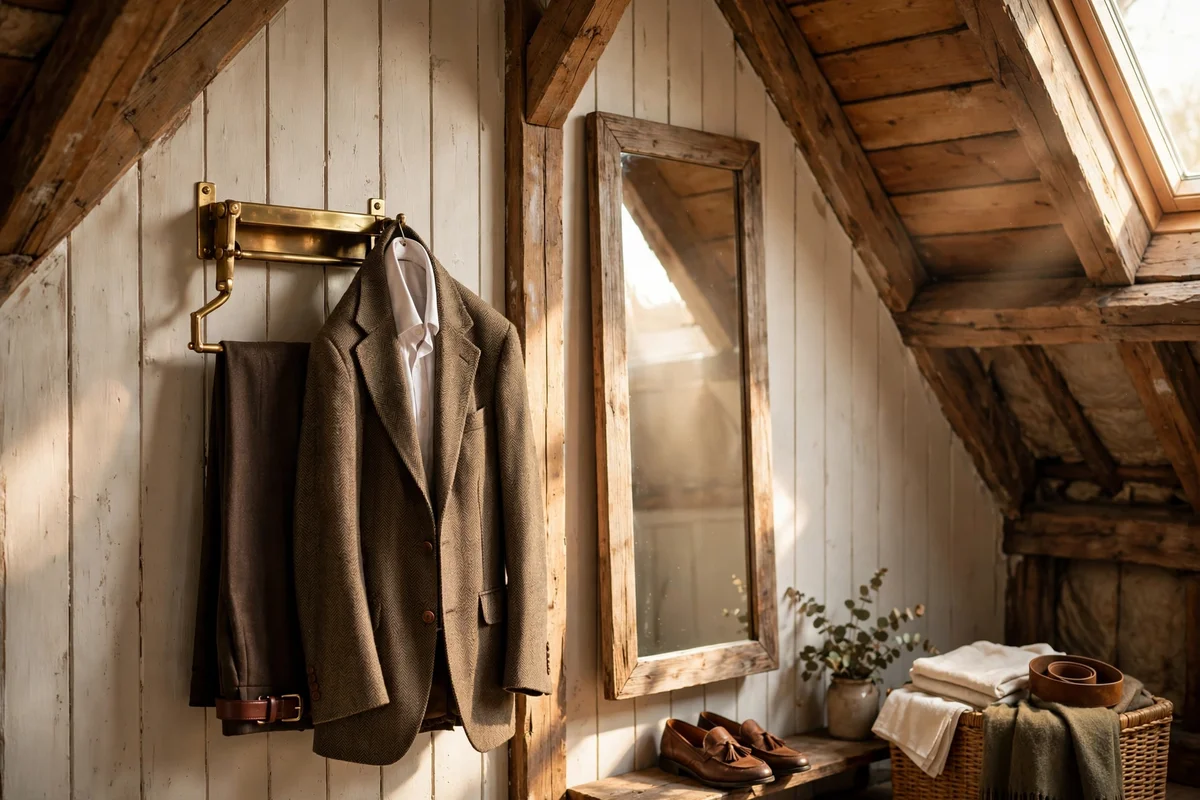
A fold-down valet hook on the tall wall turns outfit planning into a one-minute evening habit. The hook folds flat against the wall when not in use and swings out to hold tomorrow’s full outfit, about 3 to 4 kg of clothes on one sturdy bracket. Fix it at 150 cm height beside the mirror so you can check the combination in the glass before bed.
Avoid the folding hook for damp coats, since one wet garment against the wall overnight can spot the paint. Use it only for clean, dry outfits laid out the night before. A solid brass or oak valet hook costs 10 to 20 pounds or dollars, and the two screws it needs take ten minutes with a drill and a wall plug.
21. Switch Every Rail to Slim Matching Hangers to Double Capacity
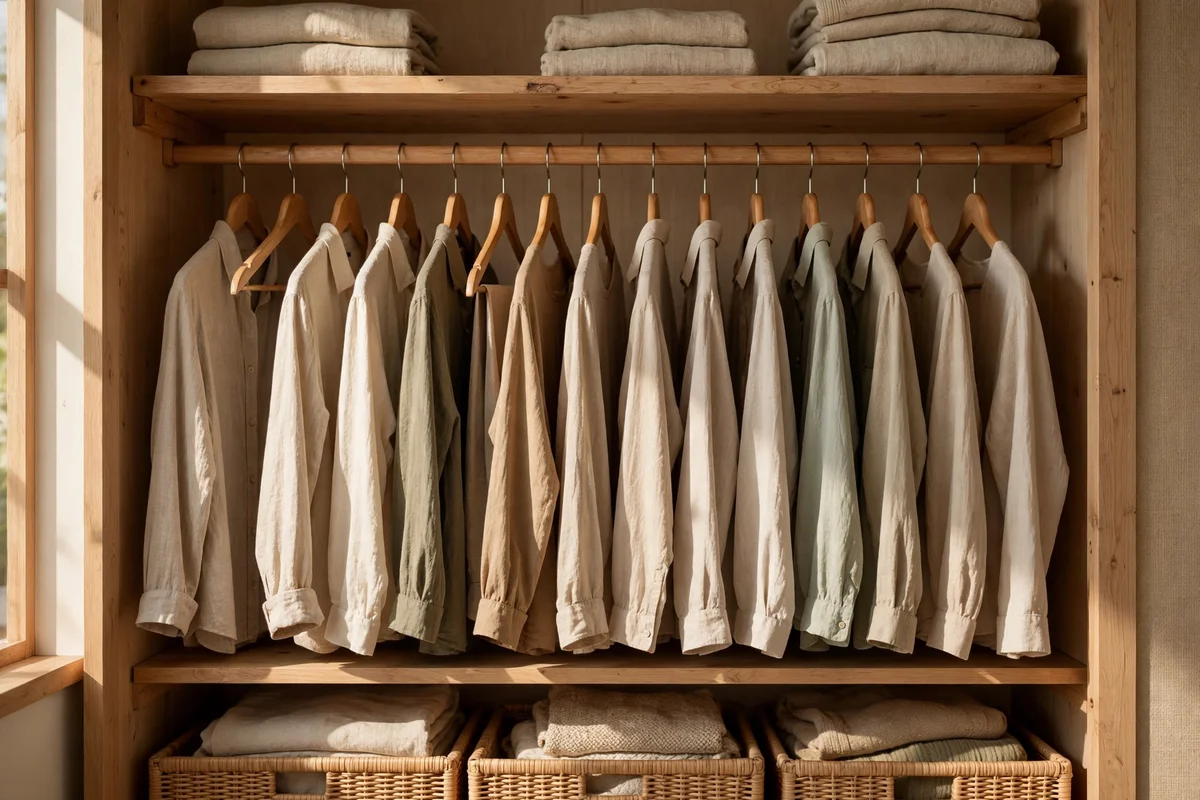
Swapping bulky plastic hangers for slim velvet or wooden ones, each about 0.5 cm thick, can fit 30 to 40 percent more garments on the same rail. A 100 cm rail holds roughly twenty slim hangers versus fourteen bulky ones, which matters enormously on a short sloped run. Matching hangers in one finish, like natural beech or soft grey velvet, also make the whole closet look calm and deliberate.
The mistake to avoid is mixing hanger types, because uneven heights make the rail look chaotic and sleeves slide off wire hangers overnight. Buy one box of fifty slim hangers for 15 to 25 pounds or dollars and convert the whole closet in an afternoon. Keep five sturdy wooden hangers aside for heavy coats that need real shoulder support.
22. Stow a Flat-Folding Step Stool for Reaching the Highest Cubbies
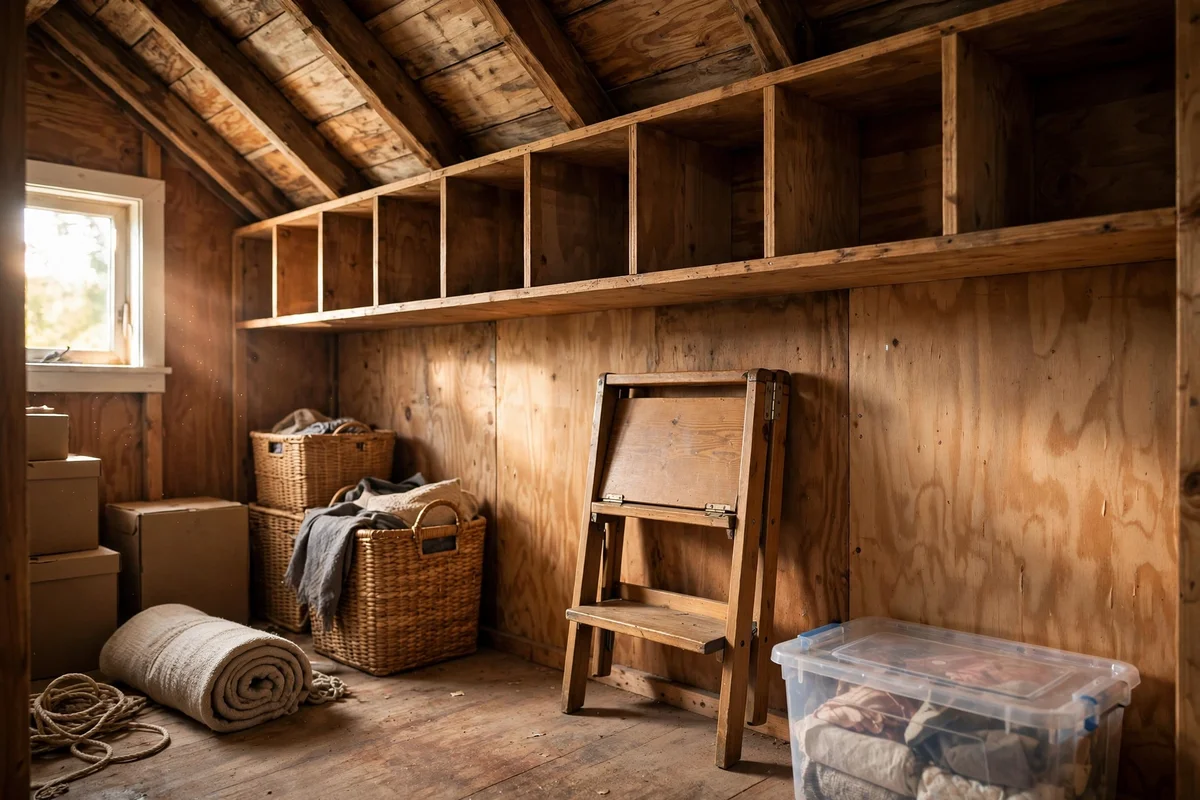
The highest cubbies near the ridge sit just out of reach, and a flat-folding step stool solves it without permanent clutter. Choose a two-step stool that folds to 5 cm thick and hangs on a hook inside the closet door, rated for at least 100 kg. At 45 cm tall when open, it lifts you exactly into the top row of storage that would otherwise go unused.
Avoid standing on drawer units or the dressing bench to reach high cubbies, since both can tip on an uneven attic floor. A proper stool keeps every shelf genuinely usable. Folding step stools cost 20 to 35 pounds or dollars in wood or sturdy plastic; the wooden ones suit the attic’s warm look and last for decades.
23. Finish the Knee Wall With Built-In Drawers in Painted Plywood
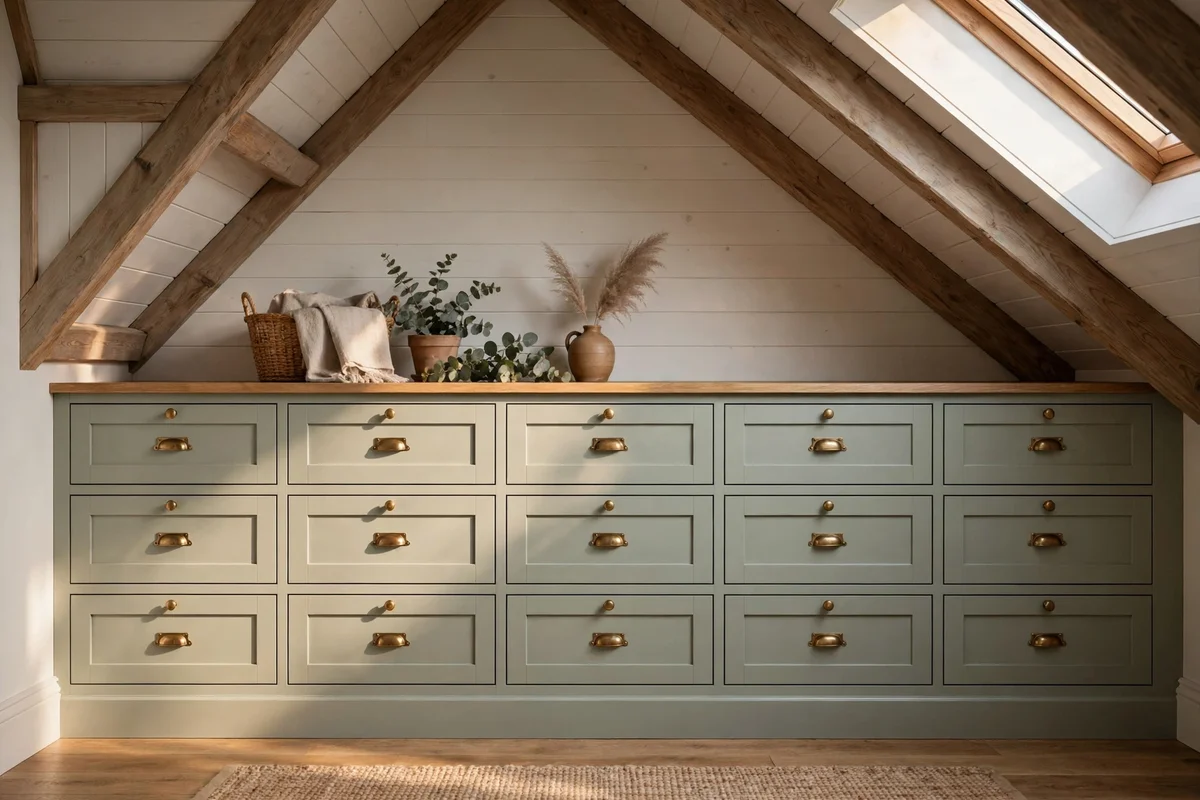
Finish the knee wall itself with built-in drawers in painted plywood, turning structure into storage. Two rows of drawers, each 60 cm wide and 25 cm deep, fit neatly into most knee walls without touching the insulation behind. Paint them the same warm white as the slope and fit simple cup pulls so the whole wall reads as one calm piece of fitted furniture.
Before cutting, check what sits behind the knee wall, since insulation and sometimes wiring run through that cavity. Keep drawer boxes 5 cm clear of any insulation so airflow continues. A carpenter charges 200 to 350 pounds or dollars for a two-metre run; a confident DIYer can build it in a weekend for 80 to 120 in plywood and paint.
A sloped attic closet works best when every fitting respects the shape of the roof instead of fighting it. Low rails for shorter clothes, drawers and cubbies in the deepest eaves, honest light along the slope and fresh air moving through: these are the ideas that turn an awkward space into a wardrobe you reach for daily. Measure first, then build slowly, and let the slope guide each choice.
This week, pick the easiest win and do just that one thing. Measure your full head height and mark it on the floor, then move your daily rail and bench into that zone before you spend anything. One honest measurement changes how the whole closet feels, and the rest of the ideas will be waiting patiently when you are ready.
Frequently Asked Questions
How much does it cost to turn an attic corner into a usable closet?
A simple version with a sloped rail, LED strips and a few storage boxes costs 80 to 150 pounds or dollars. Adding fitted drawers, puck lights wired by an electrician and knee-wall storage brings the total to 400 to 700. Start with lighting and the rail, since those two changes make the biggest daily difference for the least money.
How do I hang clothes under a sloped ceiling without creasing them?
Mount the rail parallel to the slope with 30 cm of clearance above the rail line so shoulders never press against the plaster. Use slim hangers to keep garments evenly spaced, and keep heavy coats on the taller section near the ridge. Leave 25 cm of swing space in front of the rail so clothes move freely.
What is the best lighting for a windowless attic closet?
Warm white LED strips at 3000K with a motion sensor give the best result for the least effort and cost about 20 to 35 pounds or dollars. If the attic has a proper circuit, recessed puck lights wired by an electrician provide permanent shadow-free light. Avoid cool daylight bulbs, which make fabric colours look harsh and cold.
How do I keep clothes fresh in an attic closet?
Fit a louvred door or a passive vent near the coldest corner and leave a 1 cm gap under the door so air circulates. Line eaves bays with cedar panels or sachets to discourage moths naturally, and keep humidity between 40 and 55 percent with a small monitor. Open the nearest roof window for ten minutes each morning in summer.
Can I build attic closet storage myself or do I need a carpenter?
Most of these ideas are DIY-friendly: rails, LED strips, carpet tiles, peg hooks and boxes need only basic tools and a free weekend. Call a carpenter for knee-wall drawers and an electrician for any wired lighting, since insulation and cables hide behind attic surfaces. Budget 200 to 350 pounds or dollars for a carpenter-built drawer run.