DIY Projects
23 DIY Hair Color Remover Recipes That Gently Fade Unwanted Color at Home
By Anna Wells · · 21 min read
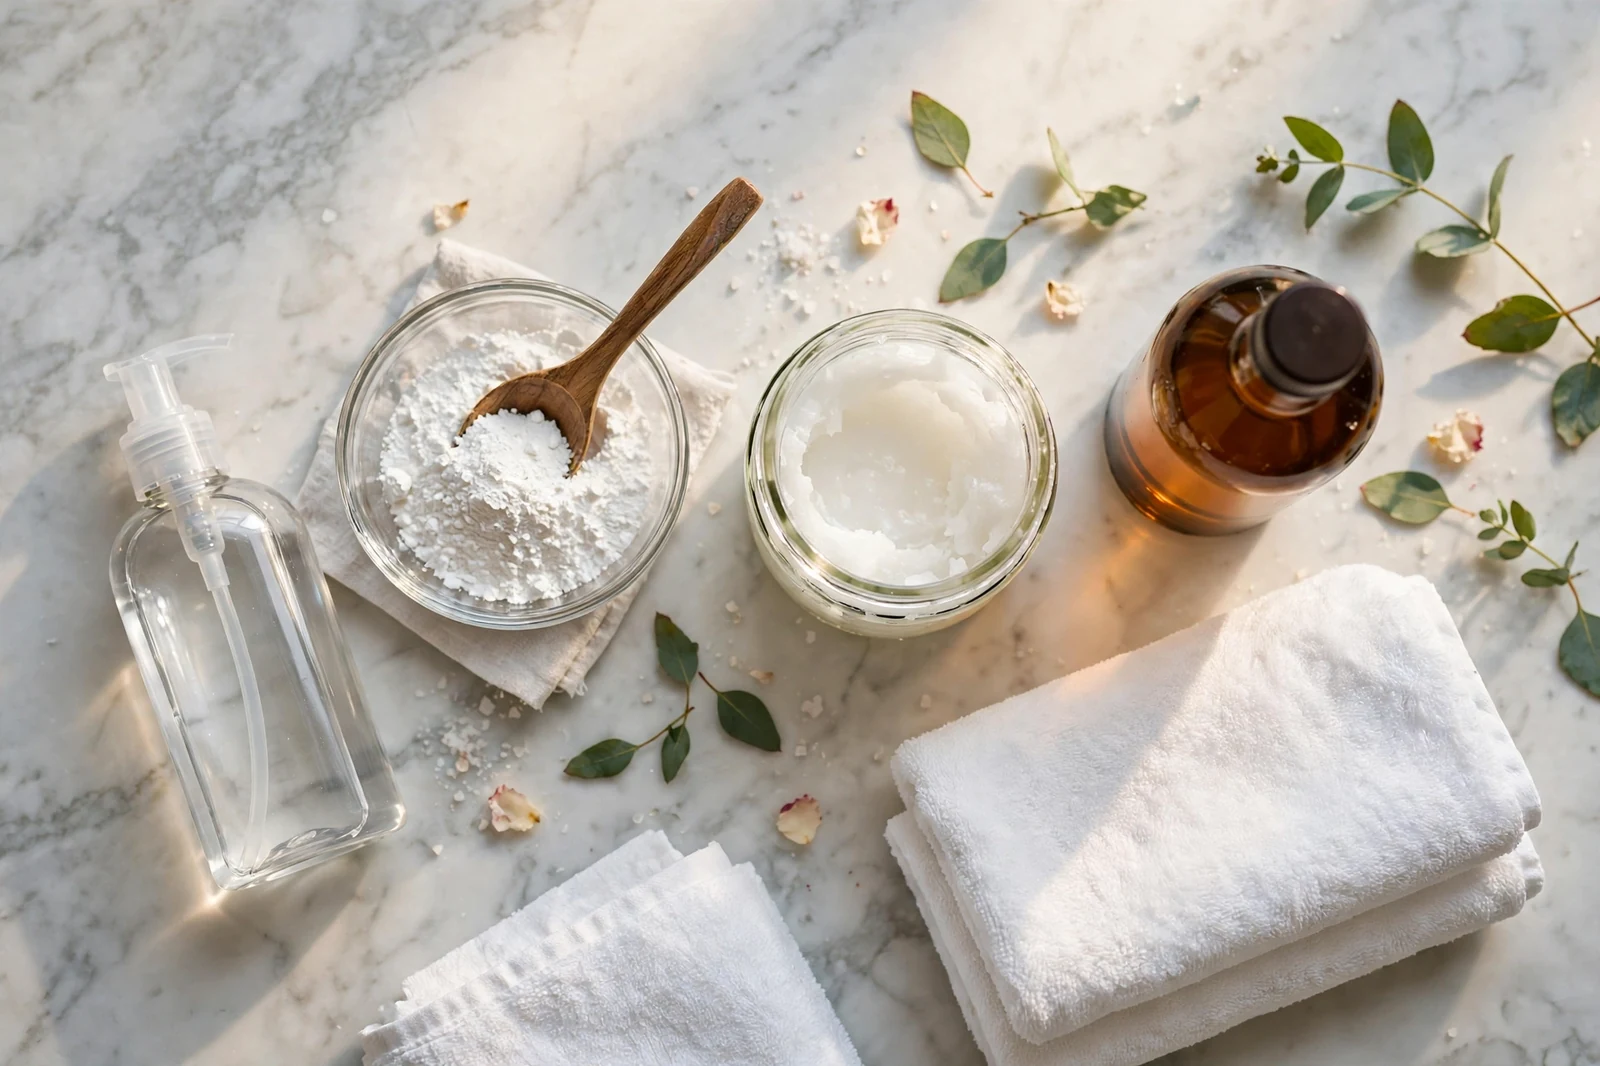
A dye job that turns out too dark, too bright, or simply not you can feel upsetting, but harsh stripping is rarely the answer. These 23 gentle homemade recipes use everyday kitchen staples to encourage unwanted color to fade gradually. Start with the mildest method, always patch test, and condition well after every session.
A hair color that comes out darker, brassier, or simply different from what you imagined can ruin your whole week. Before you reach for anything harsh or book an emergency salon visit, know that many unwanted shades can be softened right at home with surprisingly gentle ingredients. The recipes below rely on everyday kitchen staples and basic shampoos, working gradually instead of stripping aggressively.
One honest note before you begin: most homemade methods are color fading techniques rather than true removers of permanent dye. They shine brightest on temporary color, semi permanent shades, and direct dyes, which naturally release pigment with washing. Results depend on your dye type, hair porosity, and how recently you colored, so patience and realistic expectations will serve you better than any single miracle mixture.
Use this collection from the mildest method downward, and treat your hair kindly throughout. Always patch test a new mixture, never apply anything to a sore or irritated scalp, rinse immediately if you feel stinging, and follow every session with conditioner. If your scalp is blistered, swollen, or strongly reacting after coloring, skip home treatments entirely and seek professional advice.
1. The Simple Clarifying Wash Reset
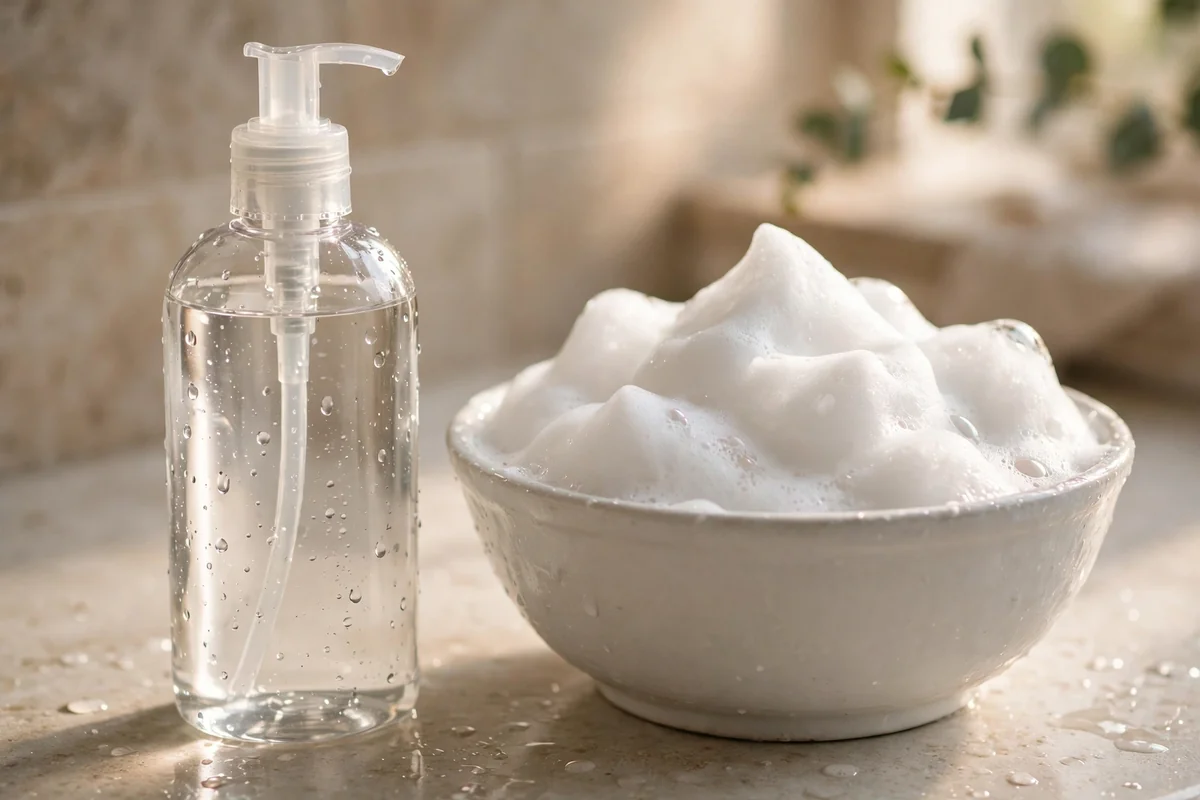
Start with the mildest option in your shower: a clarifying shampoo. Wet your hair fully with comfortably warm water, then massage a coin sized amount of clarifying shampoo through the colored lengths, focusing on the areas that look too dark. Work up a gentle lather with your fingertips, never your nails, and let it sit for one to two minutes before rinsing thoroughly. One careful wash is often enough to lift a surprising amount of fresh semi permanent pigment.
Clarifying formulas cleanse more strongly than everyday shampoo, so restraint matters. Limit yourself to one wash per session and always follow with a generous conditioner, leaving it on for three to five minutes. Judge the result only after your hair is fully dry, since wet strands always look darker. If the color still feels too intense, repeat the same gentle wash at your next regular shampoo day rather than scrubbing repeatedly in one sitting.
2. The Gentle Double Cleanse Method
When a single wash barely moves fresh, heavily pigmented color, try two gentle shampoo passes in one shower instead of one aggressive one. The first cleanse removes surface oils, styling buildup, and loose dye sitting on the hair shaft. Rinse extremely well, then shampoo a second time with the same mild product, letting the lather sit for about a minute. This layered approach fades color more effectively than scrubbing harder once.
The key word is gentle, because two washes can still dry out vulnerable hair. Use lukewarm water rather than hot, keep your massage light, and stop after the second pass even if you want to keep going. Follow with a rich conditioner from mid lengths to ends. Reserve this method for occasional use on recently colored hair, and return to your normal single wash routine on other days.
3. Crushed Vitamin C Brightening Mask
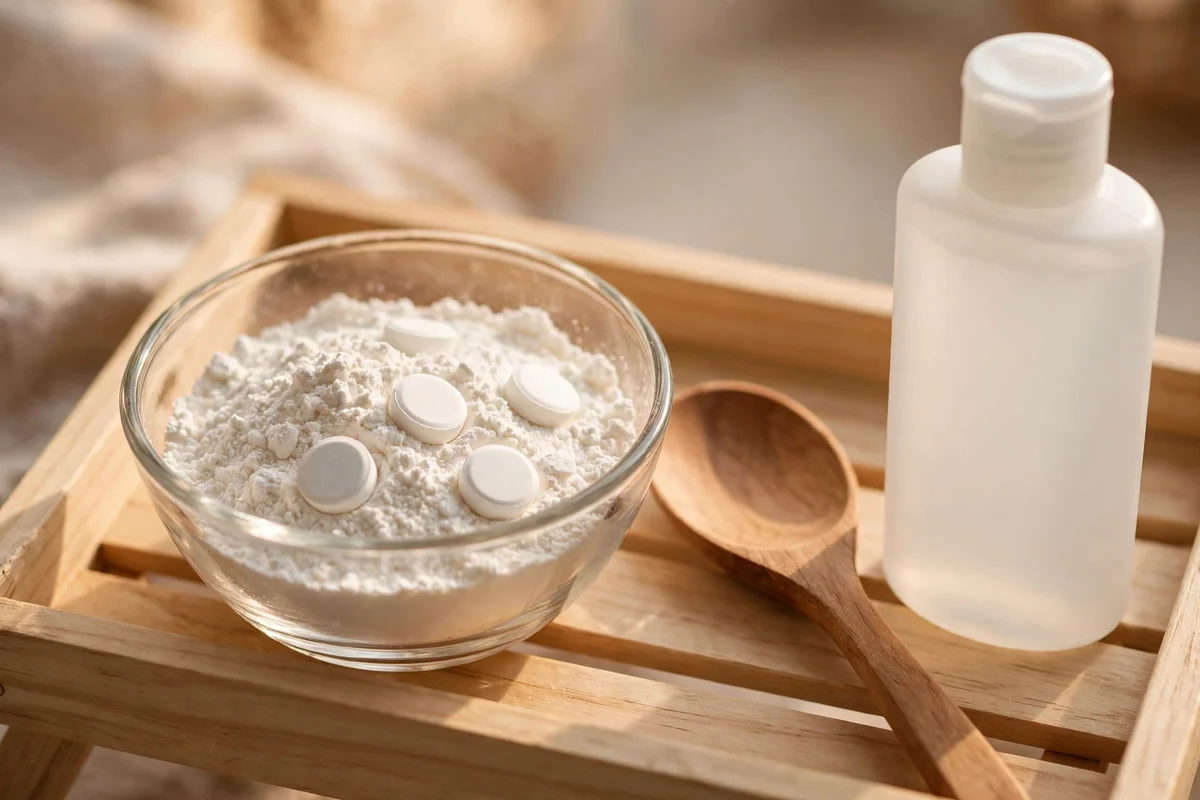
Crushed vitamin C tablets mixed with shampoo form one of the most popular DIY fading pastes, and it deserves its reputation when used carefully. Crush 10 to 15 plain vitamin C tablets into a very fine powder, removing every gritty bit, then stir the powder into two tablespoons of clarifying shampoo until you have a smooth, spreadable paste. Apply it mainly to the lengths where unwanted pigment is strongest, avoiding the scalp if your skin is sensitive.
Cover your hair with a shower cap and leave the paste on for 30 to 45 minutes, then rinse extremely thoroughly and condition deeply. The mild acidity helps loosen artificial dye molecules, especially in semi permanent color. Do not expect it to erase permanent dye or return your exact original shade. If you feel any stinging, rinse immediately, and never use this on broken or irritated skin.
4. Vitamin C Spot Fade for Dark Patches
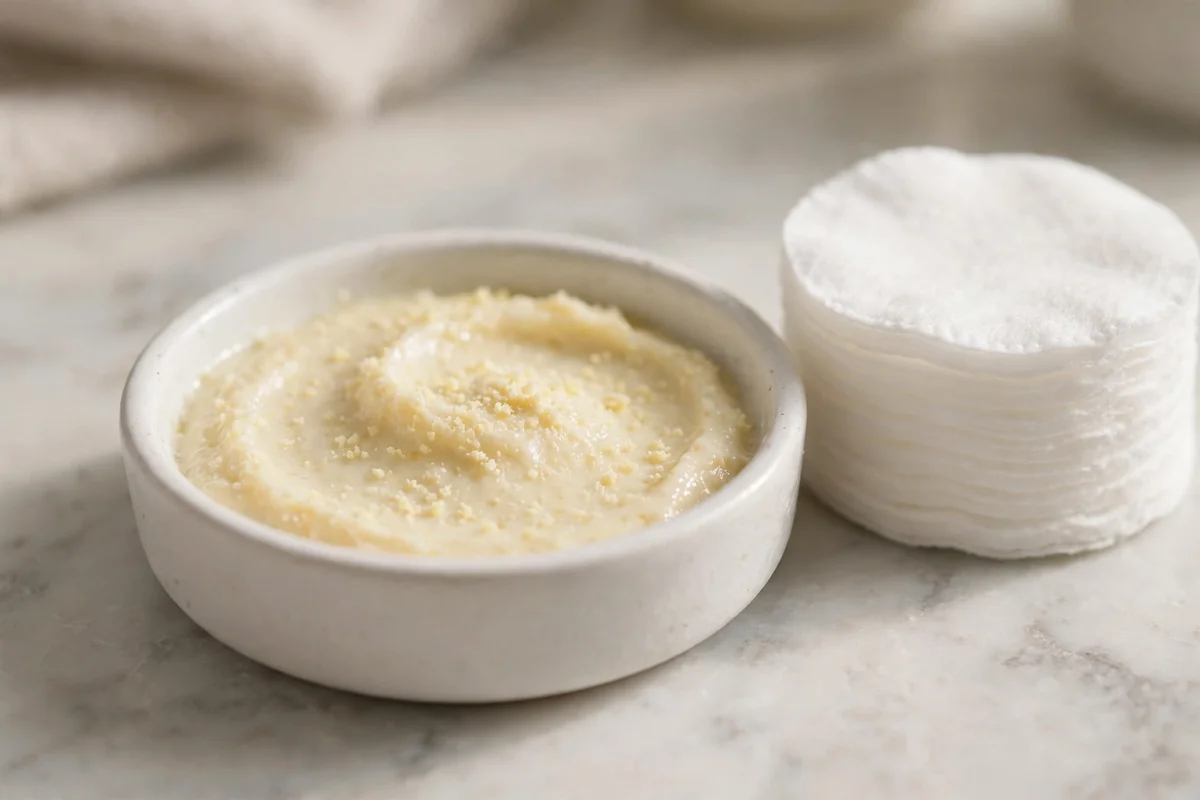
When only certain sections grabbed too much color, a full head treatment is overkill. Mix a small batch of the vitamin C paste from the previous method, just 4 to 5 crushed tablets with a teaspoon of shampoo, and apply it only to the dark patches or banded areas. Clip the rest of your hair away first so the mixture stays exactly where you want the extra fading. This targeted approach uses less product and gives you far more control over the final result.
Keep the contact time conservative, around 20 to 30 minutes, and watch the hairline closely since facial skin can be more reactive. Rinse the treated sections thoroughly, then shampoo and condition your whole head normally. Spot fading is ideal for evening out ends that went too dark or a few strands that absorbed extra pigment, without drying out the sections that already look fine.
5. Baking Soda Gentle Lift Wash
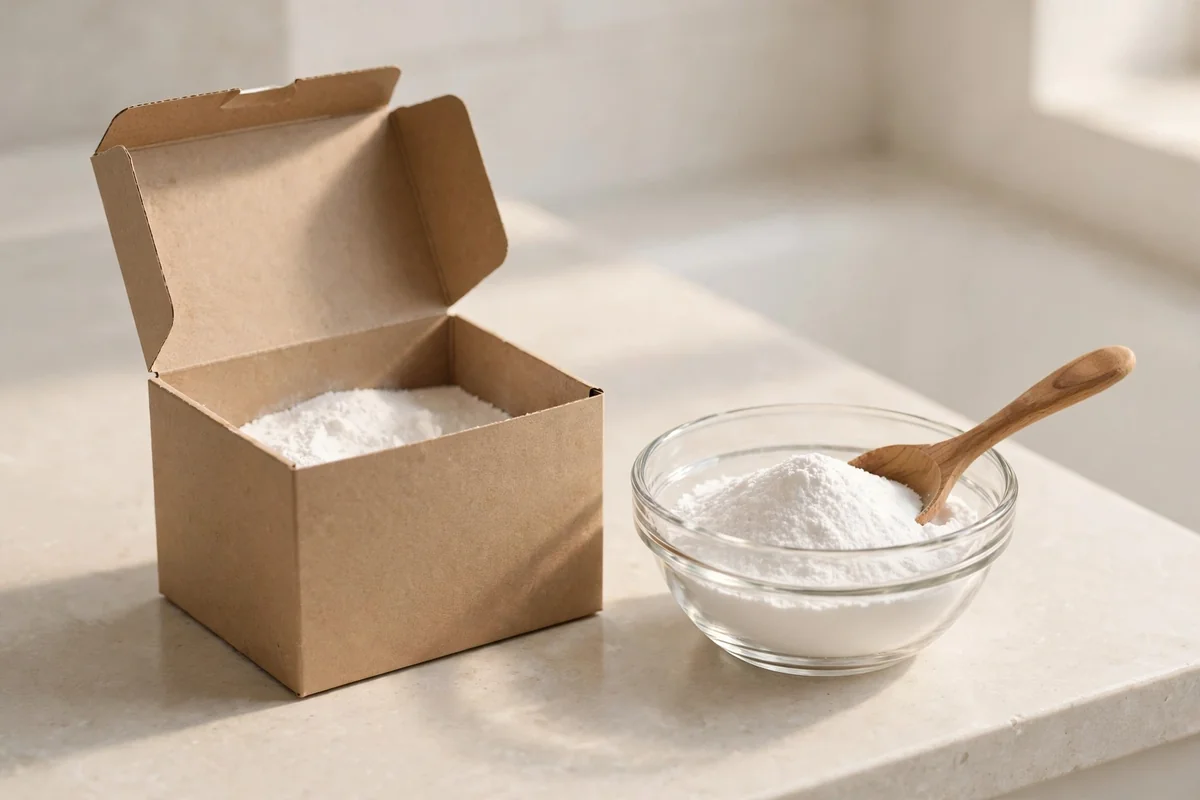
Baking soda shows up in countless homemade color removal recipes, but it calls for a cautious hand. Its alkalinity lifts the hair cuticle, which can release dye, yet the same action leaves hair feeling rough and dry if overused. If you try it, mix just one tablespoon of baking soda into your usual amount of shampoo, work it briefly through healthy feeling colored lengths, and rinse very thoroughly within a couple of minutes.
Never treat this as a regular treatment, and skip it entirely on sore scalps, highly bleached hair, or strands that snap easily. DIY does not automatically mean mild. Always follow with a deep conditioner, and consider this a rare intervention rather than a weekly habit. For fragile hair, ordinary clarifying washes with patience will get you to a wearable shade with far less risk.
6. Diluted Apple Cider Vinegar Rinse
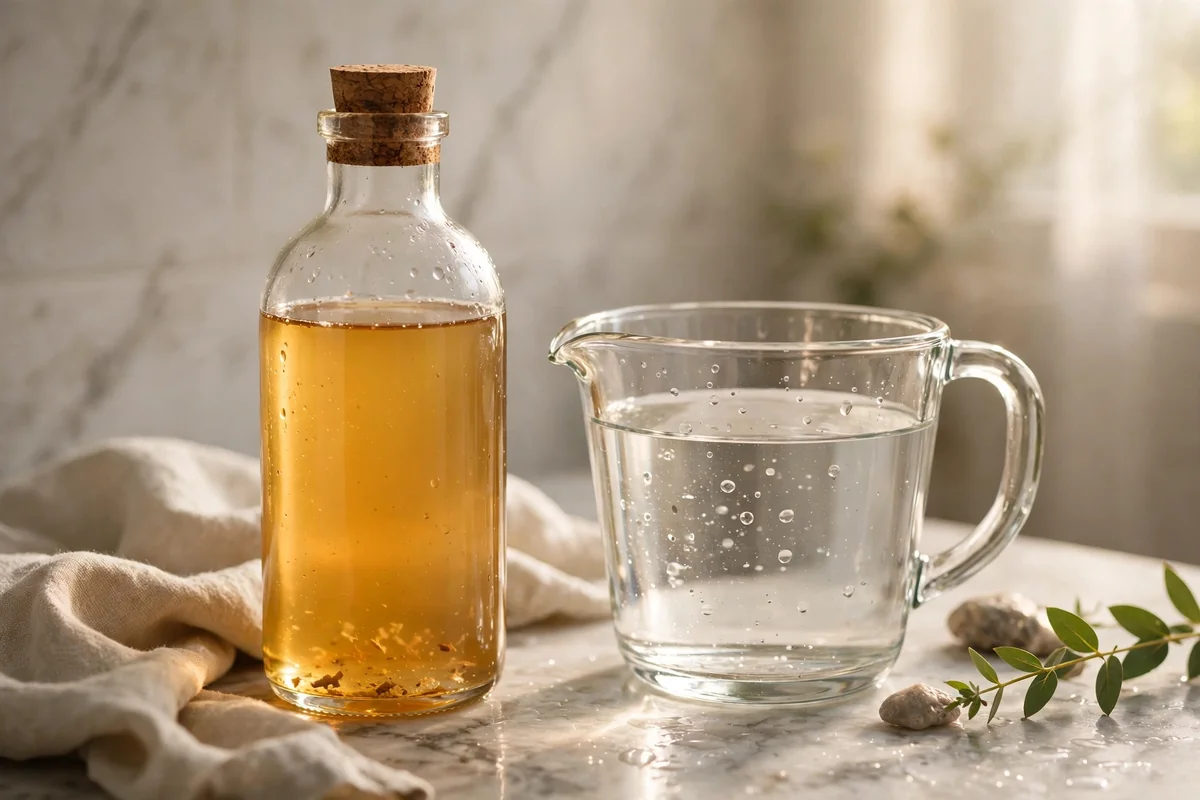
A very diluted apple cider vinegar rinse can help superficial color fade while leaving hair shiny. Mix one to two tablespoons of apple cider vinegar into two cups of cool water, never apply vinegar straight from the bottle. After shampooing, pour the diluted mixture slowly through your lengths, avoid your eyes, let it sit for one minute, then rinse thoroughly and condition if needed.
Respect the dilution because vinegar can irritate skin and eyes when misused, and natural never means harmless. Never combine vinegar with bleach or bleach containing products, since mixing an acid with chlorine bleach can release dangerous gas. Think of this rinse as a gentle cleansing boost that may encourage surface dye to release, not as a reliable remover of permanent color.
7. Warm Water Extended Rinse Session
Sometimes the gentlest recipe is simply shampoo plus extra time under warm water. Saturate your hair completely, shampoo normally, rinse, then let comfortably warm water run through the lengths for several minutes longer than usual. Fresh temporary and semi permanent pigments keep releasing during early washes, so giving ordinary cleansing more time often accomplishes what people try to force with harsher mixtures.
There is no scrubbing, no extremely hot water, and no timer to beat. Stop whenever your hair starts feeling dry, then condition and judge the shade once fully dry. This method costs nothing, risks nothing, and works beautifully in the first week after coloring when excess dye is still sitting near the surface of the hair shaft.
8. Coconut Oil Pre-Wash Shield
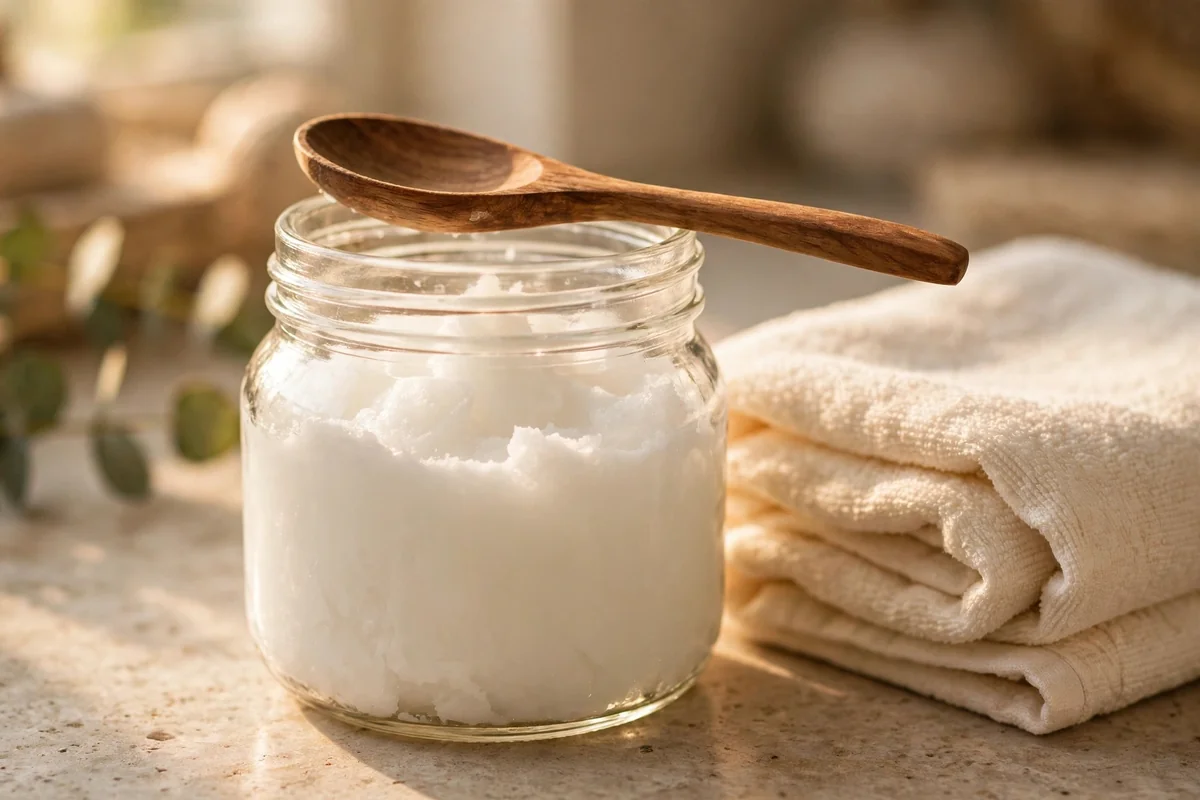
If repeated washing is drying your lengths, a coconut oil pre-wash makes each fading session far kinder. Warm a tablespoon of coconut oil between your palms until it melts, then smooth it through the mid lengths and ends, avoiding an irritated scalp. Leave it on for 20 to 30 minutes, then shampoo thoroughly, twice if needed, to remove the oil along with loosened dye.
Be clear about what the oil does: it protects and softens, but it is not a dependable color remover on its own. The fading still comes from the shampooing that follows. This distinction matters because many tutorials promise oils will pull dye straight out. Use the pre-wash for manageability, the shampoo for fading, and enjoy hair that feels noticeably silkier after every session.
9. Warm Olive Oil Soak and Shampoo
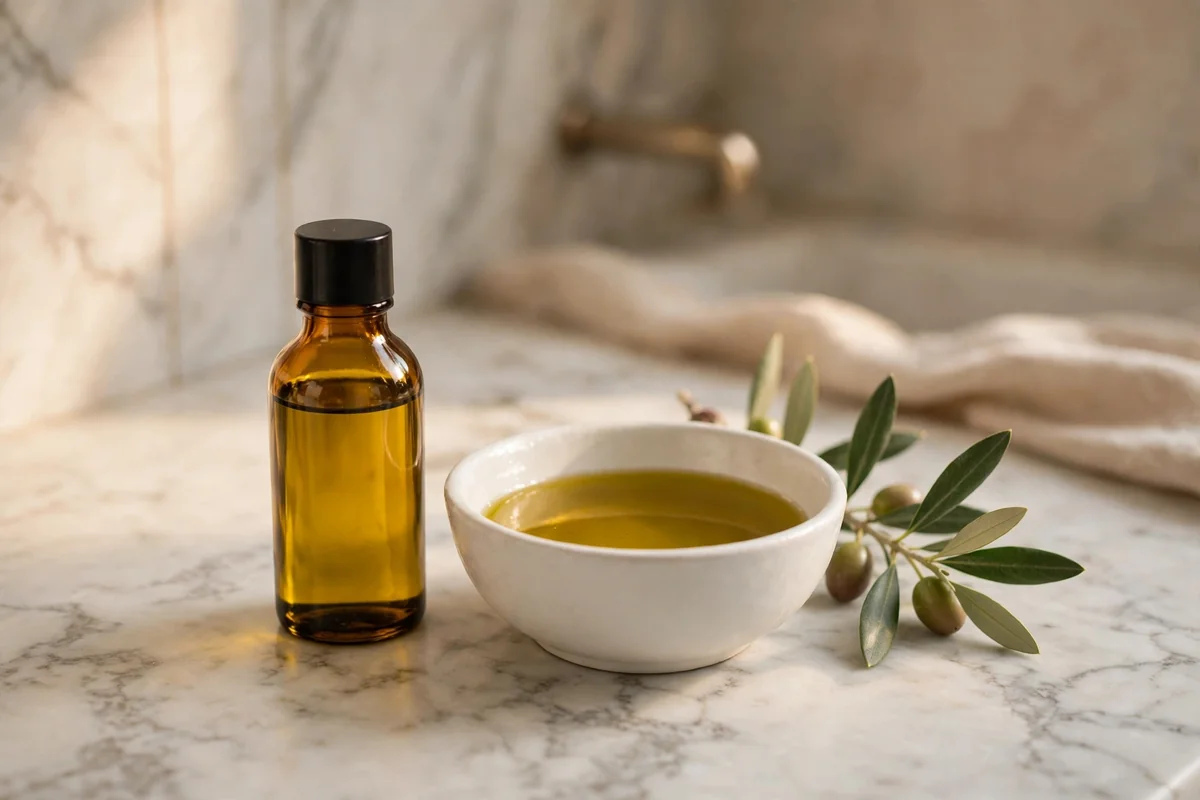
Olive oil offers the same protective idea as coconut oil with a slightly richer feel that very dry hair loves. Warm two tablespoons of plain olive oil between your hands, never on the stove or to a hot temperature, and distribute it through the mids and ends before your next fading wash. After a 20 minute soak, shampoo normally and rinse thoroughly, enjoying how much more manageable the lengths feel.
As with any oil, view this as supportive care during your fading routine rather than a chemical color remover. The real pigment release happens in the shampooing that follows the soak. One caution: avoid excessive heat entirely, and do not combine an oil treatment with aggressive scrubbing. A simple warm oil pre-wash keeps repeated cleansing from turning your hair brittle while you work toward a softer shade.
10. Honey and Conditioner Softening Mask
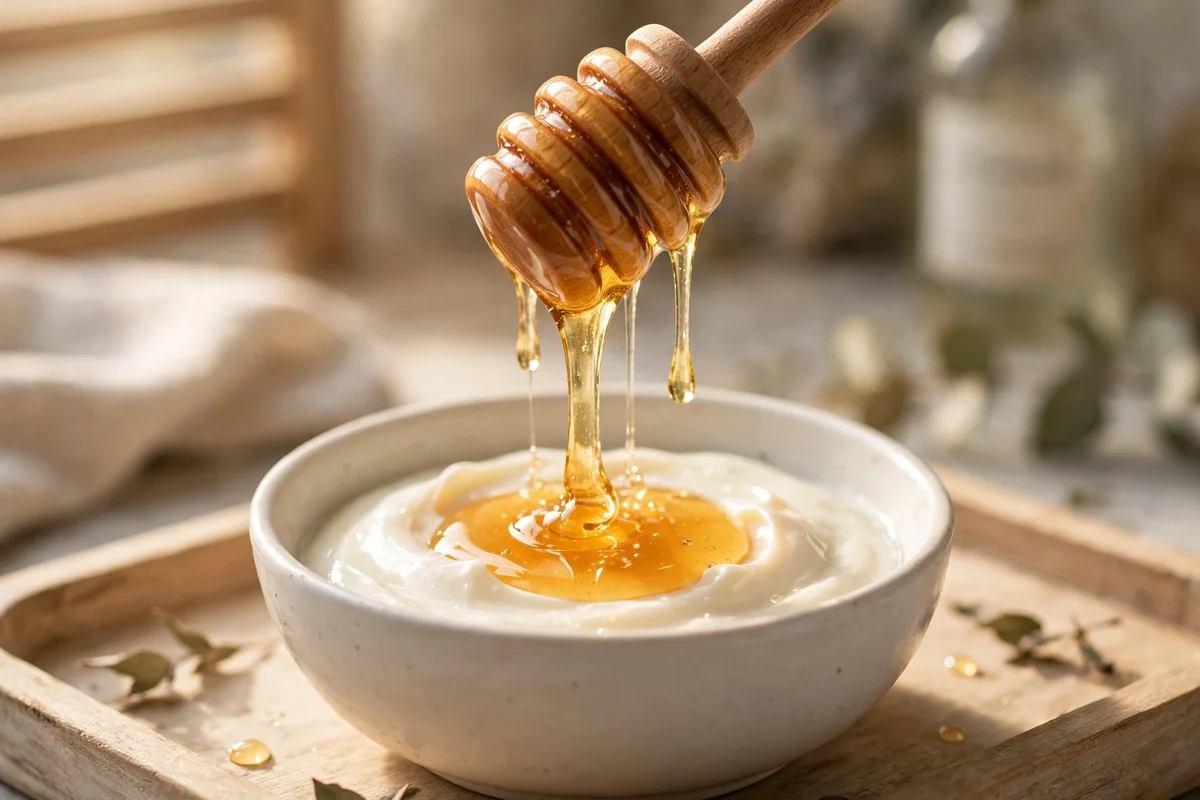
Honey brings gentle humectant properties to a fading routine, drawing moisture into hair that cleansing has left thirsty. Stir one tablespoon of raw honey into three tablespoons of your regular conditioner until smooth, then apply the mixture generously from mid lengths to ends. Leave it on for 15 to 20 minutes under a shower cap, allowing the warmth of your head to help it penetrate, then rinse well.
This mask will not dramatically strip color on its own, and that is precisely its strength. Use it between stronger fading sessions to restore softness and shine, or after any wash that leaves your hair feeling tight. Honey rinses out cleanly with warm water, though very thick honey benefits from thorough rinsing. Your hair will feel noticeably silkier, which makes the whole fading process feel less punishing.
11. Anti-Dandruff Shampoo Tone Down
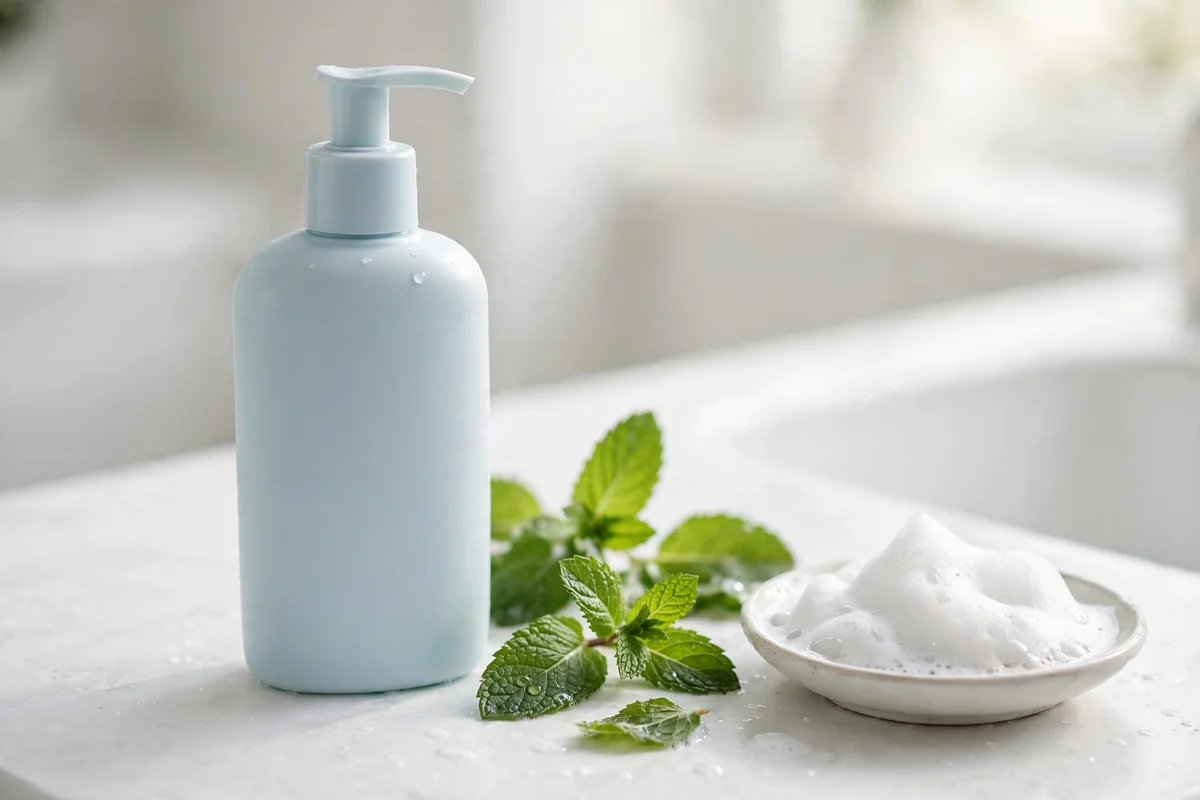
When a semi permanent shade is lovely but simply too saturated, an anti-dandruff shampoo used normally can gradually tone it down. Wet your hair, lather gently, rinse thoroughly, and condition, treating it exactly like a regular wash rather than inventing a concentrated treatment. The goal is gradual fading through normal washing cycles, not stripping the entire dye layer in one dramatic application.
This approach suits situations like a brunette that looks nearly black or a fashion shade that came out brighter than expected. Space the washes according to what your hair tolerates, perhaps every second or third day, instead of shampooing continuously until the ends feel like straw. After several normal washes, the intensity usually settles into something much easier to live with.
12. Conditioner First Protective Wash
If full strength clarifying shampoo leaves your hair feeling stripped, flip the order: condition first, then cleanse. Apply a light conditioner to your fragile ends and leave it while you shampoo the roots and darker upper sections with your fading shampoo of choice. The conditioner acts as a buffer, so the porous ends get a diluted, gentler cleanse while the problem areas receive the full treatment.
Rinse everything thoroughly, then condition the full length again so detangling stays easy. This technique shines after uneven dye jobs where healthy roots grabbed color differently from porous ends. Instead of subjecting every section to identical cleansing, you customize the process. The result is more even fading with noticeably less dryness at the delicate ends.
13. Targeted Fade for Over-Dark Ends
Uneven color deserves an uneven treatment. When the bottom few inches are too dark but everything near the roots looks fine, there is no reason to fade your whole head. Wet your hair, then concentrate your clarifying shampoo primarily on the dark sections, gently emulsifying it there for a minute or two before rinsing everything together. The healthy upper hair gets only incidental contact.
This is one of the most useful lessons in fixing home color: treat the actual problem, not every strand. Targeted washing gradually brings an over pigmented area closer to the rest of your hair while avoiding needless dryness elsewhere. Repeat at normal wash intervals, and check your progress in daylight after drying, since bathroom lighting can be misleading about how dark ends really look.
14. Dish Soap Emergency Fade, Used Sparingly
Dish soap appears in DIY color removal advice because it is a strong degreasing cleanser, but it belongs firmly in the emergency only category. If you try it, use a pea sized amount mixed into your regular shampoo, apply once to the colored lengths, and rinse immediately and thoroughly. Never use it straight, never leave it sitting, and never repeat it in the same week. Its harshness can leave hair feeling stripped and rough very quickly.
Follow with the richest conditioner you own, left on for a full five minutes. Honestly, most people are better served by the gentler methods on this list, but understanding the strongest household option helps you make an informed choice. If your hair already feels fragile, skip this one entirely and choose patience over power.
15. Diluted Lemon Rinse for Gradual Lightening
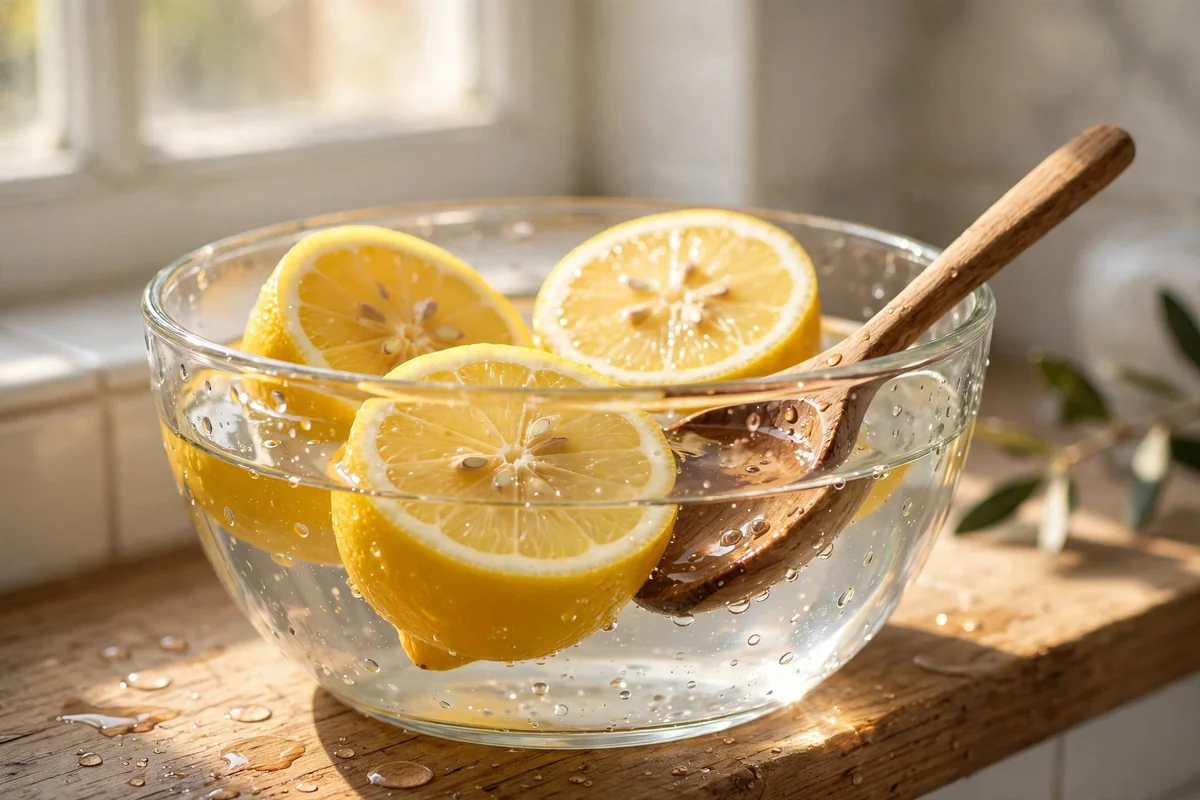
Lemon juice has a long folk history as a gradual lightener, and heavily diluted it can gently nudge unwanted warmth or darkness. Squeeze the juice of one lemon into two cups of cool water, pour it through damp hair after shampooing, and leave it for no more than five minutes before rinsing very well. The citric acid works slowly, so expect subtle shifts over several uses rather than a dramatic change.
Use this one thoughtfully, because lemon can be drying and may increase sun sensitivity on hair. Always dilute, always rinse thoroughly, and always condition afterward. Avoid it on irritated scalps and on very damaged hair. For many people, lemon works best as an occasional brightening rinse between deeper conditioning treatments rather than as a primary fading method.
16. Chamomile Tea Rinse for Warm Tones
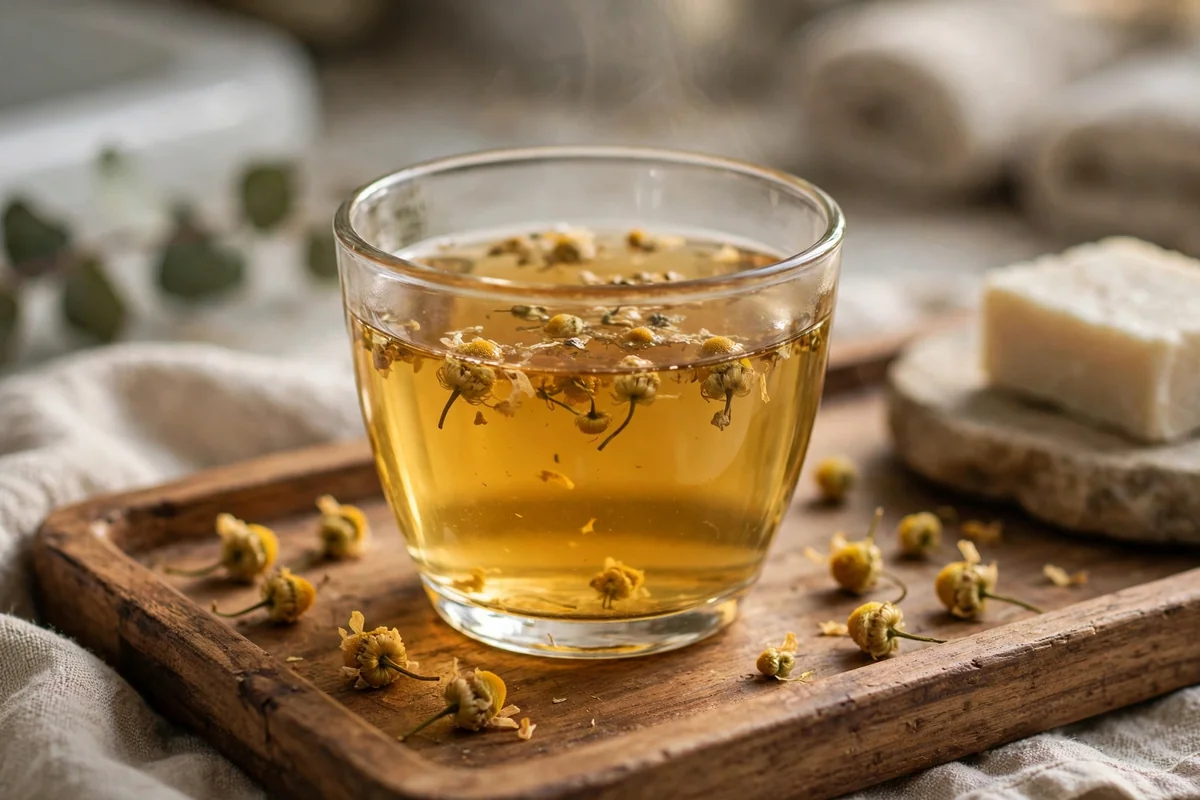
Chamomile tea offers one of the kindest rinses on this list, lovely for softening harsh warm tones without any sting. Brew two strong bags in two cups of hot water, let the tea cool completely to room temperature, then pour it slowly through clean, damp hair. Leave it for 10 to 15 minutes while you finish your shower routine, then rinse lightly and condition as usual.
The effect is subtle and cumulative, which makes it perfect for sensitive scalps or fragile hair that cannot handle acids or alkalis. Chamomile will not remove stubborn permanent color, but it can take the edge off brassy or overly warm results and leaves hair smelling delicately herbal. Repeat weekly as a soothing, low risk part of your fading routine.
17. Epsom Salt Clarifying Soak
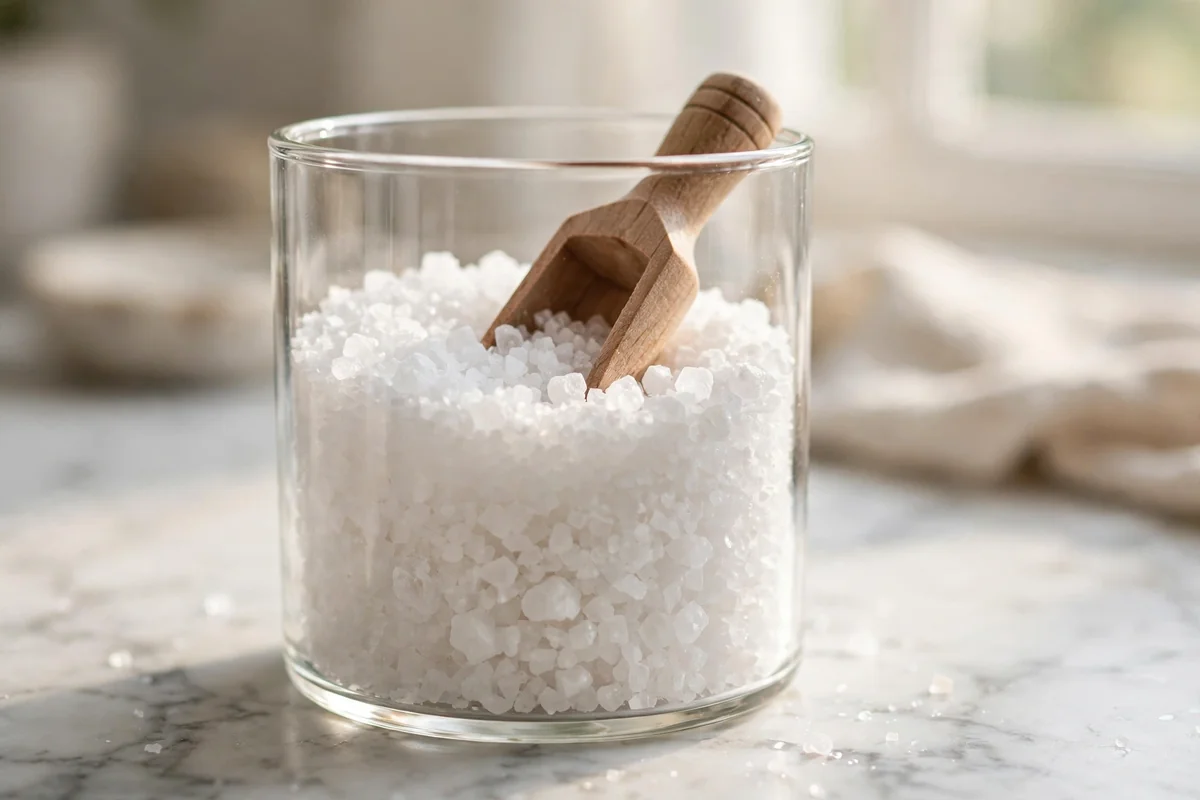
Epsom salt dissolved in warm water creates a mineral rich soak that can help loosen surface dye while feeling gentler than baking soda. Dissolve three tablespoons of plain, fragrance free epsom salt into a basin of comfortably warm water, then soak your lengths for 10 to 15 minutes, keeping the solution away from your eyes. Follow with a normal shampoo and a thorough conditioning.
The salt water helps draw out loose pigment and product buildup, making it a nice occasional reset between regular washes. Rinse very well afterward, since salt residue can be drying if left behind. As always, condition generously, and skip this method if your scalp is irritated. It works best as a supporting treatment rather than your main fading strategy.
18. White Vinegar Quick Rinse
Plain white vinegar, well diluted, works much like apple cider vinegar as a clarifying rinse that may encourage surface color to release. Mix one tablespoon of white vinegar into two cups of cool water and pour it through shampooed hair, avoiding the eyes. Let it sit for just one minute, then rinse thoroughly and condition. The whole process takes moments, which makes it easy to add to a normal shower.
Keep the concentration low and the contact time short, because stronger vinegar solutions can irritate skin. Never mix vinegar with bleach or bleach containing products. Used correctly, this rinse leaves hair feeling clean and looking shinier while giving fading a small, safe nudge. It pairs well with a weekly clarifying wash for steady, gentle progress.
19. Aloe Vera Soothing Wash Blend
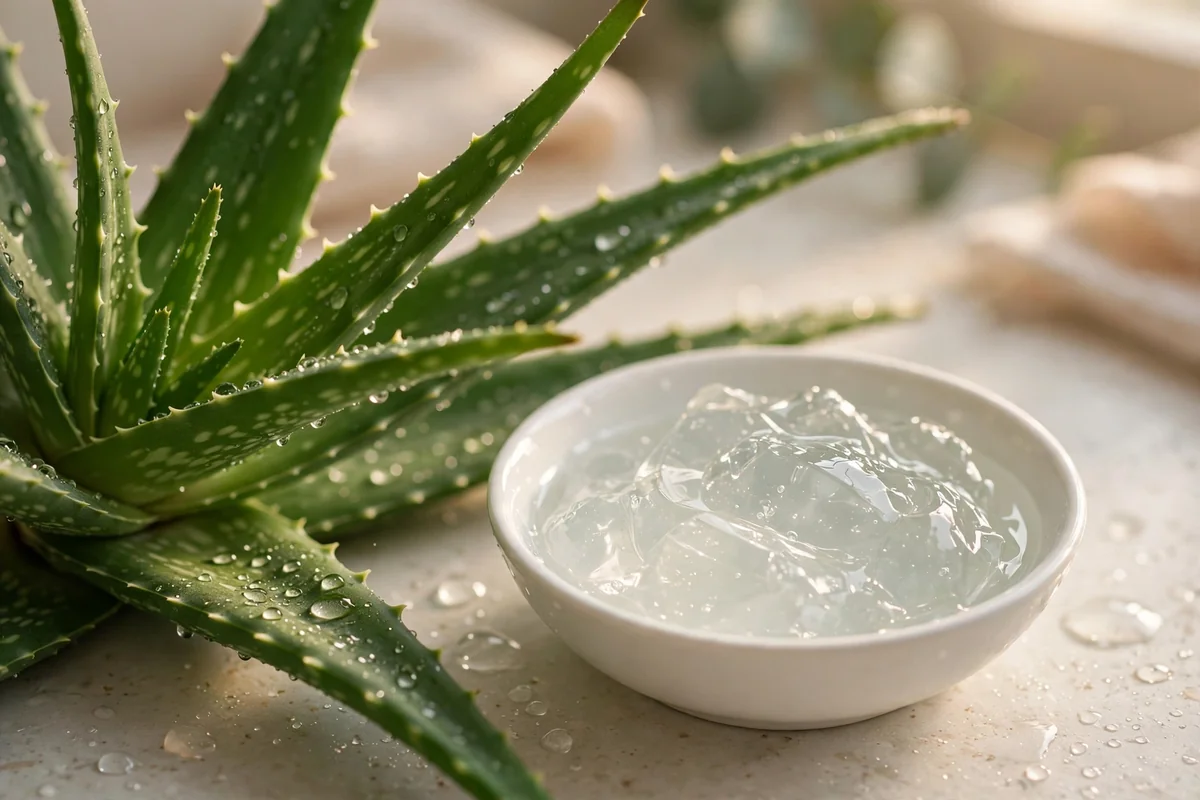
Aloe vera gel brings soothing, hydrating qualities to a fading routine, perfect for scalps that dislike acids. Mix two tablespoons of pure aloe vera gel with your usual amount of gentle shampoo, then wash normally, massaging lightly and rinsing well. The aloe helps the cleanse feel less stripping while supporting a calm, comfortable scalp throughout the process.
This blend will not aggressively lift color, and that is the point. Use it on days when your hair needs a break from stronger methods but you still want steady fading progress. Aloe rinses cleanly and suits most hair types, including fine hair that heavier oils can weigh down. Keep a bottle of pure gel in your shower caddy as your gentle day option.
20. Yogurt and Shampoo Creamy Fade
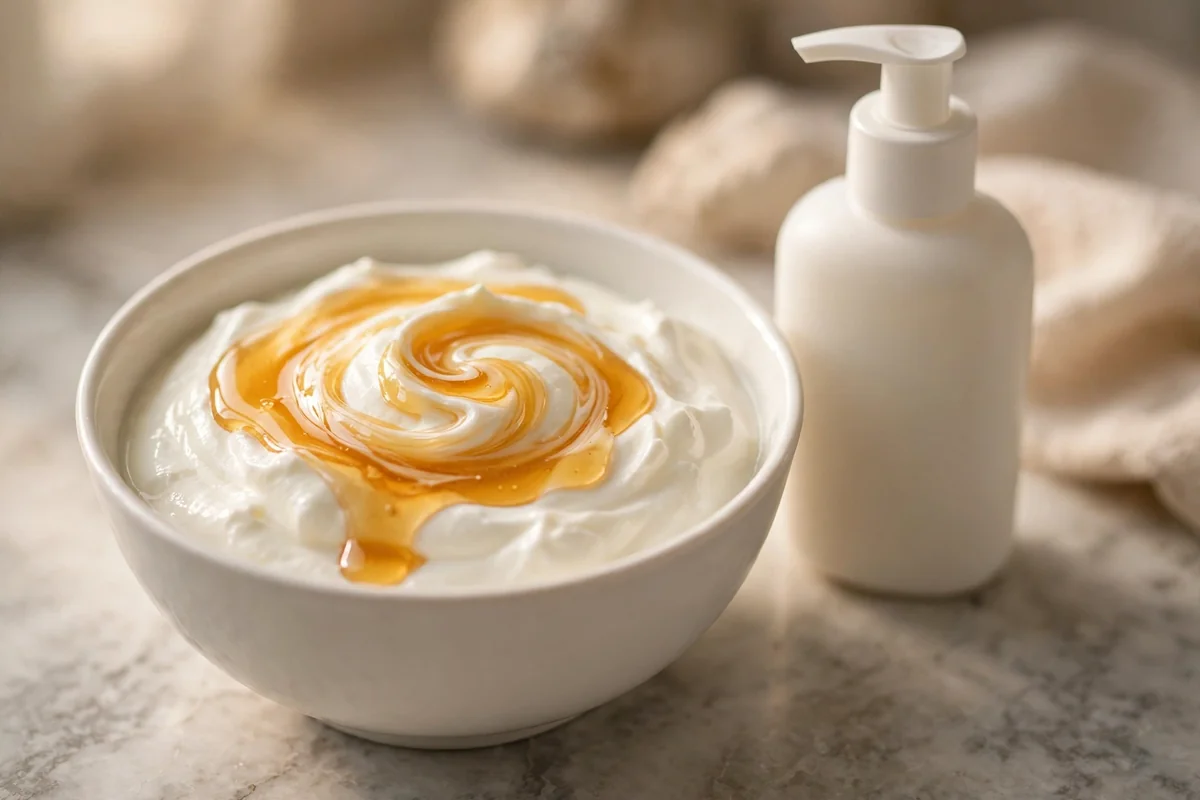
Plain yogurt mixed with shampoo creates a creamy, protein rich wash that fades color while treating hair kindly. Stir two tablespoons of plain, unsweetened yogurt into your regular shampoo until smooth, then work it through damp hair as usual. The lactic acid offers very mild exfoliation of dye sitting near the surface, while the yogurt base keeps the cleanse feeling cushioned and moisturizing.
Leave the mixture on for three to five minutes before rinsing thoroughly with warm water, then condition lightly. This is an excellent choice for dry or mature hair that finds clarifying shampoos too harsh. Use plain yogurt only, since sweetened or flavored varieties add sugars and additives your hair does not need. The result is gentle fading with noticeably softer texture.
21. Ground Oatmeal Gentle Cleansing Mix
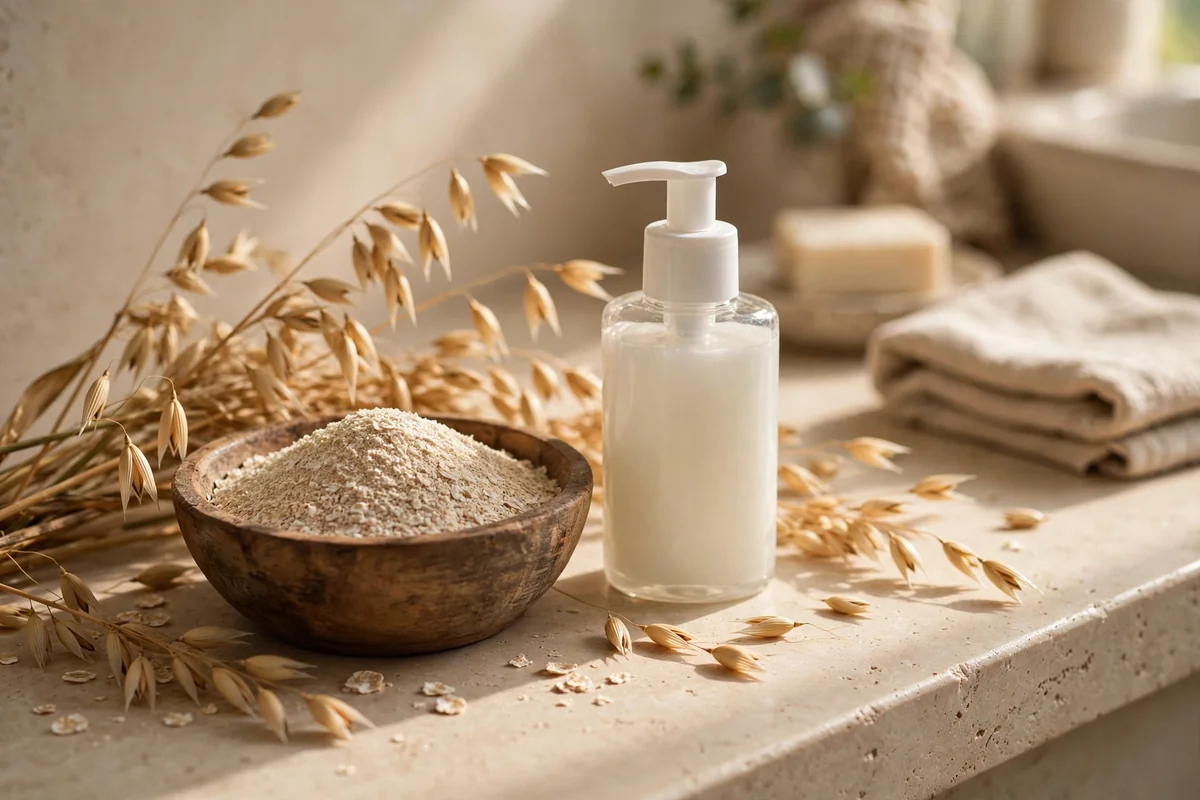
Finely ground oatmeal, the kind used for soothing baths, makes a wonderfully gentle addition to a fading shampoo. Grind plain rolled oats to a fine flour in a clean coffee grinder, then stir one tablespoon into your shampoo. The fine particles provide the softest physical exfoliation, helping lift surface dye without any chemical harshness, and oatmeal is famously kind to sensitive skin.
Massage the mixture lightly through damp hair, rinse extremely well so no residue remains, and condition as usual. This method suits irritated scalps and delicate hair far better than baking soda or salt based options. The fading effect is modest, so think of oatmeal as your comfort choice: steady, soothing progress that never leaves your hair feeling punished.
22. Deep Conditioning Between Fade Sessions
The secret to successful DIY fading is not only what removes the color, but what you do between sessions. After any fading treatment, apply a rich deep conditioning mask from mid lengths to ends, cover with a shower cap, and leave it for 15 to 20 minutes. The warmth helps moisture penetrate the slightly raised cuticle, restoring the softness and elasticity that cleansing takes away.
Make this non negotiable, not optional. Hair that stays moisturized tolerates the next fading session far better, which means you reach your goal shade faster overall. Alternate your calendar strictly: one fading wash, then one deeply conditioning wash, then reassess. When impatience tempts you to stack treatments, remember that healthy feeling hair shows color more beautifully than dry, over processed strands ever will.
23. The Patient Wash Cycle: Letting Time Work
The most underrated recipe on this list is simply time plus your normal routine. Temporary and semi permanent shades are designed to change with washing, so a calm cycle of regular shampooing, thorough conditioning, and honest reassessment accomplishes a great deal without any special treatment. Wash on your normal schedule, condition well, and evaluate the color in daylight once hair is fully dry.
This approach is the kindest choice for hair that has already been bleached or chemically processed, since it needs recovery time more than another treatment. Give each wash day a week or two before deciding the color truly needs intervention. More often than not, the shade you disliked on day one softens into something you genuinely like by day ten, with your hair health fully intact.
Closing Thoughts
Unwanted hair color feels urgent, but the gentlest path is usually the wisest one. Start with the mildest methods, space your sessions, condition generously, and let gradual fading do its quiet work. Your hair will thank you with softness, shine, and a shade that finally feels like you.
If a shade truly will not budge, or your hair feels fragile, there is no shame in calling a professional colorist. Knowing when to hand the problem to an expert is part of caring for your hair well.
Frequently Asked Questions
Will these recipes remove permanent hair dye completely?
Honestly, no. These homemade methods are color fading techniques, not true removers of permanent oxidative dye. They work best on temporary color, semi permanent dye, and direct dyes, which release pigment with washing. Permanent color sits deeper in the hair shaft and usually needs a professional colorist for major correction. Think of these recipes as a way to soften, lighten, or even out an unwanted shade gradually.
How often can I safely try a fading treatment?
Space treatments according to how your hair feels, not a fixed schedule. A gentle clarifying wash or diluted rinse once or twice a week is plenty for most hair types. Stronger options like vitamin C masks or baking soda washes should be used even less often, with deep conditioning between sessions. If your hair feels rough, stretchy when wet, or unusually tangly, pause all fading treatments and focus on moisture until it recovers.
Should I do a patch test before trying these recipes?
Yes, always. Apply a small amount of any mixture to a discreet section of hair and a tiny area of skin near your hairline, then wait 24 hours. This is especially important for acidic mixtures like vitamin C or vinegar, which can irritate sensitive skin. Skip every recipe on this list if your scalp is sore, blistered, swollen, or reacting after coloring, and seek professional advice instead of treating it at home.
Why does my hair feel dry after fading treatments?
Most fading methods work by opening the hair cuticle or cleansing more aggressively, and both processes remove natural oils along with dye pigment. Colored hair is already more vulnerable to dryness, so the effect is noticeable. Always follow every fading session with a rich conditioner or mask left on for several minutes, and consider an oil pre-wash before your next session to keep the lengths feeling supple.
When should I see a professional instead of DIY fading?
Book a colorist when you need a dramatic correction of permanent color, when the result is very uneven, when your hair is already fragile or breaking, or when you have had any scalp reaction to dye. A professional can assess your hair history and choose the safest correction path. DIY fading is wonderful for softening a too dark semi permanent shade, but it is not a substitute for expert help with complex color problems.