Home Improvement
23 Ideas to Remove Yellow Stains from White Clothes That Bring Back Crisp, Fresh Brightness
By Anna Wells · · 26 min read
Yellow stains on white clothes are frustrating, but most respond beautifully to simple, inexpensive treatments. These 23 ideas cover gentle first steps through targeted methods for stubborn cases, with fabric safety notes throughout.
There is nothing quite as crisp as a truly white shirt, and nothing quite as frustrating as watching that brightness fade into yellow. Whether the culprit is sweat, deodorant, body oils, sunscreen, hard water, or months in storage, yellow stains on white clothes are one of the most common laundry complaints in any household. The good news is that most of them respond beautifully to simple, inexpensive treatments you probably already own.
This guide gathers 23 practical ideas for removing yellow stains from white clothes, organized from the gentlest first steps to targeted treatments for stubborn cases. You will find natural options like baking soda, white vinegar, lemon juice, and sunlight alongside smart techniques for diagnosing the real cause before you scrub. Every method includes fabric safety notes and mistakes to avoid, so you can restore your whites with confidence instead of guesswork.
Work through the list in order, starting with the mildest approach that fits your stain, and always check the care label first. With a little patience and the right method, those dingy shirts, pillowcases, and linens can look fresh and bright again.
1. Flush Fresh Sweat Marks With Cold Water First
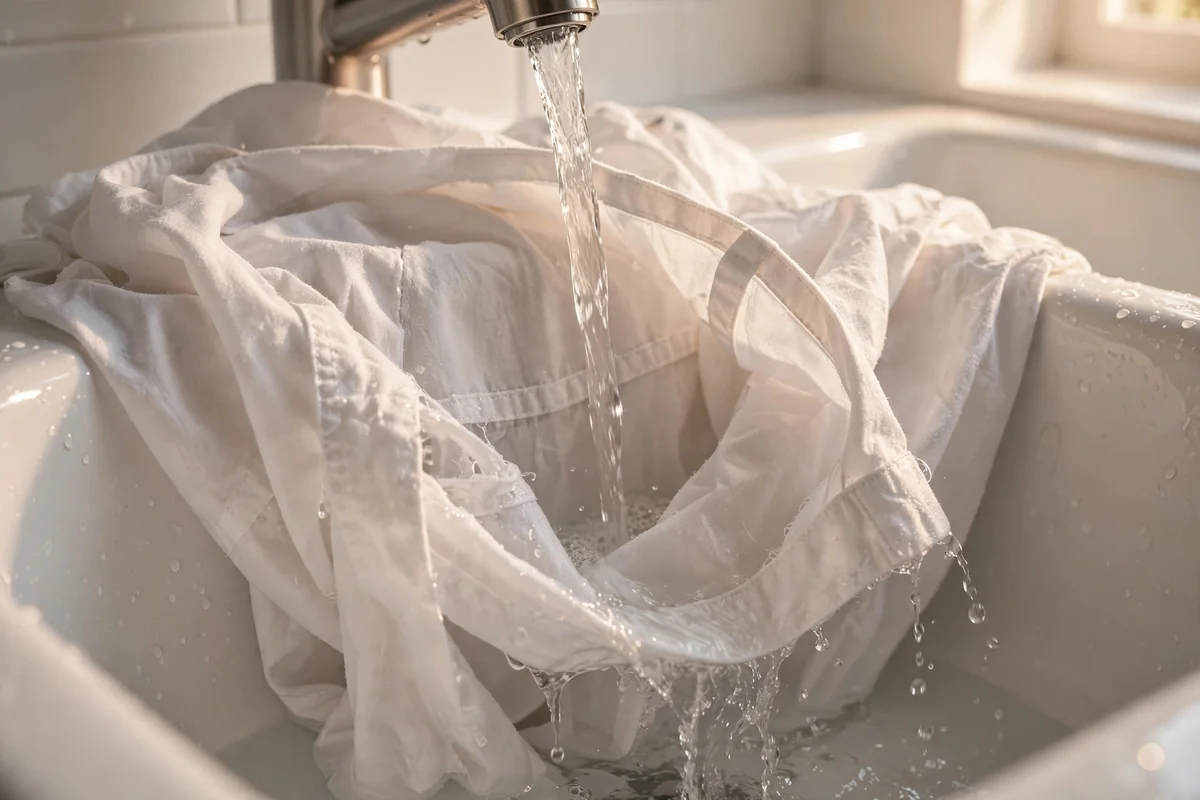
The moment you spot a fresh yellow mark under the arms of a white shirt, head for cold water before anything else. Turn the garment inside out so the water hits the side where sweat and deodorant first soaked in, then let a steady stream of cool water run through the back of the stain for two to three minutes. This simple flush carries away salts, body oils, and fresh perspiration before they oxidize into a stubborn yellow cast.
Resist the urge to scrub hard or reach for hot water, since heat can set protein-based sweat stains and make them far harder to lift later. Instead, gently work the damp fabric between your fingers to loosen residue, then move straight to a targeted treatment while the area is still damp. Think of this rinse as first aid rather than the cure: it buys you time and gives every method below a much cleaner starting point, which often means fewer repeat treatments.
2. Whip Up a Baking Soda Paste for Underarm Stains
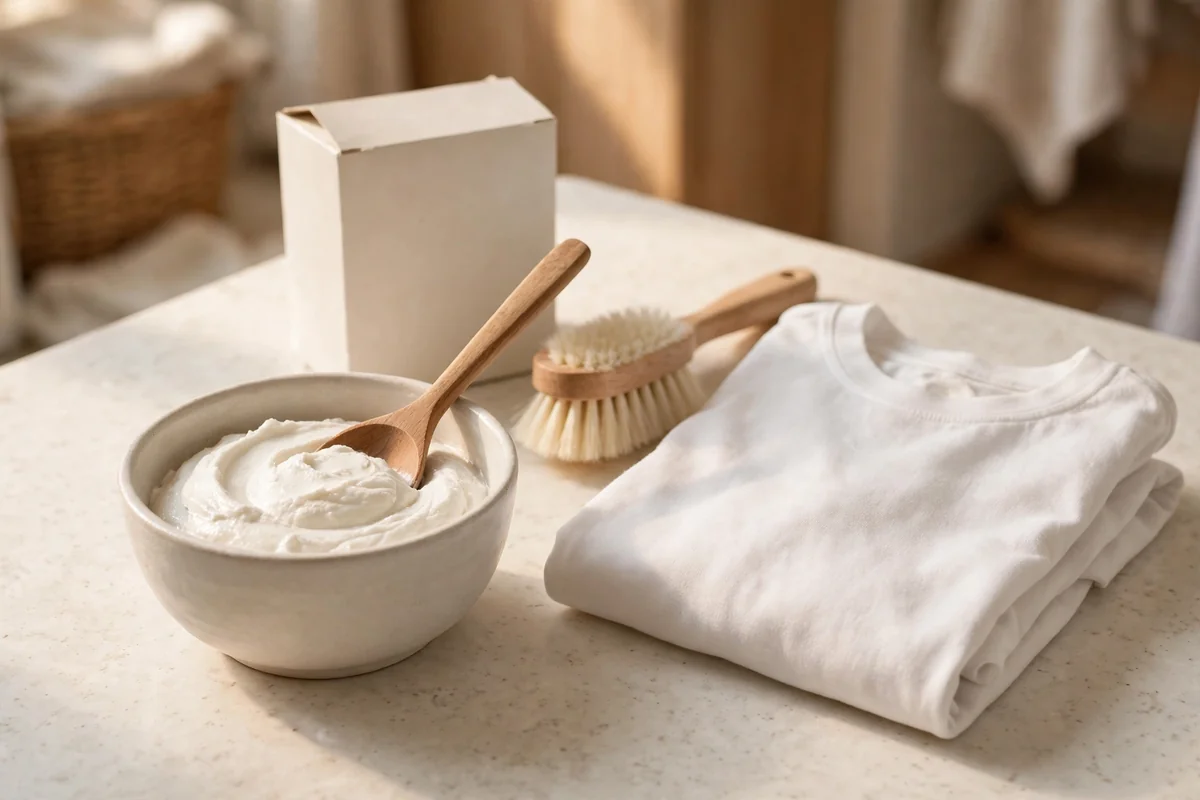
A thick baking soda paste is one of the most reliable first treatments for yellow underarm stains on sturdy white cotton. Mix three tablespoons of baking soda with just enough cool water to form a spreadable paste, about the consistency of toothpaste. Turn the shirt inside out, spread the paste generously over the yellowed area with your fingers or a soft laundry brush, and let it sit for 30 minutes. The mild alkali loosens the acidic sweat and deodorant residue trapped in the fibers.
After the wait, rinse the paste out thoroughly with cool water and launder the shirt as usual with your regular detergent. Keep expectations realistic for old stains: one round may only lighten the mark, and that is perfectly normal. Simply air dry the shirt, check the result in daylight, and repeat the treatment rather than escalating to harsher chemicals. This patient, repeatable approach protects the fabric while steadily lifting the discoloration.
3. Soak Dingy Whites in a Baking Soda Bath
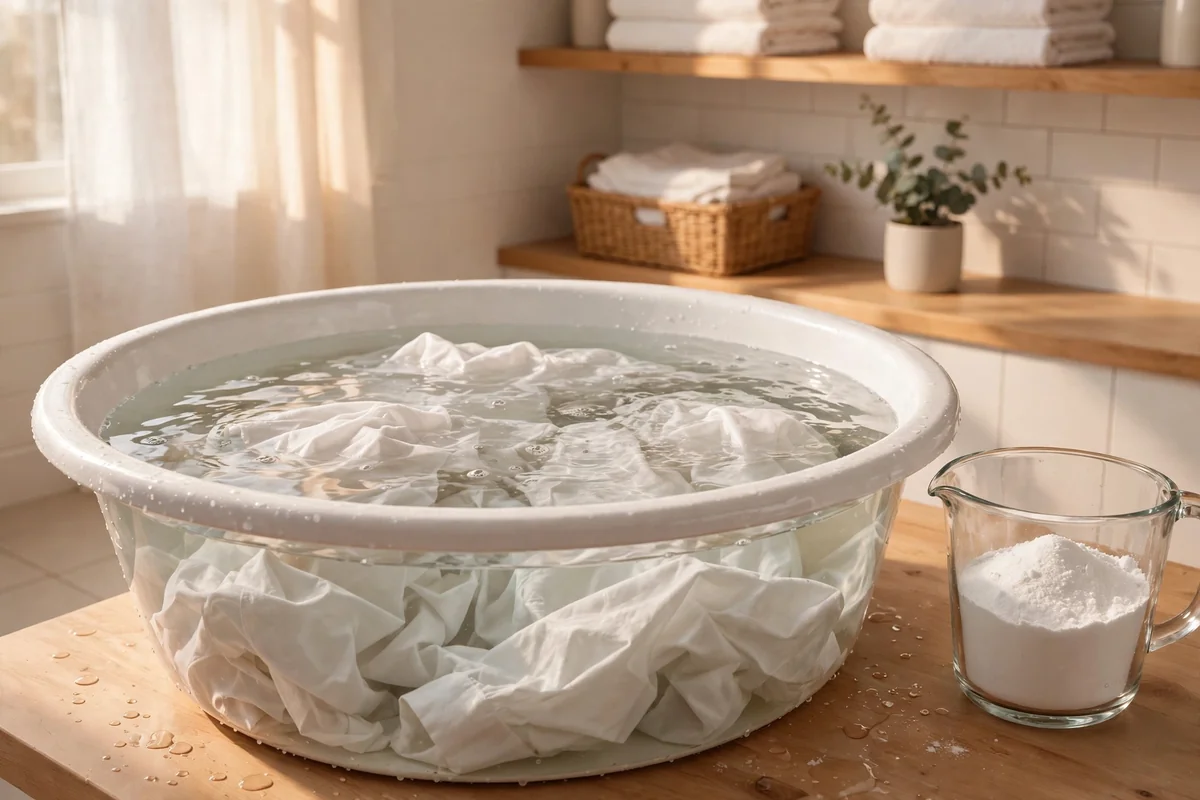
When a white garment looks yellowed all over rather than in one spot, switch from a paste to a full soak. Fill a clean basin or bucket with warm water at a temperature the care label allows, then dissolve half a cup of baking soda completely before adding the clothes. Submerge the garments fully, swish them gently so no folded section sits above the waterline, and let them rest for 30 to 60 minutes. This bath loosens the gradual buildup of body soil, detergent film, and minerals that dull whites over time.
After soaking, transfer the clothes straight to the washing machine and run your normal cycle with the usual amount of detergent. Resist adding extra soap, since excess detergent leaves its own residue that can re-dull the fabric. This method works beautifully on cotton undershirts, pillowcases, socks, and everyday basics that have lost their brightness slowly. For very dingy loads, you can extend the soak up to four hours, but always rinse and wash afterward rather than leaving baking soda sitting in the fibers.
4. Brighten Old Perspiration Marks With a White Vinegar Soak
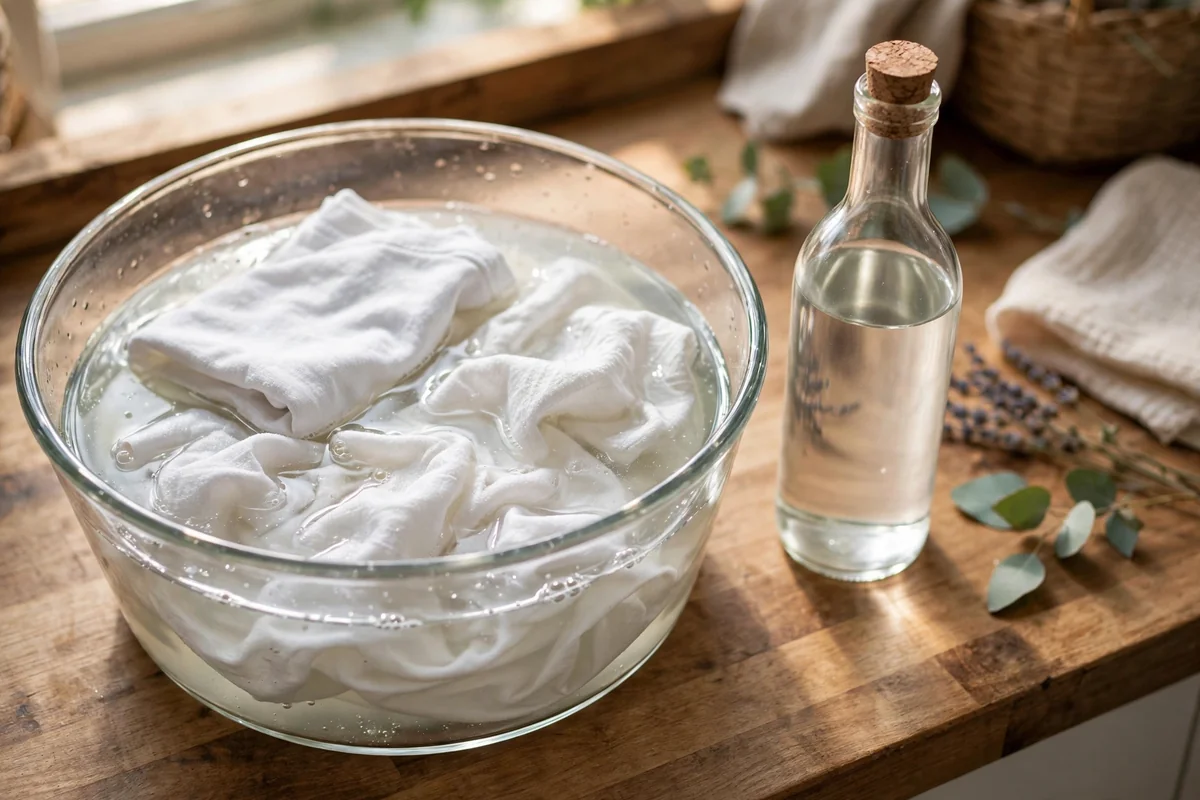
Distilled white vinegar is a strong ally against older perspiration stains that survived regular washing. Mix one part vinegar with four parts cool water in a basin, submerge the stained area, and let it soak for 30 minutes before rinsing thoroughly. The mild acid helps dissolve the mineral and deodorant deposits that lock yellowing into cotton fibers. Always dilute the vinegar rather than pouring it straight onto fabric, and keep it away from delicate silks, wool, or garments whose labels warn against acidic treatments.
One critical safety rule: never mix vinegar with chlorine bleach or hydrogen peroxide in the same treatment, since those combinations can create irritating fumes or unpredictable reactions. Treat with one product at a time, rinse completely between steps, and launder normally afterward. If the stain lightens but does not vanish, air dry and repeat the vinegar soak before trying a different method. Patience with a single gentle ingredient usually beats improvising chemical cocktails in the laundry room.
5. Spot Treat Sturdy Cottons With 3 Percent Hydrogen Peroxide
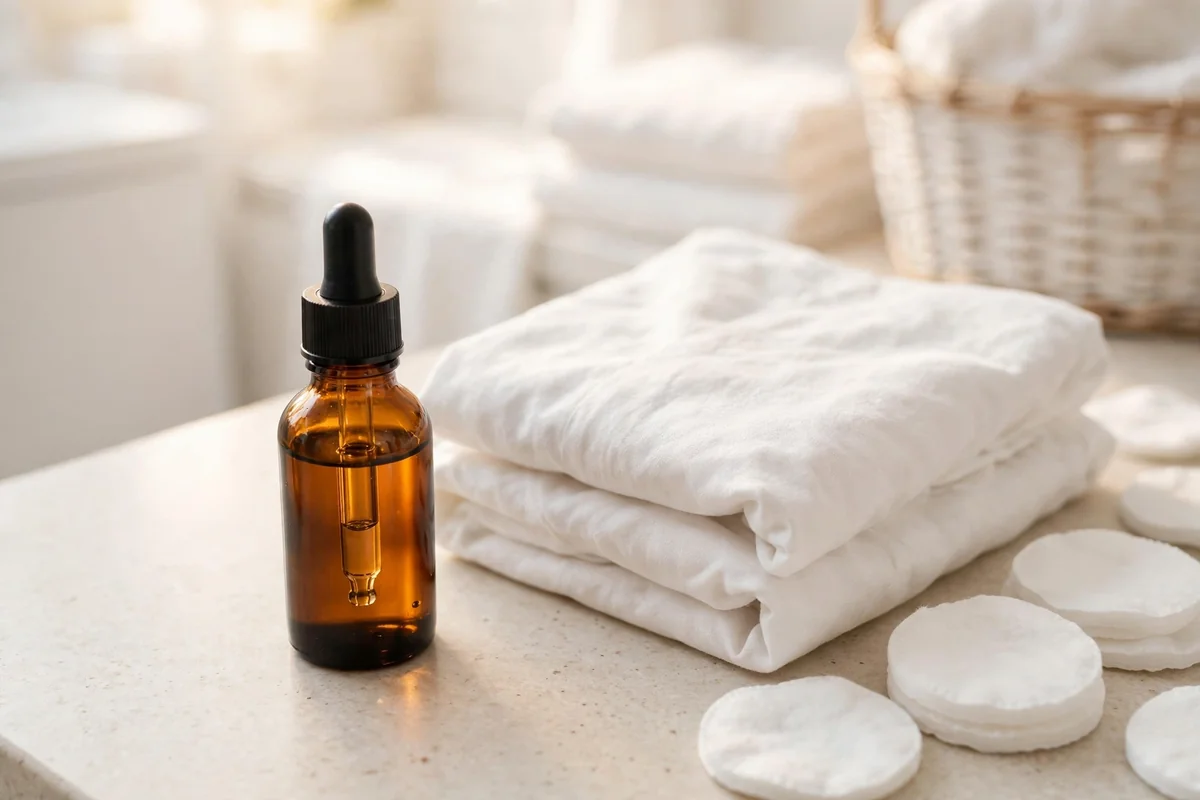
The 3 percent hydrogen peroxide sold in brown bottles at the pharmacy can lift stubborn yellowing on sturdy white fabrics when gentler methods stall. Test it first on a hidden seam and wait ten minutes to confirm the fabric tolerates it. Then apply a small amount directly to the yellow stain, let it sit for 15 to 20 minutes, rinse thoroughly with cool water, and wash as usual. This mild oxidizer breaks down the colored compounds in old sweat and body-oil stains without the harshness of chlorine bleach.
Use this treatment only on plain white areas, since peroxide can lighten colored embroidery, printed graphics, or contrasting trim even on a mostly white garment. Work in a ventilated space, wear gloves if your skin is sensitive, and store the bottle in a dark cupboard because light degrades peroxide quickly. Like vinegar, never combine it with other cleaners in the same step. A single, well-rinsed peroxide treatment followed by a normal wash is both safer and more effective than layering products.
6. Pair Baking Soda and Peroxide for Tough Underarm Yellowing
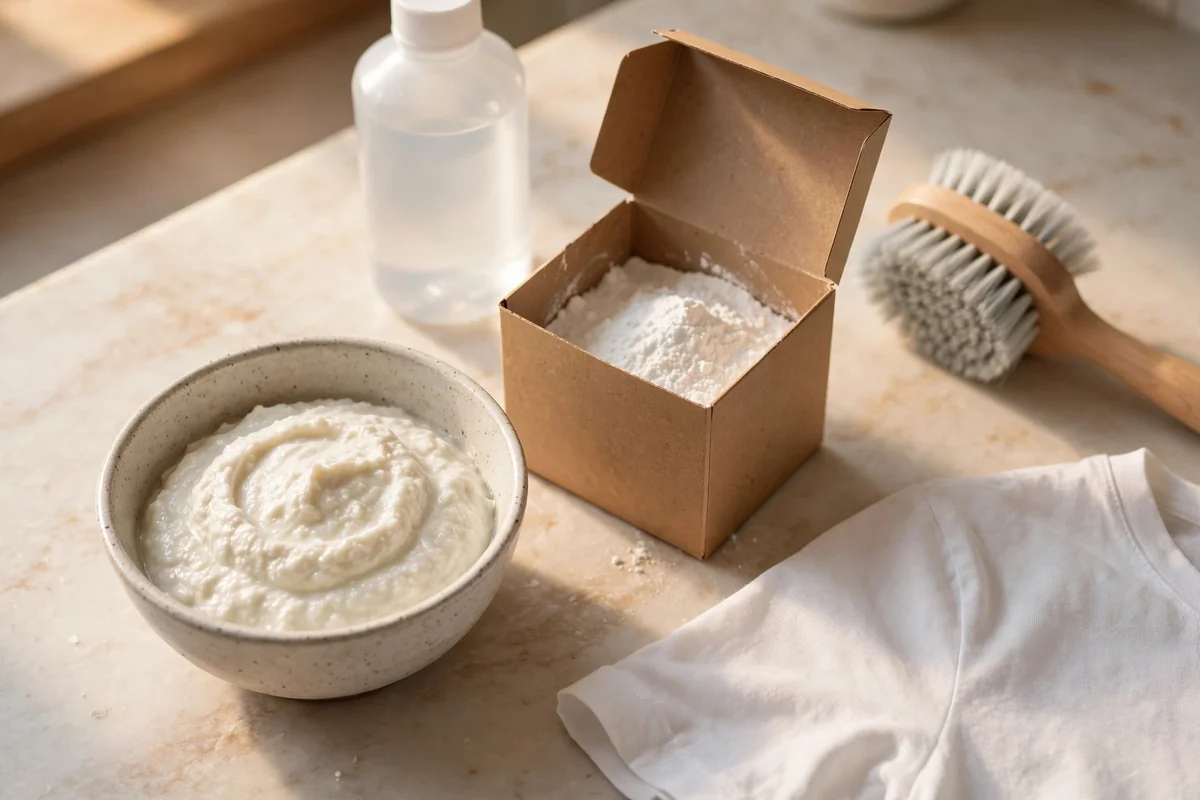
For underarm stains that resisted plain baking soda, a paste of baking soda and 3 percent hydrogen peroxide adds extra lifting power. Mix two tablespoons of baking soda with just enough peroxide to make a thick paste, and prepare it fresh right before use. Spread it over the inside of the yellowed underarm area, work it in gently with a soft brush, and let it rest for 20 to 30 minutes. The combination targets the stain precisely instead of soaking the entire garment.
Reserve this method for white cotton or other sturdy fabrics you know can handle it, and always patch test first. Rinse the paste out completely with cool water, since dried residue can leave its own marks, then machine wash normally. Do not add vinegar, bleach, ammonia, or dish soap to the mixture. More ingredients do not mean better stain removal; they only make the chemistry harder to predict and raise the risk of damaging the fabric.
7. Harness Lemon Juice and Sunlight for Cotton Whites
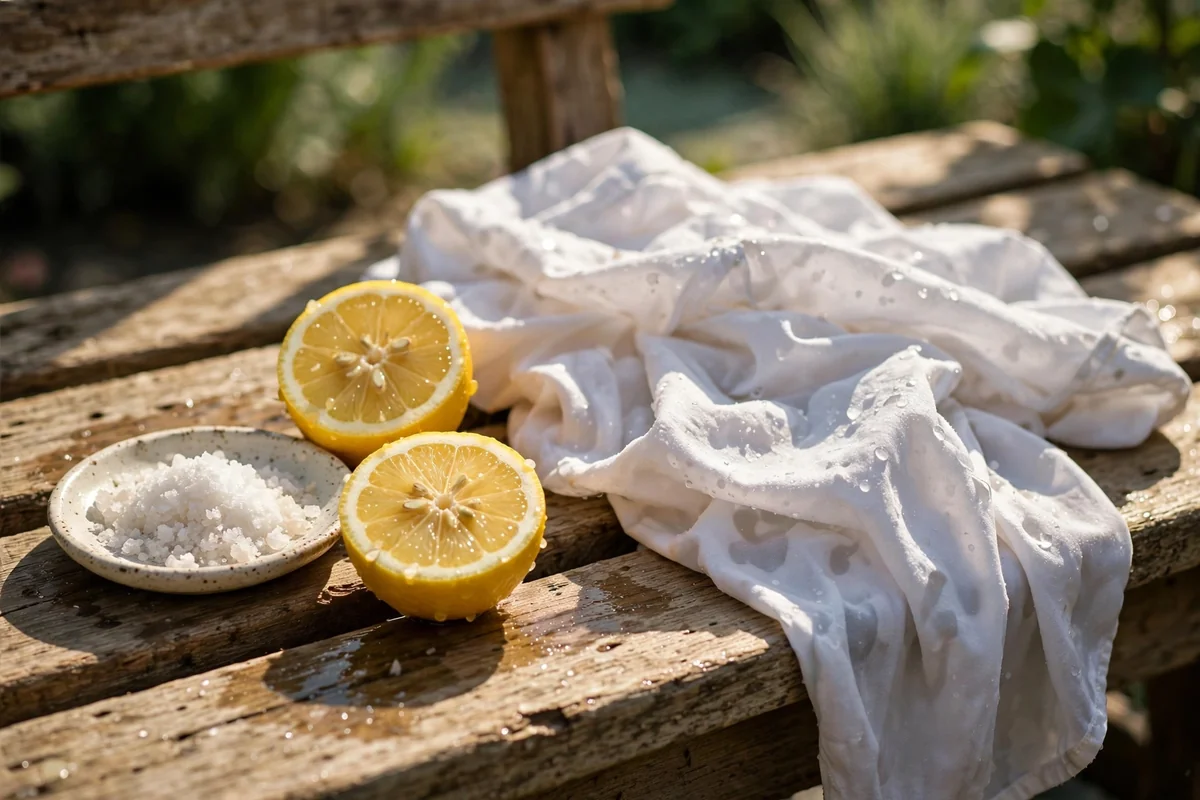
Lemon juice and sunlight are an old-fashioned pairing that still works on sturdy white cotton and linen. Dampen the yellowed spot with fresh lemon juice, sprinkle a pinch of salt over it if the mark looks rust-tinged, and lay the garment flat in direct sunlight for one to two hours. The natural citric acid loosens the discoloration while ultraviolet light provides gentle bleaching. Rinse the garment thoroughly afterward so no acidic residue remains in the fibers.
Treat this as an occasional rescue rather than a weekly routine. Repeated sun exposure gradually weakens cotton fibers, and lemon acid is too harsh for delicates, elastic-heavy knits, or anything with a dry clean or no bleach warning. It also will not help protein stains that have already been heat-set in a hot dryer. Used sparingly on simple, sturdy whites, though, this method can erase marks that survived every indoor treatment you tried.
8. Finish Clean Laundry With a Sunlit Line Dry
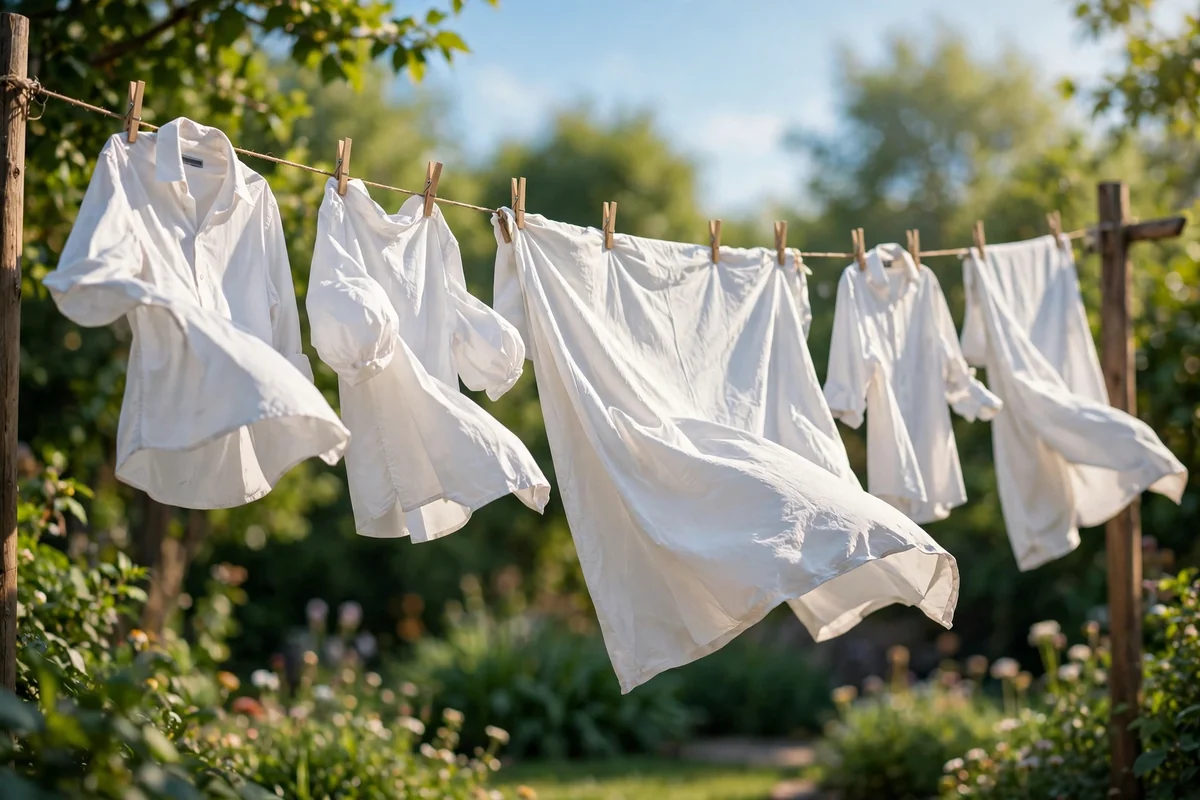
After washing, hang suitable white cottons, sheets, and linens in direct sunlight instead of moving them straight to the dryer. Ultraviolet light naturally brightens white fibers and leaves that unmistakable fresh-air scent no dryer sheet can imitate. Air drying also lets you inspect previously stained areas in strong daylight before heat gets involved, which matters because dryer heat can permanently set any yellowing you missed. This is a finishing step for already clean laundry, not a substitute for washing.
A sturdy outdoor line, a folding rack on a sunny balcony, or even a bright windowsill all work. Turn garments inside out to protect any prints, and bring delicates in after an hour or two rather than baking them all afternoon. In humid climates, make sure air circulates freely so nothing stays damp long enough to smell musty. This zero-cost habit keeps whites brighter between deep treatments and reduces your reliance on chemical whiteners.
9. Break Down Oily Collar Rings With Liquid Laundry Soap
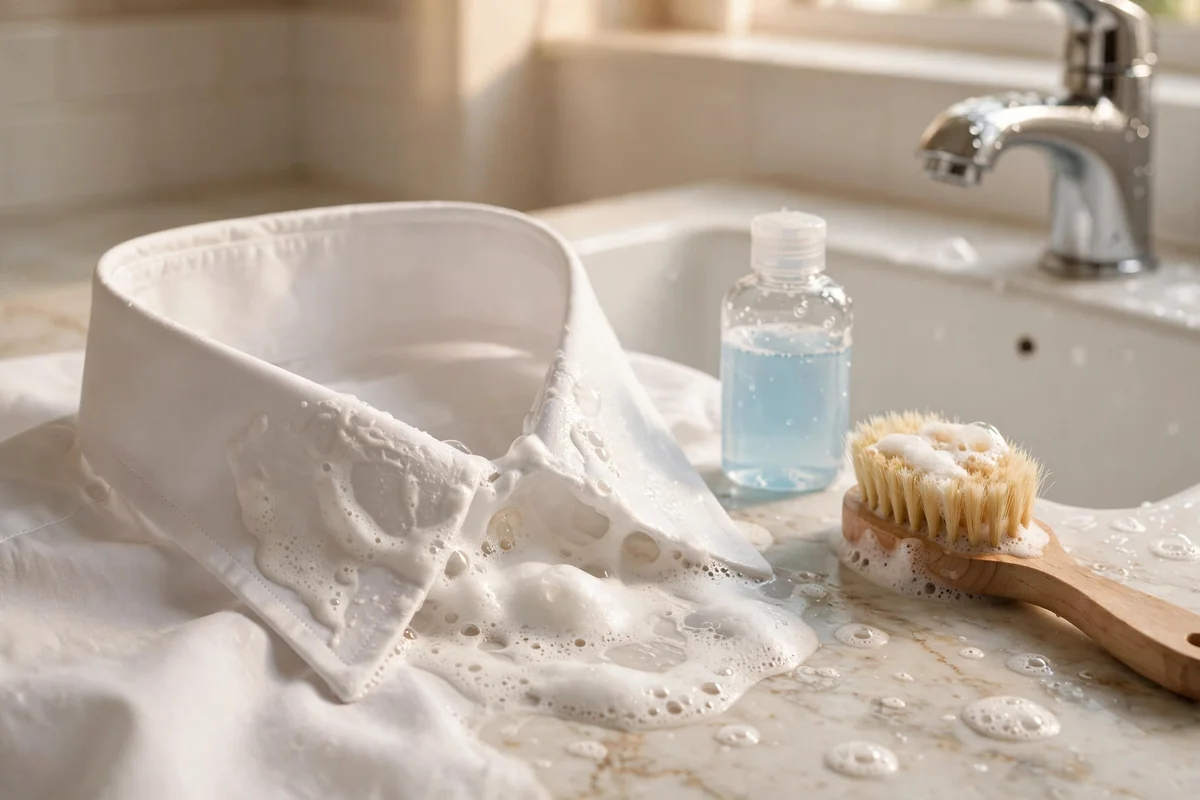
A yellow ring around the collar usually signals body oils, moisturizer, or sunscreen rather than sweat alone, so start by dissolving the oil. Dampen the collar, rub a small amount of mild liquid laundry detergent directly into the band, and let it sit for ten minutes. Gently work the fabric with your fingertips or a soft brush, moving from the outer edge toward the center, then rinse with warm water. Removing the greasy layer first is essential because whiteners cannot reach discoloration trapped beneath oil.
After rinsing, wash the shirt normally and inspect the collar while it is still damp. If a faint yellow cast remains, follow up with a baking soda paste or another treatment suited to the fabric. Make this a habit for dress shirts and polos: a quick soap rub on the collar before every wash prevents the slow accumulation that eventually becomes a permanent ring. Prevention here takes thirty seconds; removal later can take hours.
10. Cut Through Lotion and Body Oil With Dish Soap
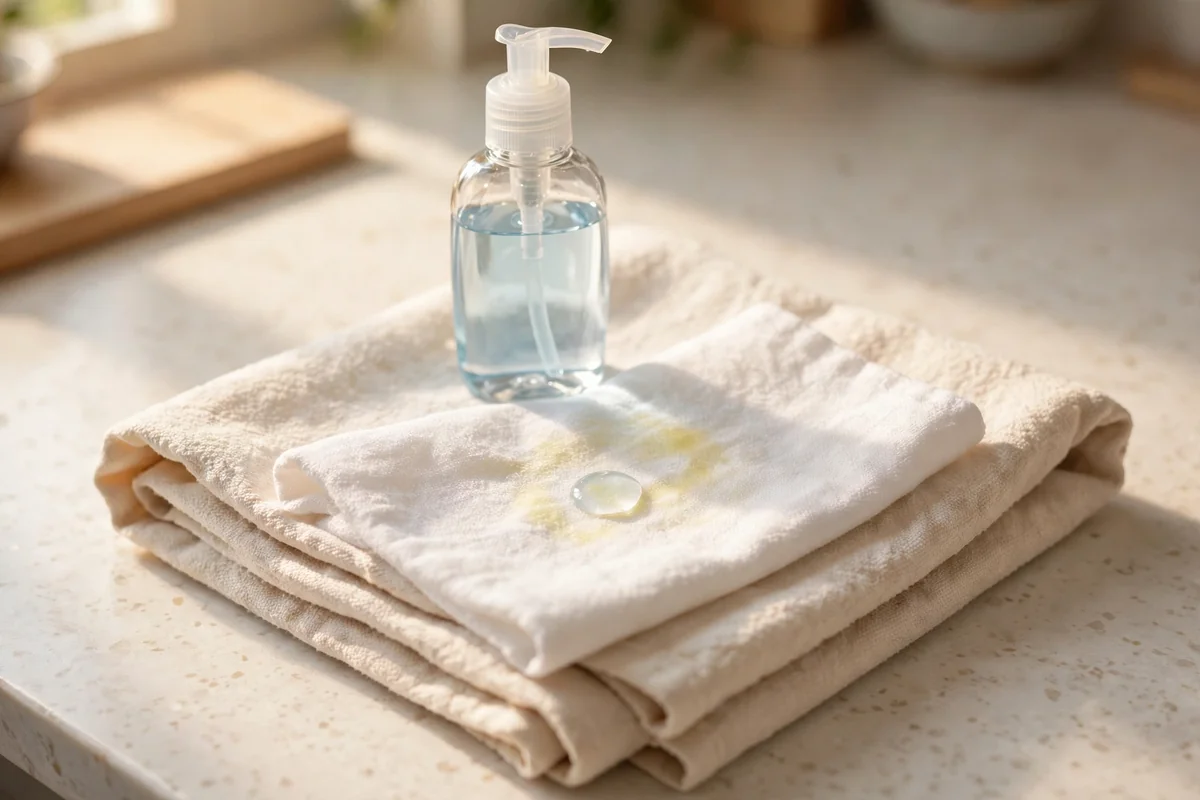
When body lotion, hair oil, or oily sunscreen caused the yellow patch, a tiny drop of plain grease-cutting dish soap makes an excellent pretreatment. Place cardboard or a folded towel behind the stain, apply a pea-sized amount of clear, dye-free dish soap, and gently work it into the fibers with your fingertips. Let it sit for about ten minutes, then rinse completely with warm water before machine washing. The surfactants in dish soap are designed to lift grease that laundry detergent sometimes leaves behind.
Use this sparingly and rinse thoroughly, because dish soap is not formulated for washing machines and excess suds can cause problems in a full cycle. Choose a simple clear formula without added lotions, antibacterial agents, or strong fragrances. This is a targeted strike for oily yellow marks, not an everyday laundry additive. Once the oil is gone, the remaining discoloration usually responds well to a standard baking soda or vinegar treatment.
11. Turn Shirts Inside Out to Treat the Real Source
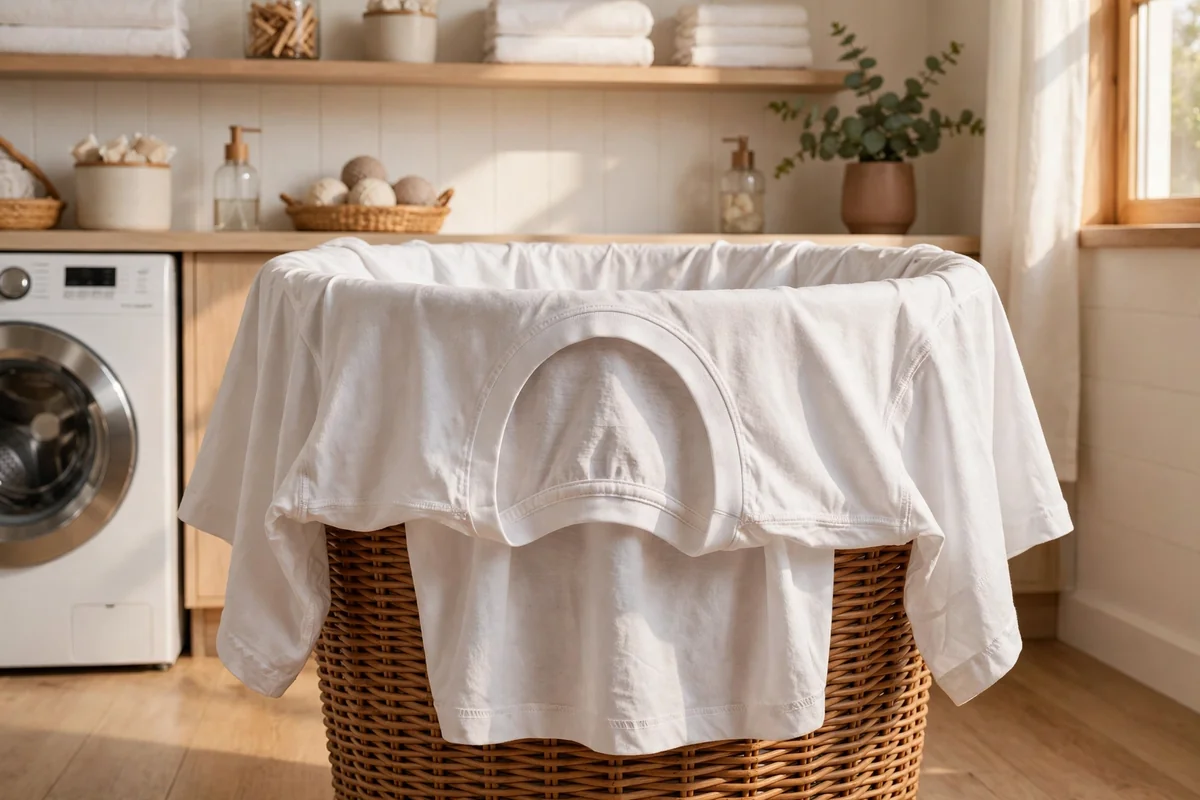
Underarm yellowing builds up where sweat and deodorant first contact the inside of the fabric, so always turn shirts completely inside out before applying any paste, soap, or soak. Treating only the visible outer surface means you are working through the fabric to reach residue that entered from the other side. Flipping the garment exposes the heaviest buildup directly to your cleaning product, which dramatically improves every treatment on this list.
Once inside out, apply your chosen treatment to the underarm panels and work gently from the outer edge of the stain toward its center with a soft brush or your fingertips. Aggressive scrubbing can roughen cotton, stretch knits, and leave the shirt looking worn even after the yellow fades. You will get better results from two gentle rounds than from one harsh attack, so let the product do the work and keep your touch light.
12. Dissolve Layered Deodorant Buildup Before Whitening
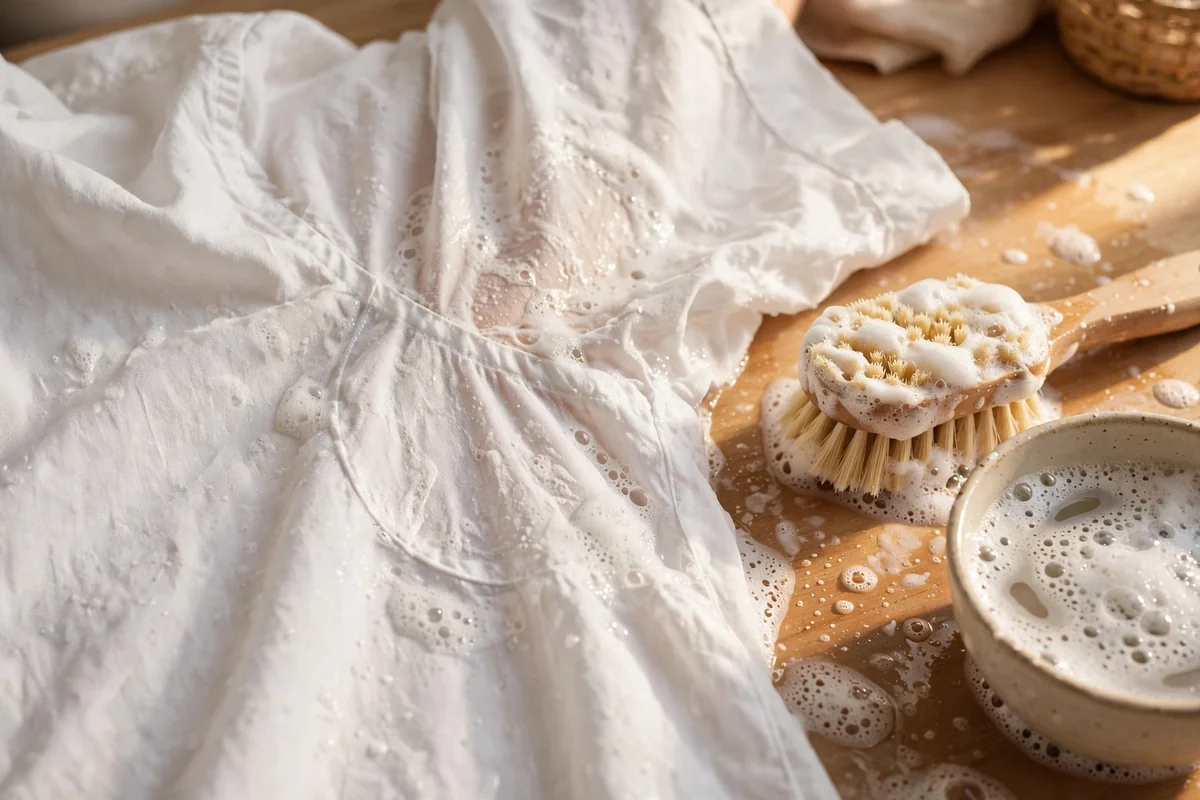
Sometimes underarm yellowing is not one dramatic stain but dozens of thin layers of antiperspirant, body oil, and detergent baked together through repeated wear. For these shirts, separate the job into two phases. First soak just the underarm panels in warm water permitted by the care label, gently massaging the fabric to loosen the waxy deodorant residue, then rinse. Only after this buildup is reduced should you move on to a whitening treatment like baking soda or peroxide.
This two-phase approach works because whitening agents cannot penetrate a thick shield of deodorant wax to reach the stained fibers beneath. You can also reduce future buildup by letting deodorant dry completely before dressing and choosing lighter applications. If a shirt has a stiff, crusty patch under each arm, that texture is your clue that buildup removal must come first. Skip straight to bleach and you will likely just whiten the wax while the yellow remains.
13. Pretreat Sunscreen Marks as Product Stains
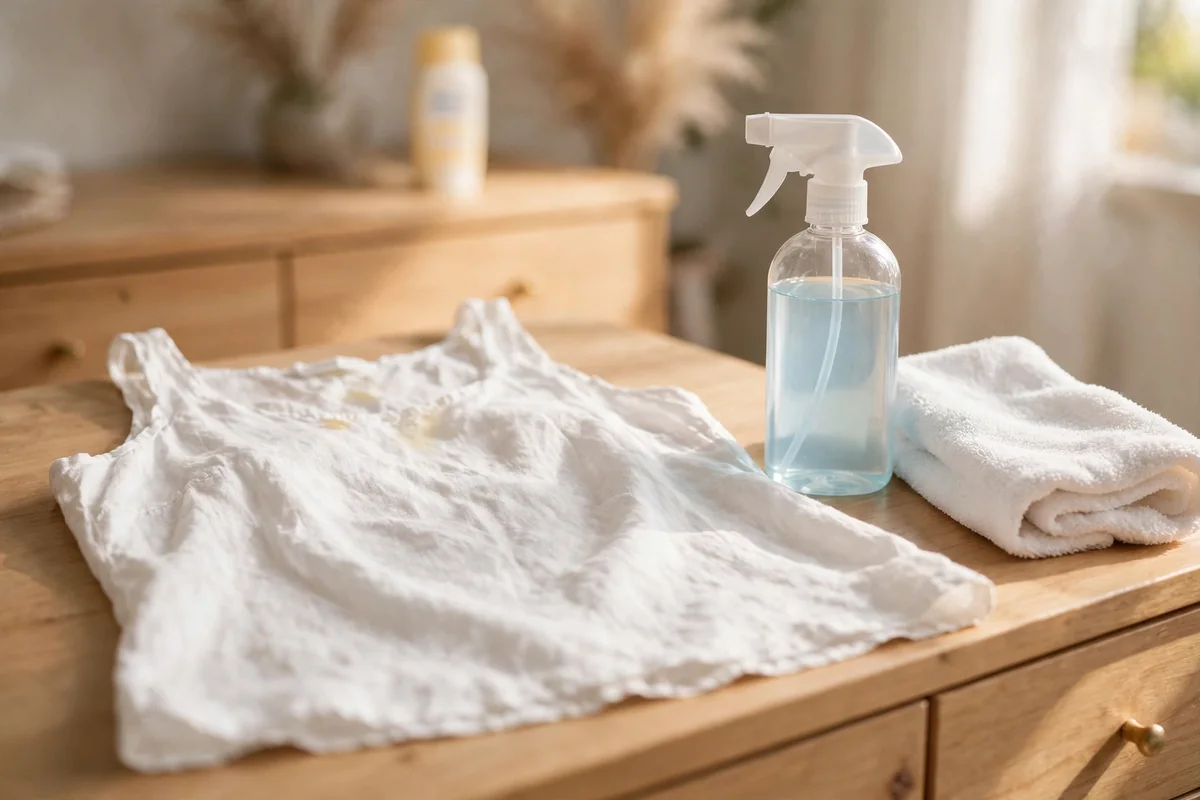
Summer whites often develop yellow or orange-tinged marks around necklines and sleeves where sunscreen transferred from skin to fabric. Treat these as product stains rather than sweat stains. Gently blot away any excess, work a small amount of liquid laundry detergent or a prewash stain remover into the spot, and wash in the hottest water the care label allows. Sunscreen contains oils and UV filters that need a grease-cutting approach before any whitening step.
The most important habit is checking the garment before it goes into the dryer. Hold the neckline up to a bright window after washing, since pale sunscreen marks are easy to miss under laundry-room lighting. Dryer heat will set any remaining residue into a permanent stain. If you still see a shadow of the mark, repeat the pretreatment and wash again. Catching it while damp saves the garment; catching it after drying often does not.
14. Diagnose Hard Water When Every White Looks Dingy
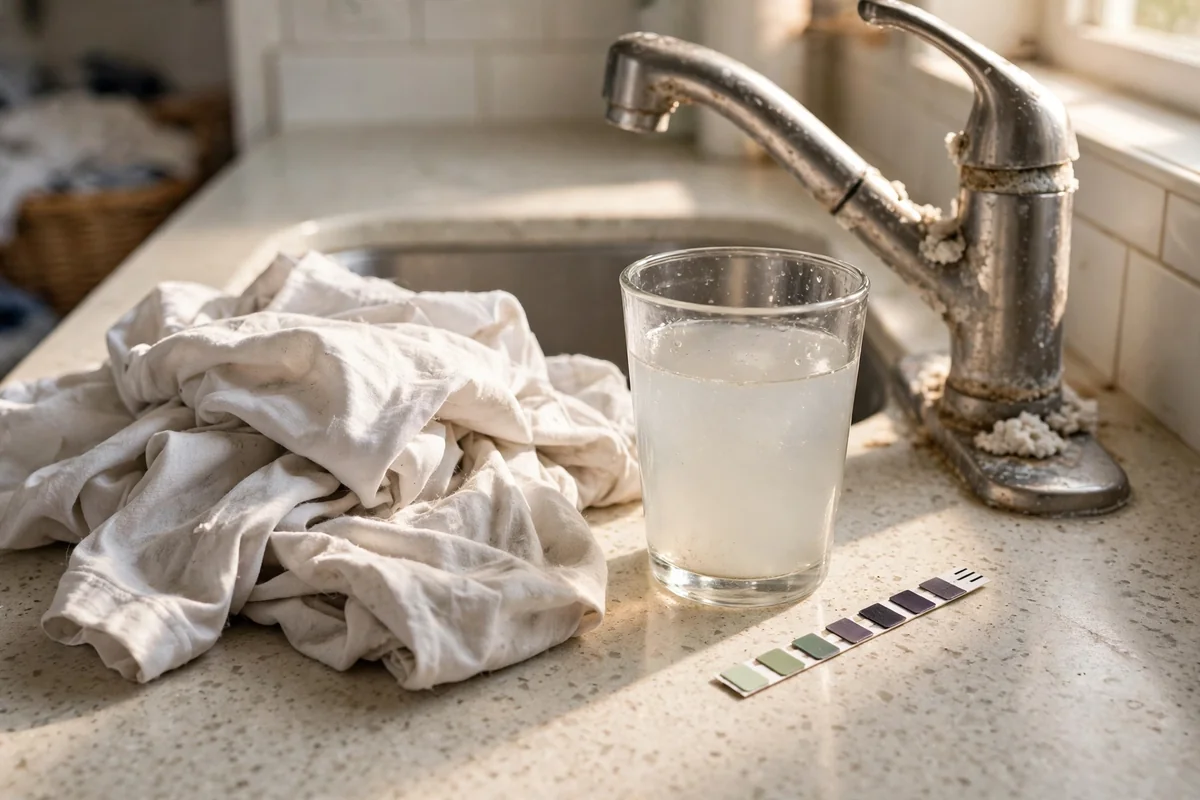
If several white garments turn yellow or dingy at roughly the same time, stop blaming individual stains and investigate your water. Hard water contains calcium and magnesium that reduce detergent effectiveness, while iron and manganese can deposit yellow or brown discoloration across a whole load. Warning signs include stiff-feeling laundry, white scale around faucets, rust-colored streaks in sinks, and whites that never look bright no matter what you try.
The fix here is bigger than any single stain treatment. Consider a water softener, a laundry booster formulated for hard water, or an iron-removal treatment for your supply, and run an empty hot cycle with a washing-machine cleaner to flush mineral buildup from the drum. Once the water problem is addressed, a baking soda soak will usually restore the affected garments. Treating shirts one by one while the water stays hard is a battle you cannot win.
15. Lift Rust-Tinted Spots With Lemon and Salt
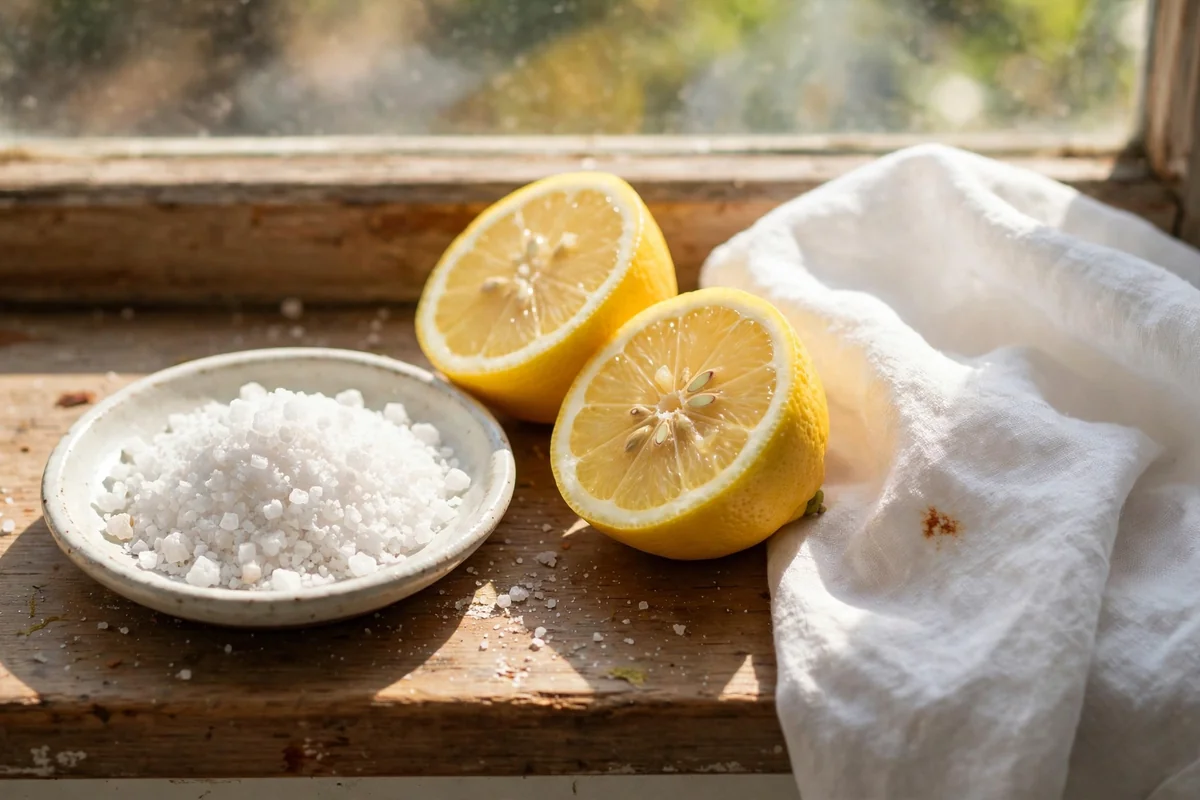
A small orange-yellow spot that appeared after washing may be iron or rust rather than perspiration, especially if your water runs through old pipes. For sturdy white cotton or linen, try the traditional lemon and salt method: dampen the mark, sprinkle coarse salt generously over it, squeeze fresh lemon juice on top, and lay the garment in direct sunlight for an hour or two. Then rinse thoroughly and wash normally. The acid dissolves iron deposits while the salt provides gentle abrasion.
Never pour chlorine bleach over a rust-colored stain, since bleach reacts with iron and can intensify the discoloration into a permanent orange-brown mark. If the lemon treatment does not fully clear the spot, switch to a commercial rust remover labeled safe for fabrics and follow its directions exactly. Identifying the stain correctly before choosing a product is the difference between saving the garment and ruining it.
16. Keep Chlorine Bleach Away From Rust Marks
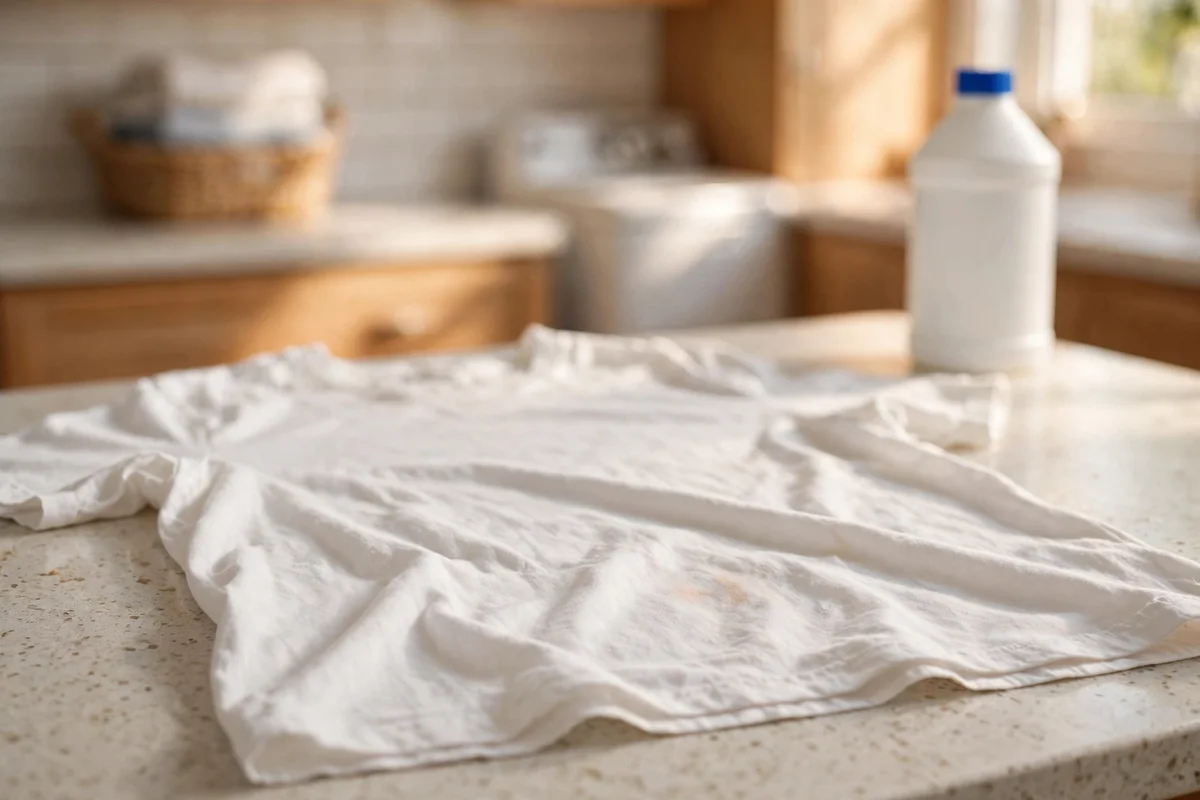
Chlorine bleach feels like the obvious answer for any yellow stain, but on rust-tinted marks it is the worst choice you can make. The sodium hypochlorite in bleach oxidizes iron particles and locks them into the fibers as a darker, nearly permanent stain. If there is any chance your yellow spot has an orange or brownish tinge, keep the bleach bottle closed and reach for an acid-based approach like lemon juice or a fabric-safe rust remover instead.
This rule also applies to well water users who may not realize their water carries dissolved iron. When in doubt, test the stain: rust marks often have a slightly metallic smell when damp and a distinctly orange edge. Bleach also weakens cotton fibers with repeated use and can yellow whites itself over time through chemical residue. For most yellow stains, the gentler methods in this guide outperform bleach anyway, with far less risk to your clothes.
17. Strip Detergent Residue With an Extra Rinse Cycle
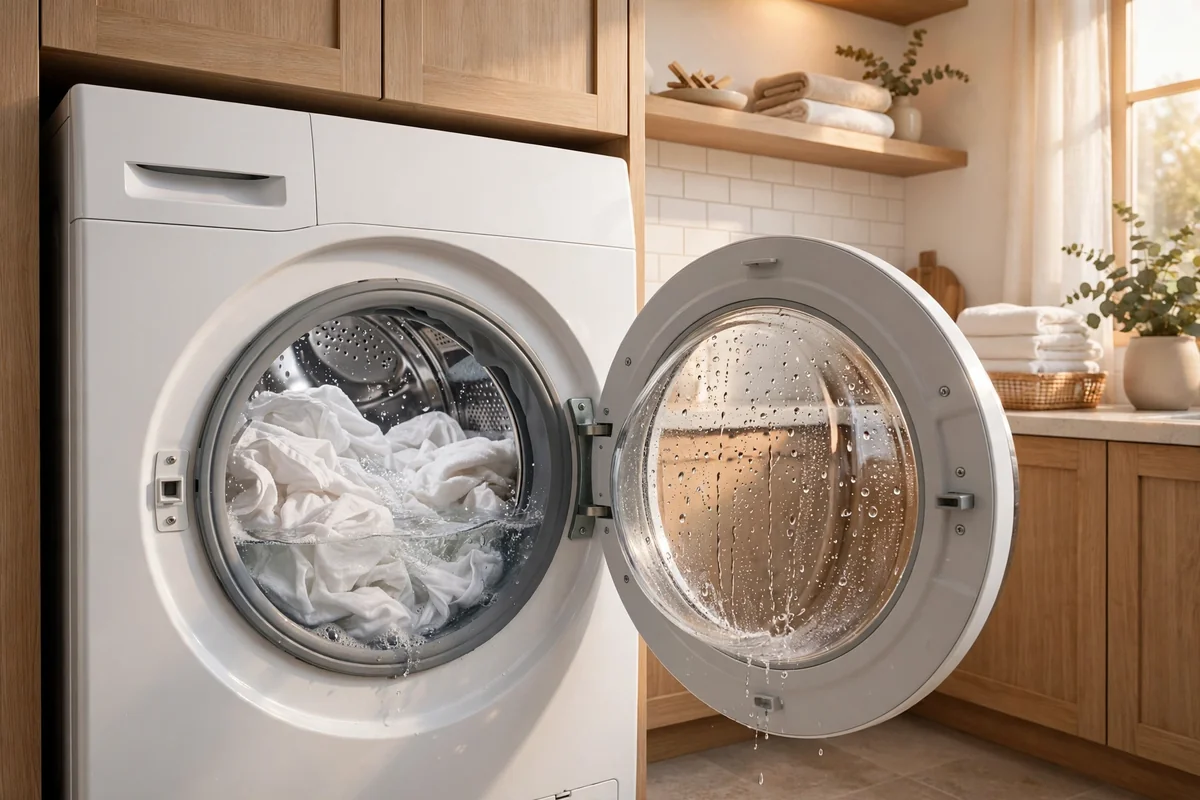
Ironically, using too much detergent is a common cause of yellowing whites. Excess soap does not fully rinse out, and the leftover surfactants trap body soil and minerals in the fibers wash after wash. If your whites feel slightly stiff or have a dull film, run them through a full extra rinse cycle with no detergent at all. You may be surprised how much residual suds appear in the water. Cutting back to the detergent cap’s lowest recommended line often solves the problem permanently.
Front-loading machines are especially prone to this because they use less water, so residue accumulates faster. Once a month, run an empty hot cycle with a cup of white vinegar or a washing-machine cleaner to dissolve buildup inside the drum and dispensers. Cleaner machines rinse cleaner clothes. This invisible maintenance step keeps every other stain treatment working at full strength instead of fighting through layers of old soap.
18. Store Whites Clean and Dry to Prevent Storage Yellowing

White garments pulled from storage often emerge with mysterious yellow patches or an overall aged tint. This happens when invisible body oils, starches, or detergent residues oxidize during months in a drawer or box. The prevention is simple: never store whites that are not freshly laundered, and make sure they are bone dry before folding. Even slight dampness invites mildew and accelerates yellowing in dark, still air.
Choose breathable storage over sealed plastic whenever possible. Cotton storage bags, acid-free tissue paper between folds, and cedar or lavender sachets keep clothes fresh without trapping moisture. Avoid cardboard boxes for long-term storage, since cardboard acids can transfer yellow tones to fabric. Check stored whites once or twice a year, refold them along different lines to prevent crease yellowing, and rewash anything that has sat longer than six months.
19. Switch to Aluminum-Free Deodorant to Stop Stains Early
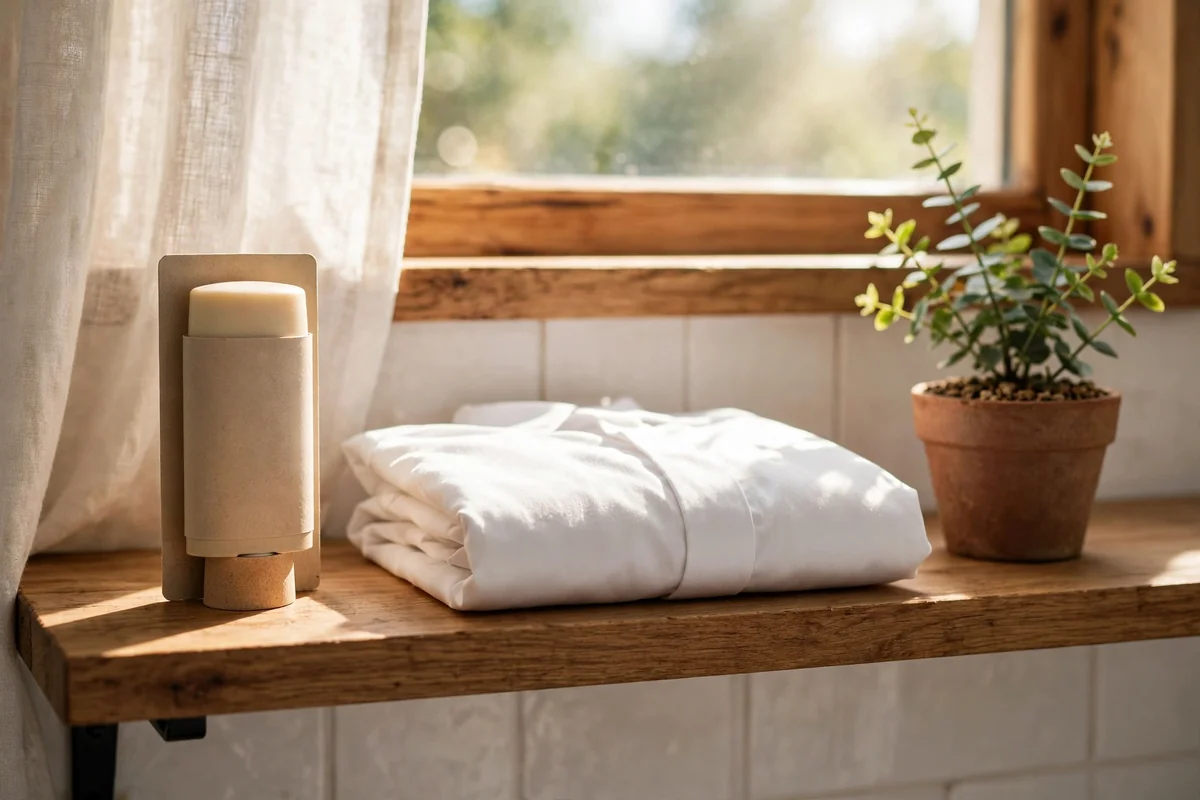
The aluminum compounds in many antiperspirants react with sweat proteins to form the stubborn yellow deposits that plague white shirts. Switching to an aluminum-free deodorant removes the main chemical culprit, which means far less yellowing develops in the first place. Give the new product a week or two of testing, since effectiveness varies by person, and apply it at night when sweat glands are less active for the best protection with the lightest application.
You can also reduce transfer by letting deodorant dry completely before getting dressed and by choosing looser weaves that do not press product directly into underarm seams. This is the highest-leverage idea on the list: every stain you prevent is one you never have to scrub, soak, or sun-bleach. Pair the switch with the inside-out washing habit and your white shirts will stay brighter dramatically longer.
20. Test Every Treatment on a Hidden Seam First
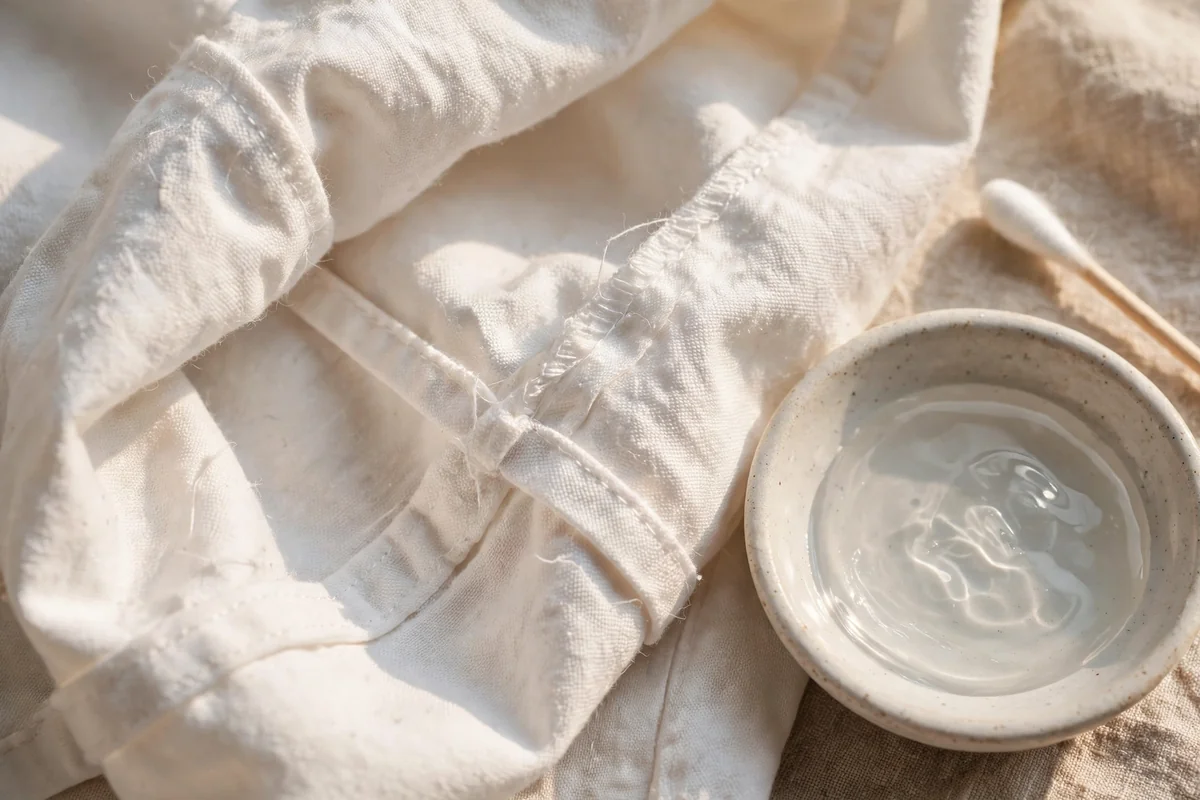
Before applying any stain remover to a visible area, test it on a hidden spot like an inside seam, hem allowance, or facing. Apply a small amount, wait ten minutes, then rinse and check for color change, stiffness, or fiber damage in good light. This two-minute habit protects garments with unknown fiber blends, delicate weaves, or special finishes that might react badly to acids, oxidizers, or even baking soda. What works beautifully on sturdy cotton can harm silk, wool, or rayon.
Pay special attention to white garments with colored embroidery, printed designs, or contrast stitching, since whitening agents do not distinguish between the stain and the decoration. If the test spot shows any adverse reaction, stop and choose a milder method or take the garment to a professional cleaner. A failed test on a hidden seam is a minor inconvenience; a failed treatment across the front of a favorite shirt is a real loss.
21. Air Dry Until the Stain Is Truly Gone

The dryer is the point of no return for yellow stains. High heat bakes remaining discoloration into fibers and can make a removable mark permanent in a single cycle. After every treatment and wash, let the garment air dry completely, then inspect it in bright natural daylight before deciding whether another round is needed. What looks clean under dim laundry-room bulbs can reveal a faint shadow near a sunny window.
Use a drying rack, a shower rod, or an outdoor line, and give the fabric plenty of air circulation so it dries fully within a few hours. Only when the stain has vanished in daylight should the garment earn its place back in the dryer. This discipline feels slow, but it is the single habit that saves the most clothes from accidental heat-setting. When in doubt, air dry one more time.
22. Refresh Pillowcases and Sheets With an Overnight Soak
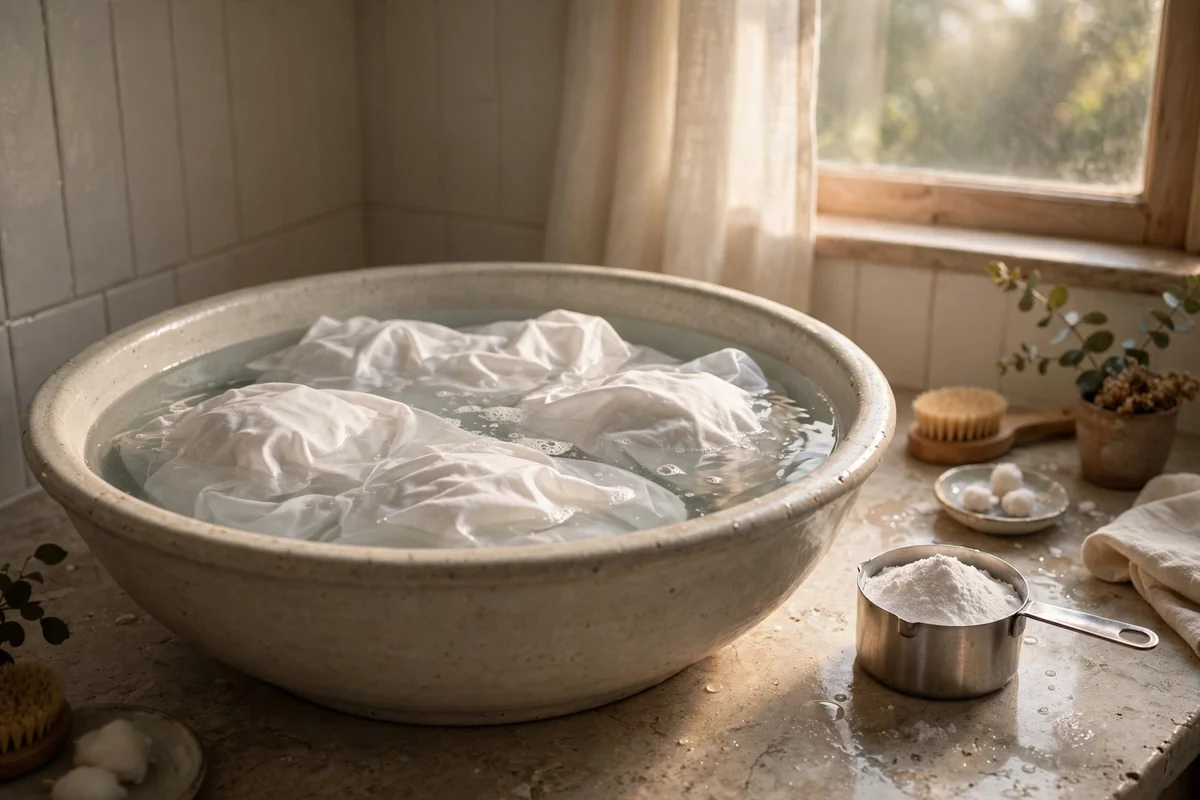
White pillowcases and sheets absorb body oils, sweat, and skincare products every night, so they yellow faster than almost any other laundry. Every few months, give them an overnight revival: fill a bathtub or large basin with warm water, dissolve half a cup of baking soda and a quarter cup of washing soda if you have it, submerge the linens fully, and let them soak for six to eight hours. This long, gentle soak dissolves months of accumulated oils that regular cycles leave behind.
In the morning, drain the basin and wash the linens in the hottest water their labels allow with your normal detergent, adding half a cup of white vinegar to the rinse cycle for extra softness. Then line dry them in the sun for a final brightening boost. Rotating between two or three sets of sheets also helps, since each set gets a rest between uses. Fresh, bright bedding changes the whole feeling of a bedroom.
23. Rotate Your Whites to Keep Them Looking Crisp

Wearing the same three white shirts on repeat while the rest sit in the drawer guarantees uneven aging: the favorites turn dingy while the others stay bright. Build a simple rotation so every white garment gets worn, washed, and rested in turn. Resting matters because fibers recover their shape between wears, and evenly distributed wash cycles mean no single shirt absorbs a disproportionate share of sweat, deodorant, and detergent exposure.
Store the rotation where you can see it, with the least recently worn whites at the front of the shelf. When you buy new white basics, wash them before the first wear to remove factory finishes that attract soil. Combined with prompt stain treatment and the prevention habits above, rotation keeps your whole white wardrobe aging gracefully together instead of forcing you to replace favorites every season.
Closing Thoughts
Yellow stains may be stubborn, but they are rarely permanent when you match the treatment to the cause. Start gentle, stay patient, keep the dryer out of the equation until the stain is gone, and build the prevention habits that stop new marks from forming. Your white wardrobe will thank you with season after season of crisp, fresh brightness.
Frequently Asked Questions
Why do my white clothes turn yellow in storage even when they were clean?
Invisible residues are the usual culprit. Body oils, starches, and leftover detergent film oxidize slowly during months in a drawer or box, creating yellow patches or an overall aged tint. Always launder whites before storing them, make sure they are bone dry, and use breathable cotton storage bags instead of sealed plastic or acidic cardboard boxes.
Can I mix vinegar and baking soda together to remove yellow stains?
It is better to use them separately. The acid and the alkali neutralize each other on contact, which weakens both. Use a baking soda paste or soak first, rinse thoroughly, and then try a diluted white vinegar soak as a separate step. Never mix vinegar with hydrogen peroxide or chlorine bleach in the same treatment.
Will hydrogen peroxide bleach or damage my white clothes?
The 3 percent household solution is generally safe on sturdy white cotton and linen when used as a spot treatment, but you should still patch test a hidden seam first. Avoid it on white garments with colored embroidery, prints, or contrast trim, since it can lighten those areas. Rinse thoroughly and never combine it with vinegar or bleach.
How do I remove old yellow underarm stains that survived many washes?
Work in two phases. First dissolve the layered deodorant buildup by soaking the underarm panels in warm water and gently massaging the fabric. Then apply a fresh paste of baking soda and 3 percent hydrogen peroxide for 20 to 30 minutes, rinse well, and wash normally. Air dry and inspect in daylight, repeating the treatment rather than escalating to harsher chemicals.
Should I use chlorine bleach on yellow stains?
Usually not. Chlorine bleach can permanently set rust-tinted stains by oxidizing iron into the fibers, and repeated use weakens cotton and can yellow whites through chemical residue. The gentler methods in this guide, such as baking soda, vinegar, peroxide, lemon, and sunlight, handle most yellow stains more safely and often more effectively.