Home Improvement
23 Off Center Window Ideas That Balance Any Room
By Anna Wells · · 21 min read
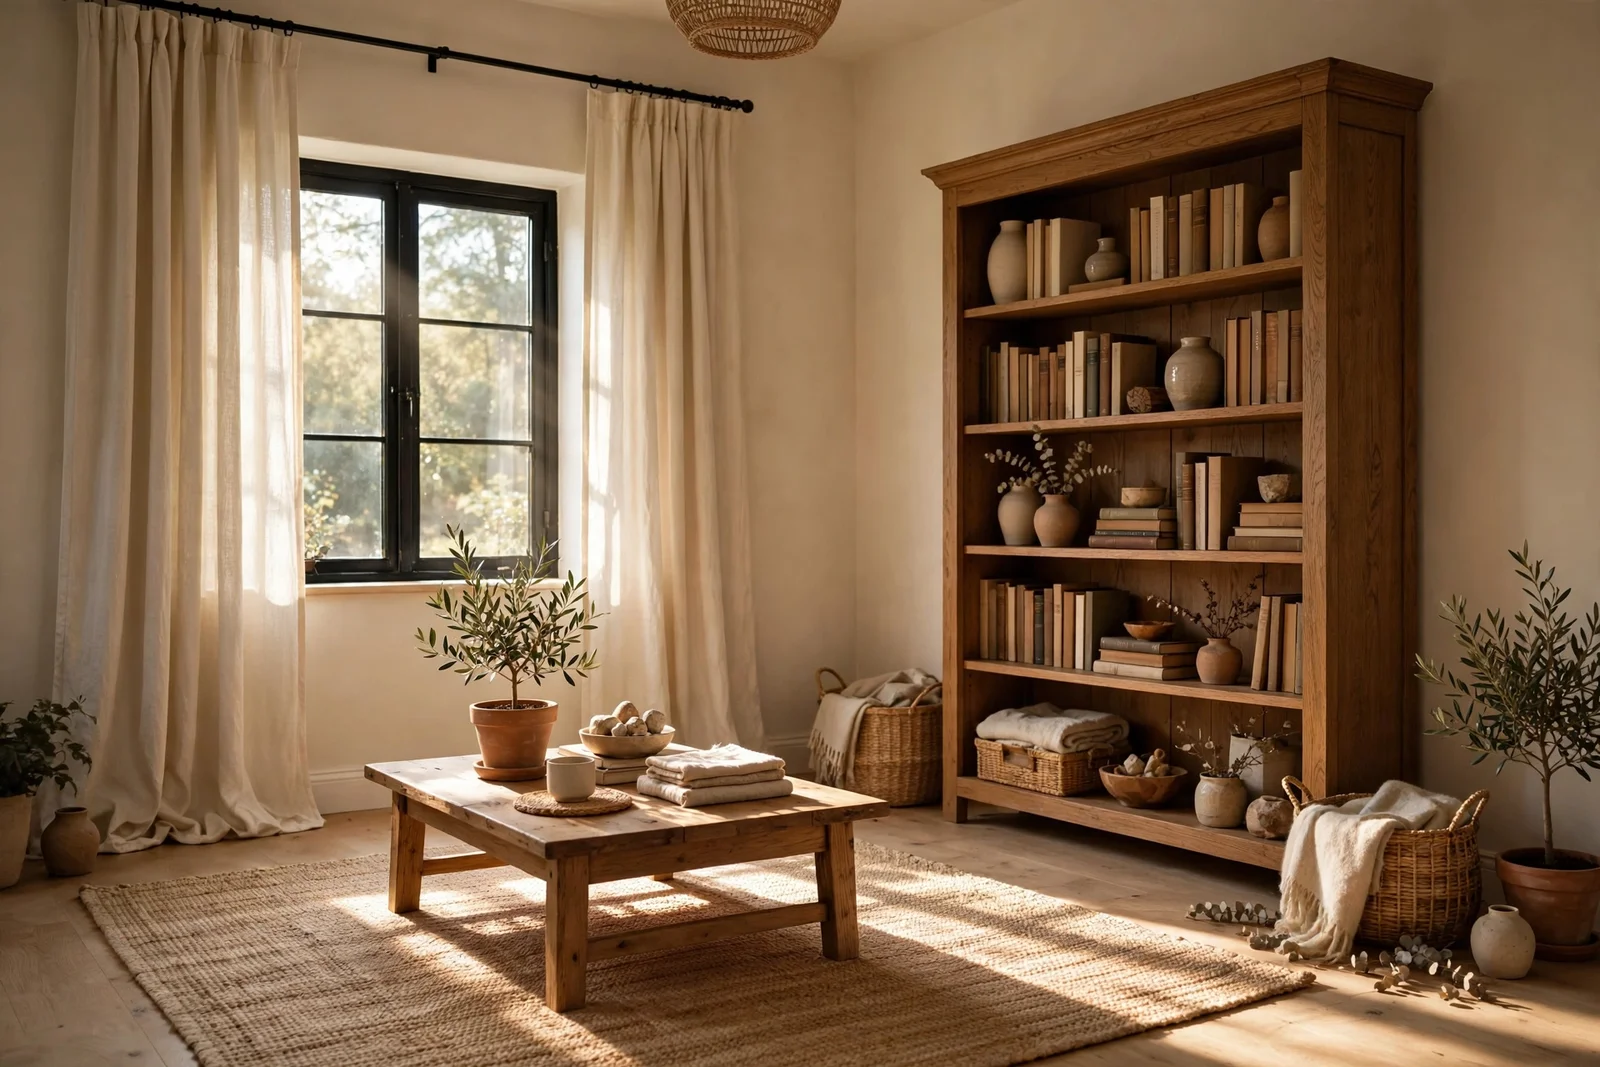
An off-centre window need not unbalance a room. These 23 practical ideas use curtains, furniture and paint to restore calm, with real measurements for every fix.
Morning light falls across the room in a bright stripe, and something feels quietly off. The window sits closer to one corner than the other, and every chair you try seems to lean toward it. You are not imagining it; an off-centre window pulls the whole wall out of balance, and the room never quite settles.
The good news is that you do not need a builder, a new window or a big budget. Balance is a trick of the eye, and it answers to curtains hung wider than the frame, furniture placed with intent, and a few centimetres of adjustment here and there. Small moves, measured carefully, make the offset disappear.
These 23 ideas work in living rooms, bedrooms and home offices, in houses you own and flats you rent. Each one gives you real measurements to follow, from rod extensions to plant heights. Pick the two or three that suit your room, and start with the curtains; they change the most for the least.
1. Extend the Curtain Rod 20 to 30 cm Past the Frame on the Empty Side
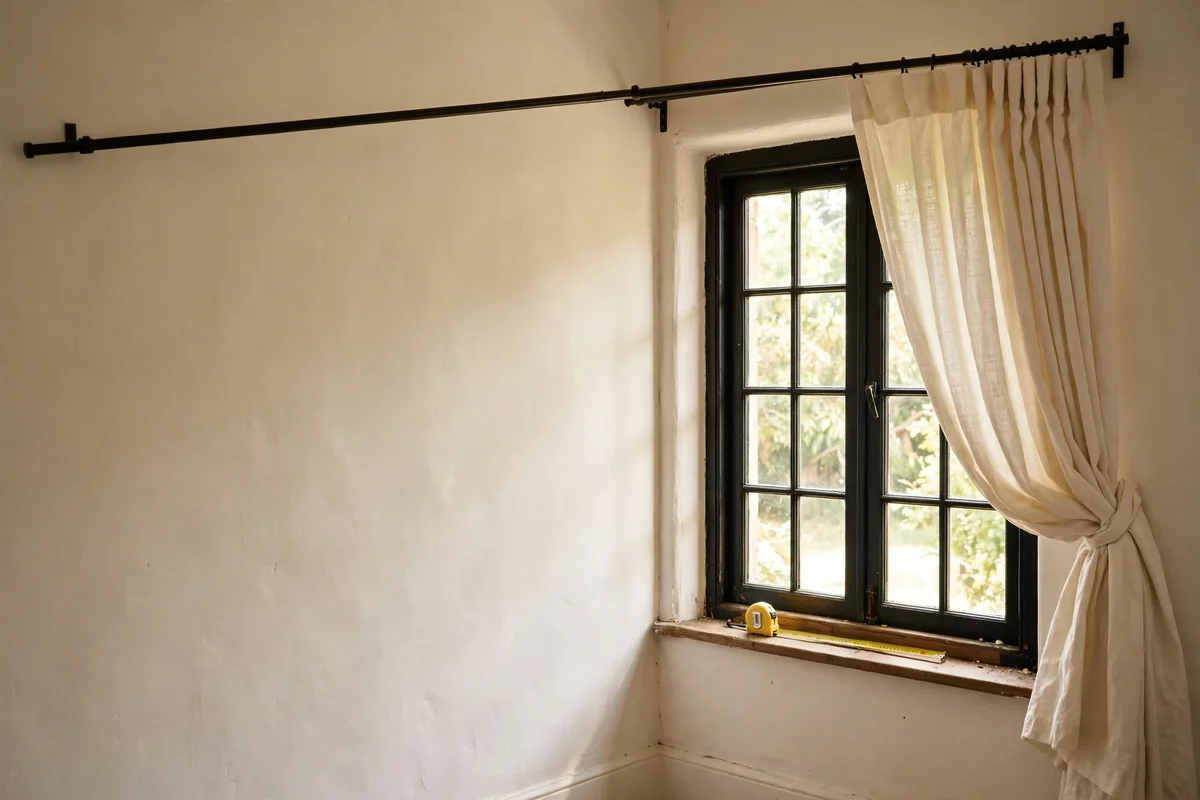
A window that sits off centre always looks more balanced when the curtain rod ignores the frame and answers to the wall instead. Mount a rod that runs 20 to 30 cm past the frame on the side with more wall, and only 8 to 10 cm past on the side near the corner. This extra span makes the eye read the curtained area as one wide, intentional window. Use a 25 to 28 mm rod so it holds lined curtains without sagging.
Hang the panels so the fabric on the bare side stacks back fully over the wall, not the glass. A pair of curtains each 1.5 times the rod width gives enough fullness for linen or cotton blends. The common mistake is centring the rod on the window, which repeats the offset instead of hiding it. Budget tip: a 180 cm adjustable metal rod costs 25 to 45 pounds or dollars and often solves the whole problem in one afternoon.
2. Mount the Rod 10 to 15 cm Above the Frame for Extra Height
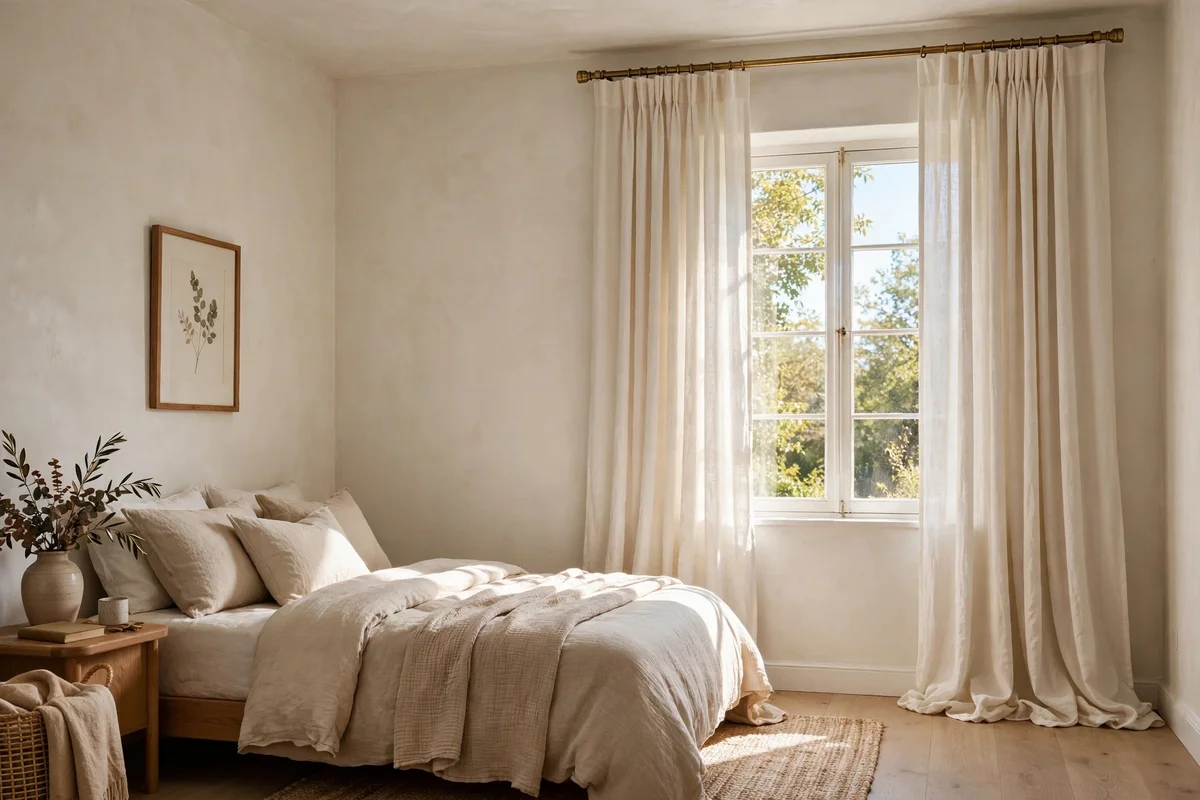
Lifting the rod 10 to 15 cm above the top of the frame draws the eye upward and makes the window feel grander than its position suggests. The extra height also gives the curtains a longer drop, which adds weight and presence on the wall where the window feels lost. Choose curtain panels at least 15 cm longer than the measured drop so they finish 1 to 2 cm above the floor. Ceiling-mounted tracks are an elegant alternative for very low ceilings.
Keep the higher rod level across the whole wall, since a tilted rod makes every other line in the room look wrong. Use a spirit level and mark both ends before drilling, and check the marks from the doorway at least 3 metres back. The mistake to avoid is hanging the rod so high that daylight spills over the top in a harsh stripe; a 12 cm lift is usually the sweet spot. A mid-range rod with proper wall anchors costs 30 to 60 pounds or dollars.
3. Stack One Full Panel on the Narrow Side for Visual Weight
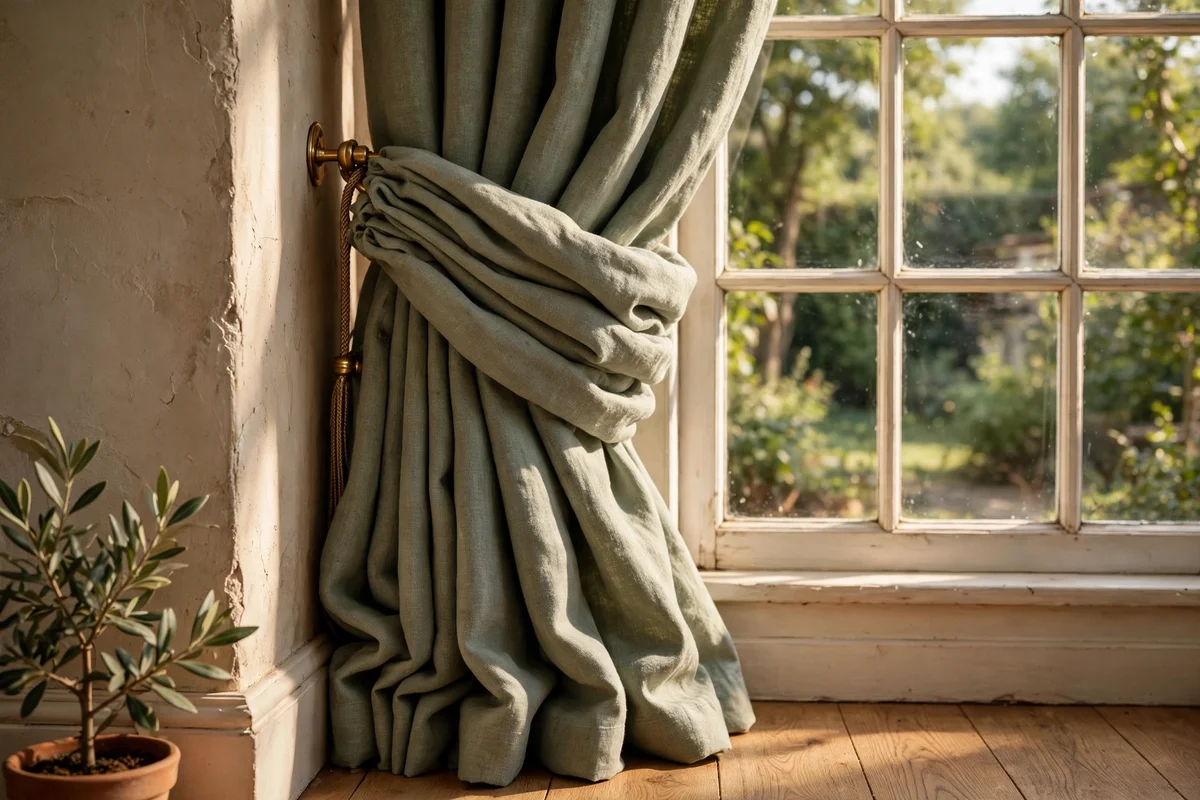
When one side of the window has barely 20 cm of wall, hang both panels so the bulk of the fabric rests on that narrow side. This trick adds visual weight exactly where the wall feels thinnest and stops the window from looking crowded in the corner. Each panel should be 1.5 to 2 times the width of the glass area it covers. Tiebacks in brushed brass or woven rope keep the stack neat and cost under 15 pounds or dollars for a pair.
Choose a fabric with body, such as cotton canvas or a lined weave, so the stacked panel holds a crisp shape instead of collapsing flat. Steam the folds once after hanging and the panel will keep its pleats for months. The mistake to avoid is using skimpy panels that pull flat when closed, which exposes the corner and defeats the purpose. Budget tip: ready-made lined curtains in standard 168 cm drops work in most rooms for 40 to 80 pounds or dollars per pair.
4. Add a Wall-to-Wall Pelmet That Hides the Frame Offset
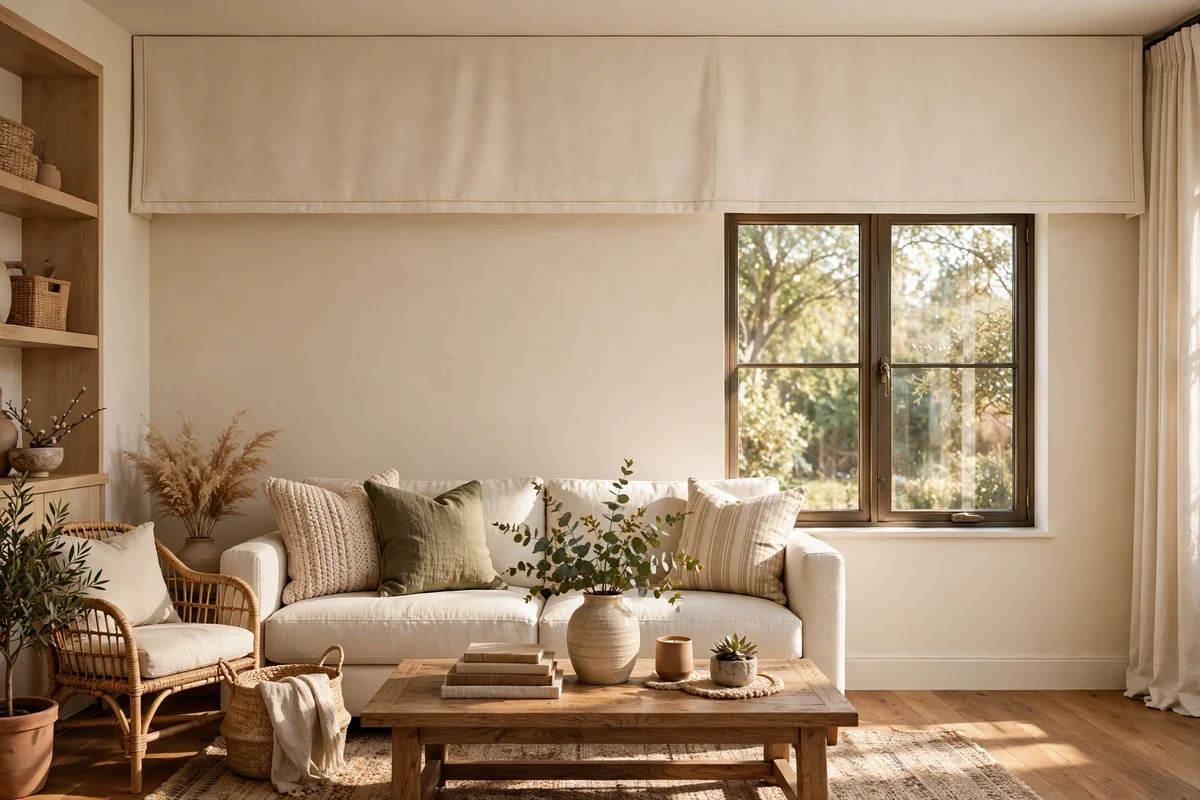
A pelmet or upholstered valance that spans the full wall above the window makes the frame’s position nearly invisible. Build the box 15 to 20 cm deep and mount it 5 cm clear of the curtain rod so fabric slides freely beneath. Cover it in the same fabric as the curtains for a tailored look, or in a contrasting weave like boucle for warmth. The straight lower edge adds a calm architectural line that anchors an asymmetrical wall.
Keep the pelmet level and symmetrical on the wall itself, centred on the room rather than the glass. This is the one element that should ignore the window entirely. The mistake to avoid is making the pelmet too shallow; anything under 12 cm deep looks like an afterthought. A simple MDF pelmet covered at home costs 30 to 50 pounds or dollars in materials, while a made-to-measure upholstered version sits in the mid range at 150 to 300.
5. Fit a Roman Shade Wider Than the Glass to Level the Line
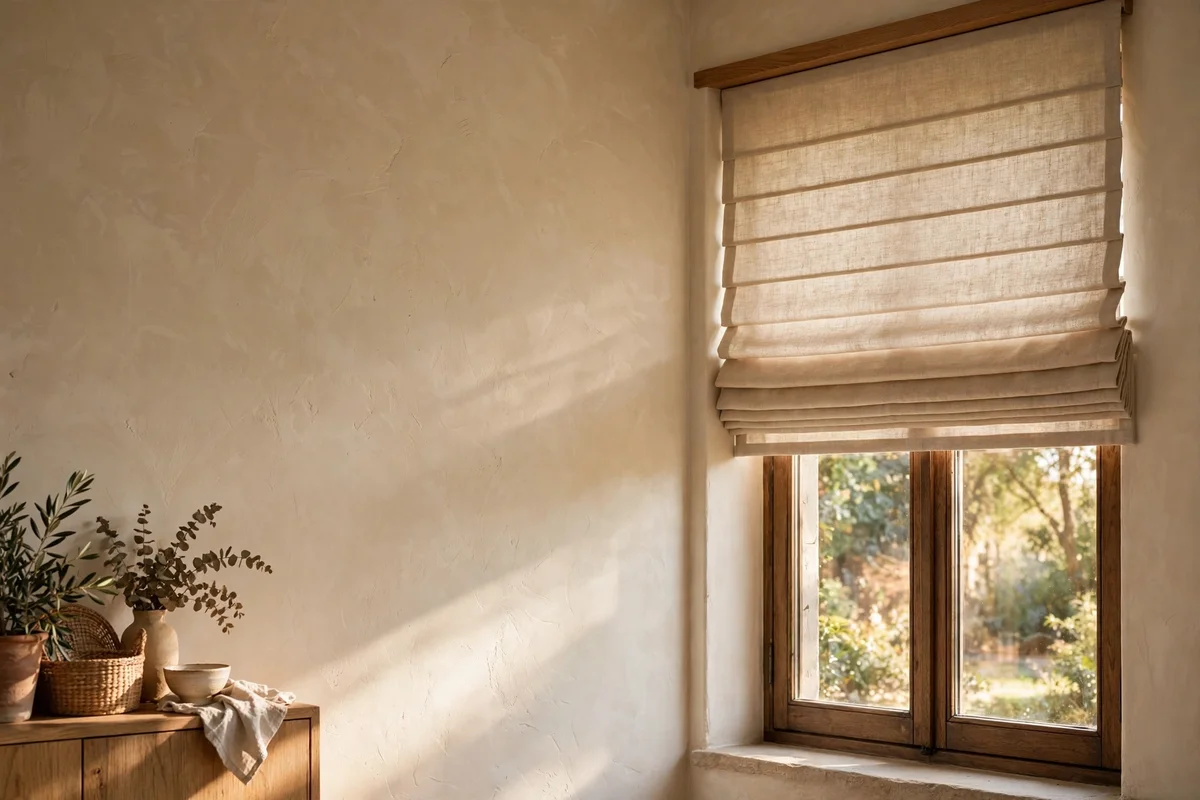
A Roman shade cut 10 to 15 cm wider than the frame on each side sits outside the recess and levels the visual line beautifully. Mount the headrail 8 to 12 cm above the frame so the shade’s crisp horizontal folds become the dominant line, not the glass edge. Linen and cotton duck fabrics hold folds well and filter light softly. Choose a shade that finishes level with the sill when lowered, with side returns if the wall behind is uneven.
The shade should be the same width on both sides of the frame, even if the wall space is not. Symmetry in the shade quietly cancels asymmetry in the wall. The mistake to avoid is an inside mount on an off-centre window, which traces the exact shape you want to hide. Ready-made shades in standard widths cost 35 to 70 pounds or dollars; a made-to-measure linen shade runs 120 to 220 and still undercuts new curtains.
6. Place the Tallest Bookcase on the Emptier Wall Side
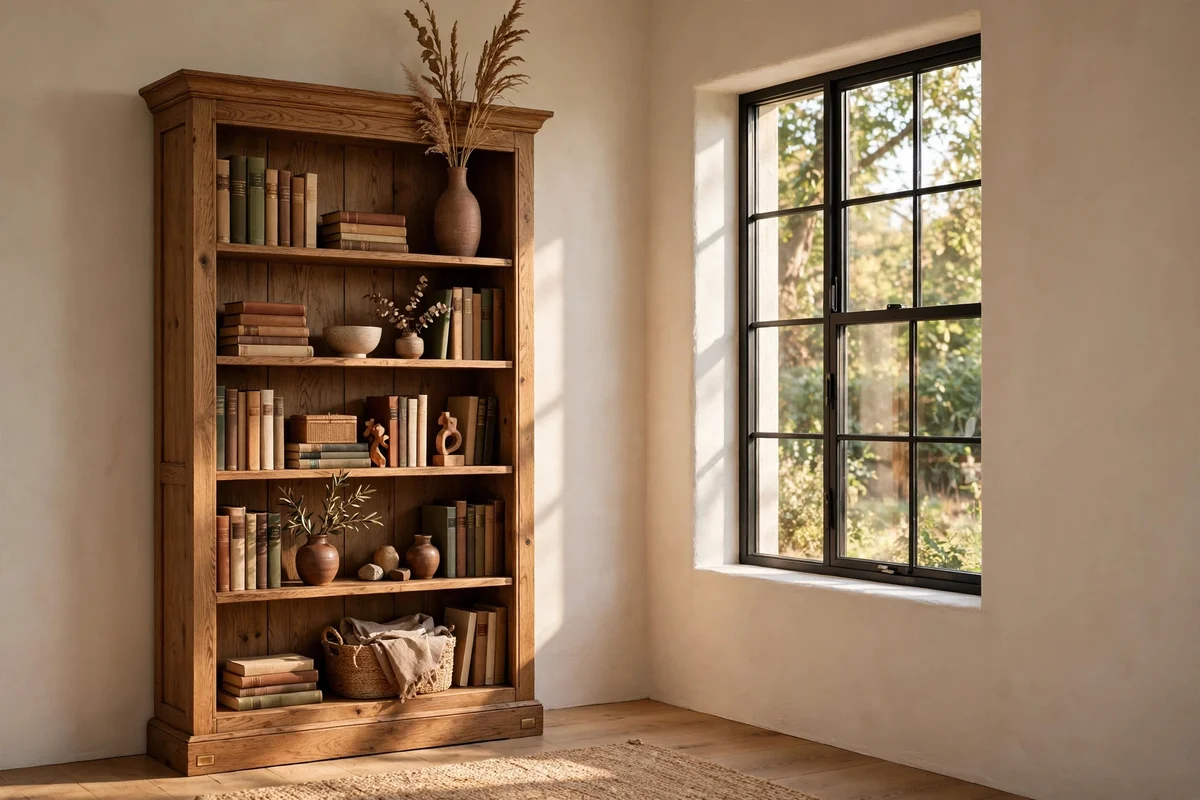
Height balances height, so place the tallest piece of furniture on the side of the wall with the most bare space. A bookcase of 180 to 200 cm against the empty side gives the eye a second vertical anchor and stops the window from dominating the wall alone. Keep 5 to 8 cm between the bookcase and any trim so both read as separate pieces. Solid oak or walnut shelves suit heritage rooms; painted pine works in lighter schemes.
Style the top shelf with a few tall objects, like a 40 cm vase or a stack of books, to carry the line even higher. Leave some shelves partly empty so the piece feels calm rather than crowded. The mistake to avoid is placing a tall unit right against the glass, which squeezes the window and makes the offset look worse. A sturdy second-hand bookcase costs 60 to 120 pounds or dollars; new solid wood starts around 250.
7. Set a Low Bench Under the Window, Shifted Toward the Short Side
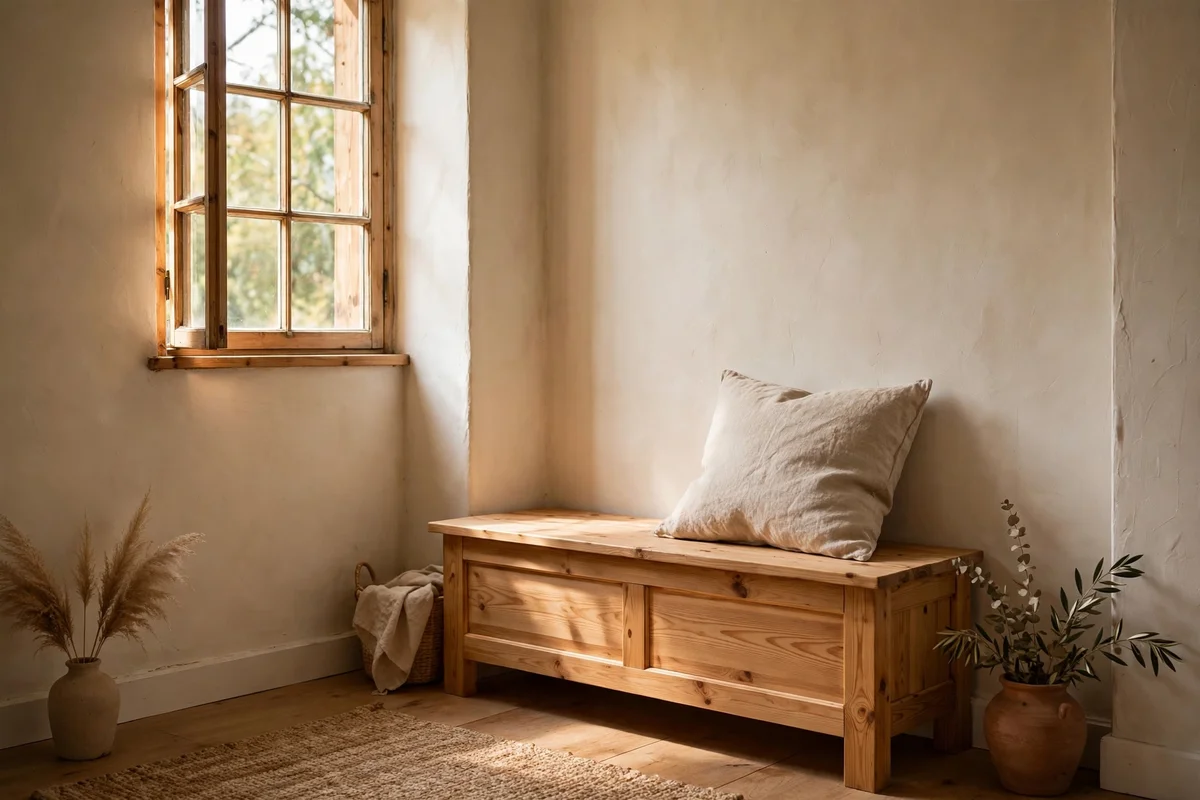
A low bench or window seat placed under the glass pulls attention down and gives the wall a grounded base. Shift the bench 10 to 15 cm toward the narrow side so its centre sits between the window and the wall’s true midpoint. A bench 90 to 120 cm long and 40 to 45 cm high fits most rooms without blocking light. Add an 8 to 10 cm cushion in linen or wool for comfort and a tailored finish.
Store folded throws or board games inside a lidded bench to keep the spot useful as well as pretty. Keep the bench top clear except for one cushion and perhaps a small stack of two books. The mistake to avoid is pushing the bench dead centre under the glass, which lines up with the offset and emphasises it. A simple pine storage bench costs 80 to 140 pounds or dollars; upholstered versions start near 200.
8. Centre the Console Table on the Wall, Not on the Window
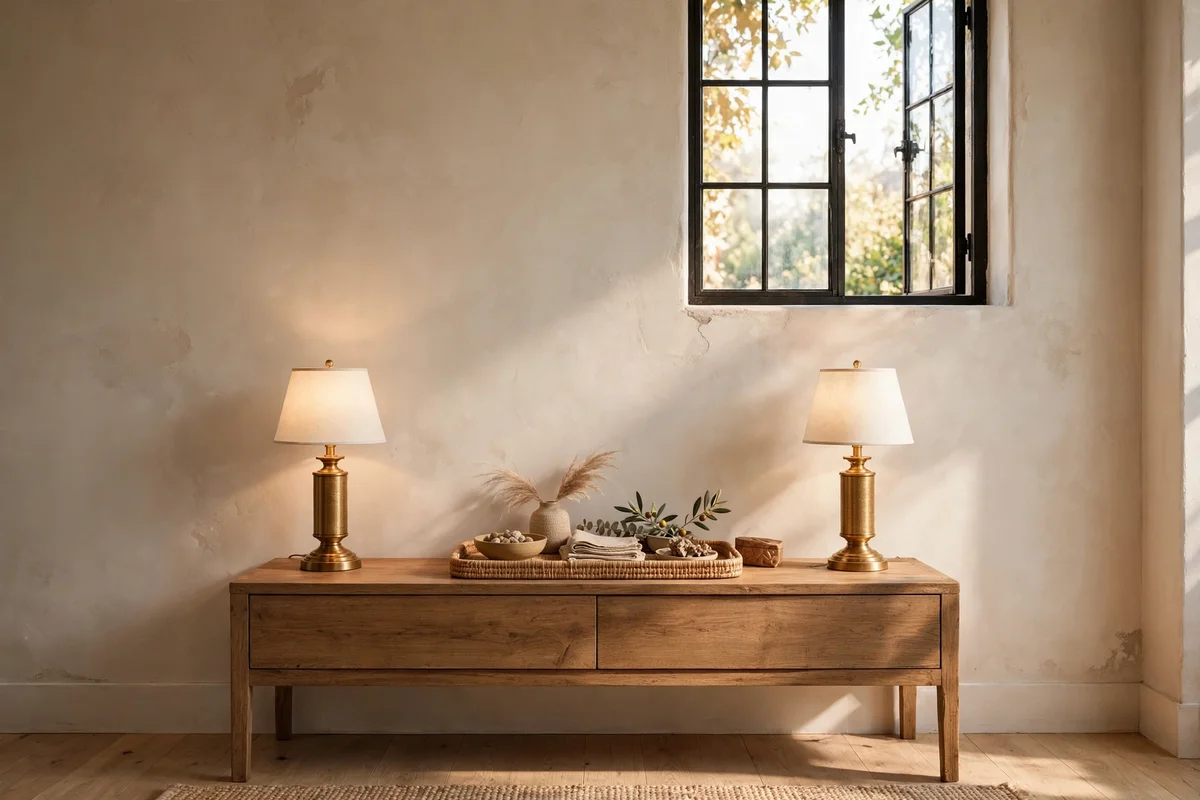
Measure the wall from corner to corner and centre the console table on that mark, even if it sits 15 to 25 cm away from the window’s centre. This quiet correction tells the room that the wall is the reference line, not the glass. A console 100 to 130 cm wide with a depth of 30 to 35 cm suits most living rooms. Place matching objects at both ends so the table itself reads as balanced.
Style the top in three zones: a lamp or tall vase on one end, a low tray in the middle, and a shorter object on the other end. The paired ends keep the composition steady while the window sits off to one side. The mistake to avoid is chasing the window with the table, which leaves one wall corner awkwardly bare. A solid console in oak or walnut costs 150 to 350 pounds or dollars; painted MDF versions start around 90.
9. Anchor the Empty Side With a Tall Floor Lamp
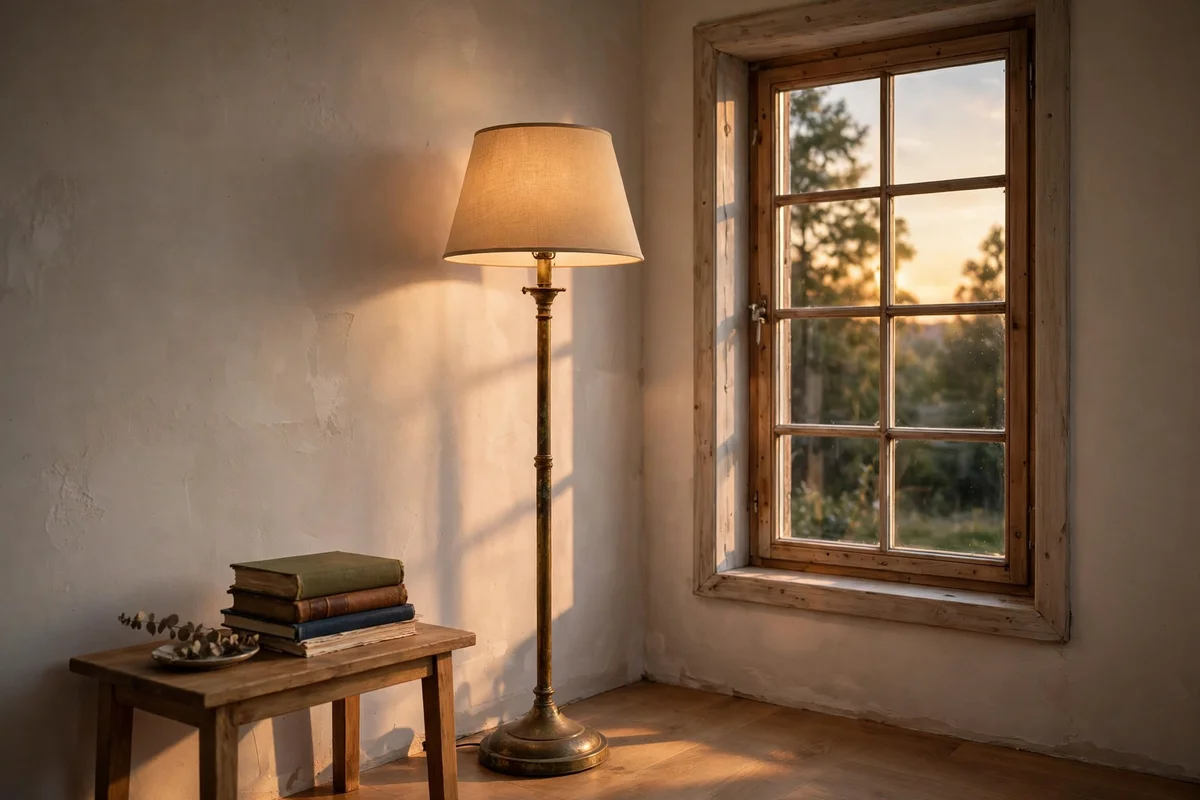
A floor lamp of 150 to 170 cm on the bare side adds a second light source and a strong vertical line where the wall feels empty. Arc or tripod bases suit modern rooms; a classic pharmacy lamp in aged brass suits heritage schemes. Position the base 30 to 40 cm from the wall so the shade clears any curtain stack. A warm 2700K bulb keeps the glow soft in the evening.
Pair the lamp with a small side table or a stack of two books so the corner reads as a deliberate reading spot. Keep the lamp head level with the window’s midpoint, around 120 to 140 cm from the floor, for a balanced line. The mistake to avoid is a short table lamp on a low stool, which leaves the upper wall bare and the room top-heavy. A good floor lamp costs 60 to 180 pounds or dollars depending on the finish.
10. Angle an Armchair Into the Corner of the Longer Bare Side
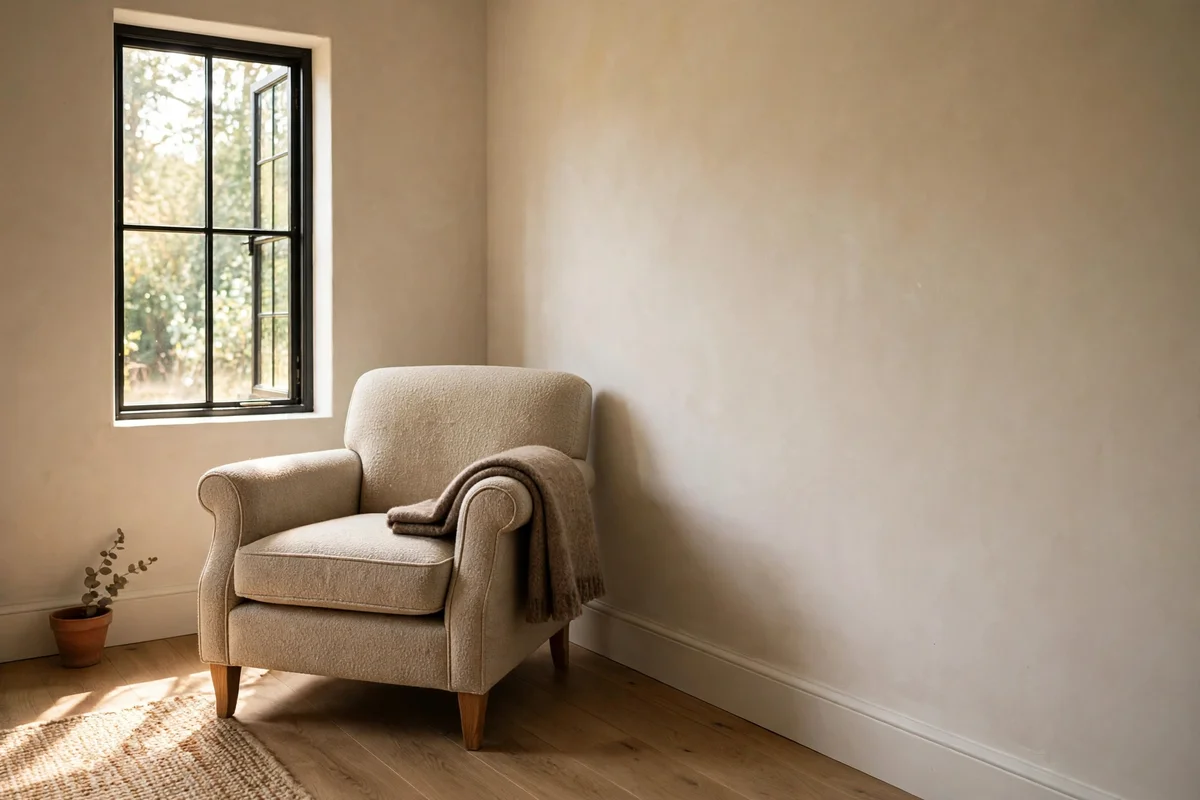
An armchair angled at about 45 degrees into the corner of the longer bare side turns dead space into a cosy corner. Leave 10 to 15 cm between the chair back and each wall so the fabric breathes and cleaning stays easy. A chair 70 to 80 cm wide fits neatly without crowding the window. Add a small round side table of 40 to 45 cm beside it for tea and a lamp.
Drape a folded wool throw over one arm and place a single cushion against the back for warmth. The angled chair breaks the room’s boxy lines and draws the eye away from the offset glass. The mistake to avoid is pushing the chair flat against the wall, which lines it up with the window and restores the imbalance. A quality armchair in linen or velvet costs 250 to 600 pounds or dollars; look for solid hardwood frames.
11. Fill the Narrow Gap With a Chest of Drawers or Cabinet
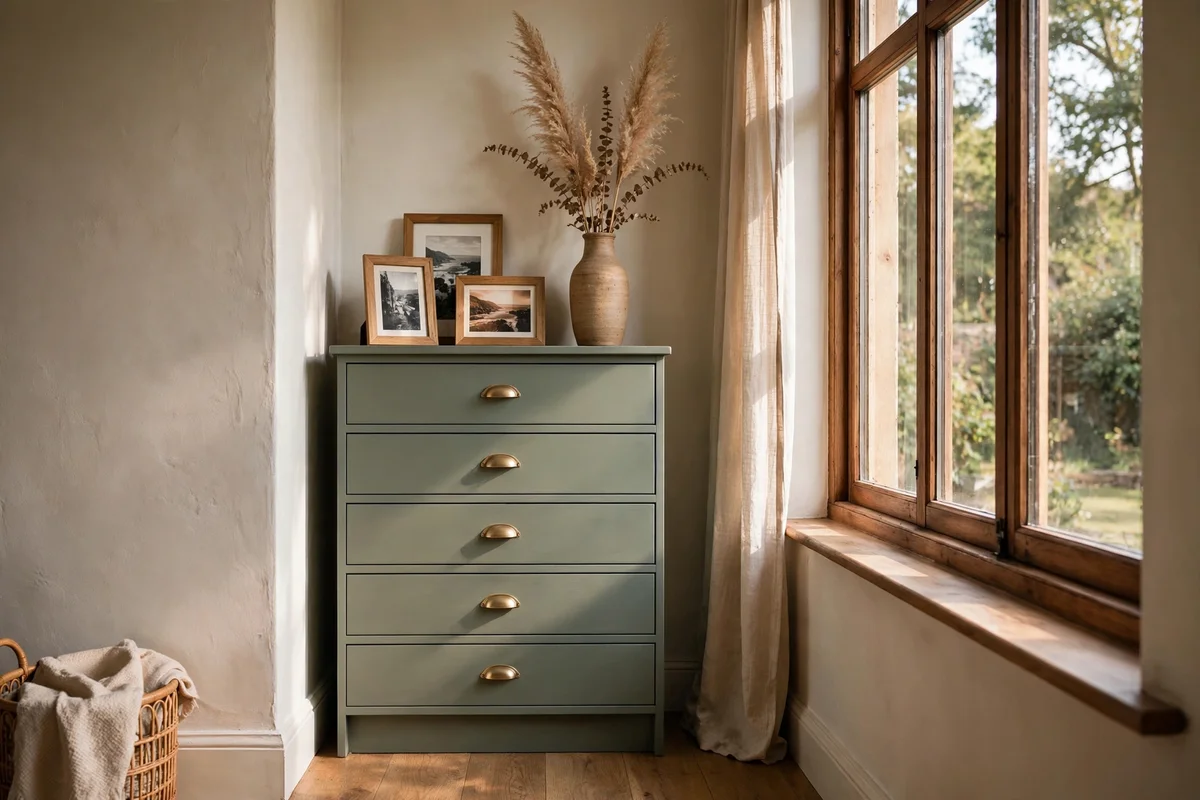
When the window leaves only 40 to 60 cm of wall on one side, a slim chest of drawers or cabinet fills the gap with purpose. Choose a piece 35 to 45 cm deep so it sits proud of the wall without blocking the curtain swing. Top it with a tall vase or a stack of framed photographs to lift the eye. Painted finishes in sage, cream or soft grey blend quietly with most walls.
Use the drawers for linens, candles or tableware so the piece earns its place. Keep the top styled simply: one tall object and one low tray is enough. The mistake to avoid is cramming a deep wardrobe into the gap, which steals floor space and darkens the corner. A slim second-hand chest costs 50 to 110 pounds or dollars; new painted pine starts around 160.
12. Align the Desk to the Room’s Centre Line Instead of the Window
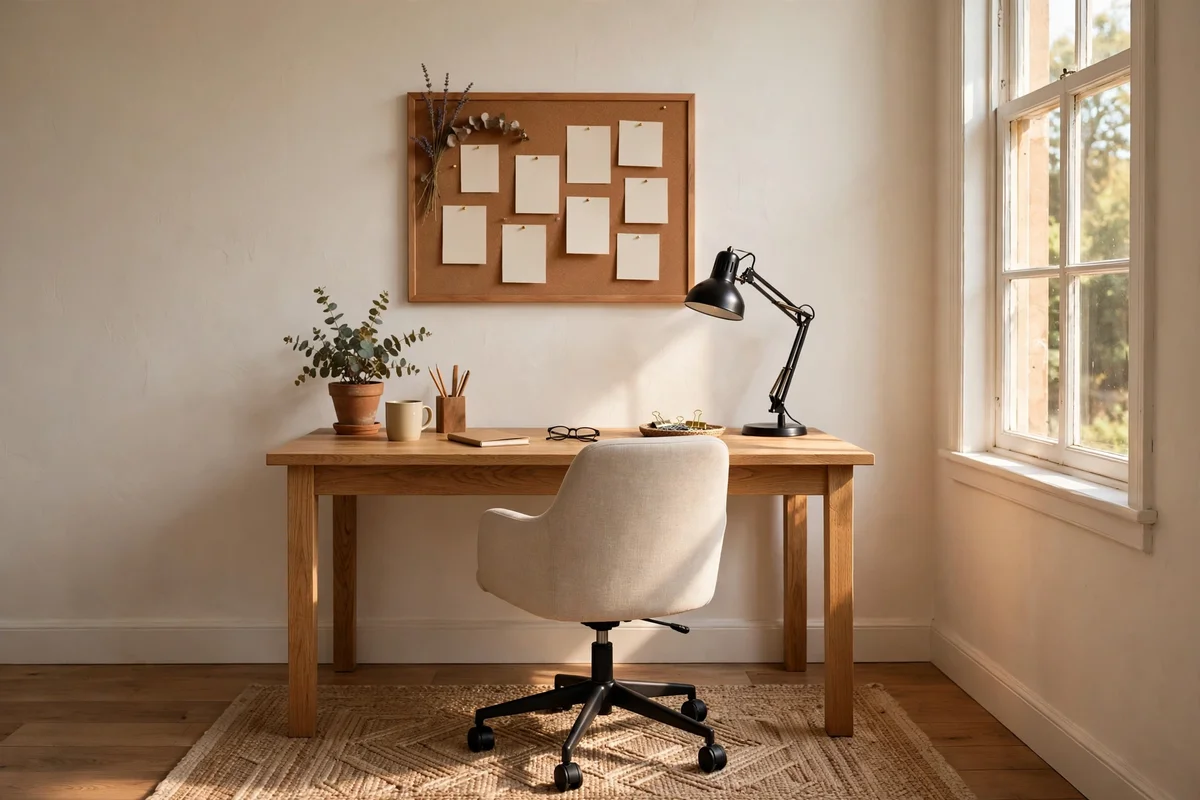
A desk pushed against the window wall should centre on the room, not on the glass. Measure the wall, mark its midpoint, and place the desk so its centre meets that mark, even if the window sits 20 cm to one side. A desk 120 to 140 cm wide gives comfortable working room. This single move keeps the chair, the rug and the lamp all aligned to one calm axis.
Place a desk lamp on the side away from the window so both ends of the desk carry weight. A pinboard or a framed print hung centred above the desk reinforces the new axis. The mistake to avoid is centring the desk on the window, which tilts every other piece in the room off balance. A solid oak or walnut desk costs 200 to 450 pounds or dollars; a sturdy second-hand find often costs under 100.
13. Build a Gallery Group That Fills the Larger Bare Side
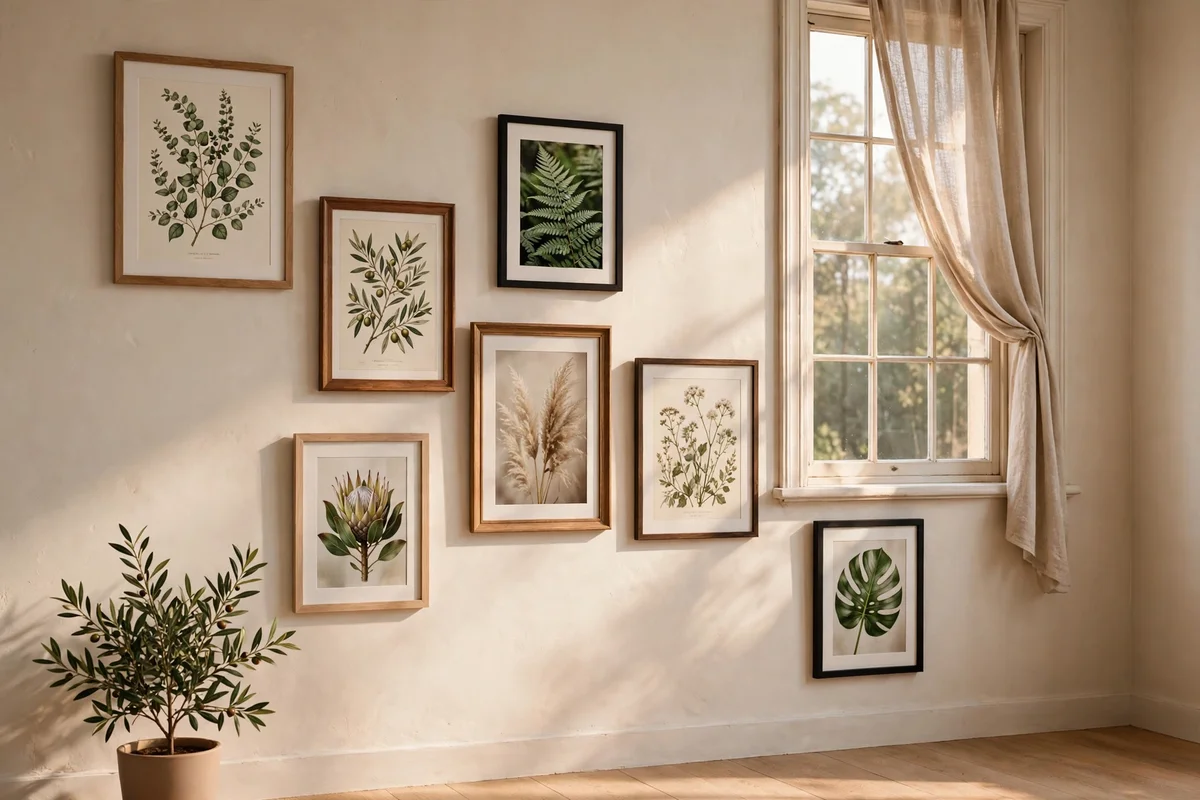
A gallery of five to seven frames arranged over the larger bare side gives the wall a second centre of interest. Start the arrangement 15 to 20 cm from the window trim and let it spread across 100 to 140 cm of wall. Mix frame sizes from 20 by 25 cm up to 40 by 50 cm, keeping a 5 to 8 cm gap between frames. Botanical prints, maps and family photographs suit a heritage feel.
Lay the frames on the floor first and photograph the layout before lifting a hammer. Hang the largest frame at eye level, about 145 to 150 cm from the floor to its centre. The mistake to avoid is a timid cluster of two small frames, which looks lost beside a full window. Thrifted frames with new mounts cost 3 to 8 pounds or dollars each; printing photographs at home keeps the whole wall under 60.
14. Hang One Oversized Mirror on the Side With More Wall
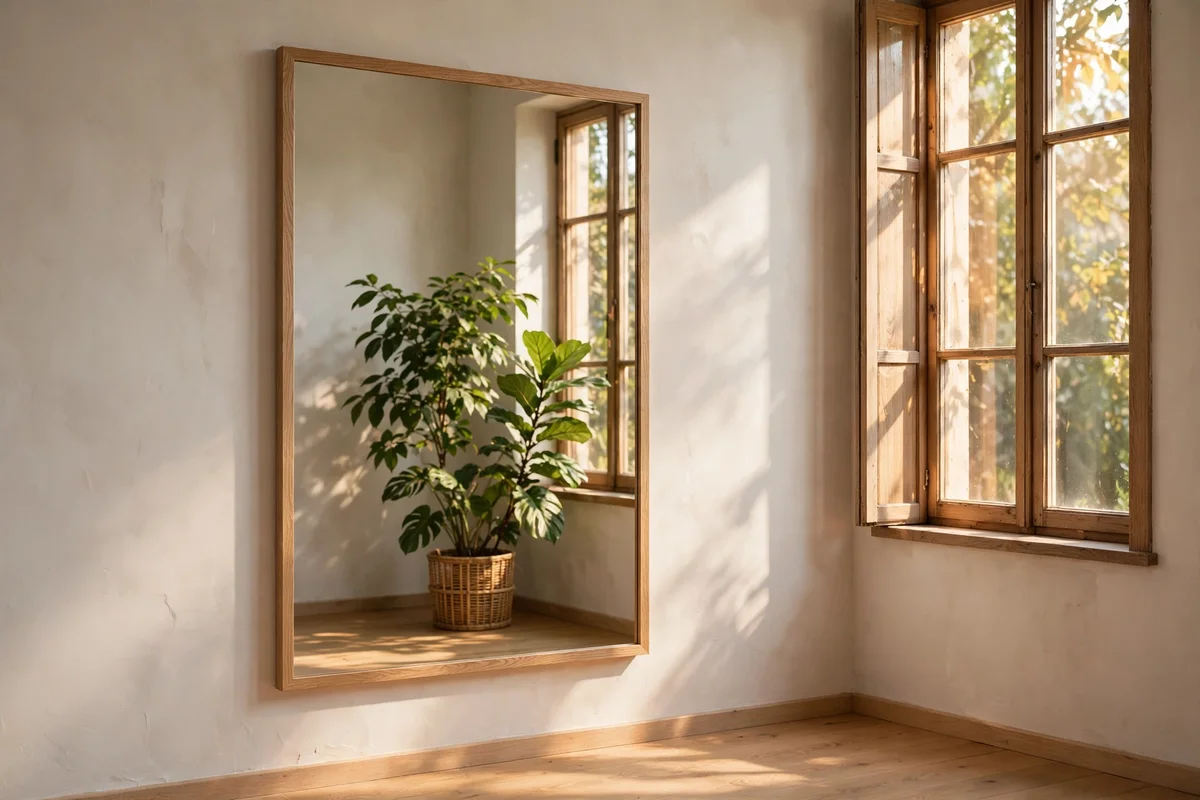
A single mirror of 70 by 100 cm or larger on the bare side does double duty: it fills the gap and bounces window light deeper into the room. Hang it so its centre sits at the same height as the window’s centre, usually 140 to 150 cm from the floor. A slim oak or brass frame keeps the look refined. Lean the mirror against the wall on a console for a relaxed alternative that needs no drilling.
Check the reflection before fixing the position; it should show something pleasant, like a plant or a calm stretch of wall, not a doorway or clutter. The mistake to avoid is a small mirror that reads as a postage stamp beside the window; go bigger than feels safe. A 70 by 100 cm mirror in a simple frame costs 70 to 150 pounds or dollars; vintage finds at markets often cost half that.
15. Run Floating Shelves Along the Empty Side for Balance
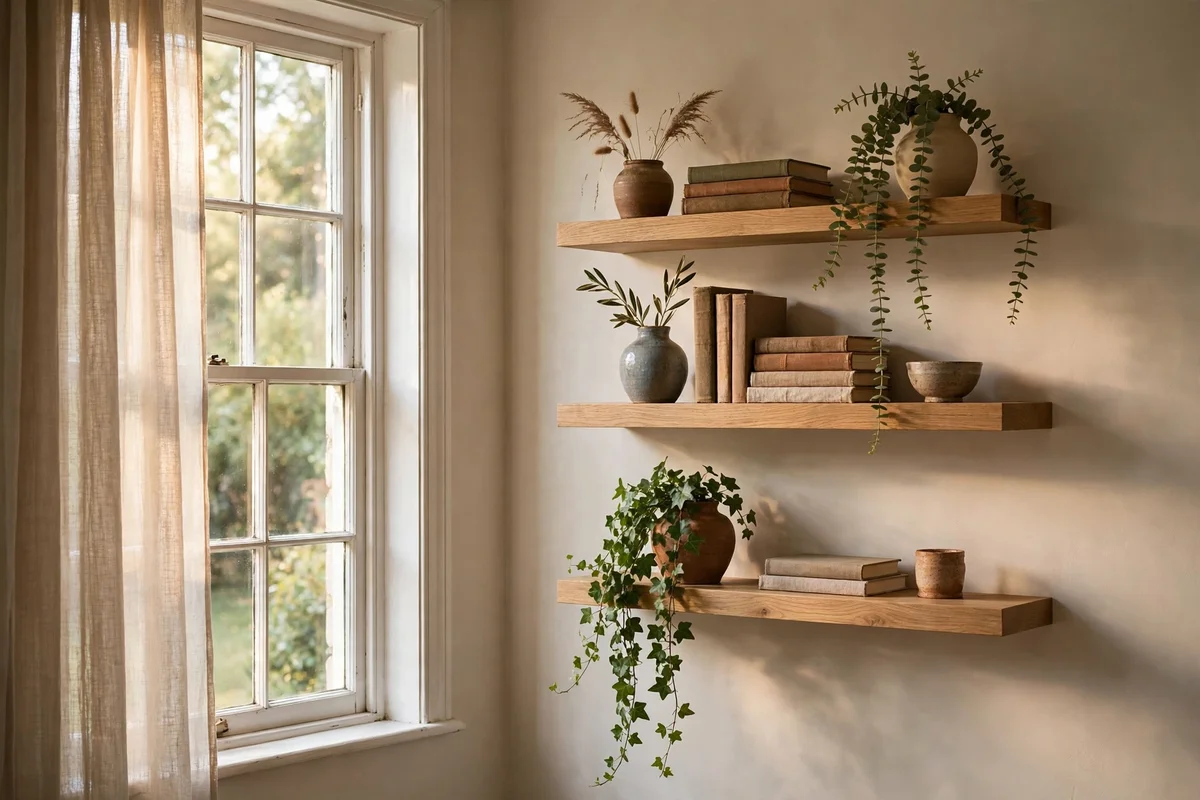
Two or three floating shelves on the empty side add horizontal interest that matches the window’s presence. Space them 30 to 35 cm apart vertically, starting about 130 cm from the floor. Shelves 80 to 100 cm long and 20 cm deep hold books, small vases and folded linens without jutting too far. Oak or walnut shelves with hidden brackets suit both modern and heritage rooms.
Style each shelf with a mix of heights: one tall vase, one stack of books and one small trailing plant. Keep 15 to 20 cm of clear space at the shelf ends so the display breathes. The mistake to avoid is loading shelves with dozens of small items, which reads as clutter beside clean glass. Three solid wood shelves with brackets cost 45 to 90 pounds or dollars; painted MDF versions cost less.
16. Lean a Tall Framed Print Against the Longer Wall
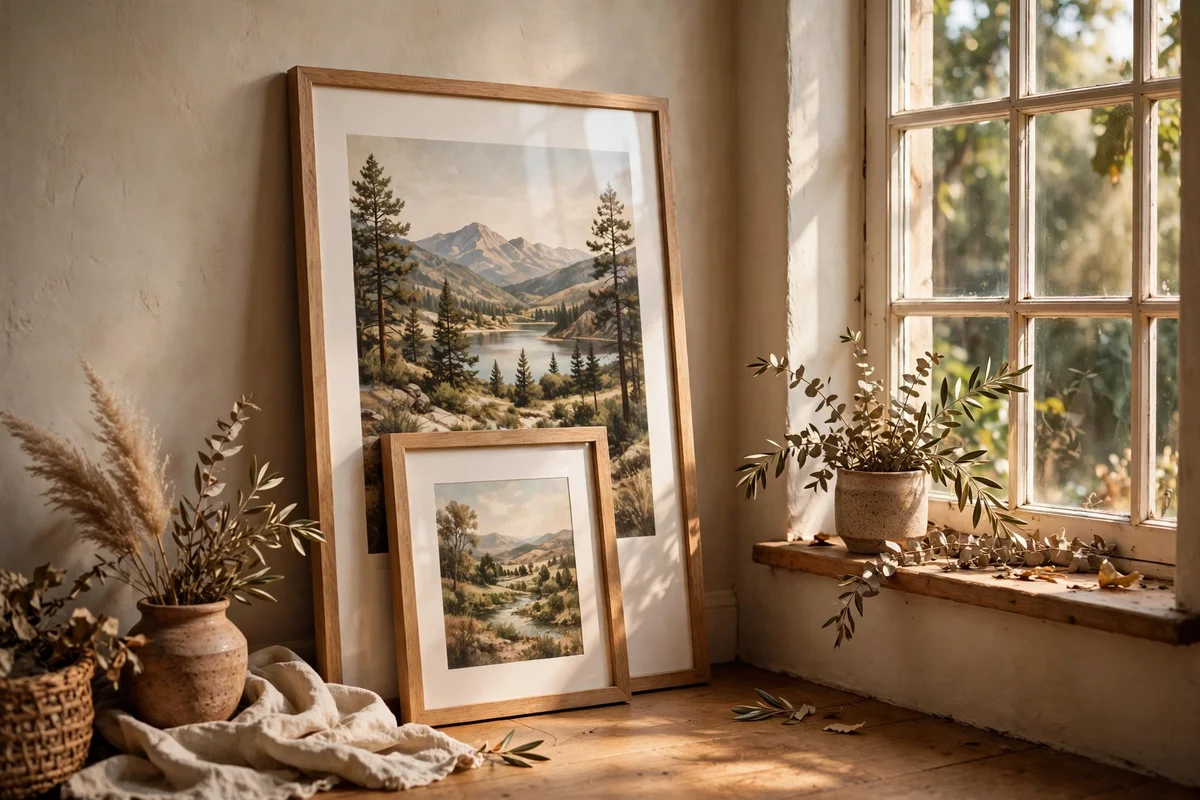
A tall framed print of 60 by 90 cm leaned against the longer wall adds height without a single nail. Rest the bottom edge 10 to 15 cm out from the skirting so the frame tilts back safely against the wall. Botanical studies, vintage maps or calm landscapes suit the heritage mood. Layer a smaller frame of 30 by 40 cm in front for depth.
Place the frame on the side with more wall so its height answers the window’s height across the room. Use museum putty or anti-slip pads under the corners on hard floors. The mistake to avoid is leaning the frame where curtains swing, since fabric will knock it over time. A quality print in a ready-made oak frame costs 40 to 90 pounds or dollars; printing at a local shop keeps costs low.
17. Stand a Tall Floor Plant on the Narrow Side
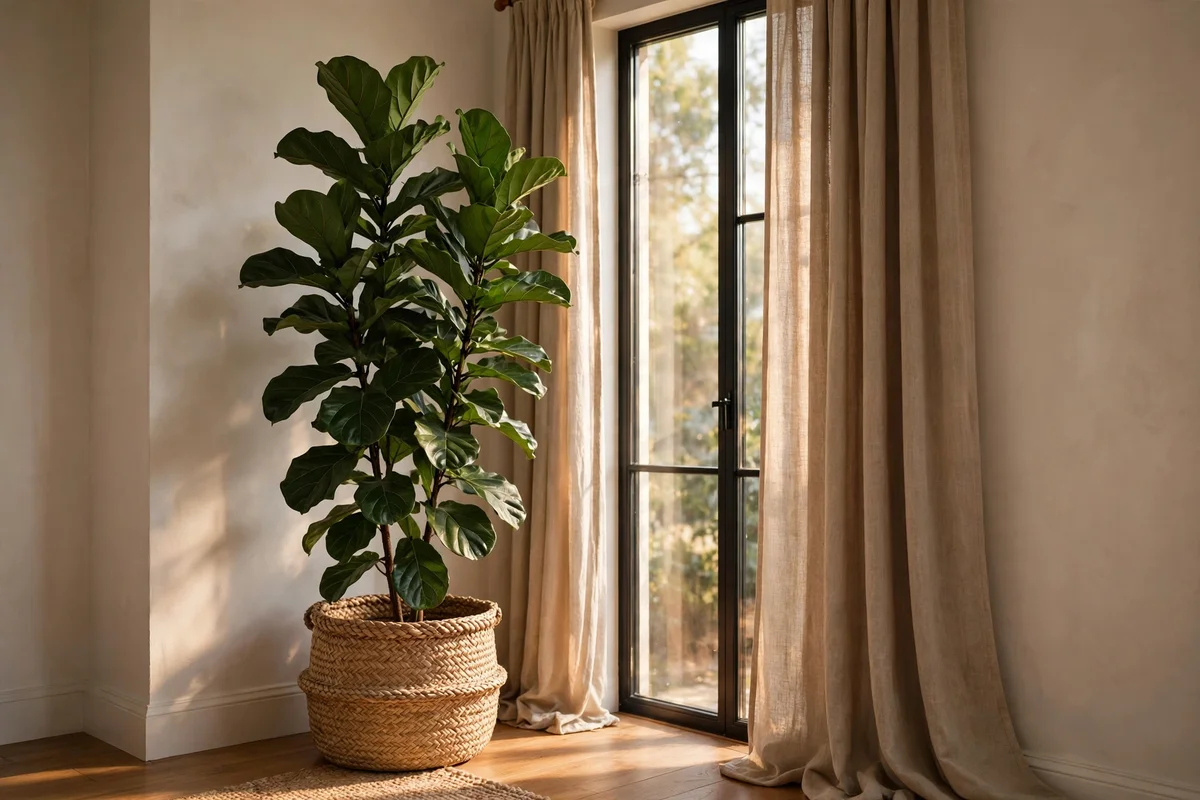
A floor plant of 120 to 150 cm on the narrow side fills the tight gap with living height. Choose an upright grower like a fiddle leaf fig, olive tree or kentia palm in a pot 30 to 35 cm wide. Set the pot 15 to 20 cm from the wall so leaves clear the curtain hem. The green mass softens the corner and makes the narrow side feel intentional rather than leftover.
Water according to the plant’s needs and rotate the pot a quarter turn each month so growth stays even. A woven seagrass basket around the nursery pot hides plastic and suits the natural mood. The mistake to avoid is a plant that is too short; anything under 90 cm disappears beside full-length curtains. A healthy 120 cm plant in a basket costs 50 to 120 pounds or dollars from a local nursery.
18. Set a Trailing Plant on a Stool on the Bare Side
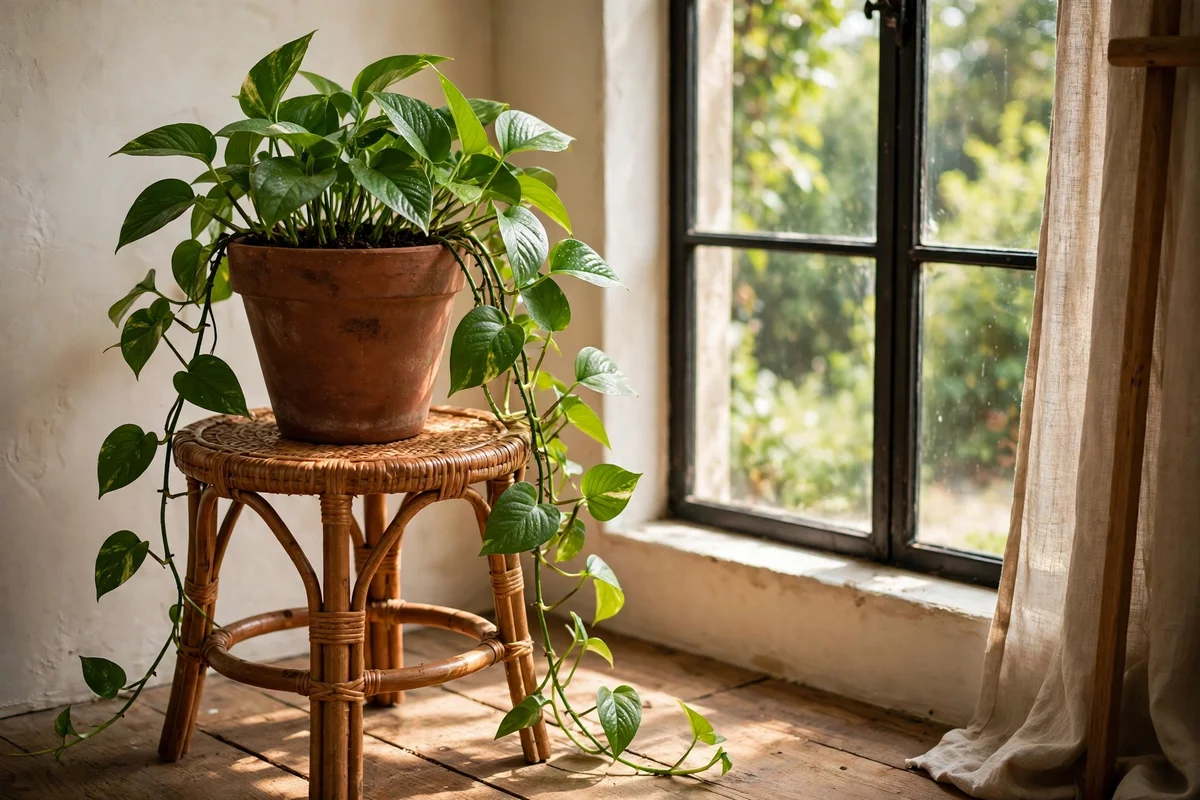
A trailing plant on a 40 to 50 cm stool brings softness to the bare side without demanding floor space. Let pothos or philodendron vines fall 50 to 70 cm for a gentle waterfall of green. Choose a stool in oak or rattan that matches the room’s wood tones. Position it 20 to 30 cm from the wall so the vines clear the skirting and the curtain edge.
Trim the vines every few months so they stay full at the top rather than leggy at the ends. A simple ceramic pot in cream or terracotta keeps the look warm. The mistake to avoid is letting the plant sit in a dark corner where it stretches toward the window and looks sparse. A trailing plant with a rattan stool costs 35 to 75 pounds or dollars, often less at a garden centre sale.
19. Group Small Pots on the Sill Toward the Short Side
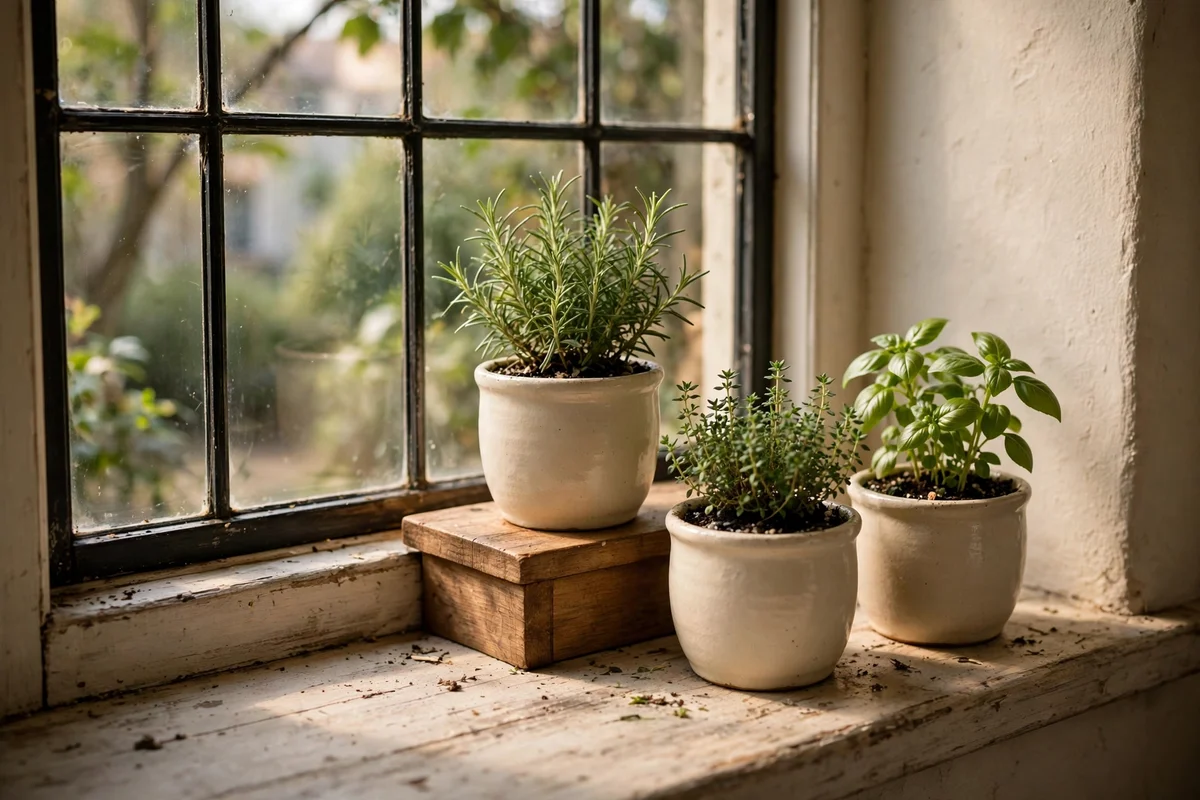
Three small pots grouped on the sill toward the narrow side pull the eye across the glass and balance the empty wall beyond. Use pots 10 to 12 cm wide with herbs like thyme, mint or small succulents. Vary the heights by 5 to 8 cm using a small wooden riser under one pot. Keep the group within the glass area so it never blocks the curtain close.
Water herbs little and often, and snip them for the kitchen so they stay bushy. A shallow tray under the pots catches drips and protects the sill paint. The mistake to avoid is lining pots in a rigid row across the whole sill, which draws a hard line under the offset glass. Three herb pots with a tray cost 15 to 30 pounds or dollars, making this the cheapest fix on the list.
20. Paint the Window Trim the Same Colour as the Wall
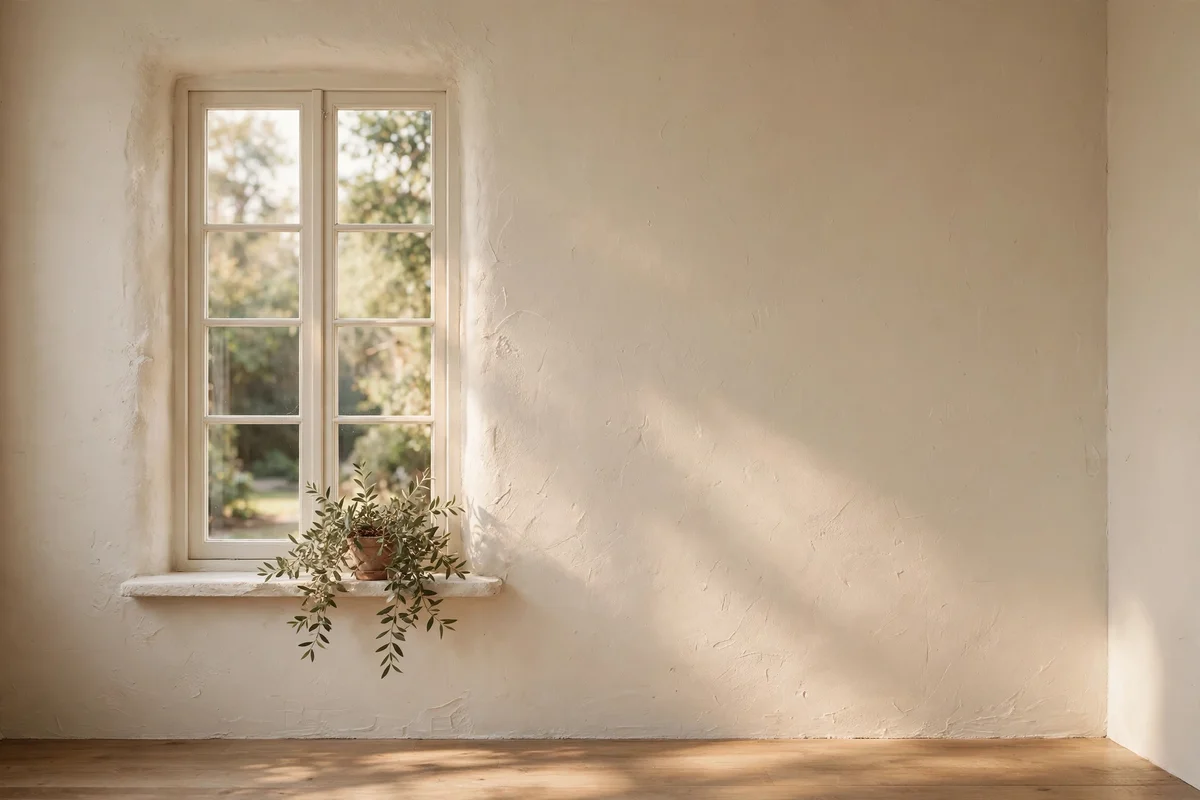
Painting the architrave and sill the same colour as the wall lets the frame dissolve into the background, so its position matters far less. Use the wall’s exact paint, in a satin or eggshell finish for woodwork durability. Two thin coats over primer give a smooth result; sand lightly with 120-grit paper between coats. This single change can calm an entire wall in one weekend.
Test the colour on a small patch of trim first, since the same paint can look different on wood than on plaster. Mask the glass with low-tack tape and a 5 cm margin for a crisp line. The mistake to avoid is painting the trim a bold accent colour, which outlines the offset and shouts about it. A litre of quality trim paint costs 20 to 35 pounds or dollars and covers several windows.
21. Fit a One-Sided Interior Shutter That Balances the Frame
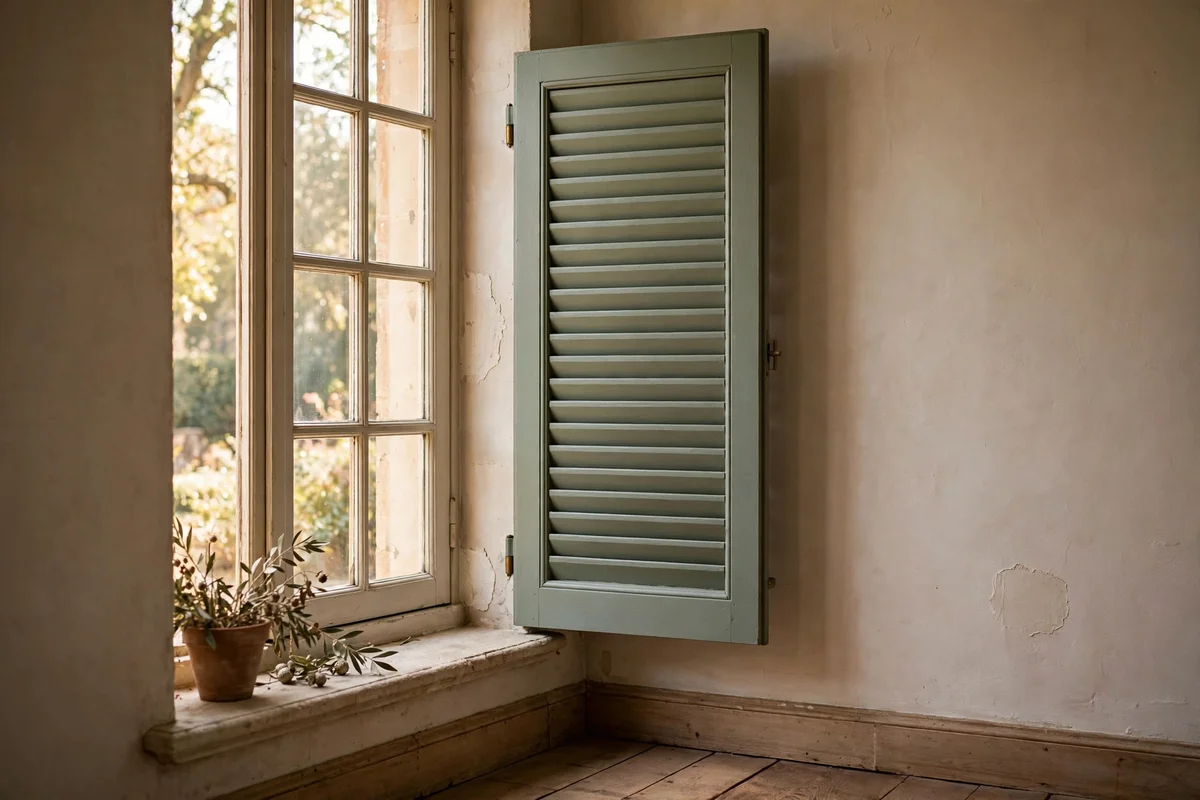
A single interior shutter on the narrow side balances an off-centre window with old-world charm. Choose a full-height louvre panel 5 cm narrower than the glass so it sits neatly inside the reveal. Paint it the trim colour for a seamless look, or a soft sage for gentle contrast. The shutter adds a crisp vertical line exactly where the wall feels shortest.
Fit the shutter with hinges on the reveal so it opens fully for cleaning and light. Keep the louvres dusted with a soft brush every month. The mistake to avoid is fitting shutters on both sides of a window with very little wall, which crowds the glass and darkens the room. A single made-to-measure louvre panel costs 120 to 250 pounds or dollars; a ready-made panel in a standard size costs less.
22. Wrap the Window With a Wider Decorative Casing Band
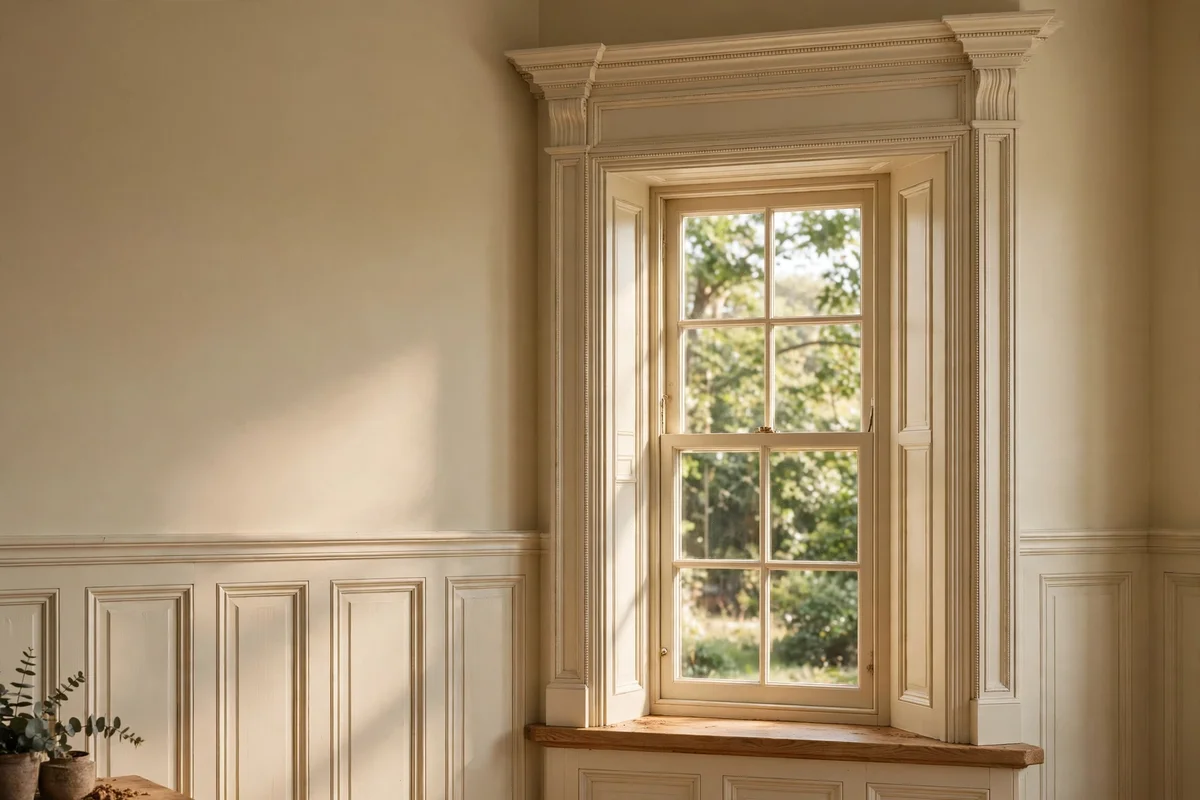
Wrapping the window in a wider casing, say 12 to 15 cm instead of the usual 7, makes the frame itself feel like a deliberate feature. Build the casing up with layered moulding: a flat band plus a small bead along the inner edge. Paint the whole assembly one calm colour. The bolder frame pulls the eye to the window as an object, so its position on the wall fades in importance.
Mitred corners need a steady hand, so practise on offcuts before cutting the real lengths. Fill nail holes with wood filler and sand smooth before painting. The mistake to avoid is a chunky casing on a small window, which can swallow the glass and make the room feel heavy. Materials for one window cost 40 to 80 pounds or dollars; a carpenter charges 150 to 300 for the same job.
23. Lay a Rug That Zones the Room to a New Visual Centre
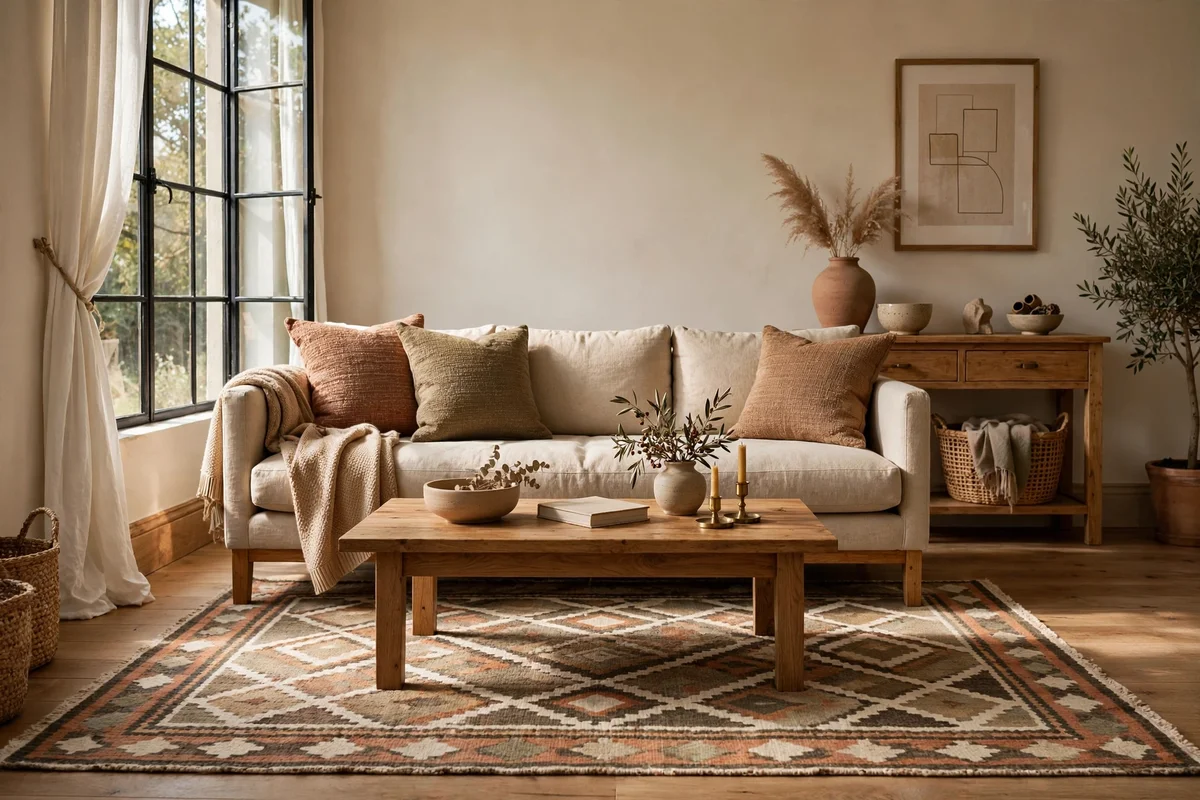
A rug laid square to the room, rather than to the window, quietly resets the room’s visual centre. Choose a rug 160 by 230 cm for a living room seating area, centred on the sofa and coffee table. The rug’s border becomes the line the eye follows, and the offset window simply sits within the larger composition. Flatweave wool in warm neutrals suits high-traffic rooms.
Layer a smaller 120 by 170 cm rug over the base for texture if the room feels plain. Keep at least 30 cm of bare floor between the rug edge and the wall on the narrow side. The mistake to avoid is centring the rug on the window, which drags every piece of furniture off axis with it. A quality flatweave rug costs 120 to 300 pounds or dollars; good second-hand wool rugs appear often at markets.
An off-centre window is a small puzzle, not a flaw in your home. Once the curtains span wider than the frame and the furniture answers to the wall instead of the glass, the room reads as calm and considered. The ideas here all share one habit: measure first, then place with intent. A tape measure and ten quiet minutes do more than any expensive piece.
Start this week with the easiest win: extend the curtain rod on the bare side or paint the trim to match the wall. Either change takes an afternoon and costs little, yet the wall will feel noticeably steadier the moment you step back. Live with the change for a few days, then add one more idea, and let the room settle into its new, balanced self.
Frequently Asked Questions
How far past the window frame should a curtain rod extend on an off-centre window?
Extend the rod 20 to 30 cm past the frame on the side with more wall, and 8 to 10 cm on the side near the corner. Mount it 10 to 15 cm above the frame as well. This asymmetry makes the curtained area read as one wide, centred window, and it is the single most effective fix for the least money.
Can I balance an off-centre window in a rented flat without drilling?
Yes. Use a tension rod inside the reveal or an adhesive-mounted rod rated for the curtain weight. Lean a tall framed print against the longer wall, stand a tall plant on the narrow side, and centre a rug on the room rather than the window. None of these need holes, and all of them steady the wall.
Should curtains be centred on the window or on the wall?
Centre them on the wall. Measure corner to corner, mark the true midpoint, and let the rod and panels answer to that mark. Centring on the glass simply repeats the offset. The one exception is a very small room, where centring on the window can feel calmer; everywhere else, the wall is the right reference line.
What is the cheapest way to fix an off-centre window?
Group three small herb pots on the sill toward the narrow side for 15 to 30 pounds or dollars, or paint the trim to match the wall for 20 to 35. Both take an afternoon and soften the offset noticeably. If you can spend a little more, an adjustable curtain rod at 25 to 45 gives the biggest visual change for the money.
How do I measure the offset so my fixes actually work?
Measure from each side of the frame to the nearest corner and write both numbers down. The difference is your offset; a 20 to 40 cm gap is typical. Also measure the wall’s true midpoint from corner to corner. Every fix in this guide, from rod extensions to furniture placement, starts from those two measurements, so take them before you buy anything.