Home Improvement
23 Painted Interior Door Ideas That Add Instant Character
By Anna Wells · · 21 min read
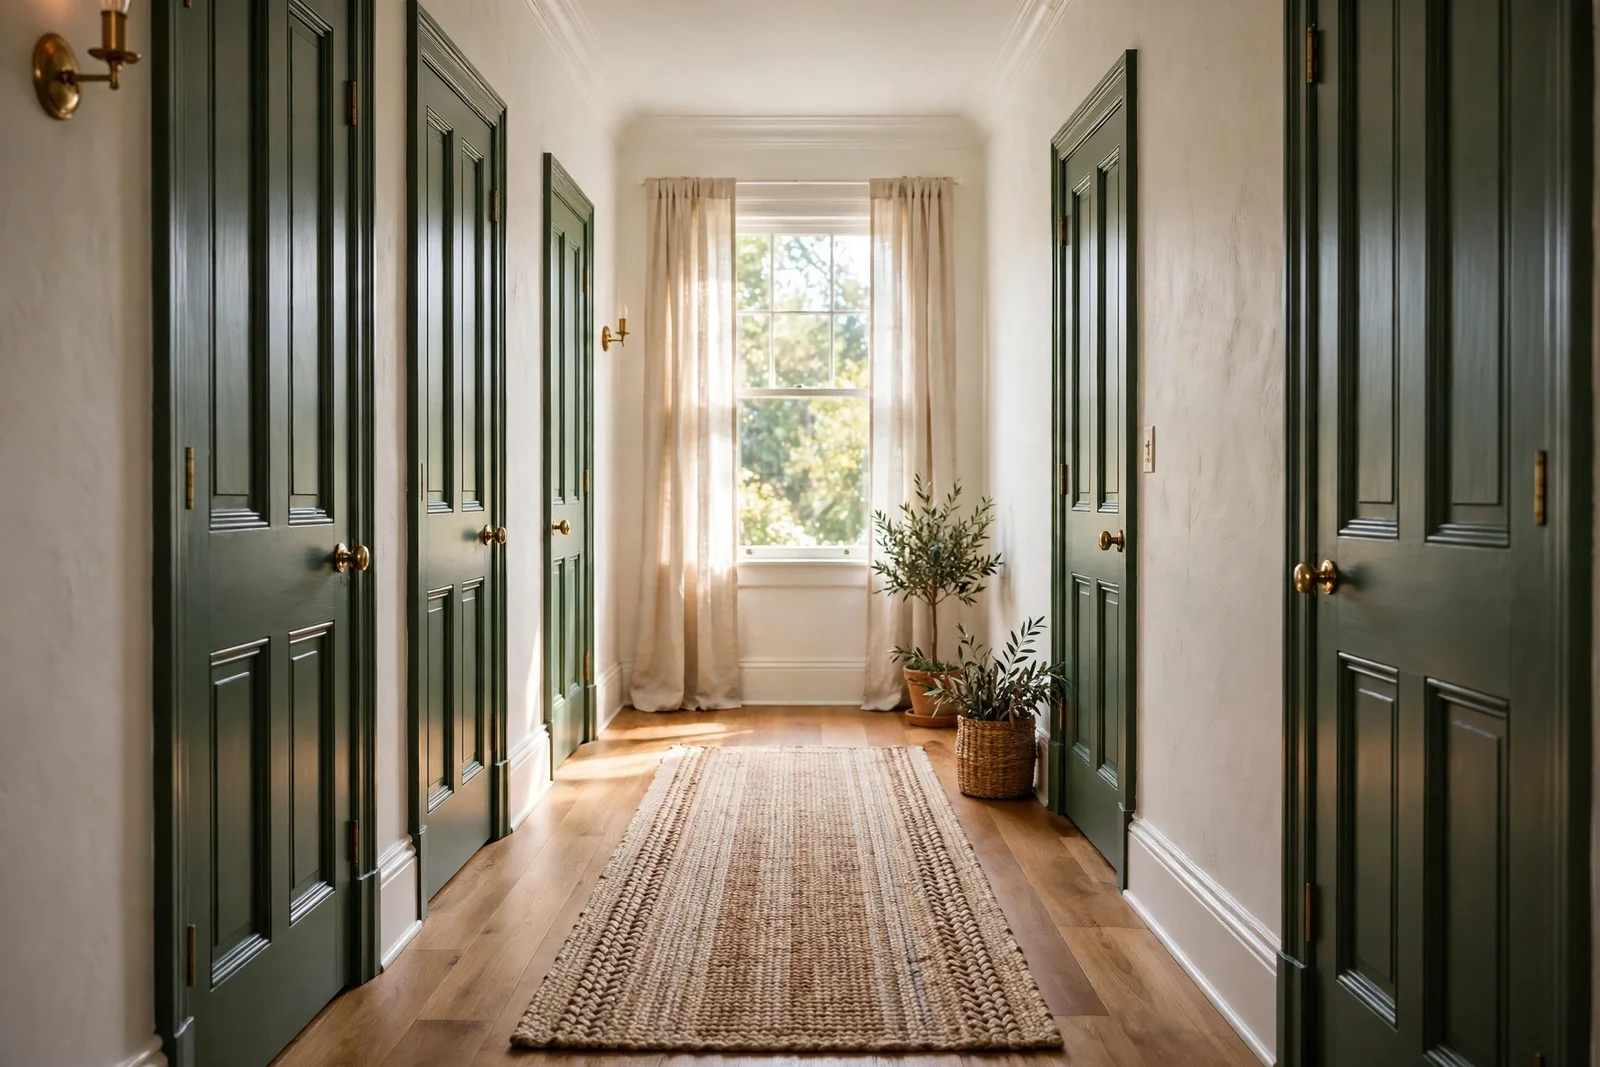
A painted door is the quiet signature of a well-loved home: twenty-three practical ideas for heritage colour, matching trim, two-tone faces and lasting finishes.
There is a particular quiet that falls when a hallway finally feels finished, and often it comes down to the doors. A freshly painted door in deep green or warm putty does more than cover old wood; it sets the tone for every room beyond it. Light moves differently across a coloured panel, and the whole house feels a shade more considered.
Painting interior doors is one of the smallest renovations with the largest visual return. A single litre of paint, a free weekend and a steady hand can carry more character than a new rug or a set of cushions. Doors are the frames of daily life, touched dozens of times a day, and giving them colour gives the home a signature.
This collection gathers twenty-three practical ideas, from heritage colours on panelled doors to two-tone faces, matching trim, new hardware and the prep that makes paint last. Every idea includes the finishes, timings and quantities that make it work in a real home, plus the mistakes worth avoiding along the way.
Whether you paint one tired door or colour drench a whole hallway, start where the brief suggests: test on the least seen door, prep properly, and let the colour earn its place. The ideas below guide each step, from the first tester pot to the final sharp edge.
1. Paint a Panelled Door in Deep Heritage Green for Instant Presence
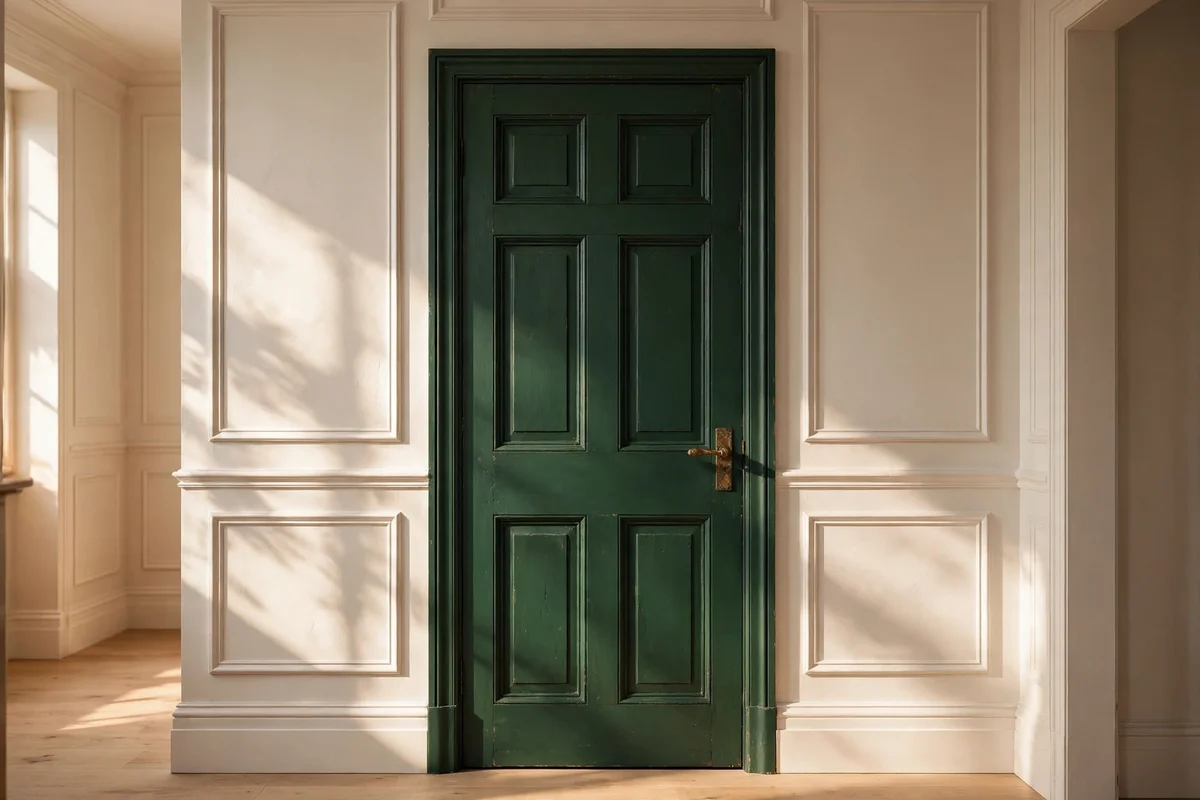
A deep heritage green, close to bottle green or a dark forest shade, turns a plain panelled door into something that looks built in rather than bought. Paint the raised panels, flat rails and stiles all in the same tone so daylight catches the moulding edges and gives quiet depth. Use a mid-grey primer under the colour, then two thin coats of satinwood, leaving at least six hours between coats so the paint levels smoothly.
Keep the surrounding walls soft, warm white or pale stone, so the green door stays the focal point of the room or hallway. One deep green door suits a study or reading room entrance best, where the colour feels settled instead of loud. The mistake to avoid is painting every door green in one weekend before you know you love it. A single litre of quality satinwood covers one door twice and usually costs 15 to 25 pounds or dollars.
2. Choose Inky Blue on a Bedroom Door for Calm, Restful Colour
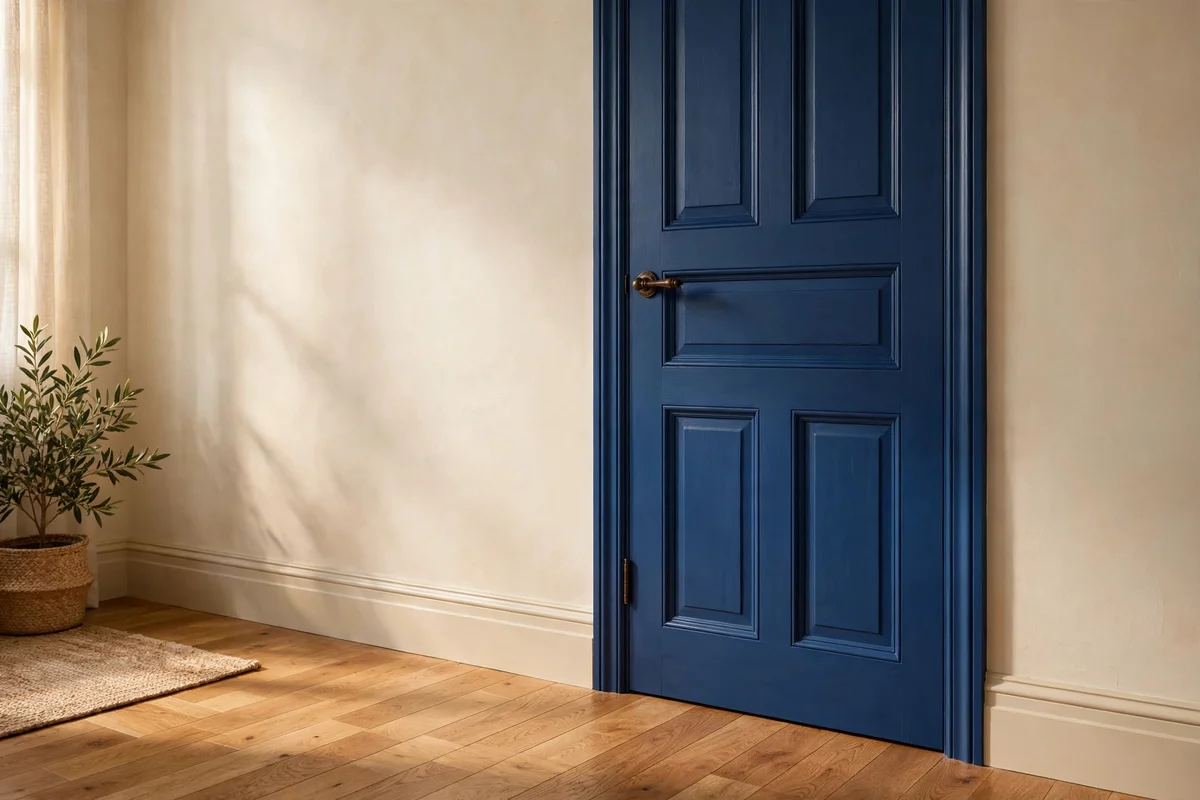
Inky blue, darker than denim but softer than navy, brings a calm, cocooning feel to a bedroom doorway. It pairs beautifully with oak floors, cream bedding and linen curtains, and it makes brass or bronze handles look quietly rich. Brush the paint along the grain of the wood, working from the panels outward to the stiles, and sand lightly with 220-grit paper between coats for a smooth hand feel.
Because the door is seen mostly in lamplight, test the colour under a warm 2700K bulb before you commit; blue paint shifts noticeably between daylight and evening light. Leave the door open for the first two nights so the paint fully cures without sticking to the frame. The mistake to avoid is using high-gloss finish here, which shows every fingerprint and brush line. Eggshell gives the same depth with a softer, more forgiving surface.
3. Warm Putty on Hallway Doors to Soften a Long Corridor
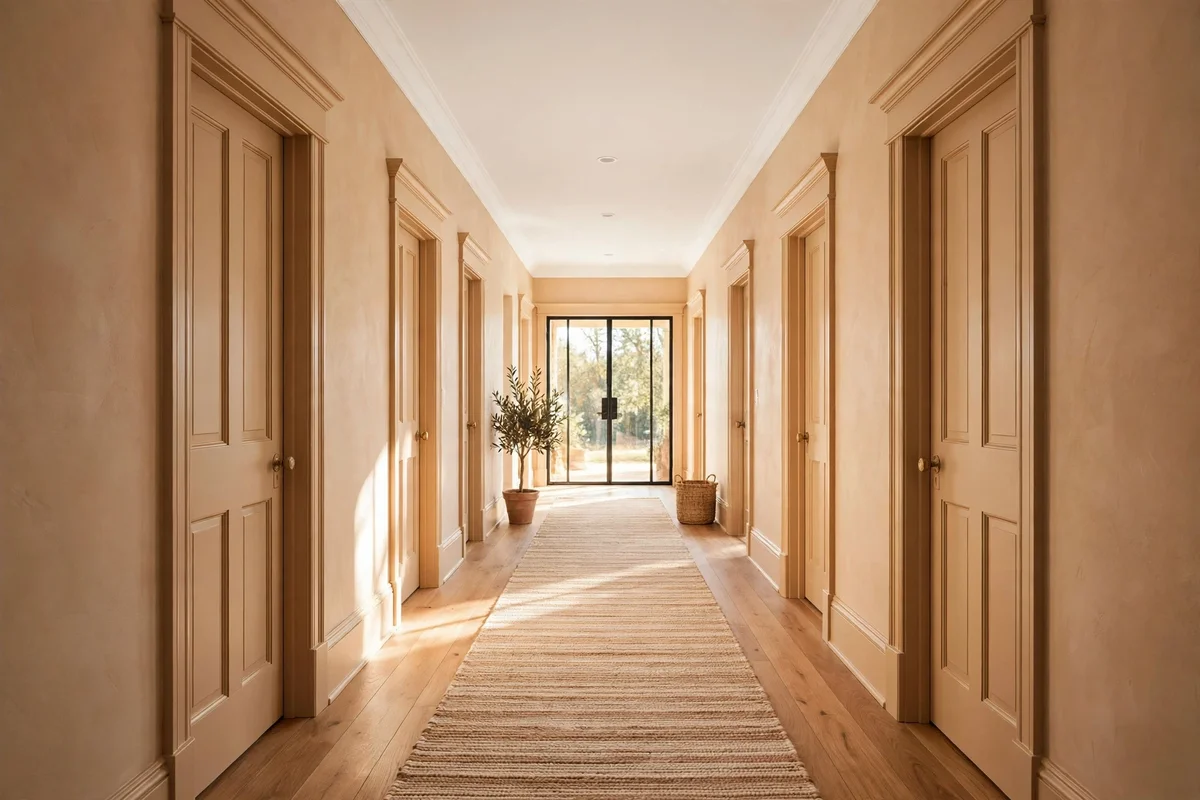
Warm putty, a beige-grey with a gentle taupe undertone, softens long hallways that would feel cold in plain white. It hides scuffs far better than white paint, which matters in a corridor that bags, shoes and elbows brush past daily. Paint the door, architrave and skirting in the same putty shade so the whole corridor reads as one continuous, calming band of colour.
Match the floor runner to the scheme: a flatweave in warm terracotta or oatmeal keeps the hallway grounded and welcoming. Keep ceilings and the upper walls bright so the corridor does not close in on itself. The mistake to avoid is choosing a putty that is too grey, which can look lifeless in north-facing light. Budget tip: putty shades are widely available in mid-range ranges, often 12 to 20 pounds or dollars per litre.
4. Clay Red on a Cottage Door for Old-World Warmth
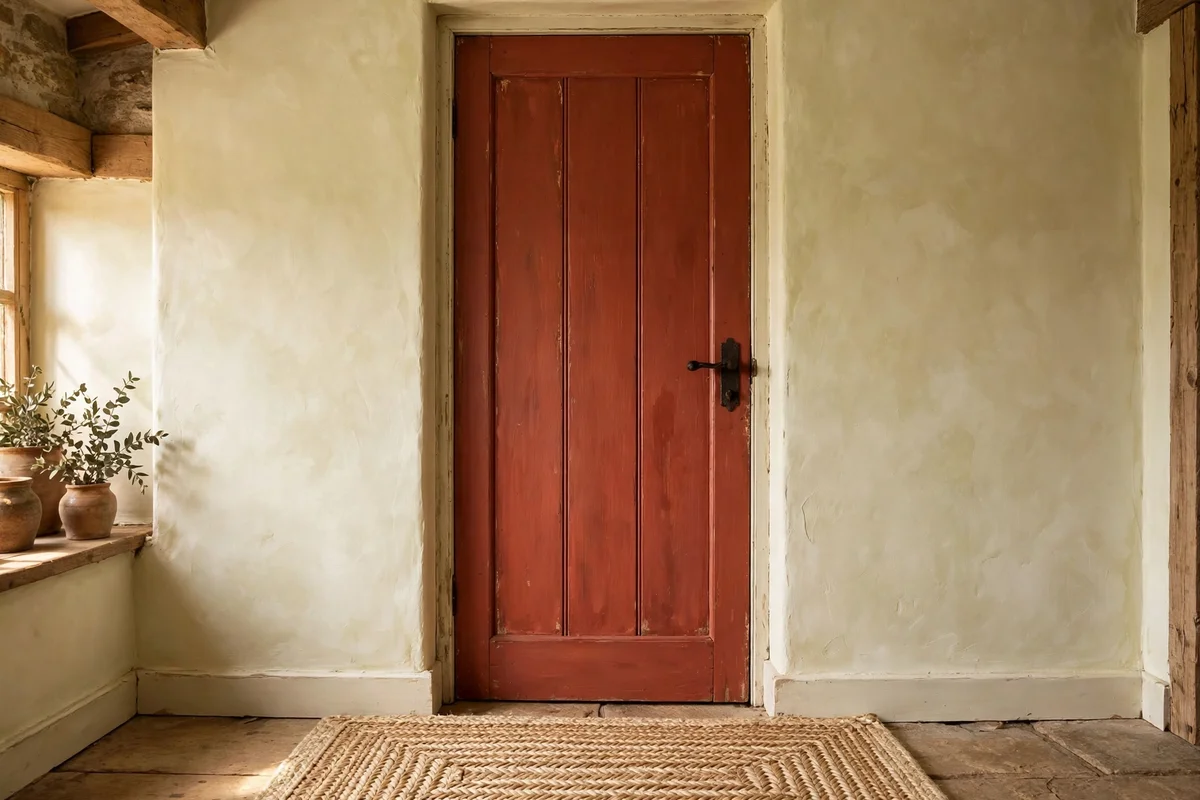
Clay red, an earthy terracotta-red with brown undertones, gives a cottage interior instant old-world warmth. It suits ledged and braced doors, tongue-and-groove panelling and stone walls especially well. Apply a shellac-based primer first if the door was previously varnished, since red pigments show uneven patches over old finishes. Two full coats over primer give the even, baked-clay depth this shade needs.
Pair the door with cream limewash walls, a simple black iron handle and a woven rug in warm neutrals. Clay red also works beautifully on the inside face of a front door, carrying the cottage character into the hallway. The mistake to avoid is pairing it with bright white trim, which can look harsh against the earthy tone; choose warm white or natural wood trim instead. A litre of specialist heritage paint covers two coats and usually costs 20 to 30 pounds or dollars.
5. Paint the Door, Trim and Skirting One Colour for Quiet Calm
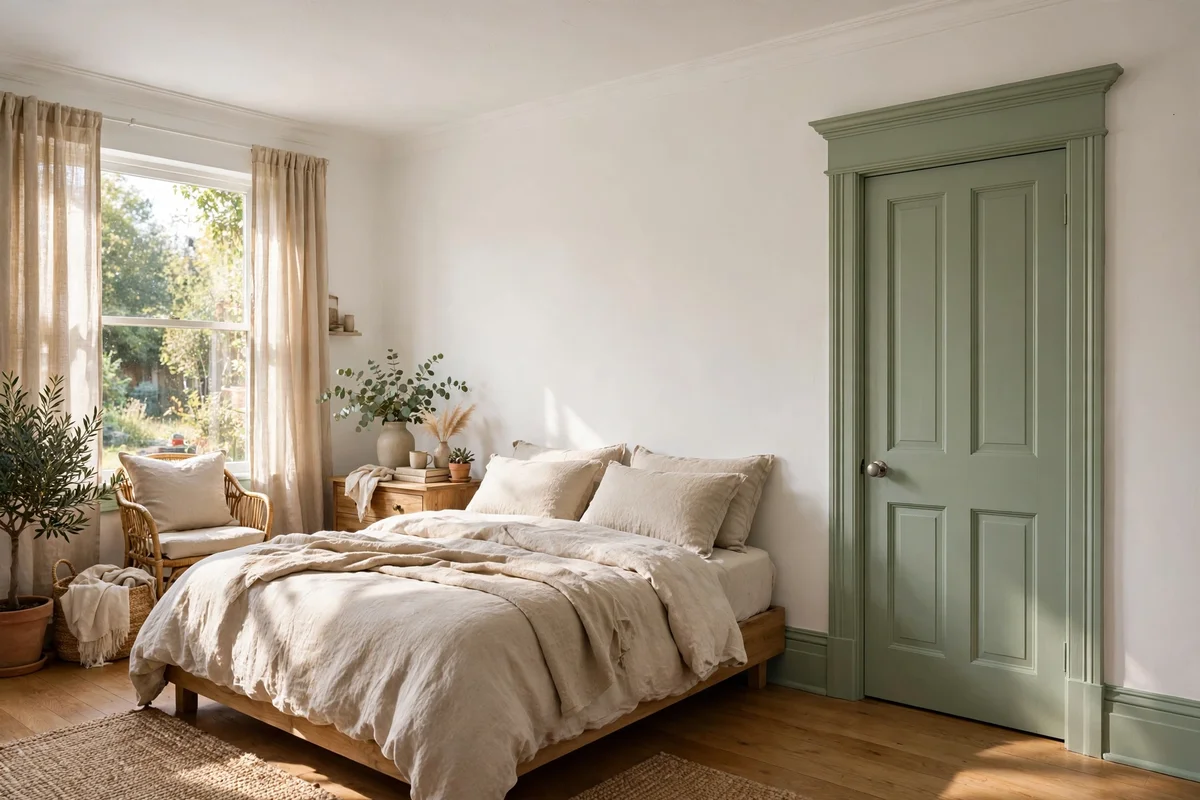
Painting the door, its architrave and the nearby skirting boards in exactly the same colour removes every visual interruption and lets a small room breathe. This colour-drenching trick works in soft sage, warm white or pale blue, and it makes walls feel taller because the eye travels without stopping. Use the same finish on all three, eggshell for everything, so the sheen matches and the join between wood and wall disappears.
Keep the ceiling a shade lighter or in plain white so the room keeps its brightness. This approach suits bedrooms and home offices best, where calm concentration matters more than bold contrast. The mistake to avoid is using different paint brands for door and trim in what you think is the same colour; tiny shade differences show up at the joints. Buy one larger tin and decant it for every surface instead.
6. Set a Coloured Door Against White Trim for Crisp Definition
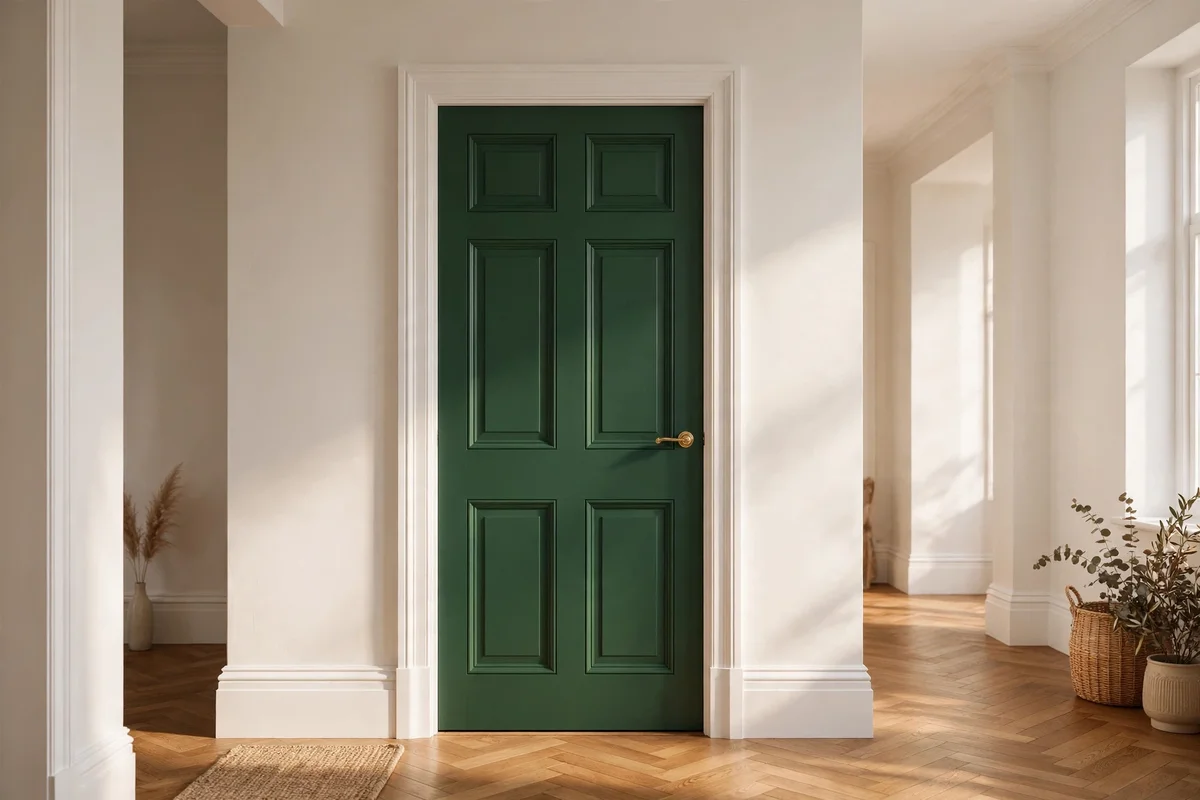
A coloured door framed by crisp white architrave and skirting gets instant definition, like a picture in a clean frame. The white trim makes deep greens, inky blues and clay reds look sharper and more deliberate, especially in hallways with several doors in a row. Paint the trim in a durable satin finish first, mask it carefully with painter’s tape, then cut in the door colour with a 50 mm angled brush for a sharp line.
Keep the walls a soft neutral, warm white or pale grey, so the door and trim pairing carries the room’s character. This contrast suits traditional homes with panelled doors and high skirting boards best. The mistake to avoid is rushing the tape line; paint seeping under cheap tape ruins the crisp edge. Press the tape firmly with a putty knife edge, and peel it while the final coat is still slightly tacky for the cleanest result.
7. Paint Each Face of the Door Differently to Suit Both Rooms
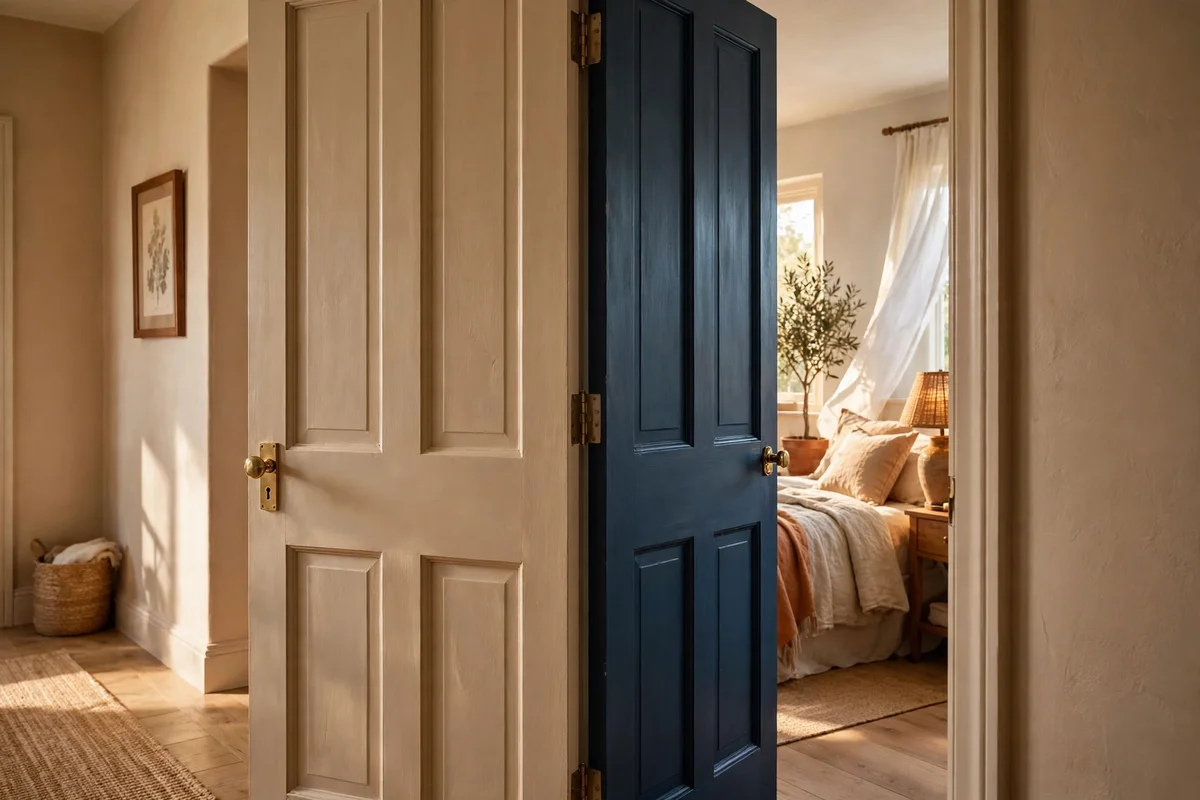
A door can wear two colours, one for each room it connects. Paint the hallway side warm putty for calm continuity, and the bedroom side a restful inky blue, with the door edge matching the side it opens toward. This two-face approach costs nothing extra beyond a second small tin of paint, and it lets each room keep its own palette without compromise.
Paint the door edges, the top and the latch edge, in the colour of the room the door swings into, so the hinge side never shows a stray stripe. Mask the edge line carefully and use a straight edge to keep the division neat. The mistake to avoid is painting the edges in a third random colour, which draws the eye exactly where you want it to rest. Two small 750 ml tins are plenty, usually 10 to 18 pounds or dollars each.
8. Swap in Brass Handles and Hinges That Match the Door Colour
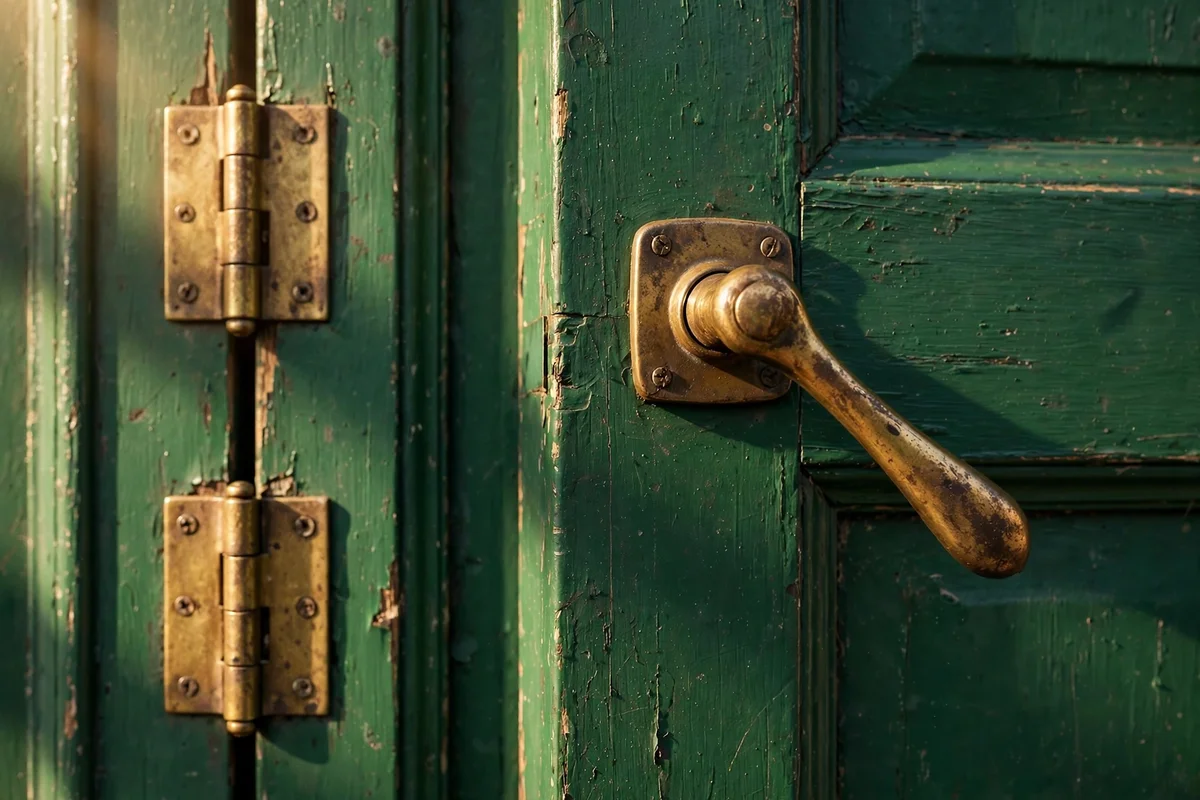
New handles and hinges are the jewellery of a painted door, and matching them to the colour changes the whole feel. Aged brass glows against deep green and inky blue, matte black suits clay red and charcoal, and brushed nickel keeps pale putty doors looking fresh and modern. Measure the backset and the existing screw holes before buying; most 44 mm doors take standard tubular latches, so the swap needs only a screwdriver.
Replace the hinges too; mixed old and new metalwork spoils the effect. Two and a half inch butt hinges suit most internal doors, and three per door keep heavier painted doors swinging true. The mistake to avoid is fitting shiny lacquered brass next to aged brass elsewhere in the room; keep one metal finish per room. A pair of quality handles plus three hinges usually costs 25 to 60 pounds or dollars per door.
9. Choose Satinwood or Eggshell Finish for Doors That Take Daily Knocks
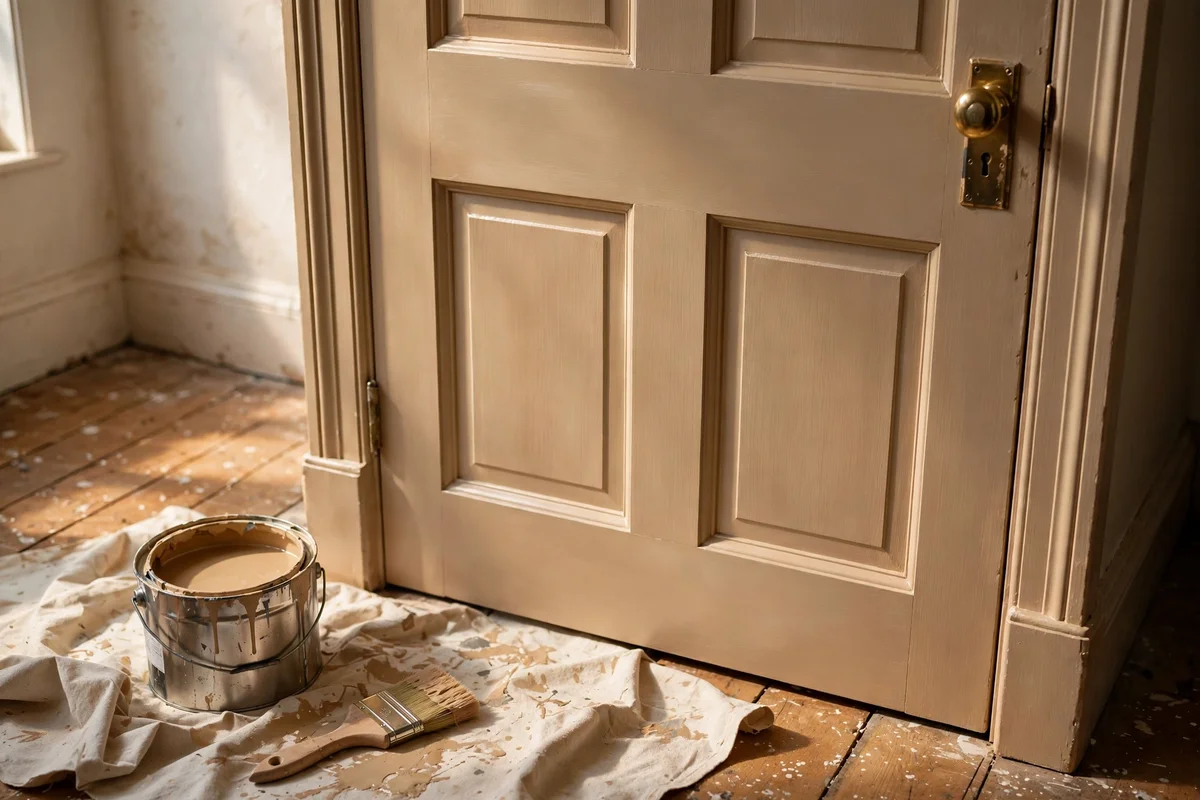
Doors get more daily contact than any wall, so finish choice matters. Satinwood gives a soft mid sheen that wipes clean and resists scuffs, while eggshell is flatter and hides small dents better. Both outperform matt emulsion, which marks with every touch, and both are kinder than full gloss, which shows every brush stroke. For family homes, satinwood on the lower half and eggshell above is a practical compromise.
Whatever finish you choose, apply it over a proper primer so the topcoat bonds and wears evenly. Keep a small tin of the exact finish for touch-ups, since satinwood and eggshell from different brands sheen differently. The mistake to avoid is using wall emulsion on a door; it chips within months under daily use. A 2.5 litre tin of quality satinwood, enough for four to five doors with two coats, usually costs 30 to 55 pounds or dollars.
10. Prep the Door Properly With Filling, Sanding and a Grip Primer
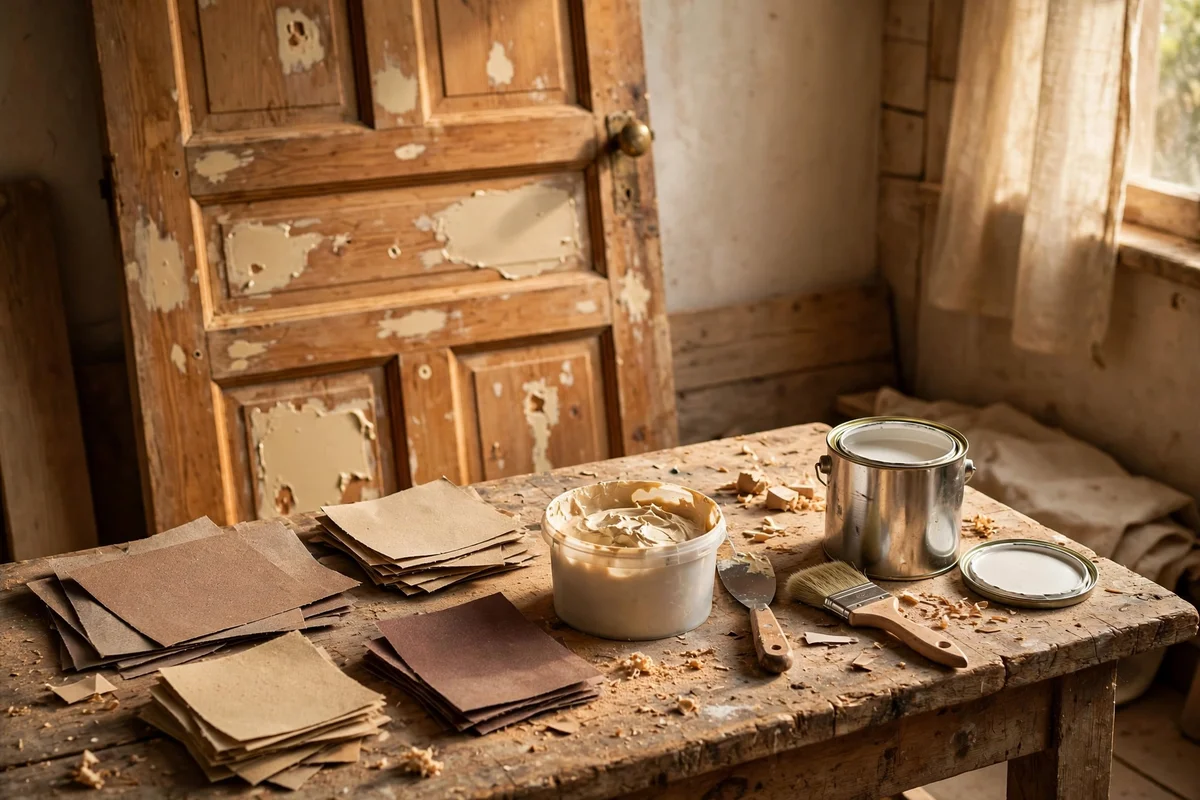
A painted door only looks as good as its preparation. Fill dents and old screw holes with two-part wood filler, let it cure fully, then sand the whole door with 120-grit paper followed by 220-grit for a smooth key. Wipe every surface with a damp cloth and let it dry, since dust trapped under paint shows as rough specks. A grip or adhesion primer bonds the topcoat to old varnish and stops it peeling within a year.
Budget a full day for prep on each door: roughly one hour to fill and sand, thirty minutes to wipe down, and two hours for the primer to dry before the first colour coat. Rushing this stage is the most expensive mistake in door painting, because peeling paint means starting over from bare wood. Primer, filler and sandpaper for one door usually total 15 to 25 pounds or dollars, the best-spent money in the whole project.
11. Paint Every Hallway Door the Same Shade for a Unified Look
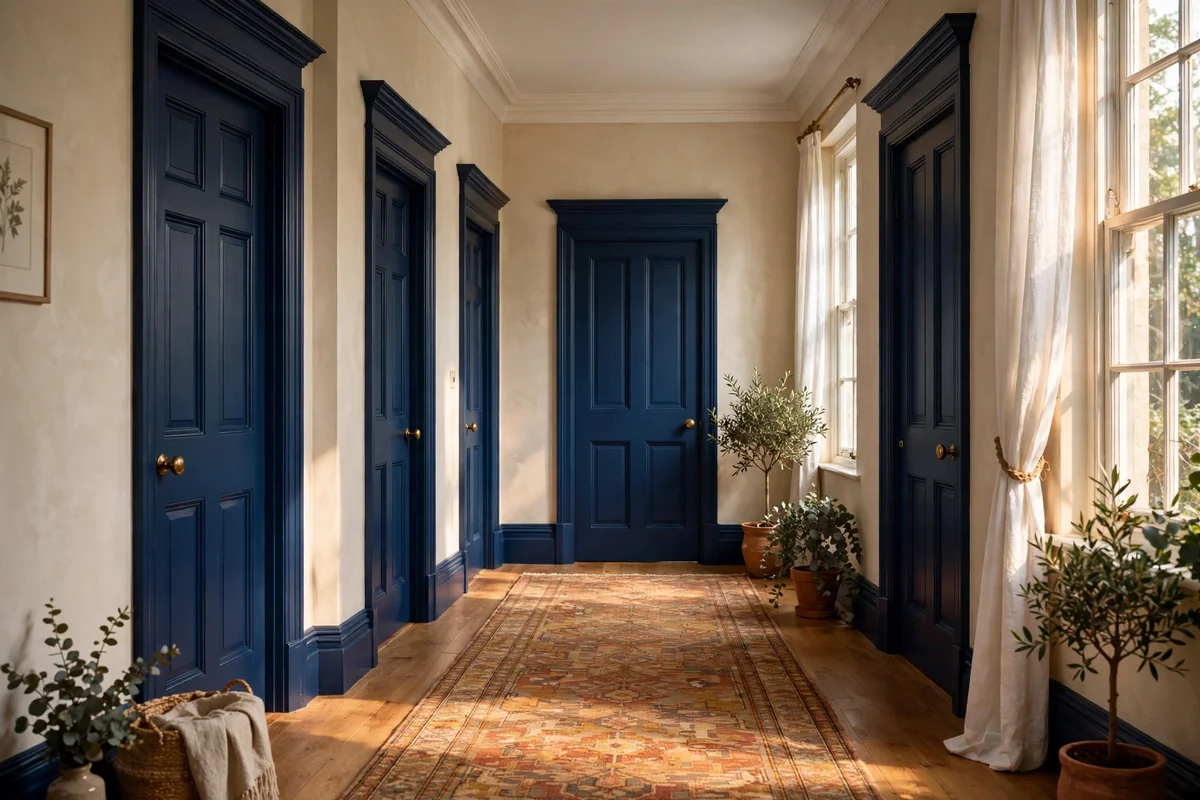
When every door in a hallway wears the same colour, the corridor stops feeling like a row of obstacles and starts feeling like one designed space. Deep green, inky blue or warm putty all work; the power comes from repetition. Paint the architraves and skirting to match as well, and the hallway gains a calm, hotel-like rhythm that makes even a narrow corridor feel considered.
Plan the work door by door over a week rather than all at once, so the hallway stays usable. Remove one door at a time, lay it flat on sawhorses for painting, and rehang it before moving to the next. The mistake to avoid is painting doors in place with the hallway in full use; drips and dust ruin the finish. Five doors need about 5 litres of paint, and buying one large tin keeps every door the identical shade.
12. Test Your Colour on the Least Seen Door Before Committing
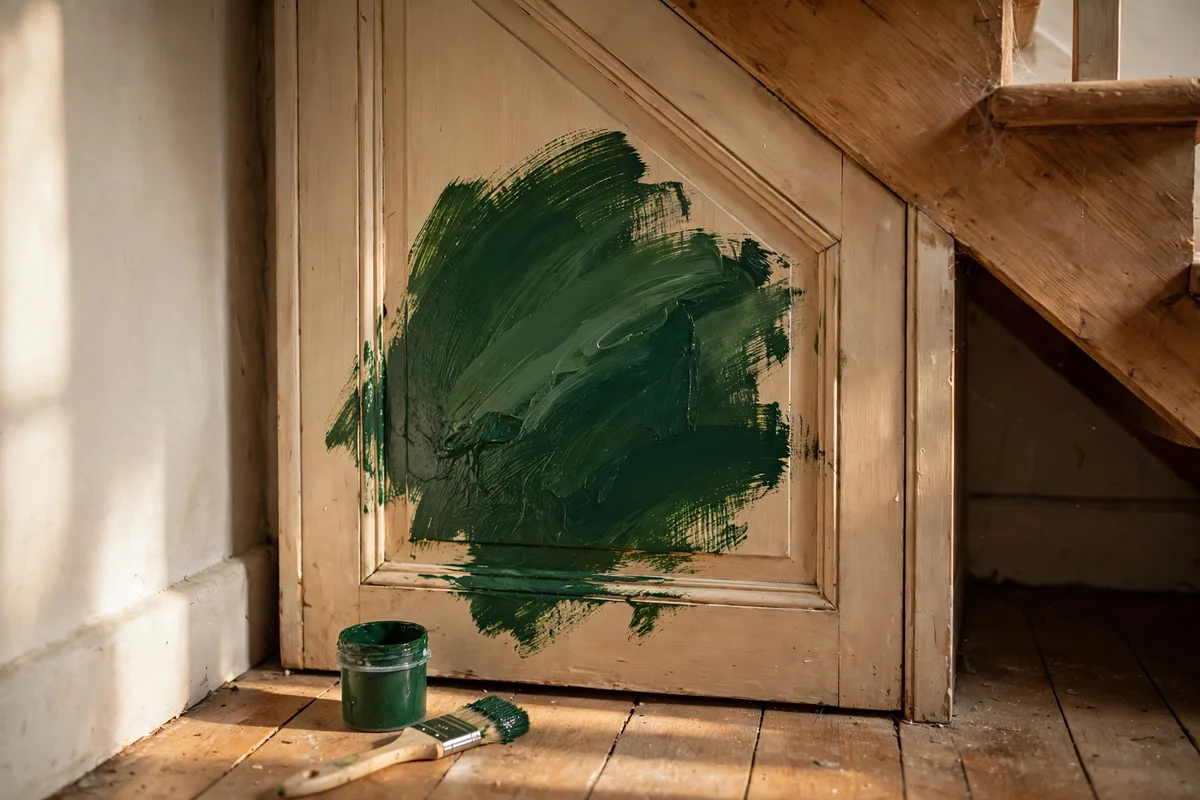
Before painting the whole house, test your chosen colour on the least seen door first: the utility room, the understairs cupboard or the spare bedroom. Live with it for three full days, checking it in morning light, afternoon sun and evening lamplight, because paint shifts dramatically through the day. This low-risk trial costs one small tester pot and an hour of your time.
Paint a full panel or at least a 60 by 60 cm section, not a tiny dab, since small swatches mislead. If the colour feels wrong, you have only repainted one hidden door, and you have learned what the shade truly looks like in your home’s light. The mistake to avoid is testing on a piece of card held against the wall; card reflects light differently from painted wood. Tester pots usually cost 3 to 6 pounds or dollars each.
13. Colour Drench the Door, Frame and Wall Together in One Shade
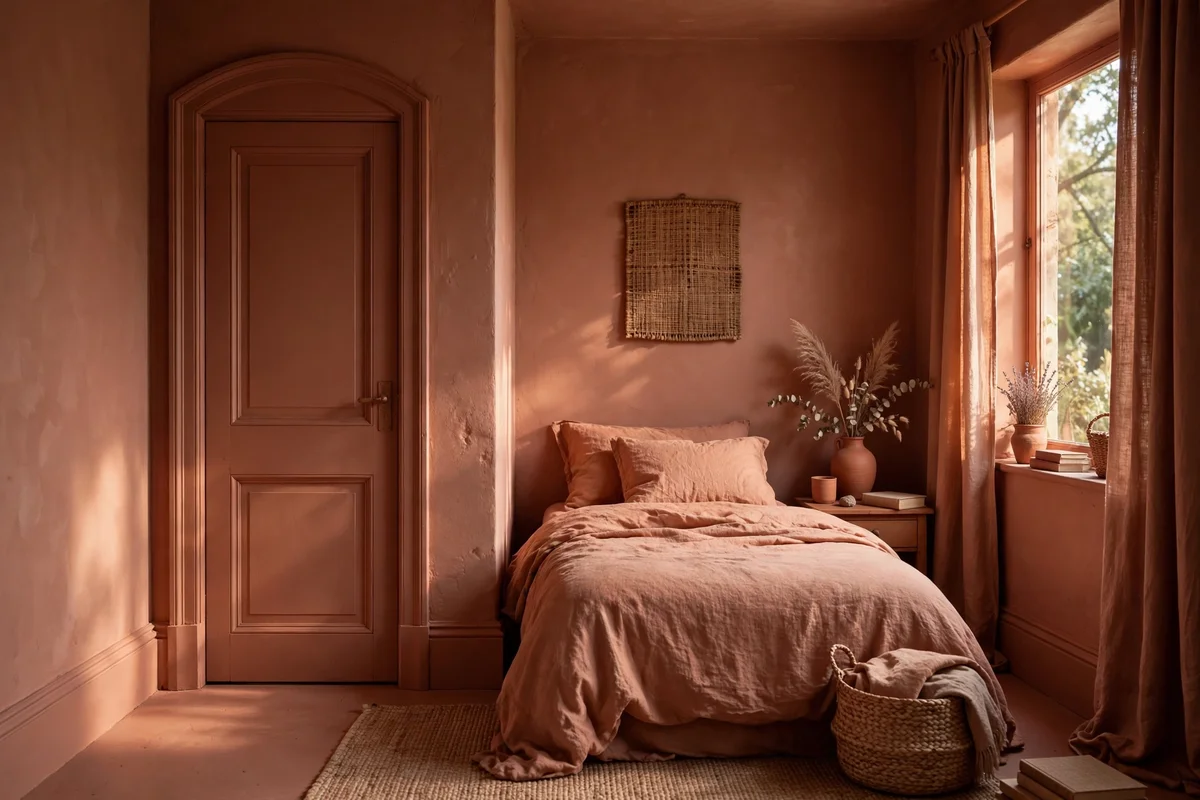
Colour drenching takes the matching-door-and-trim idea further: the door, architrave, skirting and the wall itself all wear one shade. In a small bedroom or snug, this melts every boundary and makes the room feel larger and calmer, as if the walls were carved from one block. Mid-tone colours work best, deep enough to envelop, light enough to live with: sage, warm putty or muted terracotta.
Use matt emulsion on the walls and eggshell on the woodwork in the same colour so each surface keeps its practical finish while the colour reads as one. Keep bedding, curtains and rugs in warm neutrals so the room has texture without competing colour. The mistake to avoid is drenching a dark, windowless room in a deep shade, which can feel oppressive; save full drenching for rooms with decent daylight. One colour, two finishes, one calm room.
14. Paint Flush Doors in a Soft Matte for a Modern, Quiet Finish
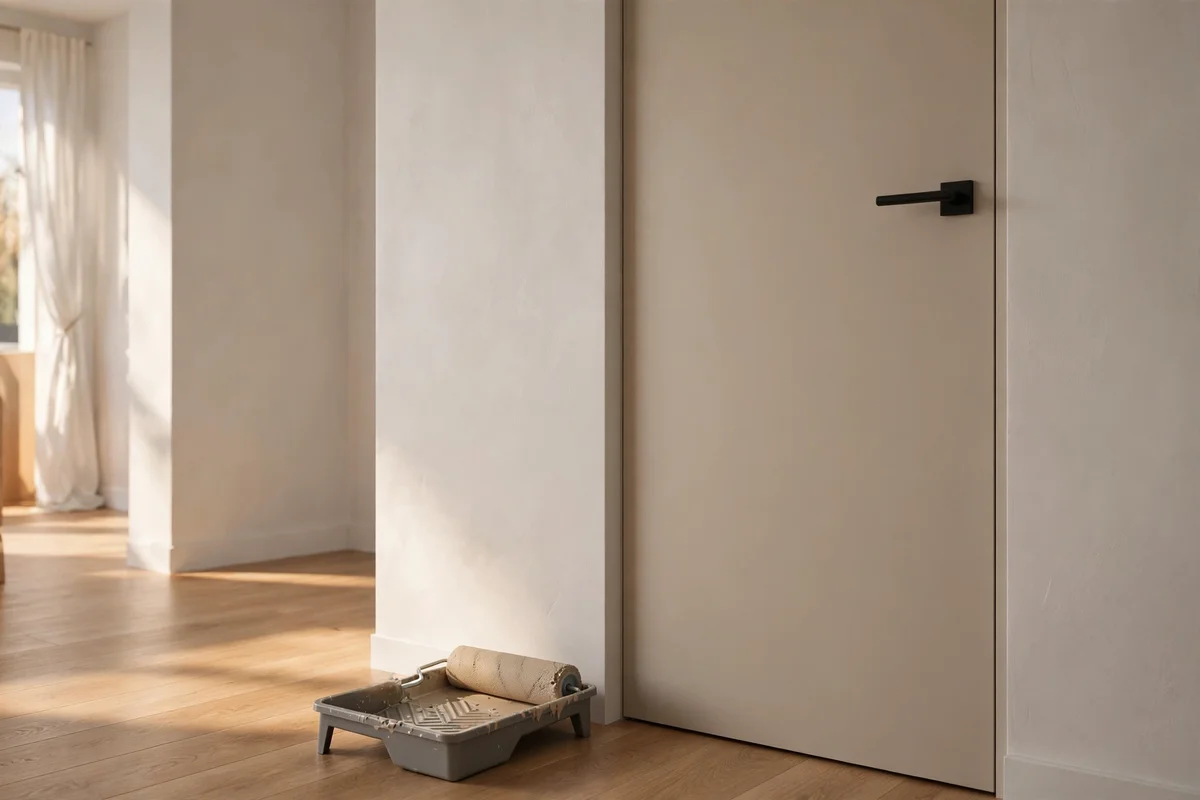
Flat flush doors, with no panels or mouldings, look best in a soft matte or dead-flat eggshell that keeps them quiet and modern. Without mouldings to catch the light, the colour itself does the work: warm greige, soft black or muted eucalyptus all sit beautifully on a flat surface. Apply with a short-nap foam roller in long vertical passes, then lay off lightly with a brush to remove stipple.
Flush doors show roller texture more than panelled ones, so keep a wet edge and work quickly, finishing one door face in under fifteen minutes before the paint starts to tack. Two thin coats beat one thick coat every time for a flat, even film. The mistake to avoid is overloading the roller, which leaves orange-peel texture that no amount of brushing will fix. A foam roller set plus a litre of paint usually costs under 25 pounds or dollars.
15. Frame Glazed Panes by Painting the Door Around Them a Rich Tone
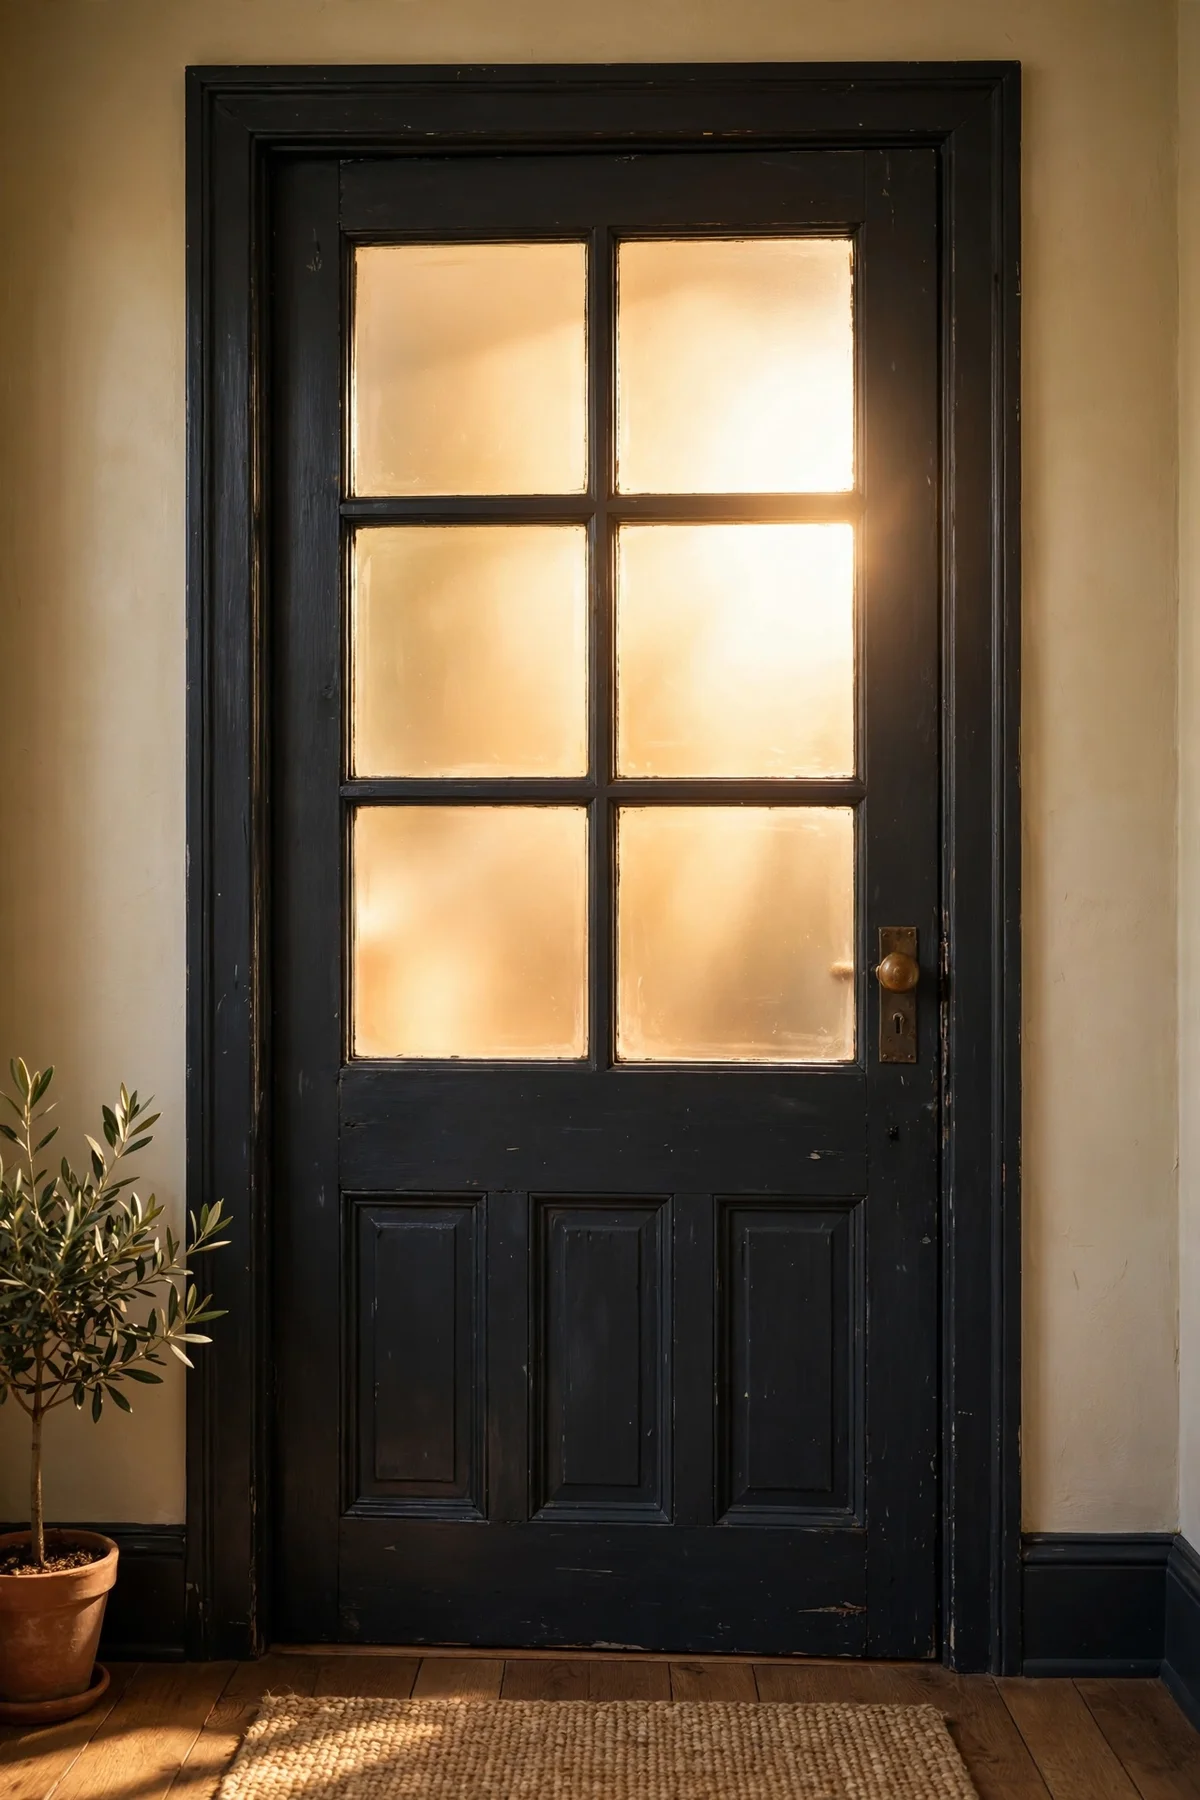
A door with glazed panels becomes a picture frame when the surrounding wood wears a rich tone. Deep green, charcoal or inky blue around frosted or reeded glass makes the panes glow, especially with light behind them. Mask the glass carefully with painter’s tape pressed tight to the glazing bead, and cut in with a small 25 mm brush for a neat edge that frames each pane like glass in a gallery.
Choose glass that suits the room: frosted glass keeps a bathroom private while borrowing light, reeded glass softens a hallway view into a kitchen. Clean the glass with white spirit before taping so the tape seals and no paint creeps underneath. The mistake to avoid is painting over old putty or loose beading; the paint seals in the looseness and the panes rattle later. Reglue or replace beading first, a small job that takes under an hour.
16. Use a Dark Painted Door to Anchor a Bright Cream Kitchen
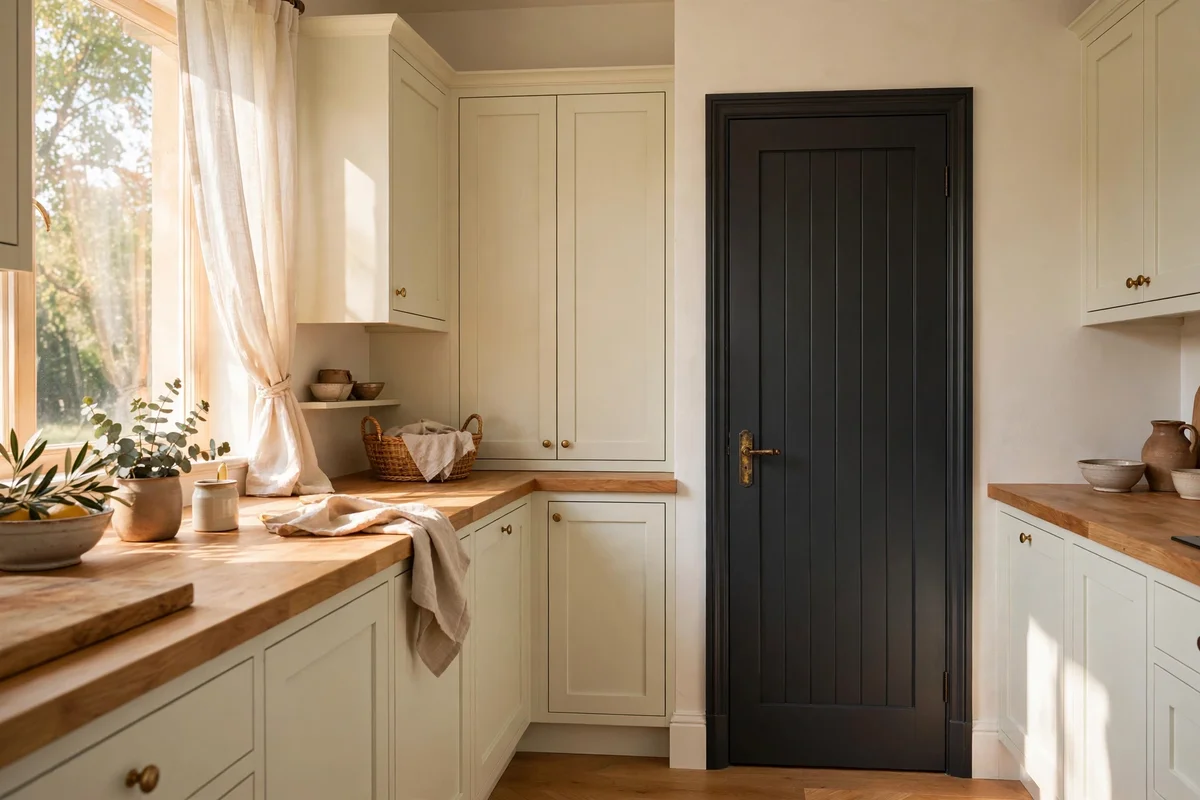
In a bright cream or warm white kitchen, one dark painted door adds the anchor the room needs: a pantry door in charcoal or deep green stops the space feeling washed out. The dark plane gives the eye somewhere to rest among pale cabinets and worktops. Paint both faces the same dark shade and match the handle to the cabinet hardware, aged brass or matte black, so the door feels part of the kitchen’s design.
Keep the door finish practical: satinwood wipes clean of the fingerprints and cooking marks a kitchen door collects. Ventilate well while painting, since kitchen grease in the air can settle on wet paint; degrease the door first with sugar soap. The mistake to avoid is painting a kitchen door in matt emulsion, which absorbs grease and stains within months. A litre of satinwood and a tin of sugar soap usually cost 20 to 35 pounds or dollars together.
17. Echo Floor Tones in the Door Colour for a Layered Room
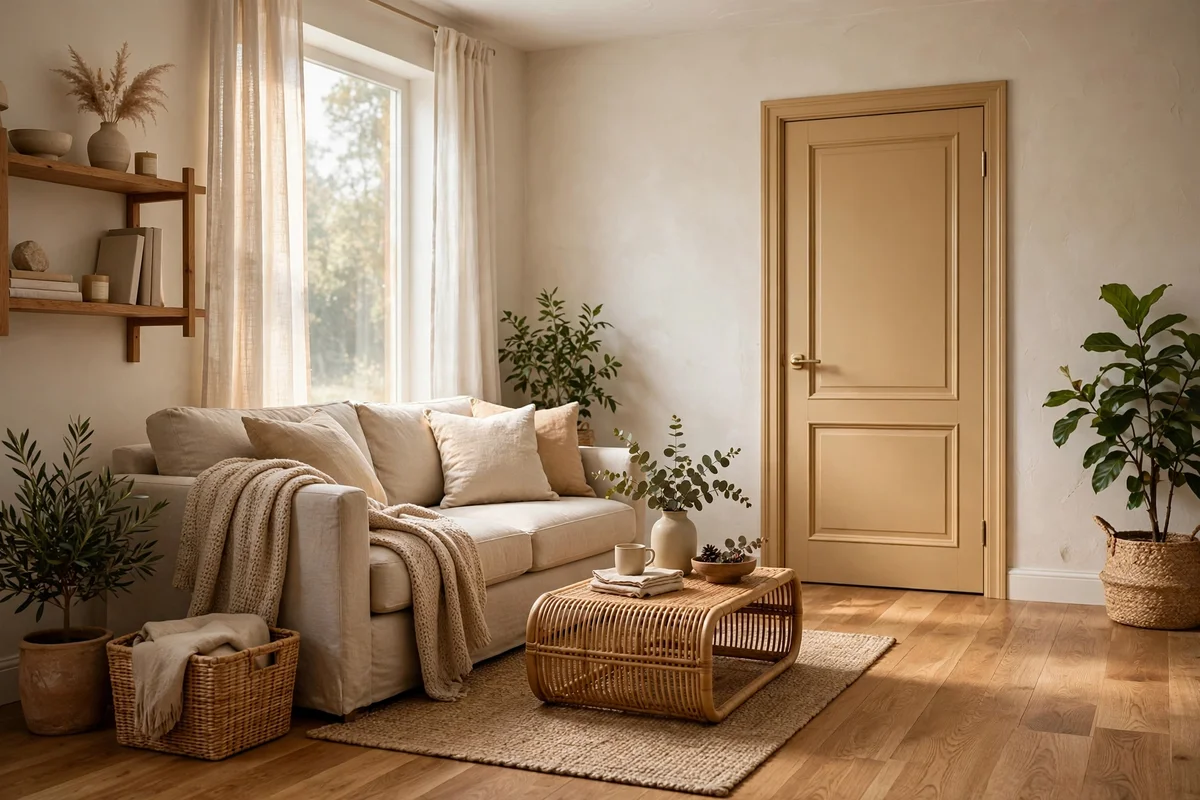
Picking up the floor’s tone in the door colour layers a room without adding a new colour. Oak floors pair with warm putty or honeyed beige doors, walnut floors suit deep bronze-green, and pale ash floors sit well with soft grey-blue. Hold a painted swatch flat against the floor in daylight to check the relationship, since undertones that clash, pink against orange, will fight all day.
Repeat the pairing on the skirting boards so the floor colour flows up the wall in a gentle gradient from dark floor to mid skirting to pale wall. This trick suits living rooms and bedrooms where calm layering matters more than contrast. The mistake to avoid is matching the door exactly to the floor; near-matches look like a failed attempt at sameness. Aim for the same colour family, two or three shades lighter or deeper, and the room feels intentionally composed.
18. Paint Pocket or Sliding Doors the Wall Colour So They Vanish
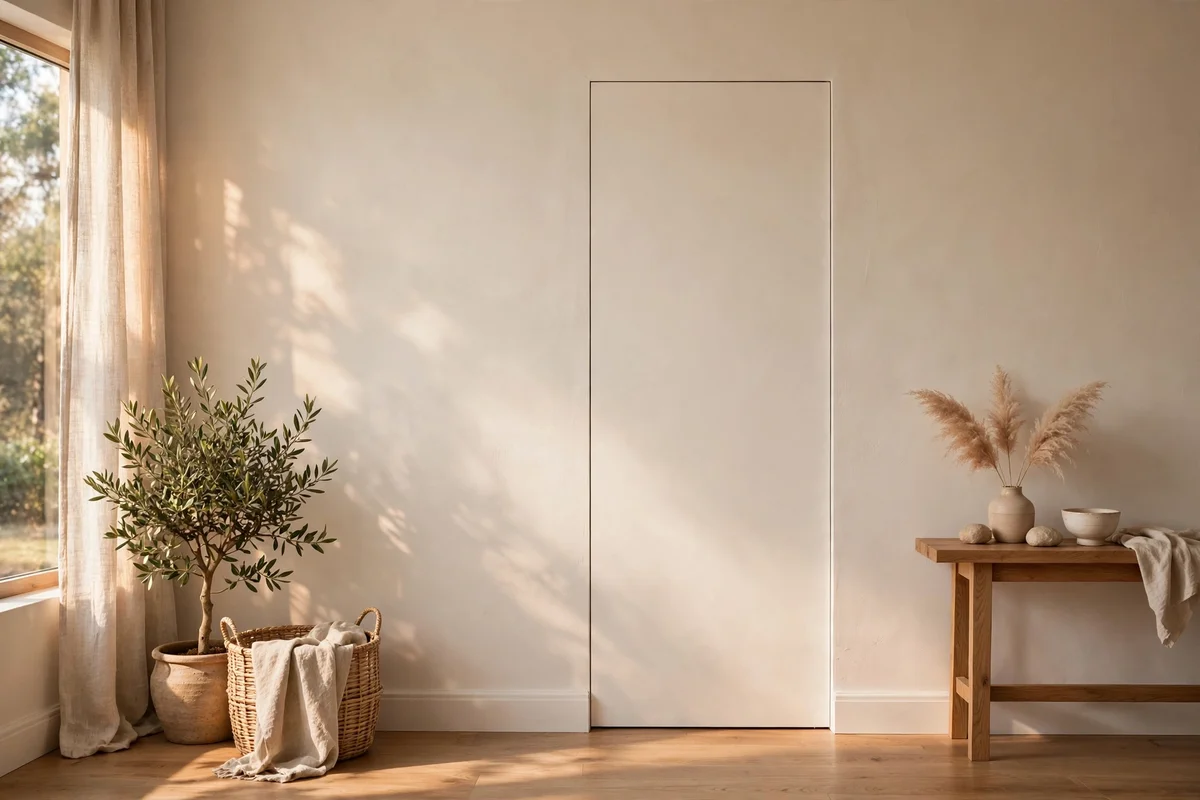
A sliding or pocket door painted exactly the wall colour disappears when closed, leaving a clean wall with no visual clutter. This suits open-plan spaces where a door is needed only sometimes, a home office or a utility room off a living area. Use the same matt emulsion as the walls on the door face, applied with a foam roller for an identical texture, so the closed door truly blends.
Paint the recessed pull or edge handle to match as well, or fit a flush finger pull in the wall colour so nothing breaks the surface. Keep the track and pelmet painted the ceiling colour above, out of the sightline. The mistake to avoid is painting the door in a glossier finish than the wall; the sheen difference outlines the door like a shadow. Same paint, same finish, same wall: the door simply melts away.
19. Keep Door Edges Sharp With Painter’s Tape and Two Clean Coats
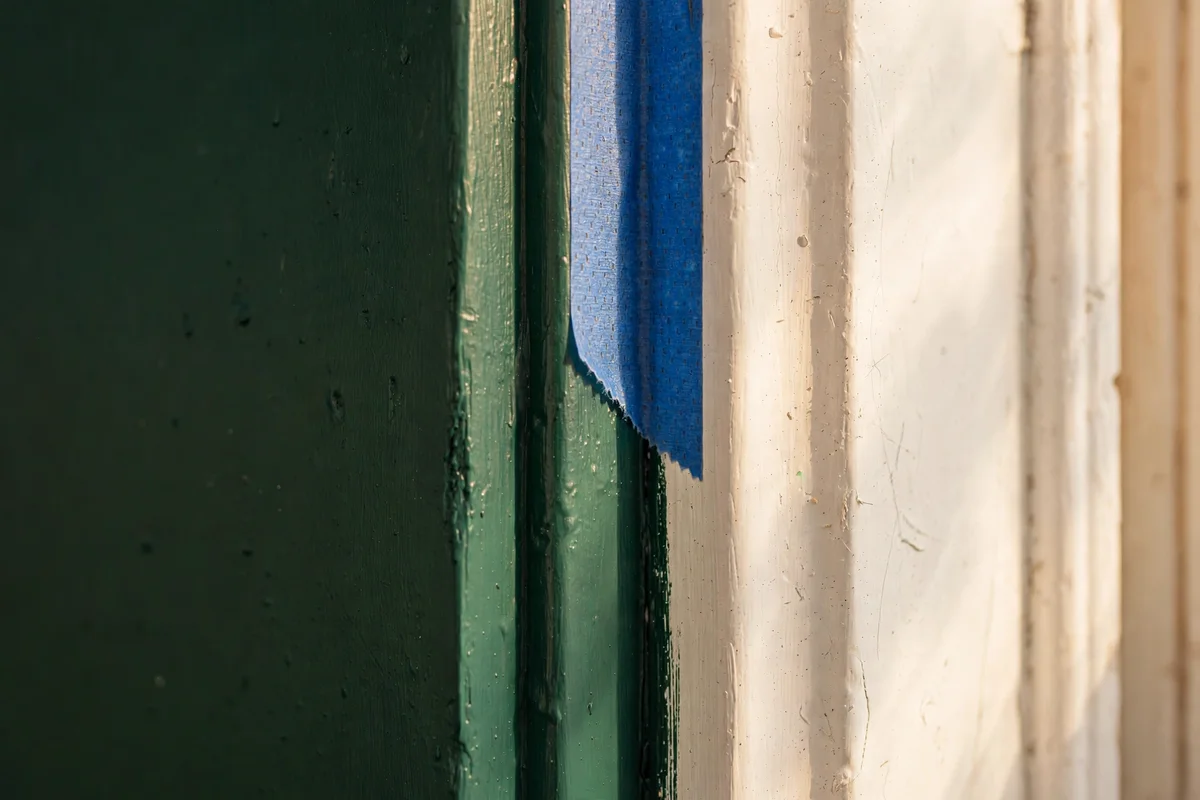
The edges of a door, top, sides and the meeting stiles of a pair, deserve the same care as the faces. Sand edges lightly so old paint ridges disappear, then tape the adjoining frame with 24 mm painter’s tape pressed down with a putty knife edge. Brush the colour onto the edges with the grain, two thin coats, and remove the tape while the second coat is still tacky to leave a razor line.
Paint the top and bottom edges too, even though they are rarely seen; unpainted edges absorb moisture and swell in humid weather. The bottom edge can be sealed with the same primer and topcoat in minutes while the door is off its hinges. The mistake to avoid is leaving edges in old white while the faces go dark; every time the door stands ajar, the pale edge flashes like a mistake. Edge work adds twenty minutes per door and transforms the result.
20. Time Two Thin Coats a Day Apart to Avoid Brush Marks
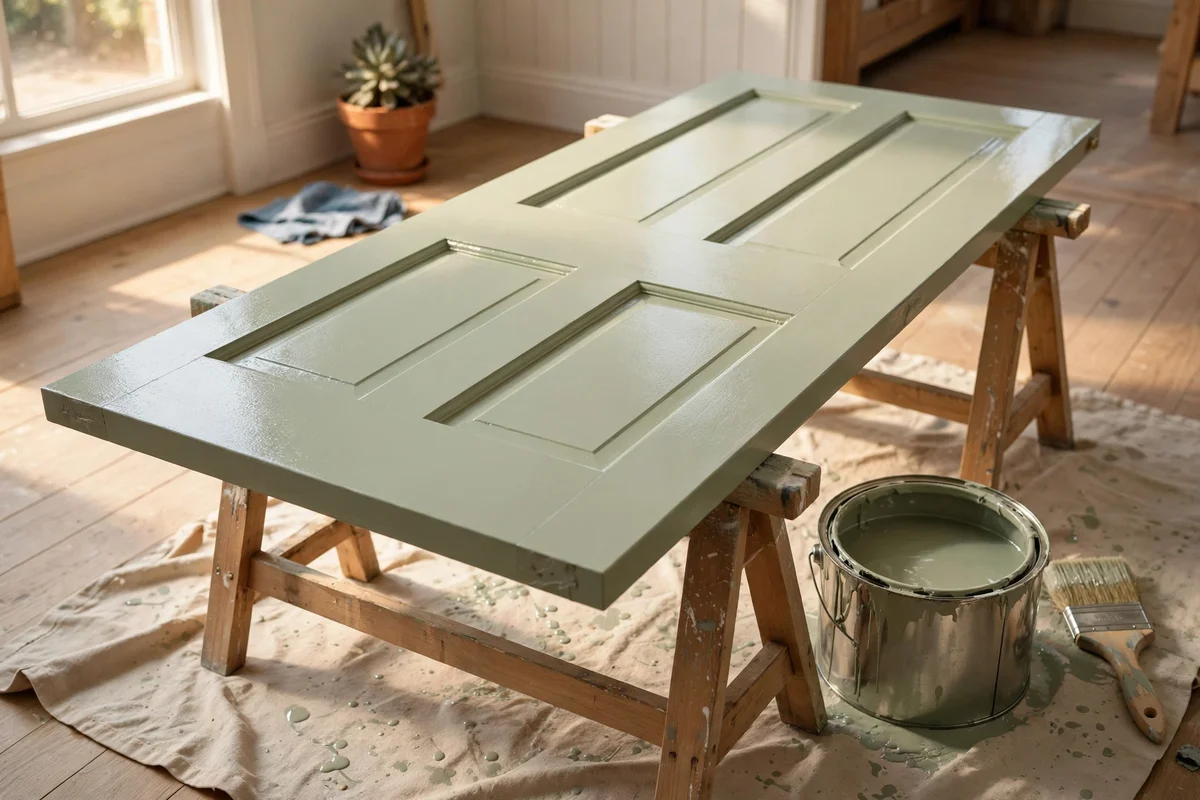
Brush marks come from working paint that has started to dry, so timing beats technique. Apply the first thin coat in the morning, working quickly with a loaded brush and long strokes, then leave the door completely alone for a full day. The second coat goes on the next morning over a fully cured first coat, which lets the brush glide instead of dragging, and the finish levels like glass.
Keep the room between 15 and 22 degrees Celsius with gentle airflow; heat above 25 degrees skins the paint too fast and cold below 10 stops it curing. Close the door to the room to keep dust off the wet surface. The mistake to avoid is recoating after four hours because the tin says recoat time; recoat times assume ideal conditions, and a rushed second coat drags the first. Patience costs nothing and buys a professional finish.
21. Paint the Door Reveal a Lighter Tone for Subtle Depth
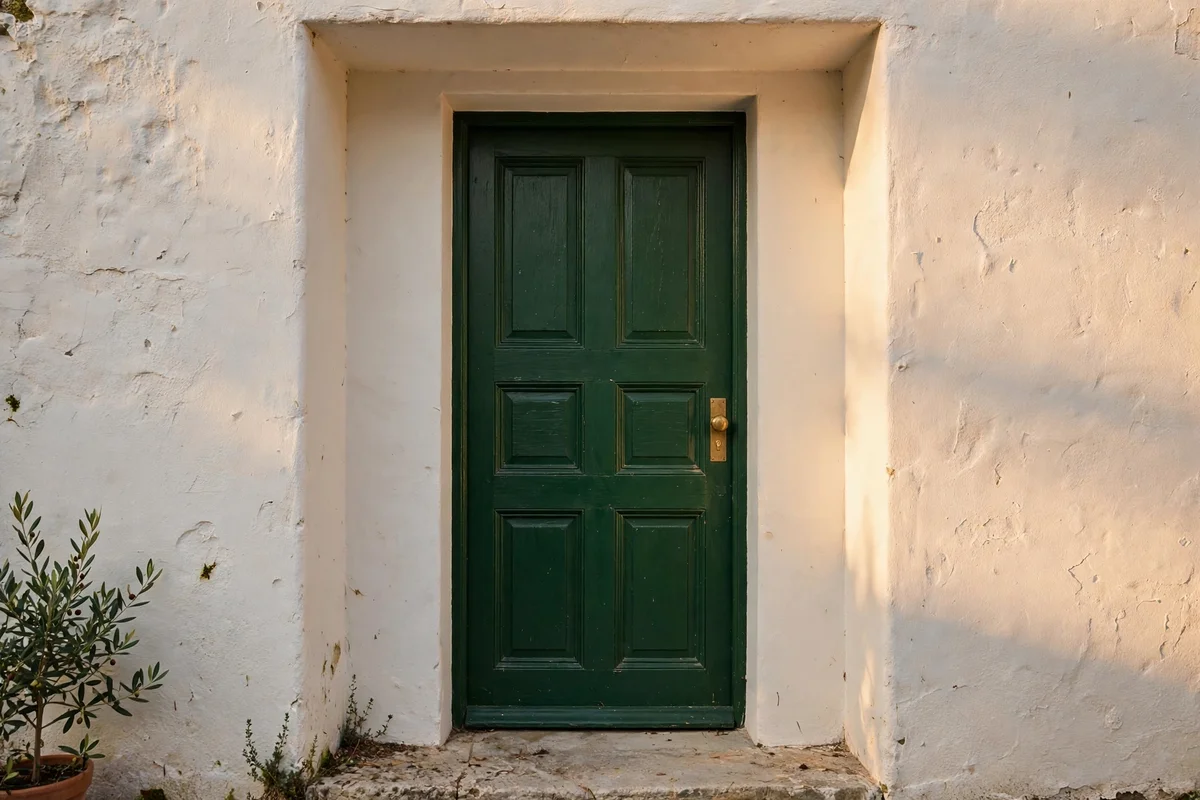
The door reveal, the inner sides of the frame the door closes into, can wear a lighter tone than the door itself for quiet depth. A deep green door with a warm white reveal, or an inky blue door with a pale stone reveal, gains a subtle shadow line that makes the doorway feel crafted. Paint the reveal first, let it dry fully, then mask it before painting the door face.
Keep the reveal colour in the same family as the surrounding trim so it reads as a deliberate detail rather than an accident. This works best on thick walls, old terraces or cottages with deep reveals of 15 cm or more, where the lighter band is actually visible. The mistake to avoid is painting the reveal in a contrasting bright colour, which turns a subtle detail into a shout. A small tester pot is usually enough for every reveal in the house.
22. Save Labelled Leftover Paint for Fast Touch-Ups Later
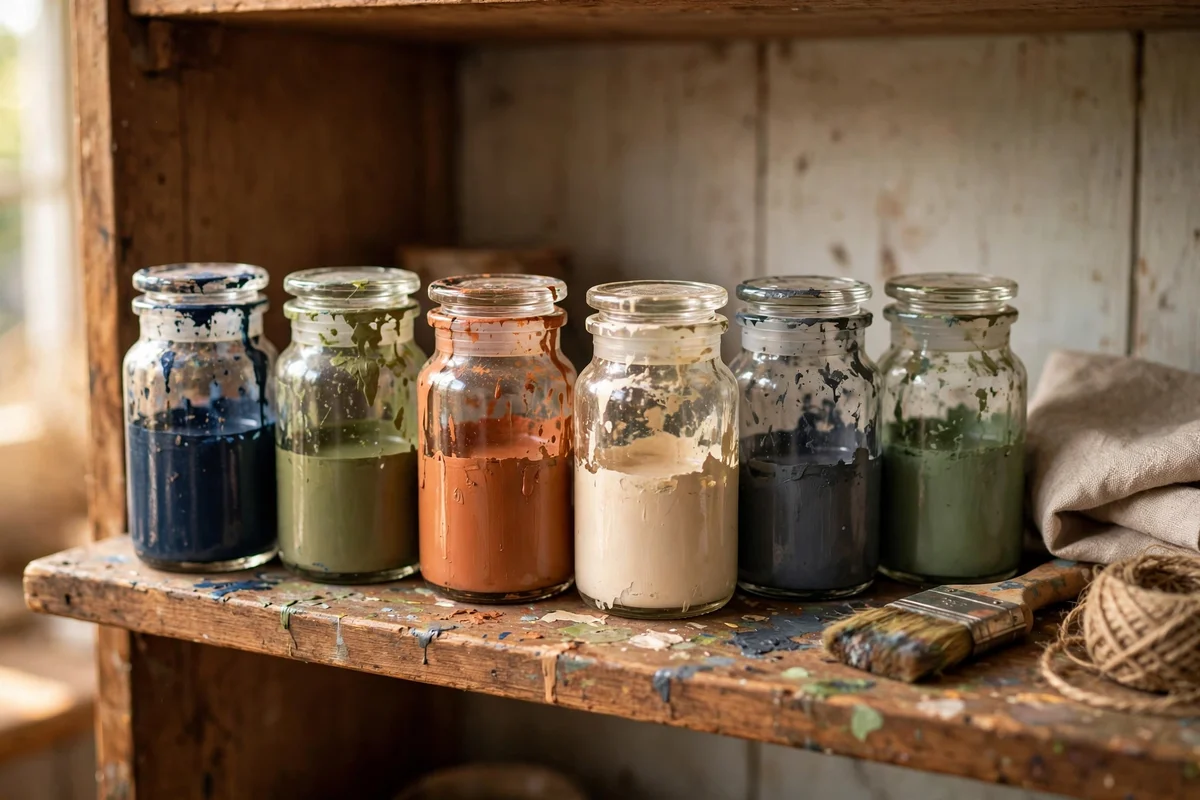
Doors take knocks, so leftover paint is not clutter, it is maintenance. When the job is done, decant the remaining paint into a clean, airtight jar, label it with the door, the colour name, the finish and the date, and store it upright in a cool, frost-free cupboard. A small 250 ml jar per door is plenty for years of touch-ups and takes almost no shelf space.
Touch up chips promptly: dab the paint on with a small artist’s brush, feathering the edges, rather than repainting the whole door. Prompt touch-ups stop moisture reaching bare wood and keep every door looking fresh for years. The mistake to avoid is storing the tin in a freezing garage; frozen paint separates and never recovers. Kept indoors, quality paint stays usable for five years or more, saving the cost of a whole new tin.
23. Repaint Just the Worst Door in a Rented or Busy Home
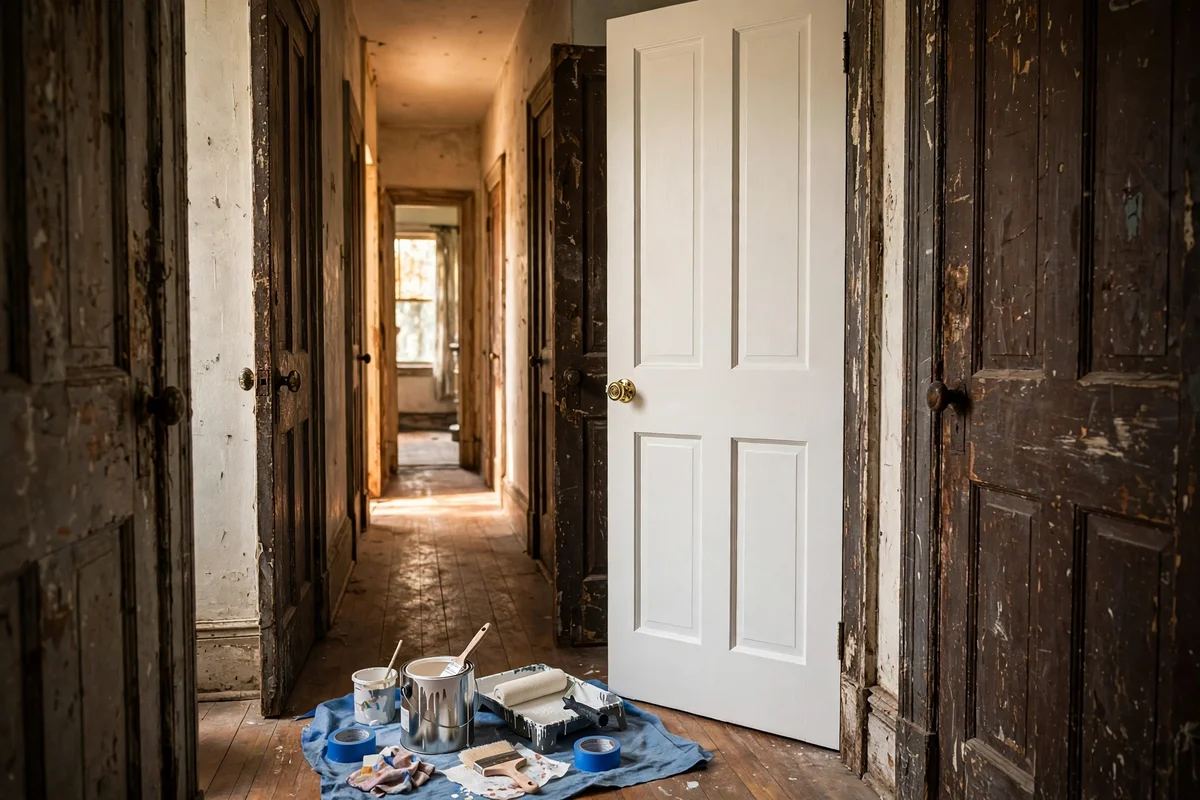
You do not need to paint every door to transform a home; repainting the single worst door, the scuffed kitchen door or the sun-faded hallway door, lifts the whole space. In a rented home, check the tenancy agreement first and keep the original colour noted, since most agreements ask for doors to be returned as found. One door takes a weekend: prep on Saturday, two coats on Sunday.
Choose a colour close to the existing scheme so the one fresh door does not clash with its older neighbours; warm white or soft putty are safe bridges. Photograph the door before you start, a useful record for the landlord and a satisfying before-and-after for you. The mistake to avoid is painting a rented door a bold colour without written permission; restoring it later costs far more than the weekend you saved. One door, one weekend, one visible win.
Painted doors reward the patient more than the bold. The homes that carry this look best are not the ones with the bravest colour on day one, but the ones where each door was prepped properly, given two thin coats, and matched thoughtfully to its room. Character builds door by door, and a single well-painted door can shift the mood of a whole hallway before the second tin is even opened.
This week, try the easiest idea in the set: choose your least seen door, buy one tester pot of the colour you keep returning to, and paint a full panel. Live with it for three days in every light the house offers, from morning sun to evening lamplight. If it still feels right on the third evening, you have your colour, and the rest of the hallway is simply a matter of weekends.
Frequently Asked Questions
What is the best paint finish for interior doors?
Satinwood or eggshell, since both wipe clean and resist scuffs far better than matt emulsion, while showing fewer brush marks than full gloss. Satinwood suits busy family doors; eggshell hides small dents on older woodwork. Always use a dedicated wood and metal paint over a proper primer, never wall emulsion, which chips within months on a door. Two thin coats give the toughest finish.
How much paint do I need for one interior door?
One litre of quality wood paint covers a standard internal door with two coats, including the edges. A 2.5 litre tin stretches to four or five doors, and buying the larger tin keeps the shade identical across a hallway. Add a litre of primer for the first door if you are painting over varnish or a dark colour. Keep a small labelled jar of leftover paint for touch-ups.
Should the door and its trim be the same colour?
Painting door, architrave and skirting in one colour creates a calm, seamless look that suits small rooms and long hallways, making walls feel taller. A contrasting white trim around a coloured door gives crisper definition and suits traditional homes with high skirting. Neither is wrong; choose the seamless route for calm and the contrast route for character, then keep it consistent through the space.
Can I paint interior doors without removing them?
Yes, though removing the door and laying it flat gives the smoothest finish with no drips. To paint in place, mask the hinges and handle, wedge the door open, and work top to bottom in thin coats so paint does not pool on horizontal rails. Protect the floor with a dust sheet and keep the room dust-free while the paint cures. Expect slightly more brush texture than a flat-laid door.
How long should door paint dry before closing the door?
Leave at least 24 hours before closing a freshly painted door against its frame, and 48 hours is safer in cool or humid weather. Paint feels dry to the touch in a few hours but stays soft underneath, and closing too soon leaves frame marks or stuck paint. When possible, paint the door flat on sawhorses, let each coat cure a full day, and rehang only when the surface feels hard and cool.