Bathroom
23 Rustic Shower Ideas With Cosy Cabin Charm
By Anna Wells · · 20 min read
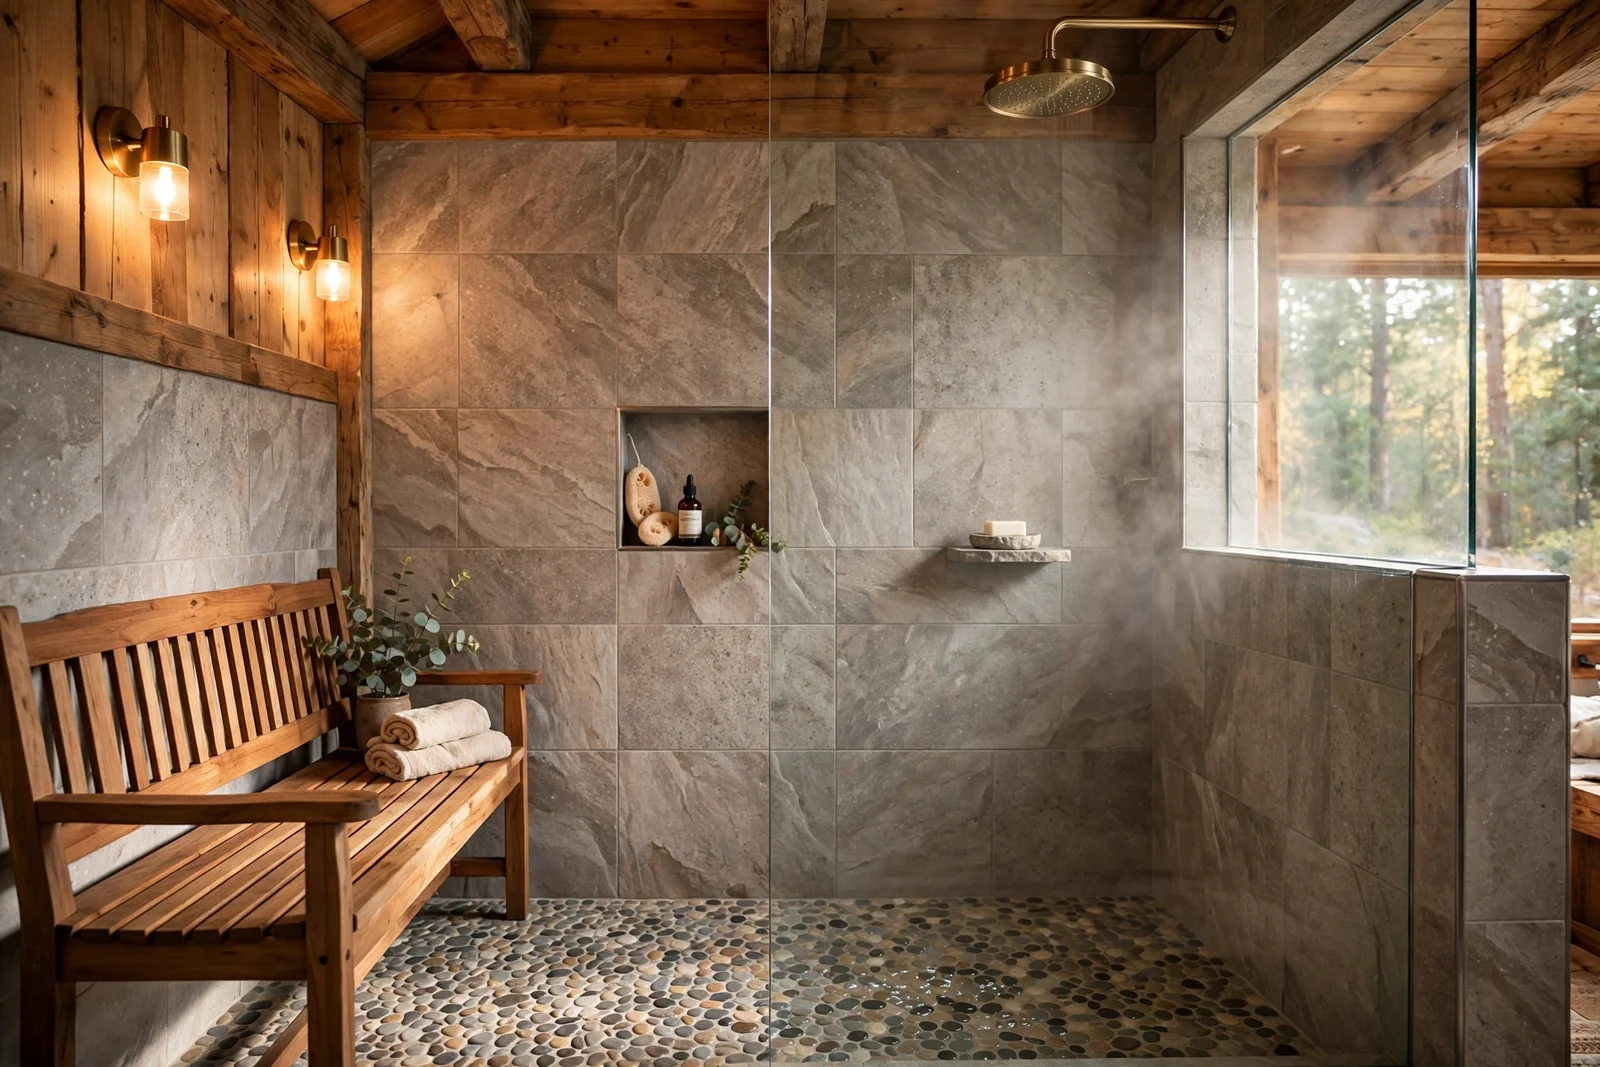
A cosy cabin shower mixes stone and timber textures, honest porcelain tiles, a teak bench and warm light. These 23 ideas show exactly how to build one, from grout colours to ventilation.
Step into a cabin shower on a cold morning and the first thing you notice is not the water, it is the calm. Rough stone underfoot, warm timber tones on the walls, a soft rain of water from above, and light that glows instead of glares. That feeling is built, not bought, from small decisions about tile, fixtures and light that anyone can learn.
A rustic shower suits almost any bathroom, not just a log cabin in the woods. The palette is honest: porcelain tiles that imitate stone and wood, real pebbles sealed underfoot, matte black or brushed brass tapware, and one solid piece of teak to sit on. Nothing here is fussy, and nothing depends on a huge budget.
What follows are 23 practical ideas, each one a concrete step you can take, from choosing grout colours that stay handsome to venting steam so the timber never suffers. Safety runs through everything too, with notes on slip ratings, sealed grout and when to call a qualified installer.
Read straight through for the full picture, or jump to the ideas that match your stage of planning. Either way, you will finish with a clear sense of how a cabin palette can feel bright, clean and deeply restful, every single morning.
1. Lay Stone-Look Porcelain Tiles With a Sandy Grout
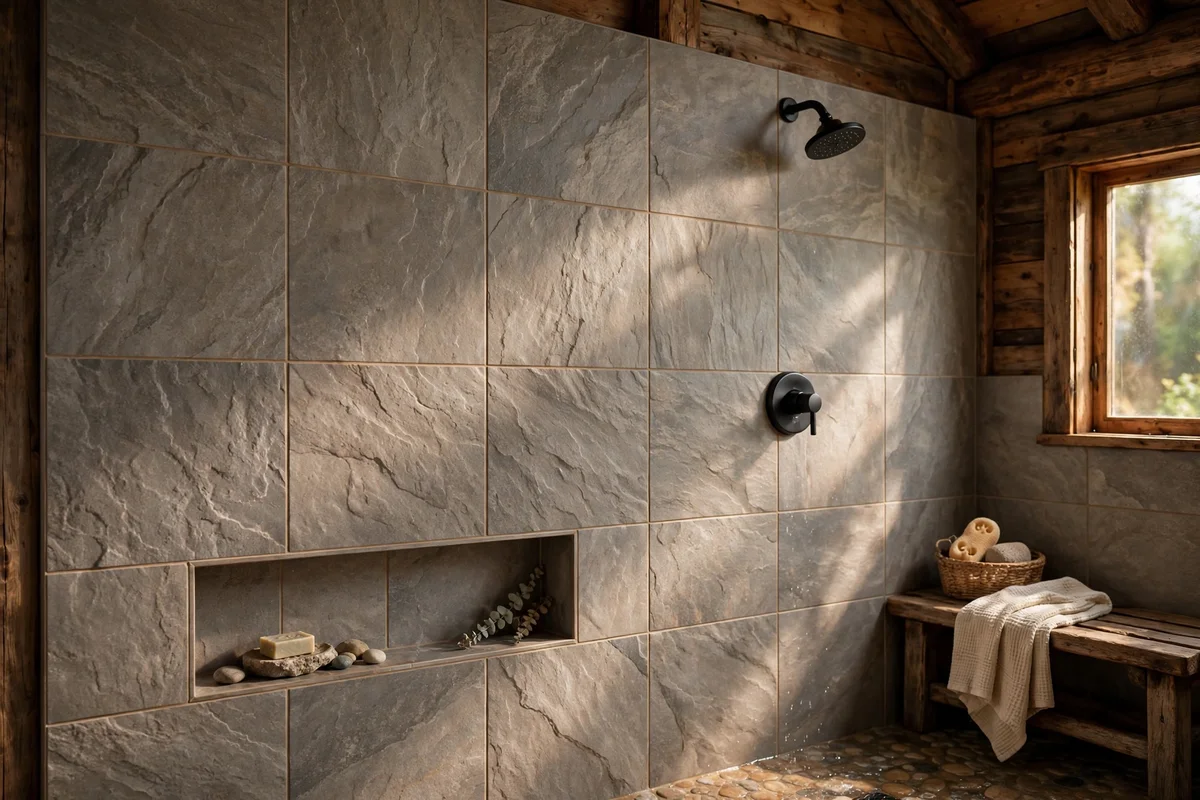
Porcelain tiles that imitate natural stone bring a cabin shower its rugged calm without the heavy sealing routine of real slate or travertine. Choose large formats such as 60 by 60 cm or 30 by 60 cm so grout joints stay few and the wall reads as one continuous surface. Rectified edges allow neat 2 to 3 mm joints that collect less grime. Favour a matt or honed finish, because soft light suits the cabin palette and textured surfaces grip better under wet feet.
Pair the stone look with a sandy or warm grey grout rather than bright white, which stains quickly and shatters the rustic mood. Use a polymer-modified grout and seal every joint twice before the first shower, then reseal once a year. The mistake to avoid is grouting with a rapid-set product in a cold room, where it can skin over and bond weakly. Budget around 25 to 60 per square metre for good stone-look porcelain.
2. Run Wood-Look Planks on One Wall for Warmth
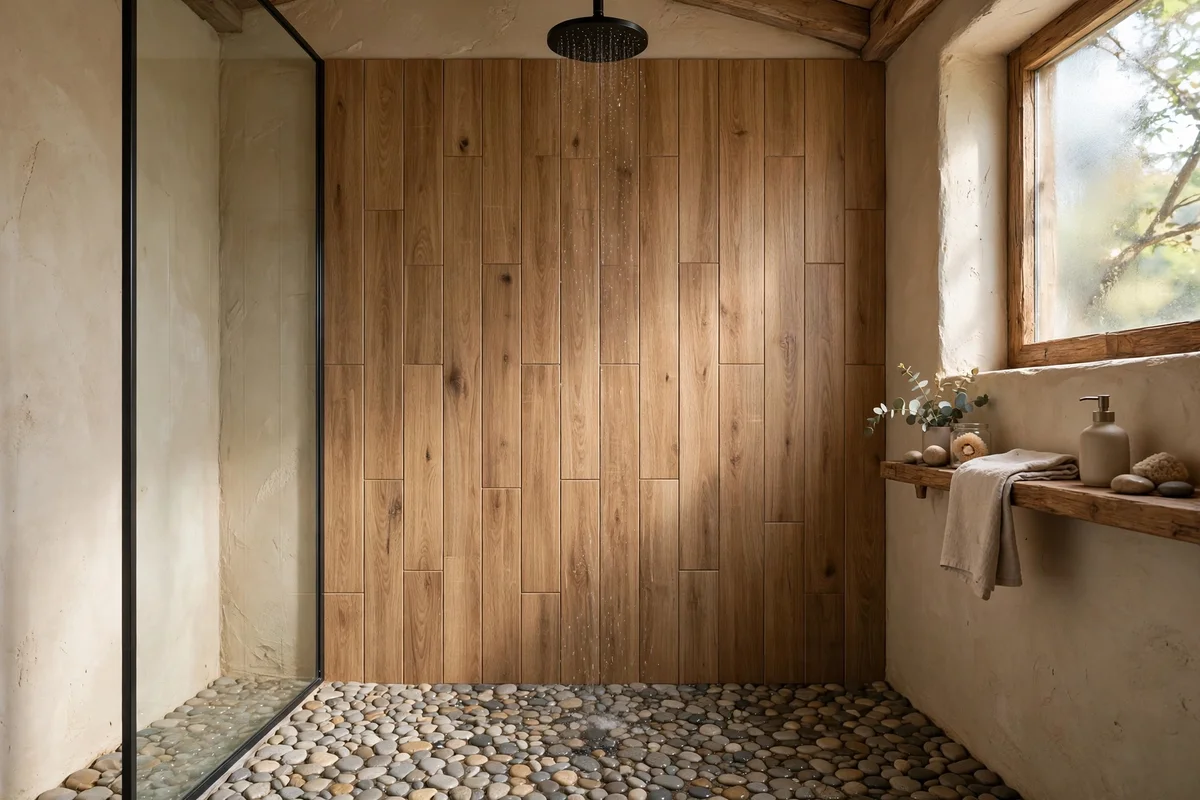
Wood-look porcelain planks, usually 15 by 60 cm or 20 by 120 cm, give the warmth of timber with none of the rot risk. Lay them vertically on one shower wall to draw the eye upward and make a low ceiling feel taller, or run them horizontally behind the showerhead as a feature. Stagger the joints by a third of a plank for a natural rhythm. Choose a mid oak or weathered grey tone that matches your towels and floor.
Because the surface is porcelain, it cleans like any bathroom tile and needs no oiling or sealing. Keep cuts symmetrical at the wall edges so no sliver thinner than half a plank shows. The common mistake is mixing plank tones with a real timber bench that clashes, so hold samples together in daylight first. Expect to pay 20 to 50 per square metre, and buy 10 percent extra for cuts and breakages.
3. Set a Pebble Mosaic Floor With Grip and Easy Cleaning
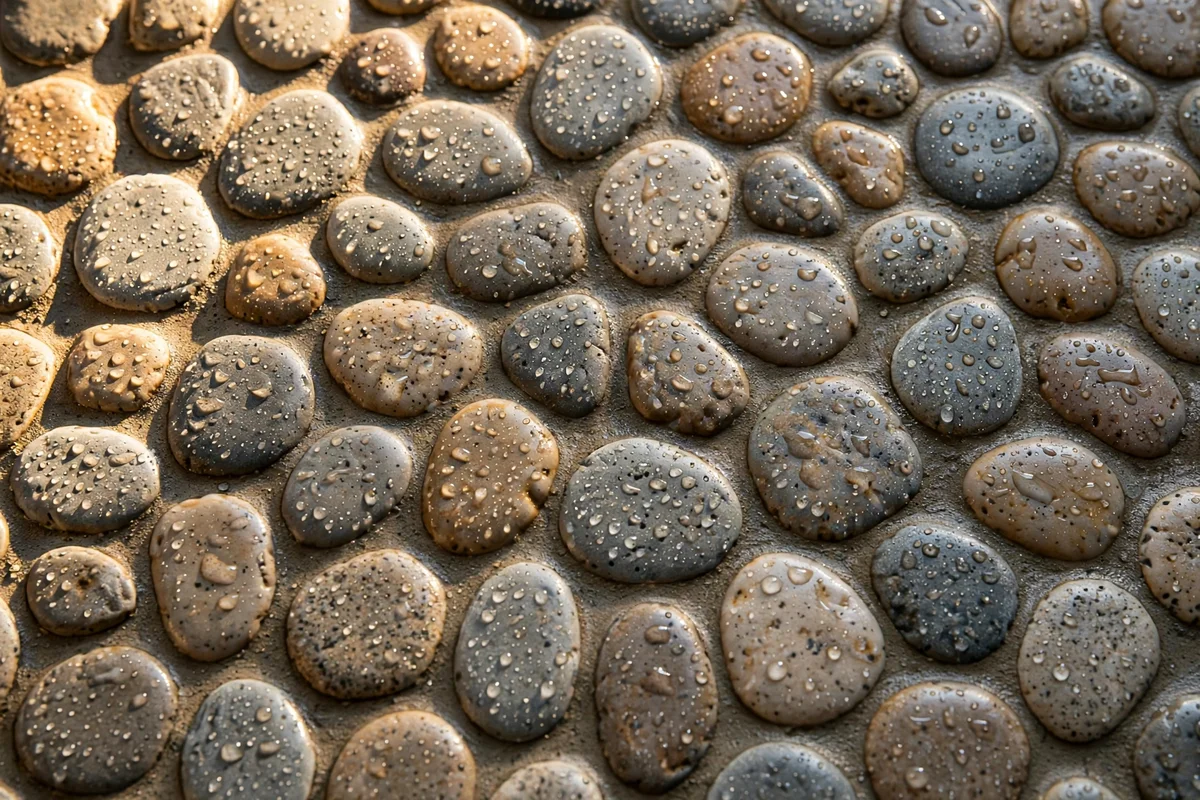
Pebble mosaic sheets turn the shower floor into a riverbed that feels good underfoot and hides water marks beautifully. Lay them on a properly sloped tray, usually 1 to 2 cm of fall per metre toward the drain, and bed each sheet in a polymer-modified adhesive so no stone works loose. Choose rounded, flat-topped pebbles in mixed greys and tans for the most natural look and the most comfortable standing surface.
Slip resistance is the big win here, since the uneven surface and frequent grout lines grip well even when soapy. Clean with a weekly pH-neutral spray and a stiff brush, and reseal the stones every one to two years so water beads off. The mistake to avoid is using shiny topical sealers that flake; choose a penetrating sealer made for natural stone. Budget 40 to 90 per square metre installed.
4. Choose Matte Black Fixtures for Bold Cabin Contrast
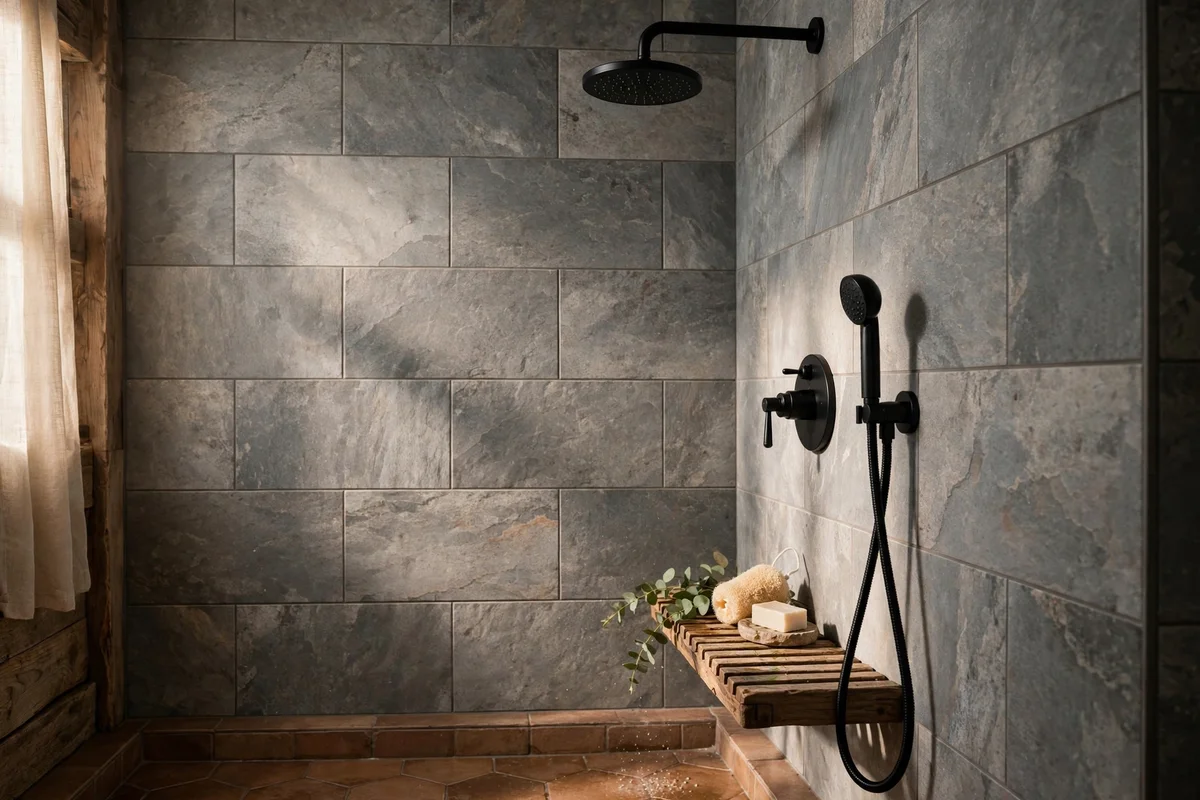
Matte black tapware draws a crisp line against stone and timber, giving a rustic shower a modern backbone without any shine. Pick a shower mixer, rainfall arm and hand shower in the same black finish so the set reads as one deliberate choice. Black suits grey stone tiles and pebble floors especially well, and it hides water spots far better than chrome. Look for powder-coated brass bodies rather than plated plastic for lasting colour.
Clean black fixtures with a soft cloth and mild soap only, since abrasive pads and limescale removers can scratch the coating and reveal metal beneath. The mistake to avoid is mixing black with chrome elsewhere, which dilutes the effect, so commit to one dark finish across the room. A quality black shower set costs 150 to 400, and mid-range sets now match premium ones closely on valve reliability.
5. Warm the Scheme With Brushed Brass Tapware
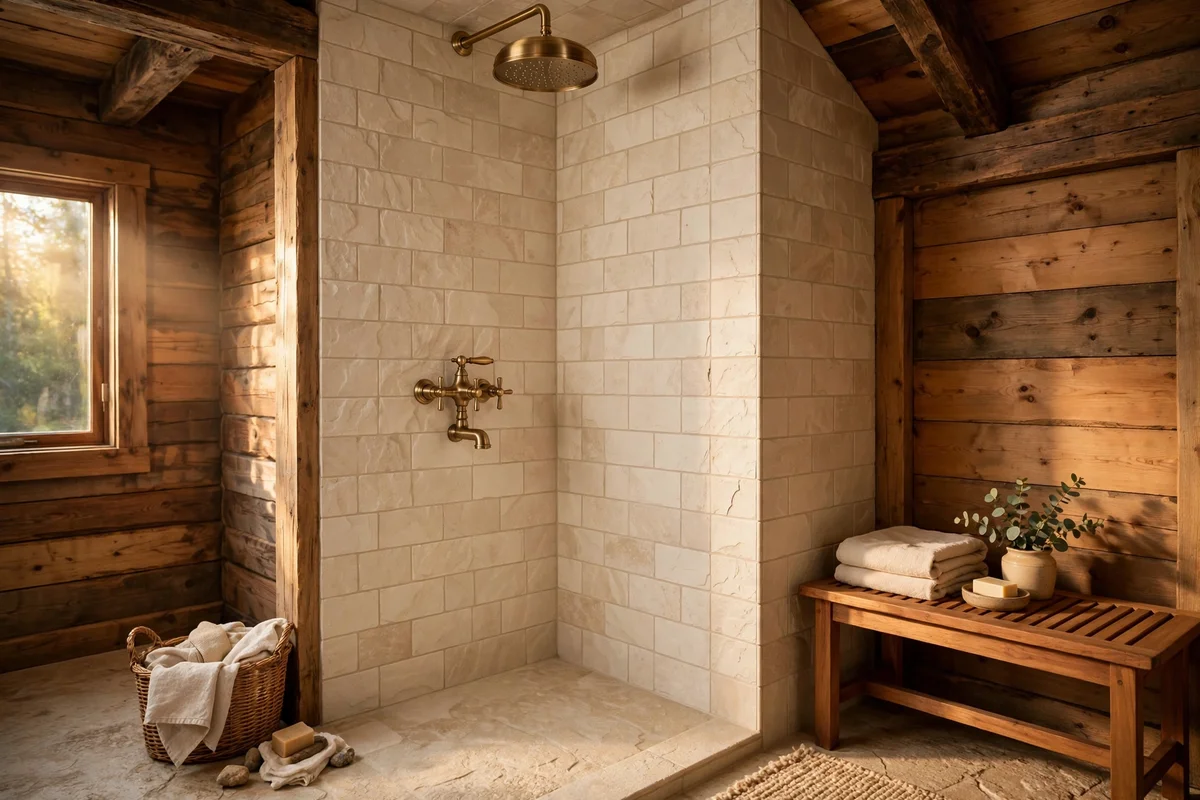
Brushed brass brings a lantern glow to a cabin shower, warming grey stone and pale timber alike. Unlike polished gold, the brushed finish is soft and forgiving, and it develops a gentle patina that suits the rustic story. Pair it with cream, sage or warm white tiles and a teak bench, and the whole room feels like late afternoon light. Choose solid brass bodies with a PVD coating for the most durable finish.
Brass needs only a weekly wipe with a dry microfibre cloth to keep its warmth, since harsh polishes strip the brushed texture. The mistake to avoid is pairing warm brass with cool blue-grey tiles, which can make both look slightly off. A brushed brass shower set typically costs 200 to 500. If the budget is tight, keep the brass to the showerhead and mixer, and use matte black for the smaller accessories.
6. Mount a Rainfall Head High for a Soft Pour
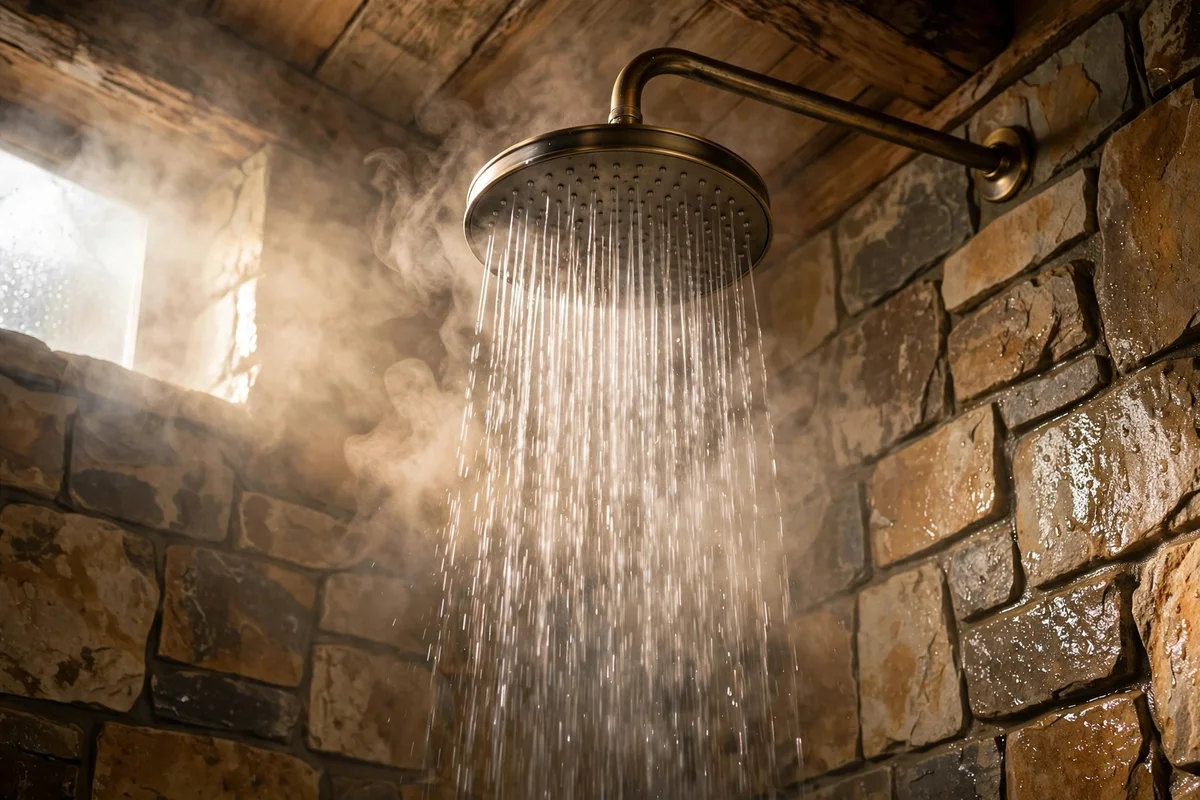
A rainfall showerhead, usually 20 to 30 cm across, hangs from the ceiling or a high wall arm and pours water straight down like summer rain. Mount it at least 210 cm above the floor so taller family members stand clear, and check your water pressure first, because rainfall heads need steady flow to feel generous. A ceiling-mounted arm in matching black or brass keeps the look clean and lets steam rise freely around it.
Rainfall heads suit calm morning routines, though they rinse shampoo more slowly than angled heads, which is why a hand shower partner matters. Fit an easy-clean model with silicone nozzles that you rub free of limescale monthly. The mistake to avoid is mounting the head too close to the wall, where half the spray lands on tiles. Budget 60 to 250 for the head and arm, plus fitting.
7. Add a Hand Shower on a Slider Rail
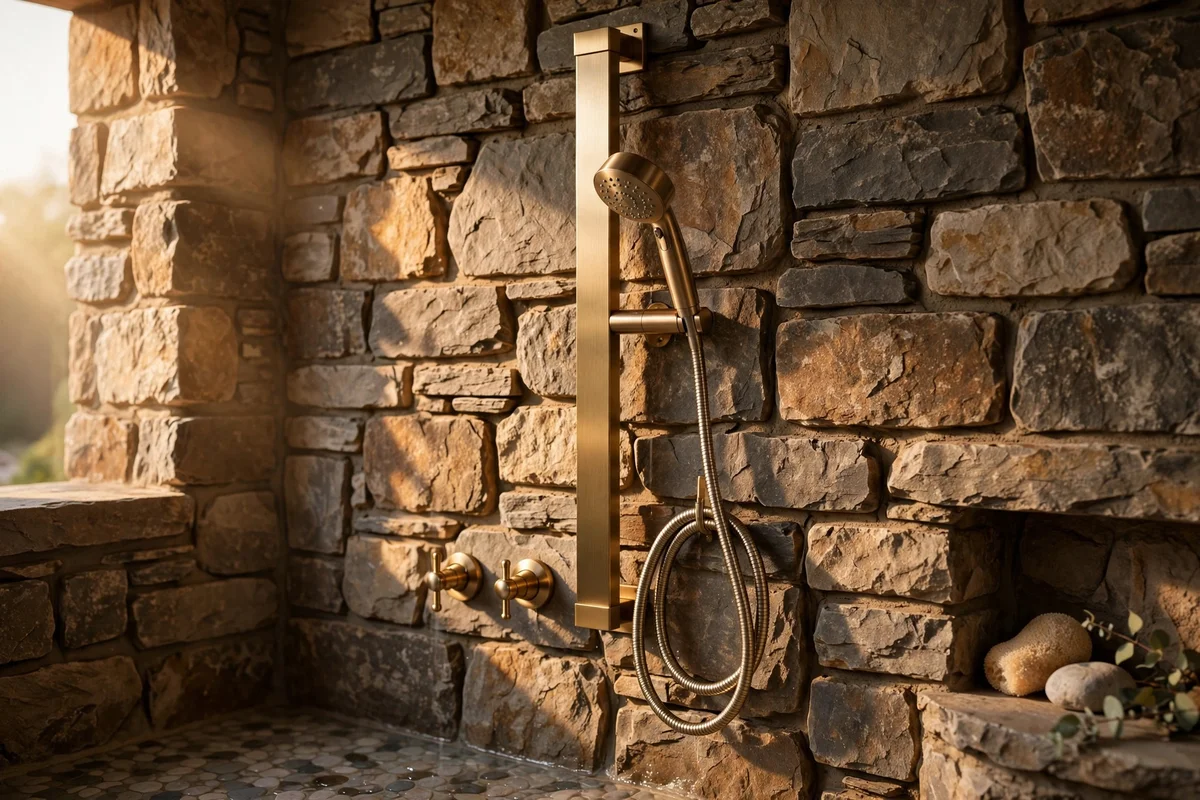
A hand shower on a vertical slider rail is the hardest-working piece in a rustic shower. It rinses the tray, cleans the pebbles and lets shorter family members shower comfortably while the rainfall head stays high. Choose a rail 60 to 90 cm long with an adjustable slider, mounted within easy reach of the shower entrance. Match its finish to the rainfall head so the pairing looks intentional.
Pick a handset with at least three spray patterns, including a focused jet for cleaning grout lines. A 150 cm flexible hose gives enough reach without dragging on the floor. The mistake to avoid is a rail fixed only to tile adhesive; it must anchor into the wall behind with proper plugs. A good rail and handset set costs 50 to 150, and most qualified plumbers fit one in under an hour.
8. Set a Teak Bench in the Corner and Oil It Twice a Year
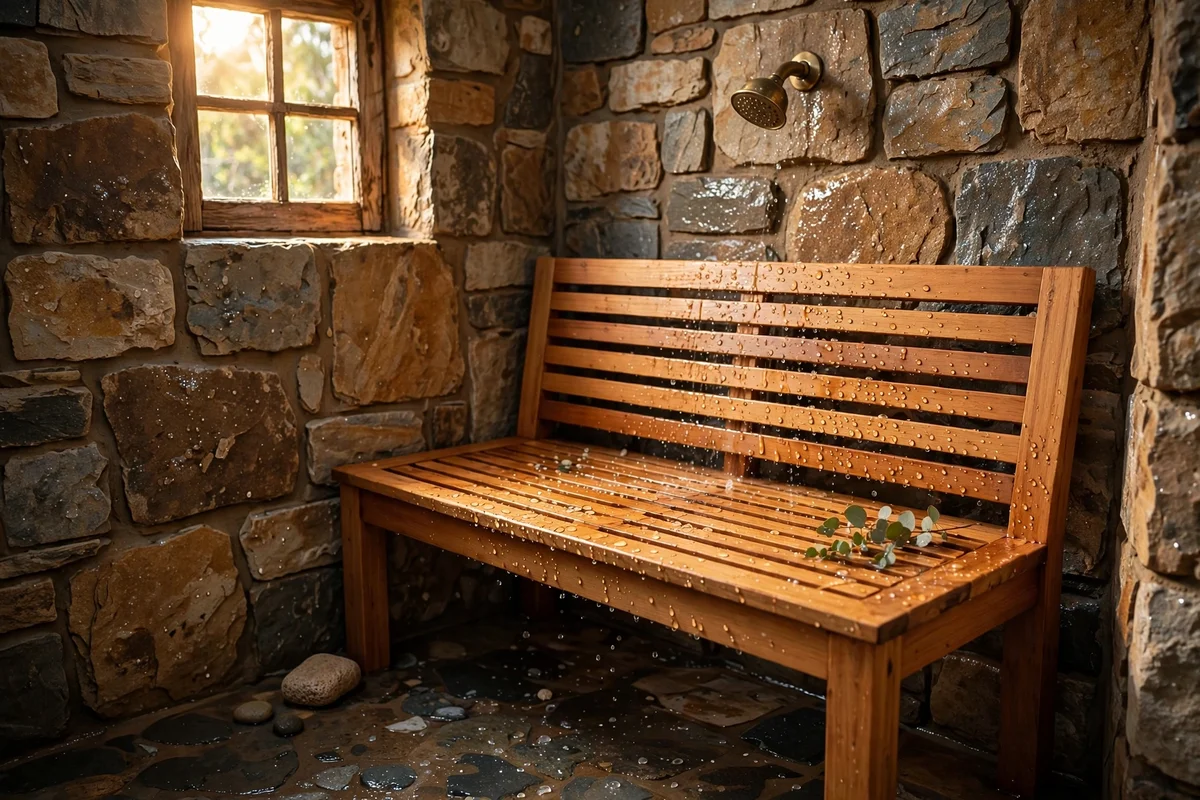
A solid teak bench turns a shower corner into a place to sit or rest a foot, and its honey tones are the heart of cabin charm. Choose a bench 40 to 45 cm high and 60 to 80 cm wide so it fits a standard alcove without crowding the standing space. Slatted tops drain fast and feel good underfoot, and rounded edges are kinder in a tight shower. Teak’s natural oils already resist water well.
Keep it beautiful with teak oil every six months: clean the bench, let it dry fully, then wipe oil along the grain and buff off the excess after twenty minutes. The mistake to avoid is placing the bench directly under the main spray, where constant soaking greys it fast and shortens its life. A solid teak shower bench costs 80 to 250, and a small teak stool works just as well in narrow showers.
9. Tile a Recessed Niche for Bottles at Elbow Height
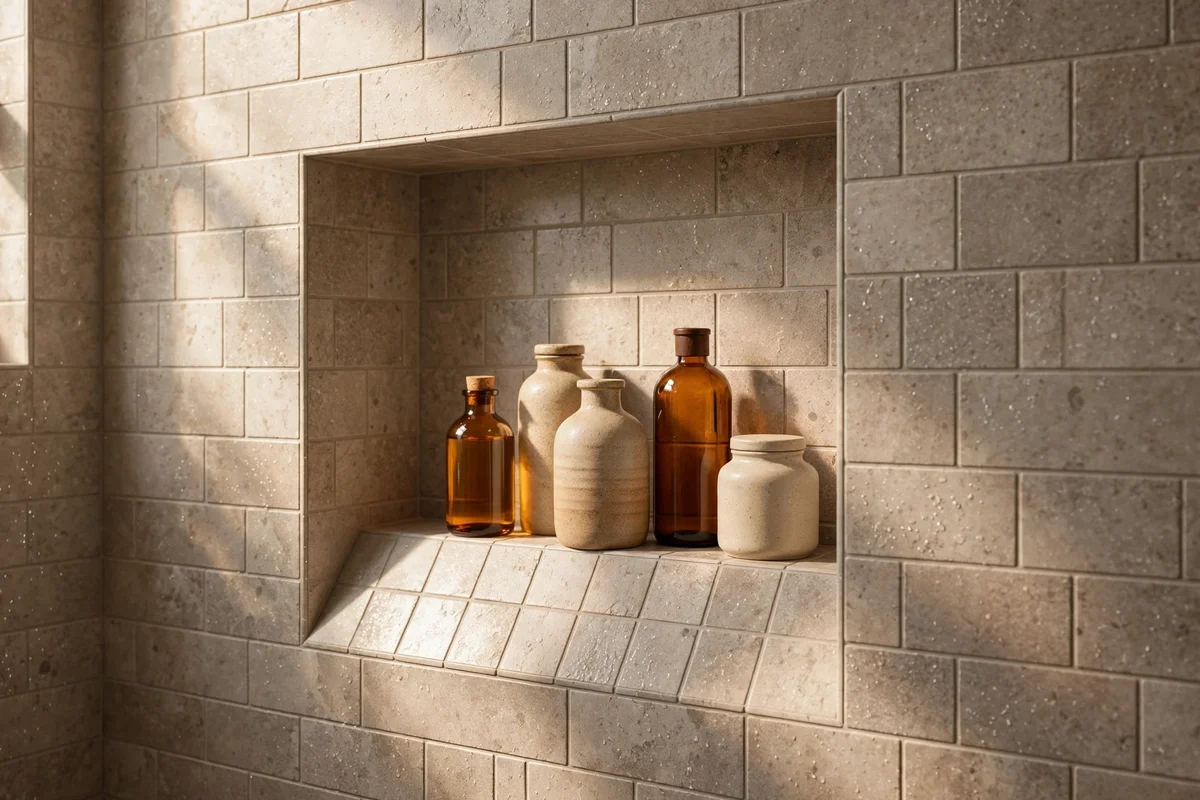
A recessed shower niche keeps bottles off the floor and out of the spray line, tiled in the same stone-look porcelain for a built-in feel. Size it about 30 cm wide and 35 cm tall to hold family-size bottles, and centre it 110 to 120 cm above the tray, roughly elbow height, so nothing requires reaching. Slope the niche base slightly forward so water drains back into the shower instead of pooling.
Waterproof the niche with tanking membrane before tiling, and seal its grout lines with extra care since they sit in the splash zone. The mistake to avoid is cutting the niche into an exterior wall without checking insulation, which can cause cold spots and condensation. Framing and tiling a niche adds 100 to 300 to the job, a small price for a shelf that never rusts or topples.
10. Pick Frameless Glass to Keep the Stonework Visible
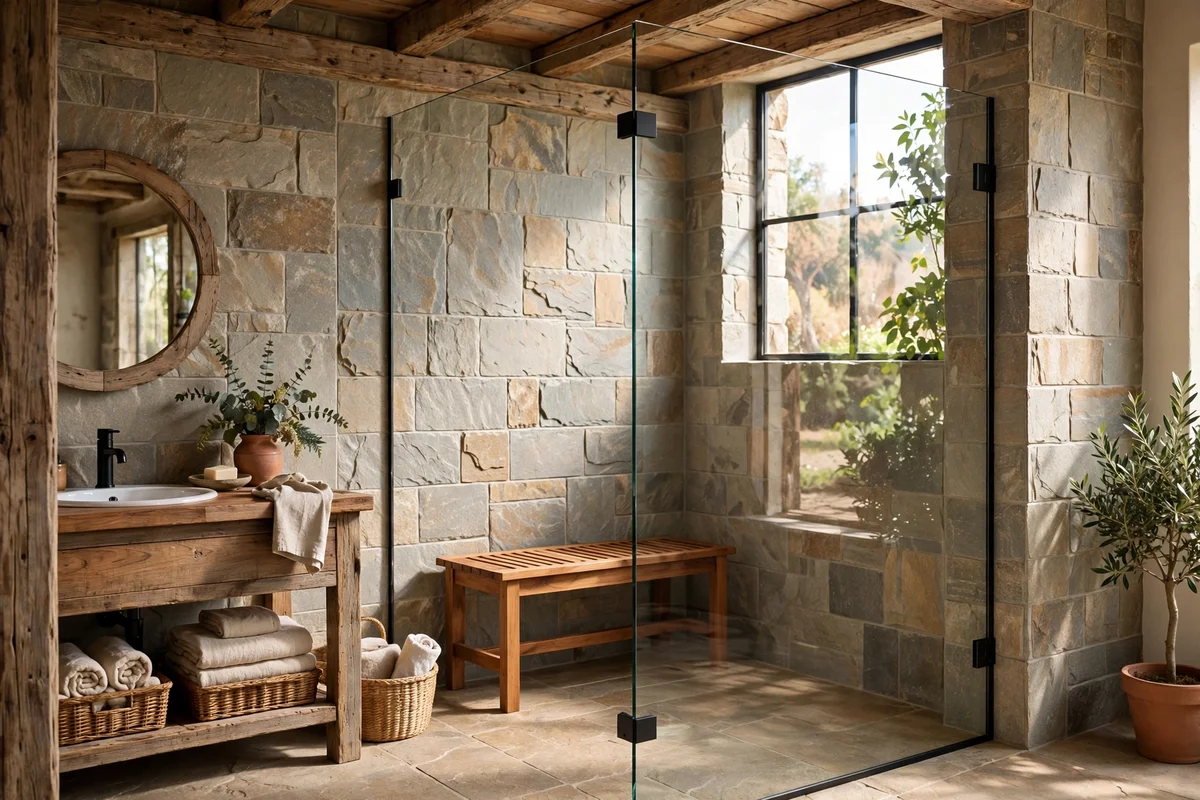
Frameless glass panels, usually 8 to 10 mm thick, hold back spray while leaving your stone and timber tiles fully on show. A single fixed panel 80 to 100 cm wide suits most walk-in showers and needs only discreet wall brackets or a slim channel. The uninterrupted glass makes a small bathroom feel larger and lets your feature tiling do all the talking. Choose low-iron glass if you want the clearest, least green-tinted view.
Frameless panels cost more than framed ones, typically 300 to 800 for panel and fittings, and they need precise measurement since there is no frame to hide gaps. The mistake to avoid is skipping the sealant strips along the wall edge, where water can creep behind and stain grout. Wipe the panel with a squeegee after showering and it stays sparkling with almost no effort.
11. Try Black-Framed Glass for a Stronger Outline
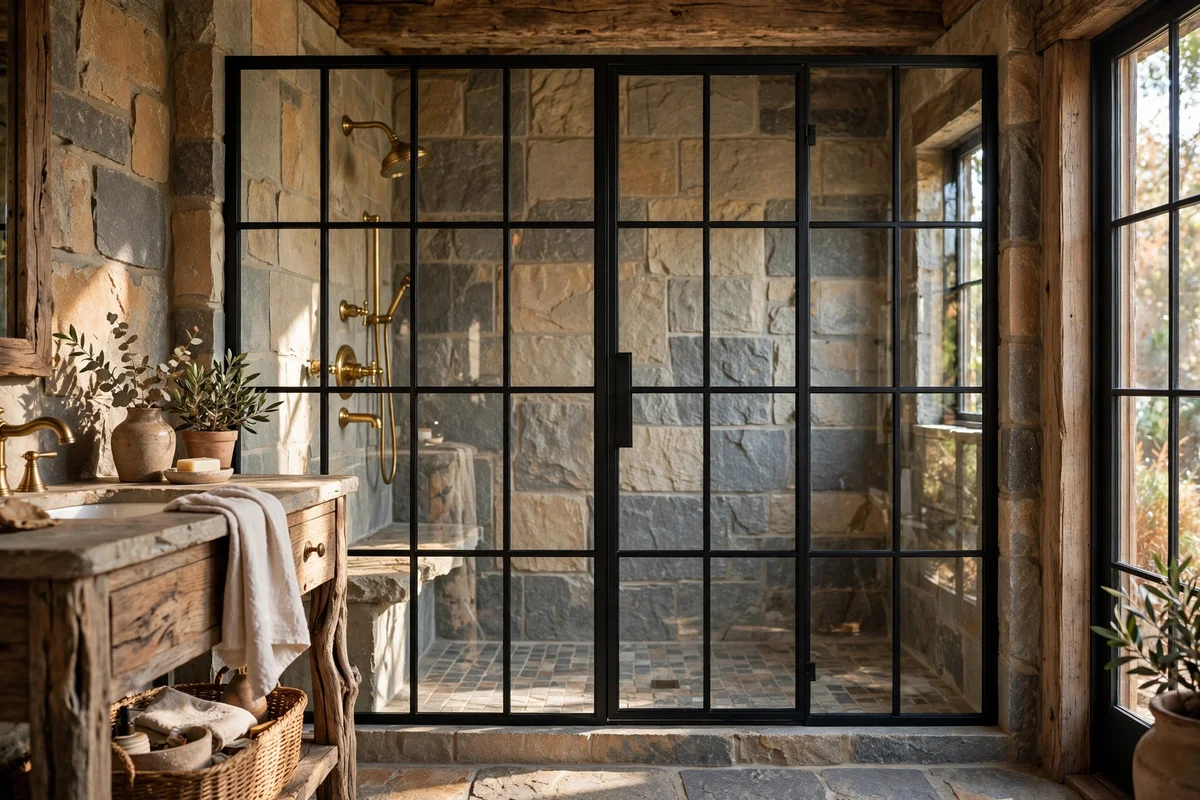
Black-framed glass, often in a crittall style with slim mullions, draws a bold grid around the shower that suits a cabin scheme with industrial roots. The frame adds rigidity, which helps in older houses where walls are not perfectly true, and it echoes matte black fixtures for a coordinated look. Choose powder-coated aluminium frames with 6 mm toughened glass, and keep the grid squares large so the design feels calm rather than busy.
The frames give you more adjustment at fitting time, usually forgiving 10 to 15 mm of uneven wall. The mistake to avoid is a frame design with dozens of tiny panes, each one a cleaning chore around its edges. Wipe frames dry weekly to stop limescale building in the corners. A black-framed shower screen costs 250 to 600, often less than a bespoke frameless panel.
12. Ventilate With an Extractor Matched to the Room
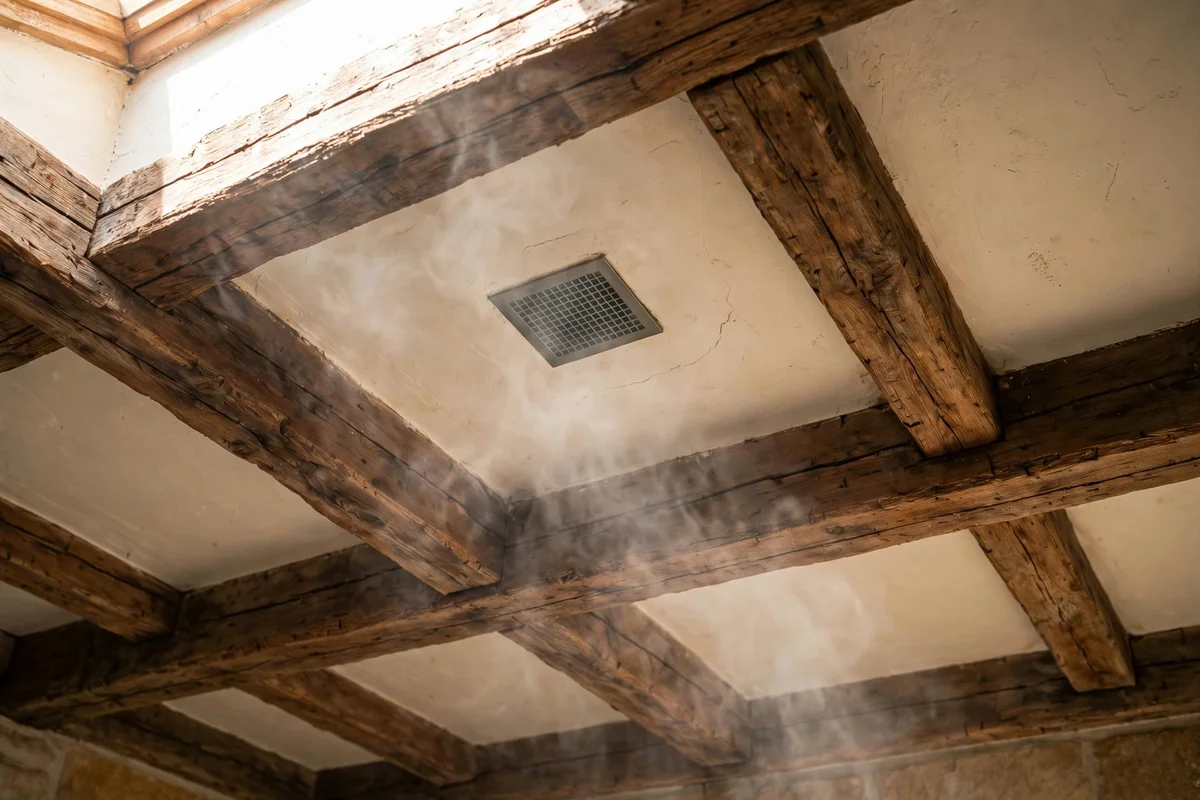
Good ventilation protects every rustic material you have chosen, because trapped steam feeds mould in grout and greys teak fast. Size the extractor fan to the room: multiply length by width by height in metres, then choose a fan whose extraction rate in cubic metres per hour covers that volume at least four times. A timer or humidity sensor that runs the fan for twenty minutes after showering does the real work.
Position the fan high on the wall opposite the shower or in the ceiling above it, and keep the door undercut by about 10 mm so replacement air can flow in. The mistake to avoid is venting into the loft instead of outside, which simply moves the damp problem upstairs. A quality humidity-sensing fan costs 60 to 150, and an electrician should wire it to current regulations.
13. Layer Warm LED Lighting at Two Heights
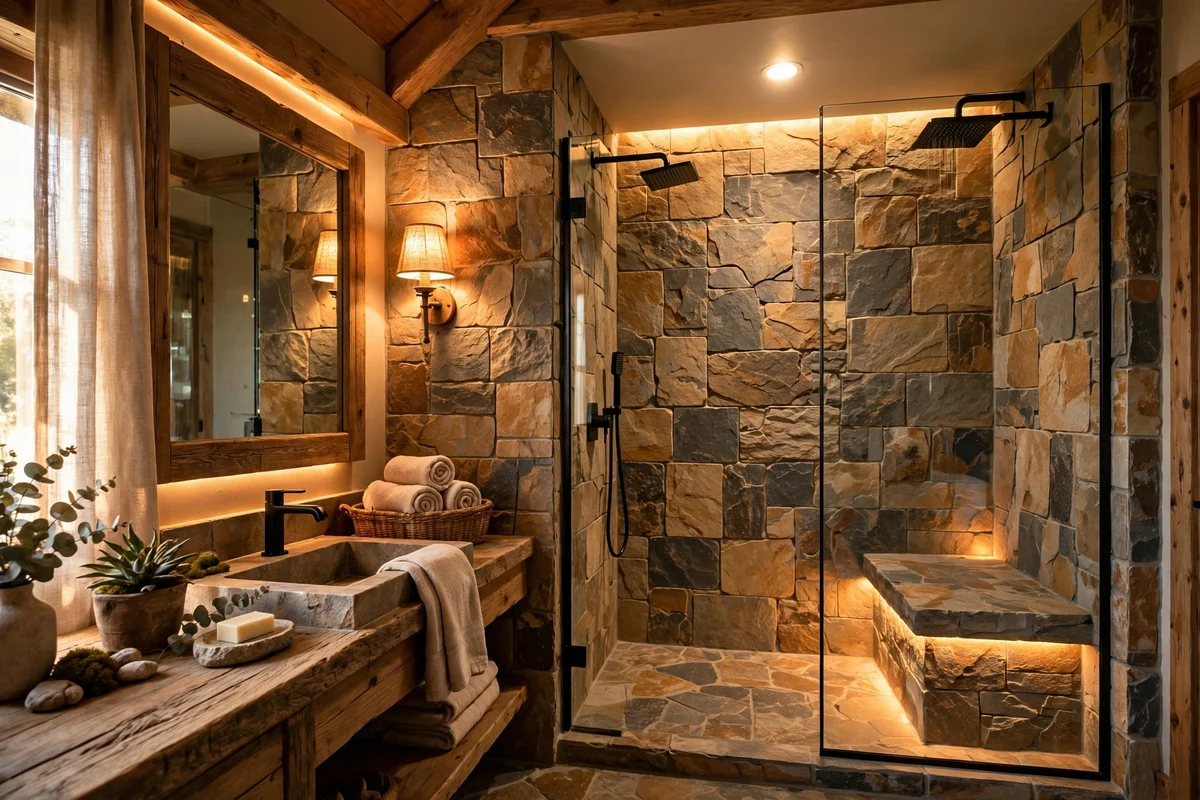
A cabin palette turns gloomy without layered light, so plan two levels: a dimmable ceiling light for general glow and a second source inside or just above the shower. Choose warm white LEDs at 2700K to 3000K, which flatter timber and stone, and fit IP65-rated fittings inside the shower zone where water can reach. A small recessed downlight over the shower plus a wall light by the mirror covers most bathrooms.
Put the lights on separate switches or a dual dimmer so the shower can glow softly for an evening soak while the mirror stays bright for mornings. The mistake to avoid is a single cold-white ceiling bulb, which flattens every texture you paid for. Budget 80 to 250 for quality LED fittings, and always have a qualified electrician install bathroom electrics to the correct safety zones.
14. Backlight the Niche With a Waterproof LED Strip
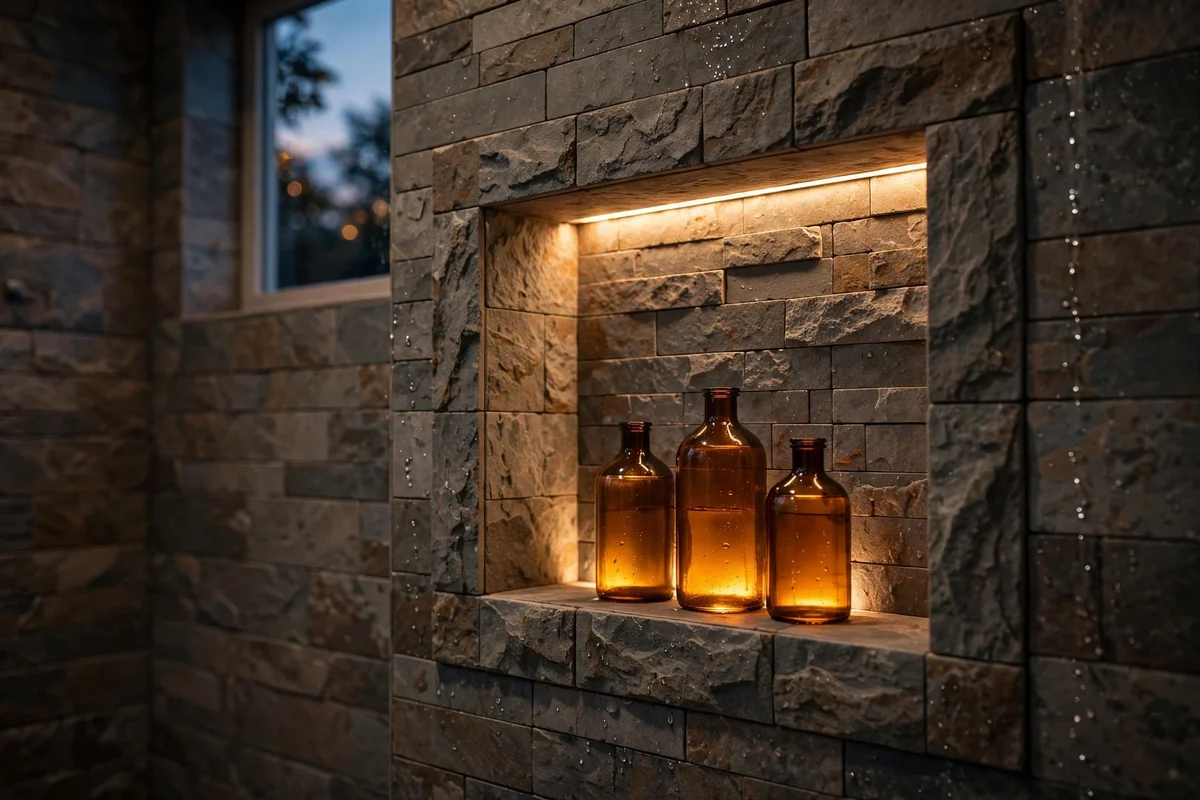
A slim LED strip tucked under the top of the shower niche turns bottle storage into a glowing focal point. Use an IP67-rated strip in warm 2700K, housed in a small aluminium channel with a diffuser so the light spreads softly without glare. Wire it to the same switch as the shower downlight so one touch sets the mood. The glow flatters stone-look tiles and makes bottles easy to find.
Keep the driver and connections outside the shower zone in a dry, accessible spot for future servicing. The mistake to avoid is a cheap non-waterproof strip that fails within months of steam exposure; the IP rating is the part that matters most. A 50 cm strip with channel, diffuser and driver costs 25 to 60, and it is a small job for an electrician during the main wiring.
15. Seal Every Grout Line Twice Before First Use
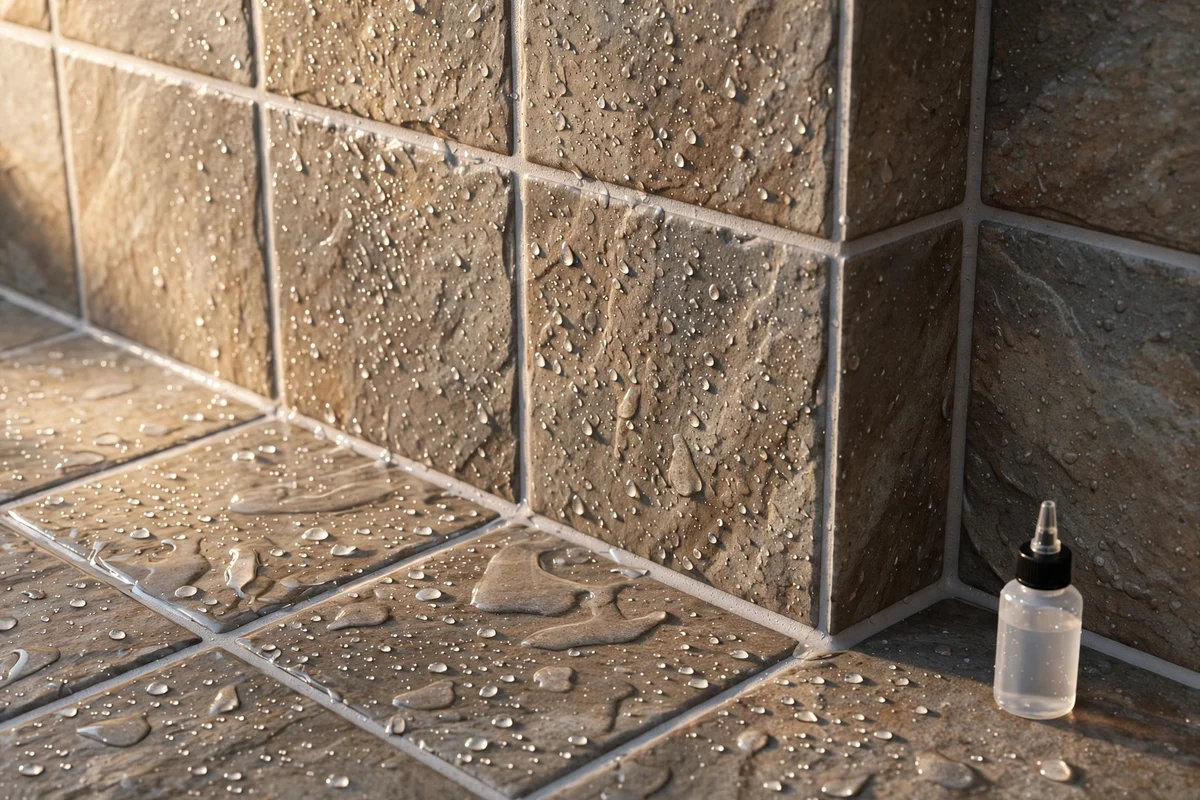
Sealed grout is what keeps a rustic shower looking new, because porous grout drinks in soap, minerals and mildew. After the tiler finishes and the grout has cured fully, usually 48 to 72 hours, brush on a penetrating grout sealer, let it soak for the time the bottle states, then wipe the tile faces clean. Apply a second coat the next day for shower floors and niches that take the most water.
Reseal floor grout once a year and wall grout every two years; the water-bead test tells you when it is due. The mistake to avoid is sealing over damp or dirty grout, which traps stains underneath permanently. A litre of quality penetrating sealer covers roughly 10 to 15 square metres and costs 20 to 40. Never use film-forming sealers on shower floors, since they turn slippery when wet.
16. Check Slip Ratings of R10 or Higher on Wet Floors
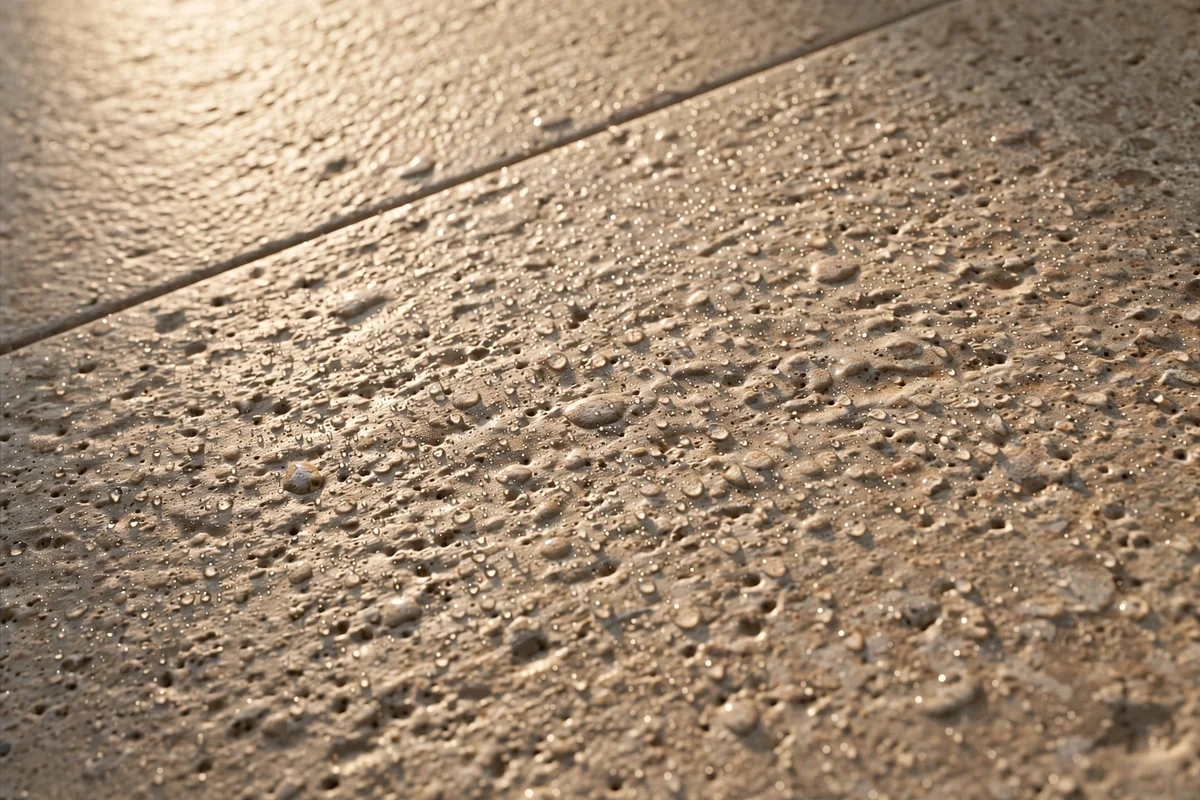
Shower floors must grip, so check the slip rating before you fall in love with a tile. Look for R10 or higher on the ramp test scale, or a dynamic coefficient of friction above 0.42, both of which suit bare wet feet. Textured stone-look porcelain, pebble mosaics and small-format tiles all qualify naturally, because more grout lines and rougher surfaces add traction. Ask the supplier for the rating in writing.
Ratings matter most on the floor; walls can be smoother since nobody stands on them. The mistake to avoid is choosing a polished large-format tile for the tray because it looked elegant dry in the showroom. If you already have a slippery floor, an anti-slip treatment or a teak duckboard adds grip for 30 to 80. A textured R10 tile costs no more than its polished twin.
17. Grout in Warm Greys, Never Stark White
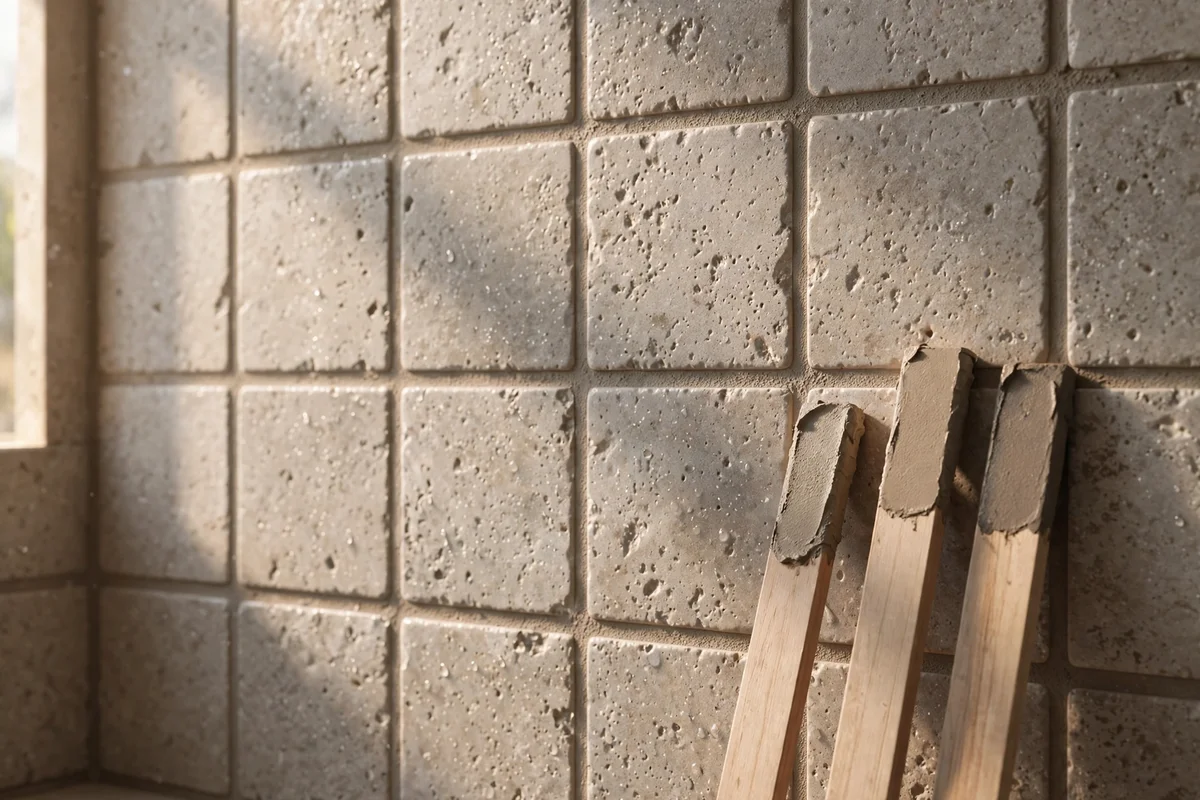
Grout colour makes or breaks the cabin mood, and warm greys, sandy beiges and soft putty tones keep stone-look tiles feeling natural. Hold grout sample sticks against your tile in the bathroom’s own light before deciding, since showroom lighting lies. A grout close to the tile’s mid-tone hides limescale and soap residue far better than white, which yellows within a year in hard-water areas.
For pebble floors, choose a grout one shade darker than the darkest stone so the joints recede and the pebbles stand proud. The mistake to avoid is epoxy grout in a colour you have not tested; it stains less but is unforgiving to apply and hard to change. Standard cement grout in a warm tone costs 10 to 25 per bag, and colour-matched silicone for the tray edges finishes the job neatly.
18. Extend the Floor Tile Up One Wall as a Feature
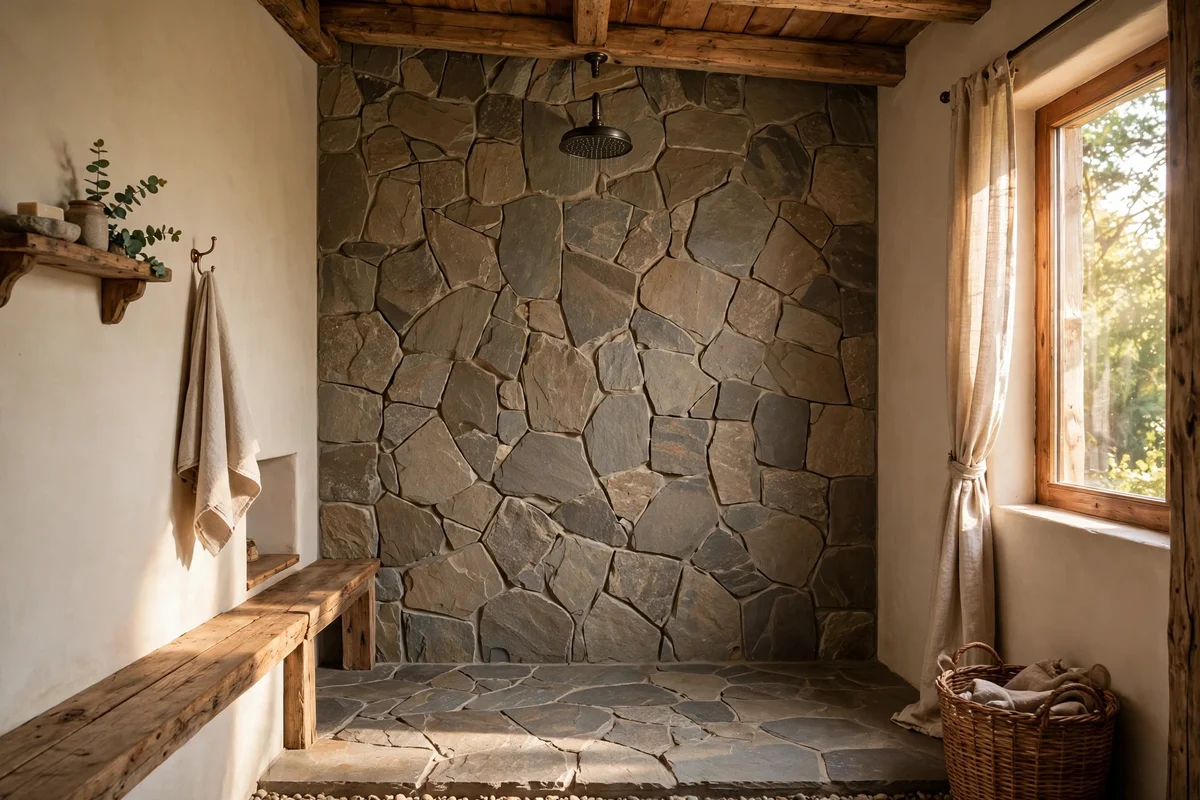
Running the shower floor tile up the wall behind the showerhead creates one continuous sweep of texture, a trick borrowed from woodland lodges. It works best with stone-look or pebble-look porcelain, where the vertical surface reads as a rock face. Take it full height to the ceiling for drama, or stop at 210 cm with a neat trim; either way the eye travels upward and the shower feels taller.
Keep the other walls calmer, perhaps large plain tiles in a matching tone, so the feature wall stays the star. The mistake to avoid is continuing a busy pebble pattern onto every wall, which overwhelms a small bathroom fast. This idea adds little cost beyond the extra tiles, roughly 15 to 40 per square metre, since the tiler is already on site.
19. Stack a Rough Timber Ledge as a Shelf
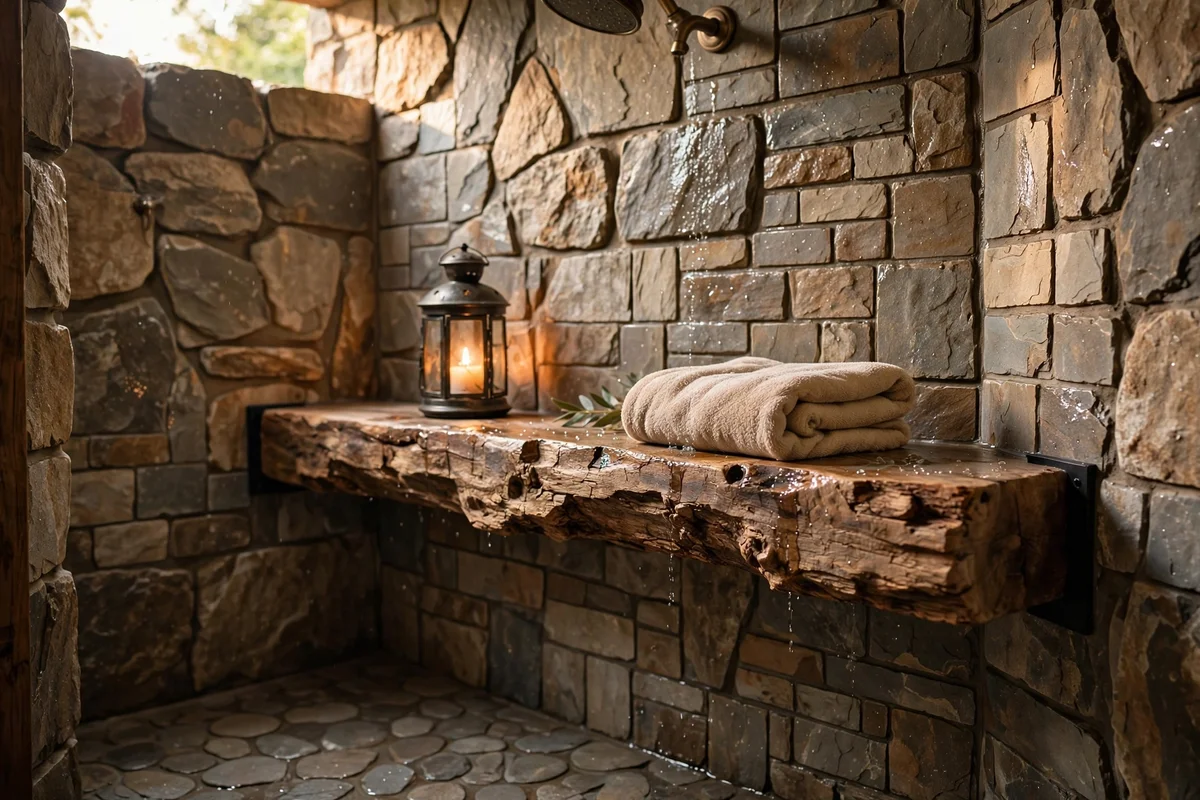
A chunky timber ledge fixed across one end of the shower gives you a shelf with real cabin soul. Choose a sealed hardwood offcut or a reclaimed-look beam about 10 cm deep and 5 cm thick, finished with marine-grade varnish or hardwax oil so steam cannot reach the grain. Fix it into solid wall with hidden brackets rated for at least 10 kg, since wet bottles are heavy.
Place the ledge at 120 to 130 cm, above the direct spray line, so it holds a candle lantern, a small plant in a sealed pot or folded guest towels rather than daily bottles. The mistake to avoid is raw unfinished timber in the splash zone, which blackens within months. A prepared ledge costs 30 to 90, or nothing if a friendly joiner has offcuts.
20. Hang Hooks on the Outside Wall for Towels in Reach
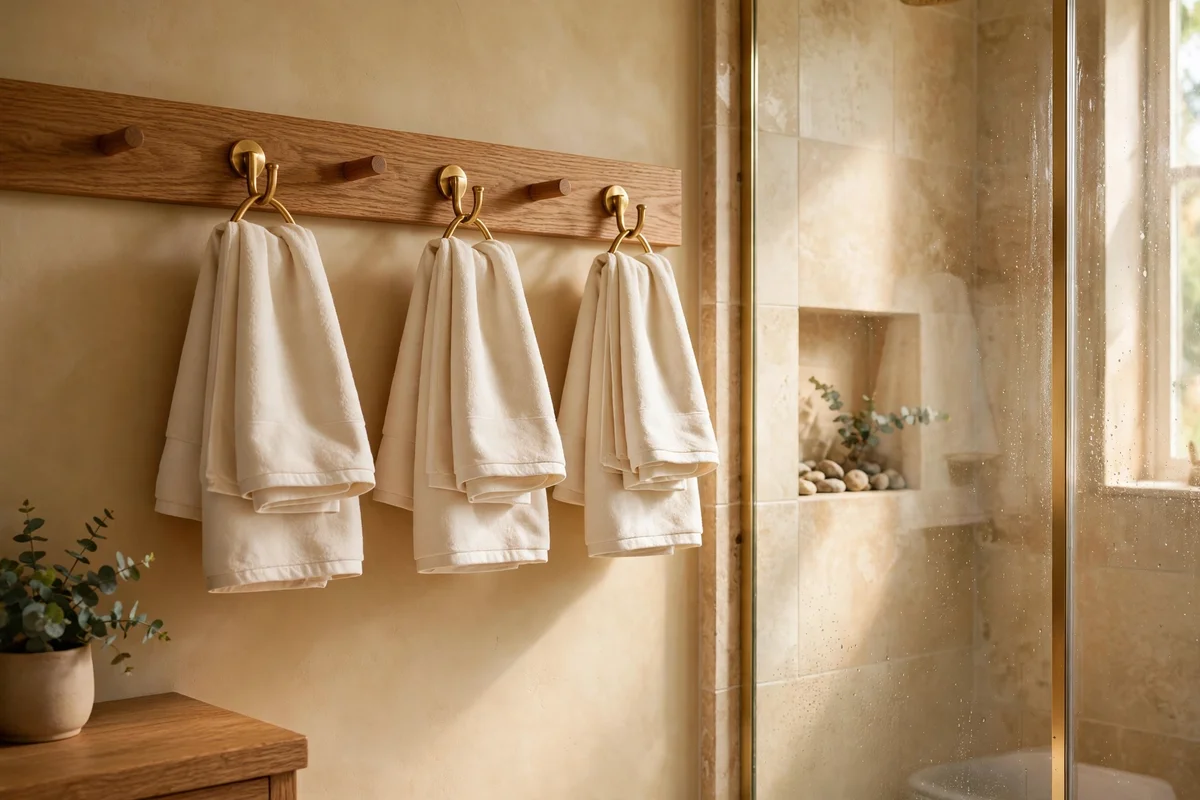
Heavy-duty hooks on the wall just outside the shower keep towels and robes within arm’s reach without cluttering the wet area. Choose solid brass or matte black hooks that match your fixtures, fixed into studs or proper anchors to hold a soaked bath towel, which can weigh over 2 kg. Mount two hooks at 150 and 170 cm so every family member has one at a comfortable height.
A small oak peg rail with three or four pegs works beautifully in a cabin scheme and spreads the load across more fixings. The mistake to avoid is suction-cup hooks on textured tile, which fail at the worst moment and can crack a tile on the way down. Quality screw-fixed hooks cost 8 to 20 each, a tiny spend for a daily convenience.
21. Add Daylight With a Frosted Window or Sun Tube
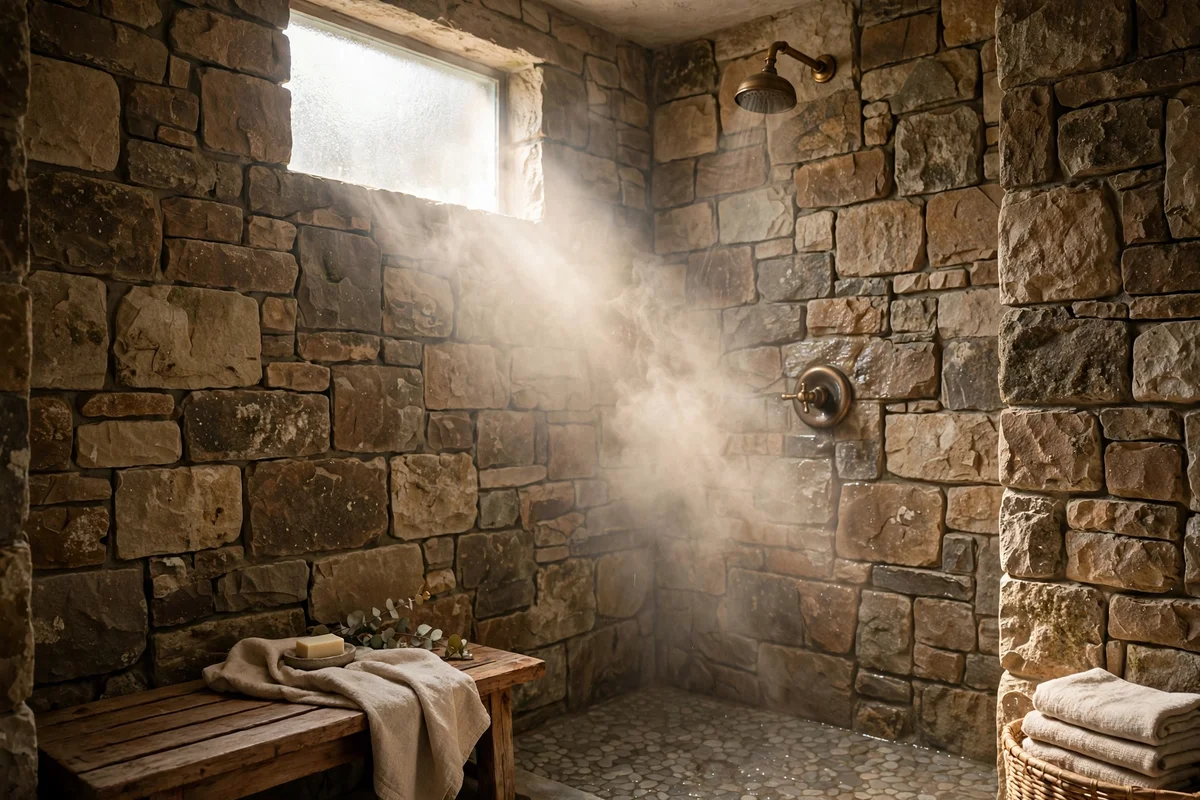
Natural daylight keeps a cabin palette bright and honest, so add it wherever the structure allows. A small frosted window high in the shower wall gives privacy and steam escape in one, while a sun tube, a reflective pipe from roof to ceiling, pours daylight into windowless bathrooms for a fraction of a skylight’s cost. Frosted or reeded glass keeps the rustic feel and hides the view both ways.
If structural work is off the table, a daylight-mimicking LED panel at 4000K near the shower lifts the gloom on dark mornings. The mistake to avoid is clear glass at eye level facing a neighbour; privacy film is a poor substitute for proper obscured glazing. A sun tube costs 200 to 500 installed, while a small frosted window runs 300 to 800 depending on the wall.
22. Book Qualified Installers for Plumbing and Electrics
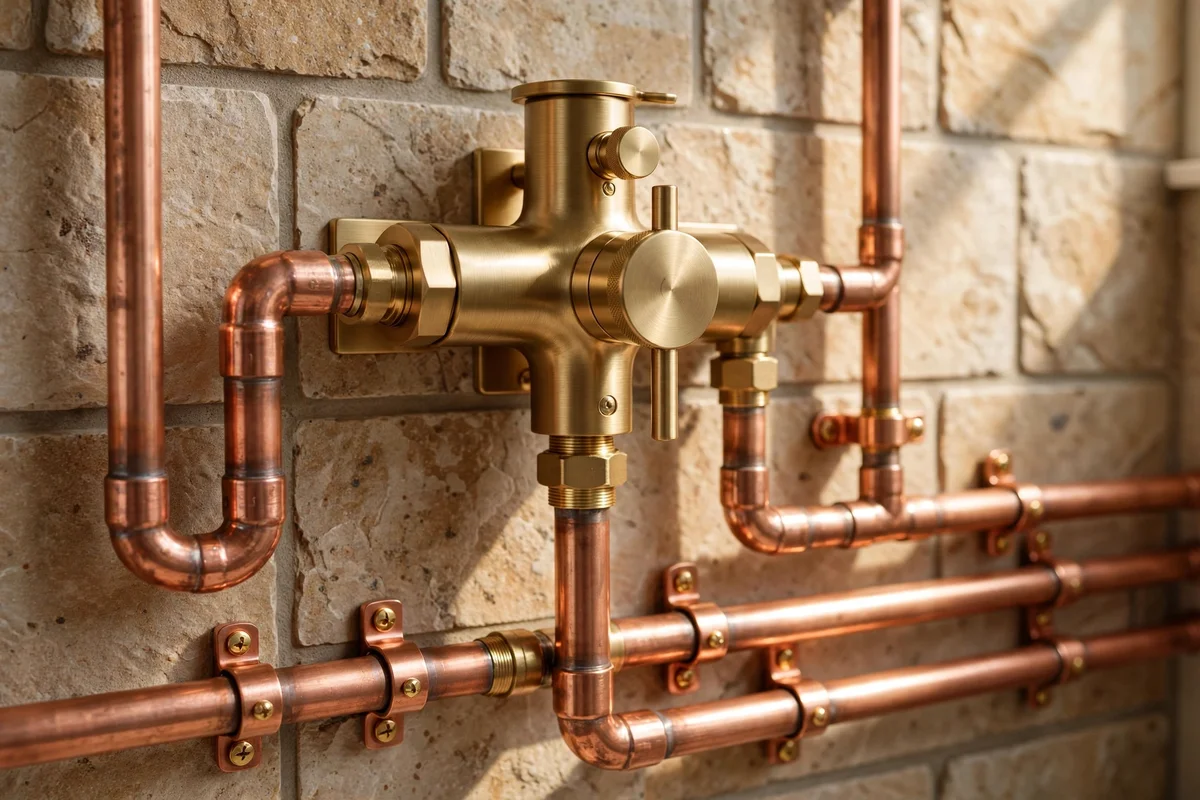
A beautiful rustic shower still needs safe bones, so hire qualified professionals for the hidden work. A certified plumber should set the tray falls, waterproof the walls and connect the mixer, because a slow leak behind stone-look tiles rots timber framing silently for years. Ask for proof of certification and a written guarantee on waterproofing before work starts, and keep the paperwork with your house records.
Bathroom electrics belong to a qualified electrician working to the correct wiring zones, with RCD protection on every circuit. The mistake to avoid is letting a general handyman wire the shower lights or fan to save money; faulty bathroom electrics are genuinely dangerous. Labour for plumbing and electrics typically runs 800 to 2,000 for a shower refit, and it is the one budget line never worth trimming.
23. Keep Cleaning Simple With a Squeegee and Gentle Spray
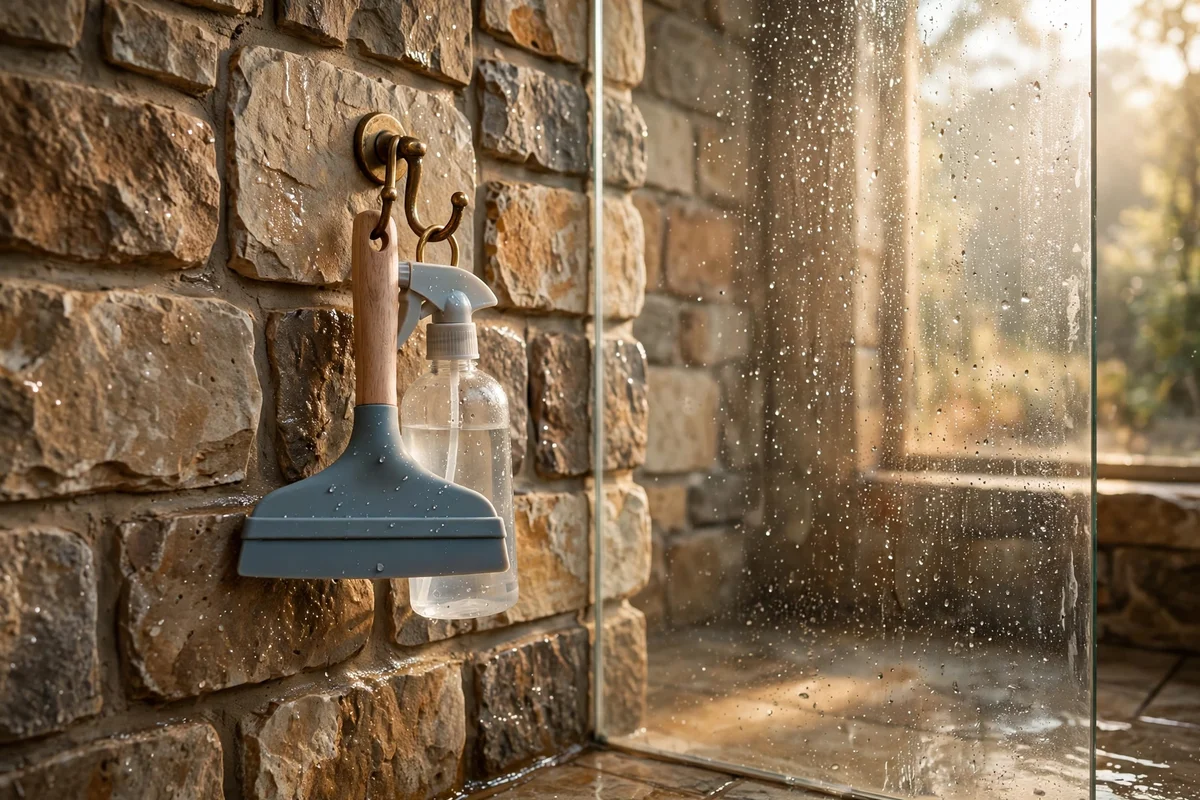
A thirty-second squeegee routine after each shower is the cheapest way to protect stone tiles, glass and grout. Keep a silicone squeegee on a hook inside the shower and pull water down the glass and walls toward the drain; it takes moments and halves limescale buildup. Follow once a week with a pH-neutral bathroom spray, which cleans without attacking sealers, grout or matte black finishes.
Avoid bleach, vinegar and harsh descalers in a rustic shower, since acids etch natural pebbles and dull both grout sealer and tapware coatings. The mistake to avoid is letting hard-water spots bake on for months, after which only abrasives shift them and those scratch everything. A good squeegee costs under 10, and one bottle of pH-neutral spray lasts a family about two months.
A cosy cabin shower is really a set of honest choices: stone-look porcelain laid with a warm grout, a pebble floor that grips underfoot, one rainfall head doing its quiet work, and a teak bench that asks only for an oiling twice a year. Ventilate the steam away, layer warm light at two heights, and seal the grout before the first shower. None of these steps is grand on its own, yet together they make a small room feel like a woodland retreat.
If you take one step this week, choose your tile and grout combination first, because every other decision hangs off it. Take samples home, wet them, and look at them under the light you will actually use. Then order the grout sealer at the same time as the tile so it is on hand when the tiler finishes. A bathroom built this carefully rewards you every morning for years.
Frequently Asked Questions
How much does a rustic shower refresh cost?
Between 400 and 2,500 pounds or dollars for a typical refresh, depending on tile choice and whether fixtures move. New porcelain tiles and grout do most of the work for around 800. A teak bench and rainfall head add roughly 200 to 400. Keep plumbing where it is unless you love the new layout, because moving drains doubles labour costs fast.
Are pebble shower floors hard to clean?
They need more attention than flat tiles, but it stays easy with a routine. Squeegee the floor after each shower and spray a pH-neutral cleaner weekly, then rinse well. Reseal the stone every one to two years so water beads instead of soaking in. Avoid bleach and acidic descalers, which pit natural pebbles and dull the sealer quickly.
Is wood-look porcelain slippery when wet?
Not if you choose a tile rated R10 or higher for slip resistance, which most wood-look porcelain shower floors meet. Pick a textured, matt surface and smaller formats or mosaic sheets, since more grout lines mean more grip. Pair it with sealed grout and a bath mat outside the shower for the step out. Test a wet sample underfoot in the showroom before buying.
Can I put real wood in a shower?
Yes, but only dense, oily hardwoods like teak, and only as a bench or stool, not as cladding. Oil the teak every six months with teak oil so it resists water and keeps its honey colour. Keep it out of the direct spray line so it dries between showers. Ventilate the room well, because constant damp shortens the life of any timber.
Matte black or brushed brass fixtures, which is better?
Both suit a rustic shower; the choice is about mood and maintenance. Matte black reads bold and hides water spots well, but harsh cleaners can dull it. Brushed brass feels warmer and develops a soft patina, though it needs a gentle wipe to keep its glow. Match the finish to your tile: black with grey stone, brass with warm wood tones.