Home Improvement
23 Ways to Remove Water Stains From Wood Furniture That Actually Work
By Anna Wells · · 22 min read
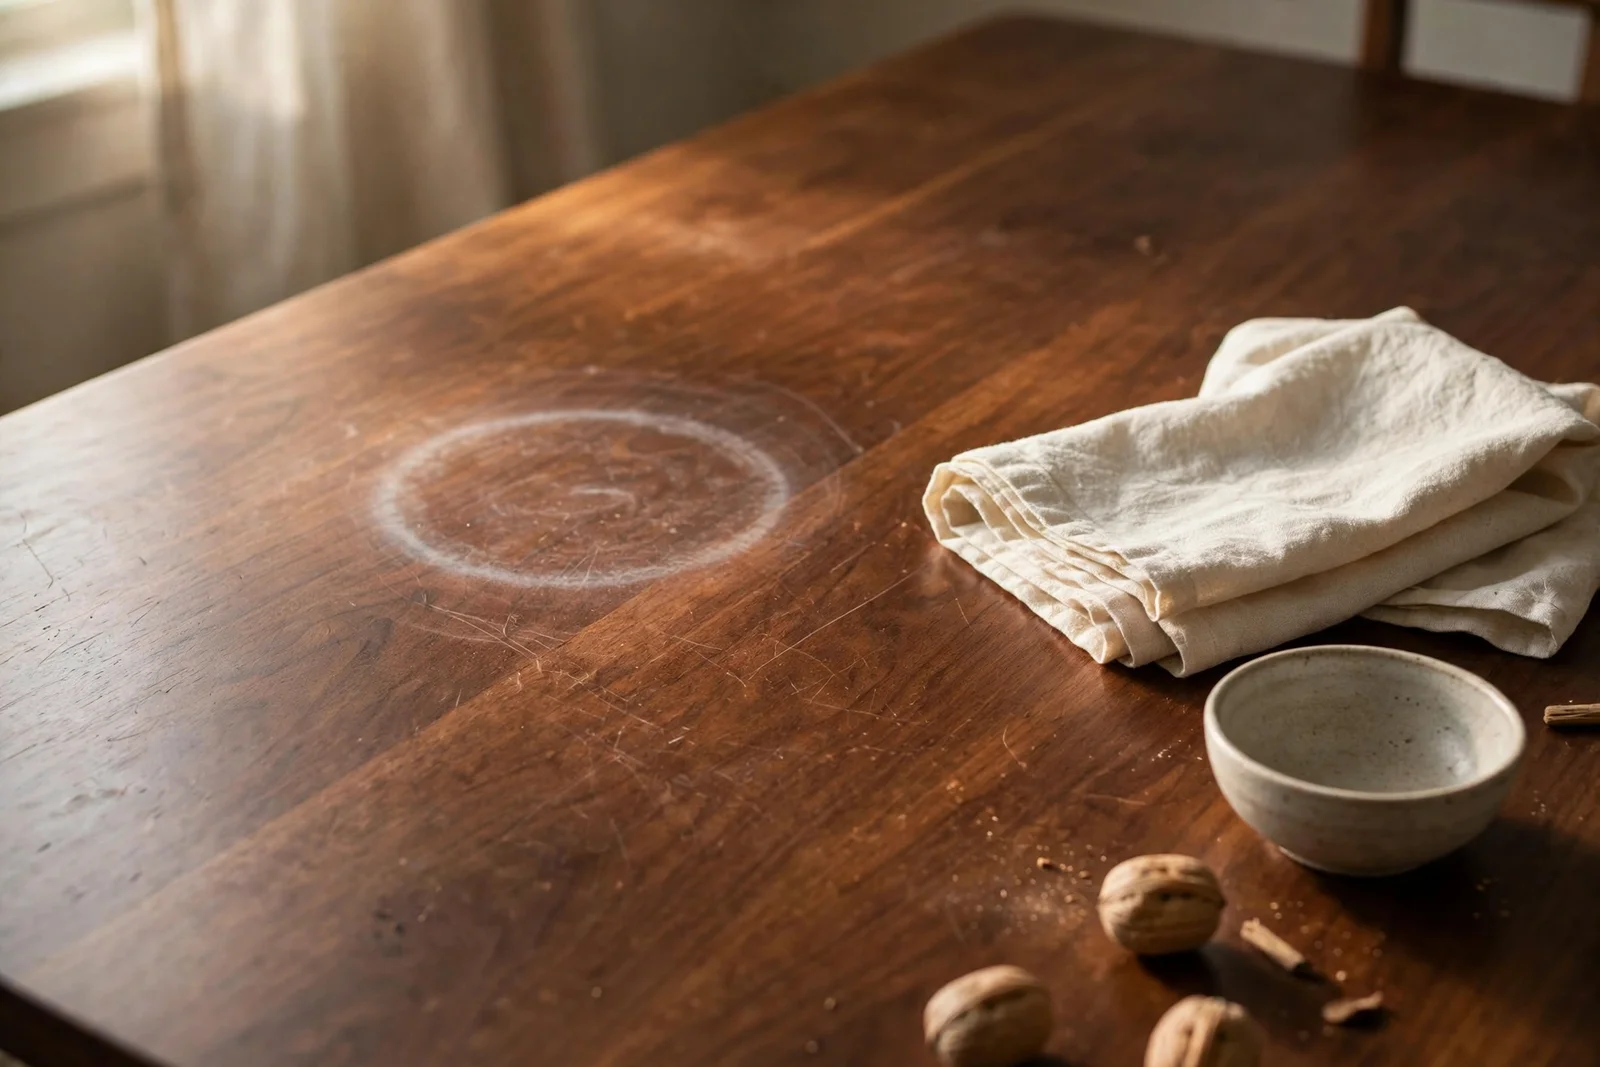
A cloudy ring on a polished table is usually moisture trapped in the finish, and most marks lift with simple pantry fixes. Here are 23 gentle, step-by-step methods, from proper drying and the warm iron trick to paste wax protection and prevention.
A pale ring on a polished table can appear overnight, left behind by a glass of water forgotten at the end of a quiet evening. The dining table you chose for its warm grain suddenly wears a cloudy halo, and the first instinct is to scrub hard, which usually makes things worse. White marks like these are among the most common scars wooden furniture collects in a family home, and most of them can be lifted with patience and simple supplies.
The key is diagnosis before treatment, because a white ring and a dark stain are two very different problems. White haze sits in the finish above the wood, while a dark mark means moisture has soaked into the fibres themselves, and the fix for one can fail or harm the other. This guide walks you through 23 gentle, concrete steps in order, starting with the mildest, so you always use the smallest remedy that will do the job.
You will learn how to dry the wood properly, how to use the warm iron trick safely, and how to mix simple pastes from baking soda, salt, vinegar and olive oil with exact ratios and timings. Later sections cover commercial ring removers, touch-up markers, and the honest point at which a stain means refinishing the top instead of chasing it.
The final ideas are about prevention, because a set of good coasters and a calm first hour after a spill will save more tables than any repair. By the end, you will know exactly which method suits your mark and how to protect the wood for years of calm, everyday use.
1. Tell a White Ring From a Dark Stain Before You Touch Anything
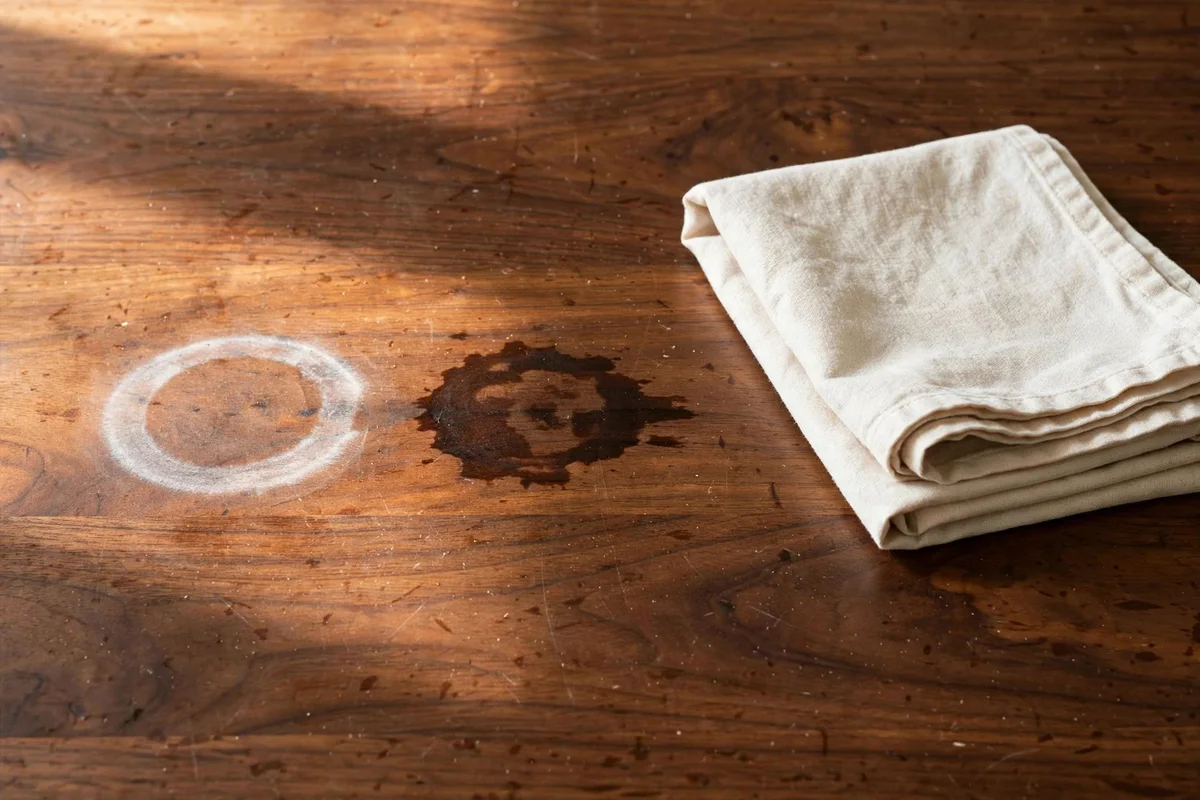
A white or cloudy ring means water is trapped inside the finish, not inside the wood. Varnish, lacquer and shellac form a clear film over the timber, and when a cold glass sweats on top, moisture sneaks into that film and turns it milky. The wood beneath is usually unharmed, which is why gentle warmth or a mild polish can often draw the moisture back out and restore the clear layer without any sanding at all.
A dark brown or black stain tells a different story, because the water has passed through the finish and soaked into the wood fibres themselves. This happens when the protective coat is worn thin, when water sits for hours, or when a spill goes unnoticed overnight. These marks respond to wood bleach or careful restaining, not to gentle surface rubbing, so trying an oil or iron on them usually wastes effort and can spread the stain further.
2. Let the Table Air-Dry Fully Before Any Repair
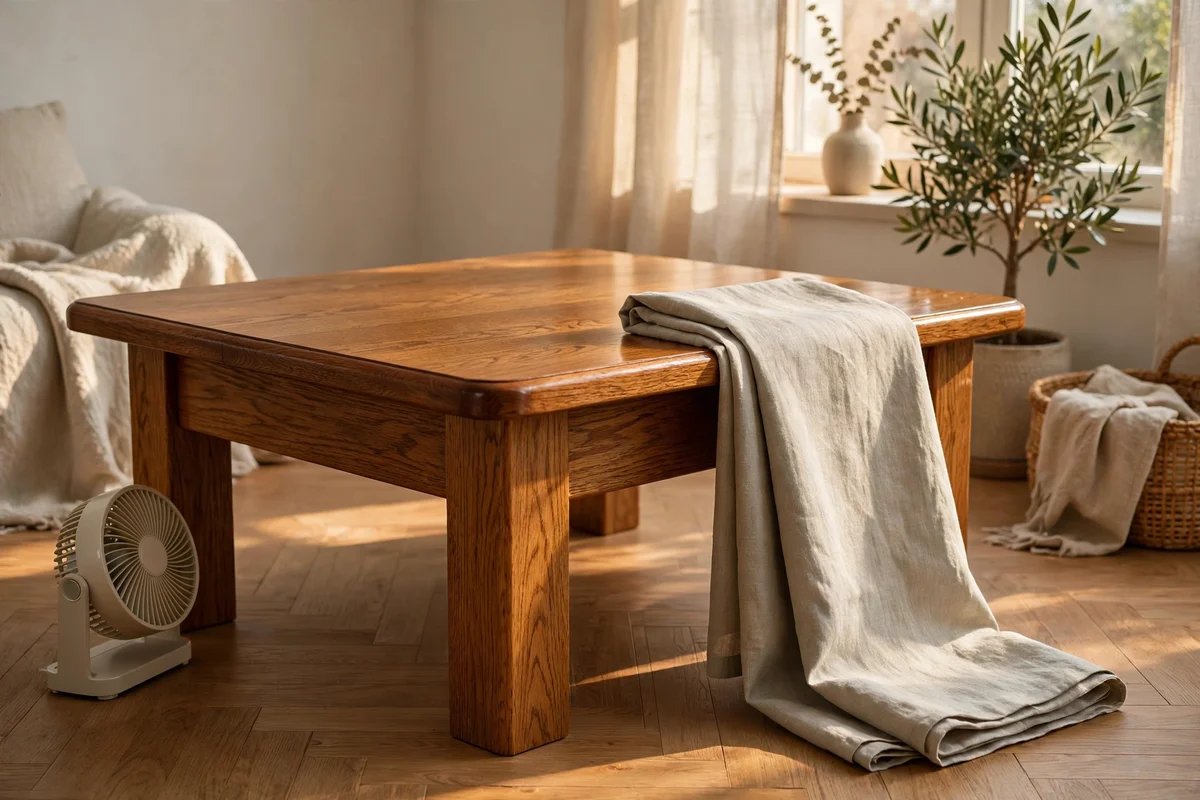
Before any paste or heat touches the mark, give the wood a full day to dry on its own, because fresh moisture often settles while the ring is still damp. Move the table away from radiators and bright sun, since harsh heat can crack the finish or warp the top. Set a small fan nearby on its lowest setting to keep air moving gently across the surface, and leave any leaf or cover open so air reaches every part of the wood.
Blot any lingering dampness with a dry cotton cloth rather than rubbing, because rubbing pushes water deeper into the grain. If the piece has a tablecloth or runner, lift it for the full drying period so trapped moisture can escape from underneath. A common mistake is judging the stain too soon; white rings often shrink by half as the wood dries, and you may find the lightest method is enough after twenty-four patient hours.
3. Coax Out Moisture With a Hair Dryer on Warm
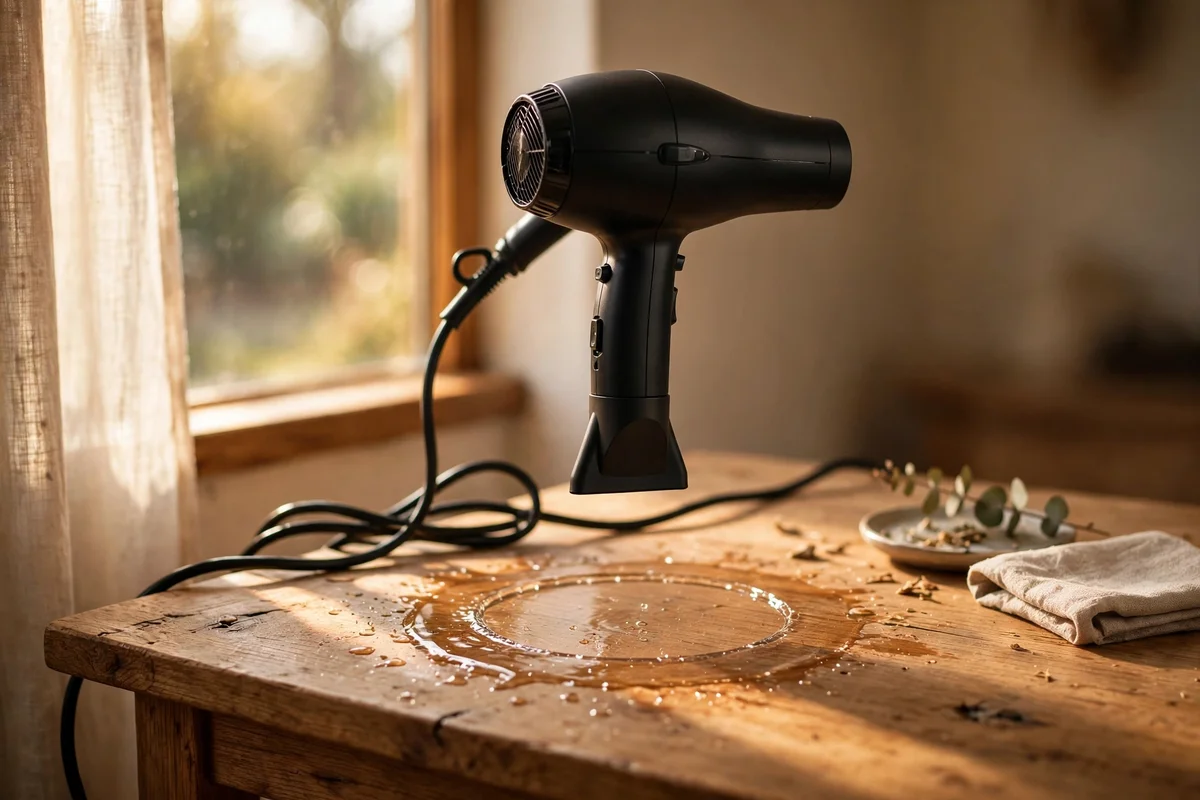
A hair dryer on its warm, not hot, setting works like a slow sunbeam, easing trapped moisture out of the finish without shocking the wood. Hold it fifteen to twenty centimetres above the ring and sweep it in slow circles for a minute at a time, then lift it and let the spot cool before the next pass. Keep the airflow over the mark for no more than five minutes in total, since overheating can bubble varnish or lift veneer.
Work from the outer edge of the ring toward the centre so the shrinking haze does not leave a darker outline. A mistake to avoid is holding the dryer still on one point, which concentrates heat and can scorch the finish in seconds. Budget tip: almost every household already owns a hair dryer, so this method costs nothing and doubles as a test; if the ring lightens after a few gentle passes, the stain is shallow and will answer to mild treatment.
4. Press a Warm Iron Through a Clean Cotton Cloth
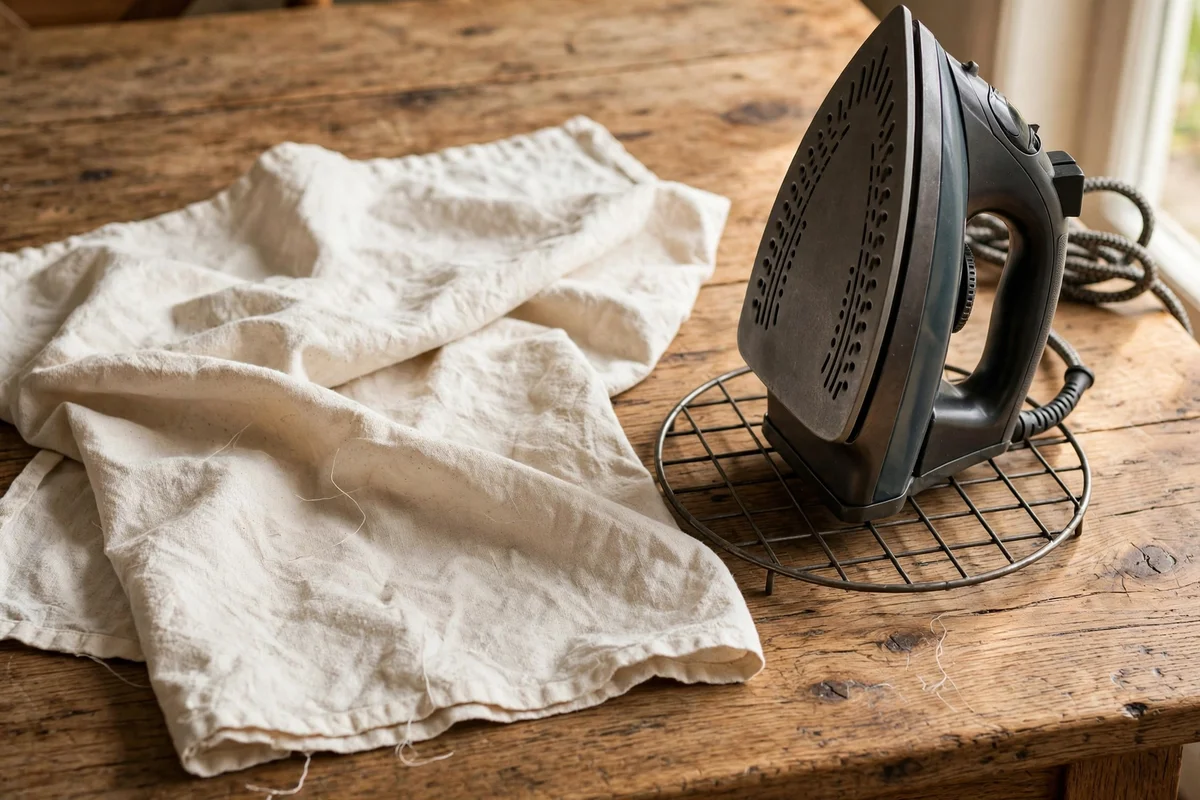
The warm iron method is the classic fix for white rings, because gentle heat re-melts the finish just enough to release trapped moisture. Set the iron to its lowest heat with the steam function off and completely dry, then lay a clean white cotton cloth or folded tea towel flat over the ring. With no water in the iron and a thick cloth barrier in place, you protect the wood from direct heat and scorching while the warmth does its work.
Press the iron onto the cloth for three to five seconds, lift it away, and check the ring before repeating. Work in short presses rather than long ones, and keep the cloth between the iron and the wood at all times. Place the iron upright on its heel on a heatproof rest or trivet whenever you pause, never face down on the table. One mistake to avoid is using a coloured or patterned cloth, since the heat can transfer dye into the softened finish.
5. Keep the Iron Low and Moving at All Times
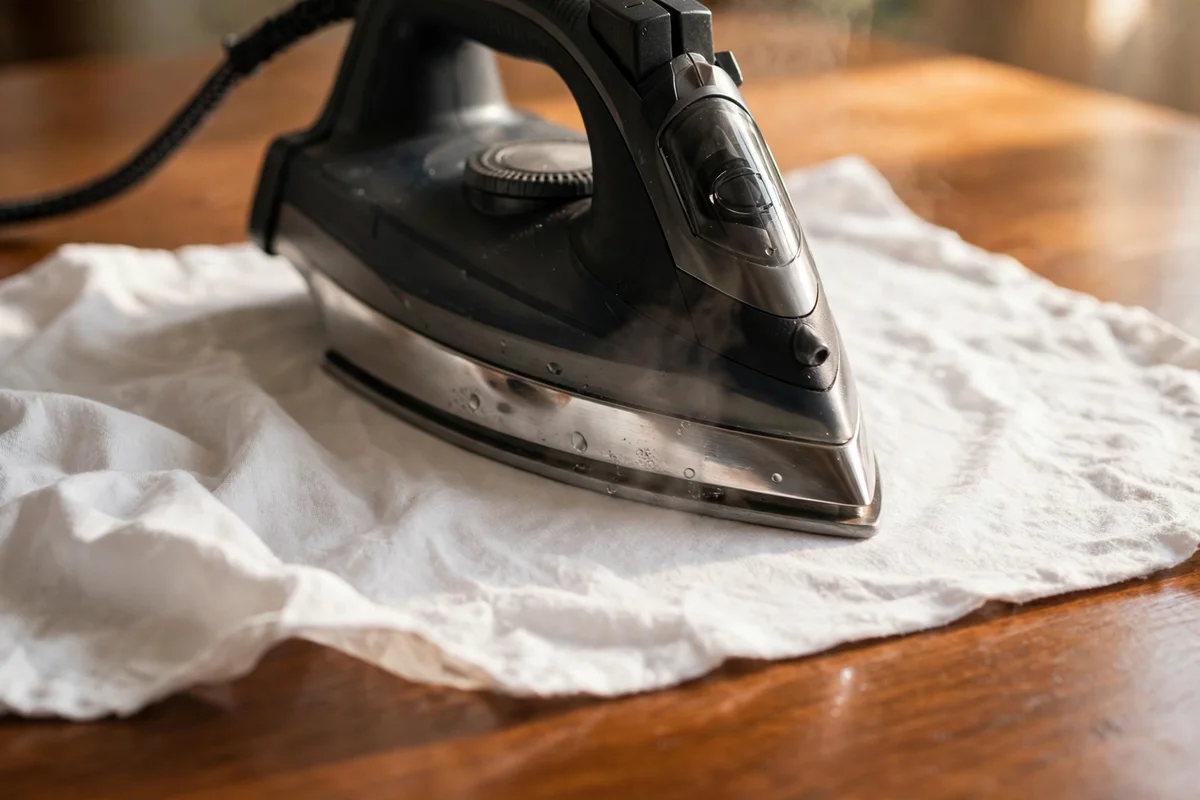
Heat control is the heart of the iron method, so start on the lowest setting and only nudge it up if two or three passes change nothing. Keep the iron gliding slowly across the cloth instead of sitting in one spot, spreading the warmth evenly across the whole ring. If the cloth feels hot enough to sting your hand when lifted, the iron is too hot and needs a cooler setting before you continue.
Unplug the iron the moment you finish, since a cooling iron left standing on a trivet can still radiate enough heat to mark nearby wood. Let the table cool fully for ten minutes before judging the result, because the haze fades further as the finish settles. The mistake to avoid is impatience: raising the heat for a faster result is the single most common cause of scorched finishes, and a scorched patch is far harder to repair than a water ring.
6. Pause and Check the Wood Between Iron Passes
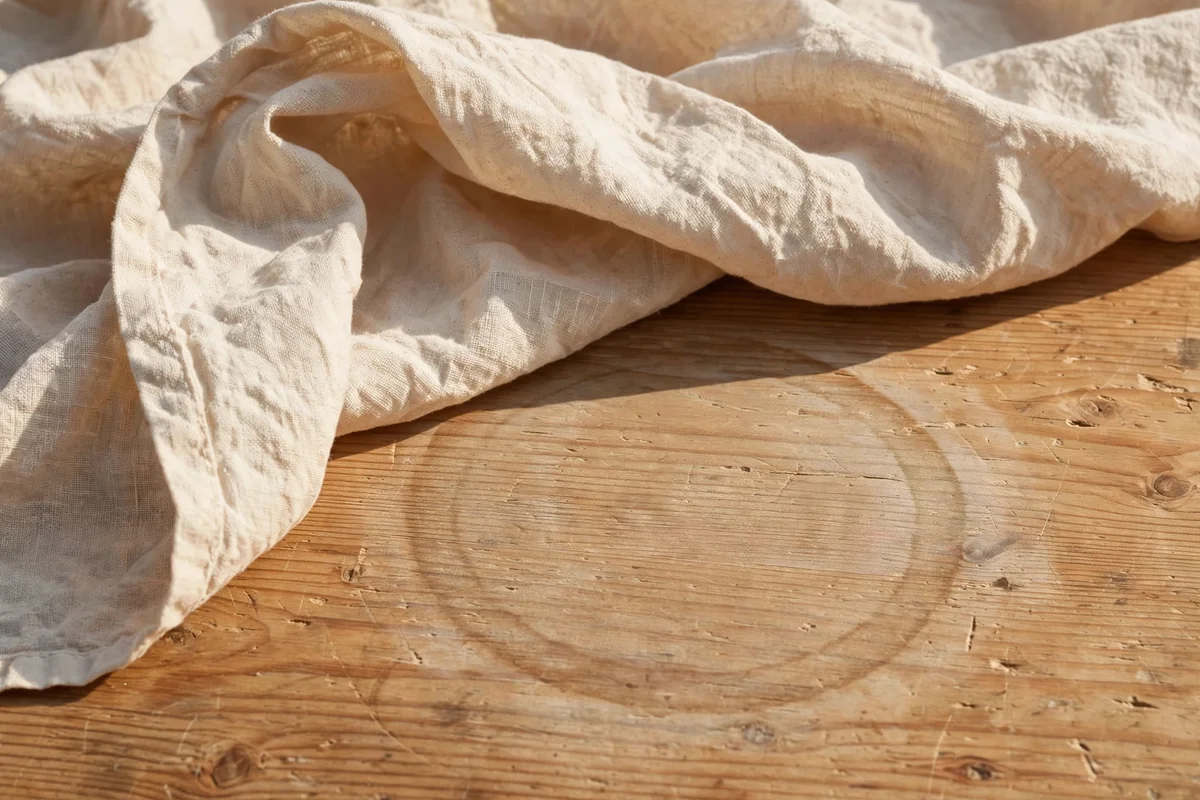
Rest the wood for a full minute between iron passes, because the finish needs time to cool and re-settle before more heat arrives. After each pass, lift the cloth and look at the ring in daylight from a low angle, which shows the true state of the haze far better than overhead light. Note whether the mark is shrinking, holding steady or gone entirely, and let that observation decide whether another pass is needed at all.
A folded kitchen timer or phone timer helps you wait the full minute instead of guessing, which keeps the rhythm calm and the heat controlled. If the ring has faded by half after two passes, one or two more gentle passes will usually finish the job, so resist the urge to do five at once. The mistake to avoid is checking progress with your fingertip on the warm spot, since pressing hot finish can leave a shallow dent that outlasts the ring.
7. Rub a Teaspoon of Olive Oil Into a Fresh White Ring
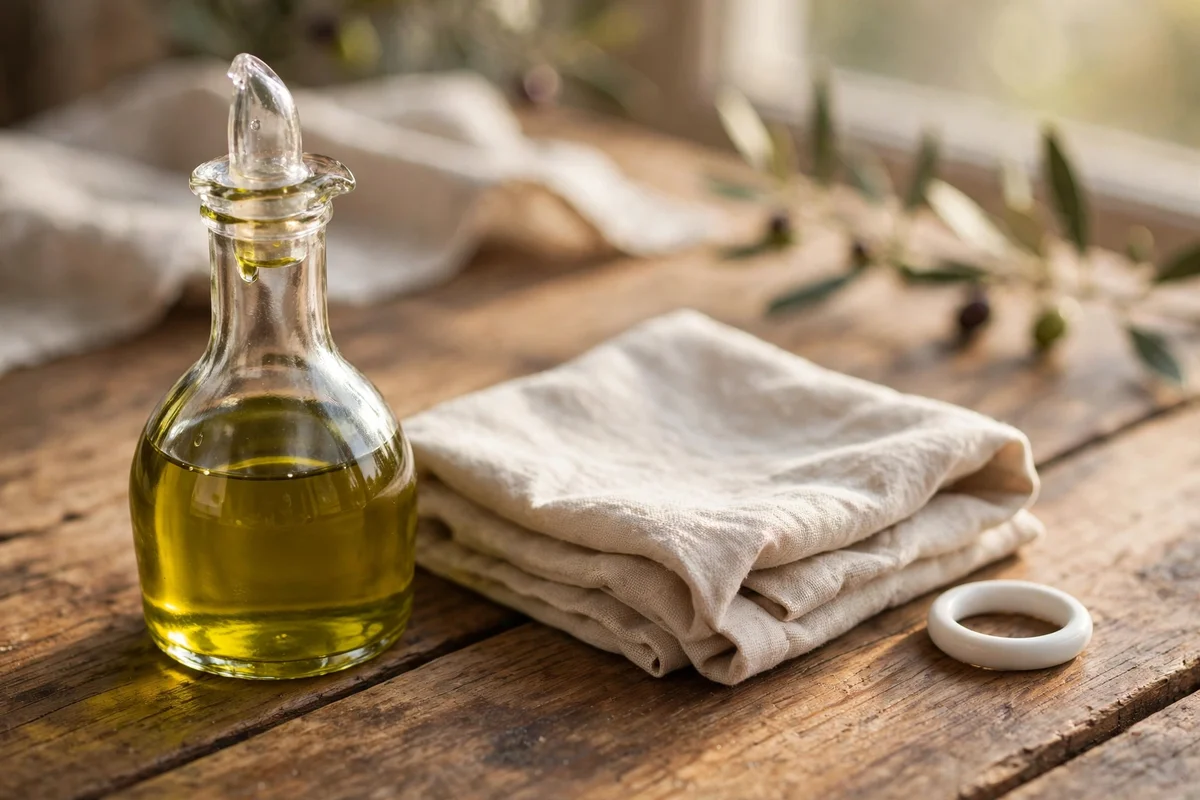
A teaspoon of olive oil is the simplest treatment for a fresh white ring, because the oil displaces surface moisture and restores the finish’s clear shine. Pour a small amount onto a clean cotton cloth, not directly onto the table, and rub it into the ring using gentle circular motions for a full minute. Follow the wood grain on the final strokes so the sheen blends smoothly into the surrounding finish without visible swirls.
Let the oil sit for ten to fifteen minutes, then buff the area with a fresh dry cloth until no greasy residue remains. This method works best on rings less than a day old, when the moisture has not had time to settle deep into the finish. The mistake to avoid is flooding the wood with oil, since excess oil gathers dust and leaves a sticky film that attracts grime; a teaspoon is genuinely enough for a ring the size of a glass base.
8. Work a Salt and Oil Paste Into the Mark
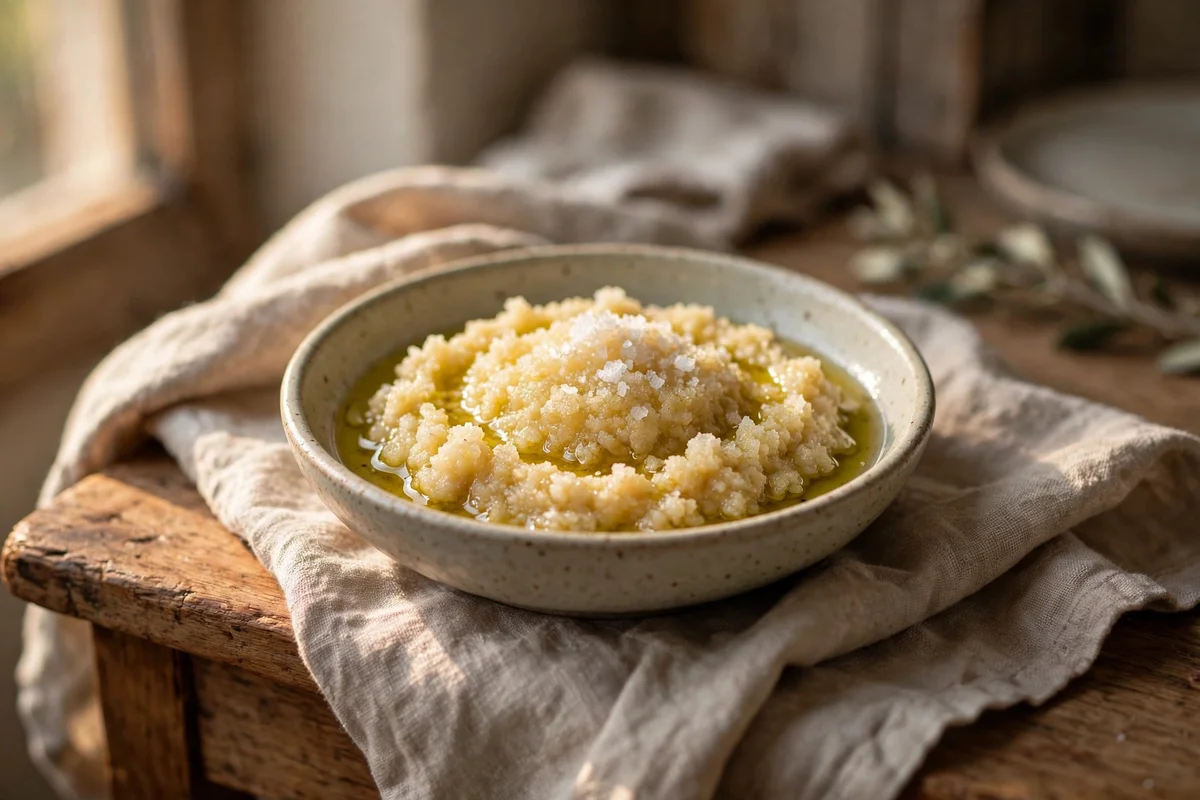
A paste of fine salt and a few drops of olive oil gives a mild scrubbing action that lifts white rings the plain oil cannot shift. Mix one tablespoon of fine table salt with just enough oil to form a thick, spreadable paste, roughly one teaspoon, and dab it onto the ring with a soft cloth. Rub gently with the grain for thirty to sixty seconds, letting the salt crystals polish the cloudy finish without gouging it.
Wipe the paste away with a barely damp cloth, then dry the spot at once with a clean towel, because salt left sitting can draw new moisture into the wood. Follow with a light wipe of plain oil to restore the sheen the salt has dulled. The mistake to avoid is reaching for coarse sea salt or scrubbing hard, since large crystals and heavy pressure can scratch the finish and leave fine lines that show in bright daylight.
9. Spread a Baking Soda Paste and Wait Ten Minutes
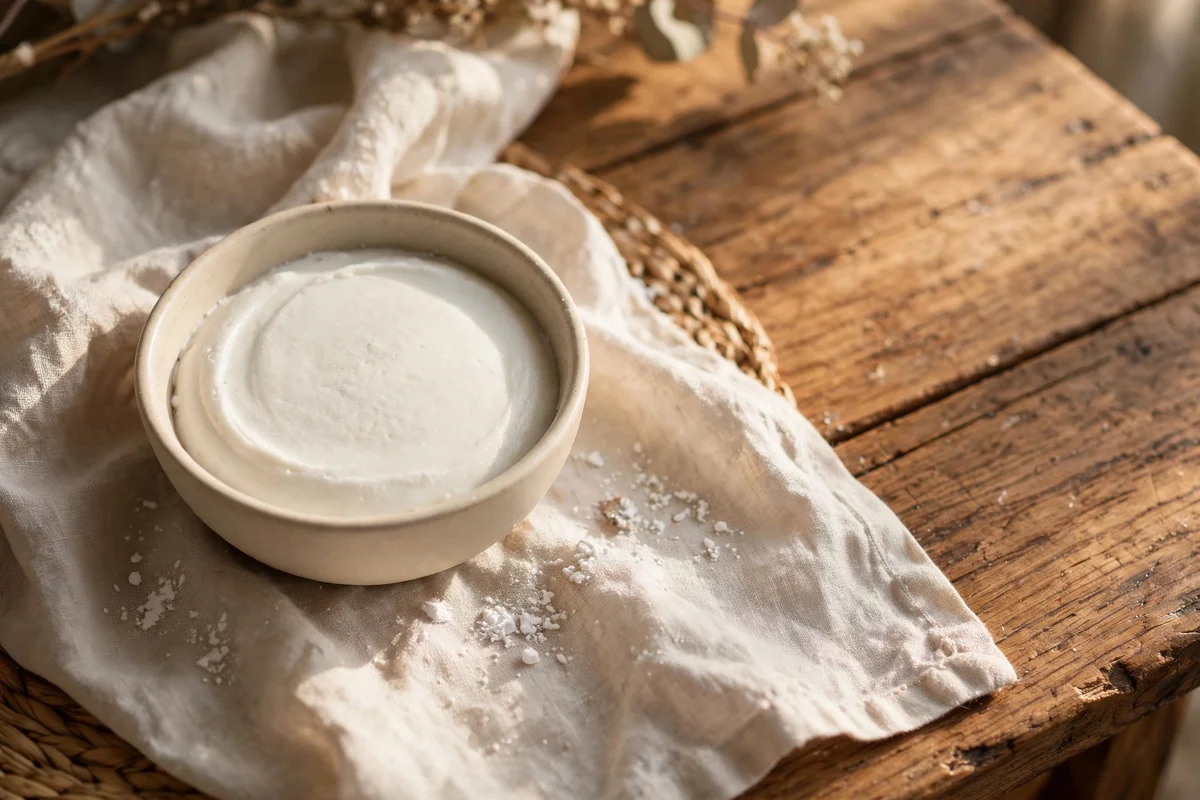
Baking soda paste is the pantry staple most woodworkers recommend for white rings, because it is mildly abrasive yet gentle on varnish. Stir two tablespoons of baking soda with about one tablespoon of water until you have a smooth paste the texture of thick cream. Spread it over the ring with a soft cloth, keeping the layer thin and even, then leave it undisturbed for five to ten minutes while it works.
Rub the paste gently with the grain for a minute, then wipe it away completely with a barely damp cloth and dry at once with a clean towel. Rinsing matters, because dried baking soda can leave a pale residue that looks like a new stain. The mistake to avoid is leaving the paste on for an hour hoping for a stronger effect; extended contact dulls the finish and the residue becomes stubborn, so ten minutes is the sensible maximum.
10. Blend Equal Parts Vinegar and Olive Oil on the Ring
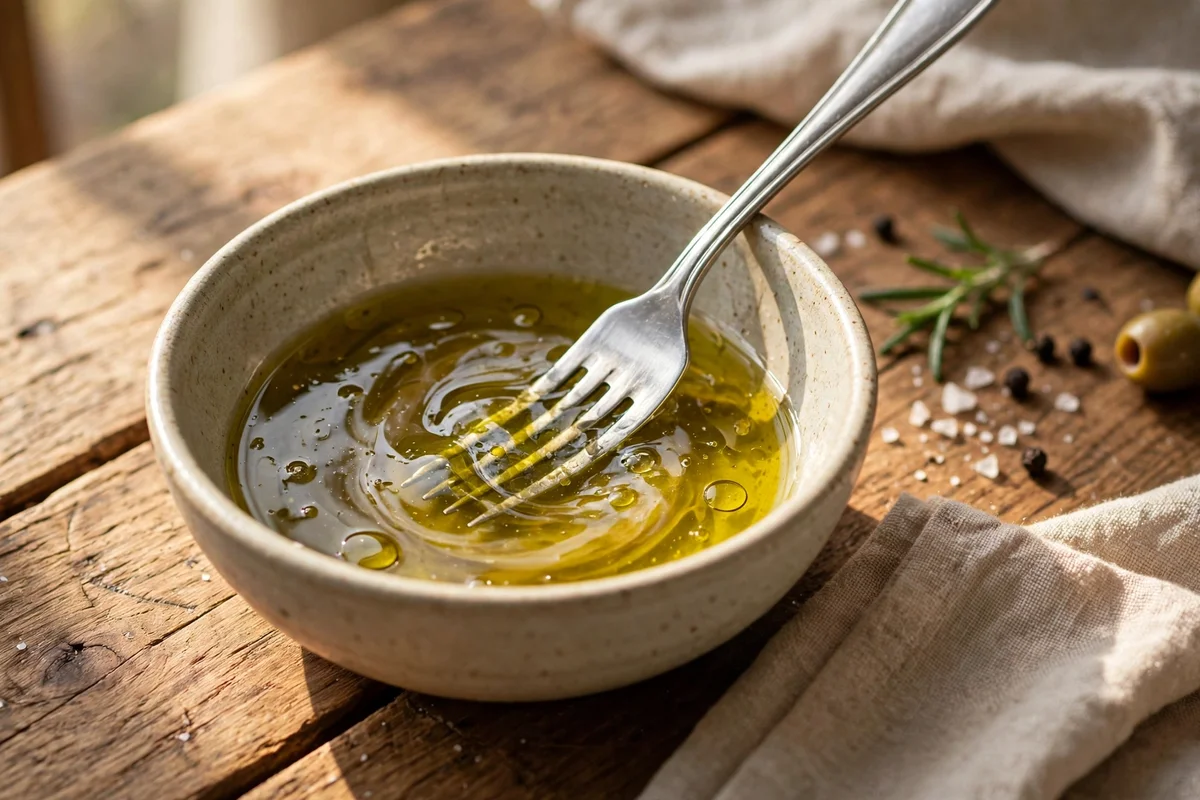
Equal parts white vinegar and olive oil make a classic two-ingredient ring remedy that cleans and feeds the finish in one step. Pour two tablespoons of each into a small bowl and mix them with a fork until they form a cloudy emulsion. Dab the mixture onto the ring with a soft cloth and rub with the grain for one to two minutes, letting the mild acid lift the haze while the oil keeps the wood from drying out.
Wipe the area thoroughly with a dry cloth afterwards, because any vinegar left sitting can dull the finish over time. This method suits sealed varnished tops only, never raw or oil-finished wood, where vinegar can soak in and discolour the grain. The mistake to avoid is using balsamic or apple cider vinegar, since their colour can tint pale wood; plain white vinegar is the only kind for this job, and a hidden spot test takes just five minutes.
11. Try Plain Mayonnaise on an Older Varnish Finish
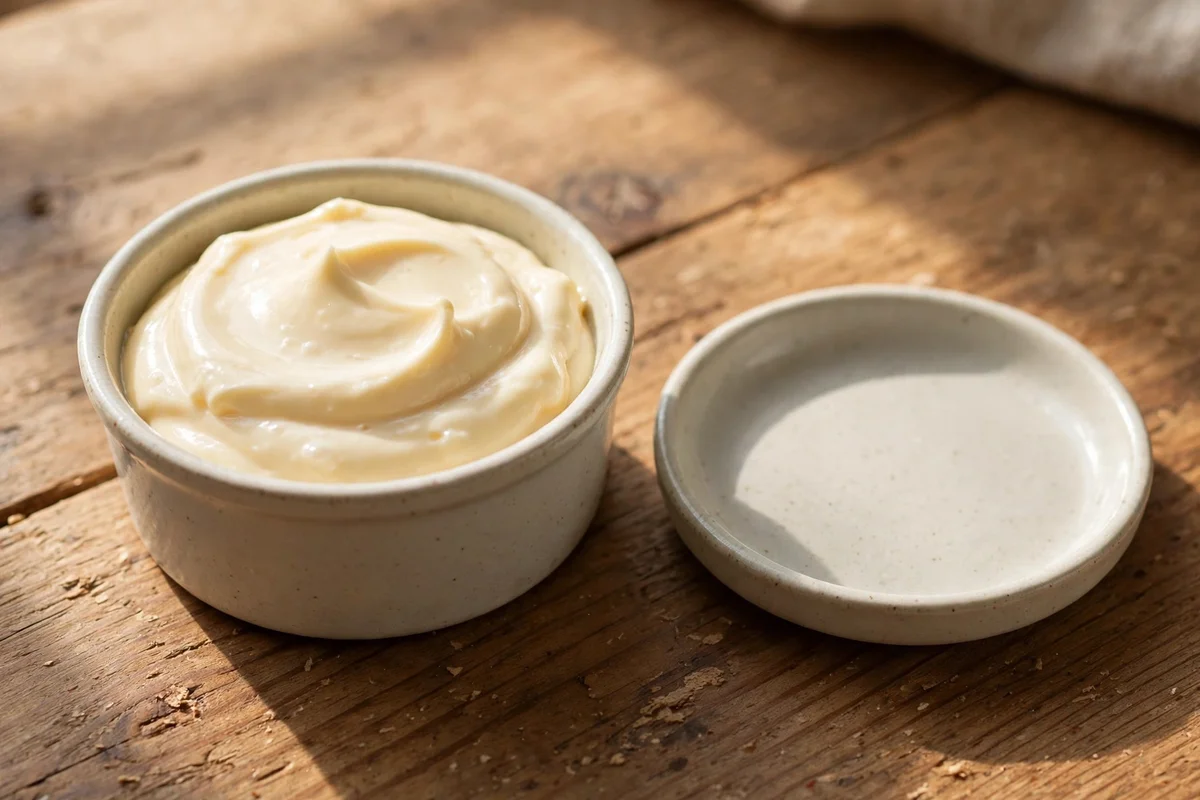
Plain mayonnaise sounds unlikely, yet its blend of oil and vinegar makes it a gentle overnight treatment for older varnish finishes. Spoon a tablespoon onto the white ring and spread it into a thin even layer, then cover it loosely with a saucer or plastic wrap so it stays moist. Leave it for six to eight hours or overnight, giving the oils time to seep into the finish and push the trapped moisture outward.
Wipe the mayonnaise away completely with a damp cloth in the morning, then dry and buff the spot with a clean towel. Choose the plainest jar on the shelf, since flavoured or light versions contain additives that can leave their own residue. The mistake to avoid is trying this on dark stains, where an overnight soak can darken the wood further; mayonnaise is strictly a white-ring remedy for sealed finishes, and it suits sturdy older varnish best.
12. Rub Non-Gel Toothpaste Over a Stubborn Circle
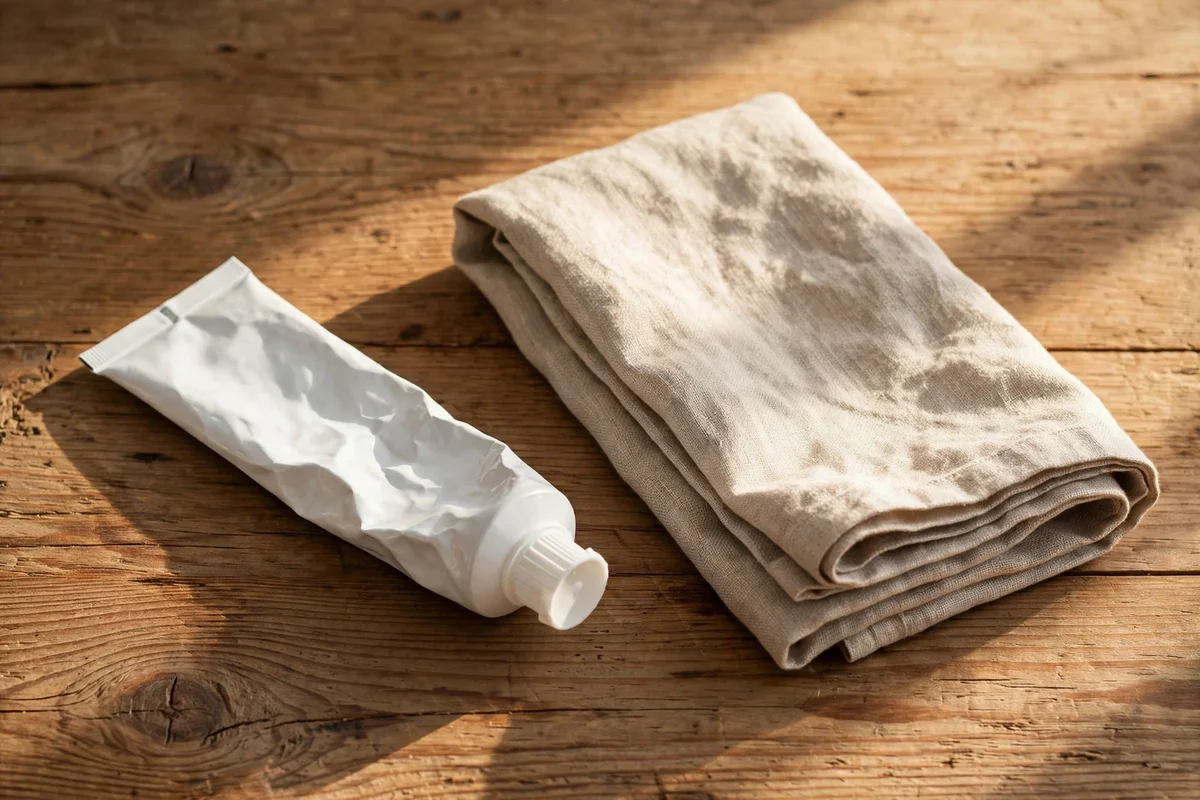
Non-gel white toothpaste works as a very mild abrasive for white rings that resisted the gentler pastes, since its fine polishers can wear through the cloudy layer. Squeeze a pea-sized amount onto a soft cloth and rub it into the ring with the grain for about thirty seconds, using light pressure and small circles. Keep the amount tiny, because toothpaste is stronger than it feels and a little goes a long way on varnish.
Wipe the toothpaste away with a damp cloth and dry at once, then buff a drop of olive oil into the spot to restore the sheen. Never use gel toothpaste, whitening formulas or anything with coloured stripes, since those can tint the wood or prove too harsh. The mistake to avoid is scrubbing back and forth across the grain, which leaves visible scuffs; always follow the grain direction and stop the moment the haze disappears.
13. Treat a Dark Stain With Oxalic Acid Wood Bleach
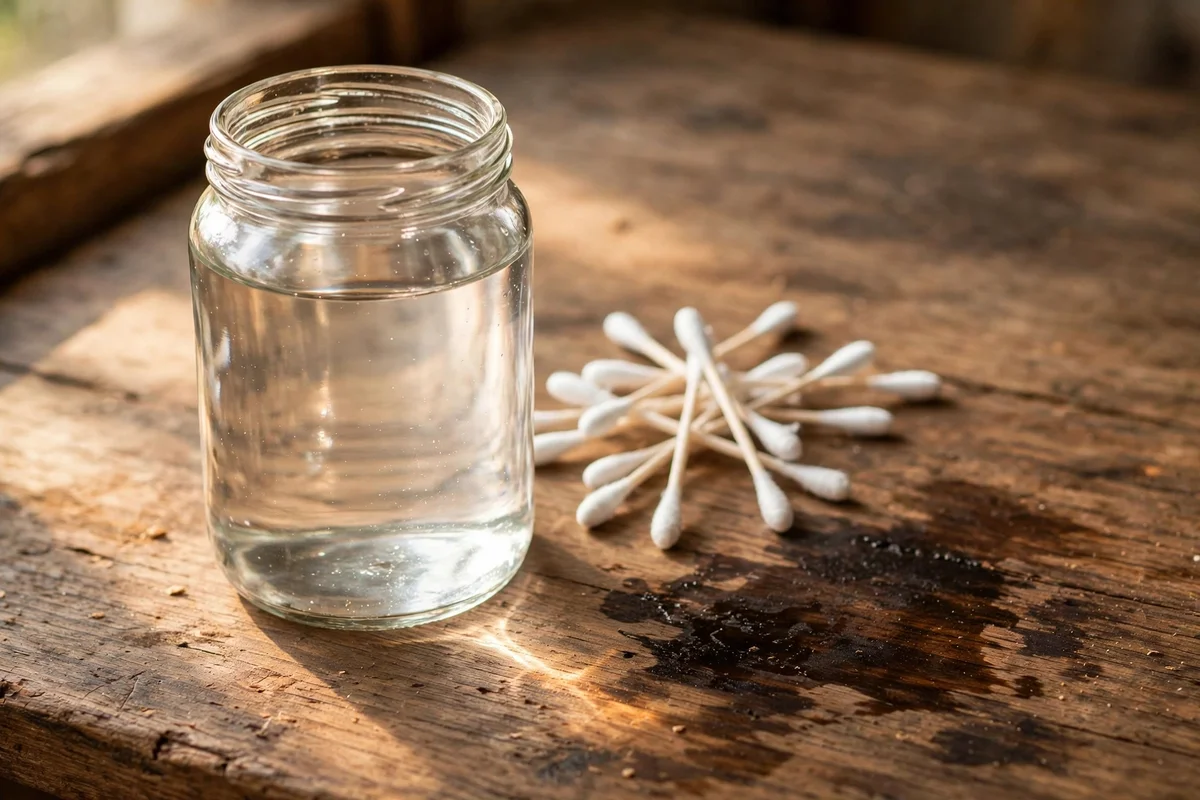
Dark stains that have soaked into the wood fibres need oxalic acid wood bleach, a powder that pulls iron-tannin discolouration out of the grain. Mix one tablespoon of powder into 250 ml of warm water in a glass jar, then dab the solution onto the dark mark with a cotton swab, keeping it inside the stain’s edge. Wear rubber gloves and open a window, because even mild bleach deserves respect around skin and lungs.
Let the bleach dry on the wood for thirty minutes, then rinse the spot with clean water and blot dry, repeating once if the stain has faded but not vanished. Once the wood is fully dry, the bleached patch will look pale, so plan to follow with a matching stain or oil. The mistake to avoid is bleaching only the dark centre, since an untreated halo around it keeps the outline visible; feather the solution just past the visible edge for an even result.
14. Apply a Commercial Ring Remover as the Label Directs
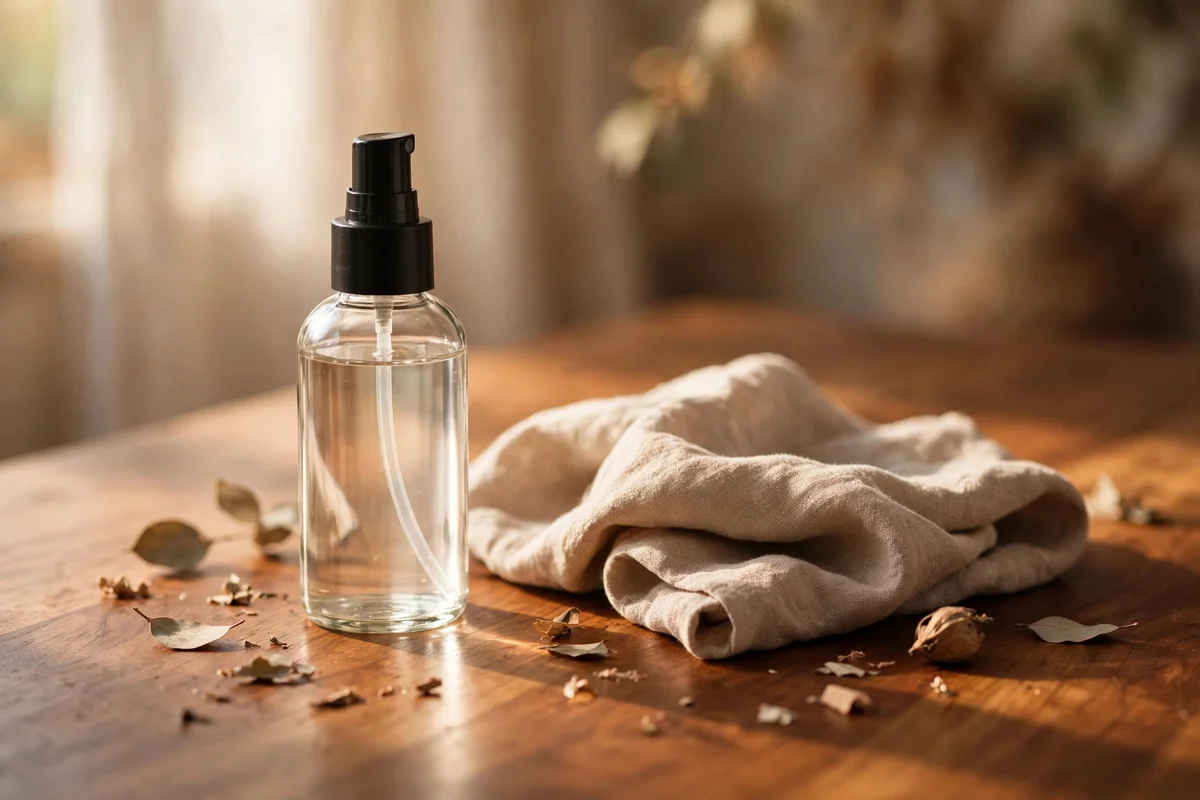
Commercial ring removers earn their place when pantry methods stall, since they combine mild abrasives with solvents designed for furniture finishes. Choose a product made for your finish type, varnish, lacquer or shellac, and read the label twice before you begin. Apply a small amount to a soft cloth rather than straight onto the table, and rub with the grain in gentle passes, checking the mark every thirty seconds.
Stop the moment the haze lifts, because overworking a solvent cleaner can cut through the finish and leave a dull patch worse than the ring. Wipe the area with a clean dry cloth and finish with a coat of paste wax to protect the newly cleaned finish. The mistake to avoid is using an all-purpose household cleaner instead of a furniture product, since general cleaners often contain ammonia or silicone that haze varnish and make future repairs much harder.
15. Feather the Colour With a Touch-Up Marker
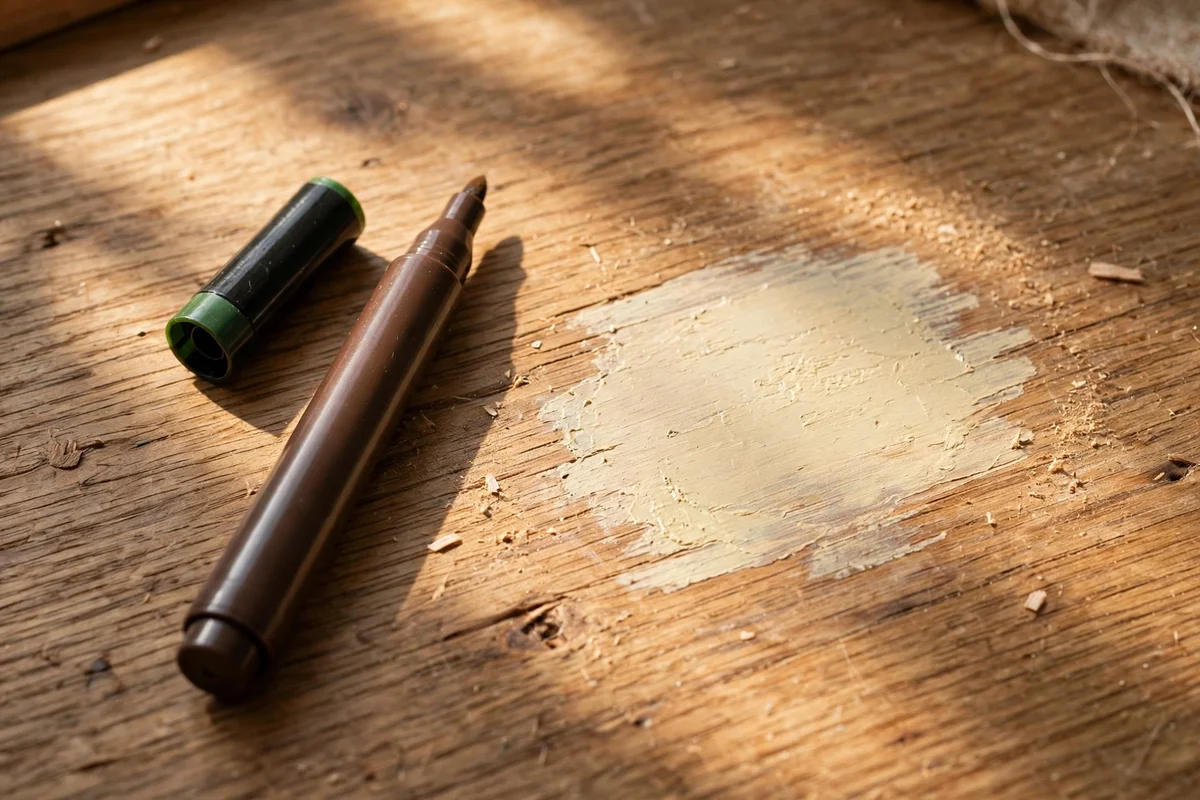
A touch-up marker hides the pale halo that remains after a dark stain has been bleached or sanded, blending the repaired patch into the surrounding colour. Choose a marker a shade lighter than the table, since you can deepen the colour with a second pass but cannot easily lighten a stroke that went too dark. Dab the marker on paper first to control the flow, then stroke lightly along the grain over the pale area.
Feather each stroke so the edges fade into the grain, and let the colour dry for five minutes before deciding whether a second pass is needed. Seal the repaired area with a thin coat of paste wax or matching furniture polish to lock in the colour. The mistake to avoid is using a broad chisel tip like a paint pen, since heavy lines look painted and draw the eye; a fine tip with barely-there pressure keeps the repair quietly invisible.
16. Seal the Repair With a Coat of Paste Wax
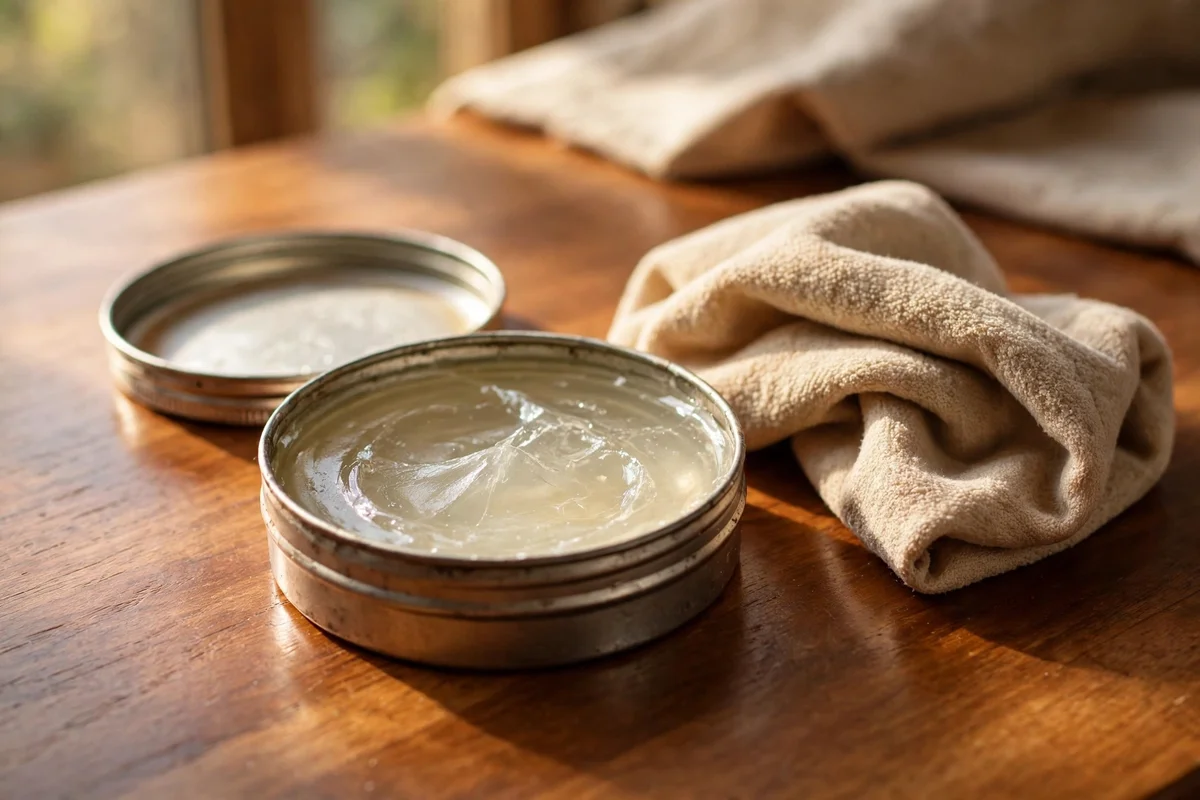
A coat of clear paste wax seals the repair and gives the whole tabletop a soft, even sheen that makes old rings less visible. Apply a thin layer with a clean cloth using small circular motions, covering the repaired spot and about thirty centimetres around it so the sheen blends. Leave the wax to haze for fifteen minutes, then buff it firmly with a fresh dry cloth until the surface glows.
Wax also adds a thin moisture barrier, so future spills bead on the surface instead of soaking into the finish. Reapply to high-use tables every three to six months, and avoid silicone sprays, which build up and interfere with future repairs. The mistake to avoid is laying the wax on thick, since excess wax turns sticky and traps dust; two whisper-thin coats buffed well always outshine one heavy layer.
17. Restain One Small Sanded Spot to Match the Grain
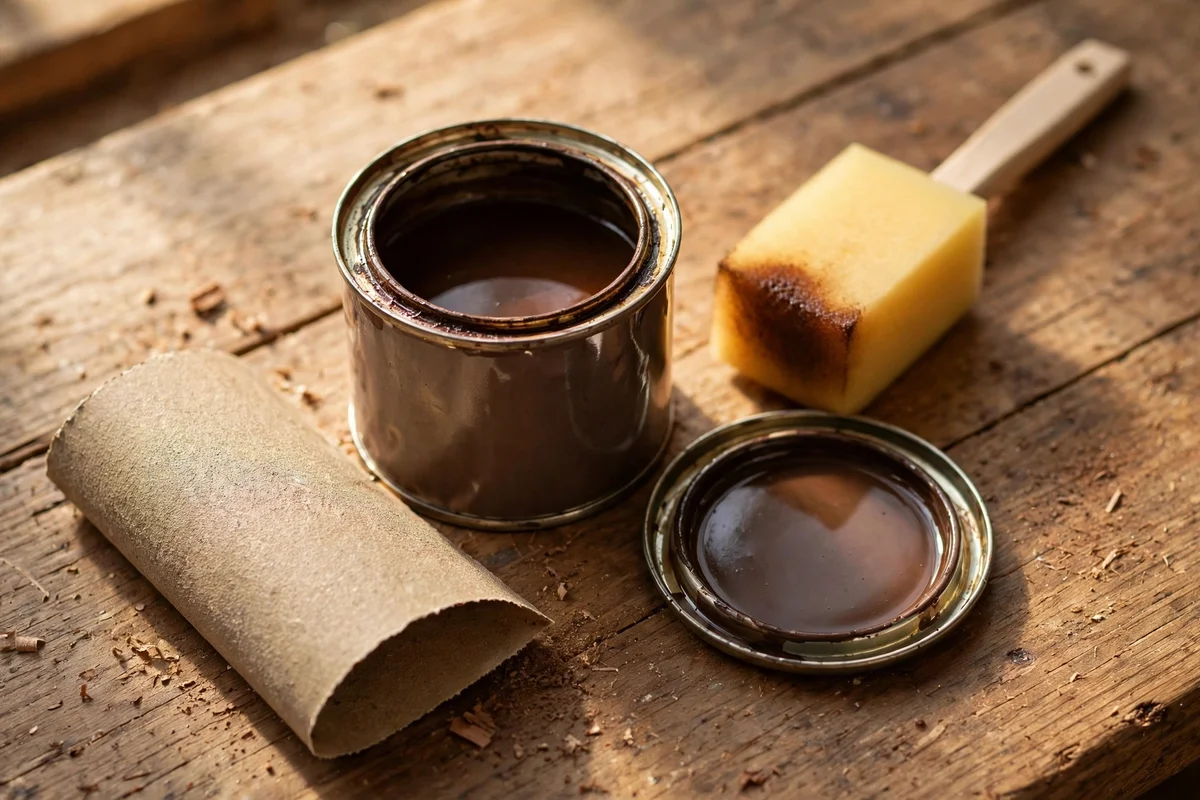
When a dark stain sits on the surface fibres and bleach has not fully cleared it, a light sanding followed by restaining can save the tabletop. Sand only the stained area with 220-grit paper, always moving with the grain, and wipe the dust away with a tack cloth so the bare wood is perfectly clean. Test your stain colour on the underside of the table first, where the wood is hidden, and let the test dry fully before judging the match.
Brush the stain on thinly with a small foam brush, working with the grain, and wipe the excess after two to three minutes for an even tone. Let it dry for a full day before sealing with a matching topcoat of varnish or polyurethane. The mistake to avoid is sanding across the grain or pressing hard, since cross-grain scratches and dips show through the new stain like shadows; light, even pressure keeps the repair level with the rest of the top.
18. Accept the Moment When Only Refinishing Will Do
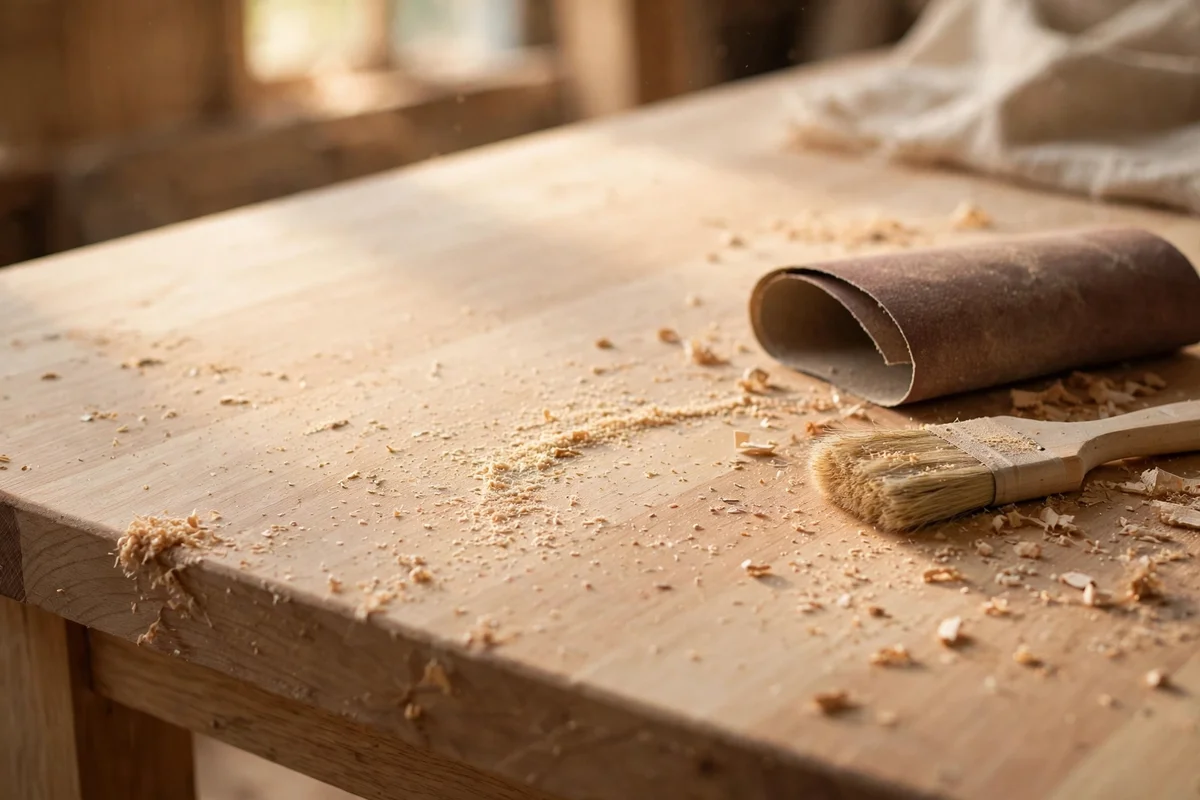
Some stains signal the end of spot repairs, and recognising that moment saves you from a patchwork top. If the dark stain spans more than about fifteen centimetres, returns after two bleach treatments, or sits at the centre of a highly visible table, blending is no longer realistic. At that point the honest answer is stripping the old finish, sanding the whole top evenly, and building back a fresh coat so the colour and sheen match across every board.
A full refinish suits a free weekend, since stripping, sanding through the grits and applying two or three finish coats takes two to three days with drying time. Budget for a stripper, sandpaper in several grits and a tin of finish, usually thirty to sixty pounds or dollars for a dining table. The mistake to avoid is refinishing only the stained half of the top, since the join line will always show; commit to the whole surface or accept the mark as part of the table’s story.
19. Protect the Whole Top With a Fresh Coat of Paste Wax
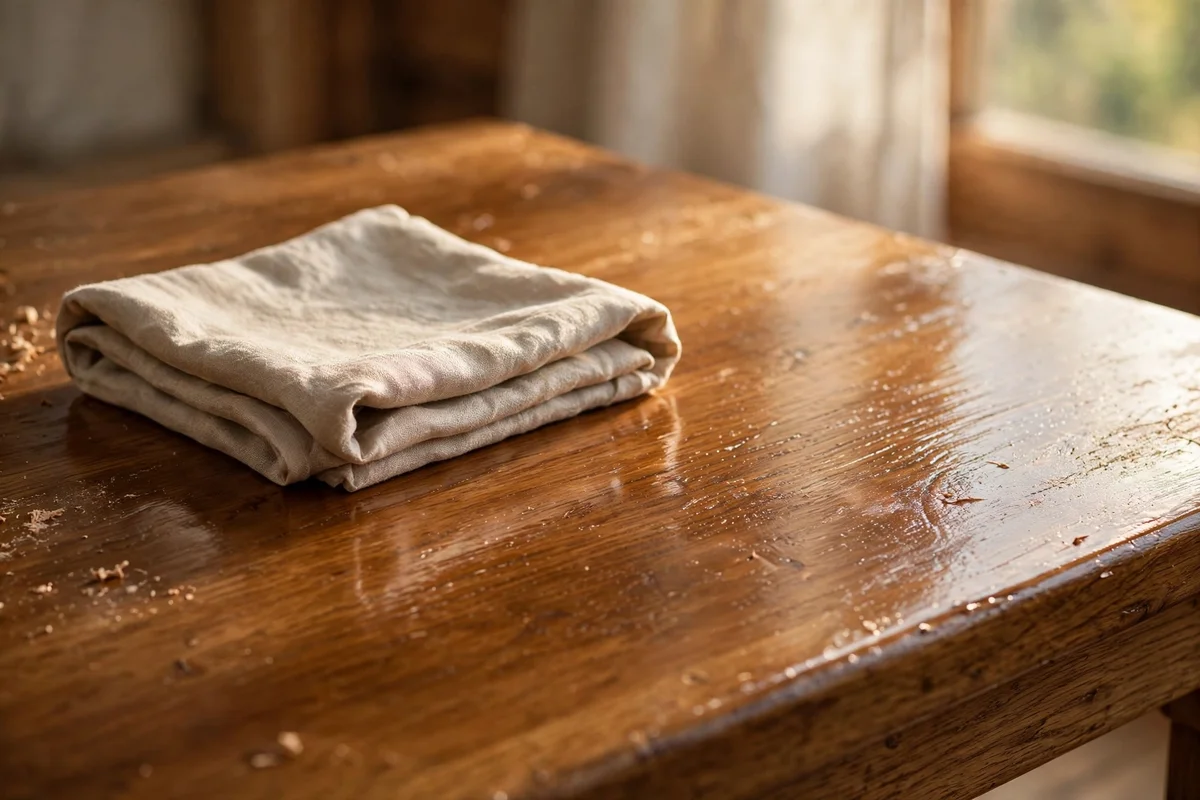
Once the table is mark-free, protect it with a fresh coat of paste wax across the entire top, not just the repaired patch. Work in sections about fifty centimetres square, spreading a whisper-thin layer with a clean cloth and keeping the pressure even. This full-top treatment evens out the sheen left by spot repairs and lays down a sacrificial layer that future spills meet before they reach the finish.
Buff the wax after fifteen minutes with a dry cloth until the top feels smooth and silky under your palm. On a dining table used daily, renew this protective coat every three to six months; on a sideboard touched less often, once a year is plenty. The mistake to avoid is waxing over dust, since every speck gets sealed in and shows as a tiny bump; a quick wipe with a tack cloth before waxing takes two minutes and saves the finish.
20. Keep Cork Coasters Within Arm’s Reach of Every Seat
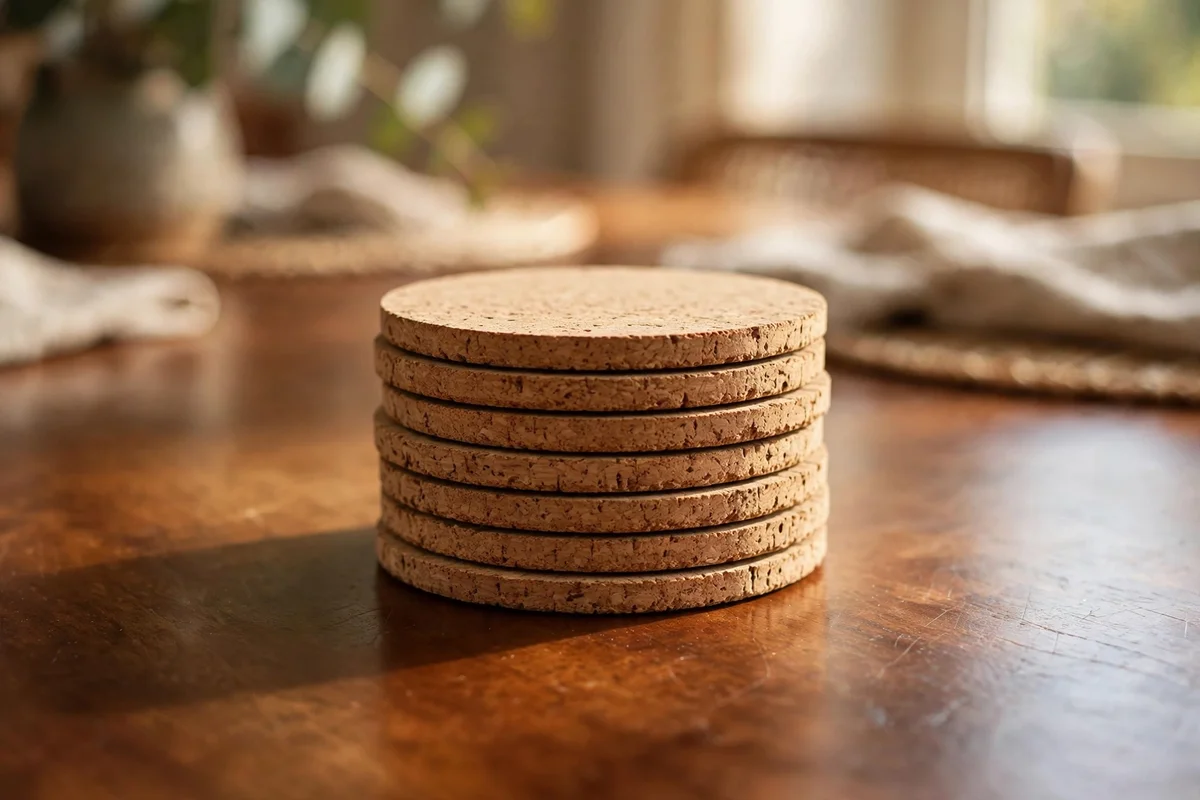
Cork coasters are the cheapest insurance a wooden table can have, costing only a few pounds for a set of six. Choose coasters at least ten centimetres across with a raised edge, so a sweating glass cannot slip past the border. Place a stack of them in the centre of the dining table and on every side table, because coasters stored in a drawer never get used in the moment a drink arrives.
Felt-bottomed wooden coasters suit heritage interiors beautifully and slide without scratching the finish. Keep spares in the living room and the study as well, since guests set drinks down wherever they sit. The mistake to avoid is choosing coasters with a varnished or plasticised top, which can trap condensation against the wood and cause the very rings you are trying to prevent; cork, felt or unsealed wood let moisture escape.
21. Place a Heat-Safe Mat Under Every Hot Dish
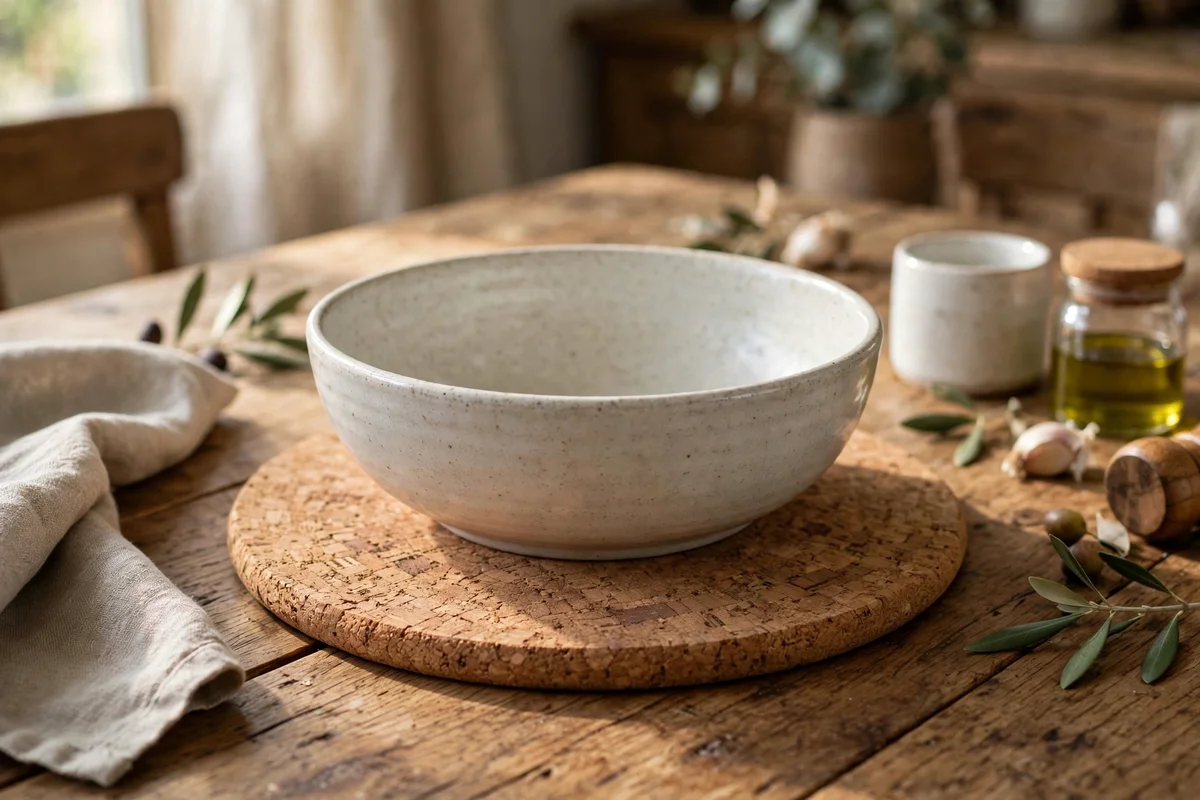
Hot dishes are the other great enemy of wooden tops, so keep a heat-safe mat or trivet on the table for every serving bowl. Choose mats at least twenty-five centimetres across for serving dishes, with cork or thick felt bases that stop heat reaching the finish. Set one mat per dish before the food arrives, because a steaming bowl placed on bare wood for even a minute can leave a pale heat bloom that mimics a water ring.
Woven cotton or linen table runners add a heritage touch and give extra protection under the full length of the table. Store two or three spare mats in a drawer of the sideboard so a busy family dinner never runs short. The mistake to avoid is using thin plastic place mats, which can melt or stick to a warm finish; a thick natural mat costs little more and protects the wood for years.
22. Act Within the First Hour After a Spill
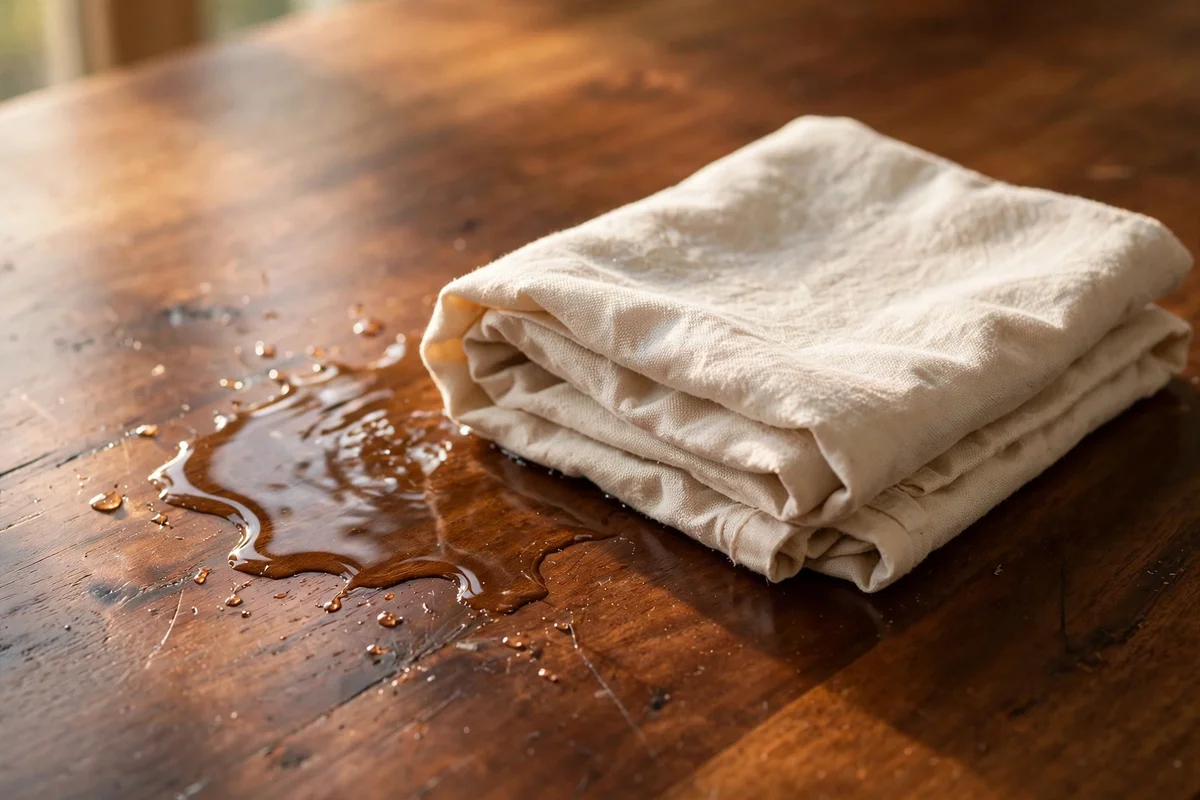
The first hour after a spill decides whether a ring forms at all, so keep a folded cotton cloth in the sideboard drawer for exactly this moment. Blot the liquid immediately with firm, even pressure, lifting the cloth and refolding it to a dry section each time. Resist the urge to wipe outward, since spreading the water across a wider area only gives it more finish to cloud.
After blotting, stand a small fan nearby or open a window to help the last dampness evaporate within the hour. If the table has a runner or cloth, lift it so no moisture is trapped underneath against the wood. The mistake to avoid is reaching for furniture polish on a still-damp spot, since polishing over moisture seals it into the finish and guarantees the white ring you were trying to prevent.
23. Give the Table a Weekly Once-Over for New Marks
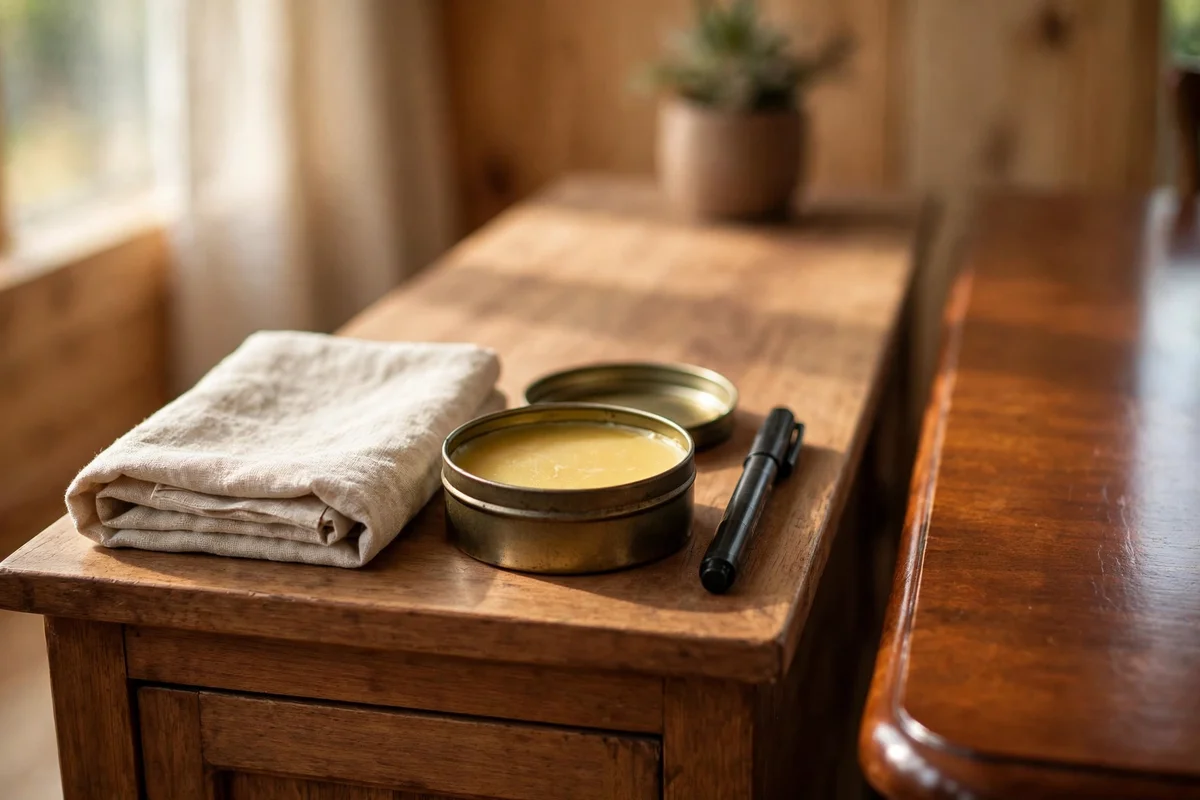
A weekly once-over of every wooden surface catches new marks while they are still young and easy to fix. Run your hand lightly across tabletops in good daylight, feeling for rough patches and looking at a low angle for faint white haze. Keep a small kit in the sideboard: a cotton cloth, a tube of touch-up marker and a tin of paste wax, so the repair happens the same week the mark appears.
Wipe each top with a barely damp cloth, then dry at once and buff with a drop of oil on any spot that looks thirsty. This five-minute ritual suits the calm rhythm of a heritage home and keeps the wood’s patina deepening instead of dulling. The mistake to avoid is letting small marks accumulate for months, since a table with six faint rings feels beyond saving while each one alone would have taken ten minutes to clear.
Most water marks are gentler problems than they look, and the patient route of drying, testing and working from the mildest fix upward saves both the finish and your budget. White rings answer to warmth and mild abrasion, dark stains demand wood bleach or restaining, and knowing which one you face is half the repair. Keep your methods few, your cloths clean and your expectations honest.
This week, start with the simplest habit of all: place a cork coaster under every glass on the table and keep a folded cotton cloth in the sideboard drawer. The next time a spill happens, you will blot it within minutes instead of discovering the ring at breakfast, and that single change will do more for your wood than a shelf of products.
Frequently Asked Questions
Can I remove a white ring from an antique table myself?
Yes, if the finish is sound varnish or shellac, try the warm iron and cotton cloth method first, since it only releases trapped moisture. Test in a hidden corner, keep heat low and keep the iron moving, and stop the moment the haze fades. If the piece is genuinely valuable, check with a conservator before using any abrasive paste or commercial remover.
How long should baking soda paste sit on a water ring?
About five to ten minutes is enough for most white marks on sealed wood. Spread a paste of two parts baking soda to one part water over the ring, leave it undisturbed, then rub gently along the grain with a soft cloth and wipe clean. Leaving it longer risks a chalky residue, so rinse with a barely damp cloth and dry at once.
Will vinegar damage my wooden table?
Plain undiluted vinegar can dull some finishes, which is why this guide always pairs it with an equal measure of olive oil. Rubbed lightly with the grain and wiped away promptly, the mixture is safe on most varnished surfaces. Never use vinegar on raw or oiled wood, and always test first on a spot hidden under a runner or at the back edge.
What is the cheapest way to fix water marks on furniture?
A teaspoon of olive oil and a clean cotton cloth costs almost nothing and often clears a fresh white ring. Baking soda from the kitchen cupboard covers the next level for a few pence. Save commercial removers and touch-up markers for stubborn marks, and buy coasters first, since prevention costs less than any single repair.
When should I give up and refinish the whole tabletop?
When the dark stain covers a wide area, sits in the middle of a highly visible top, or keeps returning after wood bleach, spot repairs will always show a halo. If sanding through the finish is the only way to reach the stain, plan a full refinish so the colour and sheen stay even across the whole surface.