Home Improvement
24 Brick Fireplace Makeovers That Make Old Brick Look Brand New
By Anna Wells · · 23 min read
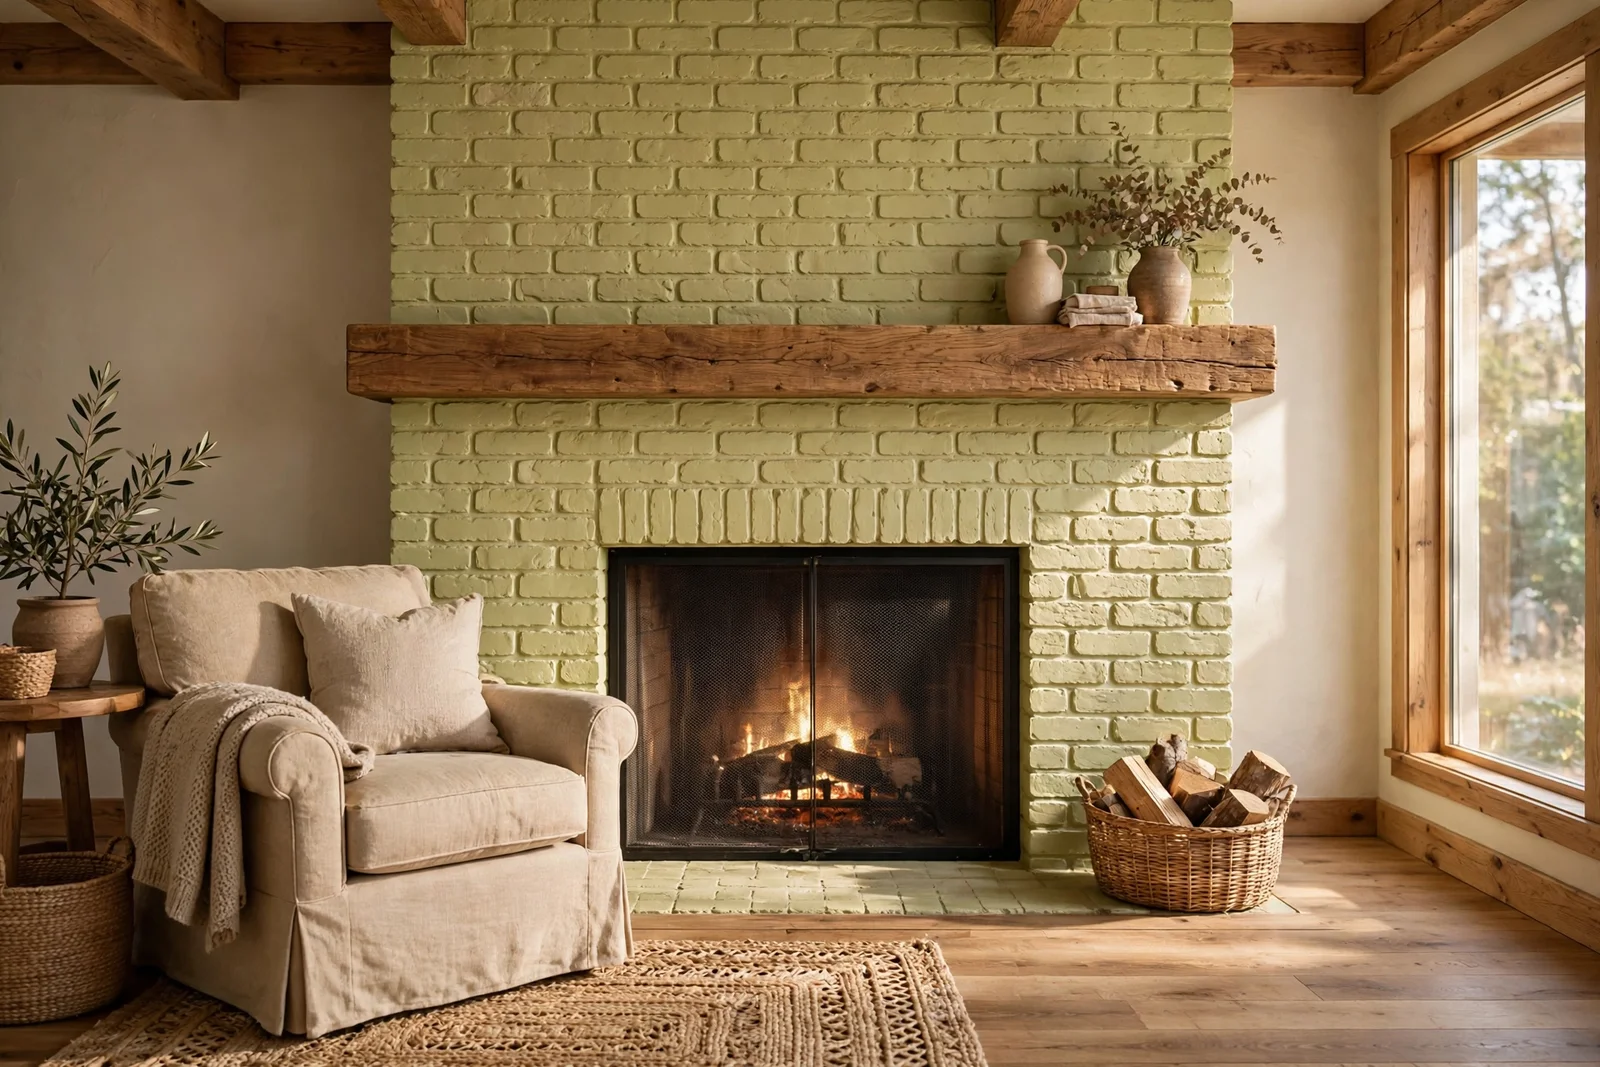
From soft limewash to deep painted brick, these 24 fireplace makeovers turn tired old brick into the warmest wall in your home.
Every winter the same thought returns as the lamps come on early: the old brick fireplace that anchors the living room looks tired, its orange tones clashing with everything else in the room. You love having a real fire, but the brick itself feels like a relic from another decade. That quiet frustration is exactly where a makeover begins, not with a sledgehammer but with a brush and a free weekend.
Brick is one of the most forgiving surfaces in the home to transform. It takes limewash, whitewash, paint, stain and mortar finishes beautifully, and each one changes the mood completely, from soft heritage calm to crisp modern brightness. A new mantel beam or a retiled hearth can finish the job without touching the structure at all, and most projects cost less than a dinner out.
This guide walks through 24 concrete makeovers, each with honest notes on cost, permanence and safety around working fires. Some take an afternoon and a single tin of paint, while others are small carpentry projects with real presence. All of them respect one rule: a fireplace is a heat appliance first and a decoration second, so heat rated products and clearances come before colour.
Read through the ideas, pick the finish that matches your brick and your patience, and always start with a test patch on a hidden corner. By next weekend, the tired old brick could be the best looking wall in your entire home, and the fire will feel new again.
1. Brush Limewash Over the Brick for a Soft Heritage Finish
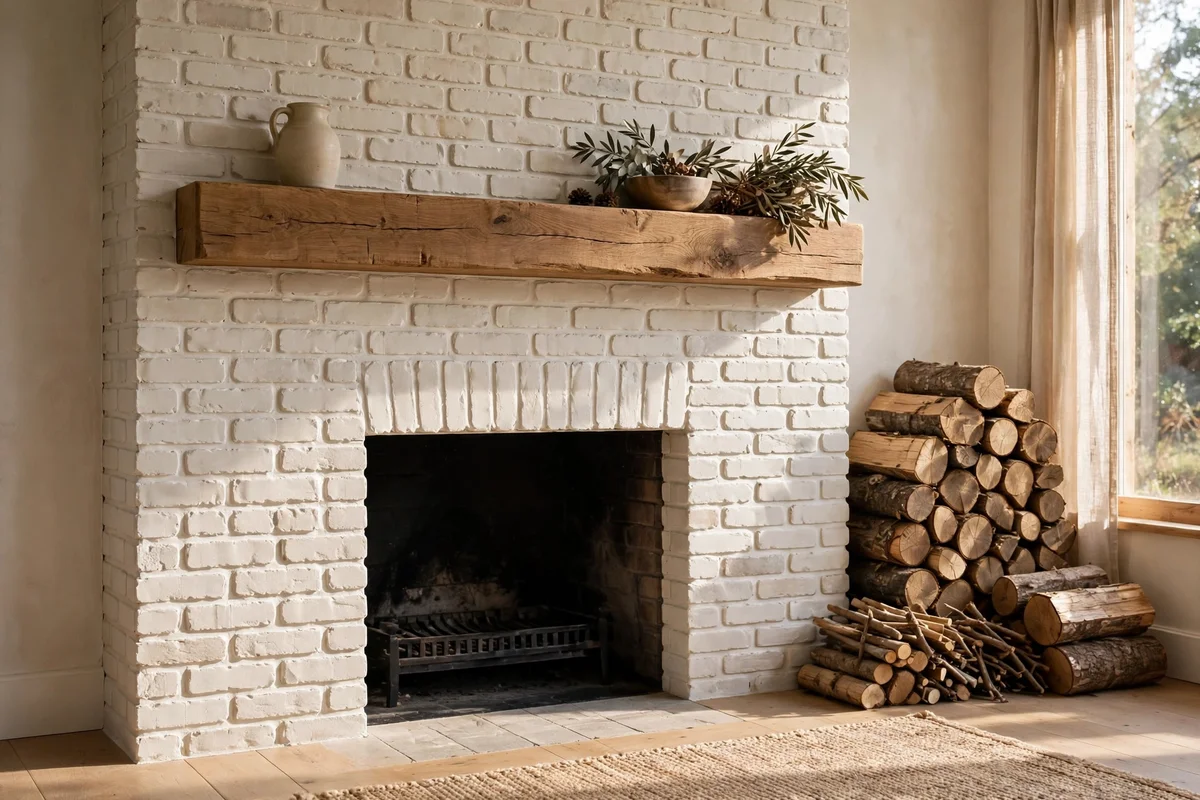
Limewash is crushed limestone thinned with water, and it sinks into brick instead of sitting on top like ordinary paint. Mix bagged limewash to a single cream consistency, dampen the brick with a mister, then brush on two thin coats with a large block brush, working in 60 cm square patches. The second coat goes on while the first is still tacky, usually after 20 to 30 minutes. The finish stays chalky and matte, softening orange brick to a cloudy ivory that still shows mortar lines and texture beneath.
A 5 litre tub covers a standard 2 metre by 1.2 metre fireplace with two coats and costs less than most paint gallons, making this a genuine budget project. Wear a dust mask and gloves, since lime is caustic before it cures. The mistake to avoid is applying limewash over sealed or previously painted brick, where it cannot bond and flakes off in sheets. Allow 24 hours between coats and a full week of curing before you judge the final colour.
2. Mix a Diluted Whitewash for a Sun Faded Glow
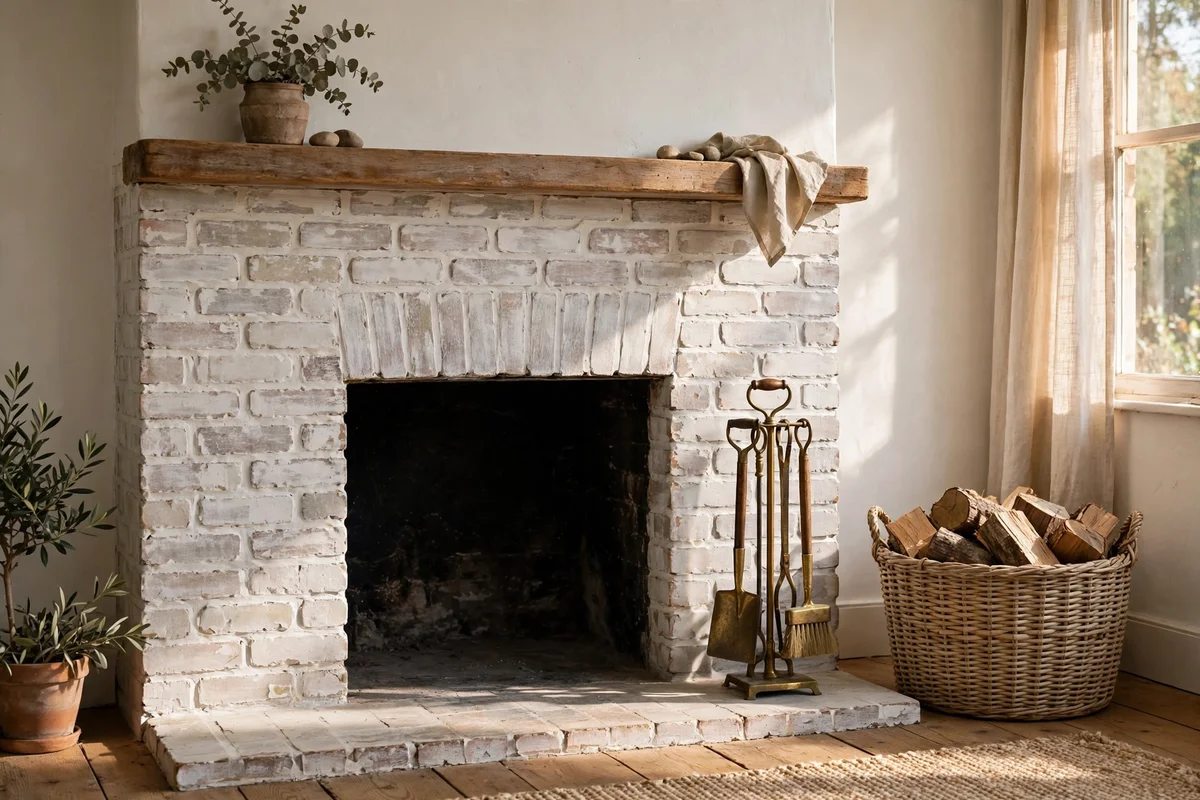
A whitewash is simply flat white paint diluted half and half with water, brushed over brick and partially wiped back for a faded effect. Dampen the brick first so the mix does not flash dry, then work one 50 cm section at a time: brush on the wash, wait two to three minutes, then rub with a lint free rag to expose brick edges and high spots. The result looks sun faded rather than painted, with warm orange and red tones peeking through a milky veil.
Use an inexpensive flat interior latex for the wash, since the matte base mimics old lime finishes convincingly. Keep a bucket of clean water and spare rags nearby to feather edges before they set. The common mistake is whitewashing dry brick in large areas, which leaves hard lap lines where sections meet. A full fireplace needs only about one litre of paint plus one litre of water, making this the cheapest makeover on this list at well under 20 dollars or pounds.
3. Paint the Whole Fireplace a Warm White for Classic Brightness
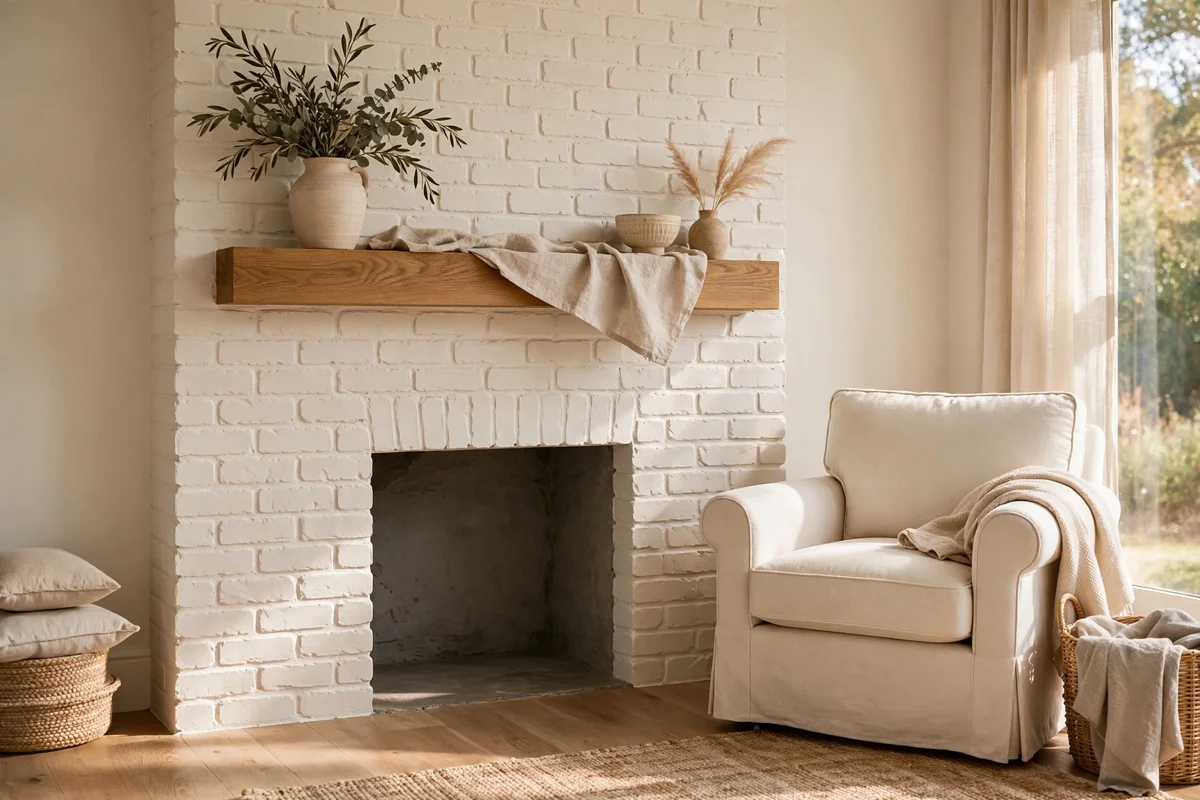
Full paint coverage suits brick that is chipped, patched or stained beyond saving with a wash. Choose a warm white like soft ivory or linen rather than a cold brilliant white, which can look stark against older mortar. Roll the faces with a thick nap roller after cutting into the joints with a stiff brush, and plan on two full coats plus spot touch ups. A matte or eggshell sheen hides minor surface flaws far better than anything glossier.
Expect to use about 2 litres for two coats on an average fireplace. Prime first with a masonry bonding primer, since bare brick drinks paint unevenly and soot bleeds through cheap topcoats. The mistake to avoid is painting straight over efflorescence, the white powdery salt that blooms on damp brick; fix the damp source first or the paint bubbles within months. A painted brick fireplace in warm white lifts a dark room instantly and pairs with almost any mantel wood.
4. Try Deep Forest Green Paint for Quiet Library Depth
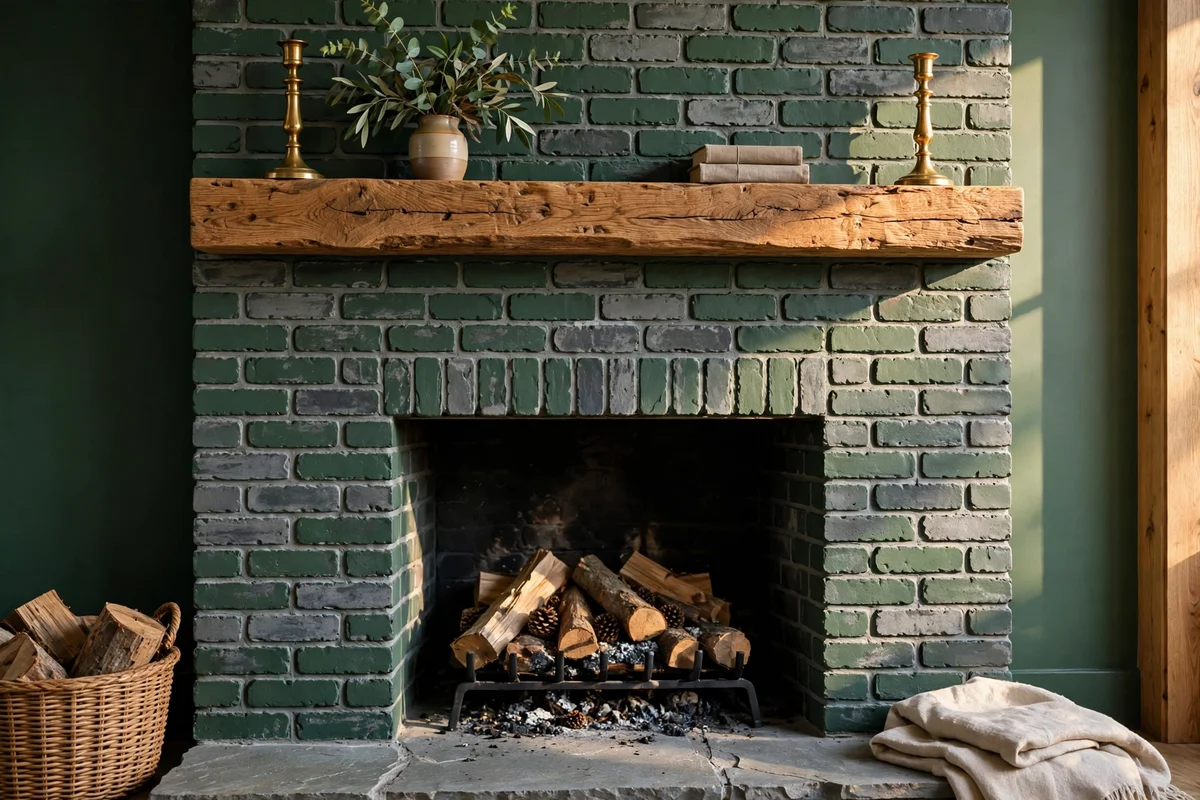
Deep colour turns a dated fireplace into the anchor of the room instead of something you wish would disappear. A forest green with grey undertones, a charcoal blue or a soft black all sit beautifully against timber floors and cream walls. The same prep rules apply: clean, prime with masonry primer, then two coats of heat resistant interior paint in a matte finish. Keep the mantel and hearth in natural wood or stone so the dark brick has something calm to rest against.
Dark paint shows roller texture more than white, so use a high quality 20 mm nap roller and keep a wet edge across each 60 cm band. Brush one sample pot onto a 30 cm square first to check whether the colour goes too black in evening light. The mistake to avoid is pairing deep brick with a black firebox surround and dark mantel all at once, which swallows the whole wall. At roughly 40 to 60 dollars or pounds for primer and paint, this is a weekend project with dramatic payoff.
5. Trowel On a German Schmear for Old World Mortar Texture
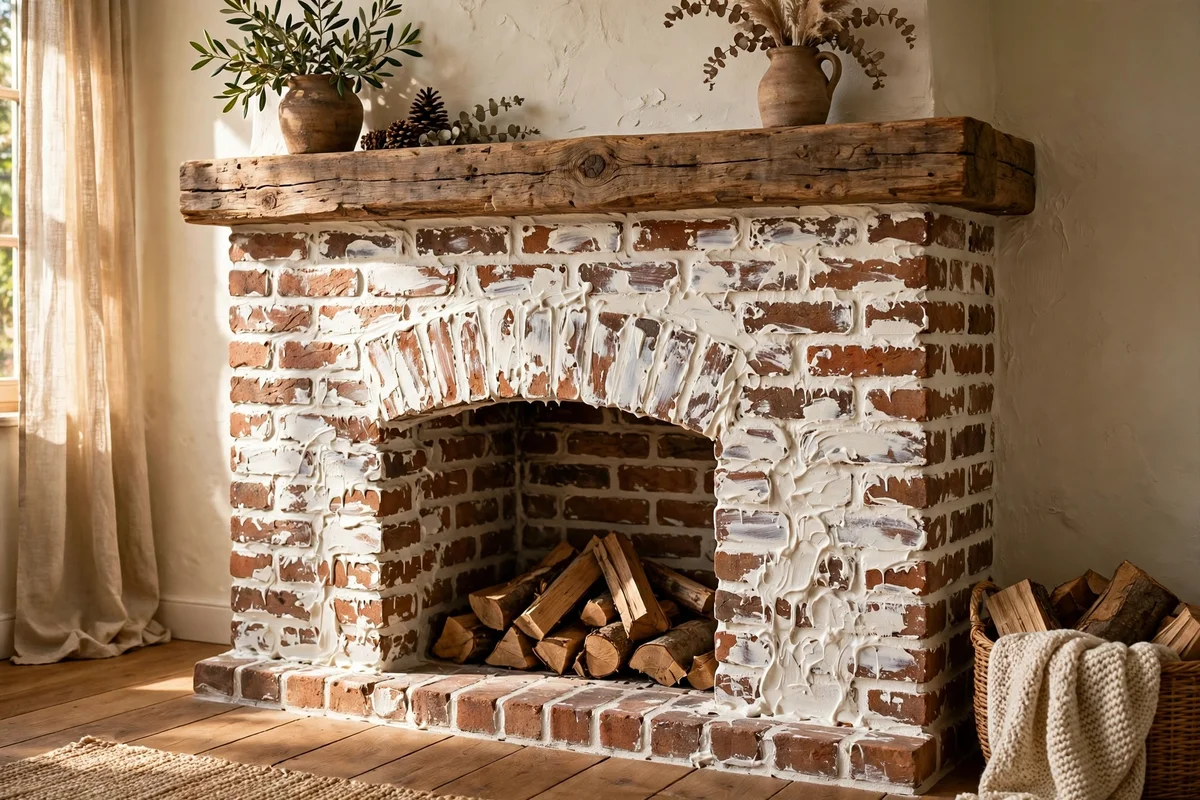
German schmear, also called mortar wash, smears a thin layer of mortar across the brick and wipes most of it off, leaving white joints that spill over the brick faces. Mix a bag of white mortar to a peanut butter consistency, trowel it into the joints first, then skim a 2 to 3 mm layer over the bricks and drag a damp sponge across to reveal patches of brick. Work in small areas, since the mortar begins to set in about 15 to 20 minutes.
Cover the hearth and floor with taped poly sheeting, because mortar splatter dries fast on carpet and wood. A 20 kg bag of mortar mix covers a standard fireplace for under 15 dollars or pounds. The mistake to avoid is laying the coat too thick, which cracks as it cures and can pop off when the flue runs hot in winter. Keep the layer thin, mist it lightly for two days while it cures, and the finish stays put for years.
6. Use Brick Stain to Change Colour Without Hiding Texture
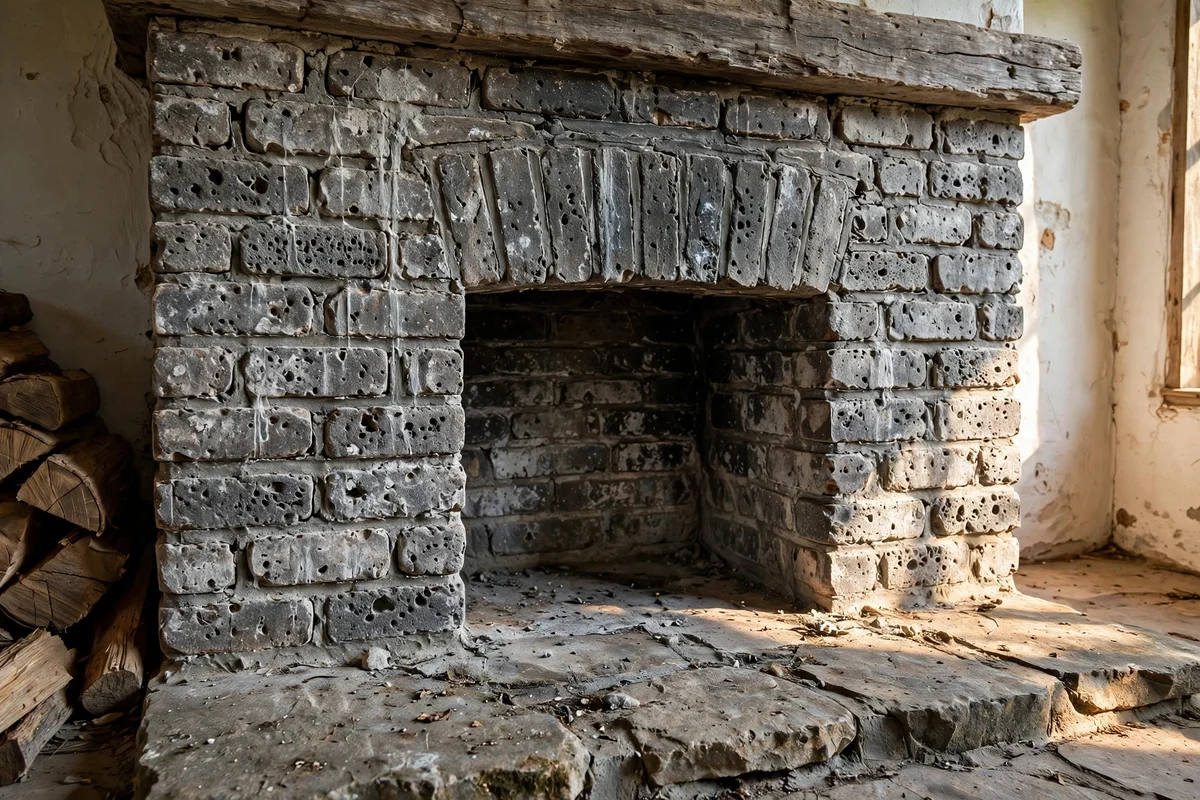
Mineral brick stain soaks into the pores and changes the colour while leaving every bump, pit and mortar line fully visible. It suits brick you like the look of but not the colour, for example shifting orange brick toward a weathered grey or soft brown. Apply it with a garden sprayer or large brush in even passes, keep the brick damp, and expect the true colour to settle over 48 hours as it bonds. One coat is usually enough.
Stain is permanent and cannot be painted over easily without heavy priming, so sample on three or four spare bricks first. A 4 litre jug covers roughly 10 square metres, more than enough for one fireplace, at a mid range price of 50 to 80 dollars or pounds. The mistake to avoid is staining over sealed or painted brick, where the product sits on the surface and peels. On bare porous brick, though, it is the most natural looking colour change available.
7. Swap a Thin Mantel Shelf for a Solid Oak Beam
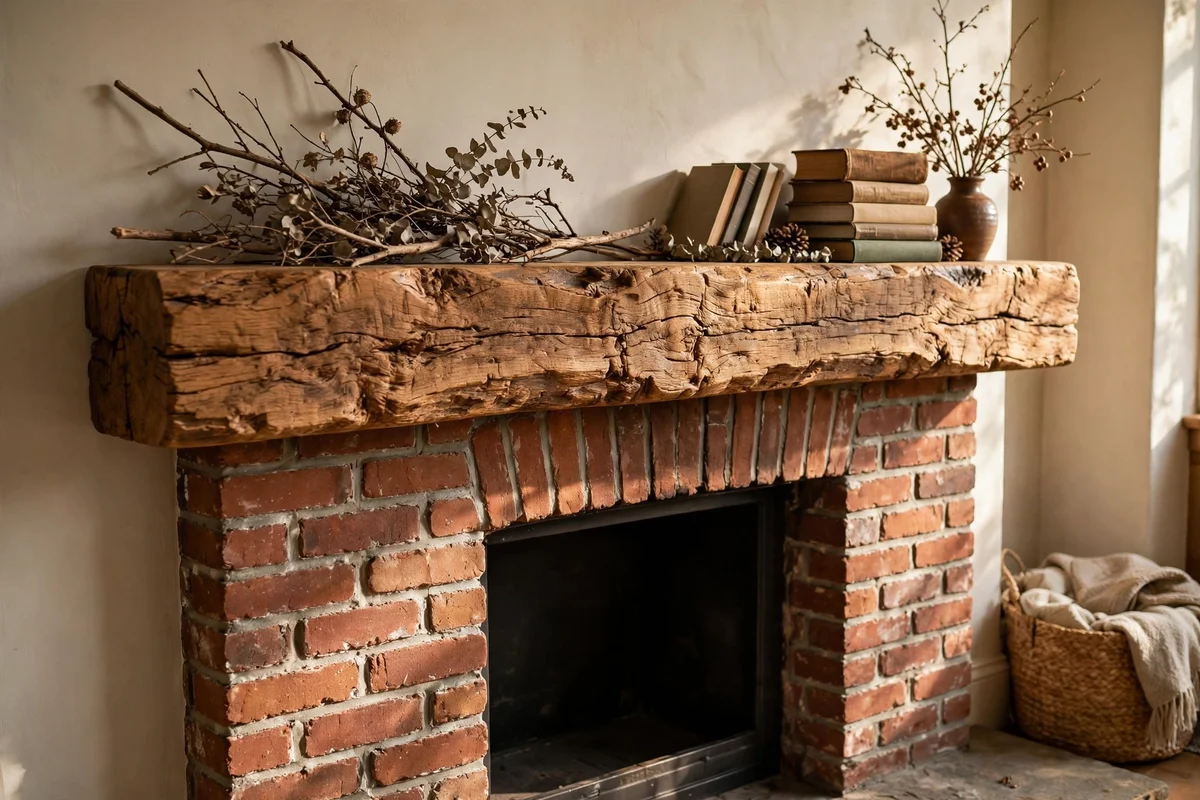
Many dated fireplaces wear a thin pine shelf that looks flimsy against heavy brick. Replacing it with a solid oak beam, roughly 15 cm deep and 10 to 12 cm tall, instantly gives the fireplace presence. Span the beam 15 to 20 cm wider than the firebox on each side, and fix it with hidden steel brackets or threaded rods set into the mortar joints with epoxy. Keep the beam at least 30 cm above the firebox opening for heat clearance.
Reclaimed oak beams cost 80 to 150 dollars or pounds depending on length, while new oak runs higher; pine stained dark is a convincing budget stand in. Sand to 120 grit and finish with a heat safe hardwax oil rather than film varnish, which can bubble near heat. The mistake to avoid is fixing the beam only into brick faces with short screws, which loosen with heat cycling. Deep anchors into mortar joints hold for decades.
8. Lay Handmade Tiles Across a Tired Hearth Base
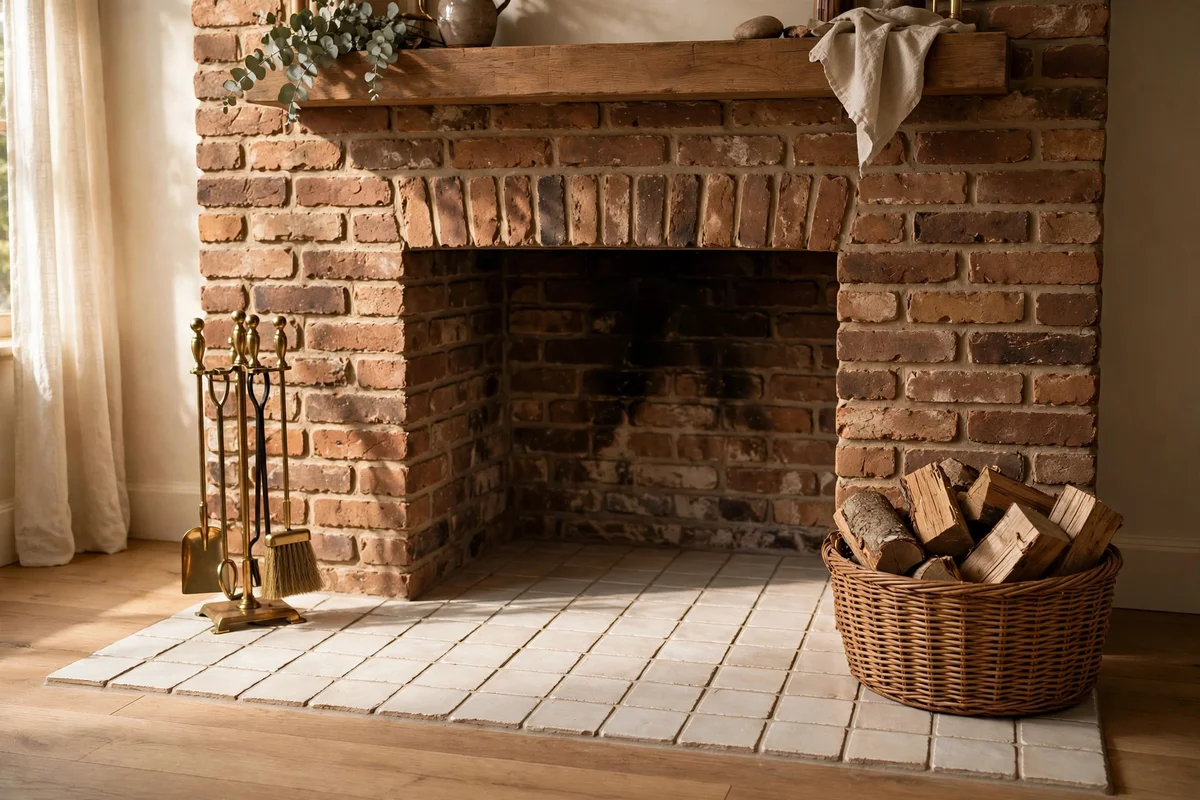
A stained concrete or cracked tile hearth drags down even a beautiful brick face. Handmade look tiles in warm white, soft sage or terracotta bring craft character without competing with the brick. Lay them over a sound base with a polymer modified thinset, keep grout joints at 3 to 5 mm, and choose a grout colour close to the tile to keep the handmade edges calm. A standard 1.2 metre by 40 cm hearth needs about 25 tiles of 15 cm square.
Seal porous tiles before grouting so the grout does not stain them. Budget 60 to 120 dollars or pounds for tiles, thinset and grout on a small hearth. The mistake to avoid is using wall only tiles on a hearth that takes foot traffic and dropped logs; check the tile rating for floor use and heat exposure. Finish with a penetrating sealer, and the new hearth will handle embers and ash for years.
9. Box Dated Brick Inside a Simple Timber Surround
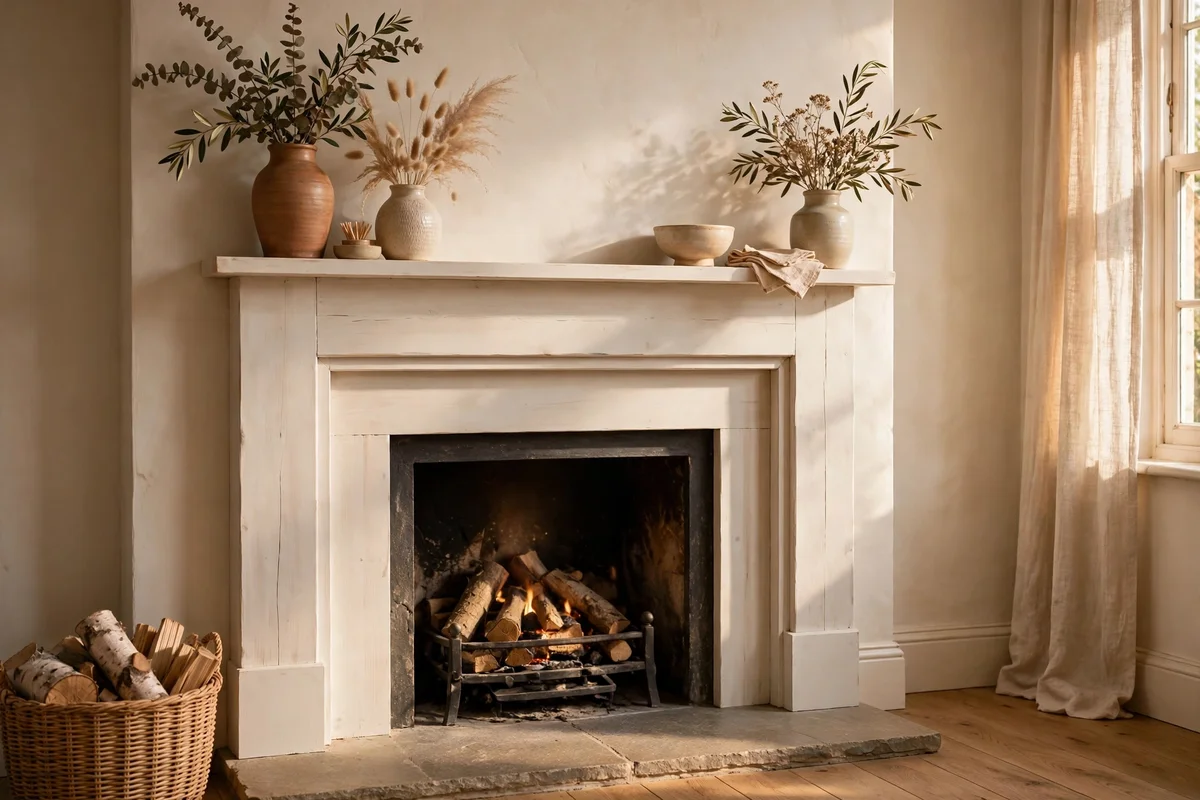
When the brick is beyond cosmetic rescue, a simple timber surround hides it completely while adding architectural weight. Build the frame from 90 mm by 45 mm pine or poplar: two legs, one crossbar and a mantel shelf on top, fixed to the brick with masonry screws into plugged holes. Keep the structure at least 15 cm clear of the firebox opening and leave a discreet vent gap at the top if the fireplace still burns.
Prime and paint the surround in a warm white or deep green to match the room, and caulk the edges where timber meets brick for a crisp line. Materials for a standard surround run 70 to 130 dollars or pounds. The mistake to avoid is fixing timber tight against a working firebox with no clearance; building codes in most regions require non combustible material within 15 cm of the opening, so confirm your local rule before you build.
10. Scrub and Degrease the Brick Before Any Finish
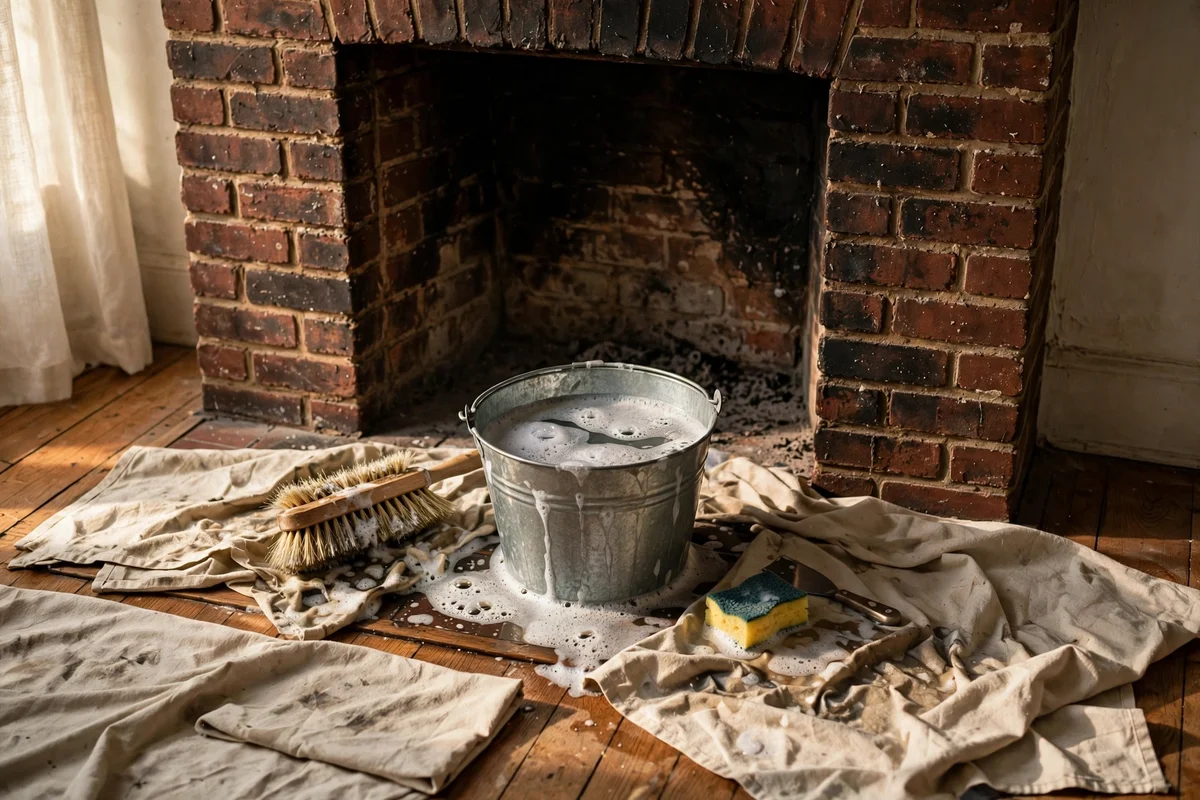
Every finish fails on dirty brick, so cleaning is the least glamorous and most important step of the whole project. Vacuum loose soot with a brush attachment, then scrub with warm water, a stiff brush and a degreasing cleaner such as trisodium phosphate substitute, working from the bottom up to avoid streaks. Rinse with clean water and let the brick dry for at least 48 hours; trapped moisture pushes paint and limewash off within months.
For heavy soot, make a paste of baking soda and water, leave it for 20 minutes, then scrub and rinse. Never use strong acid indoors without full ventilation and protective gear, and never on a working flue without capping it first. The mistake to avoid is painting over a surface that looks clean but still feels chalky; wipe a hand across the brick, and if dust transfers, keep scrubbing. Two unhurried hours here saves a full redo later.
11. Prime Sealed Soot and Chalky Mortar for Grip
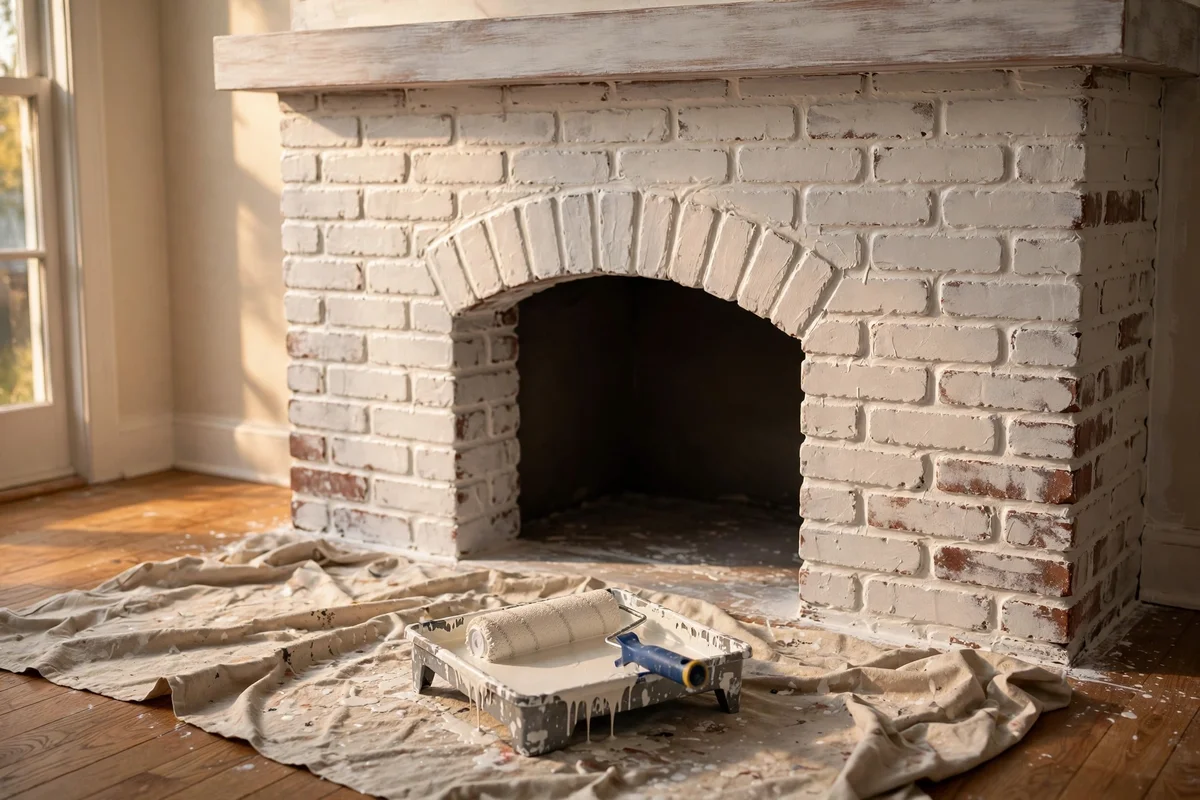
Bare brick and old soot absorb paint at wildly different rates, which is why primer matters so much on fireplaces. A masonry bonding primer or a shellac based stain blocker seals soot, tannin bleed and chalky mortar into one uniform surface. Cut the primer into the mortar joints with a brush first, then roll the faces, and give it a full 24 hours to cure before topcoating. One coat is enough on sound brick, two on heavy soot staining.
Shellac based primers smell strongly, so ventilate the room and keep children and pets out until it cures. A litre covers about 8 square metres and costs 15 to 25 dollars or pounds. The mistake to avoid is skipping primer to save time, because soot ghosts bleed through two coats of ordinary paint as yellow brown patches. Primed properly, even heavily smoked brick takes paint evenly and stays clean looking for years.
12. Choose Heat Rated Products Within 60 cm of the Firebox
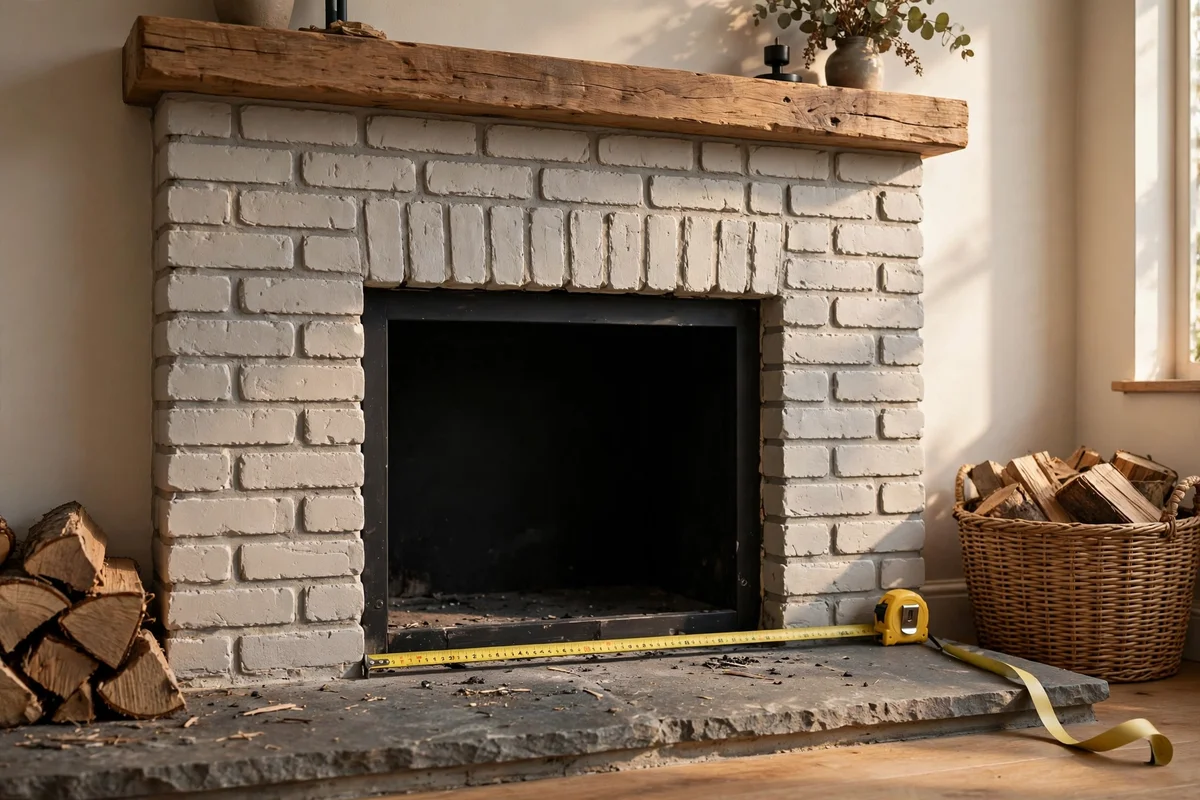
Standard interior paint softens and discolours near real heat, so the zone around the firebox needs special products. Use paints labelled heat resistant or rated to at least 200 degrees Celsius within 60 cm of the opening, and never apply ordinary latex directly on the metal firebox or the inner surround. Limewash and mineral silicate paints handle moderate heat well, but check the manufacturer data sheet for the exact temperature limit before you buy.
The same rule covers sealers, primers and tile adhesives near the opening; ordinary PVA based products can yellow or fail with heat cycling. Keep a 15 cm non combustible margin, usually stone or tile, right at the firebox edge, as most building codes require. The mistake to avoid is trusting a paint simply because it survived one winter; heat damage is cumulative and shows up as cracking and flaking in year two or three. Buy the heat rated tin once and the finish lasts.
13. Test Every Finish on a Hidden Corner First
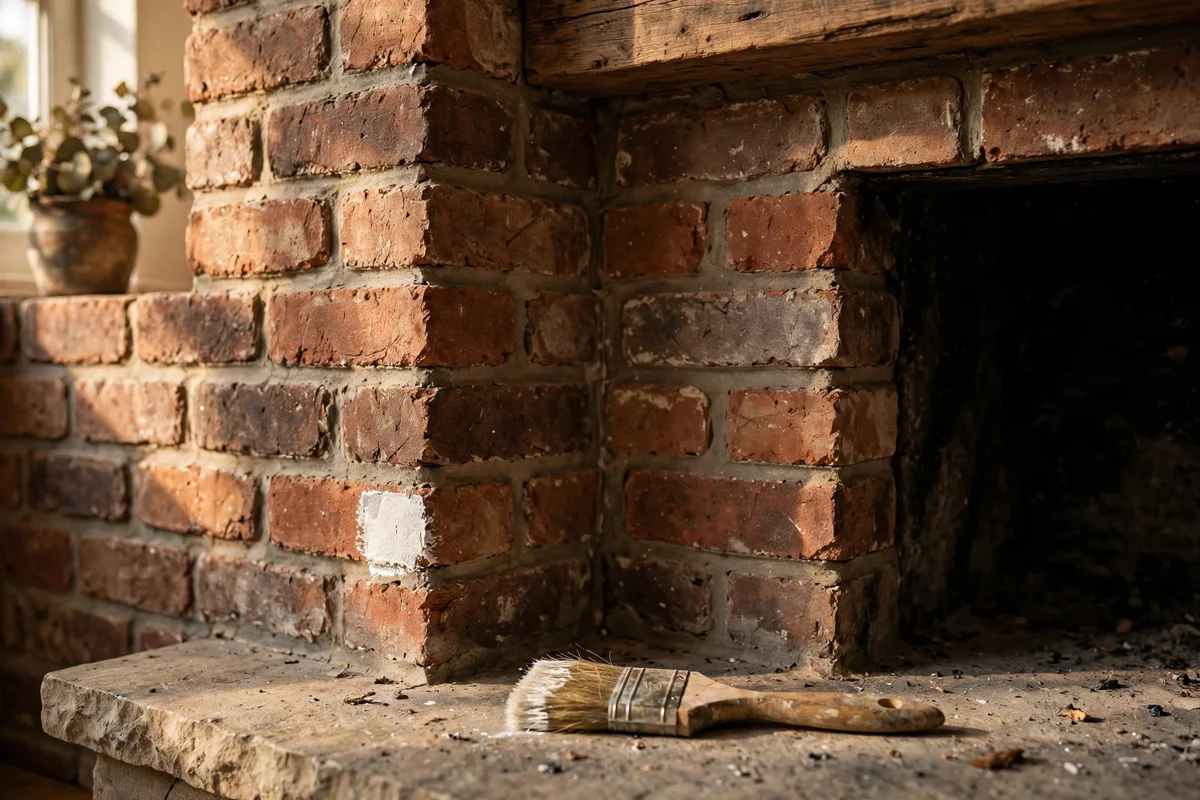
Brick varies wildly in porosity, colour and old coatings, so no finish behaves the same on every fireplace. Brush your chosen limewash, wash, stain or paint onto a 20 cm square in the least visible corner, ideally low behind where furniture sits, and live with it for three days. Check it in morning light, evening lamplight and after the heating has run, because heat and light shift colour more than most people expect.
Test the full system, not just the topcoat: cleaner, primer, finish and sealer in that order on the same patch. Photograph the patch next to the bare brick so you can compare honestly. The mistake to avoid is testing on a loose spare brick from the garden, which has different age, moisture and soot history from the fireplace. Thirty minutes of testing prevents a costly repaint of a finish you dislike.
14. Whitewash Only the Firebox Frame for a Soft Focal Edge
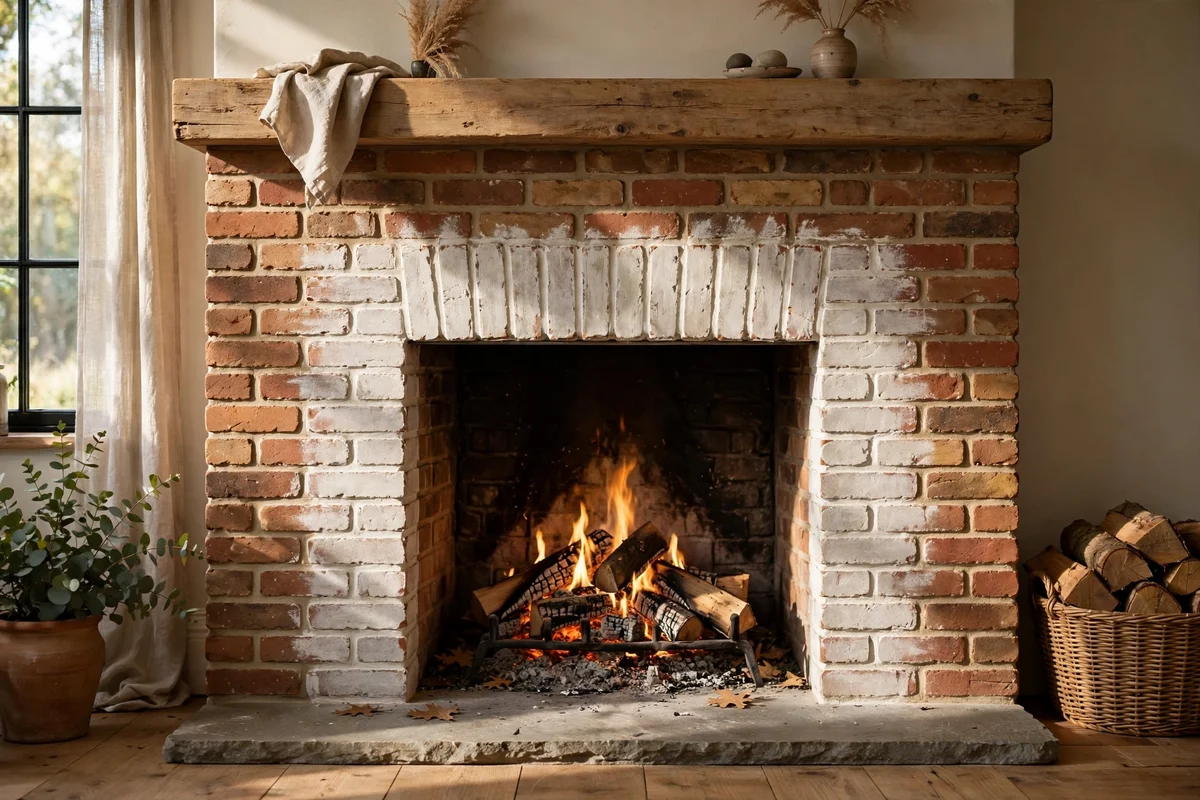
You do not have to treat the whole fireplace; whitewashing just the brick border around the firebox creates a soft frame that draws the eye inward. Mask the outer brick with painter tape and paper, dampen the inner 20 to 30 cm ring of brick, and apply the diluted wash with a small brush, wiping back lightly so texture shows. The contrast between washed inner brick and untouched outer brick adds depth without a full commitment.
This partial approach uses less than half a litre of diluted paint and takes about an hour plus drying time. Feather the outer edge of the wash with a dry brush so there is no hard line. The mistake to avoid is stopping the wash in a perfectly straight masked line, which looks like a stripe; a slightly irregular feathered edge reads as natural ageing. It is also low risk, since a small area is easy to repaint later.
15. Cut In the Mortar Joints Before Rolling the Brick Faces
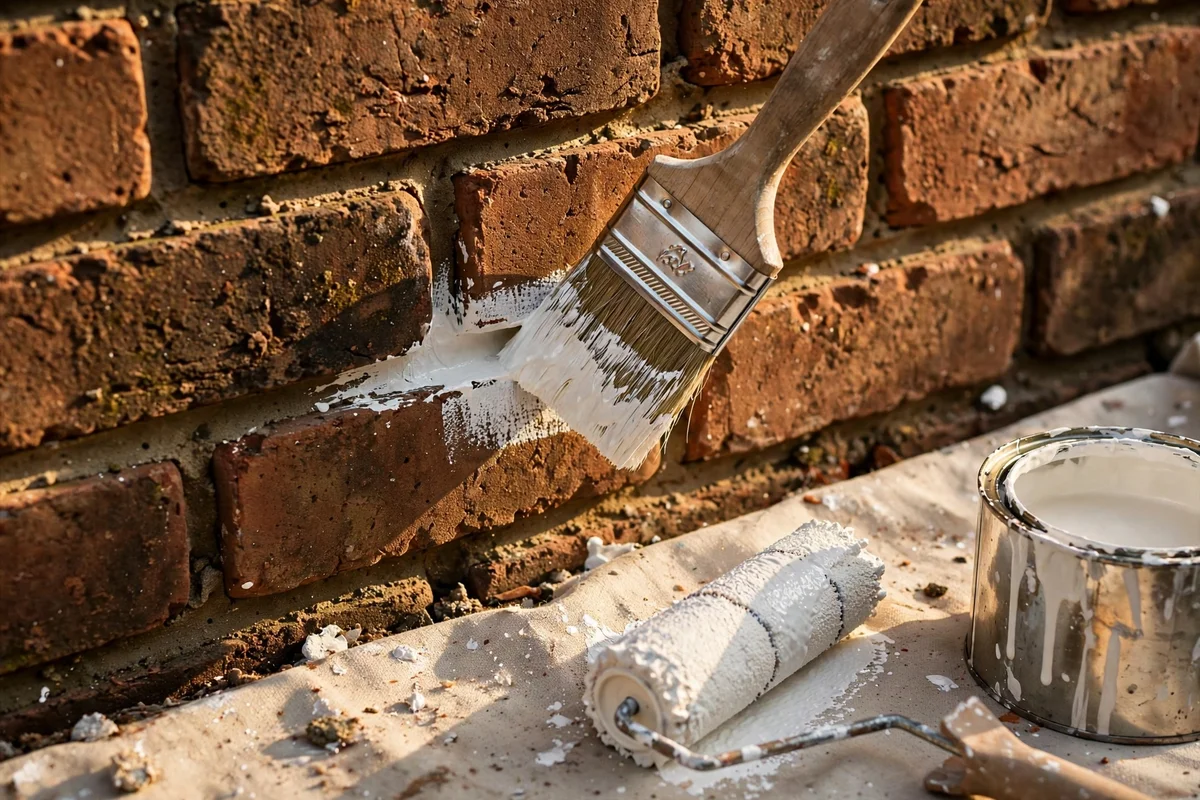
Neat painted brick comes from technique, not luck. Start by cutting into every mortar joint with a stiff 5 cm angled brush, pushing paint deep into the recesses where rollers cannot reach. Then roll the brick faces with a thick 20 mm nap roller, working in vertical bands about 60 cm wide and keeping a wet edge. Two coats applied this way give even coverage without the patchy joints that mark rushed jobs.
A fireplace has far more joint length than wall area, so budget twice the brushing time you expect; an average fireplace takes three to four hours per coat. Keep a damp rag handy to wipe paint off the hearth and mantel before it dries. The mistake to avoid is rolling first and dabbing joints afterwards, which leaves shiny roller stipple over flat brushed joints and an uneven sheen across the whole face. Joints first, always.
16. Choose Matte Mineral Paint for a Breathable Finish
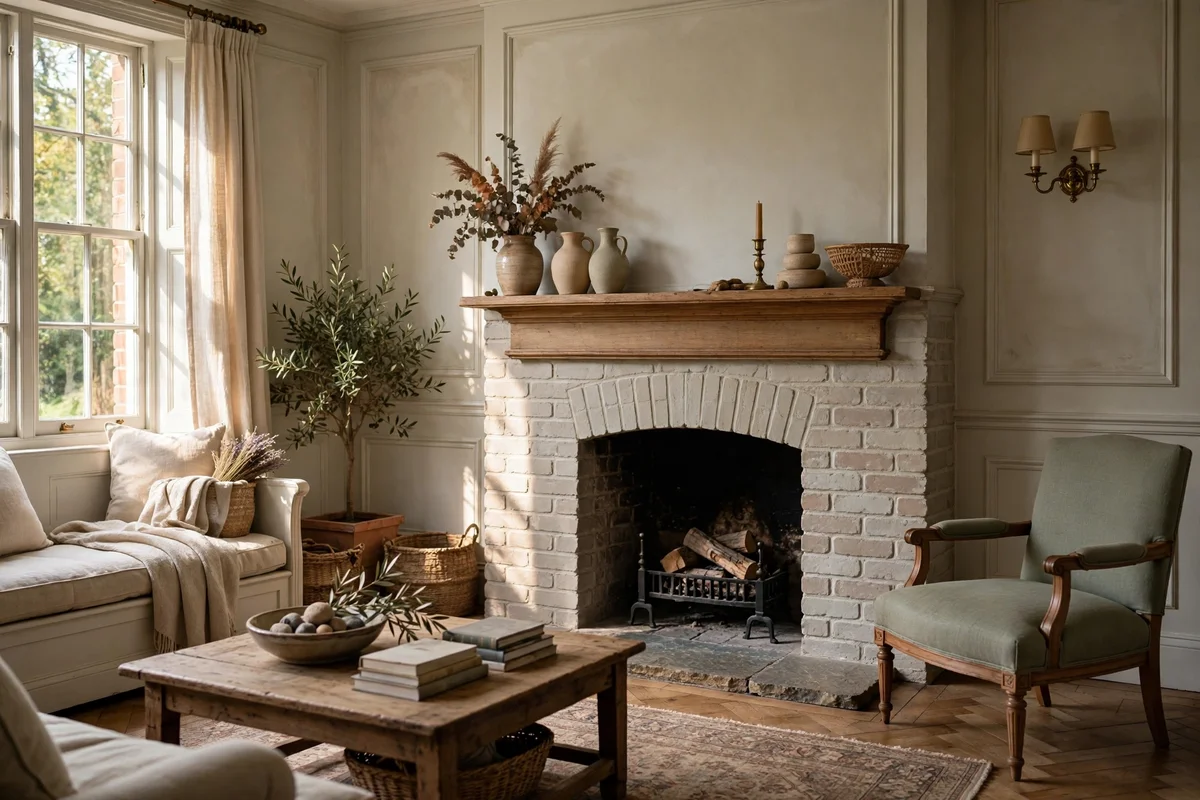
Mineral silicate paint bonds chemically with masonry instead of forming a plastic film, so the brick keeps breathing and moisture escapes instead of blistering the finish. It dries to a flat, chalky matte that suits heritage rooms beautifully. Apply two coats with a block brush on dampened brick, diluting the first coat by about 10 percent with water as the maker directs. Colours stay true because the pigment sits inside the mineral matrix.
Mineral paint costs more, roughly 60 to 90 dollars or pounds for enough to cover a fireplace twice, but it outlasts ordinary latex on masonry by years. It cannot be tinted at home easily, so order the exact colour you want. The mistake to avoid is applying it over sealed or previously painted brick, where the chemical bond cannot form and the paint sits vulnerably on top. On bare brick, it is the most durable decorative option.
17. Fit a Reclaimed Beam Mantel With Hidden Steel Brackets
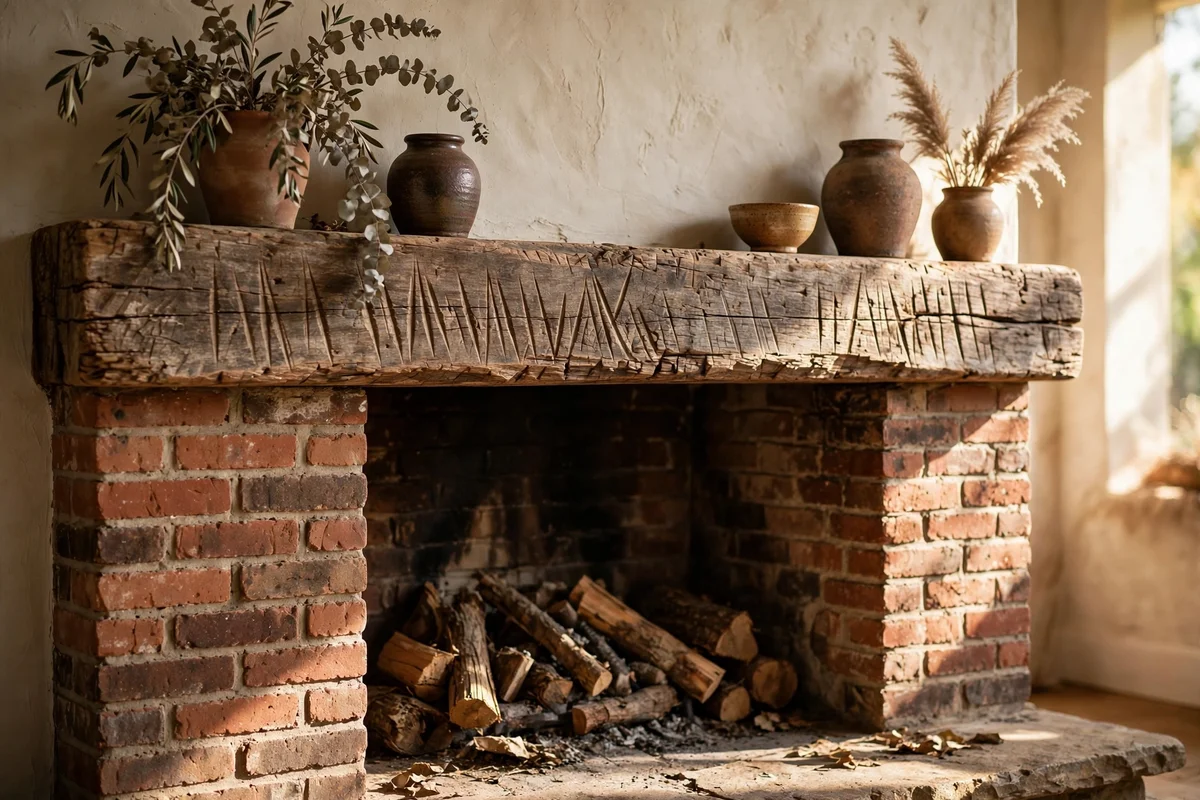
A reclaimed beam brings instant age and character that new timber cannot fake, with saw marks and patina that echo old brick. Source a beam 10 to 15 cm square and cut it 20 to 30 cm longer than the firebox width. Drill two or three 20 mm holes into the back, epoxy threaded steel rods into the mortar joints, and slide the beam on so the fixings disappear. The beam should sit level and feel rock solid before you style it.
Check reclaimed wood for old nails and treat it for woodworm before bringing it indoors. Expect to pay 60 to 120 dollars or pounds for a good beam, plus a few dollars for rods and epoxy. The mistake to avoid is hanging a heavy beam on decorative corbels alone; corbels look traditional but rarely carry the load safely. Hidden steel does the work while the beam keeps all the visual credit.
18. Refresh the Hearth With Terracotta Encaustic Tiles
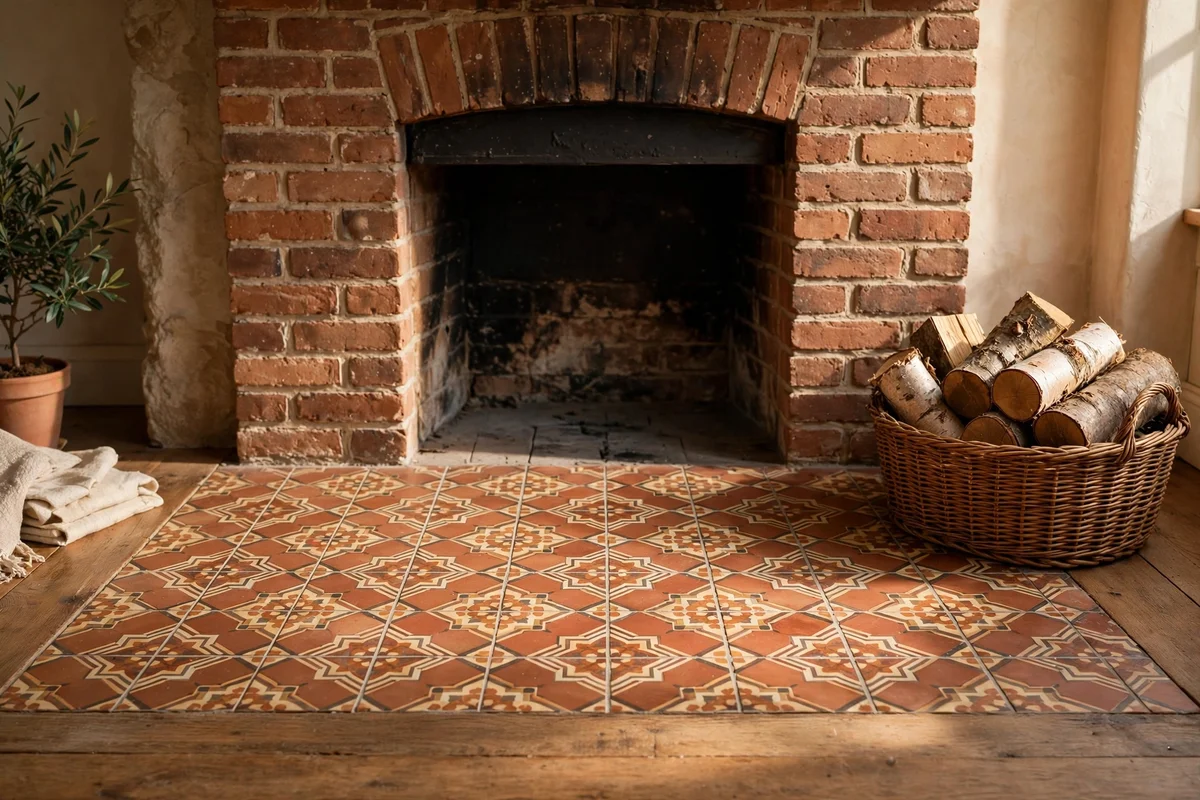
Terracotta toned encaustic look tiles warm up a grey brick fireplace and hide years of ash stains in one afternoon. Choose 15 or 20 cm squares in a simple geometric pattern and lay them tight with 3 mm joints over a levelled base. Butter each tile fully with thinset so no hollow spots crack under a dropped log. A typical hearth takes 20 to 30 tiles, and one bag of grout finishes the job.
Seal the tiles twice before grouting and once after, since encaustic style surfaces drink pigment readily. Keep the pattern centred on the firebox so the design reads symmetrically from the room. The mistake to avoid is choosing a busy multicolour pattern that fights the brick; one warm tone with a quiet motif complements rather than competes. Total cost usually lands between 80 and 150 dollars or pounds, a mid range refresh with big visual return.
19. Add Pilasters and a Crossbar for a Framed Surround Look
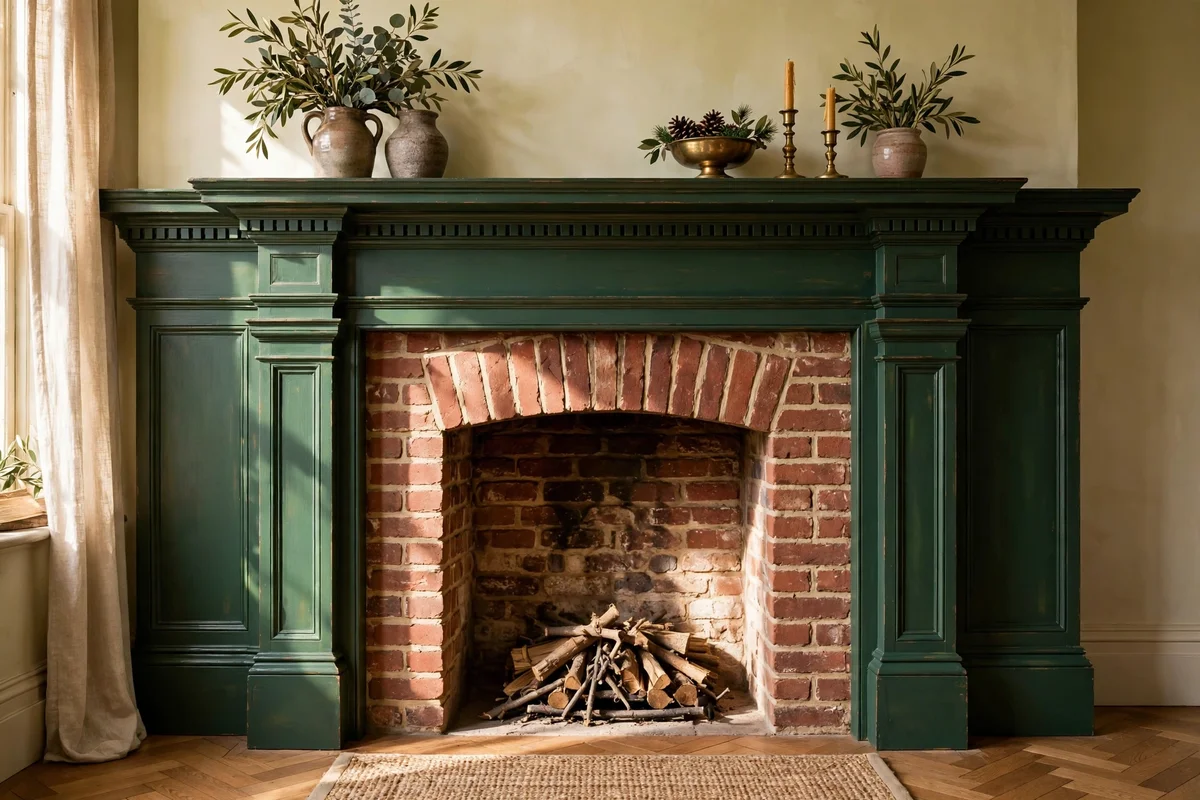
Pilasters, the flat columns flanking a fireplace, turn a plain brick face into something that looks built in and intentional. Fix two 15 cm wide painted timber boards from hearth to mantel height on either side of the firebox, then bridge them with a crossbar under the mantel shelf. Paint the whole assembly the same colour as the room trim for a joined up look, or a deep accent colour to frame the fire.
Build the pilasters from moisture resistant MDF or poplar for crisp painted edges, and scribe them to the brick so no gaps show. The assembly adds about 30 cm of visual width, so it suits rooms where the fireplace wall feels narrow. The mistake to avoid is fixing pilasters over uneven brick without scribing; even a 5 mm gap at the top reads as sloppy from across the room. Take the time to scribe and the result looks original to the house.
20. Respect Clearances and Ventilation on a Working Fire
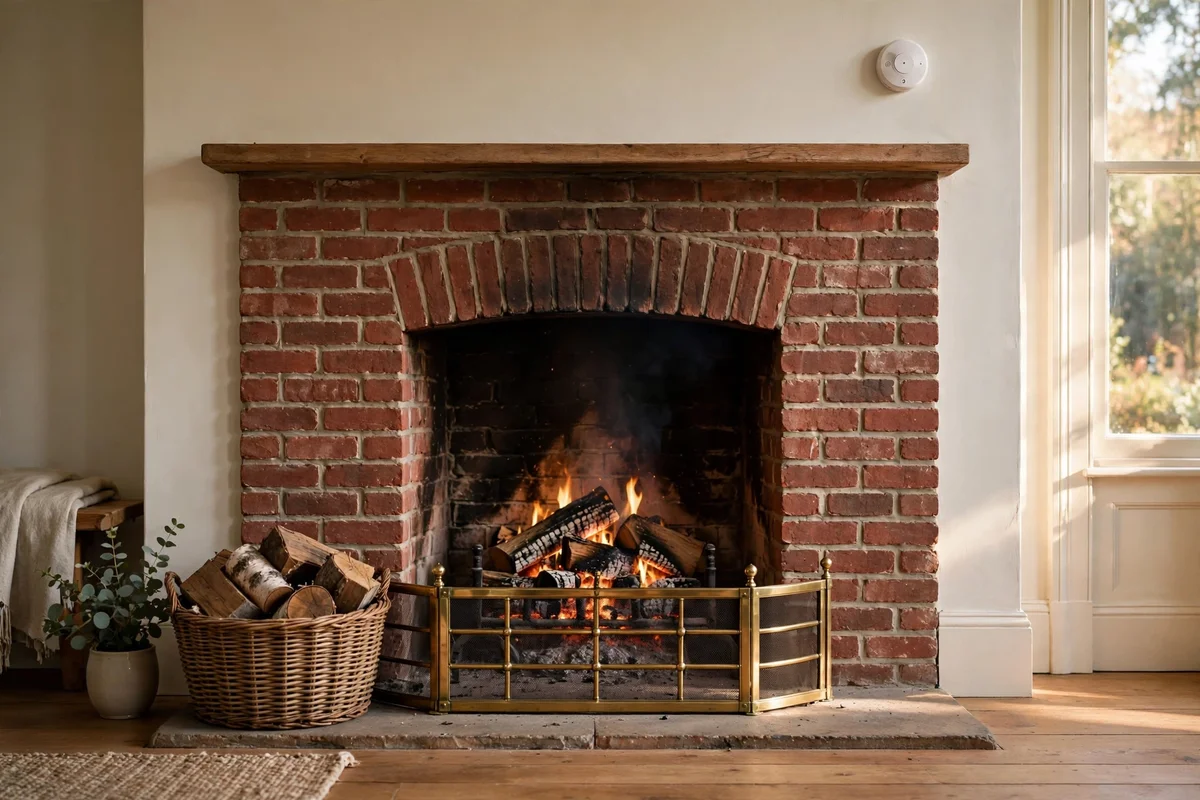
A working fireplace is a heat appliance first and decor second, so safety clearances are not optional. Keep combustible materials, including timber mantels, surrounds and decorations, at least 15 cm from the firebox opening, and more above it where heat rises; many codes ask for 30 cm above the opening. Never block air vents or seal a flue that still serves a fire, since trapped heat and gases need their escape route.
If you are unsure whether your flue is lined and sound, book a chimney sweep inspection before any cosmetic work; it costs little and confirms the fireplace is safe to use. Fit a carbon monoxide alarm in the room as standard practice. The mistake to avoid is painting the inside of the firebox with ordinary paint to make it look tidy; use only products rated for direct fire contact, or leave the interior brick bare. Beauty must never come before safety.
21. Seal a Painted Fireplace With a Fire Safe Satin Topcoat
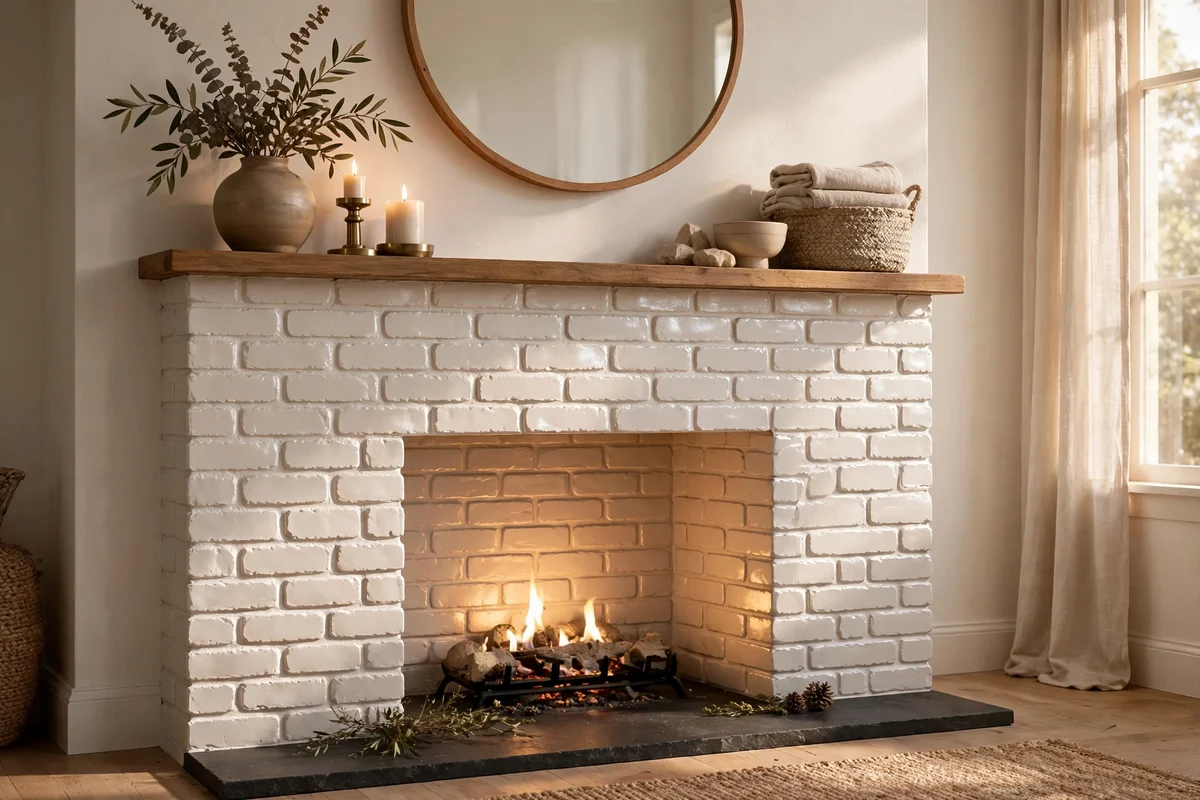
A clear topcoat protects painted brick from soot smudges, ash dust and the occasional bump of a log basket. Choose a water based polyurethane or a masonry sealer labelled safe for fireplace surrounds, and confirm it is rated for the temperatures near your firebox. Apply two thin coats with a brush, working into the joints, and let each coat cure fully; a rushed second coat can cloud the finish.
A satin sheen adds a soft glow without the plastic look of gloss, and it makes future cleaning a matter of wiping with a damp cloth. One litre covers a fireplace twice at about 20 to 30 dollars or pounds. The mistake to avoid is sealing with an ordinary interior varnish not rated for heat, which yellows and cracks near the opening within a season. Read the temperature rating on the tin before you buy, not after.
22. Stencil a Stone Block Pattern Over a Painted Base
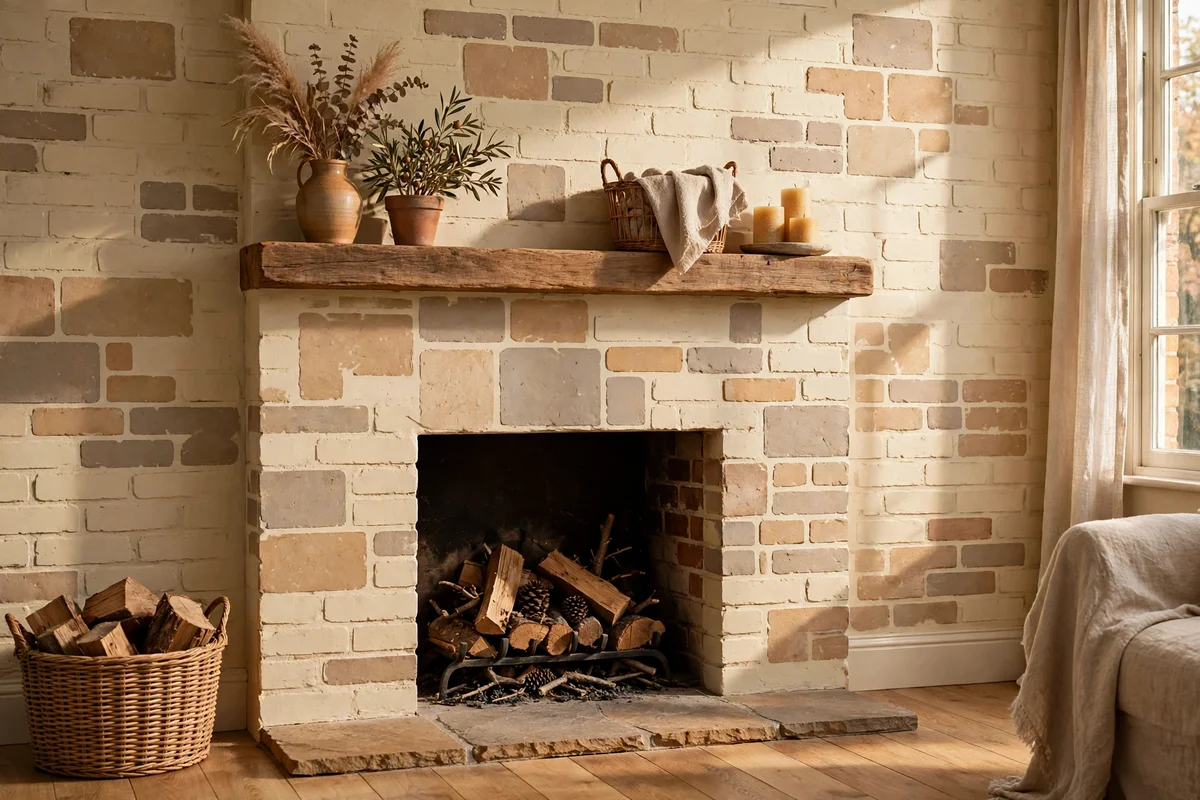
If you love the look of cut stone but own plain brick, stencilling delivers the illusion on a painted base. Paint the brick a warm stone colour first, let it cure for a week, then position a large stone block stencil and pounce a slightly darker shade through it with a dense foam roller. Offset each row like real masonry and keep the paint dry brushed so edges stay soft rather than stamped.
A reusable stencil costs 25 to 45 dollars or pounds and covers the whole fireplace with careful repositioning. Practise on cardboard until your pressure is even; too much paint bleeds under the stencil and ruins the crisp lines. The mistake to avoid is choosing a stencil scale that fights the brick courses beneath; match the stencil block height roughly to the brick height so the pattern sits believably. Seal lightly when done.
23. Mount a Chunky Pine Beam for a Cottage Style Mantel
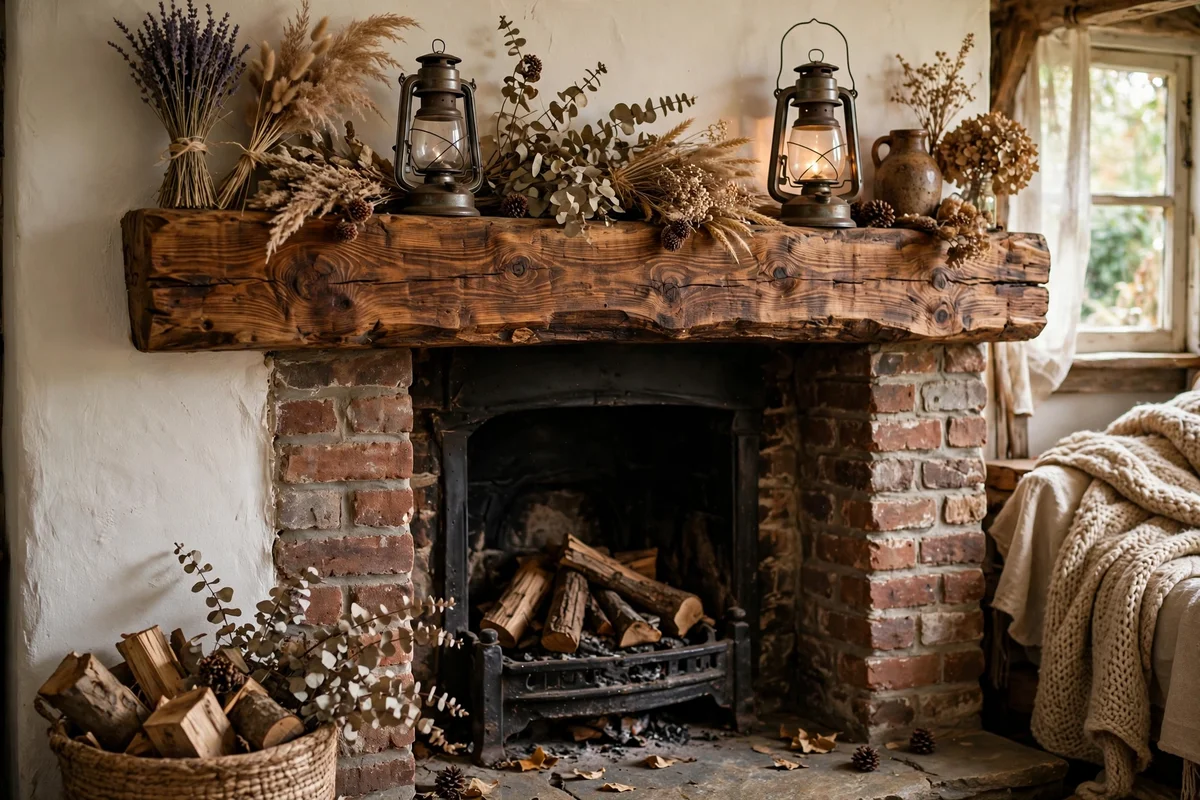
A chunky pine beam, 20 cm square and sanded smooth, gives a cottage fireplace the hearty mantel it deserves at a fraction of oak prices. Stain it with a mid brown wood stain or a whitewash pickling to suit the room, then seal with hardwax oil. Mount it on two hidden steel plates or threaded rods epoxied into the mortar, centred over the firebox and at least 30 cm above the opening.
Pine dents more easily than hardwood, so choose a beam with tight grain and few knots near the front edge. A 1.5 metre beam costs 40 to 70 dollars or pounds, making this the friendliest mantel upgrade on the list. The mistake to avoid is staining pine with a dark stain straight from the tin; pine blotches badly, so apply a pre stain conditioner first for an even tone. Conditioned and sealed, pine looks warm and honest for years.
24. Restyle the Hearth Layout to Finish the New Look
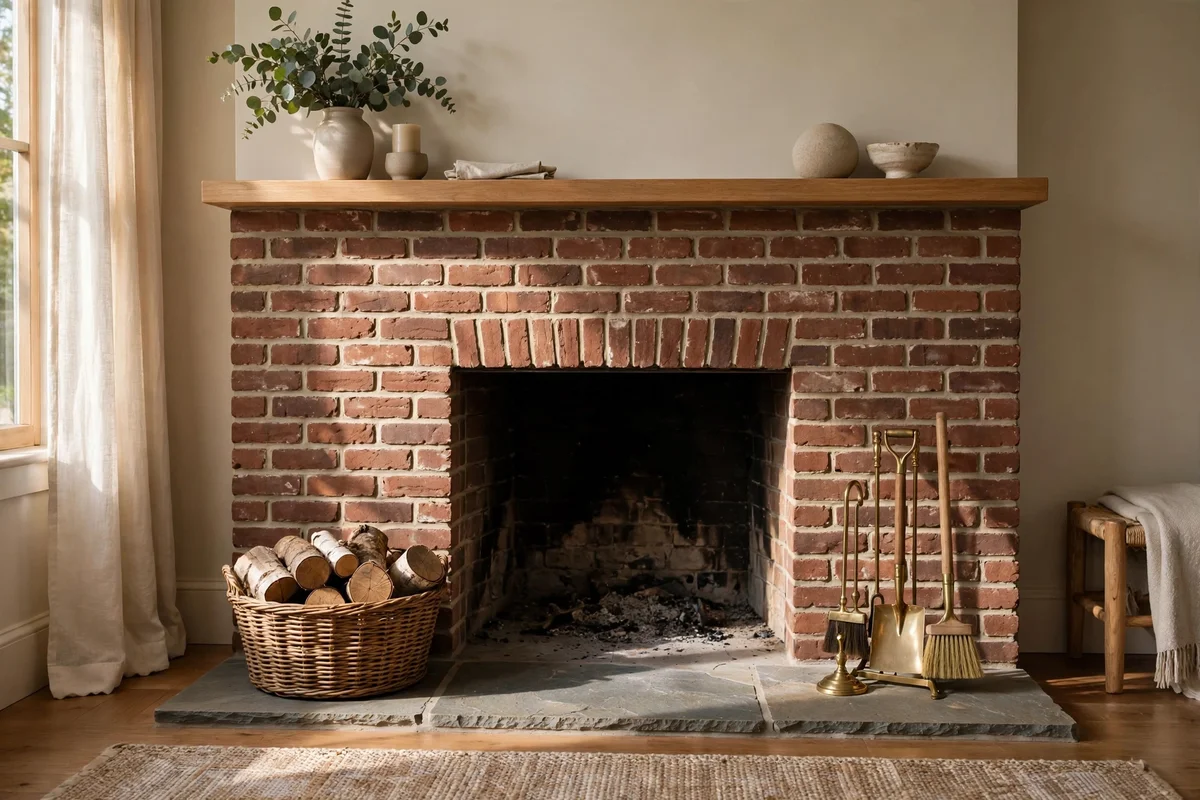
The makeover is not finished until the hearth is dressed to match the new brick. Clear everything off, then rebuild with restraint: a log basket on one side, a simple firescreen or a pair of andirons, and a low stack of two or three favourite books or a small tray on the mantel. Keep the palette to three tones drawn from the new brick finish, the mantel wood and one soft textile, so the whole composition feels calm.
Leave at least 60 cm of clear hearth in front of a working firebox for safety, and keep anything flammable well back from the opening. A woven basket for kindling, a brass companion set and a folded throw on a nearby chair complete the scene for under 100 dollars or pounds if you shop second hand. The mistake to avoid is crowding the new fireplace with small ornaments; three considered pieces beat ten fussy ones every time.
A brick fireplace makeover rewards patience more than budget. The finishes that last are the ones applied to clean, primed and properly tested brick, and the prettiest rooms usually come from the simplest ideas: a soft limewash, a solid beam, a retiled hearth. Pick the project that fits your brick, your tools and the way you actually use the fire, then give it a full weekend.
This week, try just one thing: buy a sample pot and test your chosen finish on a hidden corner of the brick. That single square will tell you more than any guide can about colour, texture and how the light in your room treats it. Once you love the test patch, the full fireplace is simply the same steps repeated with confidence and care.
Frequently Asked Questions
Can you paint a brick fireplace if you still light real fires?
Yes, with the right products. Clean and prime the brick, then use paint rated heat resistant to at least 200 degrees Celsius within 60 cm of the firebox opening. Keep a non combustible margin of stone or tile right at the opening, never paint inside the firebox with ordinary paint, and fit a carbon monoxide alarm in the room as standard practice.
Is painting brick permanent, or can it be reversed?
Paint is effectively one way on brick. Stripping it means chemical removers, wire brushing and often professional help, and the brick rarely returns to its original look. Limewash and whitewash are more forgiving and fade naturally over time. If you are unsure, live with a test patch for a month before committing the whole fireplace.
How much does a brick fireplace makeover cost?
A whitewash or limewash makeover costs under 30 dollars or pounds in materials. Full paint with primer runs 40 to 70. A new timber mantel beam adds 60 to 150, and retiling a hearth lands between 80 and 150. Most projects on this list finish in one weekend, with cleaning and drying time the longest part of the job.
Do I need to prime brick before painting it?
Yes. Bare brick, old soot and chalky mortar absorb paint at different rates, so an unprimed fireplace ends up patchy. Use a masonry bonding primer or a shellac based stain blocker, cut it into the joints first, then roll the faces. One coat seals most brick; heavily sooted areas may need two before the topcoat goes on.
What is the difference between limewash and whitewash?
Limewash is crushed limestone mixed with water that bonds with the masonry and cures to a chalky, breathable finish; it suits heritage looks and bare brick. Whitewash is ordinary flat paint diluted with water and wiped back, cheaper and easier but less durable. Limewash needs bare porous brick, while whitewash works over more surfaces.