Home Improvement
24 Builder Grade Home Upgrades That Add Handcrafted Character
By Anna Wells · · 22 min read
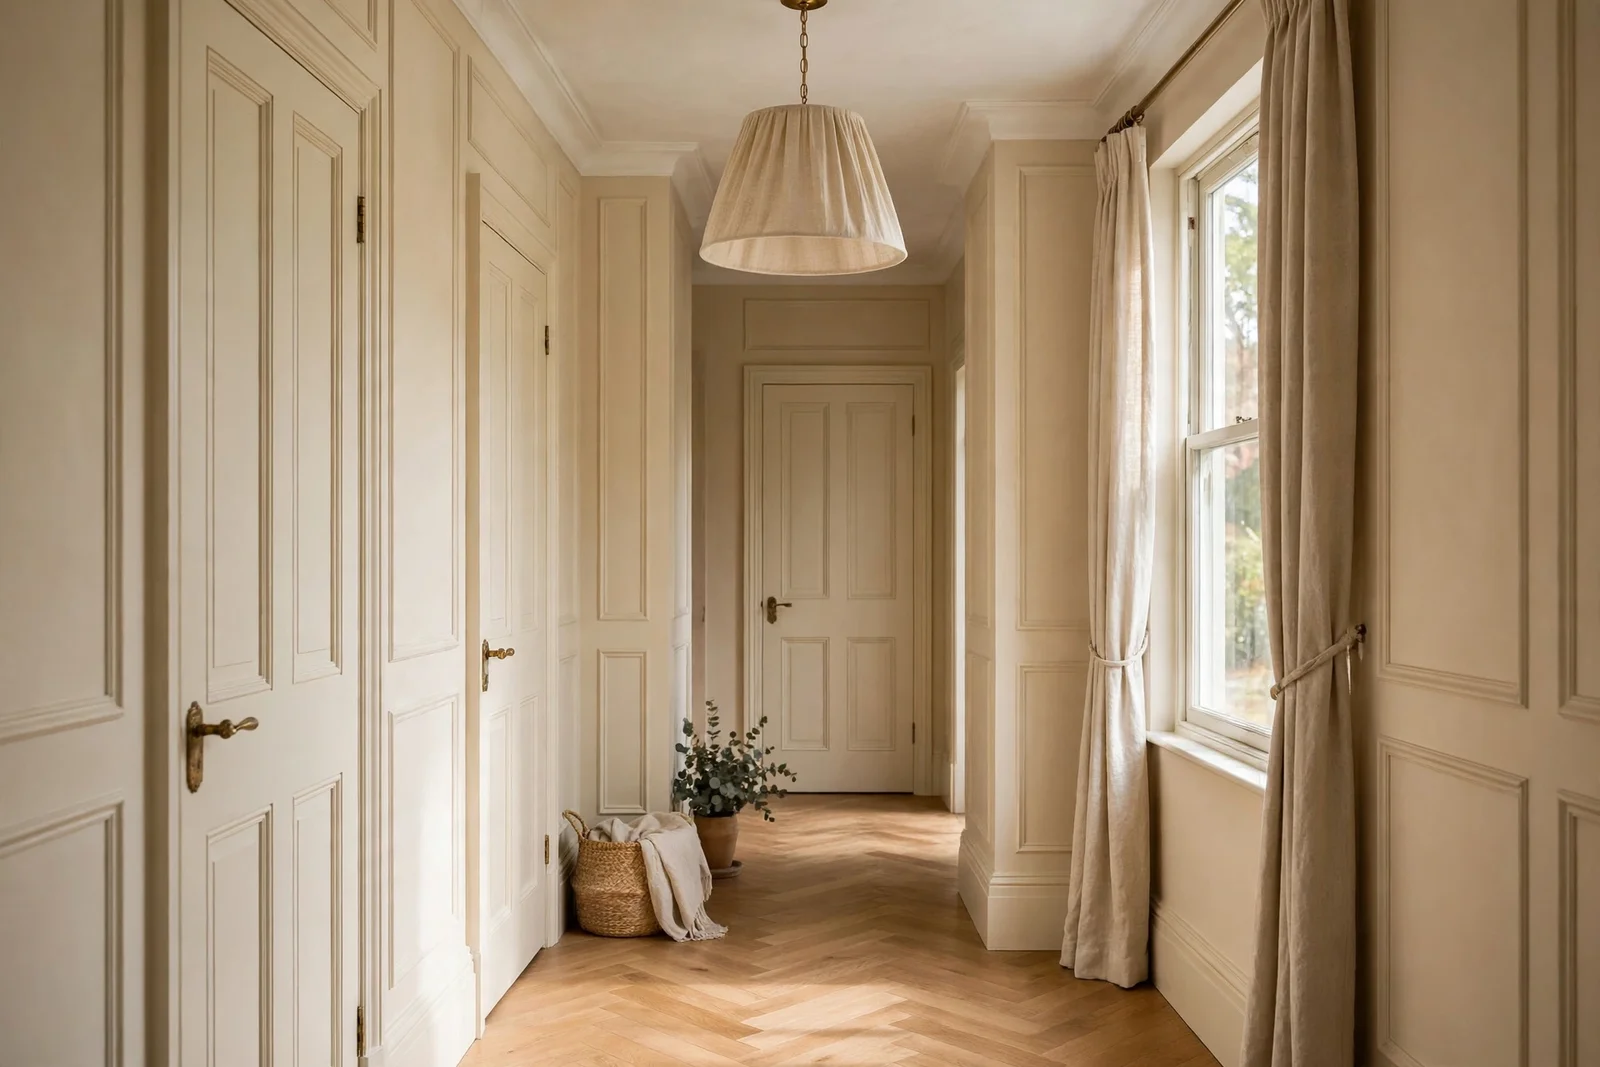
Turn a plain new build into a home with soul: 24 budget-wise upgrades, from brass handles and tall skirting to warm paint and full-length curtains, ordered by cost and effort.
A new build can feel like a blank page: straight walls, flat white paint, and fittings chosen for speed rather than soul. You walk through rooms that work perfectly well, yet nothing in them feels quite like yours. The good news is that character does not require knocking down walls or hiring a contractor for months.
Handcrafted character comes from the details you touch and see every day: the weight of a brass handle, the shadow line of tall skirting, the soft pool of light under a linen shade. Each small upgrade layers warmth over the builder’s blank canvas, and most of them cost less than a single piece of furniture.
This guide collects 24 upgrades in rough order of cost and effort, starting with simple hardware swaps and ending with the bigger paint and joinery projects. Every idea includes honest notes on landlord approval and resale value, so renters and owners alike know exactly where they stand. Pick one, start this weekend, and feel the house change around you.
1. Swap Standard Door Handles for Weighty Solid Brass Levers
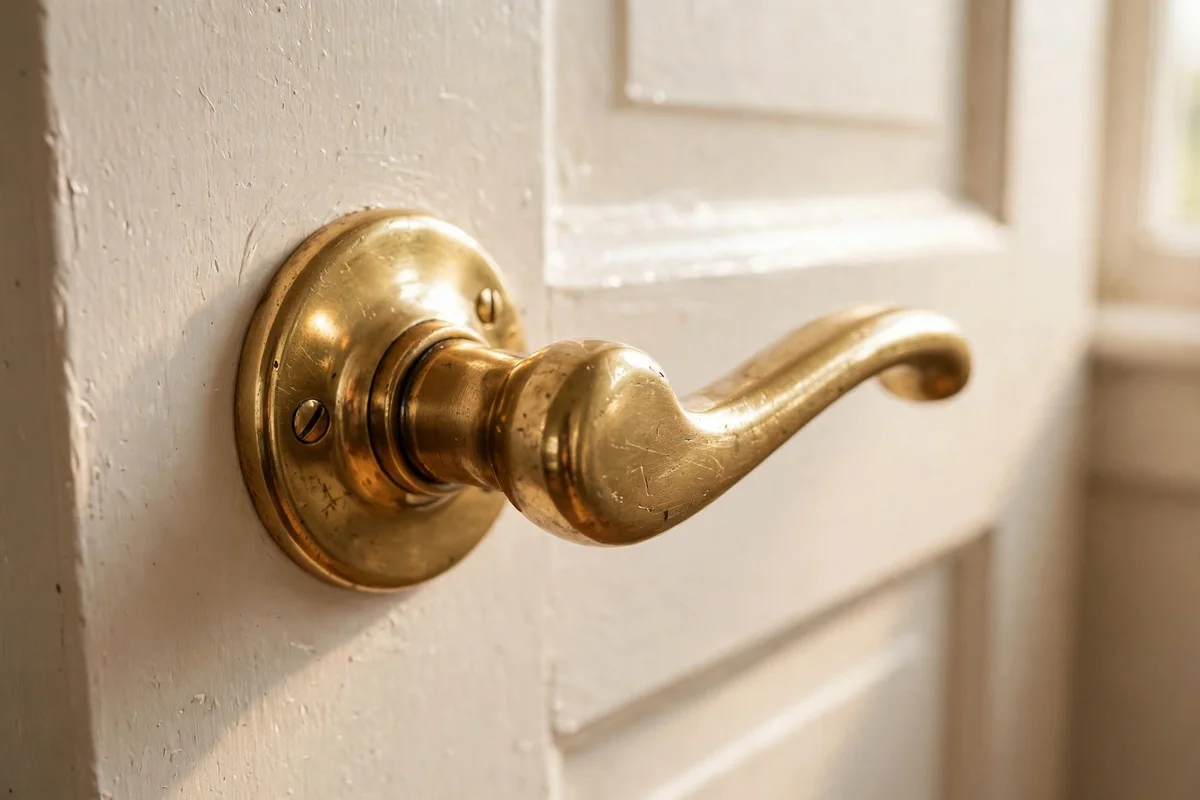
Builder grade homes usually arrive with lightweight hollow handles that feel thin and rattly in the hand. Replacing them with solid brass or iron lever handles, roughly 18 to 28 pounds or dollars per set, changes how every door feels the moment you touch it. Measure the backset, usually 60 or 70 mm, and the door thickness before buying so the spindle fits cleanly. Most lever sets swap over with a screwdriver in about 15 minutes per door. Keep the finish consistent across the floor so rooms feel quietly connected.
The common mistake is buying handles before checking the latch type, since a tubular latch needs a different fitting than a mortice lock. Unscrew one existing handle first and photograph the mechanism to take to the shop. Ten doors at 20 per set is a 200 budget project that most landlords accept, because the originals can be stored and refitted at the end of the tenancy. Buyers notice hardware before they notice walls, so this small change pays back in perceived quality at resale.
2. Replace Hollow Hinges With Solid Ball-Bearing Steel Hinges
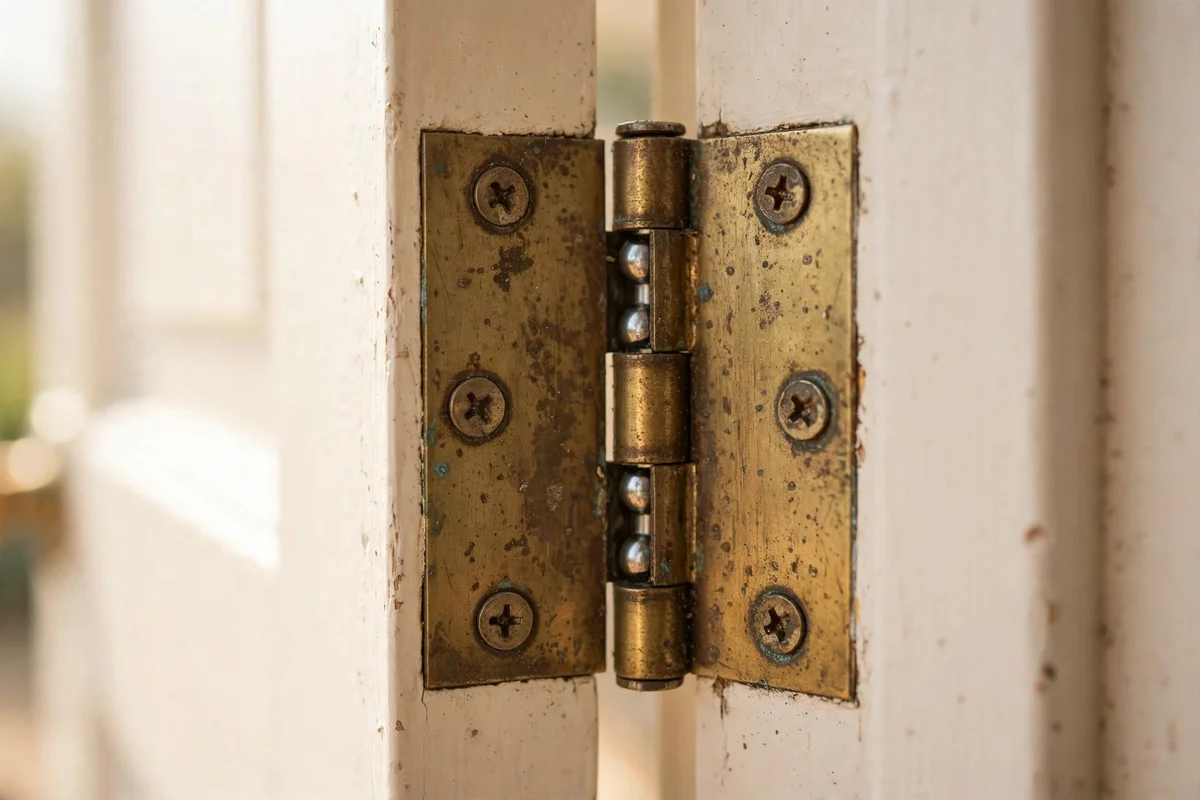
Standard builder hinges are thin pressed steel that squeak, flex and let doors drift out of alignment within a couple of years. Solid ball-bearing hinges in a matching finish, about 8 to 14 pounds or dollars per pair, make doors swing silently and sit square in their frames. Count your doors first: most internal doors need two hinges, taller doors need three. Work one hinge at a time so the door never hangs unsupported, and keep a wedge underneath for safety.
Match the hinge finish to your new handles exactly, since mixed metals read as an unfinished job. Solid brass or stainless steel suits warm paint colours, while matte black works in rooms with darker woodwork. This is a landlord-friendly upgrade because hinges are like-for-like replacements and the originals go in a labelled bag for move-out day. It adds genuine resale value too, because smooth, silent doors signal a well-built home to every viewer who walks through.
3. Upgrade Kitchen Cupboard Knobs to Solid Wooden or Ceramic Pulls
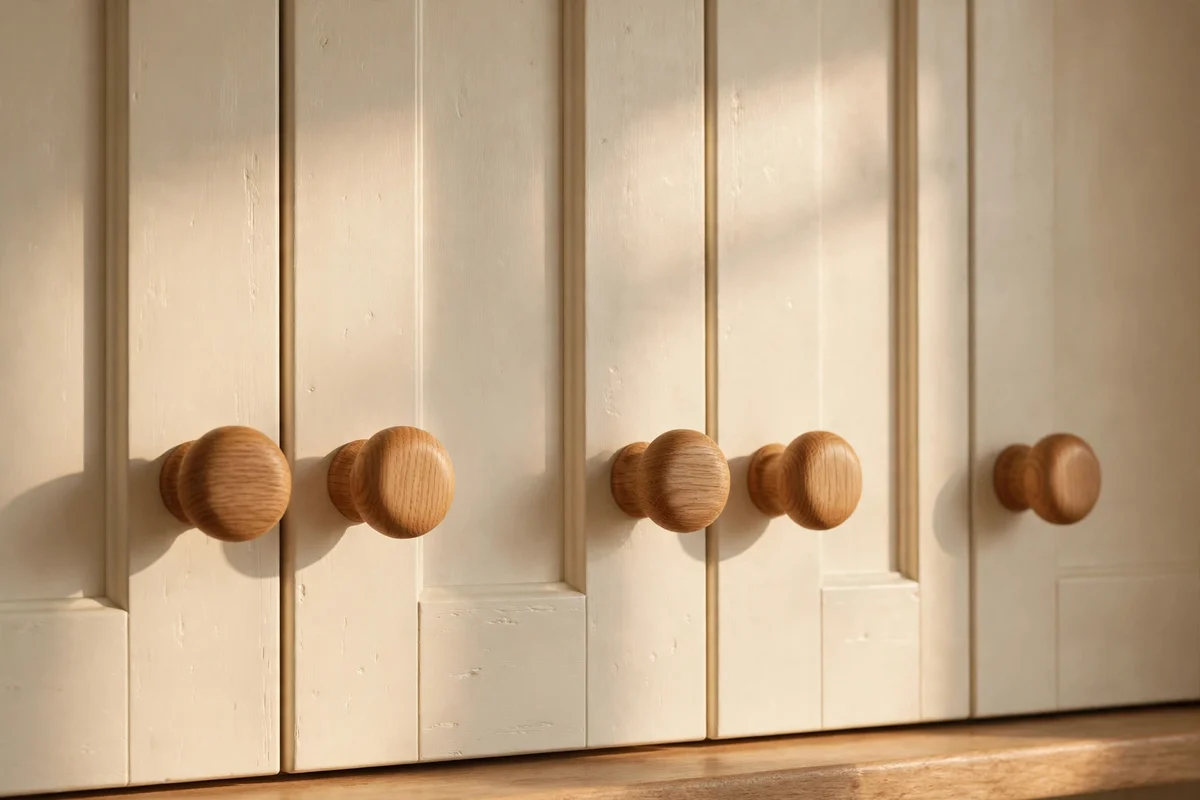
Flat builder kitchens often come with small chrome knobs or nothing at all, which makes every cupboard feel anonymous. Solid wooden, ceramic or leather pulls, usually 3 to 8 pounds or dollars each, add a handcrafted touch you feel dozens of times a day. Unscrew one knob and measure the hole spacing before ordering; single-hole knobs are the simplest swap. Warm oak suits cream and sage cabinets, while aged ceramic patterns flatter plain white fronts beautifully.
Fit every pull at the same height and angle by marking the spot with painter tape first, since one crooked knob ruins the effect. A twenty-door kitchen needs about 60 pulls on average, so buy a full matching set plus two spares rather than mixing batches. Keep the original knobs in a box for the landlord and refit them when you leave. Buyers photograph kitchens first, and real materials in the hardware help the whole room feel custom rather than catalogue.
4. Fit Matching Handles and Hinges So Every Door Reads as One Set
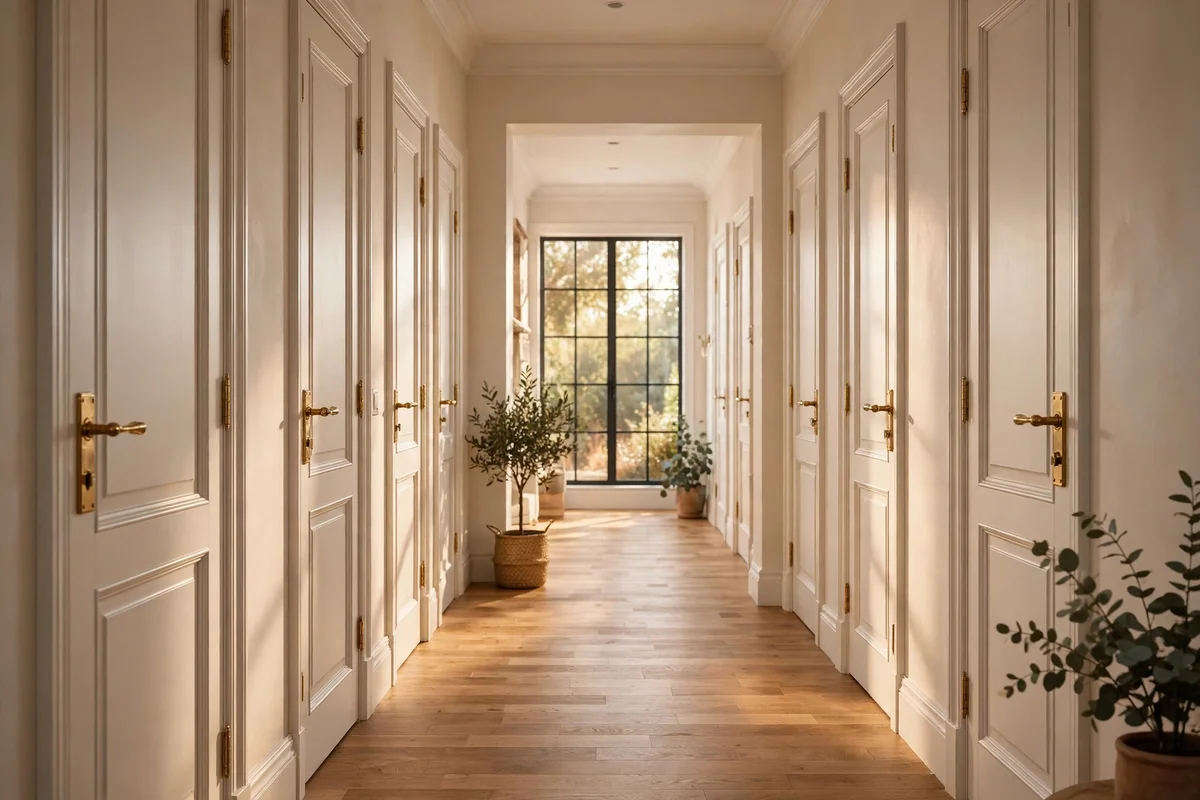
Doing one door at a time over months leaves a house wearing three different metal finishes, which reads as unfinished no matter how nice each piece is. Once you have chosen brass, matte black or aged nickel, commit to it for every handle, hinge and door stop in the property. Buy in one order if you can, because finishes vary slightly between production batches. Photograph a door at each stage so you remember which fixings you already changed.
This whole-house consistency is the cheapest way to make a new build feel considered, and it usually costs less than a single piece of furniture. Start with the hallway doors, since they are the first thing every visitor sees, then work outward room by room. If you rent, ask permission in writing and offer to leave the upgrades in place; most landlords agree because matched hardware raises the value of their property at no cost to them.
5. Replace the Flat Flush Light With a Shaped Linen Drum Shade
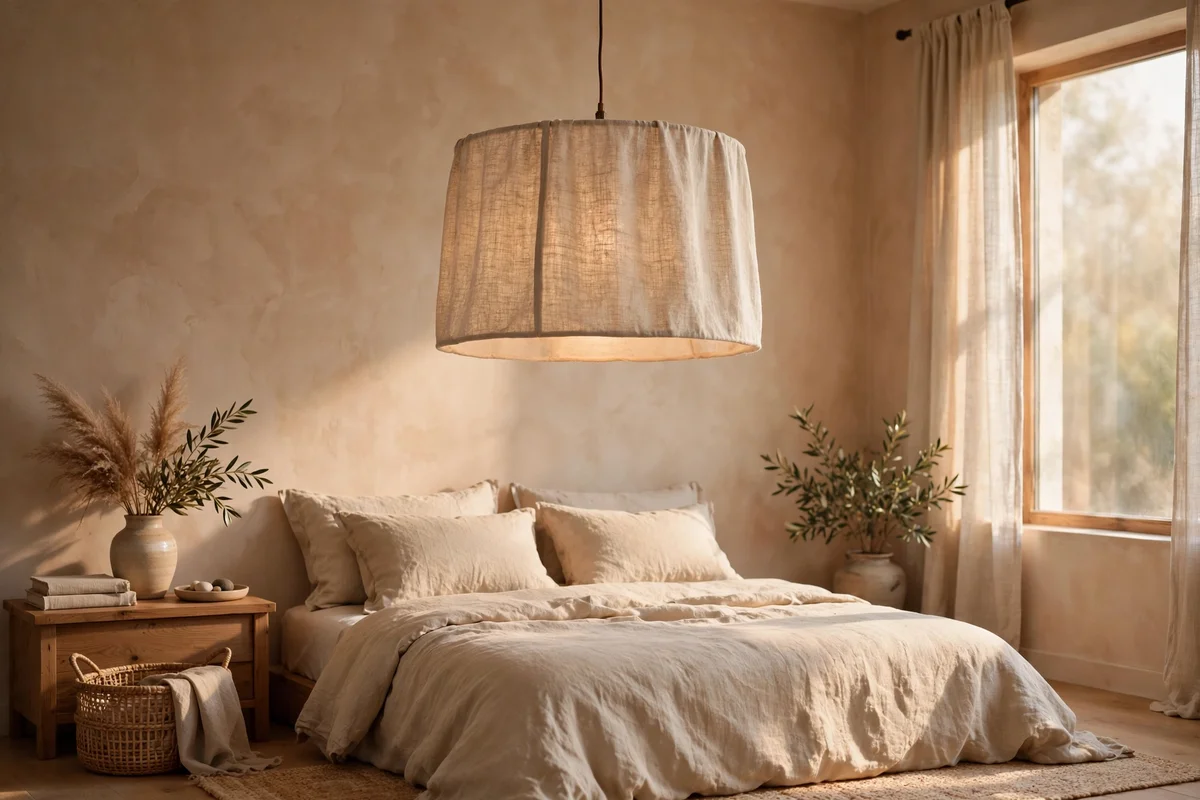
The flush ceiling fitting in a builder grade hallway or bedroom casts a flat glare that flattens every wall and makes the room feel smaller. A shaped linen drum shade, roughly 35 to 50 cm in diameter for an average bedroom, spreads the light softly and gives the ceiling a focal point. Choose natural linen or woven cane rather than plastic, and pair it with a warm 2700K bulb at about 800 lumens for comfortable evening light. The swap takes one screwdriver and ten minutes.
The mistake to avoid is choosing a shade wider than the room can take; in narrow hallways a 25 to 30 cm shade keeps the ceiling feeling high. Hang the shade so its lower edge sits at least 210 cm above the floor for comfortable head clearance. Renters can fit shades over most standard pendants without touching the wiring, making this a tenancy-safe upgrade. Character lighting is one of the first things buyers remember about a home, so it supports resale strongly.
6. Fit a Plaster Ceiling Rose Around the Pendant Drop
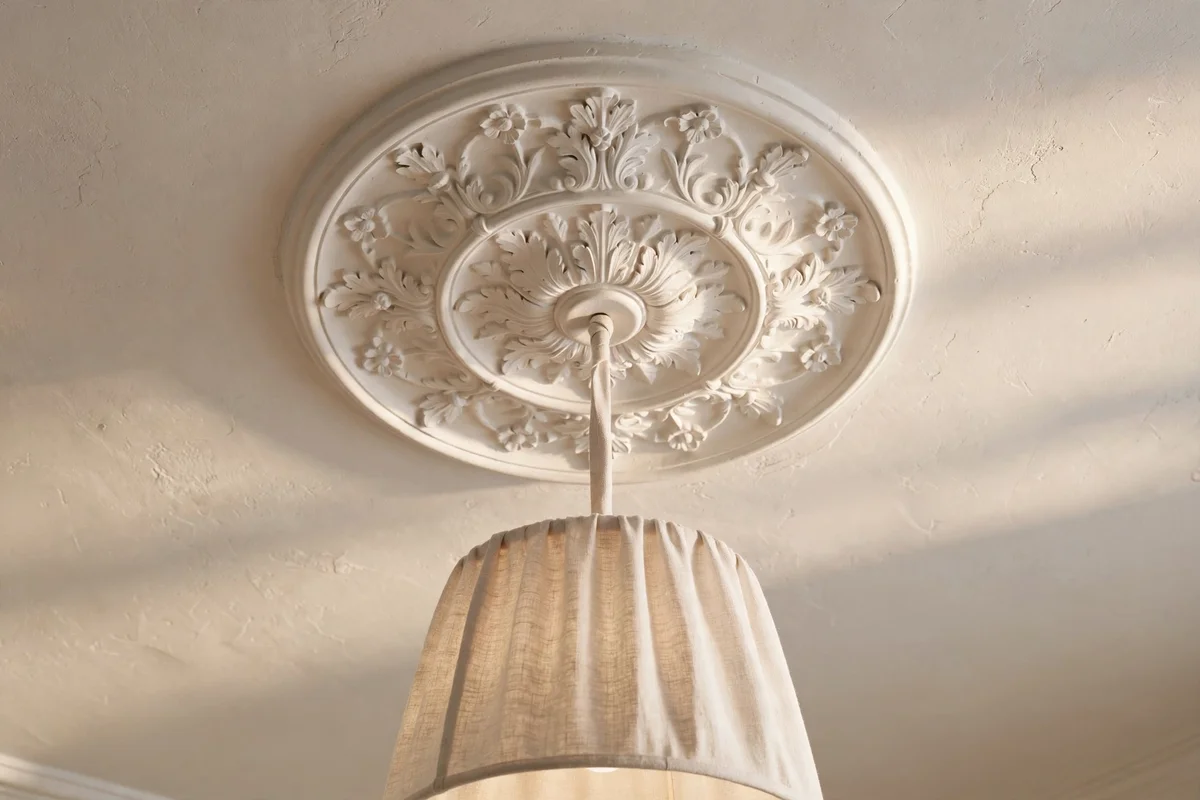
A plaster ceiling rose, typically 40 to 60 cm across for a standard bedroom or living room, turns an ordinary pendant into something that looks original to an older house. Choose lightweight polyurethane or plaster in a simple concentric ring pattern rather than anything overly ornate. Mark the ceiling centre, fix the rose with adhesive and two small screws, and let it set for 24 hours before painting. It costs around 20 to 40 pounds or dollars.
Paint the rose the same colour as the ceiling so it reads as architecture rather than decoration. The common mistake is choosing a rose wider than the light shade above it, which looks unbalanced; the shade should always be the larger of the two. Glue-fixed roses need landlord approval because they leave a mark, but they are permanent value, since period-style details photograph beautifully and lift a whole room for very little money.
7. Lay Tall Skirting Boards Over the Thin Builder Trim
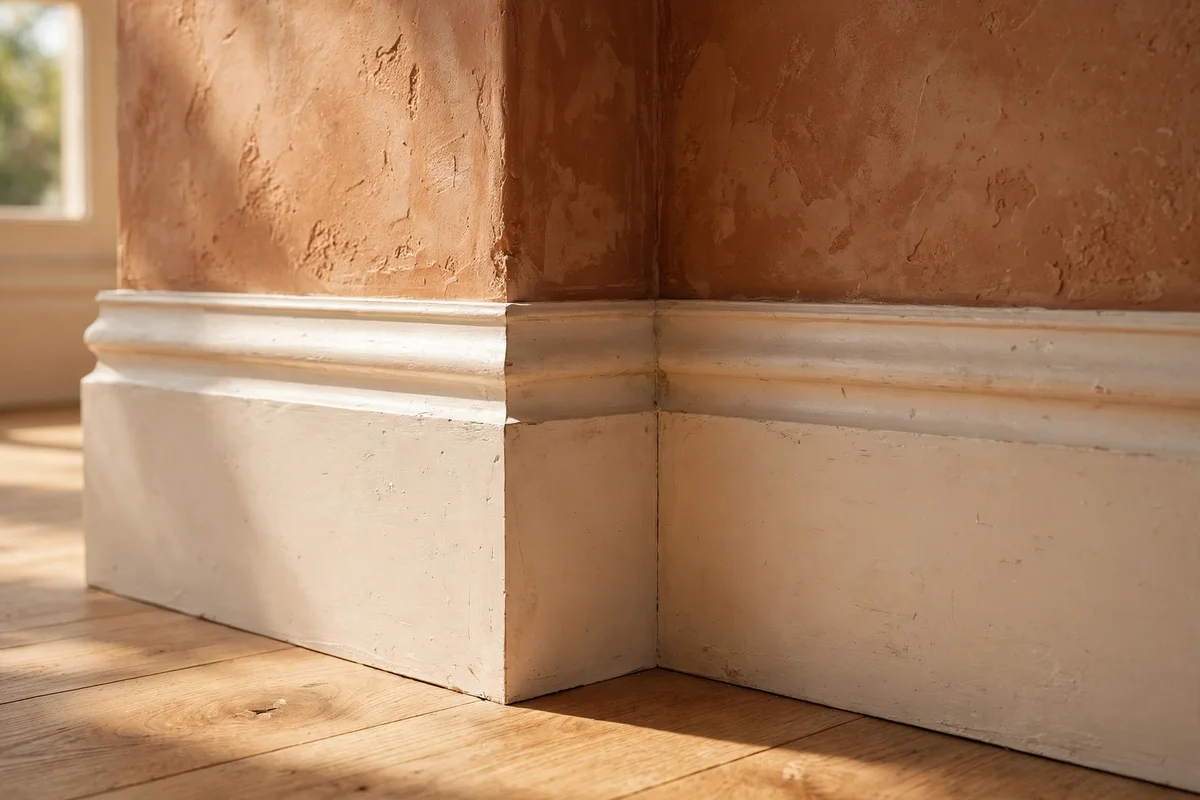
Standard new builds use 70 mm skirting that sits too low and too plain against the wall, making every room feel squat. Upgrading to 150 or 180 mm skirting with a simple chamfered or ogee profile adds instant Victorian-style proportion. Measure each wall run, add ten percent for cuts and mitres, and fix with adhesive plus pins into the wall. At 6 to 12 pounds or dollars per 3 metre length, a living room usually costs under 150.
Paint new skirting in an eggshell finish two shades warmer than the wall, or the same colour as the woodwork throughout the house for flow. The mistake to avoid is butt-joining long runs without staggering; staggered joins disappear once filled and painted. This is not a renter upgrade, since it changes the fabric of the room, but owners gain real resale value: deep skirting is one of the strongest signals of a quality interior to buyers and valuers alike.
8. Fit Architrave Trim Around Plain Door Frames
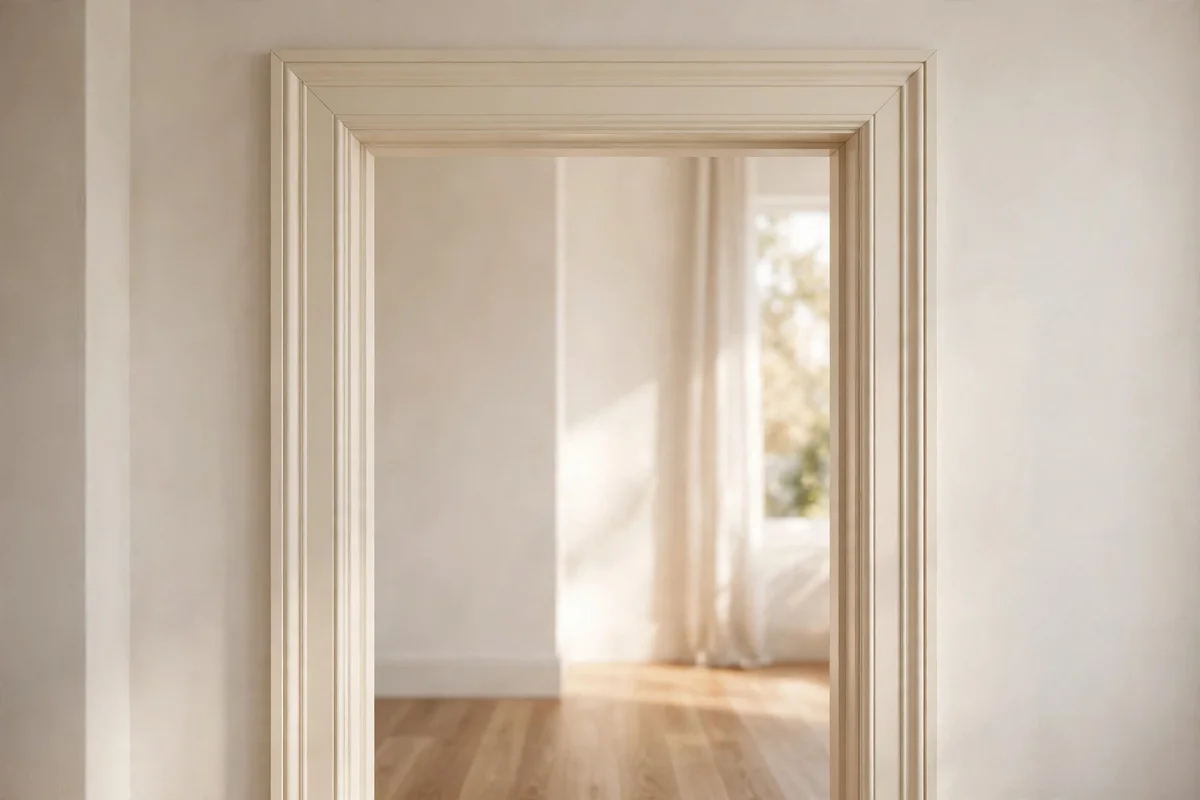
Builder door frames are usually bare, with the plaster meeting the timber in a sharp, unfinished line. Adding 70 to 90 mm architrave in a simple ogee or chamfered profile frames every doorway like a picture and ties the room together. Cut the pieces with a mitre box at 45 degrees, fix with panel pins and adhesive, then fill every join with decorator caulk before painting. Materials for one doorway run about 15 to 25 pounds or dollars.
Always fit the architrave before painting the door, so the finish looks like one continuous piece of woodwork. Keep the same profile on every door in the house; mixing a rounded profile with a square one looks accidental. Like skirting, architrave is a permanent change that needs owner permission if you rent, and it genuinely lifts resale appeal because finished doorways read as craftsmanship in every single room a buyer walks through.
9. Run a Picture Rail Around the Walls Below the Ceiling
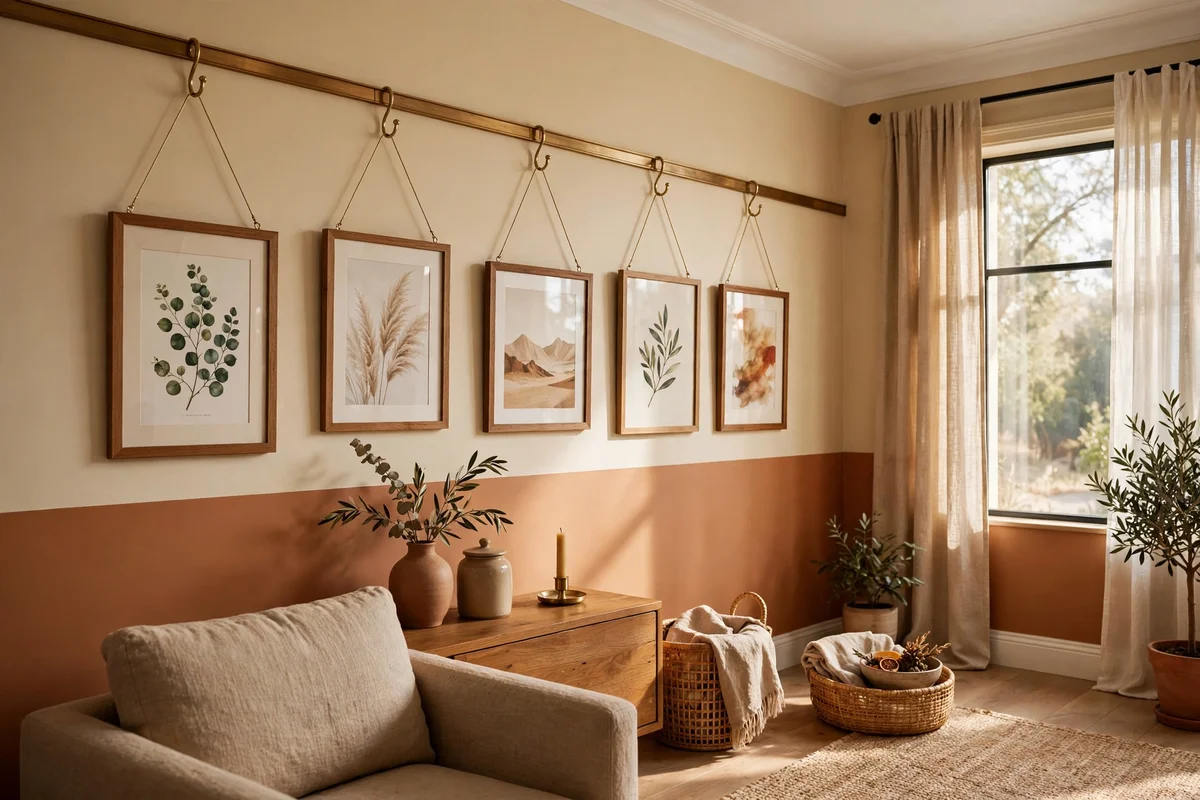
A picture rail, fixed 30 to 45 cm below the ceiling around the room, is the fastest way to give plain new-build walls old-house character. Originally it held hanging pictures; today it also breaks up tall flat walls so paint colours above and below can differ. Use a slim 40 to 50 mm profile, fix it level with a long spirit level and adhesive, and caulk the top edge where it meets the wall. A living room costs roughly 60 to 90 pounds or dollars in timber.
Hang artwork from the rail on brass hooks and picture wire rather than nailing the plaster, which keeps walls pristine. The mistake to avoid is fixing the rail at picture height instead of near the ceiling; too low and it looks like a dado rail in the wrong place. Renters will need permission, but the rail itself becomes part of the room, and two-tone walls above and below it photograph with wonderful depth for sale listings.
10. Paint All New Moulding in Warm Off-White Eggshell
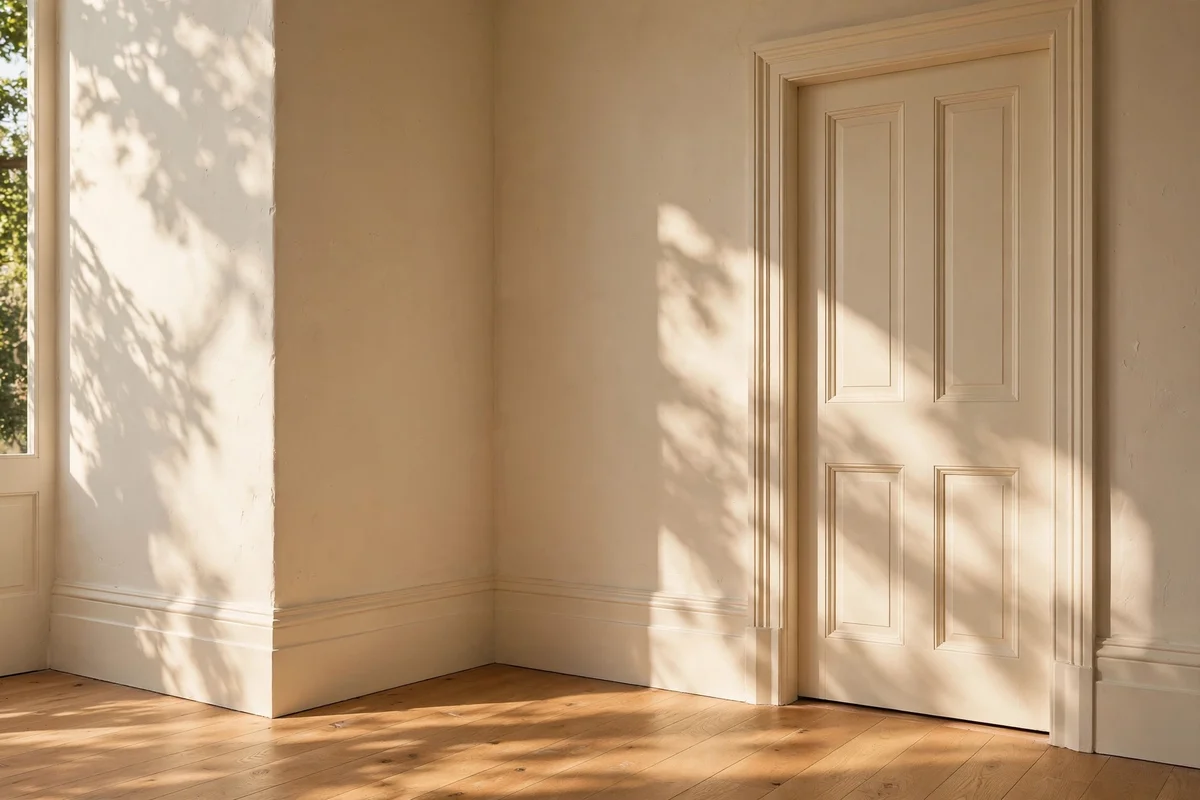
Freshly fitted skirting, architrave and picture rail only look handcrafted once they share one consistent finish. A warm off-white eggshell, such as a shade with a hint of ochre or umber rather than blue grey, suits cream and clay walls far better than brilliant white. Apply one coat of primer and two top coats with a 50 mm sash brush, sanding lightly with 240 grit between coats. A 2.5 litre tin covers about 25 square metres.
The mistake to avoid is painting moulding in brilliant white while the walls are warm; the contrast makes the trim look like plastic. Eggshell gives a soft low sheen that hides small imperfections and wipes clean around busy hallways. This finish work is pure value: buyers run their hands along woodwork, and smooth, warm, consistent trim convinces them the whole house was finished with care rather than speed.
11. Paint Flat Interior Doors in Warm White With Proper Preparation
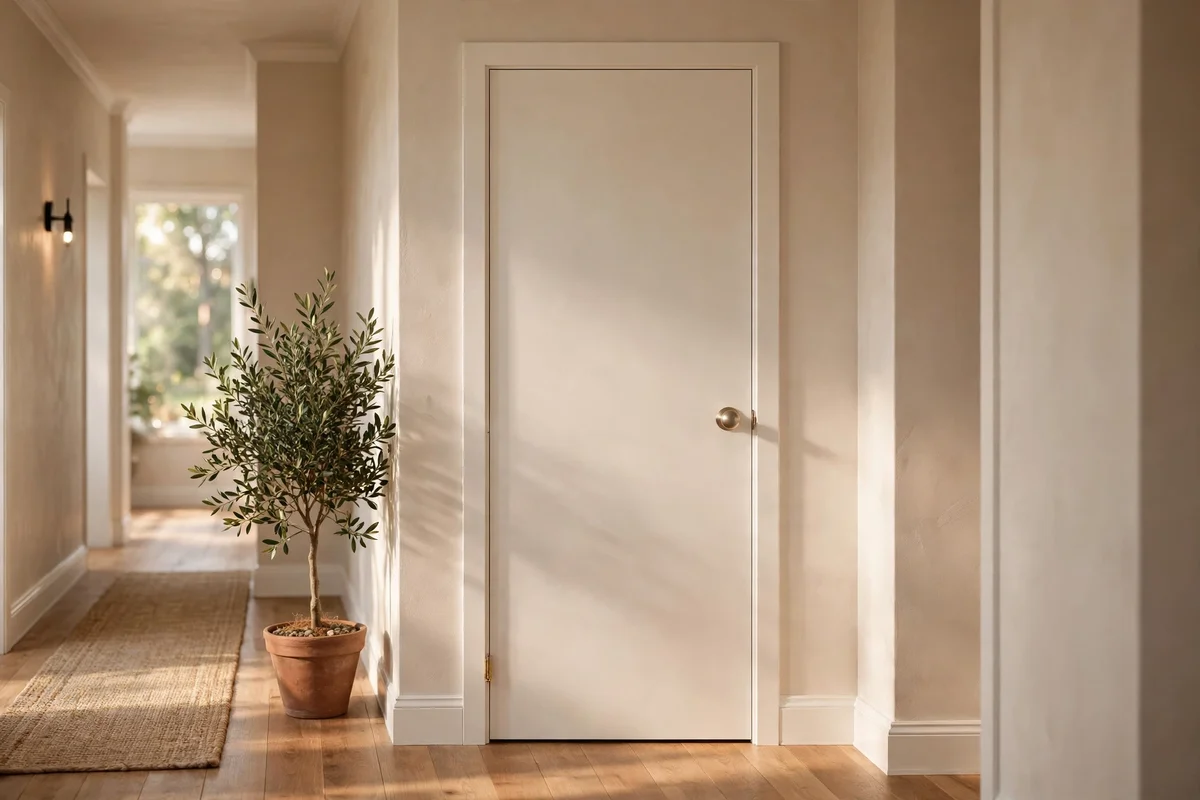
Flat hollow-core doors painted in cold contractor white are the signature of a rushed new build. A warm white with a soft undertone, applied in eggshell or satin, gives them weight and calm. Preparation matters most: wash with sugar soap, sand with 180 grit, fill dents with wood filler, and prime before the top coats. Remove the handles and lay the door flat on trestles so paint cannot run. Allow four hours between coats.
Paint both faces and all four edges, including the top edge nobody sees, so moisture cannot warp the door later. Two thin coats always beat one thick coat; thick paint sags and shows every brush mark. This is usually renter-safe with written permission, since a better paint job improves the landlord’s asset. Painted doors in warm white photograph softly and help buyers feel the house is finished, which supports a stronger sale price.
12. Add Applied Moulding Panels to Flat Doors for a Panelled Look
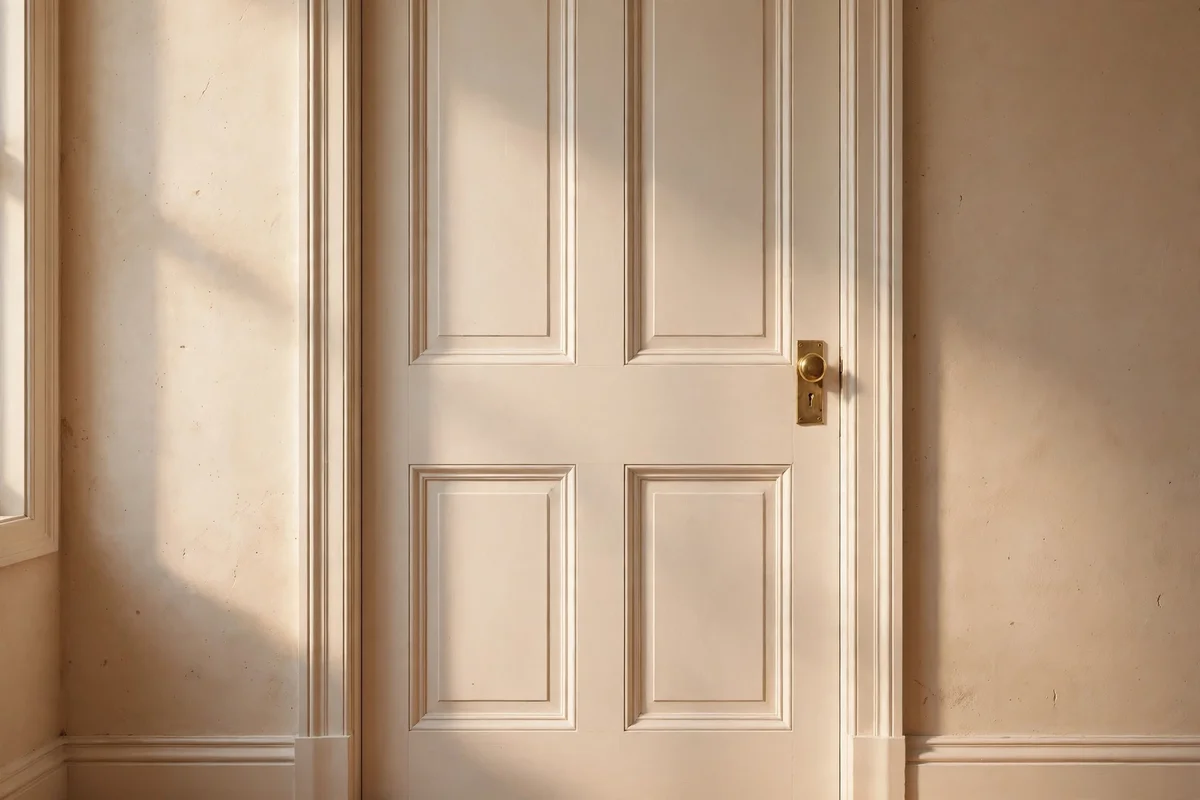
Thin applied moulding, fixed in rectangles on a flat door, creates the look of a traditional panelled door for about 15 pounds or dollars per door in timber beading. Mark two or three rectangles per door face with painter tape first and live with the layout for a day before fixing anything. Cut 20 mm astragal or ogee beading to size, glue and pin it in place, then caulk and paint the whole door one colour so the moulding reads as part of the door.
The common mistake is placing the rectangles too close to the door edge; leave at least 100 mm of flat border so the panels look deliberate. Paint everything, moulding and door alike, in the same warm white so shadows define the panels. This upgrade needs the landlord’s agreement since it permanently alters the door, but it is one of the highest-impact resale tricks in this list: panelled doors read as solid and expensive in photographs.
13. Swap Basic Basin Taps for Classic Crosshead Taps
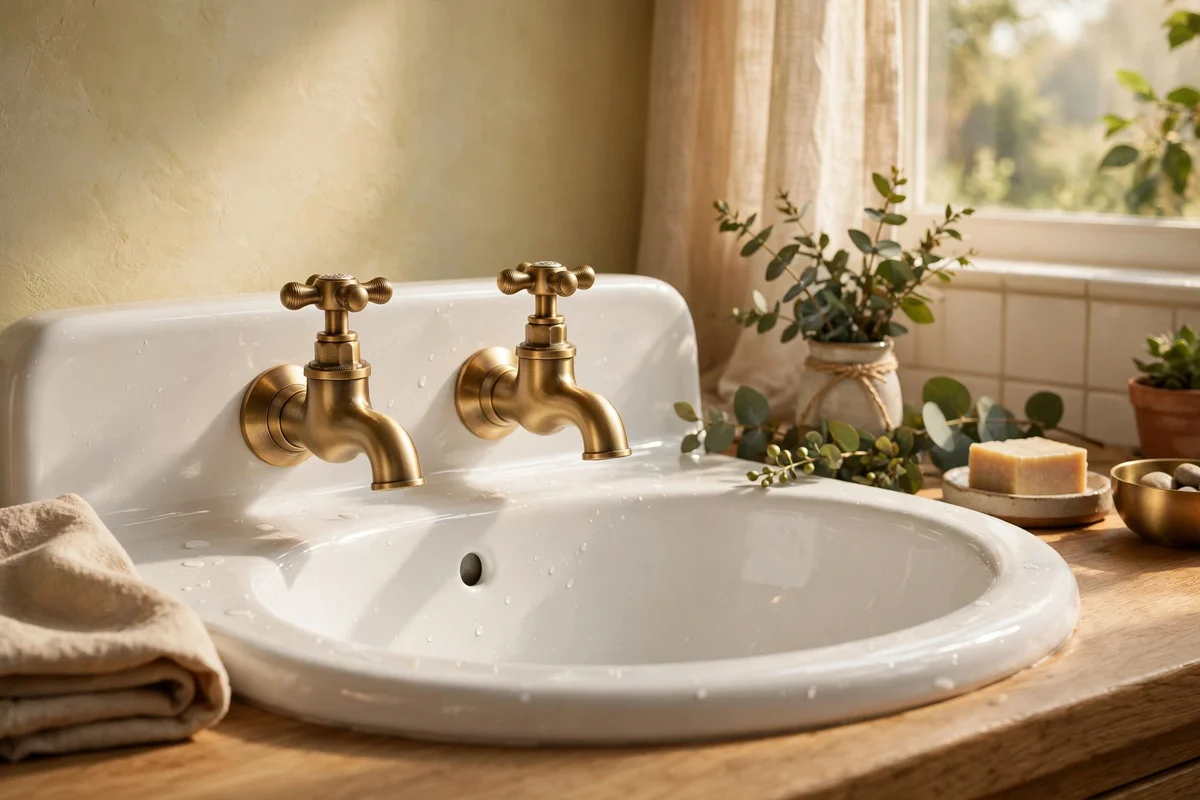
The standard single-lever mixer in a builder bathroom works fine but looks like every other new build on the street. Classic crosshead or lever taps in brushed brass or matte black, typically 60 to 120 pounds or dollars per pair, give the basin a heritage feel instantly. Turn off the water at the isolation valves, photograph the pipe layout before disconnecting, and use new flexible connectors so nothing strains. The swap takes about 45 minutes per basin.
Measure the tap hole spacing on the basin before buying, since two-hole and mono basins need different fittings. Keep a bowl and towels underneath while you work, because some water always remains in the pipes. Renters must get written landlord approval for any tap change, but owners should know that characterful brassware is a genuine resale asset; buyers judge bathrooms on taps and tiles more than on anything else.
14. Fit a Traditional Swan-Neck Tap on the Kitchen Sink
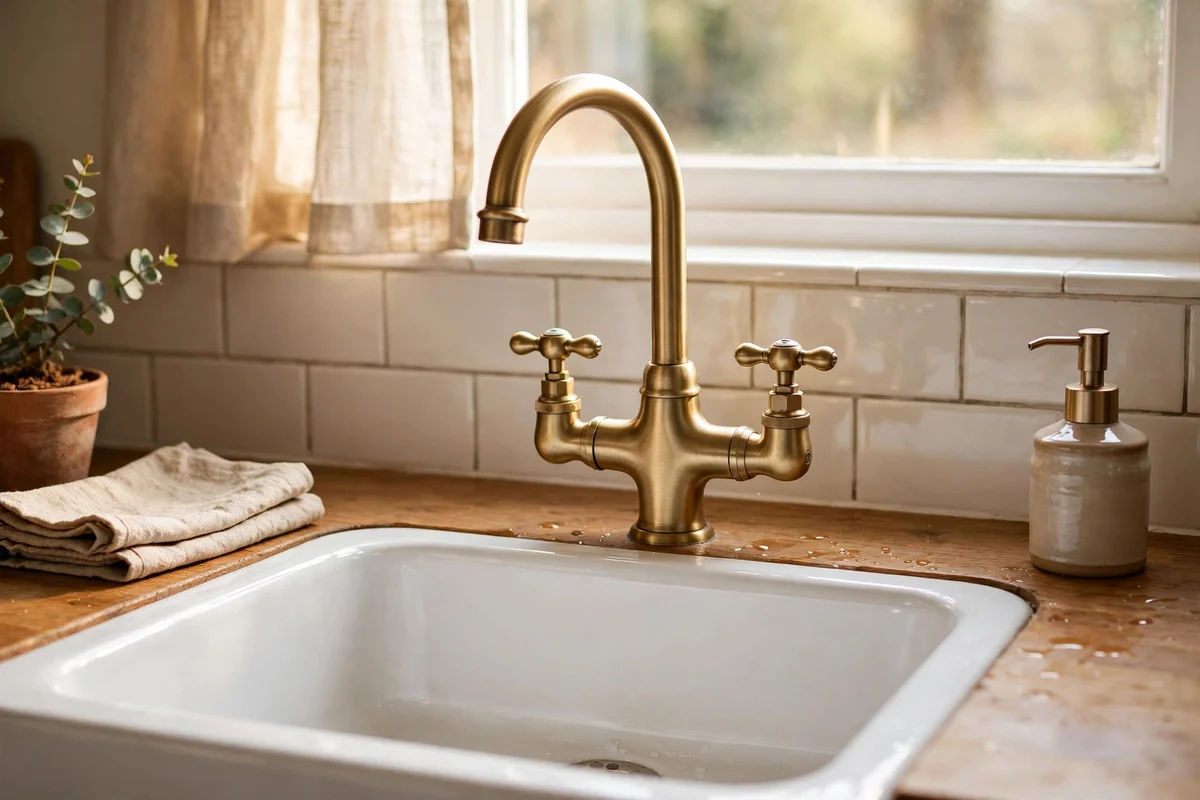
A high swan-neck tap transforms a plain builder kitchen sink into a space that feels designed rather than installed. Choose a model with a 360-degree swivel and a pull-out spray if you cook often, since reach matters more than looks at the sink. Standard kitchen taps fit a 35 mm hole and connect with the same flexible hoses, so the swap takes under an hour with an adjustable spanner. Budget 80 to 160 pounds or dollars for a solid brass model.
The mistake to avoid is choosing a tap so tall that it splashes against a shallow sink; keep the spout about 20 to 25 cm above the sink base. Wrap every threaded joint with PTFE tape, six turns, to prevent slow drips that rot the cabinet floor. Like bathroom taps, kitchen taps need landlord approval in rentals, and a beautiful tap is one of the few kitchen upgrades that genuinely lifts a buyer’s impression without a full refit.
15. Upgrade the Shower Head to a Wider Rainfall Model
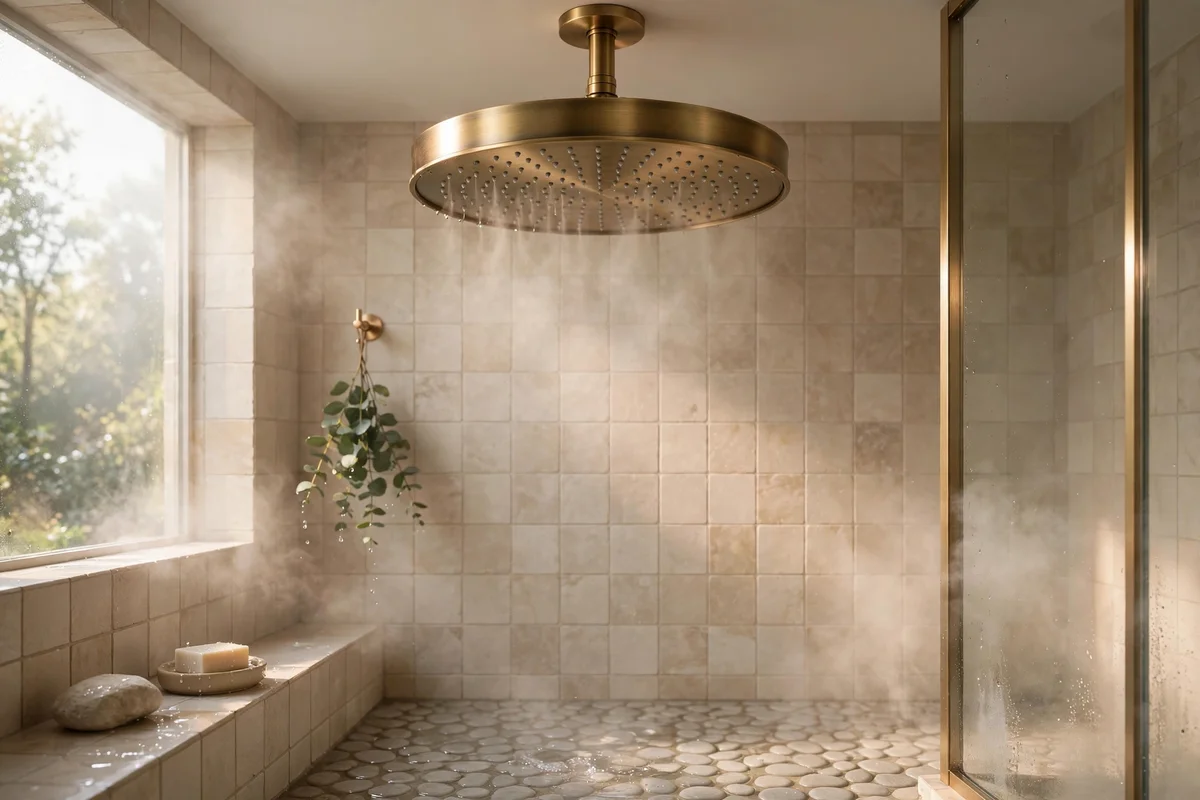
The small plastic shower head fitted in most new builds gives a thin, needle-like spray that feels cheap every single morning. A 200 to 250 mm rainfall head in matching metal, around 40 to 90 pounds or dollars, turns the same shower into something calm and generous. Most heads screw onto the standard half-inch arm with no tools beyond a cloth for grip, and wrapping the thread with PTFE tape stops drips. Check your water pressure first; rainfall heads suit combi boilers best.
If pressure is low, choose an aerating head that mixes air into the spray instead of a wide rainfall disc, which would only dribble. Clean the filter washer every six months to keep the flow even. This is usually a renter-safe swap because the original head goes back on in two minutes, but keep the landlord informed. A generous shower is a small luxury buyers remember, and it costs less than one takeaway dinner for two.
16. Repaint One Room at a Time in Warm Limewash Tones
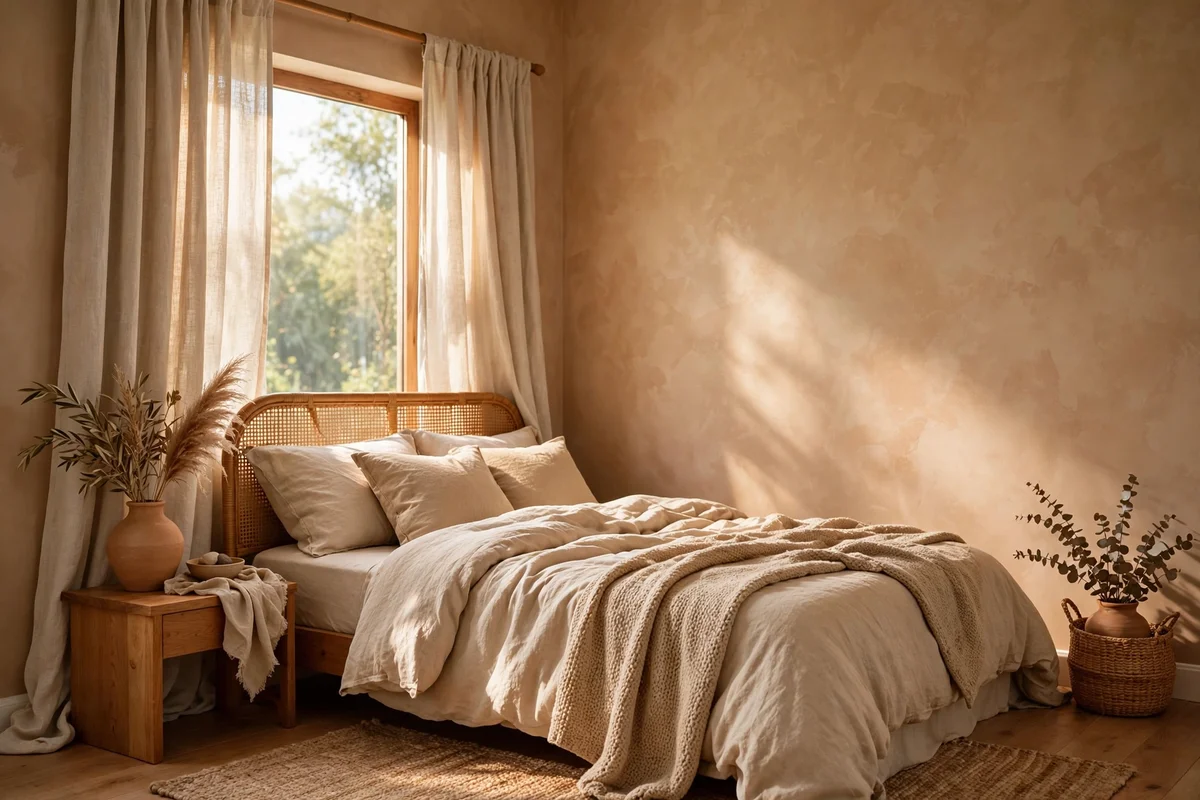
Doing the whole house at once is exhausting and expensive, so work room by room, starting with the one you use most. Warm limewash-style tones, soft clay, muted ochre, warm putty, wrap a room in calm that flat builder white can never give. A 2.5 litre tin of quality emulsion covers about 25 to 30 square metres, which is usually one average bedroom with two coats. Cut in the edges with a brush, then roll the walls in overlapping W shapes.
Test three sample pots on the wall and watch them through a full day of light before committing; warm tones shift dramatically between morning and evening. Paint the ceiling first, then walls, then woodwork, so every layer stays clean. Renters need written permission for any colour change, and should agree the final shade with the landlord first. Warm, cohesive colour is one of the strongest resale signals there is, because it photographs beautifully and feels finished.
17. Soften Ceilings With a Warmer White Than the Walls
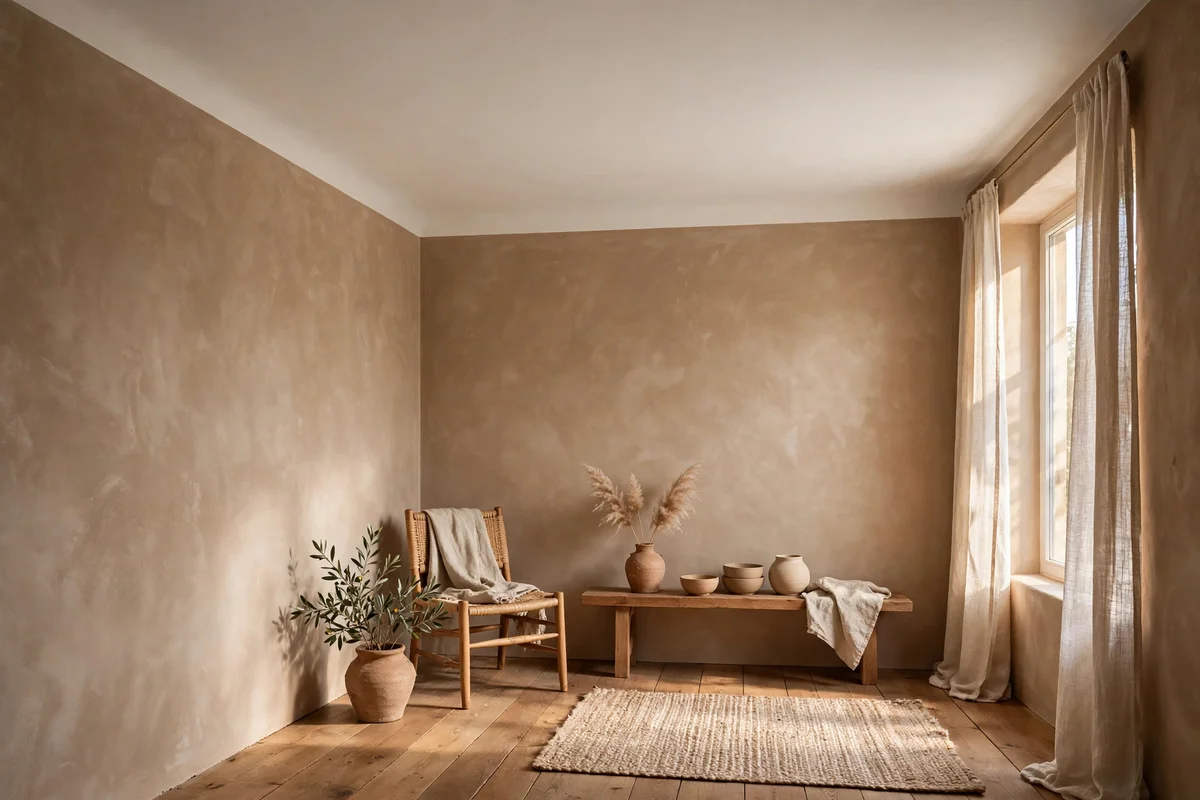
Builder ceilings are sprayed brilliant white, which reads cold against warm wall colours and makes the white look almost blue. Repainting the ceiling in a warm white with a whisper of cream ties it to the walls and makes the whole room feel taller and calmer. Use flat matt emulsion on ceilings to hide roller marks, and work in 1 metre sections with a loaded roller so wet edges always meet. A living room ceiling needs about 5 litres.
The mistake to avoid is using the exact same tin on walls and ceiling; walls need a touch more pigment to read as colour while the ceiling stays light. Keep a damp edge and never roll back over paint that has started to set, since that causes flashing. Ceilings rarely need landlord discussion in owner homes, and in rentals a warm ceiling is an easy sell because it is still fundamentally white, just kinder.
18. Paint the Hallway a Muted Clay to Anchor the Whole House
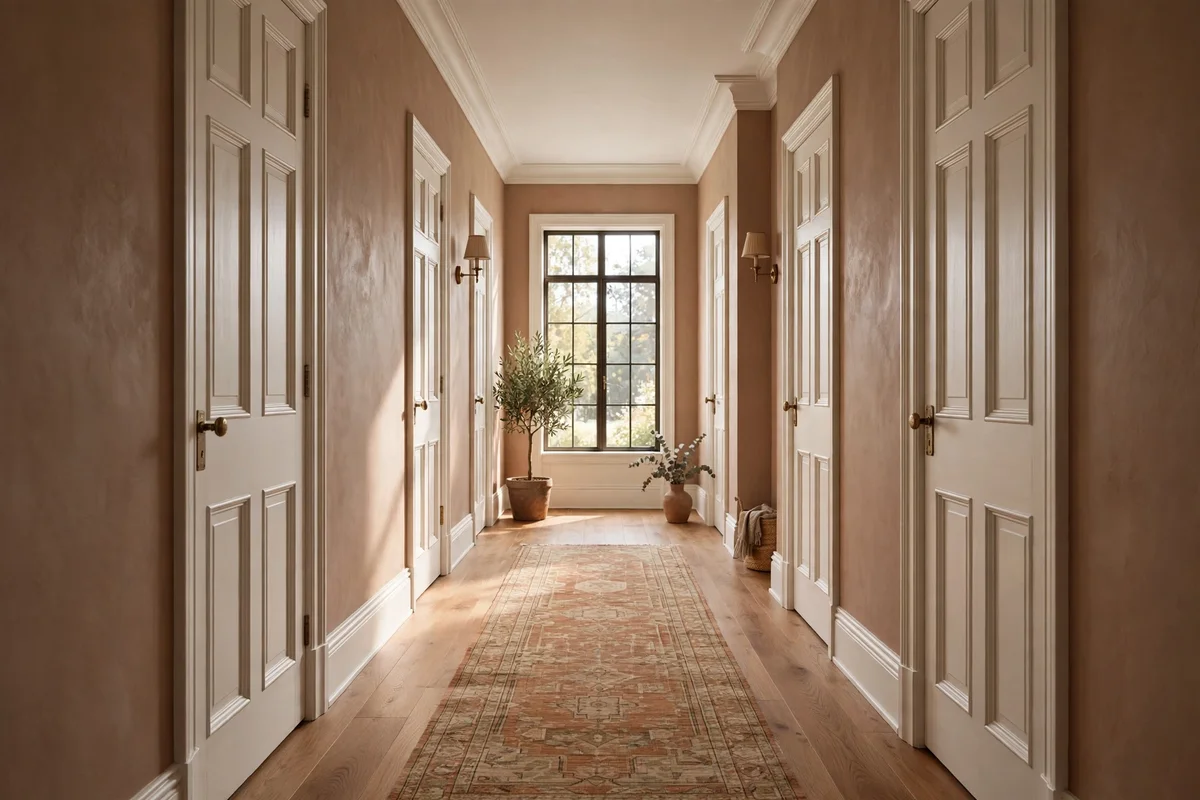
Hallways in new builds are usually the last place colour reaches, yet they connect every room and set the tone of the house. A muted clay, terracotta or warm mushroom on hallway walls makes the whole home feel intentional from the first step inside. Hallways take knocks, so choose a durable matt or soft sheen marketed as scrubbable, and keep the skirting and doors in a paler warm white for contrast. Two coats over a mist coat on fresh plaster give lasting cover.
Paint behind radiators and around door frames properly rather than cutting corners you will see every day. The mistake to avoid is choosing a clay tone that is too dark for a windowless hallway; test it under the hallway’s actual artificial light at night. Agree the shade in writing with a landlord before starting. A warm, confident hallway photographs as the opening shot of a listing and quietly lifts the perceived value of everything beyond it.
19. Hang Full-Length Curtains That Cover the Plain Window Frames
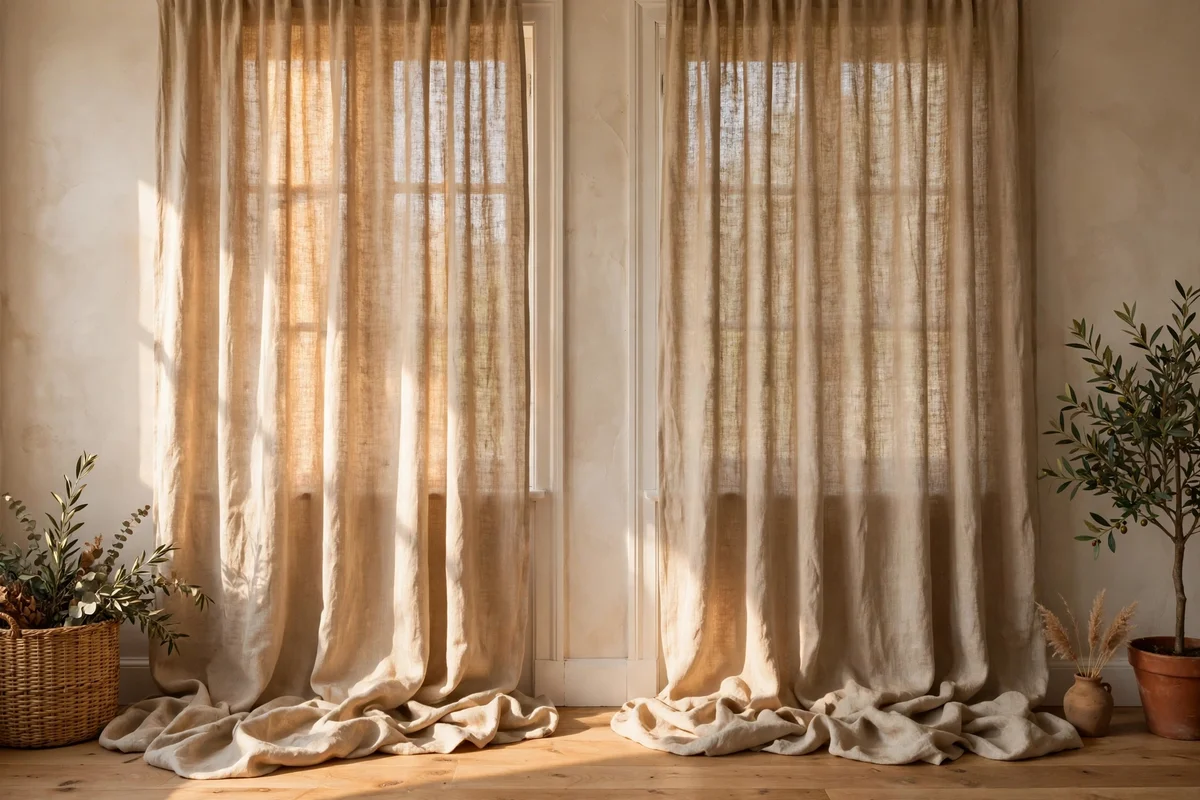
Bare builder windows with thin white frames and a cheap blind look unfinished no matter how tidy the room is. Full-length curtains hung on a pole fixed 10 to 15 cm above the frame and 15 to 20 cm wider each side make the window look larger and hide the plain frame entirely. Choose a pole 120 to 150 cm longer than the window width for proper stacking, and let the fabric just kiss the floor. Linen or cotton in warm neutrals suits every room.
The mistake to avoid is buying curtains the exact width of the window; they need at least double the window width in fabric to gather properly. Line them for better drape and to protect the fabric from sun fade. Curtains are fully renter-friendly since the pole holes are small and easy to fill, and they are the single fastest way to make a bedroom or living room feel finished, which buyers and guests both notice immediately.
20. Fit Deep Timber Sills to Dress Bare Window Reveals
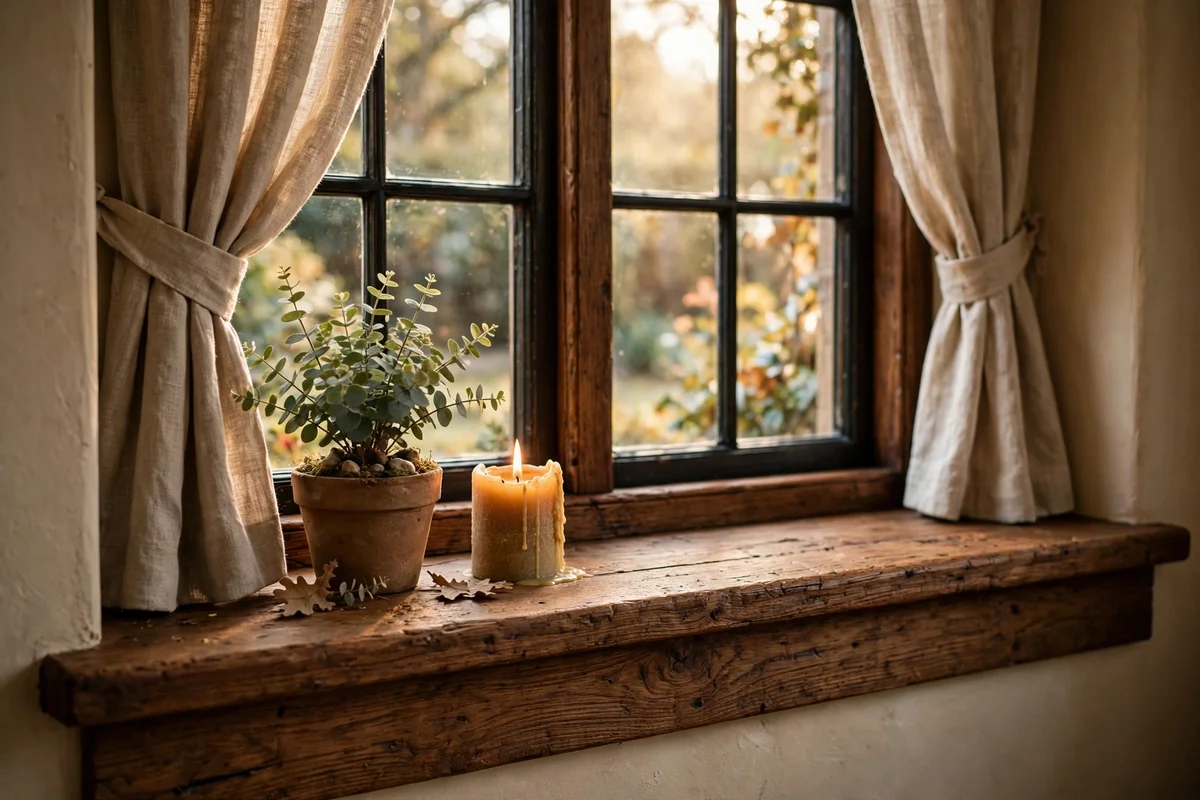
New-build windows often sit in shallow plastered reveals with no sill at all, which looks stark and collects dust in the corners. A deep timber sill, 20 to 25 mm thick and projecting 30 to 40 mm past the wall, gives the window a finished ledge for a small plant or a candle. Cut to fit with a 5 mm gap each end, bed it on adhesive, and seal the joint with flexible caulk. Oak or painted pine both work; paint matches the architrave.
Sand the sill to 240 grit and seal it with two coats of satin varnish or eggshell so condensation cannot stain the timber. The mistake to avoid is butting the sill hard against the window frame without a caulked gap; slight movement will crack a rigid joint. Sills are a permanent fix needing owner or landlord approval, but they add genuine joinery character that buyers read as quality in every room.
21. Dress Plain Window Frames With a Simple Timber Architrave
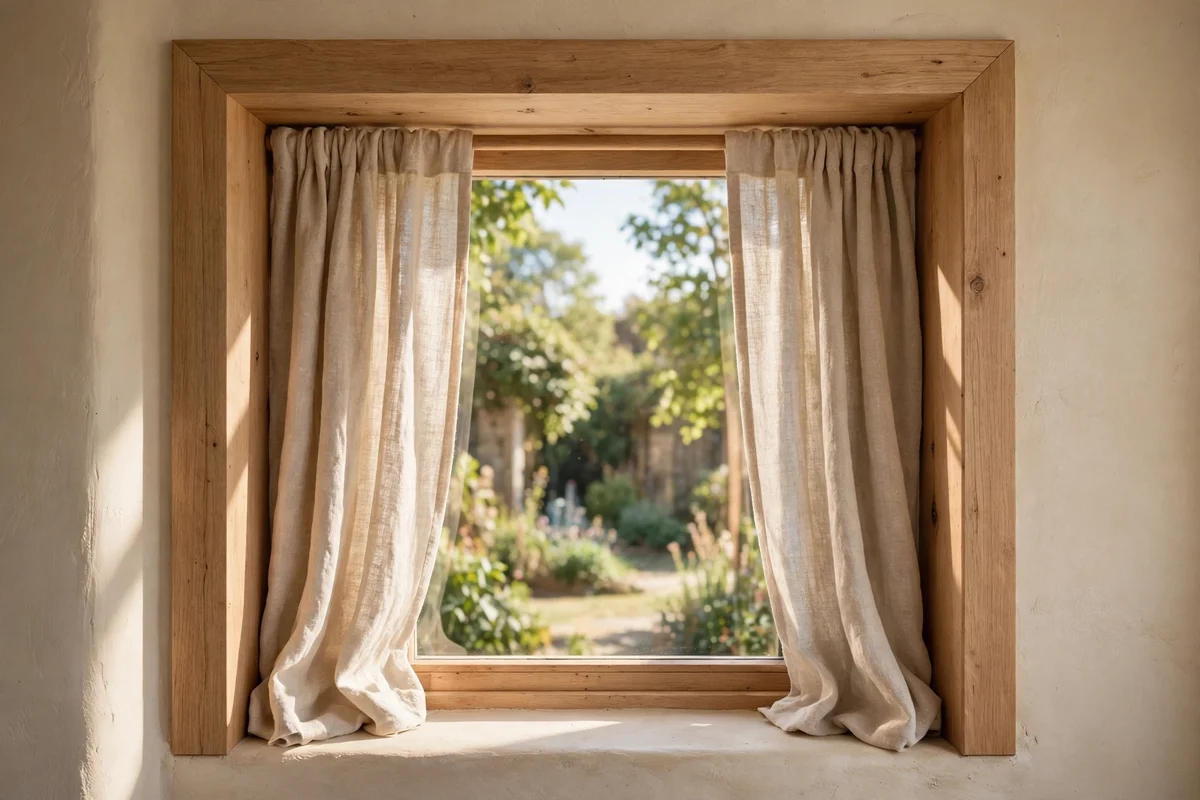
Where the plaster meets the window frame in a new build, the junction is usually rough and painted over in a hurry. Running slim architrave around the window, in the same profile as the door architrave, frames the view and hides every uneven edge. Mitre the corners at 45 degrees, pin and glue the pieces, then caulk and paint them with the rest of the woodwork. One window needs roughly 5 metres of timber and costs under 30 pounds or dollars.
Keep the architrave slim, 50 to 70 mm, so it frames rather than crowds the window. Paint it the same warm white as the doors and skirting so all the woodwork in the room reads as one system. This is a fixed alteration that renters must clear with the landlord, but owners gain real value: finished window frames are a detail buyers associate with older, better-built houses, and they cost almost nothing.
22. Swap Plastic Light Switches for Aged-Brass Faceplates
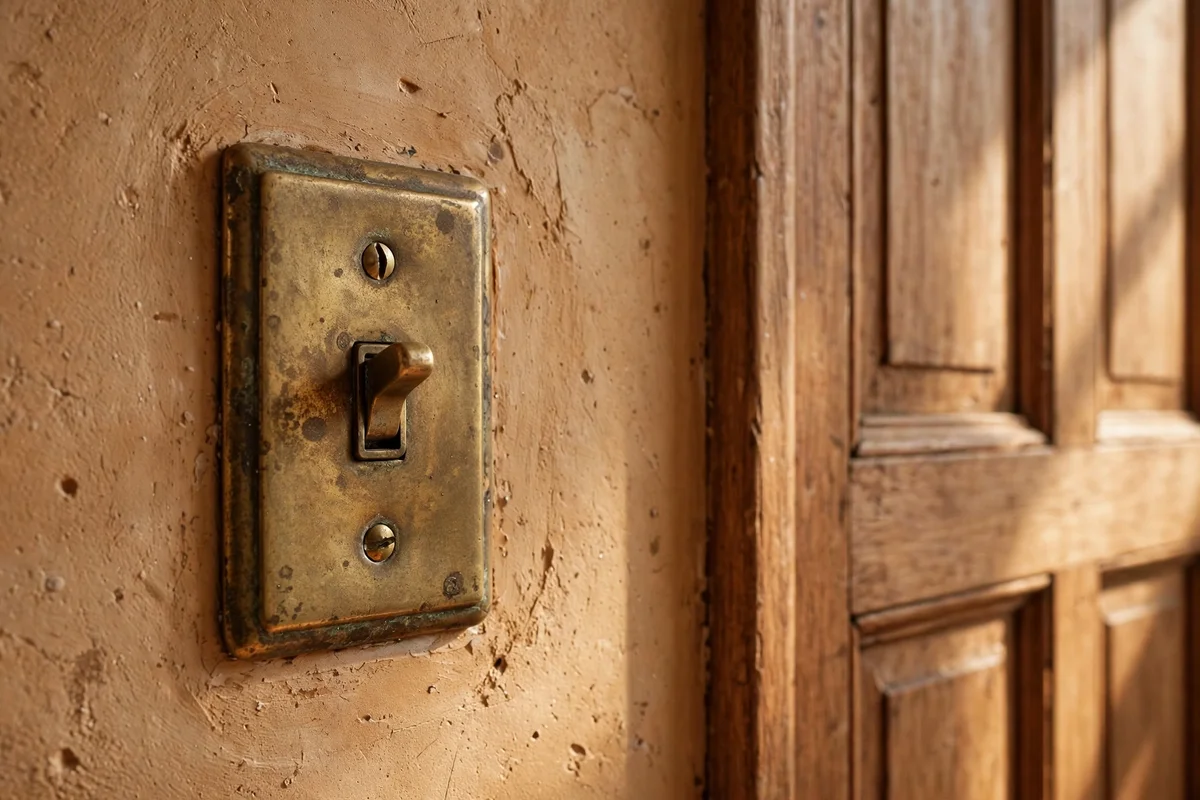
White plastic switches and sockets are the jewellery of a cheap fit-out, and your eyes land on them dozens of times a day. Aged-brass, bronze or matte black faceplates, about 8 to 15 pounds or dollars each, add a quiet handcrafted note to every wall. Isolate the circuit at the consumer unit before touching anything, photograph the wiring, and transfer wires one terminal at a time so nothing gets crossed. Each plate takes ten minutes.
Never attempt this if you are unsure about wiring; an electrician charges little for a whole-house swap and the safety is worth it. Keep the same finish as your door handles so the metals match throughout the room. This is a like-for-like electrical accessory change that landlords usually approve quickly, and consistent quality faceplates are a subtle resale signal that tells buyers the details were finished properly.
23. Hang Heavyweight Frames in a Grid to Warm Bare Walls

Large bare walls are the emptiest feature of a new build, and one small frame lost in the middle only emphasises the blankness. A grid of six or nine matching frames, each 30 by 40 cm with 8 to 10 cm gaps, fills the wall with calm order. Use solid oak or black timber frames with wide mounts, hang them from two points each, and use a laser level or a simple cardboard template so every gap matches. Botanical prints and landscape sketches suit the look.
The mistake to avoid is hanging the grid too high; the centre of the arrangement should sit at about 145 to 150 cm, average eye level. Choose prints in a limited palette of two or three colours so the grid reads as one artwork. Framed grids need only small wall fixings, making them renter-friendly, and a confident gallery wall is one of the fastest ways to make a plain room feel personal and complete for both guests and buyers.
24. Lay a Wool Flatweave Rug to Soften Hard Builder Floors
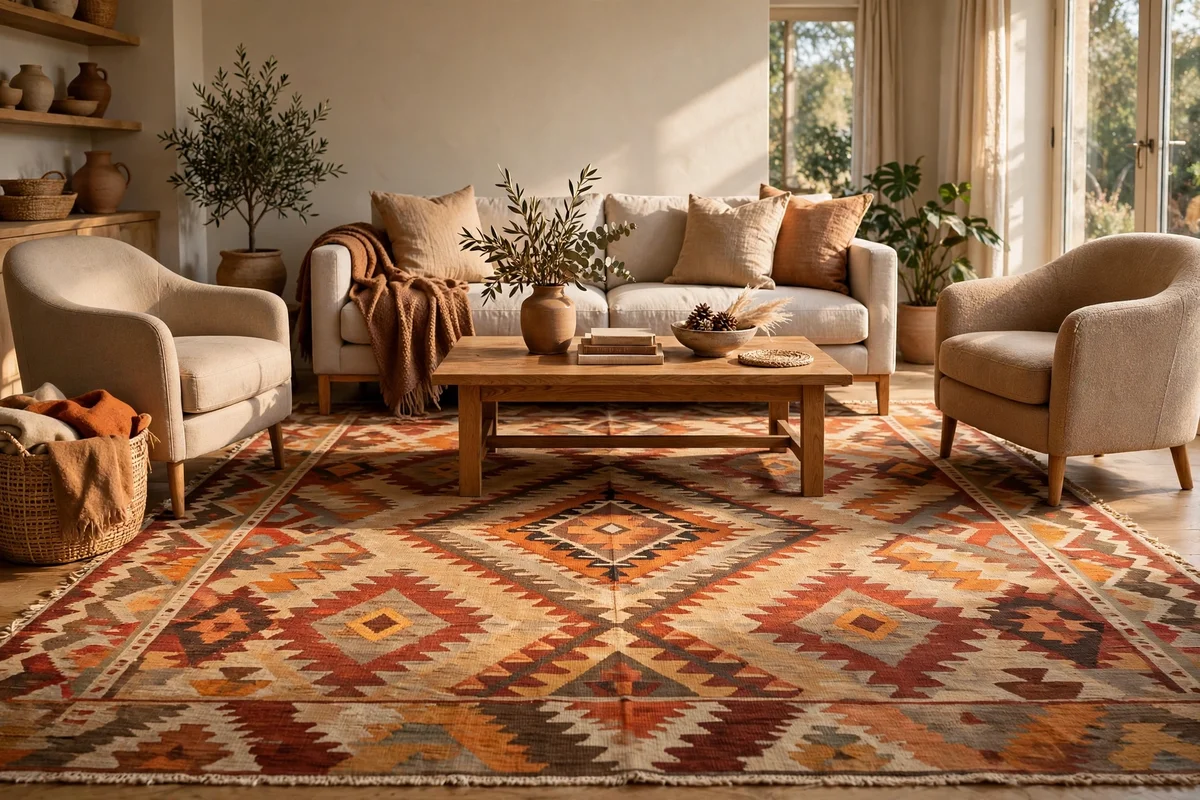
Standard new-build flooring, pale laminate or basic carpet, can make a room feel cold and echoey no matter how well it is decorated. A wool flatweave rug in a warm pattern anchors the furniture and adds texture underfoot. Size it generously: in a living room the front legs of the sofa and armchairs should all sit on the rug, which usually means at least 160 by 230 cm. Wool resists stains better than cotton and lasts for decades.
Use a non-slip underlay on hard floors so the rug never creeps, and rotate it twice a year for even wear. The mistake to avoid is choosing a rug that is too small; a floating postage-stamp rug makes the room look smaller, not cosier. Rugs travel with you, so renters need no permission at all, and a beautiful rug is one of the few upgrades that adds warmth to the room and value to your own belongings at the same time.
The thread running through all 24 ideas is simple: replace the anonymous with the considered, one detail at a time. A plain house becomes characterful not through one dramatic renovation but through dozens of small decisions that say somebody cared. Handles, moulding, warm paint and good light do more together than any single expensive statement piece ever could. Start where the cost is lowest and let each finished room build your confidence for the next one. Begin today.
If you try just one thing this week, swap the handles on the doors you touch most. It takes an afternoon, costs less than a grocery run, and every time you open a door you will feel the difference. From there the rest follows naturally, because once a home starts feeling like yours, you will want to keep going, one room at a time.
Frequently Asked Questions
Which builder grade upgrades add the most resale value?
Deep skirting, architrave, panelled doors and warm cohesive paint add the most, because buyers read them as craftsmanship in every room. Quality taps, brass handles and finished window frames also lift perceived value strongly. These are permanent improvements, so they suit owners best; renters should focus on reversible wins like curtains, rugs and lighting.
What upgrades can I do in a rental without landlord approval?
Curtains, rugs, framed artwork, freestanding lighting and swapping a shower head back and forth are usually safe, since nothing is permanently altered. Keep every original fitting in a labelled box for move-out day. For paint, new taps or any fixed moulding, always get written permission first and offer to leave the improvement in place.
How much does it cost to add skirting and architrave to a whole house?
Materials run roughly 6 to 12 pounds or dollars per 3 metre length of skirting and a similar price for architrave. A three-bedroom house typically needs 400 to 700 in timber plus adhesive, caulk and paint. Doing the labour yourself over a few weekends keeps the total under a thousand; hiring a joiner roughly doubles it.
Should I paint the whole house one colour or go room by room?
Work room by room, starting with the hallway and the room you use most. Use one warm white for all ceilings and woodwork so the house flows, then give each room its own warm wall tone. This keeps the project affordable and lets you learn what you like before committing the next room to a colour.
How do I make cheap flat doors look expensive?
Sand, fill and prime them properly, then paint in a warm white eggshell with two thin coats. Add applied moulding rectangles, leaving at least 100 mm of flat border, and caulk every join before painting. Finish with weighty brass levers. The combination of panels, warm paint and solid hardware reads as a traditional panelled door.