Home Improvement
24 Rustic Fireplace Makeovers That Bring Back the Hearth Feeling
By Anna Wells · · 20 min read
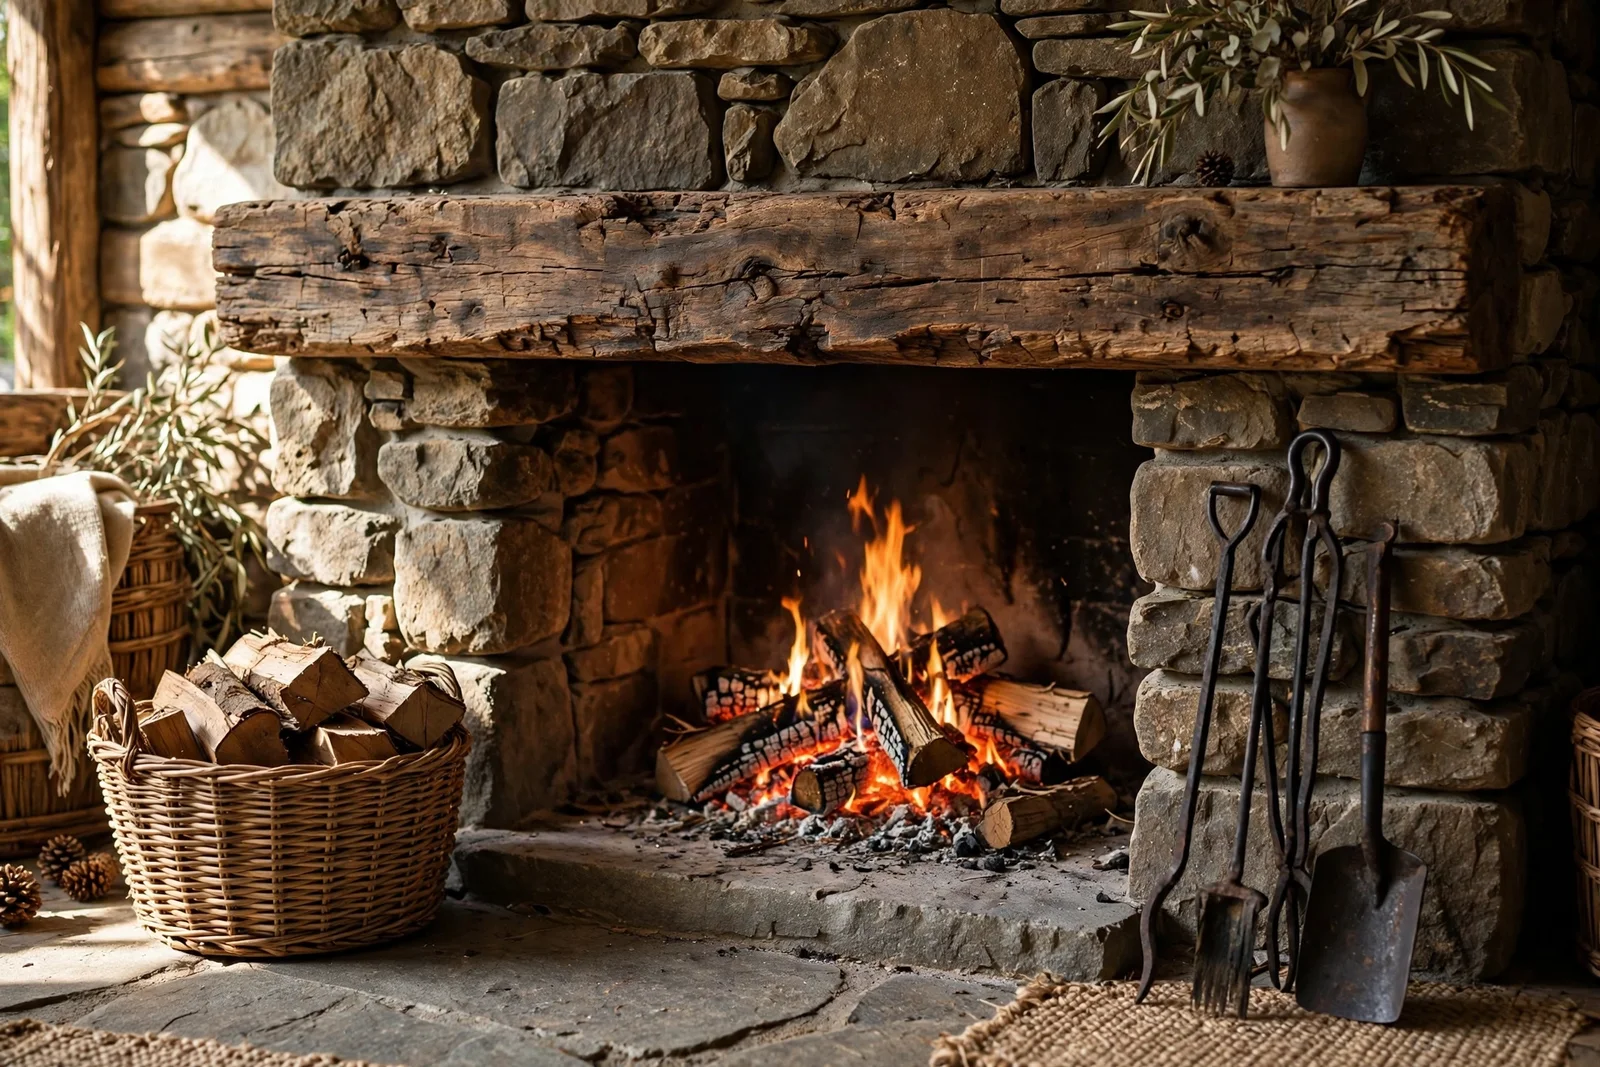
The fire has just been lit and the room settles into that particular hush only a real hearth creates. Warmth moves slowly across the stone, the beam above the mantel catches the light, and everything in the room seems to lean a little closer. This is the feeling a rustic fireplace makeover is really about, not trends or showroom styling, but the quiet gravity of honest materials.
The fire has just been lit and the room settles into that particular hush only a real hearth creates. Warmth moves slowly across the stone, the beam above the mantel catches the light, and everything in the room seems to lean a little closer. This is the feeling a rustic fireplace makeover is really about, not trends or showroom styling, but the quiet gravity of honest materials.
A rustic fireplace suits stone and timber exactly as they are, with grain showing and edges left rough. Reclaimed beams, limewashed stone, handmade-looking tiles and blackened iron all belong to the same family of materials, and each of the ideas below uses them in a practical way. Nothing here asks for a specialist builder, though some jobs are better handed to one.
Across the twenty four makeovers you will find mantels and surrounds, hearths raised and tiled, inserts blackened and styling finished, with safety clearances and professional checks woven through. Read the safety notes carefully, measure twice before you buy, and start with the one change that would transform your evenings fastest.
1. Mount a Reclaimed Timber Beam Mantel Above the Firebox
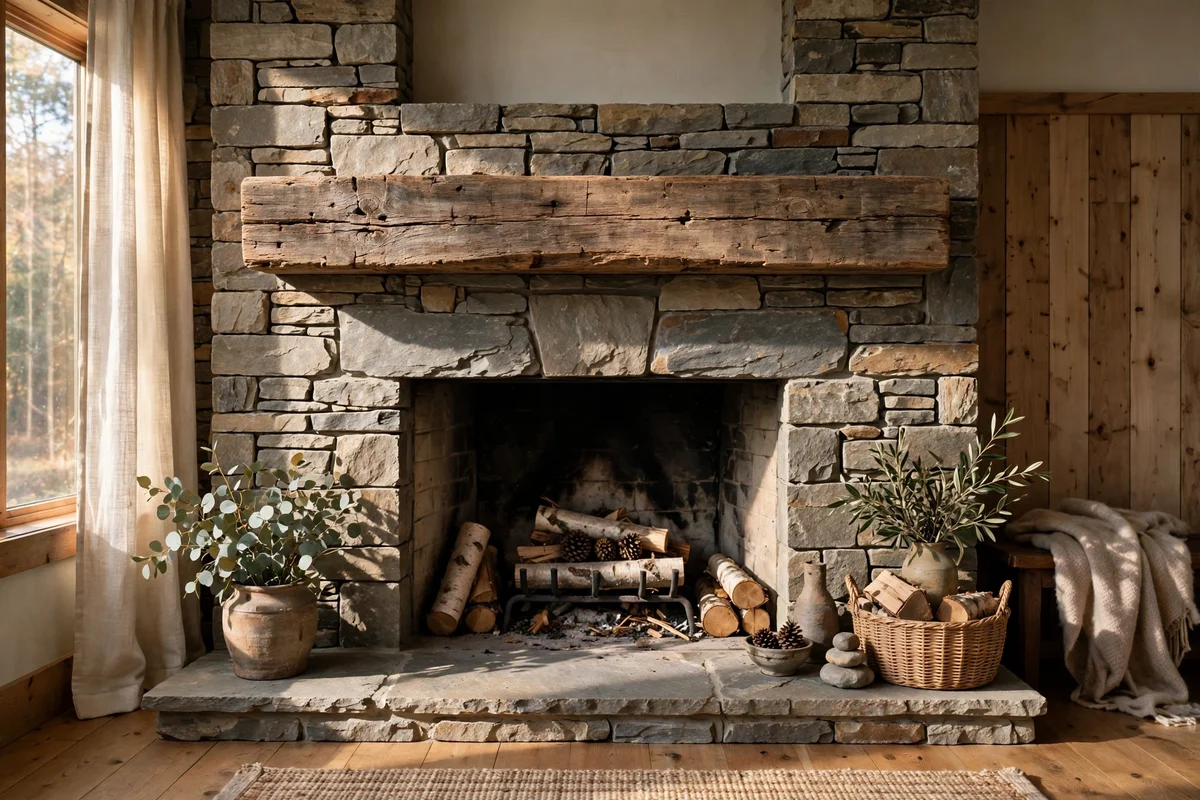
A reclaimed beam 12 to 18 cm deep and 10 to 15 cm tall gives the classic rustic mantel line without looking new. Choose oak, pine or chestnut with visible grain and old nail holes, brushed clean and left unwaxed for honest texture. Fix it to solid masonry with two or three concealed steel brackets or long timber screws driven 8 cm into the wall, and test the hold by pressing down firmly before dressing it.
Safety sets the position, not taste. Keep the underside of any timber mantel at least 30 cm above the firebox opening, and at least 45 cm above a wood-burning stove, following the stove maker manual where it asks for more. The mistake to avoid is guessing at clearances and drilling twice; measure from the opening edge and mark the line before you buy the beam. A second-hand beam plus brackets usually costs under 120 pounds or dollars.
2. Build a Natural Stone Surround From Hearth to Mantel
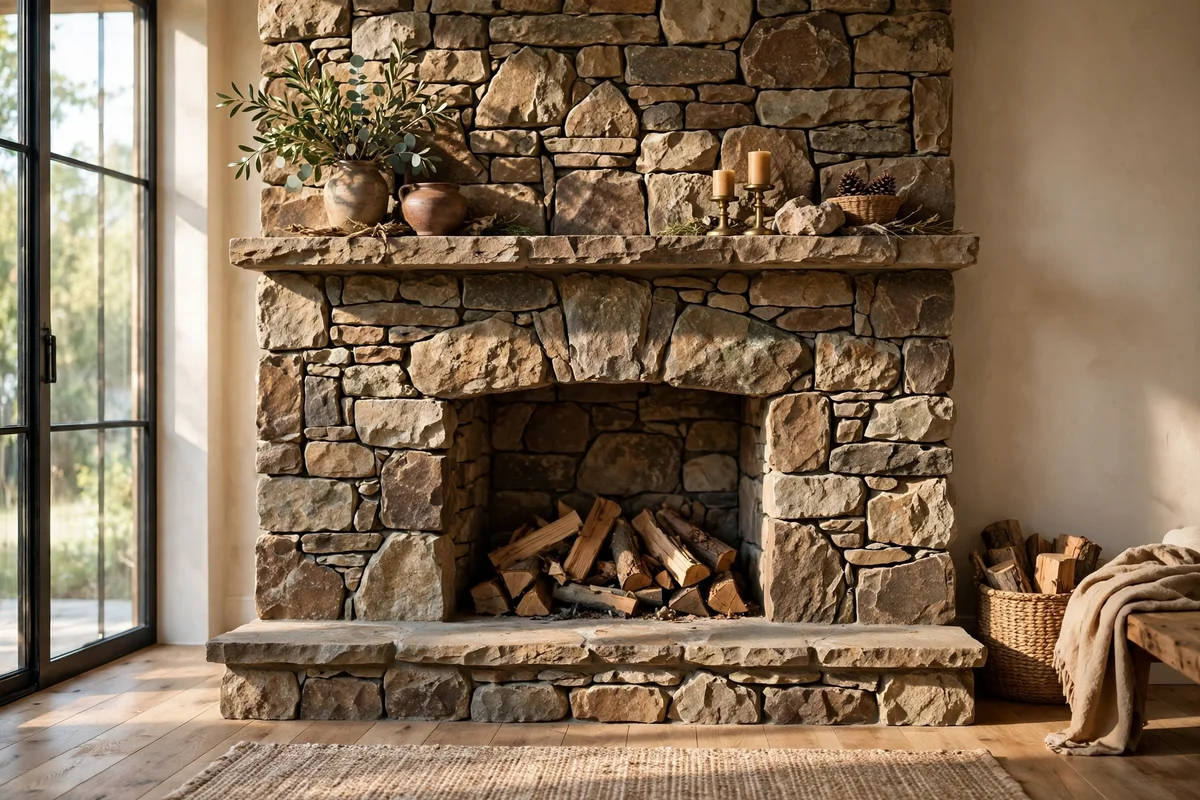
Fieldstone or rough-cut limestone panels stacked from hearth to mantel give a surround that looks as if it has stood for a century. Work from the bottom up, buttering each stone with a sand and cement mortar mixed at four parts sand to one part cement, and keep joints between 1 and 2 cm so the stonework reads rugged rather than neat. Plan the layout on the floor first, sorting stones by size so the colour runs evenly.
Allow the mortar three days to cure before lighting any fire, and protect the floor with a dust sheet through the whole job. A full surround for a standard 120 cm wide opening needs roughly 0.8 square metres of stone per row, so count your courses before ordering. The mistake to avoid is starting at the top, where gravity works against you; always build upward and step back every few stones to check the line.
3. Use Thin Stone Veneer for the Masonry Look Without the Weight
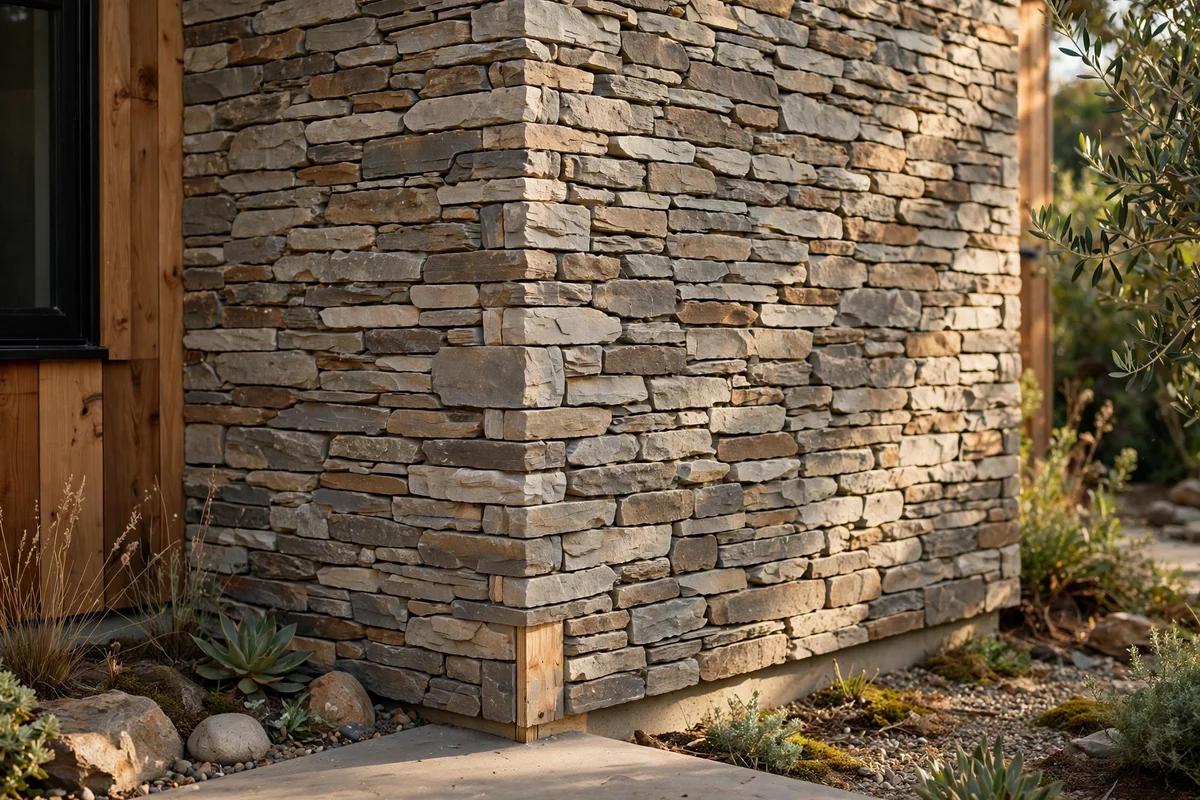
Thin stone veneer panels, 2 to 4 cm deep, give the mass of real masonry at a fraction of the load, which suits timber stud walls that cannot carry full stone. Bond them with a polymer-modified tile adhesive rated for exterior stone, pressed firmly so no hollow spots remain, and stagger every vertical joint by at least 5 cm. Corner pieces in L-shaped cuts wrap the edges cleanly without exposed sawn faces.
A 3 square metre fireplace face needs about 30 panels at standard sizes, plus one extra box for cuts and mistakes. Veneer is a mid-budget project, usually 200 to 400 pounds or dollars for the wall, and a confident weekend for one person. The mistake to avoid is fixing veneer over a dusty or painted surface without priming; clean, sound walls bond properly, and a failing bond shows first on the top course.
4. Limewash a Dark Stone Fireplace for a Softer Rustic Face
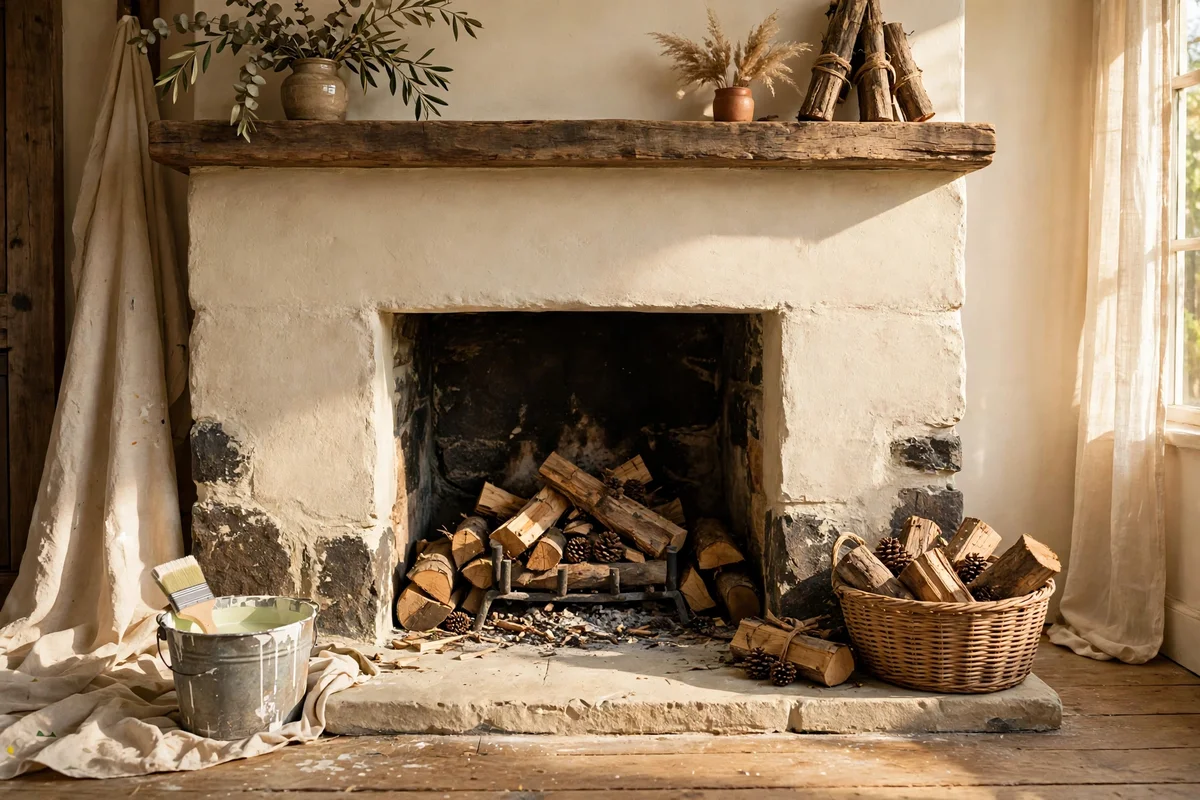
Limewash softens a heavy dark stone into a pale cottage face while letting the texture show through. Mix one part hydrated lime to three parts water for the first coat, brushing it on with a large block brush in sweeping strokes and letting it dry for at least four hours before judging the colour. A second coat deepens the cover, and a damp cloth wiped back after thirty minutes reveals stone beneath.
Work in a well ventilated room with gloves and eye protection, since lime is caustic until cured. Test a hidden patch of stone first, because porous sandstone drinks limewash darker than dense granite does. The mistake to avoid is sealing limewash with an acrylic sealer, which traps moisture and peels; leave it breathable. One 2.5 kg bag covers roughly 8 square metres, so a single fireplace costs very little.
5. Raise a Low Hearth to a Comfortable Sitting Height
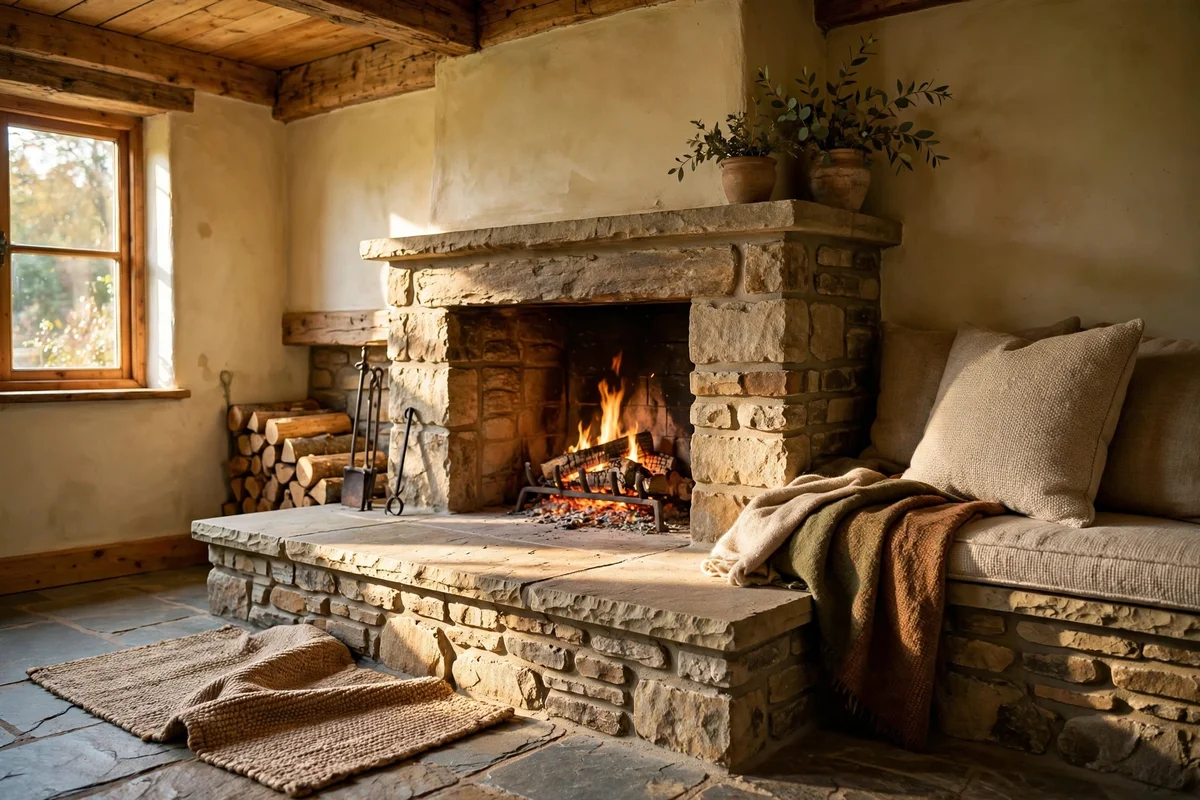
A hearth that sits flush with the floor is awkward to tend and looks lost in a tall room. Raising it to 40 to 45 cm creates a natural seat and brings the firebox opening closer to eye level from an armchair. Build the new plinth in blockwork or brick, skim it with render, then face it in stone, tile or limewashed brick to match the surround.
The new hearth extension must still project at least 30 cm in front of the firebox opening and 15 cm past each side for spark safety. Allow the mortar a week to cure before the first fire. The mistake to avoid is building the plinth too narrow to sit on comfortably; keep the depth at 40 cm or more. Budget around 150 to 300 pounds or dollars for blocks, mortar and facing.
6. Line the Hearth With Handmade-Look Tiles in Soft Glazes
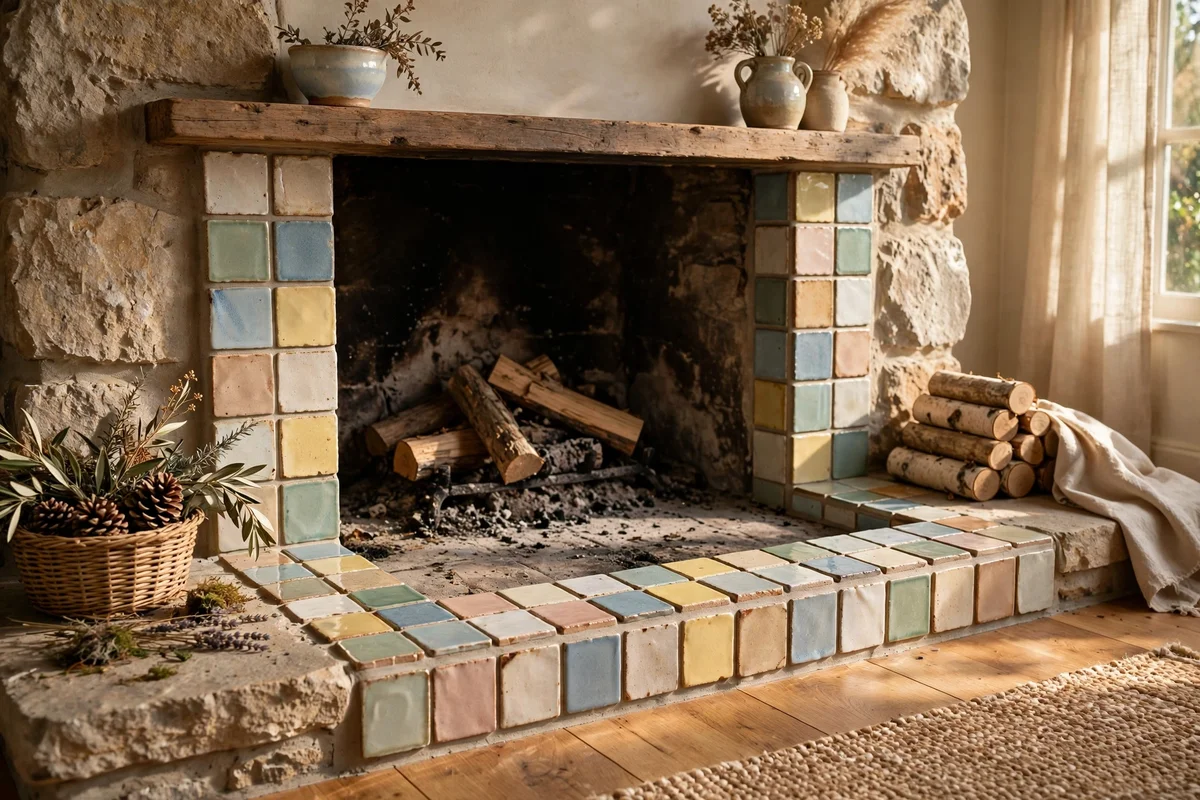
Handmade-look tiles with slightly uneven edges and pools of glaze give a hearth the character of old farmhouse pottery. Choose a heat-rated encaustic-look or terracotta tile, laid in a simple grid with 4 to 6 mm joints so the soft colour variation reads clearly. Sand or sage green glazes flatter stone surrounds, while warm cream tiles lift a dark timber room.
Tile the top surface and the front face of the hearth, and seal porous terracotta with a breathable tile sealer after grouting. Buy ten percent extra for cuts around the firebox corners. The mistake to avoid is using standard wall tiles, which can craze under heat; check the rating suits hearth temperatures. A tiled hearth face of 1.5 square metres is a modest budget job.
7. Blacken a Tired Insert With Heat-Rated Stove Paint
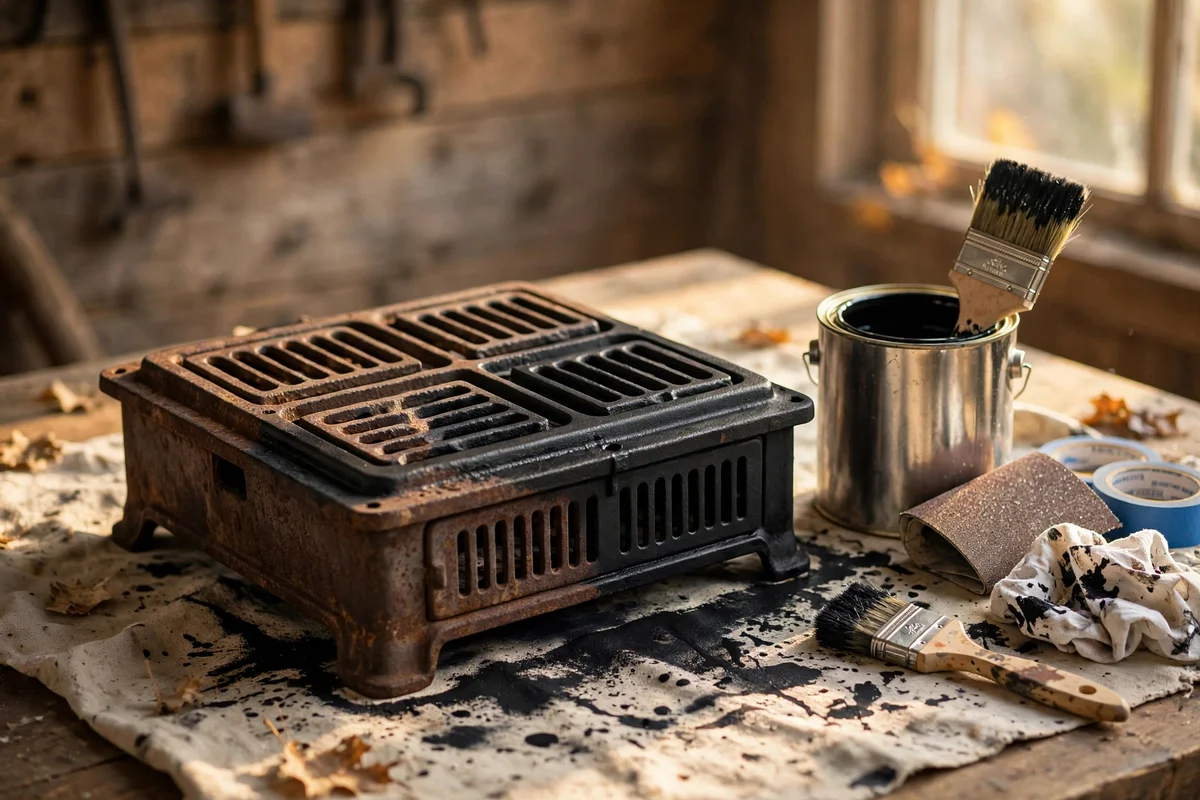
A brass or rusted insert dates a fireplace faster than anything else, and heat-rated stove paint in matt black transforms it in an afternoon. Clean the metal with wire wool and white spirit, mask the surround with newspaper, and apply two thin coats of paint rated to at least 600 degrees Celsius, waiting the drying time the tin states between coats.
Never use ordinary emulsion or spray paint, which smells and can scorch near a working fire. Ventilate well and let the paint cure fully with a small gentle fire before burning hard. The mistake to avoid is painting hinges and dampers shut; work the moving parts gently as the coat dries so they stay free. Two tins usually cover a standard insert and cost under 30 pounds or dollars.
8. Stack Logs in a Plain Woven Basket Beside the Firebox
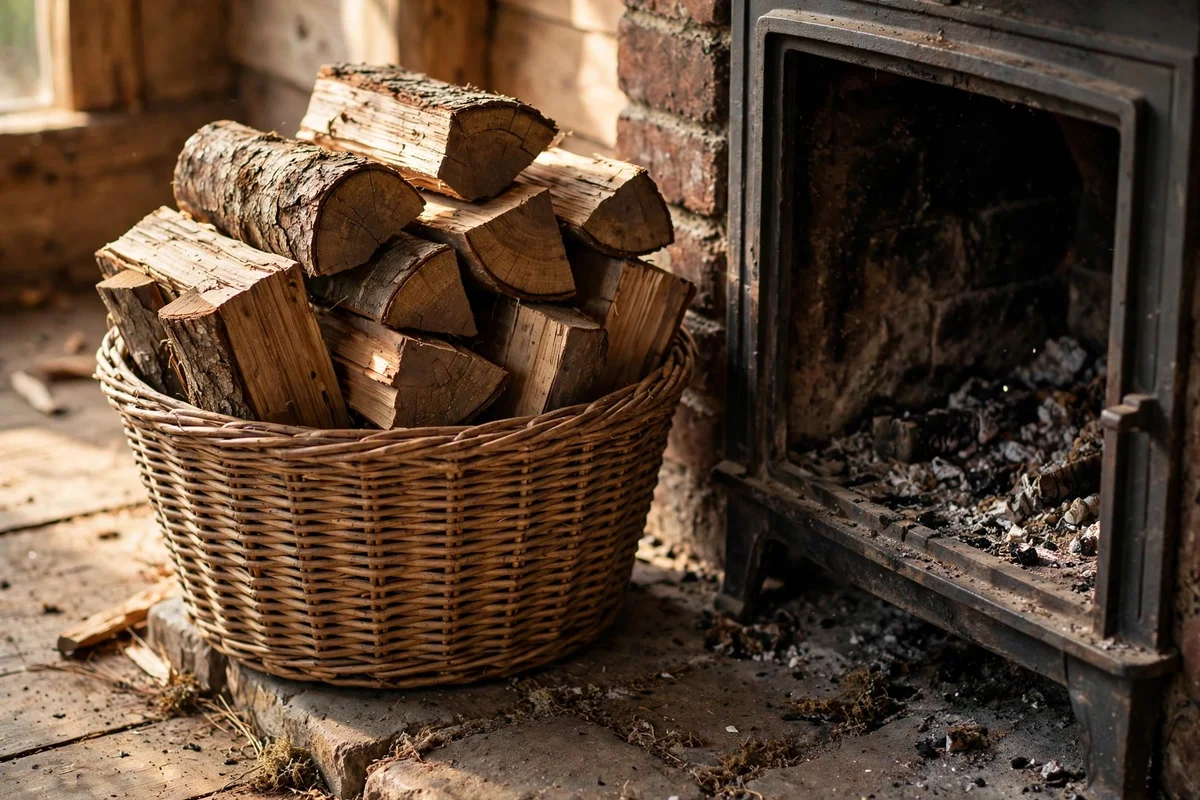
A plain woven basket of split logs beside the hearth turns fuel into part of the decoration. Choose a sturdy round or square basket 35 to 45 cm wide, lined with newspaper, and stand it on the hearth side at least 60 cm from the firebox opening. Stack split logs bark-outward with the cut ends facing the room so the tidy faces show.
Keep the pile modest, six to ten logs, and refill from the main store rather than crowding the fireside. A bark-lined tray under the basket catches crumbs and protects the floor. The mistake to avoid is storing freshly cut wood indoors in bulk; it brings insects and damp, so burn only wood seasoned below 20 percent moisture. Baskets cost 20 to 40 pounds or dollars at markets.
9. Stand a Set of Blackened Iron Tools Within Easy Reach

Blackened iron tools give a rustic hearth its working character: a poker, tongs, a brush and a small shovel hung on a stand or wall hooks. Place the stand on the right side of the hearth for a right-handed fire tender, about 50 cm from the opening, so every tool is reachable without leaning over the flames. Choose forged iron with turned handles rather than thin chrome.
A heavy stand with a wide base will not topple when the poker is lifted, so test the balance in the shop before buying. Wipe the tools with an oily rag twice a year to keep rust at bay. The mistake to avoid is scattering tools across the hearth face, which looks untidy and blocks the firebox; a stand gathers everything into one upright line.
10. Set the Mantel Height for Both Clearance and Good Proportions
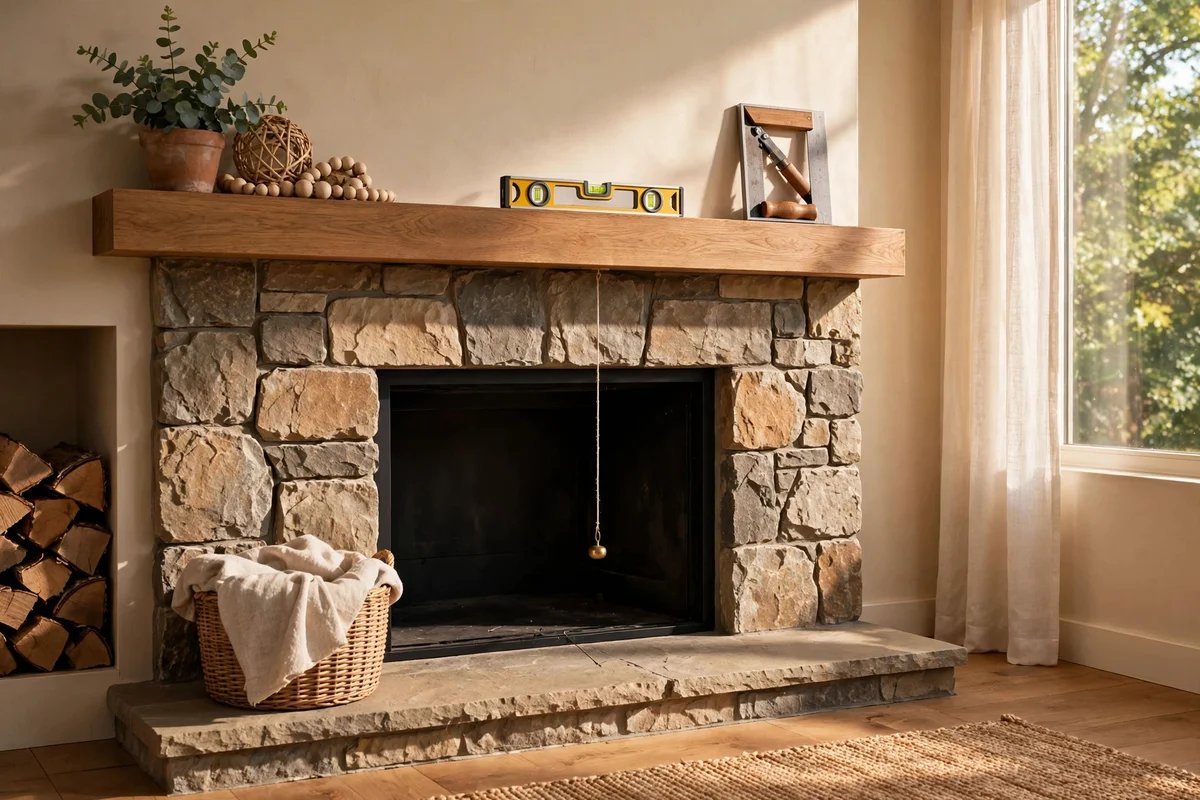
Mantel height is a balance between safety clearance and a pleasing line against the room. Measure 30 cm up from the firebox opening as the minimum for timber, then look at the ceiling: a mantel sitting at 130 to 150 cm from the floor suits rooms with ceilings of 240 cm or more. Mark the height with painter tape and live with it for a day before drilling.
If the beam must sit lower for style, fit a heat shield on its underside, but never below the minimum clearance. Pairs of shelves above a low beam can fill tall walls without crowding the fire. The mistake to avoid is fixing the beam first and discovering the television or artwork planned above will not fit; plan the whole wall composition on paper at real scale first.
11. Fit a Steel Heat Shield to Protect a Close Timber Beam
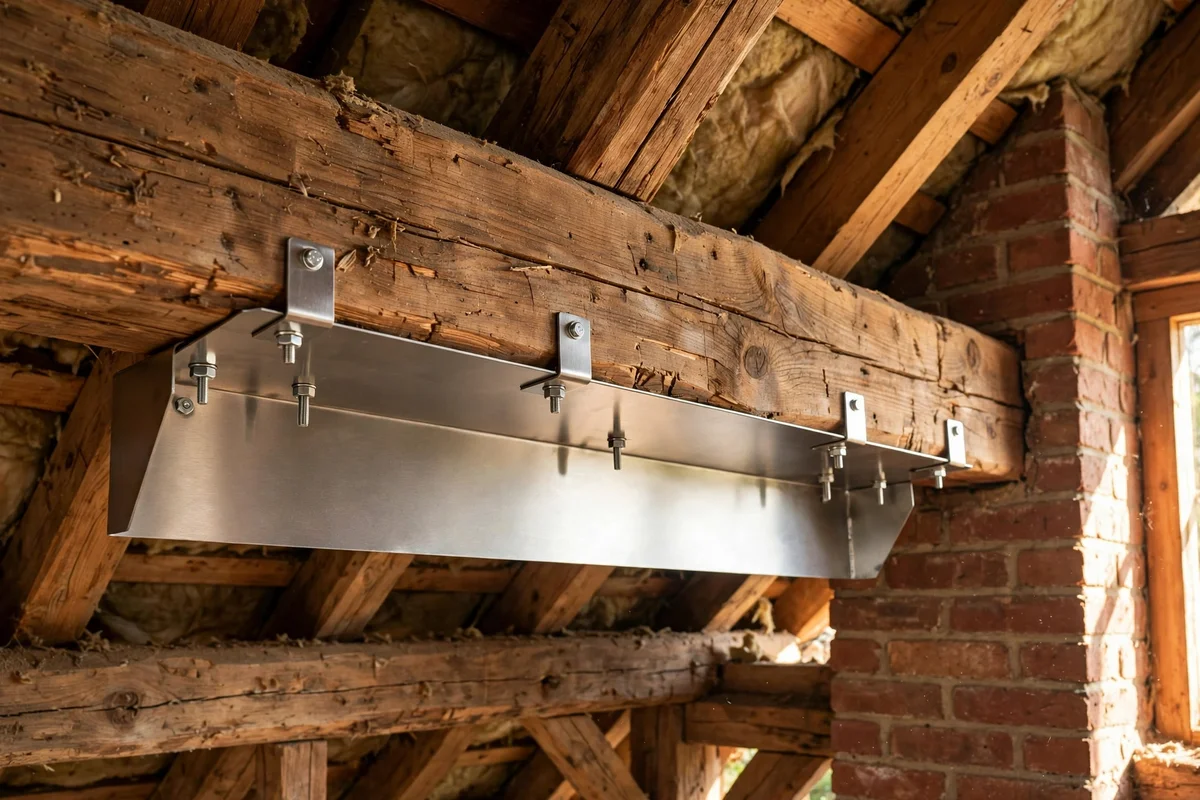
When a beam must sit nearer the firebox than ideal, a steel heat shield with a 2.5 cm air gap behind it deflects radiant heat safely. Use a sheet of 1.5 mm steel cut 10 cm wider than the beam face, mounted on non-combustible spacers so air flows behind it. Paint it matt black so it disappears against a dark beam.
Fix spacers into the masonry, never into the timber itself, and keep the gap clear of dust. A shield must never replace the minimum clearances, only improve safety within them. The mistake to avoid is screwing a metal plate directly to the wood with no gap; metal conducts heat and can scorch the beam it is meant to protect. A cut sheet costs 30 to 60 pounds or dollars.
12. Book a Professional Flue and Chimney Check Before Any Surround Work
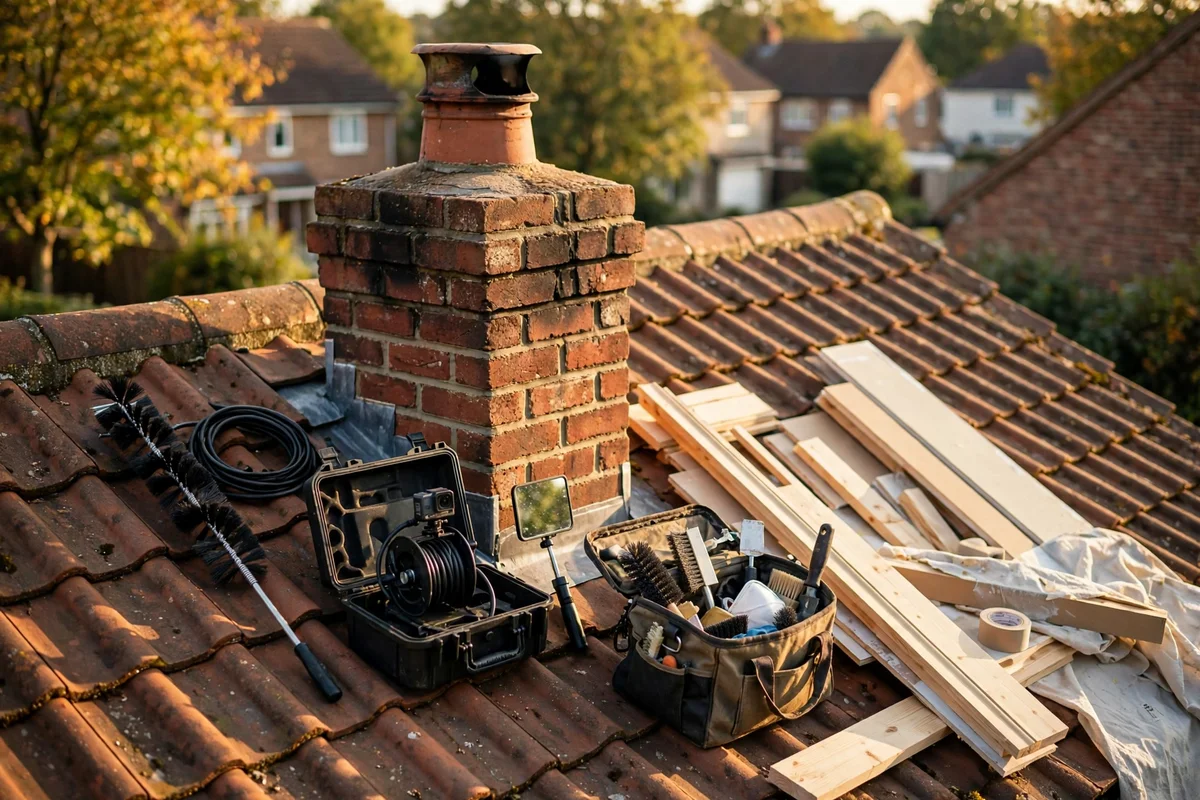
Before cladding, tiling or building around any fireplace, have a chimney sweep inspect and sweep the flue and check the chimney structure. Ask for a written note on the flue condition, the liner if one exists, and whether the chimney needs repointing, since new stonework over a failing chimney hides problems. Schedule this at least two weeks before the makeover starts.
For gas fires, a registered engineer must confirm safe clearances and ventilation before and after the work. Keep the sweep certificate with your house papers; it matters for insurance. The mistake to avoid is finishing a beautiful stone surround and only then discovering the chimney leaks or the liner is cracked, which means breaking the new work open. A sweep visit costs 60 to 100 pounds or dollars.
13. Keep Air Bricks and Vents Clear Behind the New Surround
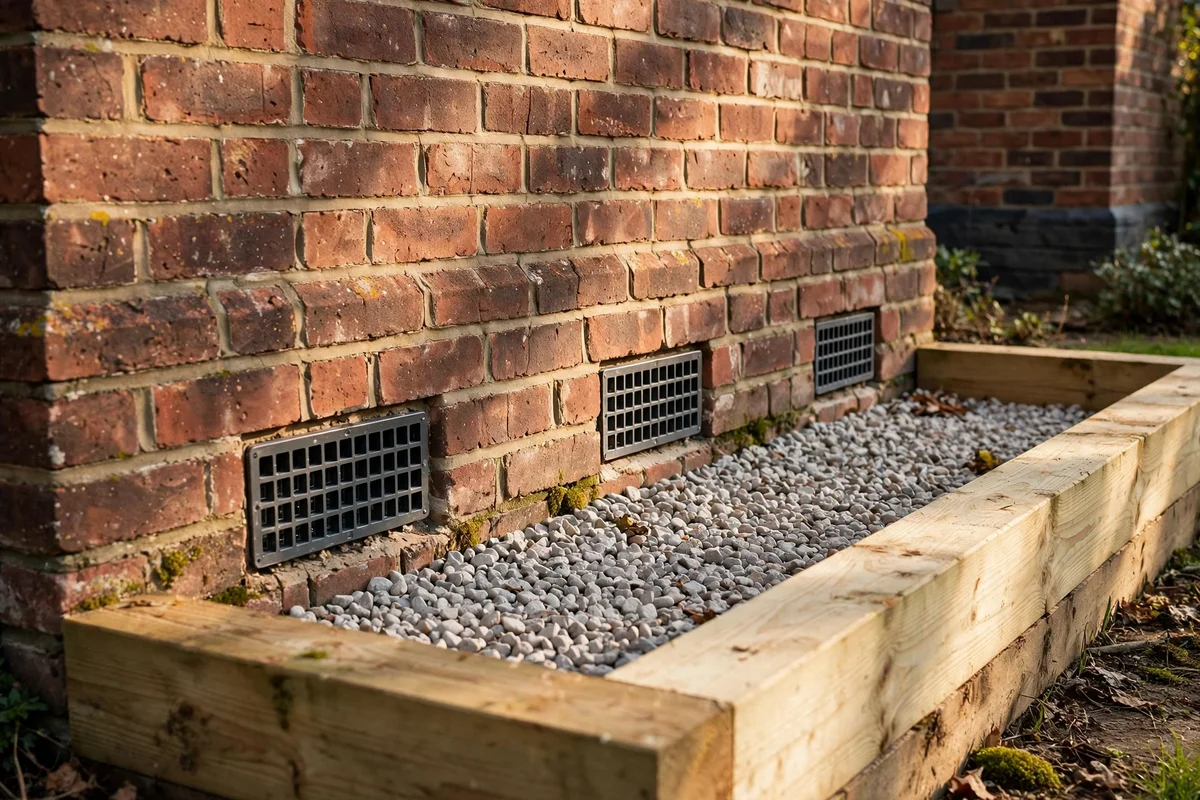
Every working fireplace needs its air supply, so air bricks and wall vents must stay open however the surround changes. Map every vent on and around the fireplace before you start, photograph them, and plan the stonework or panelling so nothing covers them. Extend vents through new boxing with proper ducting rather than blocking them off.
A blocked vent starves the fire of air and can cause smoke to spill into the room, so this is a safety rule, not a style choice. After finishing, check the airflow at each vent with a tissue. The mistake to avoid is tiling neatly across a low vent because it spoils the pattern; cut tiles around it instead. Planning the vents first takes thirty minutes and prevents the worst outcome.
14. Extend the Hearth Apron 30 cm in Front of the Opening
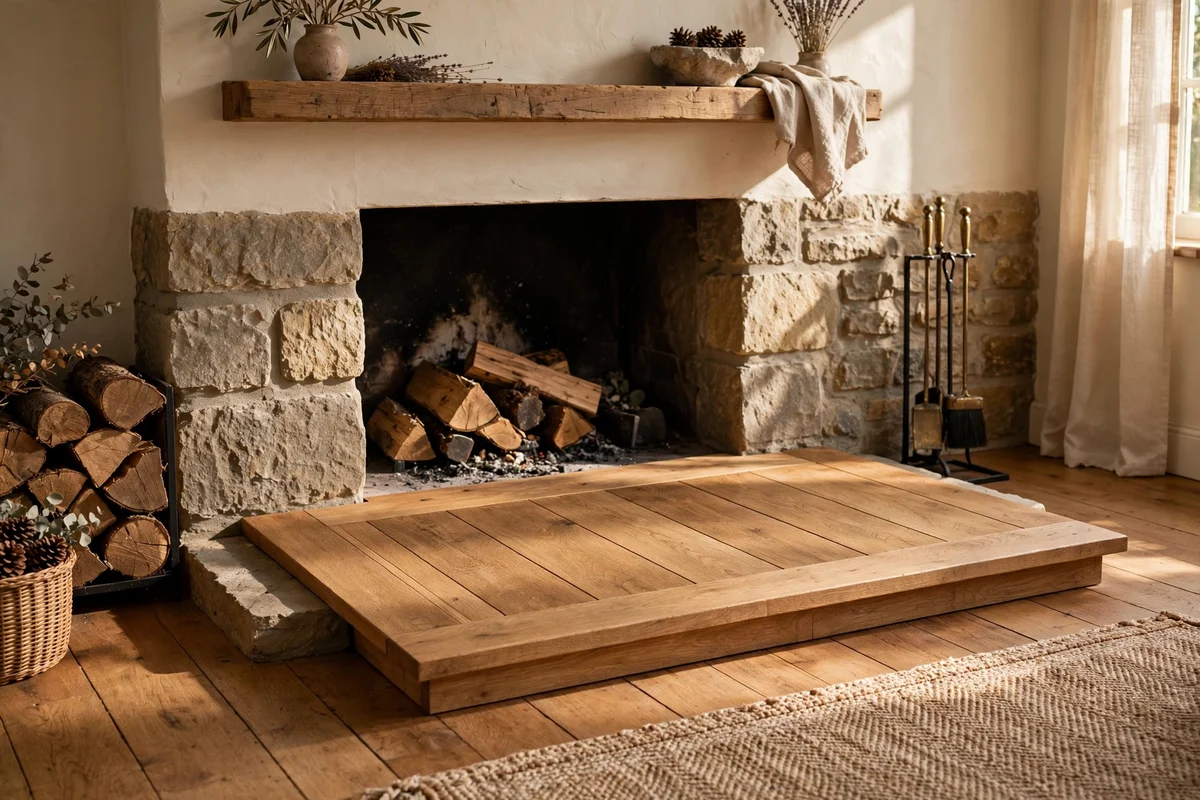
A hearth apron extending 30 cm in front of the firebox opening and 15 cm beyond each side catches sparks and gives the fire a finished foreground. Build it from the same stone or tile as the hearth face, laid level with the raised hearth top or as a single slab 5 cm thick. Keep the front edge square and crisp so it reads as a deliberate line.
Check that rugs and furniture sit beyond the apron edge, with at least 1 metre of clear floor in front of the fire. The mistake to avoid is finishing the apron flush with a carpet edge, where sparks can reach fibres; extend the slab fully before the carpet line starts. One slab cut to size by a stone yard costs 60 to 120 pounds or dollars.
15. Point the Stonework in a Soft Sand and Lime Mortar
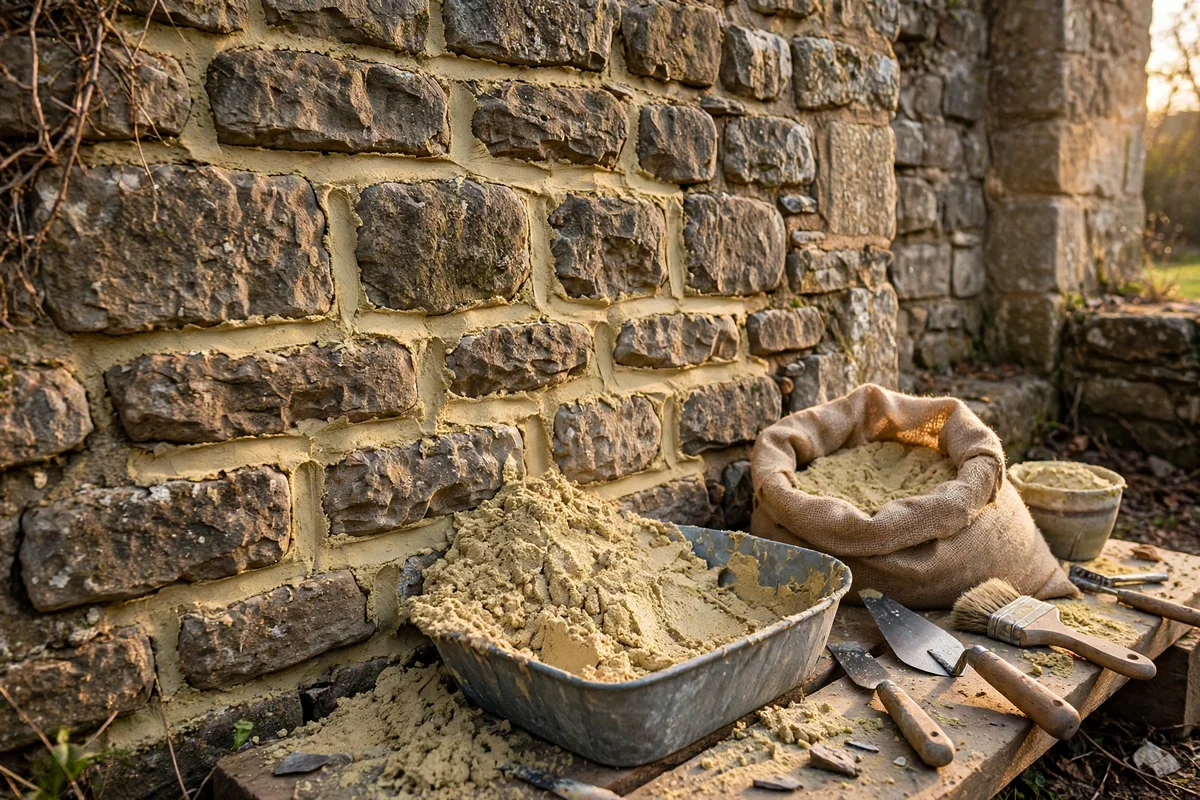
Sand and lime pointing gives new stonework the soft, slightly rounded joints of old cottage walls. Mix three parts building sand to one part lime putty, or a bagged lime mortar, and press it into the joints with a pointing trowel, finishing with a slightly recessed profile. Brush the face clean with a soft brush before the mortar skins over.
Lime mortar stays flexible and lets the wall breathe, which suits older houses with solid walls. Avoid cement-rich mixes on old stone; they are too hard and trap moisture. The mistake to avoid is washing the stonework with a hose to clean it, which washes the lime out of the joints; brush dry and sponge lightly instead. A bag of lime mortar covers about 2 square metres of joints.
16. Mix Two Stone Tones for a Gathered Over Time Look

Stone gathered from two sources, for example warm buff sandstone with grey limestone mixed at roughly two to one, looks as though it was collected over years rather than bought in one order. Scatter the minority tone evenly across the face so no patch draws the eye, and keep the sizes varied within each course. Lay a trial strip on the floor first to check the blend.
Keep mortar joints consistent so the mixed stone reads as one wall, not two patterns fighting. Photograph the dry layout before lifting a single stone. The mistake to avoid is stacking all of one tone on the left and the other on the right, which reads as a mistake rather than heritage. Ordering a small extra box of each tone lets you swap ugly pieces out.
17. Brush on a Second Limewash Coat for Whitewashed Depth
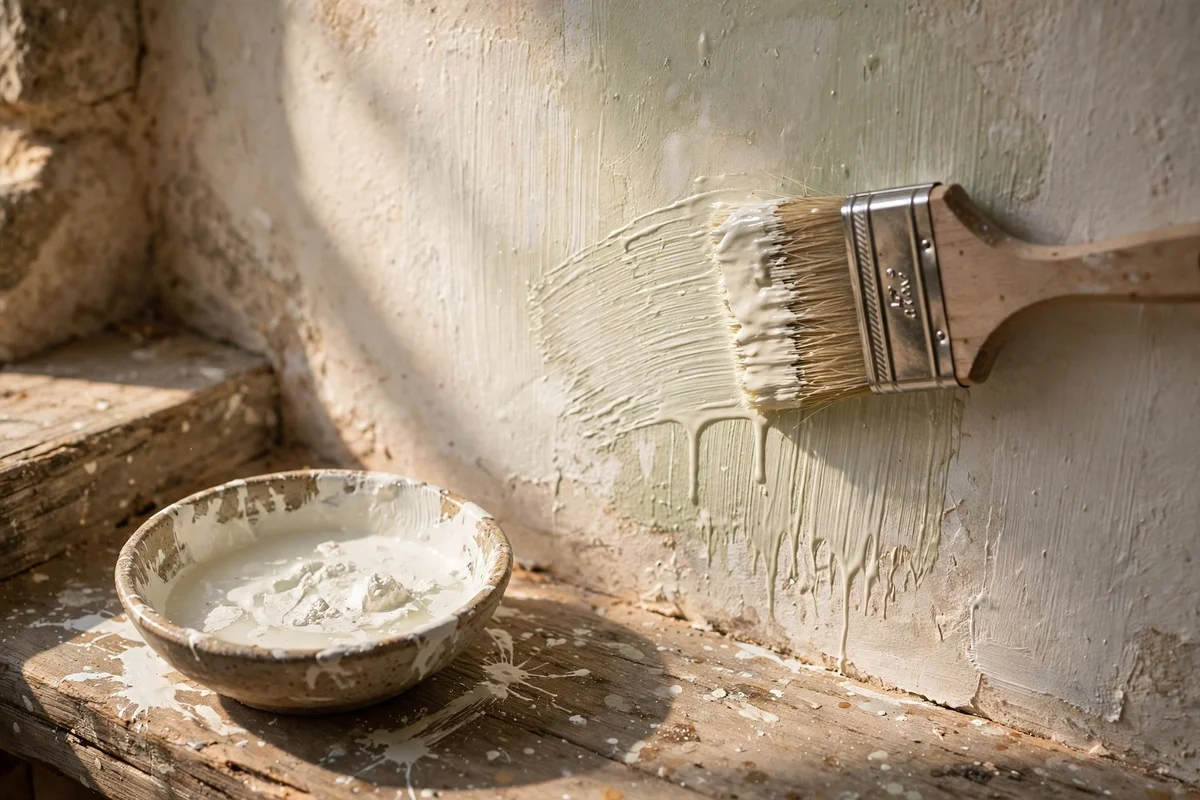
One coat of limewash reads as a stain, while a second coat builds the soft whitewashed depth of a Mediterranean farmhouse. Apply the second coat a full day after the first, diluted slightly weaker at one part lime to four parts water, and vary the brush direction so the layers read as one clouded surface. Leave some stone showing at the edges of the firebox for contrast.
Step back in daylight before deciding whether a third coat is needed; artificial light flatters limewash too much. Keep a spray bottle handy to dampen dry patches so the coat blends. The mistake to avoid is painting limewash on like gloss, in thick loaded strokes, which flakes; thin coats bond better. Two coats over a standard surround need about 5 kg of hydrated lime.
18. Style the Mantel With Stoneware, Beeswax Candles and Dried Foliage
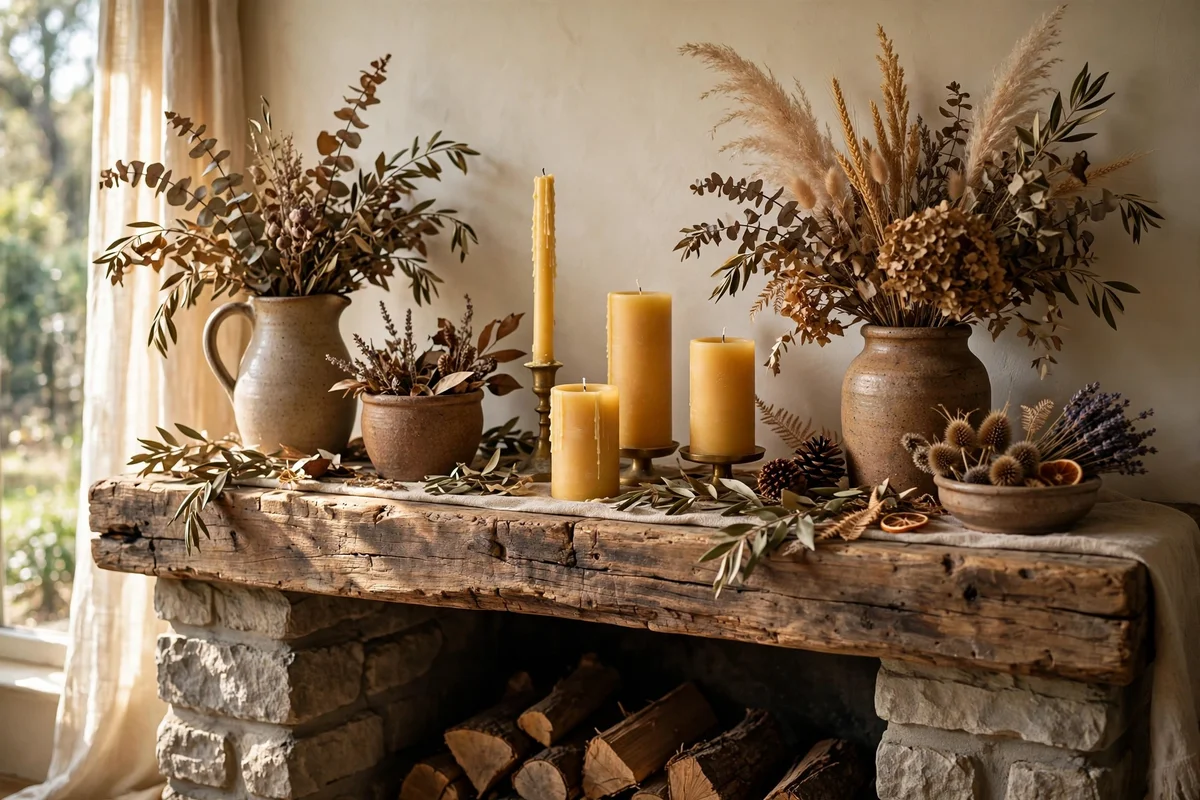
A rustic mantel styles best with weighty natural pieces: two or three stoneware jugs, a pair of beeswax pillar candles in iron holders, and a bundle of dried wheat or eucalyptus in one tall jug. Keep everything at least 30 cm above the firebox and 50 cm to either side of the flue line, and never hang anything from the beam itself. Vary heights by 10 to 15 cm for a natural rhythm.
Beeswax candles should be lit only when someone is in the room, and kept 20 cm clear of anything above them. Dried foliage near heat is a fire risk, so swap it for the summer months if the fire burns often. The mistake to avoid is overcrowding; five or six pieces breathe better than twelve. Charity shops and farm shops supply stoneware cheaply.
19. Set a Low Timber Bench Across the Hearth as Quiet Seating
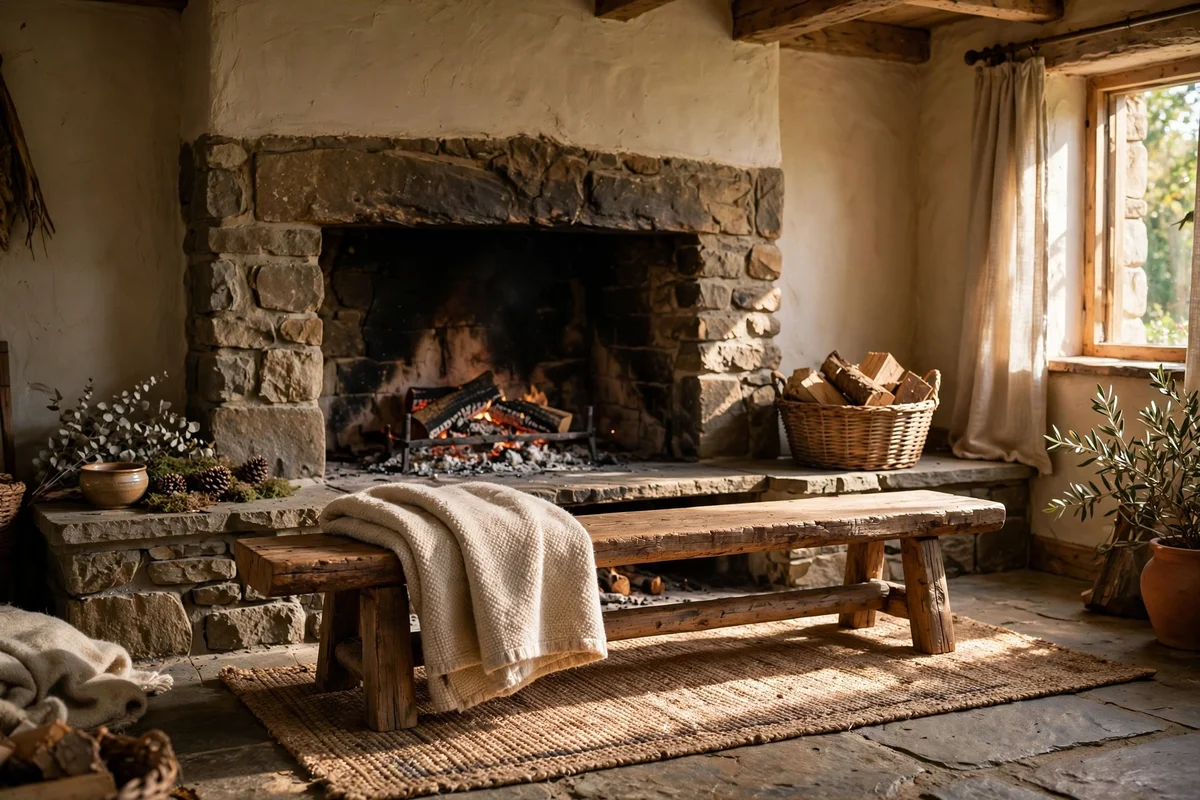
A low timber bench spanning the raised hearth doubles the fireside as a seat for quiet evenings. Build or buy one 90 to 120 cm long, 30 to 35 cm deep and 40 to 45 cm tall, in rough-sawn oak or reclaimed pine, and stand it at least 1 metre from the firebox opening. A folded wool throw over one end softens the timber and invites sitting.
Check the bench is steady on the hearth stone, shimming any wobble with felt pads. Never use the bench as a step to reach the mantel. The mistake to avoid is a bench so tall it blocks the firebox view from the sofa; keep it low enough to see the flames over the top. A simple handmade bench costs 80 to 150 pounds or dollars.
20. Lay Rough-Cut Slate Slabs as a Slim Hearth Apron
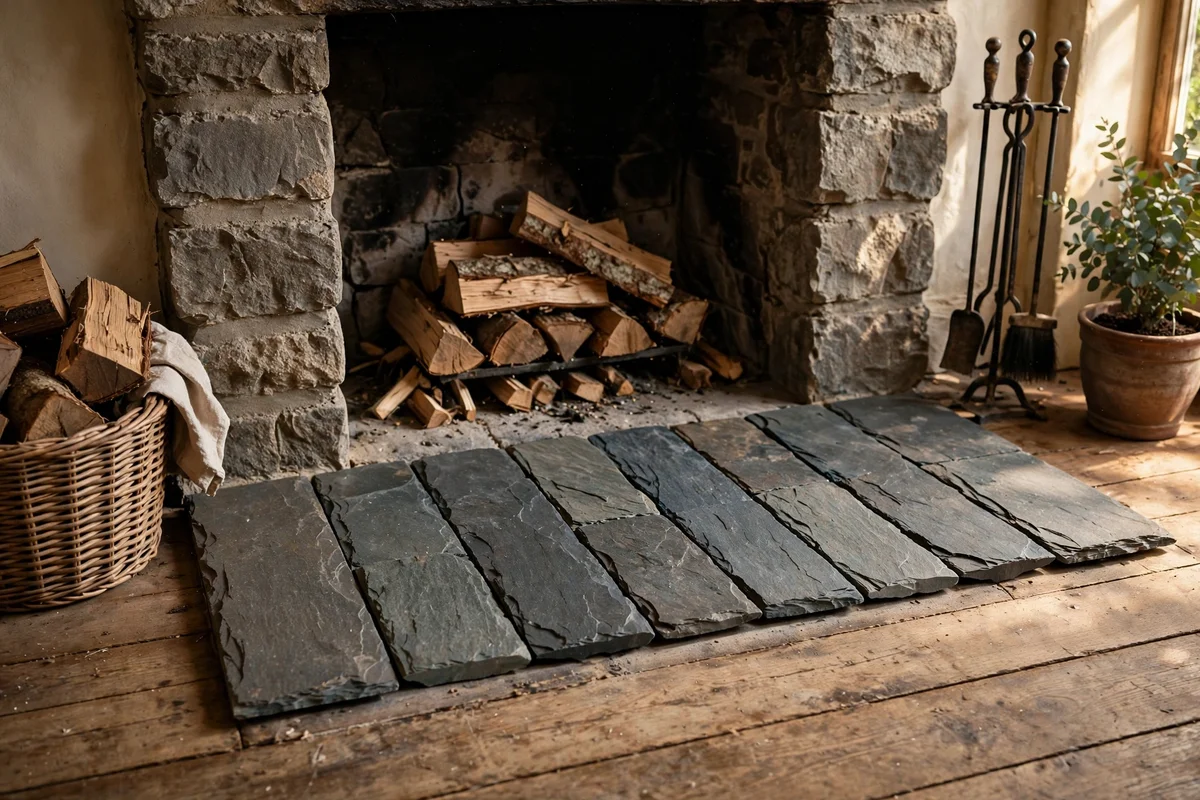
Rough-cut slate slabs with riven, natural edges make a slim hearth apron that feels hewn rather than manufactured. Lay two or three slabs 3 to 5 cm thick over a mortar bed, keeping the front edge aligned and the joints tight at 5 mm. Dark blue-grey slate flatters both limewashed stone and dark timber beams beautifully.
Bed the slabs on a full mortar bed, not spot dabs, so they never rock. Seal slate with a stone sealer to resist ash staining. The mistake to avoid is choosing polished slate, which shows every ash mark and scratches; riven faces hide wear gracefully. Slabs cut to order from a stone yard run 50 to 100 pounds or dollars for a standard opening.
21. Light the Firebox Recess With Warm Discreet Downlights
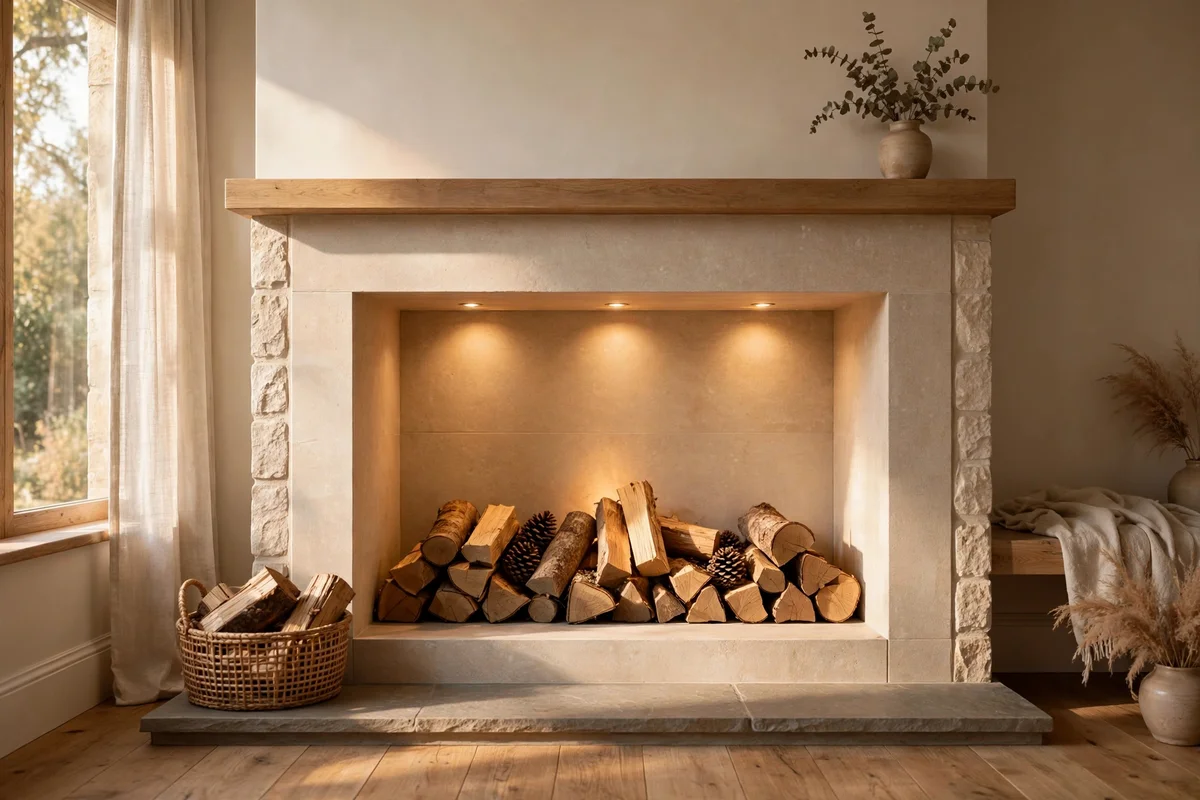
A pair of warm downlights set into the firebox recess makes the empty hearth glow softly on evenings the fire is unlit. Use 2700K LED spots rated for heat, mounted on the recess sides at least 60 cm from the flames, wired on a separate switch from the main room lights. A small junction box hidden behind the mantel keeps the wiring neat.
This is electrician work, not a weekend task, because the recess sits close to heat and combustible parts. The electrician should confirm the fittings suit the temperatures involved. The mistake to avoid is cool white spots at 4000K or more, which kill the hearth feeling instantly; warm light only. Two spots with wiring typically cost 120 to 200 pounds or dollars installed.
22. Paint the Firebox Interior With Heat-Resistant Black Coating
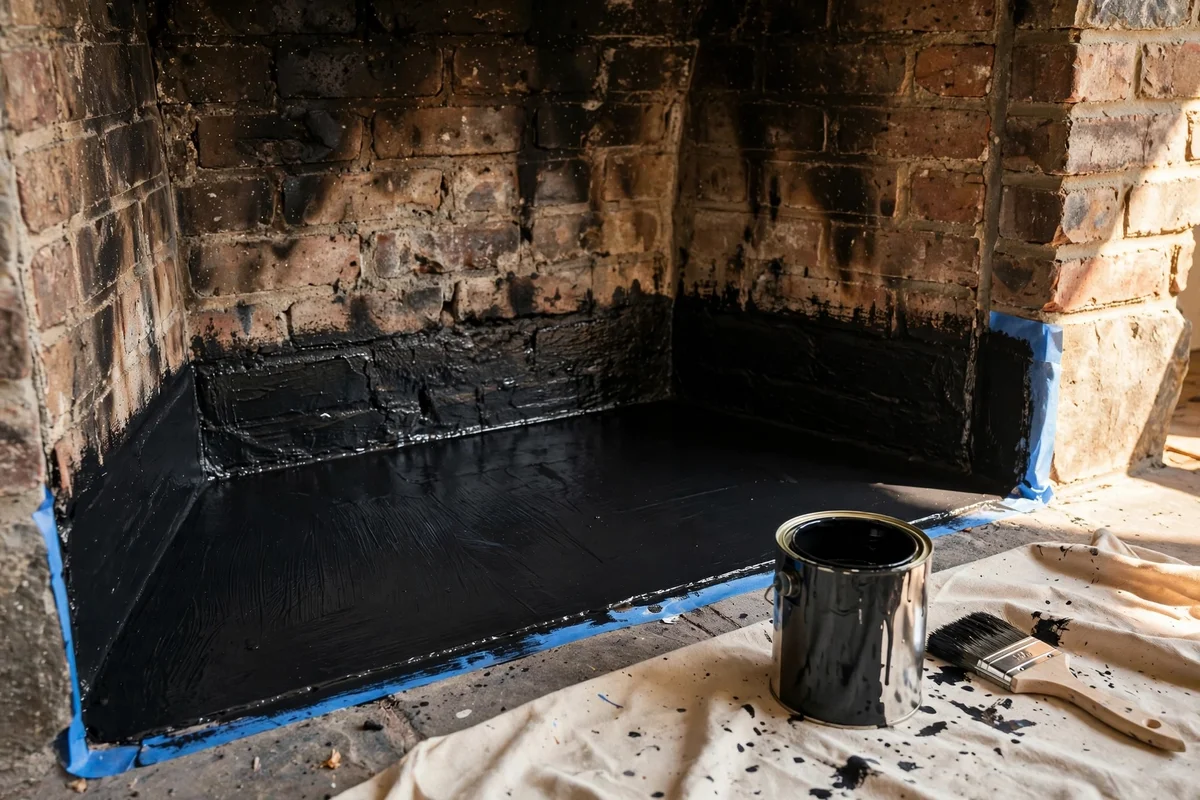
Painting the firebox interior matt black makes the flames stand out and hides soot stains on old brick or stone. Use a coating rated to at least 600 degrees Celsius, applied with a stiff brush to two thin coats after sweeping out all loose soot. Let it cure for a full day before lighting, then build a small gentle fire first.
Mask the hearth stone and the opening edges before you start, because heat paint on pale stone is almost impossible to remove. Repaint every two or three years as the coating chalks. The mistake to avoid is painting the firebox the same week you paint the surround; dust from masonry work ruins the finish, so do the interior last. One tin covers a standard firebox.
23. Keep Kindling in a Small Iron Bucket Beside the Basket
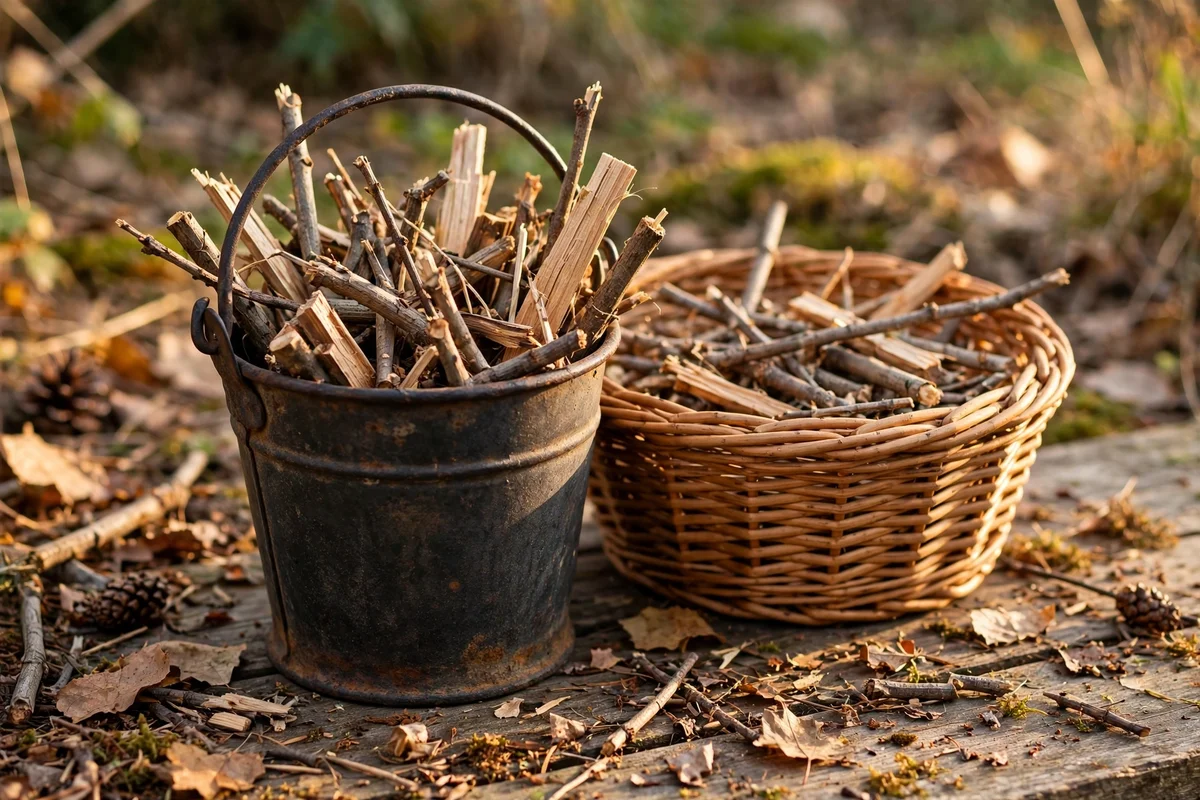
A small iron or zinc bucket for kindling keeps fire-lighting tidy and gives the hearth a second crafted object. Choose a bucket 25 to 30 cm tall with a sturdy handle, filled with thin sticks and a few natural firelighters, and stand it between the log basket and the tools, still 60 cm from the opening. Fill it from the main store, not the garden.
Empty ash and bark dust weekly so the hearth face stays clean, and keep a lid or cloth over the bucket in dusty rooms. The mistake to avoid is using a woven or fabric container for kindling near the fire; splinters catch sparks too easily. Plain metal buckets cost 15 to 30 pounds or dollars and last for years.
24. Finish the Surround Edges With Rustic Timber Returns
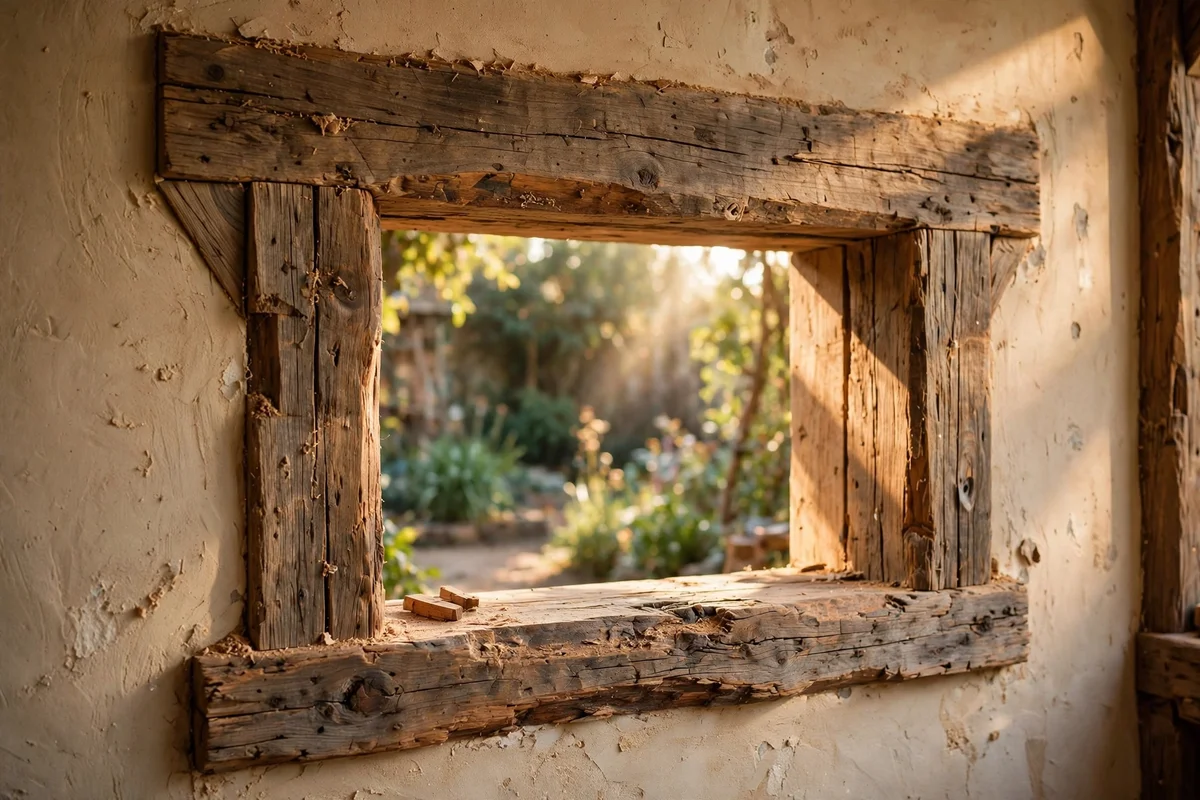
Timber returns running down each side of the surround frame the stonework like a picture frame and soften the meeting with the wall. Fix two vertical battens 8 to 10 cm wide in matching reclaimed timber, checked against the stone with a spirit level, and mitre or butt them under the mantel beam. The same timber ties beam and sides into one design.
Keep the timber returns outside the firebox clearance zone, measuring 30 cm from the opening edge before fixing anything combustible. Seal the end grain with wax to stop splitting. The mistake to avoid is letting the battens drift out of plumb against uneven stone; scribe them to the stone or shim behind them. Two lengths of reclaimed batten cost under 50 pounds or dollars.
A rustic hearth is built from small honest decisions: a beam at the right height, stone laid level, tiles sealed and tools standing ready. The makeovers here share one idea, that natural materials and safe practice create a fireplace which feels as if it has always belonged. Take the ideas at your own pace and let the room guide you.
If you want one easy first step this week, stack logs in a plain basket beside the hearth and stand a set of iron tools nearby. It costs little, takes an afternoon, and changes the fireside feeling at once. When that is done, measure your firebox clearances and plan the mantel, because every bigger change builds on that foundation. Add the timber bench next, and the whole corner will feel complete.
Frequently Asked Questions
What does a rustic fireplace makeover usually cost?
A styling-only refresh with a basket, tools and mantel pieces costs 60 to 150 pounds or dollars. A stone veneer surround or raised hearth runs 300 to 600, while a full natural stone surround fitted by a mason can pass 1,500. Do the safety checks first, then spend on what you touch daily: the mantel, the hearth face and the tools.
How far must a timber mantel sit above the firebox?
At least 30 cm above the top of the firebox opening, measured from the underside of the beam, and at least 45 cm above a wood-burning stove. The stove or insert manual always has the final word and may ask for more. If a lower position is essential, a steel heat shield with a 2.5 cm air gap adds protection, but it never replaces the minimum clearance.
Can I limewash over any kind of stone?
Limewash suits most porous stone such as sandstone and limestone very well. Dense polished granite or sealed stone may not take it evenly, so always test a hidden patch first. Apply thin coats, one part lime to three parts water, and wipe back for texture. Never seal limewash with acrylic; it must stay breathable or it will peel.
Do I need a professional before starting surround work?
Yes for anything structural or heat related. Have a chimney sweep inspect and sweep the flue before you clad, tile or build, and use a registered engineer for gas fires. Keep air bricks and vents clear throughout the work. These checks cost 60 to 100 pounds or dollars and protect both your home and your insurance.
Is a stone veneer surround safe around a working fire?
Yes, when fixed correctly and kept clear of the firebox. Use polymer-modified adhesive on a clean primed wall, stagger the joints, and keep the veneer outside the required clearances from the opening. Veneer itself is stone, so it handles heat, but the adhesive and the wall behind it must suit the position, so follow the maker guidance.