Home Improvement
24 Wall Molding Ideas That Make Plain Rooms Look Custom Built and Considered
By Anna Wells · · 24 min read
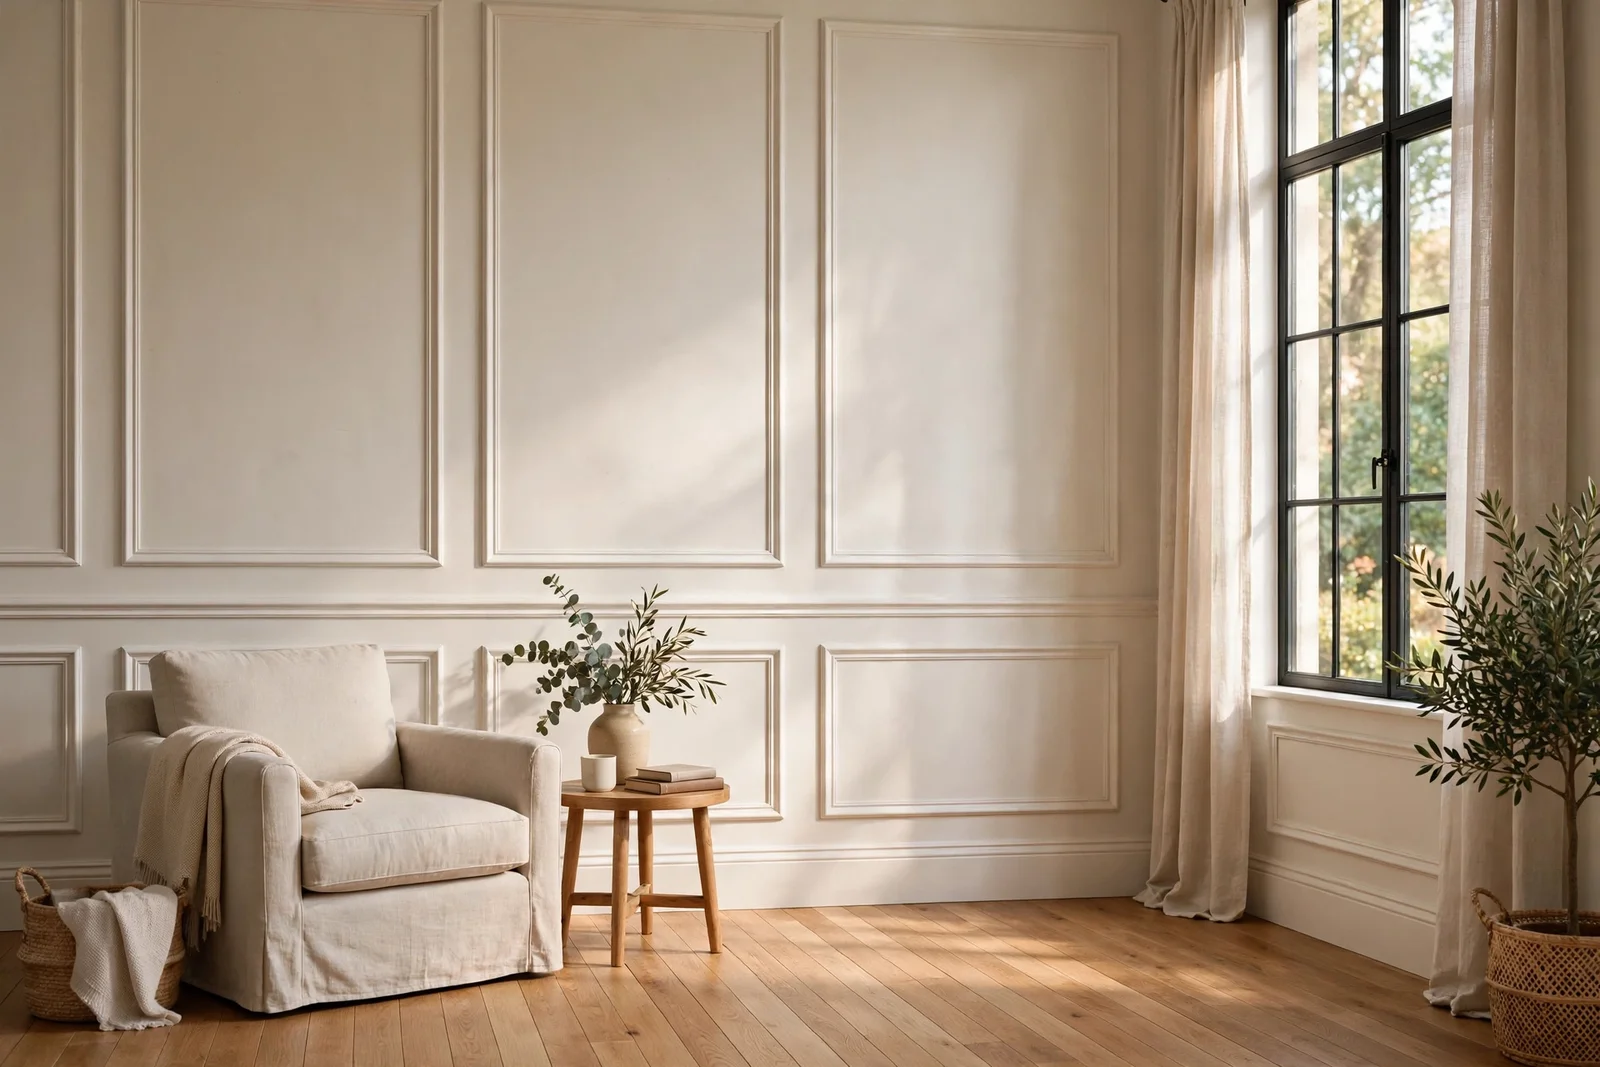
Simple timber strips, clever spacing and the right paint can make a plain room look built with care. These 24 ideas cover every profile and budget.
There is a particular quiet that settles over a room with panelled walls, the sense that someone measured twice and cared about the outcome. Bare plaster walls can feel fine, even pleasant, yet they rarely feel finished. A few lengths of primed pine, cut into honest rectangles and painted with care, change that in a single weekend. The timber itself is humble; the transformation comes from proportion, spacing and patience.
This is not a project that demands a joiner’s workshop or a large budget. Most of the ideas below use standard off the shelf trim from a hardware store, a mitre box, a spirit level and a tube of caulk. What they ask of you instead is attention: panels that share one consistent gap, rails that run level from corner to corner, paint that is given two thin coats instead of one thick one.
You will find 24 ideas here, arranged from the simplest single panel to full room treatments like wainscoting, board and batten and layered crown moulding. Along the way there are the practical maths for spacing, the basics of measuring and cutting mitres, an honest comparison of glue and nails, paint finishes that behave well, and a budget for a single wall so you can start small. Renter friendly options are flagged wherever a permanent fix is not required.
Pick one wall to begin, perhaps the one you see first when you enter the room. Read through the spacing section before you cut anything, gather your trim and your patience, and work slowly. A considered room is not built in a hurry; it is built one true line at a time.
1. Lay One Picture Frame Panel Behind the Bed for Instant Order
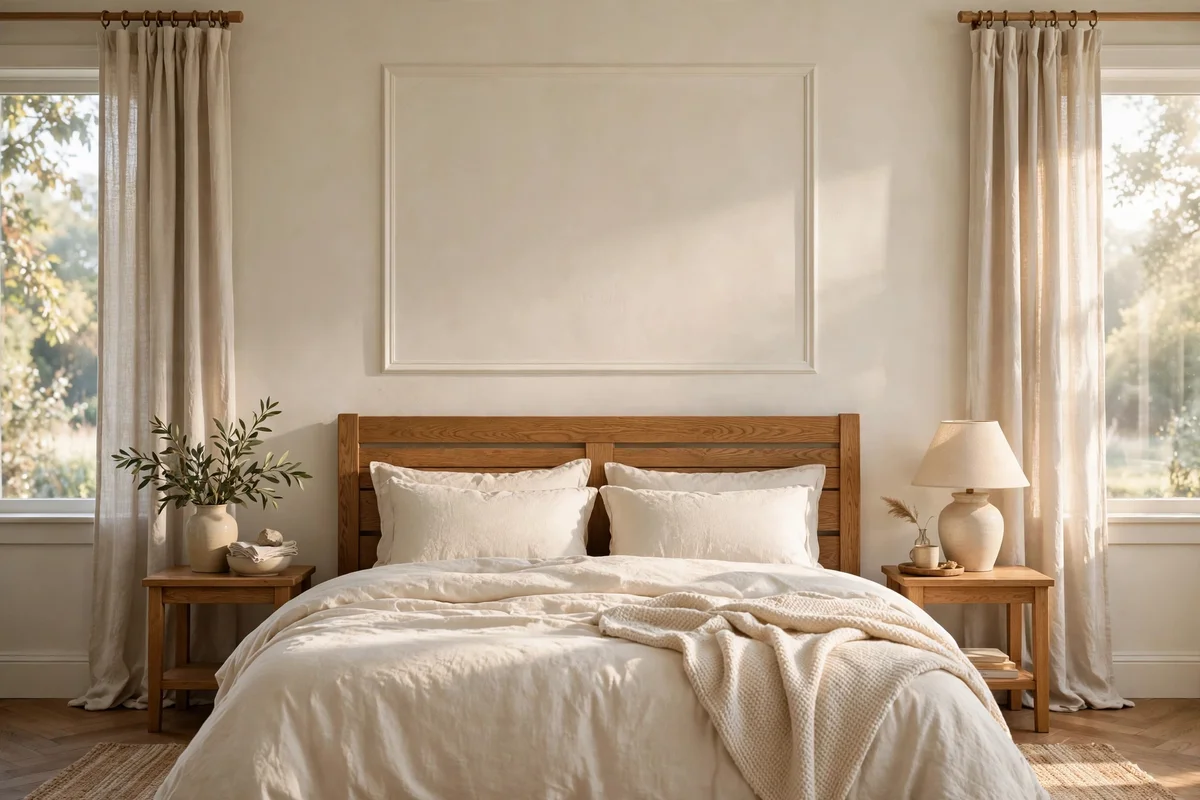
A single picture frame panel above the bed is the gentlest entry into wall moulding. Build it from 5 cm flat pine trim fixed as one rectangle, about 180 cm wide by 120 cm tall over a king bed, or 140 by 110 cm over a double. Centre it on the wall and leave at least 40 cm of bare plaster on each side so the panel reads as one calm gesture. Paint it the same colour as the wall for quiet texture, or one shade deeper for gentle definition. The timber for this costs under 25 pounds or dollars.
The mistake to avoid is floating the panel too high above the headboard. Keep its bottom edge 15 to 20 cm above the headboard top so bed and frame feel connected as one composition. Mark the rectangle first with painter’s tape and a spirit level, then step back and look before fixing anything. Renters can mount the strips with strong removable tape rated for the load, pressing each corner firmly for a full minute. Skip caulk in a rental, since it scars paint at move out.
2. Repeat Picture Frame Panels Across a Living Room Wall
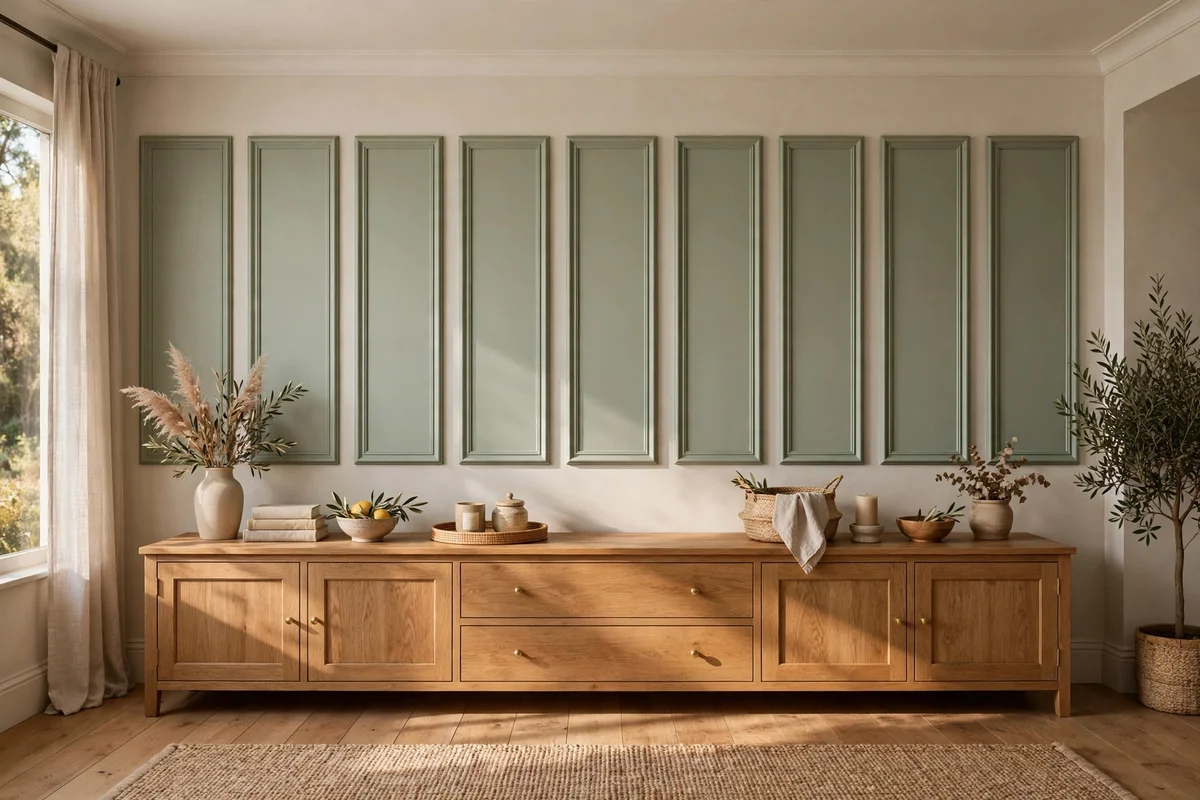
A row of identical picture frame panels turns a long living room wall into architecture. Measure the wall, subtract the total width of your planned panels, and divide the remainder into equal gaps so every panel and every space between them matches. Panels between 60 and 90 cm wide with gaps of 10 to 15 cm suit most rooms. Keep the top of every panel on one level line and the bottom on another, which means measuring from the floor rather than trusting that the skirting is level.
Paint is where the magic happens. A full wall of panels in one colour, wall and trim together, looks calm and expensive, while panels in a deeper tone on a pale wall read as deliberate graphic rhythm. The common mistake is letting panel sizes drift by a centimetre here and there; the eye catches unevenness instantly. Cut all matching strips at once, label them, and dry fit with tape before a single nail goes in. Two thin coats of satin paint finish the job.
3. Run Tall Wainscoting Down a Narrow Hallway
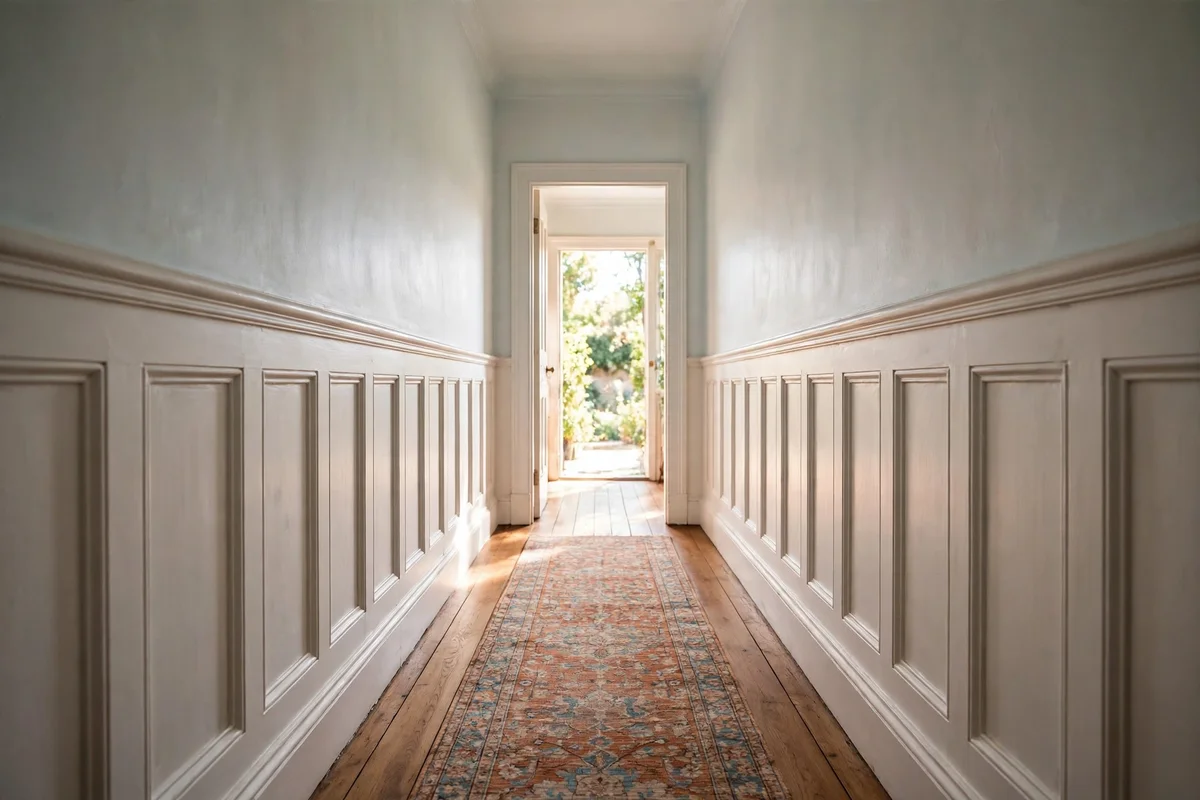
Wainscoting gives a narrow hallway the structure it usually lacks. Run panels or board to a height of 90 to 120 cm, capped with a chair rail, which leaves the upper wall free for art and keeps the corridor from feeling closed in. In a hallway under 100 cm wide, choose slim trim and shallow panels so the moulding never eats walking space. A cap rail of 6 to 8 cm with a slight rounded edge is comfortable to brush past and easy to dust.
Hallways take punishment, so durability matters as much as looks. Use a tough satin or semi gloss paint on the lower half; it wipes clean when bags and shoes scuff it. The mistake to avoid is carrying the wainscot height around corners at different levels; wrap the chair rail continuously and let panels adjust their widths to fit. Budget one weekend and around 8 to 12 pounds or dollars per linear metre in materials for a simple pine build.
4. Fit Board and Batten in the Dining Room
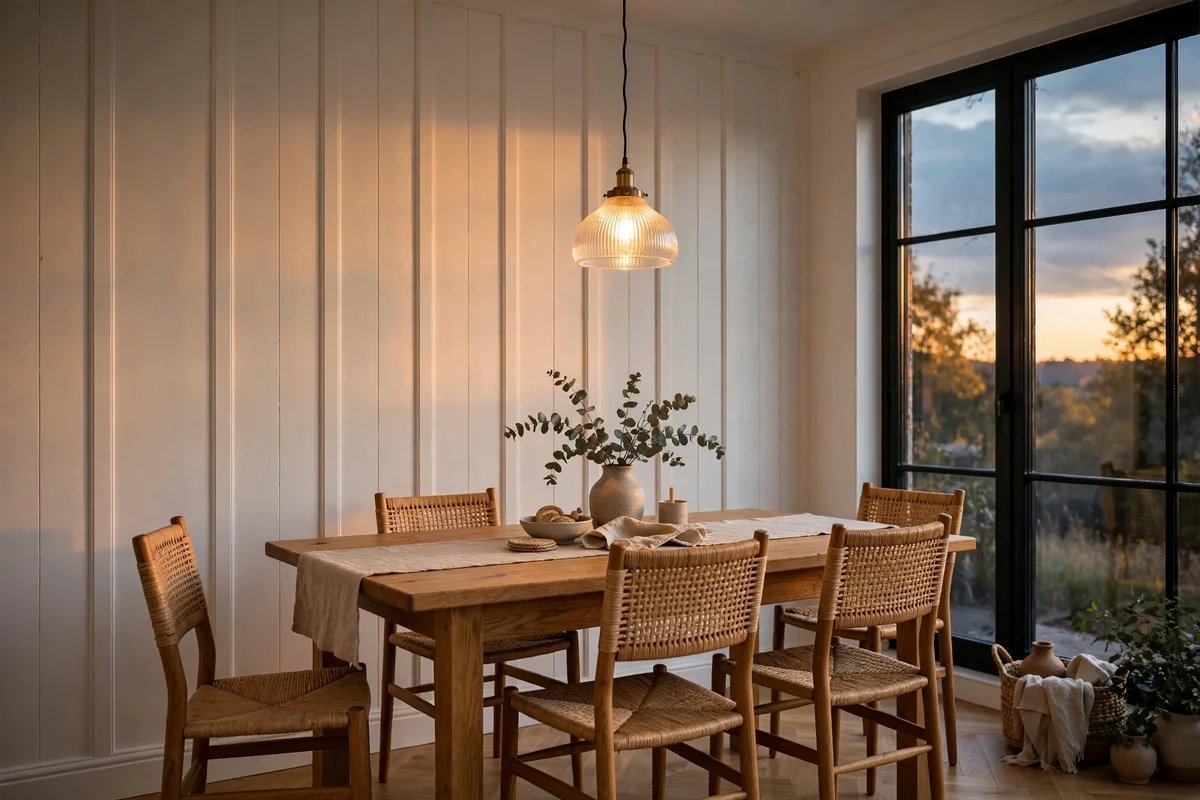
Board and batten brings tall, tailored vertical lines that make a dining room feel dressed for gathering. Space vertical battens 30 to 45 cm apart over a flat base, running from skirting to a top rail at picture rail height or to the ceiling. Narrow 5 cm battens read modern, while 8 to 10 cm battens feel closer to heritage farmhouse. Keep every batten plumb with a level, since a lean of even a few millimetres shows badly in raking evening light from a pendant.
Paint the whole assembly one colour for the most convincing built in look; warm white, sage or a muted blue grey all flatter dining rooms. The mistake to avoid is starting the layout from one end and ending with a sliver of a bay; instead, find the wall centre and work outward so the end bays mirror each other. Material cost runs roughly 10 to 15 pounds or dollars per linear metre, and a single dining wall is a satisfying two day project.
5. Add a Chair Rail to Guard a Busy Family Landing
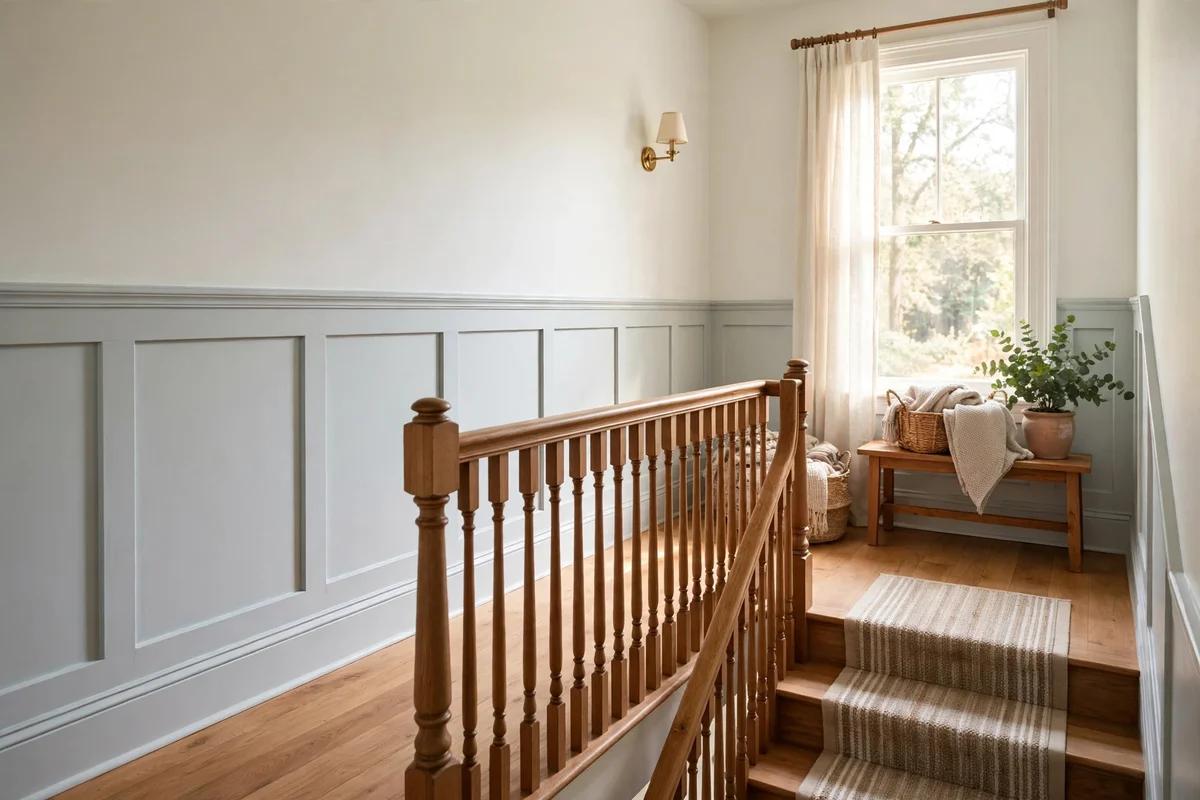
A chair rail earns its keep in hard working spots like landings and playrooms, where it shields the wall at exactly the height that toys and elbows strike. Fit the rail at 80 to 90 cm from the floor, which suits both chair backs and small hands. Choose a sturdy profile, at least 5 cm tall, fixed into studs or with proper wall anchors every 40 cm. Paint it in wipeable satin so marks come off with a damp cloth rather than a repaint.
Below the rail, add simple flat panels or leave a painted lower wall in a slightly deeper tone; both look intentional and cost little. The mistake to avoid is a rail that stops dead at a doorway without a proper return; cut a small 45 degree return or butt it neatly into the door casing so the end looks finished. This is one of the cheapest moulding projects, often under 60 pounds or dollars for a whole landing.
6. Slim Crown Moulding for Ceilings Under Eight Feet
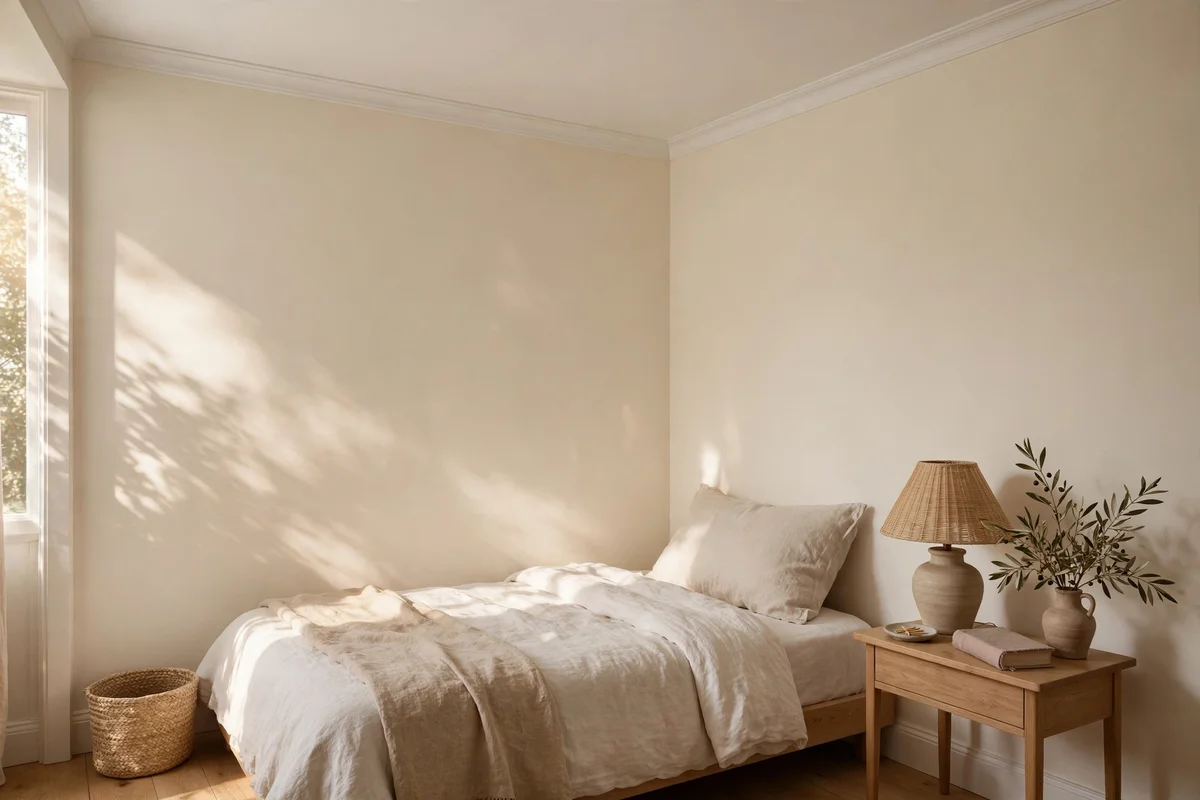
Low ceilings still deserve crown moulding, just in a slimmer profile. Choose a crown of 7 to 10 cm, which adds a finished edge without stealing visual height. Bed the moulding at the wall and ceiling joint with construction adhesive plus a few pins, and keep the bottom edge of the crown exactly level by measuring down from the ceiling in several places, since few ceilings are truly flat. Caulk the top and bottom edges for a crisp line.
Paint low ceiling crown the same colour as the ceiling so it extends the ceiling plane downward rather than cutting the wall short; this trick makes the room feel taller, not smaller. The mistake to avoid is a chunky 15 cm crown in a 240 cm room, which can feel like a heavy lid. A slim painted crown costs roughly 6 to 10 pounds or dollars per linear metre installed yourself, and transforms a boxy new build room in a day.
7. Wide Crown Moulding for Rooms With Tall Ceilings
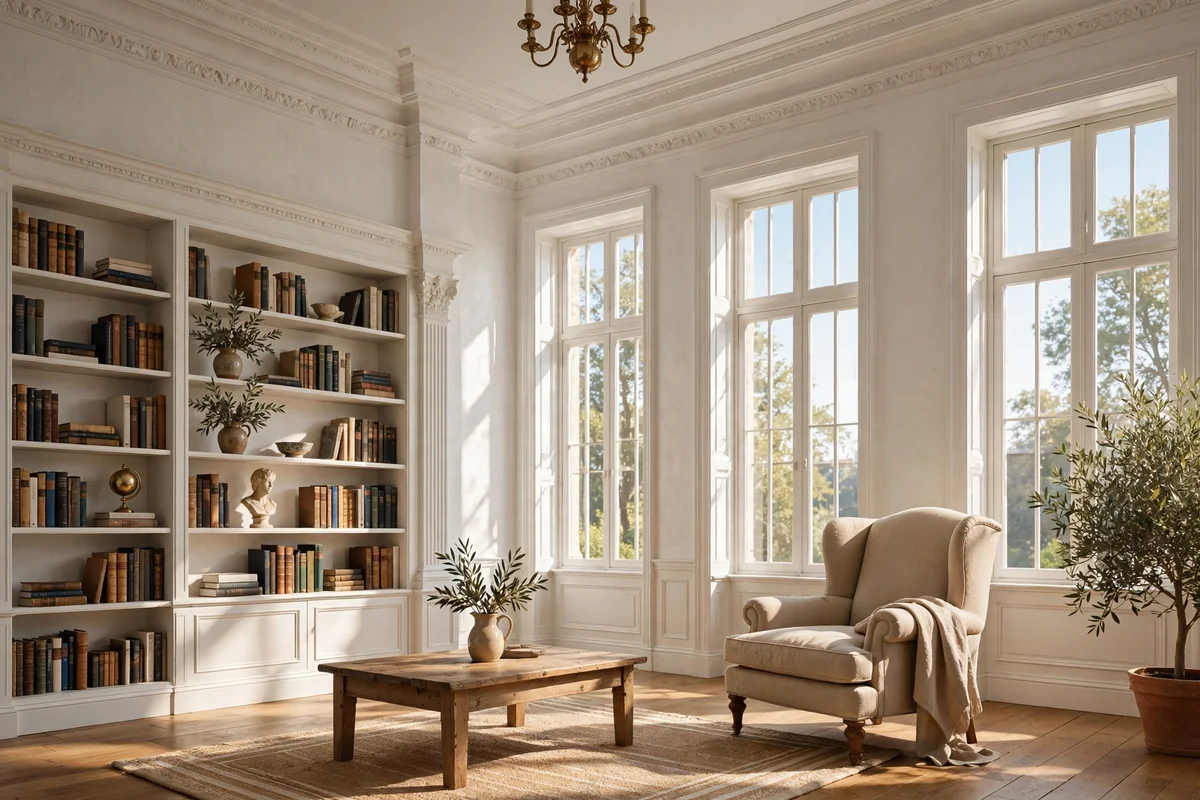
Tall ceilings invite a generous crown, and a wide 15 to 20 cm profile is what makes a grand room feel complete rather than empty at the top. Layer two profiles, a bed mould at the ceiling and a smaller cove below, to build depth that a single piece cannot give. Measure the ceiling height at both ends of each wall and split any difference across the run so the crown sits true. Paint it ceiling white or match the trim for a classic finish.
The mistake to avoid is leaving long joints unplanned; scarf joints cut at opposing 45 degrees disappear far better than butt joints on a long wall. Support long lengths with a second pair of hands or a simple ledger board screwed temporarily below the line. Budget 15 to 25 pounds or dollars per linear metre for layered profiles, and allow a full weekend for a large room, since cutting and fitting wide crown is slower, careful work.
8. Frame the Fireplace Wall With Full Height Panels
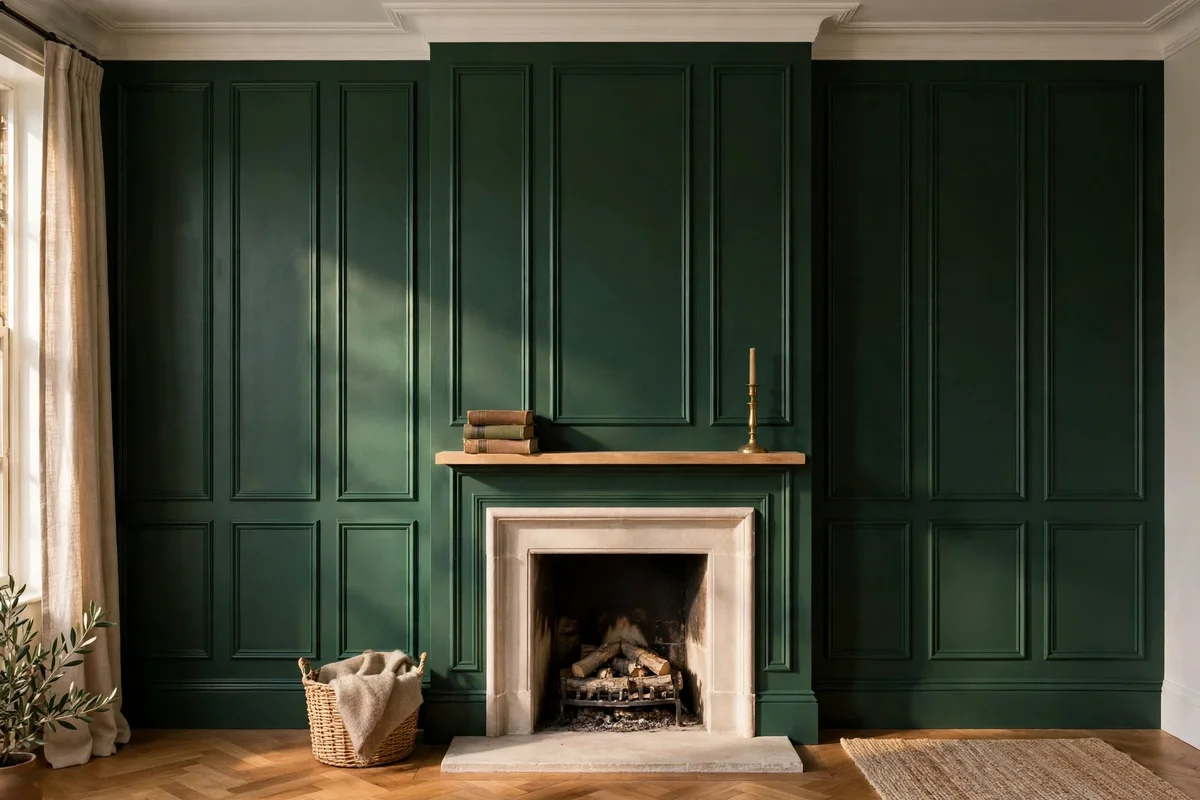
Full height panels on a fireplace wall create a focal point that needs no mantel styling to feel finished. Run two or three tall rectangles from skirting to ceiling on the chimney breast, or frame the whole wall in a grid of four to six panels if there is no breast. Keep panel widths consistent and centre the arrangement on the fireplace opening. A 10 cm gap between panels and a 15 cm margin at the edges usually balances well.
Heat is the practical concern here. Keep timber trim at least 15 cm from the firebox opening and use heat resistant caulk near the surround. The mistake to avoid is panelling only the breast and leaving the side walls bare in a way that looks accidental; carry at least a chair rail or one panel onto the adjoining walls. Paint everything, panels and breast, in one colour for a calm, architectural finish that lets the fire itself be the decoration.
9. Case a Flat Door With Applied Trim
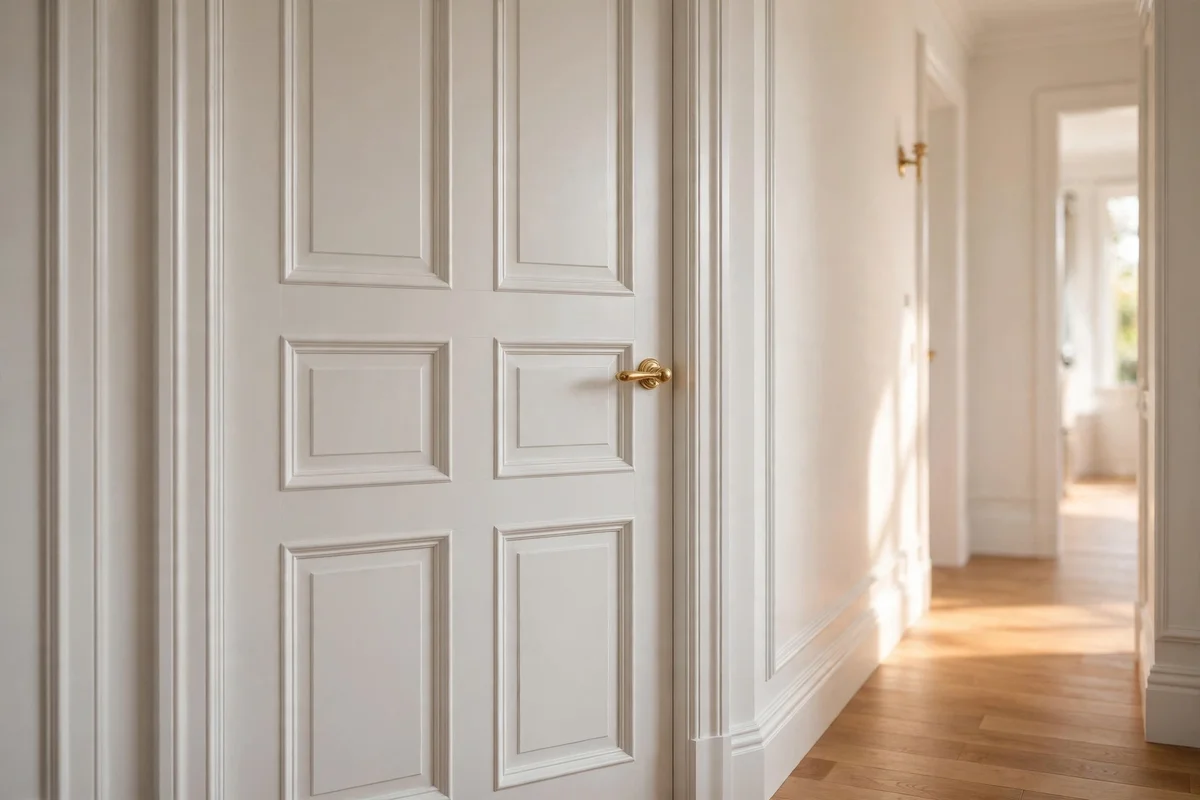
A flat, plain door looks instantly more considered when it wears applied trim. Add two or three recessed style rectangles to the door face using thin 2 to 3 cm trim, keeping the panels at least 10 cm clear of the handle and hinges. Measure the door, divide it into equal vertical bays, and cut the trim to fit within each bay with a 5 cm margin to the door edges. Glue is usually enough on a hollow door, since nails can dent the thin skin.
The mistake to avoid is trim that is too proud; anything thicker than 1 cm on a door face will catch sleeves and look clumsy. Sand every cut end smooth and fill the mitres before painting, because a door sits at eye level and flaws show. Paint the door and its new trim in one satin colour, often the same as the room’s woodwork. Two doors take an afternoon and cost under 20 pounds or dollars in trim and glue.
10. Build Up Window Trim for a Grand Surround
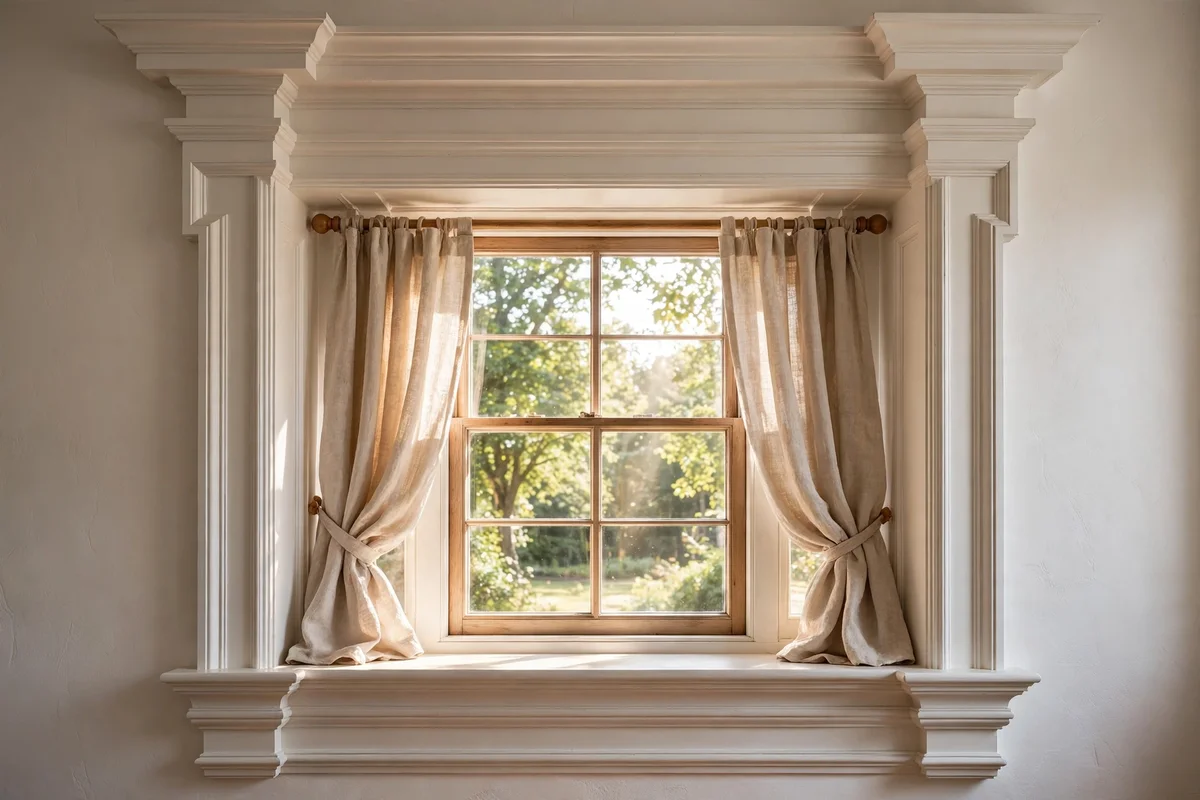
Windows look grander when their trim is built up in layers rather than left as one thin strip. Add a 10 cm flat casing, then a small backband moulding along its outer edge, and finish with a slightly wider sill apron below. This layered surround can make a standard 90 by 120 cm window read as a proper architectural feature. Keep the casing width consistent on all three sides and mitre the top corners cleanly.
The mistake to avoid is a chunky sill that blocks the window’s opening swing or clashes with blinds; check clearances before fixing the apron. Caulk every joint where trim meets wall for a seamless painted finish, but never caulk the bottom of an exterior facing sill where water needs to escape. One window takes two to three hours and roughly 15 to 25 pounds or dollars in primed pine, a small price for the lift it gives a room.
11. Add a Picture Ledge Rail Above the Chair Rail
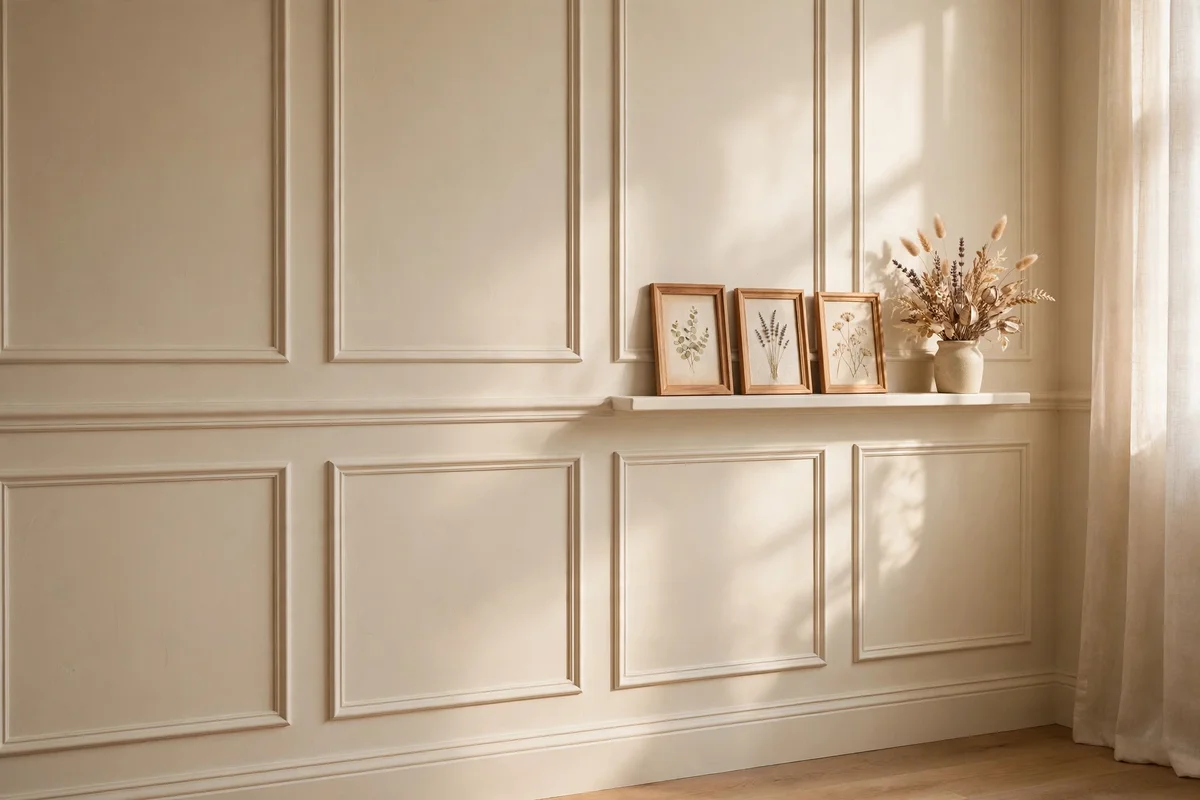
A slim picture ledge rail fixed just above a chair rail turns a panelled wall into a display shelf for small frames, plates and seasonal finds. Fit the ledge 5 to 8 cm above the chair rail, using a 3 by 5 cm strip with a tiny upstand lip of 1 cm to stop frames sliding. Fix it into the chair rail or studs every 40 cm, since a loaded ledge carries real weight. Keep displayed items shallow, under 10 cm deep, so the ledge never feels like clutter.
The mistake to avoid is overloading the ledge; three to five objects with breathing room between them look curated, while a packed row looks like storage. Rotate the display with the seasons: small framed prints in spring, a dried posy in summer, a brass candlestick in winter. Paint the ledge to match the panelling below so it reads as part of the architecture. Materials cost under 15 pounds or dollars per metre of wall.
12. Lay Diagonal Trim for a Geometric Accent Wall
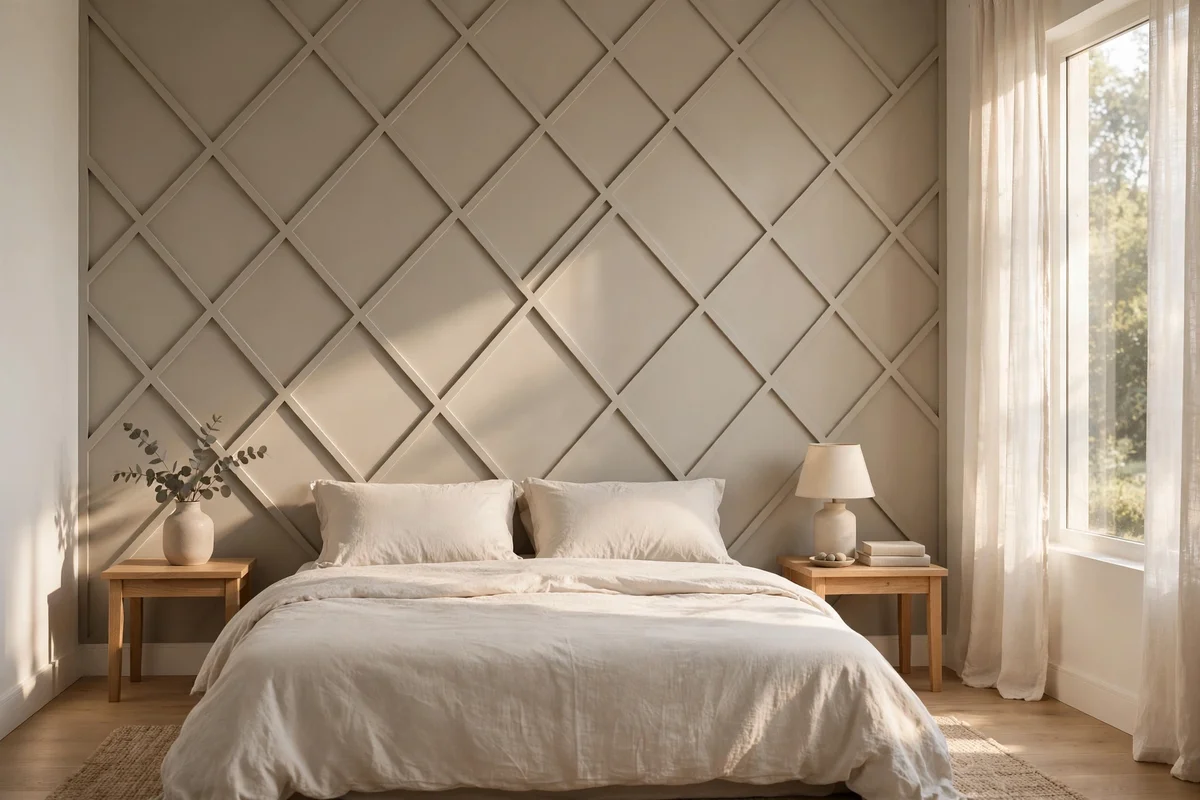
Diagonal trim strips create a striking geometric accent that suits a modern room better than traditional rectangles. Mark a grid of 60 cm squares on the wall with a level and pencil, then fix thin 4 cm trim along the diagonals to form repeating diamonds or chevrons. Work from the centre outward so the pattern stays symmetrical, and dry lay every strip with tape before fixing, because diagonal mistakes are very visible. A feature wall of 3 metres takes about 12 strips.
Keep the rest of the room quiet so the geometry can shine; plain bedding, simple curtains and one calm colour let the wall carry the interest. The mistake to avoid is mixing diagonals with other busy patterns in the same room. Paint the whole wall, trim and all, in one colour for a textured, shadow catching finish, or paint the trim a tone deeper for graphic punch. Budget 40 to 70 pounds or dollars for one bold wall.
13. Mount Vertical Timber Slats Behind the Sofa
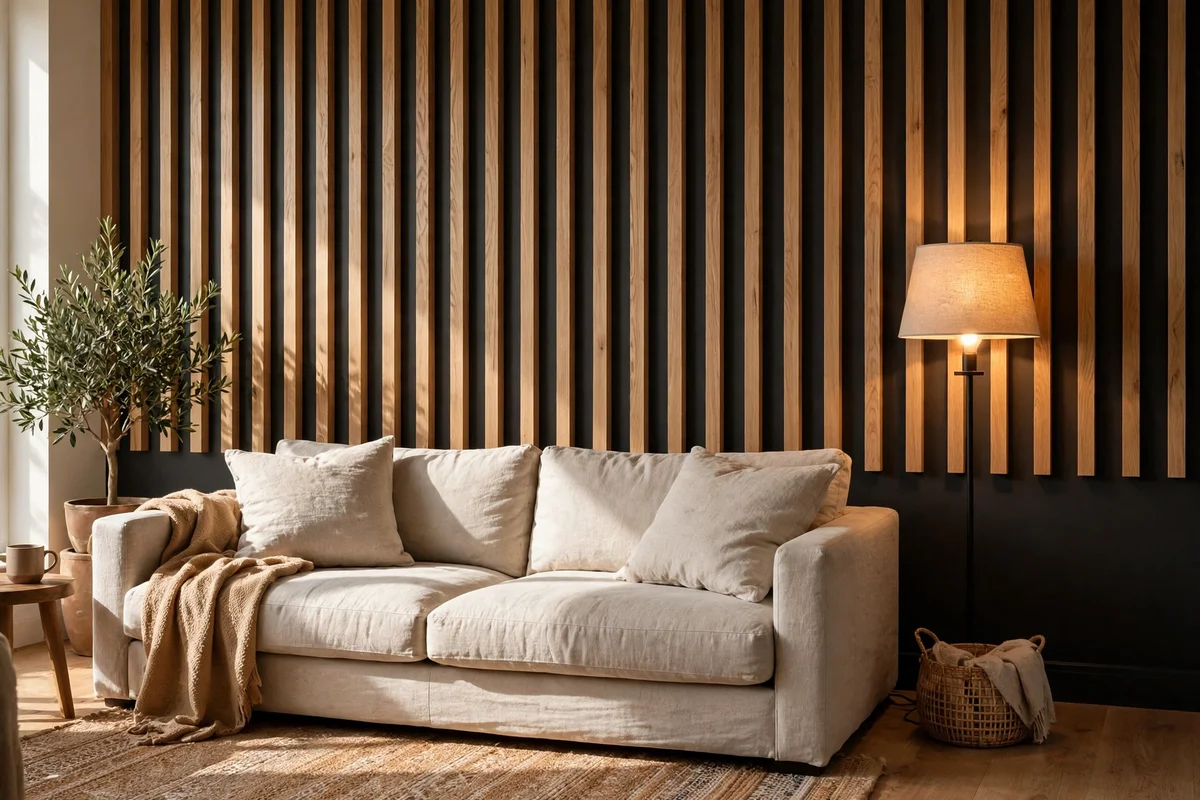
Vertical timber slats give a modern, crafted backdrop behind a sofa without any traditional profiles. Fix 4 by 2 cm battens vertically with 2 cm shadow gaps between them, running floor to ceiling or from skirting to a top rail. For a 3 metre sofa wall you need roughly 45 slats, so buy straight, kiln dried timber and reject anything twisted at the store. Fix with adhesive and one pin per slat into a horizontal backer so the gaps stay perfectly even.
The mistake to avoid is uneven gaps, which ruin the whole effect; cut a 2 cm spacer block and use it between every single slat. Finish with a clear matte varnish to keep the timber pale, or stain it walnut for warmth. Keep the wall behind the slats painted dark, charcoal or deep green, so the shadow gaps read as crisp lines. This is a weekend project costing 80 to 140 pounds or dollars depending on timber choice.
14. Panel the Staircase Wall Along the Rake
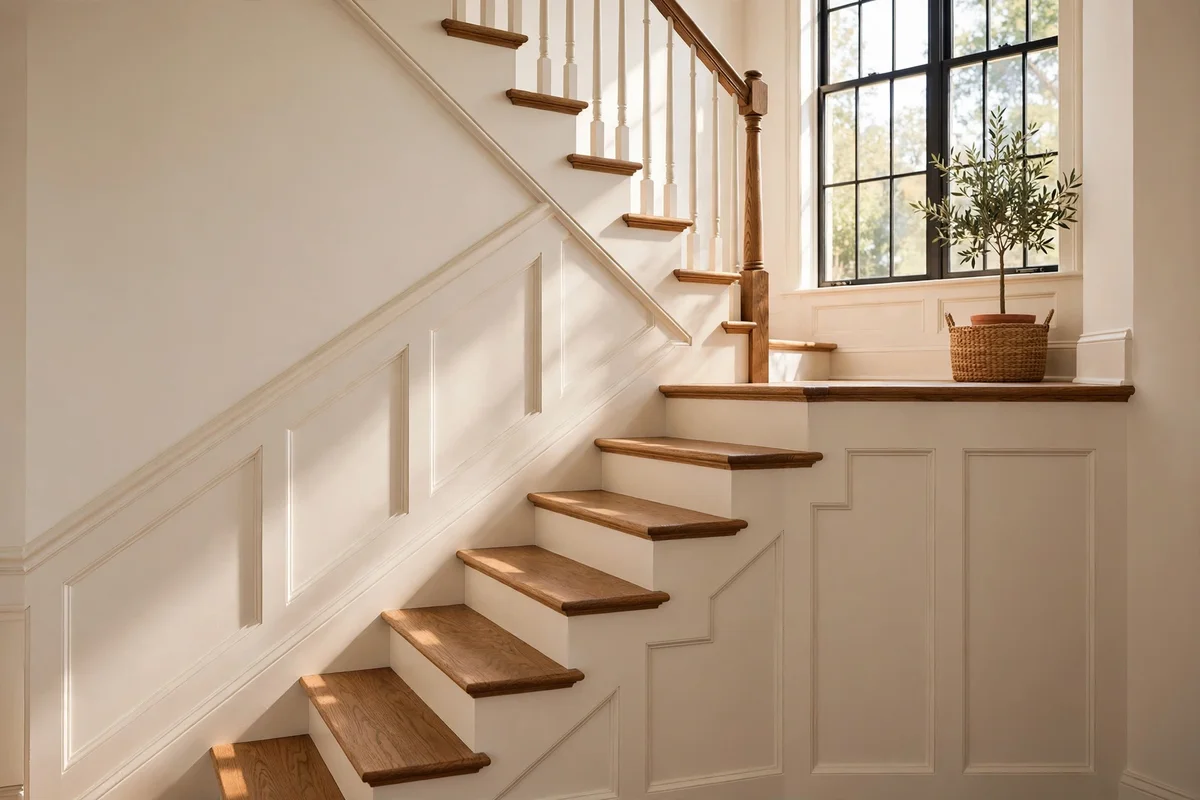
A staircase wall panelled to follow the rake of the stairs looks masterfully built, though it asks for patient measuring. Fix a chair rail parallel to the stair slope, about 90 cm above the nosing line, then fit panels below it as a series of rectangles that step with the stairs. The honest approach is to let each panel stay rectangular and step the rail, rather than cutting parallelograms, which keeps every joint a simple 90 degrees.
Measure the slope angle with a digital level or a simple angle finder so the rail runs truly parallel to the treads. The mistake to avoid is panelling the stair wall while ignoring the landing; carry the rail around the corner at landing height for a continuous line. Paint the stair panelling in a durable satin that survives hand contact. Allow two weekends for measuring, cutting and fitting, and about 12 pounds or dollars per linear metre in materials.
15. Dress a Small Entry With Half Height Panelling
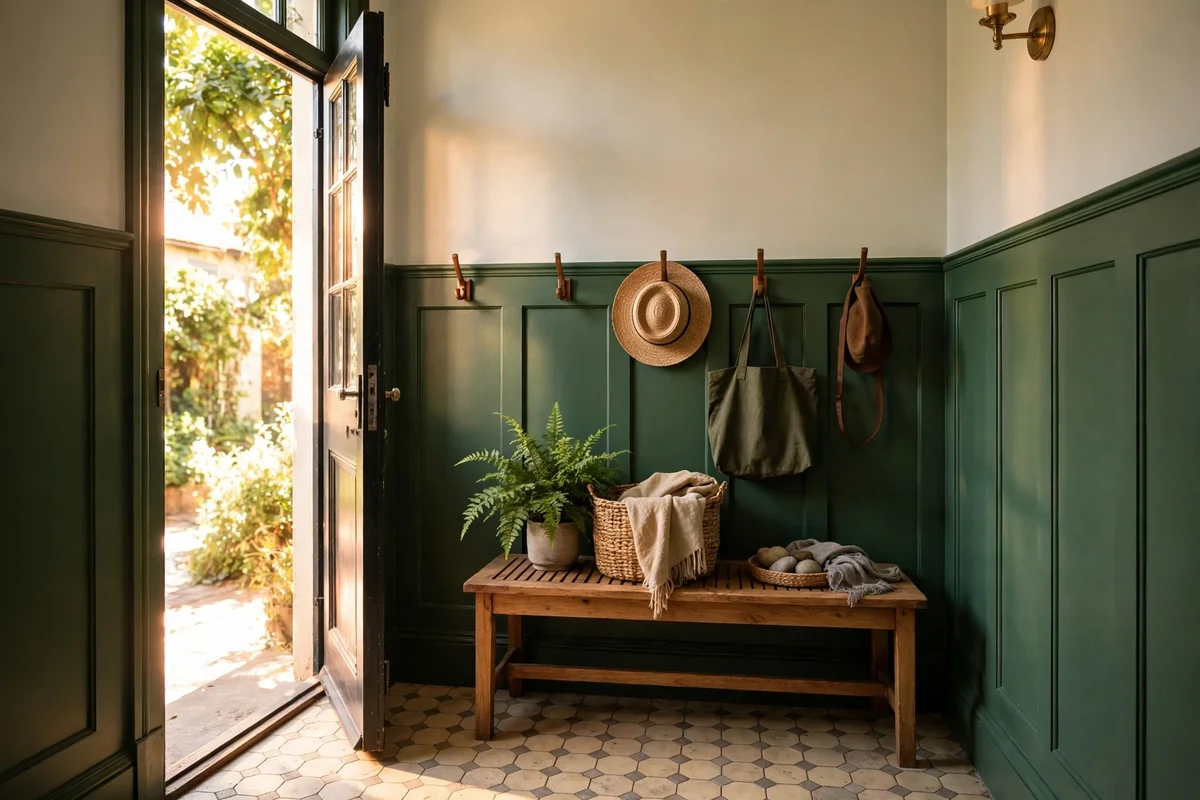
Half height panelling makes a small entry feel finished the moment the door opens. Run panels to 100 or 110 cm, capped with a chair rail deep enough to hold keys, at least 8 cm, and paint the lower half in a colour with a little depth: deep green, warm charcoal or classic navy all welcome guests well. Above the rail, keep the wall pale so the small space still feels open. A console or bench can then sit against a wall that already looks dressed.
The mistake to avoid is panelling only the wall behind the door and leaving the rest bare; wrap at least two walls so the entry reads as a deliberate room. Use moisture tolerant MDF or pine near the door, where wet coats and umbrellas drip. Hooks on the chair rail add function without extra furniture. A typical entry of 4 linear metres costs 50 to 90 pounds or dollars and takes one weekend, a high impact small project.
16. Choose Moisture Proof Trim for the Bathroom
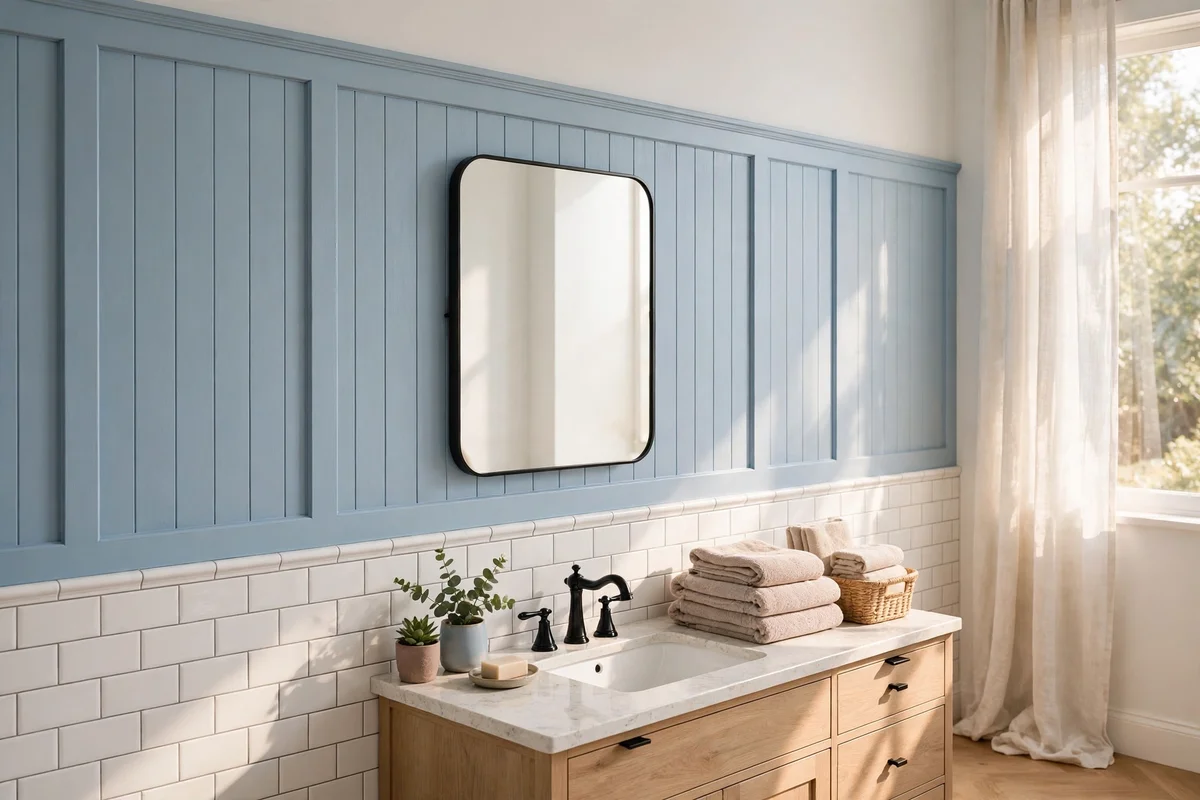
Bathrooms can wear moulding beautifully if the material is chosen for steam. Use PVC or polyurethane trim rather than pine or MDF, since both shrug off humidity that would swell timber. Picture frame panels above the tile line or full wainscot behind the vanity both work well. Fix with waterproof construction adhesive and stainless pins, and leave a 3 mm gap at the floor sealed with silicone so splashes never wick upward.
Paint with a bathroom rated satin or semi gloss that resists mould; standard emulsion softens in steam and peels within a year. The mistake to avoid is timber skirting or trim hard against a shower or bath edge, where constant water defeats even good paint. Keep panels at least 30 cm from direct spray zones. PVC trim costs a little more, about 12 to 18 pounds or dollars per metre, but it will outlast timber many times over in a steamy room.
17. Use the Two Thirds Rule for Balanced Panel Spacing
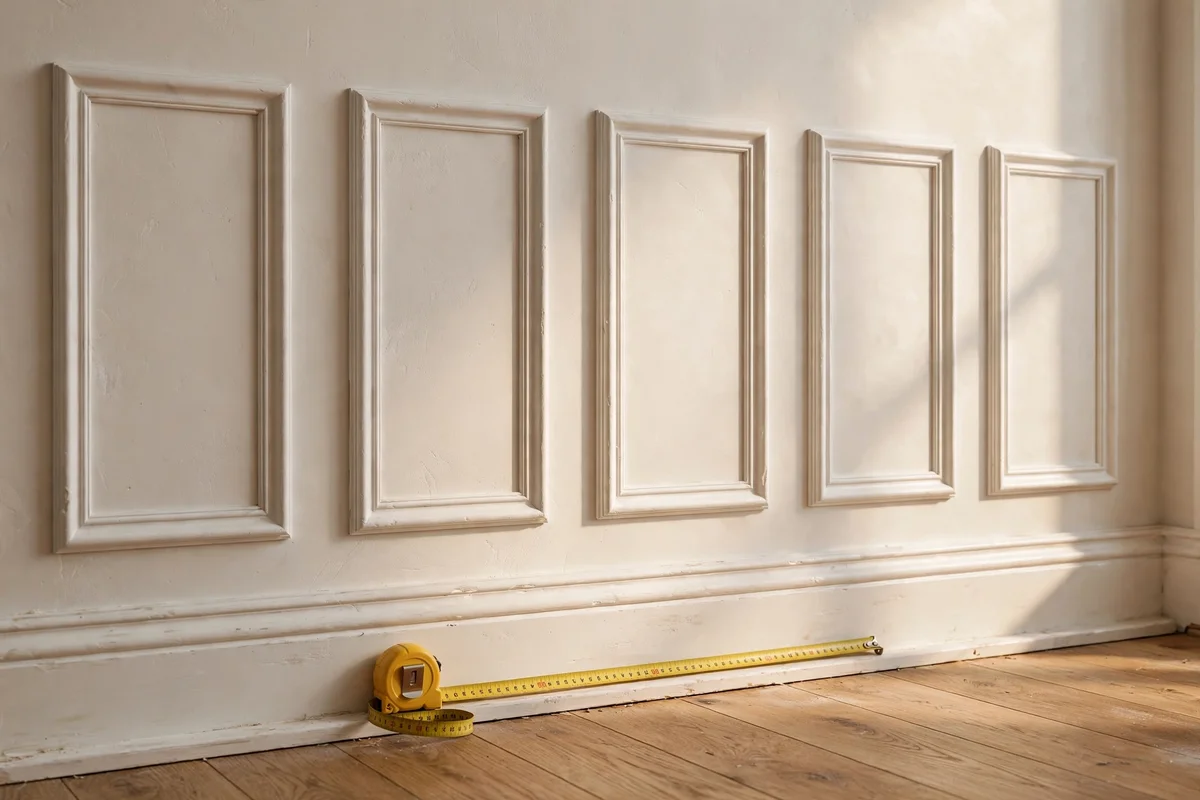
The two thirds rule is the simplest spacing maths that always looks right: make the gap between panels roughly two thirds of the panel width, or the panel width roughly one and a half times the gap. For example, 60 cm wide panels with 40 cm gaps, or 45 cm panels with 30 cm gaps. This ratio keeps panels feeling generous without crowding the wall, and it works for picture frame moulding, wainscot bays and board and batten alike.
Start every layout from the centre of the wall and work outward, adjusting the ratio slightly so the end gaps match; symmetry matters more than hitting the exact ratio. The mistake to avoid is measuring from one corner, which almost always leaves a narrow, awkward bay at the far end. Sketch the wall on paper first, write every measurement down, and check the total adds up before cutting. Ten minutes with a pencil saves an afternoon of recutting.
18. Measure and Mark Centres Before Cutting Anything

Careful marking is the difference between moulding that looks crafted and moulding that looks homemade. Find the centre of each wall with a tape, mark it lightly in pencil, and lay out every panel from that point. Check the floor to rail height at three points along the wall, since floors slope, and use the highest reading as your datum so no panel sits short. Mark all four corners of every panel with small pencil crosses.
Photograph your pencil layout and step back to study it before cutting a single strip; the camera reveals crooked lines the eye misses. The mistake to avoid is trusting the skirting board as level; in older homes it can wander by a centimetre or more. Re measure after marking, then cut. A 5 metre tape, a 60 cm spirit level and a sharp pencil are the whole toolkit here, and this slow stage is what makes the fast stage possible.
19. Cut Clean Mitres With a Simple Mitre Box
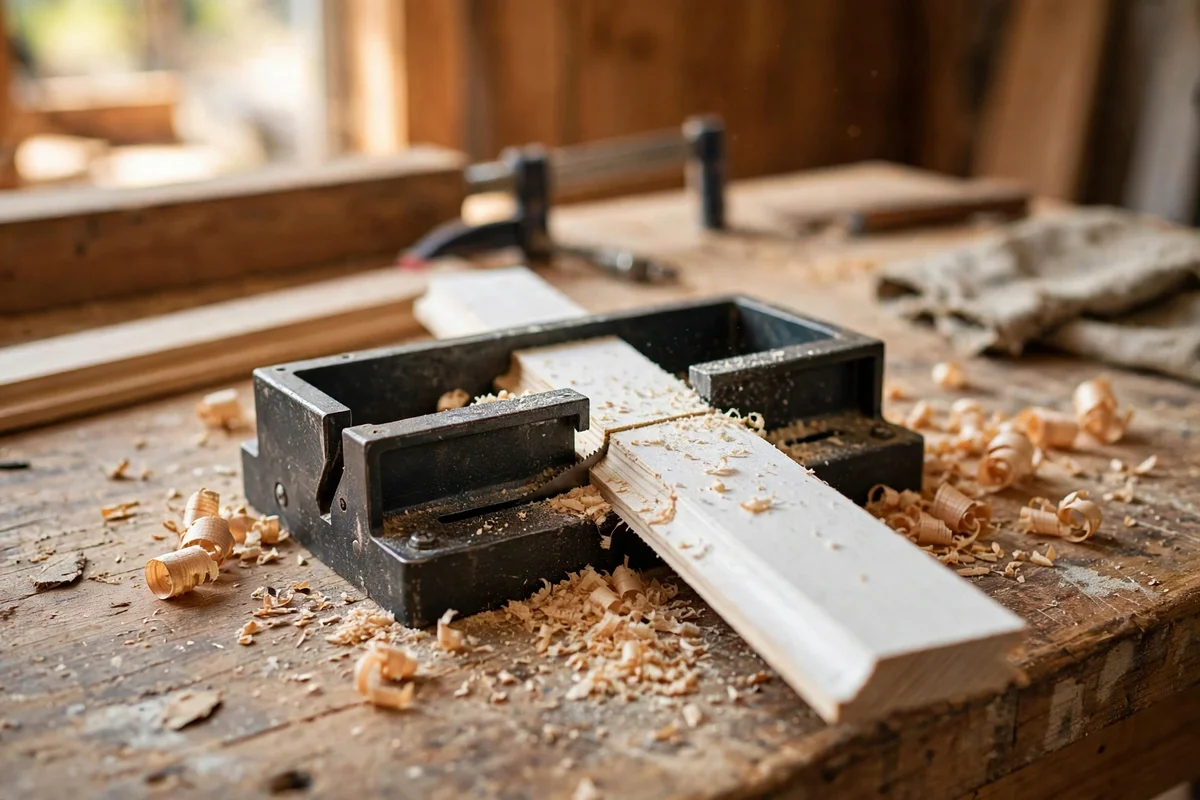
A mitre box and a sharp fine tooth saw are all you need for the 45 degree corners that join picture frame panels. Clamp or hold the trim firmly in the box, keep the saw flat in the guide slots, and cut with long, gentle strokes rather than pressing down; pressure splinters the back edge. Cut each corner pair together where possible so the two 45s truly make 90. Test fit every corner dry before any glue touches it.
The mistake to avoid is cutting all four sides from one measurement; walls are rarely square, so cut, fit, then mark the next piece from the fitted one. A dab of wood glue on each mitre plus a pin through the joint keeps corners tight as the timber moves with the seasons. Sand the outer corner lightly after fixing so paint flows over it. A decent mitre box costs under 20 pounds or dollars and serves every future trim project.
20. Glue Versus Nails: Fixing Trim the Right Way
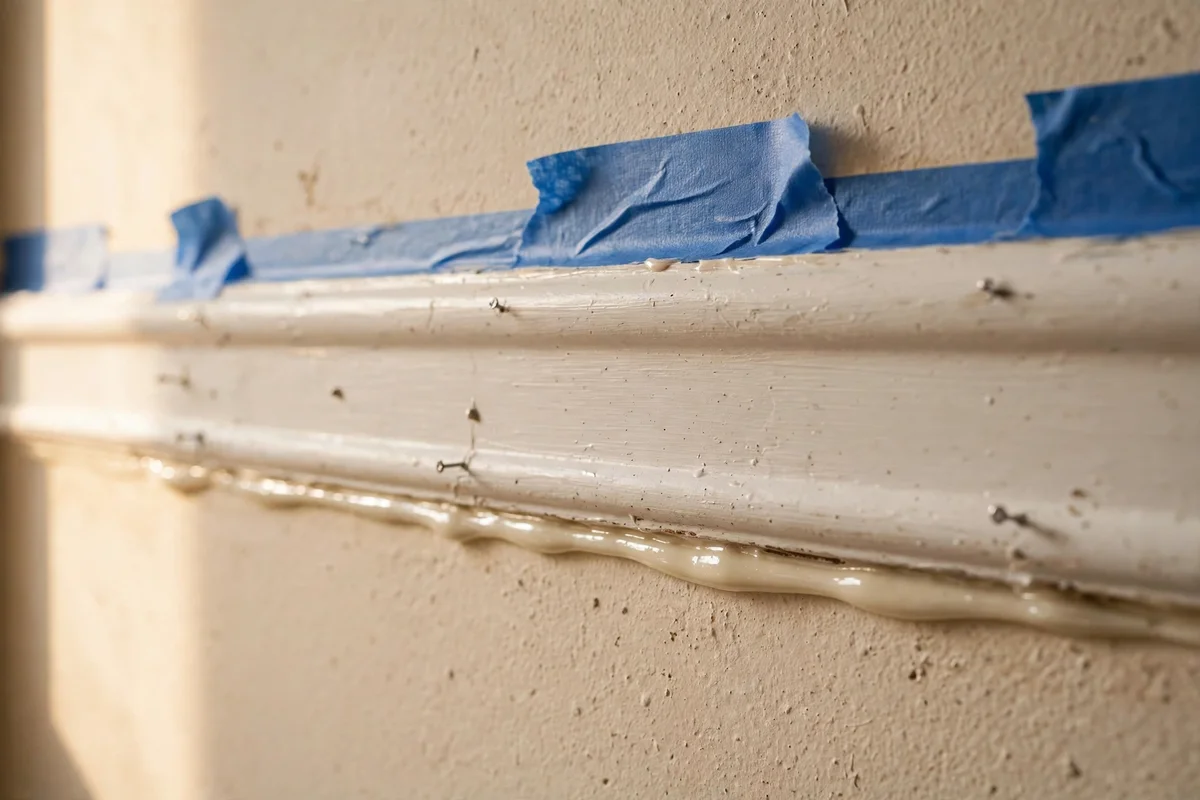
Adhesive and nails each have their place, and the best work often uses both. Construction adhesive gives a continuous bond that stops trim rattling and lets you use fewer fixings, which means fewer holes to fill. It suits owners well, especially on long runs of chair rail or crown, though renters should avoid it. Apply a thin zigzag bead, press the trim home, and hold it with temporary pins or tape while it cures overnight.
Pins and small brad nails shine where trim might one day come down, or where you are still learning and may need to adjust; a pinned strip can be levered off with minor damage. The mistake to avoid is nails alone on wide crown, which can creep and open joints as seasons change. For the strongest lasting fix, glue plus a pin every 40 cm into studs is the professional standard. Fill every hole, sand, then paint two coats.
21. Paint Trim and Wall One Colour for a Seamless Look
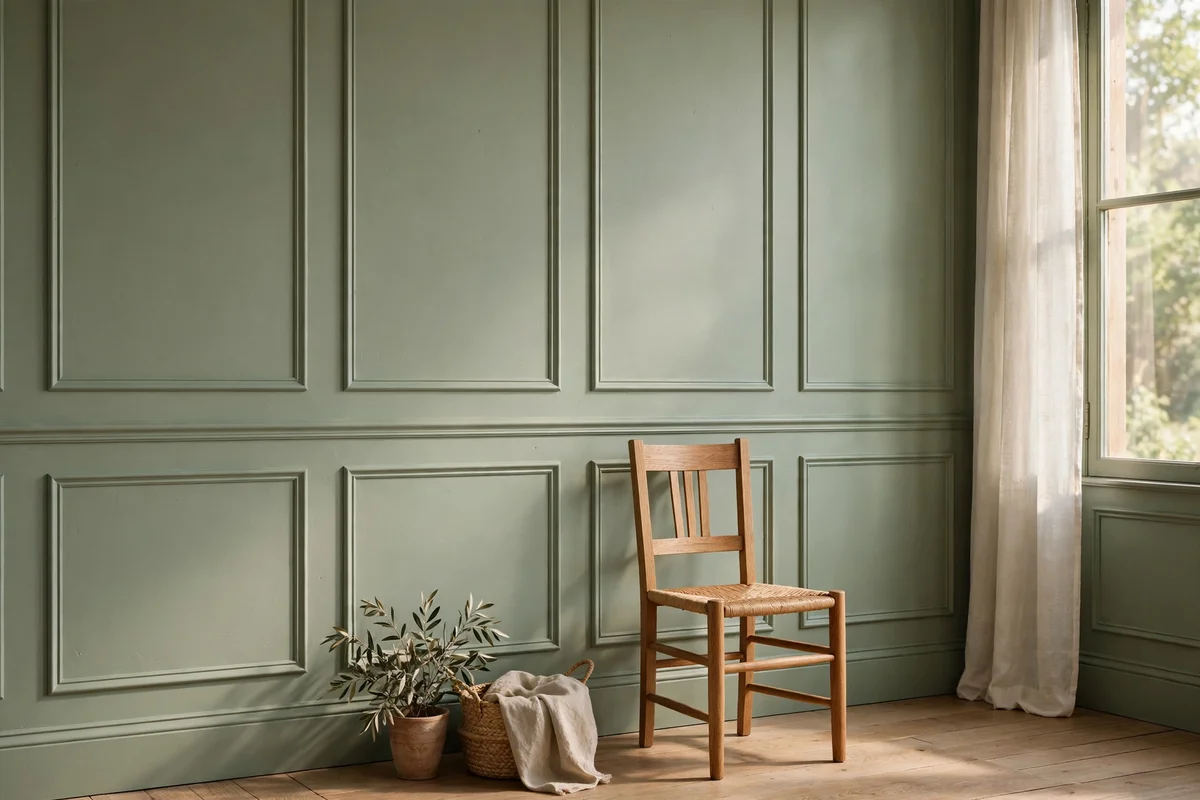
Painting trim and wall in exactly one colour is the single most effective trick for a custom built feel. The moulding then reads as carved plaster rather than stuck on timber, and the room gains quiet architectural depth. Choose a quality satin or eggshell for the trim areas and the same colour in a matching wall finish, or simply use one durable satin everywhere. Two thin coats beat one thick coat every time, with a light sand between them.
If one colour feels too bold in a strong shade, try the tone on tone version: trim one step darker or lighter on the same paint card. The mistake to avoid is glossy trim against flat walls in a dark colour, which can look patchy where the sheens meet; keep sheens close. Always caulk the trim to wall joint before painting, since paint alone never hides a shadow gap. This trick costs nothing extra, only a decision.
22. Choose Between Modern Flat Profiles and Heritage Curves
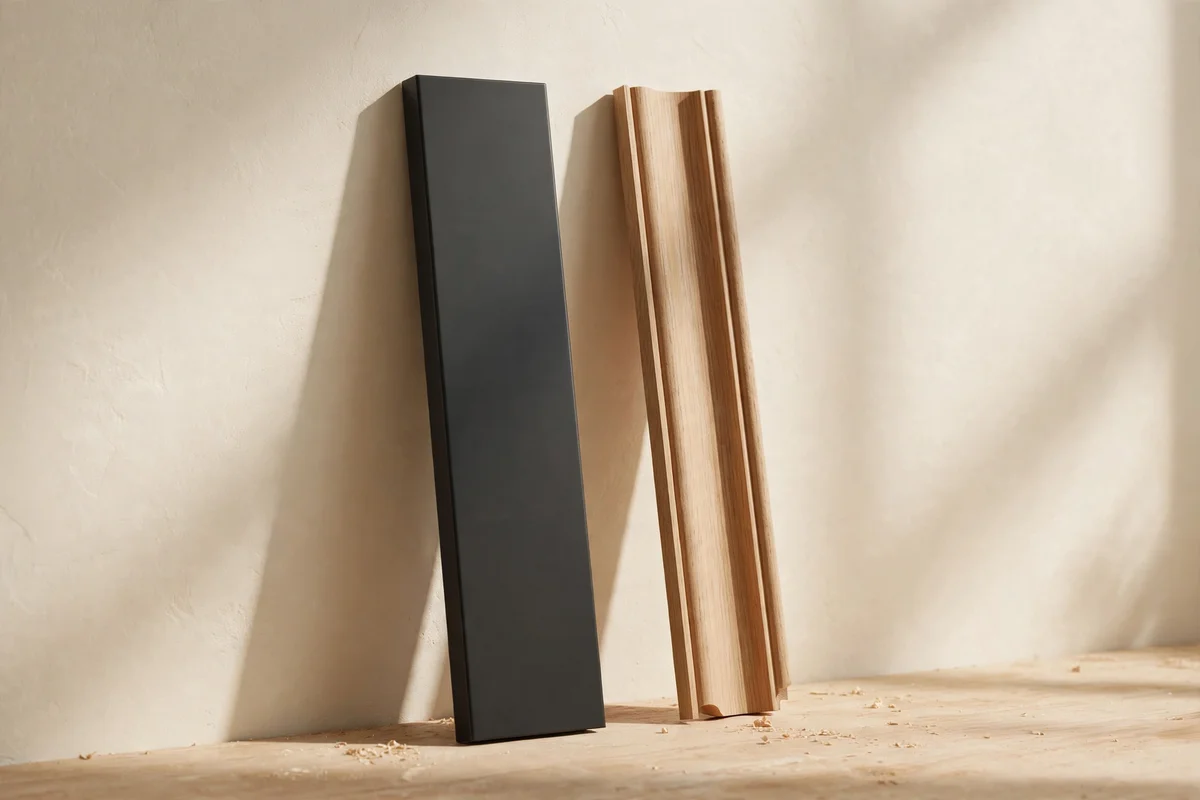
Modern flat profiles, simple square edged strips and shallow steps, suit calm contemporary rooms and are the easiest to cut and join. Heritage profiles with ogee curves, beads and coves belong with older homes and traditional furniture, where their shadows add period character. Match the profile to the house first and the furniture second; a Victorian curve in a crisp new build usually looks like a costume, while flat stock in a period terrace can look underdressed.
You can blend the two carefully: use a heritage crown at the ceiling with flat panel moulding below, since the eye reads them at different heights. The mistake to avoid is mixing three or four profiles on one wall, which turns crafted into cluttered. Buy one short sample length of each contender and hold it against the wall in daylight before committing. Profiles cost roughly the same per metre; the choice is aesthetic, not financial.
23. Cost One Wall Before You Buy a Single Strip
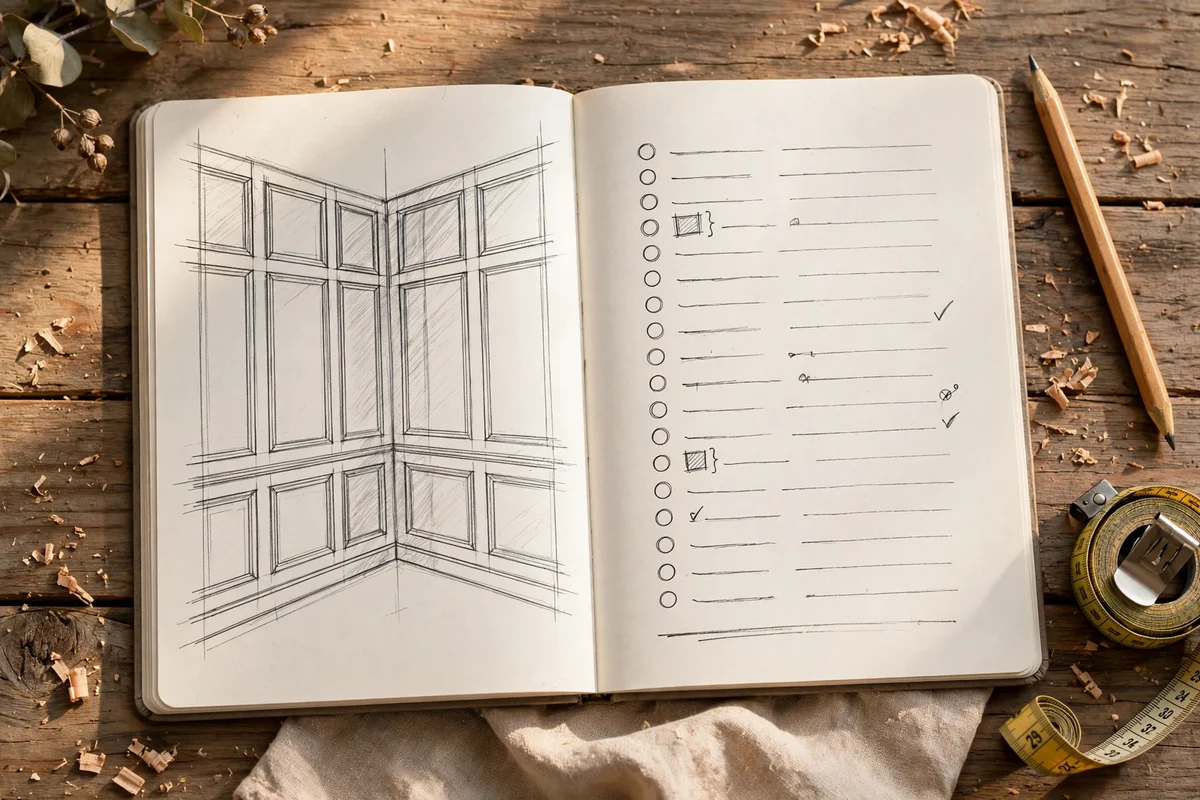
Pricing one wall before shopping keeps the project joyful instead of stressful. Measure the wall, sketch the layout, and list every length of trim, plus adhesive, pins, caulk, filler and paint. A typical 3.5 metre feature wall in picture frame panels needs about 20 metres of trim at 2 to 4 pounds or dollars per metre, one tube of adhesive, one tube of caulk and a litre of paint, totalling roughly 80 to 120 all in. Write it down.
The mistake to avoid is buying trim first and designing second, which leads to short lengths, extra joints and wasted offcuts. Add ten percent to every length for cutting waste and mistakes; mitres eat more timber than beginners expect. Shop the offcut bin at the timber yard for small projects, and borrow rather than buy a mitre box if this is your only trim job. A clear budget turns a vague idea into a weekend plan you can actually start.
24. Try Removable Trim Options Made for Renters
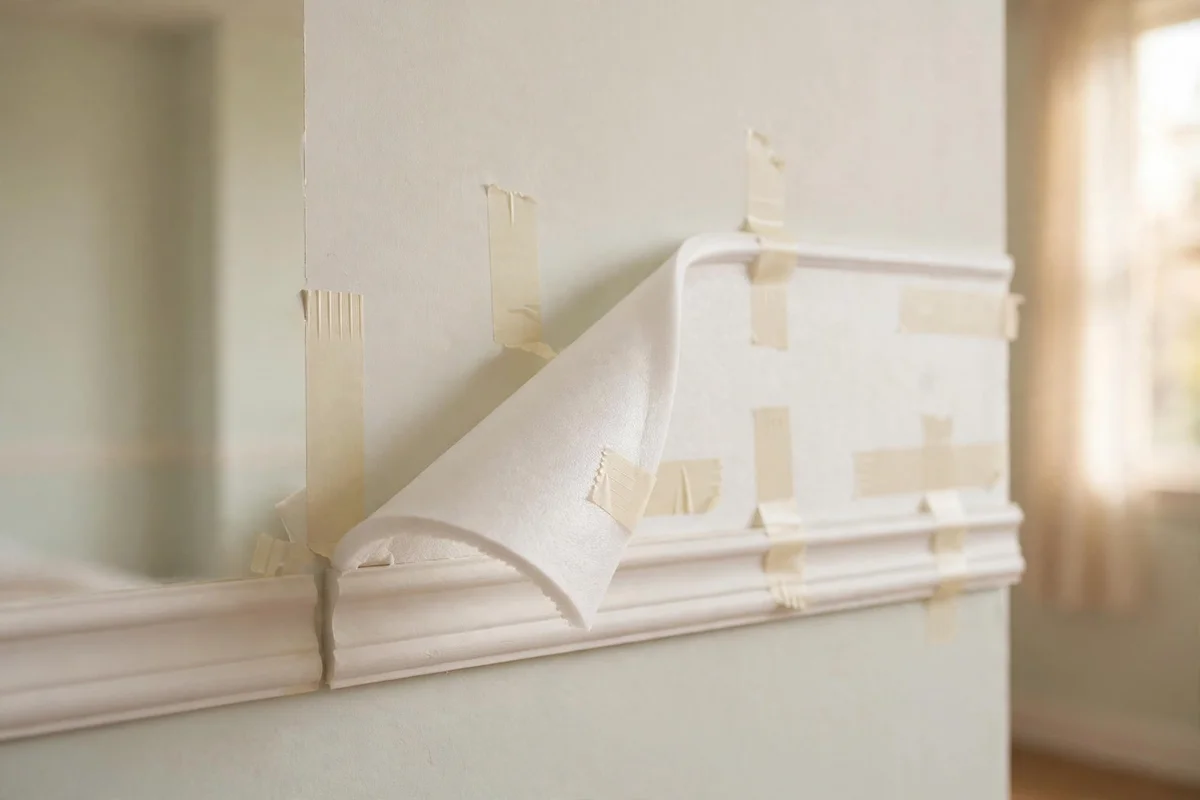
Renters need not miss out on the panelled look. Lightweight PVC or foam trim fixed with high strength removable mounting tape gives convincing picture frame panels that peel off cleanly at move out. Keep panels modest, under 90 cm wide, so the tape load stays safe, and press each strip firmly for a full minute during fitting. Paint the trim before mounting, since painting in place risks the wall, and touch up only with a small brush.
Test the tape on a hidden patch first and photograph the bare wall for your records. The mistake to avoid is using nails or standard glue in a rental; even small holes cost deposit money. Another good option is leaning framed moulding panels, large frames hung from a single picture hook, which need no wall fixing at all beyond the hook. When moving day comes, warm the tape with a hairdryer and peel slowly for a clean release.
These 24 ideas share one simple belief, that a room feels considered when someone has measured it with care. Whether you chose a single panel behind the bed or a full run of wainscoting, the craft is in the spacing, the level lines and the patience to caulk and paint properly. Timber strips are inexpensive; attention is what makes them look expensive. Start with the wall you see most, and let one true line lead to the next.
This week, try the easiest idea of all: tape out one picture frame panel on your bedroom wall with painter’s tape and live with the outline for two days. If the size and position feel right, buy the trim at the weekend and fix it in an afternoon. One panel teaches you every skill the bigger projects need, measuring, cutting, levelling and painting, and it may be all the room was ever asking for.
Frequently Asked Questions
How much does it cost to add wall molding to one room?
A single feature wall in painted pine typically costs 80 to 150 pounds or dollars in materials, including trim, adhesive, caulk and paint. A full small room with wainscoting runs 250 to 500. Hiring a carpenter roughly doubles the material cost in labour. Start with one wall to learn the skills before committing to a whole room.
Can I install wall molding if I am renting?
Yes, with removable methods. Use lightweight foam or PVC trim fixed with high strength removable mounting tape, paint it before mounting, and keep panels under 90 cm wide. Test the tape on a hidden spot first. Alternatively, hang large moulding frames from picture hooks. Avoid nails, screws and construction adhesive, which all risk your deposit.
Should the molding be the same colour as the wall?
Painting trim and wall one colour gives the most seamless, custom built look, since the moulding reads as part of the architecture. For contrast, try trim one tone deeper on the same paint card. Avoid mixing very different sheens, like flat walls with high gloss trim, which can look patchy. Always caulk joints before painting.
What is the best height for wainscoting and chair rails?
Chair rails usually sit 80 to 90 cm from the floor, roughly one third of a standard 240 cm wall. In rooms with tall ceilings, 100 to 120 cm looks better proportioned. Keep the rail level by measuring from the highest point of the floor. Run the rail continuously around corners and doorways for a finished, intentional line.
Do I need a power saw to cut molding?
No. A simple mitre box with a fine tooth hand saw cuts clean 45 degree corners in pine and MDF trim, and costs under 20 pounds or dollars. Cut with long gentle strokes and never force the saw. For PVC or foam trim, a sharp utility knife and a steady hand are enough. Test fit every joint dry before gluing.