DIY Projects
20 Antique Furniture Makeovers That Respect the Original Craft
By Anna Wells · · 20 min read
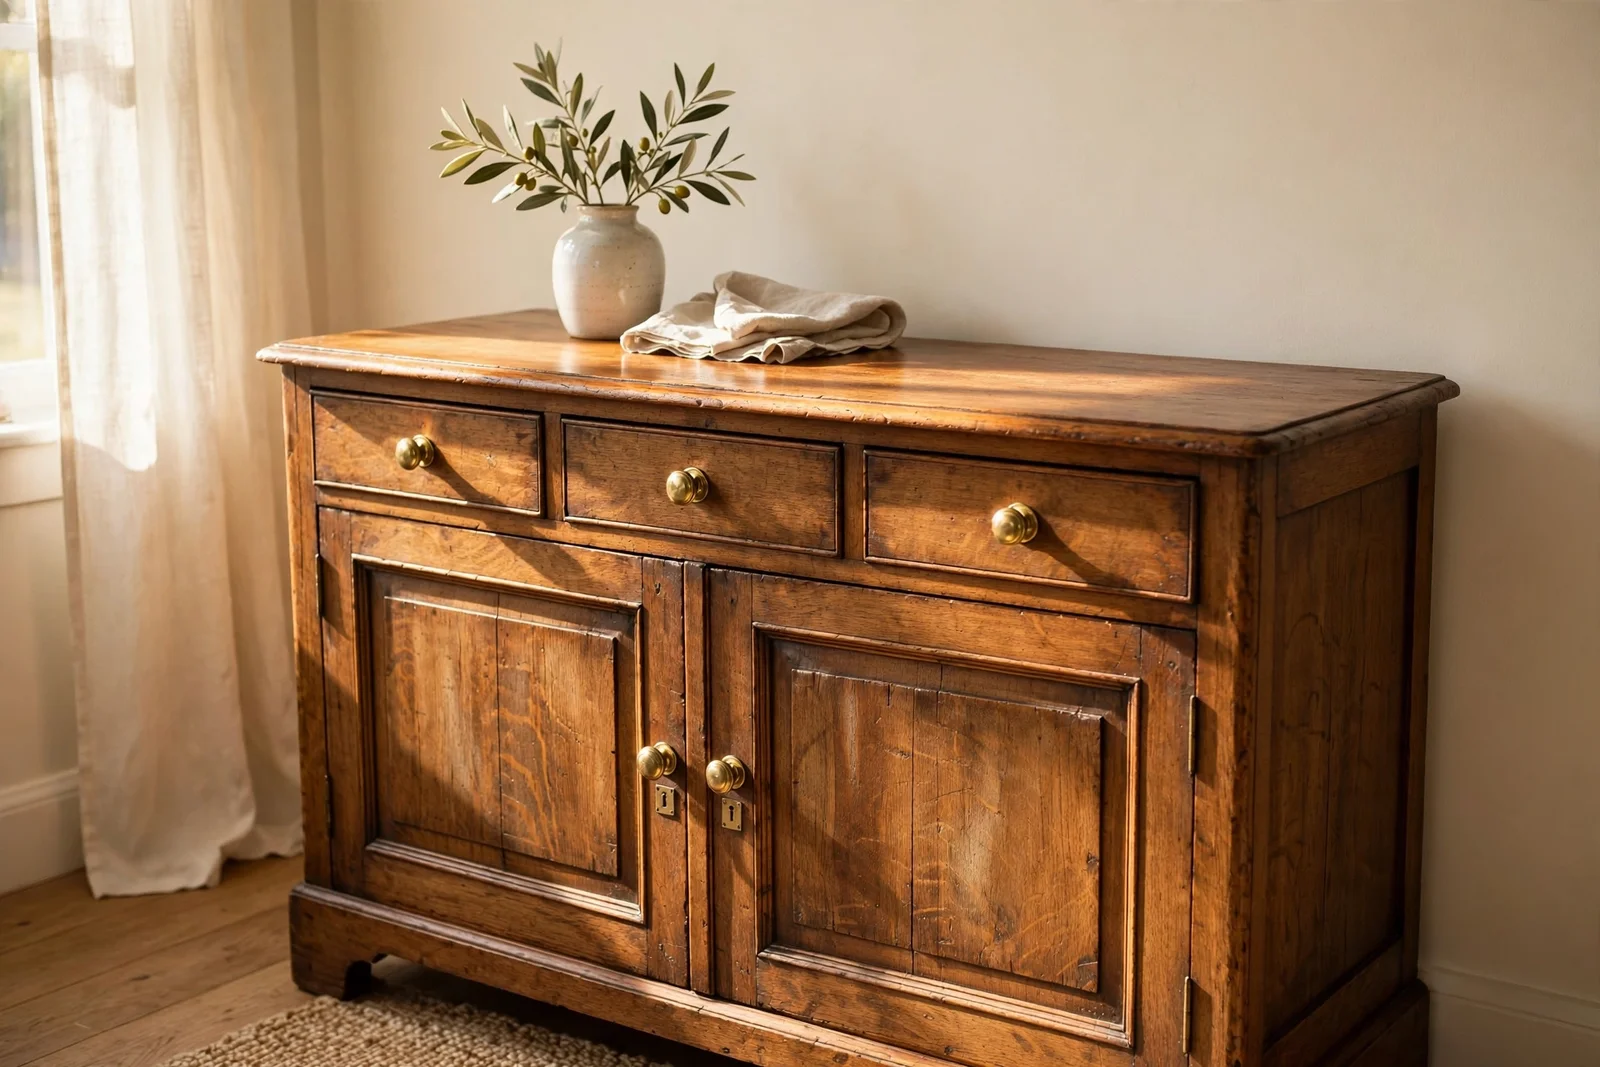
Old furniture deserves gentle hands. Discover 20 careful makeovers that clean, repair and feed antique wood while leaving its history beautifully intact.
There is a quiet kind of beauty in an old dresser that has served four generations of one family. The drawers slide a little stiffly, the varnish has softened at the edges where hands rested for decades, and every scratch tells a story worth keeping. These 20 ideas will help you bring antique furniture back to life while honouring the craft that made it.
You will learn how to decide whether a piece needs restoring, refinishing or simply leaving alone, how to clean a century of grime without stripping the patina, how to tighten wobbly joints and repair blistered veneer with materials the original maker would recognise. Every step respects the wood first and the value of the piece second, because the wrong sandpaper or paintbrush can erase a hundred years of character in an afternoon.
Keep your toolbox gentle, your patience long and your camera close. Photograph every side of the piece before you begin, work on one small area at a time, and test every product on a hidden corner first. When you are unsure whether an old piece is valuable, pause and get a valuation before you touch it. The ideas below start with that careful thinking and finish with a care routine that protects your work for decades.
1. Decide Whether to Restore, Refinish or Leave the Piece Alone
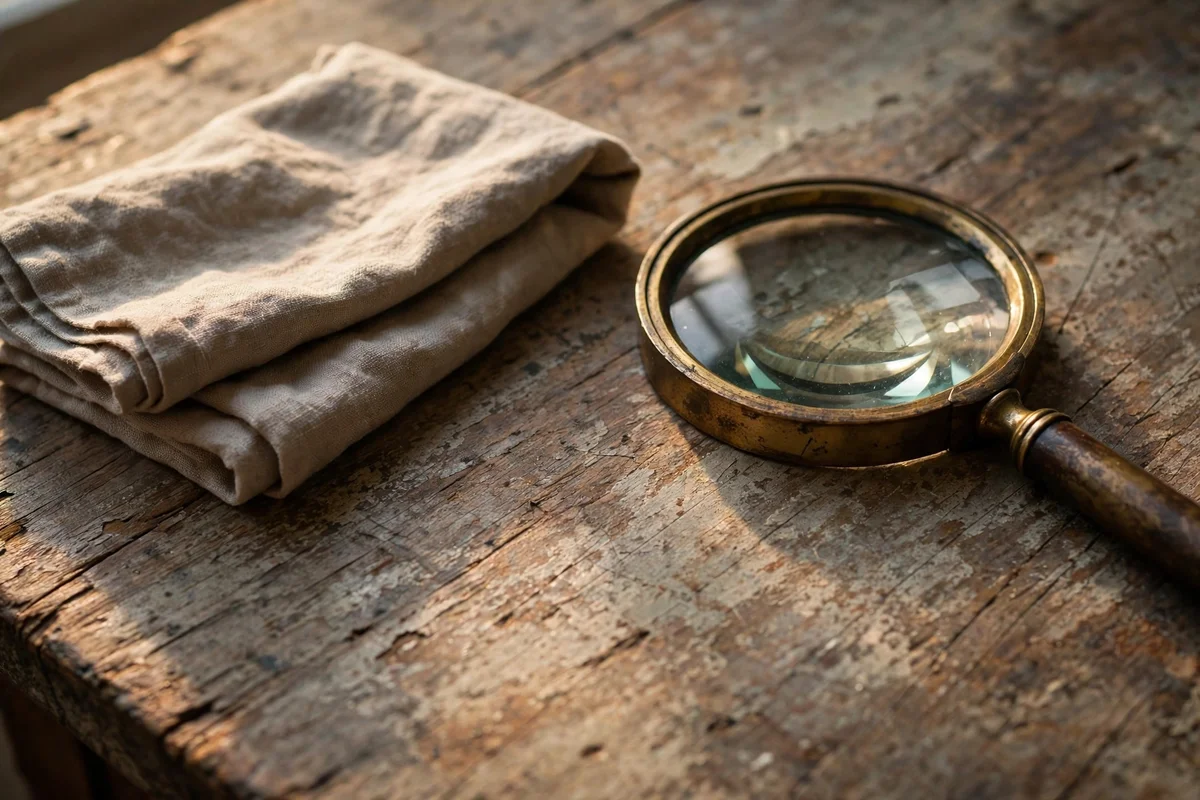
Walk around the piece and judge its condition honestly before buying a single product. If the joints are sound, the veneer is flat and only the finish looks tired, a gentle cleaning and wax is all it needs. If whole areas of veneer are missing or the finish is flaking in sheets, a sympathetic restoration may be justified. Never start sanding on the first afternoon; spend at least one full day just looking, photographing and reading about the piece before you decide anything.
Ask yourself three questions and write the answers in a notebook. Is the piece valuable enough that a wrong move could destroy its worth? Do the repairs it needs go beyond your skill, such as broken legs or shattered veneer? Can you live with its small flaws if it simply gets cleaned and tightened? If the answer to the first is yes, get a valuation before touching it. Leaving a good antique alone is a decision, not a failure.
2. Photograph Every Side of the Piece Before You Begin
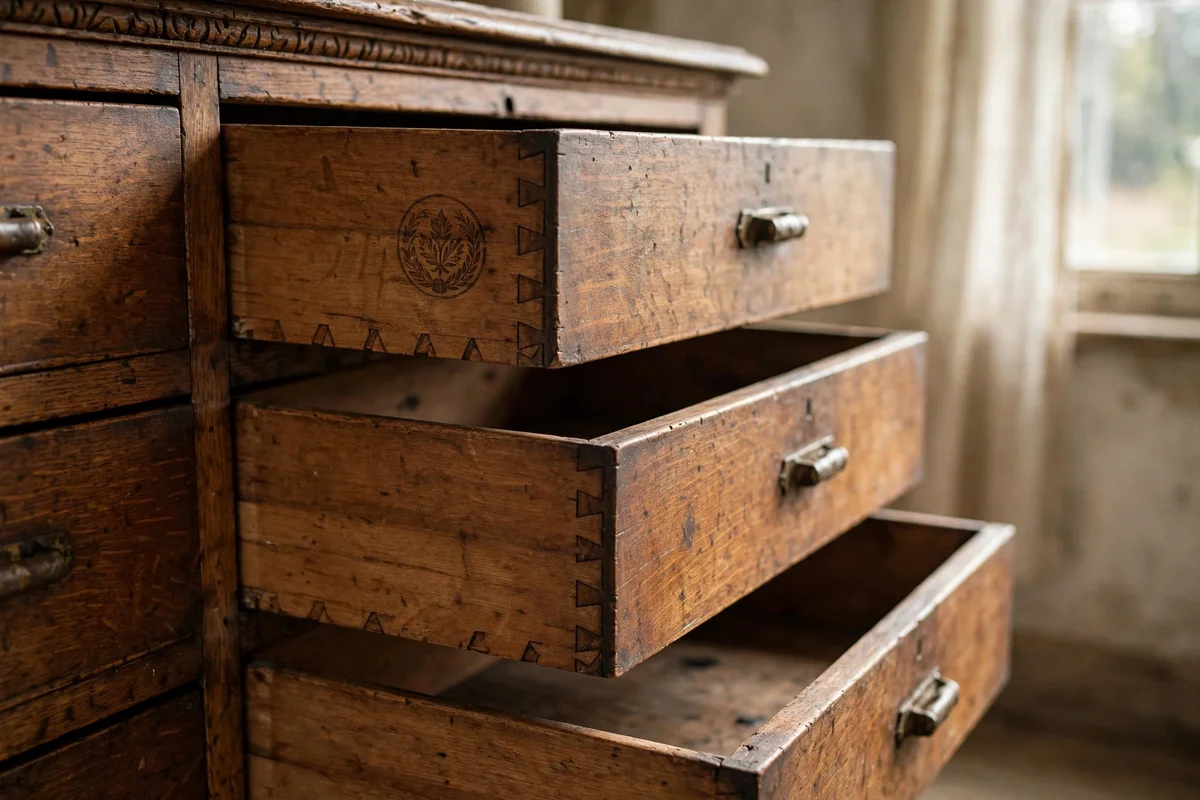
Take clear photographs of the front, back, sides, top and underside before any cloth touches the wood. Capture close-ups of maker’s marks, dovetail joints, nail heads and any stamps or labels inside the drawers. These images become your insurance if a later repair changes something you meant to keep, and they are priceless if you ever sell the piece or ask a restorer for advice. Store the photos in a dated folder with the piece’s name so you can find them in five years.
Photograph in daylight near a window, never under yellow bulbs, so the wood colour in the image matches the real finish. Lay a ruler beside close-up shots of joints and veneer so the scale is obvious later. The common mistake is photographing only the pretty front; the back panels and undersides reveal how a piece was built and often hide the maker’s name. One hour of careful photos now saves months of regret if a repair goes wrong.
3. Test Every Cleaner on a Hidden Corner First
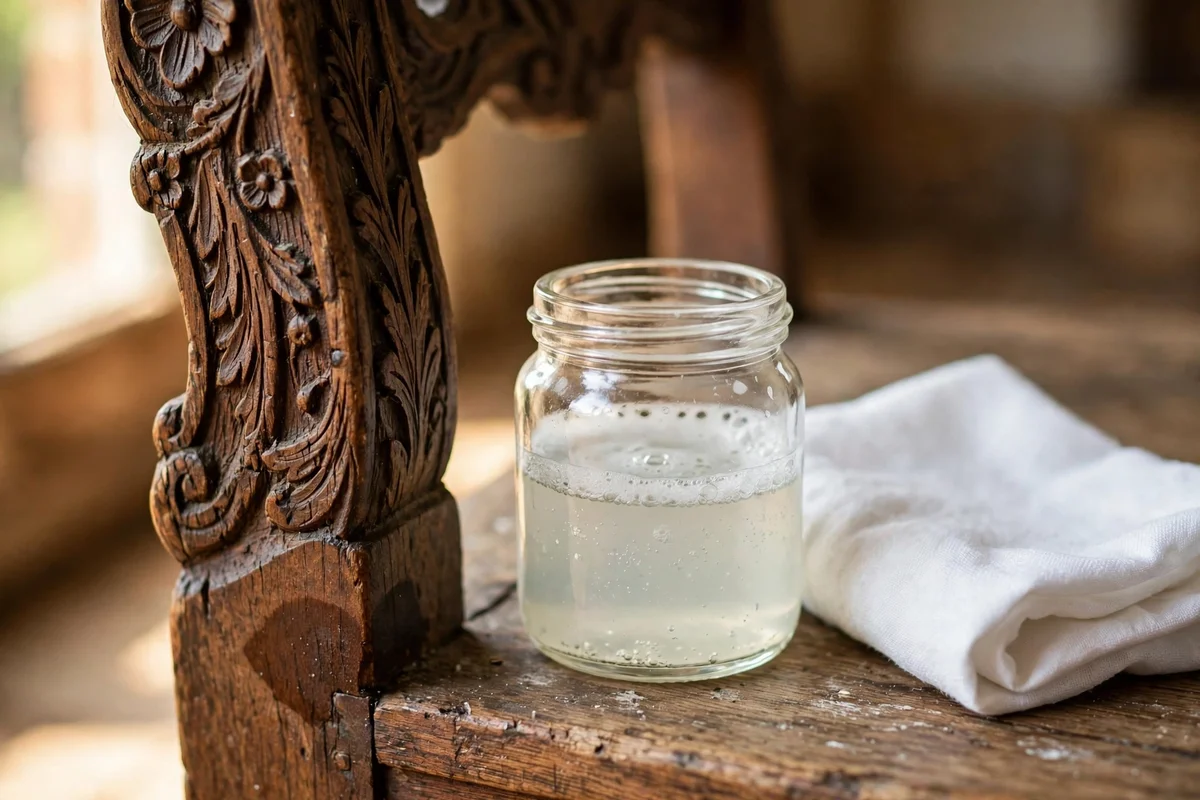
Choose a spot nobody sees, such as the back of a leg or the inside of a drawer front, and test your cleaner there before touching the show surfaces. Apply a small dab, wait ten minutes, then check for lifted finish, lightened colour or sticky residue. Even a mild soap can cloud a fragile old varnish, and you would rather discover that on the back of a leg than on the middle of a tabletop. Write down what you used and how the wood reacted.
Run the same test for every new product in the project: soap, mineral spirits, oil, wax and any polish. Two products that are safe alone can react together, so test the full sequence on the hidden corner before applying it across the piece. The mistake to avoid is trusting a label that says safe for antiques without your own patch test, because a hundred-year-old finish does not behave like a modern one. Patience at this stage protects everything that follows.
4. Wash Away a Century of Grime With Mild Soap and Water
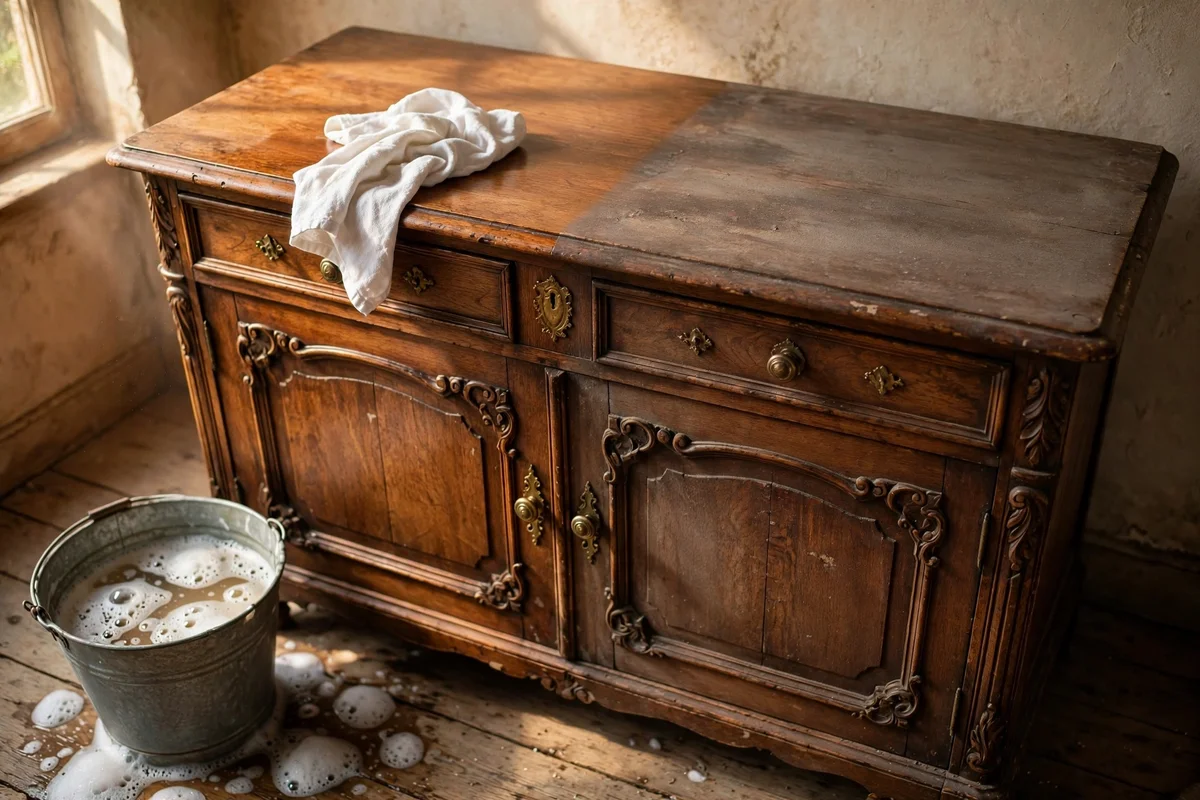
Mix a few drops of mild dish soap into a bucket of warm water and wring your cloth until it is barely damp. Work in sections about 30 cm square, wiping with the grain and rinsing the cloth often, because the brown water coming off a century-old sideboard is astonishing. Never soak the wood; standing water swells veneer and raises grain. Dry each section immediately with a clean towel so no moisture sits longer than a minute or two.
Budget-wise this is the cheapest makeover step there is, costing only soap, water and two cloths. Follow the wash with a full day of air drying in a shaded room before applying oil or wax, since trapped moisture dulls every finish laid over it. The mistake to avoid is using a scrubbing brush or scouring pad on carved details; soft cloths and an old toothbrush reach the carving without scratching it. Watch the cloth darken and you will know the grime was hiding the glow.
5. Lift Sticky Wax Buildup With Mineral Spirits
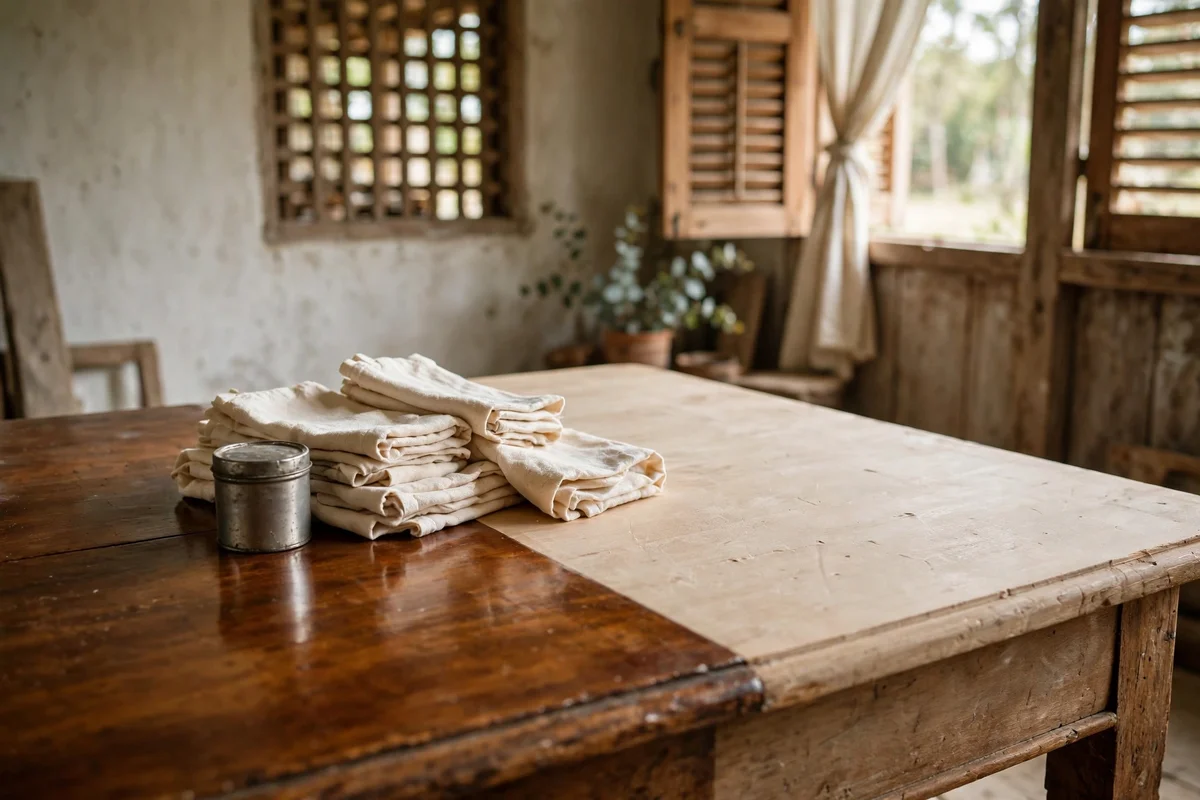
Old furniture often carries ten or twenty layers of furniture wax, each one trapping dust and fingerprints beneath the next. Dampen a soft cotton cloth with mineral spirits and wipe with the grain in overlapping passes, turning the cloth often as it picks up the gummy residue. Work near an open window or in a ventilated garage, because the fumes are strong, and keep the spirits away from open flames. You will feel the surface change from tacky to smooth under your hand.
Never pour mineral spirits directly onto the wood; a soaked cloth on the surface is plenty, and pooling liquid can seep under loose veneer. A small 500 ml bottle costs a few pounds or dollars and treats several pieces, making this a true budget step. The mistake to avoid is scrubbing with steel wool at this stage, which leaves tiny grey flecks in open grain. Let the cleaned piece air for several hours before oiling, so the last of the solvent evaporates completely.
6. Revive Dull Varnish Without Stripping It
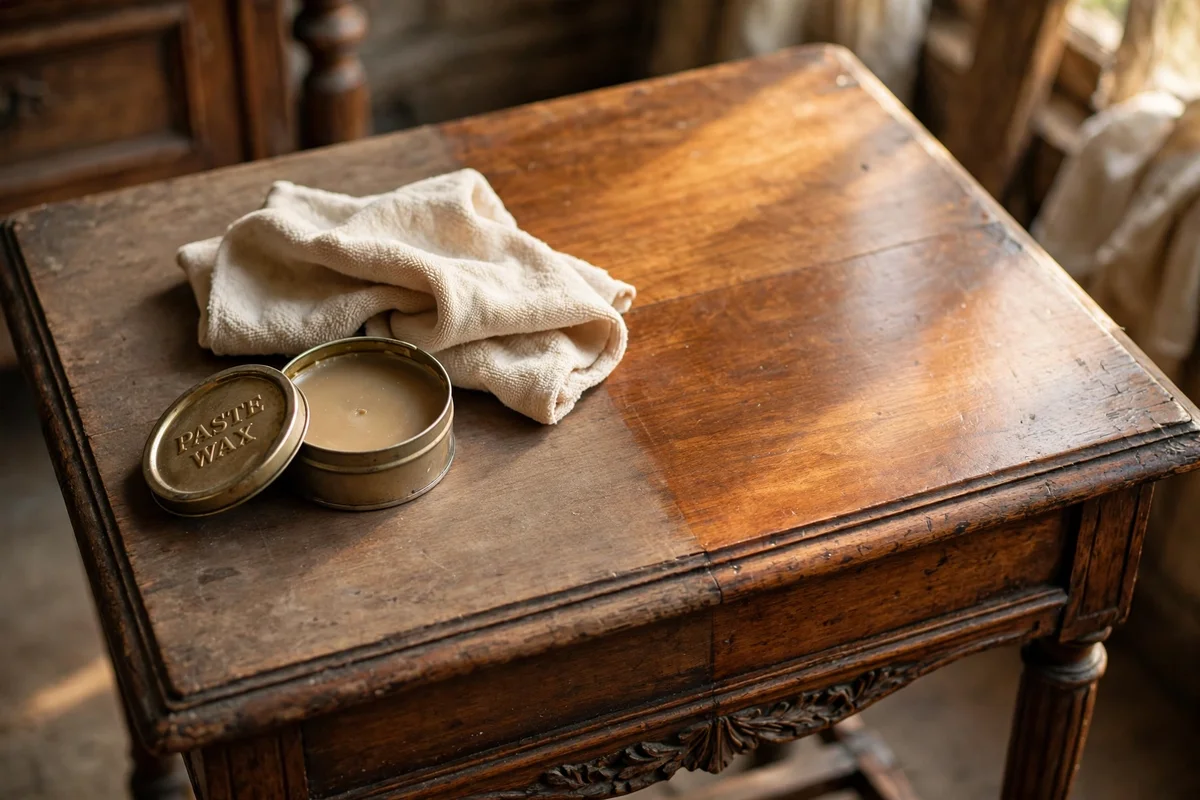
A varnish that has gone cloudy or flat often needs feeding, not removing. After cleaning, apply a thin coat of a quality paste wax with a soft cloth, rubbing in small circles and then buffing with the grain until the surface shines softly. Two thin coats beat one thick coat every time, and each coat needs about twenty minutes of curing before buffing. The warmth you bring back in an afternoon can look like the piece was refinished, with none of the risk.
For deeper dullness, a gentle varnish reviver made for antiques can soften the very top of the finish so it flows smooth again; apply it sparingly with a soft cloth and work quickly, because it evaporates fast. This is a mid-budget step, since a good tin of paste wax costs little and lasts for years of furniture. The mistake to avoid is reaching for modern polyurethane over the old finish, which traps a plastic-looking layer over the patina and can never be undone cleanly.
7. Reglue Loose Joints With Hide Glue Like the Original Maker
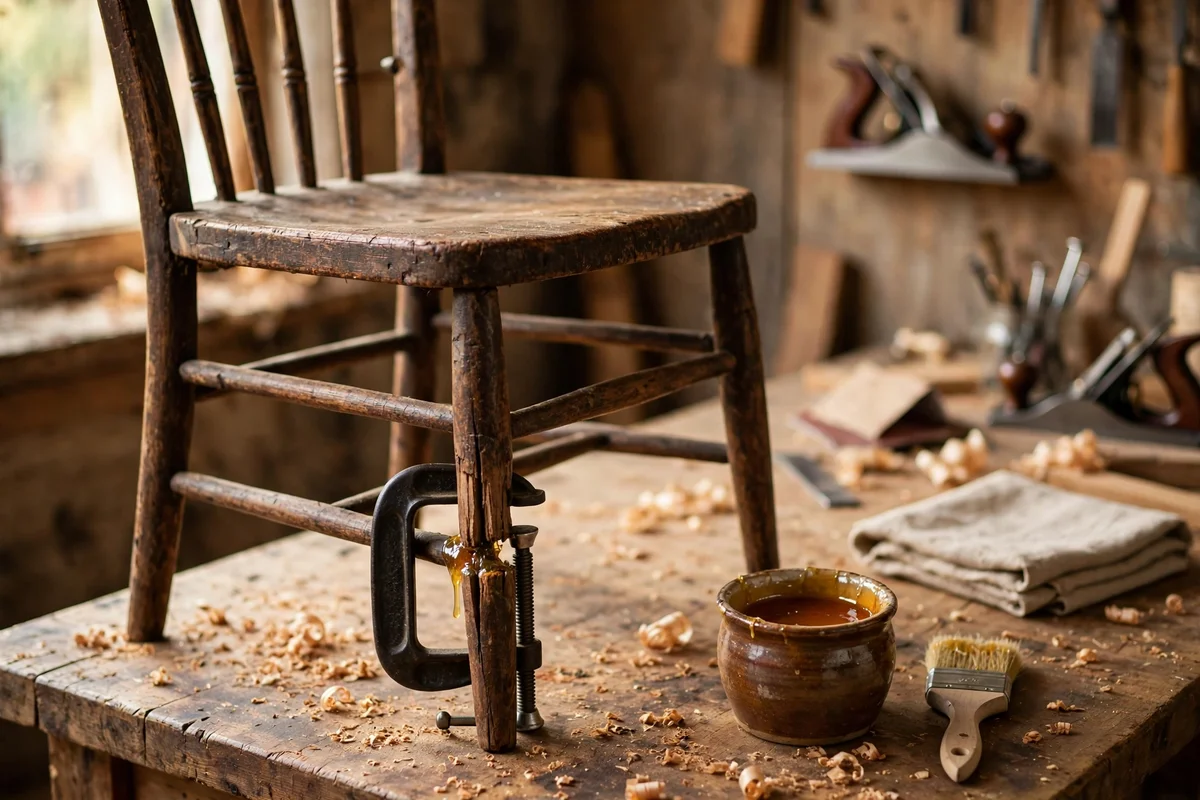
Antique chairs and tables were joined with hot hide glue, which is reversible and lets future restorers undo your work without harm. Warm a small pot of liquid hide glue in hot water until it flows like honey, then squeeze it into the opened joint with a small syringe or a thin stick. Clamp the joint firmly with padded clamps and leave it for a full twenty-four hours; hide glue needs warmth and time to set properly.
Clean the old glue from the joint first with warm water and a small brush, because fresh glue cannot bond to crumbly old glue. Liquid hide glue from a bottle is easiest for beginners and costs only a little more than wood glue. The mistake to avoid is grabbing modern waterproof glue; it is stronger than the wood itself, so the next break will tear the timber instead of the joint. Use the reversible glue and your repair stays honest.
8. Tighten Wobbly Rungs With Fresh Dowels
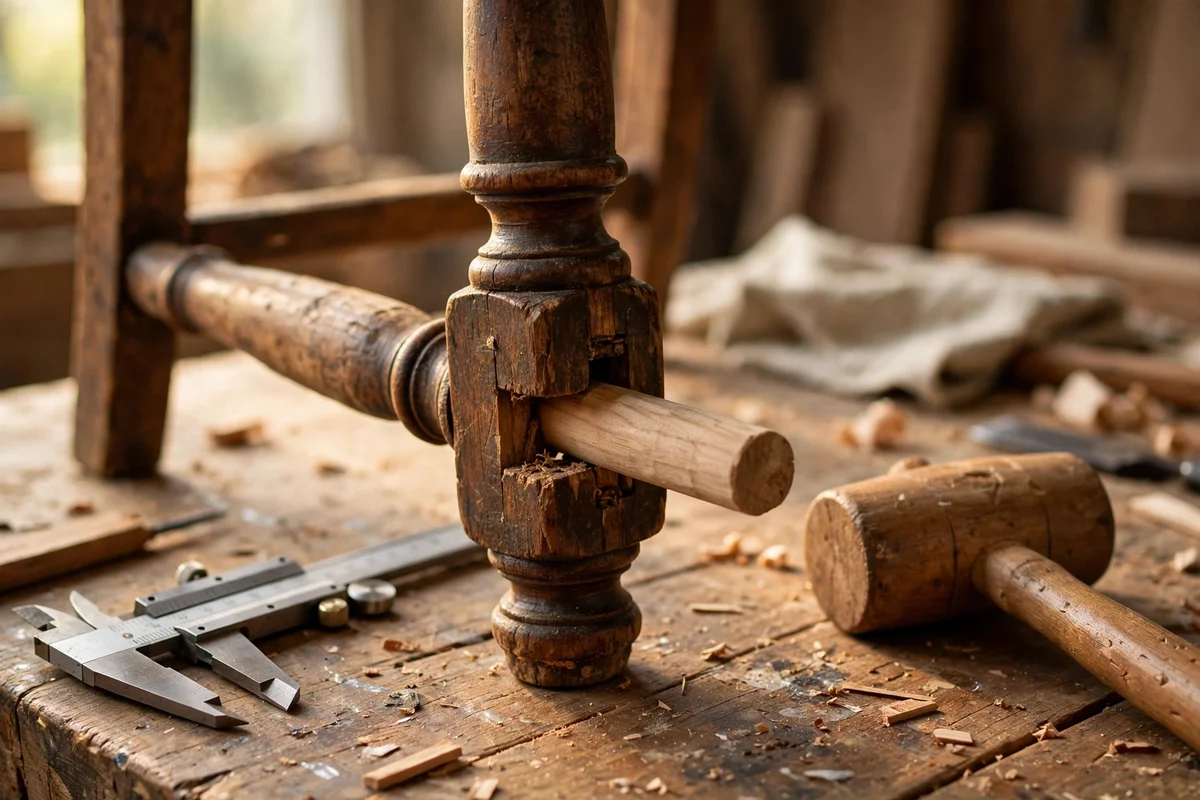
When a chair rung wobbles, the old dowel inside has usually shrunk or the glue has failed. Pull the joint apart gently and measure the old dowel with calipers; replacement dowels must match the original diameter, commonly 8, 10 or 12 mm, so the fit is snug without forcing. Coat the new hardwood dowel in hide glue, tap it home with a wooden mallet, and wipe away the squeeze-out with a damp cloth before it sets.
Let the repaired rung cure for a full day before anyone sits on the chair, and test the chair by pressing down firmly with your hands first. A small bag of hardwood dowels costs almost nothing at a timber merchant, making this a budget repair. The mistake to avoid is wrapping the dowel in tissue or cardboard to make it fit; a shimmed dowel works loose again within months. Measure carefully, buy the right size and the repair will hold for years.
9. Shim a Loose Table Leg With Paper Before Reaching for Glue
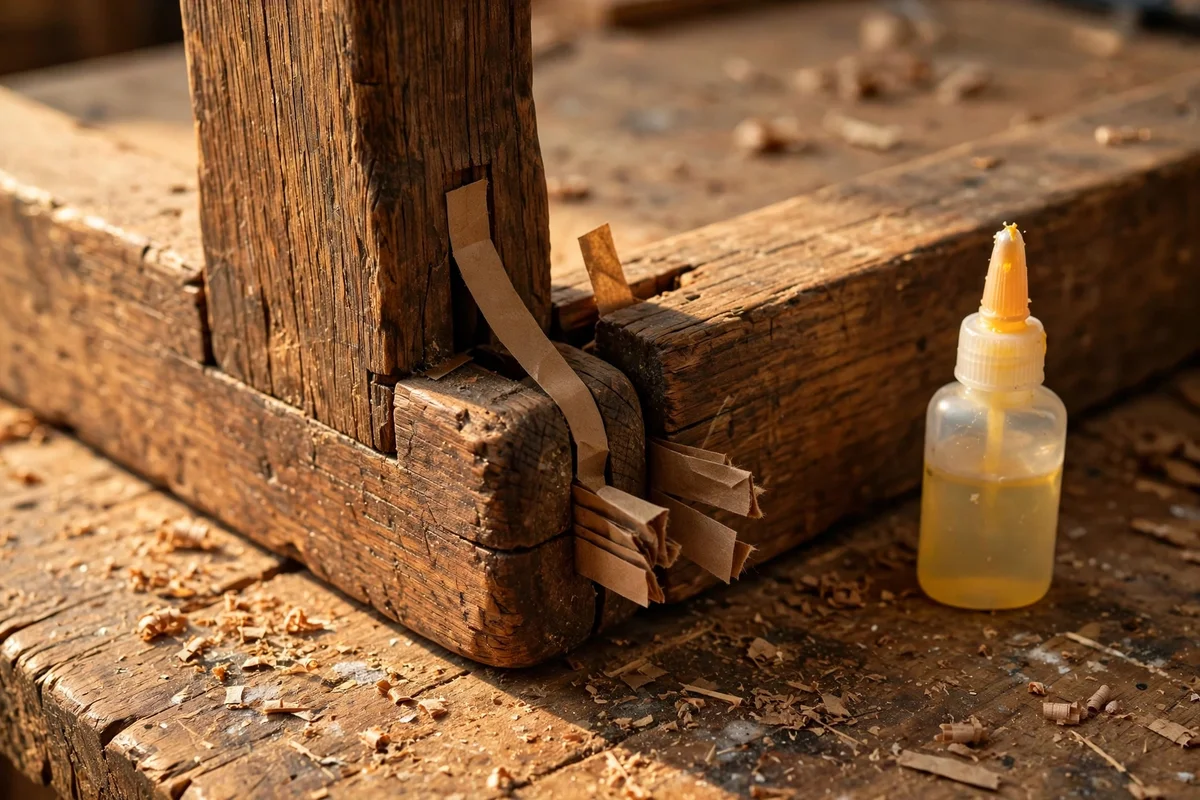
A leg that rocks slightly often has a gap too small for regluing but big enough to annoy. Cut thin paper shims from brown kraft paper, about 5 cm square, and slide one or two into the loose joint with a drop of hide glue to hold them. Paper swells slightly with the glue and fills the gap invisibly, a trick restorers have used for generations. Press the joint closed and clamp it lightly for several hours while the glue sets.
This paper shim method is reversible and invisible, so it suits antiques you want to keep original. Build up the shim one thin layer at a time rather than forcing in a thick wedge that could crack the wood. Kraft paper and a small bottle of glue cost very little, making this a budget fix. The mistake to avoid is hammering the leg straight into a tight socket when it does not fit; old wood splits easily, and one crack turns a five-minute fix into a major repair.
10. Replace Only the Broken Handle and Match the Rest
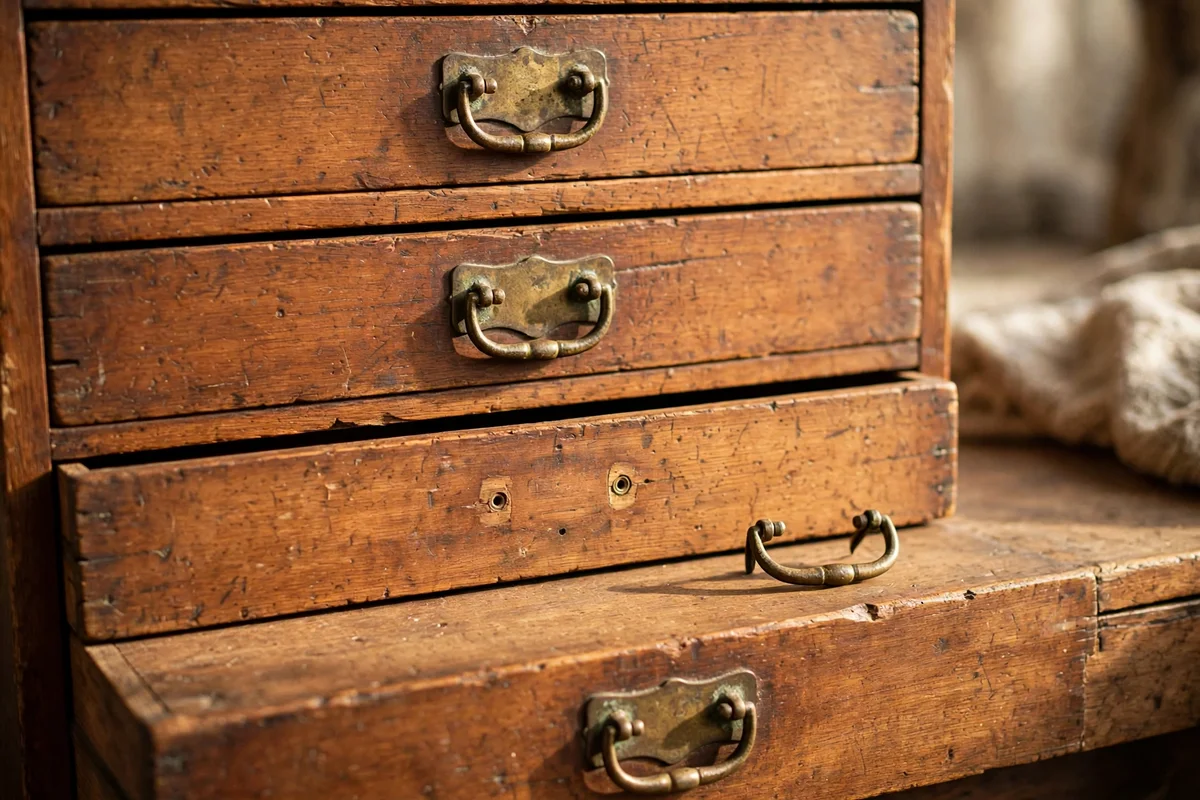
When one drawer pull is missing or cracked, resist replacing the whole set with shiny new hardware. Remove one surviving handle and take it to an antique shop or salvage dealer as your matching sample, noting the screw spacing in millimetres and the metal finish. Finding one period handle that matches five survivors keeps the piece honest and costs far less than a full new set. Even a close match in the same brass tone reads better than six identical reproductions.
Clean the surviving hardware in warm soapy water before you start matching, because a century of grime can make brass look like dark bronze. A single salvaged pull usually costs a few pounds or dollars, a mid-budget spend that preserves the piece’s character. The mistake to avoid is polishing the new piece to a mirror shine while the others carry a soft aged glow; rub it gently with fine wire wool so its tone sits comfortably beside the originals.
11. Source Period Hardware From Salvage Yards Instead of Reproduction Packs
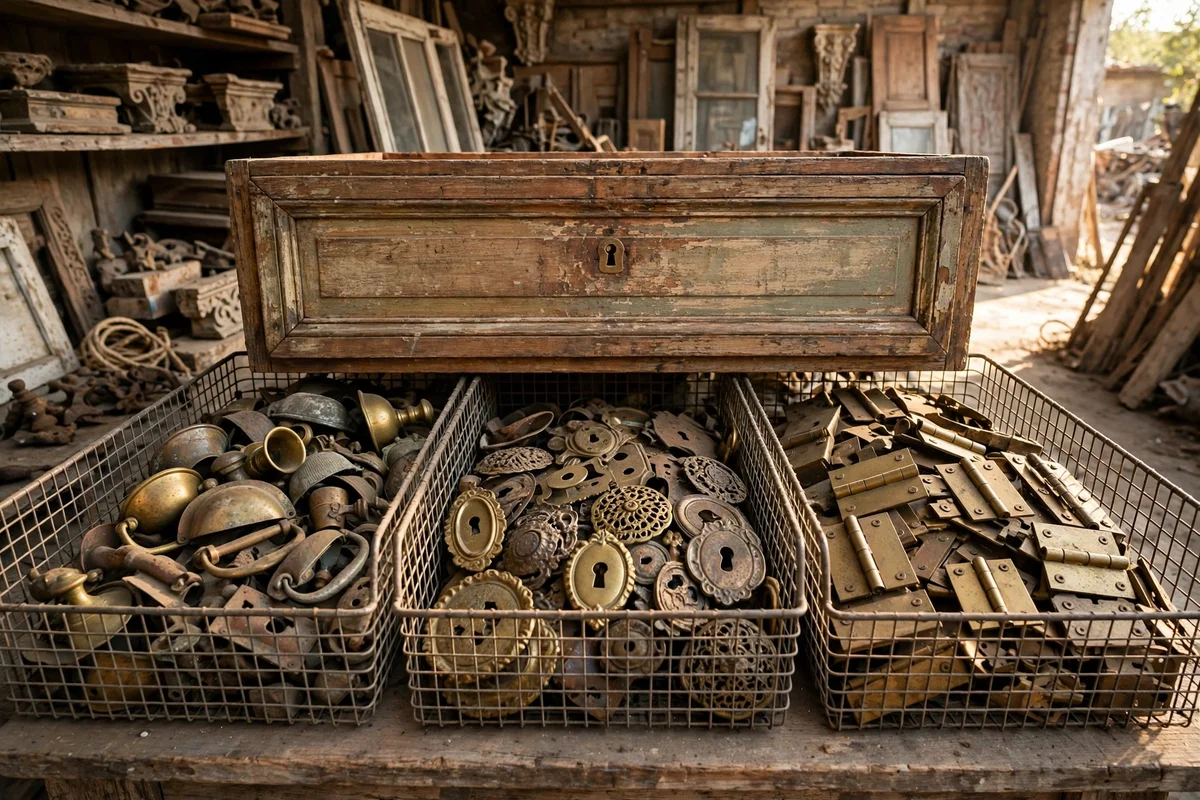
Architectural salvage yards are treasure chests for antique furniture hardware, holding bins of original drawer pulls, escutcheons and hinges removed from houses of the same era. Bring measurements of your existing pieces and a photograph on your phone, then dig through the bins until you find a true period match. Salvaged hardware carries the same aged metal and hand-made quirks as your furniture, which reproductions simply cannot copy.
Prices at salvage yards are often lower than reproduction sets sold online, so this is a budget-friendly habit for anyone furnishing with antiques. Call ahead to ask whether the yard sorts hardware by era or metal, which saves an afternoon of searching. The mistake to avoid is buying the first almost-right pull and forcing it to fit; wrong screw holes drilled into an old drawer front cannot be undone. Walk away rather than settle, and the right piece will turn up.
12. Press Veneer Blisters Flat With a Warm Iron
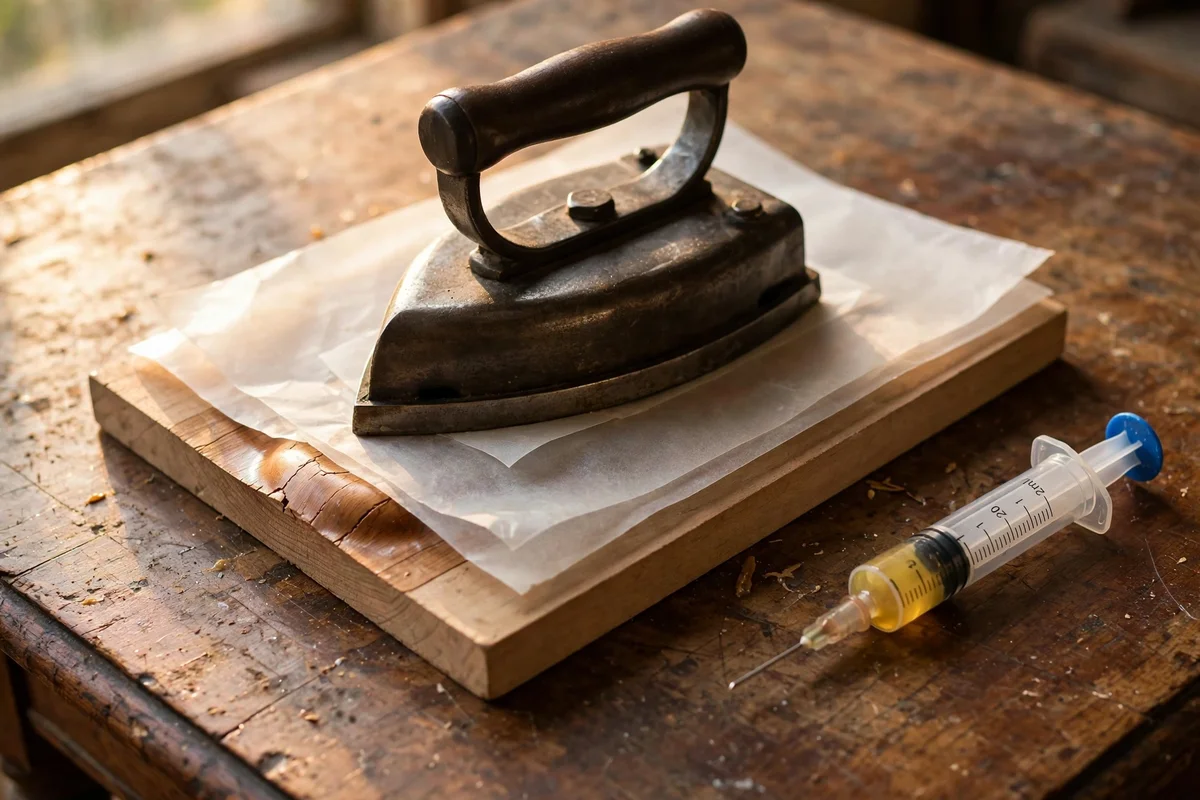
Veneer bubbles where the old glue has let go, and you can fix small blisters without removing the veneer. Slide a thin bead of hide glue or veneer glue under the blister with a palette knife or a small syringe, then cover the spot with a sheet of greaseproof paper and a flat block of wood. Press a warm iron on top for thirty seconds, lift and check, and repeat until the veneer lies flat. Let it cure overnight under the block.
Keep the iron at a medium heat and never leave it sitting on one spot, because too much heat scorches veneer in seconds. A small bottle of veneer glue and a palette knife make this a budget repair you can repeat on other pieces. The mistake to avoid is cutting the blister open with a knife before gluing; an uncut blister keeps its grain pattern continuous, while a slit always shows. Press, wait and check, and the bubble usually vanishes.
13. Fill Small Veneer Chips With Wax Sticks Matched to the Grain
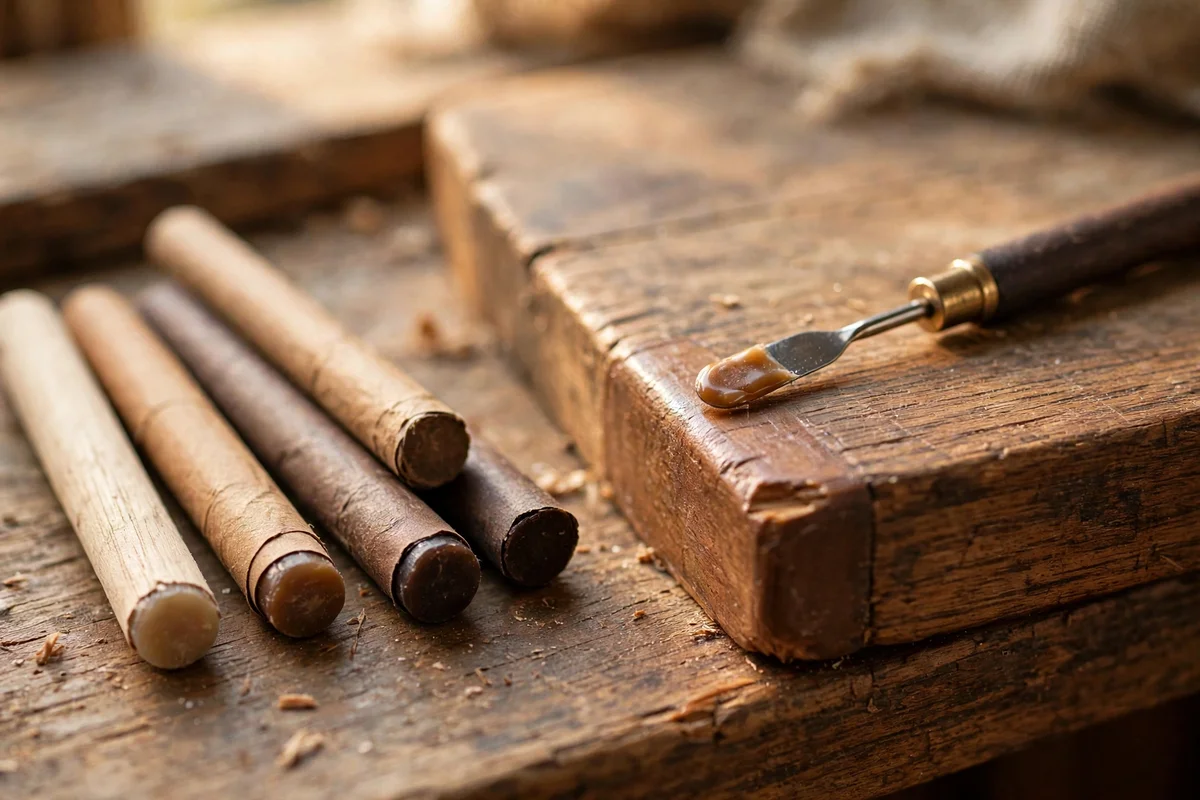
Tiny chips along a table edge or drawer front look worse than they are, and hard wax sticks repair them invisibly. Choose two or three sticks in tones close to the surrounding wood, soften them with a warm knife or a heated spatula, and press the wax into the chip slightly proud of the surface. Once cool, level it with a plastic scraper, then draw a few grain lines with a fine brown pencil so the repair melts into the pattern.
A basic set of furniture wax sticks costs little and repairs dozens of small chips across your home. Work in a well-lit spot so you can match the wood tone accurately, and step back a metre to check the repair from a normal viewing distance. The mistake to avoid is using a stain marker instead of wax; marker ink sinks into raw wood and leaves a dark halo that looks worse than the original chip. Wax sits on top and stays removable.
14. Feed Dry Thirsty Wood With Oil, Not Silicone Sprays
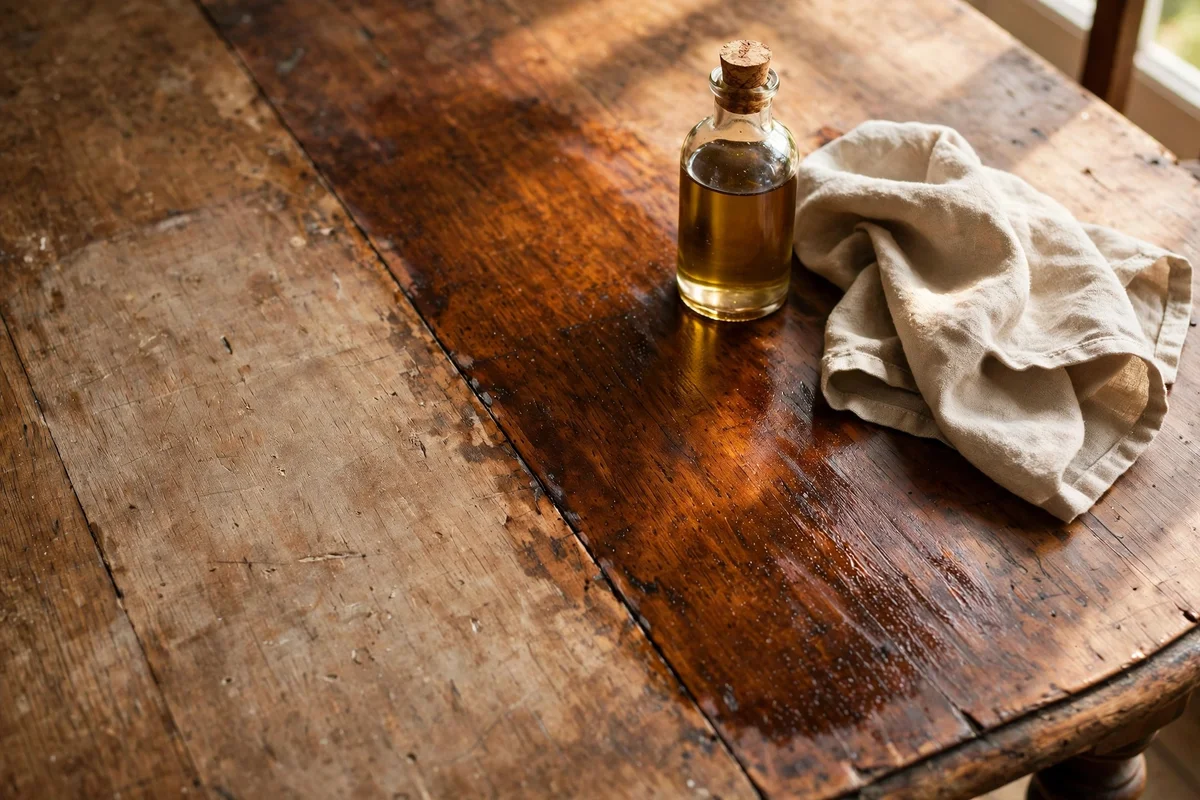
Antique wood dries out over the decades, especially near radiators and sunny windows, and a drink of oil brings back its depth. Apply a small amount of a furniture oil such as Danish oil or pure tung oil with a soft cloth, working with the grain, and let it soak for fifteen minutes before wiping off every drop of excess. Wood can only absorb so much; the oil left on the surface turns sticky and collects dust if you skip the wipe-down.
A 250 ml bottle of quality furniture oil costs a few pounds or dollars and treats a whole dining set. Oil the piece twice a year in spring and autumn, when heating changes dry the air, and you will rarely need anything stronger. The mistake to avoid is using silicone spray polish; it builds a slick coating that blocks future oil and makes professional refinishing nearly impossible. Simple oil feeds the wood honestly and keeps every future option open.
15. Fix a Loose Drawer Runner So Drawers Glide Quietly
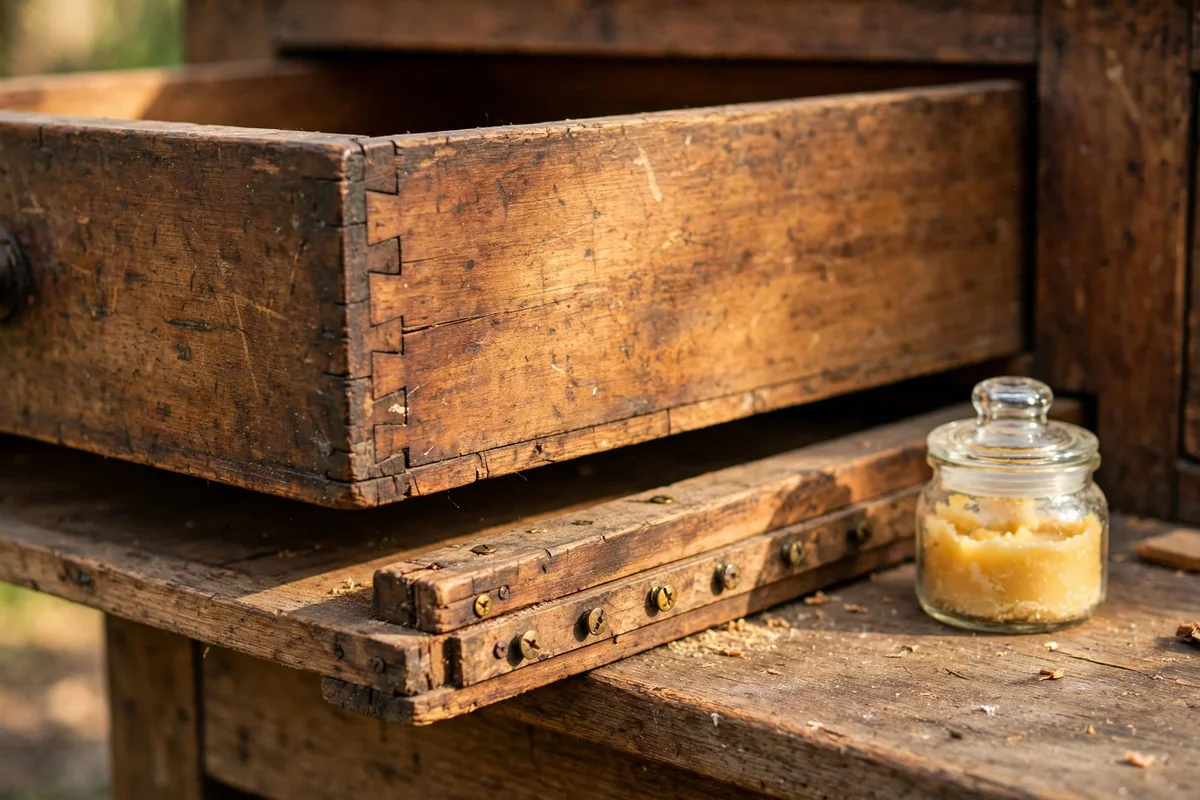
A drawer that sticks or tilts usually has a runner that has worked loose or worn thin after decades of use. Pull the drawer right out, look underneath, and screw the loose runner back into place with small brass screws, pre-drilling pilot holes so the old wood does not split. If the runner has worn down, glue a thin strip of hardwood, about 3 mm thick, onto its top to restore the original height. Test the drawer before putting anything back inside.
Rub a little beeswax along the runner after the repair so the drawer slides silently for years. Small brass screws and a strip of hardwood cost almost nothing, and a jar of beeswax serves the whole house. The mistake to avoid is planing down the drawer sides to fix a sticking drawer; the sticking is almost always the runner, and shaving the drawer removes original wood you can never replace. Fix the runner and the drawer behaves.
16. Touch Up Surface Scratches With Tinted Wax, Not Stain Markers
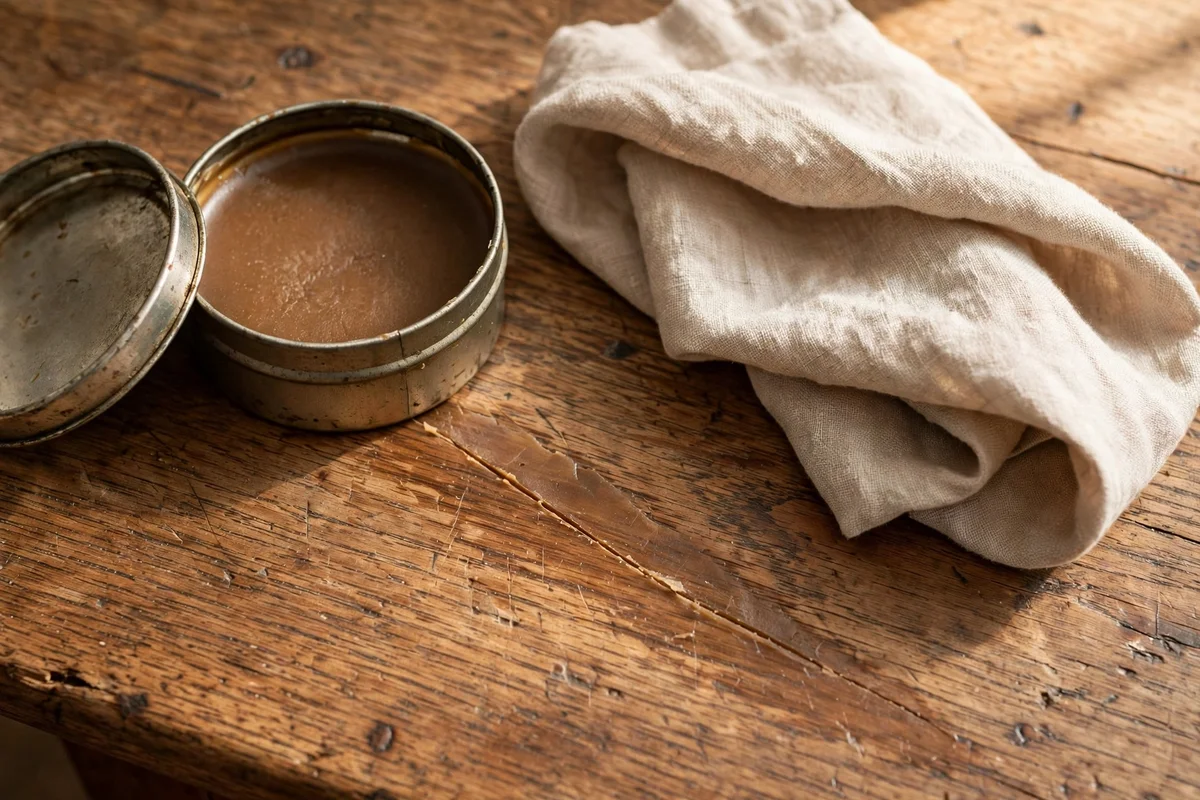
Light scratches that only break the finish can be made to disappear with a little tinted furniture wax rubbed across the grain. Press the wax into the scratch with your thumb wrapped in a soft cloth, then buff along the grain until the colour blends with the surrounding wood. Choose a wax one shade lighter than the wood rather than darker, since a slightly light scratch reads as natural wear while a dark one draws the eye.
A tin of tinted wax lasts for years and costs less than a single takeaway meal, so this is the cheapest touch-up in the book. Test the wax on a hidden spot first, because some finishes resist wax and need a different approach. The mistake to avoid is using a stain marker or a dark felt pen on the scratch; the ink sinks into the wood and leaves a harsh line that looks artificial beside the soft original finish. Wax blends, ink shouts.
17. Support a Sagging Shelf With a Hidden Centre Cleat
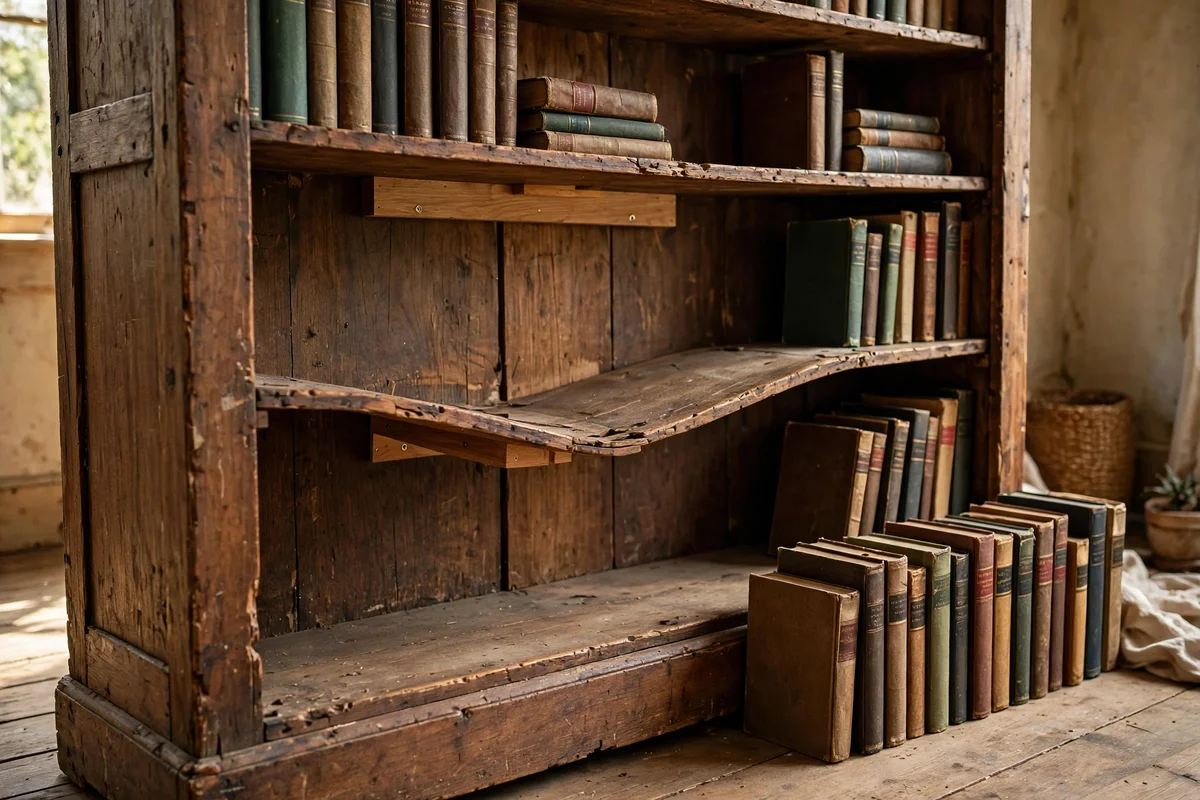
Wide antique bookcase shelves often sag in the middle under the weight of books, and a small wooden cleat underneath restores them. Cut a strip of hardwood, about 4 cm deep and as long as the shelf is wide, and glue and screw it flat against the underside of the shelf near the back edge where nobody sees it. This hidden spine doubles the shelf’s stiffness without changing how the bookcase looks from the front.
A single length of hardwood and four small screws make this a budget repair for any bookcase. Place books back on the shelf only after the glue has cured for a day, and distribute the heaviest volumes near the ends where the shelf is strongest. The mistake to avoid is screwing through the top of the shelf into the cleat from above; visible screw heads on the show surface ruin the original look. Keep every screw underneath.
18. Protect the Original Patina Instead of Sanding It Away
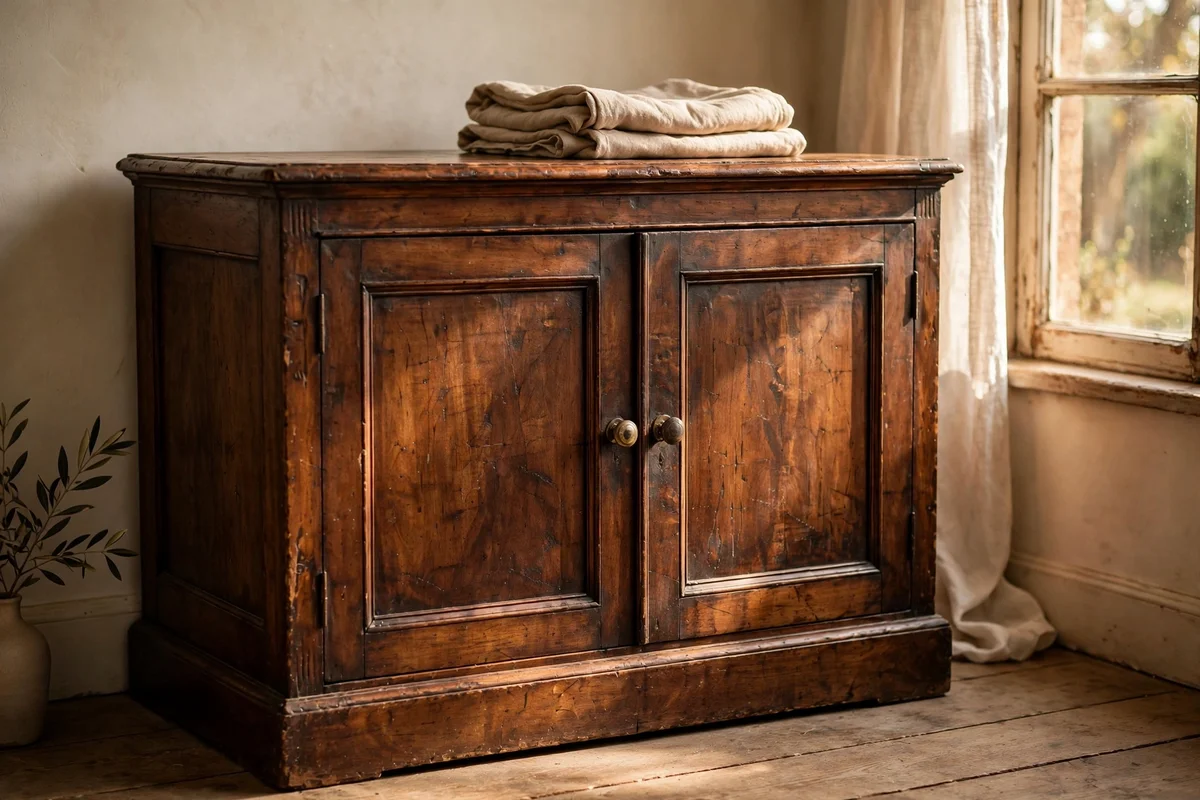
Patina is the soft glow that a hundred years of waxing, touching and sunlight builds into old wood, and sandpaper destroys it in minutes. That glow cannot be faked with modern stains; once sanded away, the piece looks like any new reproduction for decades. Cleaning, oiling and waxing bring the patina forward instead of removing it, so the wood keeps its depth. Work with the finish the years made, not against it.
If a top is badly scratched, learn to live with a few marks or pay a restorer for a French polish rather than reaching for a power sander. Professional help is an investment, but it costs less than the value sanding destroys on a genuine antique. The mistake to avoid is believing that bare wood and fresh varnish look better; on a real antique, new-looking is the enemy of valuable. Patina is the piece’s memory, and it deserves to stay.
19. Get a Professional Valuation Before You Strip or Paint Anything
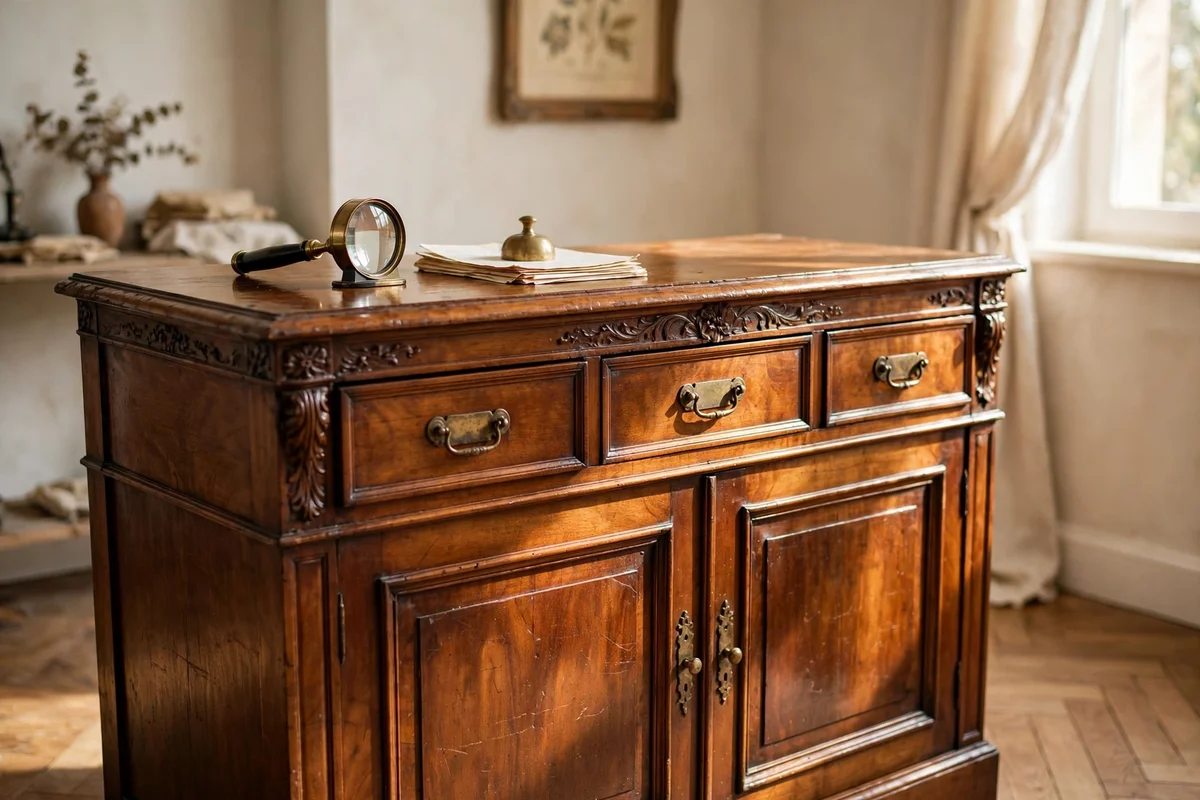
This is the single most important step in the whole list, so treat it seriously. An antique that looks like an ordinary brown sideboard might be a rare piece worth thousands, and one coat of paint or one aggressive sanding can wipe out most of that value. A certified appraiser or a reputable auction house will usually give you a verbal opinion for a modest fee, sometimes under fifty pounds or dollars. Bring your photographs and let them see the piece properly.
Never paint, stain or sand a piece until you know what it is and what it is worth. If the valuation comes back low and you love the piece, you are free to enjoy it as furniture without guilt. If it comes back high, a gentle clean and careful repair is the wisest makeover of all. The mistake to avoid is deciding the value yourself from a quick online search; lookalikes sell for pennies while the genuine article sells for fortunes, and only an expert can tell.
20. Set a Twice-Yearly Care Routine That Protects Your Work
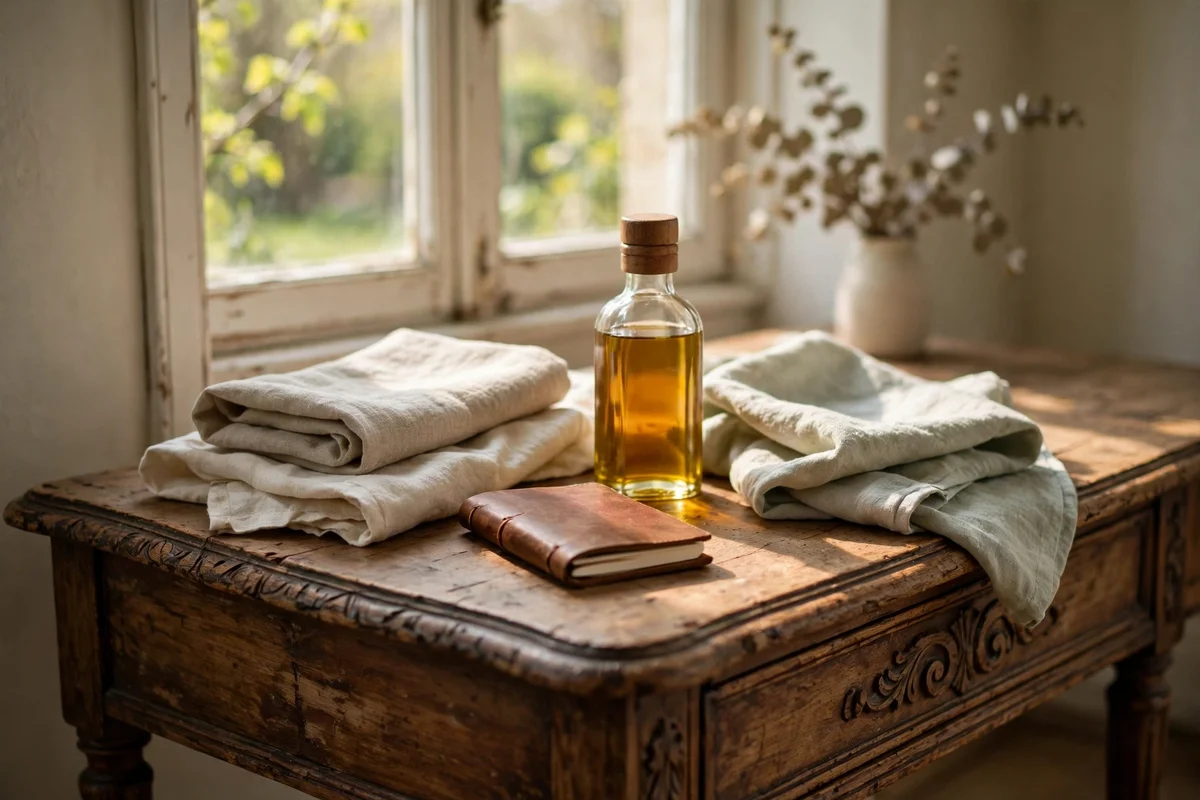
Antiques stay beautiful through small regular care, not through occasional rescue missions. Every spring and autumn, dust each piece with a soft cloth, check the joints by pressing gently on corners, and give the wood one light coat of oil or wax. Move pieces away from radiators before winter and keep them out of direct summer sun, since heat and light age wood faster than anything else. A routine takes an hour for a whole room.
Keep a simple notebook with the date of each care session, what you used and what you noticed, so small problems never grow into big ones. A yearly bottle of oil and one tin of wax cover a houseful of antiques for very little money. The mistake to avoid is waiting until the wood looks starved before feeding it; by then the surface has already suffered. Little and often is the whole secret, and your grandchildren will thank you.
The most beautiful antique makeover is the one where you cannot tell anything was done at all. The drawer glides, the varnish glows softly, the veneer lies flat and the hardware matches, yet every mark of age remains exactly where history put it. That is the whole point of respecting the original craft: you are a caretaker for a season, not an owner for ever, and the piece will outlast you beautifully if you let it.
Start this week with the easiest idea on the list: wash one piece with mild soap and water, then feed the dry wood with a little oil. You will be surprised how much grime hides a hundred years of glow. When that first table starts to shine again, you will understand why patient hands beat power sanders every time, and your home will hold a piece of history that still works hard for the family.
Frequently Asked Questions
Should I restore or refinish an antique dresser?
Restore means repairing the existing finish, while refinishing means stripping it and starting over. Choose restore for most pieces: clean the wood, tighten the joints and wax the finish, since the original surface carries the patina and much of the value. Refinish only when the old finish is beyond saving, such as deep flaking or heavy damage, and get a valuation first if the piece might be valuable.
How do I clean antique wood without damaging the finish?
Start with a cloth barely dampened in warm water with a few drops of mild dish soap, wiping with the grain in small sections and drying each one straight away. Avoid soaking the wood and skip harsh cleaners or vinegar, which can cloud old varnish. Always test on a hidden corner first, and let the piece dry for a full day before applying oil or wax.
Will painting an antique ruin its value?
Painting can destroy most of the market value of a genuine antique, since collectors pay for original finishes and untouched surfaces. Before painting, get a professional valuation; a modest fee could save you from wiping out thousands in worth. If the piece has little value and you love it, painting is fine. On anything old, rare or signed, keep the original finish and restore it gently instead.
How much does a basic antique furniture makeover cost?
Most gentle makeovers cost between 30 and 100 pounds or dollars in materials: soap, mineral spirits, a tin of paste wax, a bottle of furniture oil and a small pot of hide glue cover several pieces. Salvaged hardware adds a few pounds per pull. Professional valuation or French polishing costs more, so budget those separately and call it an investment.
How often should I oil or wax antique furniture?
Twice a year, in spring and autumn, is enough for most pieces. Dust with a soft cloth first, apply a thin coat of oil or wax with the grain, and buff it back to a soft glow. Pieces near radiators or sunny windows may need an extra feed in winter. More is not better: heavy layers of wax trap dust and turn cloudy, so keep each coat thin.