DIY Projects
20 Beeswax Lip Balm Recipes That Keep Lips Soft, Smooth and Comforted
By Anna Wells · · 21 min read
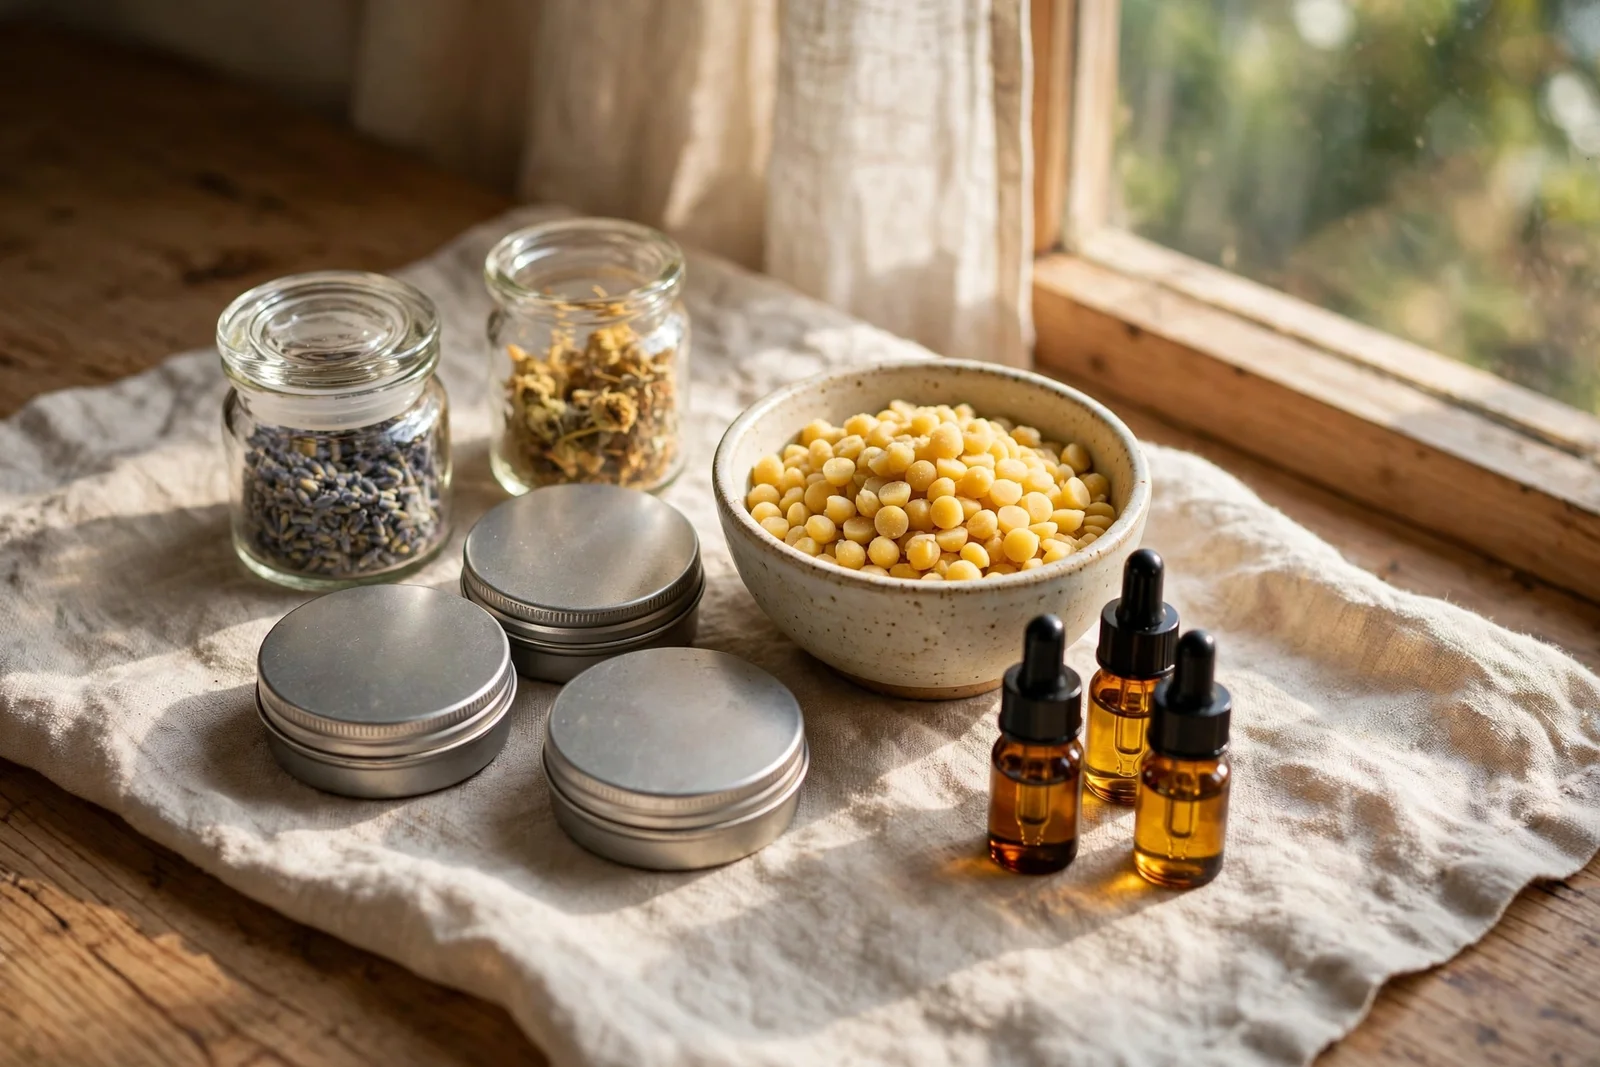
Twenty small batch beeswax lip balm recipes made with plant oils, butters and a little honey, with exact ratios, safe melting, pouring tips and gifting ideas for soft, comfortable lips.
There is a particular comfort in warming a small jug of beeswax and oil on a quiet afternoon, watching the golden pellets melt into something silky and useful. These twenty recipes keep that comfort at the centre, using only beeswax, plant oils and butters, a little honey in some batches, and gentle scents from vanilla pods and citrus zest. No alcohol, no synthetic colours, nothing complicated.
Every recipe below gives you exact weights, melting times and setting times, so you can pour with confidence whether it is your first tin or your fiftieth. You will find firm sticks for twist tubes, soft whipped balms for jars, and simple gift sets arranged in wooden trays and kraft boxes. Each one follows the same honest method: melt gently, pour carefully, and let time do the rest.
By the end you will know how to label each batch, how long it keeps, and how to wrap tins and tubes as thoughtful handmade gifts. Gather a jug, a tray of clean tins and your chosen oils, and let us begin with the classic ratio every balm maker should know first.
1. The Classic One to Four Beeswax and Coconut Oil Balm in Round Tins
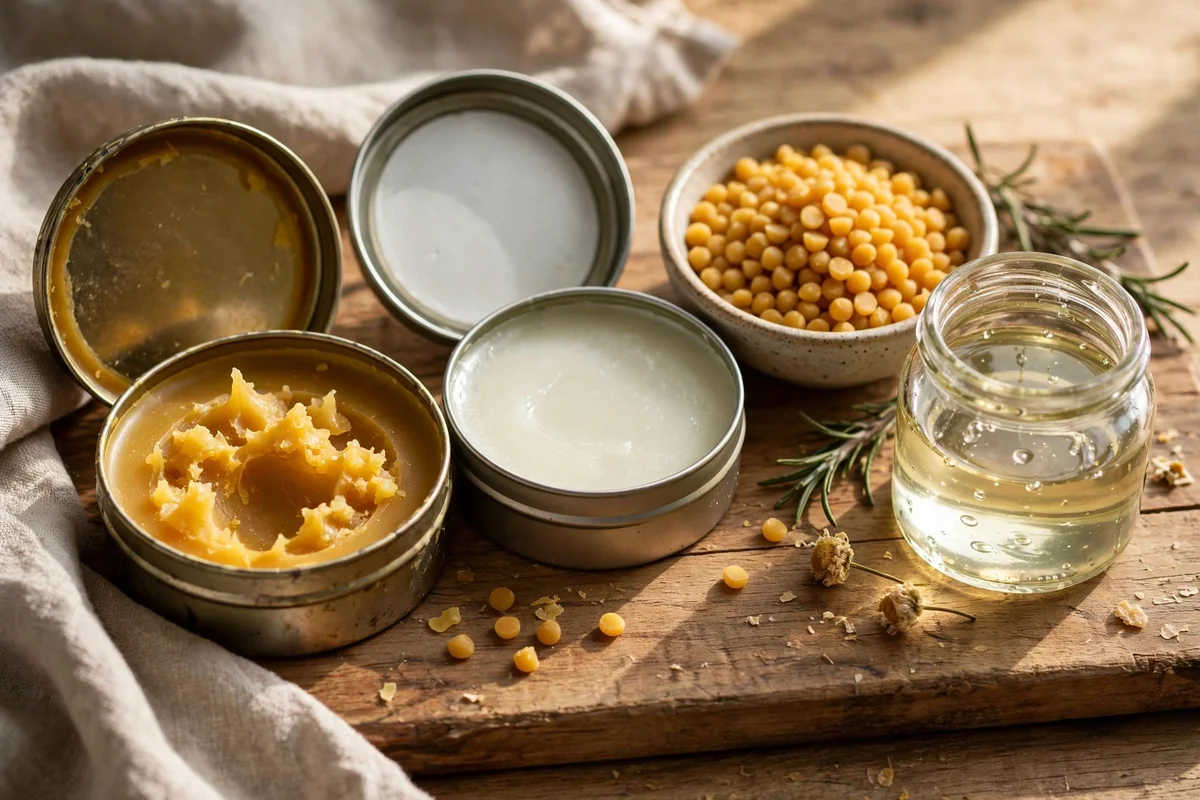
The classic beginner ratio is one part beeswax to four parts coconut oil by weight, so 10 g of beeswax pellets pairs with 40 g of coconut oil for about six standard tins. Melt both in a heat safe glass jug set over a pan of barely simmering water, stirring until the pellets vanish completely. Remove the jug from the heat, stir for one minute to cool slightly, then pour into clean 15 ml round tins placed on a tray.
Let the tins set undisturbed at room temperature for about four hours, then move them to a cool cupboard overnight before the first use. The common mistake is skipping the test swipe, so let one tin set, glide it on, and add more oil if the balm feels waxy and hard. A 1 to 4 ratio gives a soft but sturdy stick that holds its shape in a pocket. Budget tip: a 450 g bag of pellets and a jar of coconut oil make dozens of tins for the price of two shop balms.
2. Honey and Sweet Almond Oil Balm Poured Into Lip Tubes
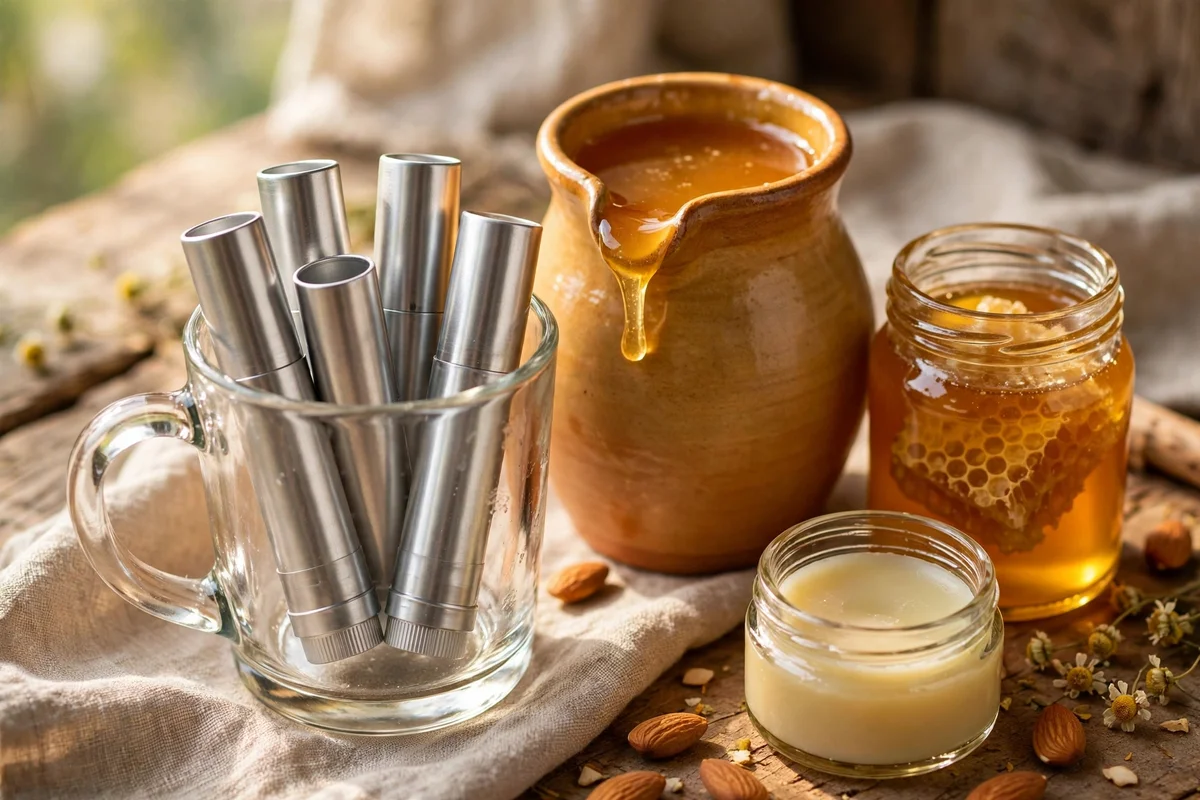
Combine 12 g of beeswax pellets, 30 g of sweet almond oil and one teaspoon of raw honey for roughly seven standard 5 g lip tubes. Melt the beeswax and oil in the double boiler first, then whisk the honey into the warm mixture for a full minute so it dissolves instead of sinking. Rest the jug for two minutes to thicken slightly, which keeps the pour steady and avoids messy overflows when filling narrow tubes.
Stand the empty tubes upright in a mug or short glass so they cannot tip while you pour, and fill each one to about 5 mm below the rim. Honey shortens the shelf life slightly, so label these tubes with the make date and use them within six months. The mistake to avoid is pouring too hot, which melts the plastic tube walls and warps the twist mechanism. Keep one filled tube as your reference batch, and if the balm pulls or feels grainy, re melt it with a teaspoon more almond oil and refill.
3. Cocoa Butter Comfort Balm for Deep Winter Dryness
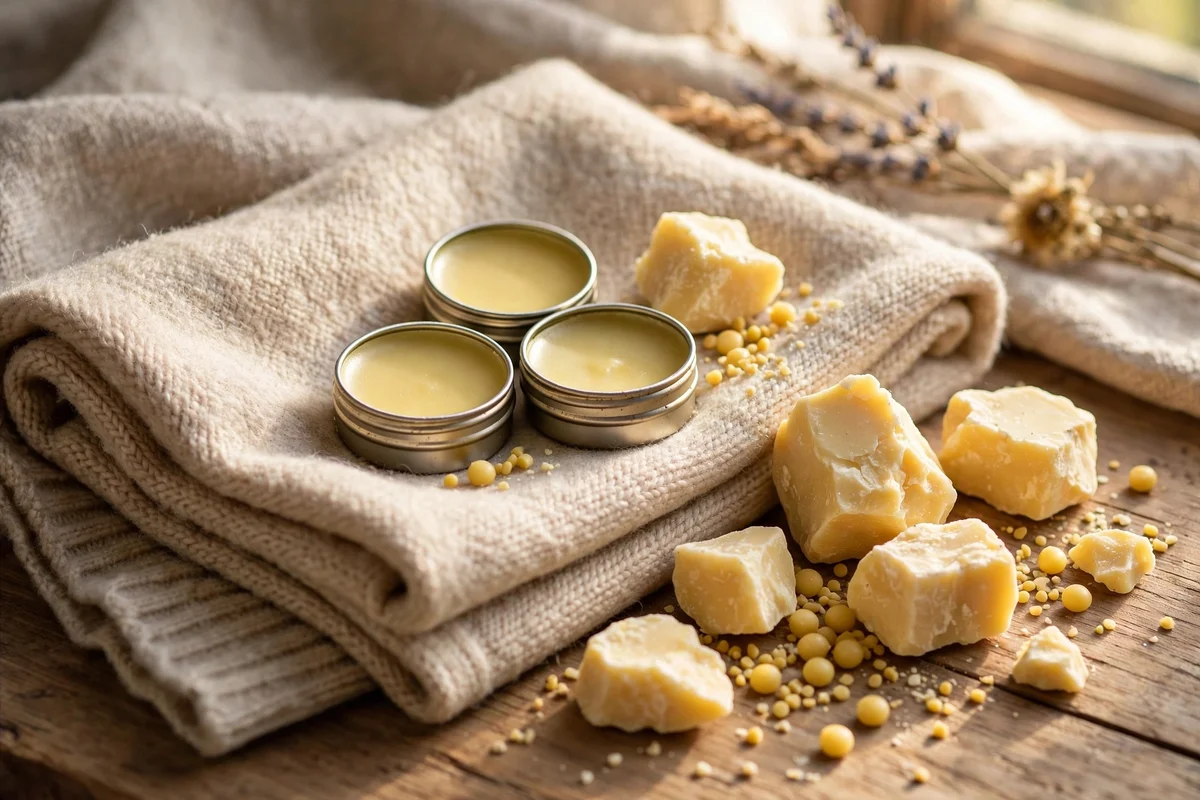
For a richer winter balm use 15 g of beeswax pellets, 20 g of cocoa butter and 25 g of coconut oil, which fills about eight small tins with a firm but comforting stick. Chop the cocoa butter into small cubes so it melts evenly with the beeswax, then add the coconut oil last once the harder fats are fully liquid. Cocoa butter brings a faint natural chocolate note, so no extra scent is needed and the recipe stays gentle for sensitive skin.
Pour the warm mixture into 15 ml tins or tubes and let it set for five hours at room temperature, away from radiators and sunny windows. The mistake to avoid is reheating melted leftovers more than once, because cocoa butter loses its smooth texture and can turn grainy after repeated melting. Budget tip: buy cocoa butter in 250 g blocks rather than small discs, since blocks cost far less per gram and store well in a cool drawer for up to a year. Keep a plain paper label on each batch noting the butter ratio.
4. Shea Butter and Vanilla Bean Balm in Shallow Slide Tins
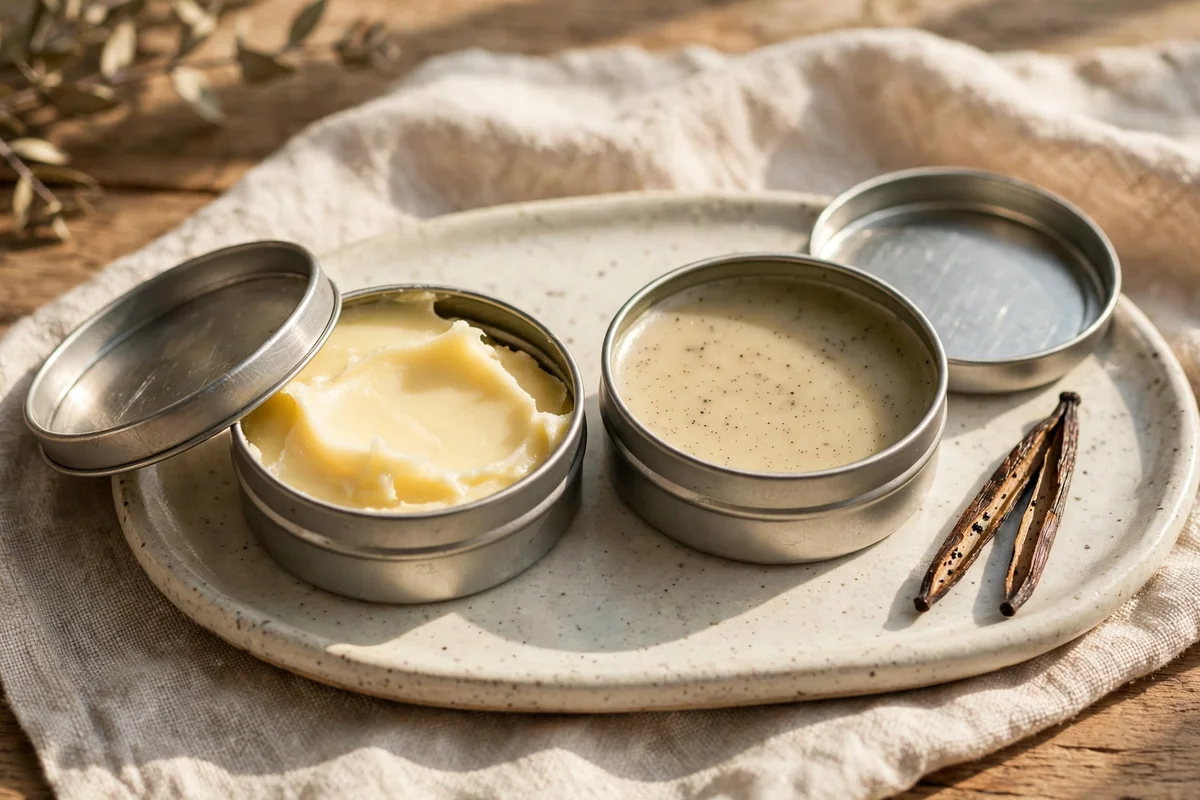
Whisk 12 g of beeswax pellets, 25 g of refined shea butter and 20 g of sweet almond oil for about seven shallow slide tins, and steep half a split vanilla pod in the warm oil for ten minutes for a soft natural scent. Lift the pod out before adding the melted beeswax, since whole vanilla pods give scent without the alcohol found in bottled extracts. Refined shea butter is lighter in smell than the raw kind, so the vanilla stays the star of the balm.
Slide tins are shallow, so pour the mixture while it is just warm enough to flow and stop at 3 mm below the rim to keep lids closing flat. Set them on a level tray for four hours, then press each lid down gently to check the seal. The mistake to avoid is using unrefined shea butter if you want a delicate scent, because its smoky note can overpower the vanilla. Budget tip: one vanilla pod flavours three or four batches, so rinse, dry and store it in sugar after steeping for a second use in another recipe.
5. Citrus Zest and Olive Oil Balm in Small Glass Jars
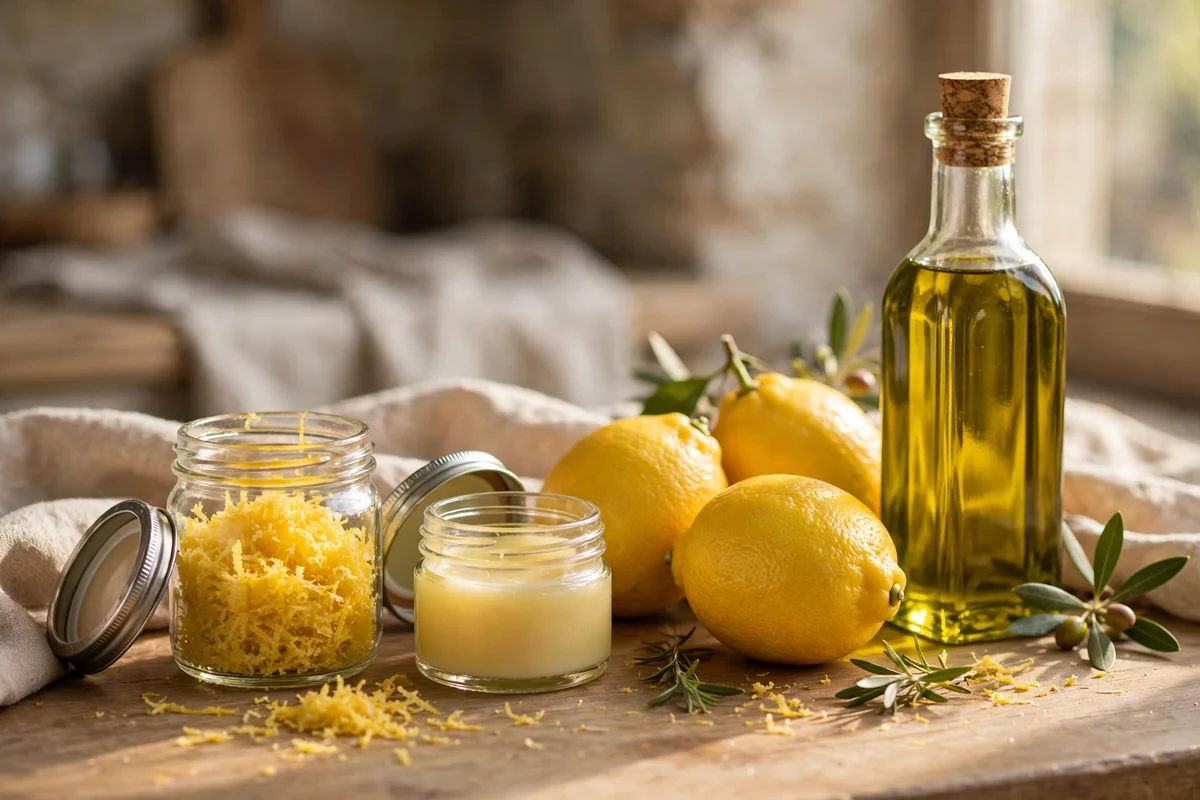
Warm 60 g of extra virgin olive oil with the finely grated zest of one lemon for fifteen minutes, then strain out the zest and whisk the scented oil with 15 g of beeswax pellets for five small 30 ml glass jars. Zest gives a gentle citrus lift without any synthetic fragrance and keeps the recipe fully food safe. The warm balm should smell lightly of lemon and pour a clear golden colour into each jar.
Let the jars set uncovered for six hours so no condensation forms under the lids, then screw the caps on and store them in a cool drawer for up to nine months. The mistake to avoid is leaving tiny zest bits in the oil, since they darken over time and can spoil the scent. Use a fine tea strainer or a square of clean muslin cloth for a perfectly smooth balm. Saving tip: one bottle of olive oil and a small bag of beeswax pellets make a gift row of jars for the cost of one shop bought lip balm.
6. Double Batch Coconut Honey Balm for Family Gifting
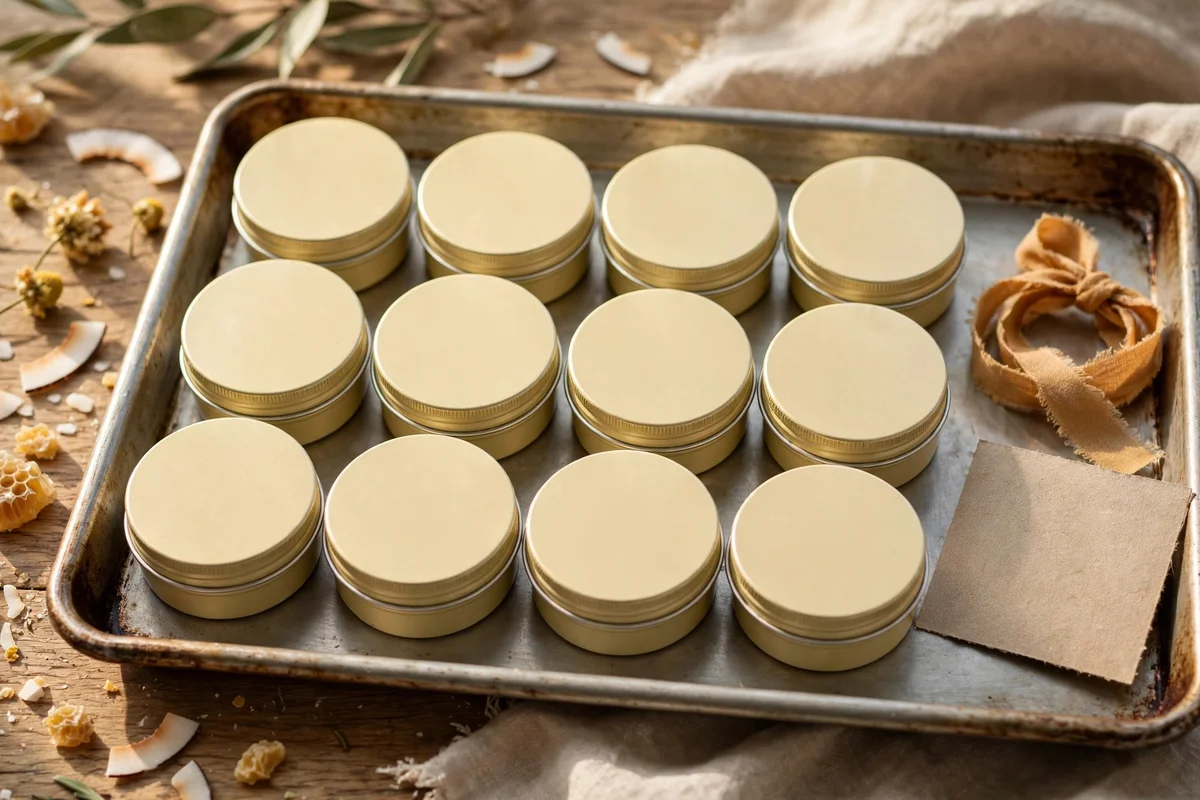
Double the classic base to 20 g of beeswax pellets, 80 g of coconut oil and two teaspoons of honey, which fills about twelve tins for gifting across the family. Melt everything in one wide jug, whisking the honey in for two full minutes so no sticky layer settles at the bottom. A double batch saves time on washing up, and making all the tins at once keeps the colour and texture perfectly matched.
Arrange the twelve tins in rows on a baking tray before pouring, which makes filling fast and keeps the warm mixture level. Tie each finished tin with a small ribbon and tuck a handwritten card inside the gift bag listing the three ingredients. The mistake to avoid is stirring new oil into a half set batch, which breaks the smooth top and leaves crumbly edges. Budget tip: buying tins in packs of fifty brings each gift tin under one pound or dollar, and one evening of pouring stocks birthday gifts for months.
7. Whipped Beeswax and Shea Butter Balm in Amber Jars
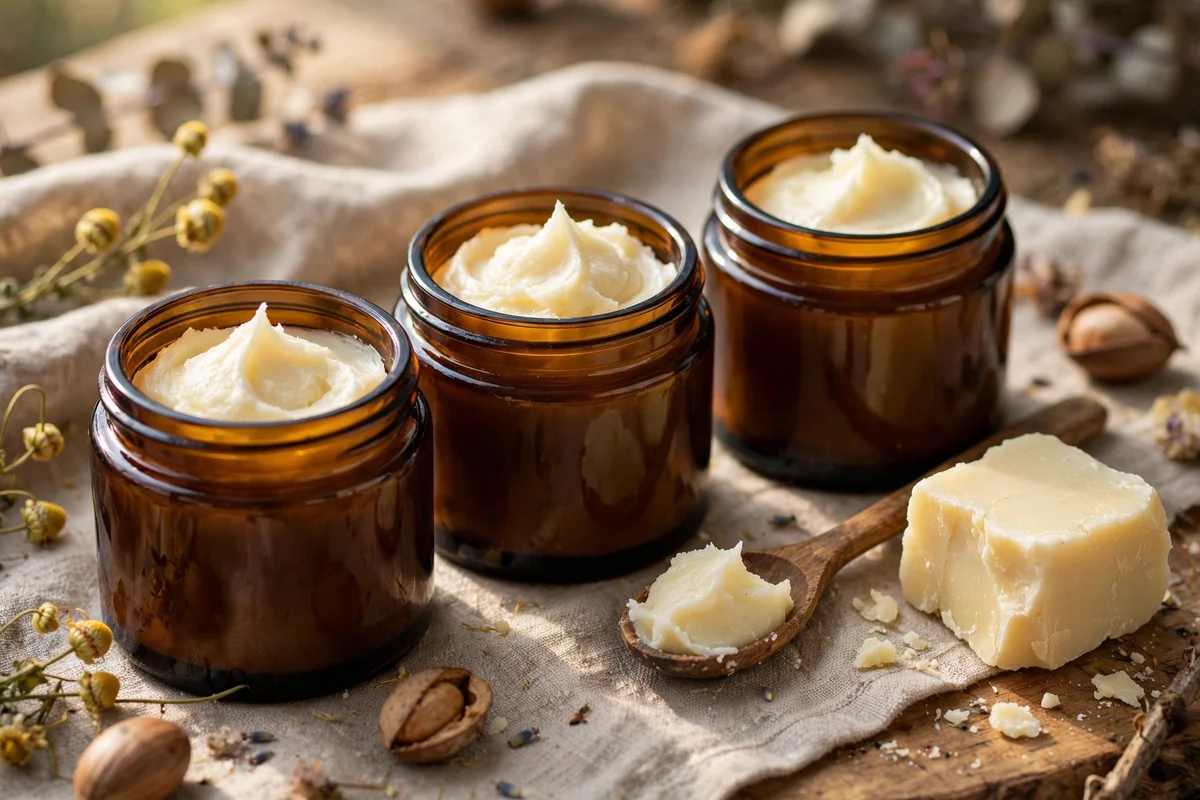
Melt 10 g of beeswax pellets with 30 g of shea butter and 20 g of coconut oil, then cool the mixture in the fridge for twenty minutes until it starts to firm at the edges. Whip it with a hand mixer for three minutes until pale and fluffy, like soft buttercream, then spoon it into amber glass jars with wide mouths. Whipped balm feels lighter on the lips and is lovely for anyone who dislikes waxy sticks.
Keep whipped balms in 30 ml or 50 ml amber jars, which protect the soft texture from heat and sunlight better than clear glass. Do not try to pour whipped balm into tubes, since the airy texture will not feed through the twist mechanism. The mistake to avoid is over whipping, which pushes in too much air and makes the balm collapse back into a grainy pool within days. Three minutes at medium speed is enough, and a spoon drawn through the mix should leave a smooth ribbon trail.
8. Cocoa Butter and Honey Stick Balm With Beeswax Pellets
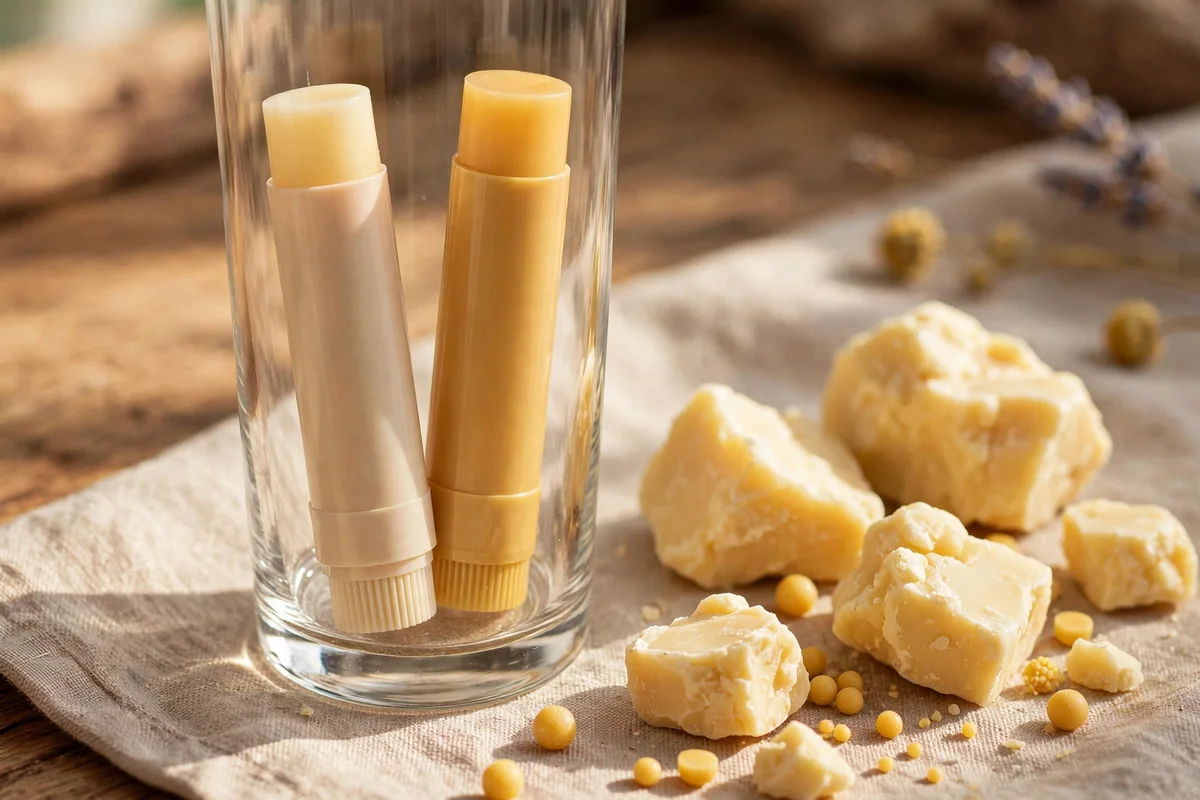
Stir 14 g of beeswax pellets, 22 g of cocoa butter, 22 g of sweet almond oil and one teaspoon of honey for about eight twist tubes of a firm, comforting stick. Cocoa butter and honey pair beautifully, giving a softly sweet balm that needs no added scent at all. Melt the beeswax and cocoa butter first, whisk in the almond oil, then blend the honey into the warm mix until it disappears.
Pour into tubes standing in a tall glass and let them set upright for six hours so the sticks form evenly with flat tops. Honey makes this balm slightly softer, so store finished tubes in a cool drawer rather than a sunny windowsill. The mistake to avoid is adding the honey to boiling hot wax, which scalds the honey and turns the scent bitter. Wait until the jug feels warm rather than hot to the touch, then whisk the honey in slowly. Label each tube with the make date and use within six months.
9. Vanilla and Sweet Almond Oil Balm for Bedside Tins
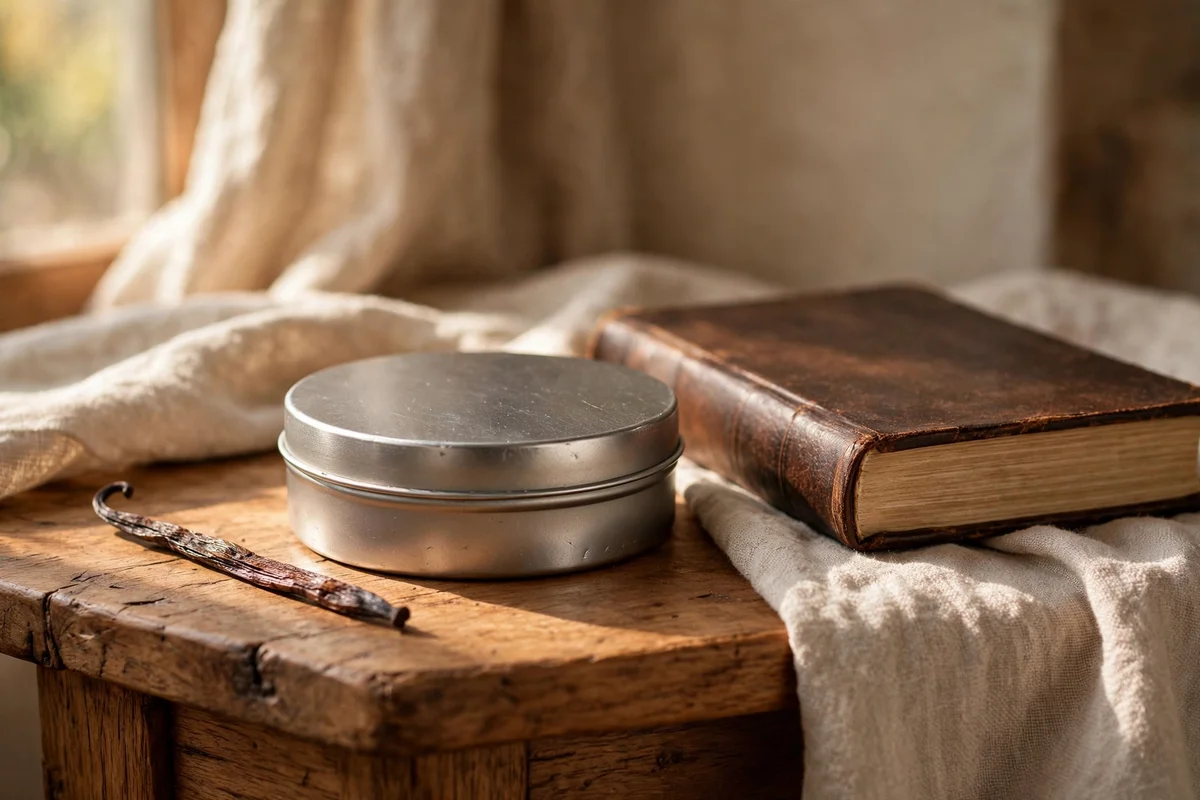
Melt 12 g of beeswax pellets with 35 g of sweet almond oil, then stir in the scraped seeds from half a vanilla pod for a gentle bedtime scent that suits a nightstand tin. Vanilla seeds are completely food safe and give tiny dark specks that look lovely in the finished balm. Pour into one or two wide 30 ml tins that open easily, since a bedtime balm should need no fiddling with small lids.
Let the tins set for four hours on the nightstand itself, which also tests that the surface is level and the balm surface stays flat. Sweet almond oil is light and absorbs quickly, so this balm works well as the last step of an evening routine. The mistake to avoid is using bottled vanilla extract, because most extracts contain alcohol that can dry the lips and breaks the alcohol free rule of this collection. Whole pods or their seeds give the same warm scent with no compromise.
10. Olive Oil and Beeswax Balm With Orange Zest in Twist Tubes
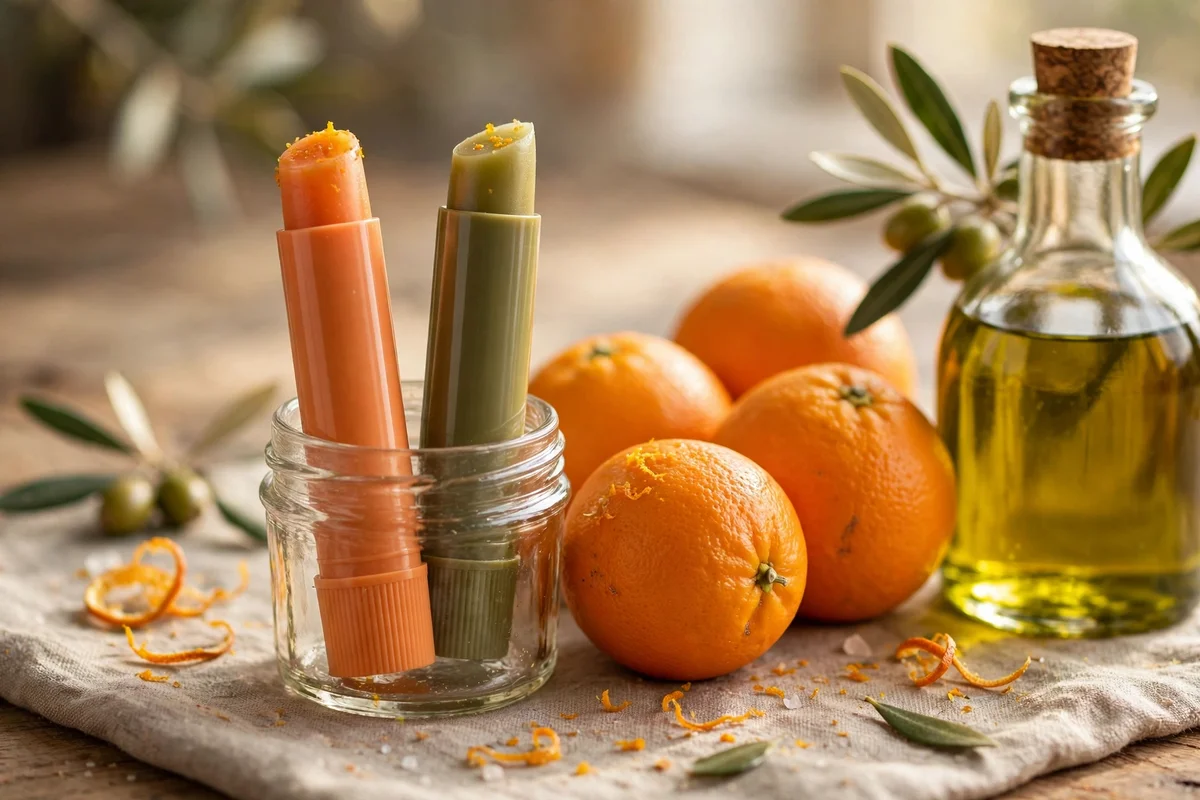
Infuse 45 g of olive oil with the grated zest of half an orange for twenty minutes over the lowest heat, strain well, then melt in 13 g of beeswax pellets for six twist tubes. Orange zest gives a bright, cheerful scent that suits a morning routine and looks golden in the finished stick. Keep the heat gentle during infusing, since olive oil scorches easily and scorched oil leaves a heavy smell that no amount of zest can fix.
Pour the warm mixture into tubes standing upright in a jam jar, filling to 5 mm below the rim so the caps sit flush. Let the tubes cool for six hours before twisting the first one up, which gives the stick time to grip the inner mechanism. The mistake to avoid is zesting the white pith under the peel, because pith tastes bitter and can irritate sensitive lips. Use only the thin orange outer layer, and wipe the grater clean between batches so no pith sneaks in.
11. Shea Butter and Coconut Oil Balm for a Travel Tin Set
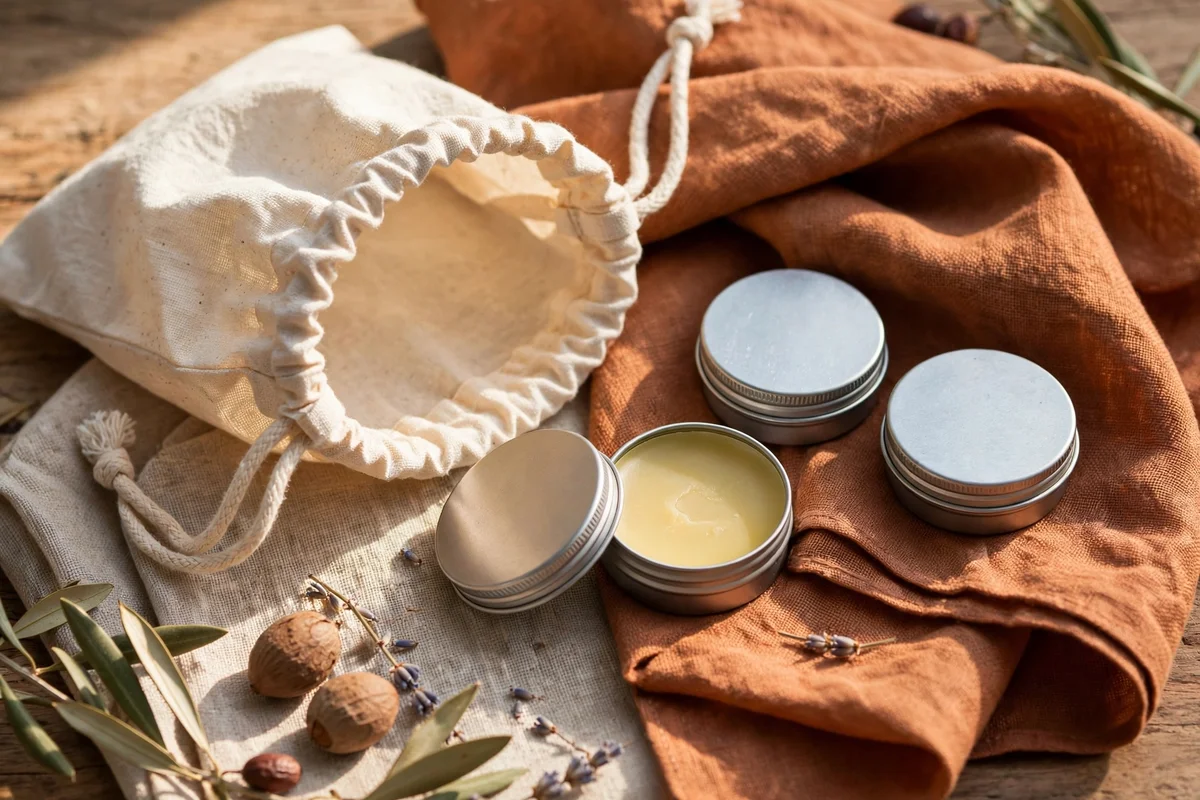
Blend 12 g of beeswax pellets, 20 g of shea butter and 25 g of coconut oil for a medium firm balm that survives handbags and coat pockets, filling about six small travel tins. Shea butter and coconut oil melt at different rates, so melt the shea butter fully first, then stir in the coconut oil until the mixture turns clear. Travel tins take a beating, so pick tins with tight screw lids rather than slip lids that pop open in a bag.
Nest the finished tins in a small cotton pouch or a lined makeup bag so they do not scratch each other in transit. Heat softens this balm quickly, so keep the travel set out of hot cars and sunny dashboards. The mistake to avoid is packing balms loose in a bag with keys, since sharp edges dent the tins and cracked lids dry the balm out within days. Budget tip: sewing a simple drawstring pouch from a fabric scrap costs nothing and keeps the whole travel set together between trips.
12. Honey Vanilla Balm Poured Into Vintage Style Tins
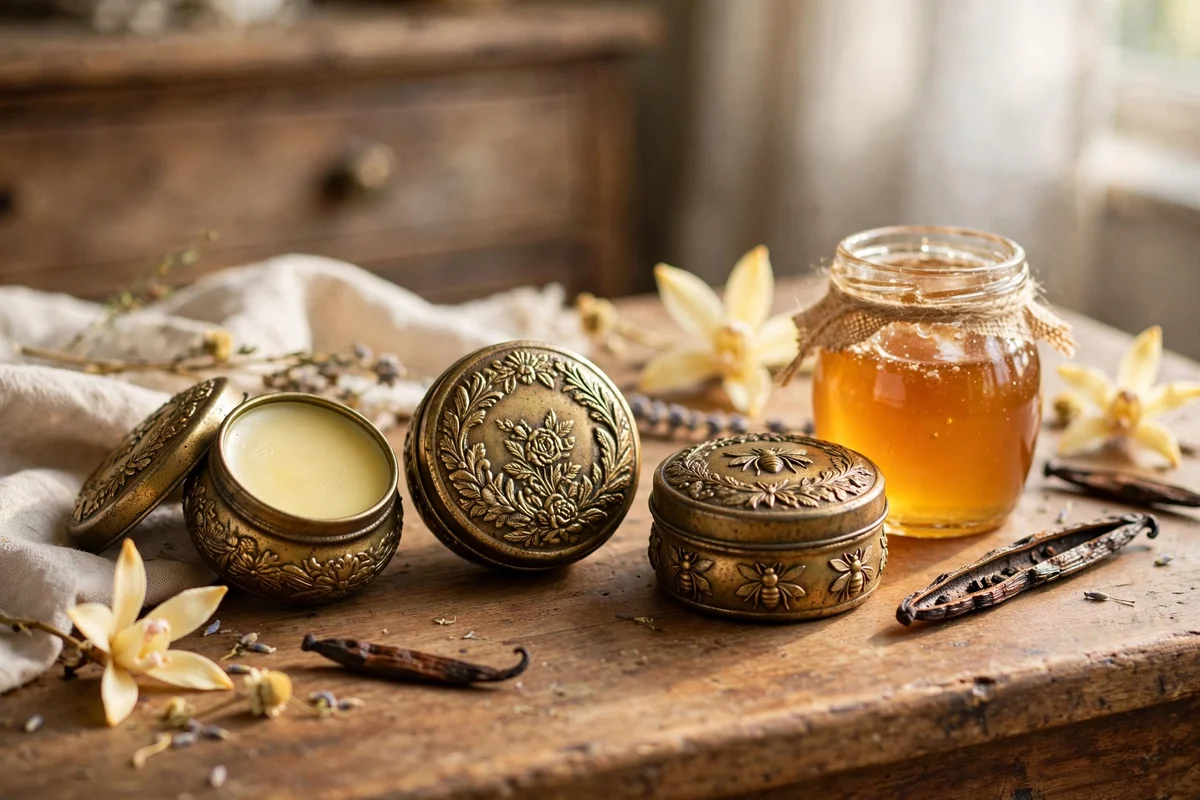
Warm 30 g of sweet almond oil with half a split vanilla pod for ten minutes, remove the pod, then melt in 11 g of beeswax pellets and whisk in one teaspoon of honey for five ornate vintage style tins. Vintage style tins with raised patterns look charming on a dressing table and make this balm feel like a small heirloom gift. The honey adds a gentle sweetness that pairs naturally with the warm vanilla scent.
Pour the balm while it is just pourable, since vintage style tins often have shallow decorated lids that show every ripple of an uneven surface. Let them set for four hours on a level tray, then polish the tin edges with a dry cloth before gifting. The mistake to avoid is overfilling, because ornate lids need their full inner depth to close and a domed balm surface will stop them seating. Fill to 3 mm below the rim, and keep the finished tins in a cool drawer so the honey scent stays fresh for six months.
13. Cocoa Butter and Coconut Oil Balm Set in a Wooden Tray
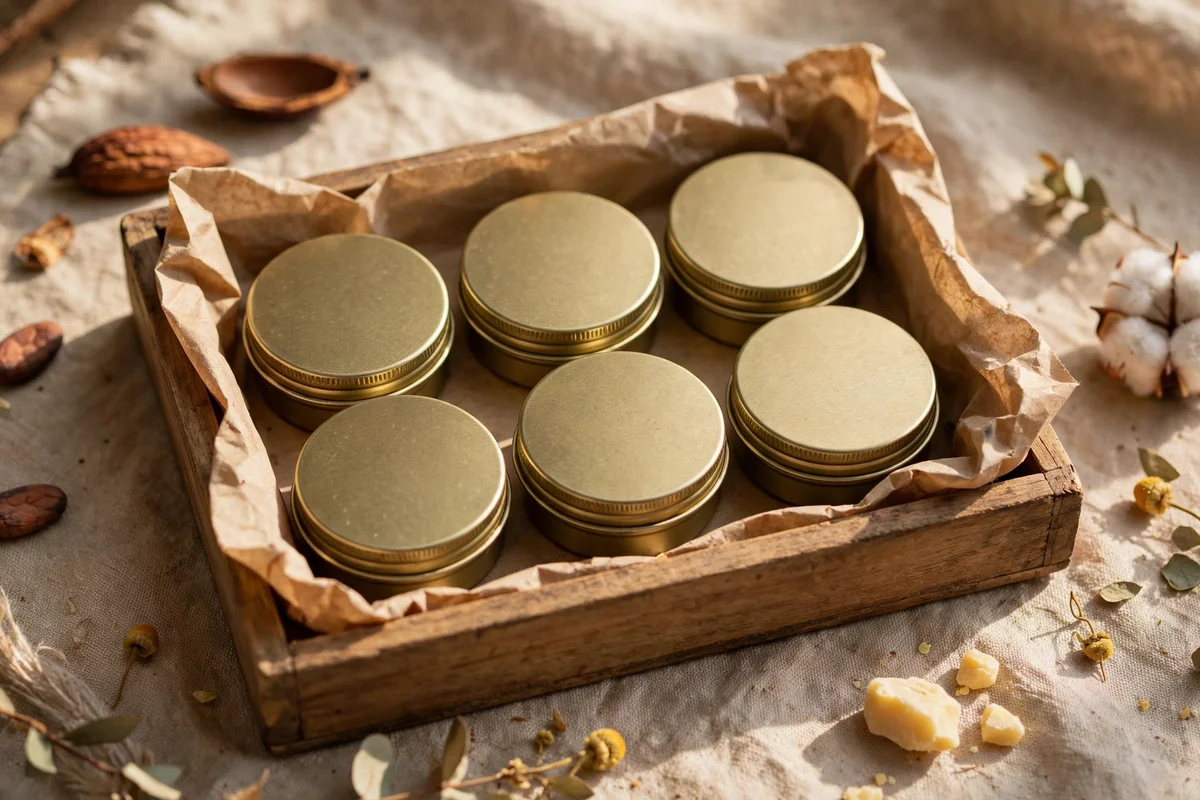
Melt 16 g of beeswax pellets with 25 g of cocoa butter and 25 g of coconut oil, then pour into six matching tins arranged inside a small wooden tray for a ready made gift set. A wooden tray turns individual tins into one handsome present, and the warm wood tones suit the cocoa scent beautifully. Line the tray with a square of plain kraft paper so any warm drips wipe away without staining the wood.
Let the tray sit undisturbed for five hours until every tin has a flat, glossy surface, then tuck a sprig of dried lavender or a small card between the tins for decoration. The mistake to avoid is moving the tray while the balms are setting, since even a small tilt leaves a sloped surface that looks unfinished. Budget tip: small wooden trays from craft shops cost a few pounds or dollars, and filling six tins yourself costs far less than buying a branded gift set of the same size.
14. Lemon Zest and Olive Oil Balm in Mini Jam Jars
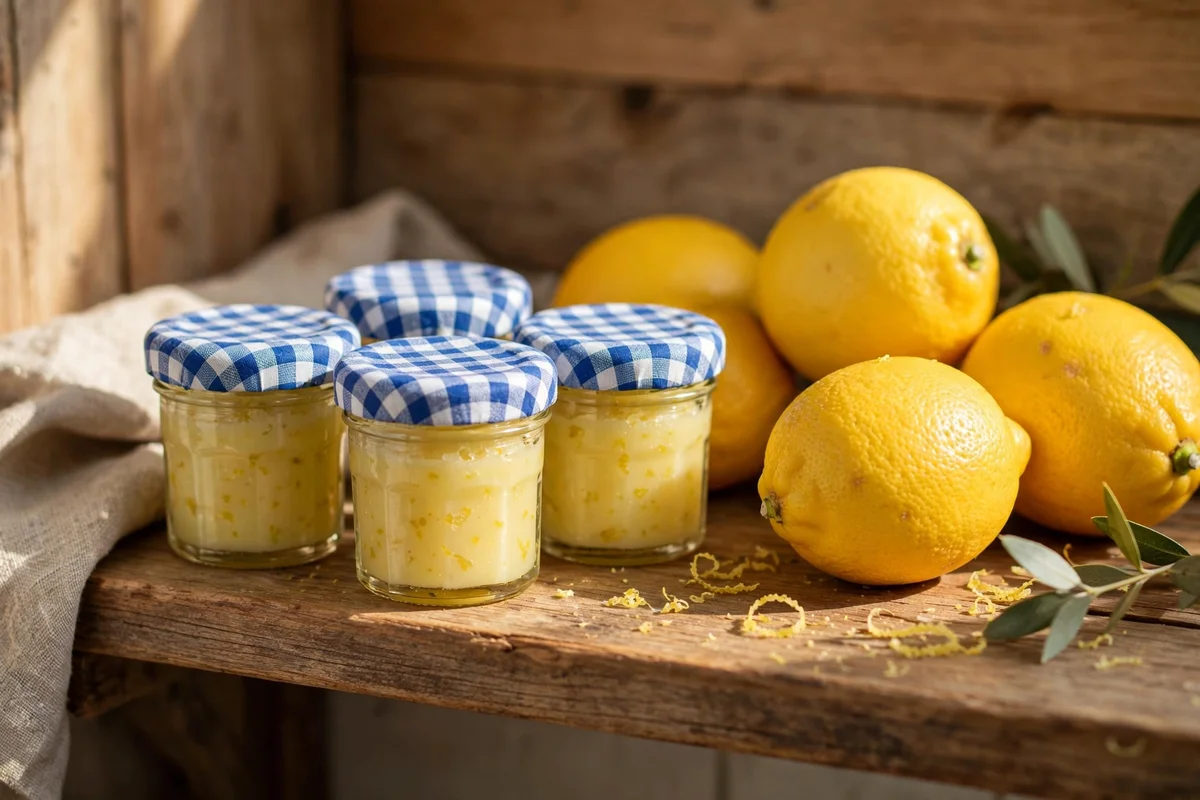
Infuse 60 g of olive oil with the zest of one lemon for fifteen minutes, strain through muslin, then whisk with 15 g of beeswax pellets for five mini jam jars of about 40 ml each. Mini jam jars with gingham lids look delightful on a kitchen shelf and make the balm easy to scoop with a clean fingertip. The lemon scent stays light and fresh, never sharp, when you use zest rather than juice.
Set the jars uncovered for six hours to avoid trapped steam, then add the lids and keep them in a cool pantry for up to nine months. The mistake to avoid is using lemon juice instead of zest, because juice is water based and water in balm encourages spoilage within weeks. Zest gives all the fragrance with none of the risk, and a fine grater keeps the pieces small enough to strain out cleanly. Label each jar with the scent and date on a small round sticker.
15. Plain Beeswax and Shea Butter Balm for Sensitive Skin
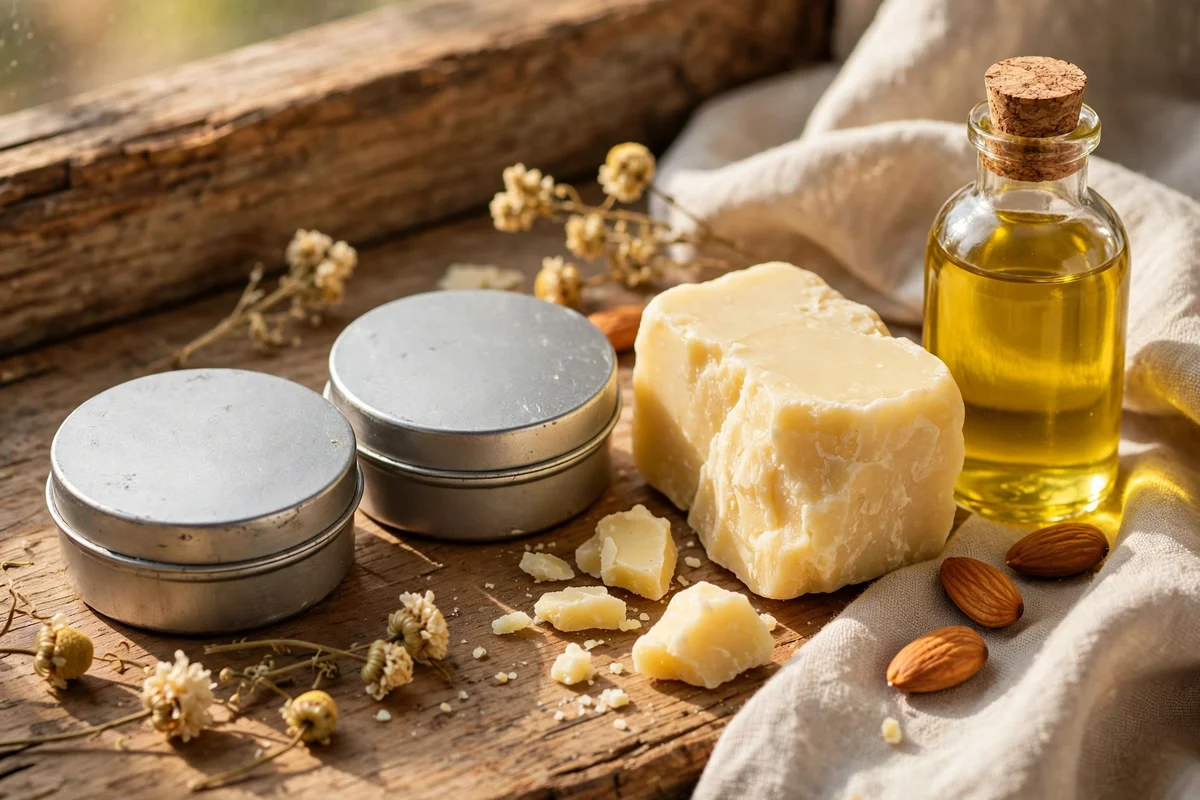
Keep this one beautifully simple: 14 g of beeswax pellets, 25 g of refined shea butter and 20 g of sweet almond oil, with no scent and no honey, for about six gentle tins. Unscented balm suits sensitive skin and anyone who prefers their lip care completely plain. Melt the beeswax and shea butter together, stir in the almond oil, and pour into plain round tins with no decoration on the lids.
Let the tins set for four hours in a cool room, then press a small plain sticker on each lid marked with the make date so the batch stays traceable. This balm keeps for up to twelve months, longer than honeyed versions, because it contains no water based ingredients at all. The mistake to avoid is choosing raw shea butter here, since its natural smoky scent defeats the purpose of an unscented balm. Refined shea butter is neutral, affordable and widely available in craft shops and health food stores.
16. Honey and Olive Oil Balm in a Gift Box Set of Six
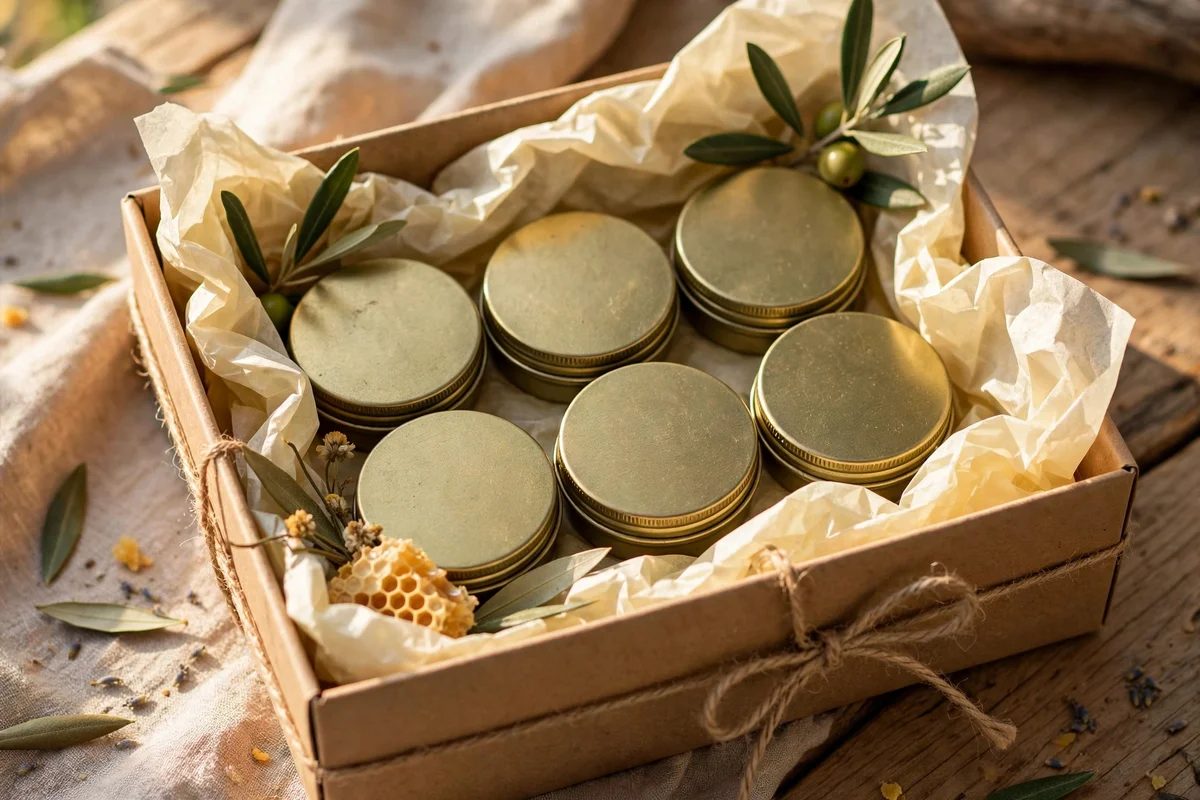
Whisk 13 g of beeswax pellets, 40 g of olive oil and two teaspoons of honey for six tins that fit neatly into a small kraft gift box. Honey and olive oil make a deeply nourishing pair, and the amber toned balm looks lovely against the brown kraft card. Pour the mixture on the slightly cool side of warm so the honey stays silky instead of sinking to the bottom of each tin.
Once the tins are set, about five hours, arrange them in two rows of three with a folded tissue square under each one to stop rattling. Close the box, tie it with string and add a small tag listing the ingredients and the make date. The mistake to avoid is packing the tins while still warm, because trapped heat softens neighbouring balms and leaves fingerprints on the glossy tops. Budget tip: kraft gift boxes in packs of ten cost very little, and one afternoon of pouring fills gifts for teachers, neighbours and family.
17. Vanilla Cocoa Butter Balm With Beeswax in Hexagon Jars
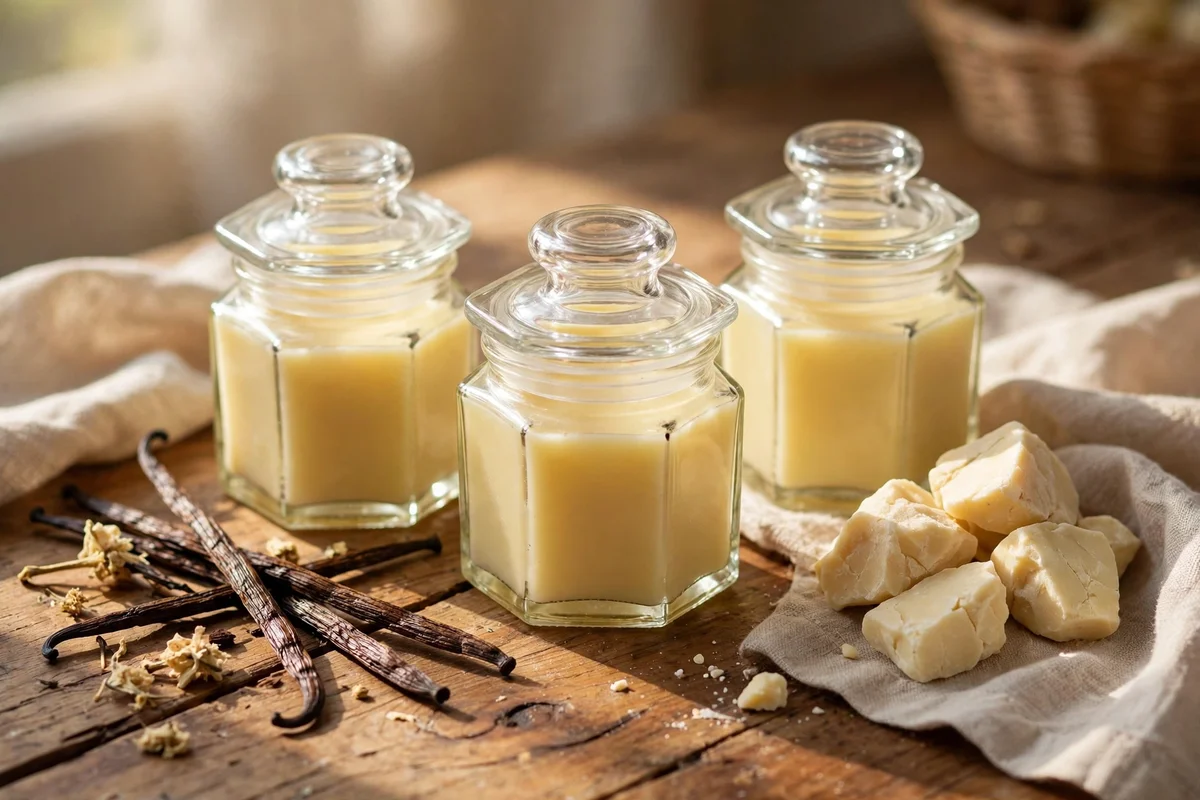
Melt 12 g of beeswax pellets with 25 g of cocoa butter and 22 g of sweet almond oil, then stir in the seeds of half a vanilla pod for six hexagon jars that catch the light beautifully. Hexagon jars look charming lined up on a dressing table, and their wide mouths make the balm easy to reach with a clean fingertip. The cocoa butter and vanilla blend gives a soft, comforting scent that suits autumn and winter.
Pour the warm balm into the jars and leave them uncovered for five hours, since covering warm balm traps steam that can spot the surface. Screw on the lids and store the jars in a cool drawer for up to ten months. The mistake to avoid is using bottled vanilla extract, which usually contains alcohol that dries the lips and breaks this collection’s alcohol free rule. Whole vanilla seeds are food safe, alcohol free and give prettier speckles in the finished balm than any liquid flavouring.
18. Citrus and Coconut Oil Balm Poured Into a Tin Trio
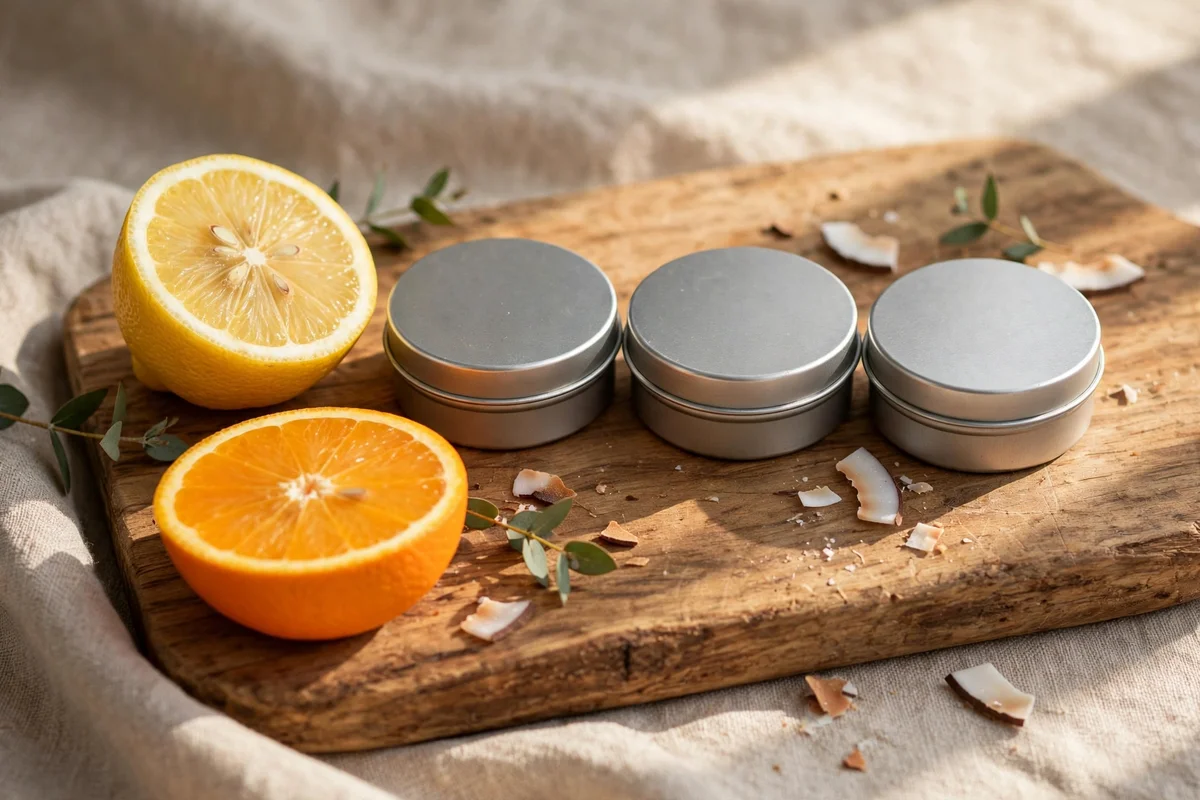
Warm 55 g of coconut oil with the grated zest of half a lemon and half an orange for fifteen minutes, strain the zest out, then melt in 14 g of beeswax pellets for three matching tins. A trio of matching tins makes a sweet little set for a desk drawer, a handbag and a bedside table. The double citrus scent is bright without being sharp, and using zest keeps every ingredient food safe.
Pour all three tins from the same jug in one steady round so the colour and scent match perfectly across the set. Let them set for four hours on a level surface, then stack them with a small square of tissue between each lid. The mistake to avoid is grating the fruit too coarsely, since large zest pieces release less flavour and leave more bits to strain out. A fine grater and a light touch give the brightest scent with the cleanest pour. Keep the finished trio in a cool drawer for up to nine months.
19. Shea Butter and Honey Balm for a Pocket Tin Refill Set
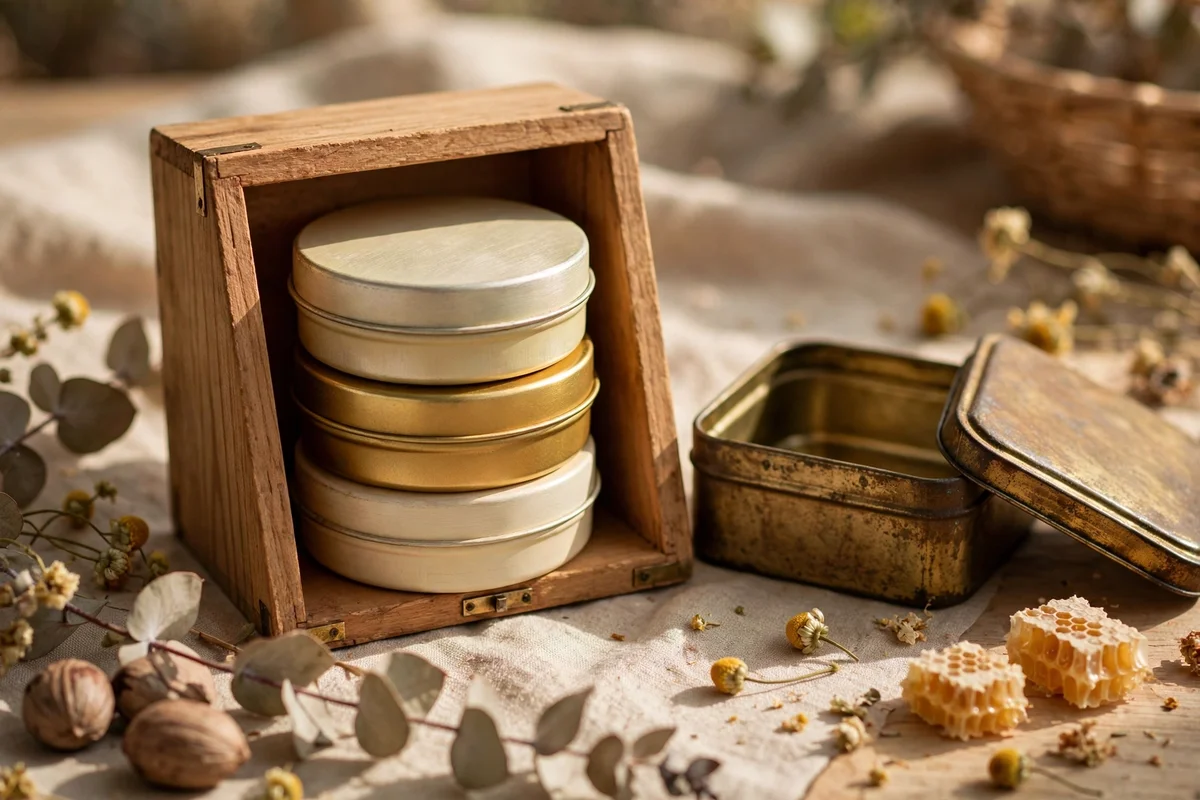
Combine 13 g of beeswax pellets, 24 g of shea butter, 20 g of coconut oil and one teaspoon of honey for six pocket tins that refill an empty slide tin again and again. A refill set is a thrifty idea: keep one favourite tin and top it up from the pocket tins instead of buying new containers. Melt the beeswax and shea butter first, then whisk in the coconut oil and honey until the mixture turns smooth and glossy.
Pour into shallow pocket tins and let them set for four hours before stacking them in a small box for storage. Because this recipe contains honey, use the refills within six months and keep the box in a cool drawer. The mistake to avoid is refilling a tin that still holds old balm of a different scent, since the flavours muddle and the texture can turn uneven. Wash the favourite tin with warm soapy water, dry it fully, and only then press in a fresh refill disc.
20. Beeswax and Sweet Almond Oil Balm With a Handwritten Label
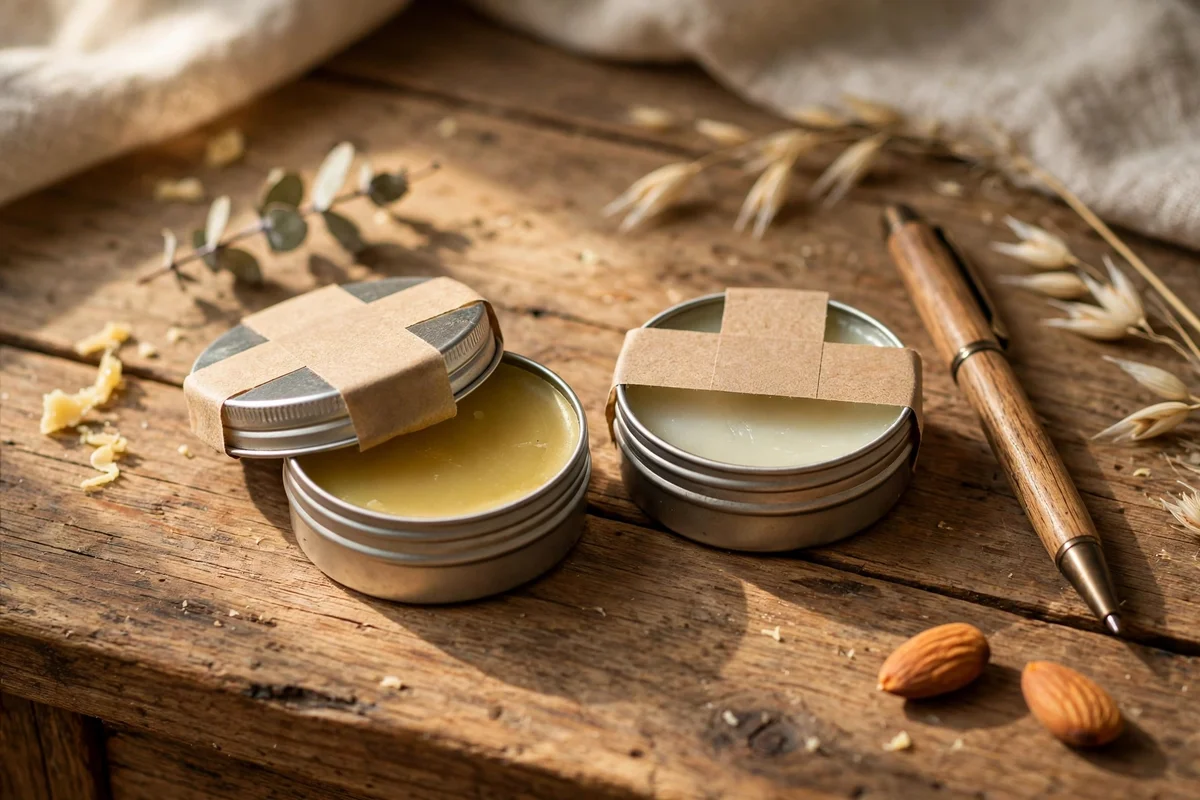
Stir 12 g of beeswax pellets into 38 g of sweet almond oil with the seeds of a quarter vanilla pod for five plain tins finished with handwritten labels. A handwritten label turns the simplest recipe into the most personal gift, and plain kraft stickers take ink beautifully without smudging. Write the balm name, the three ingredients and the make date in neat lettering, leaving one corner of the label free for a tiny drawn heart or leaf.
Let the tins set fully for five hours before sticking the labels on, since labels applied too early can slide on warm tins and wrinkle. Press each label down firmly from the centre outward to chase out air bubbles, then store the finished tins in a cool drawer for up to twelve months. The mistake to avoid is using a water based pen on kraft stickers, because the ink bleeds into the fibres and turns your neat writing into a blur. A permanent marker or a gel pen gives crisp lines that stay readable for the balm’s whole shelf life.
These twenty balms share one quiet idea: a handful of honest ingredients, melted gently and poured with care, can keep lips comfortable through every season. From a plain unscented tin for sensitive skin to a honeyed gift box tied with string, each recipe asks for little more than an evening, a jug and a tray of waiting tins. The real pleasure is in the making: the scent of warm honey, the glossy surface as each tin sets, and a small shelf of finished balms ready for gifting.
If you are making your very first batch this week, start with the classic coconut oil balm in round tins, since its simple ratio forgives small mistakes and sets reliably every time. Pour one test tin first, check the texture once it has set, and only then fill the rest. That single habit turns a nervous first attempt into a confident routine, and by next month you will have a cupboard of balms for family, friends and quiet evenings at home.
Frequently Asked Questions
What is the best beeswax to oil ratio for a beginner lip balm?
Start with one part beeswax to four parts oil by weight, for example 10 g of beeswax pellets to 40 g of coconut oil. This makes a soft but sturdy balm that holds its shape in a tin. If the balm feels too hard, remelt it and stir in a teaspoon more oil. Too soft means adding a little more beeswax next time.
How long does homemade beeswax lip balm last?
Plain balms with only beeswax, oils and butters keep for nine to twelve months in a cool drawer. Balms with honey or fresh zest keep for about six months, so always label each tin with the make date. Keep balms away from heat and sunlight, and discard any batch that smells off or changes colour.
Can I pour lip balm into twist tubes without special tools?
Yes. Stand the empty tubes upright in a mug or short glass so they cannot tip, and pour the warm balm from a heat safe jug with a spout. Fill to about 5 mm below the rim, then let the tubes set upright for six hours. A small funnel helps, but steady pouring works fine for most makers.
Why did my lip balm turn grainy, and can I fix it?
Graininess usually comes from butters cooling too slowly or being melted and reheated several times. To fix a grainy batch, remelt it gently, stir well, then cool it quickly in the fridge for twenty minutes before pouring. Using refined shea butter and melting everything in one smooth session also helps prevent the problem.
How should I label and gift homemade lip balms?
Write the balm name, full ingredient list and make date on each label, and add a use within note for honeyed recipes. Plain kraft stickers and a fine permanent marker look lovely and stay readable. For gifting, nest tins in tissue inside a kraft box or tie a ribbon around a small stack, keeping the ingredient card where the recipient can read it.