DIY Projects
20 DIY Home Coffee Bar Ideas That Make Mornings Easier
By Anna Wells · · 11 min read
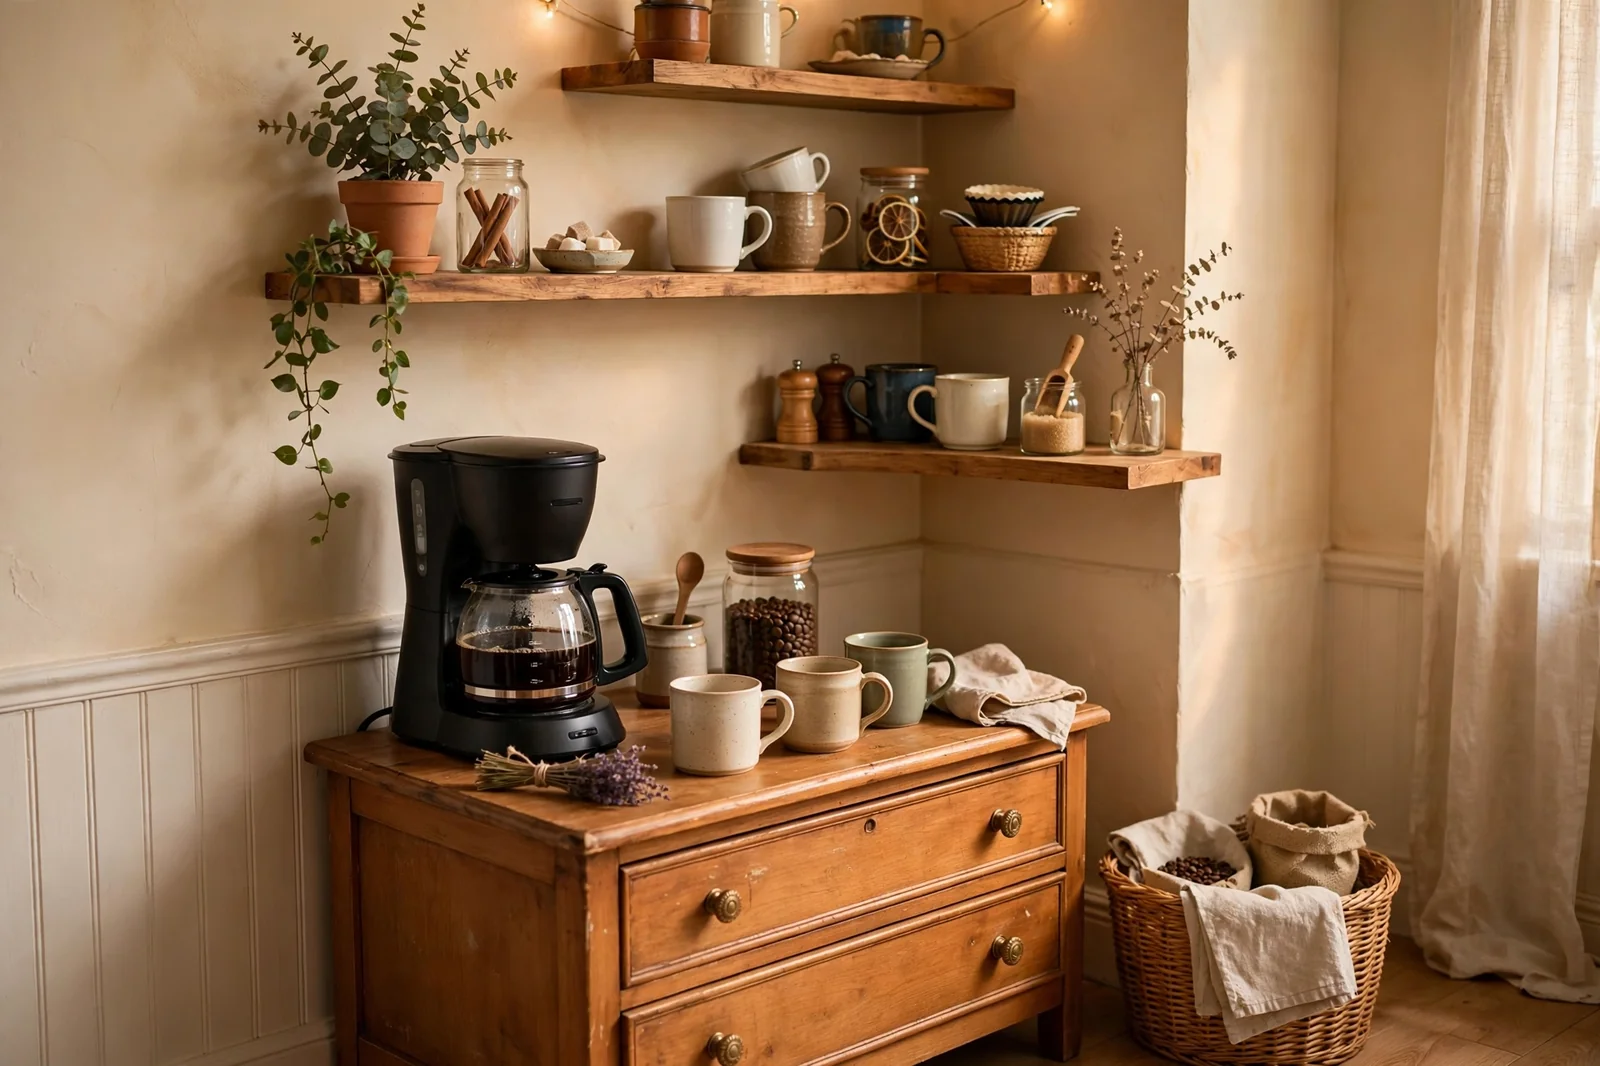
A home coffee bar sounds like a luxury until you build one and realize how much smoother mornings get. No digging through cabinets, no cluttered counters, everything in one place. These 20 DIY home coffee bar ideas are practical and realistic, from repurposed dressers and bar carts to floating shelves and closet conversions, with organization, lighting and budget tips so your setup works for your space and your habits.
A great coffee bar is really a small exercise in good design: everything you need within reach, nothing you do not, and a look that makes you happy at 6 a.m. The best part is that almost any furniture can become one: a dresser, a cart, a closet, a corner of counter. These 20 ideas cover the furniture, the organization and the finishing touches, with real measurements and budget notes, so you can build a coffee bar that fits your space instead of fighting it.
1. Turn a Small Dresser Into a Coffee Station
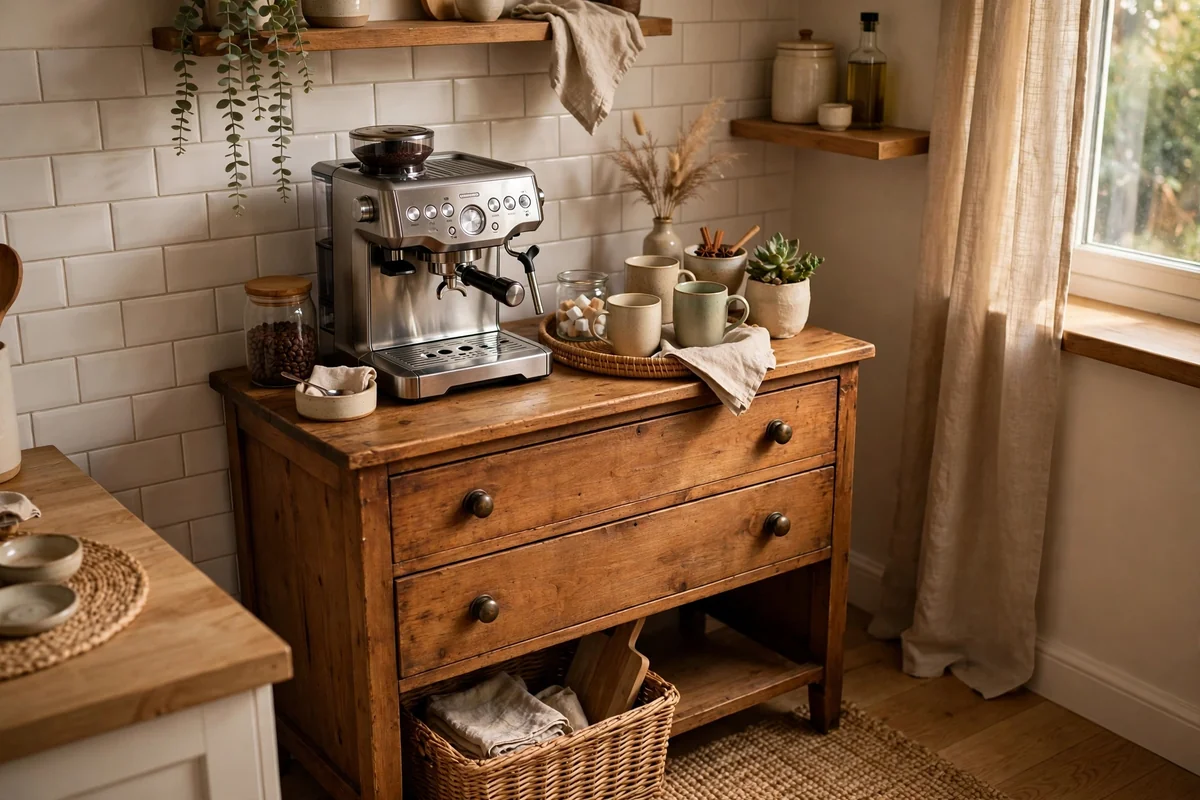
A small dresser is one of the easiest DIY coffee bar bases. The drawers swallow pods, filters, sugar packets and spare spoons, while the top holds the machine, mugs and a tray. Look for a dresser 30 to 48 inches wide with a sturdy top; thrift stores are full of them for $30 to $80. Sand lightly, paint or stain to suit your kitchen, and add a coat of polyurethane on the top to protect against water rings and heat.
Check the depth before buying: you need at least 16 inches of top depth for a standard drip machine plus mugs. Add adhesive felt pads under the machine to prevent scratches, and use drawer organizers so small items do not become a jumble. A common mistake is choosing a dresser with a wobbly top; test it in the store by pressing down firmly. Anchor tall dressers to the wall for safety, especially with kids around.
2. A Floating Shelf Setup
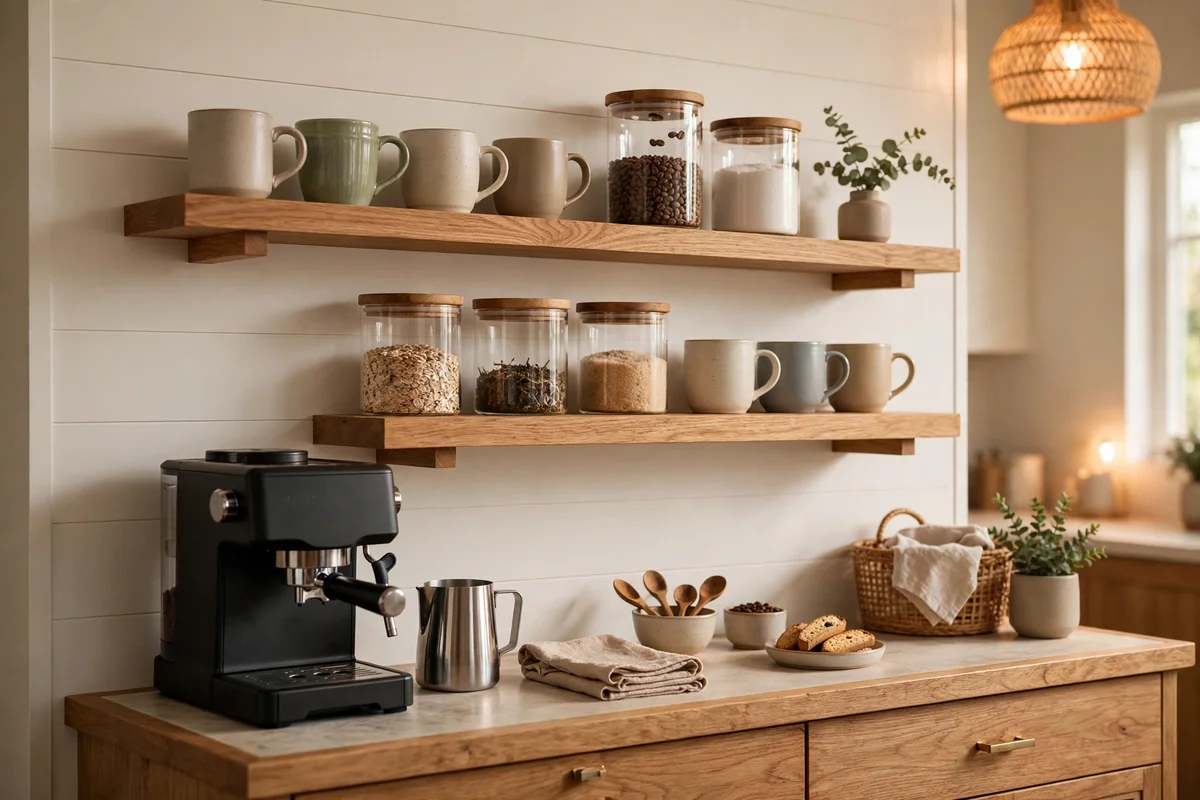
When floor space is tight, go vertical with floating shelves above your coffee zone. Two or three solid wood shelves, 8 to 10 inches deep, mounted into studs with hidden brackets, hold mugs, canisters and decor without taking a single inch of counter. Space shelves 12 to 15 inches apart so mugs fit comfortably. A 36-inch shelf holds about eight standard mugs with breathing room.
Always anchor into studs; a shelf of mugs is heavy, and drywall anchors alone will eventually fail. Use brackets rated for at least 50 pounds per shelf. Style the shelves with a mix of useful and beautiful: everyday mugs, a canister of beans, a small plant, a framed print. Leave some empty space rather than cramming every inch. The biggest mistake is hanging shelves too high to reach comfortably; keep daily items between shoulder and eye height.
3. Repurpose a Bar Cart
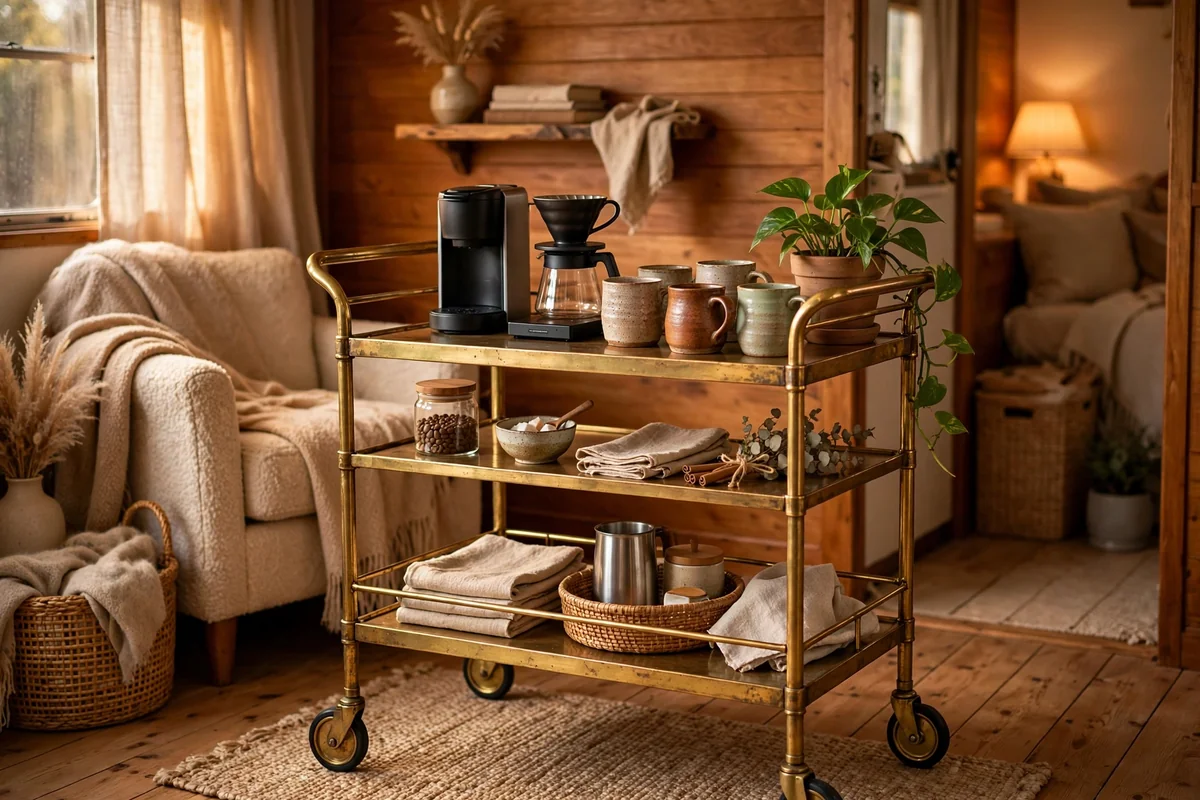
A bar cart makes a perfect mobile coffee bar. The two tiers separate brewing from storage: machine and mugs up top, pods, syrups and extra cups below. Carts roll where you need them, which is ideal for small kitchens or open-plan spaces. Look for a sturdy cart with a weight capacity of at least 50 pounds; vintage brass carts are beautiful but check that the wheels lock.
Style the top with a small tray to corral the machine’s accessories and prevent wobbling. Keep the cart near an outlet; a 6-foot appliance cord gives you flexibility. The mobility is also the risk: lock the wheels before brewing, and keep the cart away from high-traffic paths where it could be bumped. For under $100 at thrift stores, a bar cart is the fastest coffee bar you can build.
4. A Kitchen Corner Nook
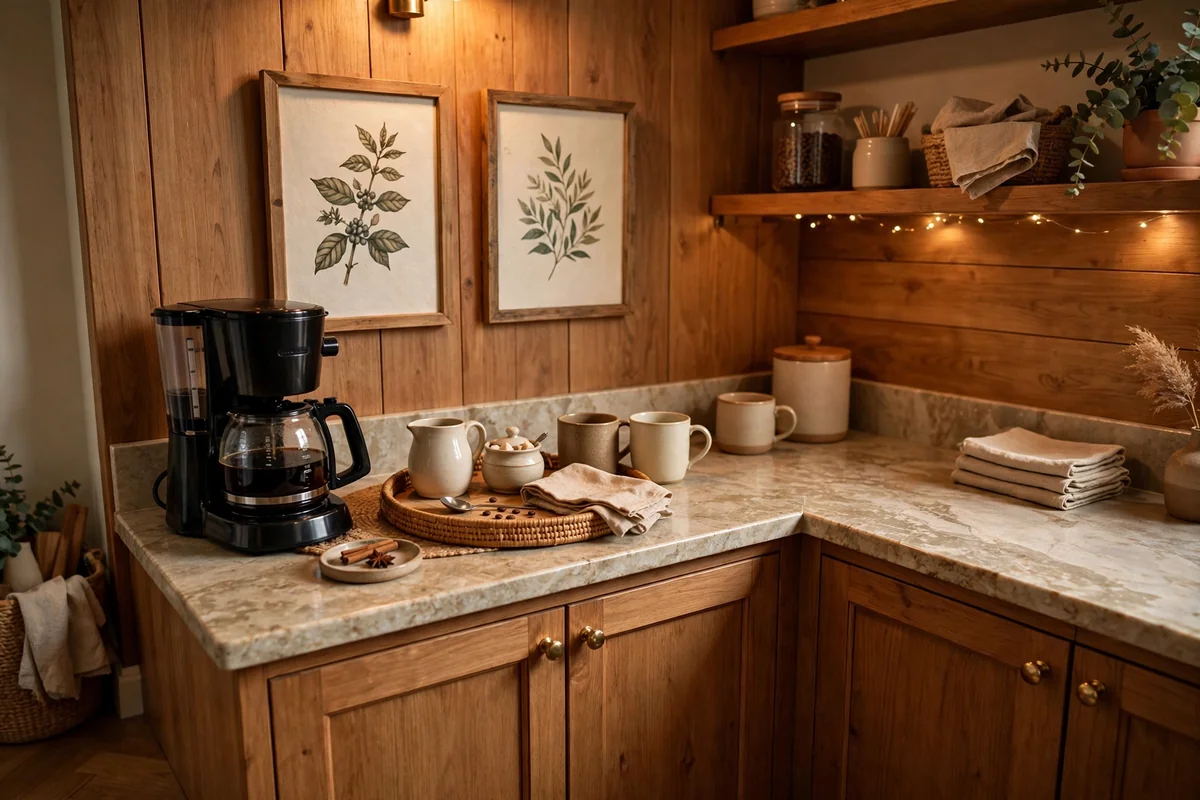
An unused kitchen corner, that dead space beside the fridge or at the end of a counter run, can become a dedicated coffee nook. All you need is 24 to 30 inches of counter depth and an outlet. Add a small shelf above for mugs, a tray to define the zone, and suddenly the corner has a purpose. This keeps the coffee mess contained instead of spreading across the main prep area.
Define the nook visually so it feels intentional: a small rug or mat underfoot, a piece of art on the wall, or a contrasting paint color on that wall section. Keep the machine’s cord tidy with adhesive cable clips. The main mistake is letting the nook become a catch-all for unrelated clutter; defend its boundaries. A corner nook works best for one-machine households; if you run both drip and espresso, you will want more surface.
5. A Built-In Cabinet Coffee Bar
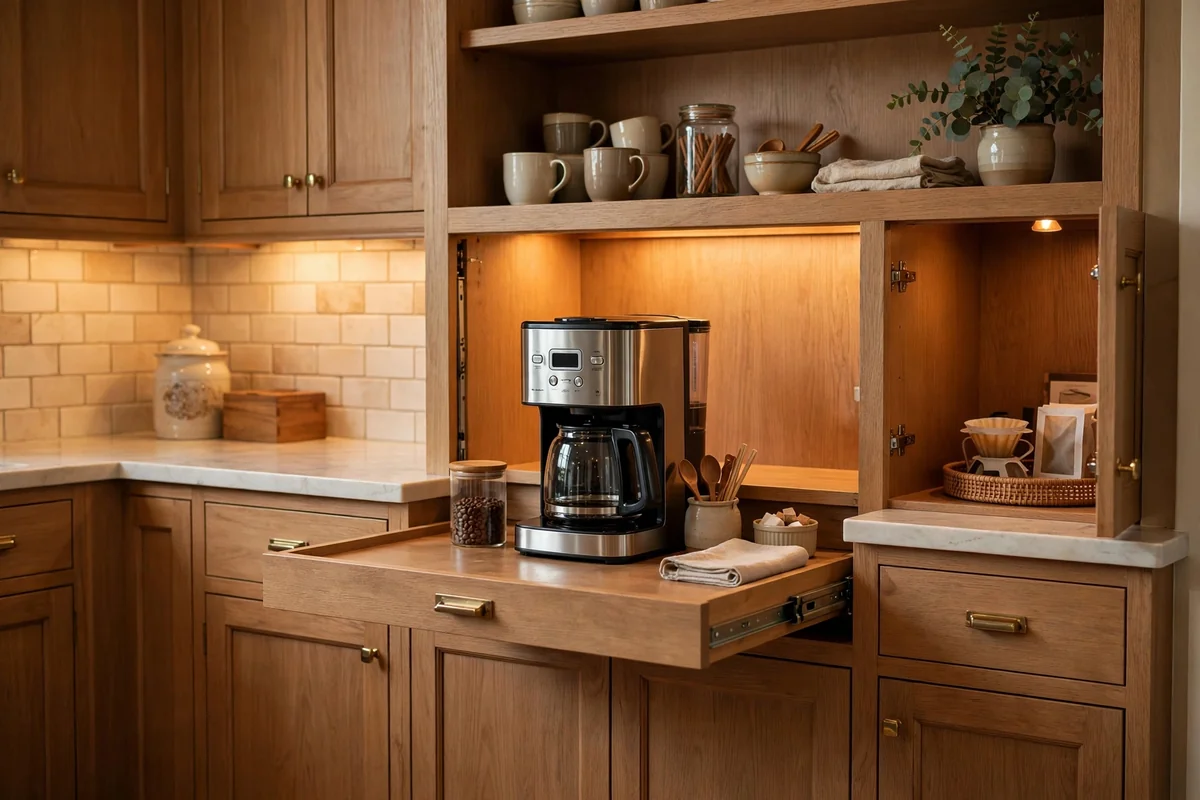
For a polished look, convert a base cabinet into a built-in coffee bar. Remove a cabinet door or replace it with an open shelf configuration, add a pull-out shelf for the machine at counter height, and install interior lighting. A 24-inch-wide cabinet fits most machines; a 30-inch cabinet gives you room for mugs beside it. This hides the clutter completely when the doors close.
Plan for ventilation: coffee machines produce steam and heat, so leave at least 6 inches of clearance above the machine and consider a small vent or leaving the cabinet door open while brewing. Add an outlet inside the cabinet, installed by an electrician if you are not comfortable with wiring. Line the pull-out shelf with a waterproof mat. Built-ins cost more, $300 to $800 with hardware and electrical, but they look seamless and keep counters clear.
6. A Rolling Island Station
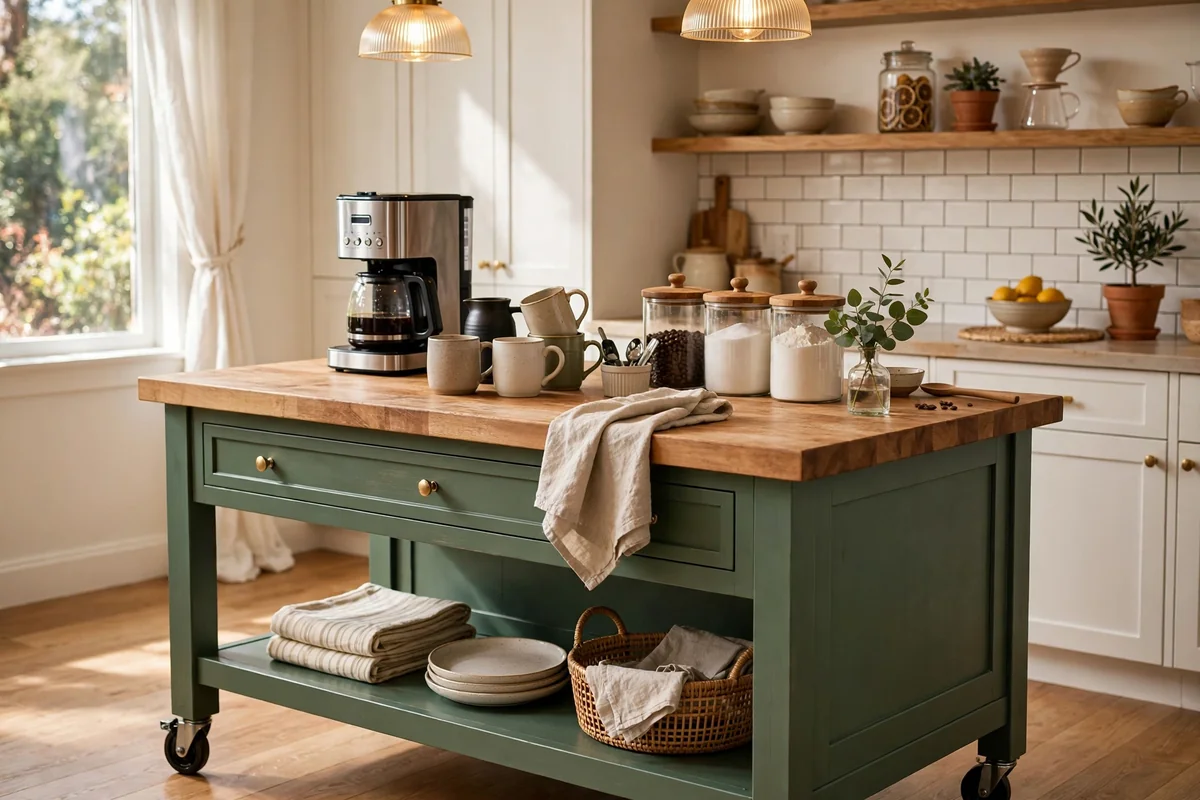
A small rolling kitchen island doubles as a coffee station with bonus storage. Islands 36 to 48 inches long provide ample top space for the machine plus a prep area, while the shelves or cabinets below hold bulk coffee, extra mugs and entertaining supplies. Choose an island with locking casters and a solid top that withstands heat and moisture; butcher block sealed with food-safe oil works beautifully.
Position the island where it does not block the kitchen work triangle; you need 36 to 42 inches of clearance on working sides. The island’s mobility lets you roll it against a wall when you need floor space. Style the top minimally: machine, tray, one decorative item. Avoid overloading the island until it becomes immovable clutter; its value is flexibility. For open-plan homes, a rolling island coffee bar can serve the kitchen by day and the living room during gatherings.
7. A Wall-Mounted Fold-Down Bar
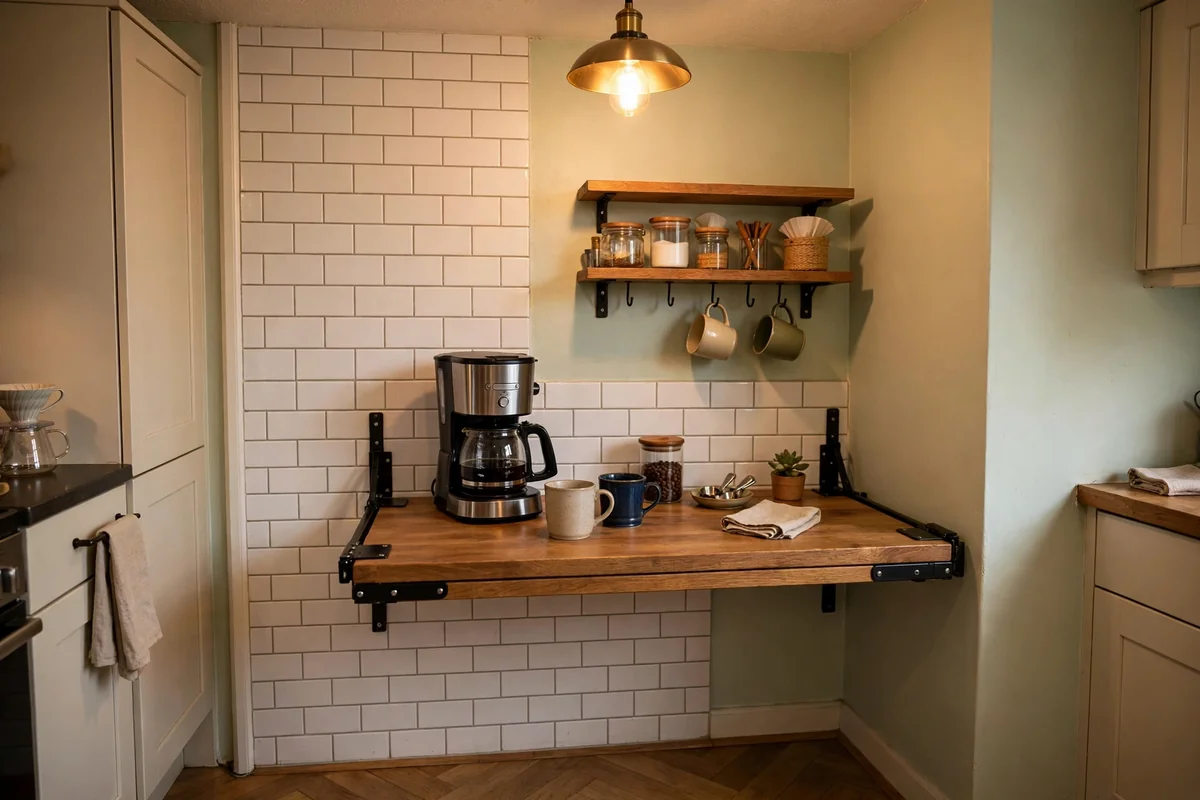
A wall-mounted fold-down table creates a coffee bar that disappears when not in use. Mount a sturdy drop-leaf table or a purpose-made fold-down shelf at 36 inches high, the standard counter height, and fold it down for brewing each morning. When closed, it looks like a slim cabinet or a piece of wall art. This is ideal for tiny kitchens, studio apartments and hallway nooks.
The mount must hit studs and support at least 50 pounds; use heavy-duty folding brackets, not simple hinges. Keep the machine lightweight if you plan to move it on and off, or store it on a nearby shelf and set it on the table to brew. Add a small wall shelf above for mugs so everything lives in one vertical zone. The tradeoff is daily setup effort; this suits one- or two-cup households better than heavy entertainers.
8. Open Shelving Display
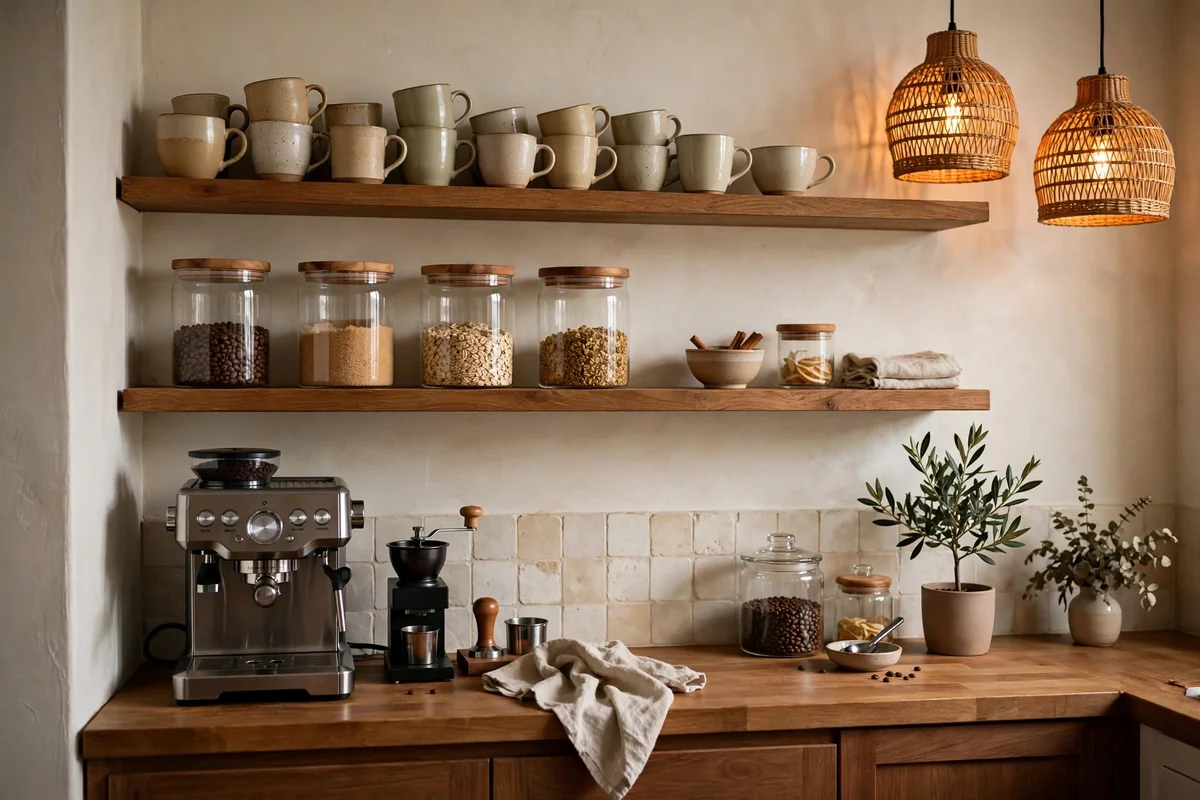
Open shelving turns your coffee supplies into decor. Arrange mugs by color, display pretty canisters, line up syrup bottles like apothecary jars, and let the collection be the decoration. This works best if your mugs and containers are attractive; mismatched freebies look cluttered rather than curated on open shelves. Stick to a tight color palette, whites, woods and one accent, for cohesion.
Dust is the price of open shelving; plan to wipe shelves monthly and wash little-used mugs before using. Keep daily items at easy reach and decorative pieces higher. Brackets and shelf style set the tone: black metal brackets feel industrial, wood corbels feel farmhouse, hidden mounts feel modern. Do not overload shelves; leave 20 percent empty so the display breathes. Open shelving is a commitment to tidiness, but the payoff is a coffee bar that looks styled every day.
9. A Coffee Bar in a Closet
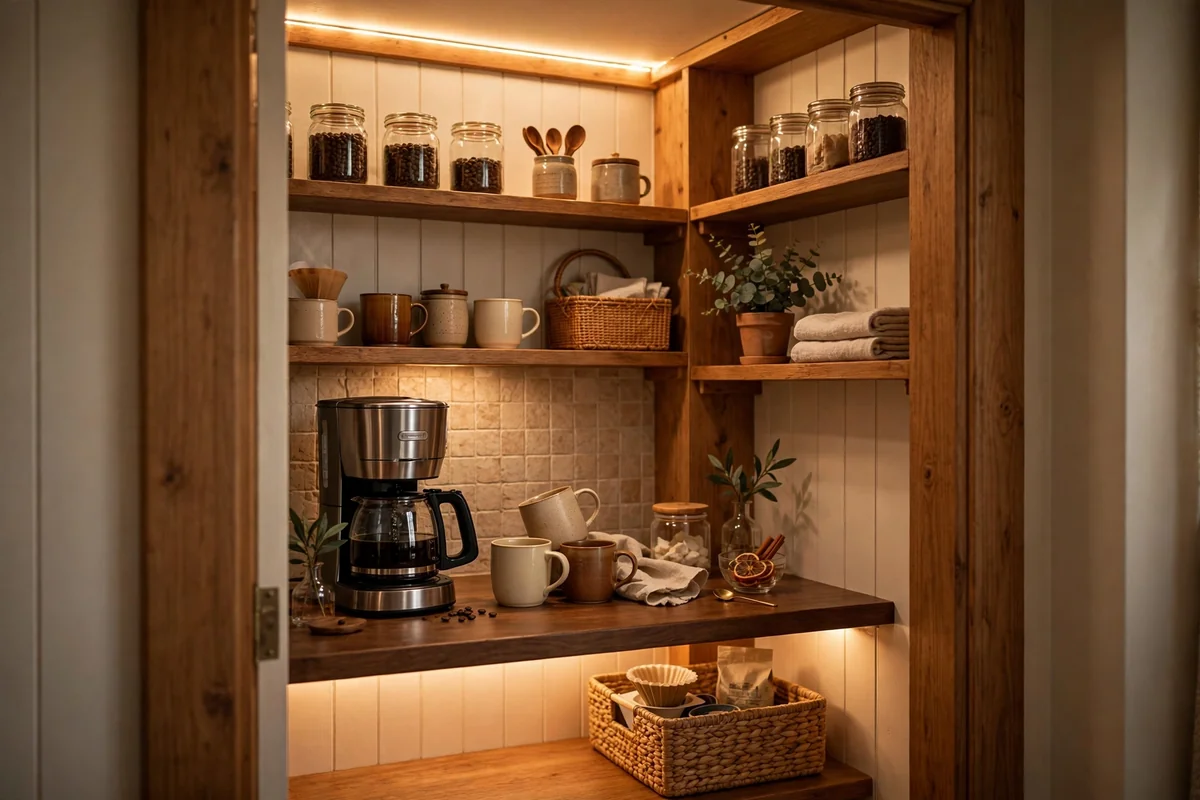
A spare closet, pantry or under-stair nook can become a hidden coffee bar. Remove the doors or replace them with curtains, install a countertop at 36 inches across the closet width, add shelves above, and wire an outlet inside. When closed, the coffee mess vanishes completely. A standard 24-inch-deep reach-in closet fits most machines with room to spare.
Ventilation and light matter in enclosed spaces: add a battery or wired puck light, and leave the doors open while brewing to release steam. Check that the closet is near plumbing if you want a water line, though most setups just use a filled reservoir. Paint the interior a fun color or add wallpaper for a delightful surprise when opened. This is perfect for keeping a minimalist kitchen visually clean while still having a fully stocked bar steps away.
10. A Vintage Hutch Conversion
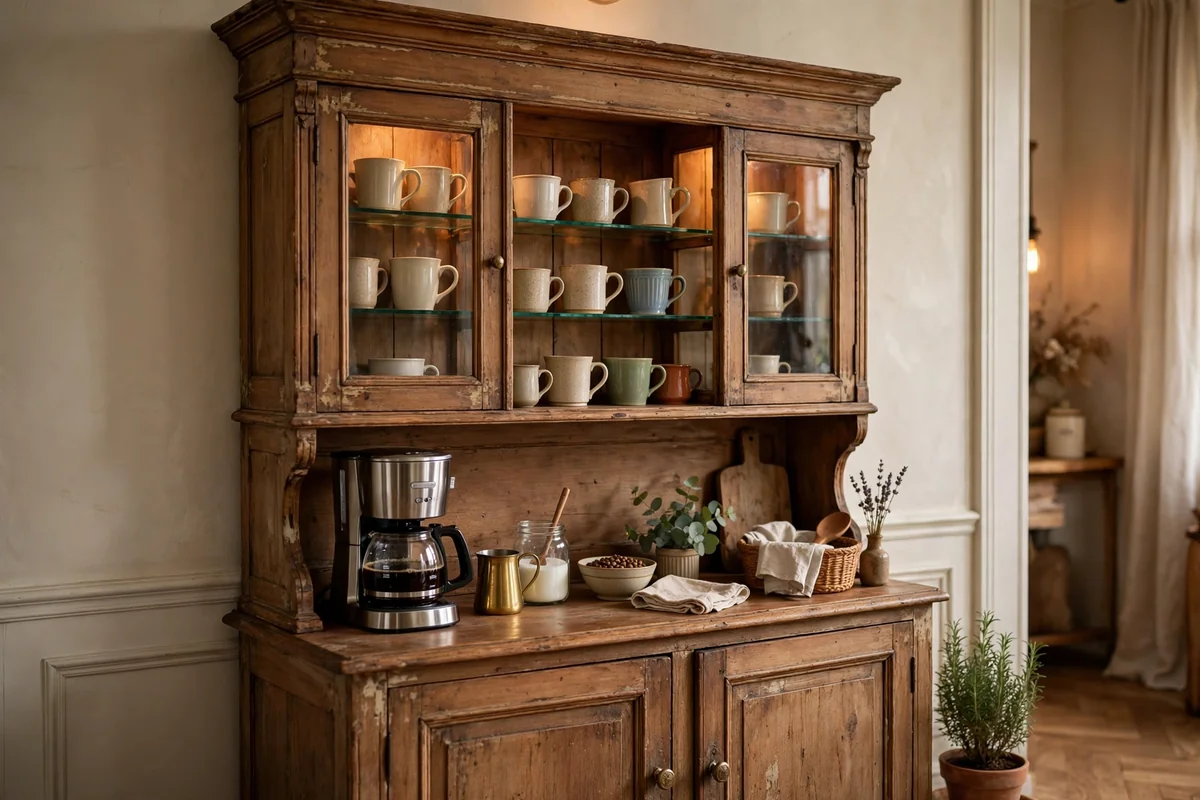
A vintage hutch gives you a coffee bar with old-world charm and tons of storage. The lower cabinets hide bulk supplies, the counter surface holds the machine, and the upper hutch displays mugs and pretty canisters behind glass or on open shelves. Thrifted hutches run $50 to $150 and refinish beautifully with paint and new hardware.
Measure your machine against the hutch’s counter depth and the clearance to the upper section; you need at least 18 inches of vertical space above the machine for steam. Paint the interior a contrasting color for a custom look, and add battery-powered LED strips under the hutch top for lighting. Anchor the hutch to the wall, since it is top-heavy once loaded. A hutch coffee bar becomes a furniture statement, so style it thoughtfully: it is the first thing guests notice.
11. A Pallet Wood Backdrop
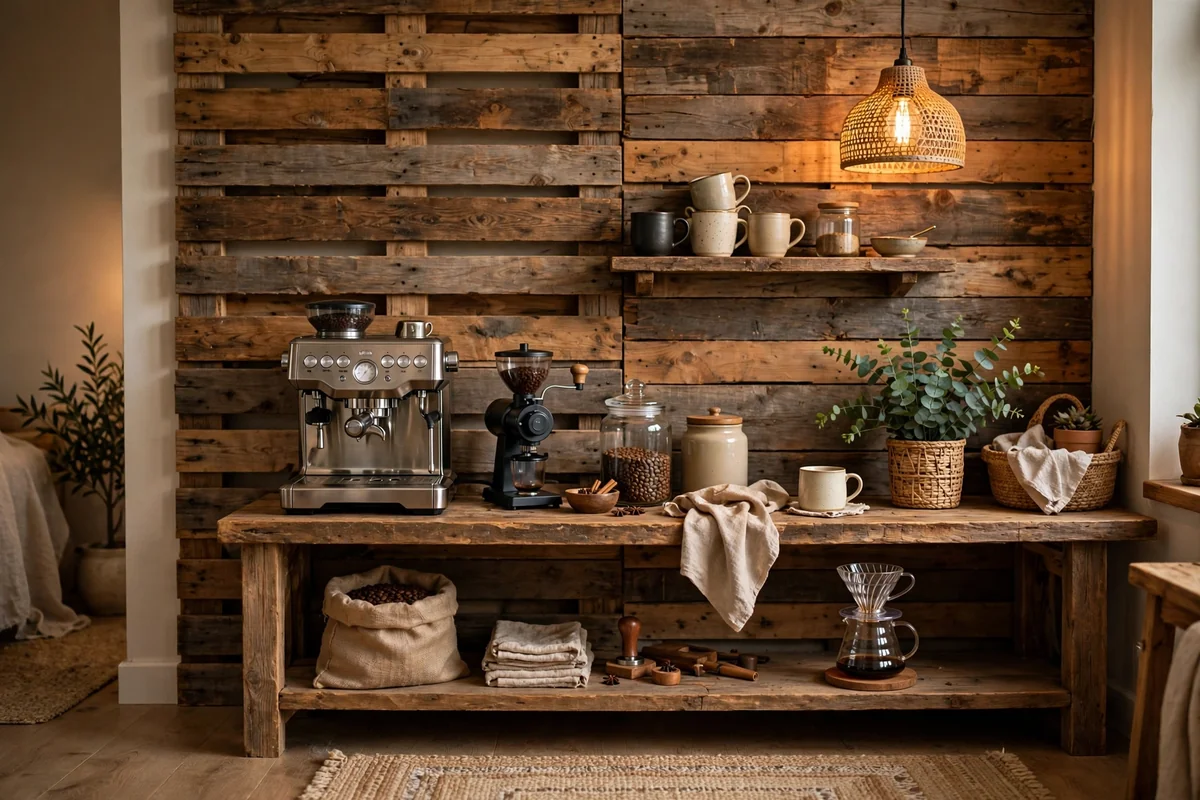
A pallet wood accent wall behind your coffee bar adds rustic texture for almost no money. Disassemble clean pallets, sand the boards smooth, and attach them to the wall with construction adhesive and brad nails in a horizontal or herringbone pattern. Cover just the coffee zone, a 4 by 6 foot section, rather than a whole wall, for a focused feature.
Use only heat-treated pallets marked HT, never chemically treated MB pallets, since this is a food-adjacent area. Sand thoroughly to prevent splinters and seal with a clear matte polyurethane for wipeability. The wood’s varied tones look great with black metal shelves and white ceramics. Keep the wood away from direct steam by leaving clearance above the machine. This weekend project costs $20 to $50 in materials and transforms a plain corner into a cozy cafe nook.
12. A Chalkboard Menu Wall
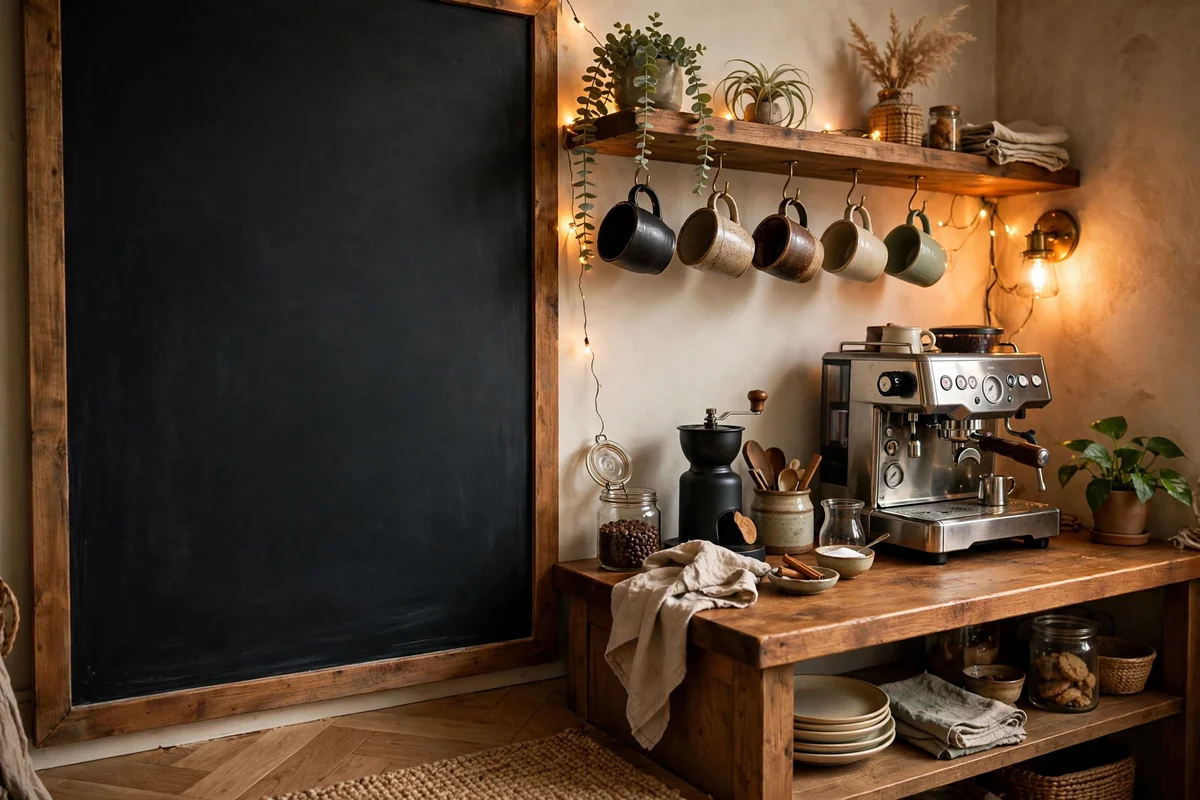
A chalkboard menu wall gives your coffee bar cafe personality. Paint a section of wall with chalkboard paint, frame it with molding for a finished look, and write your household’s drink menu, a seasonal special, or a morning quote. Chalkboard paint needs two to three coats and a full cure before writing; season the surface by rubbing chalk over it and erasing before first use.
Keep chalk dust away from the machine by placing the board to the side rather than directly above brewing. Liquid chalk markers give cleaner lines than traditional chalk and wipe off with a damp cloth. Change the menu seasonally for fun: pumpkin spice in fall, peppermint in winter. For renters, a framed chalkboard hung on the wall gives the same effect without paint. It is a small touch that makes the coffee bar feel like a destination.
13. Smart Mug Storage
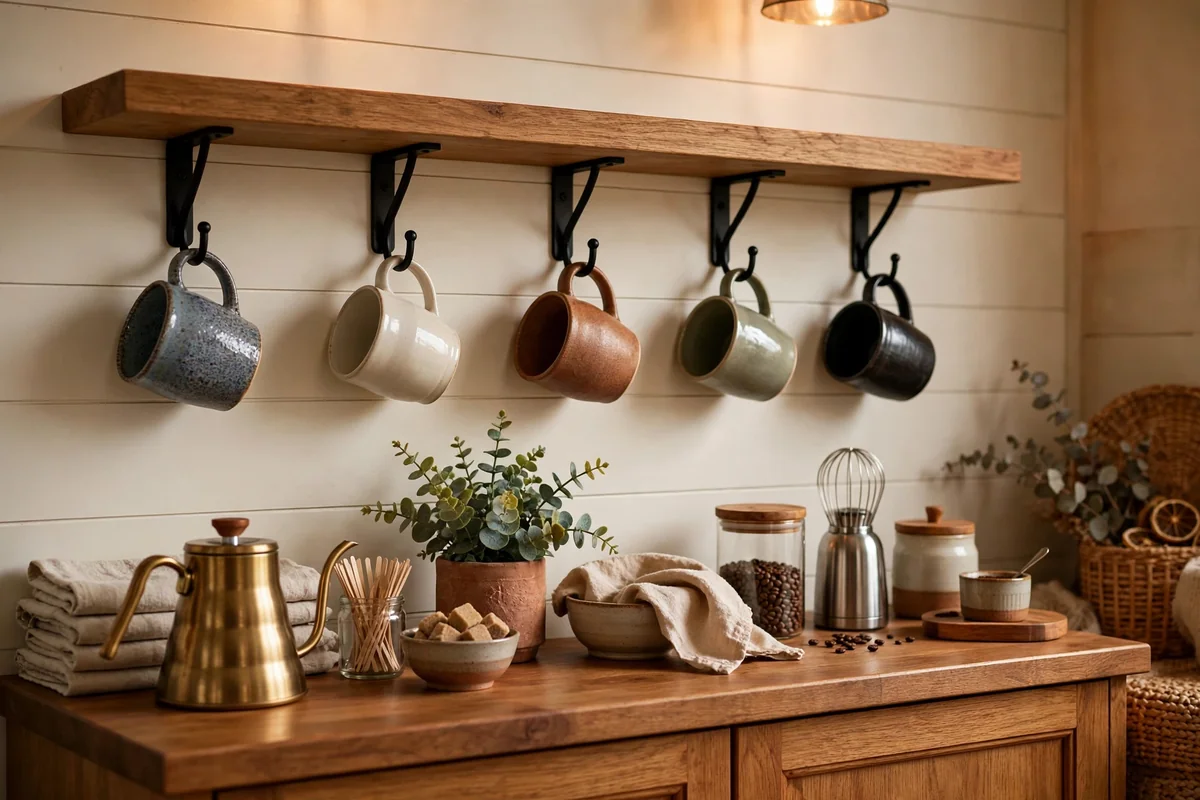
Mugs multiply, so give them a proper home. Wall-mounted hooks under a shelf keep daily mugs visible and reachable; S-hooks on a rail offer flexibility. For larger collections, a dedicated mug shelf with 12-inch spacing or a small mug tree on the counter works. Limit the active collection to what fits the storage; box up the overflow and rotate seasonally.
Hang mugs by their handles on sturdy hooks rated for at least 5 pounds each, spacing hooks 4 inches apart so mugs do not clink. Keep everyday mugs at hand level and decorative ones higher. A common mistake is storing mugs above the machine where steam warps them over time; give steam clearance. Curate ruthlessly: a dozen beautiful mugs you love beat thirty random ones. Good mug storage keeps the counter clear and the mornings smooth.
14. Under-Cabinet Lighting
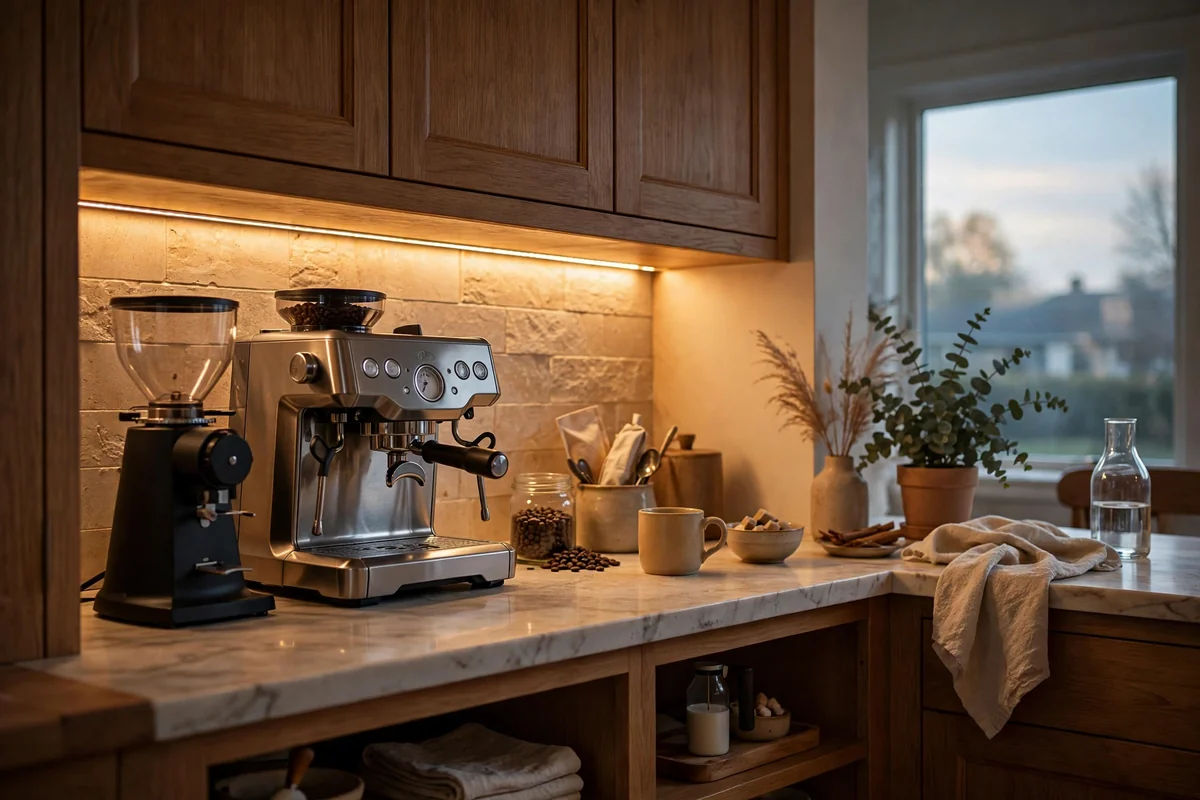
Under-cabinet lighting transforms a coffee bar from functional to inviting. Battery-powered LED puck lights or adhesive strip lights under shelves cast a warm glow on the machine and mugs, making 6 a.m. brewing feel pleasant instead of stark. Choose warm white around 2700K to 3000K; cool white looks clinical. Dimmable strips let you set the mood.
Install strips toward the front of the shelf underside so light washes down the wall rather than glaring into eyes. Battery lights need recharging every few weeks with daily use; plug-in strips with a discreet cord are more reliable if an outlet is nearby. Motion-sensor pucks are a nice touch, lighting up as you approach. Keep lights away from direct steam, which shortens LED life. For $20 to $40, this is the highest-impact upgrade per dollar.
15. Coffee Pod Organization
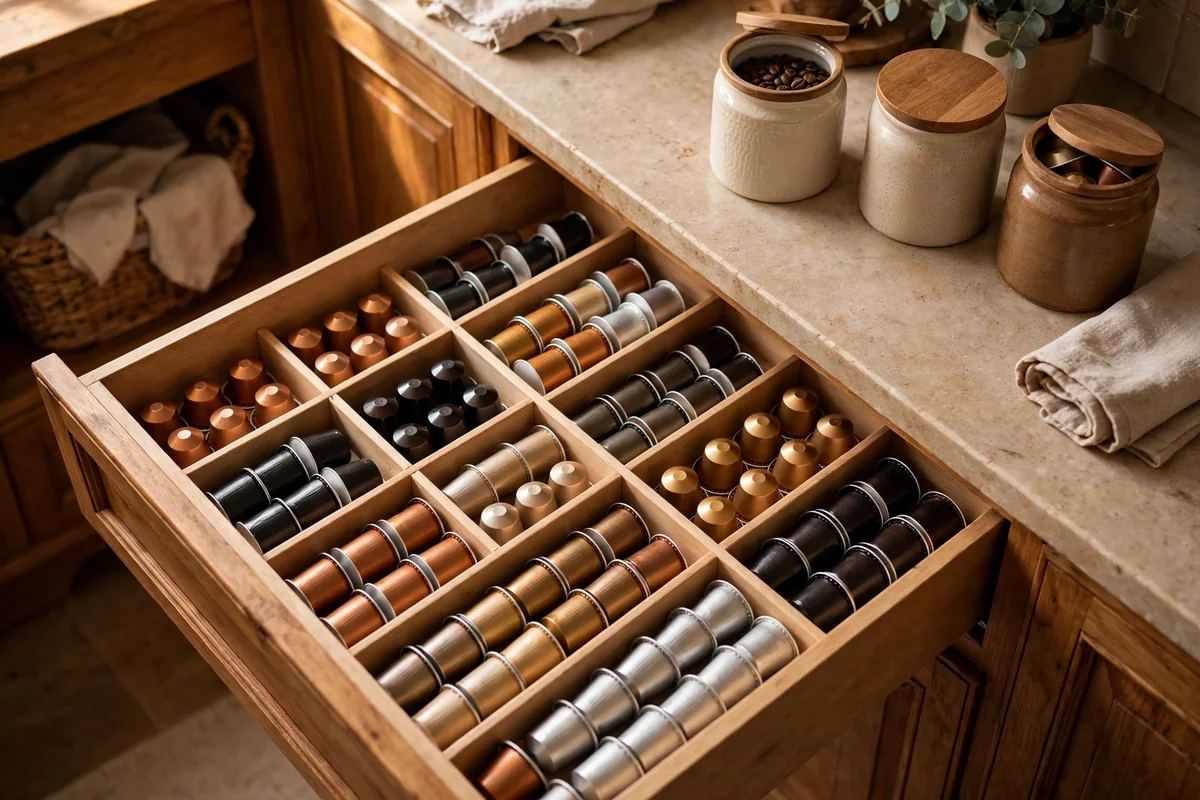
Pods need a system or they take over. Drawer organizers with adjustable dividers sort pods by type; a lidded canister on the counter holds the week’s selection; a wall-mounted pod holder frees the counter entirely. Count your household’s weekly pod use and size storage accordingly; most families need space for 30 to 50 pods.
Keep pods away from heat and sunlight, which degrade flavor. A drawer near the machine is ideal: open, grab, brew. Label dividers if multiple people use different roasts. For sustainability, add a small bin for used pods if your brand recycles them. Avoid the giant countertop pod carousels unless you truly use that many varieties; they eat precious surface. A tidy pod system is the difference between a coffee bar and a coffee mess.
16. A Syrup and Flavor Station
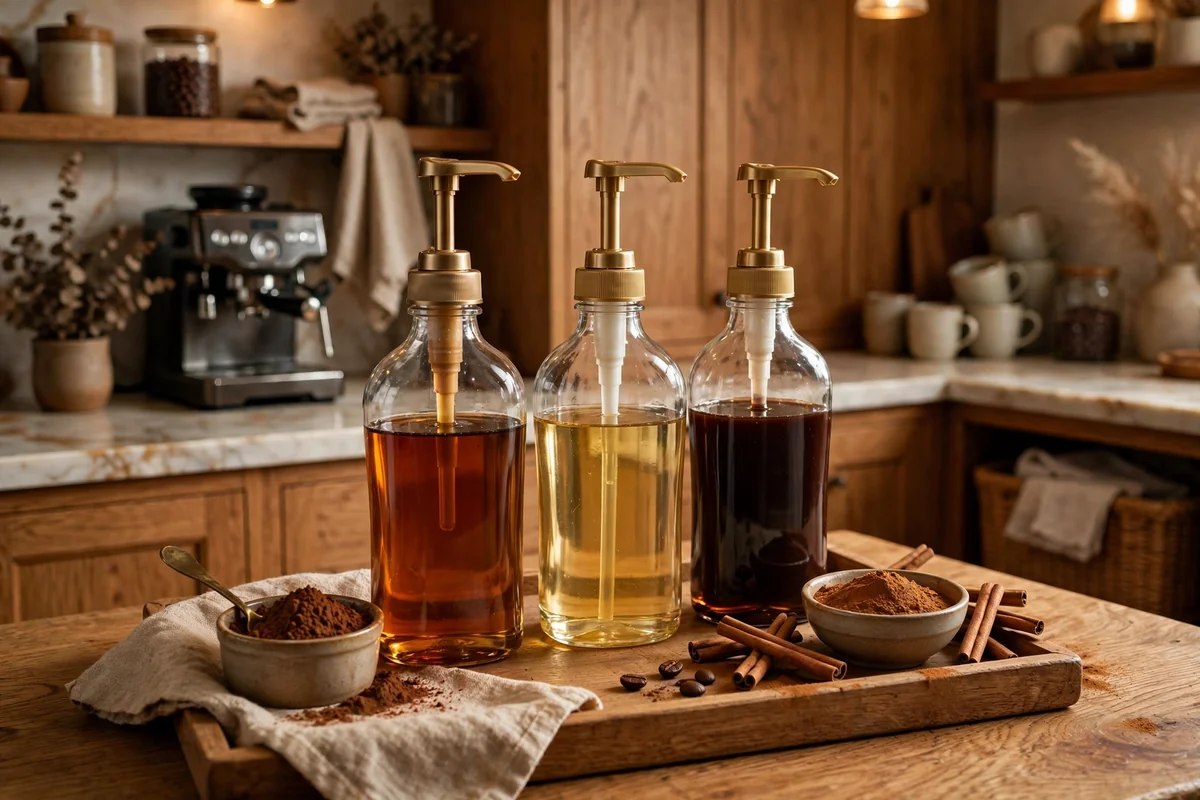
A syrup station turns a coffee bar into a cafe. Arrange two to four favorite syrups in matching pump bottles on a small tray or a tiered stand, alongside cinnamon, cocoa and vanilla. Pump bottles, about $3 each, give clean portions and look far tidier than original bottles. Keep the selection small; six syrups gather dust while three get used daily.
Store syrups away from the machine’s heat and direct sun to preserve flavor. Label bottles clearly, especially sugar-free versus regular if both are stocked. A small tray corrals drips and makes the station portable for cleaning. Wipe pump tops weekly to prevent stickiness. This is where personalization shines: a household’s signature drink, labeled on the chalkboard menu, makes the coffee bar feel truly yours.
17. Mini Fridge Integration
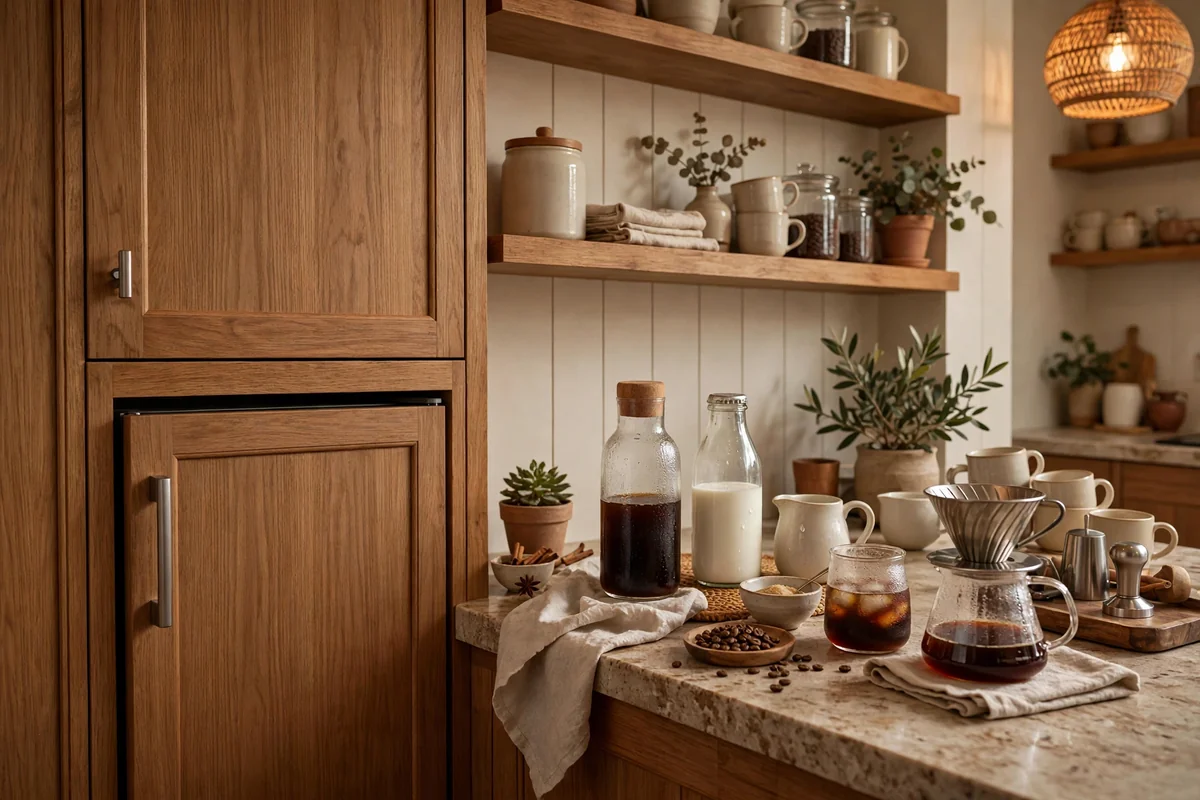
A mini fridge keeps milk, cream and cold brew at arm’s reach. A 1.7 to 3.2 cubic foot fridge fits under most counters or beside a dresser-based bar; measure your space before buying, allowing 2 inches of ventilation clearance on sides and back. Dedicate it to coffee: milk, creamers, cold brew concentrate and chilled mugs, so the main fridge stays uncluttered.
Choose a fridge with adjustable shelves to fit tall creamer bottles. Clean it monthly; milk spills sour fast in a small space. The hum of a mini fridge is noticeable in quiet kitchens, so check noise ratings if yours sits near a bedroom. Energy use is modest, roughly $25 to $40 per year. For iced coffee lovers, a mini fridge elevates the bar from good to complete; no more trekking to the main fridge mid-brew.
18. An Espresso Machine Corner
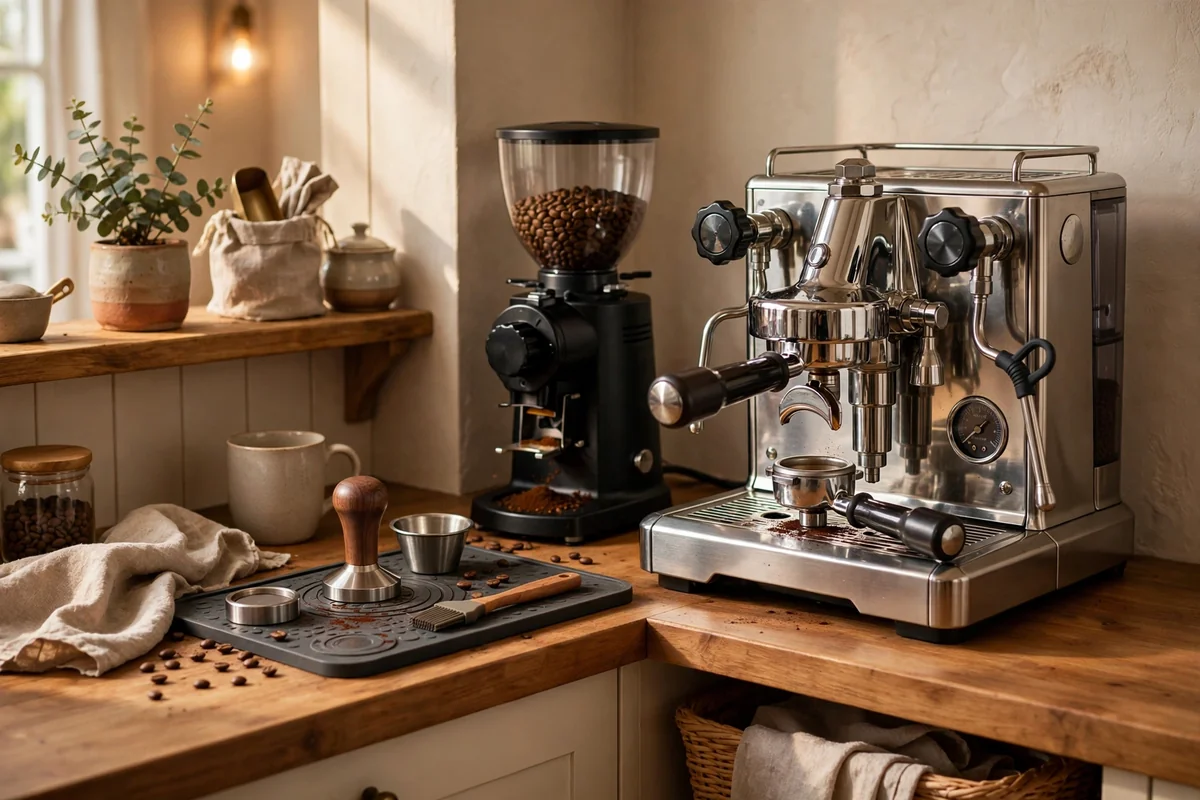
Espresso lovers need a dedicated corner with room to work. Allow at least 24 inches of counter width and 18 inches of depth for the machine, grinder and tamping space, plus overhead clearance for the portafilter. Keep beans in an airtight canister nearby, not in the grinder hopper for days. A small knock box for used pucks and a tamping mat protect the counter.
Espresso machines need descaling every 2 to 3 months; keep descaler with the bar supplies so maintenance actually happens. Place the setup near the sink for easy water filling and rinsing. The learning curve is real, so keep a simple recipe card taped inside a cabinet door until ratios become habit. A dedicated corner respects the ritual; cramming espresso gear among clutter guarantees frustration.
19. A Tea and Coffee Combo Bar
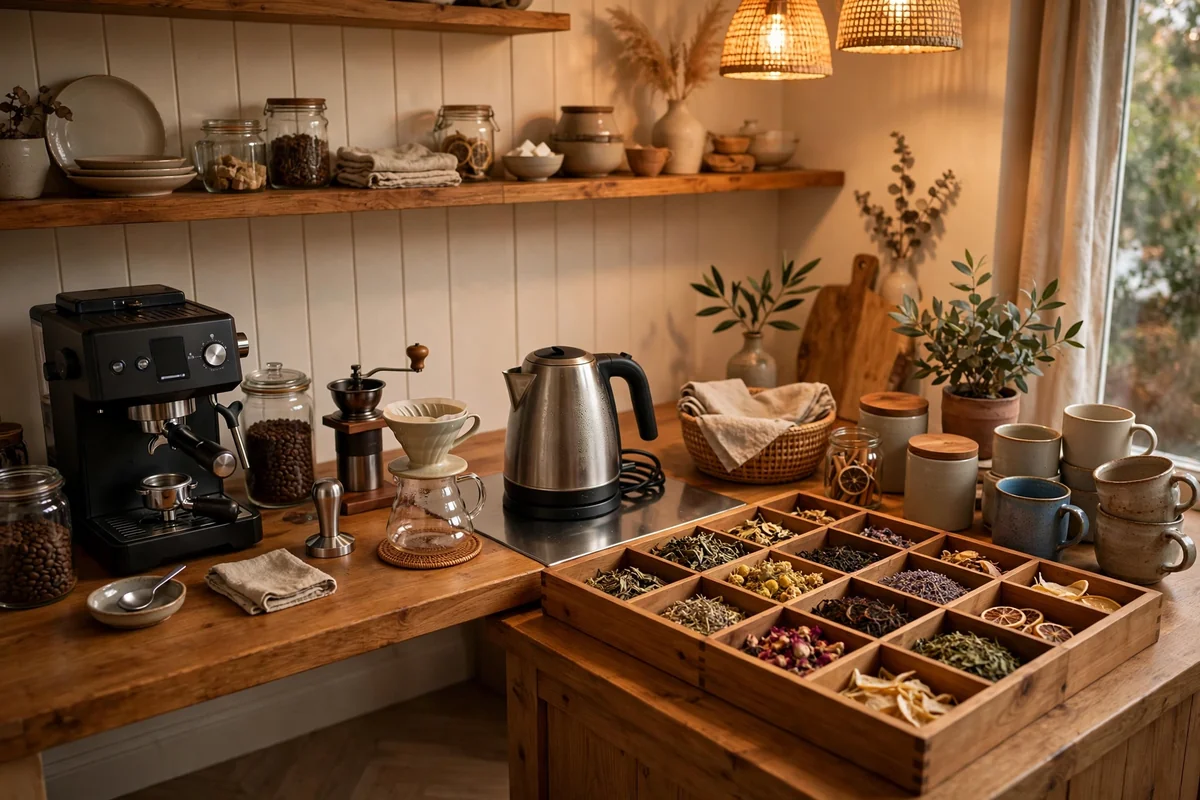
Households split between tea and coffee need a combo bar. Dedicate one side to coffee, machine and pods, and the other to tea: an electric kettle, a tea organizer with divided sections, honey and lemon. A divided tray or two small trays keep the zones visually separate. The kettle needs the same outlet access as the coffee machine, so plan power accordingly.
Store teas away from coffee beans; tea absorbs odors easily. A drawer organizer with sections for black, green, herbal and decaf keeps selection easy. Keep honey in a drip-free dispenser and lemon fresh or as bottled juice. This setup ends the era of the kettle hiding behind the cereal boxes. Both rituals get their dignity, and guests always find something they like.
20. A Complete Setup Under $100
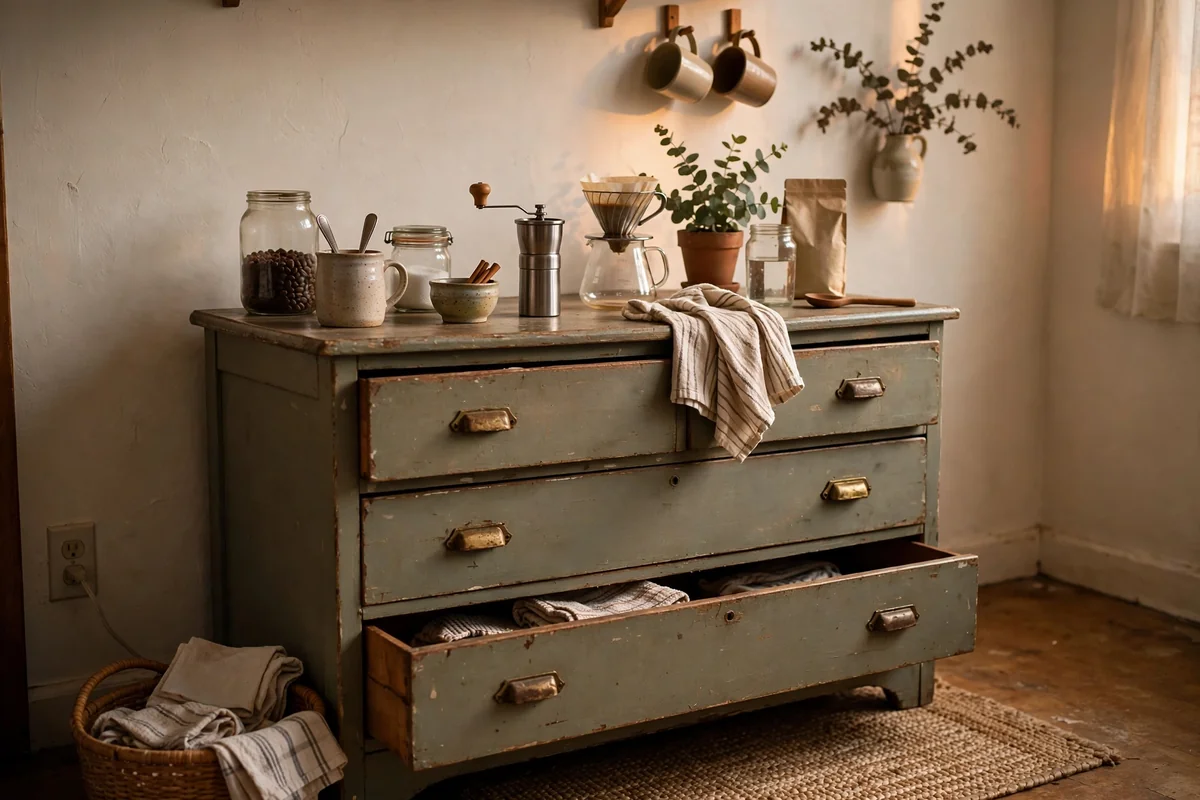
A complete coffee bar for under $100 is absolutely doable with smart sourcing. Thrift a small dresser or cart ($30 to $50), add adhesive LED strip lights ($15), a set of S-hooks and a rail for mugs ($12), a bamboo tray ($10), and chalkboard labels for canisters ($8). Use furniture and mugs you already own; the budget goes to organization and lighting, which make the biggest visual difference.
Shop your home first: a spare bookshelf, a tray from another room, jars from the pantry. Paint unifies mismatched thrift finds; one quart of cabinet paint covers a small dresser. Skip the fancy machine upgrade for now; a well-organized bar with your current brewer beats a premium machine on a cluttered counter. The secret of budget builds is cohesion: a tight color palette and consistent containers make $100 look like $500.
Conclusion
A home coffee bar is one of those projects that pays you back every single morning. Start with the furniture you have, organize ruthlessly, add warm light, and let the setup evolve with your habits. Whether it is a thrifted dresser or a built-in cabinet, the best coffee bar is the one that makes your routine feel easy. Build it this weekend; thank yourself every morning after.
Frequently Asked Questions
What do you need for a home coffee bar?
The basics are a coffee maker, mugs, coffee or pods, sweeteners, spoons and a small tray to group things. Add shelves or a cart for storage, good lighting, and a few decorative touches. Start simple and add pieces as you learn what your routine needs.
Where is the best place for a coffee bar?
Near water and power is ideal, so a kitchen corner, dining room nook or hallway near the kitchen works well. You need an outlet for the machine, enough counter depth for brewing, and space for mugs and supplies within arm’s reach.
How do you organize a small coffee bar?
Go vertical with floating shelves, use drawer organizers for pods and filters, hang mugs on hooks to free counter space, and corral small items on trays. Keep daily items at hand level and occasional items higher up.
How much does a DIY coffee bar cost?
A budget setup using furniture you own can cost under $100 for shelves, hooks, trays and lighting. Mid-range builds with a new cart or dresser plus accessories run $200 to $500. The machine itself is the biggest variable.
How do you keep a coffee bar from looking cluttered?
Give everything a home: pods in a drawer or canister, mugs on hooks, syrups on a small tray. Limit the counter to the machine plus one tray of daily items, and store the rest behind closed doors or on shelves.