Living Room
20 Entryway Gallery Wall Ideas That Make Coming Home Lovely
By Anna Wells · · 21 min read
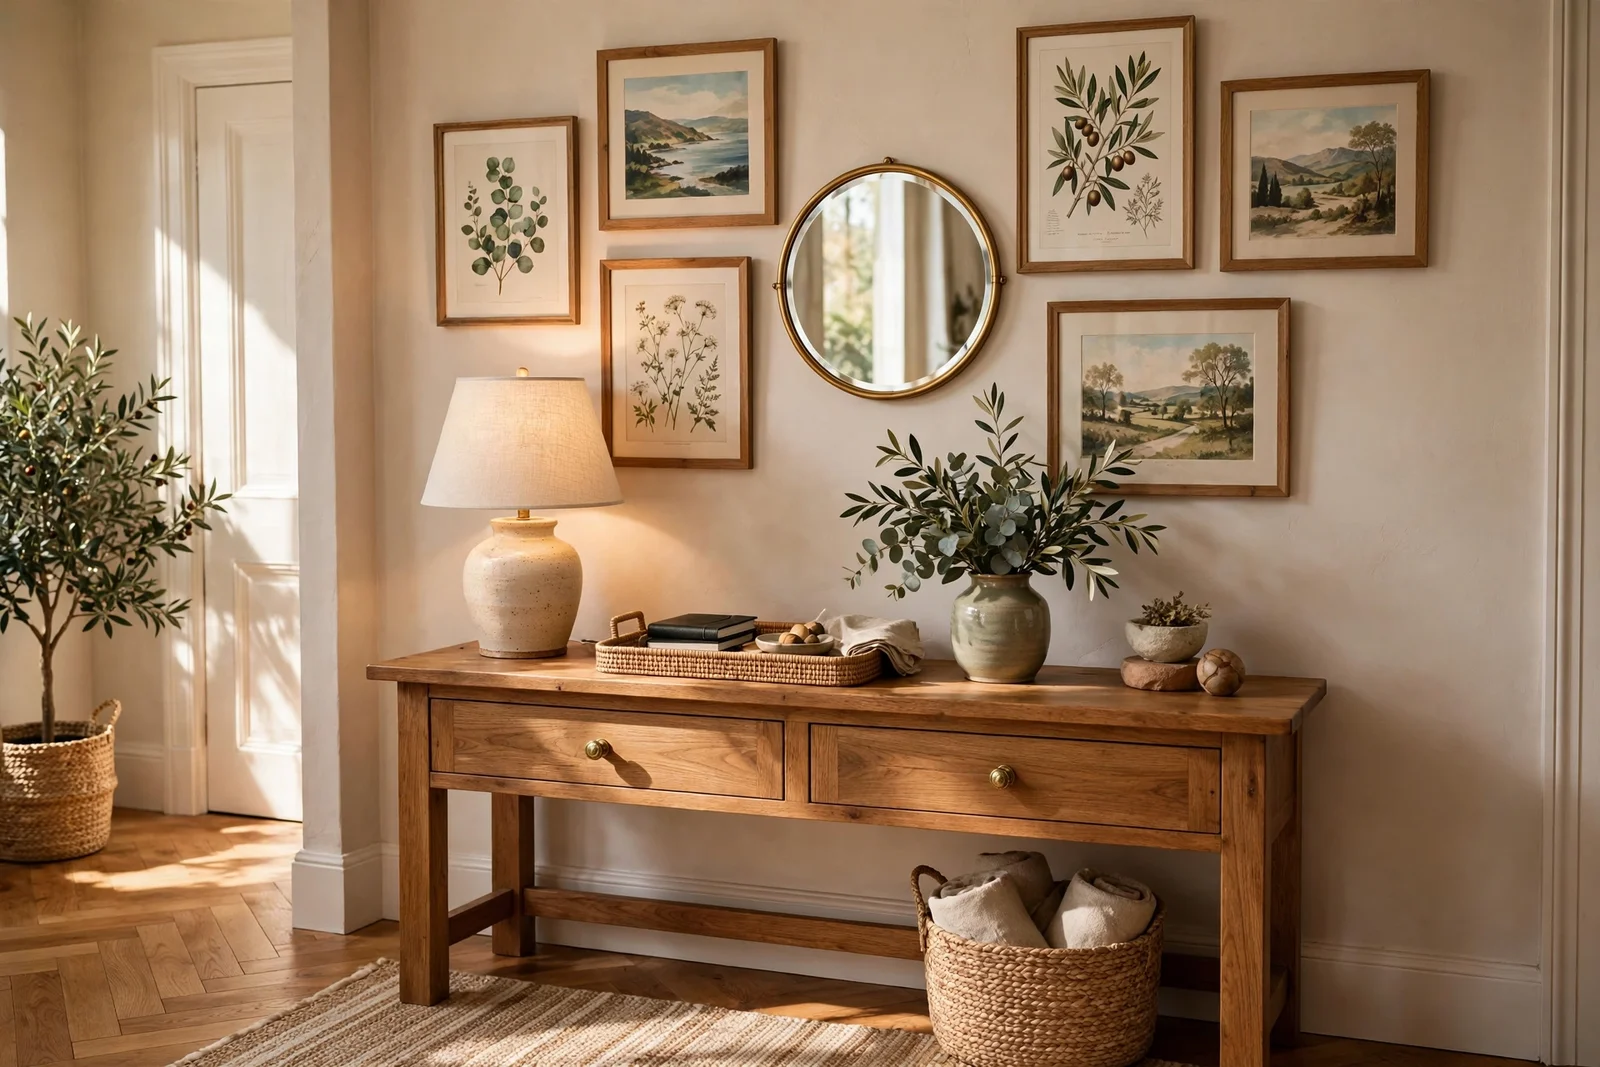
Twenty concrete gallery wall ideas for entries and halls, with layout templates, hanging heights, spacing rules and renter friendly mounting, all built around prints, botanicals, mirrors and woven pieces.
The front door clicks shut and the noise of the street falls away. Coats drop onto hooks, keys land in a small ceramic dish, and the house seems to exhale. An entryway does far more than hold shoes and post; it sets the emotional temperature of everything beyond it. A thoughtful gallery wall above the console turns that first step inside into a quiet welcome, and it costs far less than a furniture overhaul.
A gallery wall works in an entryway because it fills the vertical space most halls leave bare. Instead of one lonely picture, you build a composition of art prints, botanical plates, calm landscapes and a single mirror that catches the light. Kept to prints, botanicals, mirrors and woven pieces, with never a photograph of a person, the wall stays serene and family friendly, a backdrop rather than a display of faces.
This collection gives you twenty concrete ideas, from the classic nine piece grid to the single ledge you can rearrange in minutes. You will find layout templates with real measurements, hanging heights that account for the console beneath, renter friendly mounting options rated by weight, and stairwell tricks for entries that climb. Every idea includes quantities, materials and budget guidance so you can start this weekend.
Begin by clearing the console and looking at the wall with fresh eyes. Measure its width, note where the light falls in the morning and evening, and decide which of the twenty ideas below suits your space. The first small step is the paper template trick in idea eight, and it prevents nearly every hanging mistake.
1. Build a Classic Nine Piece Grid Above the Console
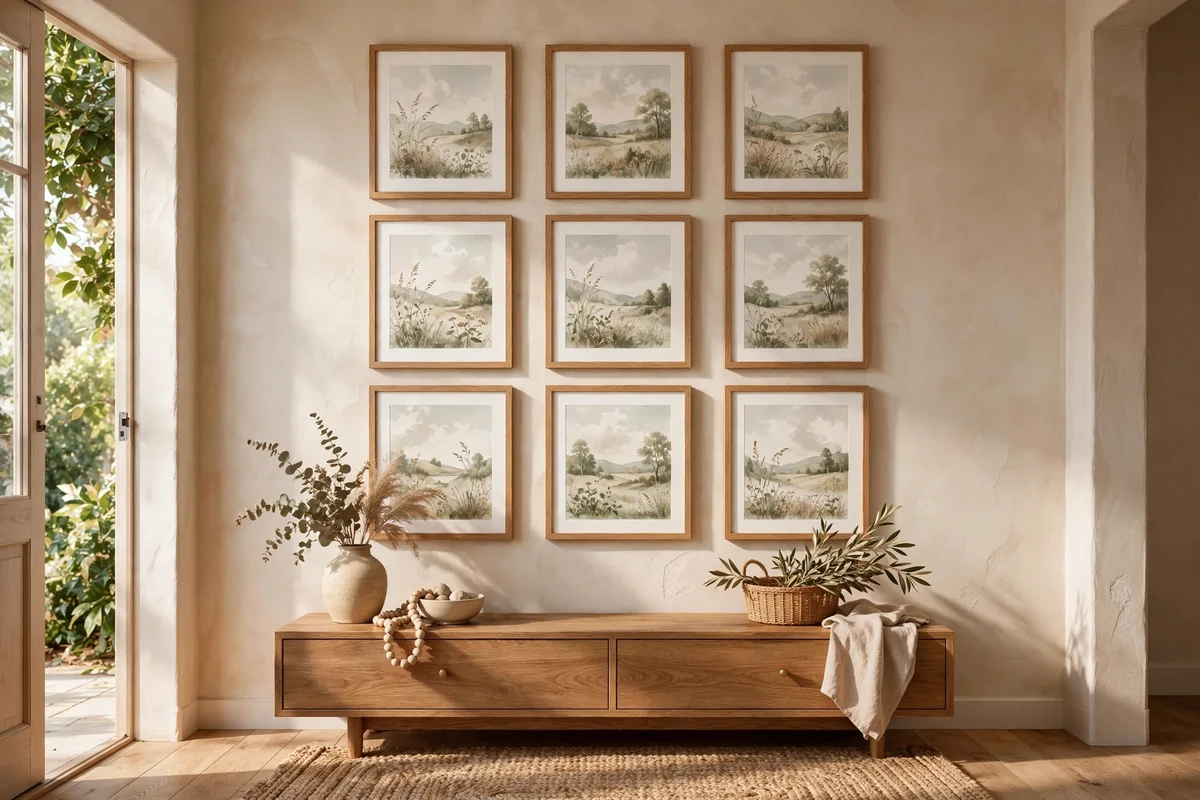
A nine piece grid is the most forgiving gallery layout for a first attempt. Use nine identical frames, each 25 by 30 cm or 8 by 10 inches, hung in three neat rows over a console between 100 and 140 cm wide. Keep gaps of 5 to 6 cm between every frame so the grid reads as one calm rectangle rather than nine separate pictures. Measure the total span and centre it on the console, leaving the middle column exactly over the console midpoint.
Fill the grid with art prints, botanical plates and calm landscapes in a shared palette of cream, sage and soft brown so the repetition feels intentional. One small round mirror can replace the centre frame to bounce light, and a single woven piece adds texture among the glass. The mistake to avoid is mixing frame styles; even slight differences in white and black frames shatter the grid effect. Budget tip: nine identical frames from a discount store often cost less than 45 pounds or dollars.
2. Let a Salon Style Cluster Wander Across the Wall
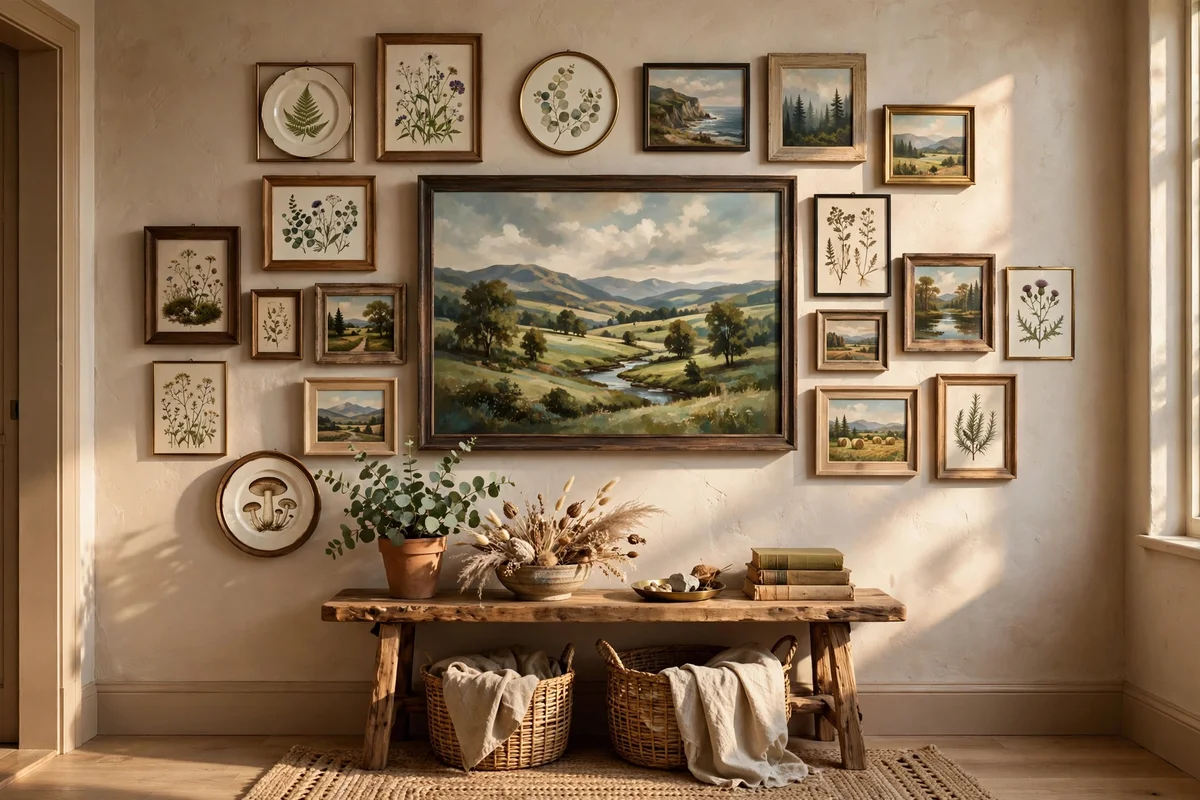
A salon hang suits wide entry walls where a grid would feel rigid. Start with one anchor piece, around 40 by 50 cm, hung with its centre at 145 cm from the floor, then build outward with smaller pieces from 15 to 30 cm across. Keep outer edges roughly following an invisible rectangle so the cluster feels composed rather than scattered. Plan on a wall area about 150 cm wide and 120 cm tall, and leave 6 to 10 cm between frames so each piece keeps its breathing room.
Mix art prints, botanical plates and landscapes with one small mirror placed high where it catches ceiling light. Add a woven round piece near the bottom edge to soften the arrangement against hard frames. Trace each frame on paper and tape the shapes to the wall first, stepping back to check the balance from the doorway. The common mistake is starting from the edges inward; always begin at the anchor. A salon wall can be built gradually, adding one or two charity shop frames each month.
3. Run a Single Picture Ledge for Rotating Seasonal Art
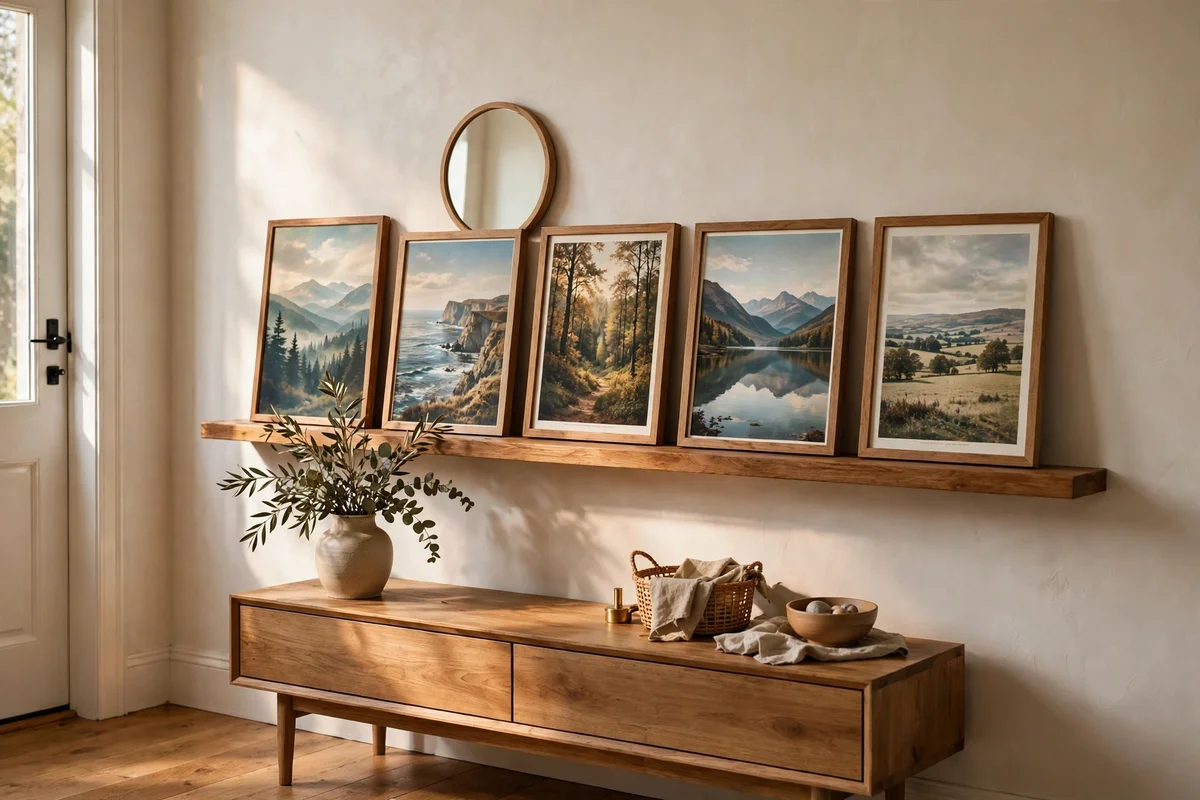
A picture ledge is the simplest gallery for renters and for anyone who likes change. Fix one shelf style ledge, 120 to 180 cm long and 8 to 10 cm deep, at about 150 cm from the floor above the console. Lean five to seven frames against the wall on it, mixing heights from 20 to 40 cm so the skyline varies gently. A small lip on the ledge front keeps frames from sliding, and two sturdy brackets hold the whole row safely.
Style the ledge with landscape prints, botanical plates and one leaning mirror, leaving small gaps of 3 to 5 cm between frames. Overlap the smallest frames slightly in front of larger ones for depth. Swap one or two pieces with the seasons: a snowy landscape in winter, pressed flower prints in spring. The mistake to avoid is overfilling; the back row should never hide the front row completely. A 120 cm pine ledge is a budget project, usually 20 to 35 pounds or dollars with brackets.
4. Unite Mixed Art With One Consistent Frame Family
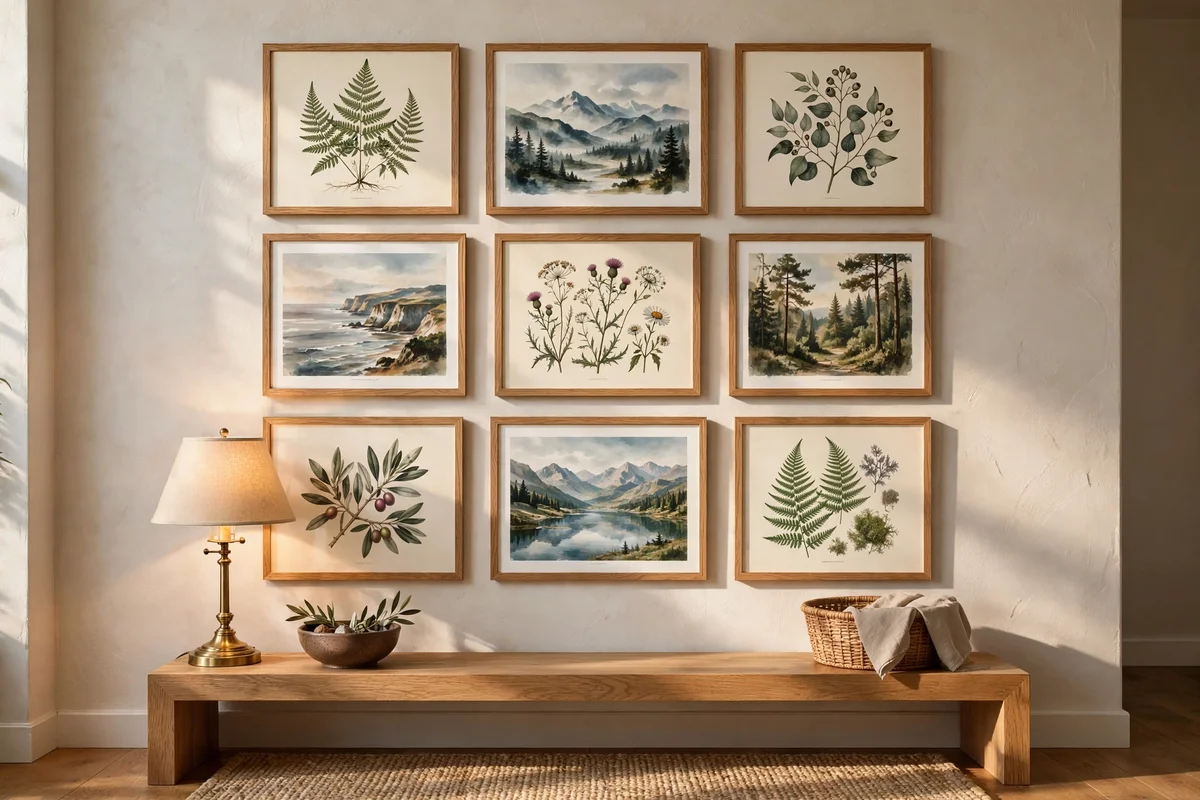
Cohesion comes from the frames, not from matching the art. Choose one frame family, for example slim oak frames 2 cm wide, and use it for every print, botanical plate and landscape on the wall. Sizes can vary freely from 20 by 25 cm up to 40 by 50 cm, since the shared wood tone ties them together. Within that family, repeat one metal: brass clips, brass hanging wire, or a slim brass frame for a single accent piece.
The repeated metal appears three to five times across the wall: on the picture light, the console lamp base, a brass bowl on the console, and one frame. Any more than five repeats and the metal stops being an accent and becomes a theme. Keep glass consistent too, all clear or all non reflective, so light behaves the same across pieces. The mistake to avoid is introducing a second metal by accident through cheap wire or screws; swap them for brass to keep the family intact.
5. Hang a Row of Botanical Plates in Matching Oak Frames
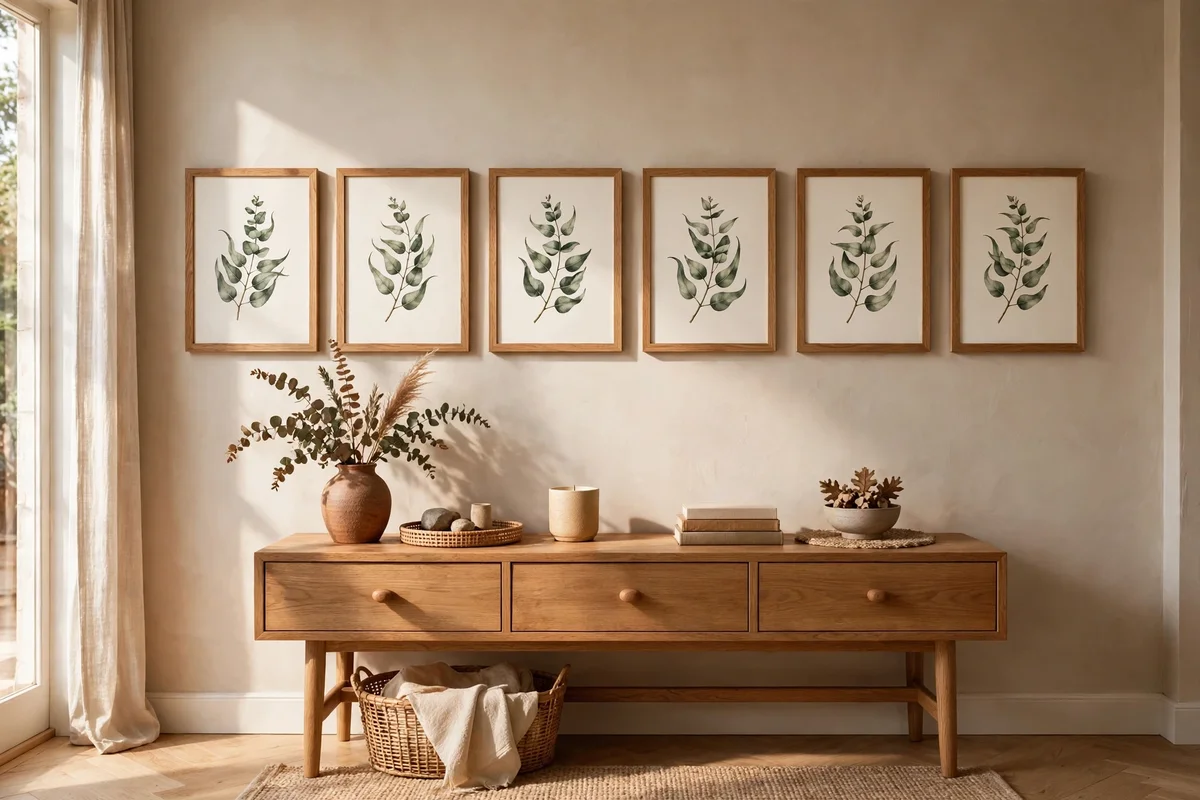
Botanical plates bring a calm, old world charm that suits entryways perfectly. Choose a set of four to six prints in identical slim oak frames, each 20 by 25 cm, and hang them in a single horizontal row above the console. Space them 6 to 8 cm apart and keep the row centre at 145 cm from the floor. A row works best when the total width matches the console below within 10 cm either side, so measure both before hanging.
Look for prints of leaves, herbs and grasses in muted greens and soft browns, avoiding bright tropical colours that fight the calm palette. Charity shops and print on demand sellers offer sets of six for 15 to 30 pounds or dollars. Use identical mounts, all cream or all white, cut to the same size so the row feels tailored. The mistake to avoid is hanging the row too high; if it clears the console by more than 25 cm, the composition splits into two disconnected lines.
6. Group Three Landscape Prints for a Window of Calm
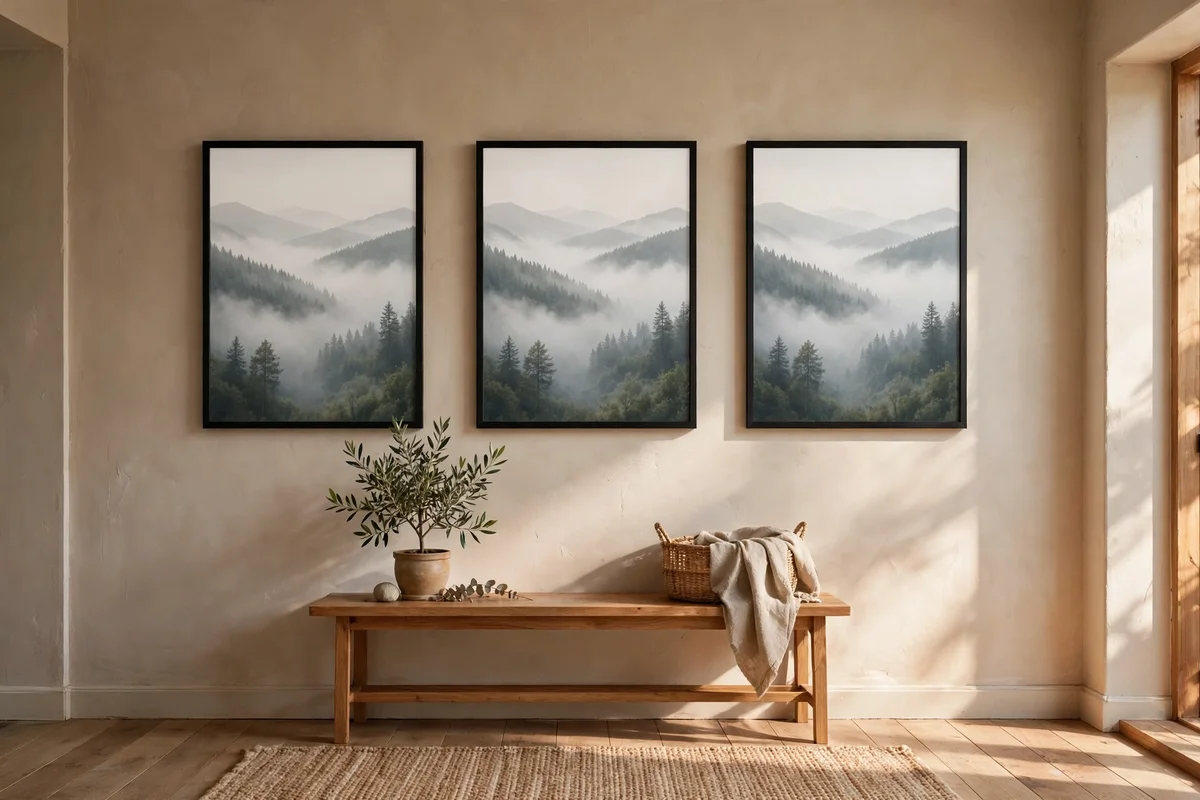
Three landscape prints side by side read like a window onto somewhere quiet. Choose three prints of the same size, 30 by 40 cm works well, in the same slim frame and the same mount colour. Hang them with 6 cm gaps between frames and the centre of the trio at 145 cm from the floor. Pick scenes with similar horizons, for example three coastal skies or three misty hills, so the eye travels smoothly from one to the next.
Landscapes with wide skies and low horizons keep an entryway feeling open rather than busy. Morning light and evening light both flatter muted blues, soft greys and warm creams, so keep the palette limited to three tones across all three prints. Place this trio on the wall opposite the front door so it is the first thing seen on entry. The mistake to avoid is mixing wildly different seasons, since snow beside summer beach scenes breaks the calm the set promises.
7. Add One Round Mirror to Catch and Spread the Light
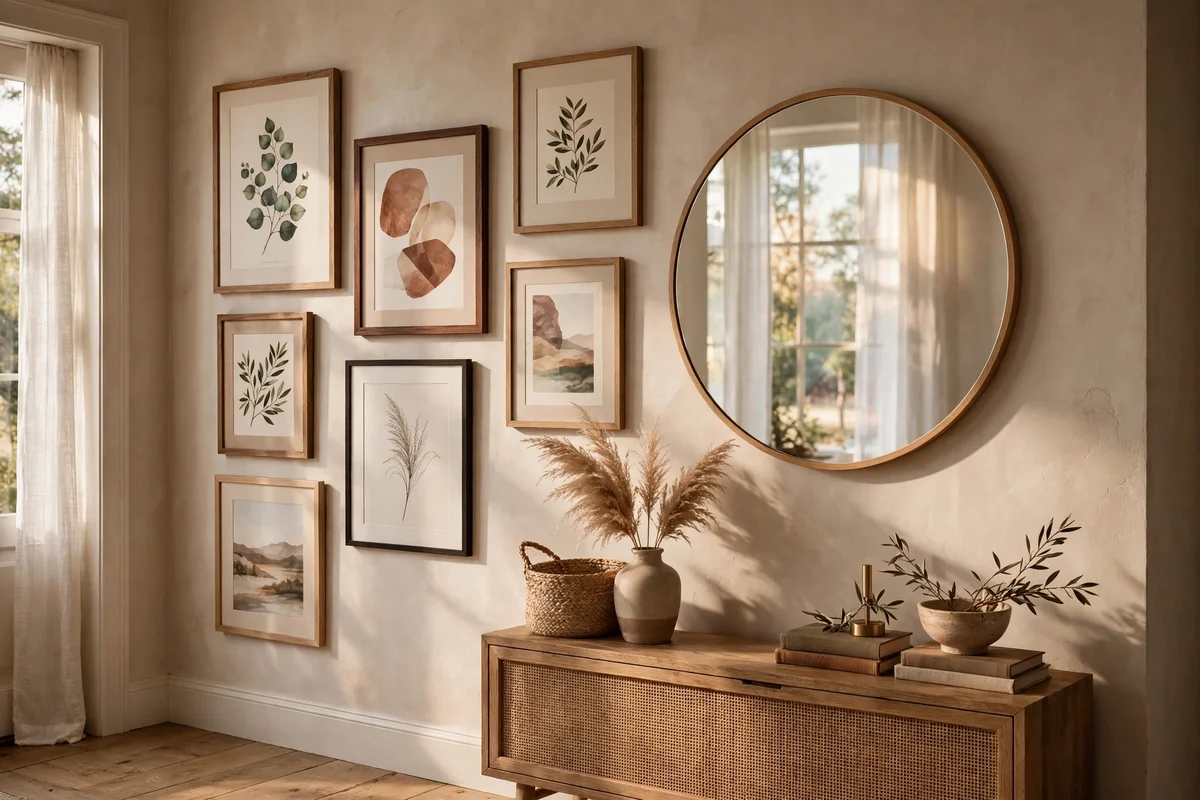
A single mirror among the frames does practical work: it doubles the entryway light and gives the wall a focal point. Choose a round mirror 40 to 50 cm in diameter with a slim frame that matches the gallery family, and place it slightly off centre so the arrangement feels natural. Hang it where it reflects a window or a lamp, never facing the front door directly, since a door reflection simply shows the outside wall.
One mirror is enough; two mirrors in the same gallery bounce reflections against each other and the wall starts to feel restless. Keep the mirror glass plain and flat rather than bevelled for a calmer look. Wipe it with a dry microfibre cloth monthly, since entryway dust settles fast near the door. Budget tip: round mirrors with simple wood frames cost 25 to 40 pounds or dollars new, and charity shops often have them for under 10.
8. Tape Paper Templates Before a Single Nail Goes In
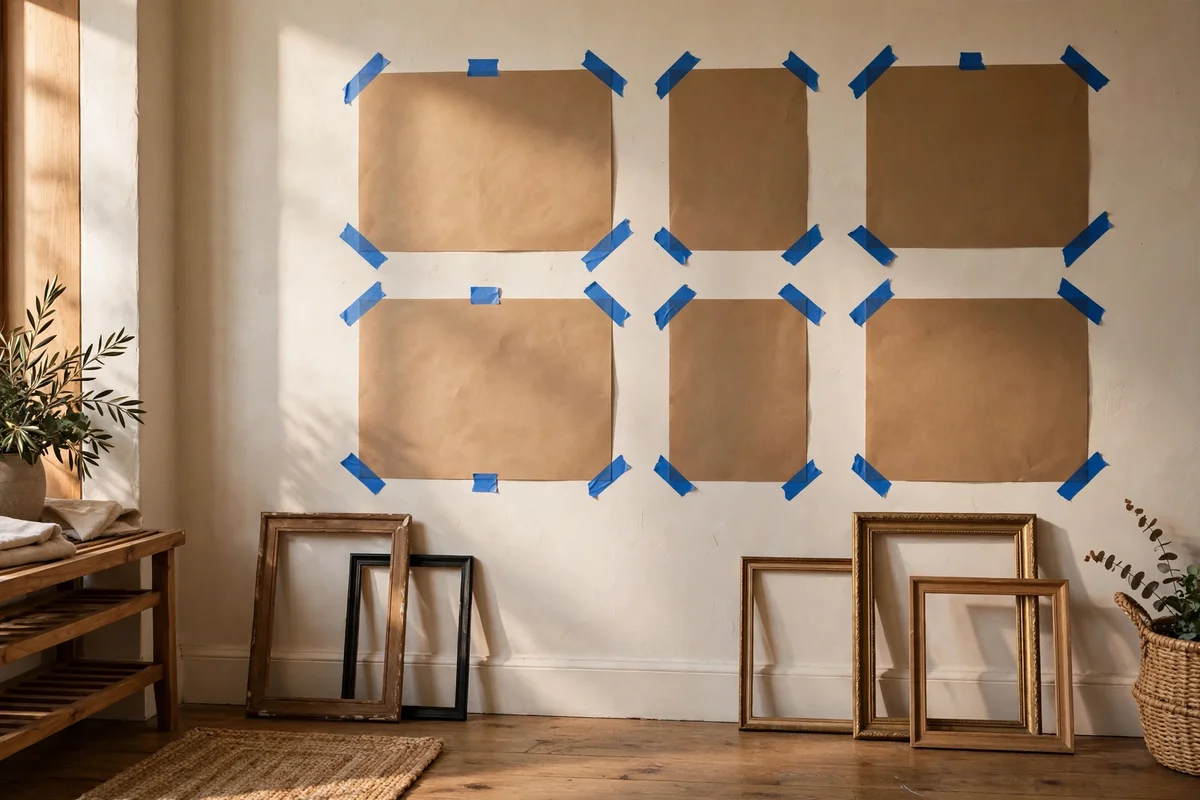
Paper templates are the cheapest insurance against a crooked gallery. Trace every frame onto kraft paper or old newspaper, cut the shapes out, and tape them to the wall with low tack painter tape. Mark the hanging wire position on each template with a small dot so the nail lands exactly right. Step back to the front door and view the arrangement from where guests will see it, adjusting gaps until they look even from three metres away.
Live with the templates for a full day before hanging anything. Morning and evening light change how the shapes read on the wall, and an overnight pause often reveals one frame that sits too high. Number the back of each frame to match its template so hanging day is calm and quick. The mistake to avoid is skipping this step for a small three piece wall; small arrangements show every millimetre of error, so they benefit most from the paper rehearsal.
9. Centre the Gallery at Eye Level With the Console Below
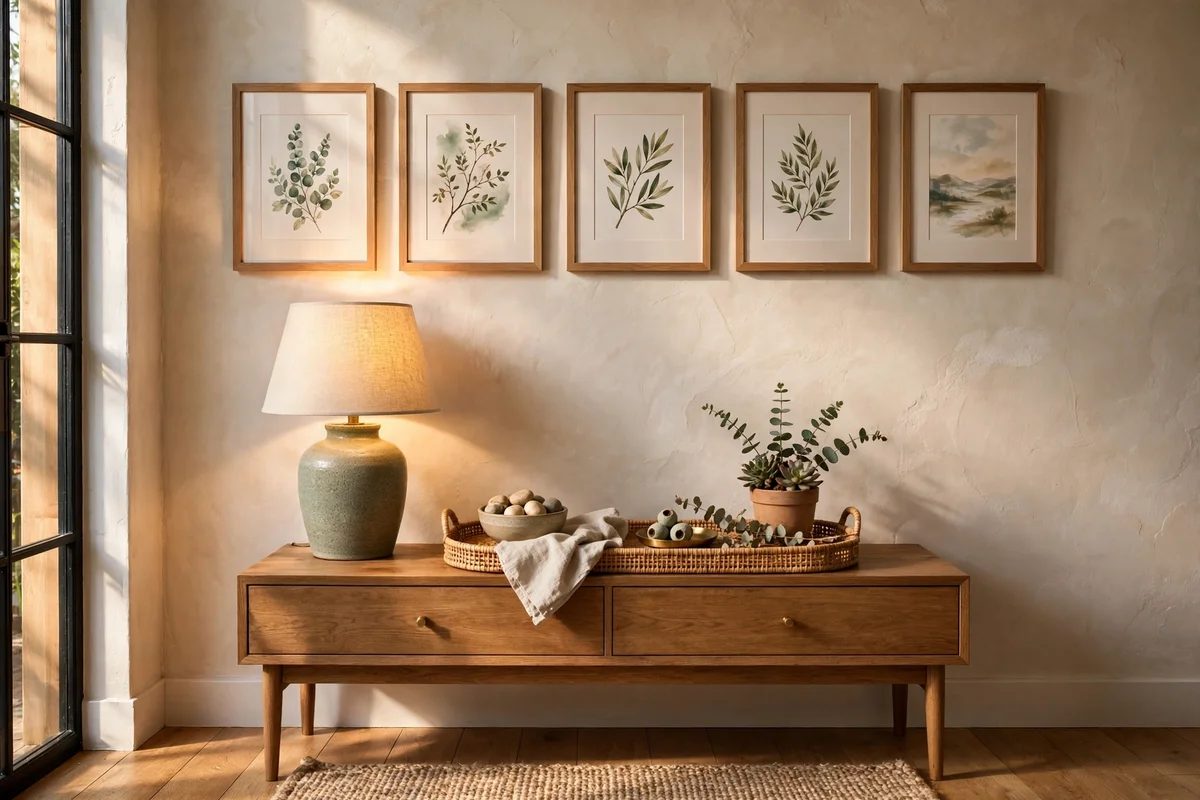
The golden rule of gallery height is a centre line at 145 cm from the floor, roughly average eye level. Measure the full height of your planned arrangement, divide by two, and place that midpoint at 145 cm. When a console sits below, check the gap as well: the bottom of the lowest frame should clear the console top by 15 to 20 cm. That spacing keeps the frames connected to the furniture without crowding the styling beneath.
Tall consoles and thick decor shift the balance, so mock it up with the paper templates from the previous step. If the console top carries a tall lamp or a vase of branches, nudge the lowest frame up by 5 cm to keep clear air between the styling and the art. In halls where people sit on a bench to put on shoes, a slightly lower centre at 140 cm feels more natural. The mistake to avoid is hanging to suit the ceiling; galleries are for the people walking past, not the architecture above.
10. Weave in a Handmade Textile for Softness and Texture
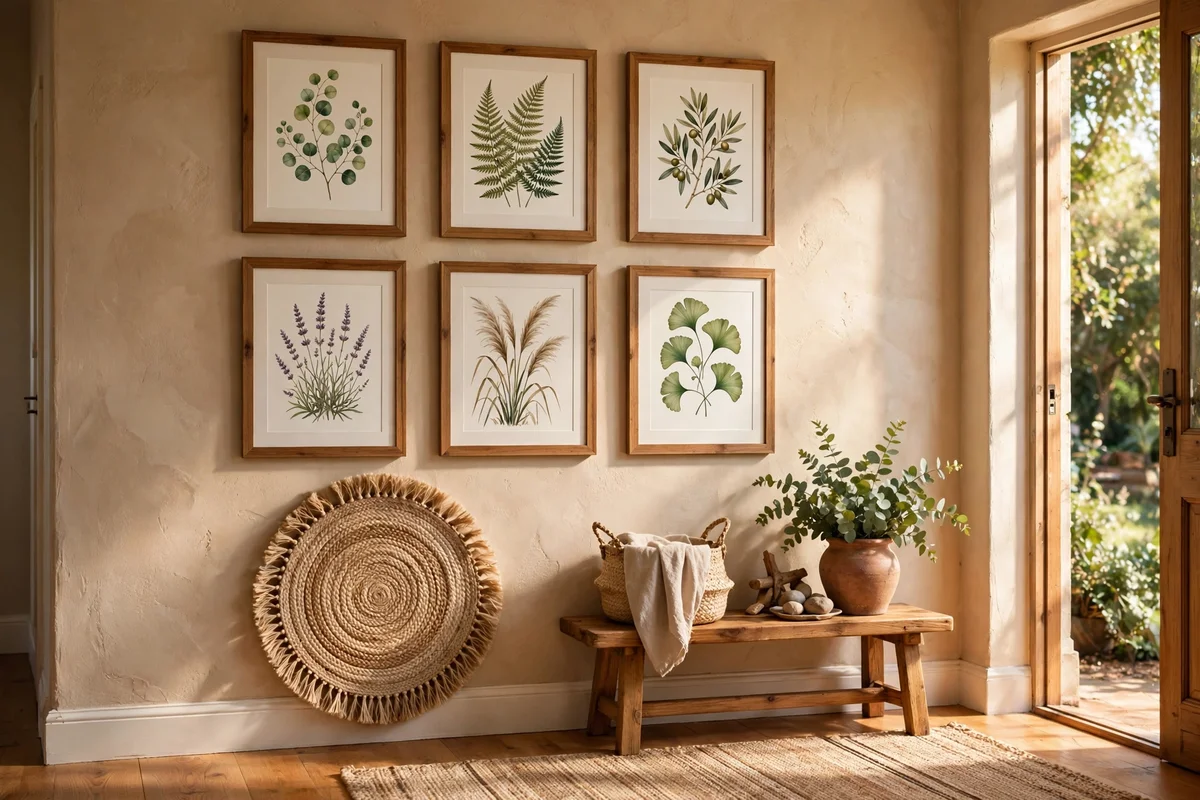
A woven piece among glass and wood keeps a gallery from feeling cold. Choose a small round jute wall hanging, a woven seagrass disc, or a flat tapestry 30 to 40 cm across, and give it the same spacing as the framed art. Hang it with a discreet pin or a slim wooden dowel so it sits nearly flat. Natural fibres in sand, oatmeal and soft brown tones blend with oak frames and botanical prints without competing.
Place the textile toward the lower third of the arrangement, where its texture contrasts with the shine of glass above it. Dust it gently with a soft brush every few months, since fibres near the front door collect dust faster than frames do. Charity shops and craft markets often sell handmade woven pieces for 10 to 25 pounds or dollars. The mistake to avoid is adding two or three textiles; one is an accent, while several turn the gallery into a craft display.
11. Climb the Stairwell With Frames That Follow the Steps
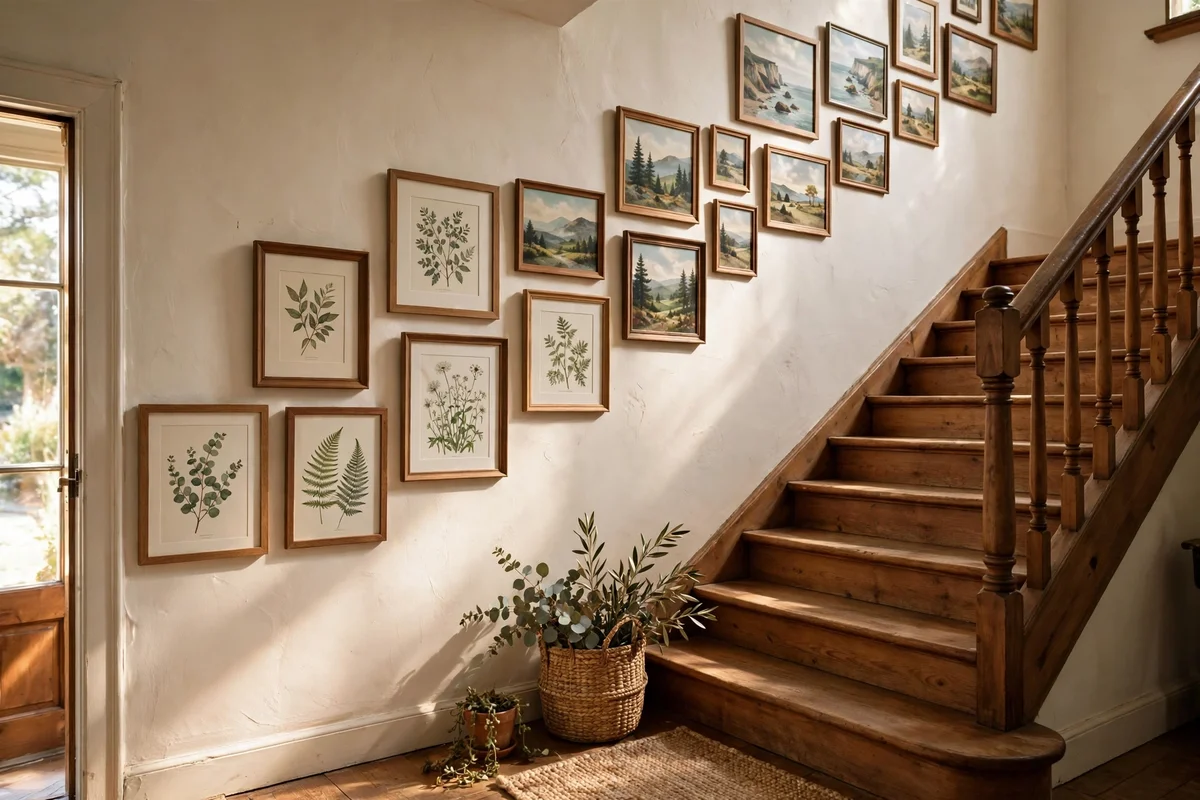
In a stairwell entry, let the gallery rise with the staircase rather than fighting it. Hang frames so the centre of each one sits about 145 cm above the step directly below it, which keeps the whole line level with a person climbing. Space the frames 15 to 20 cm apart along the slope, and keep every frame bottom edge parallel to the stair angle. A run of five to seven pieces suits most domestic staircases without crowding the wall.
Use the same frame family as the main entry gallery so the stairwell feels like a continuation, not a separate project. Botanical plates and small landscapes work best here, since detailed art is hard to study while climbing. Hang the largest piece, around 35 by 45 cm, at the landing where viewers can pause. The mistake to avoid is hanging every frame level with the floor; stepped walls with level frames look chaotic, while frames following the slope look calm and intentional.
12. Choose Renter Friendly Strips Rated for Each Frame Weight
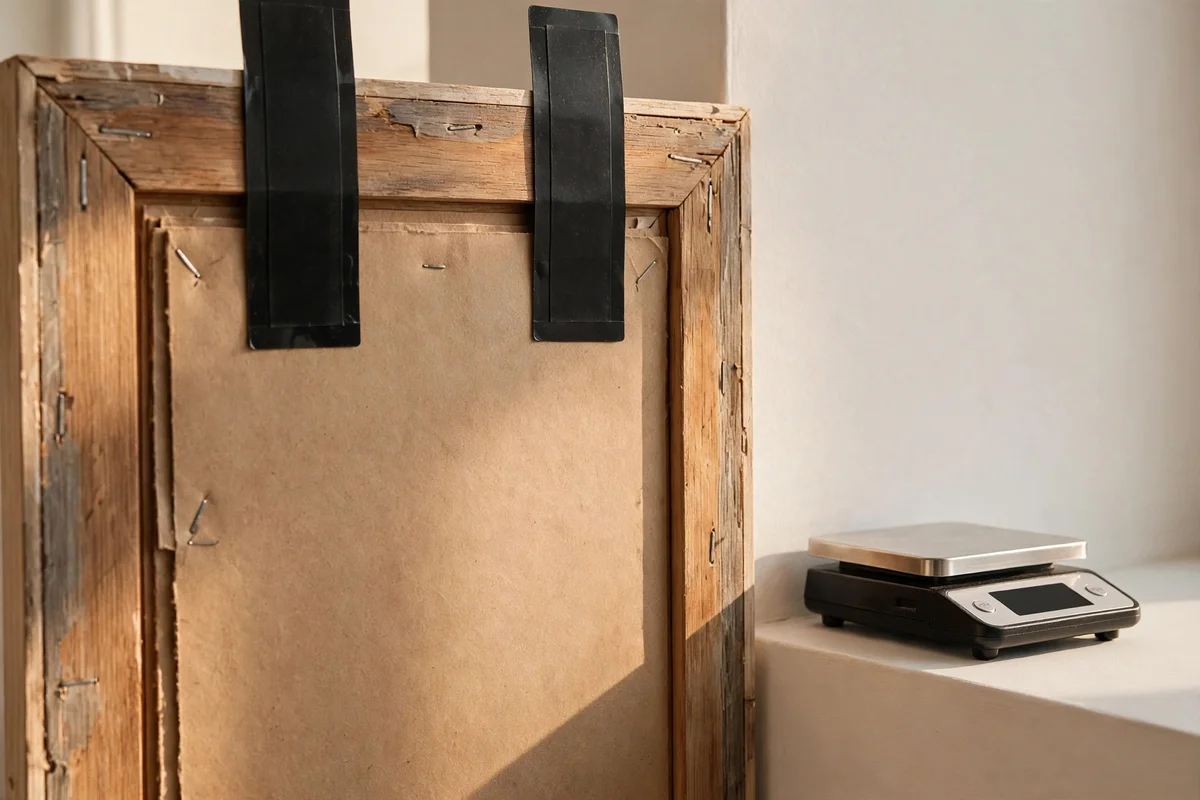
Adhesive hanging strips keep deposits safe when every frame is matched to its weight rating. Weigh each frame on a kitchen scale, then choose strips rated at least 30 percent above that weight to allow for humidity and temperature changes. A small frame under 1 kg needs one pair of medium strips, while a 40 by 50 cm framed print nearing 3 kg needs two pairs of large strips. Press each strip pair together for 30 seconds and wait a full hour before hanging the frame.
Clean the wall with a dry cloth and a light wipe of rubbing alcohol before applying, since dust is the main reason strips fail. On textured paint, use hook style strips rather than flat pairs, and never hang glass heavier than 4 kg with adhesive alone. When moving out, pull the tab straight down slowly to release without marks. The mistake to avoid is guessing the weight; a glass frame that looks light often weighs over 2 kg, and underrated strips creep off the wall within weeks.
13. Stack Three Frames Vertically in the Narrowest Hall
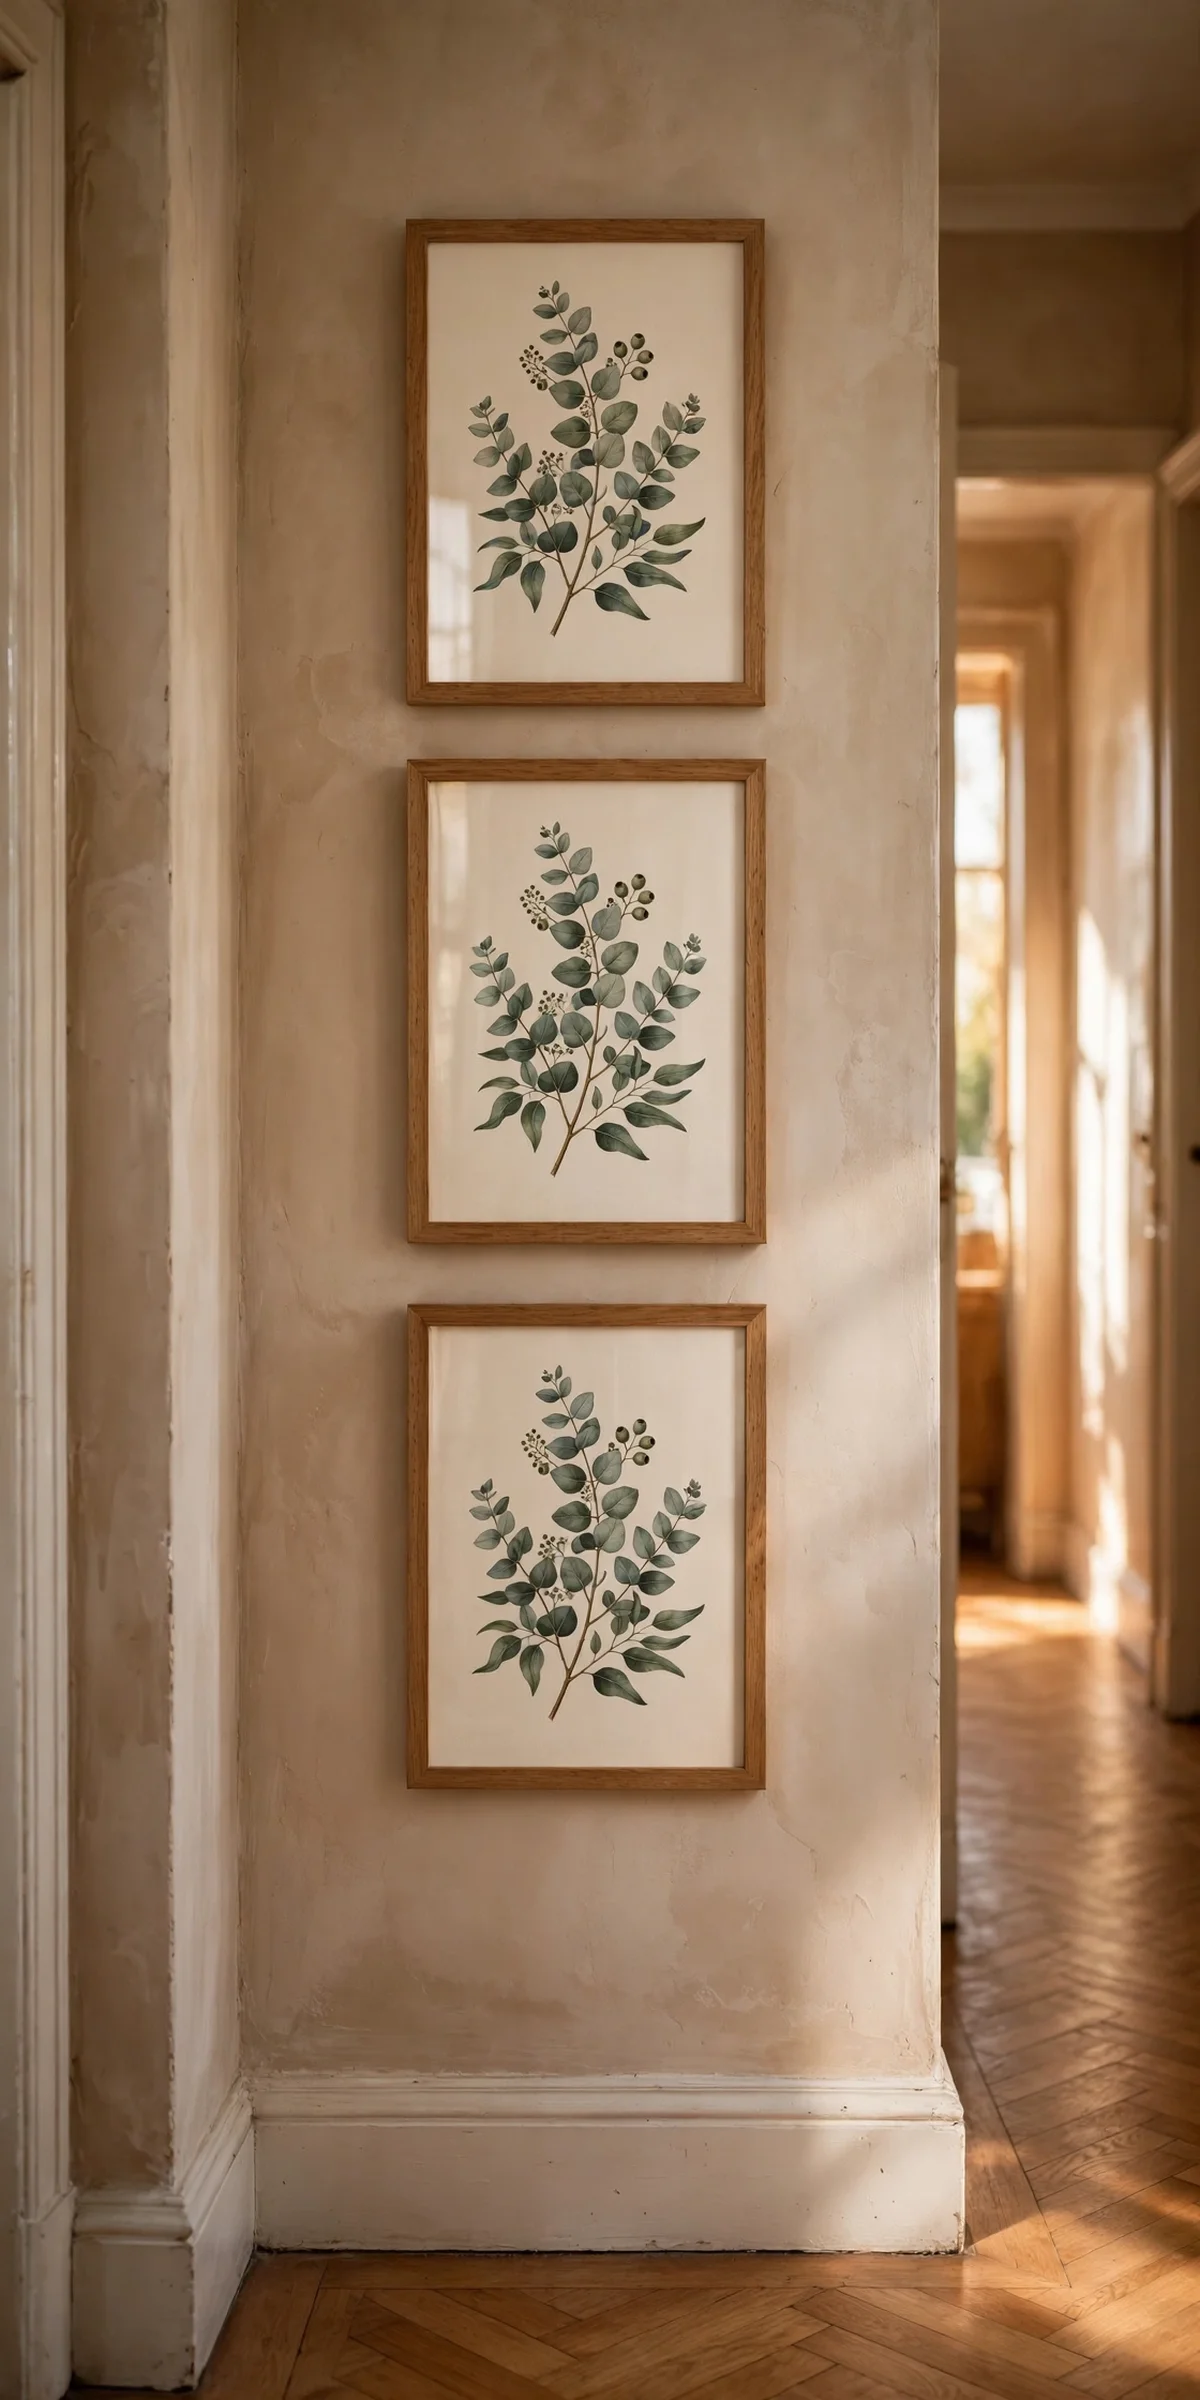
Narrow halls cannot take a wide grid, but they suit a quiet vertical stack. Choose three frames of identical width, 25 to 30 cm, with heights from 30 to 40 cm, and hang them one above another with 8 to 10 cm gaps. Centre the middle frame at 145 cm from the floor, which sets the other two automatically. A stack like this needs only 50 cm of wall width, fitting beside a door frame or along a tight corridor.
Keep the three pieces in one visual family: three botanical plates, three landscapes from the same series, or two prints flanking one small mirror. Identical frames are essential here, since a stack has nowhere to hide a mismatch. Use the paper template method to get the vertical line perfectly straight, checking with a small spirit level. The mistake to avoid is drifting off centre as you hang; measure each frame from the side wall, not just from the frame above it.
14. Anchor the Wall With One Large Landscape Print
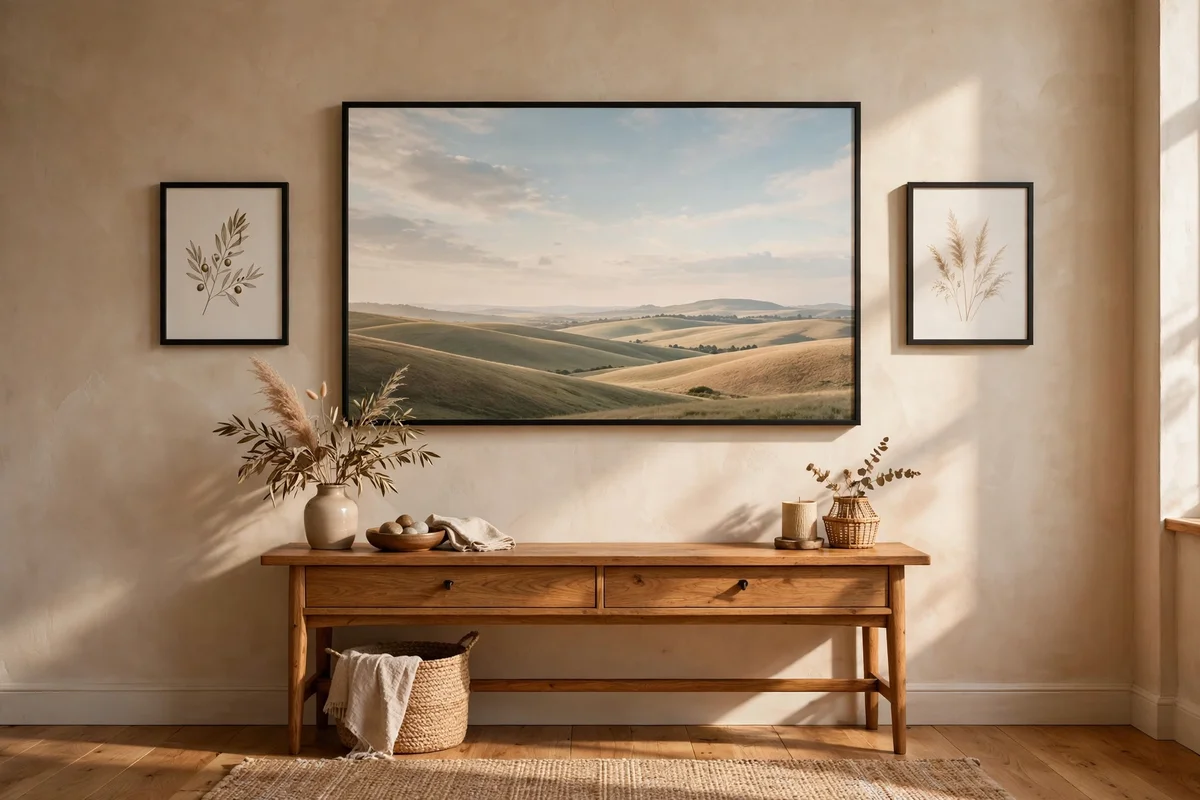
One generous landscape can carry an entire entry wall with less fuss than a dozen small frames. Choose a print 60 by 80 cm or larger in a slim frame, hung with its centre at 145 cm from the floor. It should span roughly two thirds of the console width below, so a 120 cm console pairs well with an 80 cm wide piece. Wide skies and soft distant hills keep the large scale calm rather than overwhelming.
A large print needs a frame that can hold its weight safely, so check the hanging hardware is rated for at least 5 kg and fix into a stud or solid plaster anchor. Add two small flankers, 20 by 25 cm botanical plates in the same frame, if the wall still feels empty on either side. The mistake to avoid is buying a large print with a thin poster frame that bows; a proper wooden frame with a rigid back keeps the piece flat and safe for years.
15. Pair Simple Line Art With Repeated Brass Details
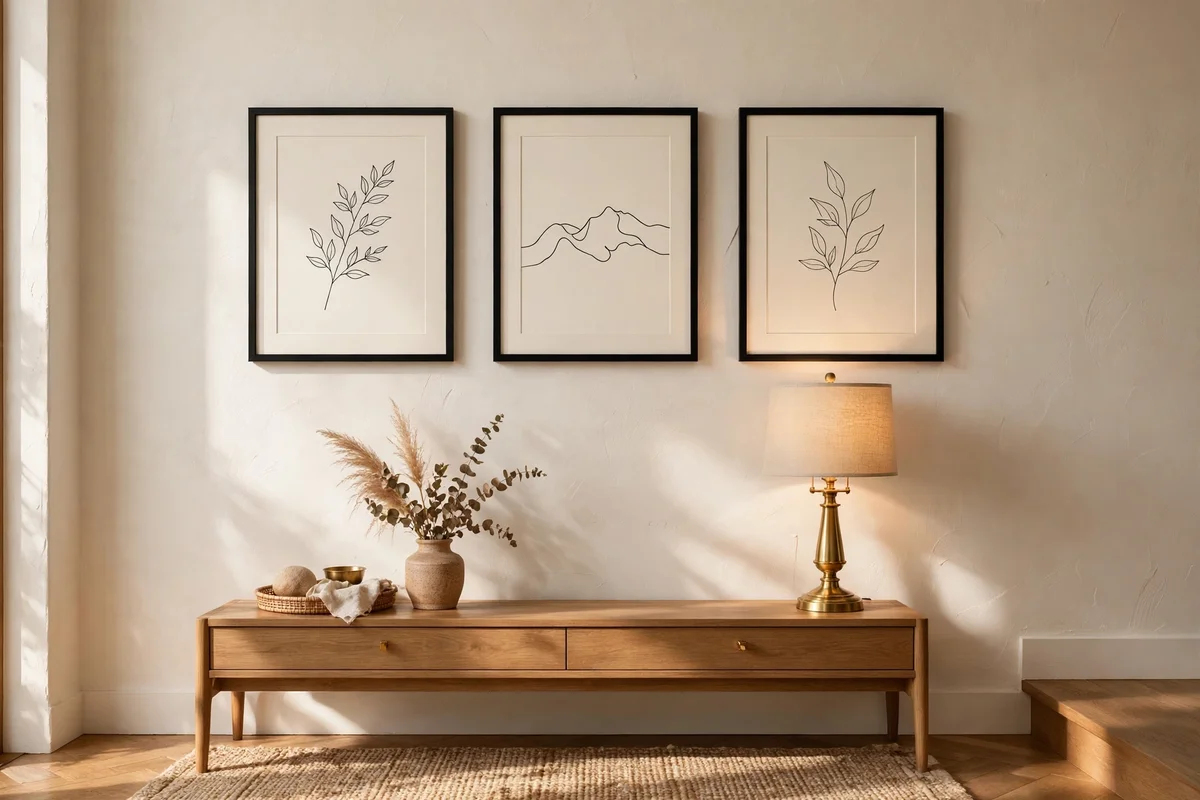
Black line drawings on cream paper bring a quiet, modern calm to an entryway. Choose three to five line art prints, each 25 by 35 cm, framed in slim black or brass frames with generous cream mounts. Hang them in a loose row or small grid above the console, keeping the artwork minimal so the frames do the visual work. Pair the set with brass accents repeated elsewhere: a brass lamp base, a brass bowl for keys, a brass picture light.
Line art suits renters well because the pieces are light; most weigh under 1 kg, so adhesive strips handle them easily. Keep the brass to three repeats so it reads as an intentional accent, and let the black frames carry the structure. Dust mounts and glass monthly, since fine black lines show dust sooner than busy prints. The mistake to avoid is mixing line weights wildly; one bold and one hairline drawing can sit together, but five clashing styles look like a print shop sample wall.
16. Place a Mirror at the End of the Hallway for Depth
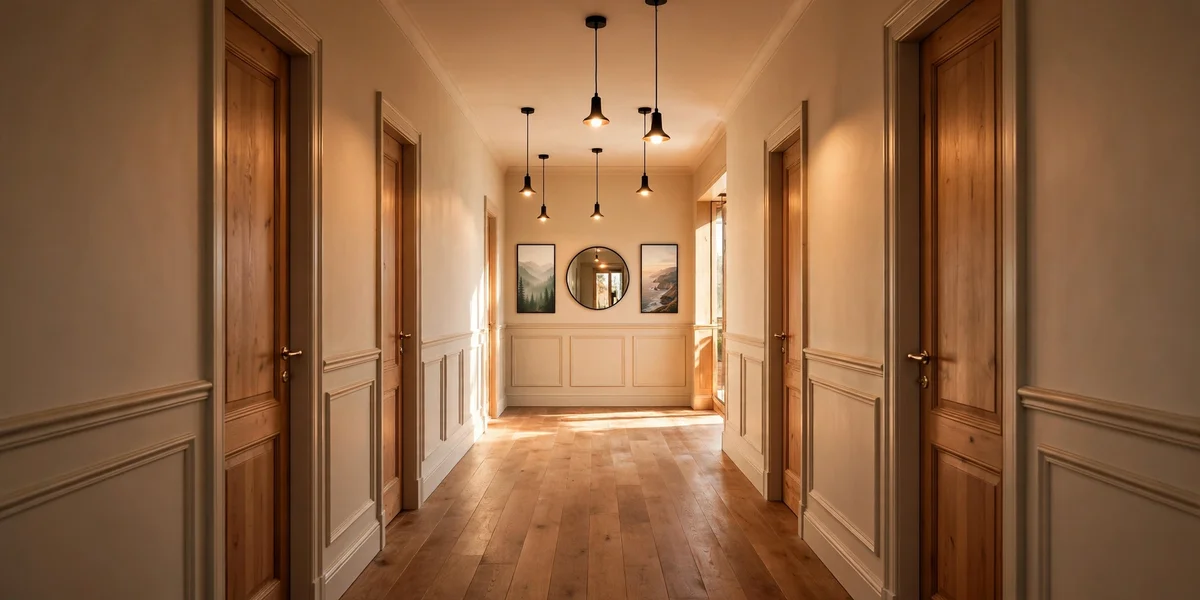
In a long hallway, the far end wall is prime gallery space that most homes leave bare. Hang a generous mirror, 50 to 70 cm wide, centred at 145 cm from the floor on the end wall, flanked by two slim landscape prints 25 by 35 cm. The mirror pulls light down the corridor and makes the hall feel twice as deep. It also gives a last check of coat and scarf before the front door, which guests quietly appreciate.
Keep the mirror frame in the same family as the gallery, slim oak or black, so the end of the hall reads as part of the whole. Avoid placing the mirror where it reflects a cluttered corner; aim it at the brightest window or the calmest stretch of wall. Fix heavy mirrors into a stud, since a 70 cm mirror with a wood frame can weigh 4 to 5 kg. The mistake to avoid is hanging the mirror too high; a mirror centred above eye level reflects the ceiling, which helps no one.
17. Keep 5 to 8 cm Gaps Between Frames for an Even Rhythm
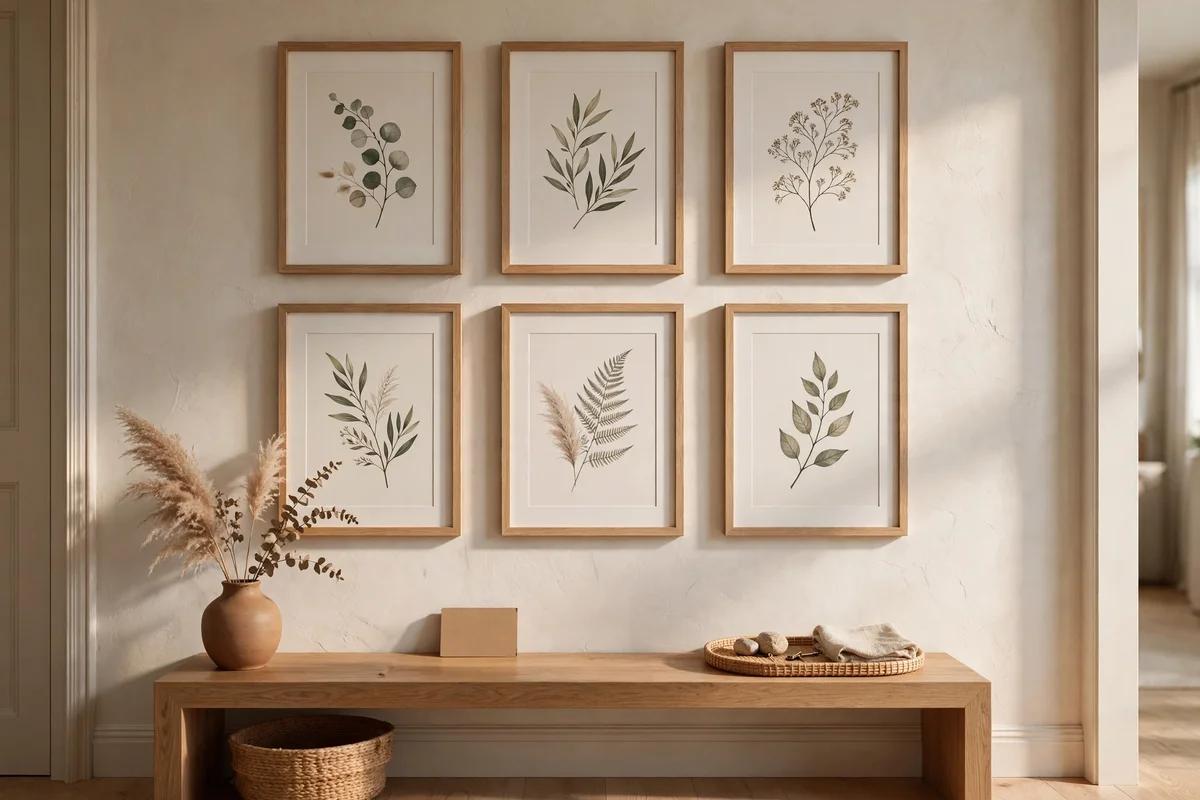
Consistent spacing is what separates a considered gallery from a cluttered one. Choose one gap measurement, anywhere from 5 to 8 cm, and use it between every pair of frames on the wall. Measure with a small ruler or a pre cut spacer card rather than guessing, since the eye notices a 2 cm difference even from across the room. In a nine piece grid, identical gaps matter more than identical frames for the overall effect.
Salon style walls can allow slightly wider gaps, up to 10 cm, since the pieces vary in size and need more air. Cut a spacer from stiff card at your chosen width and carry it with you while hanging; it is faster and more accurate than a tape measure for every gap. Step back after every third frame to check the rhythm from the doorway. The mistake to avoid is shrinking gaps to squeeze in one more piece; a crowded wall reads as storage, not decor.
18. Balance the Console Styling Under the Gallery
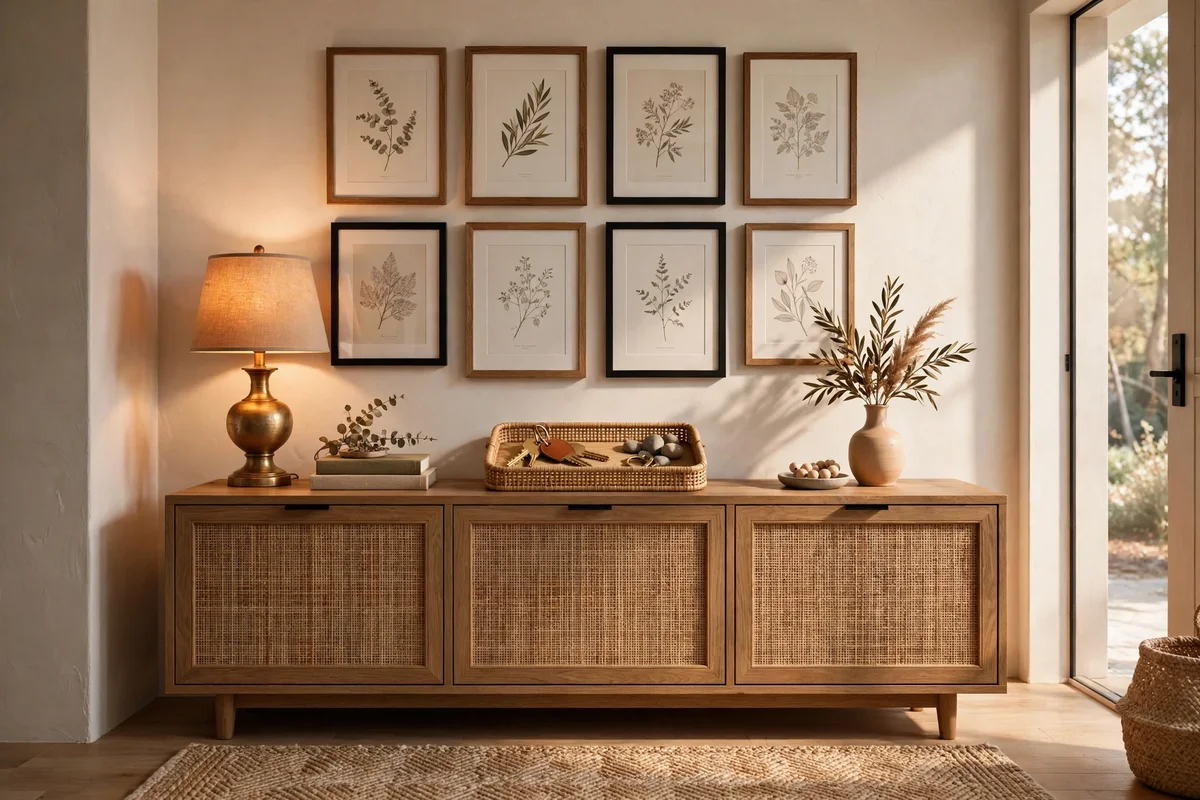
The console beneath the gallery is part of the composition, not separate furniture. Style it in three zones: a table lamp 45 to 55 cm tall at one end, a shallow tray for keys in the centre, and a small stack of books or a vase at the other end. Keep the total height of console styling below the lowest frame by at least 10 cm of clear air. Warm 2700K bulbs and natural materials like wood, rattan and ceramic keep the mood calm.
Echo one colour from the frames in the console styling, for example an oak bowl beneath oak frames, to tie the two layers together. Leave a third of the console top empty; crowded styling competes with the art above. A small runner or tray liner in a matching tone protects the wood from key scratches. The mistake to avoid is placing tall branches or candles directly under the lowest frame; anything touching the art turns the gallery into clutter and risks scorching the frame.
19. Light the Gallery With a Warm Picture Light or Two
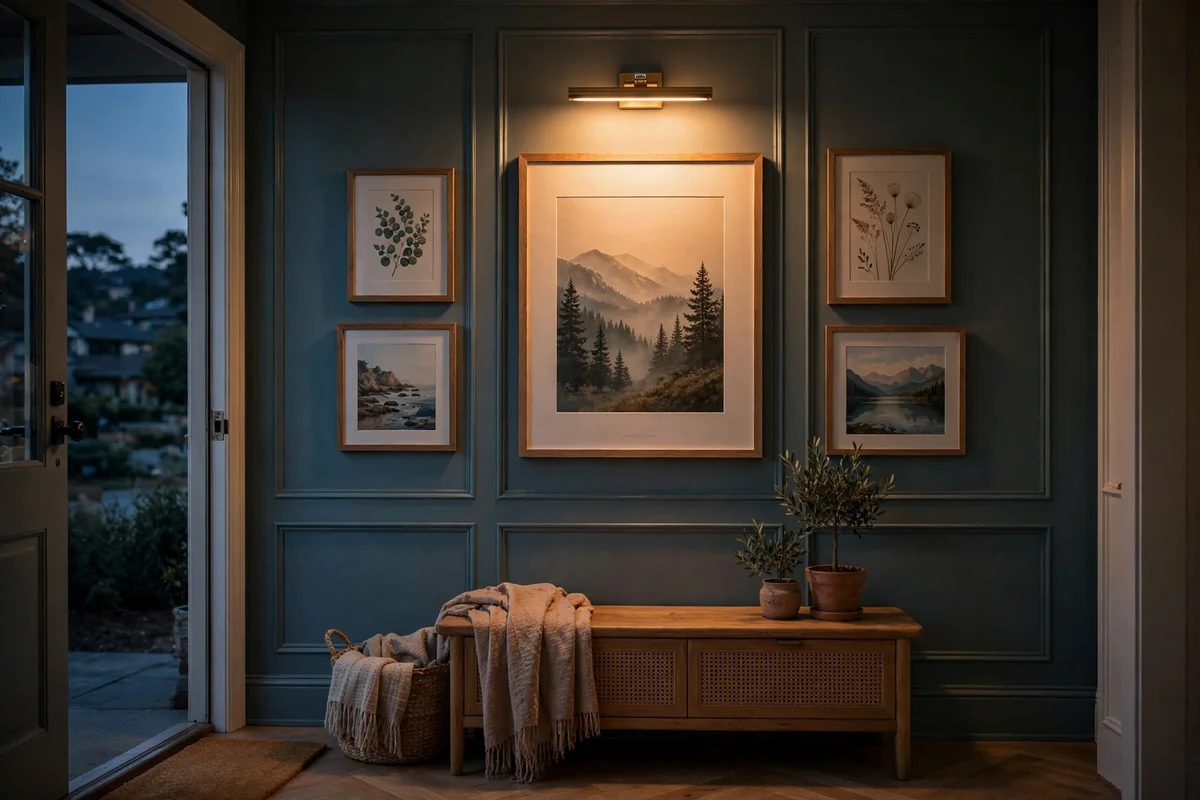
Good light turns a daytime gallery into an evening feature. Fit a battery powered picture light, 30 to 40 cm wide, above the central frame or above a large anchor print, choosing a warm 2700K glow that flatters wood and cream mounts. Remote controlled models avoid trailing wires and cost 20 to 35 pounds or dollars. Aim the light so it washes evenly across the art, not in a harsh stripe down the centre.
For wide salon walls, use two smaller lights rather than one long bar so the glow stays even. Set them on a timer to switch on at dusk for four to six hours, which keeps batteries lasting two to three months. Keep picture lights off during bright daylight to save power. The mistake to avoid is choosing cool white light above 4000K; it makes wood frames look grey and drains the warmth the gallery was built to create.
20. Unify Second Hand Frames With One Coat of Spray Paint
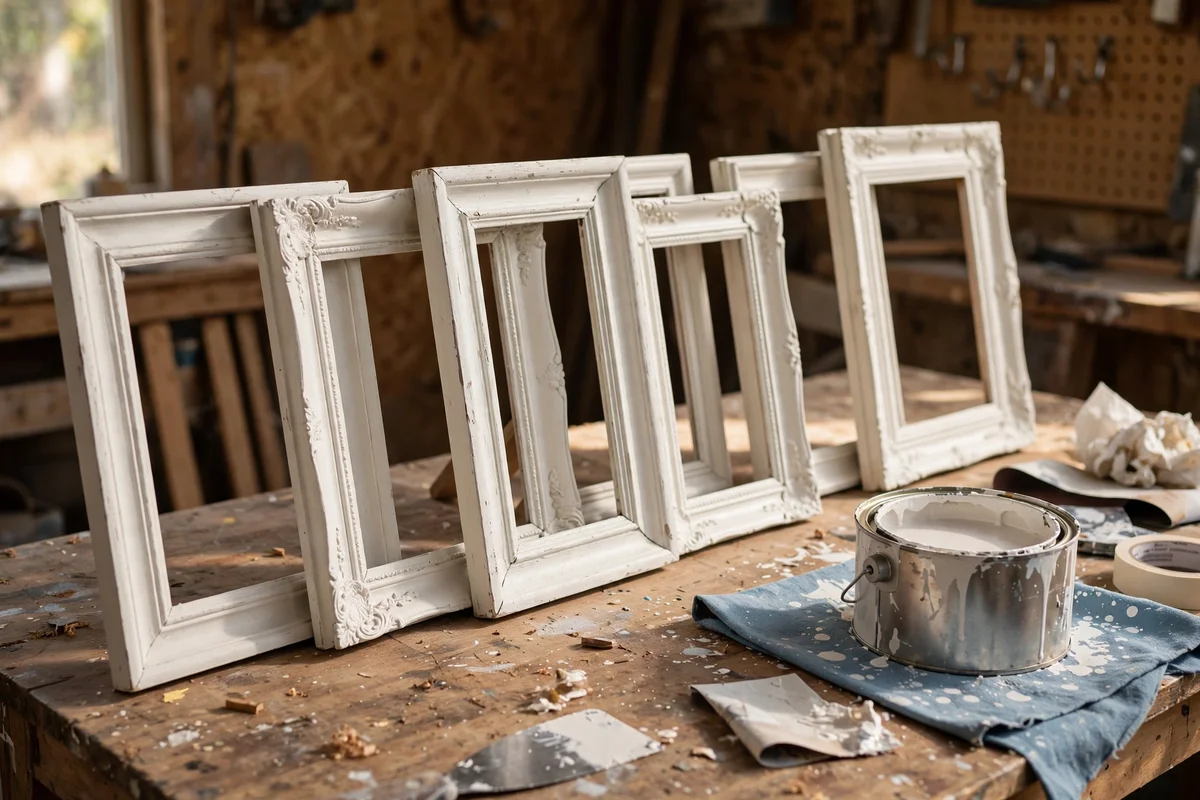
Charity shop frames rarely match, but one tin of spray paint fixes that in an afternoon. Gather frames of similar profile, clean them with a damp cloth, and sand lightly with 220 grit paper so the paint grips. Two thin coats of matte spray paint in warm white, soft black or aged brass tone transform a mixed bag into a deliberate set. Let each coat dry for the full time on the tin, usually 30 to 60 minutes, to avoid fingerprints.
Paint all frames the same day from the same tin so the finish matches perfectly across the set. Work outdoors or in a ventilated garage, wearing a simple dust mask, and protect glass and backs with painter tape before spraying. A tin costing 8 to 12 pounds or dollars covers eight to ten average frames, making this the cheapest route to a consistent frame family. The mistake to avoid is one thick coat; thick paint drips and chips, while two thin coats last for years.
An entryway gallery wall asks for little and gives a great deal in return. Whether you choose the calm order of a nine piece grid, the easy change of a picture ledge, or a stairwell that climbs with the steps, the same quiet rules apply: one frame family, one repeated metal, eye level centres and kind, steady spacing. These twenty ideas share one spirit, which is that coming home should feel gentle, not rushed.
This week, start with the paper template step from idea eight and one small purchase, perhaps a round mirror or a tin of spray paint. Tape the shapes to the wall, live with them for a day, and hang only when the arrangement feels right from the front door. Small, careful steps build the loveliest walls, and your future self, arriving home tired on a dark evening, will thank you.
Frequently Asked Questions
How much does an entryway gallery wall cost?
A simple gallery costs 40 to 120 pounds or dollars using discount store frames and printed art. Second hand frames spray painted one colour cut that further, often to under 50 for a full wall. Spend most on the anchor pieces you see daily, like a good mirror or a large landscape print. Picture lights and quality frames are worth mid range prices, while small filler prints can stay budget.
Can renters hang a gallery wall without drilling?
Yes, with adhesive strips rated for each frame weight. Weigh frames on a kitchen scale and choose strips rated at least 30 percent higher. Most galleries of small to medium frames work well, but keep pieces under 3 kg each and avoid glass heavier than 4 kg. Picture ledges fixed with two screws need landlord permission, so check your agreement before drilling anything.
How high should a gallery hang above a console table?
Keep 15 to 20 cm of clear air between the console top and the lowest frame. Centre the whole arrangement at 145 cm from the floor, which is average eye level. If the console holds a tall lamp or vase, nudge the lowest frame up by 5 cm so styling and art never touch. Step back to the doorway to check the gap looks comfortable, not cramped.
What art suits an entryway gallery wall?
Art prints, botanical plates, calm landscapes and plain mirrors work best, kept in a shared palette of two or three tones. Woven pieces add soft texture among the glass. Avoid photographs of people in shared entryways, since a wall of faces feels busy and distracts from the welcome. Simple line art and pressed flower prints suit the calm, timeless mood an entryway needs.
How do I keep gallery frames level on a stairwell wall?
Hang each frame centre about 145 cm above the step directly below it, keeping the bottom edges parallel to the stair slope. Space frames 15 to 20 cm apart along the climb. Use a small spirit level on each frame and check the whole line from the bottom of the stairs. Paper templates taped first let you adjust the slope before any holes are made.