DIY Projects
20 Homemade Jewelry Cleaner Recipes That Bring Back a Gentle, Honest Shine
By Anna Wells · · 19 min read
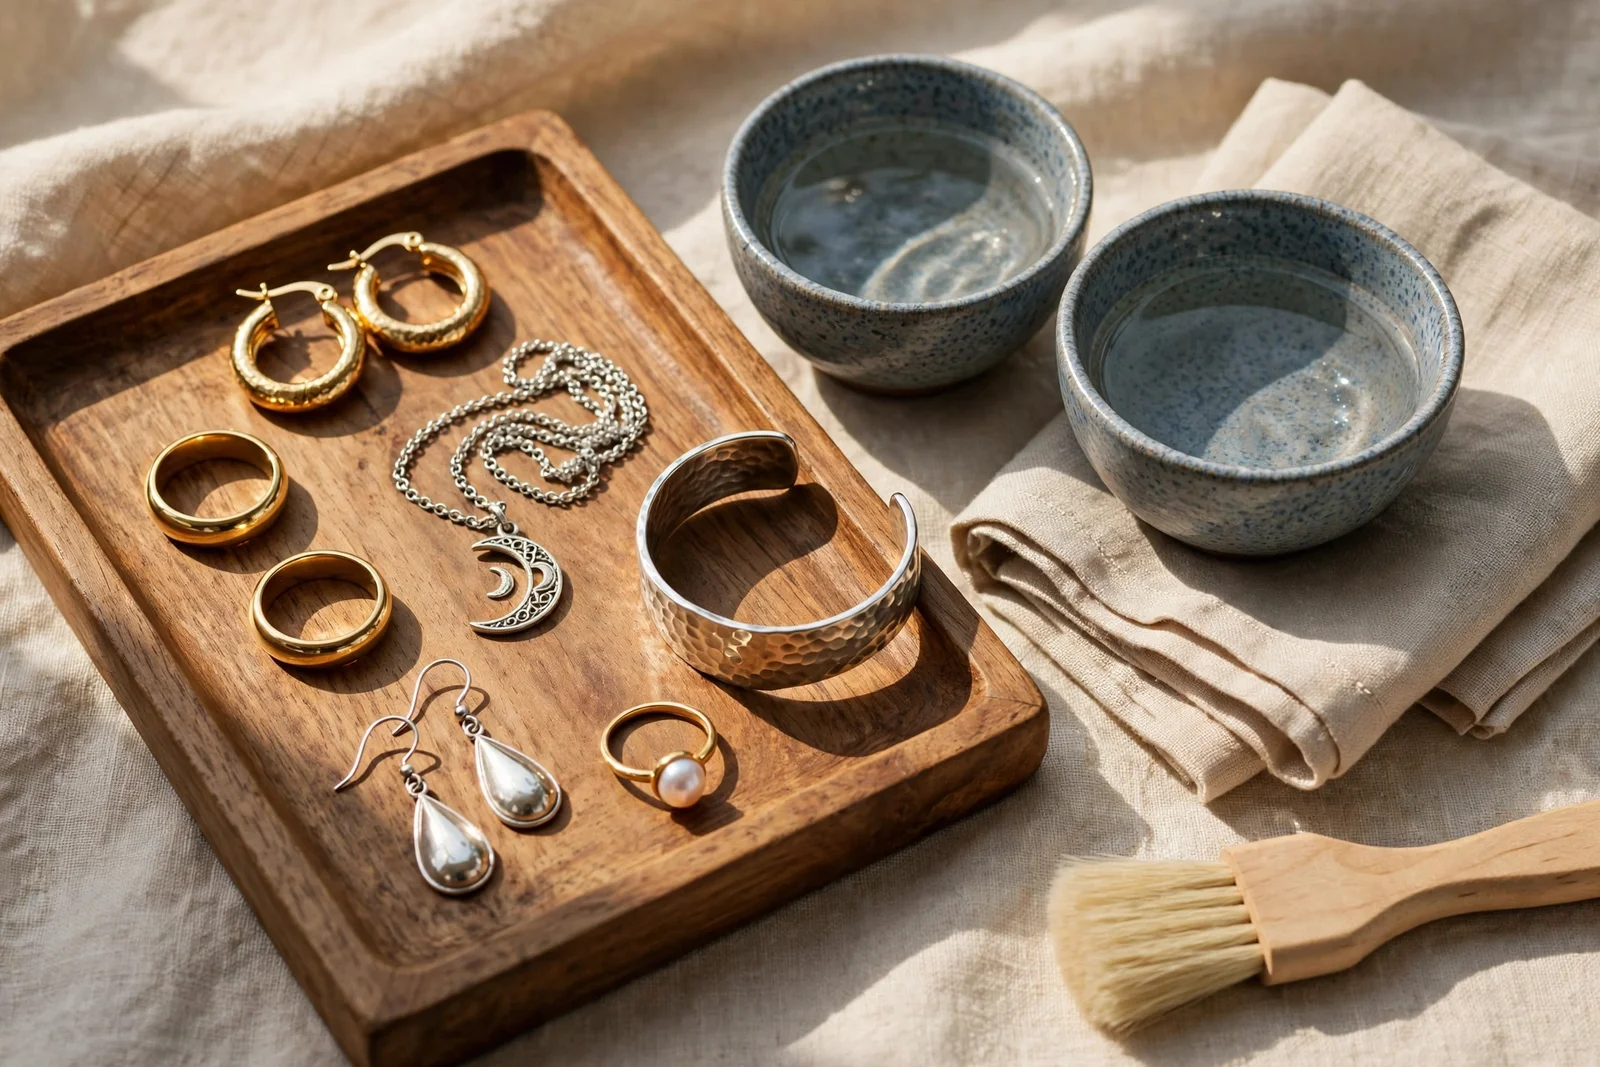
A soft gleam on a well loved ring says more than any loud ornament ever could, and it costs almost nothing to keep.
Think of the last quiet morning you noticed your favourite ring looking a little dull. The light was warm, the day unhurried, and that small piece of gold or silver just needed a gentle refresh. Keeping jewelry bright is not about harsh chemicals or expensive gadgets. It is about warm water, mild soap, a soft cloth and a few minutes of patient care at the kitchen table.
Below you will find twenty concrete recipes and routines, each one spelled out with quantities, timings and materials. You will learn mild soaks for gold and hard gemstones, a baking soda paste and a foil bath for tarnished silver, and the extra gentle methods that keep pearls, opals and emeralds safe. Nothing here asks you to buy specialist products.
One honest caution sits at the heart of every section: soft stones and glued settings need a lighter touch than solid gold or diamonds. Each method tells you exactly what it suits and what it must never touch. Work through the list, pick the recipes that match the pieces in your own box, and enjoy watching them glow again.
Set out a clean linen cloth, a small bowl and a soft brush before you begin. Most of these recipes finish in under half an hour, and the storage ideas at the end will keep your pieces bright long after the cleaning is done.
1. Soak Gold Rings in Warm Water With a Drop of Dish Soap
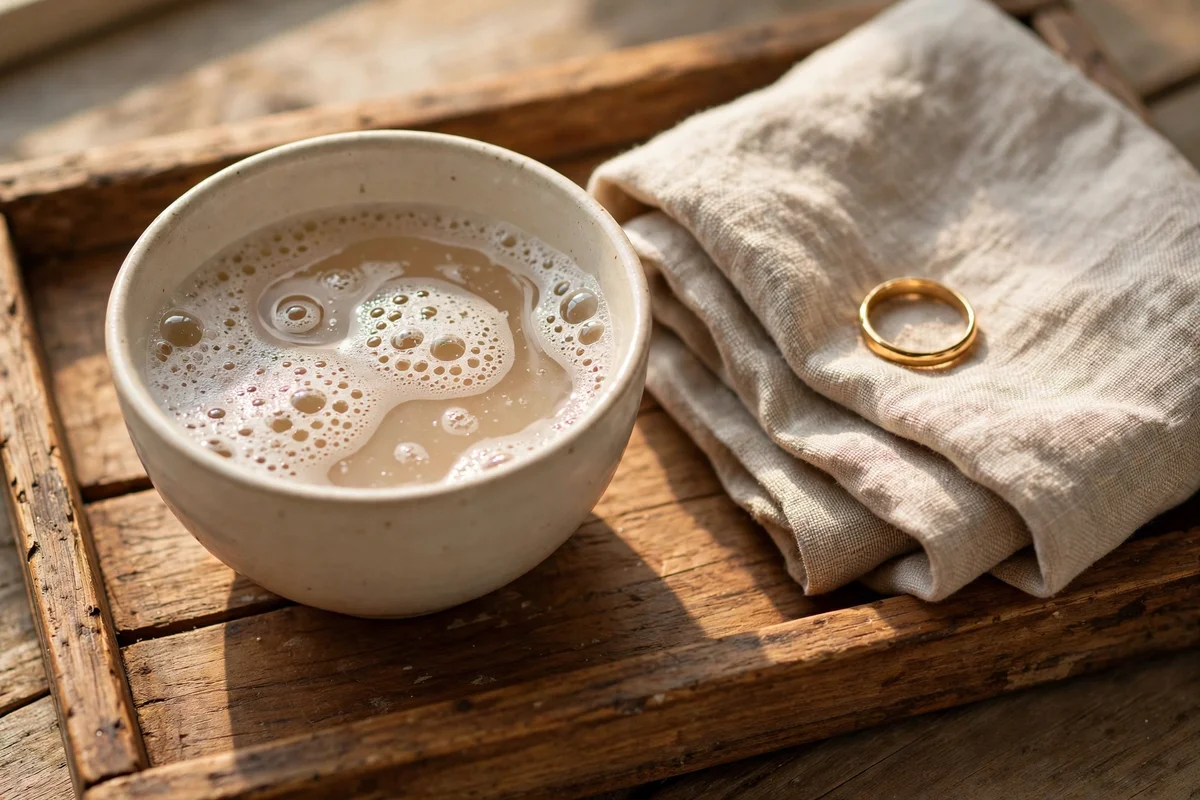
Fill a small bowl with one cup of warm water, roughly 35 to 40 degrees, and stir in two or three drops of mild dish soap until light suds form. Lower plain gold rings and simple gold chains into the bowl and let them rest for fifteen to twenty minutes while the soap loosens everyday film from skin oils and dust. This gentle soak suits solid gold bands, chains and studs without stones, and it costs almost nothing since the soap already lives in your kitchen. Keep the water comfortably warm rather than hot.
After soaking, lift each piece with a slotted spoon or clean tweezers and rinse it under a slow stream of lukewarm water over a plugged sink. Lay the pieces on a dry linen cloth and pat them gently, then let them air dry for ten minutes before polishing. The mistake to avoid is using boiling water, which can loosen glue in settings and stress soldered joints. Repeat this soak once a month to keep gold glowing.
2. Scrub Hard Gemstones With a Soft Toothbrush and Soap Water
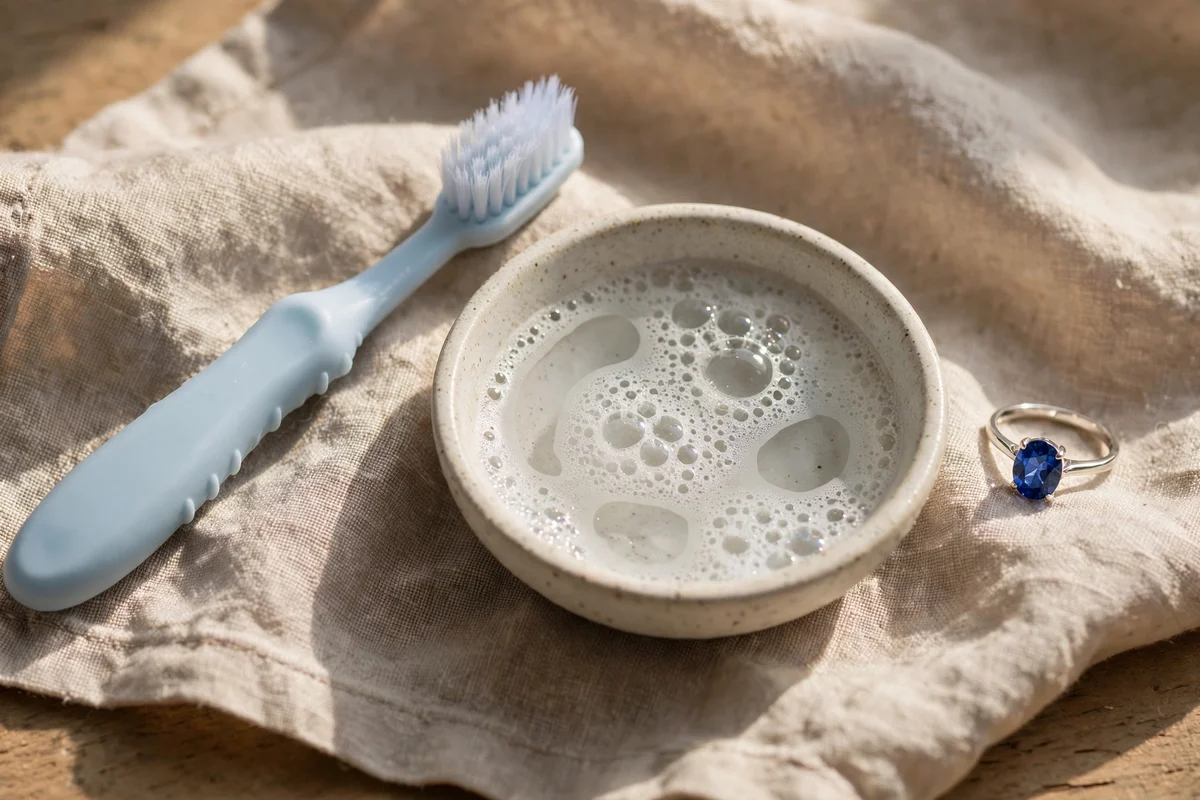
Hard gemstones such as diamonds, sapphires and rubies collect a grey film of lotion and dust underneath their settings, and a soft brush reaches what a soak cannot. Mix one cup of warm water with three drops of mild dish soap in a small dish, dip a soft baby toothbrush in the mixture, and brush each stone lightly for about thirty seconds. Work from behind the stone as well as from the front, because most dullness hides under the girdle and around the prongs.
Rinse the piece under lukewarm running water with the sink plugged, then lay it on a microfiber cloth to dry for at least fifteen minutes. Use only a brush labelled soft, since medium or firm bristles can scratch gold settings even though they will not harm the stone itself. Do this every two to three weeks for rings you wear daily, and always inspect the prongs with a magnifier while you work.
3. Polish Silver Chains in a Mild Soap Bath Before Drying
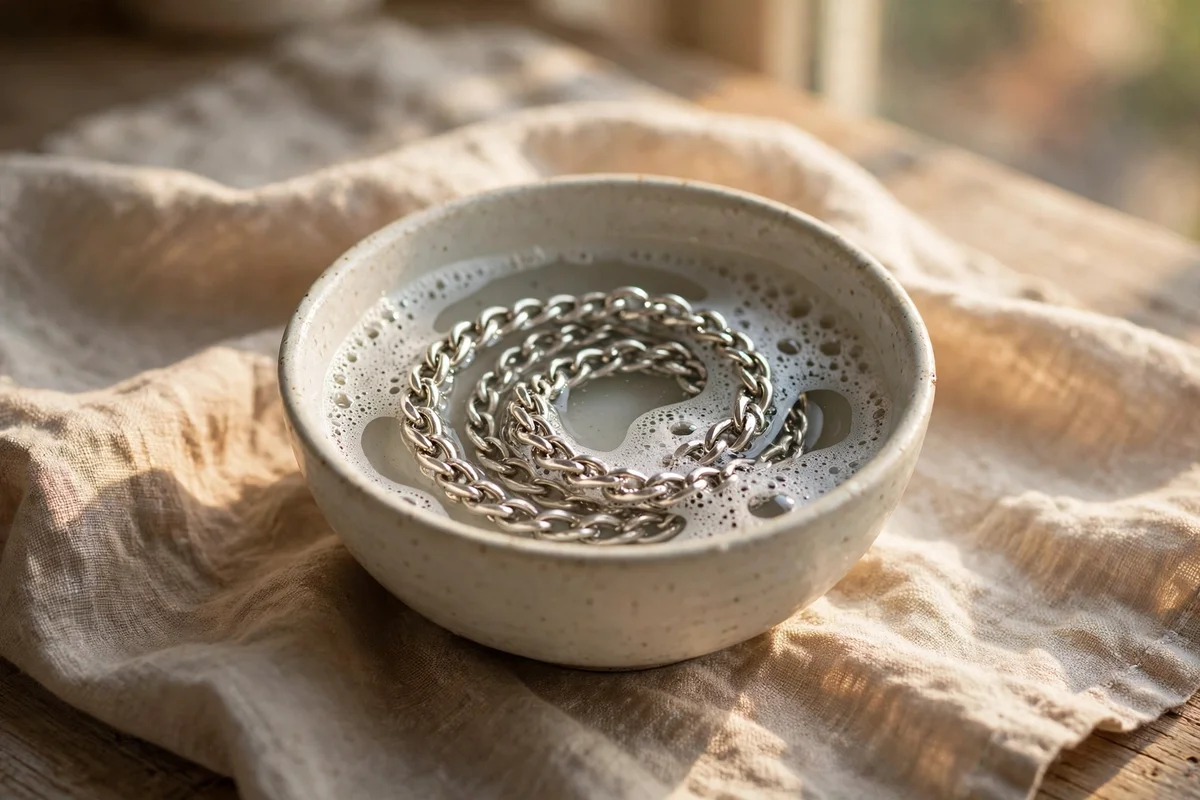
Silver chains gather body oil in every link, and a mild soap bath lifts it without any abrasive action. Pour one cup of warm water into a small bowl, add three drops of mild dish soap, and lay the chain in loose coils so the solution reaches every link. Let it soak for ten to fifteen minutes, then swirl the bowl gently for another minute to free any trapped residue. This method suits plain silver chains and bangles with no stones and no heavy tarnish.
Rinse the chain under lukewarm water, then press it gently between two layers of a soft cotton cloth instead of rubbing, since rubbing can stretch delicate links. Hang the chain on a clean hook or lay it straight on linen for thirty minutes until fully dry. The mistake to avoid is leaving silver damp in a closed box, because trapped moisture speeds up tarnish within a single day.
4. Lift Silver Tarnish With a Baking Soda and Water Paste
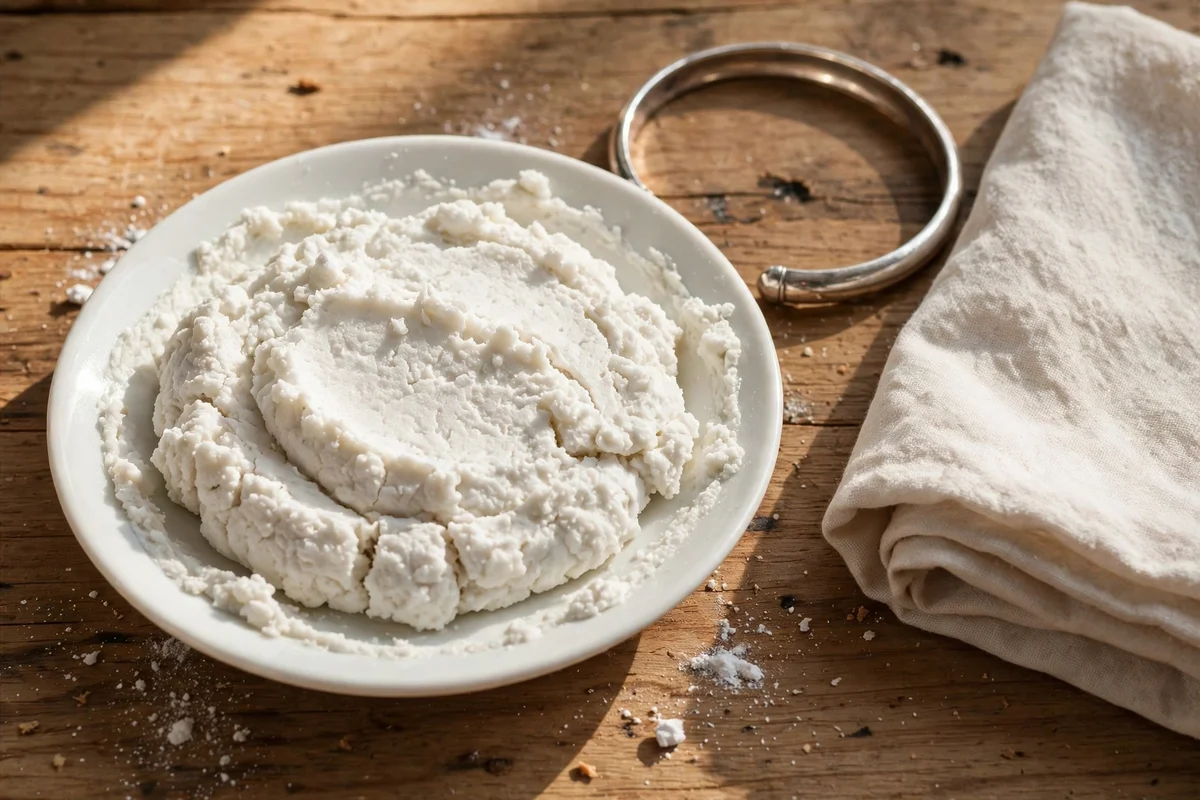
For silver with patchy yellow or grey tarnish, a baking soda paste gives you controlled, gentle abrasion exactly where you need it. Mix two teaspoons of baking soda with just enough water to form a thick paste, about half a teaspoon, in a small saucer. Scoop a little paste onto a soft cloth or cotton bud and rub the tarnished areas in small circles for one to two minutes. The fine powder polishes the surface while the mild alkalinity helps dissolve the tarnish layer.
Wipe the paste away with a damp cloth, rinse the piece under lukewarm water, and dry it at once on clean linen. This paste suits solid silver bangles, spoons and plain pendants, but keep it away from oxidized or antiqued finishes you want to preserve, since it will lift that dark detail too. The common mistake is scrubbing too hard, so let the paste do the work with light pressure.
5. Brighten Diamonds in a Warm Soap Soak With Gentle Agitation
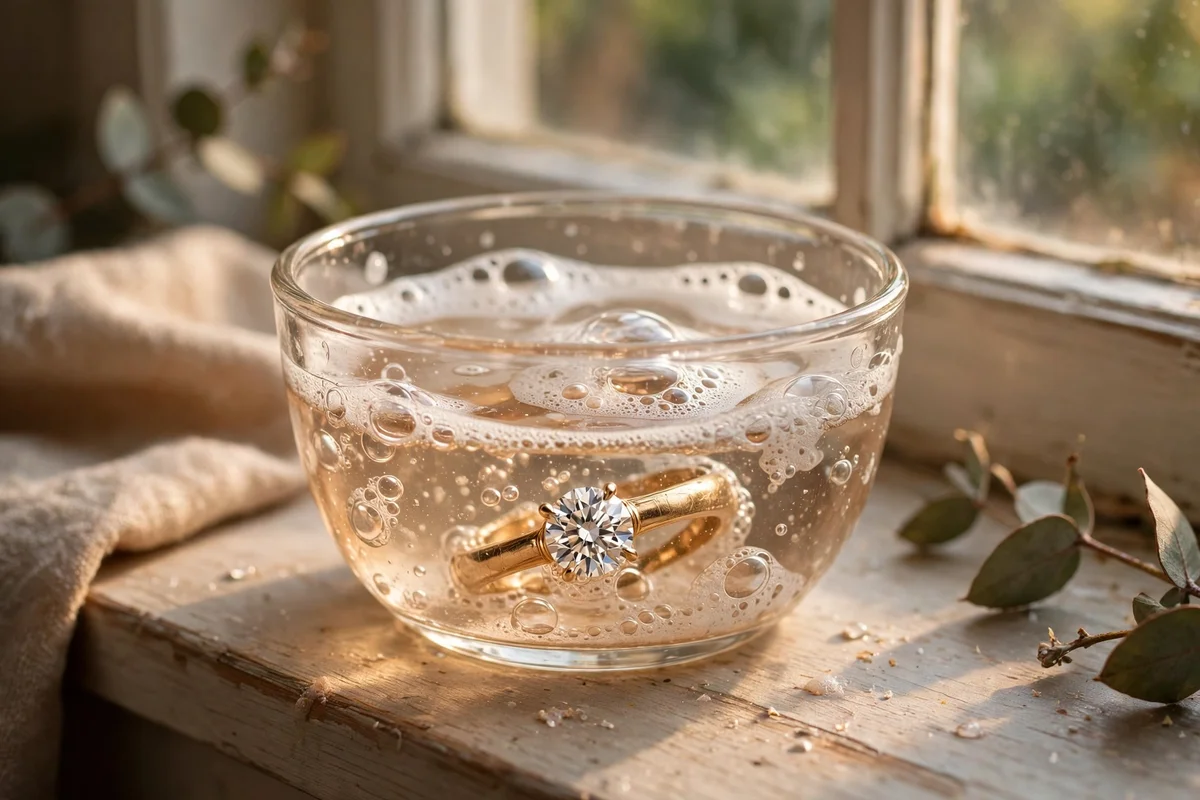
Diamonds look dull mainly because of the film on their pavilion facets, and a short warm soak restores their fire beautifully. Mix one cup of warm water with four drops of mild dish soap, place the diamond piece in the bowl for fifteen minutes, then swirl the water gently with a clean spoon for a full minute. The agitation pushes soapy water through the setting and behind the stone where fingers never reach. Diamond, being the hardest natural material, tolerates this routine very well.
After the soak, brush the stone lightly with a soft toothbrush for twenty seconds, rinse under lukewarm water and dry on a lint free cloth. Hold the finished ring under a lamp and turn it slowly; the sparkle should return immediately. The mistake to avoid is soaking diamond pieces that also carry soft accent stones such as opal or pearl, so check the whole piece before you begin. Clean diamond jewelry monthly.
6. De-Tarnish Silver in a Foil Lined Hot Soda Water Bath
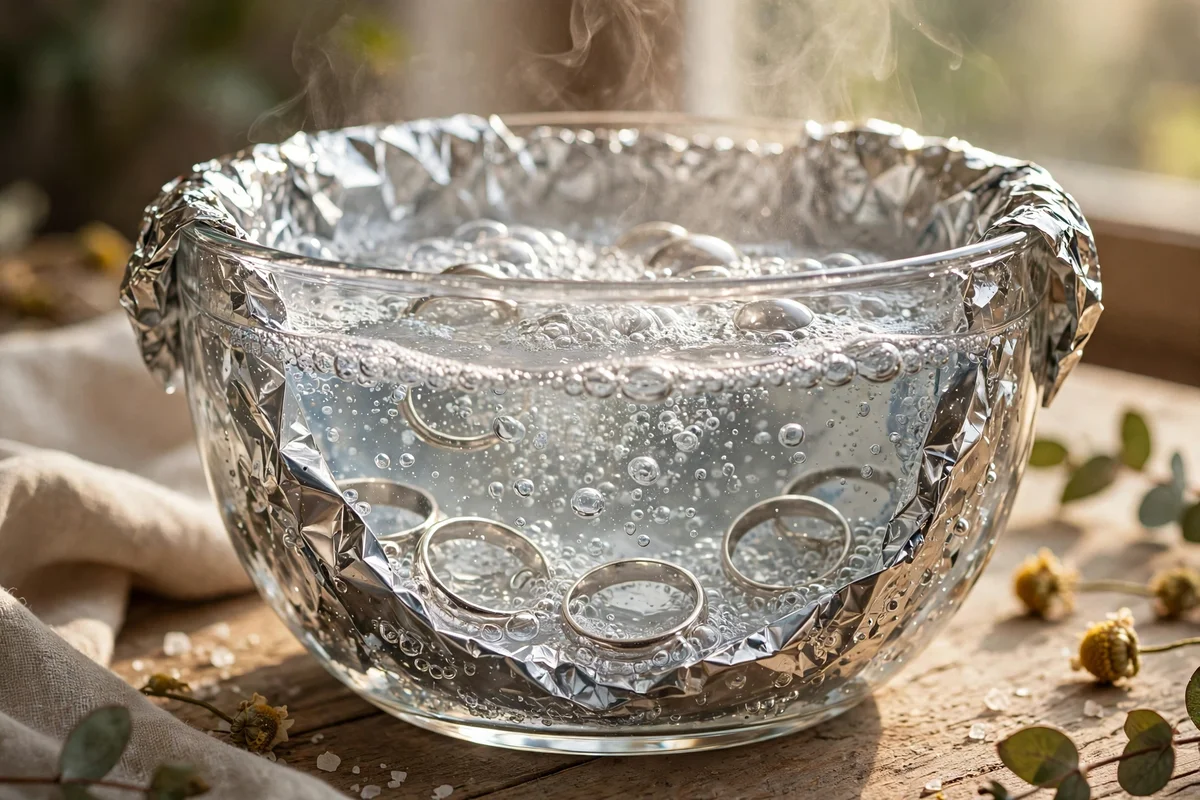
The classic foil bath uses a simple chemical exchange to pull tarnish off silver without any rubbing. Line a glass bowl with aluminium foil, shiny side up, and add one tablespoon of baking soda plus one teaspoon of salt. Pour in two cups of hot water, around 60 degrees, stir until dissolved, and lay your silver pieces on the foil so each one touches the metal. Within five to ten minutes the tarnish migrates from the silver to the foil, which may smell faintly of sulphur.
Lift the pieces out, rinse them under lukewarm water and dry them thoroughly on a soft cloth. This bath suits plain silver chains, rings and bangles, but keep it away from pieces with soft stones, pearls, glued parts or oxidized finishes, since heat and salt can damage them. The mistake to avoid is reusing the cloudy liquid, so mix a fresh bath every time. One session usually restores a full season of tarnish.
7. Rinse Pearls With a Damp Soft Cloth and Nothing More
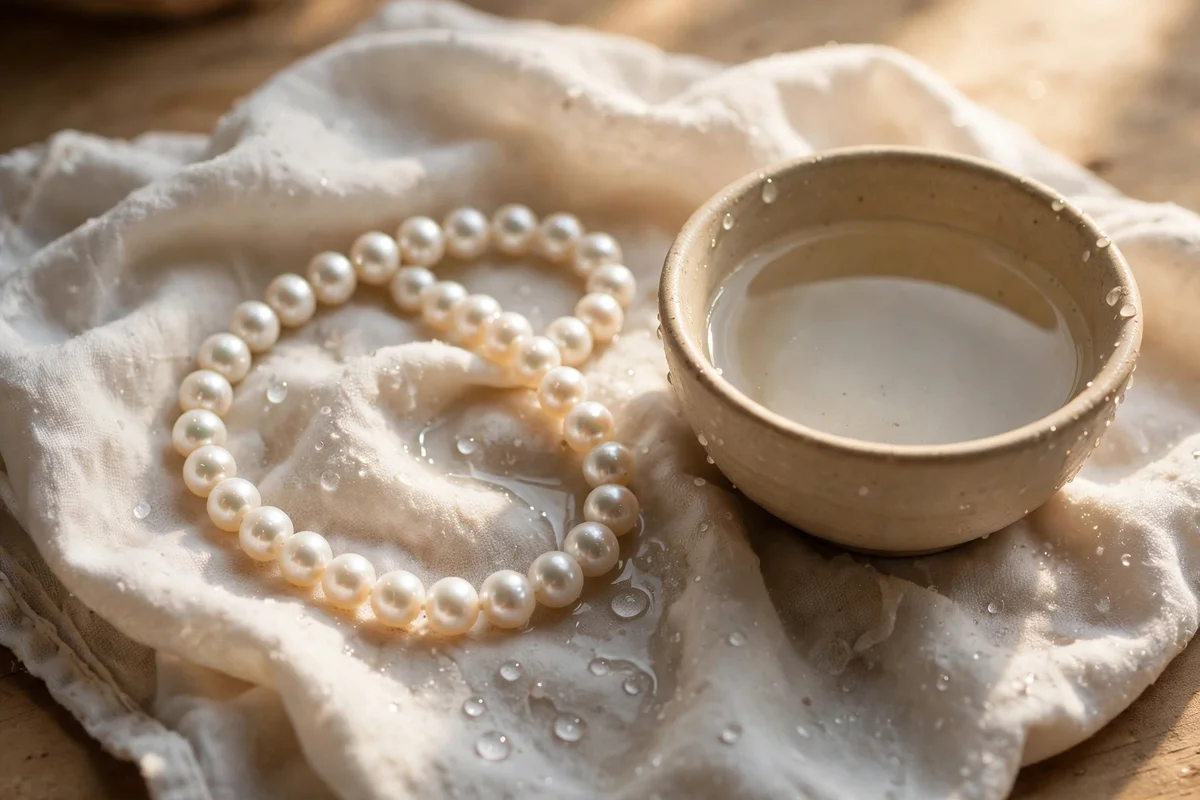
Pearls are delicate layers of nacre over a bead, and they ask for the gentlest care of all your jewelry. Dampen a soft cotton cloth with plain lukewarm water, wring it until barely moist, and wipe each pearl individually with light strokes. This removes perfume, powder and perspiration without any soap, soak or chemical touching the surface. Never submerge pearl strands, because water can weaken the silk thread and seep under the nacre.
After wiping, lay the strand flat on a dry towel for several hours, or overnight, so any trace of moisture evaporates from the drill holes. Store pearls only when fully dry, in their own soft pouch, separate from harder jewelry that could scratch them. The mistake to avoid is hanging a freshly wiped strand, since damp silk stretches under the weight. A two minute wipe after wearing keeps pearls lustrous for years.
8. Clean Opals With Room Temperature Water and a Feather Touch
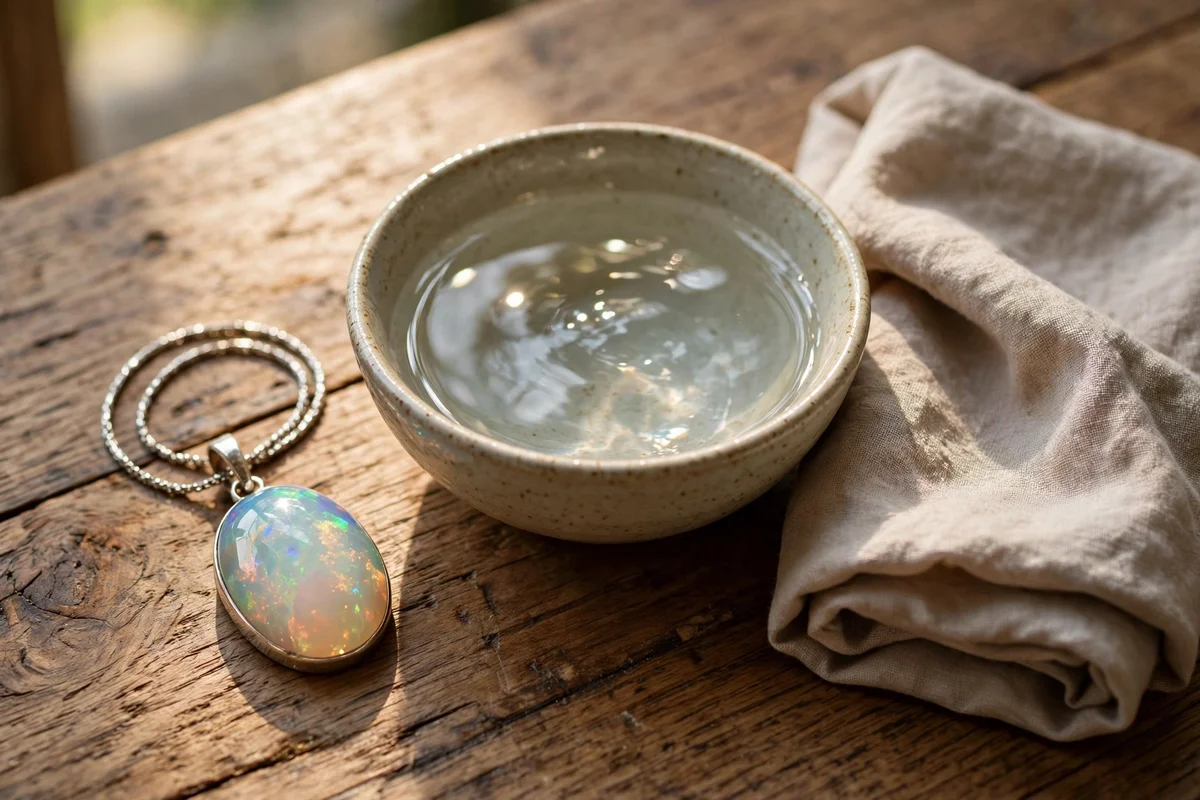
Opals hold a small amount of water inside their structure, and sudden temperature changes can make them crack, so everything here stays at room temperature. Fill a small bowl with plain room temperature water, dip a soft cotton cloth in it, wring it well, and wipe the opal surface gently for about a minute. For dust in the setting, use a soft dry brush with barely any pressure, stroking away from the stone rather than into it.
Dry the piece at once on a soft cloth and keep it away from radiators, sunny windowsills and hair dryers for the rest of the day. Never use soap, vinegar, ultrasonic cleaners or any chemical on opal, since its porous body absorbs liquids easily. The mistake to avoid is leaving opals in a dry safe for months, because extreme dryness can dull them; wearing them regularly actually keeps them happy.
9. Wipe Emeralds With a Damp Cloth and Skip the Soak
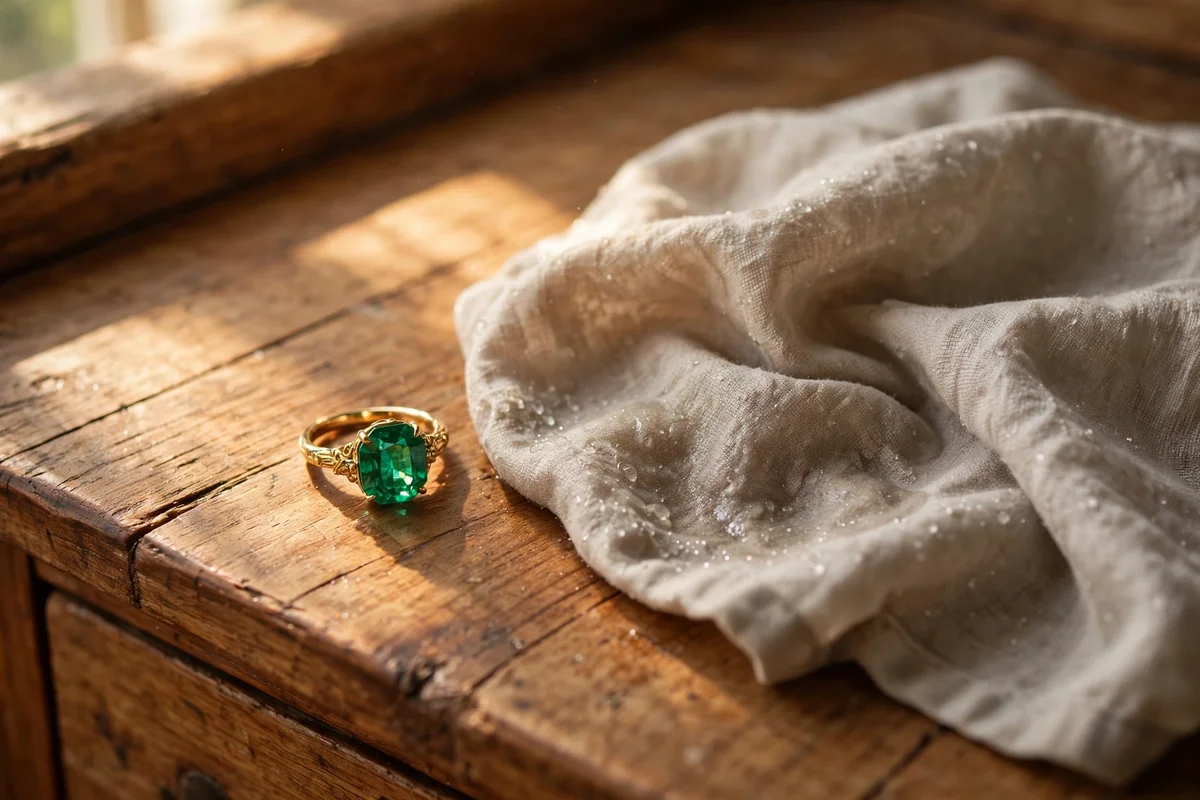
Most emeralds carry tiny natural inclusions and are often treated with oils to improve their clarity, so soaking can draw that oil out and leave the stone cloudy. The safe routine is a soft cloth barely dampened with plain lukewarm water, wiped over the stone and its setting for one to two minutes. Use gentle circular motions and almost no pressure, letting the damp cloth lift surface dust and fingerprints from the table of the gem.
Dry the emerald immediately with a second soft cloth and inspect it in daylight for any change in clarity. Never use soap, steam, hot water or ultrasonic cleaners on emeralds, and keep them away from the baking soda paste used for silver. The mistake to avoid is treating an emerald like a diamond; what revives a hard stone can ruin a soft one. Wipe emerald pieces after every few wears.
10. Refresh Silver Earrings With Baking Soda Paste on Creases
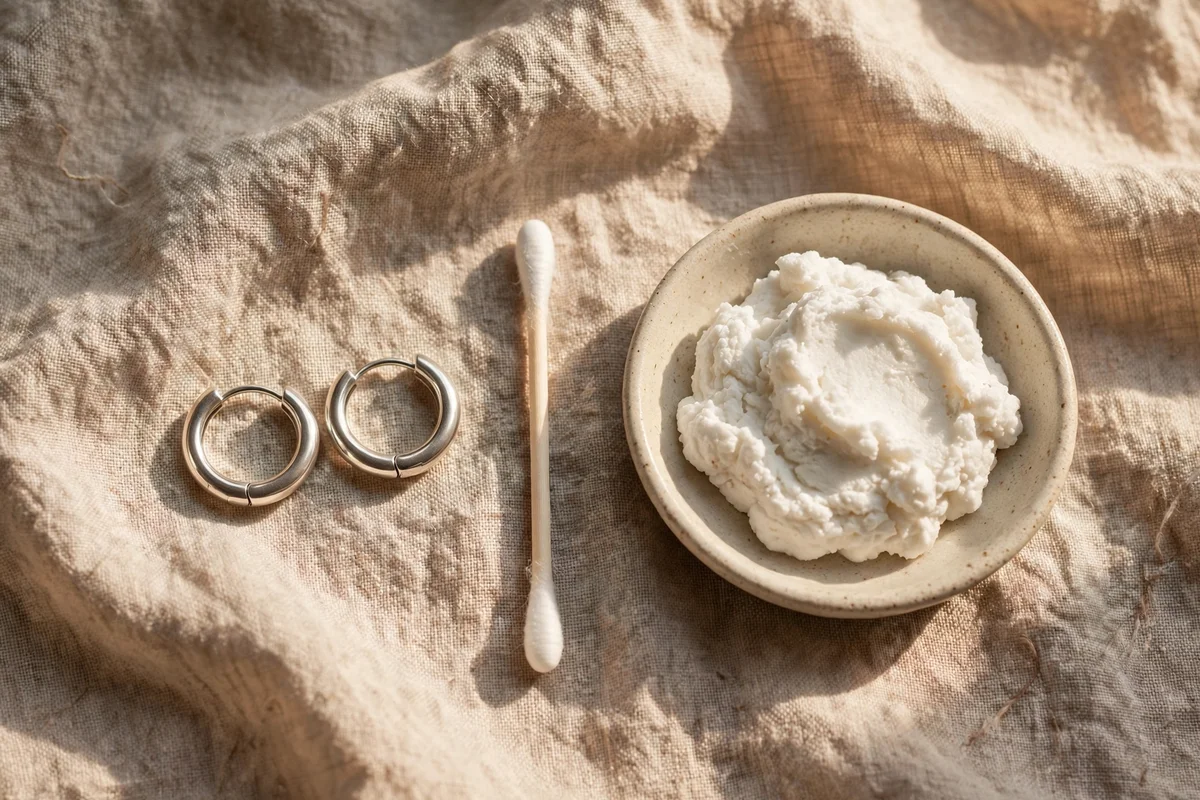
Silver earrings tarnish fastest in their creases, around posts, hinges and textured backs where cloths cannot reach. Mix one teaspoon of baking soda with a few drops of water into a thick paste, pick up a little on a cotton bud, and work it into each crease with gentle rolling motions for about a minute per earring. The cotton bud gives you precision without scratching the surrounding metal, and the paste lifts the dark lines that make earrings look tired.
Rinse each earring under lukewarm water, pat dry with a soft cloth and let them air dry for ten minutes before storing. This suits plain silver studs, hoops and drops, but skip it for earrings with pearl, opal or glued stone accents. The mistake to avoid is using a hard brush on textured silver, which flattens the fine detail. Two minutes per pair keeps earrings bright.
11. Line a Small Bowl With Foil for the Classic Silver Dip
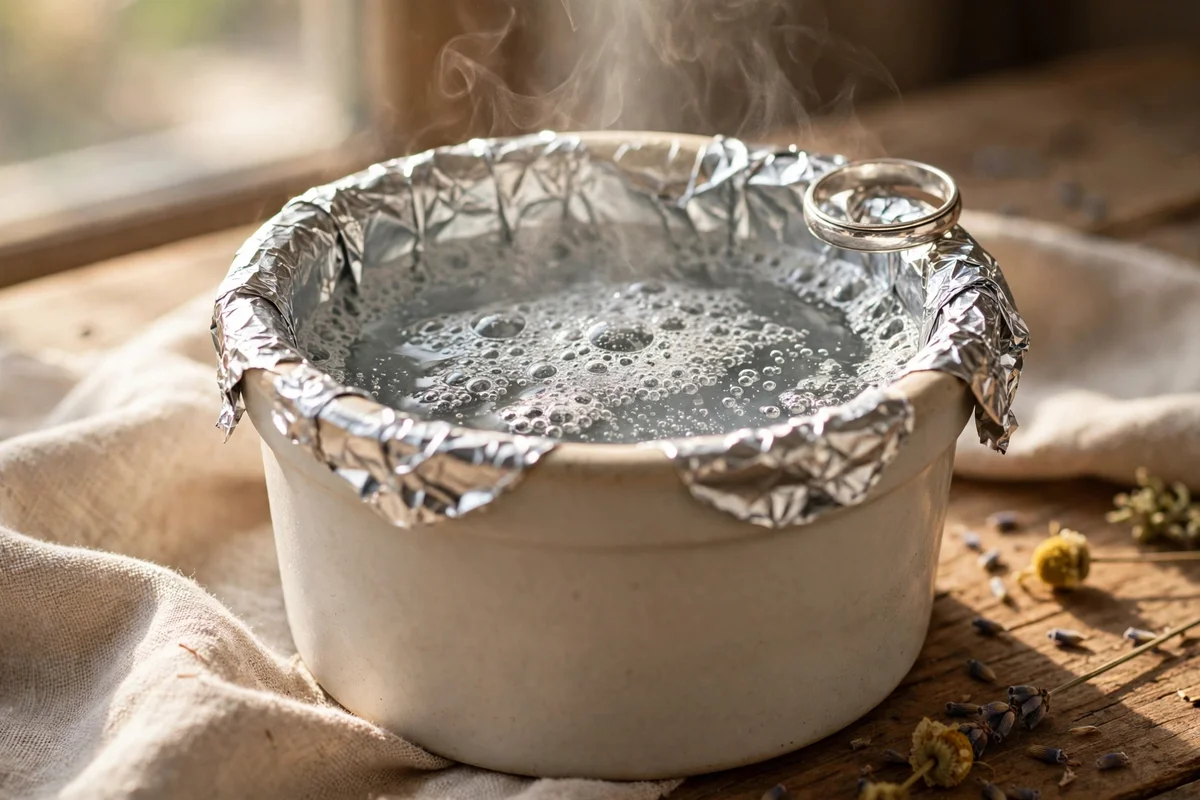
If the full hot bath feels like too much, a smaller foil dip handles one or two pieces at a time with less fuss. Line a teacup or ramekin with a small square of aluminium foil, add one teaspoon of baking soda, and pour in half a cup of hot water at about 60 degrees. Place a single silver ring or pendant so it rests on the foil, and watch for three to five minutes as the tarnish fades without any scrubbing at all.
Remove the piece with clean tweezers, rinse it well under lukewarm water and dry it on a soft cloth. Use a fresh piece of foil and a fresh solution for each session, since the foil becomes spent after one use. The mistake to avoid is crowding several pieces into a tiny cup, because silver that does not touch the foil will not clean. This dip is perfect for a quick refresh before an occasion.
12. Air Dry Jewelry on a Clean Linen Cloth After Rinsing
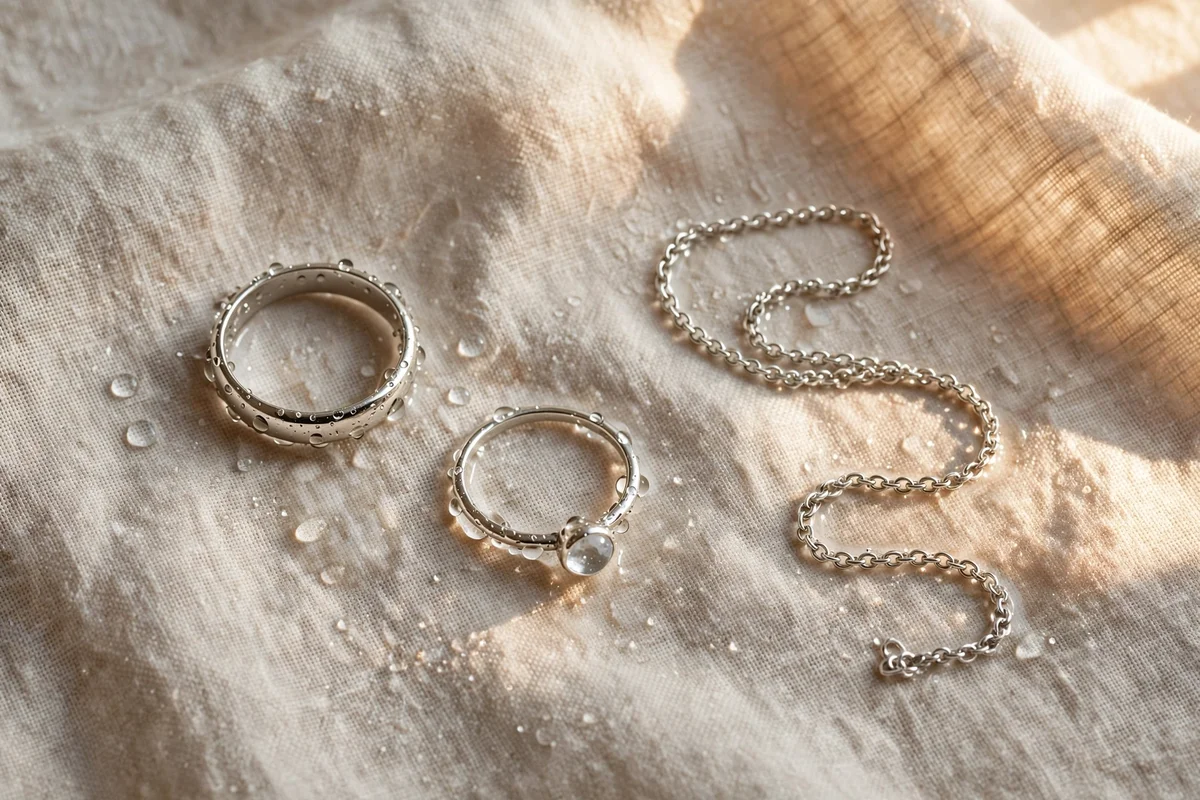
Proper drying matters as much as the cleaning itself, because trapped moisture dulls metal and invites new tarnish. After any rinse, lay each piece separately on a clean, dry linen or cotton cloth in a well ventilated spot away from direct sun. Give rings and pendants at least fifteen minutes, and chains a full thirty, turning them once halfway through so no water hides in clasps or behind settings. Linen absorbs quickly and leaves no lint behind.
Never use a hair dryer or a radiator to hurry the process, since heat can loosen glue and stress soft stones. Keep a dedicated drying cloth that you wash regularly without fabric softener, which can leave a film on metal. The mistake to avoid is stacking wet pieces together, because they scratch each other while drying. Patient air drying keeps every finish clear and bright.
13. Buff Gold and Silver With a Soft Microfiber Polishing Cloth
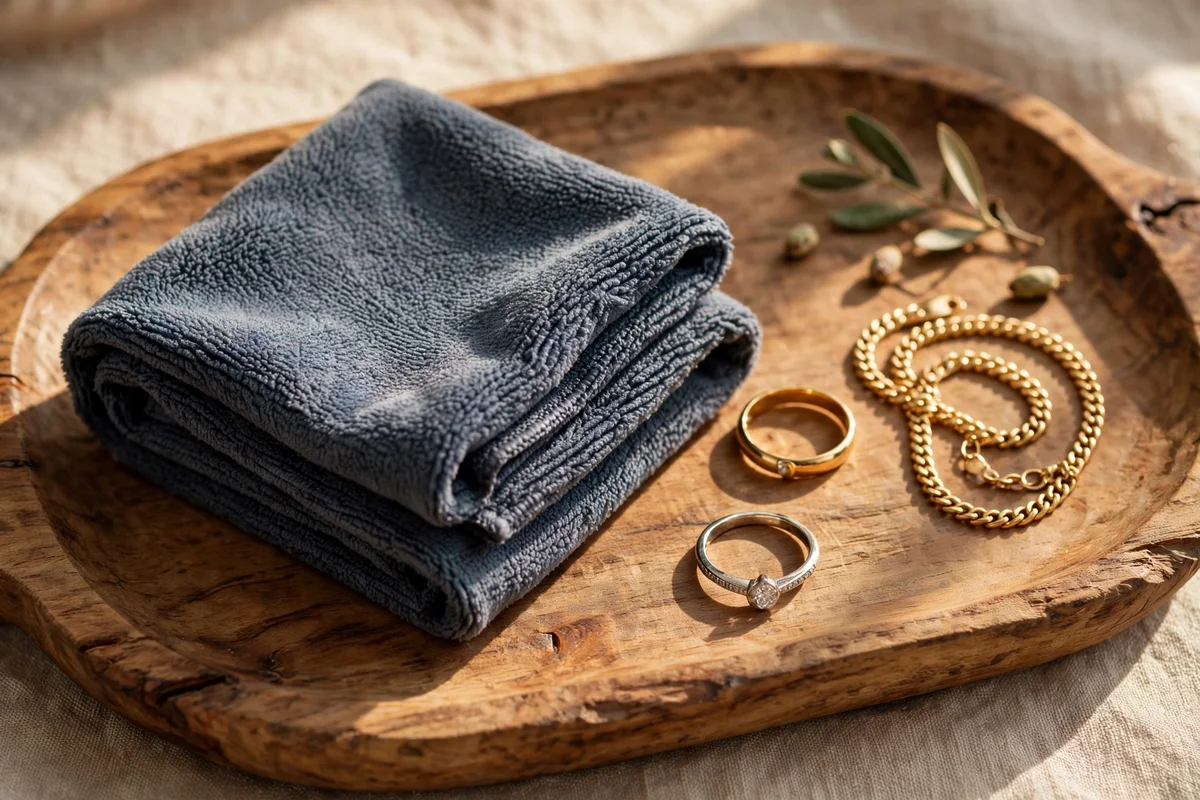
A dry microfiber cloth is the simplest finishing tool in jewelry care, and it suits almost every piece you own. After cleaning and full drying, hold the piece in the cloth and buff with long, gentle strokes for one to two minutes, turning the cloth to a fresh area as it picks up residue. The fine fibres lift the last traces of film and bring up a soft, even shine on gold and silver alike. Keep one cloth for gold and one for silver to avoid cross transfer of tarnish.
Wash your polishing cloths every few months in warm water with a little mild soap, then rinse well and air dry, because a dirty cloth can scratch. Replace a cloth once it feels thin or gritty. The mistake to avoid is using paper towels or tissues for buffing, since their wood fibres leave fine scratches on polished metal. A good cloth costs little and lasts for years.
14. Store Silver in Anti Tarnish Pouches With Tissue Separators
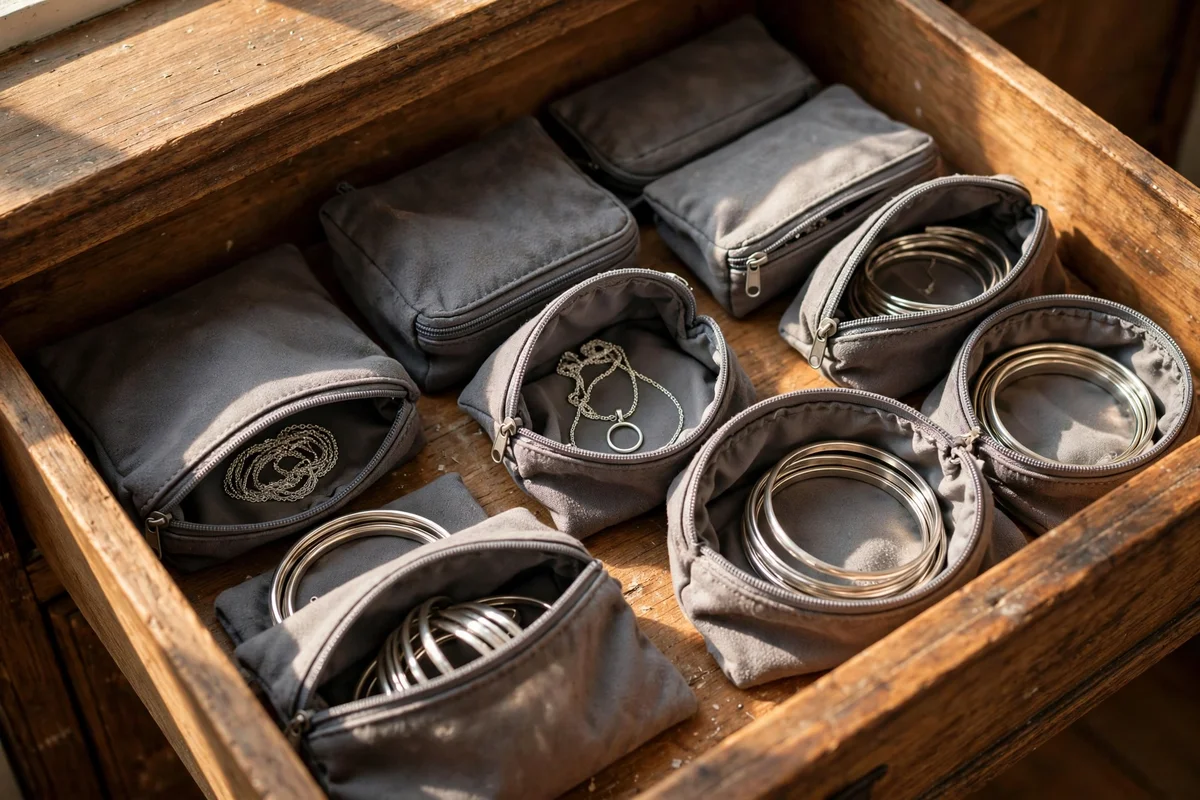
Silver tarnishes on contact with air and sulphur, so smart storage does half the cleaning work for you. Place each silver piece in its own anti tarnish pouch or a small zip bag with a piece of acid free tissue between items. These pouches contain treated fibres that absorb the gases causing tarnish, and they keep pieces from scratching each other. A set of ten pouches costs only a few pounds or dollars and lasts for years.
Store the pouches in a cool, dry drawer away from bathrooms and kitchens, where humidity and cooking fumes speed up tarnish. Add a small silica gel sachet to the drawer for extra moisture control, replacing it every six months. The mistake to avoid is tossing all your silver into one box, where pieces knock together and tarnish faster. Good storage means you clean half as often.
15. Keep Pearls in Soft Cloth Bags Away From Hard Stones
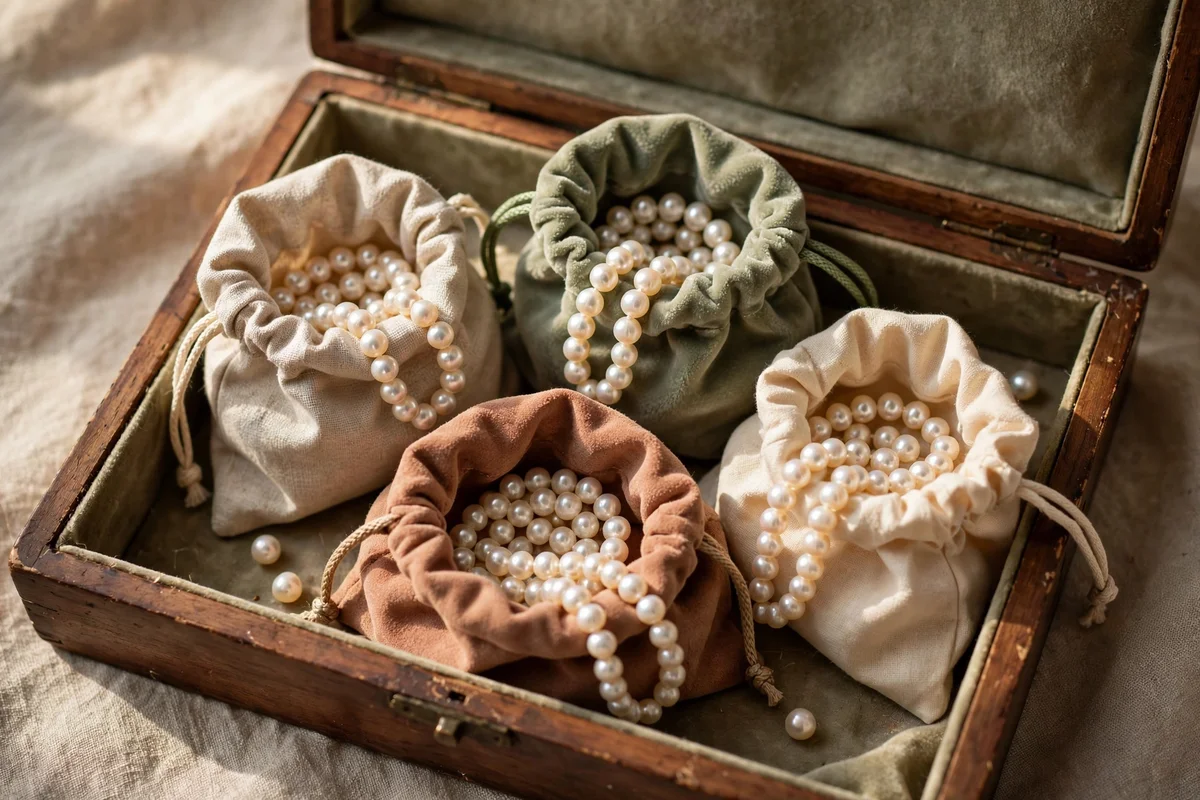
Pearls scratch easily against diamonds, metal edges and even other pearls, so they deserve their own quiet corner of your jewelry box. Slip each strand or pair of pearl earrings into a separate soft cotton or flannel bag, and keep those bags in a compartment away from hard gemstones and chains. The fabric cushions the nacre and blocks the light abrasion that slowly dulls a pearl’s lustre over the years.
Never store pearls in plastic bags, because trapped moisture can harm both the nacre and the silk thread. Lay strands flat rather than hanging them, so the silk never stretches under weight. The mistake to avoid is dropping pearls into a shared dish by the sink, where one knock against a diamond ring can chip the surface. A little separation keeps pearls glowing for decades.
16. Use a Small Soft Brush for Settings and Prongs
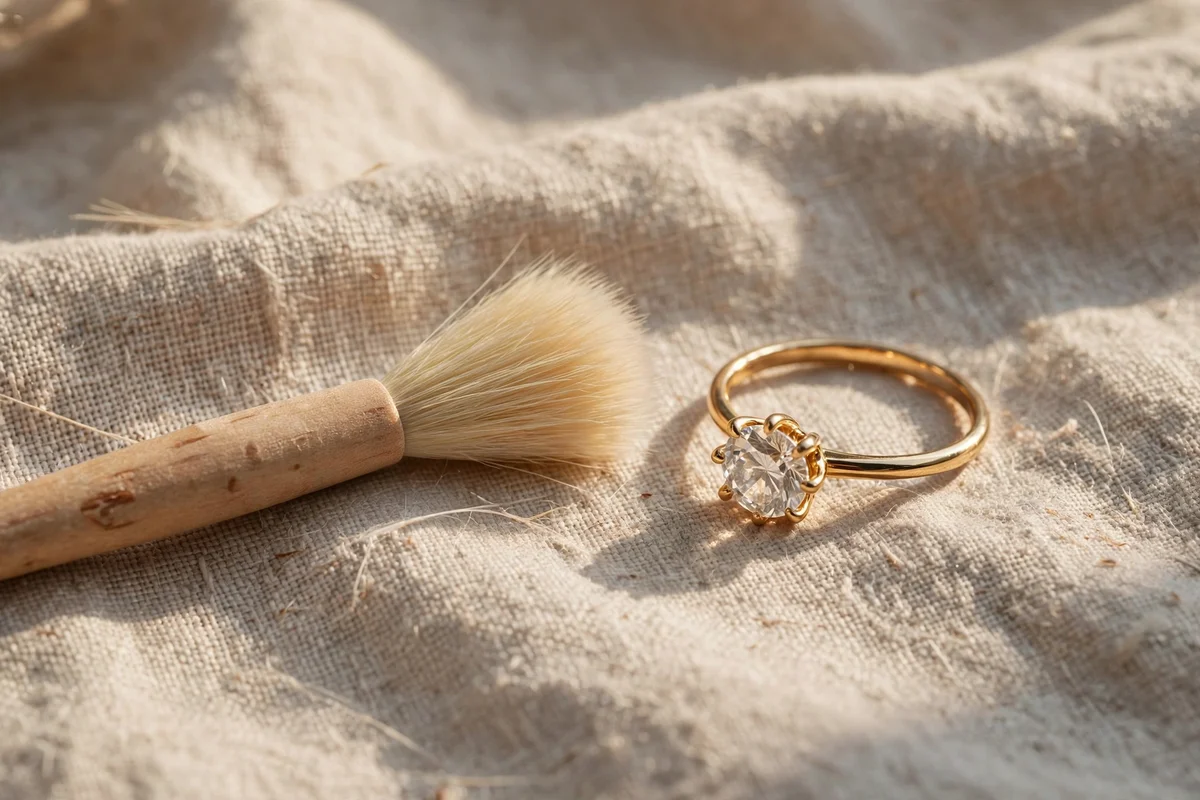
Dirt hides where metal meets stone, and a small soft brush is the only tool that reaches those tight corners safely. Choose a baby toothbrush or a dedicated jewelry brush with soft bristles, dip it in warm soapy water, and stroke gently around prongs, under gallery rails and along bezel edges for about a minute per piece. Short, light strokes flick grime out without bending the delicate metalwork that holds your stones.
Rinse the piece under lukewarm water and check the prongs with a magnifier while it is clean, because loose prongs show up best on a bright stone. Replace your brush every three to four months, since worn bristles splay and lose their precision. The mistake to avoid is pressing hard on prongs, which can bend them and loosen the stone. Gentle, regular brushing keeps settings secure and sparkling.
17. Refresh Gemstones With a Short Soak and Cool Rinse
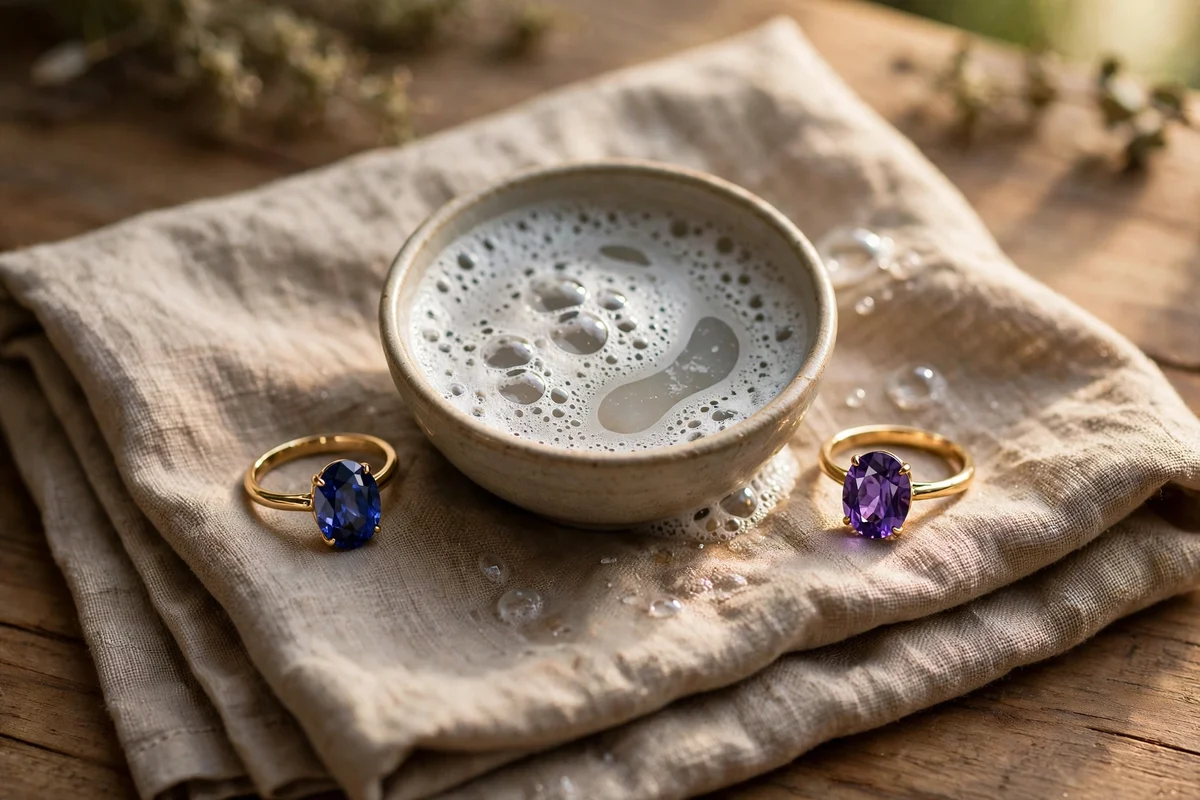
Hard gemstones such as sapphire, ruby, amethyst and topaz respond well to a short soap soak finished with a cool rinse. Mix one cup of warm water with three drops of mild dish soap, soak the piece for ten minutes, then lift it out and rinse under cool running water for thirty seconds. The cool finish tightens nothing in the metal but leaves the stone crisp and clear, and the short timing keeps even sturdy pieces from unnecessary exposure.
Dry the gemstone on a lint free cloth and buff lightly with microfiber for a final gleam. This routine suits most faceted hard stones in gold or silver settings, but keep it away from opal, pearl, emerald, turquoise and any glued costume pieces. The mistake to avoid is extending the soak past twenty minutes, which adds no extra cleaning and only risks settings. Ten minutes is the sweet spot.
18. Never Use Bleach or Toothpaste on Fine Jewelry
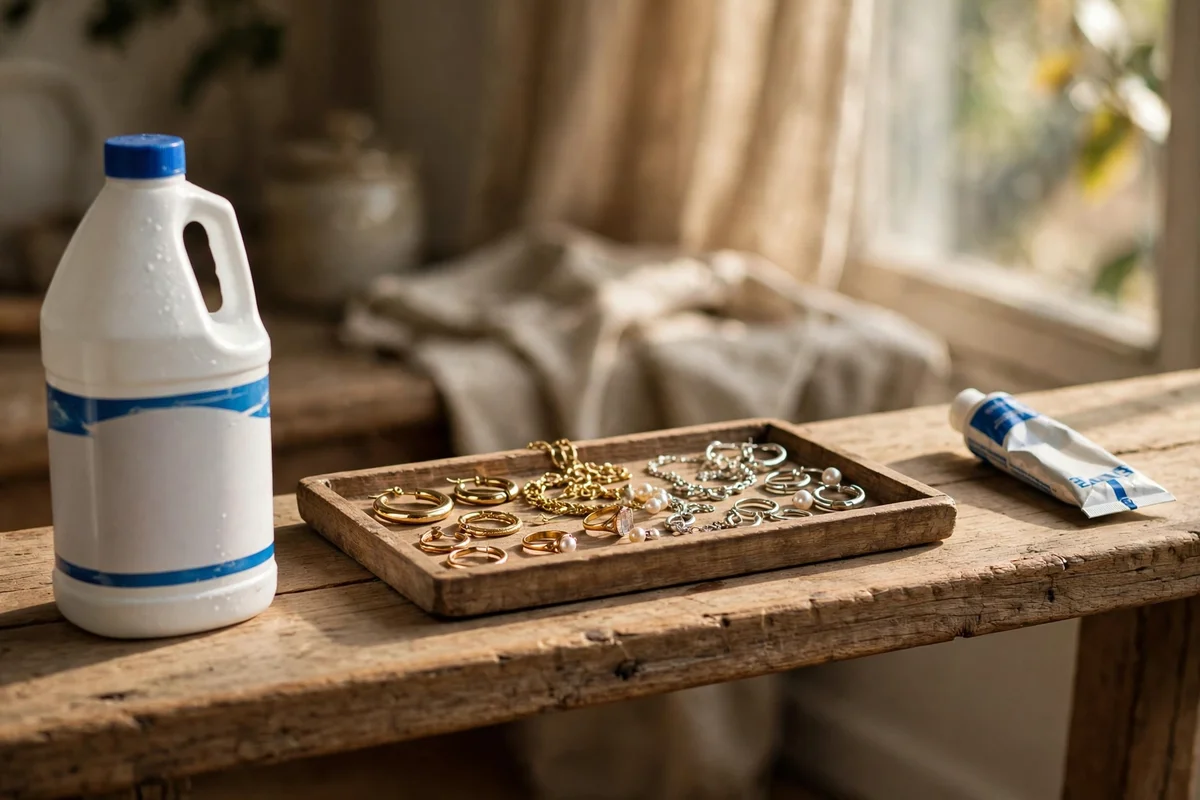
Two common household cleaners cause real damage to fine jewelry, and both deserve a firm warning. Bleach and chlorine break down gold alloys, pit the surface and can dissolve the solder in chains and prongs, sometimes within a single soak. Toothpaste, despite its popularity online, contains abrasives designed for enamel that leave fine scratches across polished gold, silver and soft gemstones, dulling the finish permanently.
If a piece has touched bleach, rinse it at once under plenty of lukewarm water and dry it thoroughly, then have a jeweller check the settings. For everyday cleaning, mild dish soap and water do the whole job safely. The mistake to avoid is trusting viral cleaning hacks without checking what they do to metal; a two minute search or a quick question to a jeweller saves pieces that took years to collect.
19. Avoid Vinegar, Lemon and Hot Water on Pearls and Opals
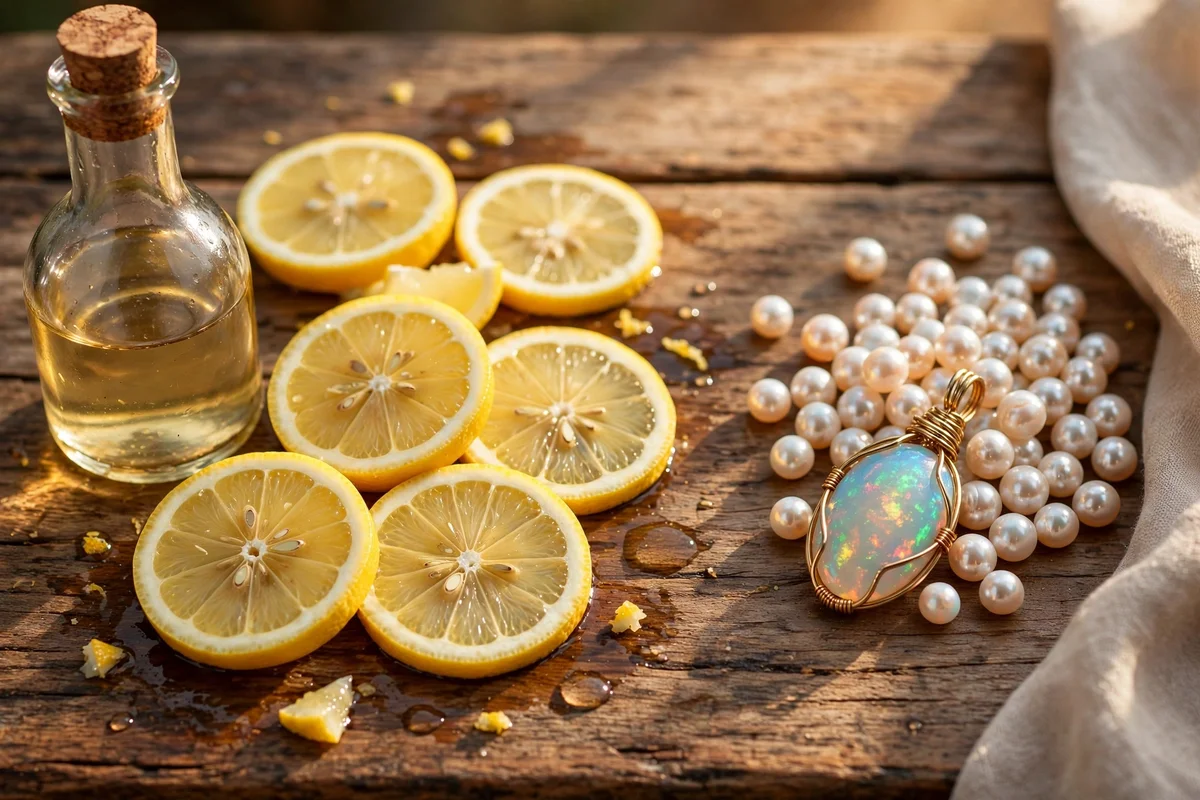
Acids that clean kettles and taps have no place near soft organic gems. Vinegar and lemon juice etch the nacre of pearls, leaving a chalky roughness that no polishing can reverse, and they can dull opal surfaces and seep into their porous bodies. Hot water brings its own risk: it expands the silk in pearl strands, stresses glue in settings and can crack opals that dislike sudden temperature change.
Keep a simple rule on your cleaning shelf: acids and heat are for the kitchen, never for the jewelry box. Plain lukewarm or room temperature water with a soft cloth handles pearls and opals completely. The mistake to avoid is assuming that natural cleaners are automatically gentle; lemon is natural and still ruins pearls. When in doubt, choose the mildest method first.
20. Set Up a Small Drying Tray With Cloths and a Soft Brush
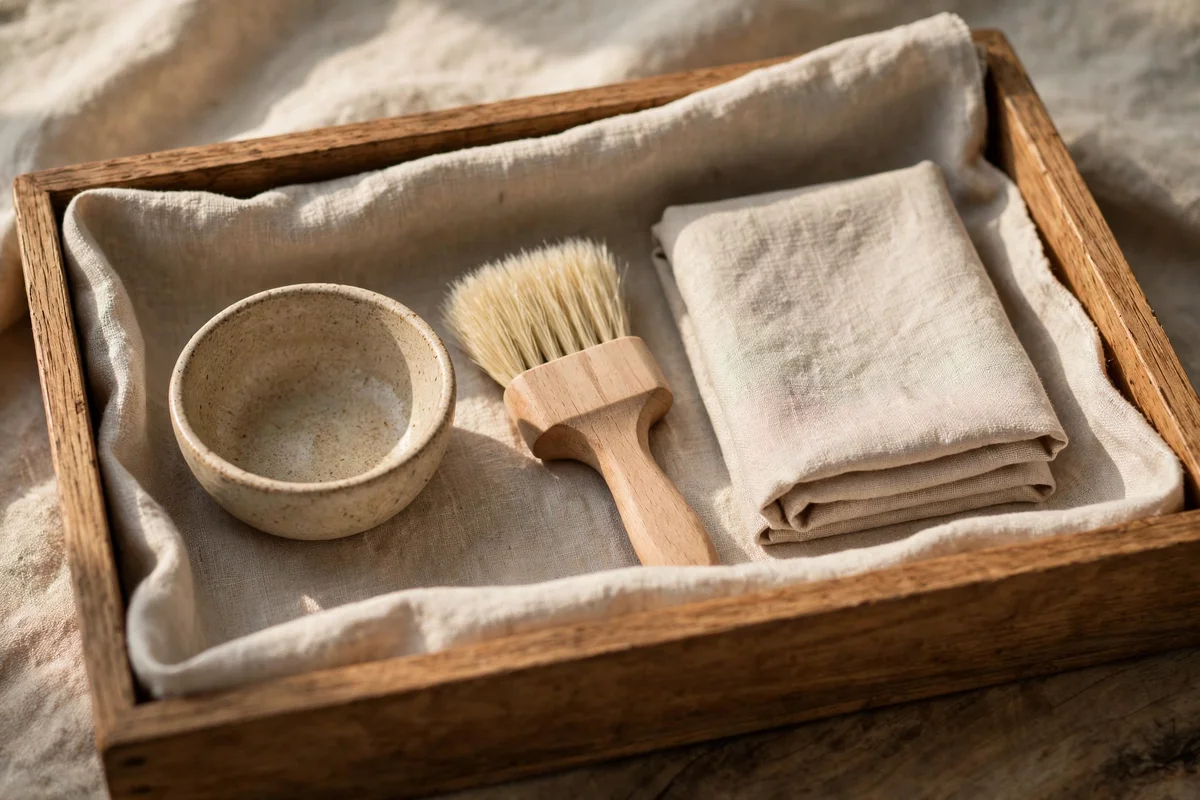
A dedicated cleaning tray turns jewelry care from a chore into a calm little ritual. Choose a shallow tray about 25 by 35 cm, line it with a clean linen cloth, and keep your soft brush, microfiber cloth and a small bowl on it permanently. When a piece needs attention, everything is already to hand, and the tray catches every drop of water so your table stays dry. A wooden or ceramic tray suits the purpose and looks pleasant on a dresser.
Wash the tray cloth weekly without fabric softener and replace it when it thins, since a worn cloth sheds lint onto wet metal. Keep the tray away from direct sunlight and out of reach of small children. The mistake to avoid is cleaning jewelry over an open sink without a tray or a plugged drain, because one slip can send a ring down the pipes. This small station costs almost nothing and protects everything.
Twenty small recipes, one shared spirit: treat each piece according to what it is made of, use the mildest method that works, and dry everything with patience. Gold and diamonds forgive a warm soap soak, silver answers to baking soda and foil, and pearls, opals and emeralds ask only for a soft cloth and plain water. The cleaners that damage jewelry, bleach, toothpaste, vinegar and harsh heat, are simply never needed.
This week, try the easiest one first: the warm dish soap soak for a plain gold ring or silver chain. Fifteen minutes, three drops of soap, one soft cloth, and you will see the honest shine return. Once you have felt how simple it is, set up your little drying tray and make gentle cleaning a monthly habit your jewelry will thank you for.
Frequently Asked Questions
Can I clean gold and silver jewelry with just dish soap and water?
Yes, for most pieces this is the safest routine. Use one cup of warm water with two or three drops of mild dish soap, soak for ten to twenty minutes, rinse under lukewarm water and dry on a soft cloth. It suits plain gold, silver and hard gemstones, but keep pearls, opals and emeralds to a damp cloth wipe only.
How does the baking soda and foil bath clean silver?
The foil, baking soda, salt and hot water create a gentle chemical exchange that moves tarnish from the silver onto the aluminium foil. Line a bowl with foil shiny side up, add one tablespoon of baking soda and one teaspoon of salt per two cups of hot water, and rest the silver on the foil for five to ten minutes. Rinse and dry afterwards.
What should I never use on pearls?
Never use soap soaks, vinegar, lemon juice, bleach, toothpaste, hot water, steam or ultrasonic cleaners on pearls. These damage the nacre, weaken the silk thread or etch the surface permanently. Wipe pearls with a soft cloth barely dampened with plain lukewarm water, lay the strand flat to dry, and store it in its own soft bag.
How often should I clean the jewelry I wear every day?
Give daily wear rings and chains a quick soap soak every two to four weeks, and wipe pearls with a damp cloth after each wearing. A one minute buff with a microfiber cloth once a week keeps everything bright between deeper cleans. Pieces stored in anti tarnish pouches need attention far less often, sometimes only twice a year.
How do I stop silver from tarnishing so quickly?
Store each silver piece in its own anti tarnish pouch or zip bag with acid free tissue, in a cool dry drawer away from bathrooms and kitchens. Add a silica gel sachet and replace it every six months. Always dry silver fully after cleaning, since trapped moisture speeds tarnish, and wear pieces regularly because gentle friction slows it too.