DIY Projects
20 Homemade Shower Cleaner Recipes That Leave Bathrooms Fresh and Sparkling
By Anna Wells · · 18 min read
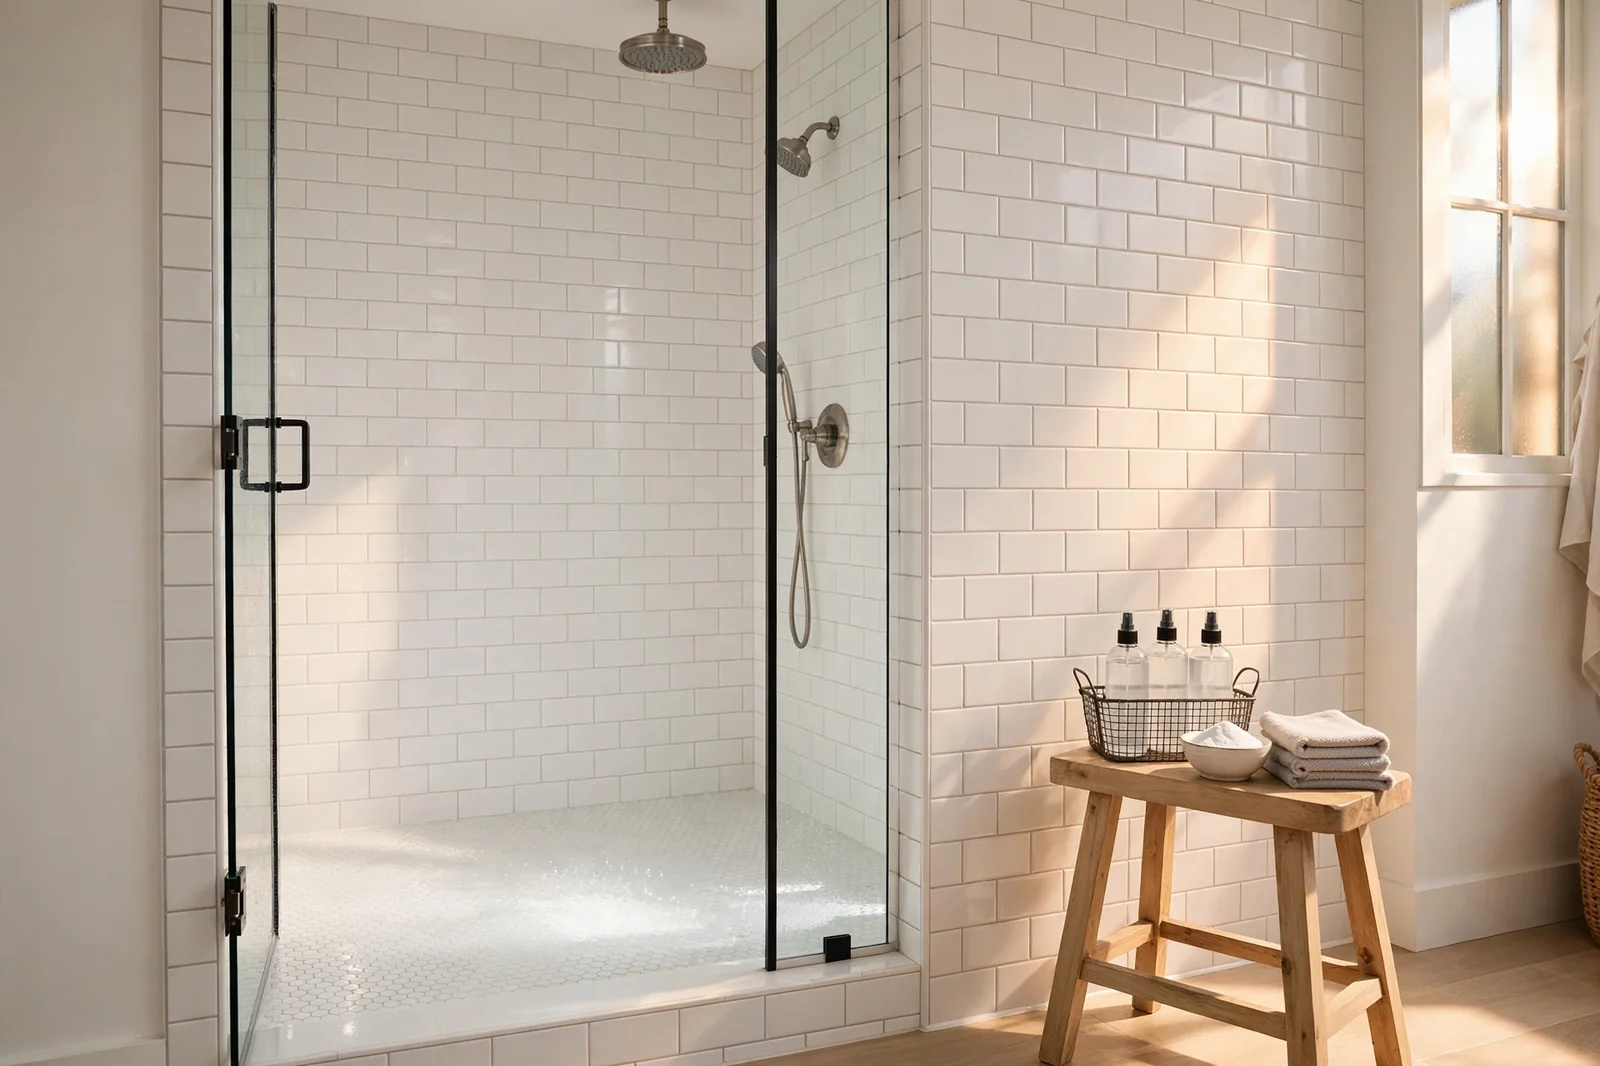
A sparkling shower comes from matching each homemade mixture to the surface in front of you, tile, glass, stone or acrylic, and letting simple ingredients do patient, specific work.
Showers collect a particular mixture of soap film, body oils, shampoo residue, and chalky minerals, and each part of that mixture answers to a different ingredient. That is why one miracle spray never quite works, and why a small shelf of simple, well labelled homemade mixtures works so much better. Match the recipe to the surface, and cleaning stops being a battle.
Three safety habits come before every recipe in this article. Patch test a new mixture on a hidden spot first. Open a window or run the fan, and wear gloves for anything stronger than soap and water. Most importantly, never mix bleach with vinegar, lemon, any acid, or ammonia, and never spray one cleaner over another. One mixture, rinsed away, then the next if needed.
1. Gentle Dish Soap Mist for After Every Shower
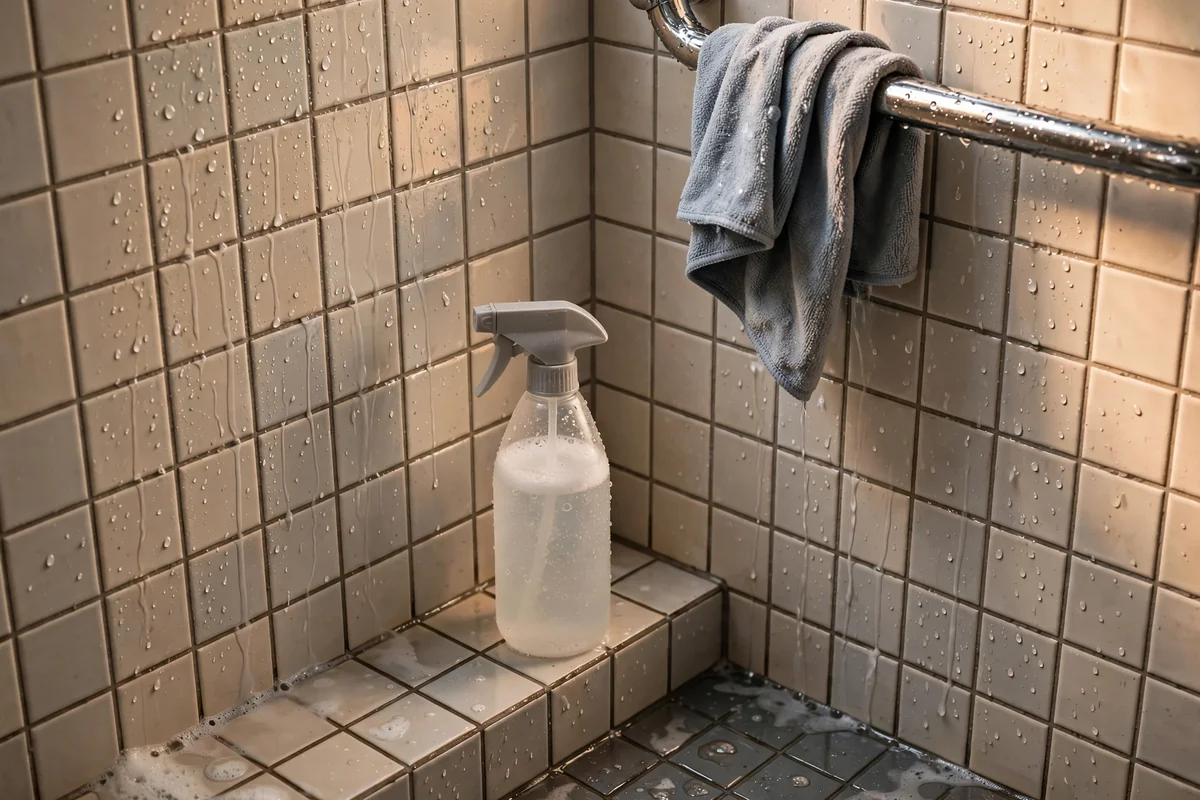
Stir one teaspoon of mild dish soap into 500 millilitres of warm water in a spray bottle, turning the bottle gently rather than shaking it into foam. This is the kindest mixture in the article, a daily maintenance mist that lifts fresh body oils and shampoo film before they can set into visible grime on tile, glass, and fixtures.
Mist the walls and door while the shower is still warm and damp from use, wait five minutes, wipe with a damp microfiber cloth, and rinse. Used two or three times a week, this gentle spray prevents almost everything else in this article from ever being needed. Rinse well, because leftover soap film is itself a dirt magnet.
2. Warm Bucket Wash for Marble and Other Natural Stone
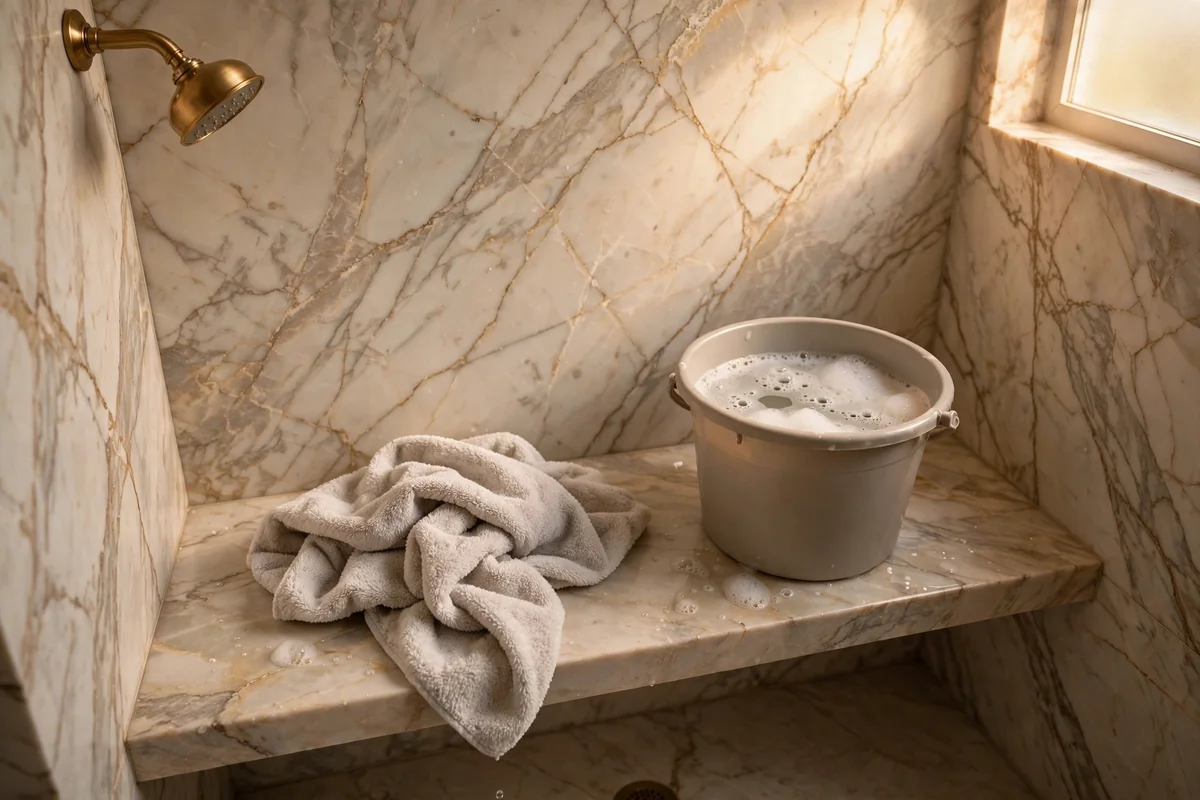
Natural stone plays by different rules: marble, travertine, limestone, and terrazzo can be etched permanently by acids, so their recipe contains no vinegar and no lemon at all. Fill a bucket with four litres of warm water and add one teaspoon of mild dish soap, no more, and stir until it barely suds.
Dip a soft microfiber cloth, wring it well, and wash one small section at a time. Rinse each section with a second cloth dampened in plain water, then dry it straight away with a towel so minerals never sit and mark the surface. If a patch stays dull after this gentle wash, stop and seek stone care advice rather than reaching for something stronger.
3. Half and Half Vinegar Spray for Glazed Tile Haze
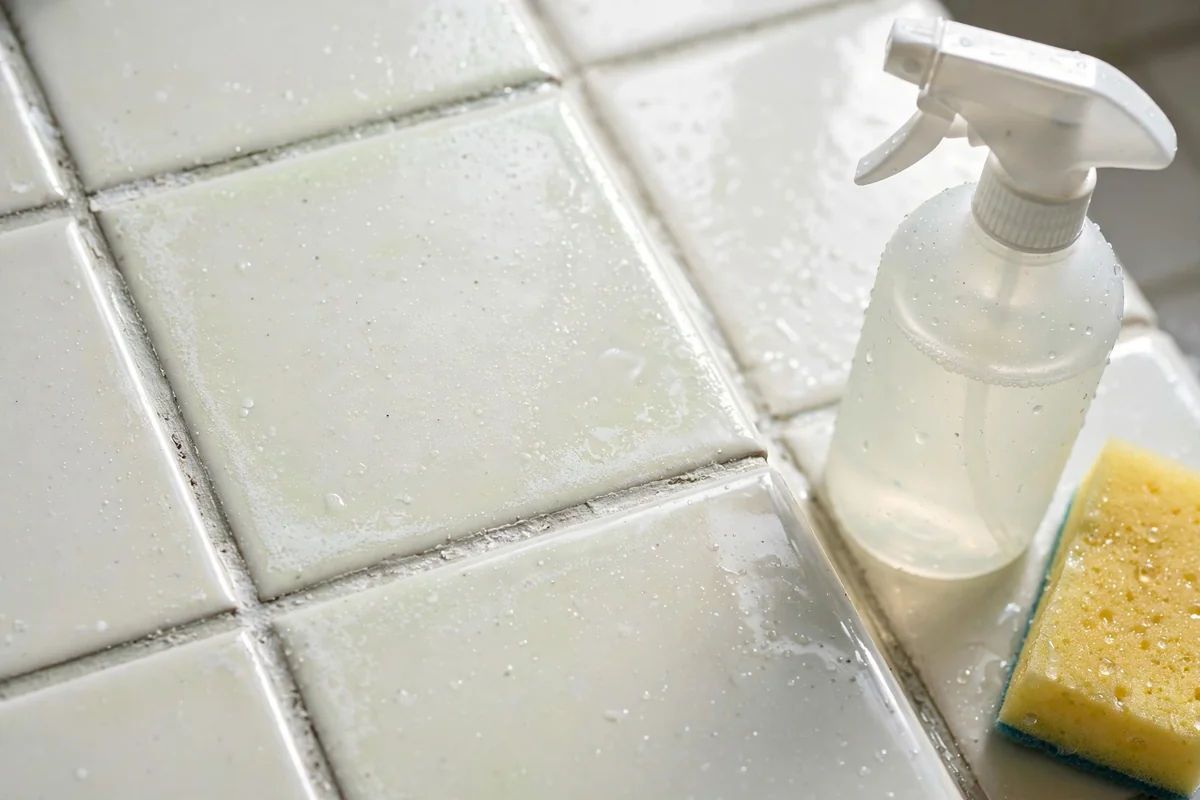
That chalky white haze on glazed ceramic and porcelain tile is alkaline mineral deposit, and a mild acid is its natural opponent. Pour 250 millilitres of white vinegar and 250 millilitres of water into a spray bottle, use it only on glazed tile and compatible glass, and label the bottle clearly with its contents and the date.
Spray a small area, wait five to ten minutes, and no longer, then scrub lightly with a non scratch sponge and rinse thoroughly. Never let this spray dry on metal trim, and never use it on stone, cement tile, or worn grout. Open the window while you work, and rinse the surface well before any other cleaner comes near it.
4. Warm Vinegar and Soap Blend for Waxy Soap Scum
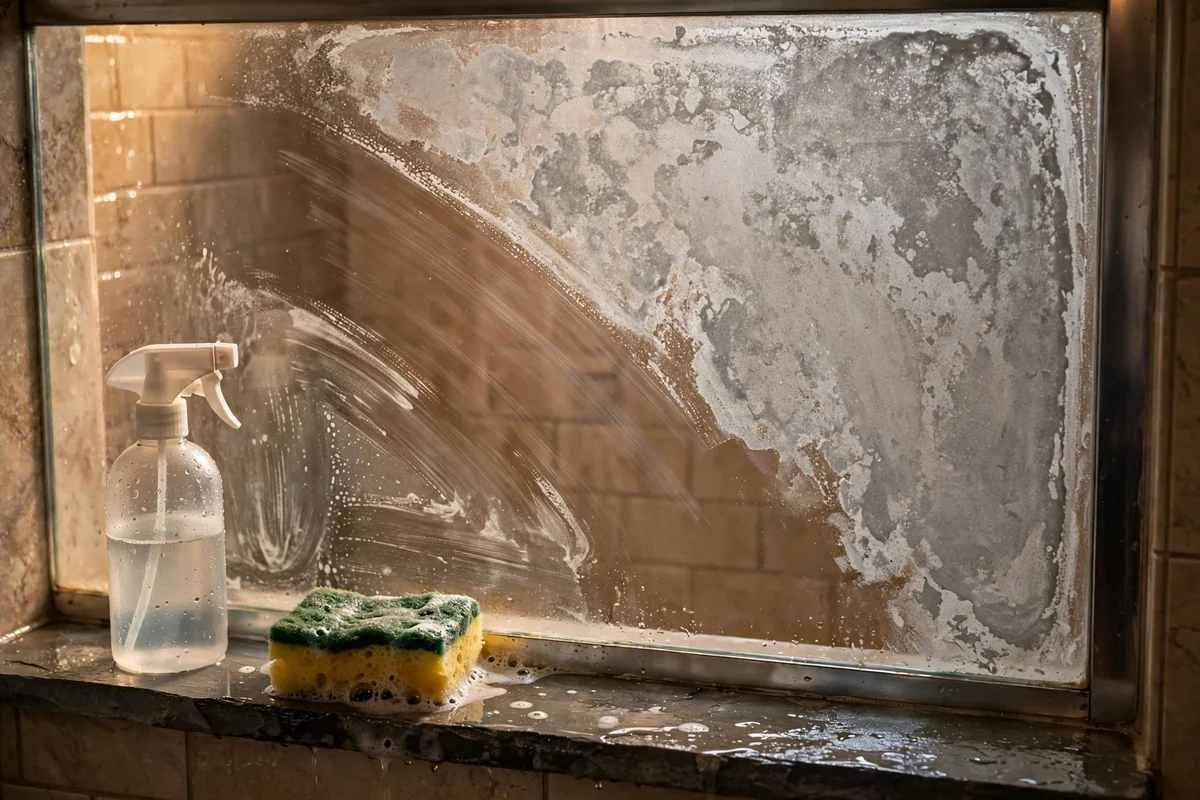
Soap scum is soap, body oil, and hard water minerals set together like wax, so it needs an acid and a surfactant working as a team. Warm 250 millilitres of white vinegar until just warm, pour it into a spray bottle with 250 millilitres of water, then add one teaspoon of dish soap slowly to avoid a bottle of bubbles.
Spray ceramic tile or plain shower glass generously, wait ten minutes, and loosen the film with a damp non scratch sponge. Rinse, then rinse again, until the surface no longer feels slippery under your palm. Keep this blend off stone and specialty coatings, patch test first, and never apply it over the top of any bleach based product.
5. Soft Baking Soda Paste for Textured Tile Pockets
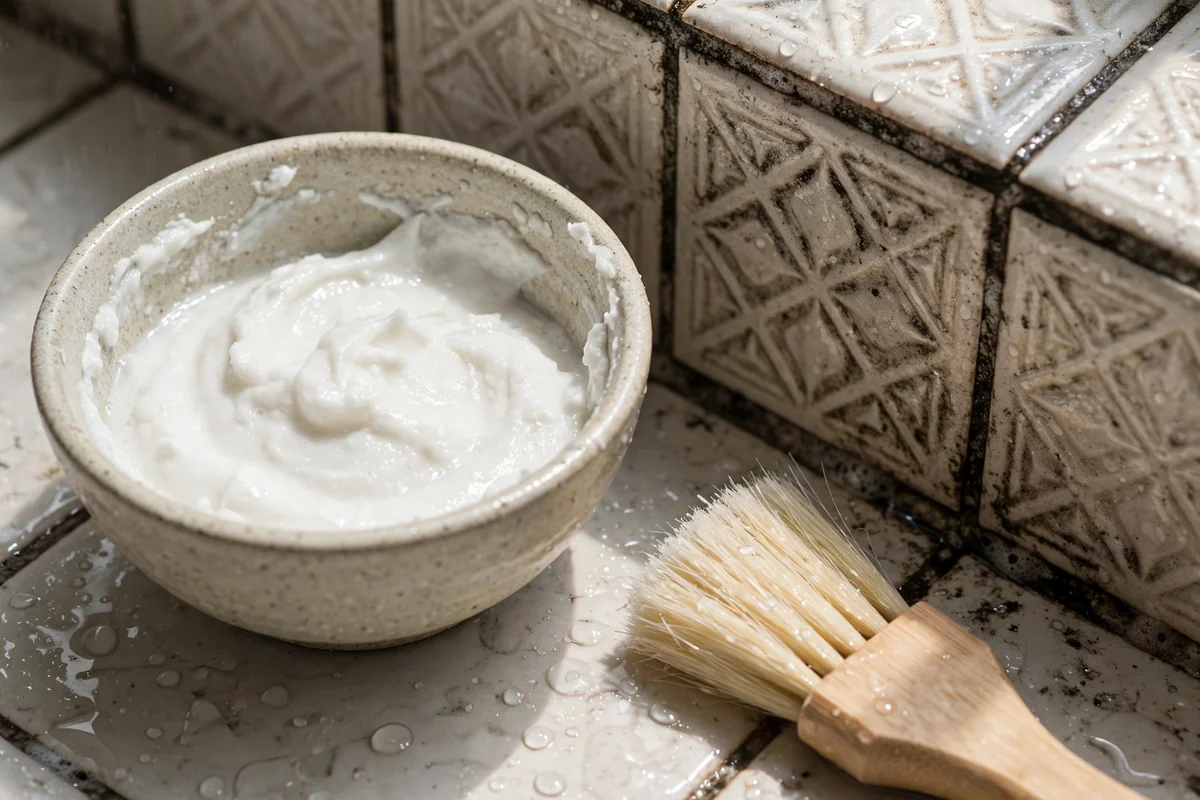
Textured and handmade look tiles trap grime in their little valleys where a flat cloth slides straight over. Stir three tablespoons of baking soda with just enough water to make a soft, spreadable paste, apply a thin layer with a damp cloth, and let it rest for five minutes on the worst patches.
Scrub gently with a soft nylon brush, following the texture rather than grinding against it, then rinse extremely well. Baking soda is a mild abrasive, so keep it away from polished stone, acrylic, fiberglass, and coated glass. Rinse twice: dried baking soda leaves a white haze of its own that looks remarkably like the dirt you just removed.
6. Baking Soda Cream Scrub for a Durable Tile Floor
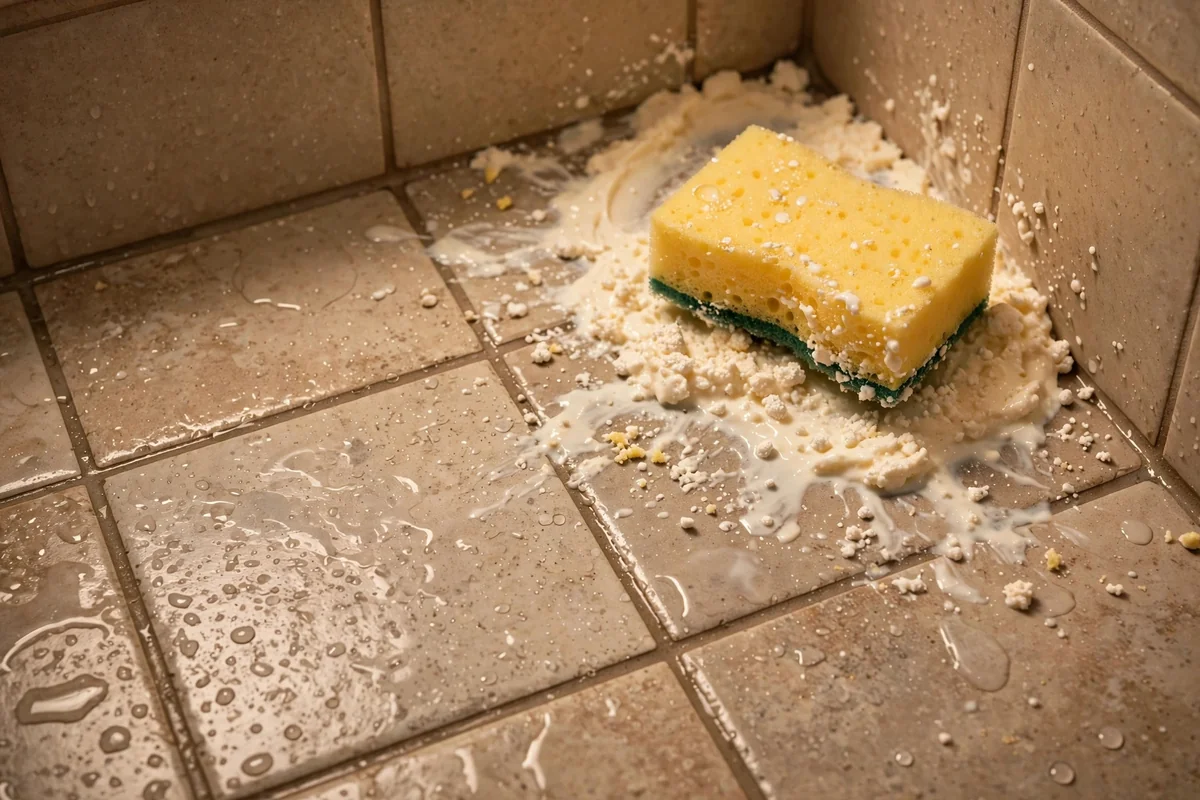
Shower floors collect the heaviest film, and a durable glazed tile floor can take a slightly stronger hand. Mix two tablespoons of baking soda with one teaspoon of dish soap and a splash of water to make a loose cream, then spread it over the floor with a damp non scratch sponge.
Work in small circles, giving corners and the ring around the drain extra attention, wait a few minutes, and rinse the whole floor thoroughly. Run your palm carefully over the surface to check for slippery residue, and rinse again if you find any. Never use this scrub on acrylic or fiberglass pans, and keep the shower out of use until the floor is rinsed and dry.
7. Low Foam Castile Wash for Ordinary Weekly Grime
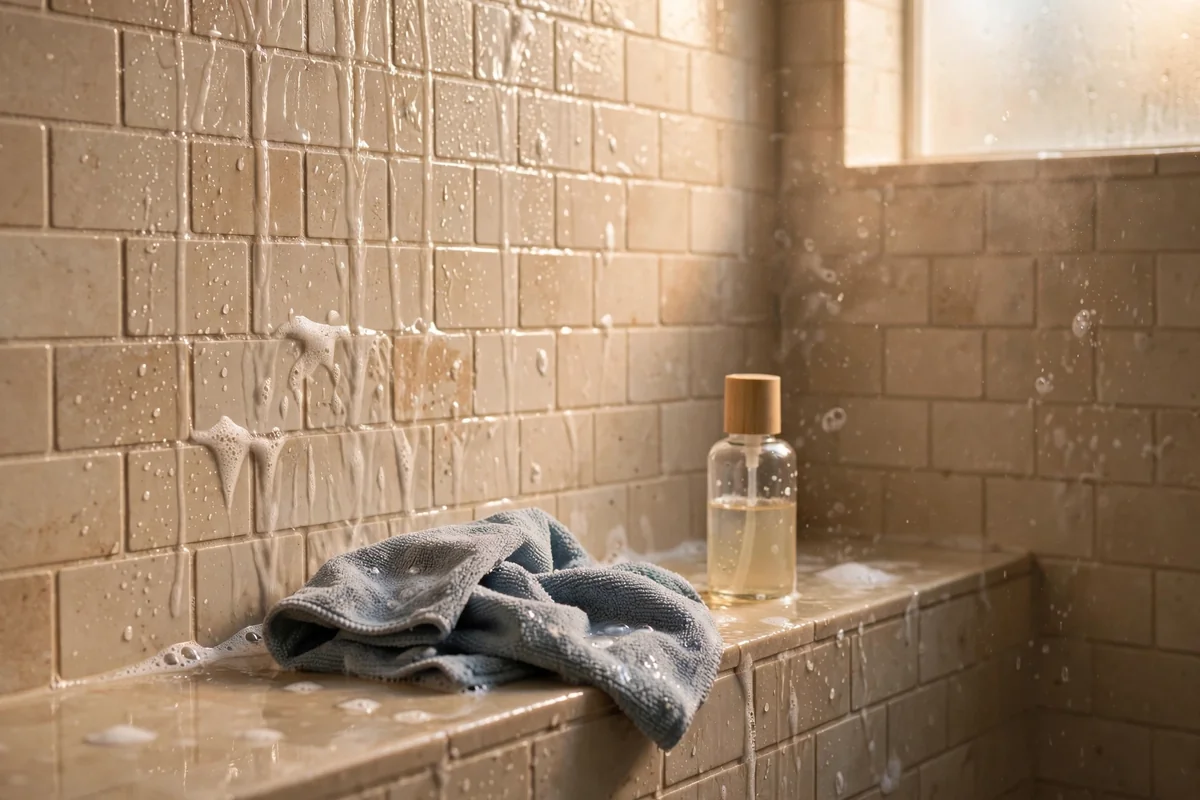
For the ordinary weekly wash, stir one teaspoon of unscented liquid castile soap into 500 millilitres of warm water and apply it with a microfiber cloth rather than a spray, which keeps the mixture exactly where you want it. It lifts light body oil and everyday film from tile and glass with very little foam and a neutral finish.
Respect castile soap’s one quirk: keep the measure small, because too much soap becomes its own filmy problem, especially in hard water. Never mix it in the same bottle as vinegar, since acid breaks castile soap down into a curdled white residue. Rinse the walls well and dry them with a clean towel for a calm, streak free result.
8. Fragrance Free Soap Spray for Scent Sensitive Homes
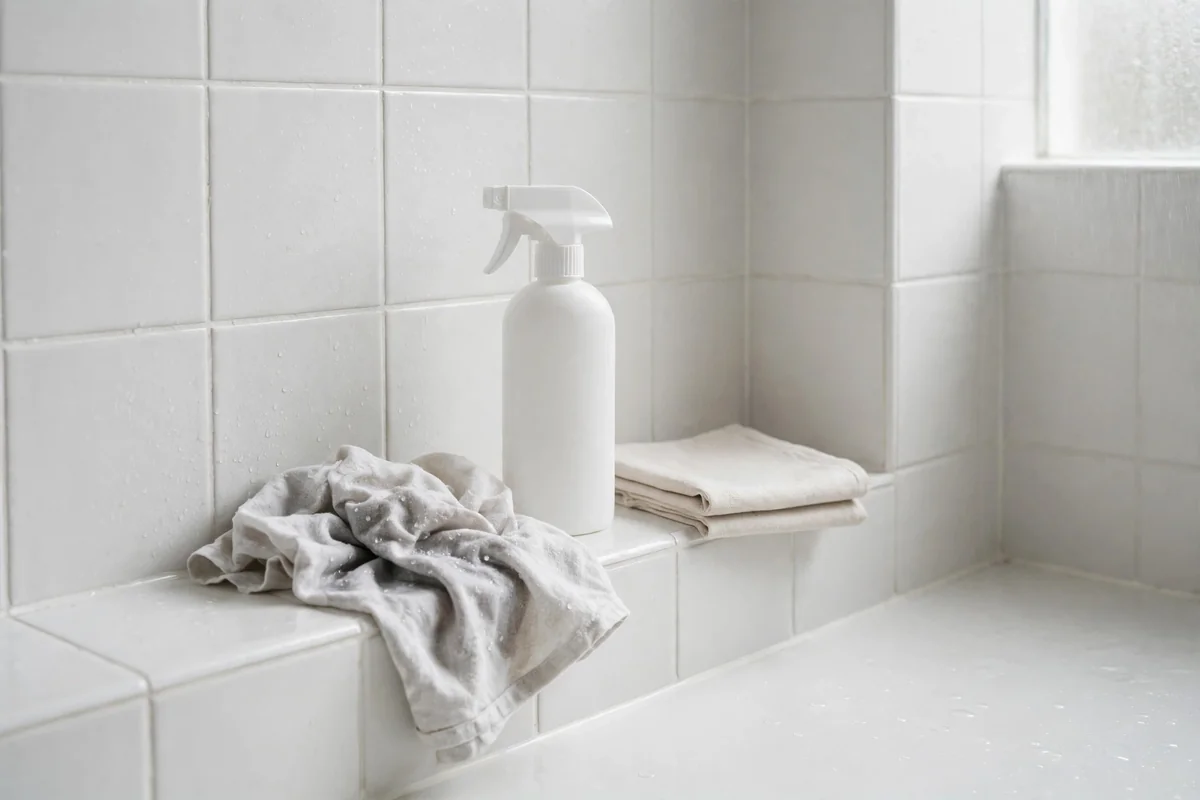
Some homes simply do better without fragrance, and a cleaner does not need a scent to prove it worked. Mix half a teaspoon of fragrance free dishwashing liquid into 500 millilitres of warm water, spray it onto your cloth rather than into the air, and wipe the enclosure down methodically from top to bottom.
Follow with a second cloth dampened in plain water only, because a thorough rinse is what actually leaves a bathroom smelling neutral and clean. Make this spray fresh every few days rather than storing a diluted batch for weeks, and skip essential oils entirely: they add residue and irritation without adding any cleaning power at all.
9. Diluted Lemon Spot Dab for a Single Chrome Mark
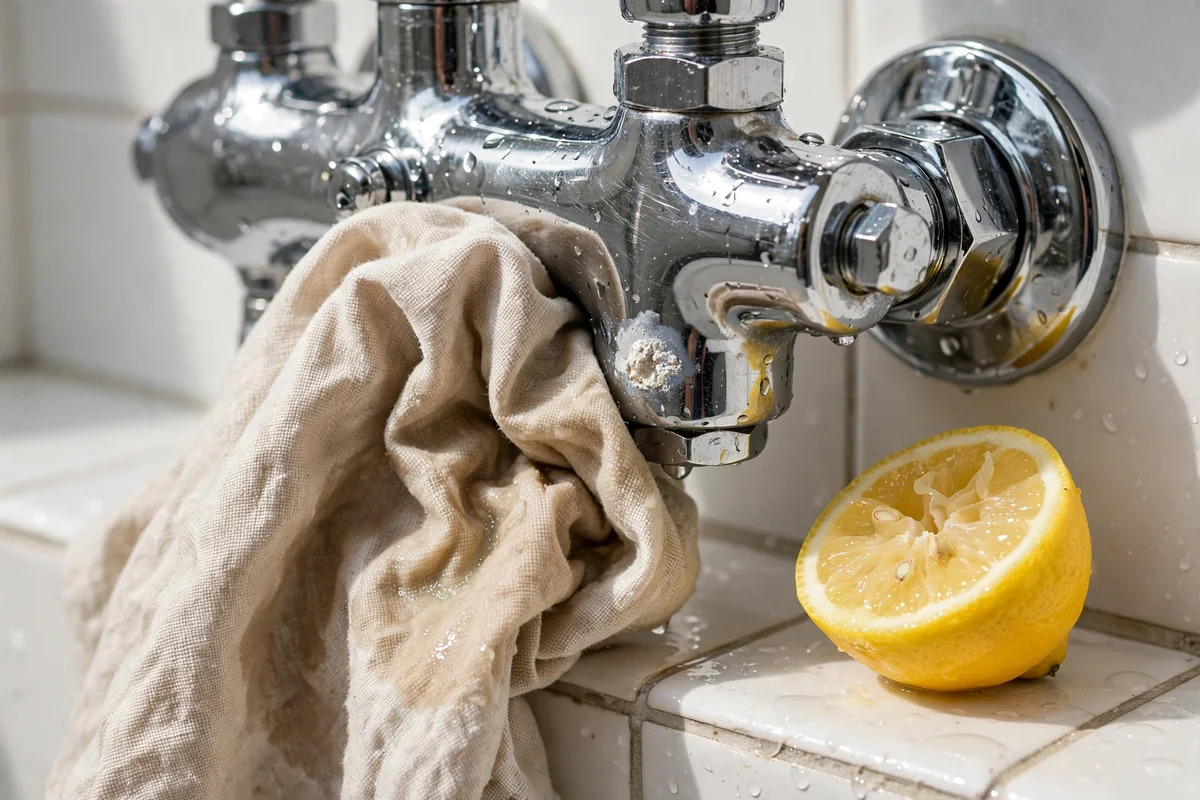
A single chalky spot on a chrome tap does not justify a whole bottle of anything. Mix one tablespoon of fresh lemon juice with three tablespoons of water, dampen the corner of a soft cloth, and hold it against the mineral mark for one to two minutes so the mild acid can soften just that deposit.
Wipe gently, rinse with clean water, and dry the metal at once with a soft towel. Treat lemon with exactly the same respect as vinegar: never on stone, never on specialty finishes or damaged plating, and never leave a lemon half resting on a fixture, because prolonged contact can dull even sturdy chrome over time.
10. Vinegar Dampened Cloth Wrap for a Crusted Tap Base
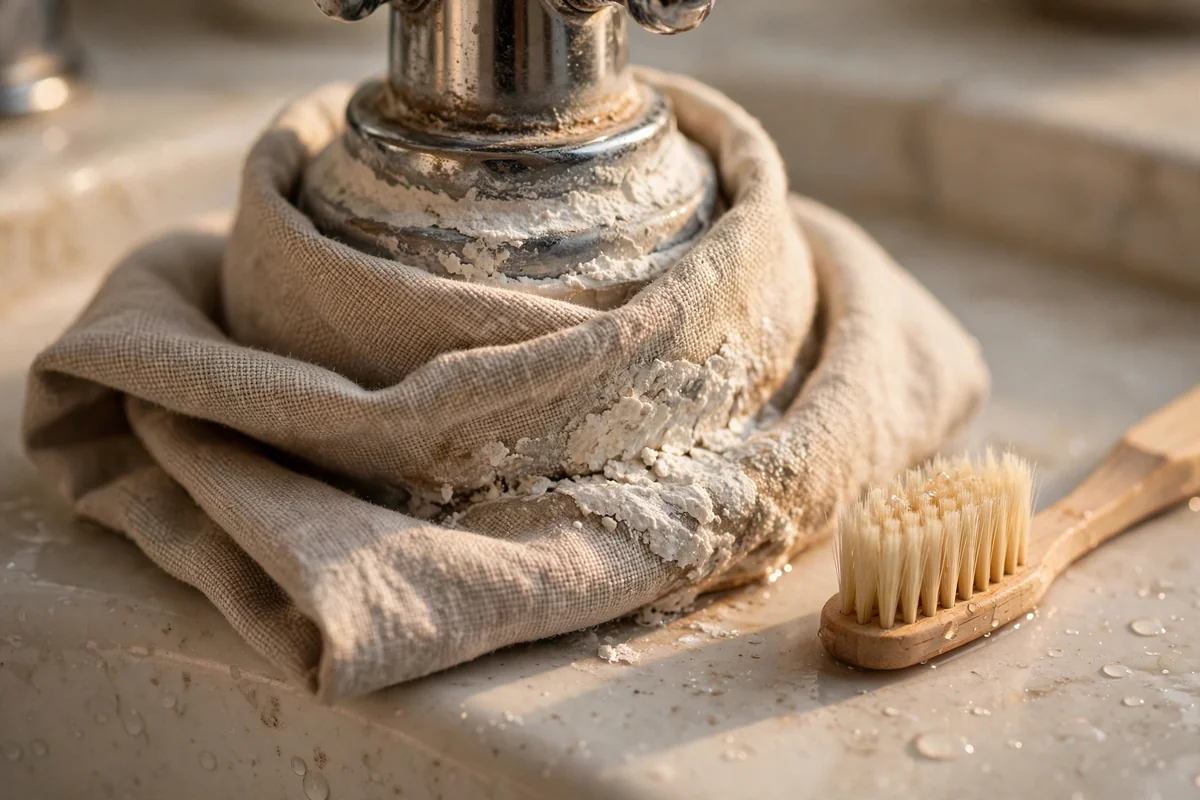
Mineral crust loves the ring where a tap meets the tiles, a spot sprays barely reach. Soak a small cloth in equal parts vinegar and water, wrap it snugly around the crusty base, and leave it in place for five to ten minutes, keeping the solution exactly where the deposit is and nowhere else.
Lift the cloth away, tease the softened crust loose with a soft toothbrush, rinse thoroughly, and polish dry with microfiber. Use this wrap only on plain finishes known to tolerate diluted vinegar, and keep it away from unlacquered brass, matte black coatings, and stone surrounds. Drying tap bases after showers slows the crust returning at all.
11. Shallow Bowl Soak for a Removable Shower Head
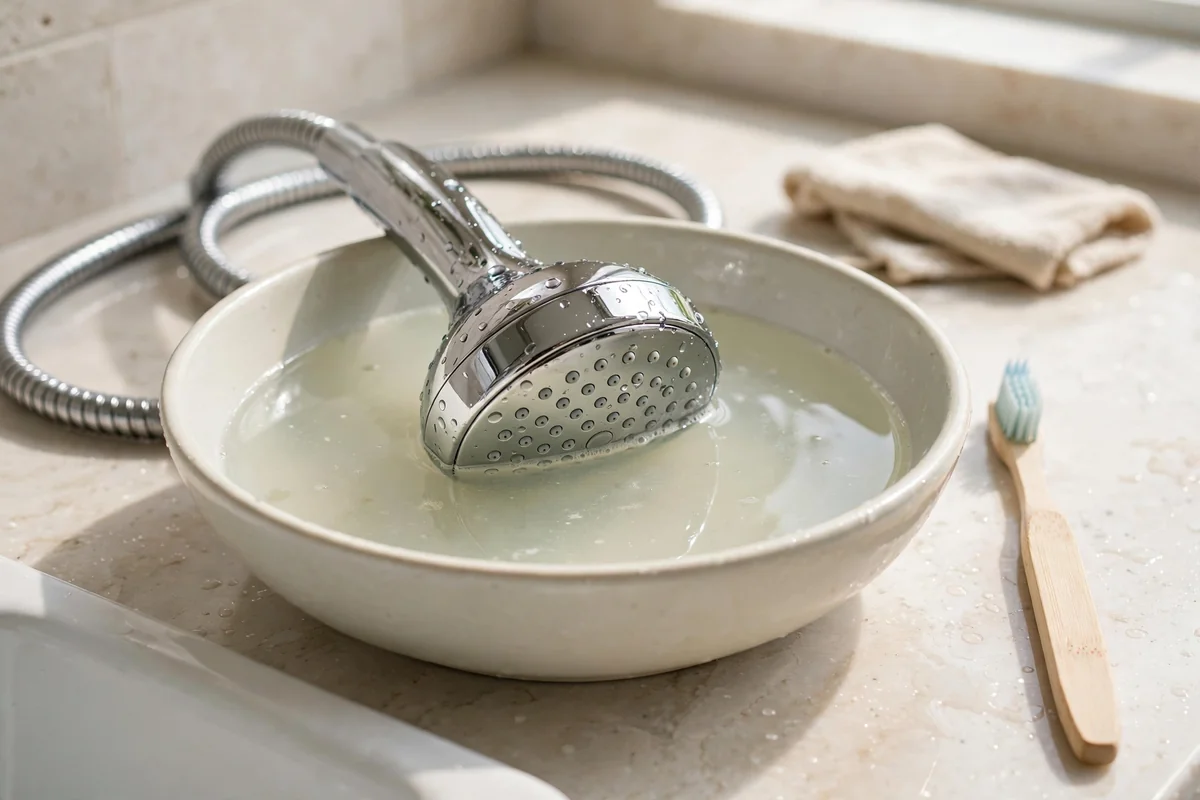
When spray holes clog with mineral, check the manufacturer’s instructions first, because they outrank every recipe here. If diluted vinegar is approved, unscrew the shower head and rest only its face in a shallow bowl of equal parts warm water and white vinegar for fifteen to thirty minutes, no longer.
Lift it out, scrub the nozzles gently with a soft toothbrush, rinse the whole unit thoroughly, and run clean water through it after refitting. Avoid the famous overnight bag of vinegar trick: long soaking can harm rubber seals, plating, and specialty finishes. A short, controlled soak that follows the maker’s guidance restores the spray without risking the fixture.
12. Distilled Water Glass Spray That Leaves No New Spots
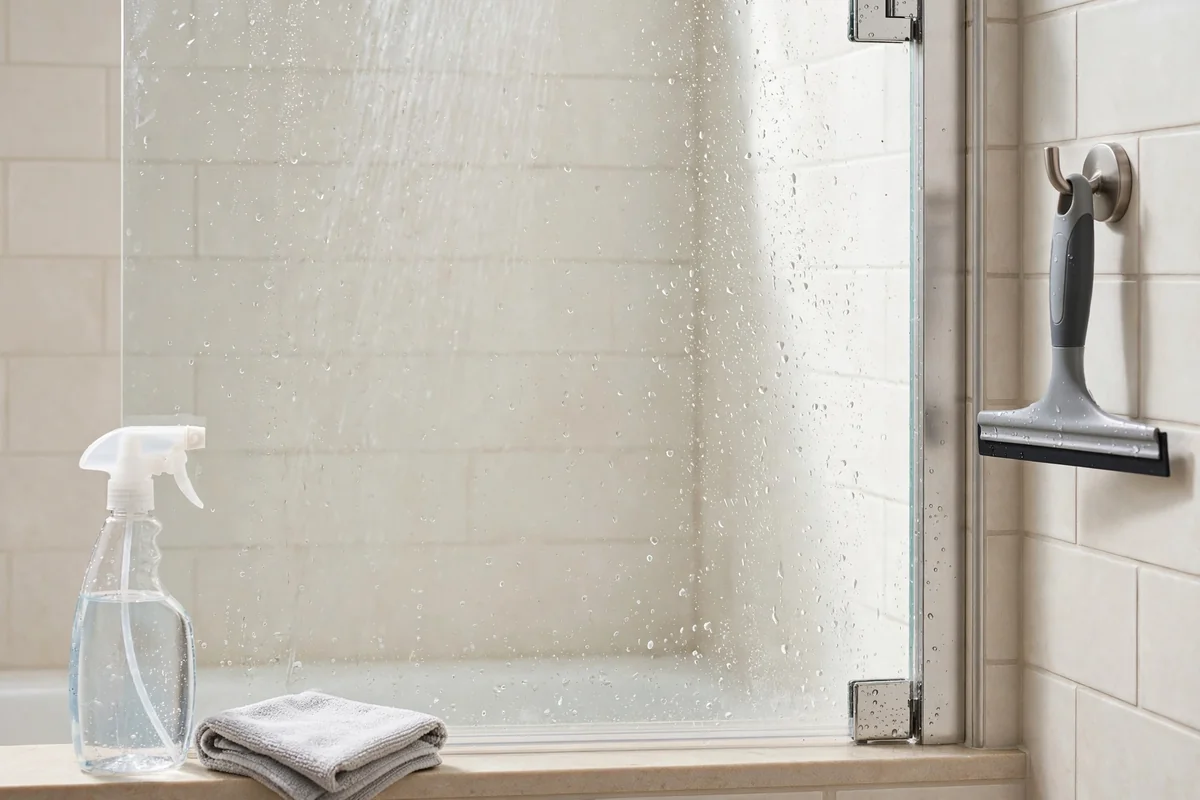
Hard tap water spots glass even while you clean it, so for the glass door itself, start with distilled water. Fill a spray bottle with 500 millilitres of distilled water and add half a teaspoon of mild dish soap. Mist the glass lightly, wipe with a clean microfiber cloth, and finish with a dry glass cloth or a squeegee.
This mild spray is the safest starting point for coated and treated glass, which strong acids and abrasives can damage. Use two separate cloths, one for washing and one bone dry for finishing, because a damp finishing cloth is the usual cause of streaks. Follow the enclosure maker’s care notes whenever they differ from this recipe.
13. Fine Paste and an Old Toothbrush for Grout Lines
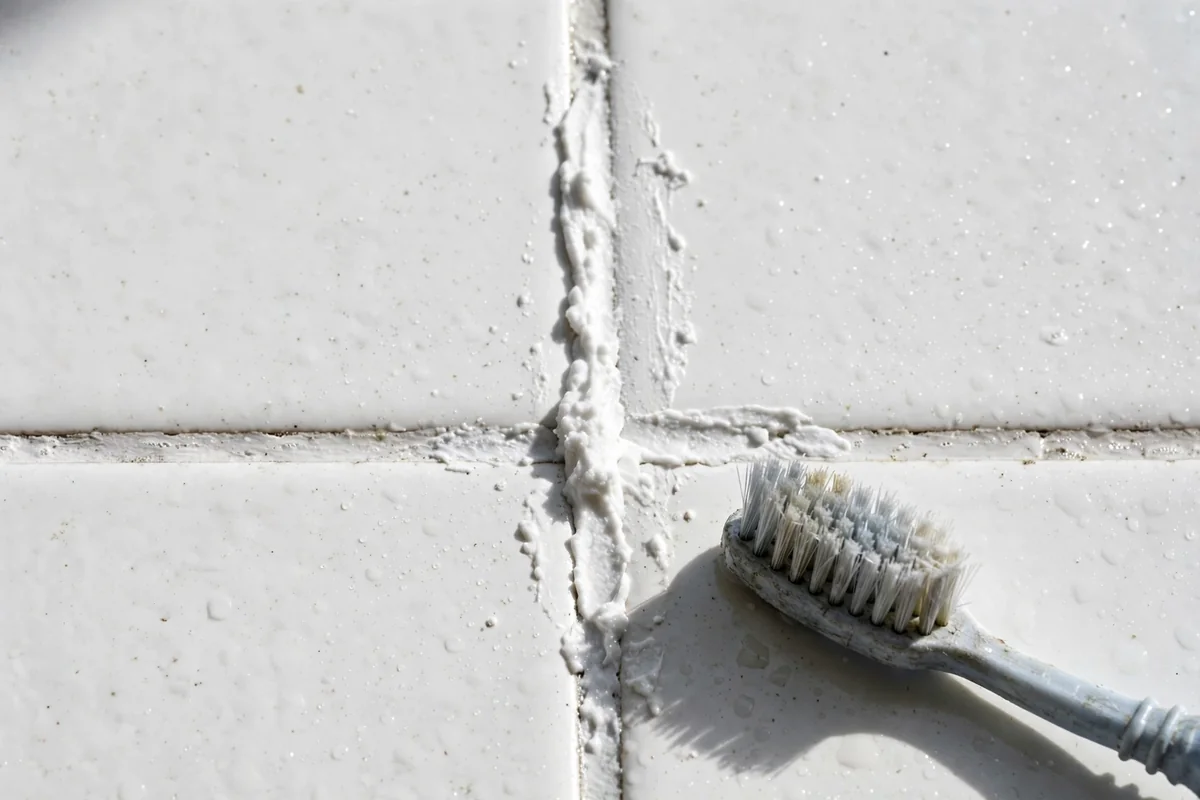
Grout is porous, so it darkens by absorbing dirty water, and it cleans best with a targeted paste rather than a flood of spray. Stir two tablespoons of baking soda with a teaspoon of water into a fine paste, press it along the grout lines with your cloth, and leave it for ten minutes.
Scrub each line with an old soft toothbrush using short strokes, rinse with a cloth wrung in plain water, and repeat on the darkest sections. Work gently and skip this paste on polished stone surrounds. If a line stays dark after two honest attempts, the grout may be stained through or failing, and regrouting will serve better than stronger chemistry.
14. Cotton Bud Detail Clean for Door Tracks and Rollers
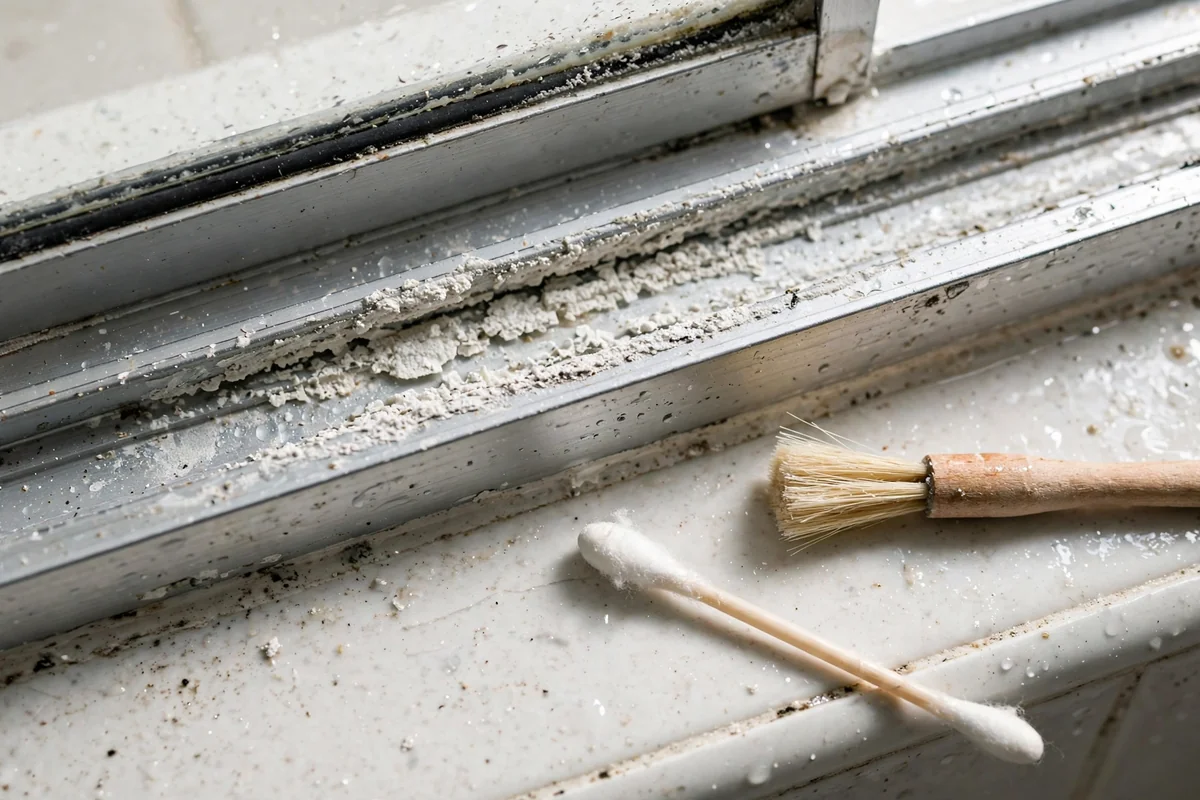
Sliding door tracks collect a quiet swamp of soap, hair, and chalky water in a channel most cloths cannot enter. Vacuum the dry debris first with a crevice tool, then dip cotton buds and a small stiff brush in the warm vinegar and soap blend from the fourth recipe and work the channel a few centimetres at a time.
Wipe the loosened grime out with a folded paper towel rather than rinsing it deeper in, and dry the track fully when you finish. Keep acids away from stone thresholds and damaged metal finishes. Clean tracks let doors glide properly and stop that musty smell that seems to come from nowhere in an otherwise clean bathroom.
15. Careful Peroxide Dab for a Mildew Shadow on Sealant
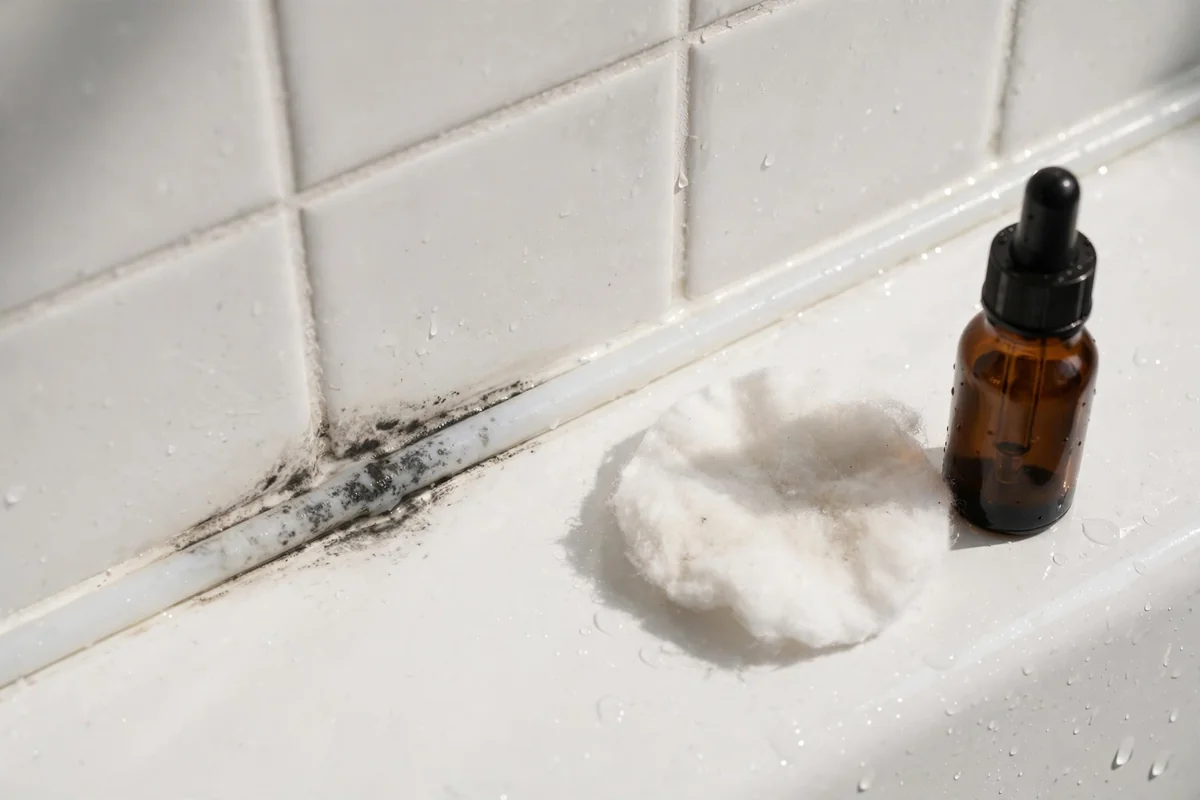
A faint dark shadow along silicone sealant is often surface mildew staining, and a careful dab of ordinary three percent hydrogen peroxide can fade it on white sealant and pale grout. Press a peroxide dampened cotton pad along the line, leave it for ten minutes, then rinse well and dry the area thoroughly.
Ventilate the room, wear gloves, and never combine peroxide with vinegar in the same session, since the pairing can create an irritating acid. Peroxide can lighten colours, so keep it off dark grout and coloured sealant, and patch test first. If the sealant itself is split, lifting, or black through its depth, replacing it is the honest fix.
16. Warm Borax Soak for a Removable Drain Cover
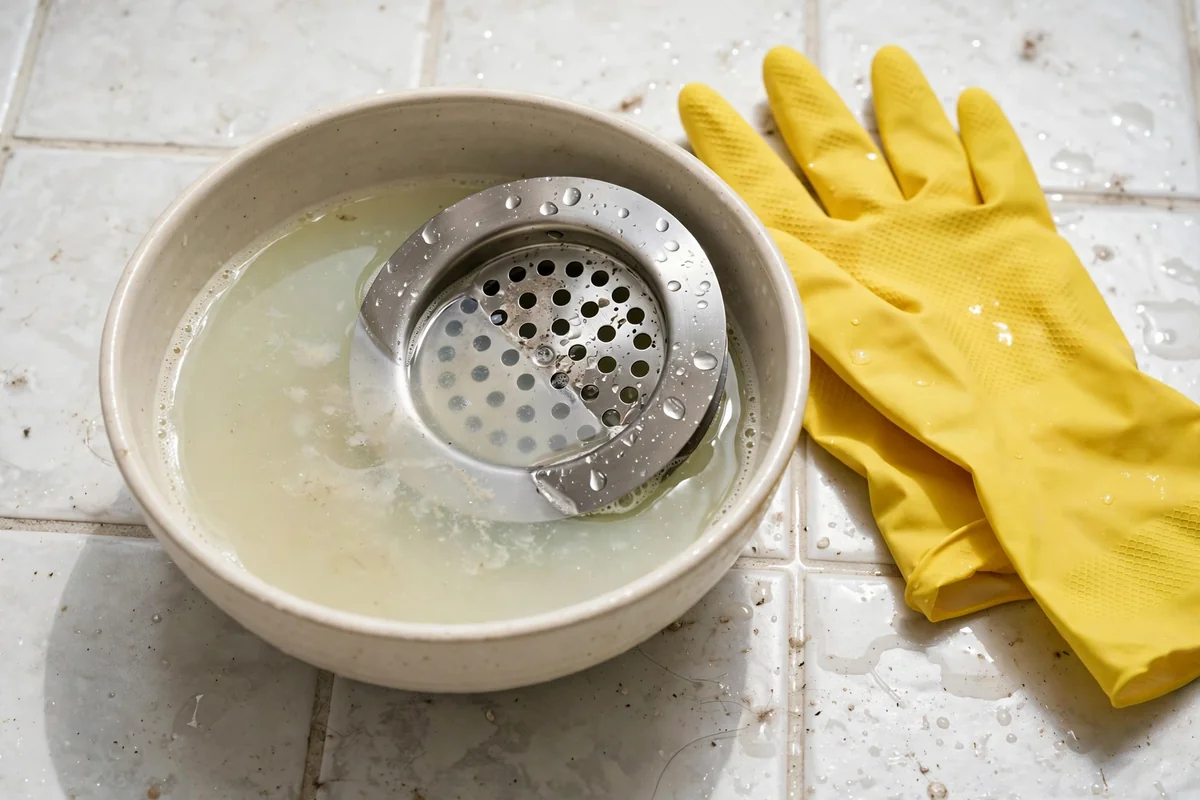
Drain covers gather a greasy, hair lined film that sprays cannot shift. Unscrew or lift the cover out, shake loose debris into the bin, and soak the cover for twenty minutes in a bowl of warm water with one tablespoon of borax dissolved in it, wearing gloves for the whole job.
Scrub both faces with an old brush, rinse the cover very thoroughly, dry it, and refit it. Borax is a useful traditional cleaner but a real chemical: keep the bowl and the box away from children and pets, never mix it with acids, and wash your hands after use. A monthly soak keeps the drain area genuinely clean rather than merely scented.
17. Plain Warm Water Wipe Down for Acrylic and Fiberglass
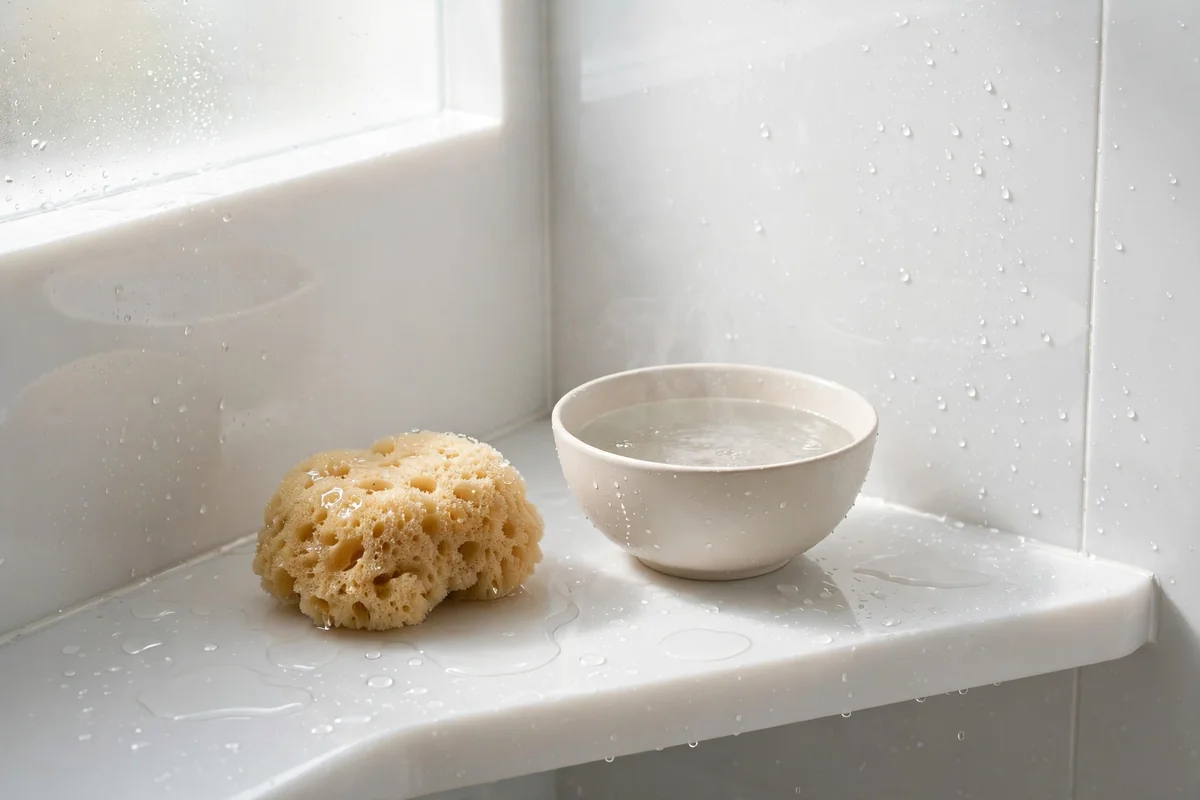
Acrylic and fiberglass scratch and dull easily, so their recipe is deliberately the plainest here: warm water, a soft sponge or cloth, and, only if the maker allows it, a drop of mild dish soap in a whole bowl of water. Wipe the walls in gentle circles, rinse with the shower head, and towel the surfaces dry.
Never use powders, pastes, scouring pads, or vinegar sprays on these surfaces unless the manufacturer explicitly approves them, because fine scratches hold dirt and make every later clean harder. The secret with acrylic is frequency: a kind two minute wipe twice a week prevents the buildup that tempts people toward harsh products in the first place.
18. Daily Squeegee Plus a Light Maintenance Mist
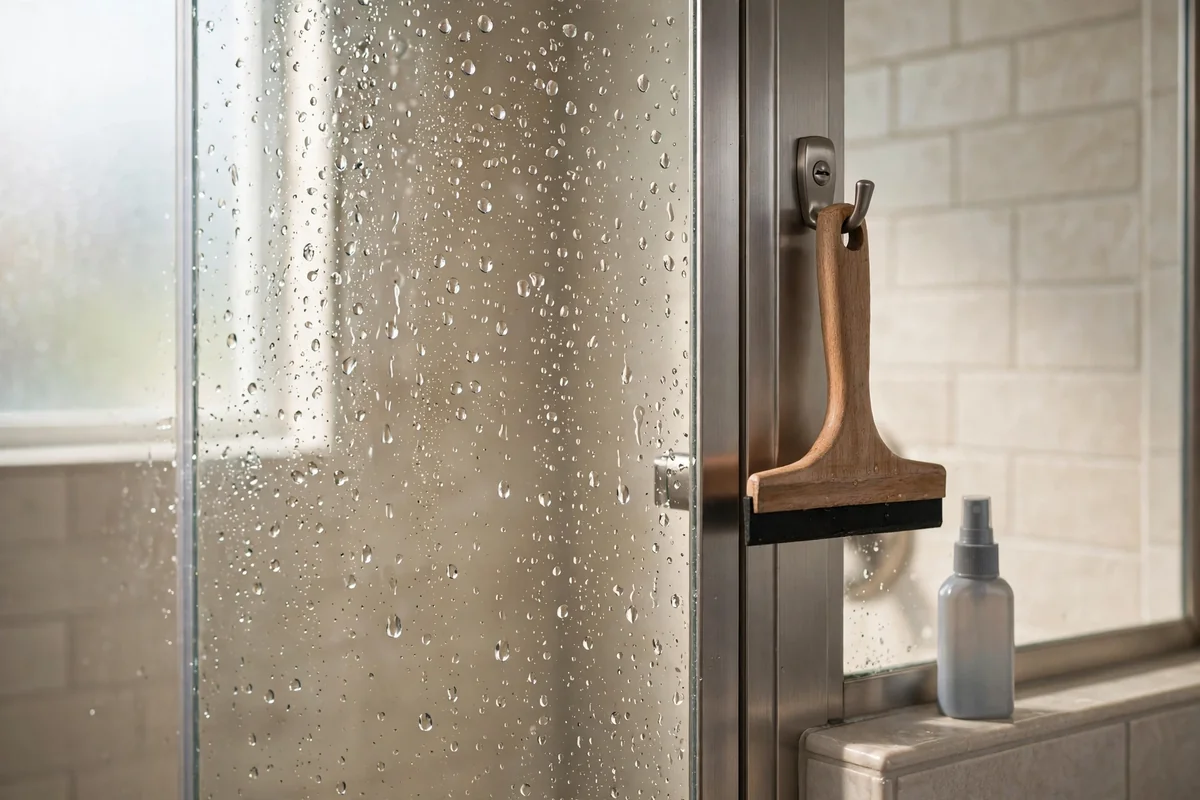
The cheapest recipe in this article is a habit: thirty seconds with a squeegee after the last shower of the morning. Pull the water down the glass and tile in overlapping strokes, shake the squeegee dry, and hang it inside the shower where the next person cannot pretend not to see it.
Follow with two or three mists of the gentle dish soap spray from the first recipe on the door and the tap, and leave it; the next shower rinses it away. This daily minute removes most of the water and soap before either can dry into film, and it stretches the time between deep cleans from days to weeks.
19. Cornstarch Dry Buff for Fingerprints on Glass and Chrome
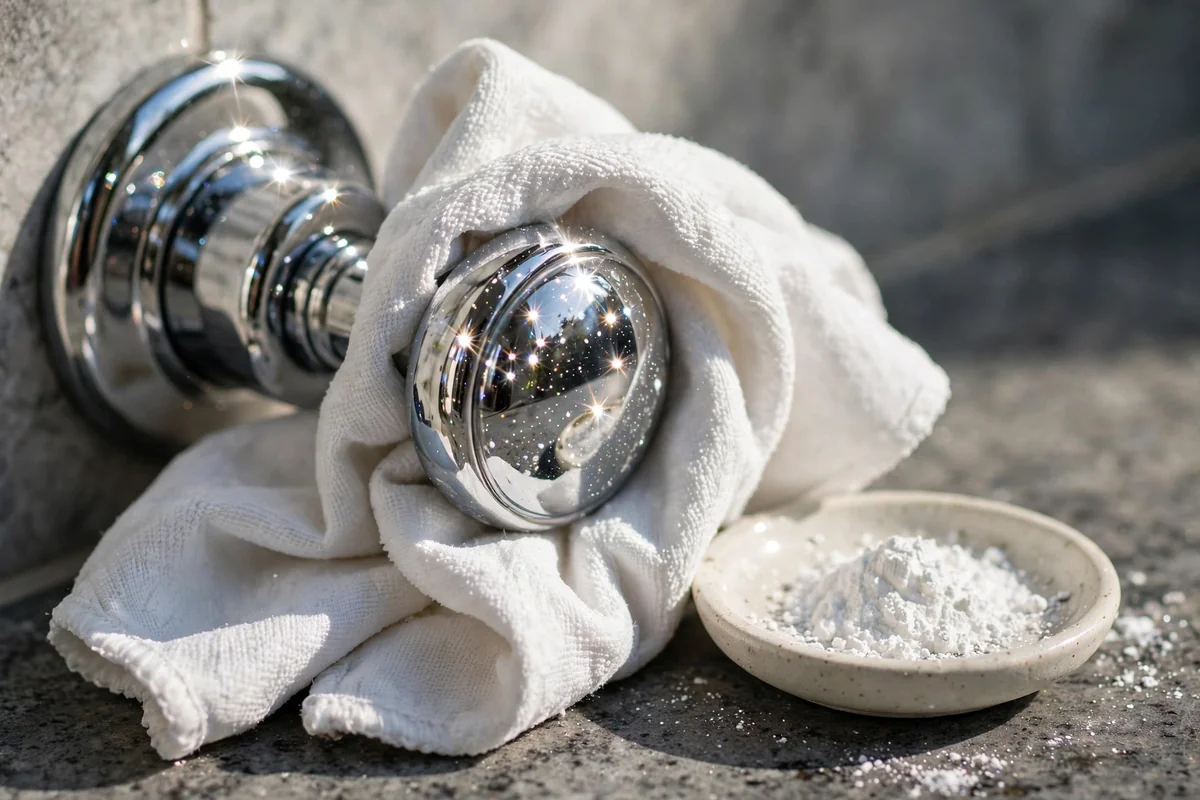
For the finishing touch on glass and chrome, reach for the driest recipe here. Tip a teaspoon of cornstarch onto a dry, soft cloth and buff fingerprints, water spots, and dull patches in small circles. The fine powder works as the gentlest of polishes, picking up grease and moisture without a single drop of liquid.
Shake and tap the cloth outdoors as it loads up, and finish with a second clean dry cloth for a true shine. Cornstarch leaves no scent and no residue when it is fully buffed away, and it is safe on finishes that dislike acids. Keep the powder away from wet grout lines, where it would simply turn to paste.
20. Citrus Peel Infused Vinegar for Tile, Never for Stone
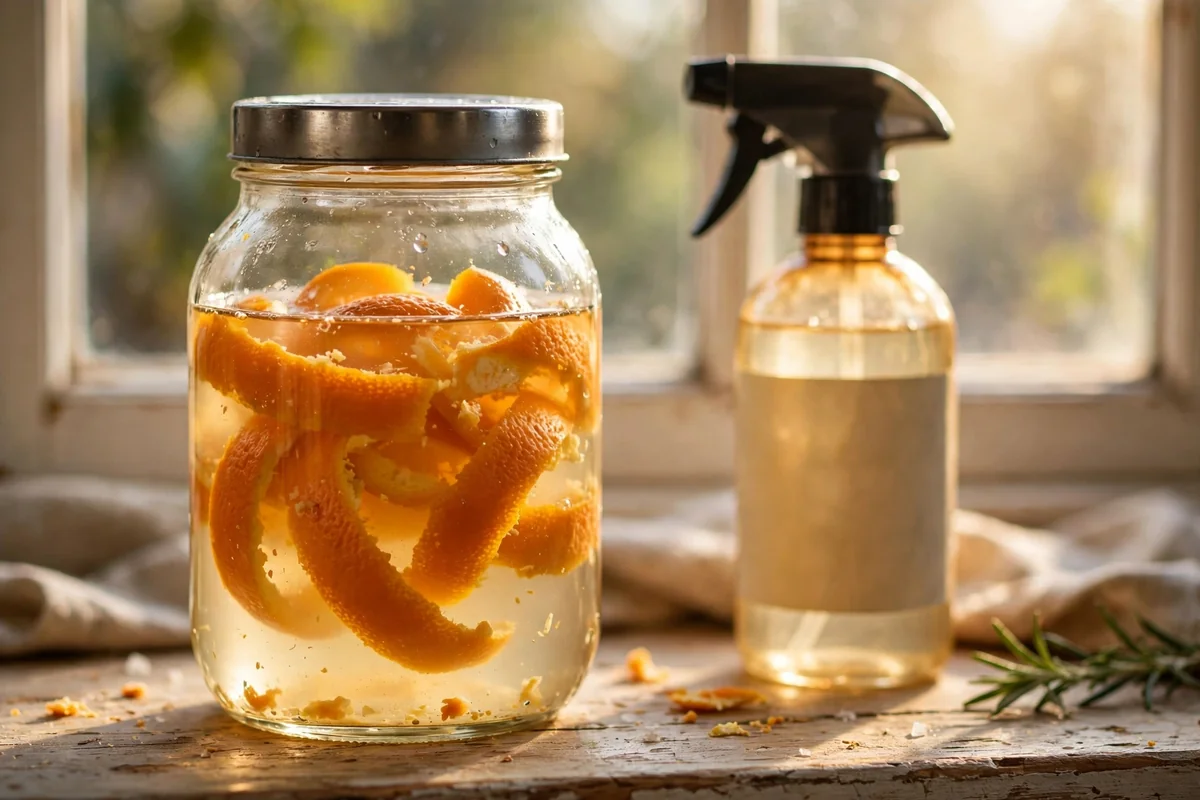
If the sharp smell of vinegar puts you off the tile spray, soften it the traditional way. Pack a clean glass jar with the washed peels of two or three oranges or lemons, cover them completely with white vinegar, seal the jar, and leave it in a cool cupboard for one to two weeks before straining.
Dilute the infused vinegar half and half with water, label the spray bottle with contents and date, and use it exactly like the plain vinegar spray: glazed tile and compatible glass only, five to ten minutes, rinse well. The citrus scent is pleasant, but the mixture is still an acid, so the stone rule stands unchanged. Never use it on marble, travertine, or any natural stone.
A Few Final Thoughts
Keep a small, honest kit: dish soap, baking soda, white vinegar, castile soap, peroxide, borax, two labelled spray bottles, soft cloths, and a squeegee. With those few things and the surface matching habit, a family shower stays bright with minutes of work rather than hours. Make small batches, label every bottle, store everything away from children, ventilate as you clean, and never let bleach meet an acid or ammonia. Simple recipes, used carefully and often, are what sparkling bathrooms are actually made of.
Frequently Asked Questions
Can I use vinegar cleaner on a marble or stone shower?
No, and this is the most important rule in the article. Vinegar, lemon juice, and citrus infusions are all acids, and acids etch marble, travertine, limestone, and terrazzo, leaving dull patches that no amount of scrubbing will polish away. Sealing the stone does not make it acid proof. Stone showers need only warm water with a teaspoon of mild dish soap in a bucket, a soft cloth, a thorough rinse, and immediate drying, as described in the stone recipe above.
What should I never mix with homemade bathroom cleaners?
Never mix bleach with vinegar, lemon, any other acid, or ammonia, because those combinations release dangerous gases. Never layer one cleaner over another on the same surface, and never add peroxide and vinegar together in one bottle or one session. Choose a single mixture, use it, rinse the surface thoroughly with plain water, and only then consider a different treatment. Open a window or run the fan whenever you clean, whatever the recipe.
How long can I store a homemade shower spray?
Treat homemade mixtures like fresh food rather than permanent supplies. Soap and water sprays are best made in small amounts and used within a few days, because diluted soap solutions do not keep well. Vinegar based sprays keep for a few weeks in a clean, clearly labelled bottle marked with contents and date. Never top up an old bottle, never store a mixture in a drinks bottle, and pour away anything that looks cloudy or smells unusual.
Why does my shower glass still look cloudy after cleaning?
There are two kinds of cloud. Loose mineral scale feels slightly rough and answers to a mild acid on compatible glass, such as the diluted vinegar spray or the distilled water method used patiently. Etched glass, where hard water or harsh products have microscopically damaged the surface, looks cloudy but feels smooth, and no cleaner can reverse it. Test one small corner: if nothing changes after a proper attempt, stop scrubbing and protect what remains with daily squeegee use.
How often should I clean the shower with these recipes?
Little and often wins. A squeegee pass and a light soap mist after daily use takes a minute, one proper clean with the recipe that matches your surfaces once a week keeps film away, and a monthly session for grout lines, door tracks, the shower head, and the drain cover prevents the heavy jobs entirely. That rhythm keeps a family shower fresh and sparkling with pantry staples, and it never gives buildup the weeks it needs to set hard.