DIY Projects
20 Painted Coffee Table Ideas That Give Old Wood a Fresh, Loved Look
By Anna Wells · · 21 min read
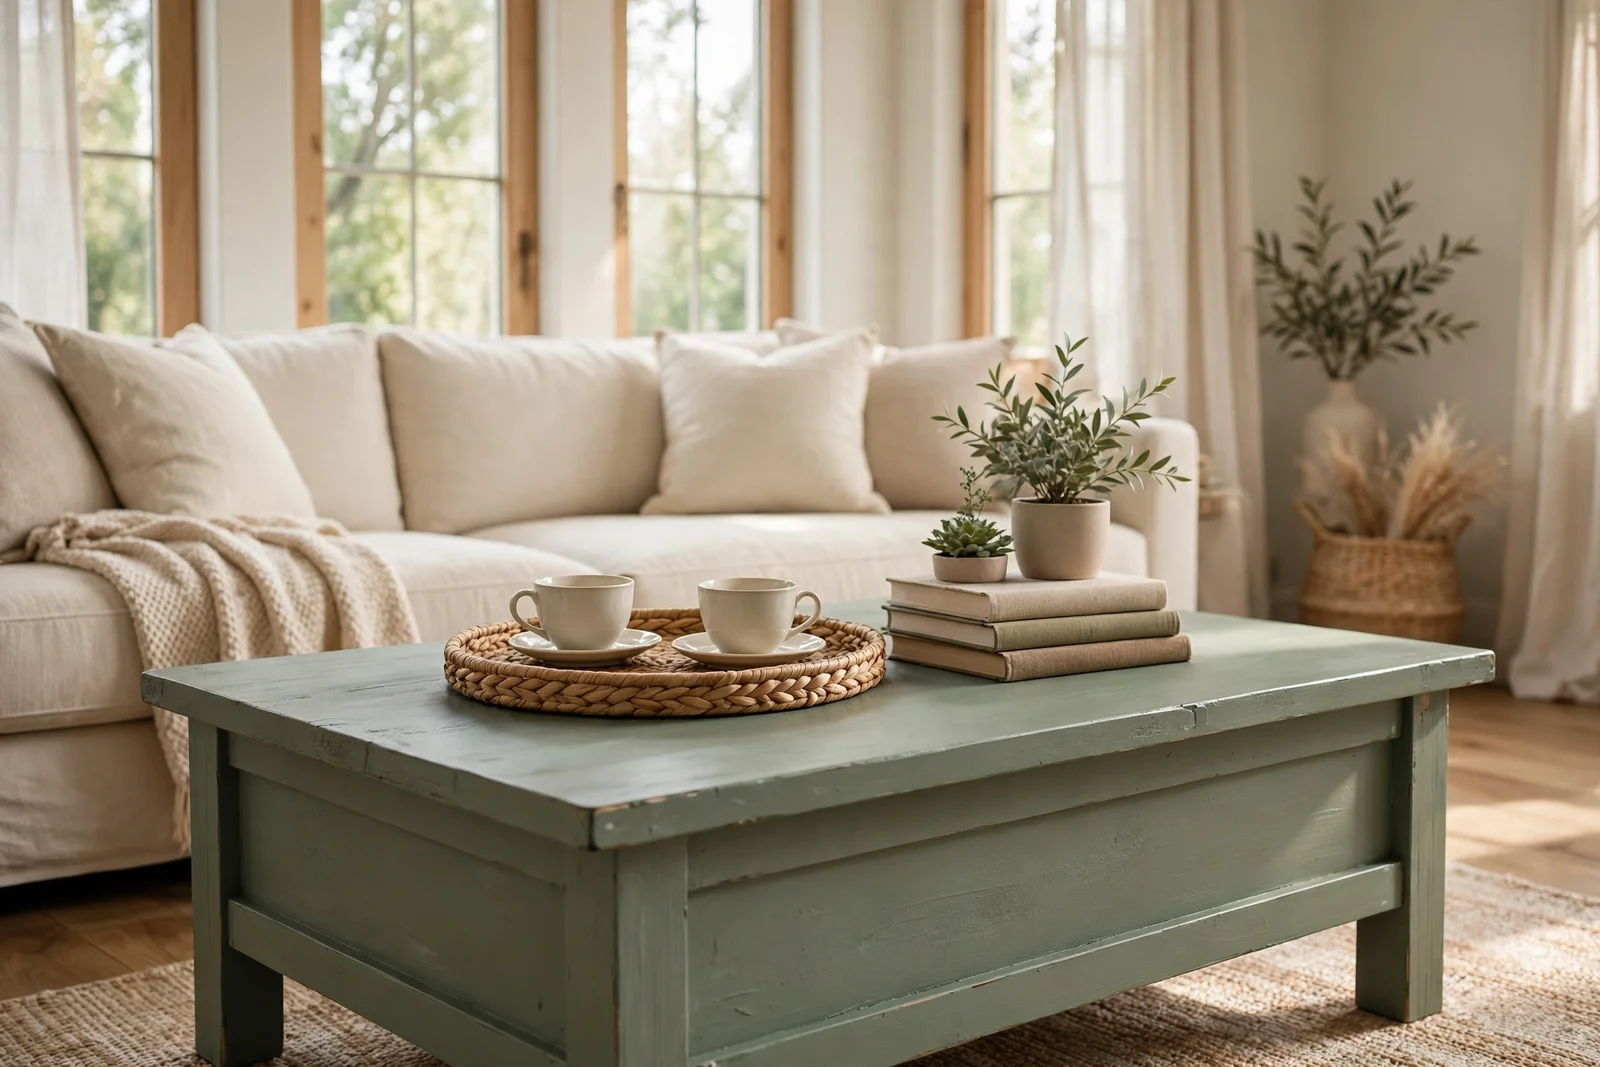
A scuffed wooden coffee table can become the warmest piece in the room. These 20 painted makeover ideas cover chalk paint in sage, cream, clay and ink, two tone tops, stencils, distressing, honest prep, and wax finishes that last.
Morning light slides across the living room and lands on the coffee table, and suddenly every water ring and scuff is on display. That tired rectangle of wood has held teacups, board games and tired feet for years, and it shows. Before you think about replacing it, look again, because paint can give that honest old frame a second life that feels personal and warm.
A painted coffee table is one of the most satisfying rescues in the home, thrifty, quick and forgiving. This guide gathers twenty concrete ideas, from soft chalk paint finishes in sage, cream, clay and ink to two tone tops, stencilled motifs and gentle distressing. You will also find honest prep steps, priming rules, brush technique, wax and topcoat choices, and the curing times that make the finish last.
You do not need a workshop, just a clean table, a decent brush, good paint and a little patience. Most of these makeovers use one litre of chalk or mineral paint, a 50 mm synthetic brush, fine sandpaper and either wax or a water based topcoat. Total cost often stays between 25 and 60 pounds or dollars, which is a fraction of a new hardwood table.
Work through the ideas in order if this is your first rescue, since the early sections cover prep and the later ones cover colour, detail and styling. Or skip straight to the colour story that caught your eye. Either way, keep a damp cloth nearby, protect the floor with a dust sheet, and give yourself a full unhurried afternoon for the painting itself.
1. Degrease and Sand the Table Before Any Paint Goes On
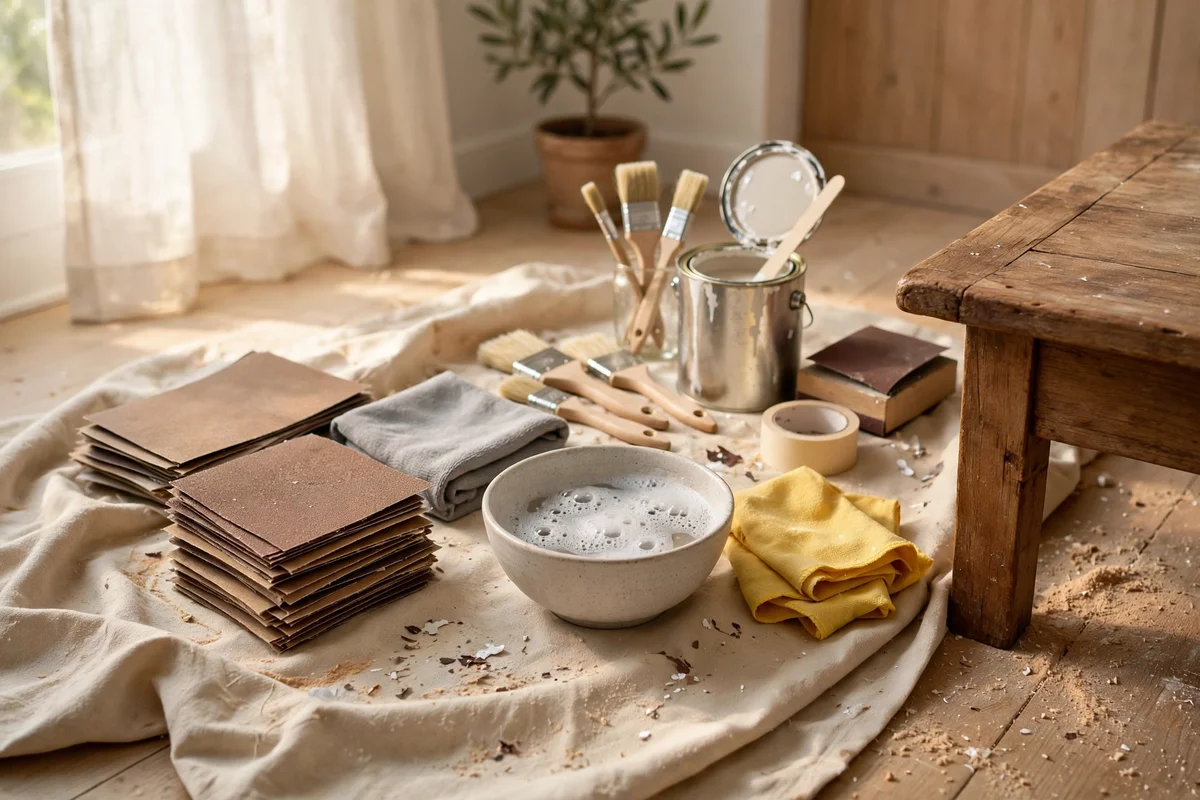
Start by washing the whole table with warm water and a small squirt of dish soap, using a soft cloth to lift years of polish, grease and dust from the grain. Kitchen tables collect an invisible film of oil that stops paint bonding, so rinse with clean water and let the wood dry fully for at least two hours. Then sand every surface with 120 grit paper, moving with the grain, until the old sheen turns dull and even. This honest hour of prep is what separates a finish that lasts five years from one that chips in five months.
Vacuum the dust with a brush attachment, then wipe the wood with a tack cloth or a barely damp microfibre cloth so no grit sits under the paint. Pay special attention to carved edges and the underside of the top, where dust hides. The common mistake is sanding too aggressively and rounding crisp edges; keep pressure light and let the paper do the work. A pack of sandpaper sheets costs very little, and this step takes about forty minutes on a standard 120 by 60 cm table.
2. Block Stains and Tannins With a Shellac Primer
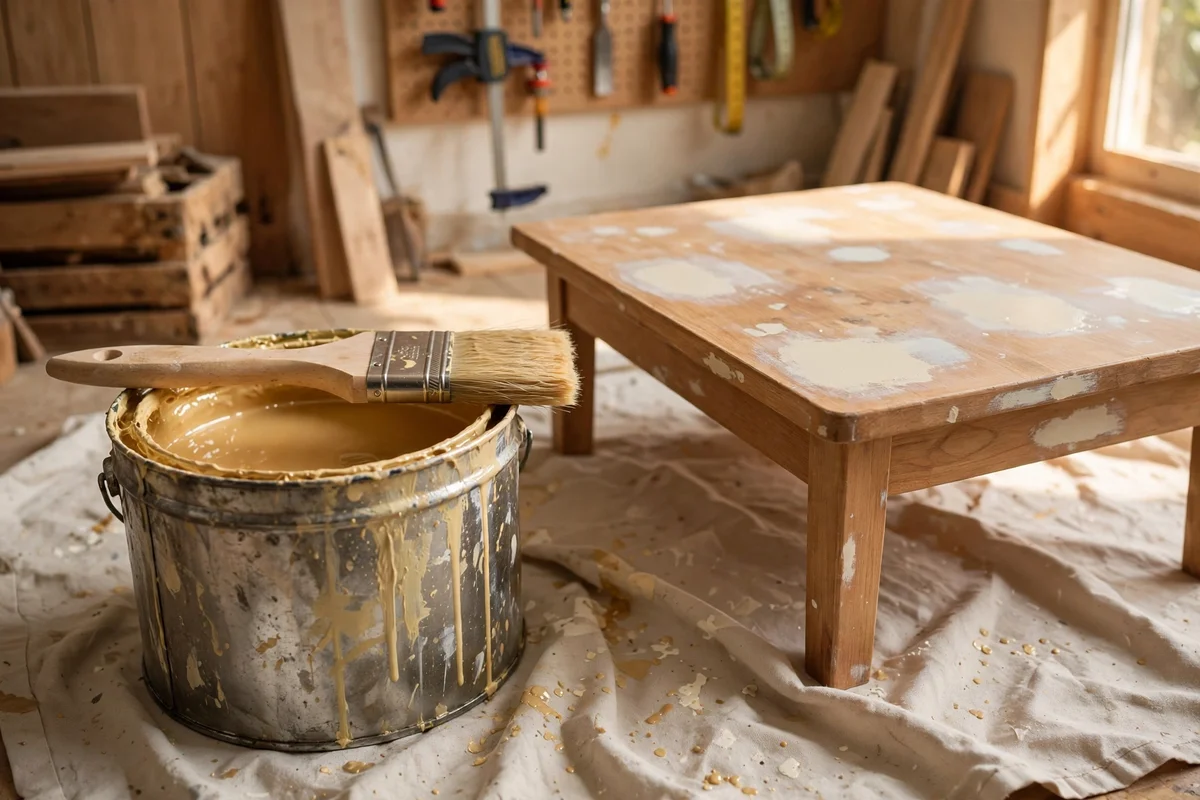
Old tables often bleed trouble through fresh paint, dark knots, water rings and tannin stains from oak or pine that yellow the topcoat weeks later. A shellac based primer stops all of it, because shellac seals the wood completely and gives paint a grippy surface. Brush one thin coat over the whole table, or spot prime just the stains if the wood is otherwise sound, using a cheap synthetic brush since shellac ruins good bristles. It dries to the touch in about thirty minutes.
Shellac primer smells strong, so work near an open window and keep the tin closed between brush loads. One 500 ml tin usually covers a coffee table with two coats and costs a modest amount. The mistake to avoid is skipping the primer on a dark stained table, hoping two coats of pale paint will hide the knots; they will not, and the ghost stains will show through cream and sage finishes first. Let the primer cure for one full hour before painting, and sand it lightly with 220 grit for a smooth base.
3. Brush a Soft Sage Chalk Paint Finish Over the Whole Table
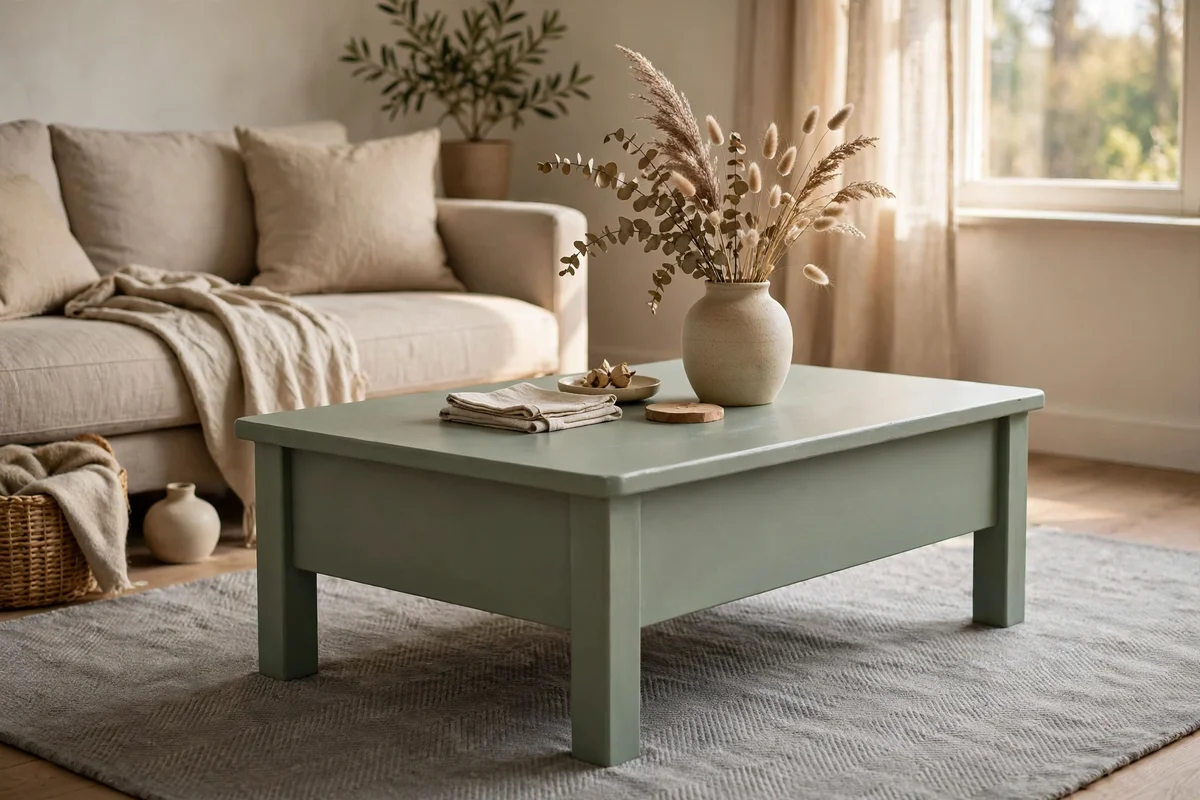
Sage is the kindest colour for a first painted table, soft enough to sit beside beige sofas and grey rugs, yet green enough to feel alive. Chalk paint needs no primer on sound wood, so stir the tin well and brush on a first thin coat with a 50 mm synthetic brush, working in long strokes with the grain. One litre covers a standard coffee table twice over. The first coat will look streaky and thin, which is normal; the coverage builds with the second.
Wait two to four hours between coats, then apply the second coat slightly thicker and check for missed patches in raking daylight. Once dry, you can leave the matte chalk finish as it is or seal it, which the later sections cover. The mistake to avoid is overbrushing, going back over half dry paint drags the finish and leaves ridges. Load the brush, lay the paint down, and leave it alone. A litre of good chalk paint usually costs 20 to 30 pounds or dollars.
4. Warm the Room With a Cream Painted Finish and Dark Wax
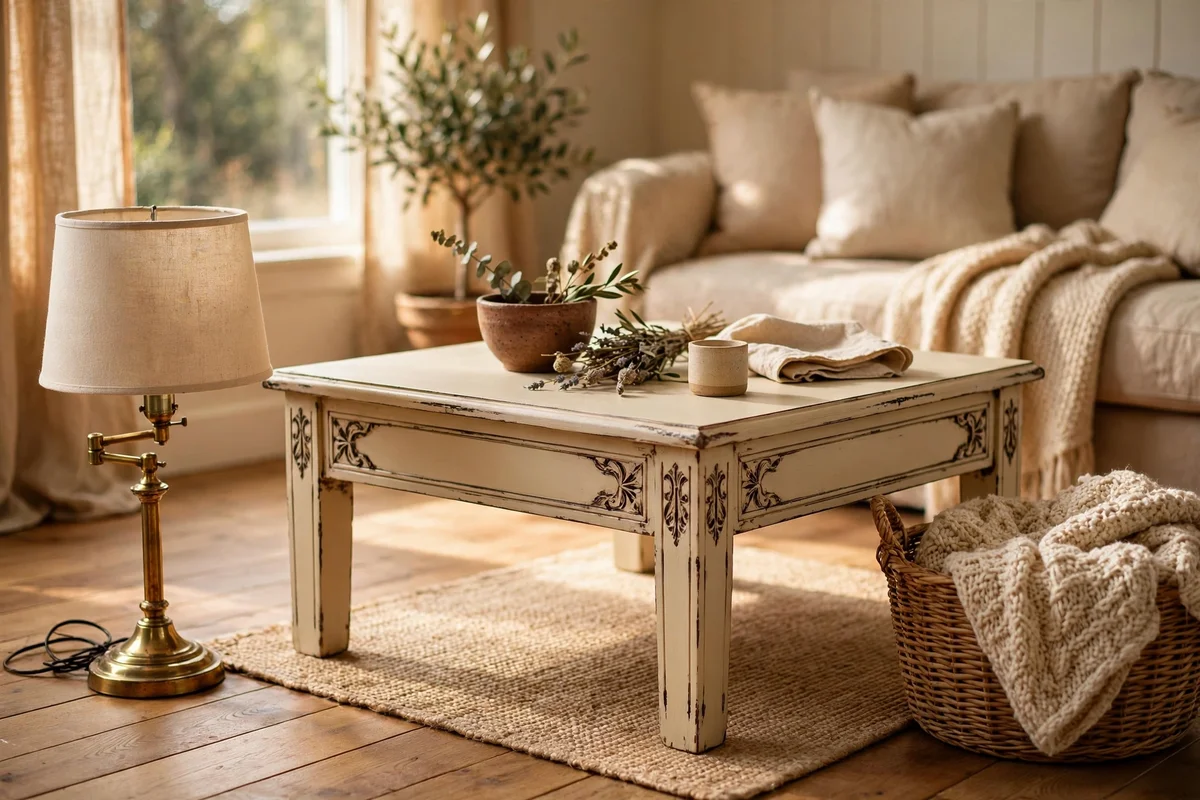
Cream paint lifts a dark room and pairs beautifully with wooden floors, woven baskets and brass lamps. Choose a warm cream rather than a stark white, something with a hint of honey, so the table glows instead of glaring. Brush two thin coats of chalk or mineral paint over the primed table, allowing each coat three hours to dry. A single litre is plenty for the top, apron, legs and lower shelf of most coffee tables.
The magic step is dark wax, which settles into corners and moulding and gives cream paint an aged, honeyed depth. Apply clear wax first with a soft cloth, then work a small amount of dark wax into the details with a stiff brush, wiping the excess away quickly. Too much dark wax is the classic mistake; start with a pea sized amount per section and build slowly. Buff with a clean cloth after thirty minutes. Clear and dark wax together cost about 15 to 25 pounds or dollars and last for many projects.
5. Try Earthy Clay Tones for a Handmade Pottery Feel
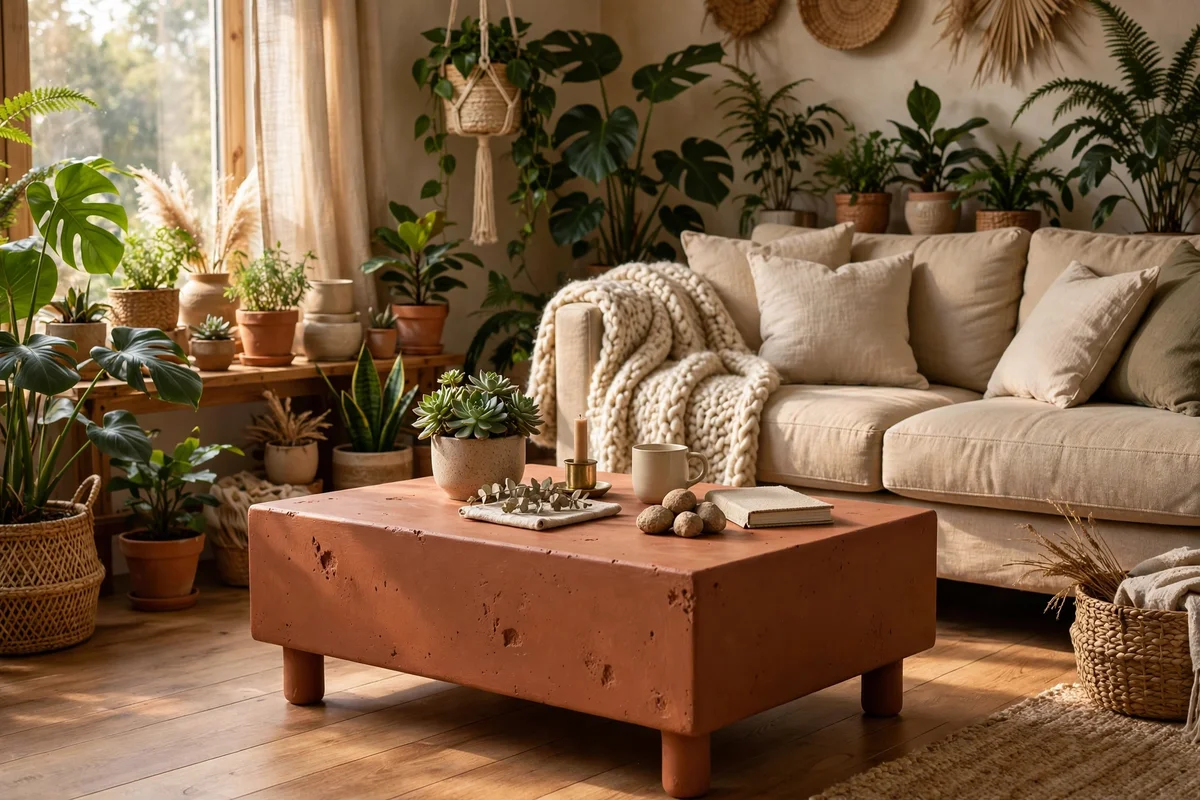
Clay colours, terracotta, warm ochre, soft rust, bring an earthy handmade feeling that suits rooms with plants, wool throws and natural wood. They hide dust better than cream and glow beautifully in lamplight. Brush two coats of mineral or chalk paint in your chosen clay tone, and consider leaving the very edge of the tabletop sanded back to bare wood, which frames the colour like a pottery rim. One litre covers the whole table comfortably.
Clay tones deepen slightly as they dry, so judge the final colour only after the second coat has cured overnight. Seal with clear wax or a matte water based topcoat, since clay pigments can scuff on high touch areas like the tabletop edge. The mistake to avoid is choosing a clay shade straight from a tiny paint chip; paint a test patch on the underside and live with it for a day in your own light. Sample pots cost very little and save real regret.
6. Paint an Ink Blue Table for Quiet, Grounded Elegance
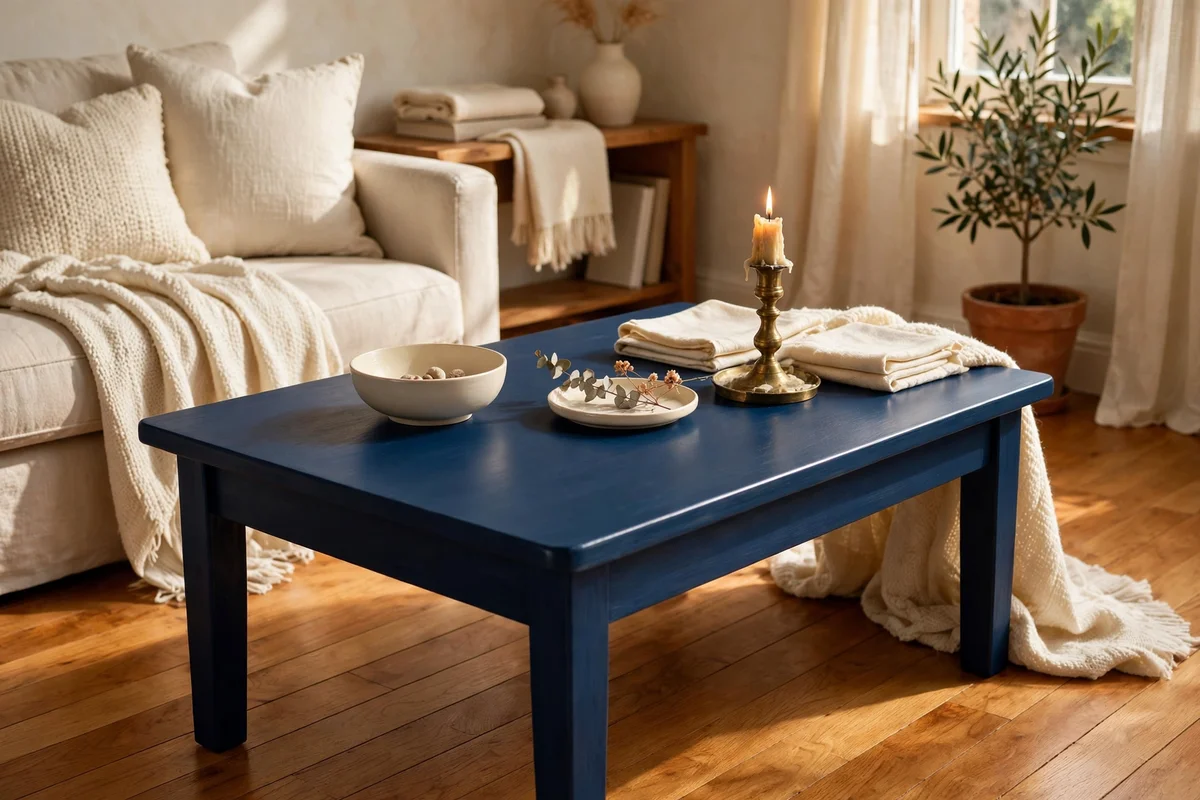
Deep ink blue gives a small living room a sense of depth and pairs surprisingly well with warm wood floors, brass and cream textiles. It reads as a neutral from across the room, then reveals its richness up close. Use a mineral or acrylic furniture paint rather than chalk paint here, since the harder film resists the fingerprints dark colours show. Brush two thin coats, sanding lightly with 220 grit between them for a smooth, almost lacquered calm.
Dark colours show every drip and brush mark, so work in good daylight and keep a wet edge, blending each stroke into the last before it starts to set. Protect the finish with two coats of satin water based topcoat, which keeps the depth of the ink without a plastic shine. The mistake to avoid is painting ink blue over a white primer without tinting it; a grey tinted primer makes the dark colour cover in two coats instead of four. Budget around 30 to 45 pounds or dollars for paint and topcoat.
7. Create a Two Tone Tabletop With a Painted Field and Natural Edge
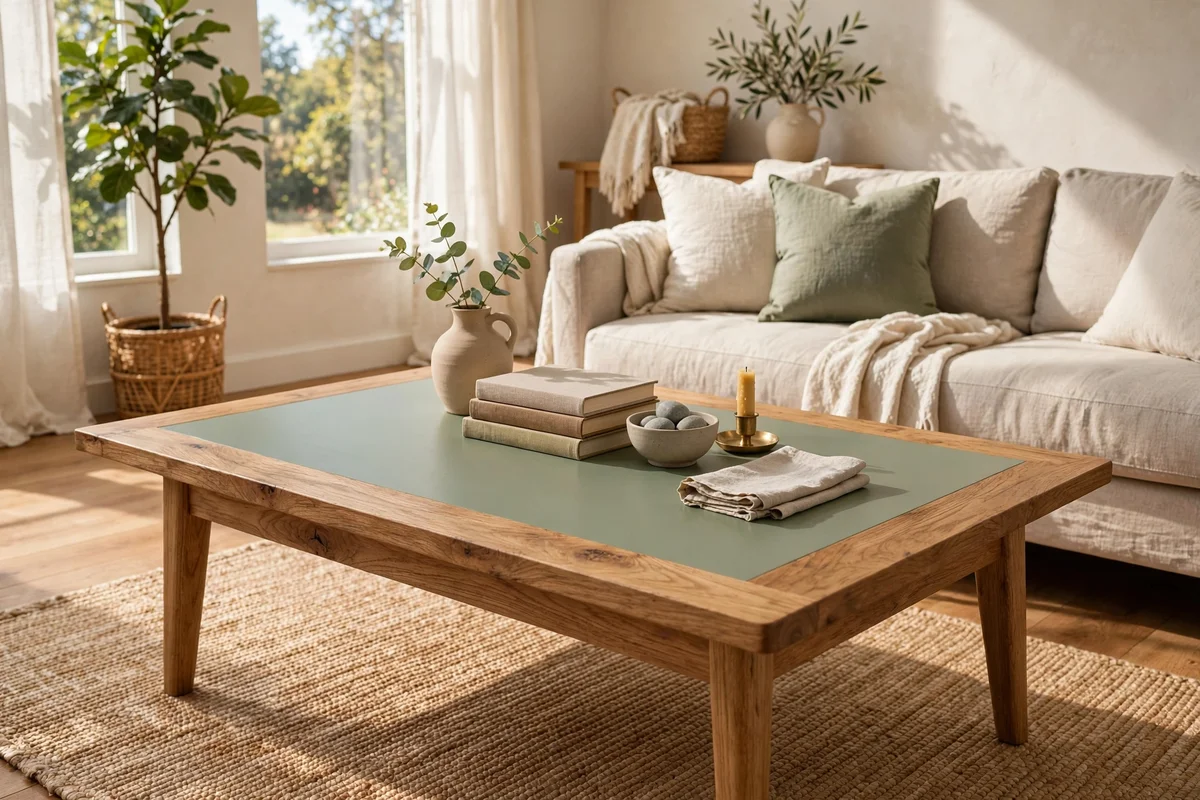
A two tone top gives you the best of both worlds, warm bare wood at the edge and a painted field in the centre. Sand the tabletop back to bare wood with 80 then 120 grit paper, then mask a border of 5 to 8 cm around the edge with painter’s tape, pressing the tape edge firmly so paint cannot creep underneath. Paint the inner field in sage, clay or cream with two thin coats. The taped line is what makes this look crisp and intentional rather than accidental.
Remove the tape while the second coat is still slightly tacky, pulling it back on itself at a low angle for the cleanest line. Seal the whole top with two coats of satin water based topcoat so the bare wood edge and the paint wear evenly. The mistake to avoid is sealing only the painted part; unsealed wood around the border will stain from teacups within weeks. A roll of quality painter’s tape costs a few pounds or dollars and is worth every penny.
8. Pair Painted Legs With a Contrasting Tabletop Colour
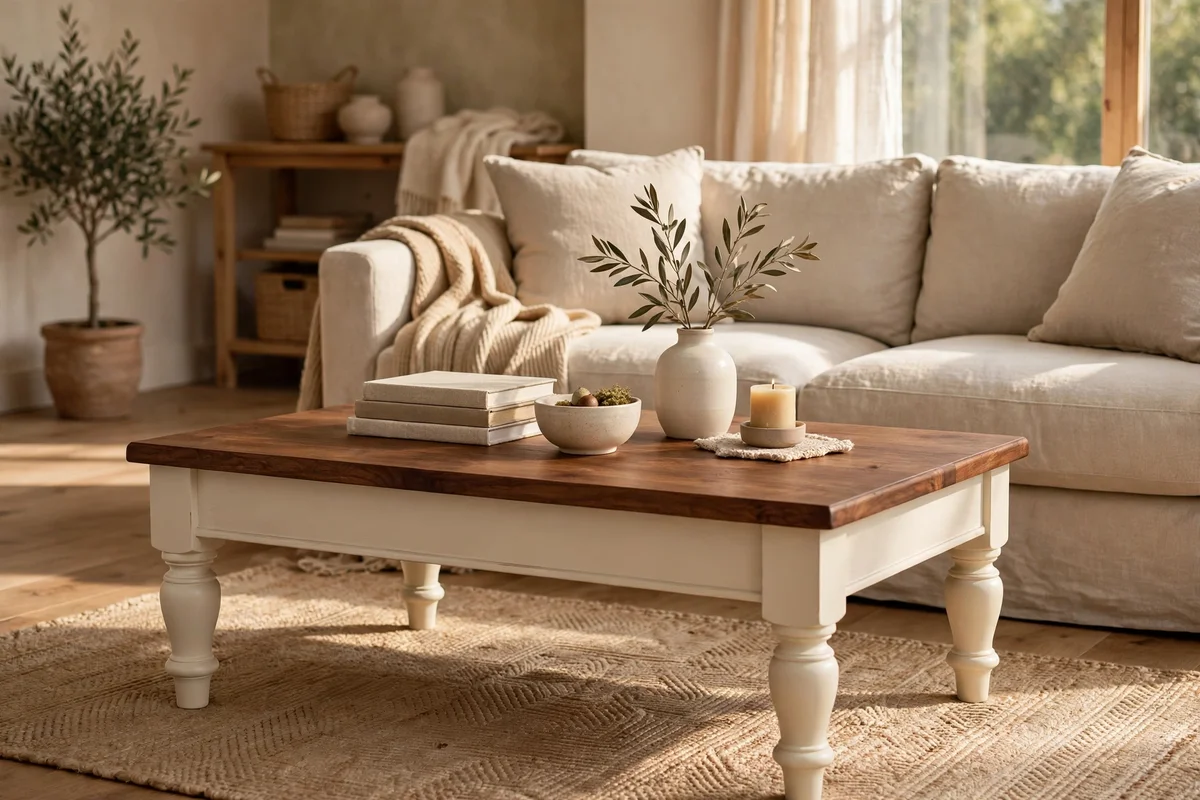
Painting only the legs, apron and lower shelf while keeping the top its own colour is the gentlest two tone approach, and it suits tables with a lovely wood top that only needs refreshing. Sand the top back and oil it with a hardwax wood oil, then paint the base in a contrasting shade, cream legs under a walnut stained top, or sage under a warm oak top. Mask where the legs meet the top so the colour change lands exactly on the joint.
Two thin coats on the legs are usually enough, since vertical surfaces show fewer flaws than the top. Let the base cure for 48 hours before you flip the table back upright for styling, so the fresh paint does not pick up texture from the floor. The mistake to avoid is painting the underside of the top a different colour without masking, which reads as messy from a low sofa. One small tin of 750 ml paint covers most table bases twice.
9. Distress the Edges Lightly With Fine Sandpaper
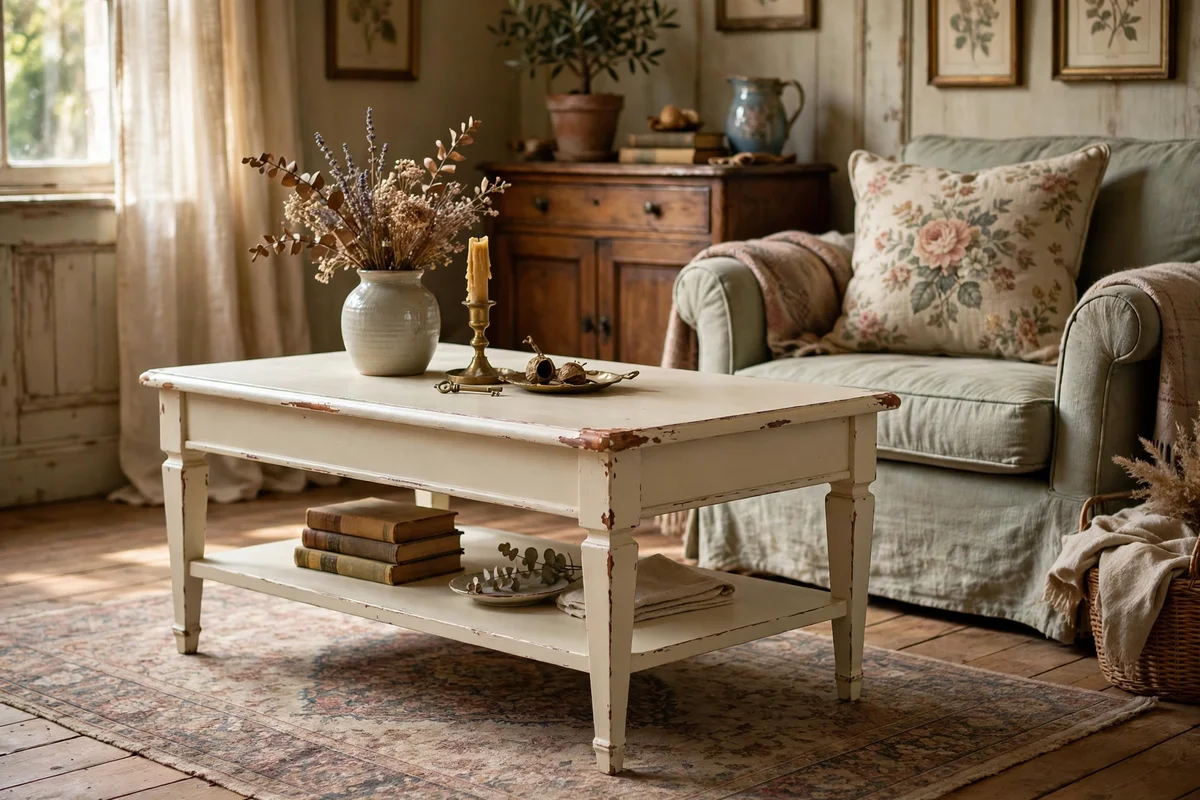
Soft distressing means sanding paint back only on the spots that would wear naturally, table corners, the front edge of the top, and the high points of carved legs. Wait until the paint has dried for a full 24 hours, then rub those spots gently with 220 grit sandpaper or a fine sanding sponge, using light pressure and checking often. The goal is a whisper of the wood or undercoat showing through, not bare patches everywhere.
Step back every minute or so to judge the overall effect, since distressing looks stronger in raking light than it does up close. Seal the table with clear wax or a matte topcoat to lock the worn edges in place. The mistake to avoid is distressing before the paint has fully dried, which tears the finish instead of wearing it smoothly and leaves ragged patches. A sanding sponge costs very little and gives far more control than folded paper on curved legs.
10. Stencil a Simple Border Motif Around the Tabletop
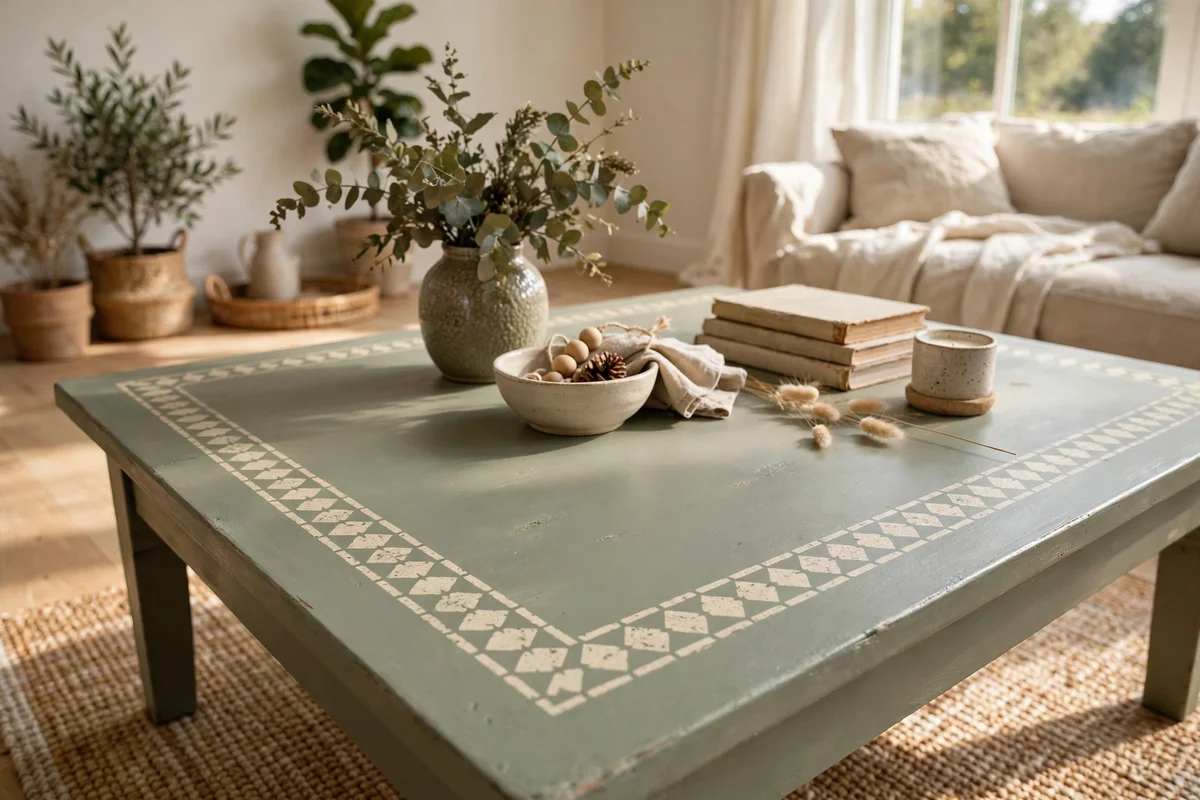
A stencilled border turns a plain painted top into something that looks hand finished and thoughtful. Choose a simple repeating motif, small diamonds, dots or a Greek key, and a stencil no wider than 8 cm so it sits comfortably inside the table edge. Position it with low tack tape and mark the centre of each side with a pencil dot so the pattern stays symmetrical. Use a nearly dry stencil brush, offloading most paint onto a paper towel first.
Pounce the brush straight up and down rather than sweeping, which pushes paint under the stencil edge and blurs the design. Lift one corner to check after the first repeat, then continue around all four sides before removing the stencil. The mistake to avoid is reloading the brush too generously; two thin passes beat one heavy one every time. Seal the motif with the same topcoat as the rest of the top. Reusable stencils cost a few pounds or dollars online.
11. Add a Single Stencilled Medallion to the Table Centre
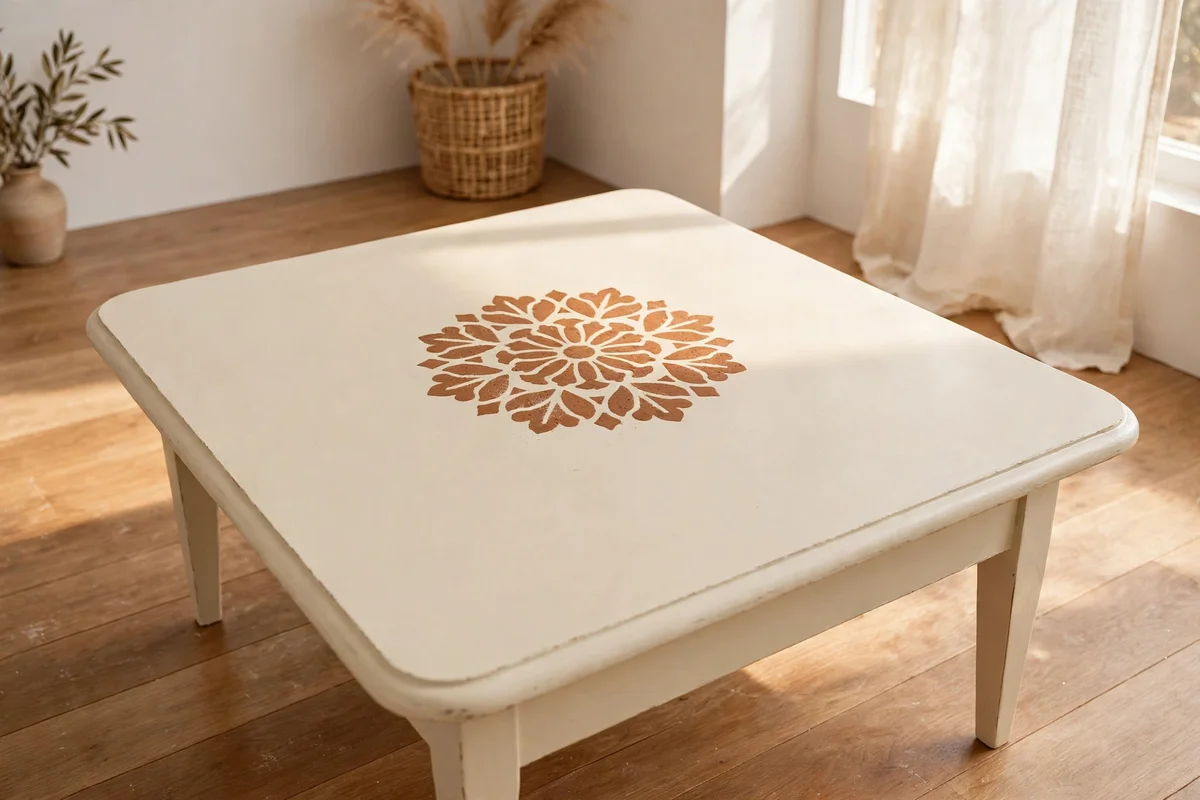
One central medallion, a simple rosette or compass star about 25 to 30 cm across, gives the tabletop a quiet focal point without the fuss of a full border. Find the exact centre by stretching string corner to corner and marking where the lines cross. Tape the stencil down on all four sides so it cannot shift, and test the motif on paper first to settle on paint colour and pressure.
A tone on tone medallion, cream motif on a sage table, or clay on cream, feels refined and never shouts. Build the colour with two light pounces rather than one heavy application, and remove the stencil while the paint is still damp to avoid peeling. The mistake to avoid is choosing a medallion larger than half the table width, which crowds the surface and leaves no calm space around it. Keep the surrounding top clear of clutter so the motif can breathe.
12. Use Long, Even Brushstrokes in One Direction
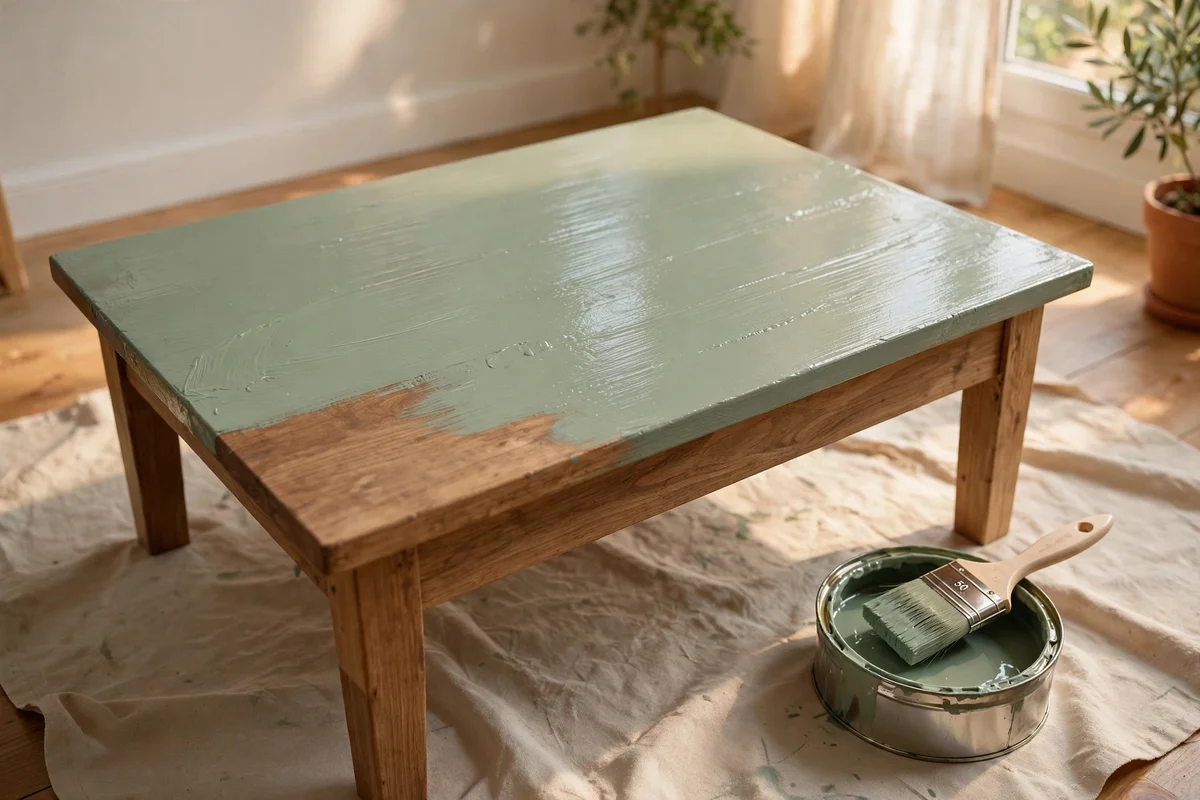
Brush marks are the telltale sign of a rushed paint job, and the fix is simple rhythm. Load the brush to about half the bristle length, lay the paint down in one long stroke with the grain, and lift at the end of the stroke instead of scrubbing back. Overlap each stroke by about a third so the wet edges melt together. A 50 mm flat synthetic brush suits tabletop work, while a 25 mm brush handles legs and spindles neatly.
Work from one end of the table to the other without stopping, since pausing lets an edge skin over and creates a visible lap line. Keep a small damp cloth nearby to catch drips on the legs immediately. The mistake to avoid is brushing in circles or against the grain, which shows as crosshatching once the paint dries. Good brushes cost 8 to 15 pounds or dollars, and cleaning them in warm soapy water right after use keeps them soft for the next rescue.
13. Apply Two Thin Coats Instead of One Thick Coat
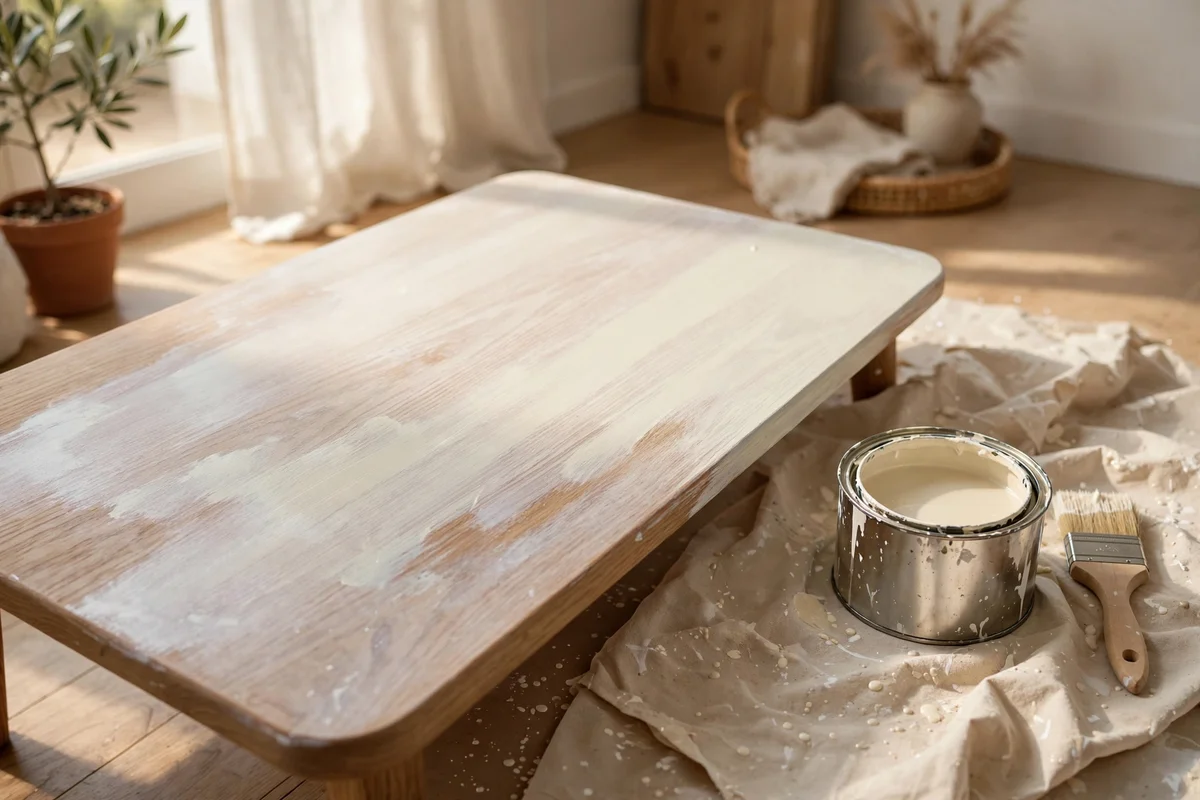
One thick coat looks faster but dries with sags, brush ridges and a soft film that dents for weeks. Two thin coats level out smoothly, dry harder and hide better in the end. Thin the paint only if the tin suggests it, usually with no more than 5 percent water for chalk paint, and spread each coat so the wood grain faintly shows through the first layer. That translucency is the sign you have the thickness right.
Allow the first coat a full two to four hours, or overnight in a damp room, before recoating, since painting over a soft first coat lifts it back off. Inspect the dry first coat in side light and sand any nibs with 220 grit before the second coat goes on. The mistake to avoid is judging coverage while the paint is wet, which always looks thinner than it will dry. Patience between coats is the cheapest upgrade any painted table can get.
14. Catch Drips and Bubbles While the Paint Is Wet
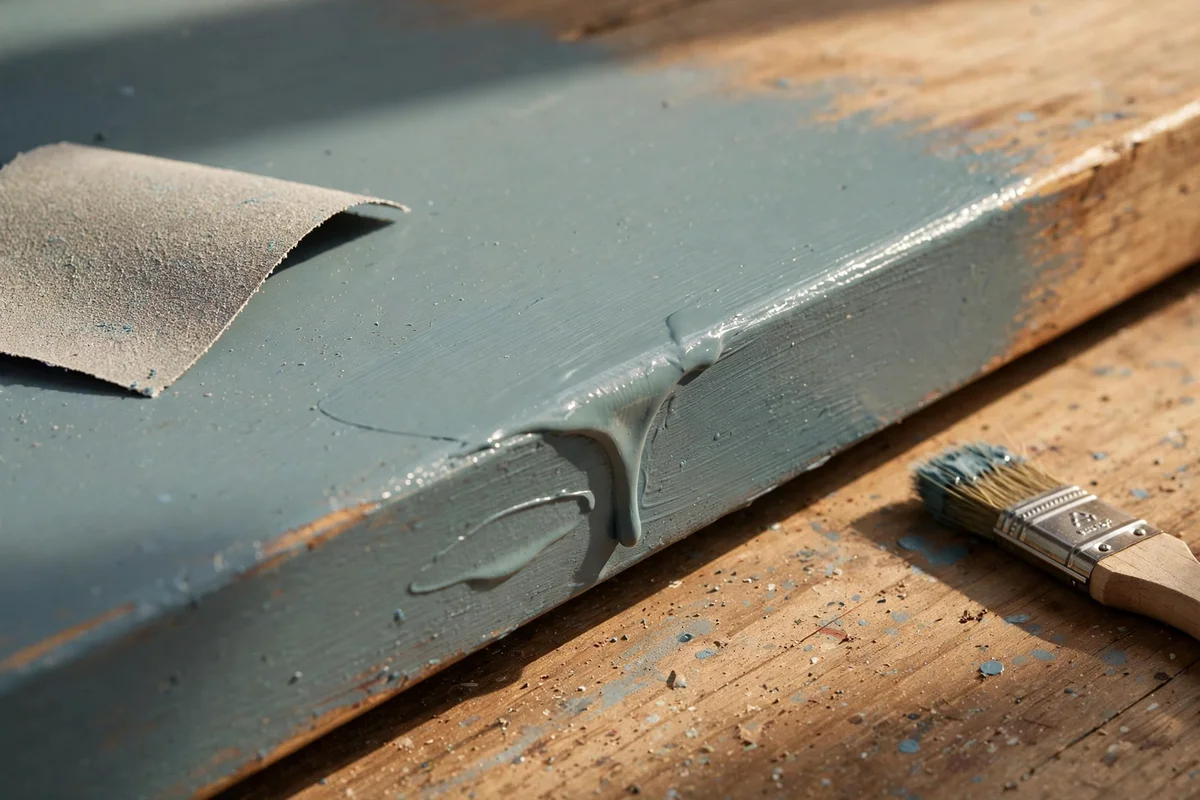
Drips love to hide on the underside of the tabletop edge and where legs meet the apron, so check those spots ten minutes after each coat. Smooth a fresh drip immediately with the tip of a barely loaded brush, feathering it into the surrounding paint. Bubbles usually come from shaking the tin instead of stirring, or from painting in direct sun on a hot surface, so stir gently and paint in the shade or indoors.
If a drip has already skinned over, leave it completely alone until the coat is fully dry, then slice it flat with a sharp craft knife and sand smooth with 220 grit before recoating. Picking at a tacky drip makes a crater that is far harder to fix. The mistake to avoid is loading the brush so heavily that paint floods carved details; two journeys with a half loaded brush beat one flooded pass. A calm pace prevents most drips before they happen.
15. Seal Chalk Paint With Clear Furniture Wax
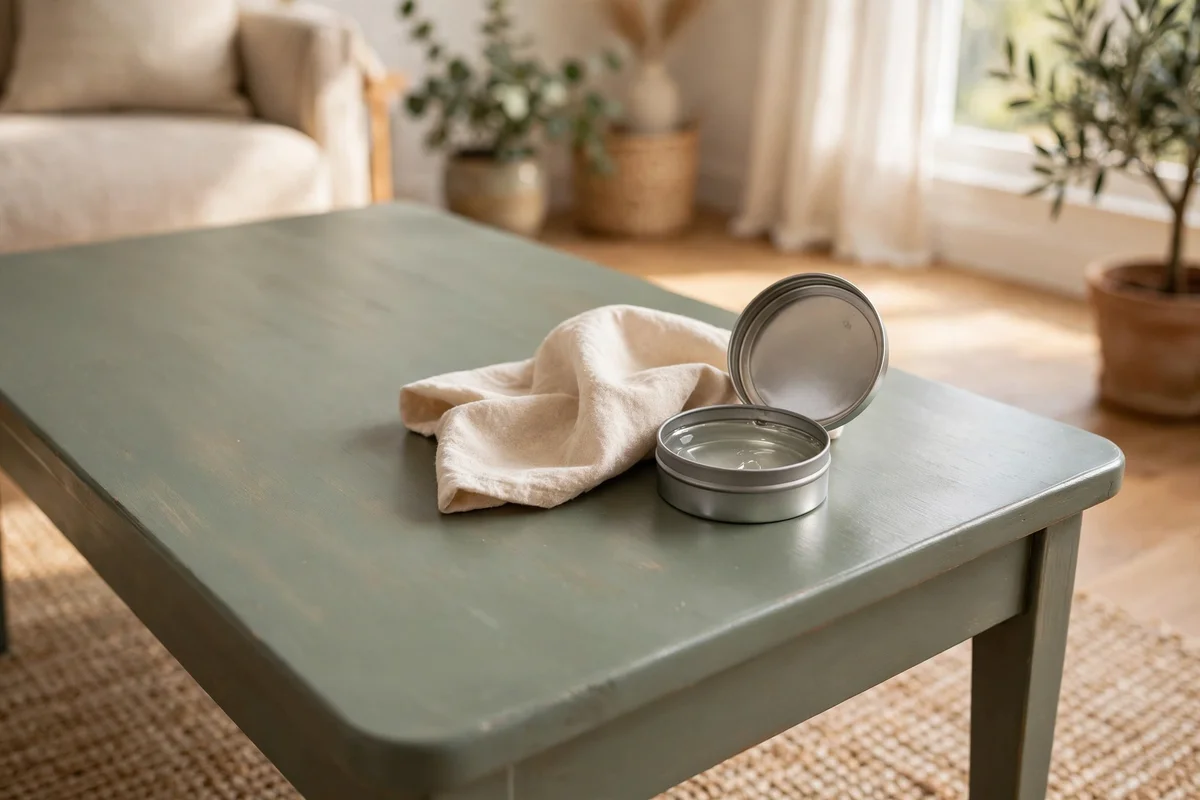
Chalk paint stays soft and porous until it is sealed, so waxing is what makes the finish wipeable and durable. Scoop a small amount of clear furniture wax onto a soft lint free cloth and work it into the paint in small circles, covering the top, apron and legs. One thin, even layer is enough; the table should look satiny, not greasy. A 500 ml tin of wax seals several coffee tables and costs about 10 to 15 pounds or dollars.
Let the wax rest for about thirty minutes, then buff it with a clean dry cloth using firm circular motions until the surface feels smooth and dry to the touch. Apply a second thin coat on the tabletop only, since that surface takes the most wear. The mistake to avoid is waxing over paint that is not fully dry, which clouds the finish and stops the wax bonding. Allow the paint a full 24 hours of drying before the wax goes on.
16. Protect the Tabletop With a Water Based Topcoat
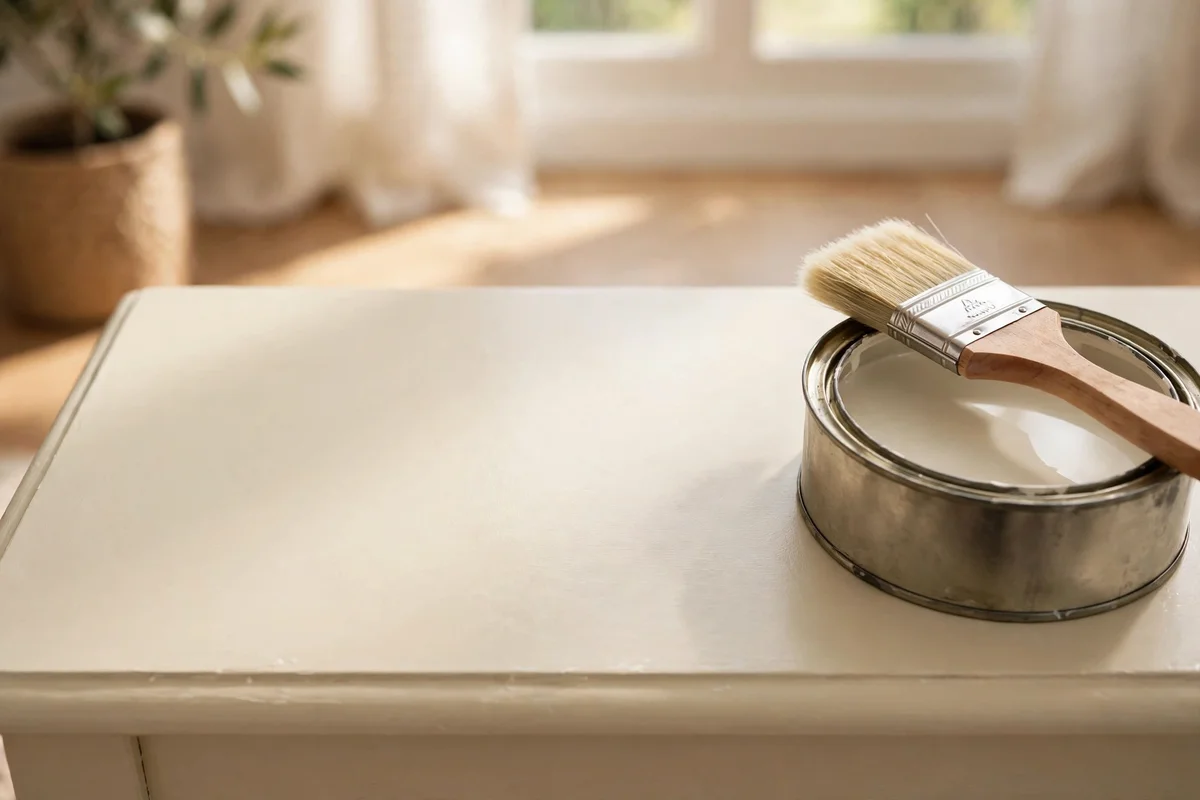
For a table that will hold daily teacups, laptops and board games, a water based polyurethane topcoat outlasts wax on the horizontal surface. Choose a satin or matte finish to keep the painted look soft, since gloss can look plasticky on chalk paint. Brush two to three thin coats with a high quality synthetic brush, sanding lightly with 320 grit between coats, and allow two hours of drying between each.
Water based topcoat dries clear and stays clear, unlike oil based versions that yellow pale colours over time, so it is the right choice over cream, sage and pale clay finishes. Clean the brush in warm water immediately after use. The mistake to avoid is shaking the tin, which whips in bubbles that dry as tiny craters; stir gently instead. A 750 ml tin costs about 12 to 20 pounds or dollars and covers the tabletop several times over.
17. Give the Paint Its Full Curing Time Before Daily Use
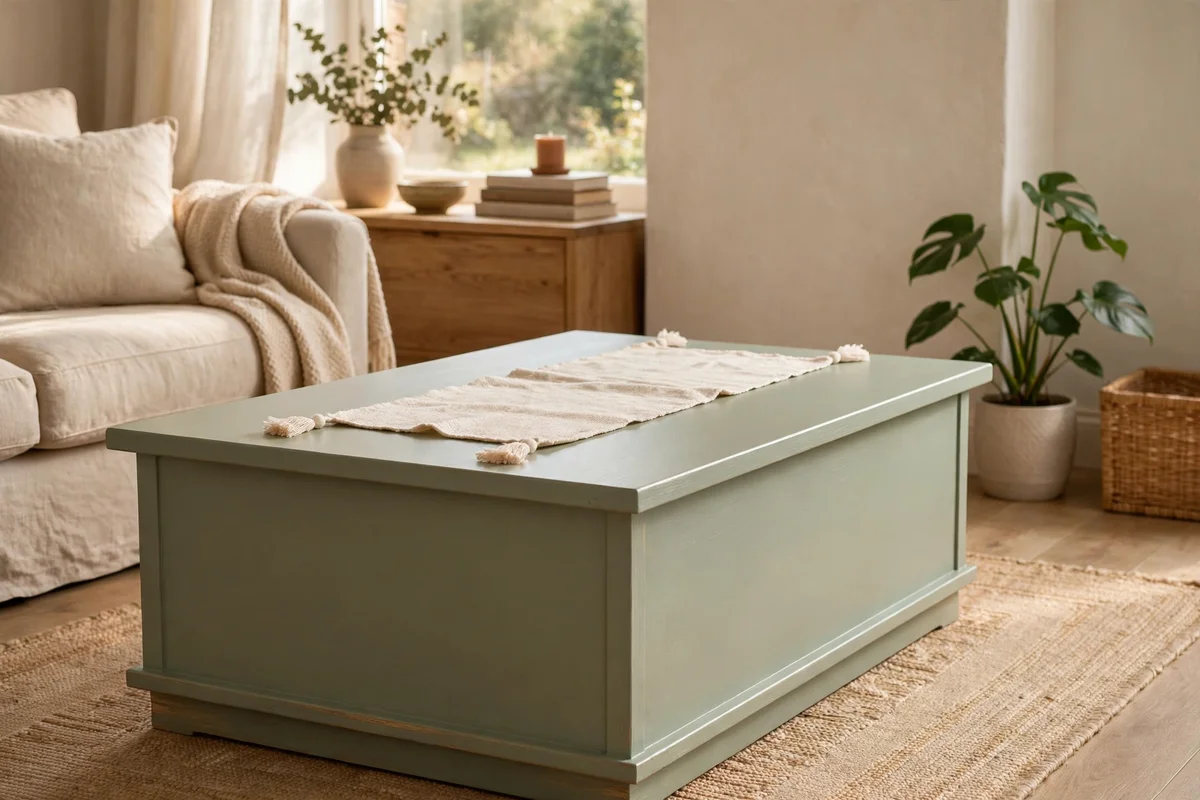
Dry to the touch is not the same as fully cured, and this is where many makeovers fail. Chalk paint sealed with wax needs about 21 days to reach full hardness, while water based topcoats cure in 7 to 14 days depending on humidity. During that window the finish can still dent or stick to objects left sitting on it. Use the table gently, lift rather than slide items, and keep hot mugs on coasters.
If you must use the table sooner, lay a cotton runner or felt pads under anything heavy for the first two weeks. Avoid placing books in tall stacks on fresh paint, since their weight can leave permanent marks. The mistake to avoid is testing the finish with a fingernail on day two and panicking; softness early on is normal and the hardness builds steadily. Mark the cure date on a sticky note under the table so the household remembers.
18. Keep the Whole Makeover Under a Thrifty Budget
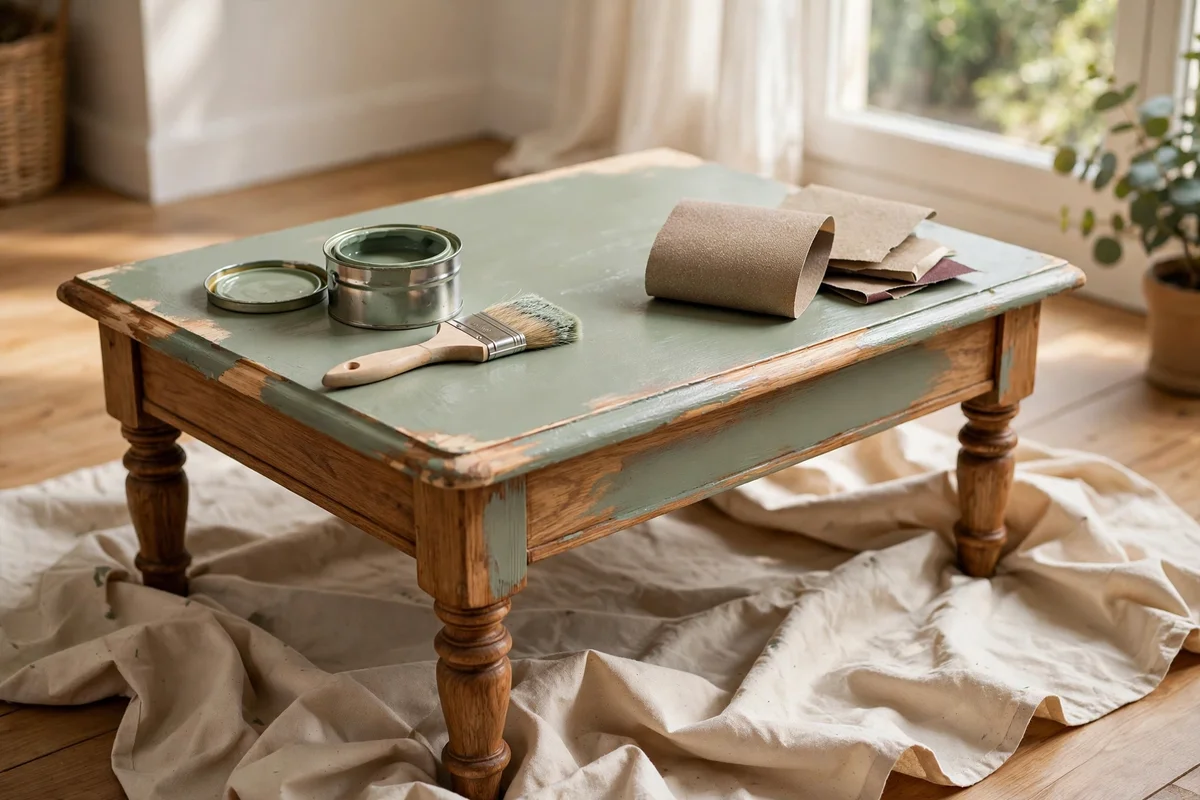
A painted coffee table rescue should cost a fraction of buying new, and it easily can. A litre of chalk paint at 20 to 30 pounds or dollars, a decent brush for about 10, sandpaper and tape for under 5, and wax or topcoat for 10 to 20 brings the total to roughly 45 to 65. Watch for end of line paint colours at hardware stores, which are often discounted by half and work beautifully for small furniture.
Save more by rescuing the table itself from a charity shop, a market stall or a neighbour’s clear out, where solid wood coffee tables often sell for 10 to 25 pounds or dollars. Keep leftover paint for the next project, since one litre usually leaves enough for a small stool or tray. The mistake to avoid is buying every accessory at once; paint the table first, live with it for a week, and only then decide what styling pieces it truly needs.
19. Style the Finished Table With a Tray, Books and a Small Plant
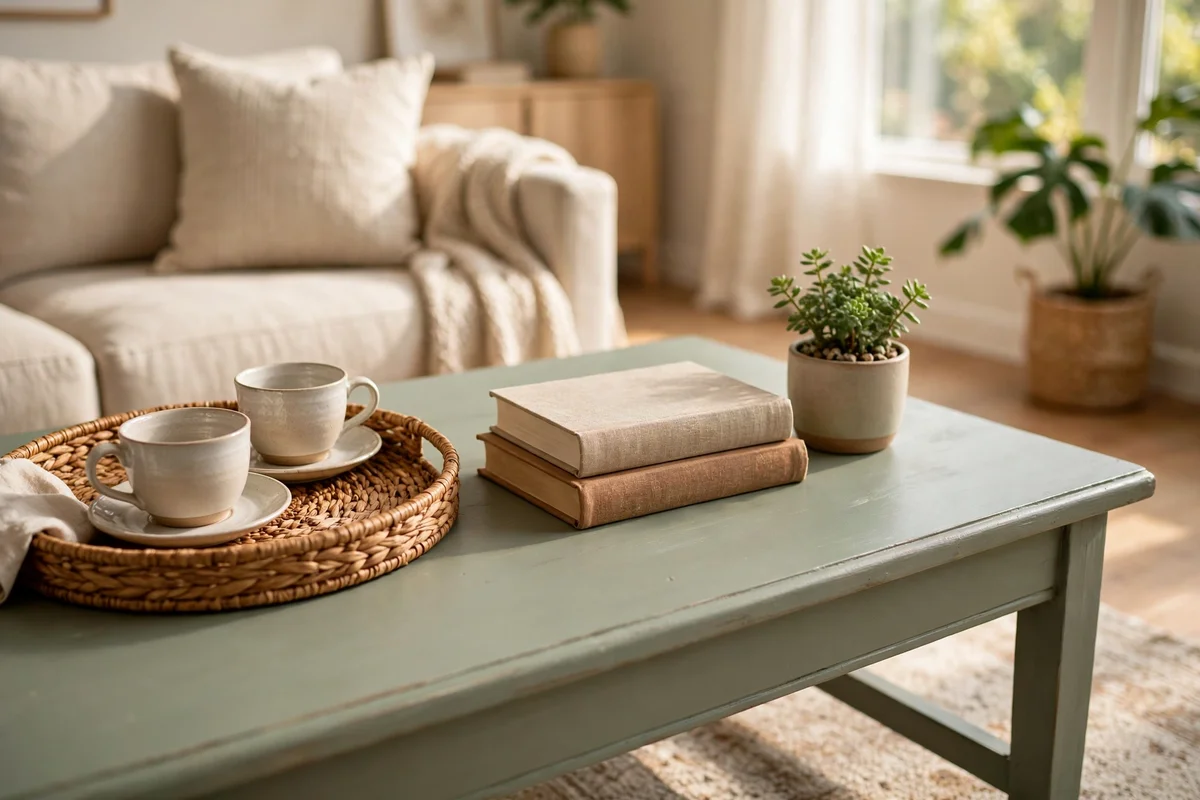
A painted table looks its best with three simple zones, which keeps the surface calm and shows off the finish. Set a wooden or woven tray on one third to anchor teacups and a small candle, stack two books with calm covers on another third, and place a small potted plant or a bud vase with dried stems on the last third. Keep every item low enough that conversation flows easily across the table.
Choose styling pieces in tones that echo the paint, cream linen, natural rattan and soft green leaves beside a sage table, or warm brass and terracotta beside clay. Leave some painted surface visible rather than covering every centimetre. The mistake to avoid is overcrowding; five small objects read as clutter while three considered pieces read as calm. Use felt pads under the tray and plant pot so they never scratch the fresh finish.
20. Set the Renewed Table Into the Room With Breathing Space
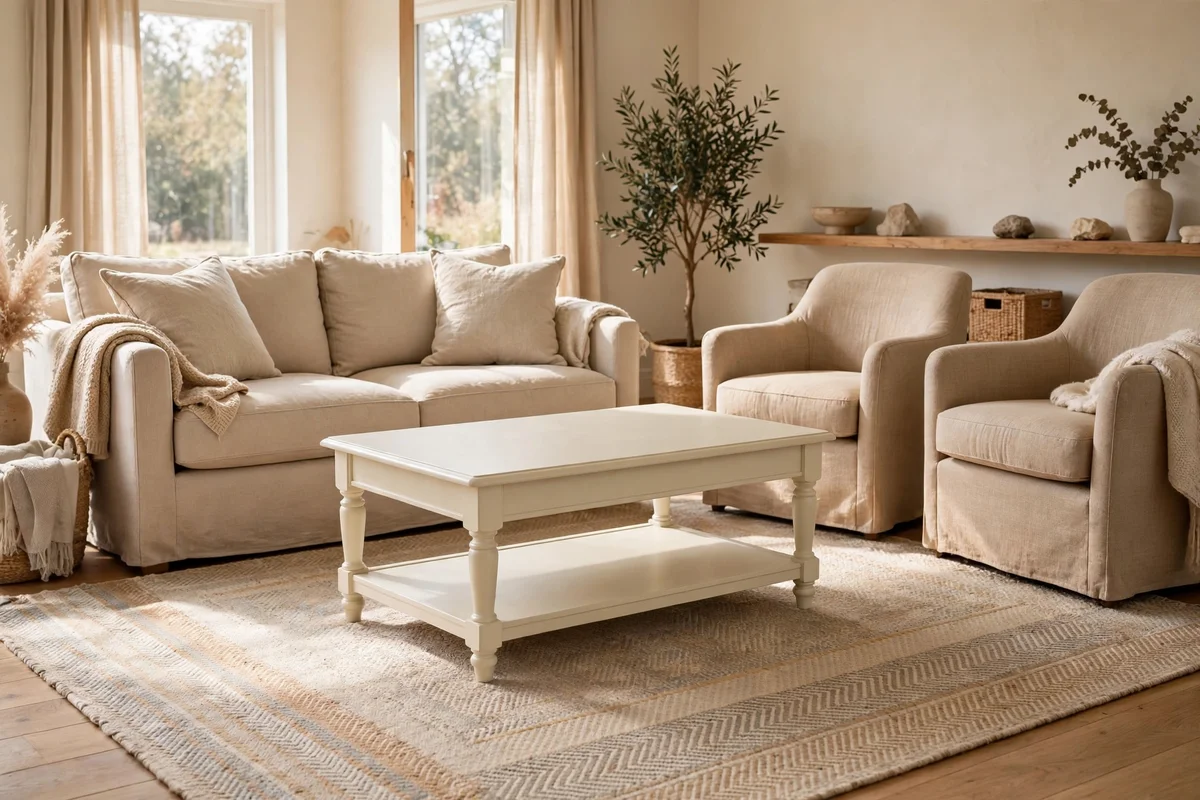
Where the table sits matters as much as how it looks. Centre it between the sofa and chairs with 35 to 45 cm of clearance on each side, enough for comfortable legroom and easy movement around it. Pull it slightly forward of the sofa front edge rather than tucking it underneath, so the painted top catches the light. A flatweave rug underneath in a tone that complements the paint colour ties the whole arrangement together.
Step back to the doorway and look at the room as a guest would; the table should feel like a calm centre, not a crowded island. If the room is small, choose a lighter paint colour like cream or sage, which keeps the table visually light. The mistake to avoid is pushing the table against a wall to save space, which wastes its best angle and makes the room feel like a corridor. Give it room, and the rescue feels complete.
A painted coffee table carries something a shop bought piece never can, the memory of the afternoon you rescued it. The sage, cream, clay or ink you chose, the soft distressed edges, the stencilled motif you placed with care, all of it adds up to furniture that feels loved rather than merely owned. Durable finishes come from honest prep and patient curing, not from expensive products, and every section here was built around that simple truth.
This week, start with the easiest win of all: pull the table into good light, wash it down, and sand the top with 120 grit paper. That single hour of prep makes every later step smoother and costs almost nothing. Once the old sheen turns dull and even, the rescue has truly begun, and the paint tin waiting on the shelf will feel like a promise kept.
Frequently Asked Questions
Do I need to sand before using chalk paint on a coffee table?
A light scuff sand with 120 grit paper is always worth doing, even though chalk paint claims no prep is needed. Sanding removes the old sheen and gives the paint something to grip, which matters on a table that takes daily knocks. Clean and degrease first, sand with the grain, wipe away the dust, and the paint will bond far better. Skip this step and chips appear within months, not years.
What is the cheapest way to paint a coffee table?
Buy a litre of chalk paint in an end of line colour, often half price, a mid range 50 mm synthetic brush, a pack of sandpaper and a small tin of clear wax. That kit usually totals 35 to 50 pounds or dollars and covers the whole table. Rescue the table itself from a charity shop for 10 to 25. The biggest saving is patience: two thin coats you already own beat extra products bought in a hurry.
Should I use wax or a topcoat on a painted coffee table?
Use wax for a soft, hand finished look on legs, aprons and low use tables, and a water based topcoat on any tabletop that holds daily cups, laptops or games. Wax feels beautiful but marks under heat and moisture, while satin polyurethane shrugs off rings and wipes clean. Many painters wax the base for character and topcoat the top for durability, getting the best of both finishes on one table.
How long should painted furniture cure before daily use?
Chalk paint sealed with wax needs around 21 days to reach full hardness, while water based topcoats cure in 7 to 14 days. The paint feels dry within hours, but the film underneath stays soft and can dent or stick to objects. Use the table gently during this window, lift items instead of sliding them, and keep heavy stacks of books off until the cure date you marked under the table has passed.
Can I paint over a varnished or laminate coffee table?
Yes, with the right primer. Scuff sand the glossy surface with 120 grit paper, clean it thoroughly, and apply a shellac based or high adhesion bonding primer before your colour coats. The primer grips the slick surface so the paint cannot peel. Laminate edges need extra care since moisture can swell the board underneath, so seal every edge with primer and topcoat. Two thin colour coats over primer last for years.