DIY Projects
21 DIY Countertop Ideas That Give Your Kitchen a Luxe Look for Less
By Anna Wells · · 19 min read
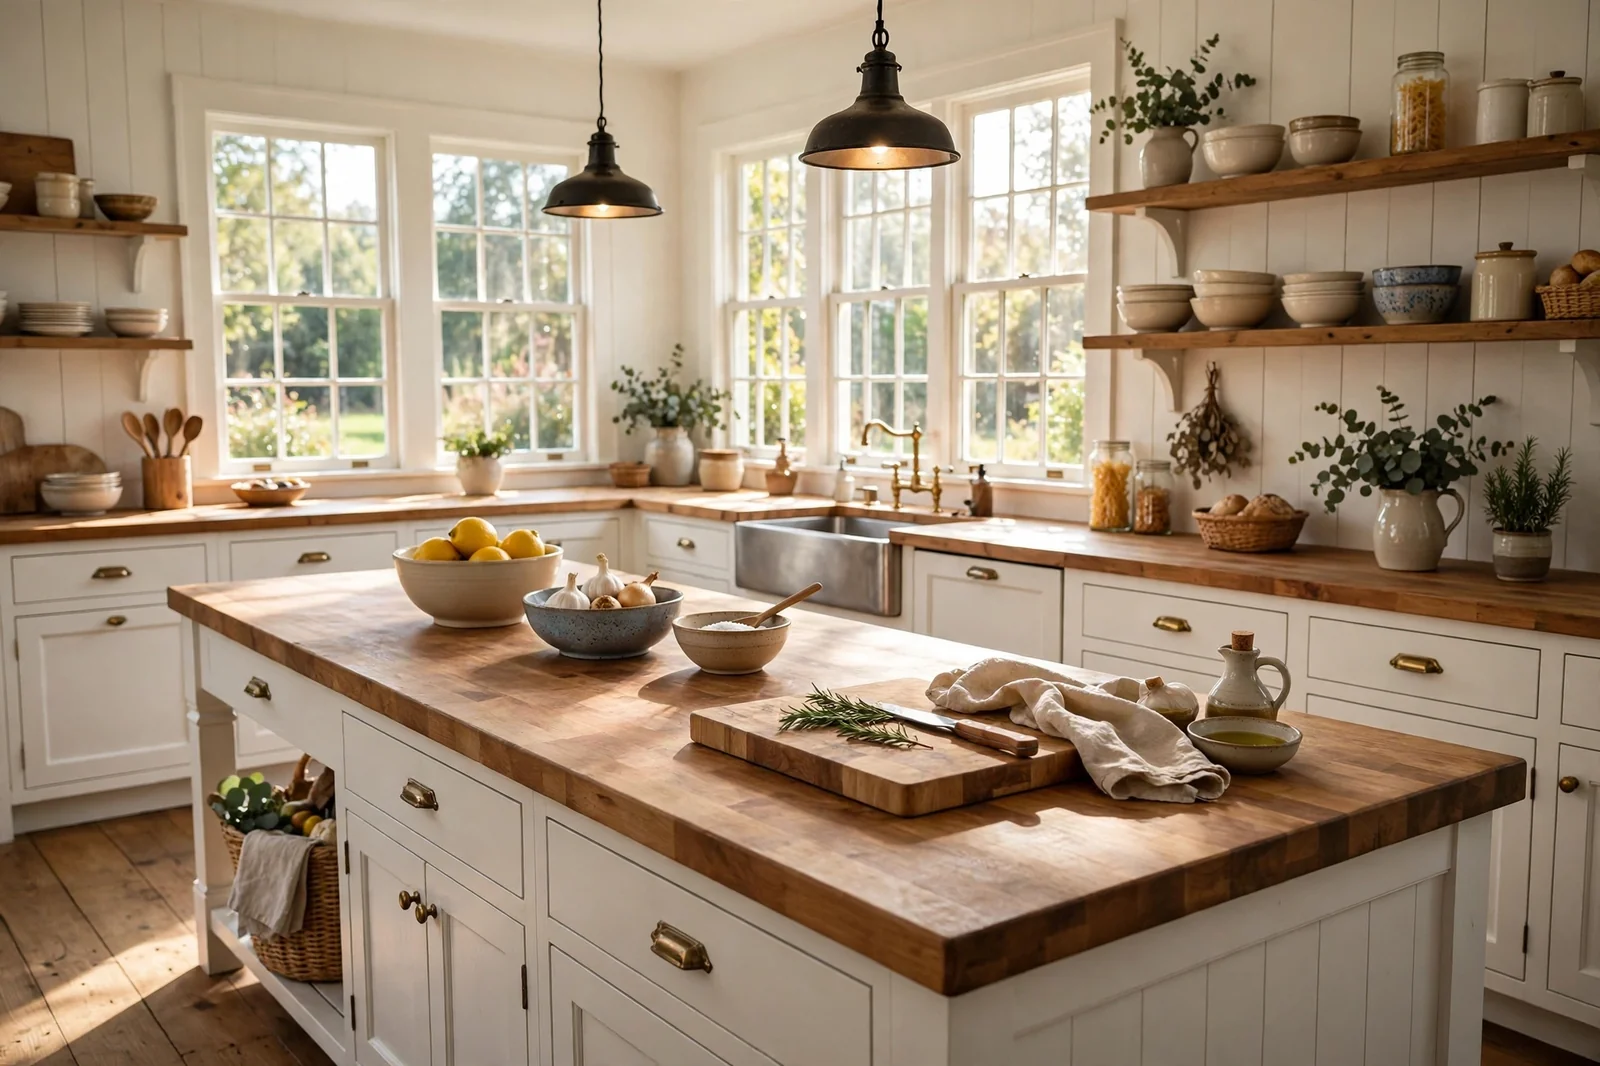
The countertop sets the tone for the entire kitchen, yet replacing it professionally can cost thousands. The good news is that resourceful homeowners have perfected dozens of do-it-yourself routes to a beautiful work surface, from real wood and poured concrete to clever paint and epoxy effects that mimic stone. These twenty-one ideas prove that a luxe-looking kitchen is a weekend project away, not a renovation loan away.
Few upgrades change a kitchen as dramatically as the countertop. It is the surface your eyes land on first and your hands touch a hundred times a day, so getting it right transforms how the whole room feels. Professional stone can cost a small fortune, but the DIY world has quietly perfected alternatives that look just as considered for a fraction of the price. Roll up your sleeves: your dream kitchen is closer than you think.
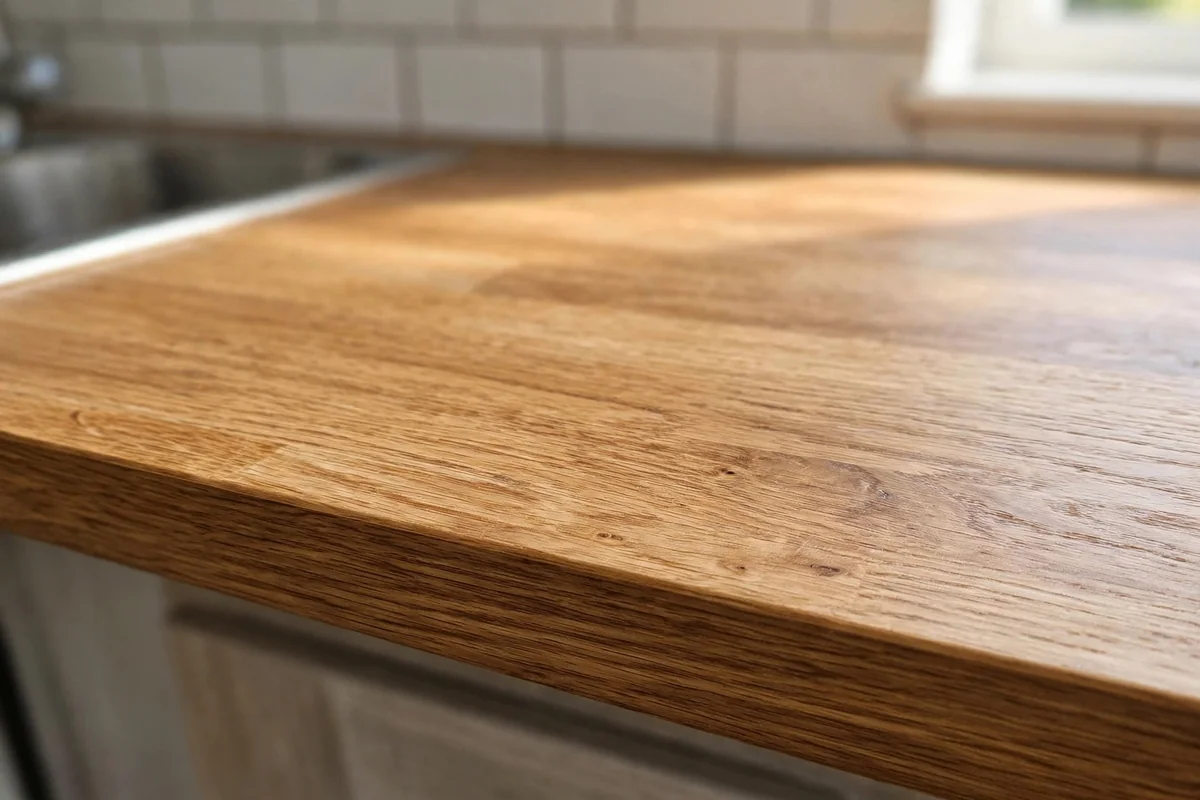
1. The Classic Butcher Block Warm-Up
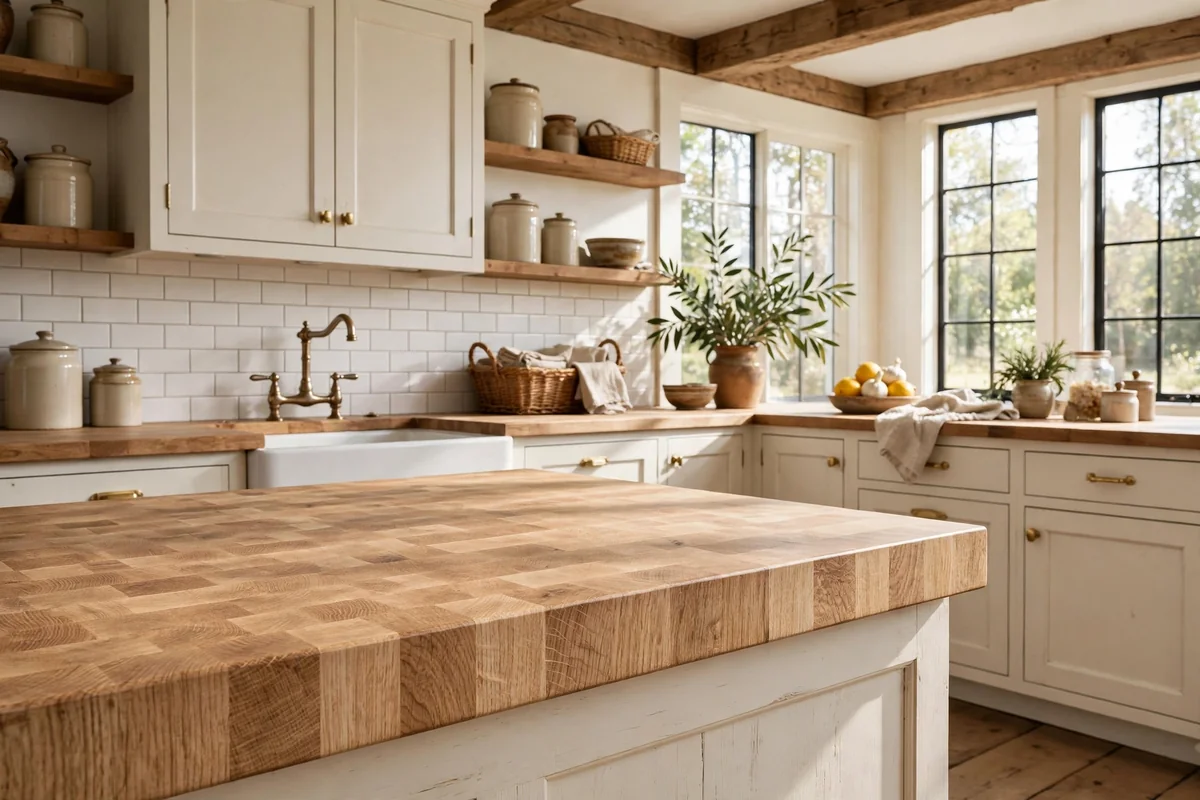
Butcher block is the friendliest of all countertop materials: warm to the touch, forgiving to install and kind to knives. Buy solid wood worktop lengths in oak, beech or ash from a timber merchant, choosing staves at least 40 millimetres thick so the top feels substantial. Cut to length with a circular saw and straightedge, join runs with biscuits and waterproof wood glue, and ease the front edge with a small roundover bit.
Finish is where the magic happens. Sand progressively to 220 grit, then feed the timber with food-safe mineral oil until it stops drinking, usually four or five coats. Around the sink cut-out, add two extra coats to the end grain where water lingers. The common mistake is varnishing the whole top, which eventually chips; an oiled top simply gets re-oiled twice a year and looks better with every passing year.
2. Deep-Stained Plywood With a Furniture Finish
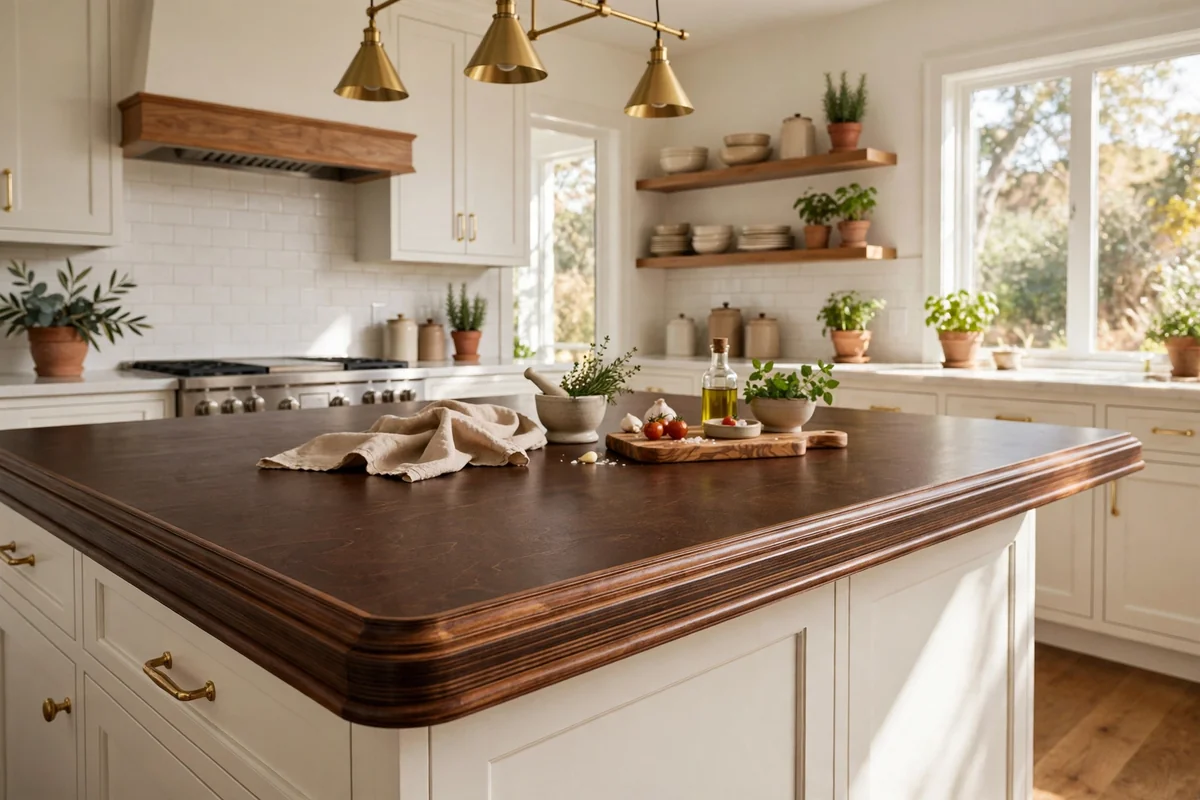
Cabinet-grade plywood, stained deep and finished like fine furniture, makes a countertop with surprising sophistication for very little money. Use 30 millimetre Baltic birch ply for a clean edge with attractive laminations, or laminate two 18 millimetre sheets for extra heft. Cut, glue and screw from below, then fill any voids on the show edge with tinted wood filler before staining.
A penetrating stain in dark walnut or espresso, followed by three coats of water-based polyurethane sanded lightly between coats, gives a rich, even lustre that shrugs off daily use. Add a simple hardwood trim around the perimeter to hide the ply edge if you prefer a solid-wood look. This is an excellent first woodworking project: the materials are cheap, the tools are basic, and mistakes sand out easily.
3. Rustic Maple Slab With Live Character
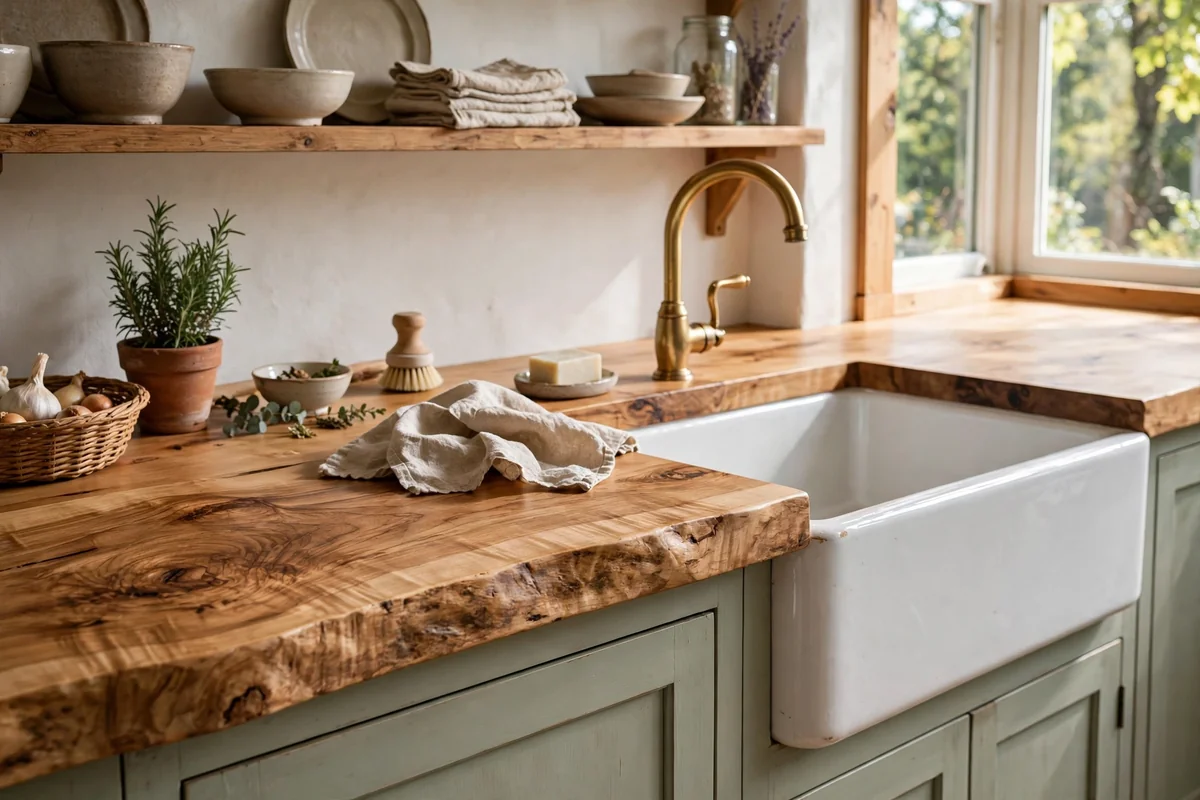
A single wide maple slab, with its knots, mineral streaks and gentle undulations, brings the character of a farmhouse table to your work surface. Source slabs from a local sawmill, ideally kiln-dried to below 12 percent moisture so the top stays stable. Flatten with a router sled if needed, fill small checks with tinted epoxy, and sand to a silky 220 grit.
Maple is pale and dense, so it takes a light oil finish beautifully and brightens a kitchen without paint. Leave one long edge live, meaning following the natural curve of the tree, for an artisanal feel on an island or breakfast bar. Seal the underside as well as the top to slow moisture movement, and keep the slab out of direct blast from the kettle. It is a showpiece surface that costs little more than the timber itself.
4. A Laminate Facelift in Faux Oak
Before you rip out tired laminate, consider painting it into convincing wood. The process needs only degreaser, a sanding block, bonding primer and a wood-graining kit or a steady hand with gel stain. Scuff the laminate thoroughly so the primer bites, roll on two coats, then drag a wood-graining tool through a coat of gel stain to create grain lines, working in long, confident strokes.
Seal with three coats of water-based polyurethane for a wipeable, heat-tolerant surface. The result reads as oak from normal viewing distance and costs less than a takeaway dinner. Work in sections and keep a wet edge to avoid lap marks, and practice the graining technique on a scrap board first. It is the highest-impact, lowest-cost transformation on this entire list.
5. Reclaimed Timber Full of History
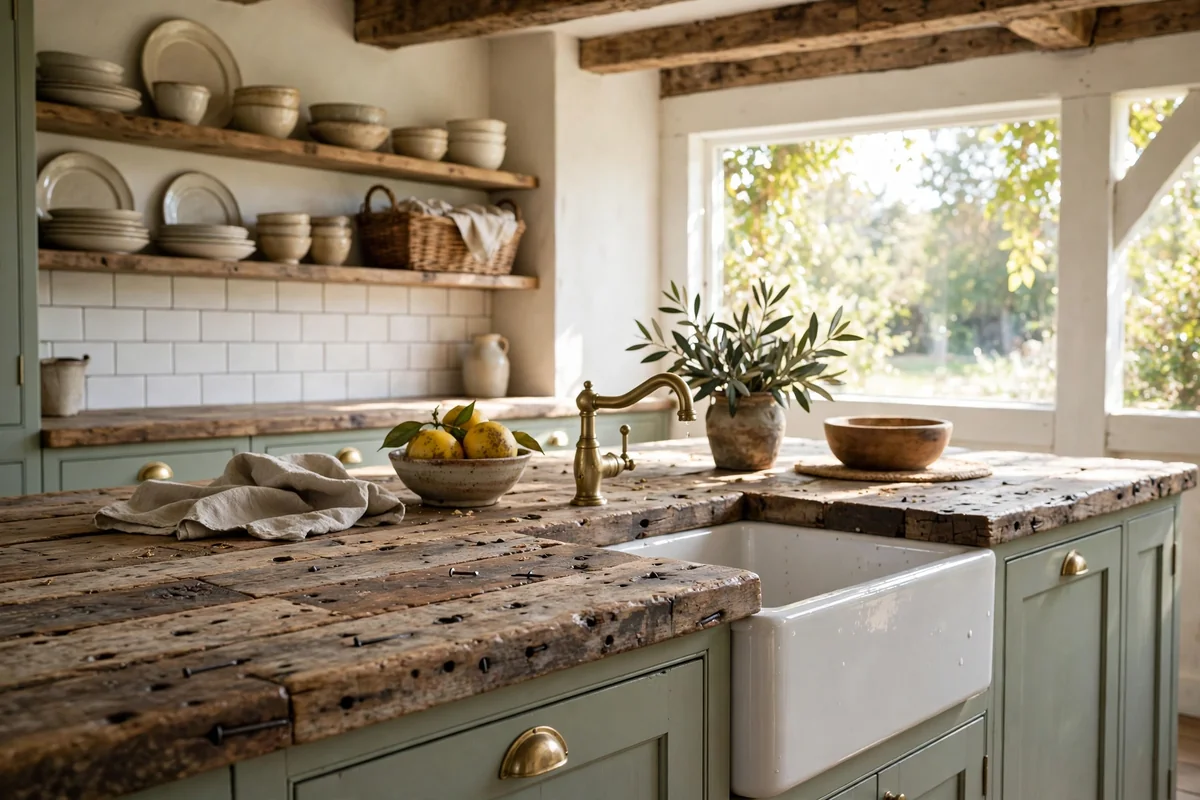
Old floorboards, beams and crates carry a patina no new timber can imitate, and they make countertops with genuine soul. Source reclaimed boards of similar thickness, denail them meticulously with a metal detector pass, and plane or sand just enough to make them flat while keeping the saw marks and colour variation. Laminate the boards edge to edge with waterproof glue and draw-bore pegs for a traditional joint.
The history in the wood does the decorating, so keep the rest of the kitchen simple and let the top be the story. Finish with hardwax oil, which protects while letting the texture show through. Check reclaimed wood for old finishes containing lead before sanding, wearing a proper respirator regardless. A countertop with a past becomes the most talked-about surface in the house.
6. Herringbone Planks for Pattern Lovers
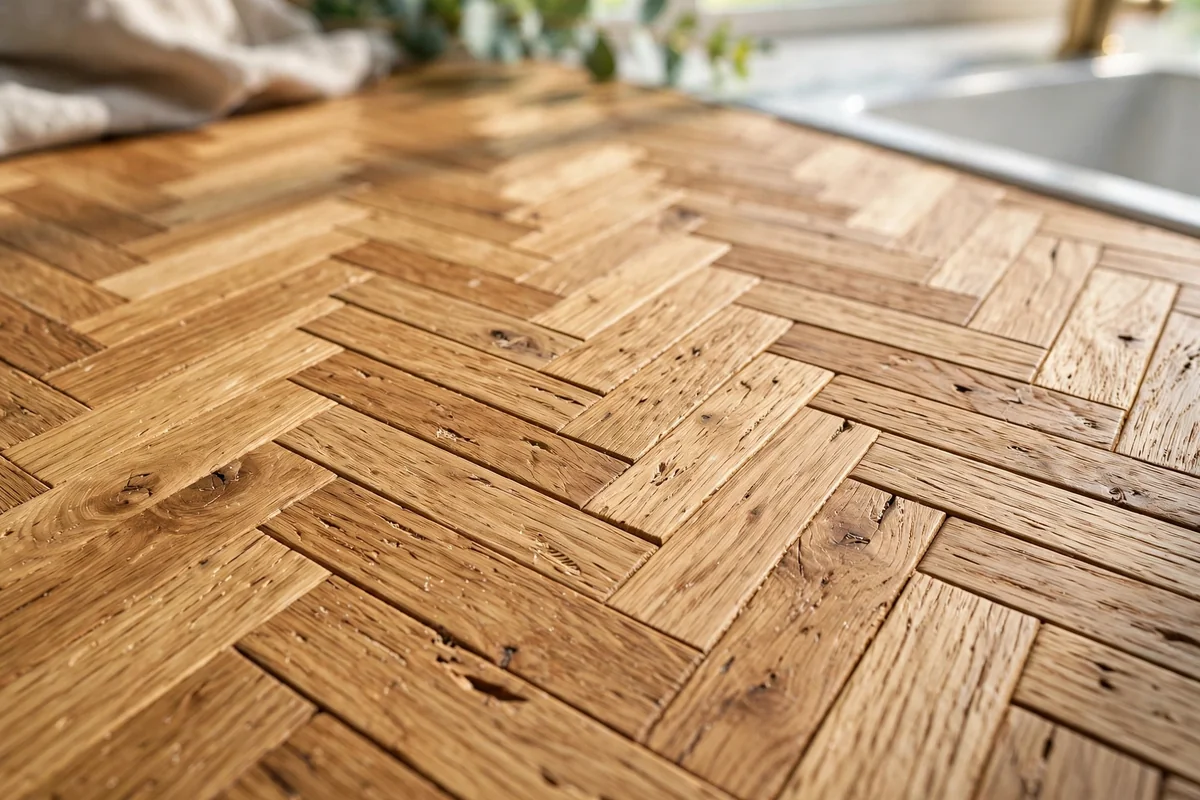
A herringbone top turns humble planks into something tailored and bespoke. Rip oak or ash boards to identical widths, cut 45-degree ends with a mitre saw, and dry-lay the zigzag across the cabinet run before gluing anything. The pattern demands patience: every joint should be tight, so work from the centre outward and keep a damp cloth handy for glue squeeze-out.
Once glued and clamped, sand the whole field flat, working up through the grits to erase any lip between planks. Finish with hardwax oil to protect the busy surface without building a plastic-looking film. The geometry catches light beautifully and hides the odd crumb far better than a plain top. It is fiddly, but the result looks like joinery from a much more expensive kitchen.
7. Poured Epoxy That Mimics Marble
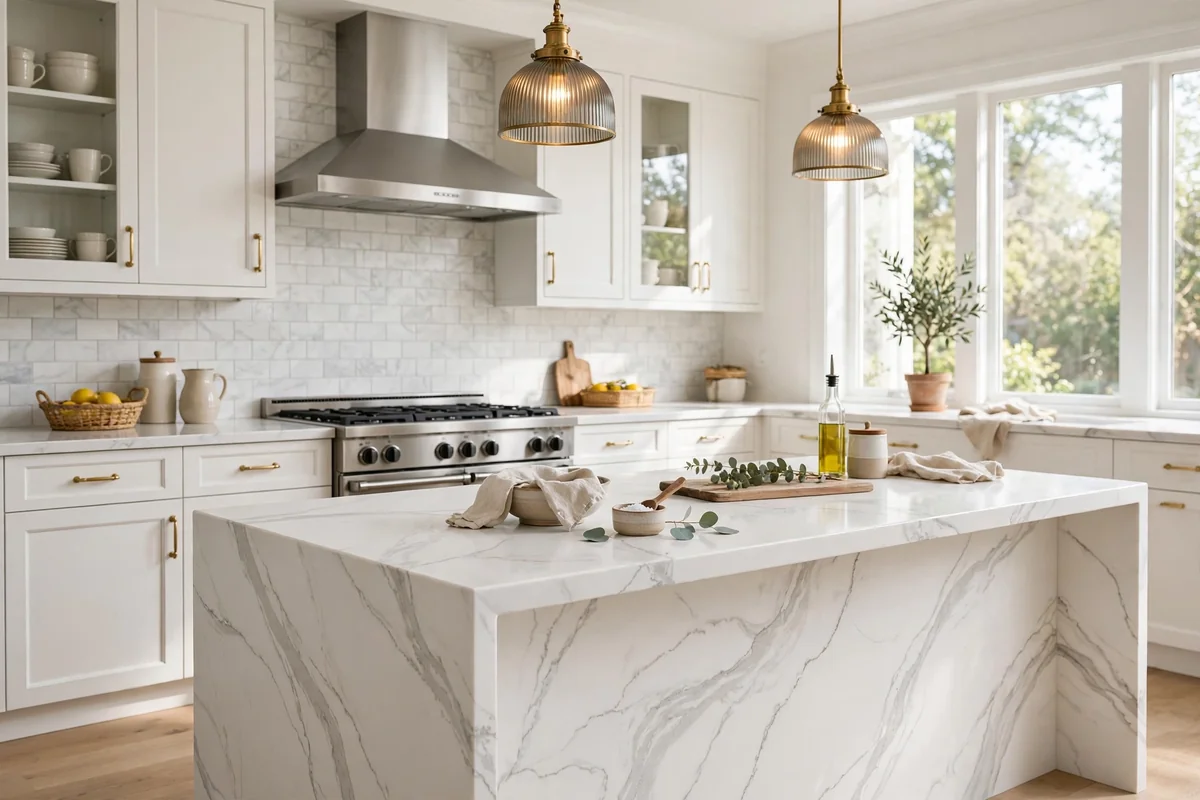
Epoxy poured over a primed base can imitate Carrara marble so convincingly that guests will touch it to check. Tint a white epoxy base, then drizzle grey and gold veins using a chopstick or an air gun, dragging them softly with a gloved finger for natural movement. The self-levelling resin erases brush marks, leaving a glass-smooth, non-porous surface that shrugs off red wine and turmeric alike.
Preparation decides everything. The base must be level, sealed and dust-free, the room above 20 degrees, and every edge dammed with tape so the resin cannot escape. Pour in two stages if you are new to the material, and keep a heat gun moving to pop bubbles. Wear a respirator rated for organic vapours and ventilate well. Done carefully, this is the closest a DIYer gets to stone without the stone price.
8. Crisp White Tile Grids
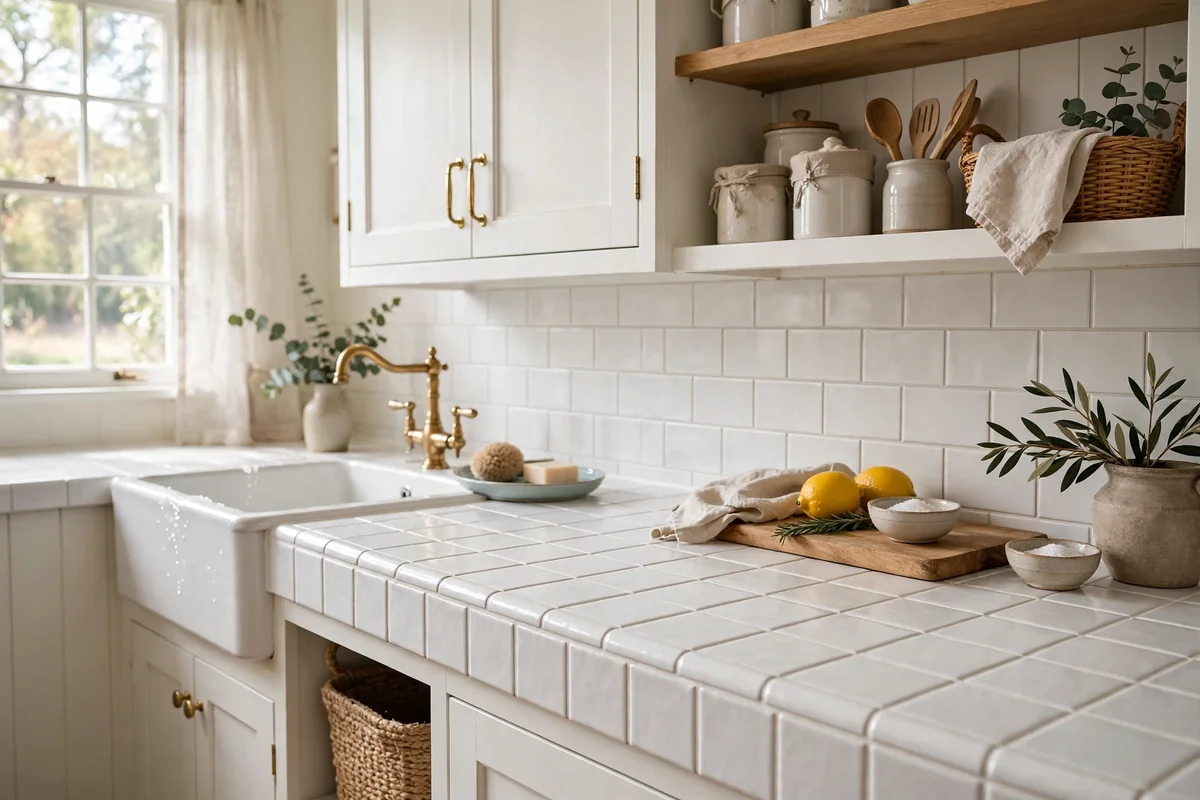
Ceramic tile remains one of the most practical DIY surfaces ever devised: cheap, waterproof, heatproof and endlessly repairable. Lay 10 centimetre square white tiles in a tight grid over cement backer board, using 3 millimetre spacers for crisp, even joints. A rapid-set flexible adhesive keeps the job moving, and a simple score-and-snap cutter handles the straight cuts while a hired wet saw manages the sink opening.
The grout makes or breaks a tile top. Use an epoxy grout or a grout with added sealer so the joints resist staining, and seal the whole field after curing. Keep a few spare tiles in the loft, since a cracked tile can be chiselled out and replaced in under an hour. It is a bright, honest, Mediterranean-feeling surface that suits busy family kitchens beautifully.
9. Honest Poured Concrete
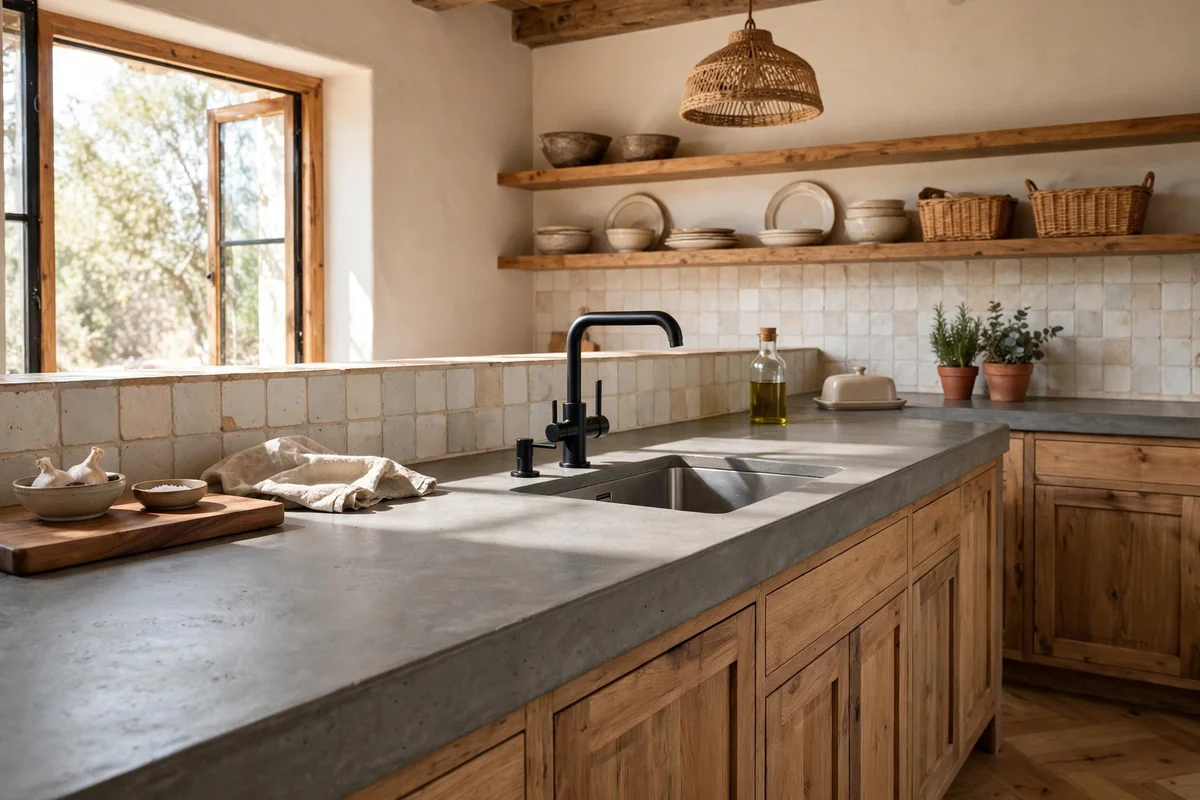
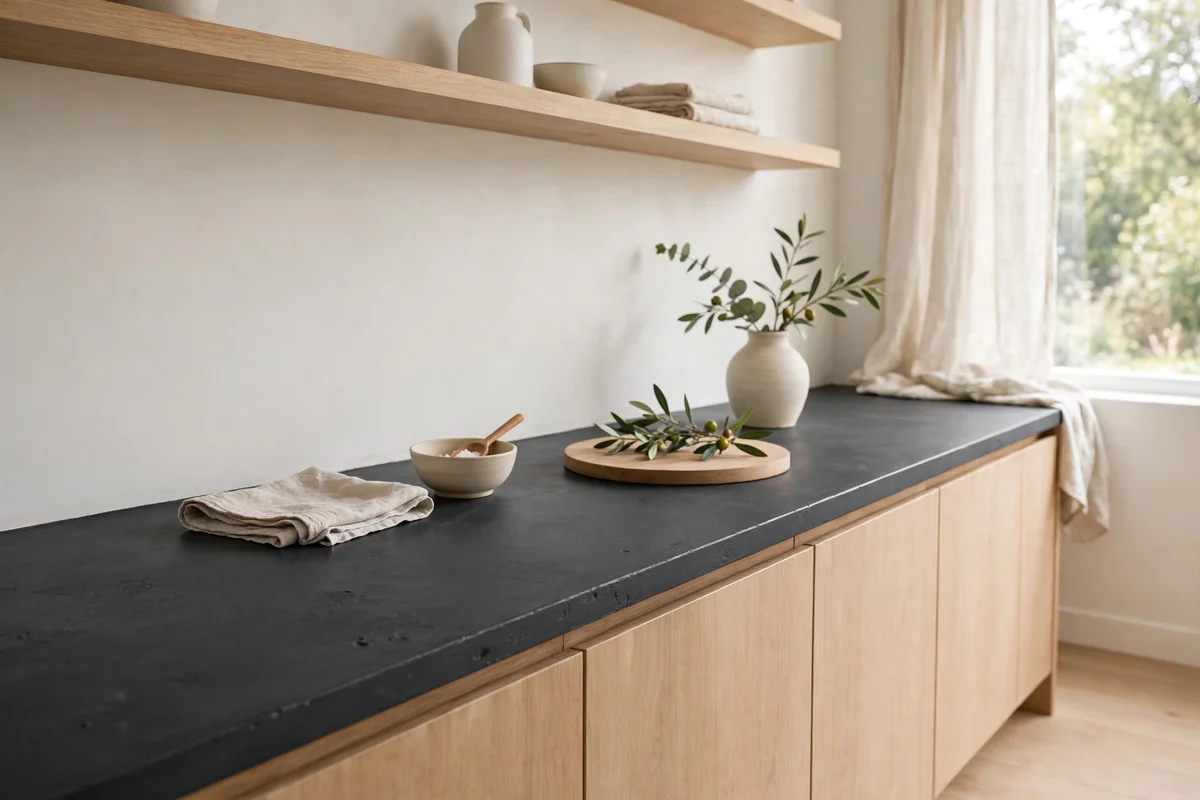
Poured concrete gives a calm, monolithic surface with the quiet luxury of a boutique hotel. Build a melamine mould on top of your cabinets, seal every joint with silicone, and pour a worktop mix reinforced with fibres, vibrating the mould to release air pockets. After three days of curing, flip the slab, grind the face smooth and seal with a food-safe penetrating sealer plus a wax topcoat.
Weight is the main consideration: a 50 millimetre slab is heavy, so confirm your cabinets can carry it and recruit help for the flip. The reward is a seamless top with soft mottling that no manufactured material reproduces. Small air holes, called bug holes, are part of the charm, but fill any large ones with a slurry before sealing. It is real masonry craft in your own kitchen.
10. Feather-Finish Concrete Over Old Laminate
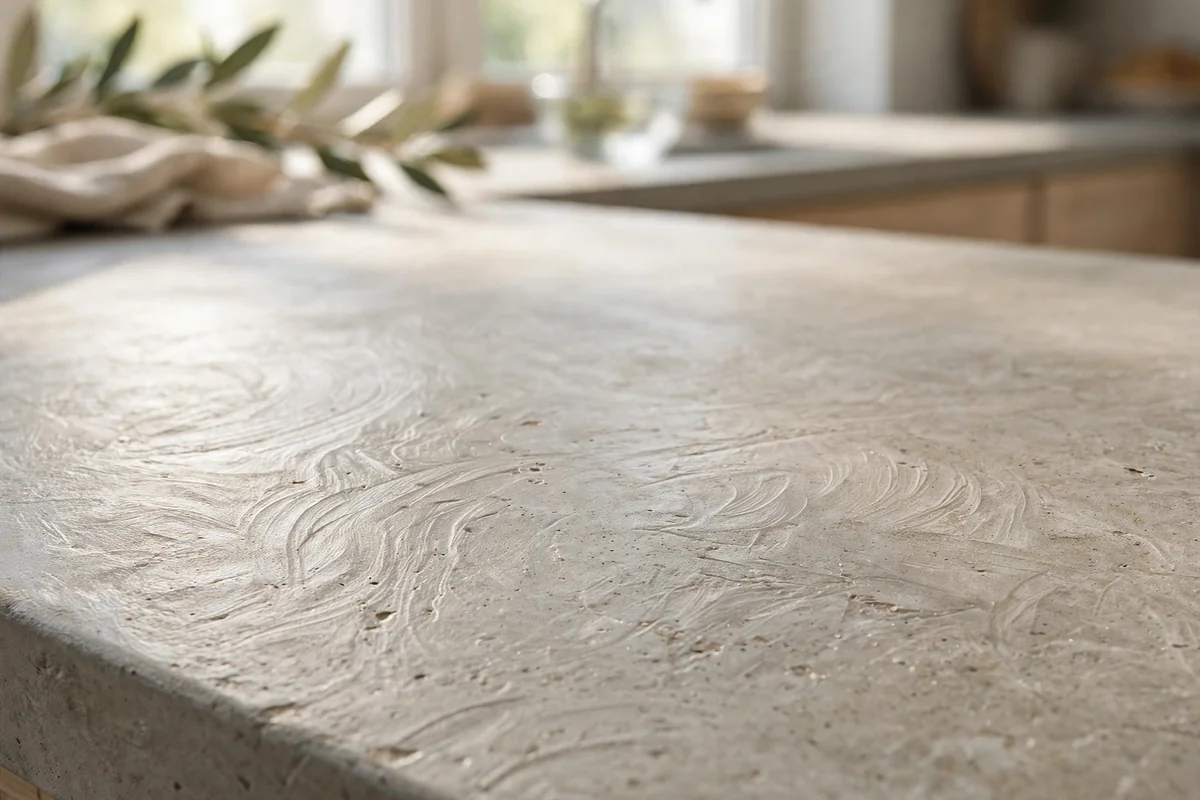
If pouring a full slab sounds daunting, feather-finish concrete skims straight over your existing laminate in layers barely 3 millimetres thick. Degrease and scuff the old top, trowel on two to three thin coats of the cement-based compound, sanding lightly between coats for a soft, suede-like texture. The trowel marks stay visible as gentle movement, giving a hand-finished, artisanal feel.
Seal with multiple coats of a concrete sealer rated for countertops, since the thin skim needs protection from standing water. The whole transformation costs little more than a bag of compound and a weekend, with no demolition and no heavy lifting. Edges need care: wrap the skim neatly around the front edge and seal it well, as this is where wear shows first. It is the easiest genuine concrete look available.
11. Painted Carrara Marble Effect
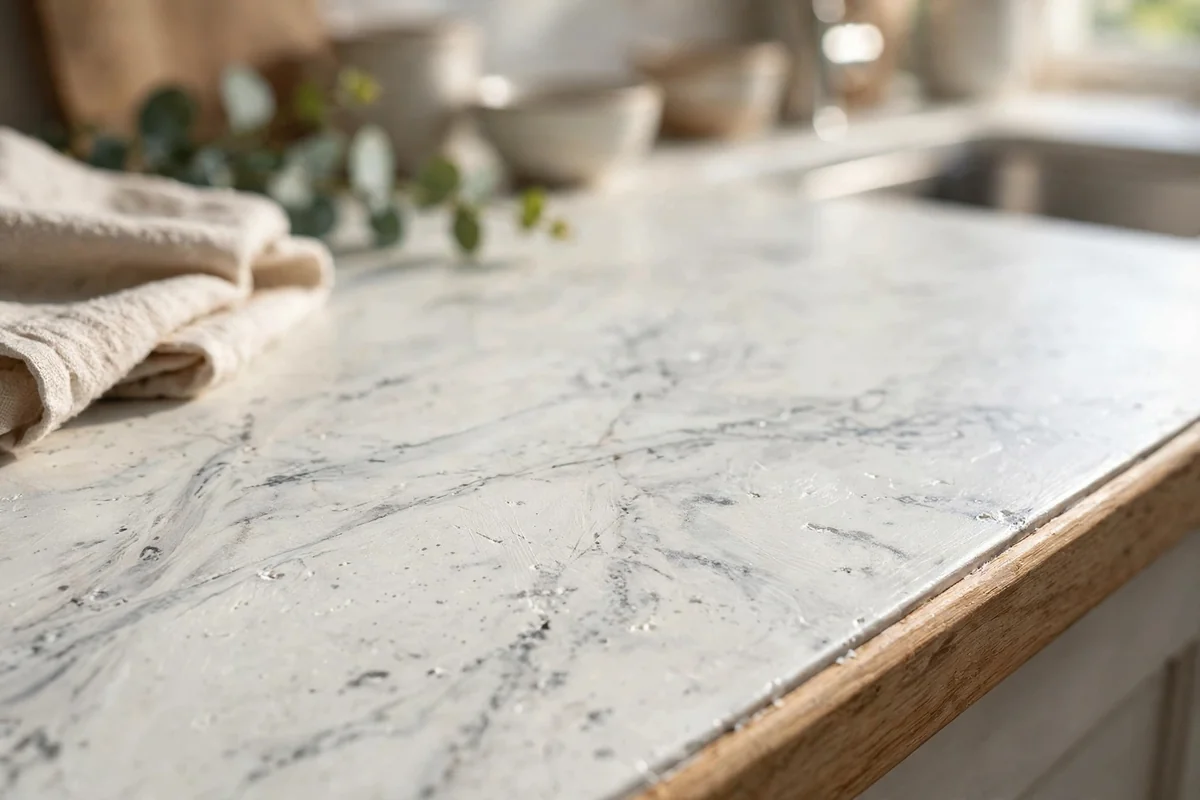
With primer, white paint and grey veining glaze, an ordinary laminate top can impersonate Carrara marble convincingly. After bonding primer and two coats of warm white, paint soft grey veins using a feather or a fine artist’s brush, keeping them diagonal, branching and varied in weight like real stone. Soften each vein immediately with a dry brush so the edges melt into the white ground.
Study photos of real Carrara first: the veins are never uniform, and restraint sells the illusion better than coverage. Seal with four thin coats of water-based polyurethane, sanding with 320 grit between coats for a glassy build. From two paces away, even sharp eyes hesitate. It is pure trompe l’oeil, and it costs less than the takeaway you will order to celebrate finishing it.
12. Chalk Paint Matte Minimalism
Chalk paint’s velvety matte finish brings a calm, contemporary softness to a worktop, especially in deep charcoal or warm greige. It grips laminate and wood with minimal preparation: a thorough degrease and a light scuff sand are usually enough. Apply two thin coats with a good brush or a foam roller, laying off in one direction to keep the finish even.
The paint itself is not the work surface; the topcoat is. Seal with at least three coats of water-based polyurethane or a dedicated hard-wax topcoat, allowing full curing time before heavy use. The result is a serene, fingerprint-forgiving surface that pairs beautifully with open shelving and brass taps. Refresh the topcoat every couple of years and the calm lasts indefinitely.
13. Contact Paper Stone in an Afternoon
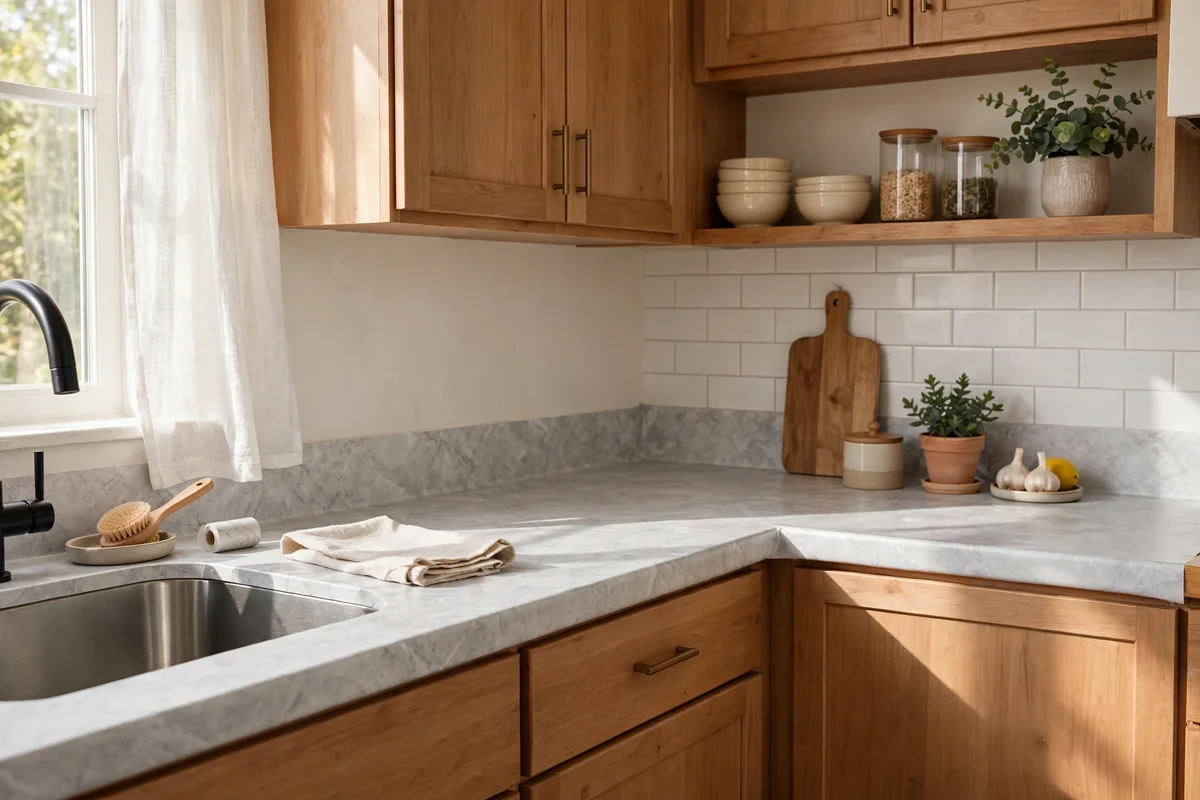
High-quality contact paper has quietly become one of the most convincing quick fixes in home DIY. Choose a stone or marble pattern with a matte finish, which reads far more realistically than gloss, and apply it with the wet method: mist the clean countertop with soapy water, float the film into position, then squeegee from the centre outward to chase out bubbles. A sharp craft knife trims the edges and the sink cut-out.
The wet method forgives mistakes, letting you lift and reposition, which is why beginners succeed with it. Seal the seams and edges with a thin bead of clear silicone to stop water creeping underneath. Expect a year or two of good looks in a busy kitchen, longer in a utility room or laundry. For an afternoon’s work and the price of two rolls, it is remarkable value.
14. Peel-and-Stick Wood for Renters
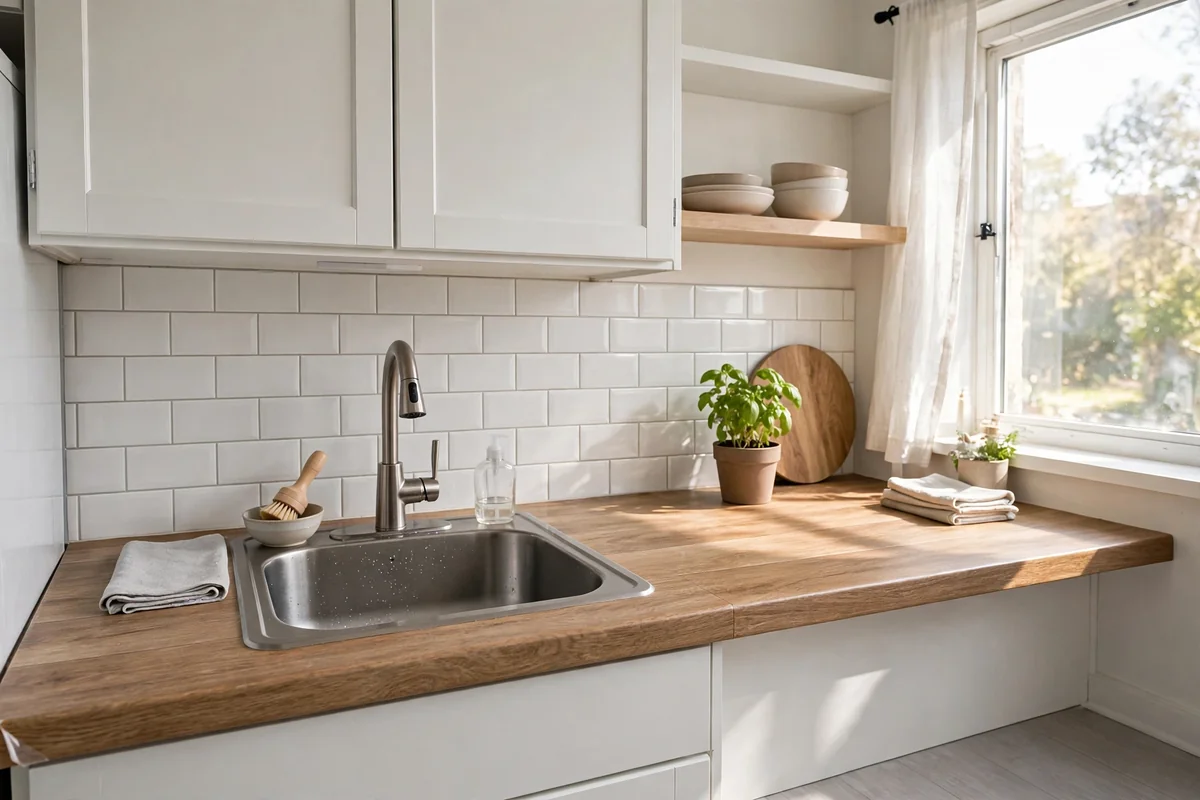
Renters can enjoy the warmth of wood without touching the landlord’s laminate. Peel-and-stick wood-look film applies like contact paper but with a more forgiving air-release adhesive, and the best versions carry a subtle embossed grain you can feel. Clean and degrease thoroughly, work in manageable lengths, and use a felt squeegee to avoid scratching the print.
Because it is fully removable with gentle heat from a hairdryer, it is the rare countertop upgrade that moves out when you do. Choose planks with varied tone rather than one repeating pattern to avoid an obvious repeat. Keep hot pans on trivets and wipe spills promptly, and the film will serve the whole tenancy. It is permission to love a kitchen you do not own.
15. Copper Tops With Living Patina
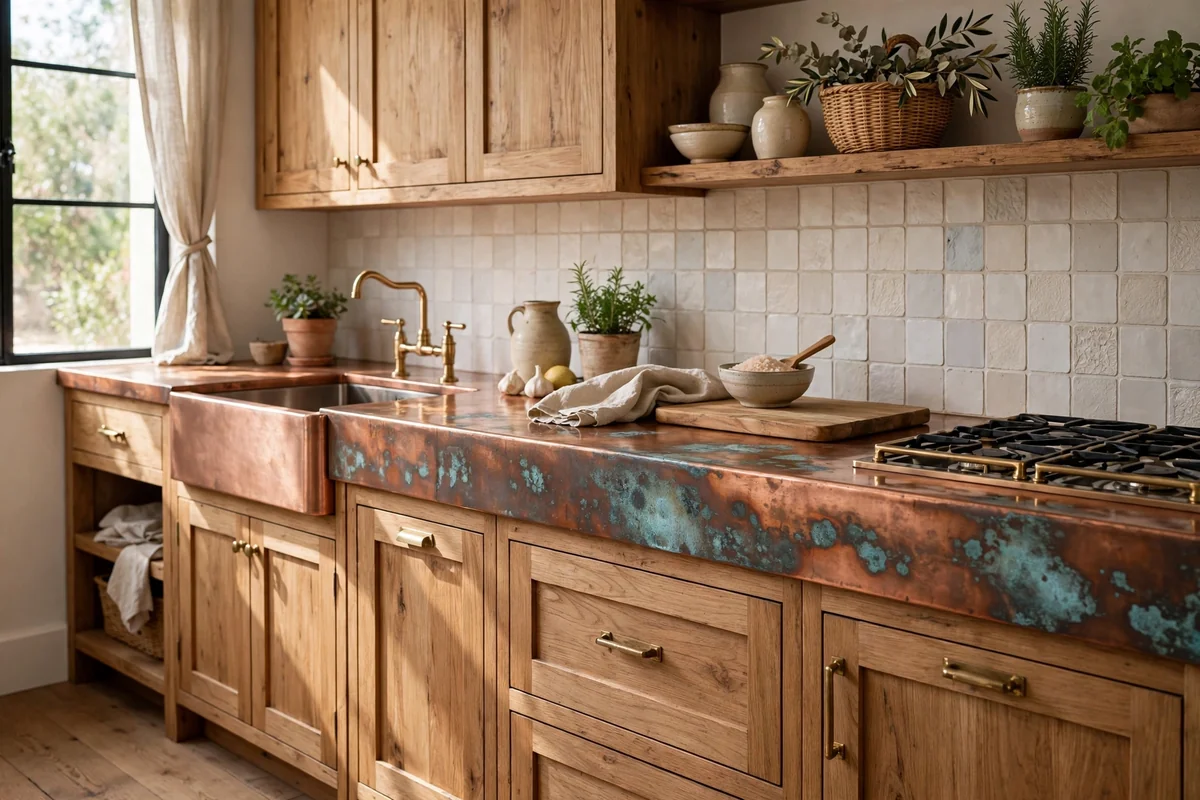
Copper is the only countertop material that gets more beautiful the more you use it. Sheets of 1 millimetre copper can be cut with tin snips, glued to a plywood substrate with contact adhesive and folded over the edges for a classic metal-top look. The surface starts bright and gradually develops a rich, mottled patina, with hints of green blooming wherever water lingers.
Copper is naturally antimicrobial, which makes it genuinely practical as well as gorgeous. Embrace the living finish rather than fighting it: lacquer freezes the shine but eventually peels, while wax lets the patina evolve gracefully. Use soft cloths rather than abrasive pads, and the top will develop the deep, complex glow of a much-loved old bar. It is a bold choice that rewards the bold.
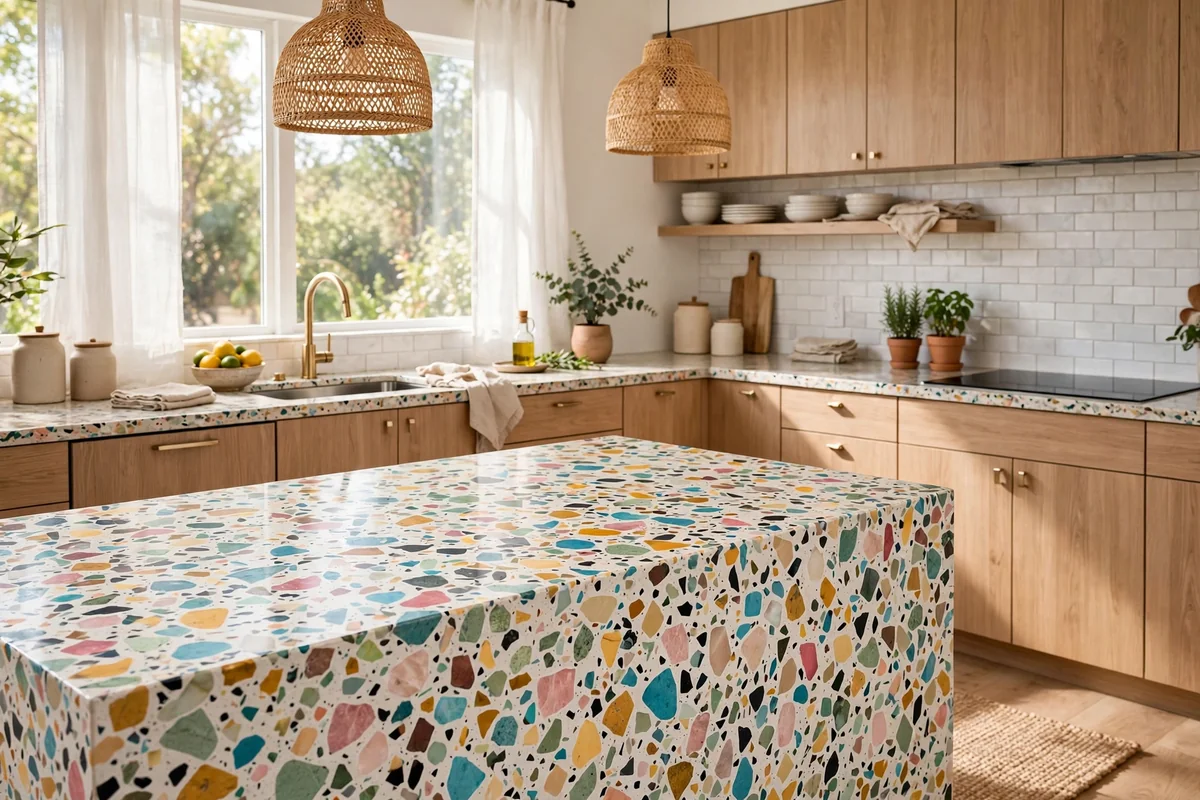
16. Terrazzo Chip Epoxy Blend
Terrazzo’s confetti of stone chips is joyful, and an epoxy blend lets you pour your own. Broadcast marble, quartz and glass chips into a tinted epoxy base while it is still fluid, then flood with clear resin to lock everything under a glassy surface. The chips catch light at different depths, giving a lively, jewel-like field that suits playful, colourful kitchens.
The technique is forgiving: uneven chip distribution just looks more handmade, and the clear flood coat erases imperfections. Choose a base tint that harmonises with your cabinets, perhaps warm white or soft sage, and keep the chip colours to three or four for cohesion. Grind the cured surface flat if you want the chips exposed and polished, or leave the clear coat for a smoother pour. Either way, no two tops are ever alike.
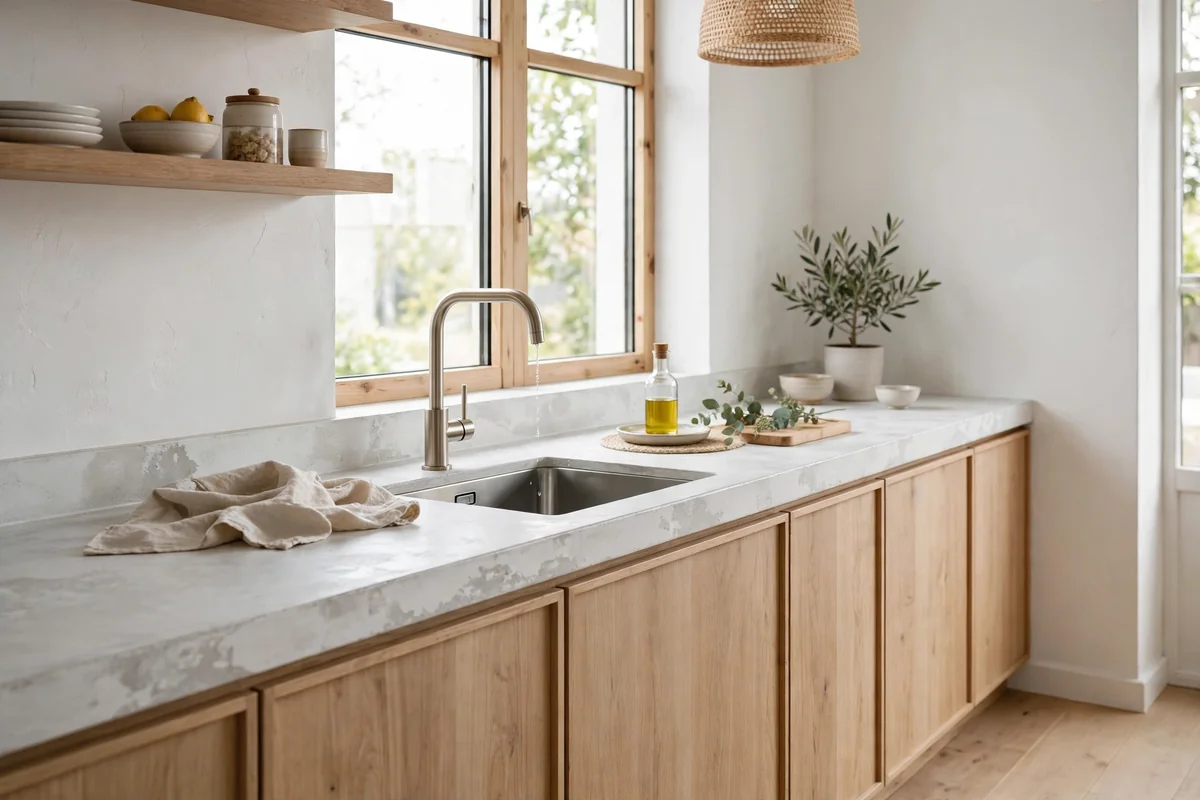
17. Whitewashed Concrete Skim Coat
A whitewashed skim of concrete over an existing top gives the softness of limewash with the toughness of stone. Trowel feather-finish compound thinly, then while it is still workable, drag a barely damp brush through it to create soft, cloudy movement. The result is pale, matte and full of subtle variation, a beautiful foil for oak floors and simple white cabinetry.
This finish belongs to calm, Scandinavian-inspired kitchens where texture matters more than pattern. Seal diligently with a matte concrete sealer, since the pale surface shows stains readily if left unprotected. Keep styling minimal: a wooden board, a stoneware jug, nothing fussy. It is a quiet surface, but visitors always run their hands across it and ask what it is.
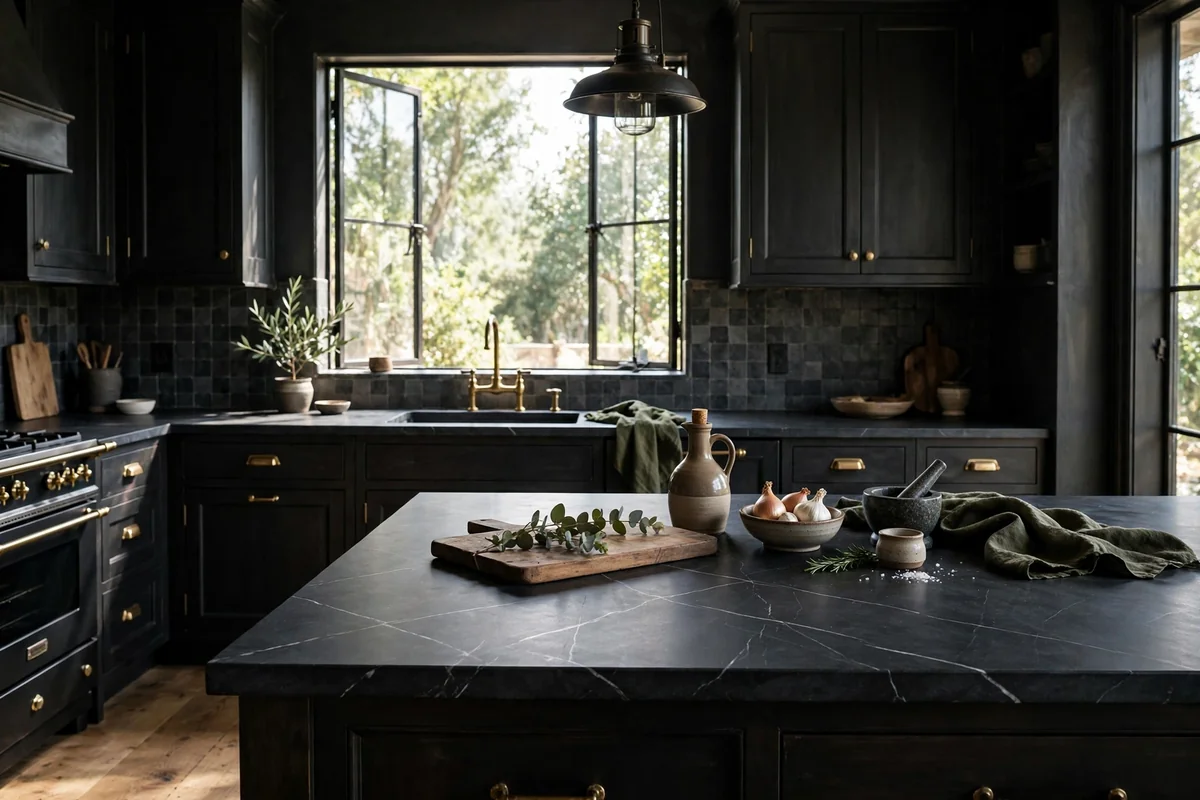
18. Soapstone-Look Painted Finish
Real soapstone is quarried, heavy and expensive, but its moody charcoal look with fine white veining paints up beautifully. Start with a deep slate base coat over bonding primer, then flick and drag fine white veins with a nearly dry brush, keeping them sparse and delicate. A final rub with mineral oil deepens the colour exactly the way oiled soapstone darkens, completing the illusion.
The matte, soft-touch finish feels expensive and hides crumbs far better than white tops. Seal with a satin polyurethane so the surface wipes clean, and the dark ground will forgive the odd scuff that would scar a pale painted top. Pair with brass hardware and warm wood for a classic, collected kitchen that looks far beyond its budget. Guests will assume it is the real stone.
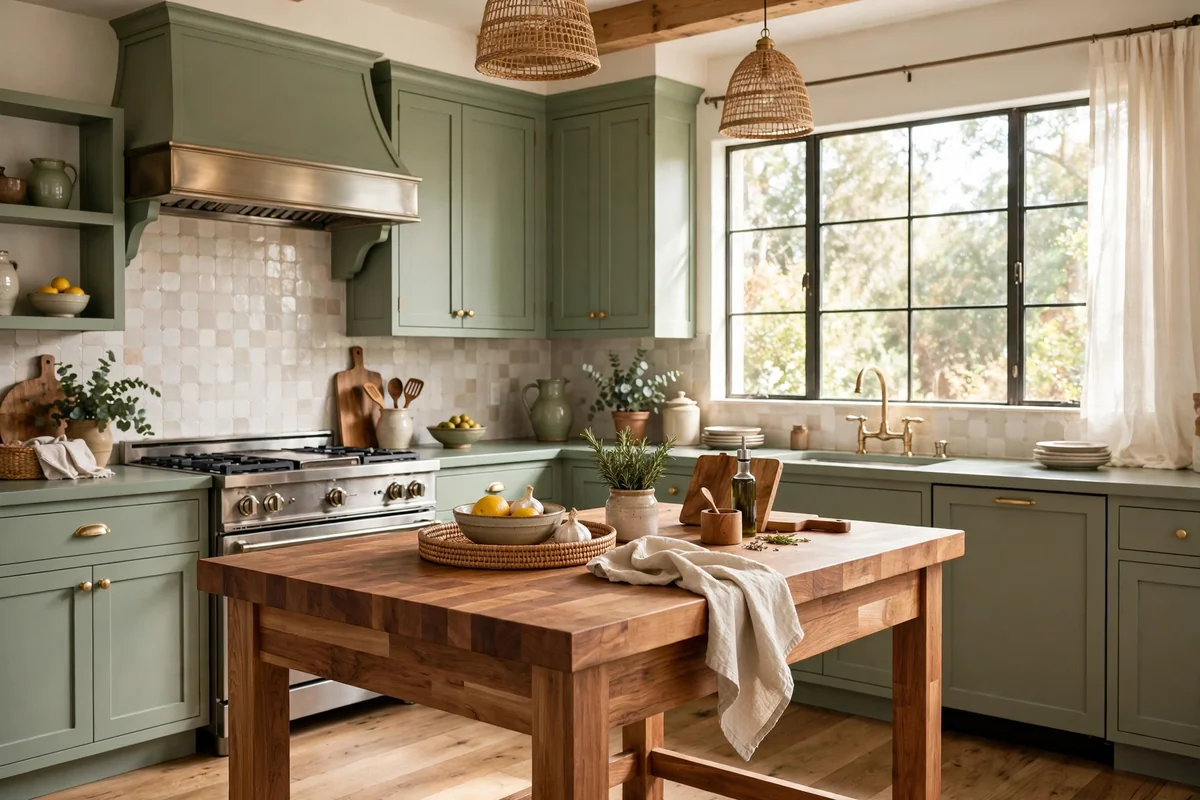
19. Butcher Block Island, Painted Perimeter
You do not have to commit to one material everywhere: the most designer-looking kitchens mix them deliberately. Keep the perimeter countertops simple with a painted or laminate finish in sage, charcoal or warm white, and crown the island with a thick butcher block top that invites chopping, kneading and gathering. The contrast makes both surfaces look intentional rather than compromised.
This approach also spreads cost and effort sensibly. The painted perimeter is a weekend job, while the island gets the star material and the careful joinery. Repeat the island’s timber tone in open shelves or a cutting board collection to tie the scheme together. It is the classic high-low recipe: splurge where hands and eyes land most, save where they do not.
20. Tiled Mosaic Border Detail
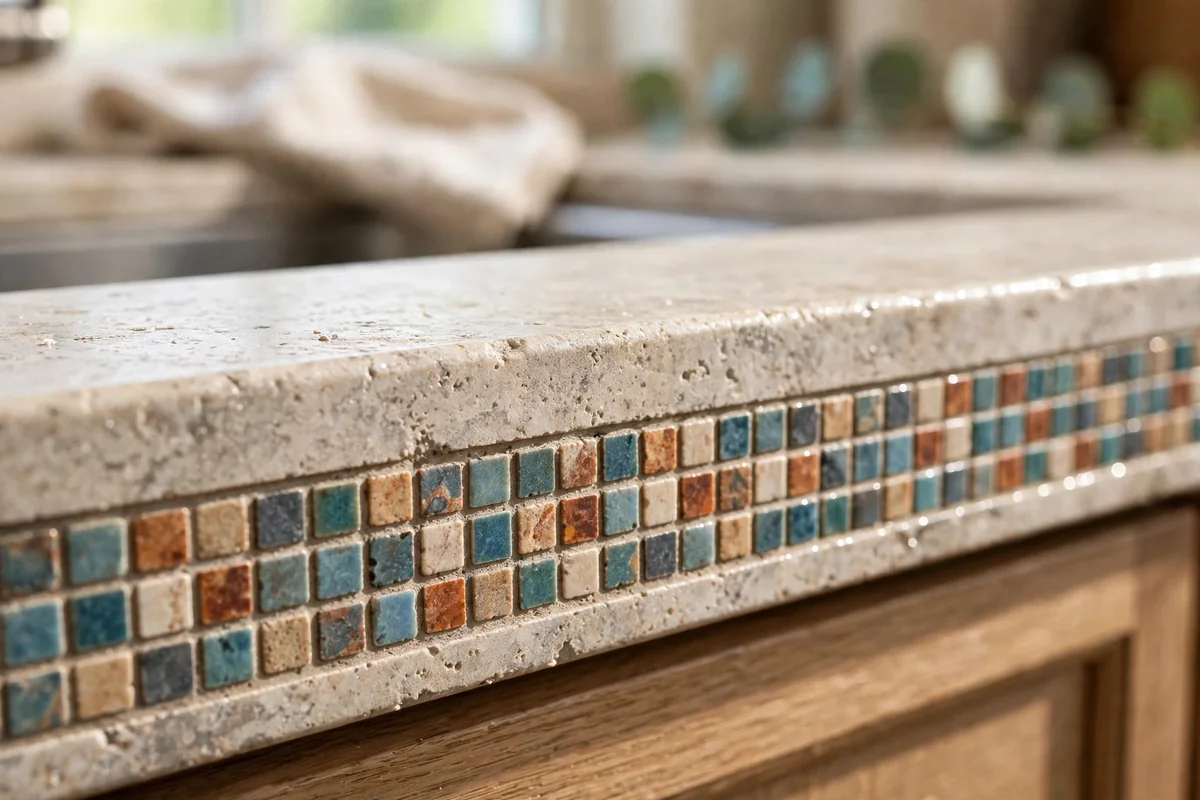
Sometimes the smartest upgrade is not a new surface but a beautiful edge. Run a mosaic border along the front edge or the splashback junction of your existing countertop: small handmade-look tiles, a strip of zellige or a row of patterned encaustic-look ceramics. The border draws the eye and gives a plain top the air of a bespoke design.
Installation is straightforward since the area is small: tile adhesive, spacers and grout are all you need, and mistakes are cheap to redo. Pick colours that echo something already in the room, a curtain, a rug, the veining of the worktop, so the detail feels woven in rather than stuck on. It is jewellery for the kitchen, and it takes an afternoon rather than a week.
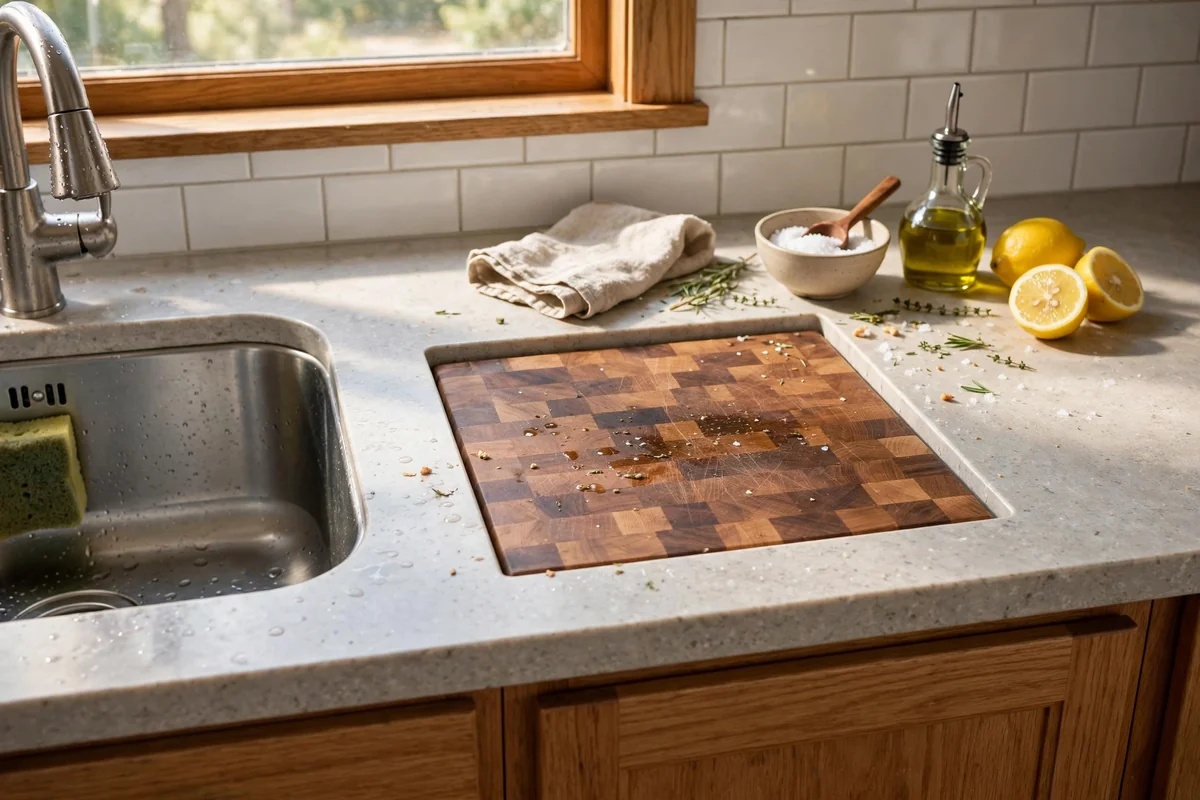
21. Sealed End-Grain Chopping Zone
Instead of fighting wear across the whole worktop, designate one beautiful zone to take the punishment. Inset a thick end-grain chopping block into the countertop beside the sink or cooker, set flush and sealed with food-safe oil. End grain is self-healing under knives, shrugging off cuts that would scar any other surface, and the block becomes the hardest-working, best-looking square foot in the kitchen.
Cut the opening precisely with a jigsaw and seal every cut edge before dropping the block in, bedding it on a thin bead of silicone. Oil the block monthly and it will outlast the kitchen around it. It is a practical, professional-chef touch that costs little, and it quietly tells everyone that this is a kitchen where real cooking happens.
Proof That Beautiful Kitchens Are Built, Not Bought
Every countertop here began as an ordinary surface and a determined weekend. Whether you pour, paint, tile or simply oil a beautiful piece of timber, the principle is the same: thoughtful materials, honest preparation and a little patience beat a big budget every time. Pick the idea that suits your skills, gather your tools, and enjoy the quiet satisfaction of a kitchen that looks expensive because you made it so.
Frequently Asked Questions
What is the cheapest DIY countertop option?
Paint and contact paper are the cheapest, often under fifty dollars for an average kitchen, since they go straight over your existing surface. Peel-and-stick films cost a little more but need no tools. For a real material on a budget, plywood with a good stain or a skim coat of feather-finish concrete over laminate gives a genuine solid surface for the price of a few bags of material and a weekend of work.
Can I pour epoxy directly over my existing countertop?
Yes, epoxy bonds well to laminate, wood and concrete once the surface is degreased, sanded with 120-grit paper and primed if the kit calls for it. Mask everything meticulously, seal the underside edges with tape dams, and work in a dust-free room above 20 degrees Celsius. Two thin flood coats beat one thick one, and a heat gun passed lightly over the surface pops air bubbles before the resin sets.
How do I make a wood countertop food safe?
Sand to 220 grit, then apply several thin coats of food-safe mineral oil or a hardening oil labelled food-contact safe, letting each coat soak in fully. Around the sink, seal the end grain and the cut edge with extra coats, since standing water is what damages wood. Re-oil every few months, use trivets for hot pans, and the surface will stay hygienic and handsome for decades.
How long does a painted countertop actually last?
A properly prepared painted countertop lasts two to four years of daily family use. The secret is preparation: degrease with TSP substitute, sand to scuff the gloss, use a bonding primer, then two coats of durable paint and at least three coats of water-based polyurethane topcoat, sanding lightly between coats. Always use cutting boards, wipe spills promptly, and expect to refresh the topcoat rather than repaint from scratch.
What tools do I need for a DIY wood countertop?
A circular saw with a straightedge guide, a random-orbit sander, clamps, wood glue and a router with a roundover bit cover most wood countertop builds. A pocket-hole jig helps join sections invisibly, and a biscuit joiner or domino gives stronger glue-ups for wide slabs. You can rent the bigger tools for a weekend, which keeps the project genuinely budget friendly.