Living Room
21 Picture Ledge Ideas That Make Walls Easy to Restyle and Lovely to Live With
By Anna Wells · · 22 min read
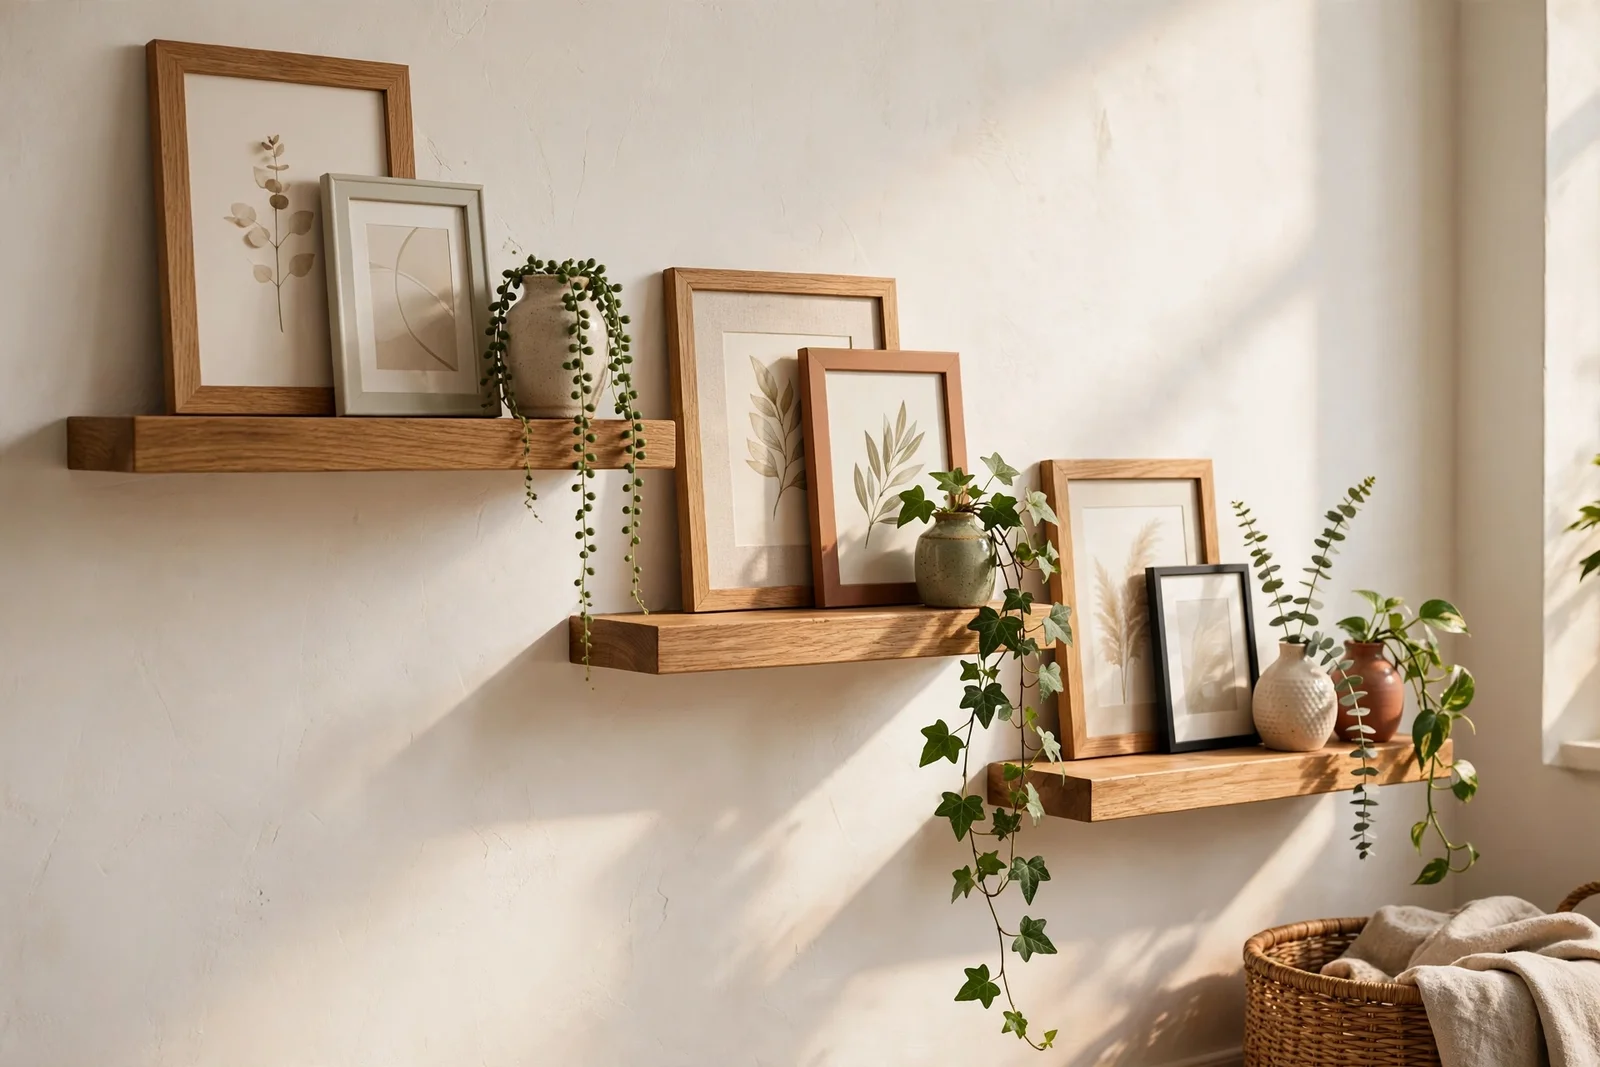
Picture ledges let you restyle a wall in minutes without drilling new holes. These 21 ideas cover heights, lengths, styling layers and safe leaning, room by room.
There is a particular quiet pleasure in changing the art on a wall without a drill, a pencil mark or a fresh hole to fill. A picture ledge gives you exactly that: a slim shelf with a raised lip where frames lean, overlap and shuffle around whenever the mood changes. Sunday light, a new print, a small plant from the kitchen, and the whole wall feels different by tea time.
Ledges suit renters, serial restylers and anyone who likes their home to evolve slowly. Because nothing is fixed to the wall except the ledge itself, you can layer frames of different sizes, stand books and ceramics beside them, and swap a summer landscape for an autumn print in under a minute. The display forgives mistakes, which makes it wonderfully easy to live with.
This guide walks through 21 concrete ideas, from staggered heights and deep ledges for large art to the correct hang height above sofas and beds. Every idea includes real measurements, materials and budget notes, plus one common mistake to avoid where it helps. No special tools beyond a level, a drill for the ledge itself and a free afternoon.
Whether you are dressing one narrow hallway or rethinking a whole living room, start with a single ledge and build from there. The beauty of this system is that nothing is permanent, so you can experiment freely and keep whatever arrangement makes the room feel like home.
1. Layer Three Oak Ledges at Staggered Heights for a Graduated Display
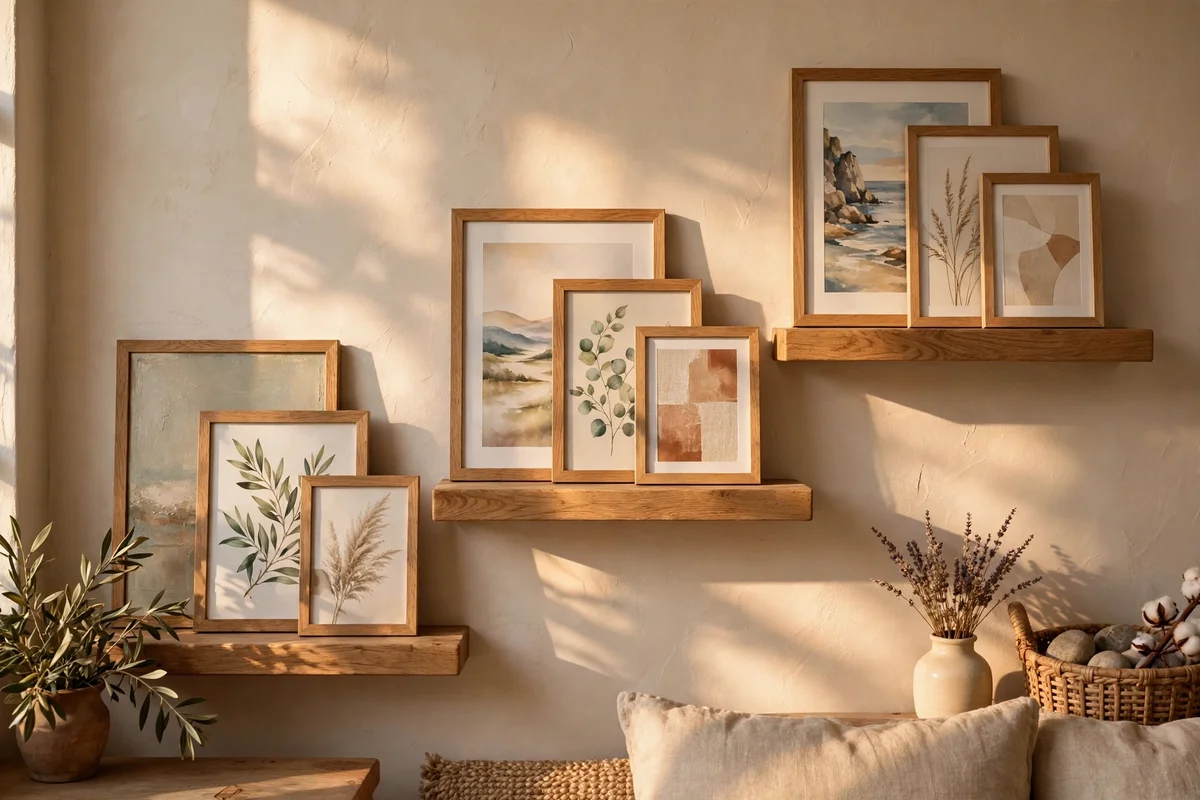
Three slim oak ledges mounted at staggered heights create a gallery wall that reads as one flowing composition. Fix the longest ledge, about 150 cm, at 140 cm from the floor, then step the two shorter ledges, 100 and 80 cm, 25 cm above and slightly offset to each side. Oak in a light natural finish suits cream, sage and warm white walls, and the stepped arrangement draws the eye upward without feeling formal. Use a spirit level for each ledge, since even a 5 mm tilt is visible once frames lean.
Style from the bottom ledge upward, placing the largest frame first and echoing its colours in smaller prints above. Leave 10 to 15 cm of breathing room between groups so the layers do not merge into clutter. The mistake to avoid is spacing the ledges too far apart, which breaks the rhythm and leaves awkward gaps. Three 100 to 150 cm oak ledges usually cost 30 to 70 in total, making this a budget friendly statement wall.
2. Lean Mixed Size Frames in Descending Order Along One Long Ledge
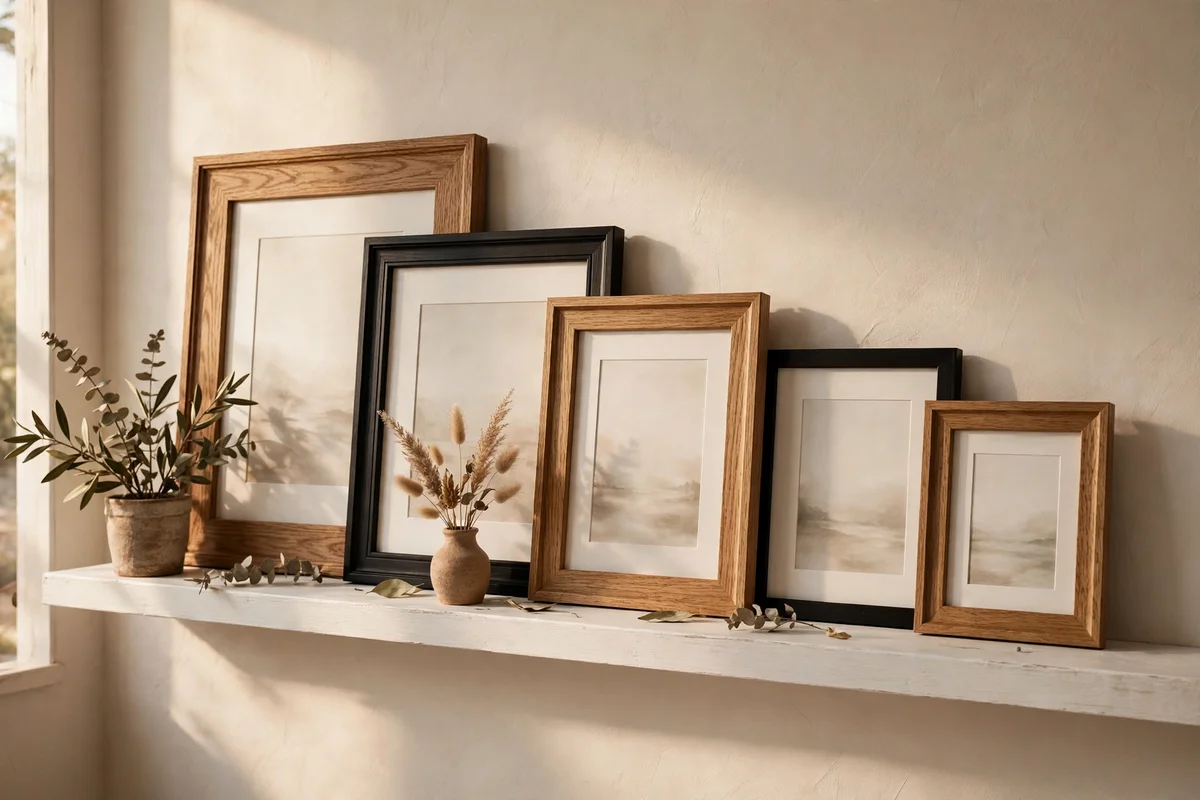
A single 180 cm ledge becomes a tidy gallery when frames descend in size from one end to the other. Start with a large frame of about 50 by 70 cm at the left, follow with two medium frames near 30 by 40 cm, and finish with two small prints around 13 by 18 cm at the right. The gradual taper guides the eye across the wall and stops the display looking random. Keep frame finishes to two at most, such as natural wood and matte black, so the size story stays the headline.
Overlap each frame slightly, about 3 to 5 cm, so the ledge reads as layered rather than lined up like soldiers. Place the tallest piece slightly off centre instead of dead centre, which feels more relaxed. The common mistake is mixing five or six frame colours, which turns a calm sequence into visual noise. A 180 cm pine ledge painted to match the wall costs little, while the frames can be collected slowly from charity shops for a few each.
3. Pair Black and Brass Frames on a White Ledge for Quiet Contrast
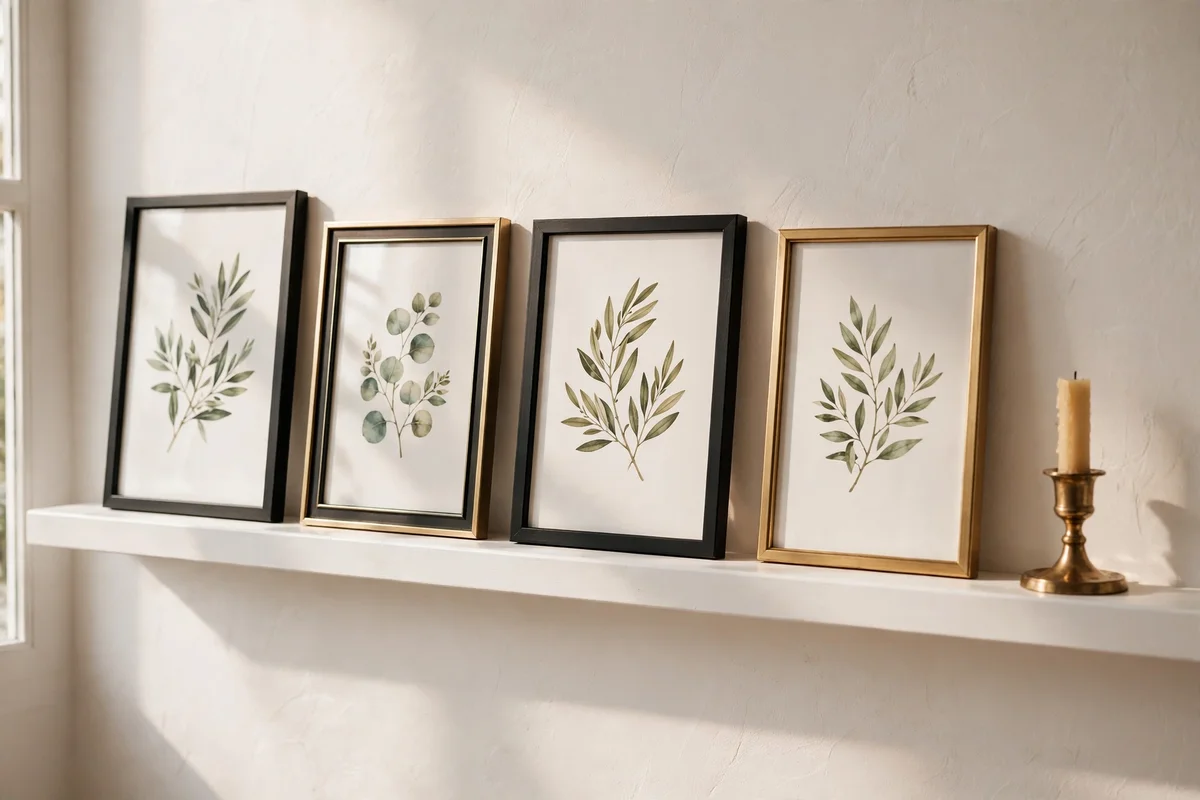
Black frames with thin brass inner edges look strikingly calm against a white or pale grey ledge. Choose three to five frames in sizes from 20 by 25 cm up to 40 by 50 cm, keeping the same slim profile of about 2 cm so the row stays cohesive. The black outlines the artwork crisply while the brass catches daylight softly, a combination that suits living rooms, studies and hallways equally. Hang the ledge at 145 to 150 cm from the floor, which places art at comfortable eye level for most adults.
Alternate black and brass-accented frames with plain white mounts between them to let each piece breathe. Add one small brass object, such as a candlestick or a tiny bowl, at one end to echo the frame detailing. Avoid glossy black frames in sunny rooms, since reflections can overpower the art; matte finishes photograph and live better. Thin brass-trimmed frames cost more, so buy the largest one first and fill the row with simpler black frames over time.
4. Set Ceramic Vases Between Frames to Break the Line
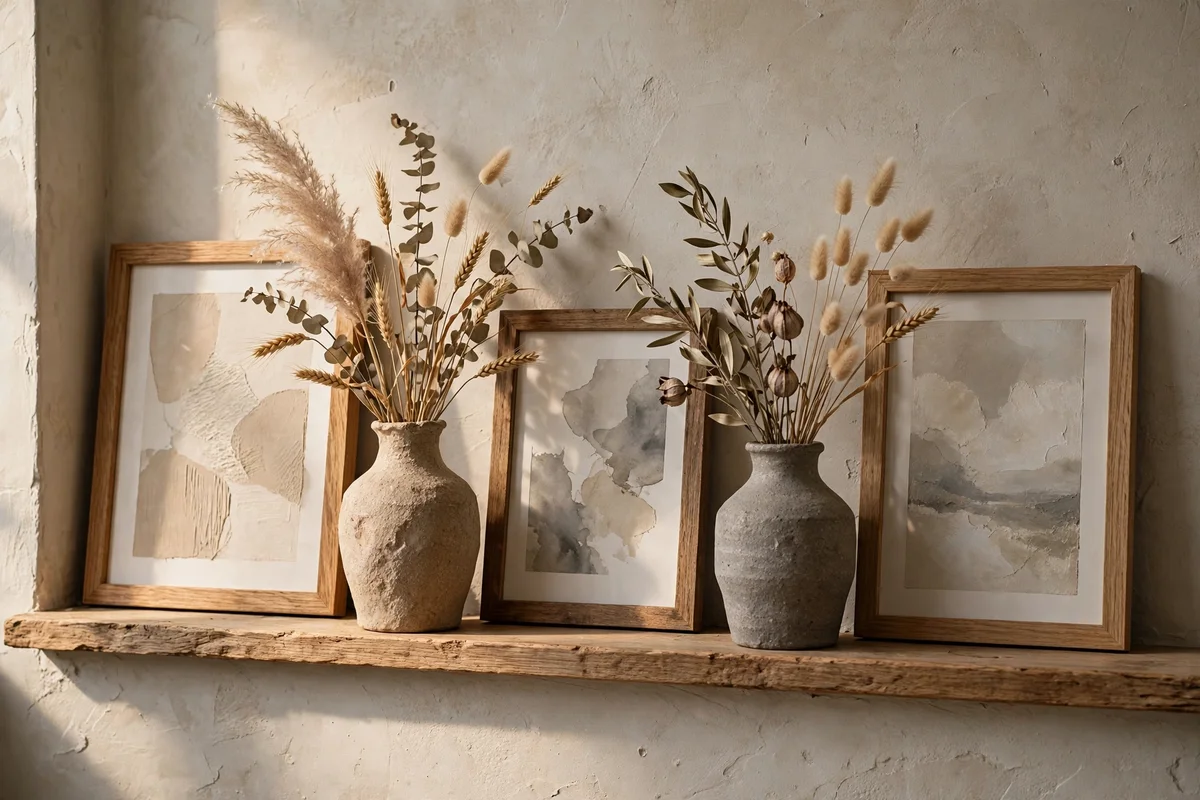
Ceramic vases placed between leaning frames break the straight line of a ledge and add welcome three-dimensional shape. Choose vases in two heights, for example 18 cm and 28 cm, in stoneware, matte glaze or handmade-look clay in white, sand or soft grey. The rounded forms contrast beautifully with rectangular frames and give the eye somewhere to rest between flat rectangles. Space one vase after every two or three frames, never between every single frame, to keep the rhythm calm.
A vase holding a few dried stems, such as pampas, wheat or eucalyptus, adds height without needing water or care. The mistake to avoid is using heavy stoneware on a shallow ledge without checking the lip, since a tall vase can tip if bumped; choose vases with a low centre of gravity or secure them with a small dot of museum putty. Handmade-look vases at craft markets often cost 10 to 25, a modest price for the softness they bring.
5. Rest Small Potted Plants Along the Ledge for Living Green
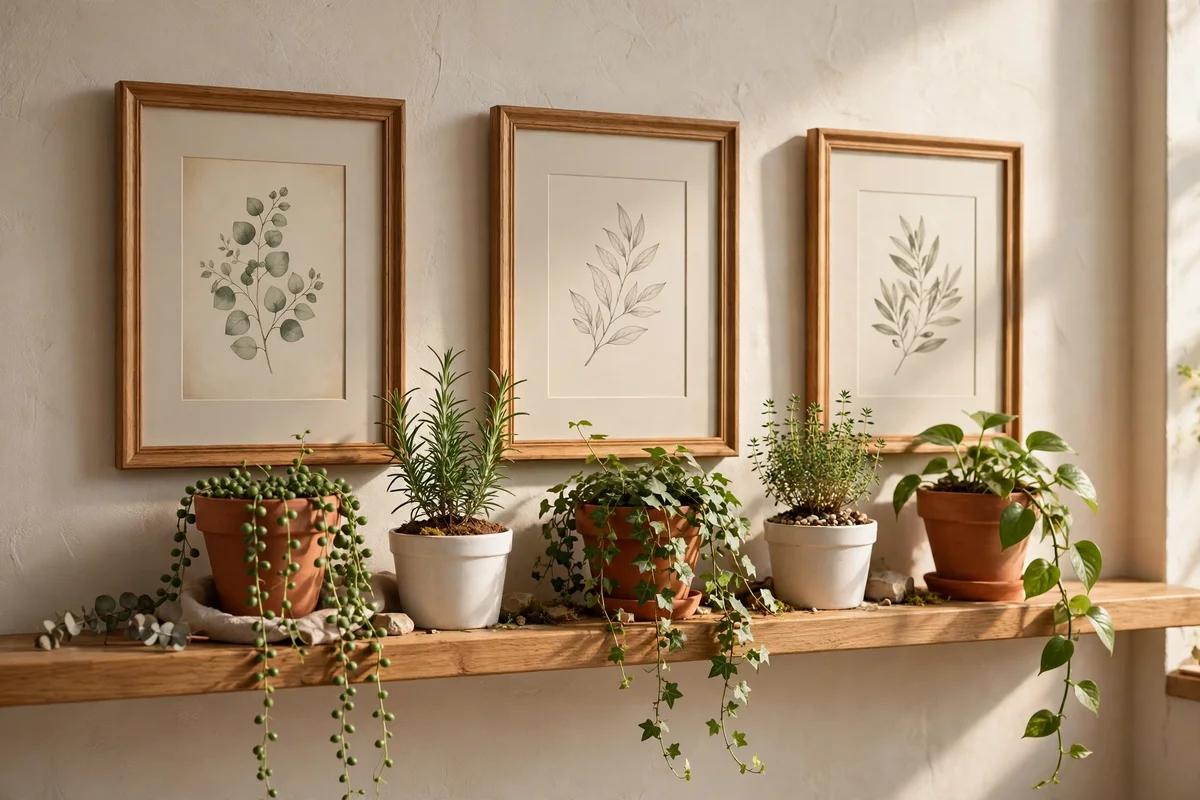
Small plants soften a ledge display and bring gentle life to a wall of frames. Choose compact pots of 8 to 10 cm, with trailing plants like pothos or string of pearls, or upright herbs such as rosemary and thyme that suit a kitchen ledge. Place plants at the ends of the ledge or in gaps between frame groups, never directly behind a frame where they will be hidden. Terracotta, white ceramic or woven grass pots keep the look natural and timeless.
Water plants over the sink, not on the ledge, to protect frames and the wall from drips, and use a small saucer under each pot. Rotate each plant a quarter turn every week so it grows evenly toward the light. The mistake to avoid is choosing large thirsty plants that outgrow the display in a month and crowd the frames; small slow growers stay proportionate. Two or three plants plus pots usually cost under 30, an easy way to keep the ledge feeling fresh.
6. Stack Art Books Flat Under a Large Leaning Canvas
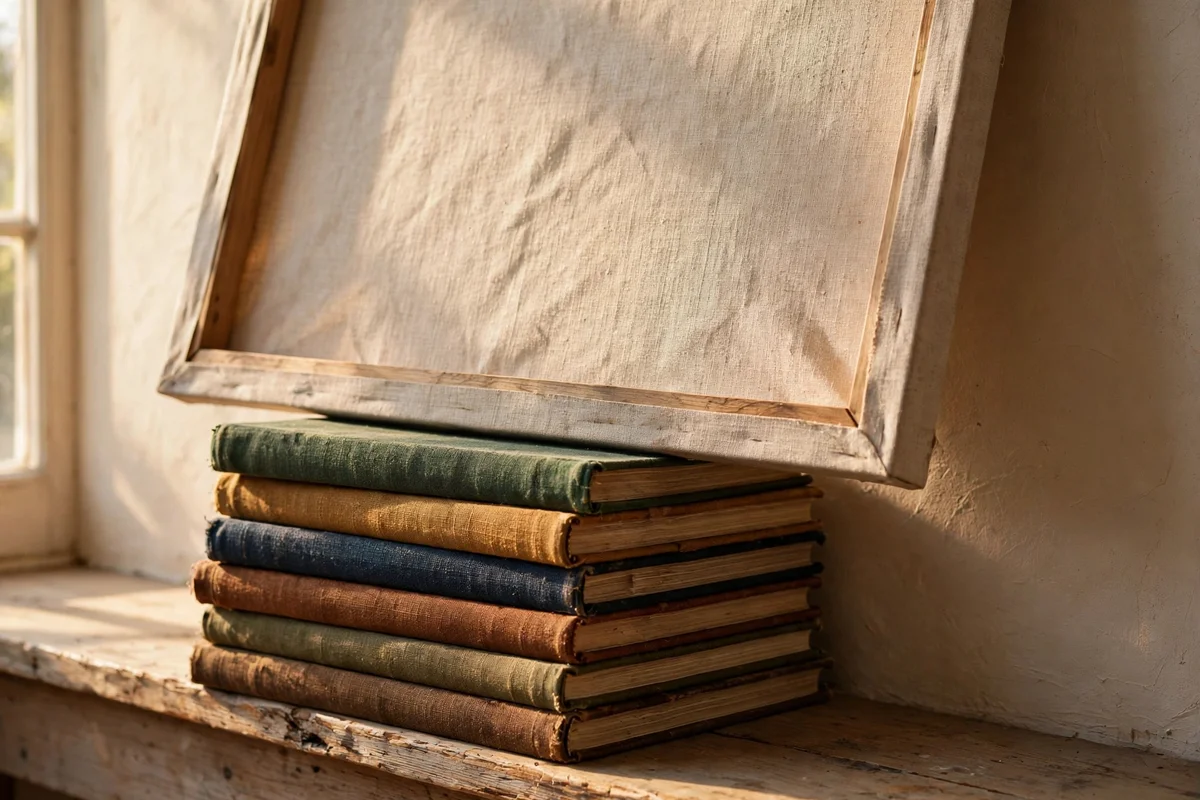
A stack of two or three art or photography books laid flat on the ledge makes a sturdy platform for a large leaning canvas and fills the space below it. Choose books 25 to 35 cm wide with handsome spines in linen, cloth or muted colour, since the spines become part of the display. Rest a 50 by 70 cm canvas on top, leaning back at a slight angle, so the whole composition gains height without a second row. This trick works beautifully on entry consoles and sideboard ledges too.
Keep the stack to three books maximum so it stays stable, and place the largest book at the bottom. Alternate spine colours with the frame and wall for gentle contrast rather than exact matching. The mistake to avoid is stacking glossy coffee table books with slippery covers, which slide; choose cloth-bound books or place a small felt dot between them. Charity shops sell handsome hardbacks for 2 to 5 each, making this the cheapest styling trick in the guide.
7. Hang One Ledge 20 cm Above the Sofa for a Calm Reading Wall
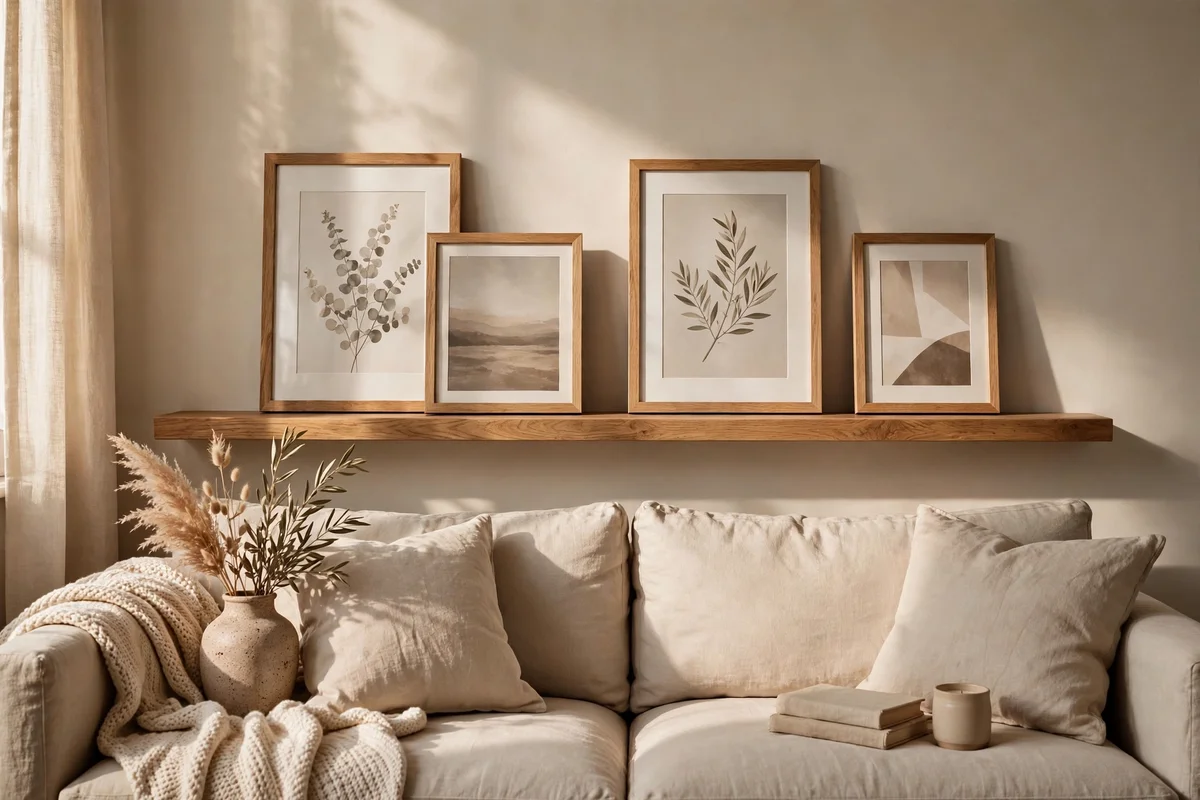
A single ledge mounted 20 cm above the sofa back creates a calm display zone that stays clear of heads and cushions. For a standard sofa of 200 cm, choose a ledge between 120 and 150 cm long, centred on the sofa with 25 to 30 cm of wall visible on each side. This proportion frames the seating area without overwhelming it. Lean three to five frames in mixed sizes, with the tallest at the centre or slightly off centre for a relaxed feel.
Keep the total height of frames plus ledge under 60 cm so the wall above stays open and the ceiling feels high. Since the ledge sits behind seated heads, secure every frame with a small dot of museum putty on the base. The mistake to avoid is mounting the ledge lower than 15 cm above the sofa, where leaning frames get knocked whenever someone sits down. One solid pine ledge of this length costs 15 to 35, a small spend for a big focal point.
8. Mount a Double Ledge 15 cm Above the Bed Headboard
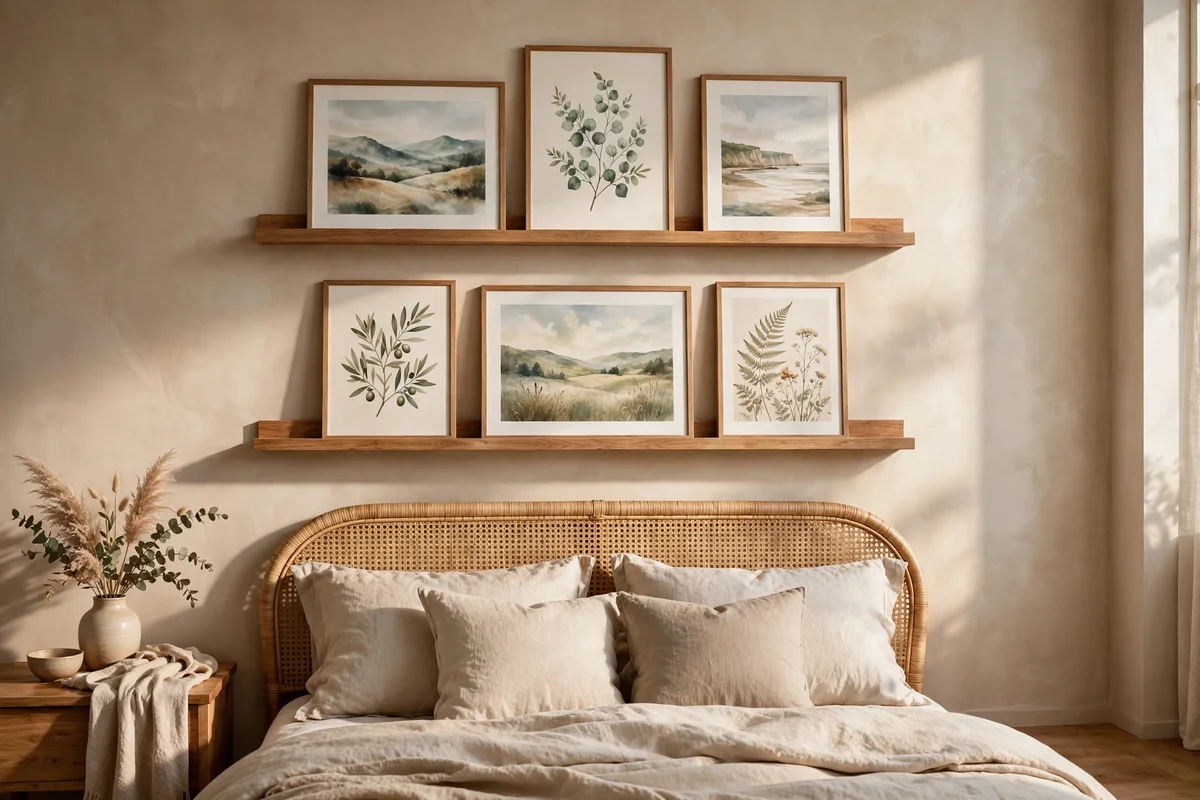
Two parallel ledges above the headboard turn a plain bedroom wall into a layered gallery that can change with the seasons. Mount the lower ledge 15 cm above the top of the headboard and the upper one 35 to 40 cm above that, each spanning about two thirds of the bed width, for example 120 cm over a 180 cm bed. The double line gives small prints a home on the lower ledge and taller pieces room above, which suits bedrooms where large single artworks feel heavy.
Choose soft subjects for sleep spaces: landscapes, botanical prints, gentle abstracts in muted colour. Keep glass-fronted frames to the upper ledge, since a frame knocked from the lower ledge lands near pillows; use acrylic or open prints at pillow height. The mistake to avoid is fixing ledges into plasterboard without proper anchors, because a bedroom ledge takes daily knocks. Two ledges with fixings usually cost 25 to 50, a gentle price for a restful focal wall.
9. Fit a 120 cm Ledge in the Hallway for a Narrow Gallery Run
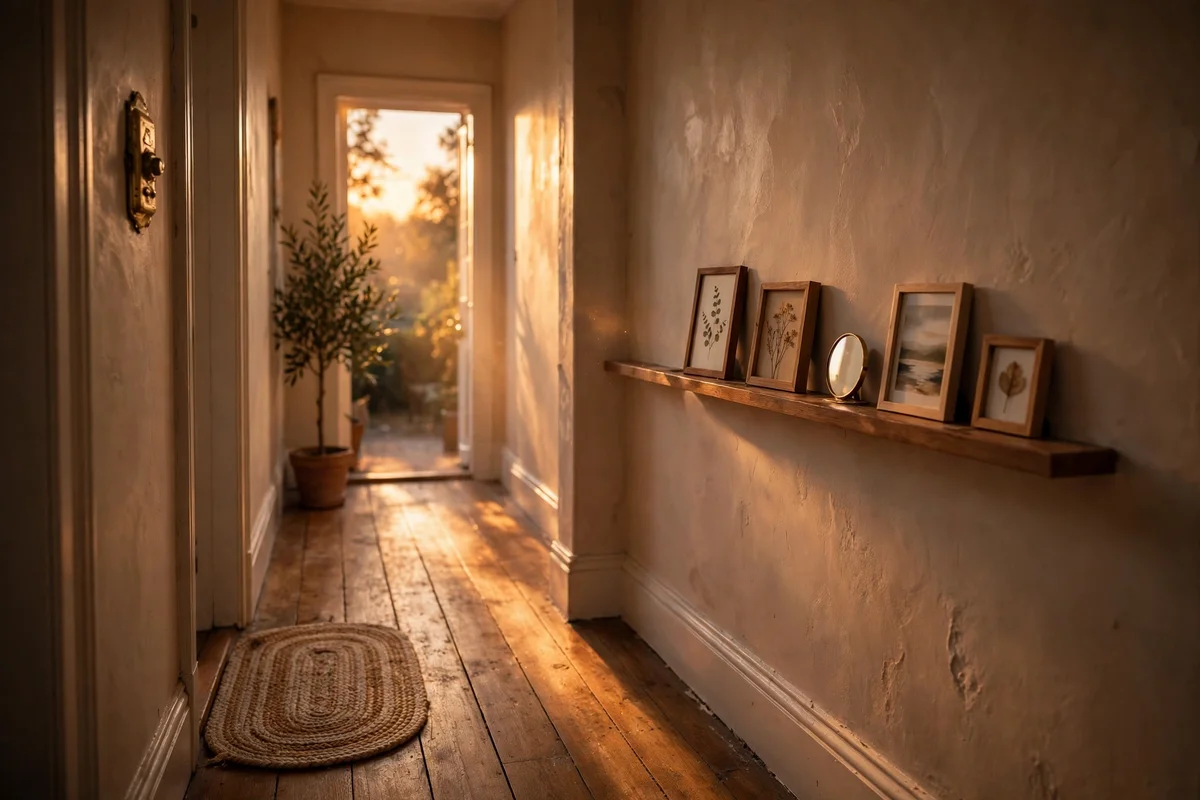
Hallways are often too narrow for deep furniture, which makes a slim picture ledge the perfect gallery solution. A 120 cm ledge, only 8 to 10 cm deep, mounted at 150 cm from the floor, fits even corridors of 90 cm width without anyone brushing against it. Lean four to six small frames in a casual mix of family photos, small prints and one tiny mirror, since hallways benefit from reflective light. The ledge turns a pass-through space into a moment worth pausing for.
In dark hallways, choose light frames and pale mounts to bounce what little light arrives, and add a small battery lantern or LED candle at one end for evening warmth. Keep the frames shallow, under 4 cm deep, so shoulders and bags pass safely. The mistake to avoid is overfilling a narrow ledge, which makes the corridor feel cramped; leave at least 20 cm of clear ledge at each end. A slim hallway ledge costs 12 to 25, one of the cheapest rooms to transform.
10. Choose Deep 15 cm Ledges to Lean Large Framed Prints Safely
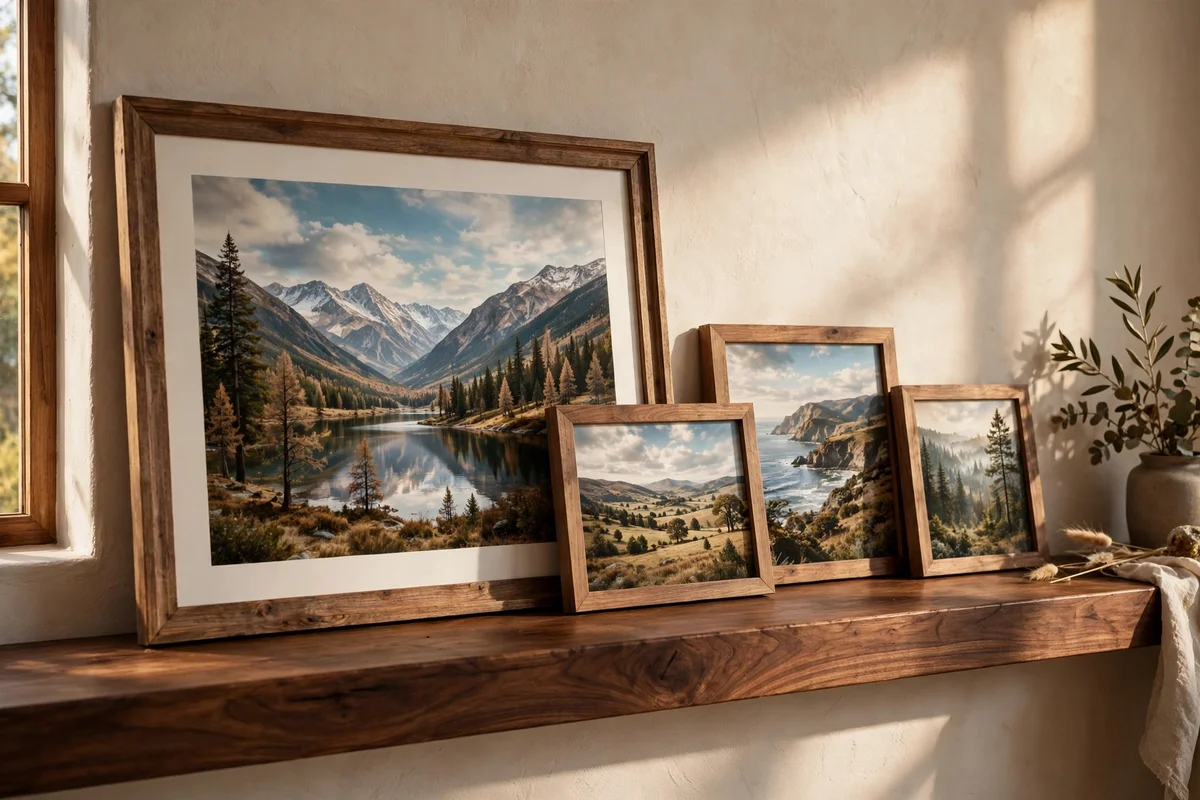
Standard ledges of 8 to 10 cm feel tippy under large frames, so choose a deep 15 cm ledge when leaning prints of 50 by 70 cm or bigger. The extra depth lets the frame base sit fully on the shelf with the top leaning back against the wall at a safe 10 to 15 degree angle, and the raised front lip stops any forward slide. Solid wood or thick MDF ledges handle the weight best; check the fixing rating, since a large framed print can weigh 3 to 5 kg.
Fix deep ledges into wall studs or use heavy-duty plasterboard anchors rated for at least 15 kg per bracket pair, spaced no more than 60 cm apart. Place the largest frame first, centred, then build smaller pieces around it. The mistake to avoid is leaning a heavy frame on a shallow ledge with only a small lip, which is the most common cause of fallen art. Deep ledges cost slightly more, 20 to 45 per 120 cm, but they buy complete peace of mind.
11. Secure Every Frame With Museum Putty for a Wobble Free Display
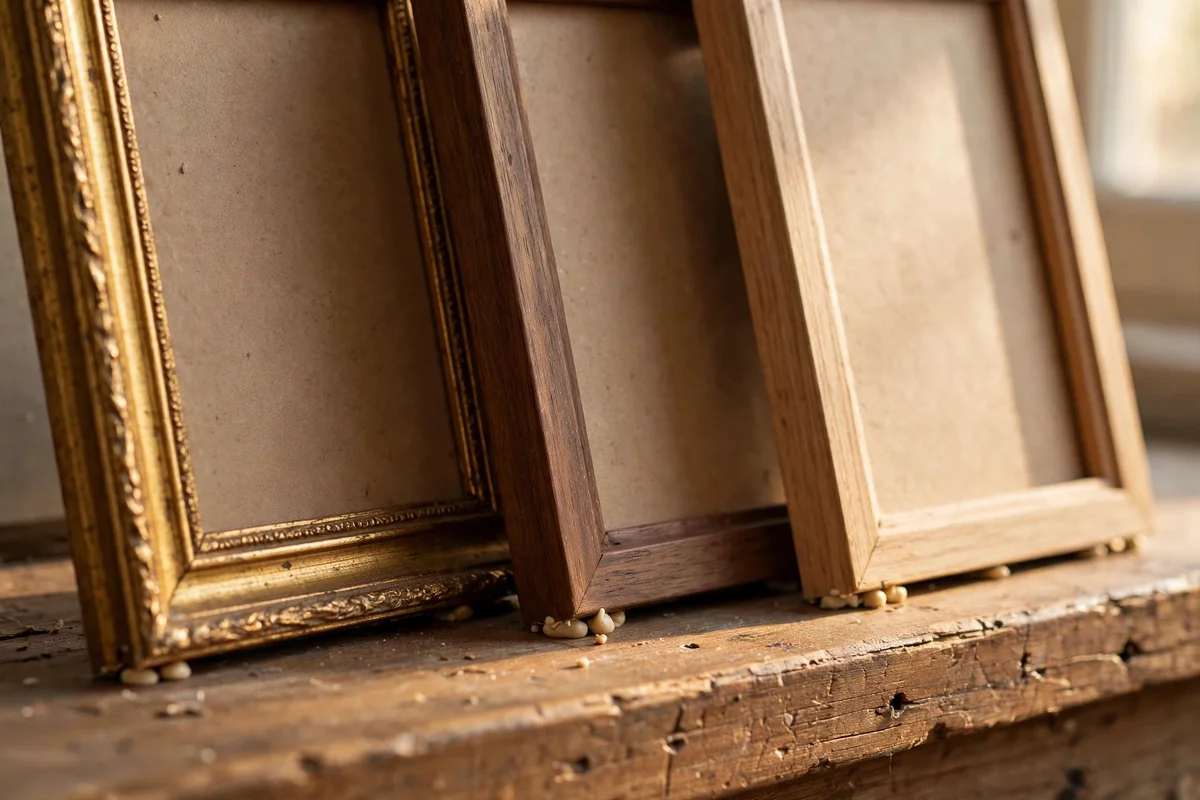
Museum putty, a soft reusable adhesive, keeps leaning frames exactly where you place them without marking the frame or the ledge. Press a pea-sized dot under each bottom corner of the frame, then press the frame gently onto the ledge; the putty grips the surface and stops sliding from door slams, passing feet or curious hands. It works on wood, painted and laminate ledges, and peels away cleanly when you restyle. One small pack secures dozens of frames and costs only a few.
For heavier frames over 2 kg, use two dots per corner or add a strip of clear nano tape behind the frame where it meets the wall. In warm rooms the putty softens slightly, so check large frames once a season and refresh the dots if they feel loose. The mistake to avoid is using permanent adhesives or nails on the ledge face, which defeats the whole point of an easily restyled display. Keep a pack in the same drawer as your spare batteries and you will reach for it often.
12. Swap Seasonal Prints in Minutes Without Touching the Fixings
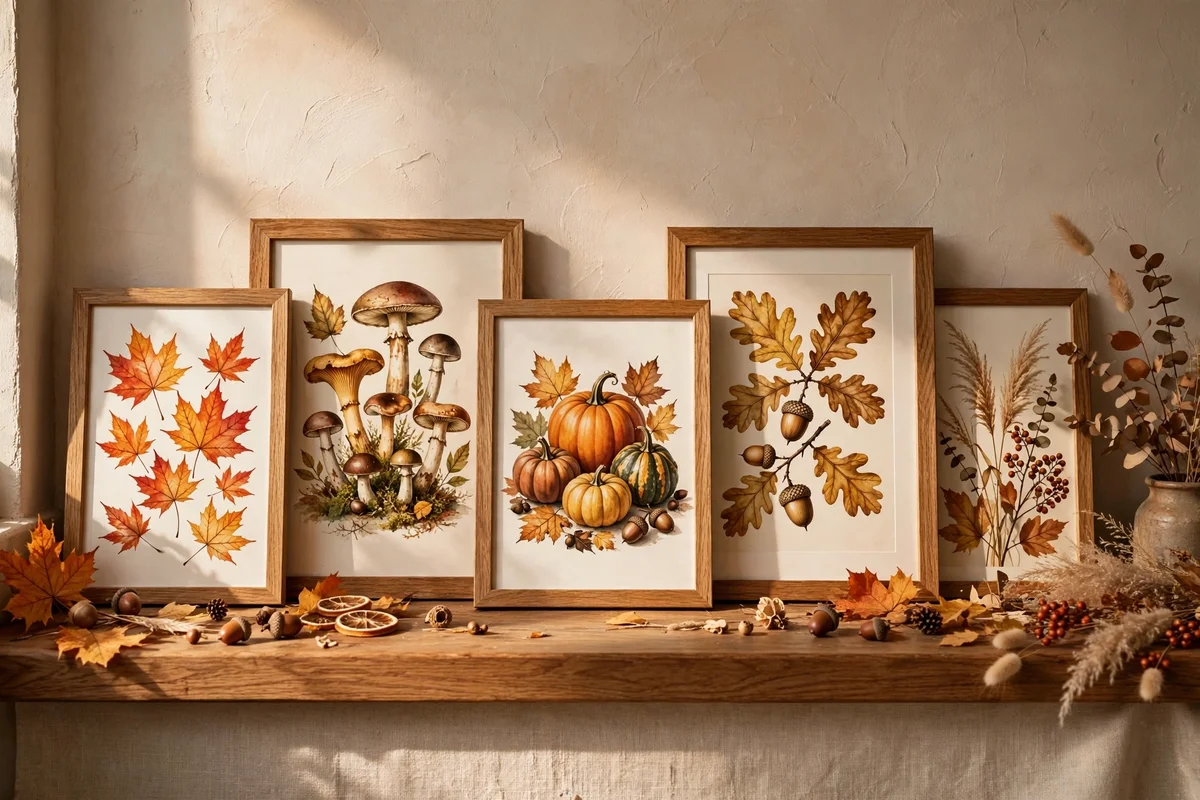
The greatest strength of a picture ledge is the seasonal swap: lift out a spring botanical print, lean in an autumn landscape, and the wall changes in under a minute with no tools. Keep a small stored set of six to eight prints in standard sizes, 30 by 40 cm and 40 by 50 cm, so every swap needs no new frames, just new art sliding into the old ones. Store spares flat in a portfolio folder or between sheets of tissue in a drawer to keep them crisp.
Plan four gentle rotations a year, tied to the light: pale florals for spring, bright skies for summer, warm harvest tones for autumn, and snowy or candlelit scenes for winter. Change only two or three frames each time so the wall evolves rather than shocks. The mistake to avoid is buying non-standard print sizes each season, which forces new frames and kills the easy-swap magic. A set of standard-size seasonal prints costs 20 to 40 a year from markets and print shops.
13. Dress an Entry Ledge With a Lamp, Tray and One Framed Photo
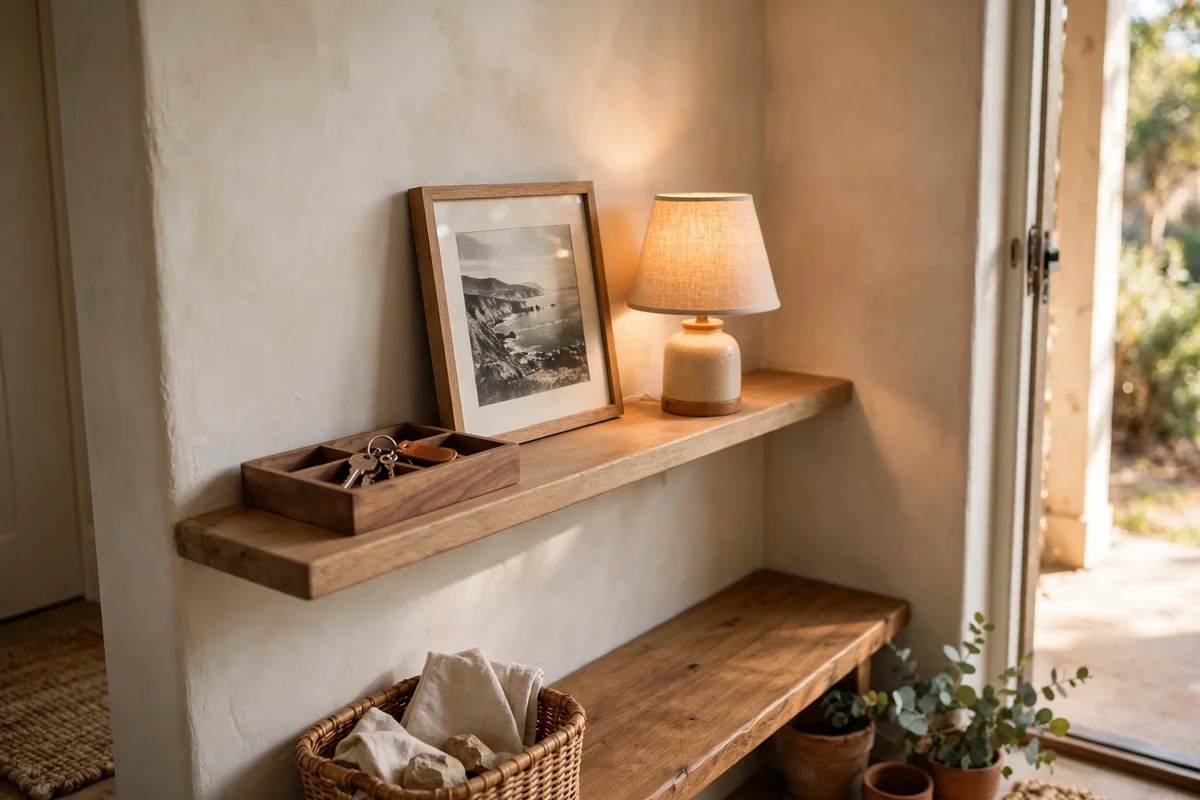
An entryway ledge earns its place by combining welcome and function in one slim shelf. Mount a 100 to 120 cm ledge at 130 cm from the floor beside or above a console, then style three zones: a small table lamp of 30 to 40 cm at one end for evening glow, a shallow tray in the middle for keys and post, and one framed family photo or favourite print at the other end. The lamp makes the entry feel cared for the moment the door opens.
Choose a lamp with a warm 2700K bulb and a fabric shade, and keep the tray in wood, leather or hammered metal for texture. Run the lamp cable neatly down the wall with a small clip so it does not trail across the ledge. The mistake to avoid is loading the entry ledge with decorative objects that leave no room for keys and post, which is its real job. A ledge, small lamp and tray together usually cost 40 to 80, a warm welcome for the price of a dinner out.
14. Line the Stairwell Landing With Two Short Ledges and Family Photos
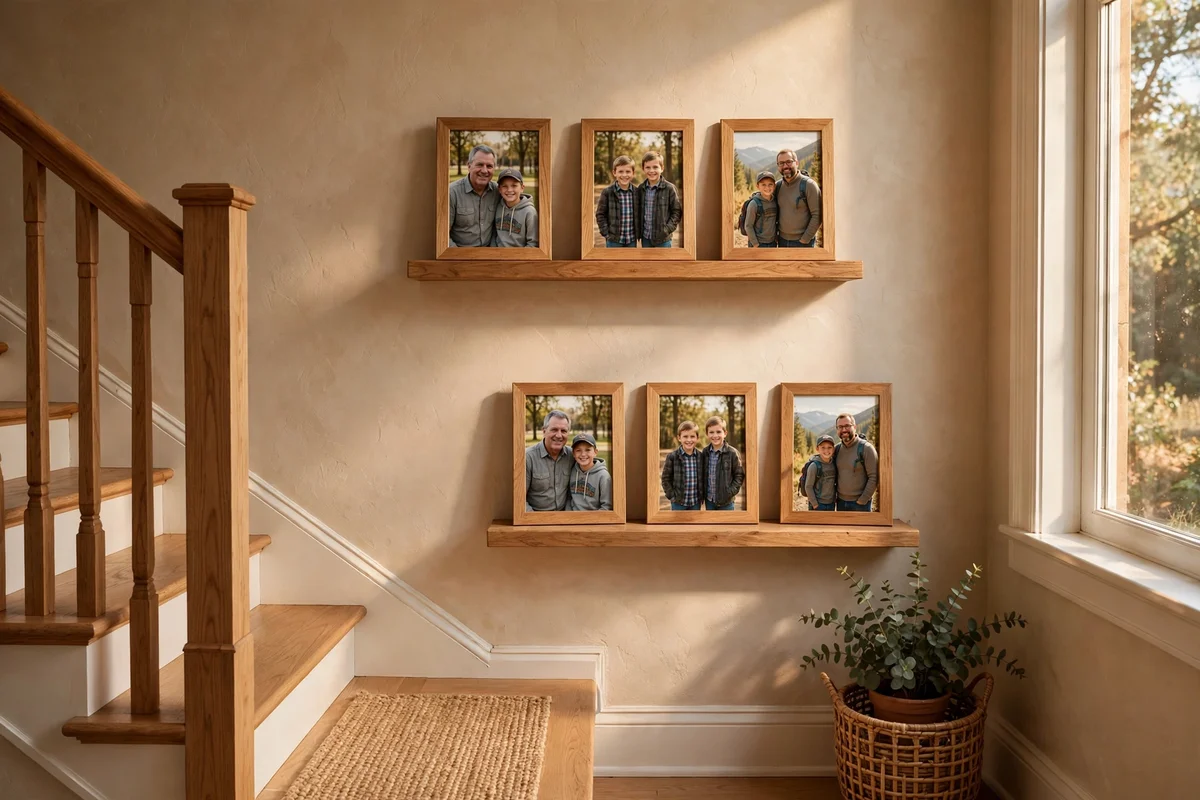
A stairwell landing is a natural pause point, and two short ledges there make a family photo gallery that grows over the years. Mount two 80 cm ledges, one above the other with 35 cm between them, at 140 cm from the landing floor. Lean six to ten photos in matching frames, perhaps all oak or all white, mixing recent portraits with older family pictures for a gentle timeline. Matching frames keep a busy mix of photos feeling calm and intentional.
Add small date labels on the back of each frame rather than the front, so the display stays clean while the history is preserved. Because landings catch passing elbows, secure each frame with museum putty and keep the ledges shallow at 8 cm. The mistake to avoid is hanging the ledges where the stair handrail or a door swing can knock them; measure clearances before drilling. Two short ledges with a set of matching frames cost 30 to 60, and the gallery becomes a family treasure.
15. Build a Bedroom Reading Corner Ledge With Books and a Small Clock
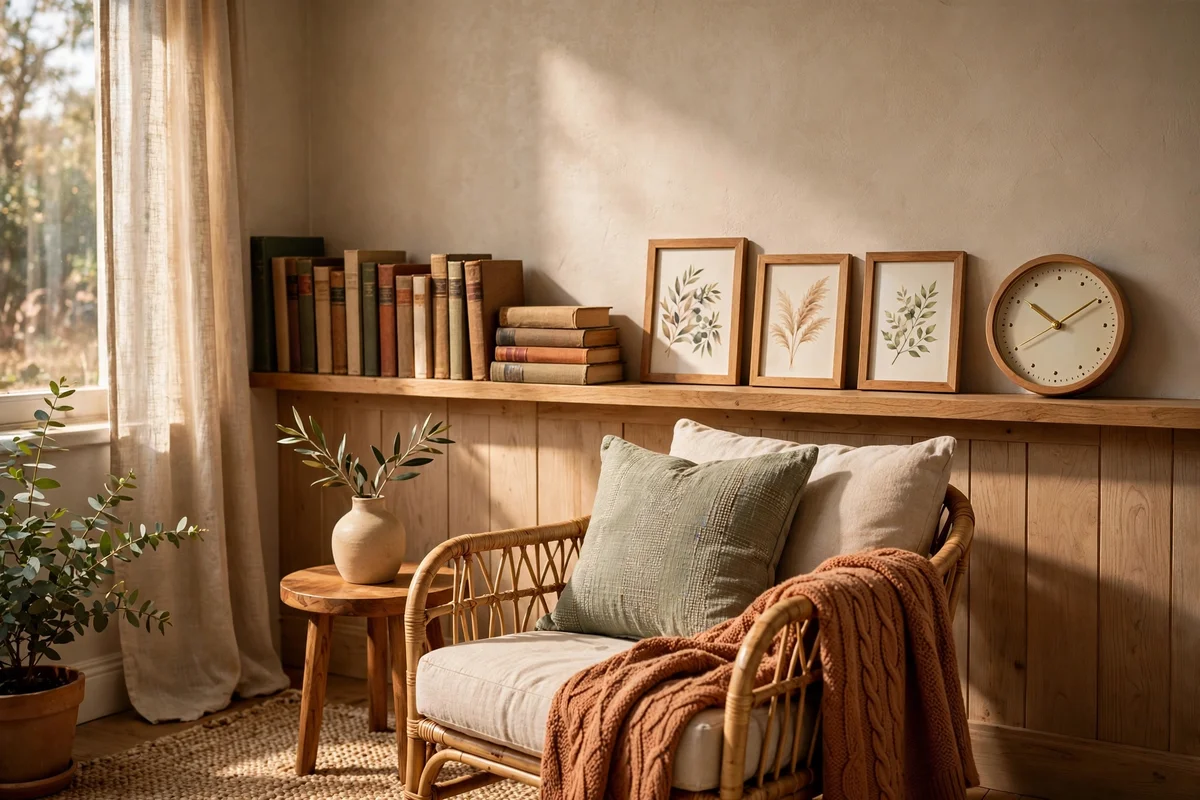
A 90 cm ledge beside a bedroom armchair or under a window creates a reading corner display that is both pretty and useful. Lean two small framed prints at one end, stack four to six favourite books horizontally in the middle, and stand a small analogue clock or a tiny ceramic dish for reading glasses at the other end. Everything the reader needs sits within arm’s reach, and the frames make the corner feel designed rather than accidental.
Keep the ledge at 120 to 130 cm from the floor so books and the clock are easy to reach from a seated position. Choose a clock with a silent movement for a calm bedroom, and soft book spines in cloth or muted colour. The mistake to avoid is placing the ledge in direct morning sun, which fades book spines and print colours within a year; a side wall or a shaded corner lasts far longer. A 90 cm ledge plus styling pieces usually totals 25 to 50.
16. Anchor a Living Room Ledge With One Oversized Statement Print
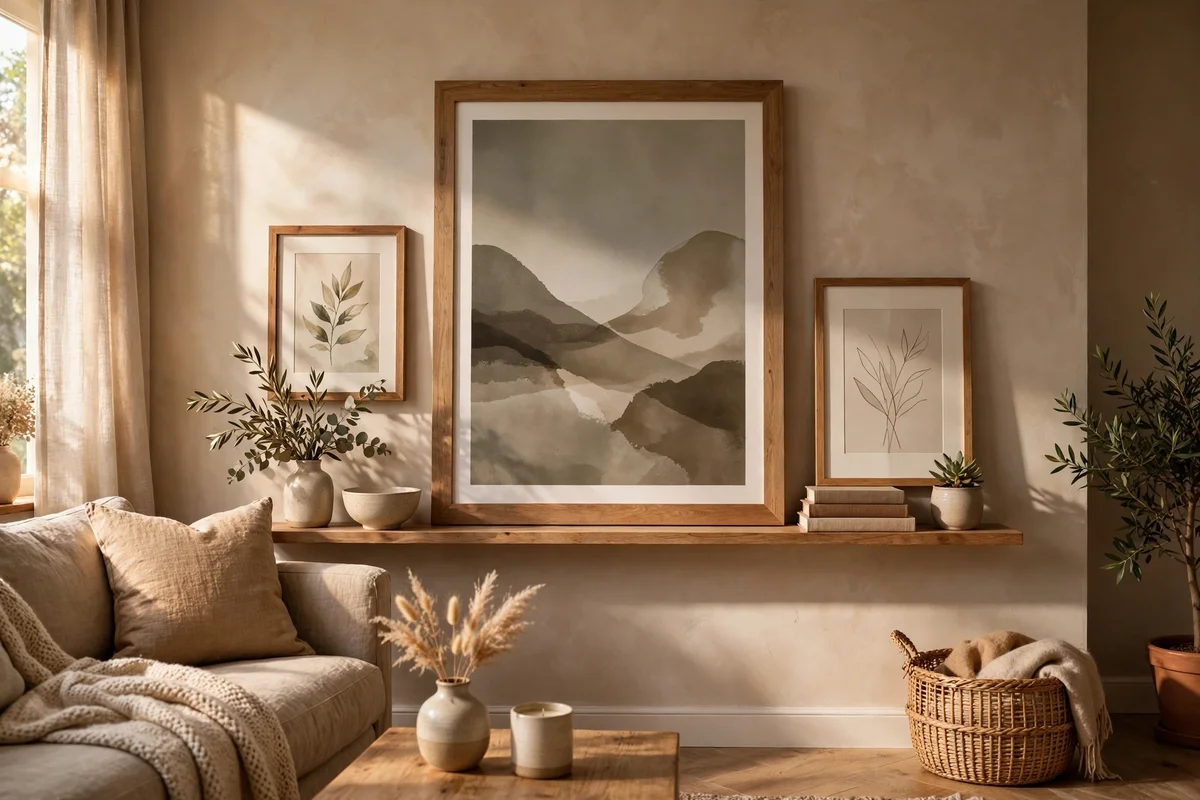
One oversized print of 60 by 80 cm or 70 by 100 cm gives a living room ledge instant authority and stops the display looking fussy. Centre it on a 150 to 180 cm deep ledge, leaning back against the wall, then flank it with two or three much smaller frames and one object, such as a small vase or a stack of two books. The size contrast makes the smaller pieces look deliberate instead of leftover, and the big print carries the wall from across the room.
Choose the statement print first and let its colours set the palette for everything else on the ledge. Keep the frame simple, thin black, oak or white, so the artwork does the talking. The mistake to avoid is centring the big print and then mirroring identical small frames on both sides, which looks stiff; let one side hold two small frames and the other a single object. A large print in a simple frame costs 40 to 90, the single biggest impact per pound of any ledge idea.
17. Use a Two Tier Ledge Design to Show Small and Tall Frames Together
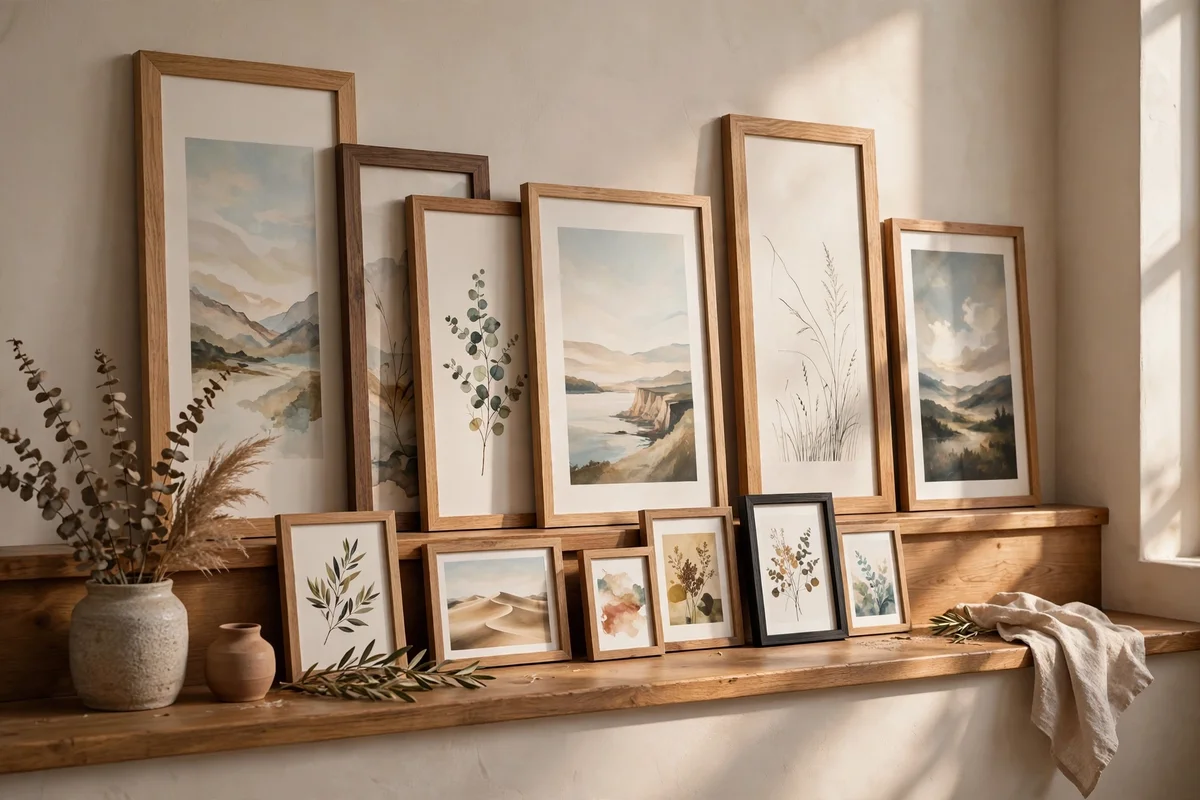
Some ledges are made with two stepped tiers, a lower front shelf and a raised back shelf, which solves the classic problem of small frames hiding behind tall ones. Place small prints of 13 by 18 cm on the front tier and taller frames of 30 by 40 cm on the back tier, and every piece stays visible in a neat rising line. The stepped profile also stops frames sliding into each other, since each tier has its own lip. This design suits desks, sideboards and children’s room walls especially well.
Two-tier ledges are usually 10 to 12 cm deep overall, so check the wall clearance above furniture before buying. Style the back tier first with the tallest frames, then fill the front with small prints, postcards and one tiny object. The mistake to avoid is putting tall frames on the front tier, which blocks everything behind and wastes the design. Two-tier ledges cost 18 to 40 for 100 cm, a clever upgrade over a flat shelf.
18. Add a Warm LED Strip Under the Ledge for Soft Evening Glow
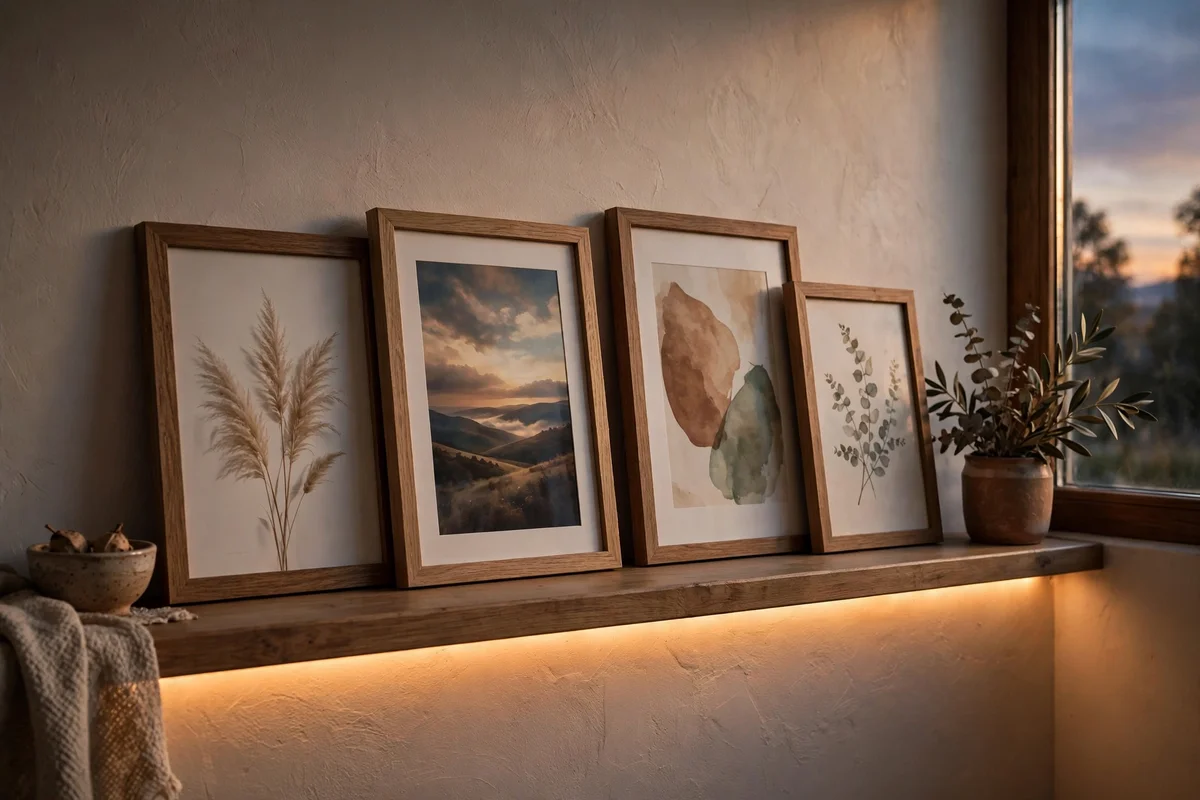
A slim LED strip fixed under the front edge of a picture ledge washes the wall below in soft light and makes the frames glow after dark. Choose a warm white strip of 2700K, cut to 10 cm shorter than the ledge, and fix it with its own adhesive backing set back 2 cm from the edge so the diodes stay hidden. Battery or USB powered strips avoid any wiring, and a simple remote or timer handles switching. The effect turns a daytime gallery into an evening feature.
Keep the brightness gentle, since the light should graze the wall rather than spotlight the frames; dimmable strips give the most control. In bedrooms the soft glow doubles as a night light, and in hallways it guides the way without overhead lights. The mistake to avoid is choosing cool white or colour-changing strips, which can make artwork look harsh and the room feel restless. A quality warm LED strip costs 10 to 20, the cheapest evening transformation in this guide.
19. Keep a Neutral Back Row and Rotate Colourful Art in Front
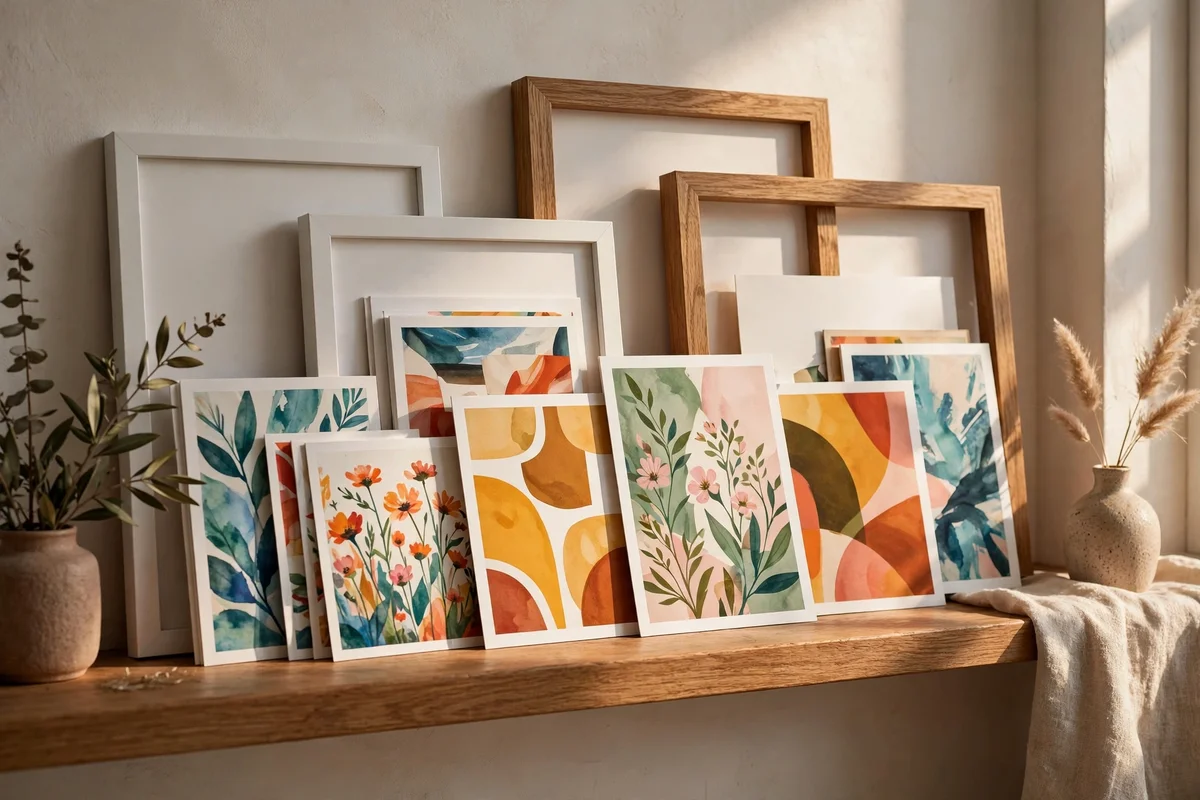
A calm neutral back row of frames in white, oak or soft grey lets you rotate colourful art in front without the wall ever looking chaotic. Lean the neutral frames at the back against the wall, two or three large pieces with pale mounts, then place smaller bright prints, postcards and textile pieces in front, overlapping by 5 to 8 cm. When the mood changes, only the front layer moves; the neutral backbone stays put and keeps everything grounded.
This layering works beautifully in living rooms where cushions and throws already bring colour, since the wall echoes the room instead of competing with it. Keep front pieces to three or four so the back row still shows between them. The mistake to avoid is layering two busy colourful frames directly on top of each other, which hides both artworks and looks cluttered. The neutral frames are a one-time investment of 30 to 60, while the rotating front art can be inexpensive prints.
20. Choose Slim Brass Ledges for Small Recipe Prints in the Kitchen
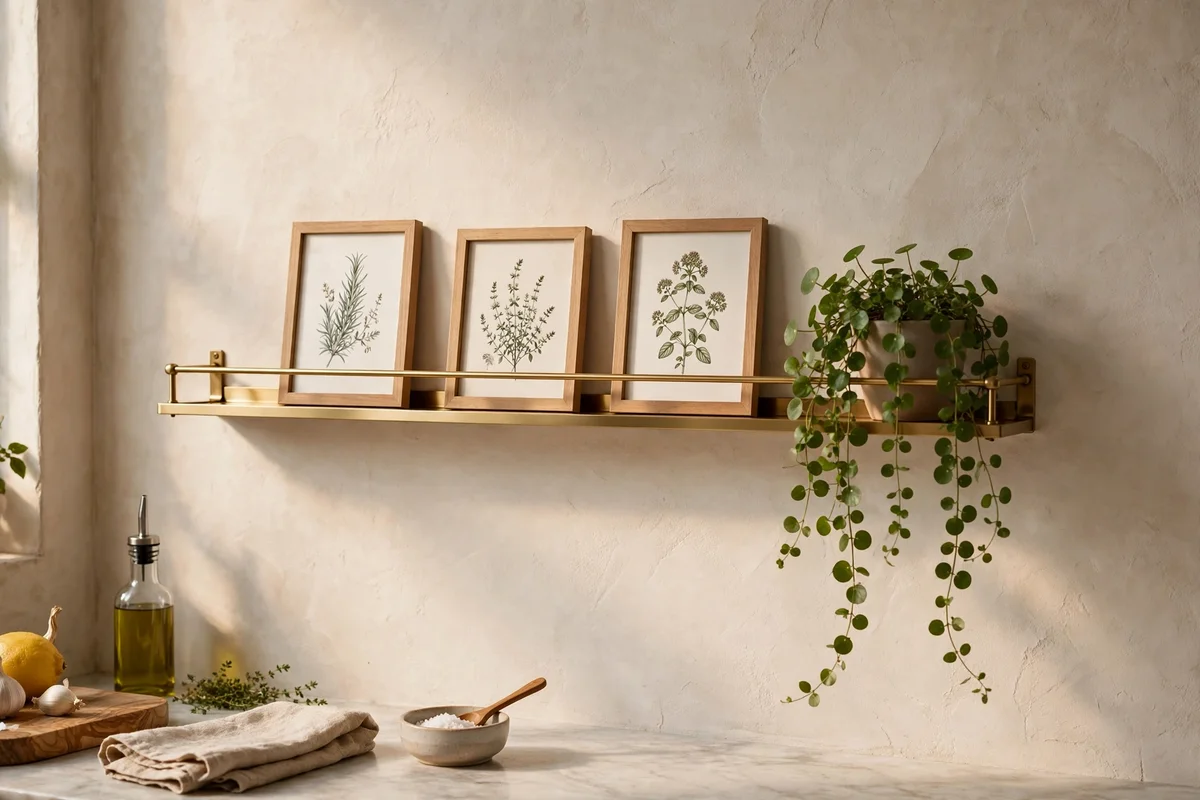
Picture ledges belong in kitchens too, where slim brass or brushed gold ledges hold small recipe prints, herb illustrations and family recipe cards. A 60 to 80 cm ledge mounted at 150 cm from the floor, away from the hob and sink, keeps paper art safe from steam and splashes. Brass suits cream, sage and warm white kitchens, and the slim 6 to 8 cm depth holds postcard-size prints without jutting into the room. Small frames of 13 by 18 cm are the perfect scale.
Slip recipe cards into simple glass-fronted frames so they wipe clean, and rotate them with the seasons: preserves in autumn, fresh herbs in spring. Keep one small trailing plant at the end for living green. The mistake to avoid is mounting the ledge above the hob, where heat and grease ruin paper within weeks; a side wall or the end of a cabinet run is far safer. A brass ledge of 60 cm costs 20 to 40, a jewel-like detail for the hardest working room.
21. Refresh the Whole Wall in One Hour With a Seasonal Shuffle
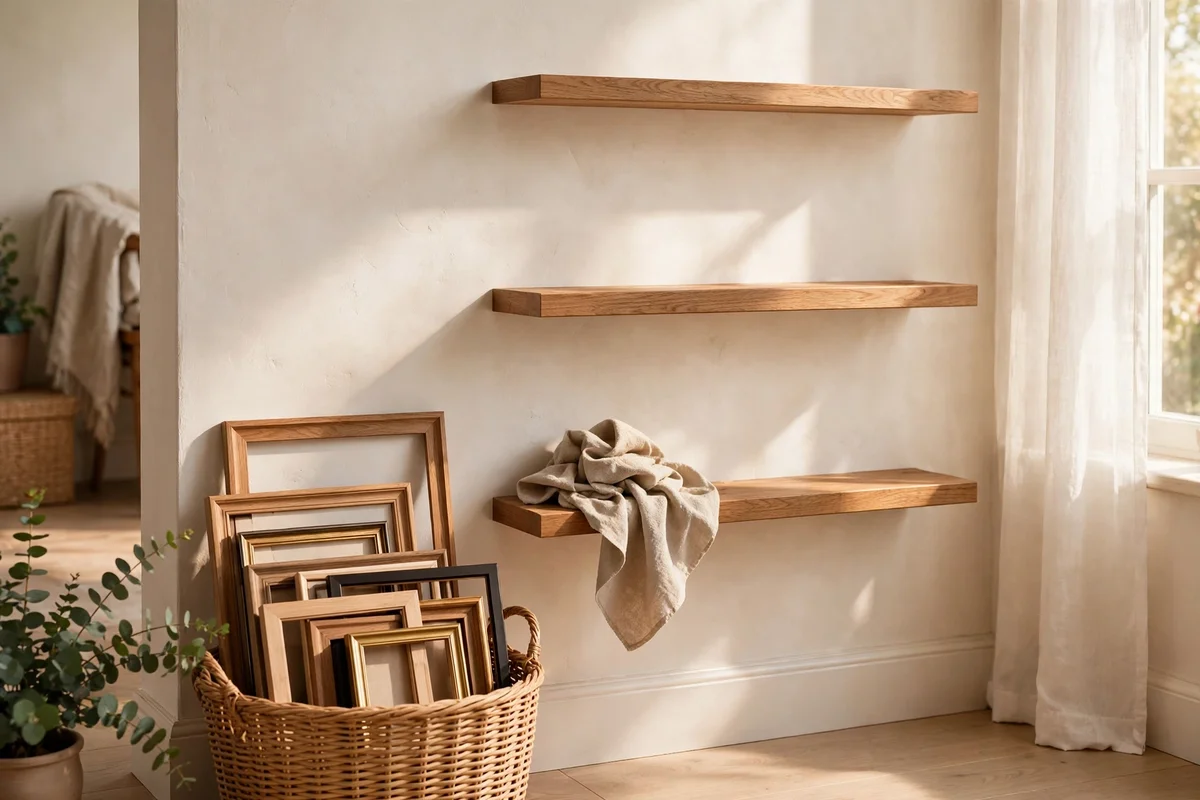
Once a season, give every ledge in the house a one-hour shuffle: gather all the leaning frames, sort them by size, and redistribute them so each wall gets a fresh mix. Start with the largest frames, placing one anchor piece per ledge, then fill in with medium and small pieces, finishing with objects and plants. The hour includes dusting each ledge with a dry cloth, which keeps frames and shelves looking crisp. It is the easiest deep refresh in home styling.
Work room by room with a laundry basket to carry frames safely, and photograph each ledge before you start so you can restore any arrangement you loved. Invite family members to choose one swap each, which makes the refresh feel shared. The mistake to avoid is trying to buy something new every season; the shuffle works precisely because you reuse what you own. The cost is zero, the time is one hour, and the whole house feels thoughtfully renewed.
Picture ledges are the most forgiving way to style a wall, because every arrangement is a draft you can revise in seconds. From staggered oak rows and deep ledges for large art to hallway galleries and seasonal swaps, the 21 ideas here share one gentle principle: fix the ledge once, then let the display evolve with your life, your light and your seasons.
This week, try the easiest idea first: mount a single 120 cm ledge at 150 cm from the floor and lean three frames in descending size along it. Secure each one with a dot of museum putty, dust the shelf as you go, then step back and live with it for a few days. Add a small plant or a ceramic vase next weekend, and enjoy a wall that can change its mind as often as you do.
Frequently Asked Questions
How high should a picture ledge go above a sofa?
Mount the ledge 15 to 20 cm above the top of the sofa back, which keeps leaning frames clear of heads and cushions. Centre a 120 to 150 cm ledge on a standard 200 cm sofa, leaving 25 to 30 cm of wall each side. Keep the total display under 60 cm tall so the ceiling still feels high and the wall stays calm.
What depth of picture ledge is best for large frames?
Choose a deep ledge of 12 to 15 cm for frames of 50 by 70 cm or larger, so the frame base sits fully on the shelf and leans back at a safe angle. Standard 8 cm ledges suit small prints but feel tippy under big art. Fix deep ledges into studs or heavy-duty anchors, since a large framed print can weigh 3 to 5 kg.
Can renters use picture ledges without damaging walls?
Yes, with care. The ledge itself needs screws, but that is only two to four small holes per ledge, far fewer than a full gallery wall. Fill them with filler on moving day and they vanish under paint. Everything on the ledge then changes without a single new hole, which is exactly why ledges suit rented homes so well.
How do I stop leaning frames from sliding or falling?
Press a pea-sized dot of museum putty under each bottom corner of the frame; it grips the ledge and stops sliding from door slams or passing feet. For frames over 2 kg, use two dots per corner or clear nano tape behind the frame. Choose ledges with a raised front lip, and fix the ledge itself into studs or rated anchors.
How much does it cost to style a picture ledge wall?
A single 120 cm pine or MDF ledge costs 12 to 30, plus frames from 3 to 15 each at charity shops or budget stores. A full styled wall with three frames, a vase and museum putty usually totals 40 to 90. Seasonal print swaps cost 20 to 40 a year, since you reuse the same frames and only change the art inside.