Living Room
21 Window Seat Ideas That Turn Dead Space Into the Best Seat
By Anna Wells · · 19 min read
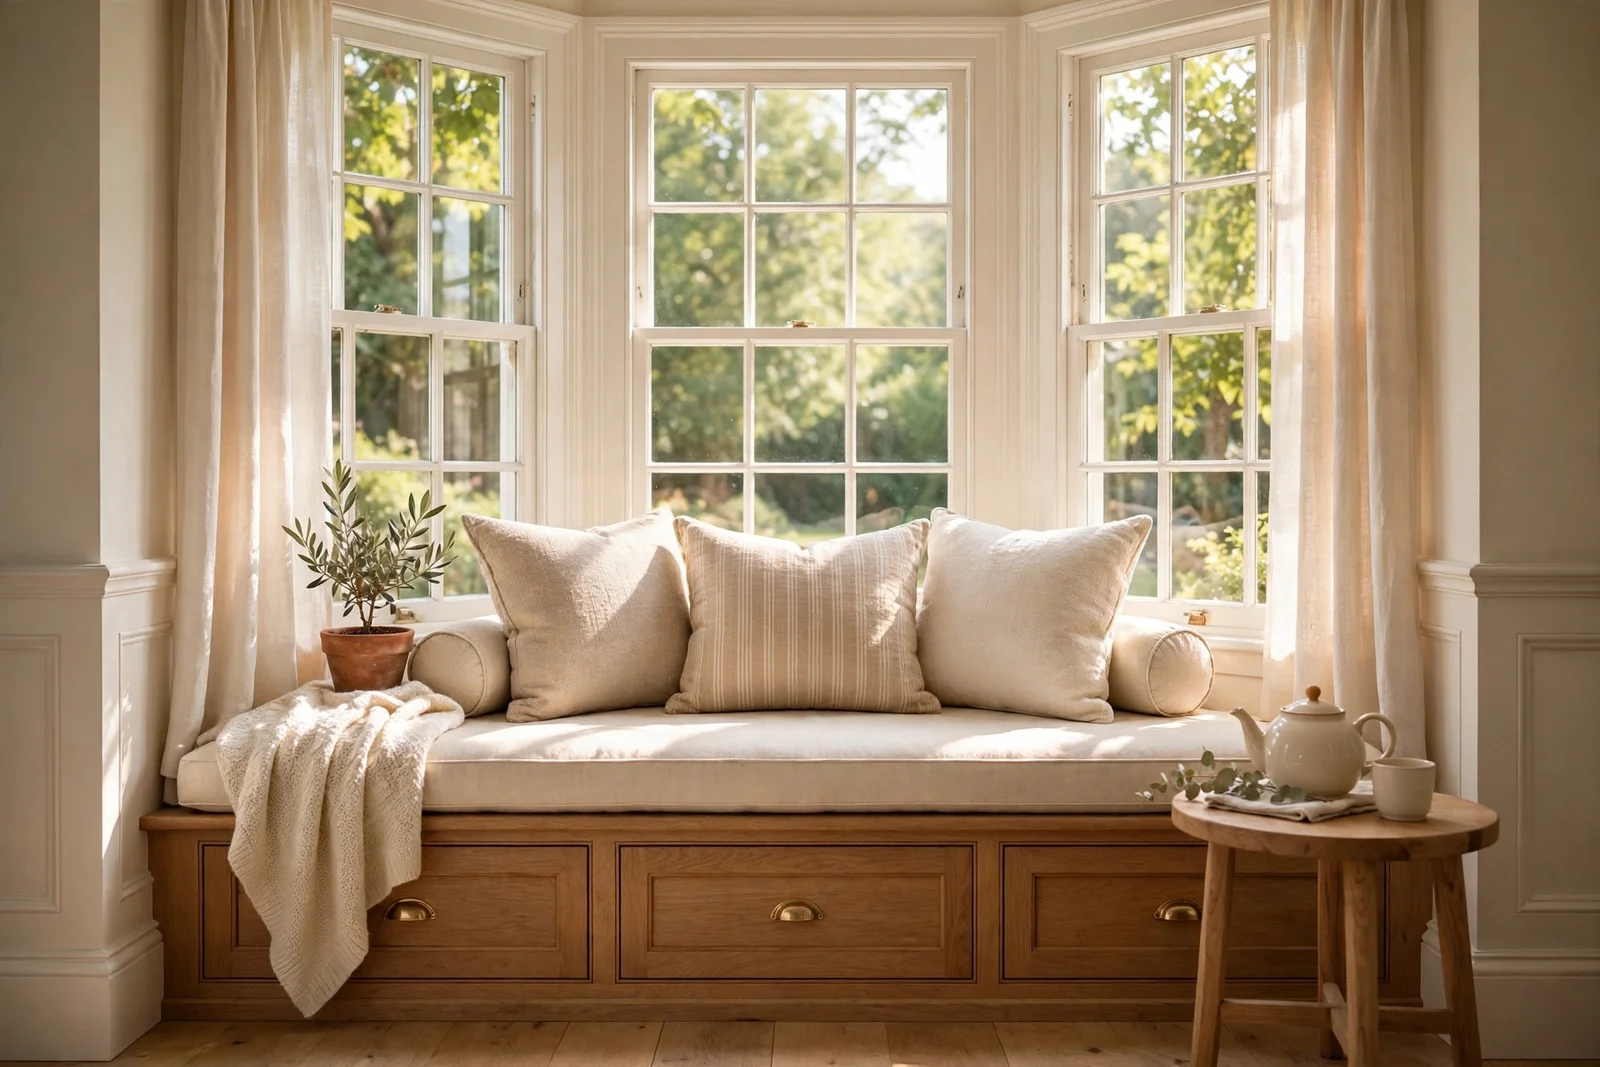
Twenty one window seat ideas that turn empty bays and alcoves into the most loved seat in the home, with honest build notes and real costs.
There is a particular kind of morning light that only happens at a window: pale gold spilling across the floorboards while the house is still quiet. A bay or alcove sits there anyway, collecting dust and a tired plant, when it could be holding you with a book and a hot drink.
A window seat is not complicated joinery, but it is full of small decisions that decide whether it becomes the favourite spot or just expensive storage. Cushion thickness, fabric choice, the height of the reading light, the way the lid opens without hitting the glass: all of these matter more than the timber you start with.
These 21 ideas walk through the whole build in order. You get seating fitted into bays and alcoves, storage drawers and lift up lids underneath, sun proof fabrics and cushion sizing, reading lights and side tables in reach, kitchen banquettes that seat the whole family, safety notes for bedrooms, and honest costs for DIY and carpenter builds alike.
Start with the alcove you already have, even if it is narrow or dim. Nearly every idea here scales down, and the last sections show the cheapest upgrades to try this weekend.
1. Build the Seat Right Into a Bay Window Alcove
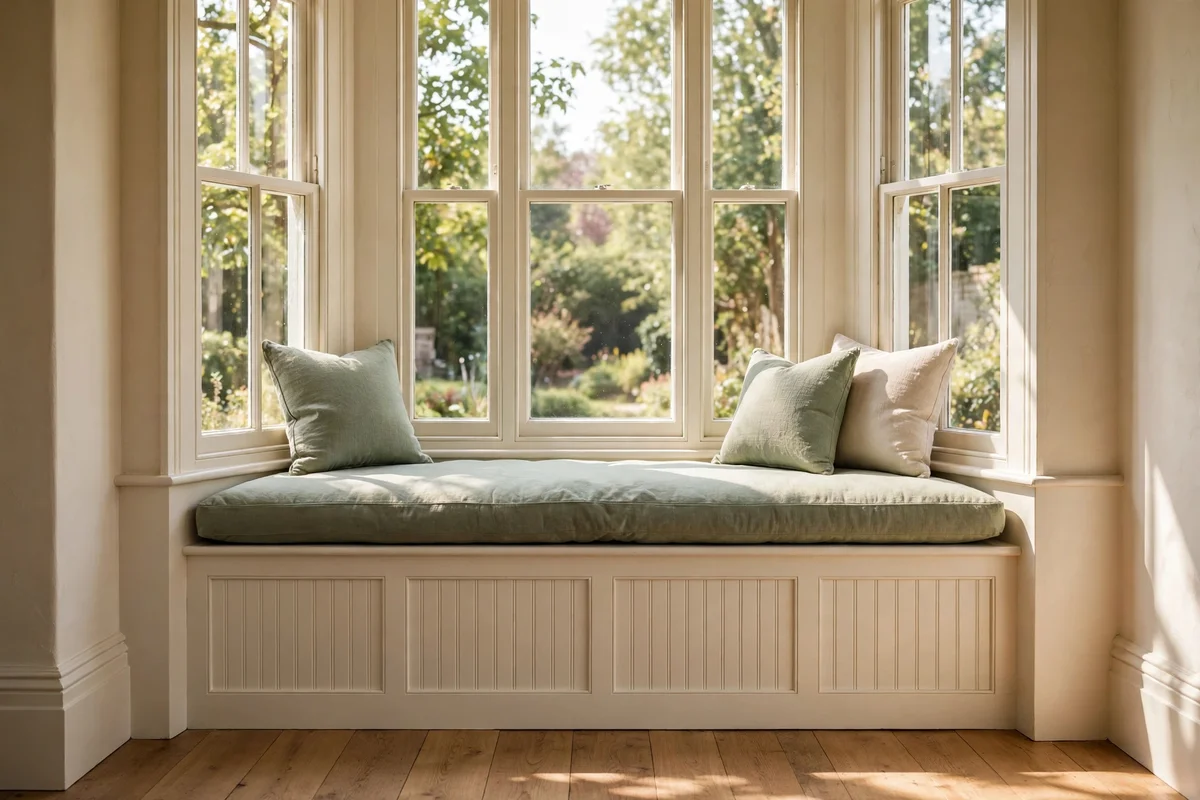
A bay alcove is the classic spot for a window seat because the walls already provide most of the structure. Measure the full width at three heights, since older walls often bow by a centimetre or more between floor and sill. Build a low box frame from 45 by 70 mm softwood, aiming for 40 to 45 cm finished height before the cushion. Fix it level to floor and side walls with long screws into studs or proper wall plugs, and leave a 10 mm shadow gap at the back for airflow behind the timber.
The common mistake is building right up to the sill and discovering the cushion presses against the glass. Leave the seat 5 cm below the sill so condensation never wicks into the fabric and the window can still open if it is a casement. Face the front with MDF or beadboard painted to match the skirting so the whole thing reads as part of the room. Budget a weekend for the build and about 80 to 150 in timber and fixings.
2. Fit Deep Drawers Under the Seat Base for Linens and Toys
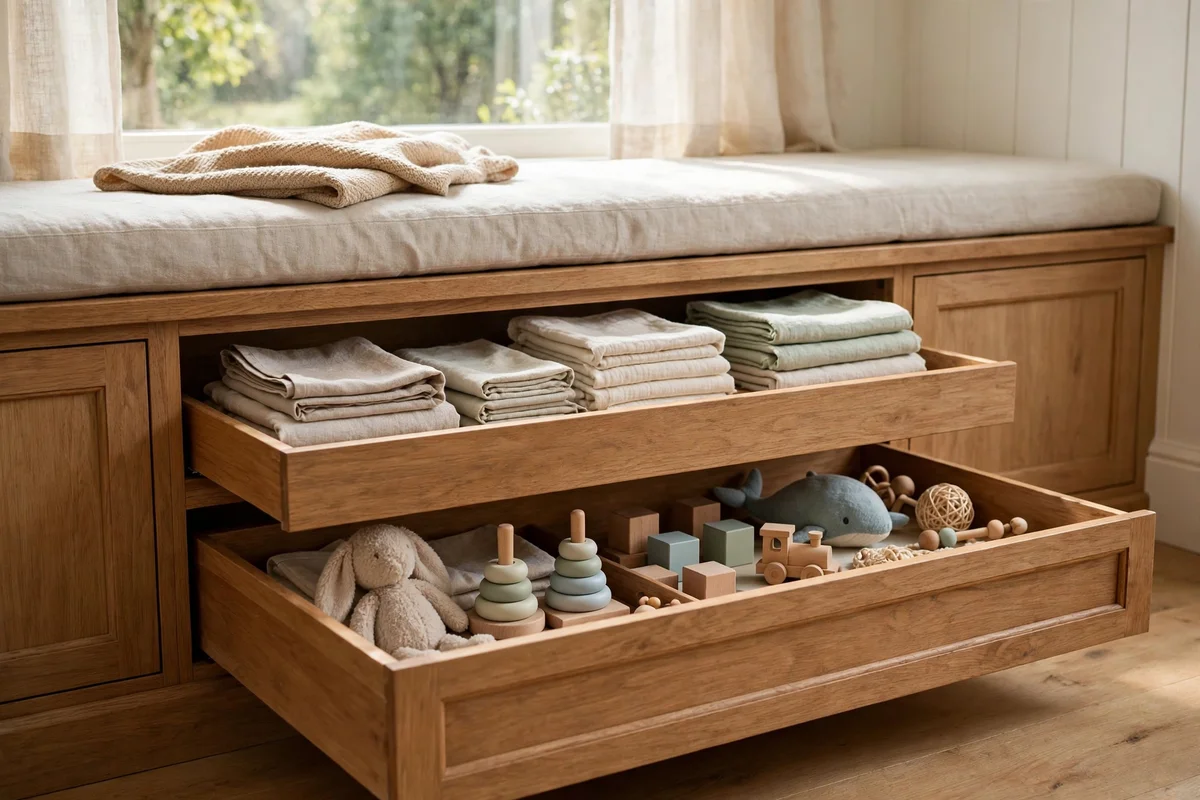
Drawers under the seat turn dead volume into the easiest storage in the room. Plan drawer boxes 15 cm deep and at least 40 cm wide so folded throws, spare bedding and board games fit without stuffing. Use full extension ball bearing runners rated for 25 kg so a loaded drawer glides open without sagging. Mount the runners to the internal frame, not the facing panels, and check each drawer front sits flush with the seat front before fixing the runners permanently.
The mistake most people make is building the carcass first and discovering standard runners do not fit the leftover space. Buy the runners and drawer boxes before you cut any timber, then size the frame around them. Budget tier: simple MDF drawers with basic runners cost about 60 to 90 each to build; soft close runners add roughly 15 per drawer and are worth it in bedrooms where drawers get opened early in the morning.
3. Choose a Lift Up Lid for One Big Hidden Storage Cavity
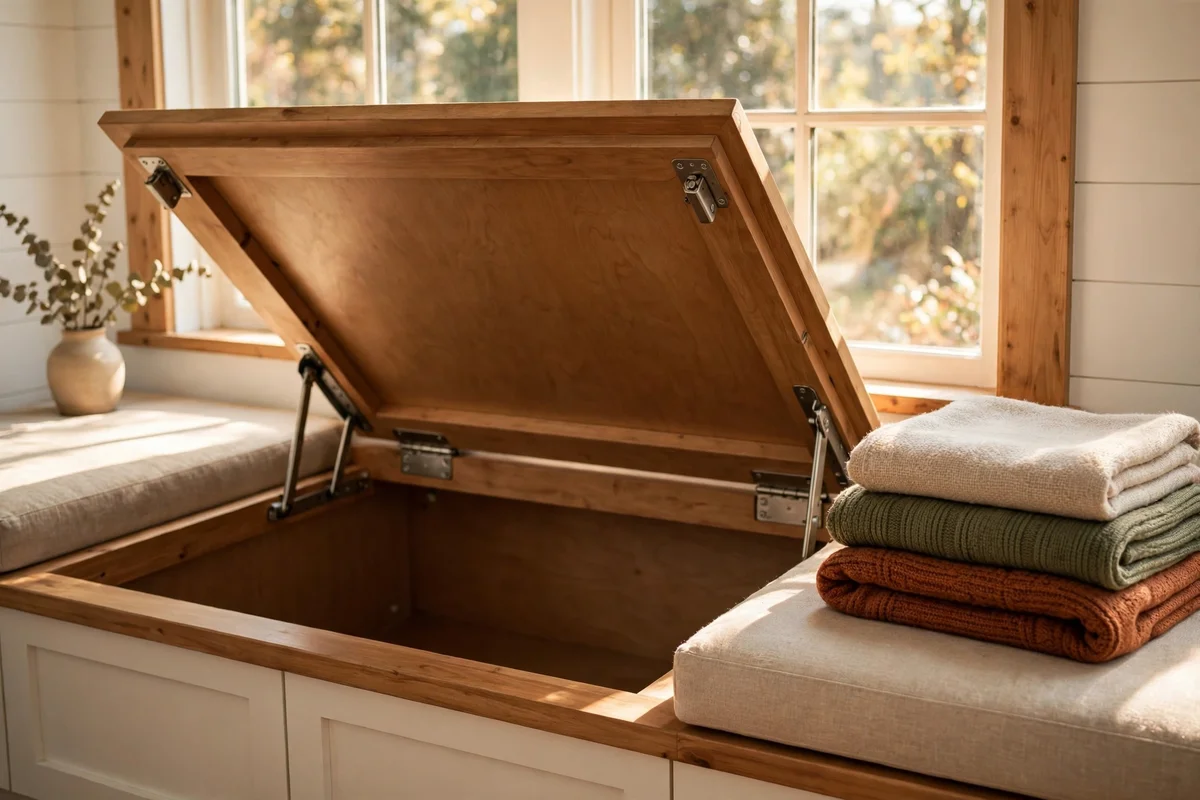
A lift up lid suits bedding, out of season clothes and anything bulky that drawers cannot swallow. Build the base as one open box with a reinforced front rail, then hinge a plywood lid along the back edge using two or three piano hinges. Add a soft close lid stay rated for the lid weight so it cannot slam on fingers and it holds open at ninety degrees while you load. Keep the lid front flush with the base front so the seam reads as one clean line.
The thing everyone forgets is the cushion: it has to come off before the lid opens, so keep a nearby ottoman or chair ready while you load the box. Make the lid in two halves if the seat is wider than 120 cm, since one long lid warps and becomes hard to lift. A piano hinge pair and two lid stays cost under 40, making this the cheapest generous storage option in the set.
4. Size the Seat Cushion Ten Centimetres Thick for All Day Comfort
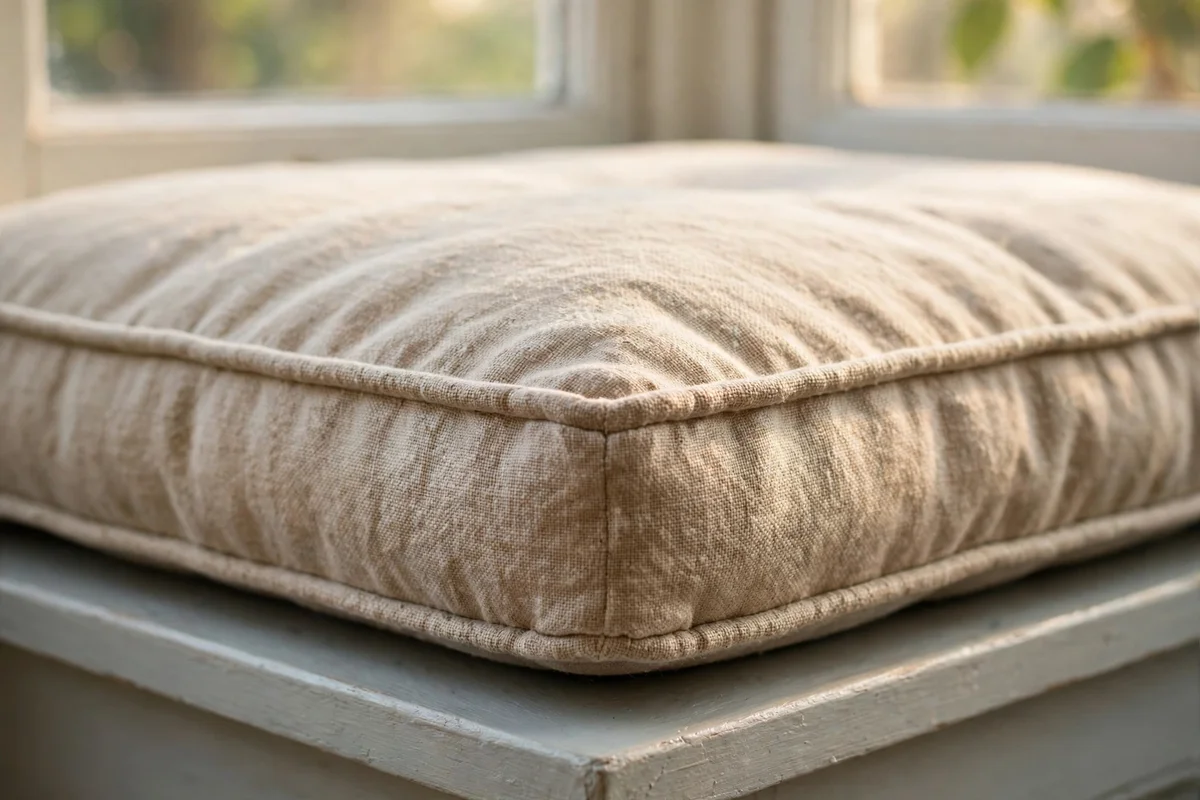
A 10 cm cushion over a 2 cm plywood base is the minimum for sitting longer than twenty minutes without feeling the wood. Ask the upholsterer for high resilience foam of 35 kg per cubic metre density, cut 1 cm wider than the opening so it wedges in snugly. Wrap the foam in a layer of polyester batting before the cover; this softens the edges and stops the fabric from rubbing directly on the foam, which doubles its usable life.
The mistake is ordering a plush 15 cm cushion that turns the seat too high and traps your legs. If the finished seat rises above 55 cm, knees sit higher than hips and the seat feels like a bar stool. Budget numbers: a custom 10 cm foam cut plus batting for a 120 cm seat runs 70 to 120; a full bespoke cushion with piping and a sun proof cover lands between 150 and 250 depending on fabric.
5. Pick Solution Dyed Acrylic Fabrics That Survive Strong Sun
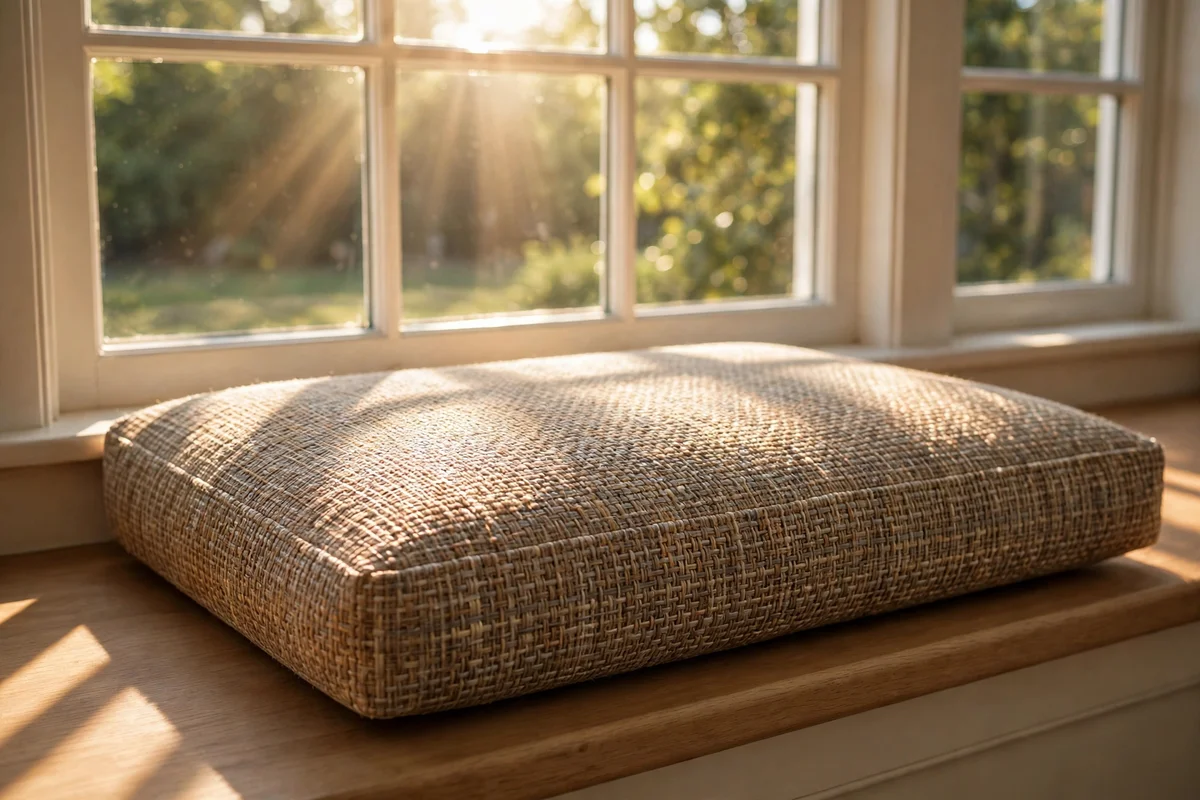
South facing windows destroy ordinary upholstery in a single summer, so choose solution dyed acrylic or olefin where the colour runs through the fibre rather than sitting on the surface. These fabrics hold their tone for five years or more in direct sun, shrug off spills with mild soap and water, and dry quickly after cleaning. Mid tone weaves in sand, sage or warm grey show the least dust and sit calmly with most wall colours.
Avoid dark velvet and untreated cotton on a sunny seat: both fade visibly within months and cotton weakens at the fold lines. If you love a natural look, use linen only on a shaded north facing seat and accept it will soften and pale gracefully. The practical middle ground is an acrylic seat cover with a washable cotton throw over the top for texture. Expect to pay 25 to 45 per metre for quality acrylic.
6. Layer a Lumbar Bolster Against the Glass for Back Support
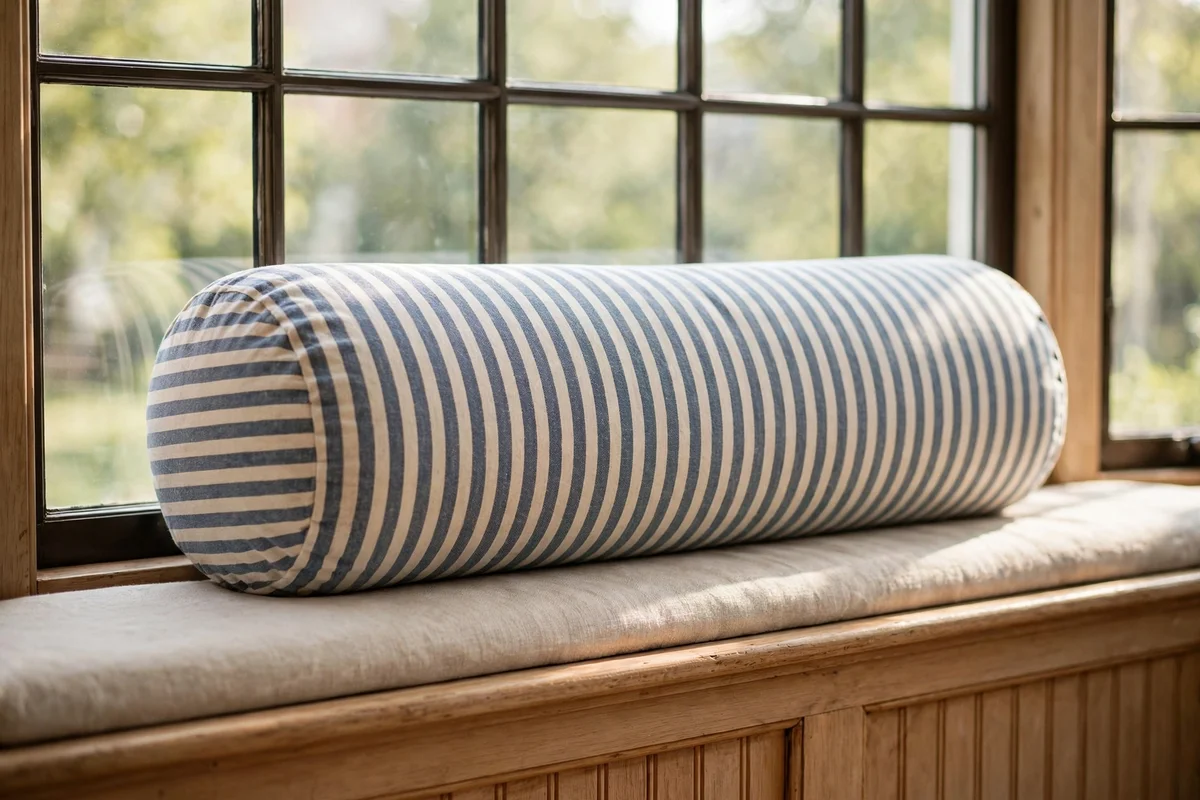
A cylindrical bolster 12 to 15 cm in diameter and 50 to 60 cm long gives the lower back something to lean into when you sit sideways against the window frame. Fill it with the same high resilience foam as the seat, or use a buckwheat hull core for a firmer, breathable option that stays cool in summer. A removable cover in washable cotton means the piece touching your back most can go in the machine regularly.
Place the bolster across the inner window edge, not floating mid seat, so it anchors your posture where the seat meets the frame. Two smaller bolsters at each end suit long seats shared by siblings or friends reading side by side. The common mistake is buying a fashion bolster filled with loose polyester that flattens in weeks. Firm foam or hull cores hold their shape for years and cost 30 to 60 made to size.
7. Mount a Small Reading Light at Shoulder Height Beside the Seat

A reading light works best fixed 15 to 20 cm above shoulder height on the side wall or the window reveal, angled down across the seat. Choose a small swing arm or picture light style fitting with a warm 2700K bulb at 400 to 600 lumens: bright enough for print, soft enough not to glare on the glass after dark. If there is no wiring nearby, a rechargeable LED bar with a motion sensor avoids any electrician cost.
The mistake is putting the light directly overhead, where it throws shadows from your head across the page. Side lighting at a slight angle behind the reading shoulder is far kinder. Budget options: a quality rechargeable bar light costs 20 to 35 and needs charging weekly; a hardwired swing arm fitting plus an hour of electrician time lands between 80 and 150, and reads as properly finished.
8. Set a Slim Side Table Within Arm’s Reach for Tea and Books
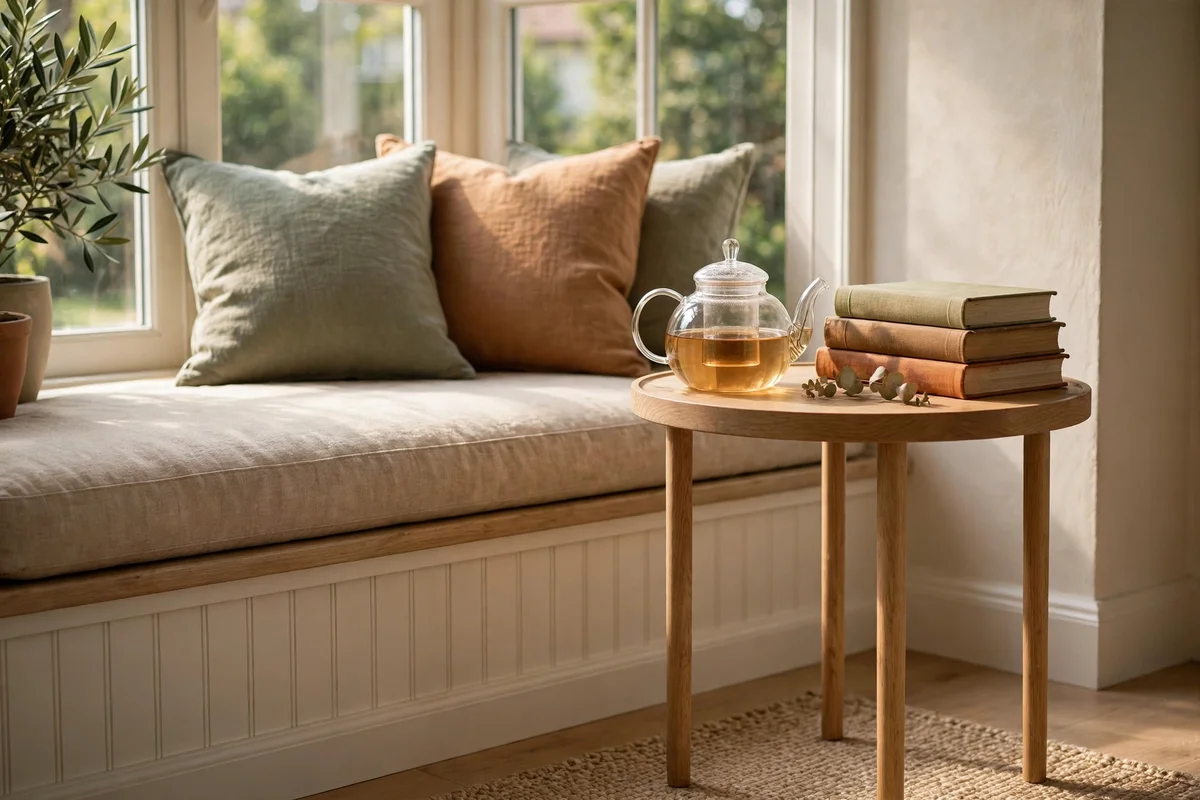
A side table 30 to 40 cm wide placed at the end of the seat keeps tea, a lamp and the book you are not reading within reach. Match the table height to the seat top, around 50 to 55 cm, so reaching for a cup feels natural. A small drawer or lower shelf holds coasters and reading glasses, and a tray on top contains crumbs and rings that would otherwise mark the timber.
The mistake is choosing a table that wobbles when a full teapot goes on it, so test stability in the shop before buying. Round tables with a single pedestal base tuck into tight corners better than square ones with four legs. Budget tier: a simple turned wood side table costs 30 to 60 second hand or flat pack; a small hardwood piece with a drawer runs 80 to 160 and lasts decades.
9. Turn the Kitchen Window Into a Banquette With a Round Table
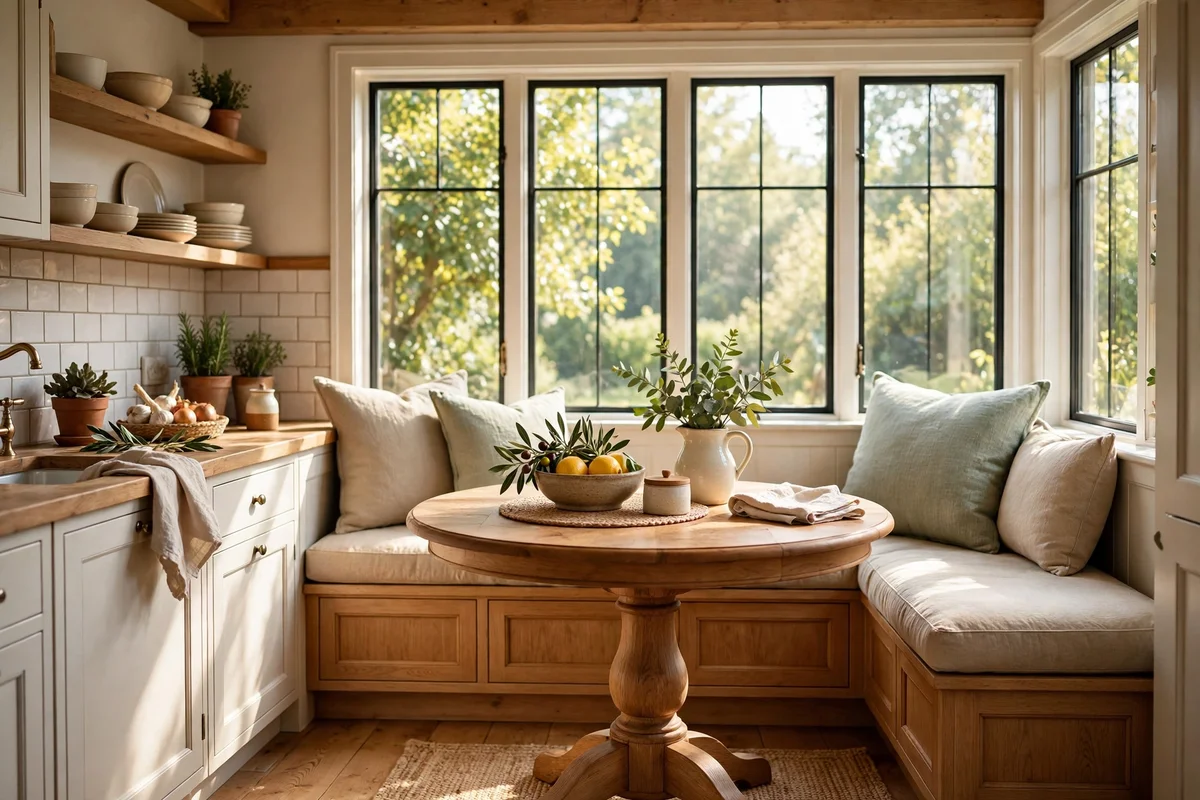
A window seat in the kitchen works as a proper banquette when paired with a round pedestal table 90 to 105 cm across. Build the seat at 45 cm high with a firm cushion, since dining needs support rather than softness, and leave 25 to 30 cm between the seat edge and the table edge for comfortable knees. The pedestal base matters: four table legs collide with the bench and make sitting down awkward.
The mistake is upholstering the kitchen seat in pale silk or anything that cannot be wiped. Use a vinyl or performance acrylic that handles toast crumbs and juice splashes with a damp cloth. A family of four fits comfortably around a 100 cm table with a 120 cm bench, and two storage drawers under the bench swallow placemats, school bags and the picnic kit.
10. Build the Dining Bench to Standard Chair Seat Height
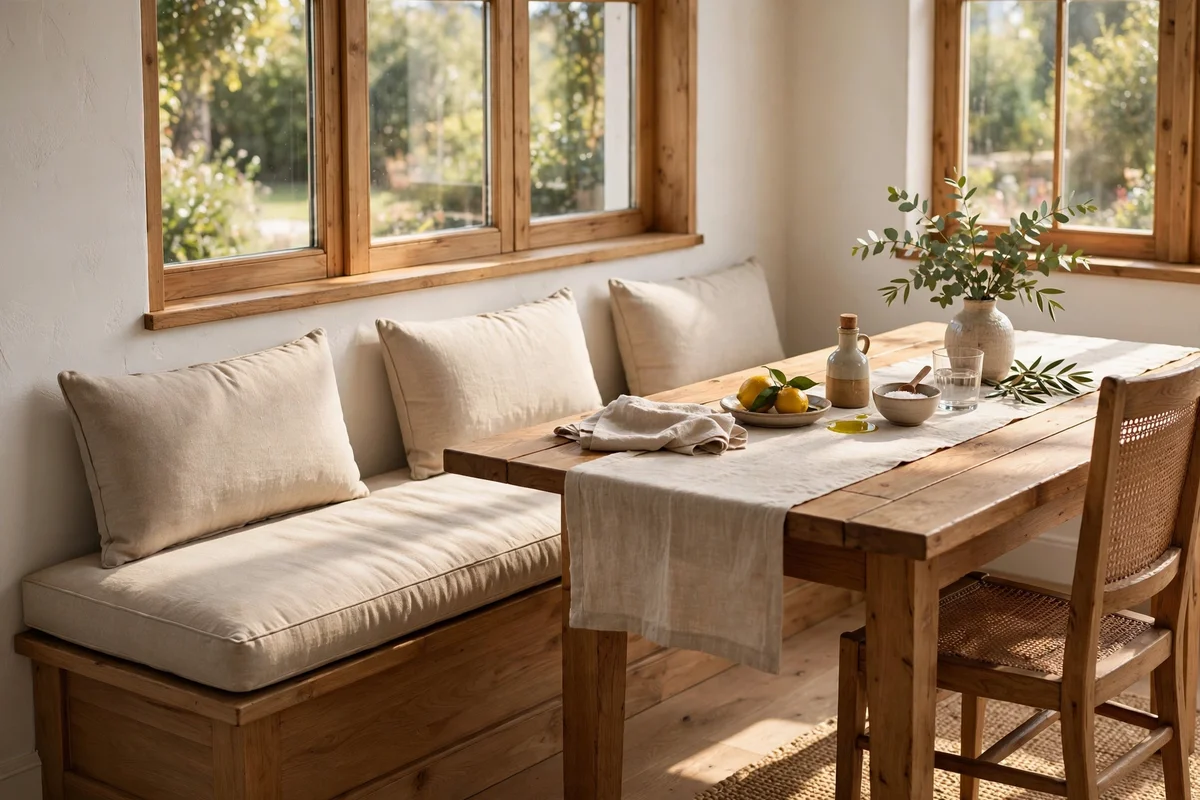
A dining window seat should finish at 45 to 47 cm including the cushion, matching standard dining chairs so the whole table sits at one comfortable level. Measure from the floor to the top of the compressed cushion, not the loose pile height, because foam sinks 2 to 3 cm under body weight. Build the timber base at 38 to 40 cm and let a 7 to 8 cm cushion bring it up to target.
The mistake is copying a deep lounge seat and building the dining bench too low, which forces everyone to eat with their shoulders hunched over the table. Keep the back cushions slim, 10 cm or less, so sitters stay close enough to reach the table. This height also matches most existing dining chairs, so one or two chairs can join the bench at a larger table without anyone feeling mismatched.
11. Keep Bedroom Window Seats Clear of Radiators and Heat Vents
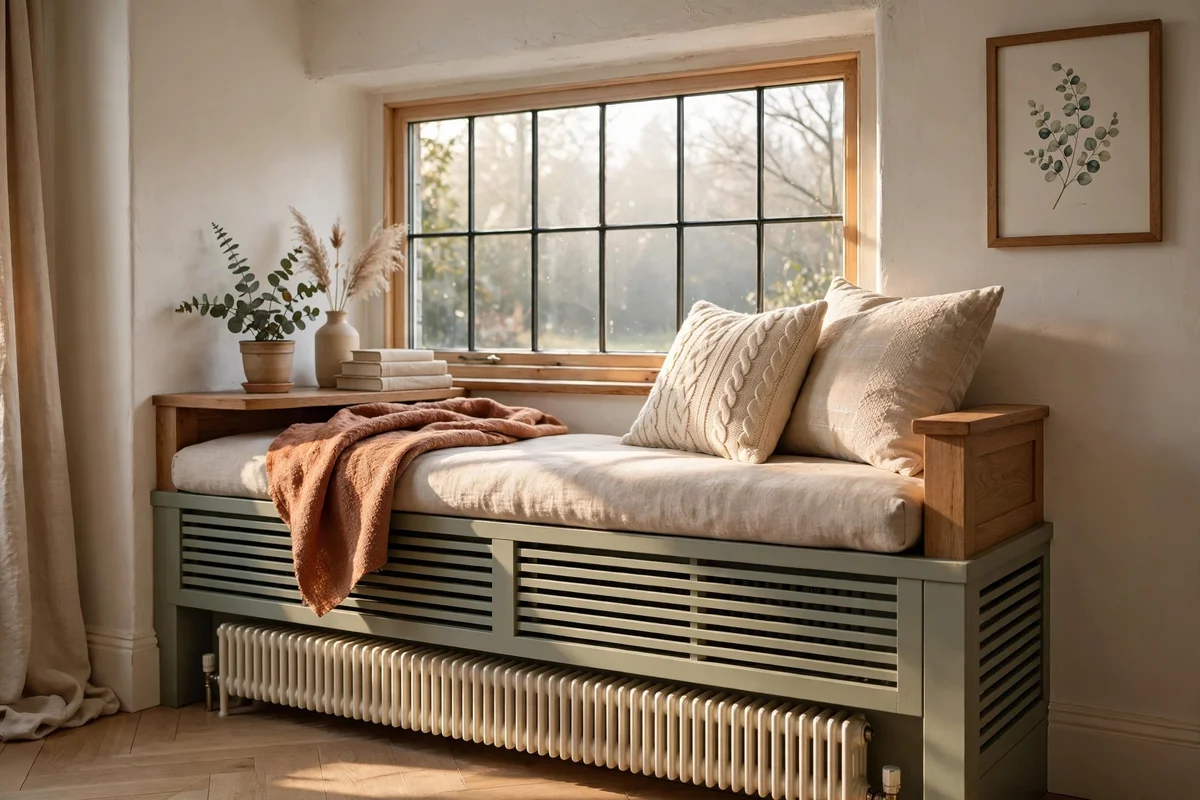
Bedrooms often place the radiator directly under the window, right where a seat wants to live. Never build a solid box tight over a heat source: trapped heat warps timber, dries out cushion foam and forces the heating system to work harder. Either build the seat on the adjacent wall, or design a slatted front and open plinth that lets warm air rise freely past the seat into the room.
Leave at least 10 cm of clear air gap above the radiator top and keep the front panel ventilated with vertical slats or a mesh insert. The mistake is sealing the gap with foam and mastic to stop draughts, which is exactly backwards: the radiator needs that airflow to heat the room. If the radiator is ancient and oversized, moving it to the side wall during the build is the neater long term fix.
12. Fit a Window Restrictor Where the Seat Meets an Opening Sash
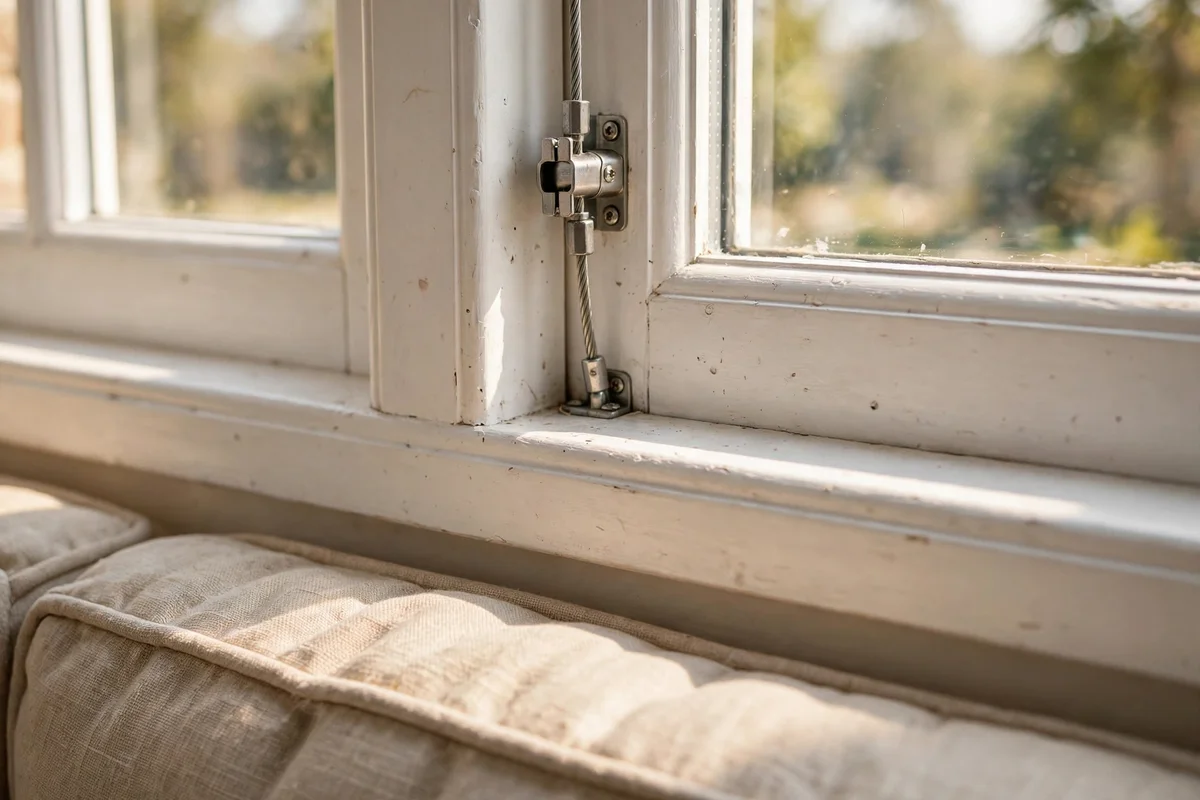
A seat under an opening window puts small children and sleepy adults at sitting height next to the opening, so fit a cable or bar restrictor that limits the sash to 10 cm. This still ventilates the room on warm nights while making it impossible to tumble through the gap. Choose a lockable restrictor with a key, fitted to the frame with the screws the manufacturer supplies, never improvised fixings.
The mistake is assuming a heavy cushion or the seat itself counts as a barrier. Children climb, and adults lean. Fit the restrictor before the seat goes in if you can, since access to the frame is far easier without the base in place. A quality keyed restrictor costs 12 to 25 and takes twenty minutes to fit, which makes it the cheapest safety upgrade in the whole project.
13. Line the Seat Box With Ventilated Panels to Stop Damp and Musty Smells
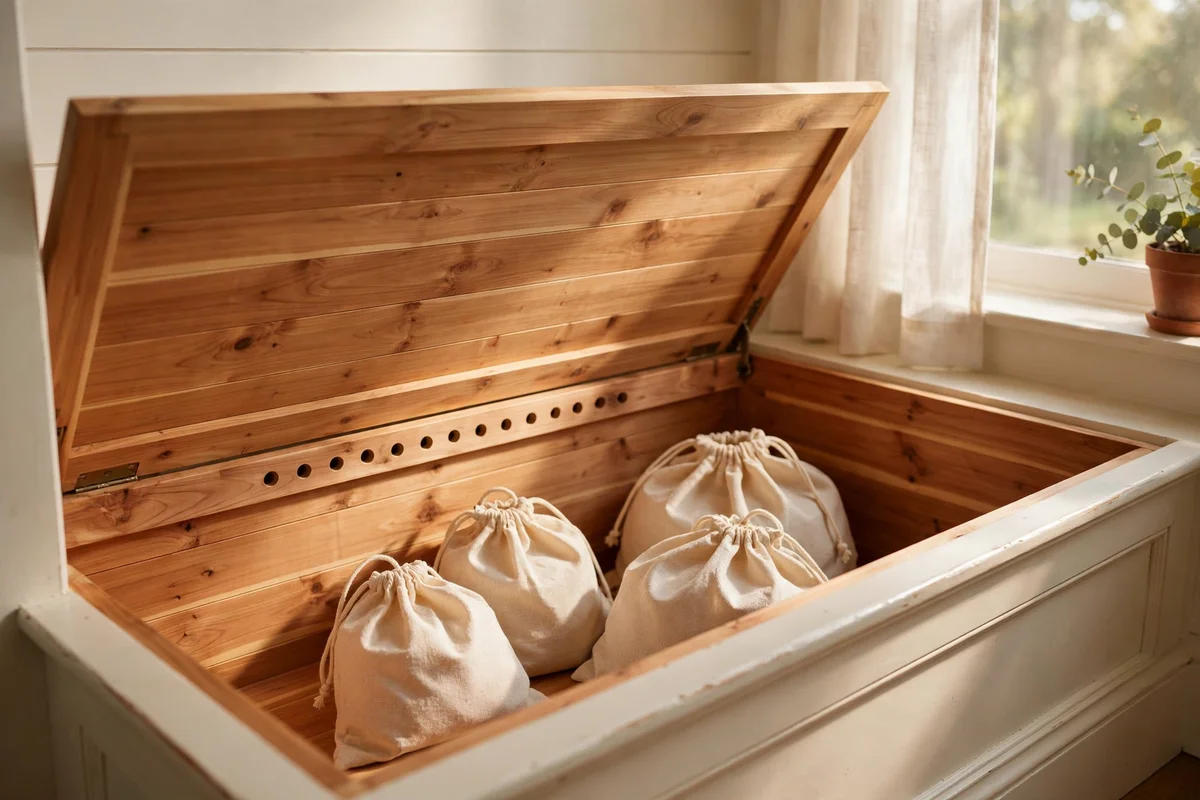
An unventilated box under a window collects condensation, especially on north facing walls where the sun never reaches. Drill a row of 12 mm vent holes along the inner back panel and fit slim mesh grilles so air moves without letting dust pour in. Stand the box on 2 cm feet rather than flat on the floor so air circulates underneath, and never let stored bedding touch the bare outer wall.
The mistake is lining the box with plastic sheeting to keep things dry, which traps moisture inside instead of letting it breathe. Cedar lining boards are the traditional fix: they smell pleasant and discourage moths. Air the box for a day twice a year, wipe the interior with a dry cloth, and store folded items in cotton bags rather than sealed plastic. The whole ventilation job adds about 15 to the build cost.
14. Cost a DIY Build Honestly: Timber, Hardware and Fabric
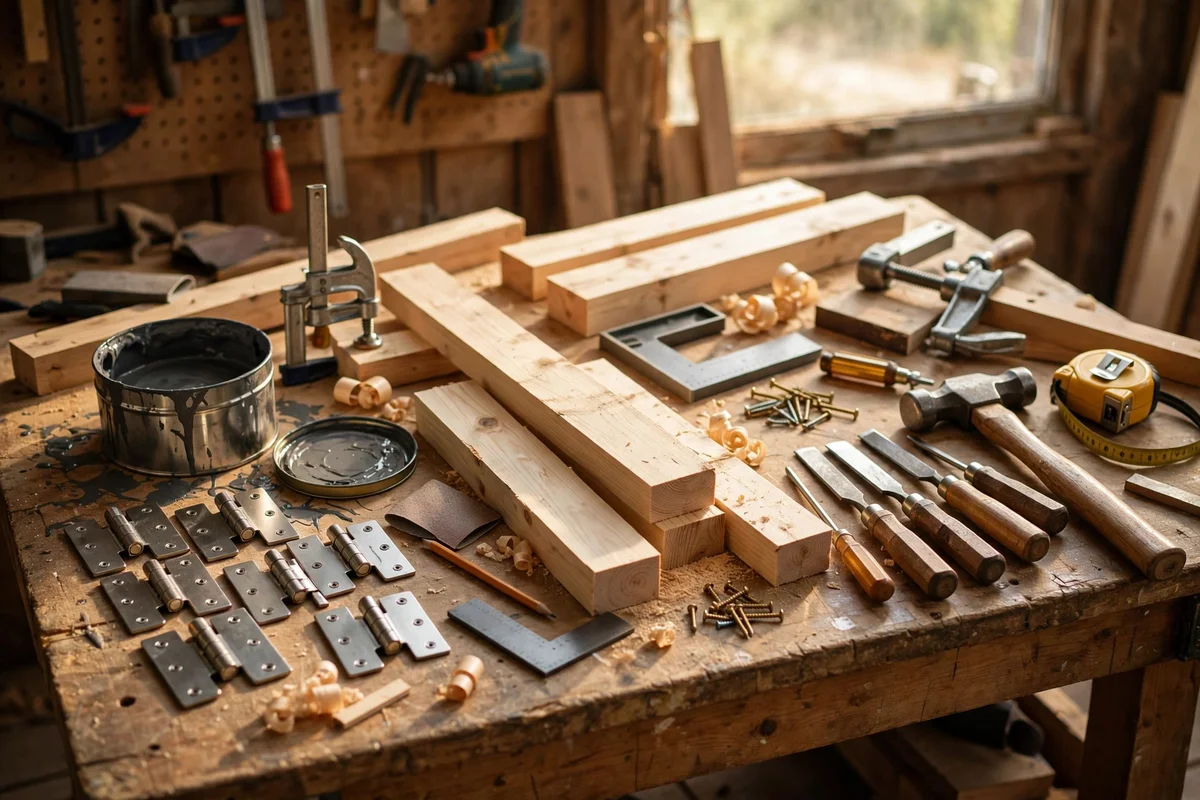
An honest DIY budget for a 150 cm window seat runs 250 to 450 all in. Timber and MDF for the carcass cost 80 to 130, runners and hinges for drawers or a lid add 40 to 80, and primer, paint and fixings swallow another 40 to 60. The cushion is the surprise line: custom foam, batting and a sun proof cover made to measure land between 120 and 220 depending on width and fabric grade.
The mistake is pricing the timber and forgetting everything else, then stalling halfway through. Add a 15 percent contingency for the third tin of paint and the fixings you did not know you needed. Time matters too: allow one full weekend for the carcass and facing, plus a drying day between coats. Most handy beginners finish in ten to twelve working hours spread over two weekends.
15. Know When to Hire a Carpenter and What the Quote Must Include
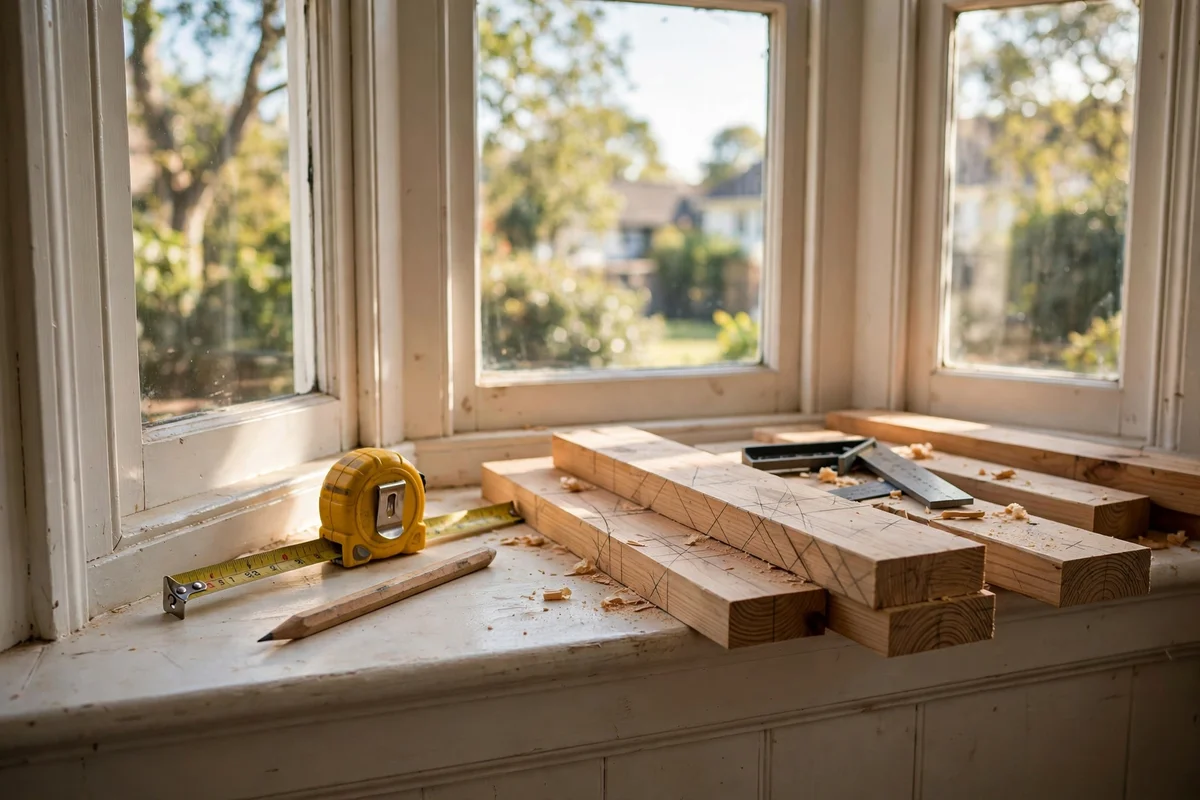
Hire a carpenter when the bay is out of square, the floor slopes, or you want drawers with soft close runners and a painted finish that looks furniture grade. A good quote lists materials by name, the number of site visits, priming and painting, and a snagging visit after two weeks. For a 150 cm seat with two drawers, expect 600 to 1,200 depending on region, with city rates at the top end.
The mistake is accepting a day rate quote with no itemised materials, which is where budgets quietly double. Ask for a fixed price, a start date and a written guarantee of twelve months on hinges, runners and fixings. Supply the cushion yourself if the carpenter’s upholstery markup looks steep: most carpenters are happy to build to a cushion size you provide, and you keep control of the fabric choice.
16. Dress the Cushion in a Washable Slipcover for Sun and Crumbs
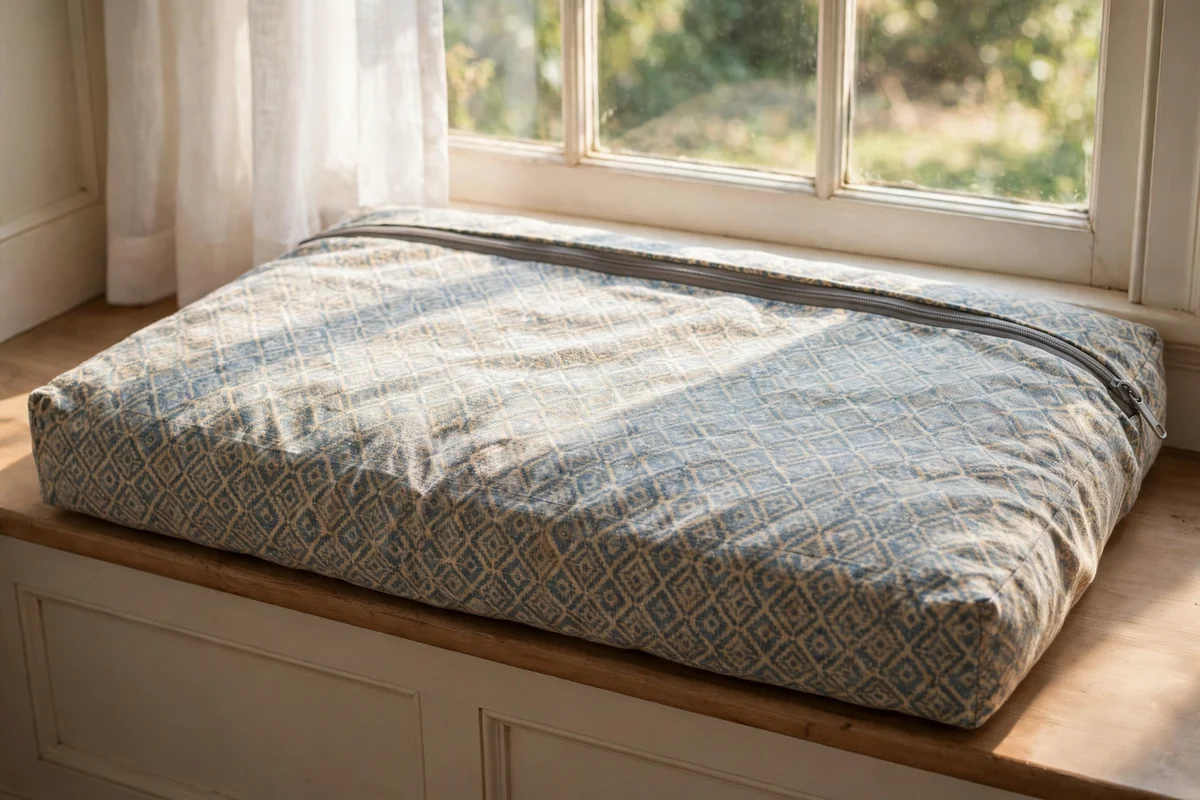
A slipcover doubles the life of a window seat cushion because the piece that fades and spills can be washed while the foam stays clean underneath. Choose a mid weight cotton or cotton blend with an envelope or zip closure at the back edge, cut 2 cm larger than the cushion so it slides on without wrestling. Mid tone patterns hide crumbs and pet hair between washes far better than plain cream.
The mistake is making the cover skintight, which strains the seams every time you pull it off. Prewash the fabric before sewing so it does not shrink onto the foam after the first laundry cycle. A home sewn cover in decent fabric costs 30 to 60; a made to measure one with piping runs 80 to 140. Keep a second cover in a drawer so the seat never sits bare on wash day.
17. Fold a Throw at One End for Cool Evenings
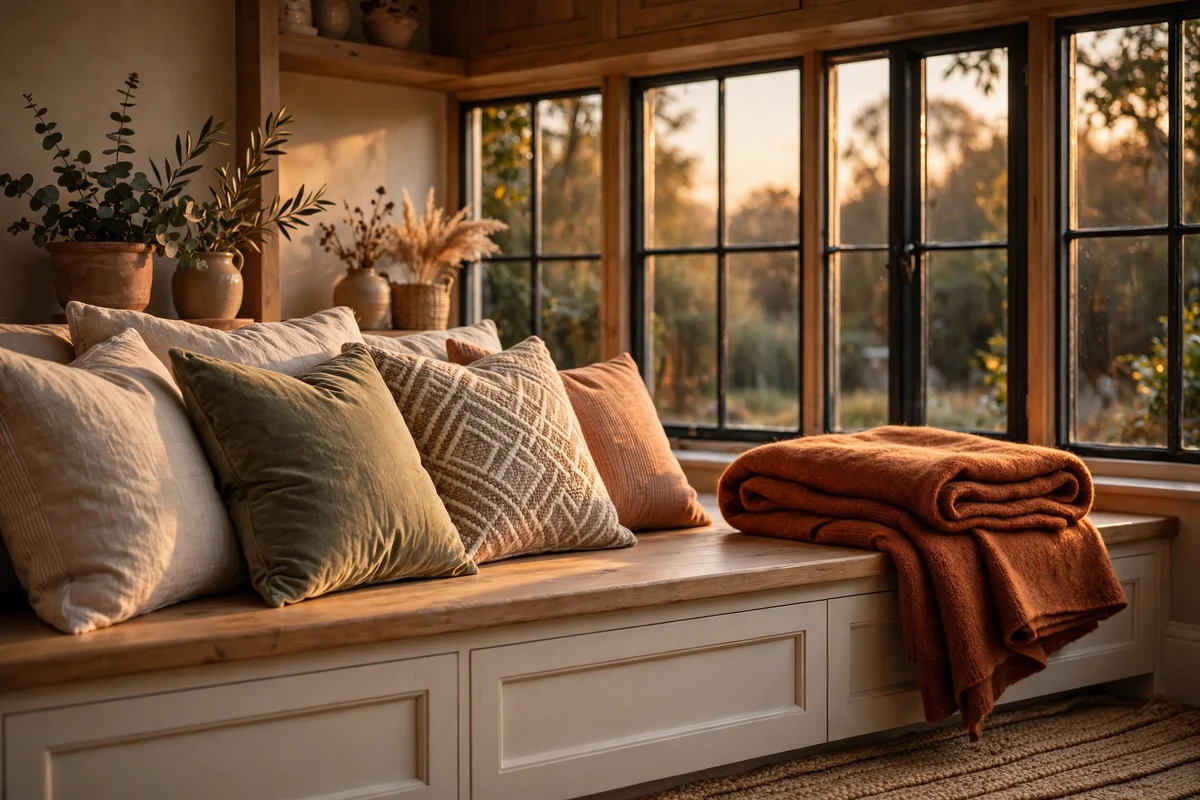
A folded wool or cotton throw kept at one end of the seat turns it from a daytime perch into an evening retreat. Fold it in thirds to a 30 by 40 cm pad and lay it where the light fades first, so the gesture looks deliberate rather than dropped. Choose a weight you can actually sleep under: 300 to 400 gsm works through autumn, while a lighter cotton weave suits summer evenings.
The mistake is draping the throw across the middle of the seat, where it slides off every time someone sits down. Anchoring it at one end with a cushion on top keeps it in place and frames the composition. Wash throws seasonally and store the winter weight in the seat’s own storage through summer. A good quality throw costs 25 to 50 and outlasts most other styling pieces.
18. Use a Radiator Cover as a Low Window Seat in Small Rooms
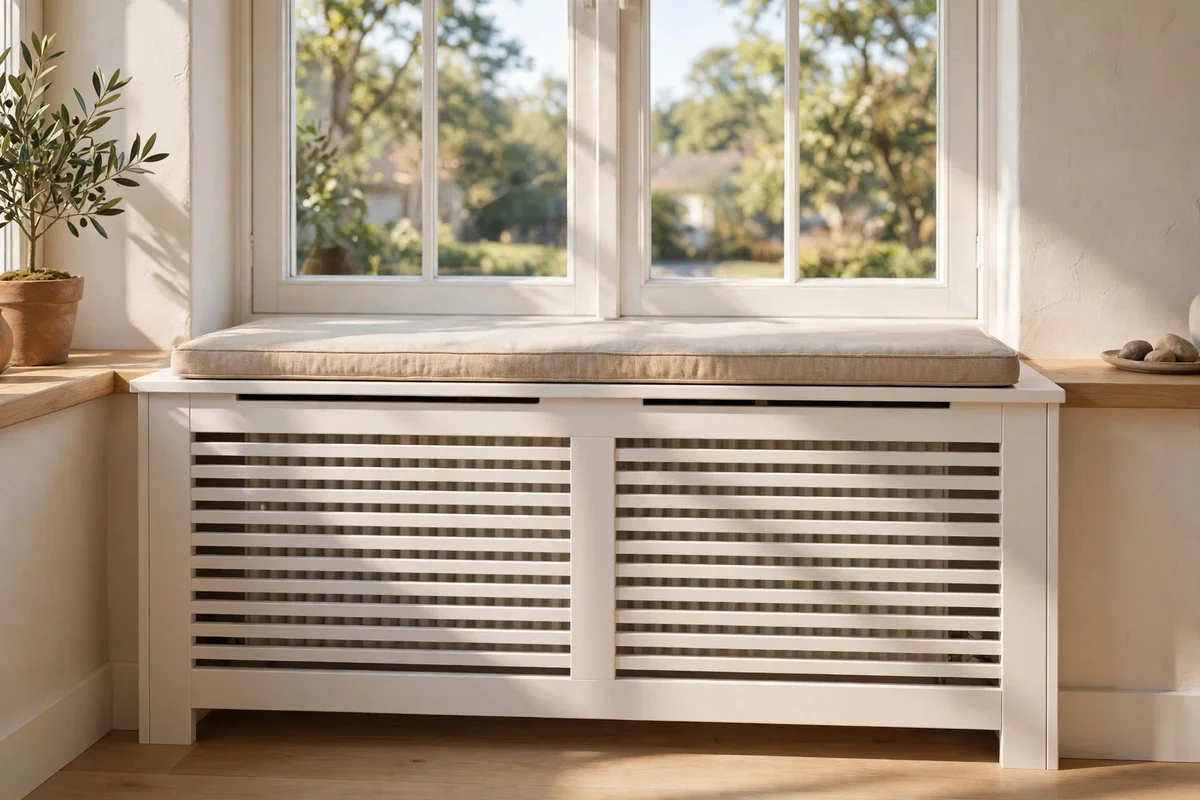
In a small room, a bespoke radiator cover can double as a low window seat and solve two problems in one build. Size the cover 5 cm wider than the radiator on each side, keep the top at 40 cm or lower, and build the front from vertical slats with 15 mm gaps so heat flows freely. A 5 cm foam pad on top turns it into a perch for tying shoes or reading the post.
The mistake is building the cover too tall to chase seating height, which traps heat and defeats the purpose. A low perch is honest about what it is: occasional seating, not a reading nook. Check the radiator temperature first: most domestic radiators peak around 60 degrees, which is fine under a ventilated timber top but too hot for a thick cushion left in place all day. Total cost runs 60 to 120 in materials.
19. Paint the Alcove Pale and Add a Sheer Cafe Curtain for Dim Corners
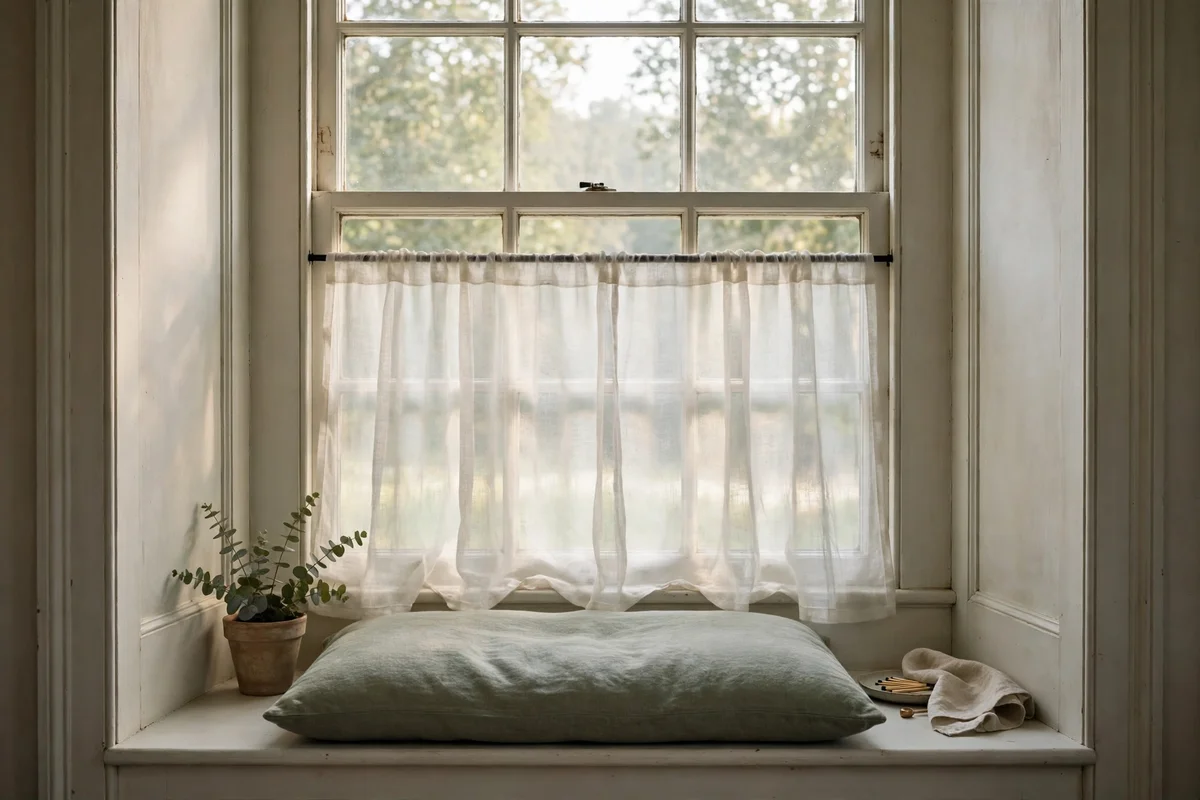
A dim alcove becomes an inviting seat when the walls are painted a warm white with a light reflectance value above 85, which bounces the available daylight around the nook. Add a sheer cafe curtain on a slim tension rod at the glass midpoint: it softens the view, gives daytime privacy and still lets light flood the seat. Keep the fabric 5 cm clear of the glass so it never wicks condensation.
The mistake is hanging heavy full length curtains in a small alcove, which swallow the light you are trying to gain and eat seat space when drawn. Sheers on a tension rod cost 15 to 30 and need no drilling, which suits renters. Pair the pale paint with a mid tone seat cushion for contrast, and add one small cushion in a warm rust or ochre to stop the nook feeling clinical.
20. Claim a Hall Landing Alcove for a Mini Window Seat
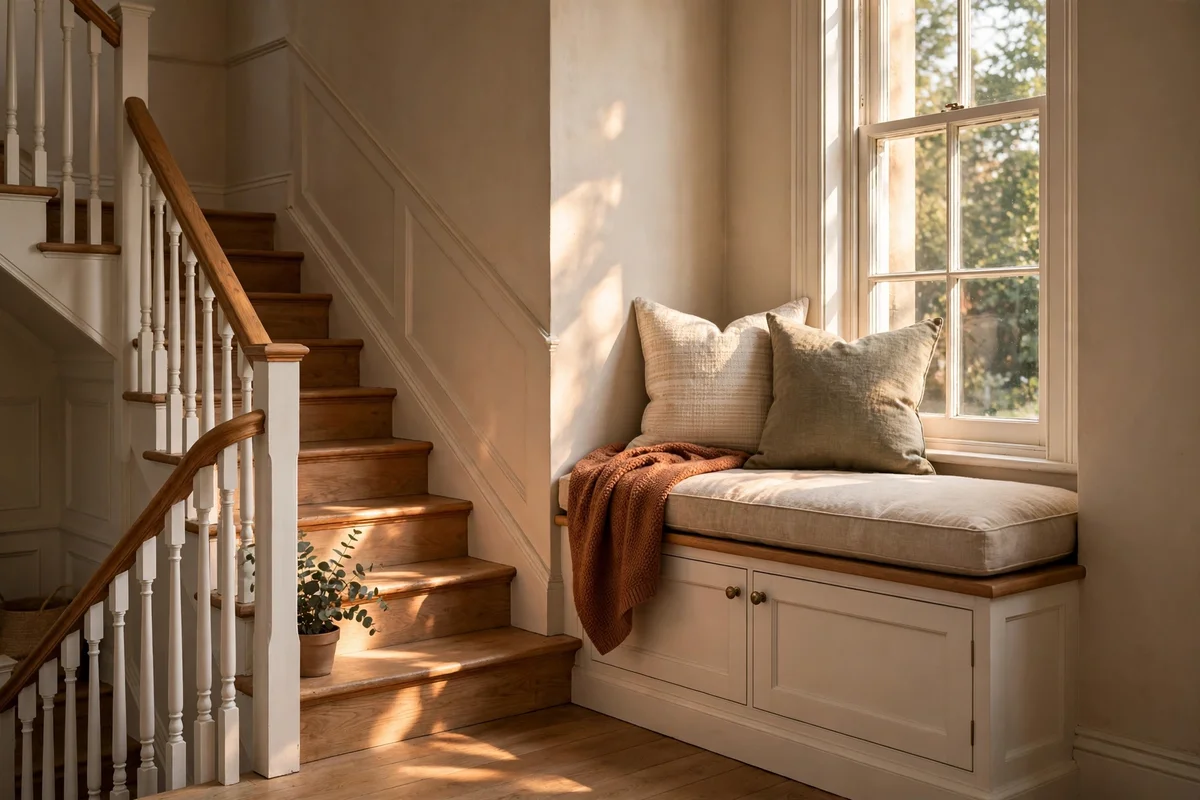
The half landing window on a staircase is often a 90 cm alcove that fits a perfect mini seat. Build a simple box at 40 cm high, add an 8 cm cushion, and it becomes the spot for reading the post or tying shoes. Keep the front flush with the landing edge and the top clear of the handrail line so the stairs stay safe and the seat does not become a trip edge.
The mistake is treating a landing seat like a lounge and piling it with cushions that block the stair path. One cushion and one small bolster are the limit: the seat must never narrow the clear walking width. Fix the box firmly to the wall, since a loose seat on a landing is a hazard. This is the cheapest build in the set, often under 120 in materials, because the alcove does most of the work.
21. Finish the Front With Beadboard Panels for Timeless Charm
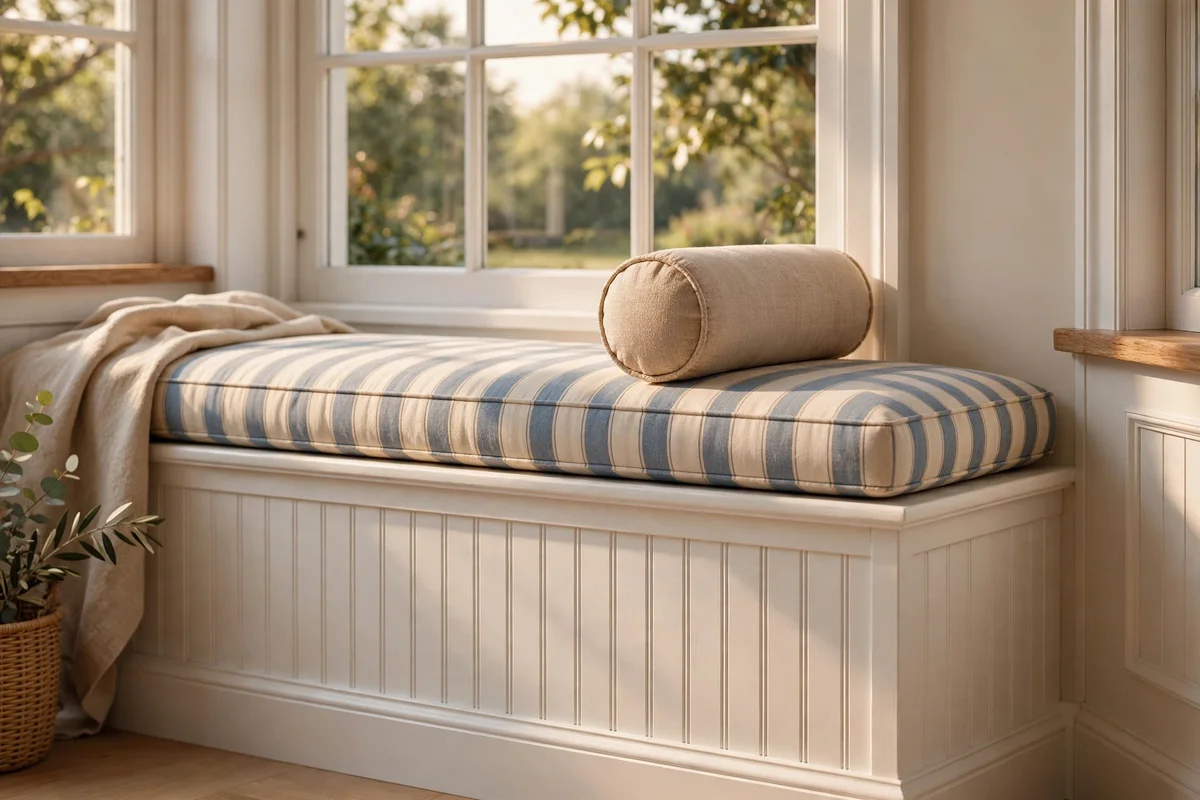
Beadboard facing turns a plain MDF box into furniture that looks built with the house. Use 9 mm moisture resistant MDF beadboard sheets, cut to fit between the rails, and pin them with 25 mm brad nails before filling the holes and priming. Paint in a satin finish two shades deeper than the wall colour so the seat reads as a deliberate feature without shouting for attention.
The mistake is using raw pine tongue and groove inside a damp prone alcove, which moves and gaps within a year. Moisture resistant board stays flat, and a bead of flexible caulk where the panels meet the skirting hides any seasonal movement. One sheet of beadboard covers most seat fronts and costs 25 to 40. Two coats of satin paint and a light sand between coats give the finish its furniture grade look.
Every window seat here follows the same quiet logic: build low and level, store underneath, cushion thick, and keep a light and a warm drink within reach. The seats that get used daily are never the fanciest ones. They are the ones sized right, with fabric that survives the sun and a lid that opens without clearing the whole seat first.
This week, measure one bay or alcove and price a 10 cm foam cushion cut to size. That single step tells you whether you are building or buying, and it costs nothing but a tape measure and an evening. When the cushion arrives, the rest of the build follows one timber at a time, until the dead space becomes the best seat in the house.
Frequently Asked Questions
How much does a DIY window seat cost?
Between 120 and 350 pounds or dollars in materials. A simple timber and MDF box with drawers runs about 120 to 180, while hardwood facing, quality foam and sun proof fabric push it toward 350. A carpenter build of the same size usually costs 600 to 1,200 depending on region. Always add 15 percent for fixings, sandpaper and paint you forgot.
How deep and high should a window seat be?
Seat height of 45 to 50 cm including the cushion suits most adults, matching dining chair height. Depth of 40 to 55 cm gives comfortable sitting without sprawling too far into the room. Keep the seat 5 cm clear of the glass so the cushion never presses against it and collects condensation on cold mornings.
What fabric survives a sunny south facing window?
Solution dyed acrylic and olefin resist fading far better than cotton or linen, because the colour runs through the fibre. They hold tone for years in direct sun and wipe clean with mild soap and water. Avoid dark velvet and untreated cotton, which fade visibly within one summer. A washable slipcover in a mid tone adds a second layer of protection you can launder.
Can I build a window seat over a radiator?
Yes, but do it properly. Keep a ventilated gap above and in front of the radiator so heat can circulate, and never box it in fully. A slatted front panel works well. Blocking heat forces the boiler to work harder and risks scorching the timber, so check airflow before you fix anything permanently in place.
How do I stop the storage inside from smelling musty?
Ventilate the box. Drill discreet holes or fit mesh vents on the inner panels, and leave a small gap at the back for airflow. Line the base with cedar boards or a breathable liner, and keep stored items in cotton bags rather than sealed plastic. Air the box out twice a year and wipe the interior dry after damp winters.