Living Room
22 Blanket Ladder Ideas That Add Cosy Texture and Keep Throws in Easy Reach
By Anna Wells · · 19 min read
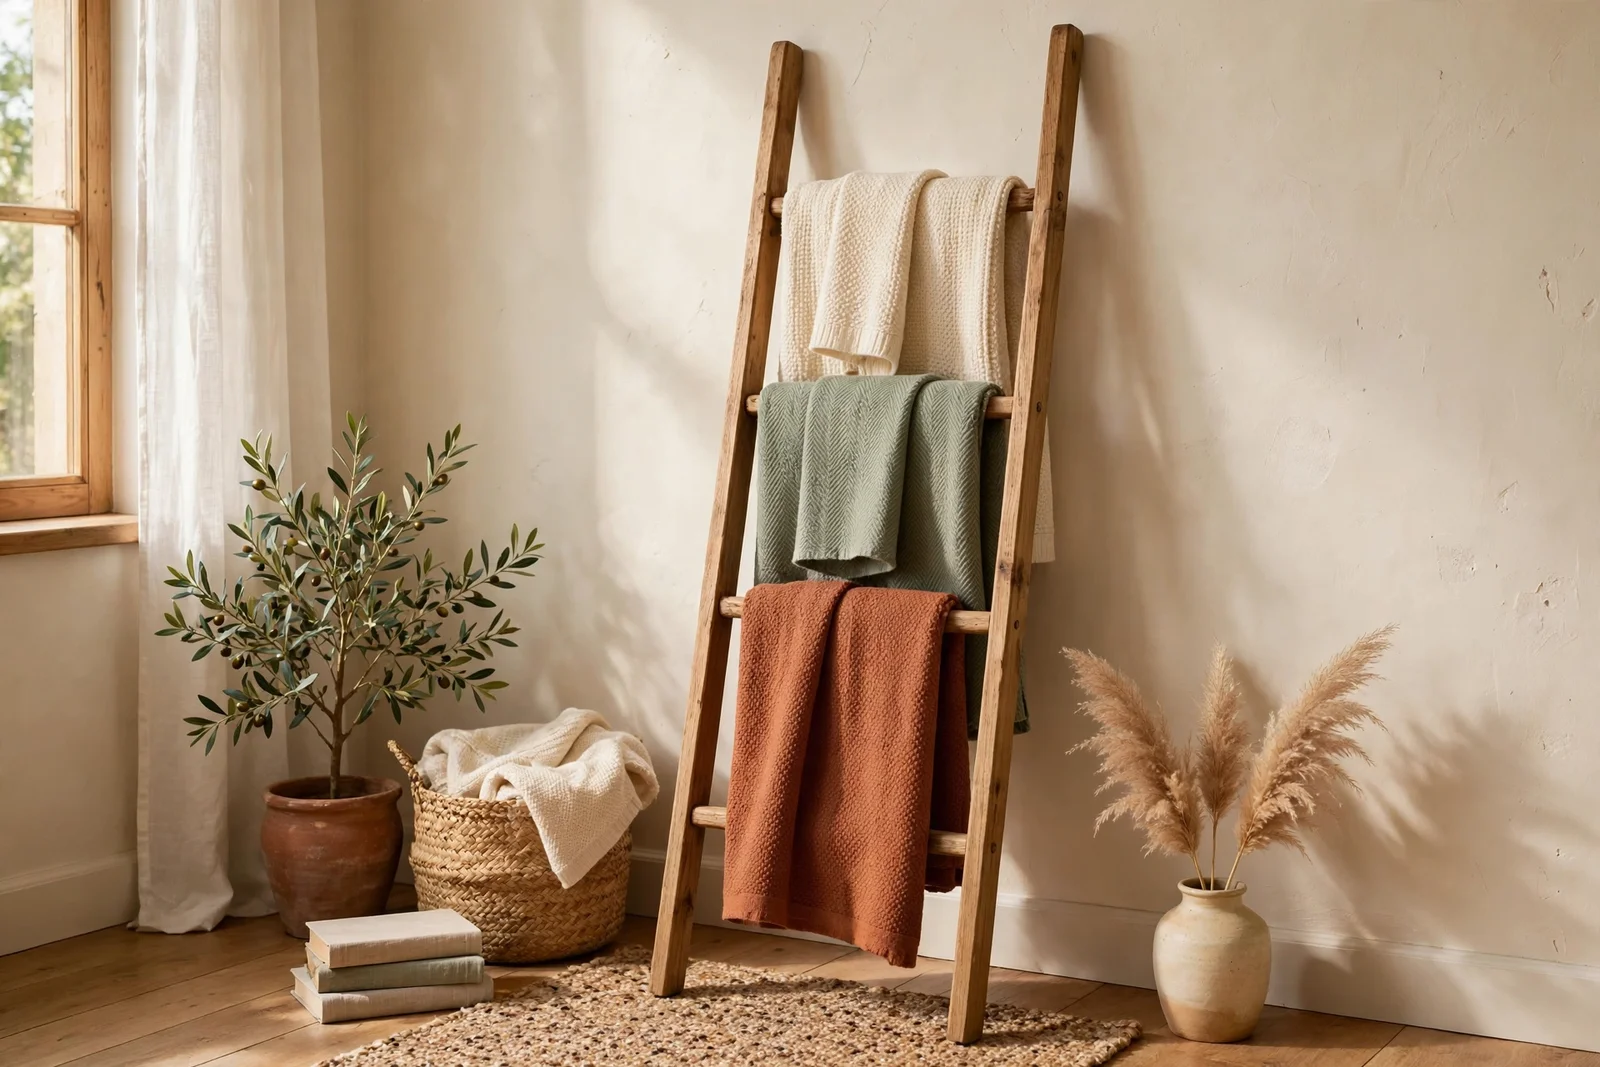
There is a particular comfort in reaching for a throw without leaving the sofa, the fabric already warm from the room and waiting at arm's length. A blanket ladder turns that small pleasure into everyday furniture: a leaning or wall-mounted frame that keeps every throw visible, tidy and ready. Instead of blankets folded out of sight in a cupboard, they become part of the room's texture, a quiet invitation to settle in.
There is a particular comfort in reaching for a throw without leaving the sofa, the fabric already warm from the room and waiting at arm’s length. A blanket ladder turns that small pleasure into everyday furniture: a leaning or wall-mounted frame that keeps every throw visible, tidy and ready. Instead of blankets folded out of sight in a cupboard, they become part of the room’s texture, a quiet invitation to settle in.
These 22 ideas cover everything from choosing the right ladder width and finish to styling throws by colour and texture, fixing the frame safely, and finding space for one in bedrooms, bathrooms and the narrow gaps most rooms hide. Whether your style leans rustic or modern, there is a placement here that fits. Each idea includes practical details on sizes, budgets and the small mistakes worth avoiding.
Start by measuring the wall where your ladder will live, then let the ideas below guide the rest. A well-placed ladder does more than store blankets; it adds a layer of cosy texture that makes the whole room feel cared for.
1. Lean a Solid Oak Ladder Beside the Sofa for Evening Reach
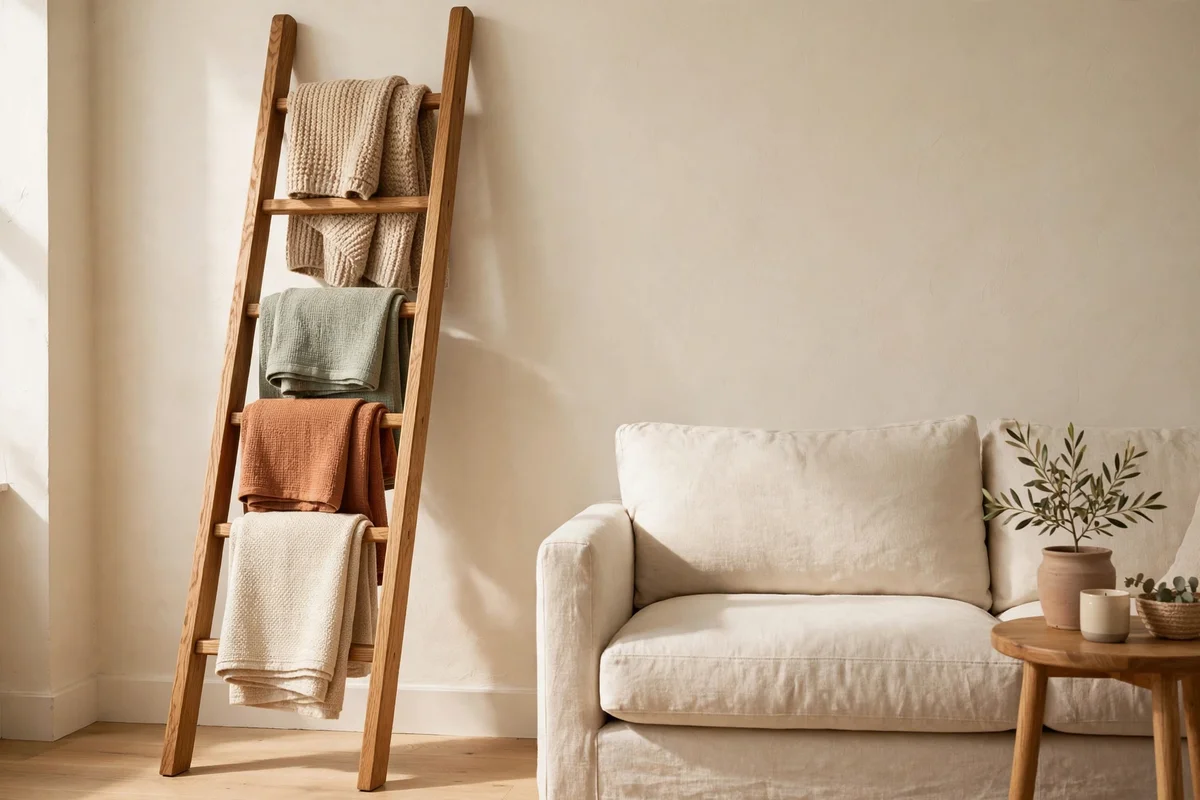
A solid oak blanket ladder between 150 and 180 cm tall leans naturally against the wall beside a standard three-seat sofa without blocking walkways. Place its feet 25 to 35 cm out from the wall so the rails rest at a gentle, stable angle and the rungs sit level for draping throws. Keep it within arm’s reach of the sofa end, so grabbing a blanket on a cool evening takes one easy step.
Choose a finish that echoes your coffee table or floor boards, such as natural, honey or medium walnut stain, so the ladder reads as furniture rather than clutter. Drape no more than four throws across five or six rungs to avoid a crowded look. The mistake to avoid is pushing the ladder directly behind the sofa, where it becomes invisible and unused. A sturdy oak ladder usually costs between 60 and 140 pounds or dollars.
2. Size the Ladder Between 150 and 180 cm for Standard Ceilings
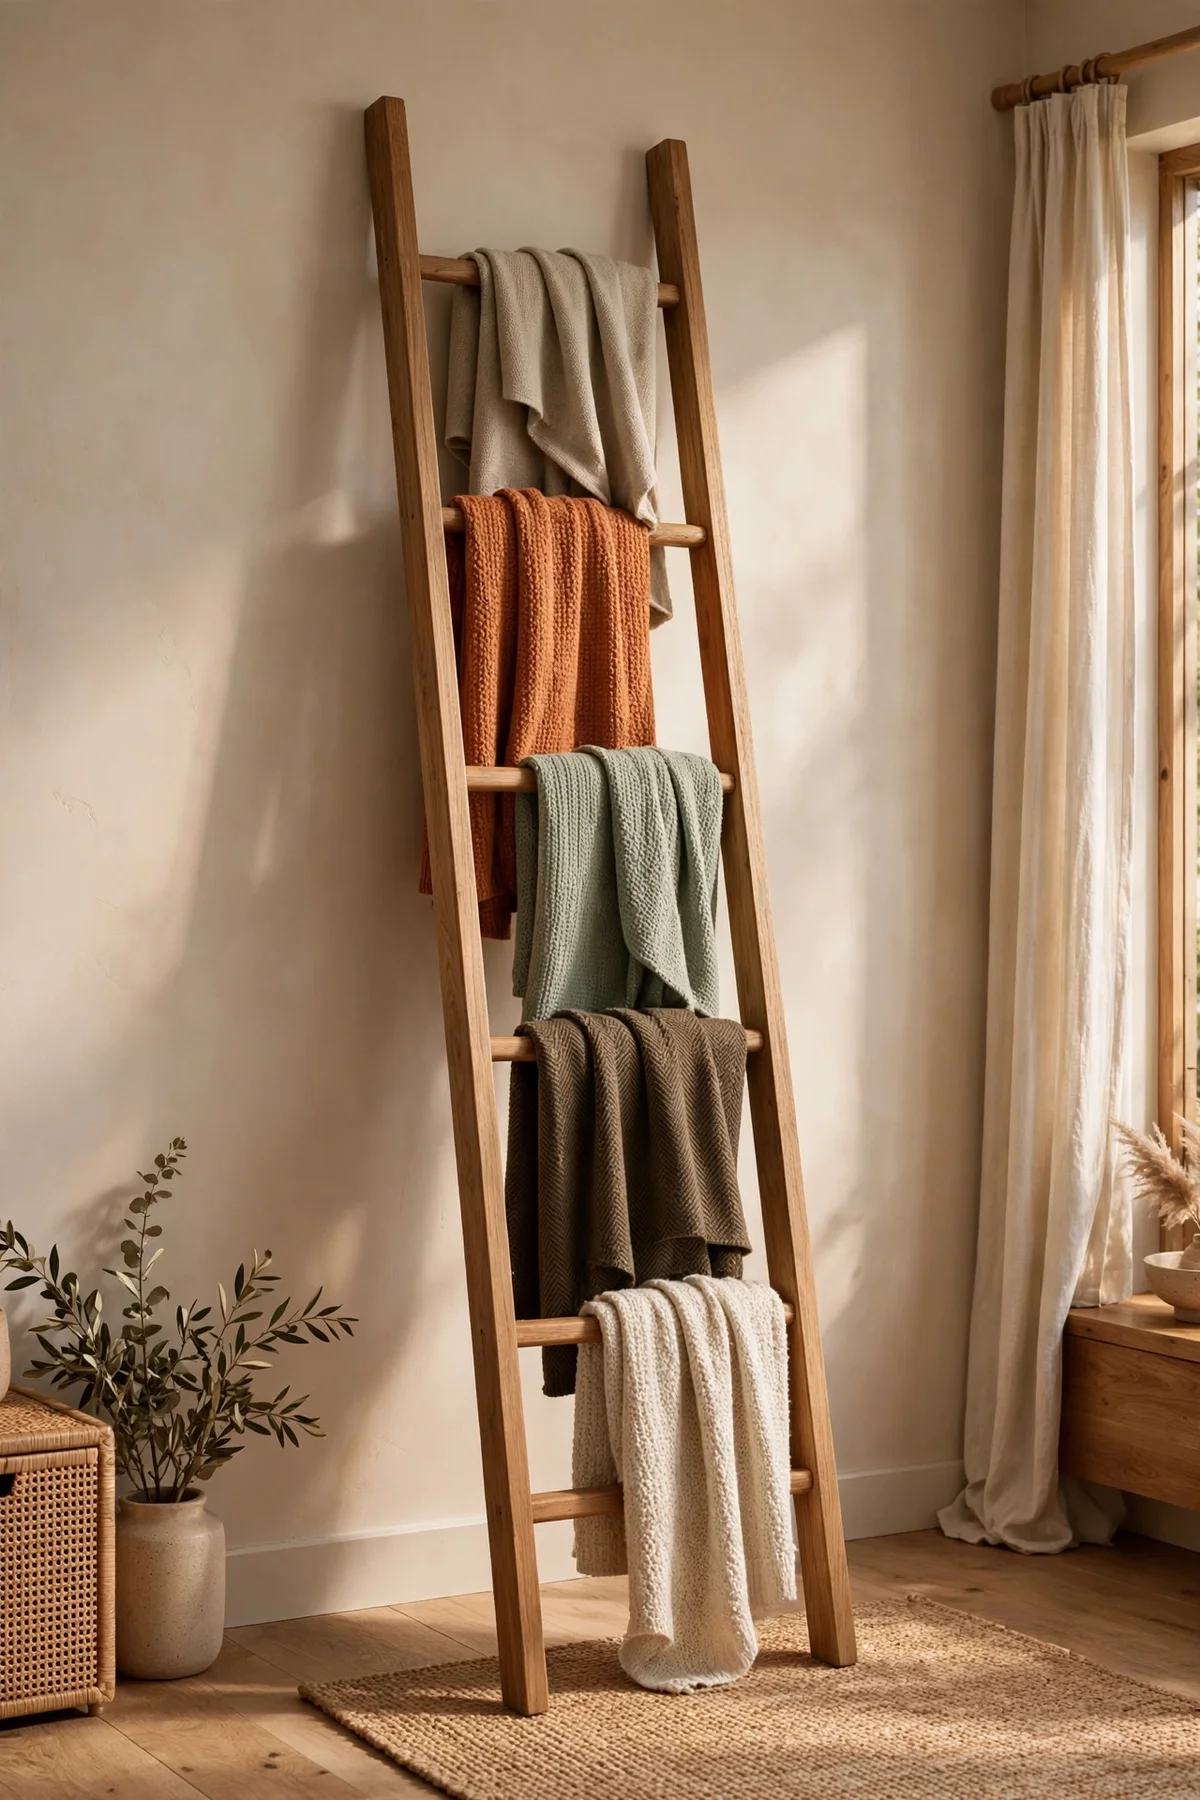
A ladder between 150 and 180 cm tall suits ceilings of 240 to 270 cm, giving five or six usable rungs while leaving a calm band of bare wall above. Measure your wall first, then subtract about 90 cm of empty space at the top so the ladder feels proportioned rather than cramped. Taller rooms above 270 cm can take a 200 cm ladder with seven rungs for a stronger vertical line.
Count how many throws you actually own before buying. Five rungs hold roughly four throws with one rung left empty for breathing room, which covers most households. Avoid buying a ladder taller than 190 cm for a standard living room, since it dominates small walls and makes reaching the top rung awkward. Budget ladders in this size range start around 40 pounds or dollars, with hardwood designs near 120.
3. Mount a Pair of Walnut Wall Rails for a Flush Modern Look
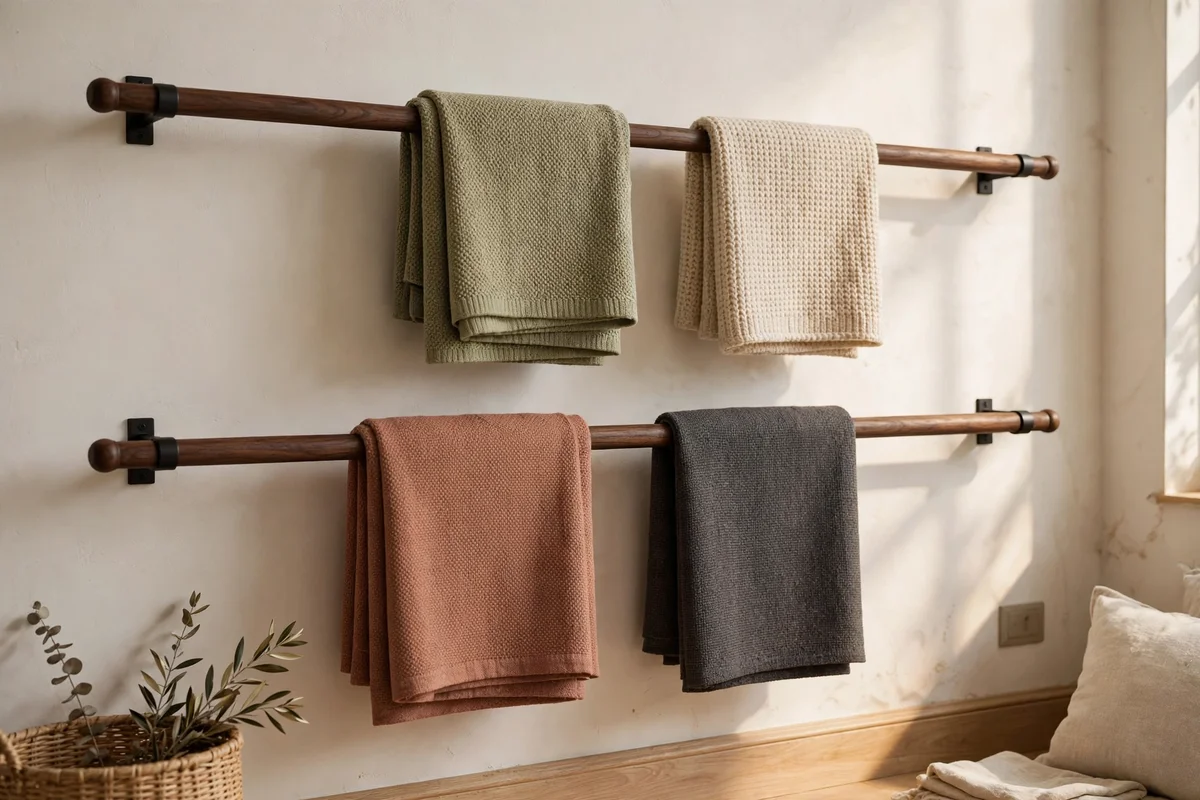
Wall-mounted rails in walnut or dark stained timber suit calm modern living rooms where a leaning ladder would jut too far into the walkway. Fix two horizontal rails, each about 80 to 100 cm long, at heights of 120 and 170 cm so throws hang flat against the wall. Use wall plugs rated for at least 10 kg, since four wool throws can weigh more than you expect.
Space the rails 40 to 50 cm apart so folded throws overlap slightly without hiding each other. The flush profile needs only 8 to 10 cm of depth, which makes it ideal for narrow rooms and corridors. The mistake to avoid is fixing rails only into plasterboard without plugs; they will loosen within months. A pair of hardwood rails costs 50 to 110 pounds or dollars, often less than a leaning ladder.
4. Pair a Whitewashed Pine Ladder With a Natural Linen Sofa
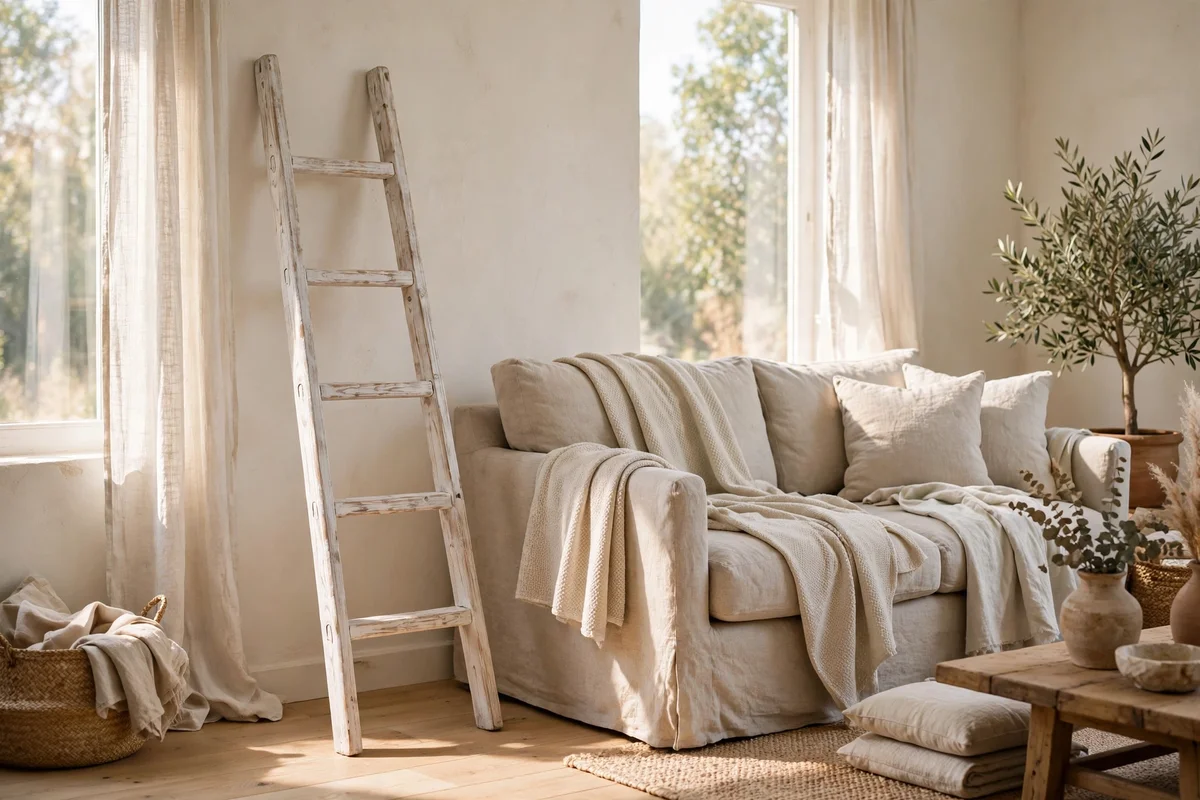
A whitewashed pine ladder brings a soft, cottage character to rooms built around natural linen upholstery and pale timber floors. The pale finish reflects daylight beautifully, making small north-facing living rooms feel brighter. Style it with throws in cream, oatmeal and soft grey so the palette stays gentle, and keep the whitewash light enough that the pine grain still shows through.
Avoid heavy dark blankets on a whitewashed ladder, since the weight of colour can make the pale frame look strained and unbalanced. Instead, let one mid-toned throw, such as sage or dusty blue, sit among the neutrals as a quiet accent. The mistake to avoid is placing a whitewashed ladder against bright white walls, where it disappears; warm off-white or pale plaster tones frame it better. Expect to pay 50 to 100 pounds or dollars.
5. Choose a Reclaimed Timber Ladder for Rustic Heritage Warmth
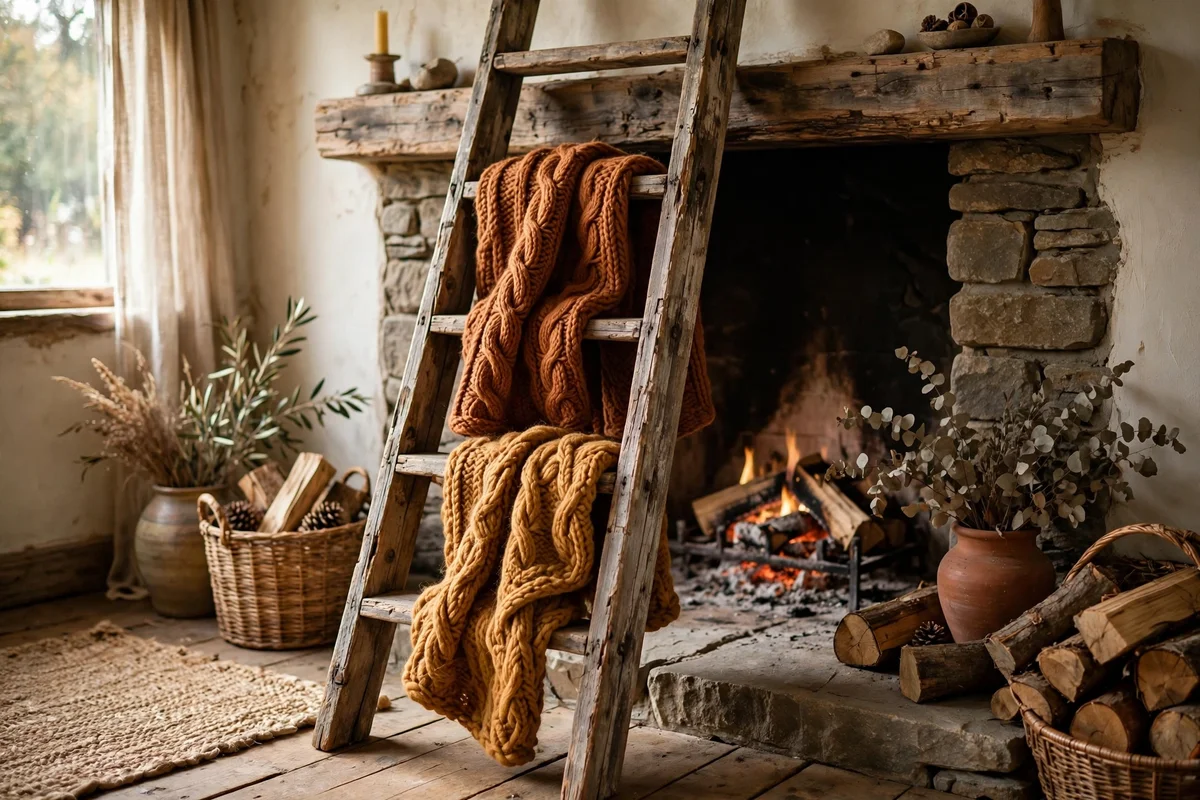
Reclaimed timber ladders carry the small marks of age that give a room heritage warmth: saw lines, nail holes and a deepened patina that no new stain fully copies. Sand the rails lightly and seal with clear matte oil so rough edges do not snag your throws. Pair it with chunky wool blankets in rust, ochre and forest tones to build a layered, old-world corner near the fireplace or armchair.
Check that reclaimed rungs are solid by pressing down with both hands before loading throws, since old timber can hide cracks. If the wood feels dry, feed it with furniture oil once a year to stop it greying. The mistake to avoid is buying a genuinely antique orchard ladder that is too wide or heavy for indoors; purpose-made reclaimed decor ladders are safer and sized right. Prices run 70 to 160 pounds or dollars.
6. Pick a Slim 45 cm Ladder for Narrow Corners and Hallways
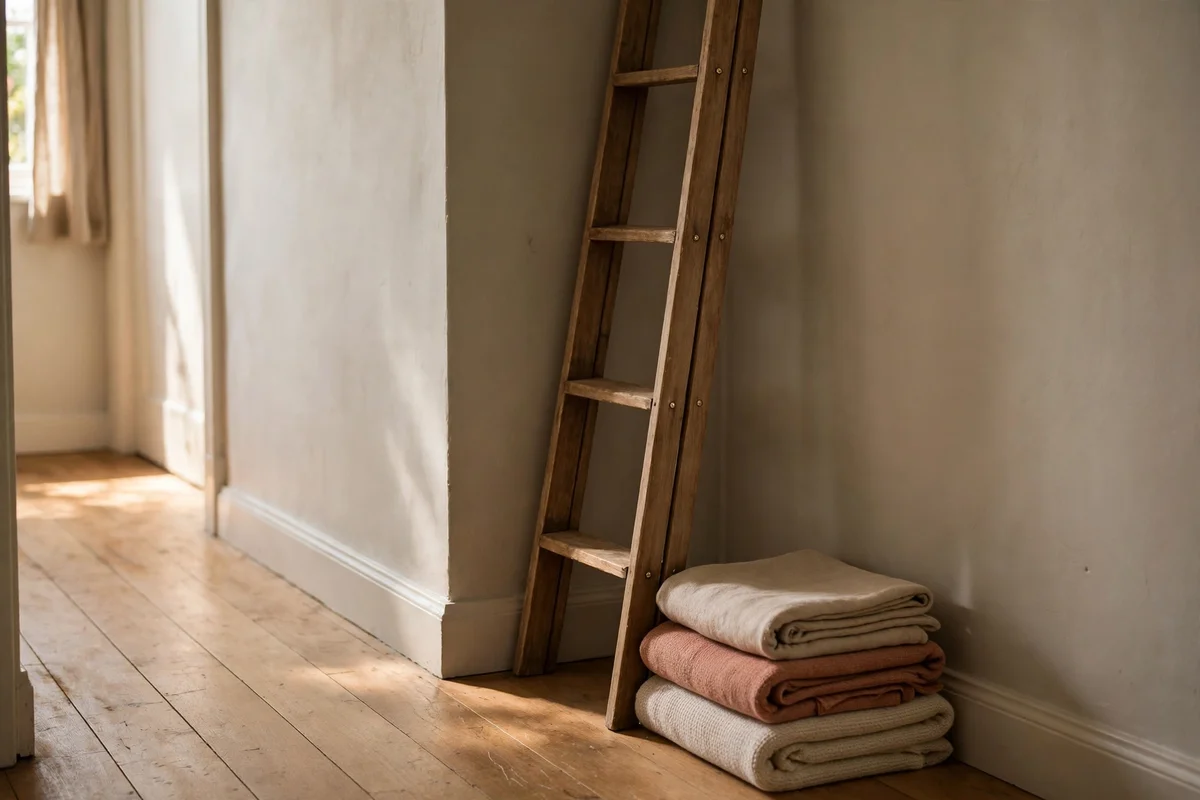
A slim ladder about 45 cm wide slips into corners, hallway nooks and the sliver of wall between two door frames where standard ladders cannot fit. Fold each throw into thirds so it drapes in a tidy band roughly 15 cm wide, allowing three throws to share the rungs without spilling over the rails. This width also works well beside a single armchair in a reading corner.
Measure your corner before ordering, since a 45 cm ladder plus the lean angle needs about 55 cm of floor depth. Avoid stacking more than three throws on a slim ladder, because bulky wool will bunch and slide. The mistake to avoid is choosing the slim size when you own six or more throws; it will look permanently overloaded. Slim ladders cost 35 to 80 pounds or dollars, a budget-friendly way into the trend.
7. Hang a Wide 70 cm Ladder in the Master Bedroom
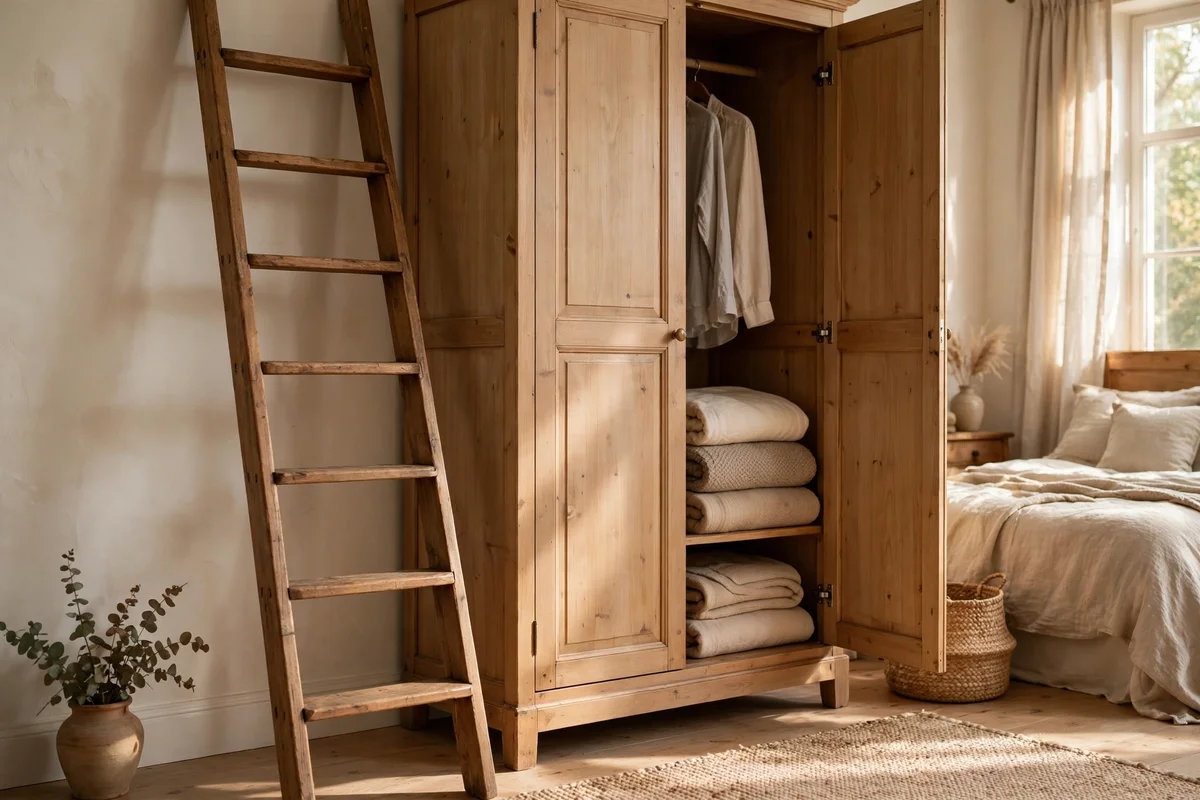
A wide ladder around 70 cm gives bedroom throws and spare quilts a proper home beyond the foot of the bed. Lean it against the wall beside the wardrobe or between the bed and the window, where morning light falls across the textures. Fold each throw into quarters for a plush, hotel-like band of fabric, and keep the colour story to two or three tones that echo your bedding.
Keep the top rungs for the prettiest throws you reach for daily, and use the lower rungs for seasonal spares. Avoid draping throws so long that they puddle on the floor, since dragging fabric collects dust and looks untidy. The mistake to avoid is placing the ladder where the bedroom door swings into it; allow at least 60 cm of clearance. Wide bedroom ladders cost 60 to 150 pounds or dollars.
8. Secure Every Ladder With a Small L Bracket or Wall Hook
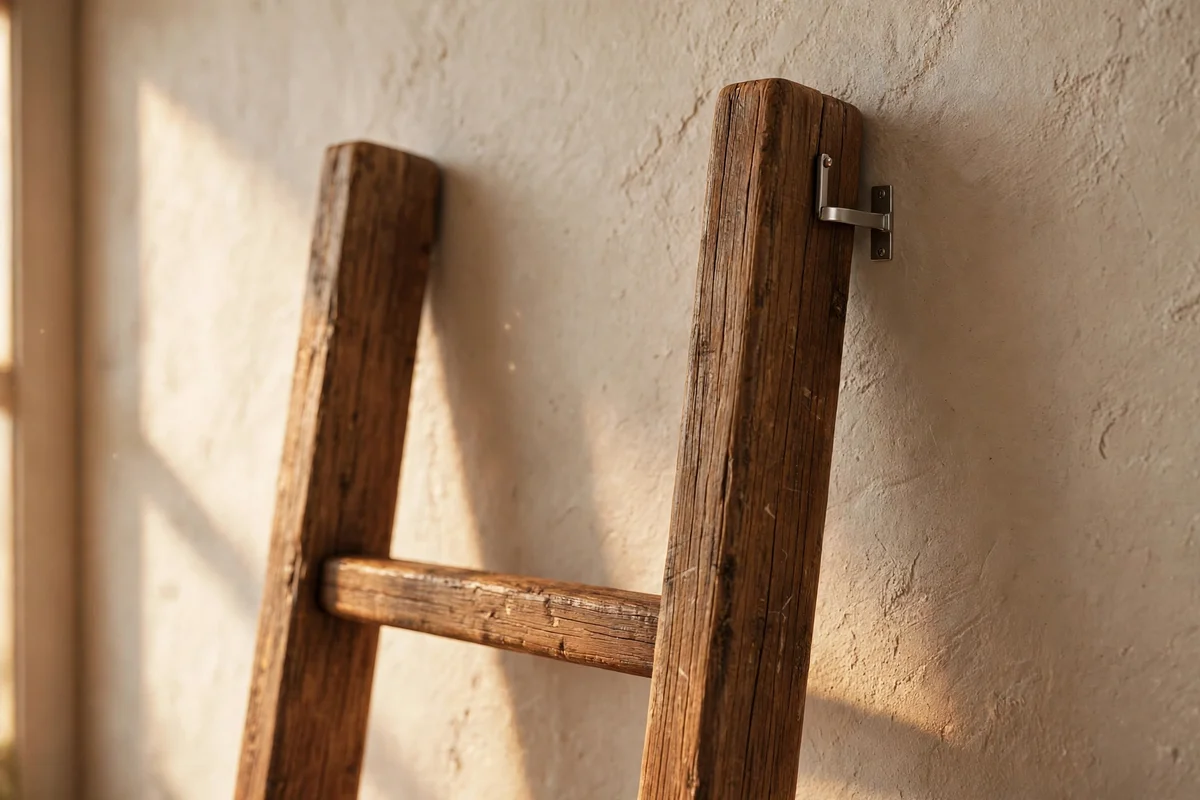
Every leaning ladder should be fixed to the wall with a small L bracket, a screw-in hook or a short length of discreet cord, even if it feels stable on its own. Children, pets and the simple act of pulling a throw can shift a freestanding ladder until it topples. Two brackets, one for each rail near the top, take ten minutes to fit and remove the risk entirely.
Choose fixings suited to your wall: wall plugs for brick, toggle anchors for plasterboard, and a wood screw straight into a stud where you can find one. Keep the bracket hardware small and paint it to match the ladder so it stays invisible. The mistake to avoid is relying on a rubber-footed ladder alone in a busy household. A pair of L brackets and plugs costs under 10 pounds or dollars and is the cheapest insurance in the room.
9. Set the Feet 25 to 35 cm From the Wall for a Stable Lean
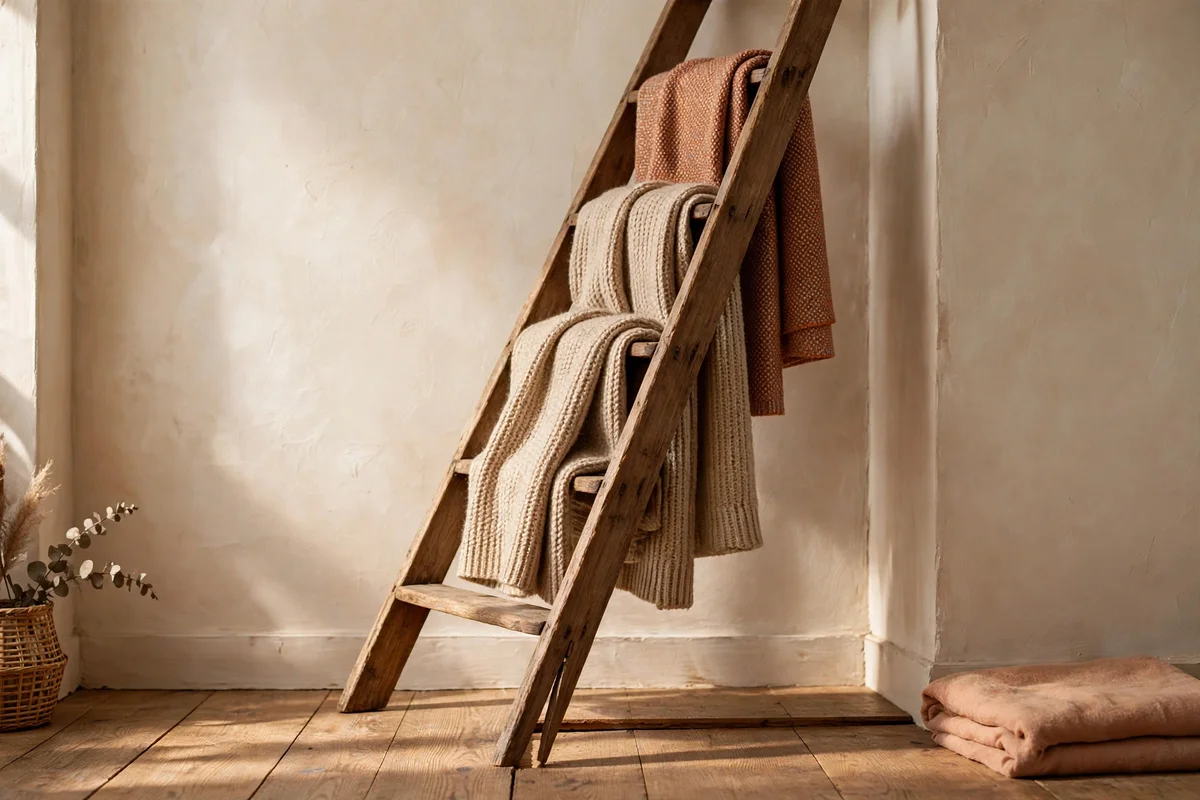
The safest lean for a blanket ladder keeps its feet 25 to 35 cm out from the wall, which creates an angle of about 70 to 75 degrees. This angle keeps the rungs level enough for throws to rest without sliding, while the rails press firmly against the wall. Mark the foot position with a small piece of felt or rubber pad, which also protects wooden floors from scratches.
If the feet sit closer than 20 cm, the ladder stands too upright and can tip forward when you pull a throw; farther than 40 cm, rungs tilt so much that folded throws creep off. Test stability by pressing the top rail sideways before loading it. The mistake to avoid is placing a ladder on a thick shaggy rug, which lets the feet sink unevenly; use a flat rug or bare floor instead.
10. Stack Throws Light to Dark From the Top Rung Down
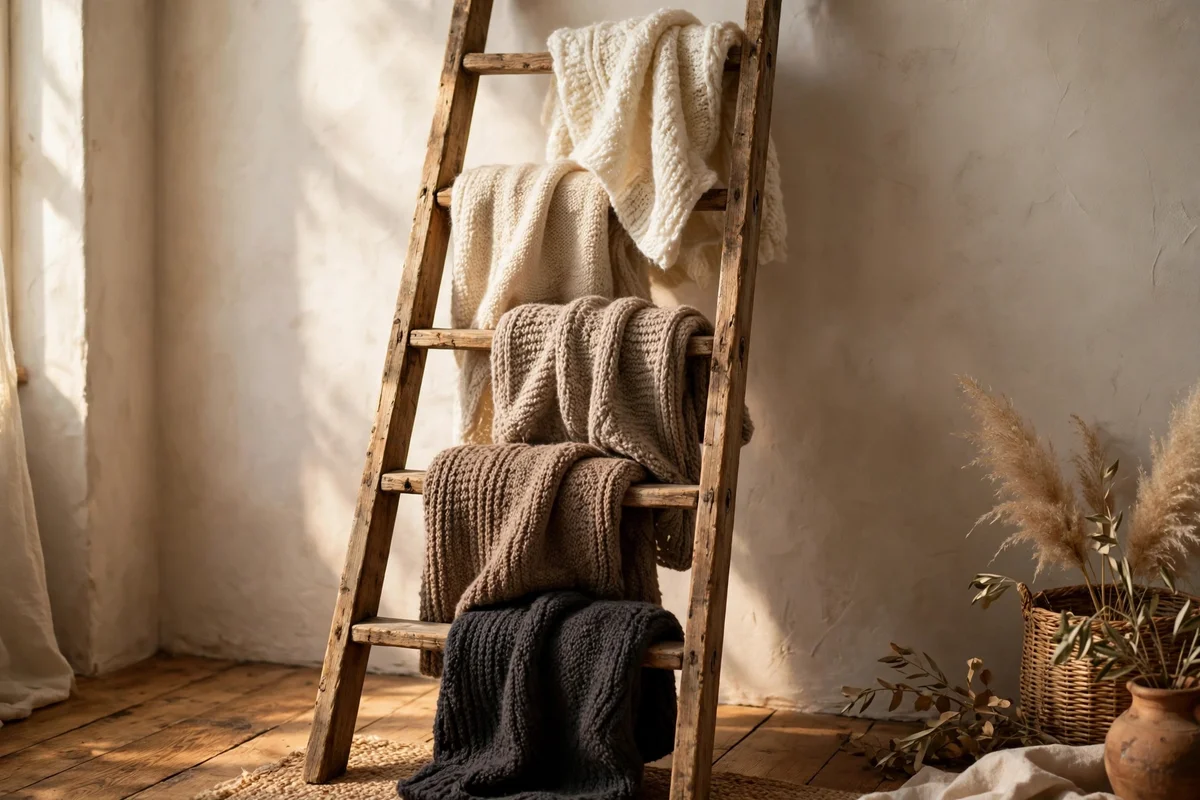
Arranging throws from the lightest shade on the top rung to the deepest tone at the bottom creates a calm gradient that the eye reads as tidy and intentional. Start with ivory or cream at the top, move through oatmeal and sage in the middle, and finish with charcoal or rust at the base. This order also keeps the darkest colours near the floor, where everyday marks show less.
Limit the gradient to five or six shades across the ladder so each throw stays visible. If you own two throws of similar tone, separate them with a contrasting texture to keep the steps distinct. The mistake to avoid is mixing many unrelated patterns, which breaks the gradient and looks scattered. A simple rule is one patterned throw for every three plain ones, placed near the middle as a soft focal point.
11. Alternate Knit, Weave and Fleece Textures Across the Rungs
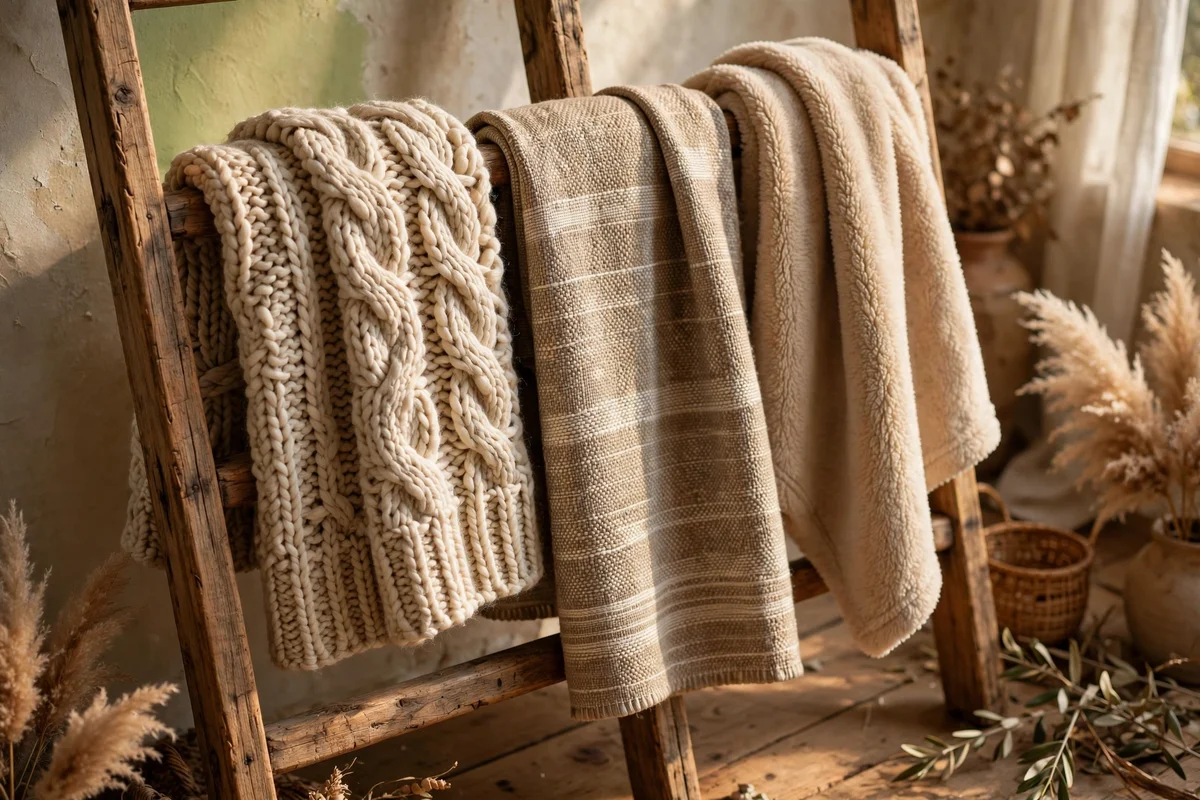
Mixing textures is what turns a ladder of folded blankets into a tactile display worth looking at twice. Place a chunky cable knit beside a flat cotton weave, then a brushed fleece, so each rung offers a different surface to the eye. Texture contrast matters more than colour; three cream throws in knit, weave and fleece look richer together than three similar fabrics in different shades.
Reserve the softest textures, like lambswool or cashmere blends, for the top rungs where hands reach first, and keep hardier cotton or acrylic blends lower. Wash or air each texture by its own care label rather than together, since wool and fleece need different handling. The mistake to avoid is stacking three chunky knits in a row, which reads as one lumpy mass. Alternate bold with calm textures for the best rhythm.
12. Use the Third Fold Method for Drapes That Stay in Place
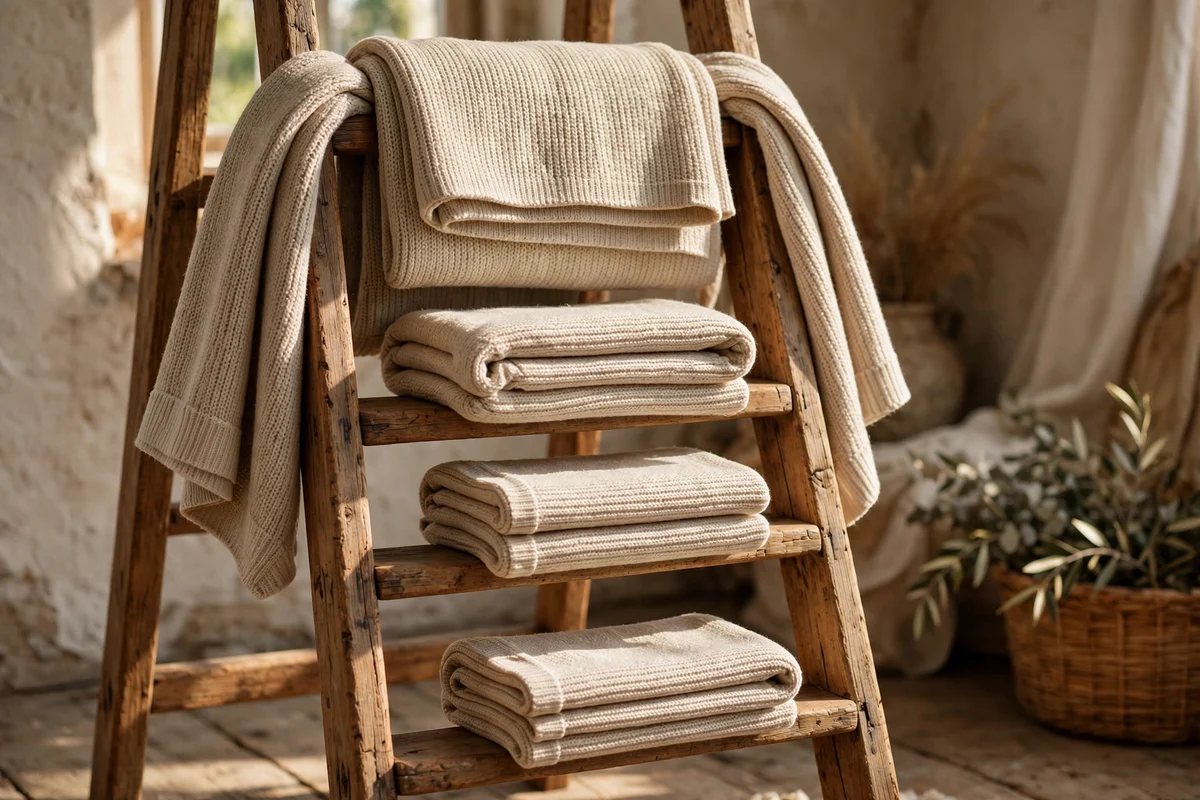
The third fold method keeps throws from slipping off rungs: fold the throw lengthways into thirds, drape it over the rung, then tuck the back third under so the fabric grips itself. This simple technique works on both round and square rungs and stops lightweight cotton throws from sliding overnight. Practice the fold on a bed first until each band measures roughly the same width.
Aim for a folded band about 20 to 25 cm wide on a standard ladder, which drapes evenly and shows any pattern to advantage. Heavier wool throws need only a half fold, since their weight holds them in place. The mistake to avoid is draping throws unfolded in a single layer; they catch draughts and fall at the slightest touch. A consistent fold width across all rungs gives the ladder a tailored, shop-display look.
13. Leave the Bottom Rung Empty to Anchor the Display
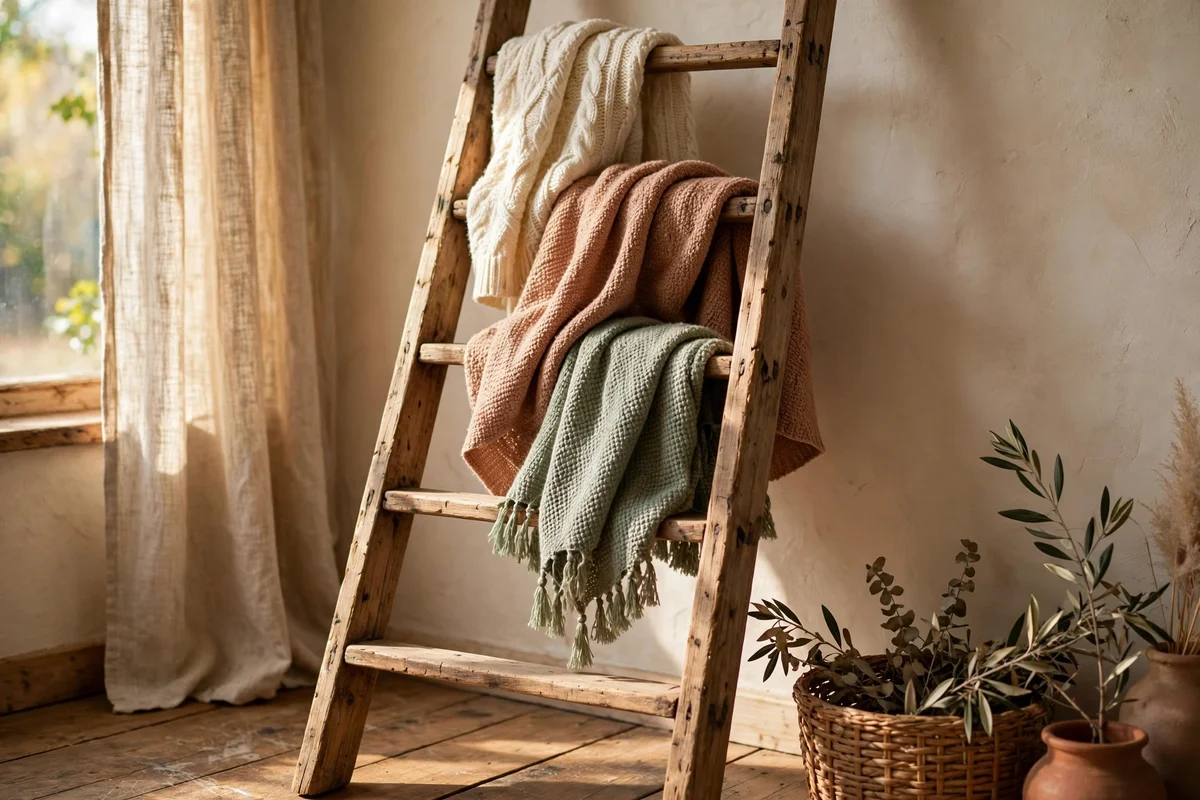
Leaving the bottom rung empty gives the whole display a visual anchor of bare wood and keeps the ladder from looking top-heavy or overstuffed. The empty rung acts like a frame, letting the eye rest before the floor, and it stops the lowest throw from brushing against skirting boards and gathering dust. Most five-rung ladders look their best with three or four throws and one breathing space.
Use the empty rung for a small seasonal touch if you like, such as a dried eucalyptus sprig tied with twine, but keep it minimal. Rotate which rung stays empty every few months for variety, perhaps leaving the second rung free in spring to lighten the look. The mistake to avoid is filling every rung when you buy new throws; store spares in a basket at the base instead.
14. Tuck a Seagrass Basket of Spare Throws at the Ladder Base
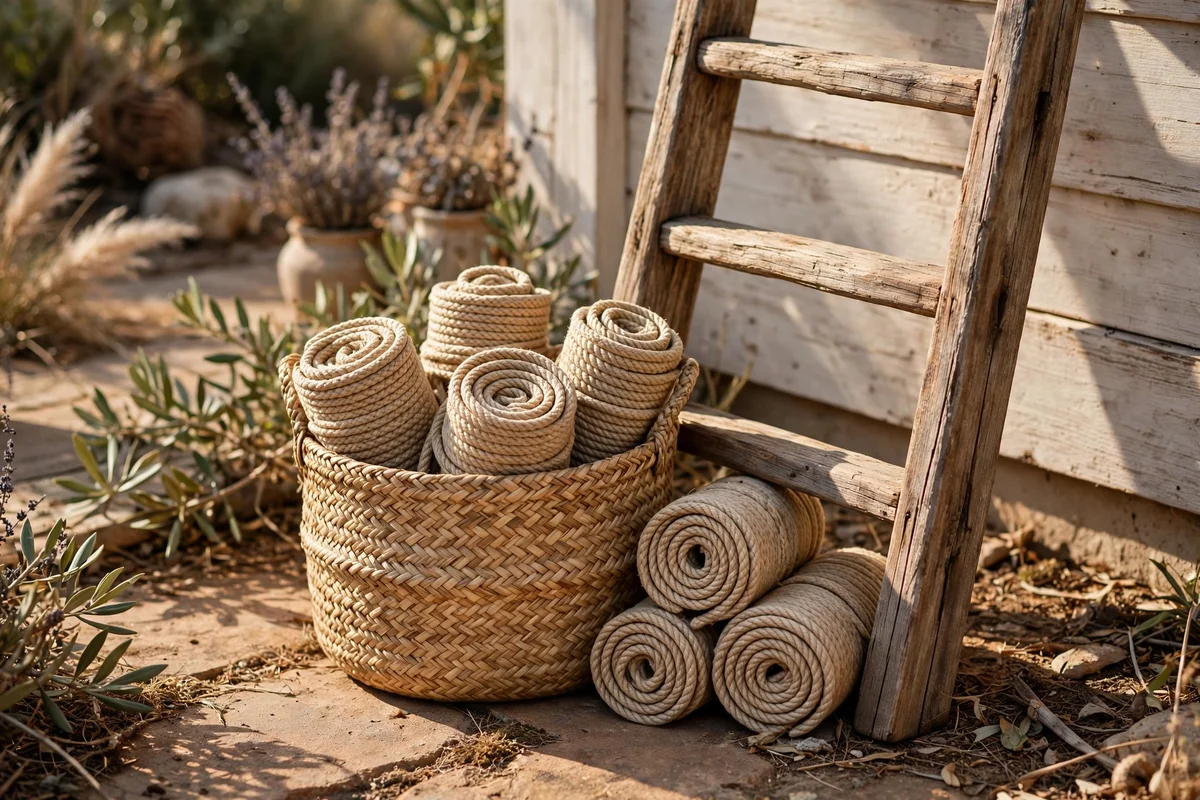
A round seagrass or jute basket about 40 to 50 cm across holds two or three spare throws rolled rather than folded, keeping overflow off the ladder and within reach. Rolling saves space and shows the throw ends like a fabric library, which looks inviting in a living room corner. Choose a basket with a sturdy weave so it keeps its shape when full.
Place the basket slightly to one side of the ladder feet rather than dead centre, so the arrangement feels natural and the ladder remains the hero. Line the basket with a cotton bag if your throws shed fibres, and air rolled throws monthly to keep them fresh. The mistake to avoid is buying a basket too small; crammed rolls look messy. A good seagrass basket costs 25 to 60 pounds or dollars.
15. Place a Small Side Table Beside the Ladder for Tea and a Lamp
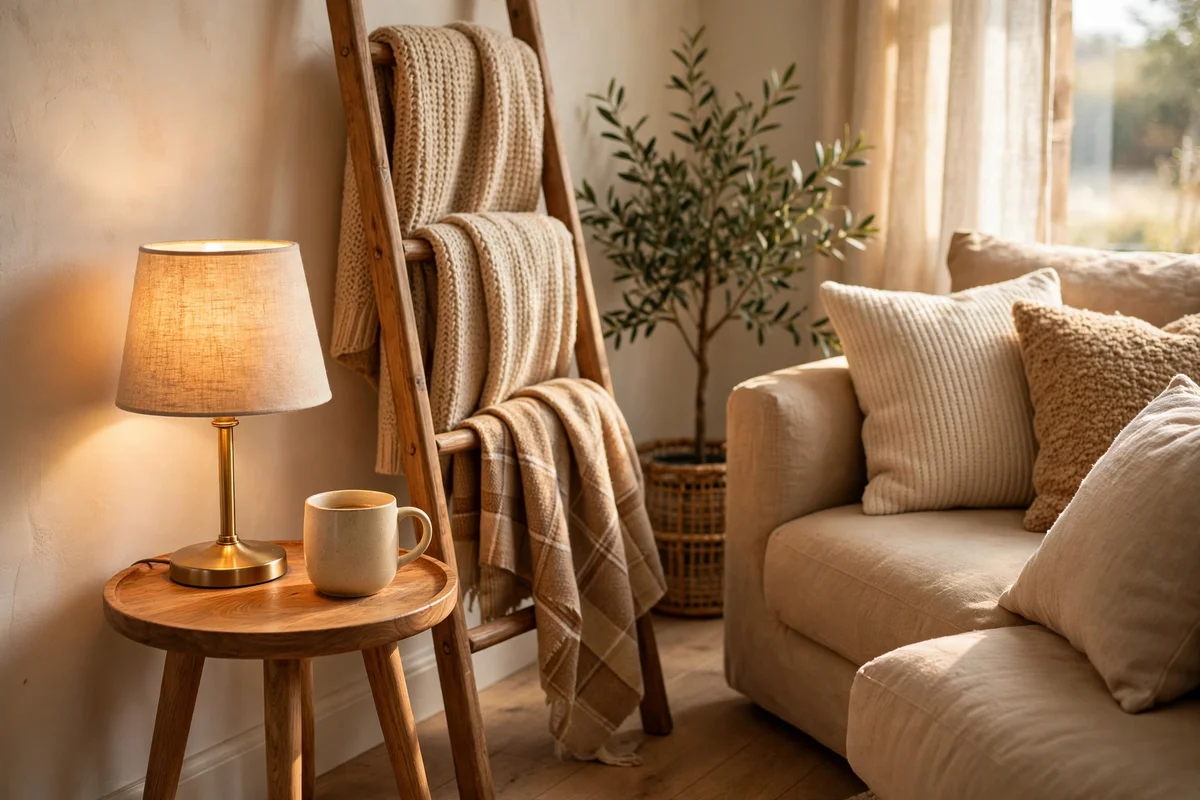
A small side table between 40 and 50 cm tall, set beside the ladder near the sofa end, turns the throw corner into a complete evening station. There is a place for a warm mug of tea, a small lamp with a 2700K bulb, and the book you set down when you reach for a blanket. Round tables work well here, since they soften the straight lines of the ladder rails.
Keep the tabletop simple: one lamp, one coaster and one small object, such as a ceramic bowl or a tiny potted fern. Avoid letting the table become a second clutter zone with remote controls and charging cables. The mistake to avoid is choosing a table taller than the sofa arm, which blocks the ladder visually. A second-hand wooden side table plus a small lamp often costs under 70 pounds or dollars.
16. Fit a Bamboo Ladder in the Bathroom for Guest Towels
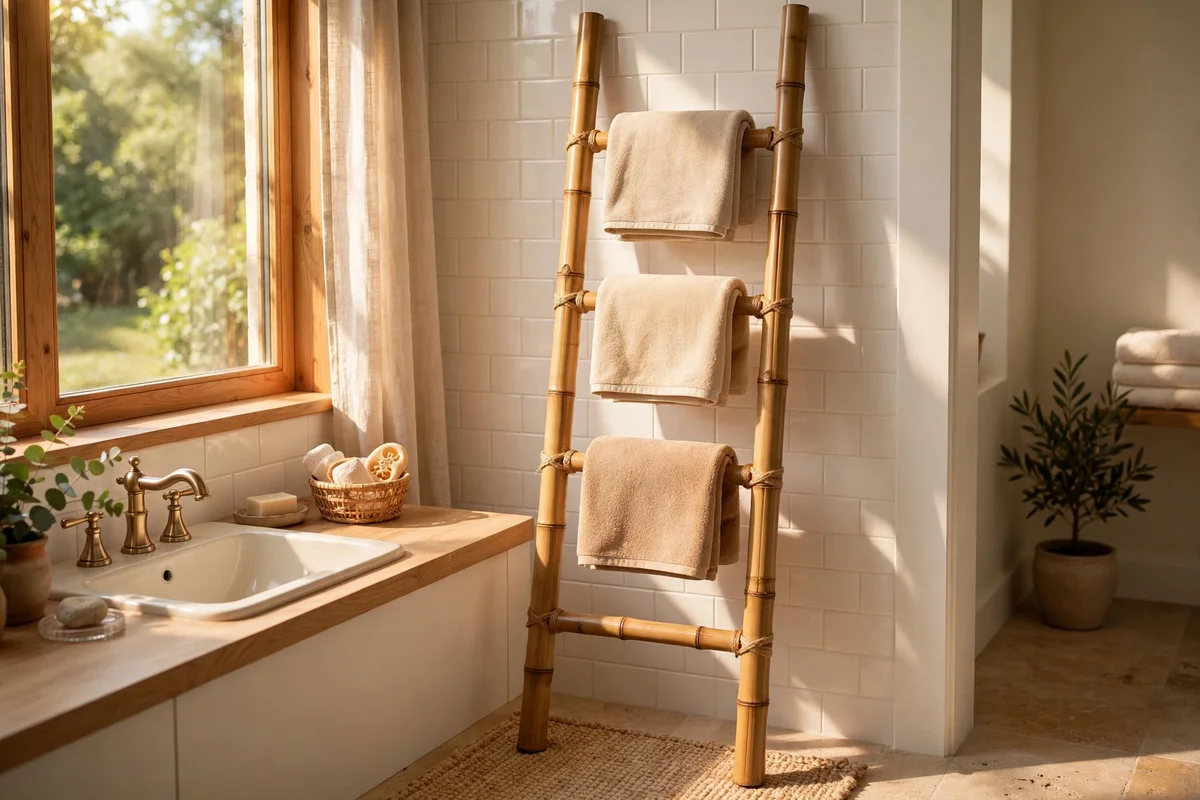
A bamboo ladder about 120 to 150 cm tall works beautifully in a bathroom, where its natural water resistance handles steam better than raw pine. Hang two or three guest towels folded in thirds over the rungs, with a small rolled hand towel on the lowest rung for everyday use. Keep the colour story simple: white, stone and one soft eucalyptus tone.
Ventilate the bathroom after showers so towels dry properly on the open rungs, and wipe the bamboo rails monthly with a damp cloth to prevent mildew. Avoid placing the ladder where the shower sprays directly onto it. The mistake to avoid is using a varnished softwood ladder in a steamy bathroom, since trapped moisture lifts the finish. A solid bamboo bathroom ladder costs 40 to 90 pounds or dollars.
17. Tuck a Ladder Behind the Bedroom Door for Hidden Storage
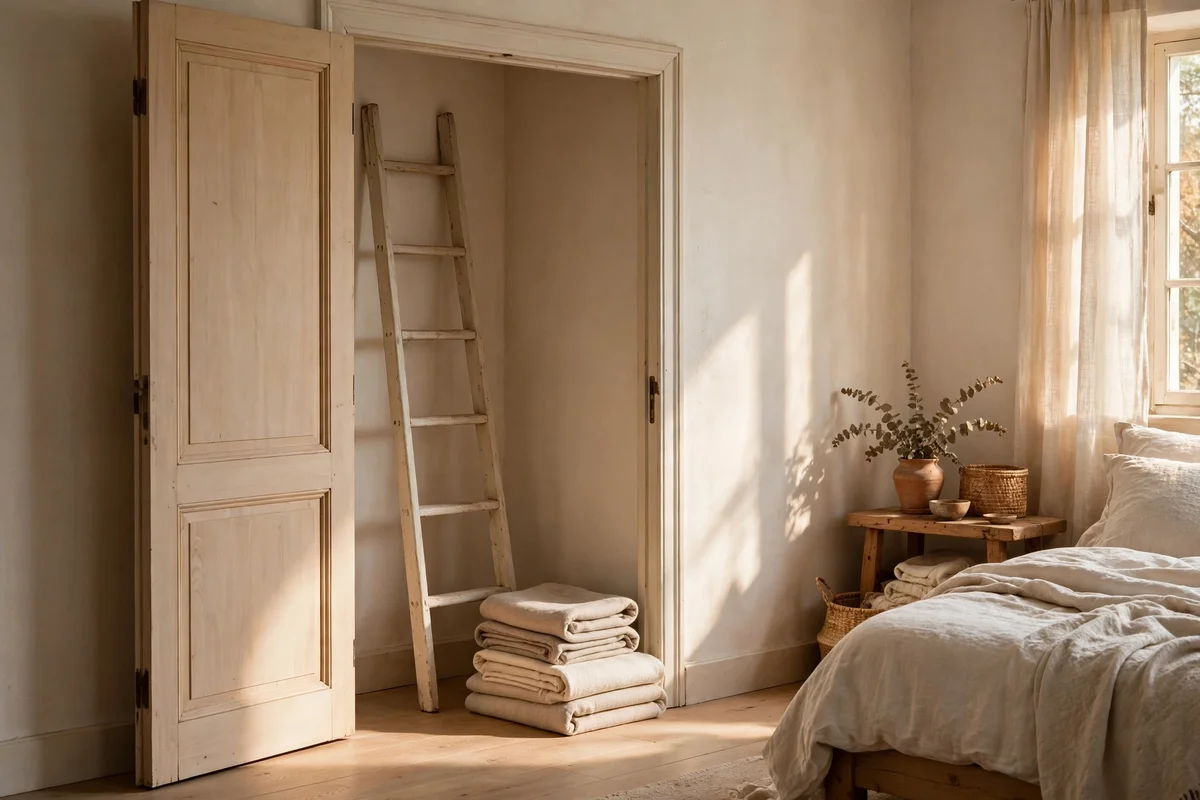
The wall behind a bedroom door holds a ladder of 150 to 170 cm without taking any usable floor space, as long as the door opens fully against the adjacent wall. Measure the swing first: you need about 12 cm of clearance between the open door and the ladder rails. This spot suits spare throws and seasonal quilts you want nearby but not on constant display.
Choose a simple finish that blends with the door frame, such as painted white or pale oak, so the ladder reads as part of the woodwork. Keep only two or three throws here, folded flat to stay within the narrow gap. The mistake to avoid is hanging anything thick that stops the door opening flat, which strains the hinges. This zero-footprint placement costs nothing extra and works in the smallest rooms.
18. Slide a Narrow Ladder Into the Gap Beside the Bookcase
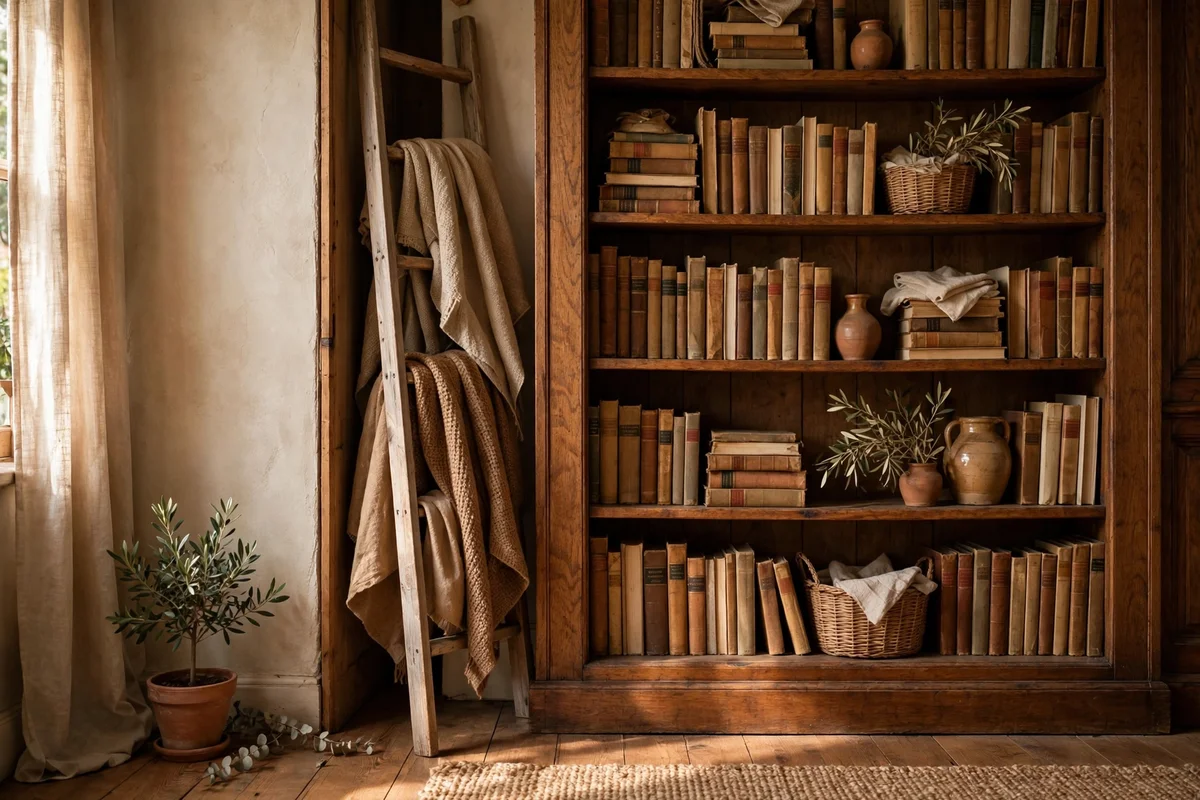
The gap between a bookcase and the wall, often 50 to 70 cm of forgotten space, fits a narrow ladder perfectly and turns dead floor into useful storage. A 45 cm ladder slides in neatly, and the bookcase side gives the arrangement a natural frame. Style the visible rungs with throws in colours that echo your books or the shelf wood for a cohesive corner.
Pull the ladder out monthly to dust behind it, since these gaps collect fluff quickly. Avoid forcing a ladder into a gap under 50 cm wide, where the lean angle becomes too steep for stability. The mistake to avoid is loading the top rungs with heavy wool when the ladder sits partly on a rug edge; keep weight low and the base level. This trick suits renters especially well.
19. Flow Throws in Cream, Sage and Soft Terracotta for Calm
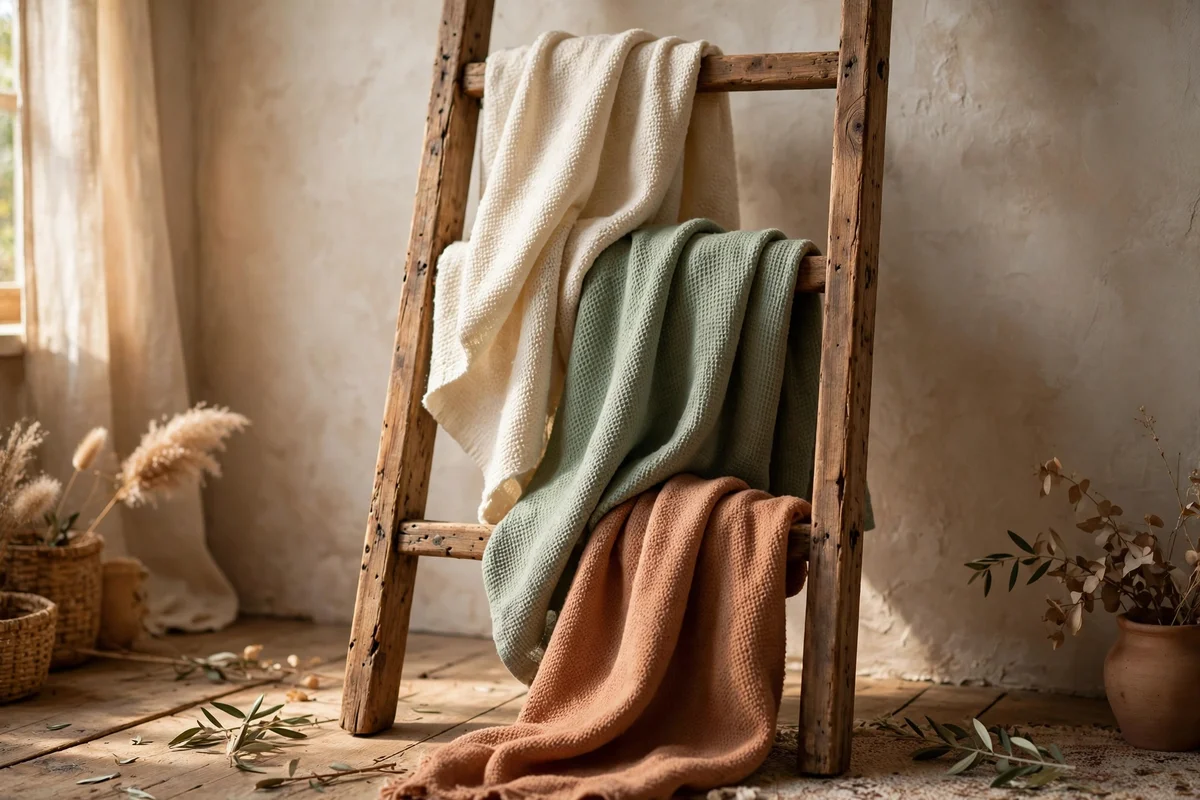
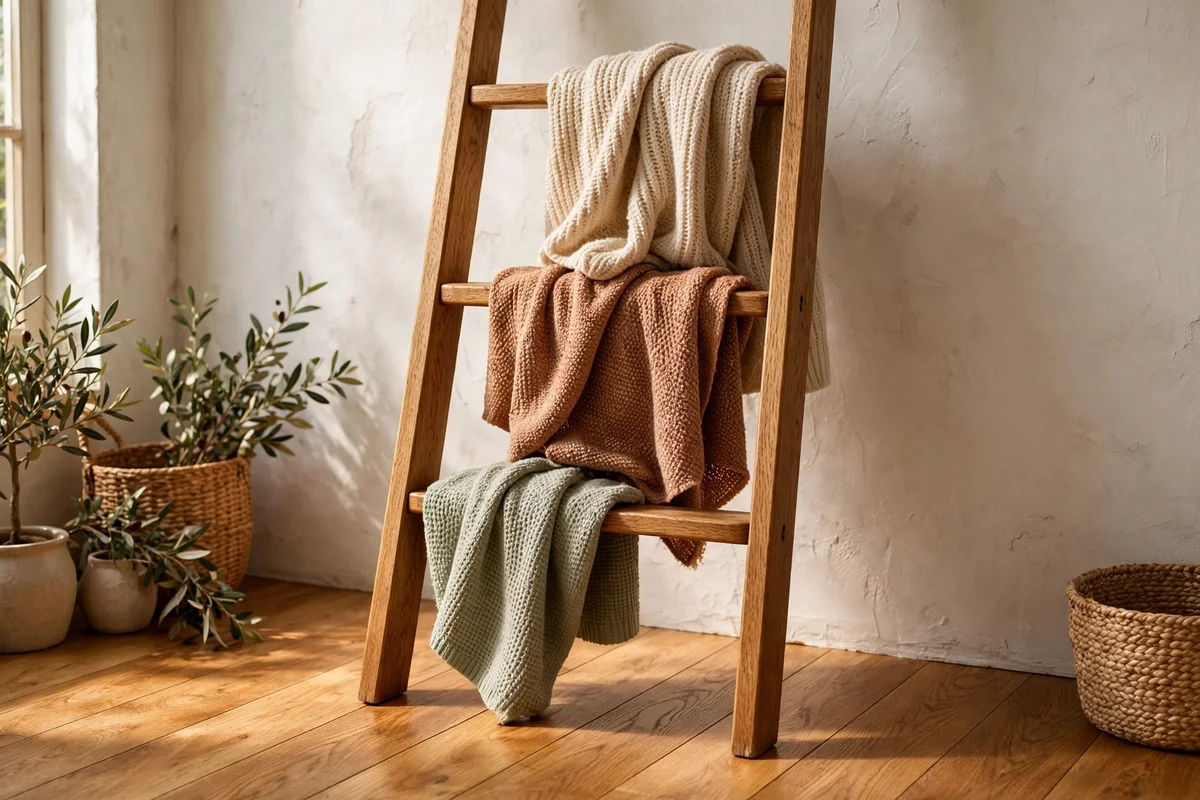
Cream, sage and soft terracotta form a restful trio that flatters oak, pine and walnut ladders alike. Place cream on the top rung to catch the light, sage in the middle for a breath of garden calm, and terracotta low to ground the display with gentle warmth. Keep the ratio around half cream, a third sage and one terracotta accent so the palette stays airy rather than busy.
Add a fourth tone only if it belongs to the same family, such as oatmeal or warm stone, and avoid cool blues or greys that fight the earthy warmth. This palette suits living rooms with timber floors and cream walls especially well. The mistake to avoid is buying all three colours in the same heavy knit, which dulls the effect; mix a flat weave cream with a brushed terracotta for contrast.
20. Match the Ladder Finish to Floor Boards for Quiet Harmony
Matching the ladder finish to your floor boards, or at least to the same wood family, makes the piece feel built in rather than added on. In rooms with honey oak floors, choose a honey or natural oak ladder; with dark walnut floors, pick a walnut or espresso stain. The shared tone lets the throws become the colour story while the ladder quietly supports them.
Test a finish swatch against the floor in daylight before buying, since shop lighting shifts wood tones. If an exact match proves impossible, go one shade lighter than the floor rather than darker, which reads more naturally. The mistake to avoid is pairing a reddish cherry ladder with grey-washed floors; the clash draws the eye for the wrong reason. Most makers offer four or five finishes in this price range.
21. Choose Rounded Rungs and Keep the Ladder Out of Climbing Reach
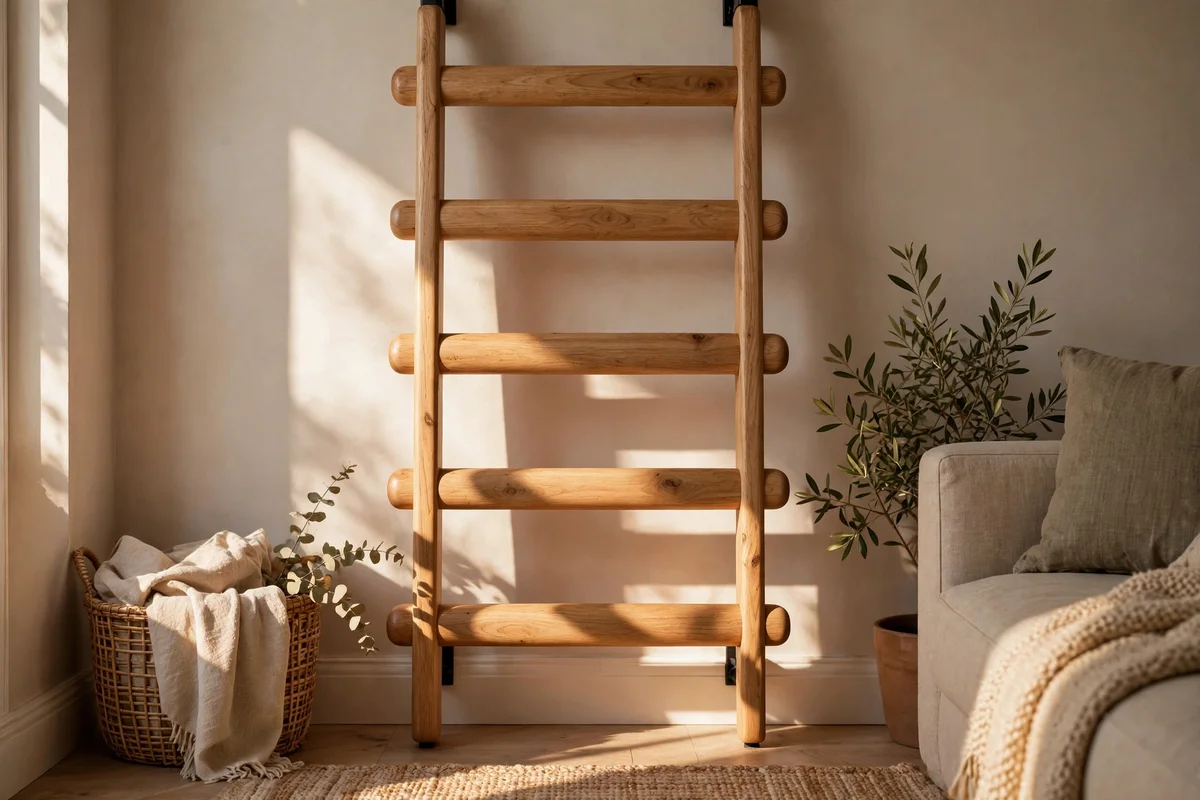
Round dowel rungs feel kinder under little hands than square edges, so choose ladders with smooth, rounded rungs if children visit often. Fix the ladder firmly to the wall with two brackets, and teach children that the ladder holds blankets, not climbers. Keep the lightest throws on lower rungs within easy adult reach so nobody needs to stretch or climb for comfort.
Store heavier spare quilts on a high shelf instead of the ladder when toddlers are around, since pulling weight from height is risky. Avoid placing the ladder near bunk beds or climbing frames, where it can become part of a game. The mistake to avoid is assuming a secured ladder is climb-proof; supervision still matters. Rounded-rung ladders cost the same as square ones, usually 50 to 130 pounds or dollars.
22. Rotate Throws With the Seasons Twice a Year
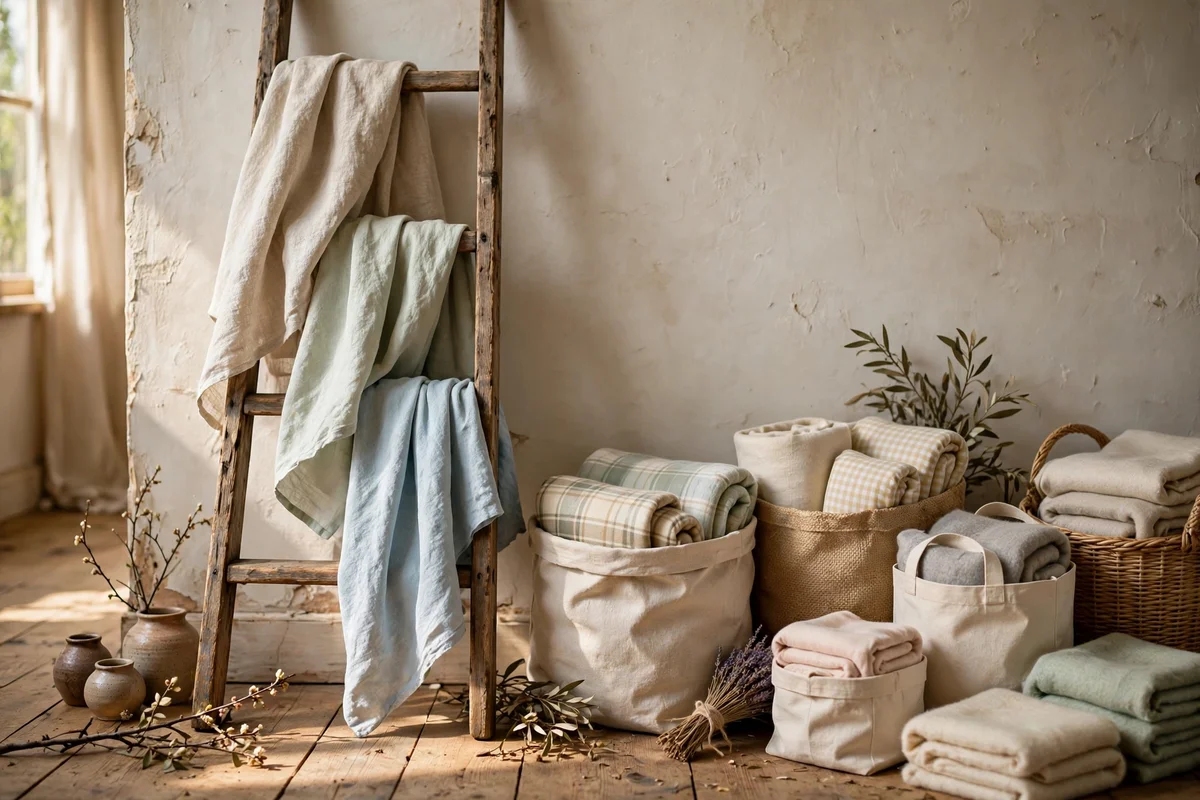
Rotating throws twice a year, in early autumn and early spring, keeps the ladder display fresh and extends the life of every blanket. Pack heavy wool and fleece into breathable cotton bags for summer, and bring out lighter cotton and linen weaves. While the ladder stands bare, wipe the rails with a damp cloth and check the wall brackets for tightness.
Use the rotation as a chance to air throws outdoors on a dry day, which refreshes fibres without extra washing. Store off-season throws in a cool, dry cupboard rather than a damp loft, and add a cedar block to deter moths from wool. The mistake to avoid is leaving winter wool on display through humid summer months, when it can develop a musty smell. Two short seasonal resets keep everything at its best.
A blanket ladder earns its place the first evening you reach for a throw without standing up, and it keeps earning it every day after. The ideas above share one simple principle: keep textures visible, keep colours calm, and keep the frame fixed safely so the display stays tidy instead of becoming another chore. Small decisions like the lean angle, the fold width and the empty rung make the difference between storage and style.
This week, try the easiest win first: move one ladder-width of wall beside your sofa, fix a simple wooden ladder at a safe angle, and drape three throws in light to dark order. You will feel the room change the moment the textures are on display. From there, the rest of the ideas are simply refinements on a corner that already works.
Frequently Asked Questions
How much does a good blanket ladder cost?
Expect 40 to 80 pounds or dollars for a simple pine ladder, 60 to 140 for solid oak or walnut, and up to 160 for reclaimed timber designs. Wall-mounted rail pairs sit between 50 and 110. Second-hand markets often have sturdy ladders for under 30, and a small tin of furniture oil keeps them looking new for years.
What width of blanket ladder should I buy?
A 60 to 70 cm ladder suits most living rooms and holds throws folded in quarters. Choose a slim 45 cm model for corners, hallways and the gap beside a bookcase. Wide 70 cm ladders work well in bedrooms for quilts and spare throws. Measure your wall first and allow about 10 cm of clearance on each side of the rails.
How do I stop throws sliding off the rungs?
Fold throws lengthways into thirds and tuck the back third under so the fabric grips itself, a method that works on round and square rungs. Keep the ladder at a 70 to 75 degree lean so rungs sit nearly level. Heavy wool throws need only a half fold, while lightweight cotton benefits most from the third fold technique.
Is a blanket ladder safe with small children at home?
Yes, when it is fixed to the wall with two L brackets or hooks and children are taught it holds blankets, not climbers. Choose smooth rounded rungs over sharp square edges, keep heavy quilts on a high shelf instead, and avoid placing the ladder near bunk beds. Supervision still matters even with a firmly secured frame.
Can I use a blanket ladder in a rented home?
Absolutely. Leaning ladders need only small, easily filled fixing holes for a safety bracket, and many renters use a discreet cord looped over a picture hook instead. Wall-mounted rails can fix with strong removable adhesive mounts rated for the weight. Keep the original paint or filler shade handy for move-out day touch-ups.