Crafts
22 Forest Painting Ideas That Bring Calm, Dreamy Woodland Air Into Any Room
By Anna Wells · · 20 min read
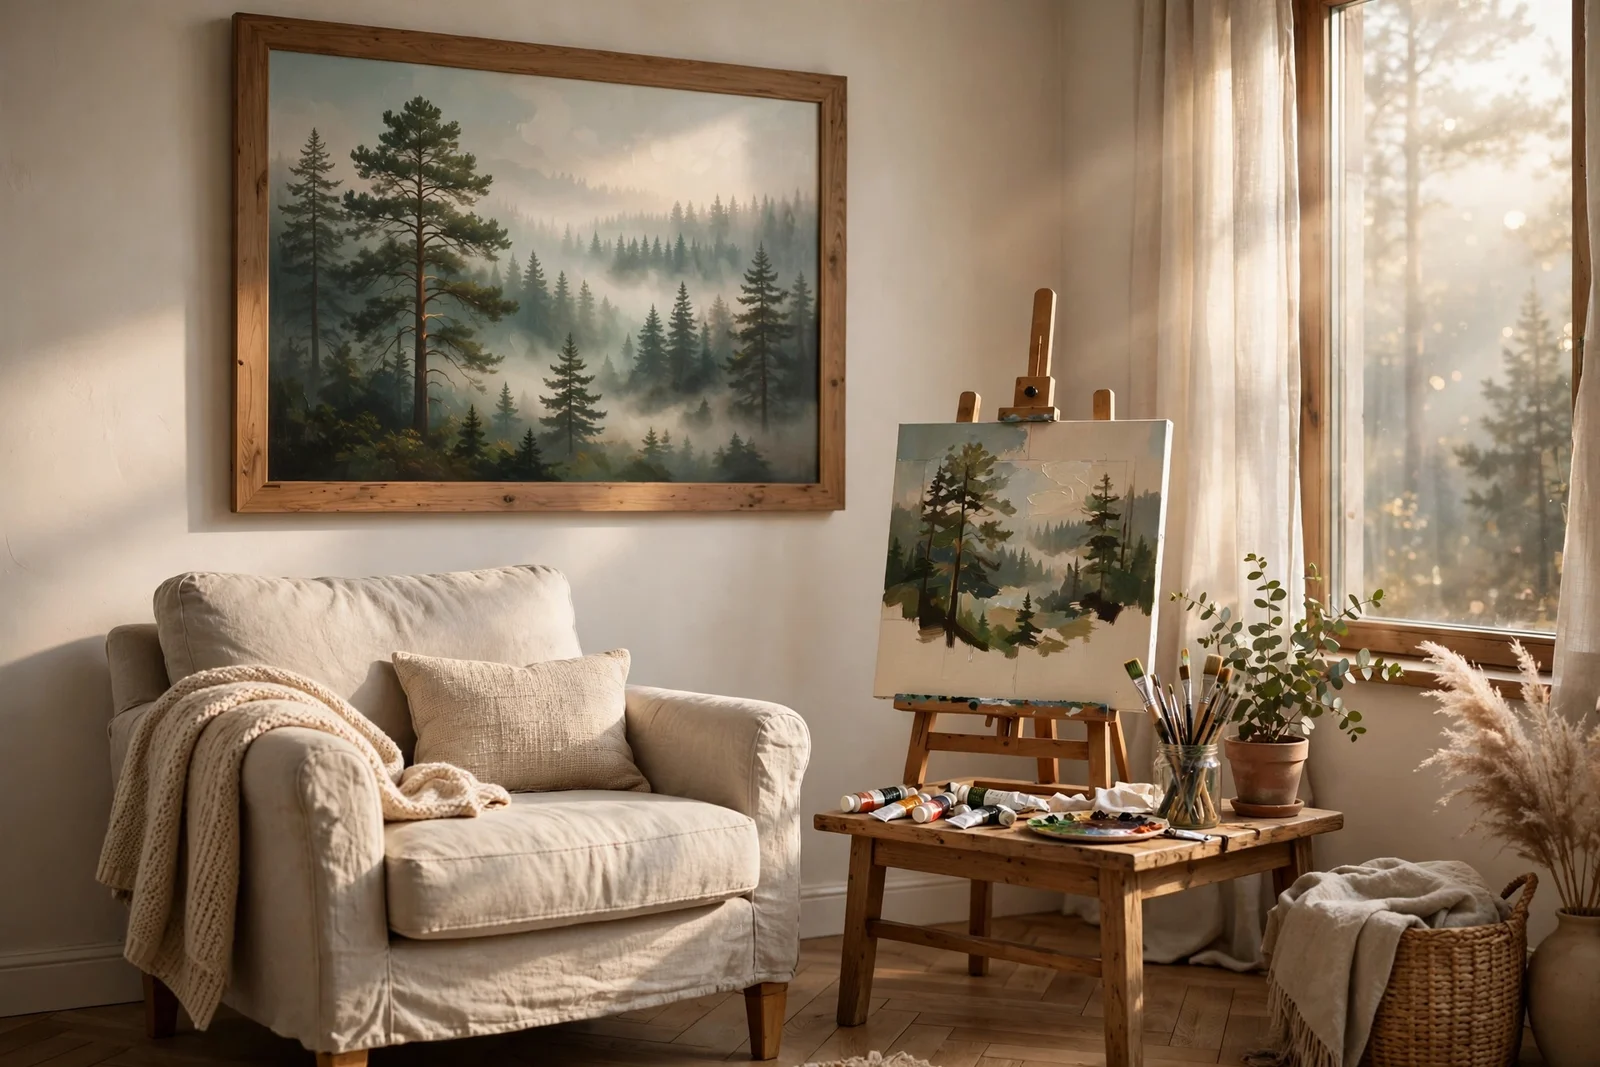
There is a particular quiet that lives inside a forest painting, the hush of mist between pines and light settling through leaves. Hanging one in your home borrows that stillness for the rooms where you rest, read and gather.
Imagine coming home to a hallway where a misty treeline softens the walls, or a bedroom where birch trunks catch the morning light. Forest paintings do something few other artworks manage: they slow a room down. The layered greens and greys ask nothing of you, and that gentle undemanding presence is exactly why they suit calm, lived-in homes so well.
You do not need years of training to paint one. Many of the most soothing forest scenes use simple techniques: layered washes, a dry brush dragged for mist, three tones of green that build real depth. This collection gathers 22 ideas, from slim hallway canvases to a full seasonal quartet, each with practical guidance on size, palette, framing and placement.
Every idea below names the canvas size, the colours that carry it, and where the finished piece hangs best, whether that is a mantel, a reading corner or a quiet stairwell. Some use acrylics for bold layering, others watercolour for soft fog. Pick the one that matches your room and your courage, gather a few tubes of paint, and let the forest come indoors.
1. Paint a Misty Pine Silhouette on a 20 by 60 cm Slim Canvas for the Hallway
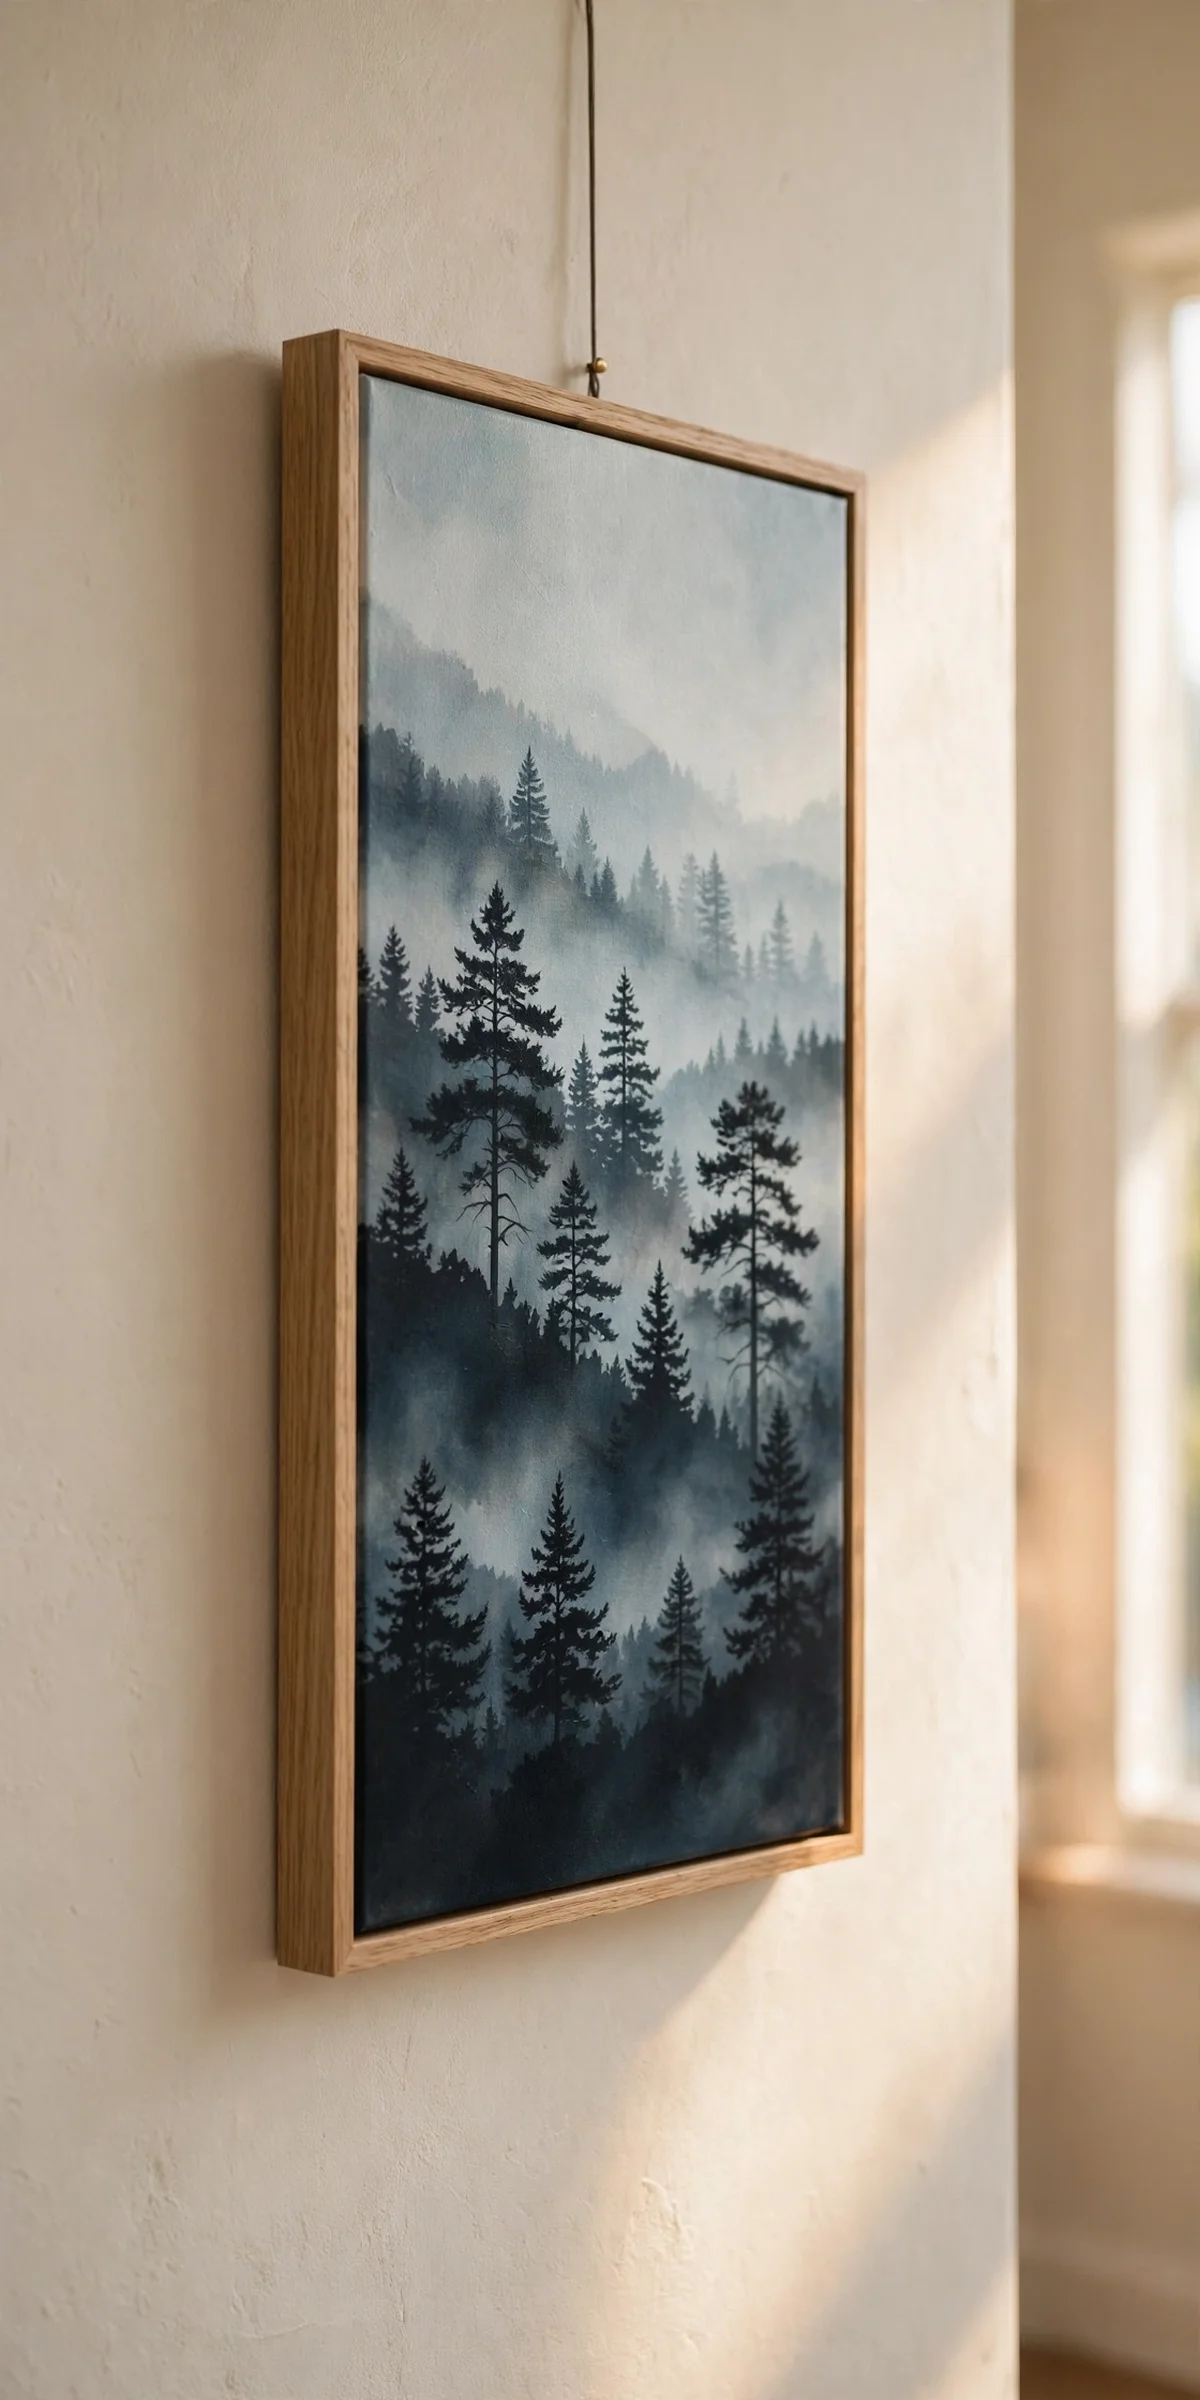
A slim 20 by 60 cm canvas suits narrow hallway walls where a square painting would crowd the space. Start with a pale grey-blue wash across the whole surface, then layer three rows of pine silhouettes in deepening green-grey tones from back to front. Keep the back row soft and misty, the middle row clearer, and the nearest row almost charcoal, so the fog reads as real depth rather than blur.
Hang the finished piece at eye level, about 150 cm from floor to centre, flanked by one small warm wall light if the hallway is dark. A thin natural oak float frame keeps the edges neat without adding visual weight. The mistake to avoid is painting every tree the same size; vary heights by 5 to 10 cm on the canvas so the line feels like a real treeline. Budget tip: slim canvases cost less than standard sizes, and one tube each of Payne’s grey and sap green covers the whole painting.
2. Hang a Watercolour Birch Grove in a 30 by 40 cm Oak Frame Beside the Reading Chair
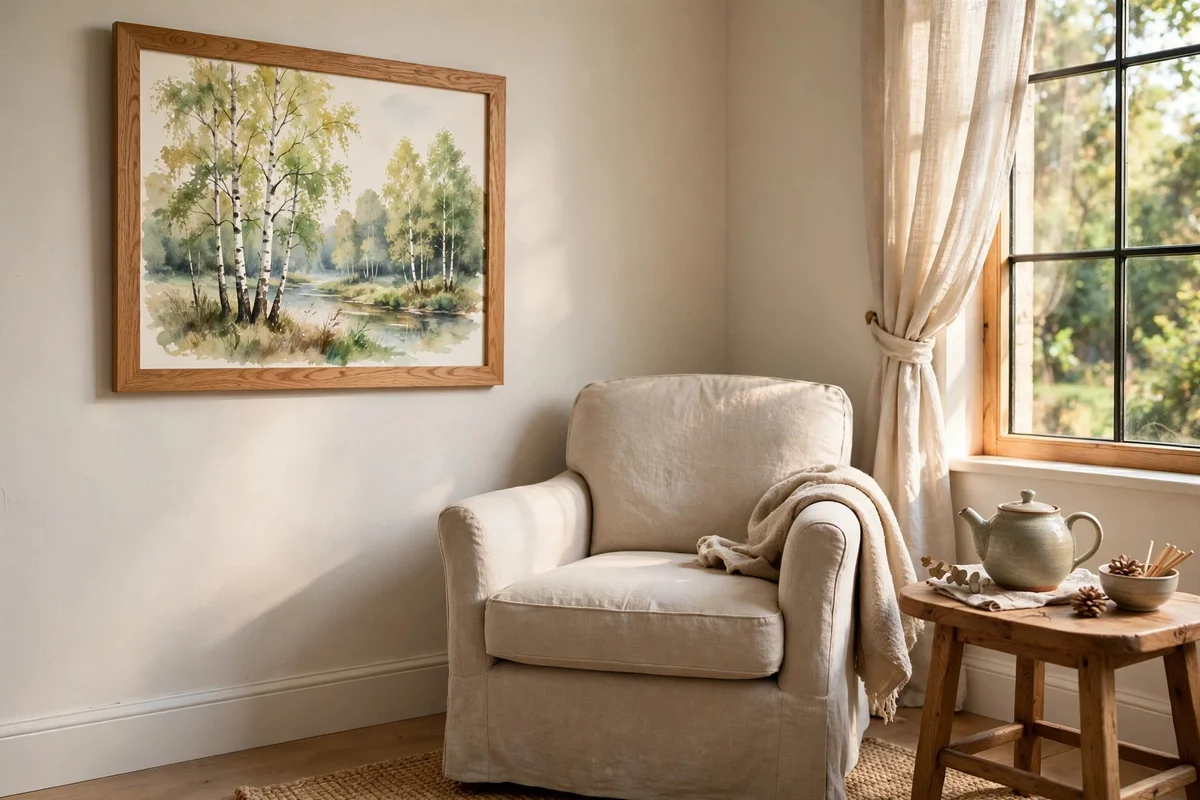
A 30 by 40 cm birch grove watercolour brings light, vertical calm to the corner where you read. Paint white trunks first, masking them with tape strips 1 to 2 cm wide, then wash pale sage and soft grey-green behind them for the leafy canopy. Lift a few highlights from the trunks with a damp brush while the paint is still wet so the bark looks sunlit rather than flat white.
Frame the painting in solid oak with a wide white mount, which gives the watercolour room to breathe and matches wooden bookshelves. Hang it 20 to 25 cm beside the chair at seated eye level so it is the view you rest your eyes on. The mistake to avoid is overworking the wash; stop after two layers or the paper pills and the light dies. Budget tip: student watercolour sets and cold-press paper blocks keep the whole project under the price of a bought print.
3. Create a Woodland Path Painting on a 40 by 50 cm Canvas for the Mantel
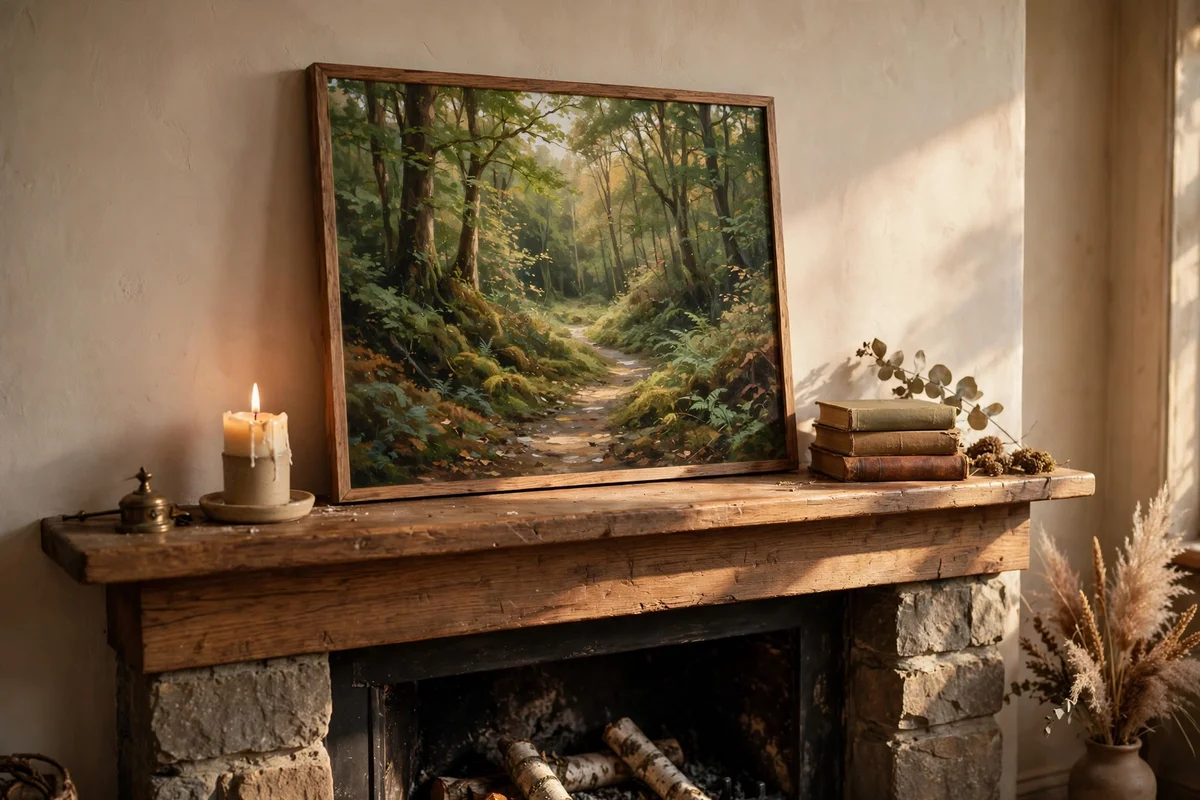
A 40 by 50 cm canvas is the classic mantel size, wide enough to read across the room but light enough to lean safely. Paint a curving path that enters from the lower left corner and narrows toward a small bright clearing in the upper third. Flank it with two darker tree masses, using burnt umber and olive for the shaded side and warmer yellow-green where the imagined sun touches the leaves.
Lean the canvas against the wall rather than hanging it, with the bottom edge resting 5 cm in front of the mantel lip for stability. Keep mantel objects low at the sides, perhaps a candle and a small stack of books, so the painting stays the tallest element. The mistake to avoid is centring the path perfectly; an off-centre curve feels like a real walk, a centred one feels like a road sign. A mid-range acrylic set of twelve tubes is plenty for this single scene.
4. Paint Canopy Light Shafts on a Square 40 by 40 cm Canvas Above the Sofa
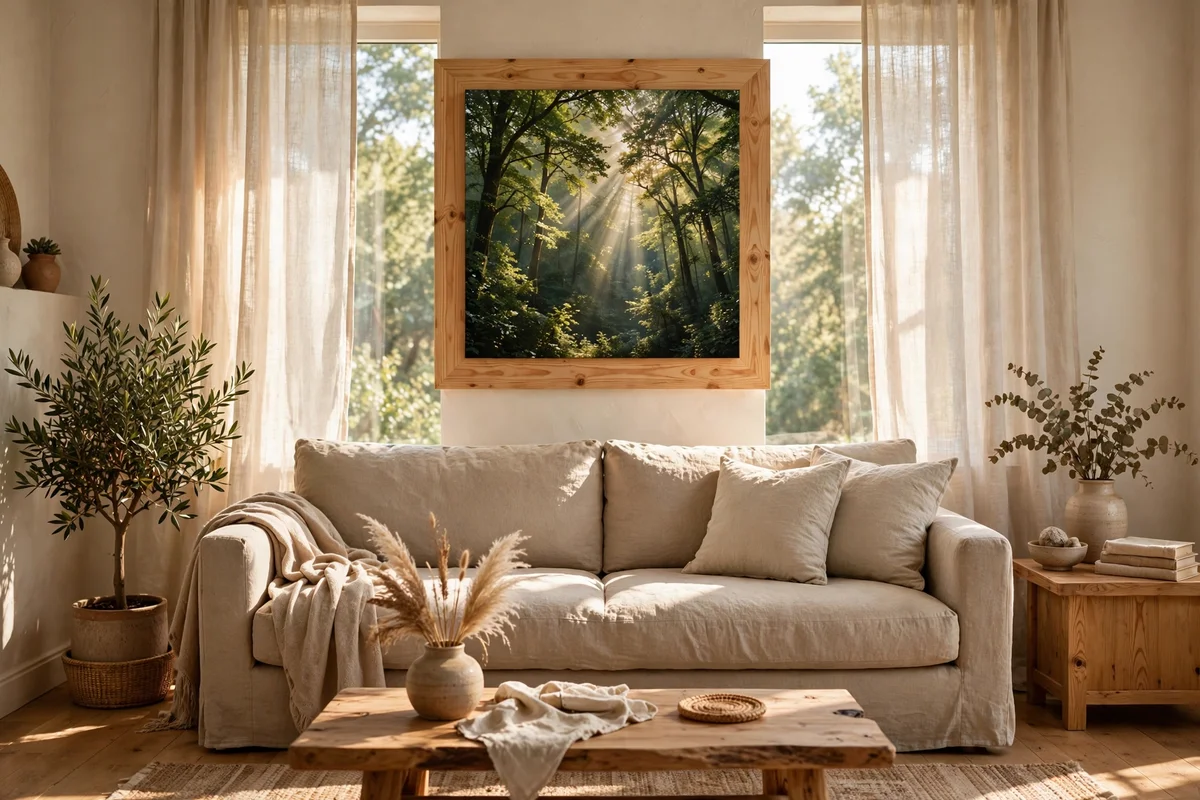
A square 40 by 40 cm canvas centred above a sofa gives the room a focal point without overwhelming the cushions. Block in a dark green canopy across the top two thirds, then drag pale gold shafts diagonally downward with a dry flat brush so the paint breaks and sparkles. These shafts should widen slightly as they fall, the way real light spreads between branches, and finish above a quiet dark forest floor.
Centre the canvas 15 to 20 cm above the sofa back, which suits ceilings around 240 cm high. A natural pine frame echoes the subject without competing with it. The mistake to avoid is using pure yellow for the light; mix cadmium yellow with titanium white and a touch of raw sienna for a sunbeam that glows instead of glaring. Budget tip: one square canvas plus three tubes of paint makes this one of the cheapest statement pieces you can make.
5. Hang a Spring Forest Glade in Fresh Greens in the Bedroom for Morning Calm
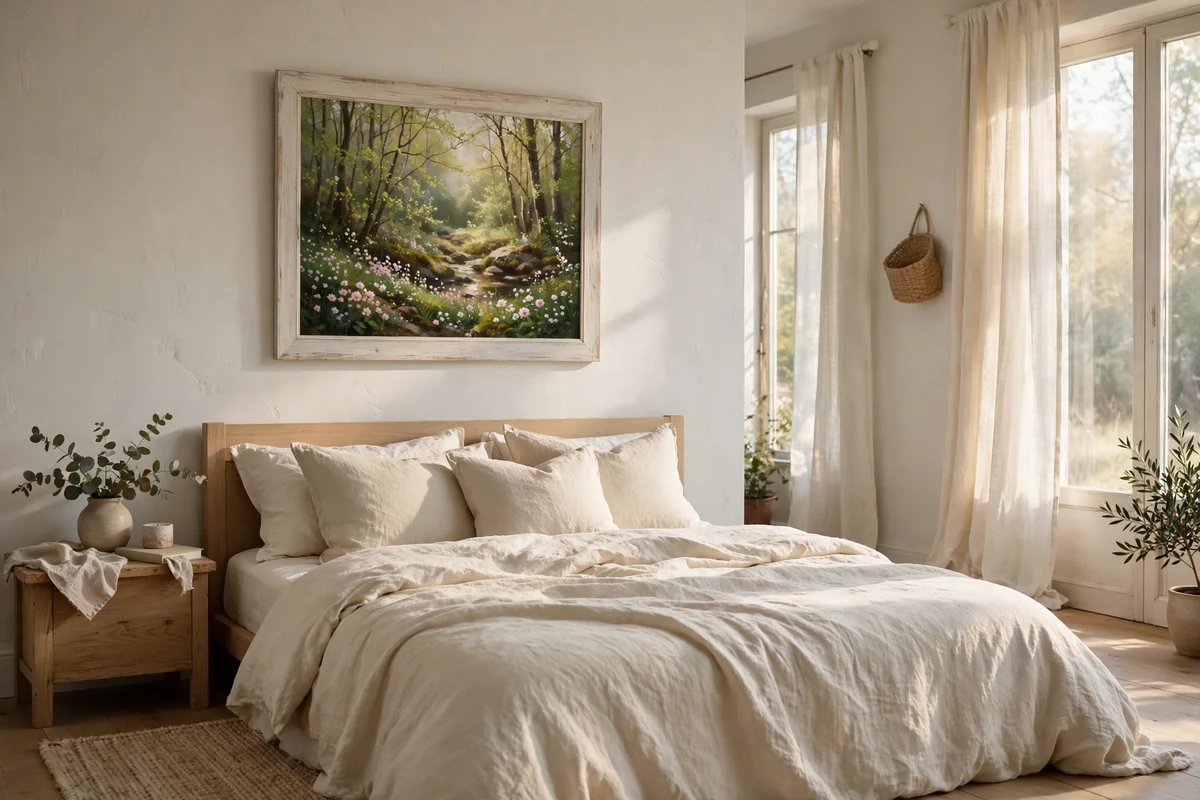
A spring glade painting softens a bedroom wall the way morning light softens a room. Choose a 50 by 70 cm format and wash the background in tender yellow-green, then plant a ring of slender trunks around an open grassy centre so the eye rests in the middle. Add tiny white and pale pink dots for early wildflowers, keeping them small and sparse so they read as light, not clutter.
Hang it on the wall facing the bed so it is the first thing seen on waking, with the centre at about 155 cm from the floor. A whitewashed wood frame keeps the mood airy. The mistake to avoid is reaching for neon greens; spring green mixed from lemon yellow and cerulean stays gentle, while straight-from-the-tube greens look artificial. For a calm palette, keep the brightest flower accents to less than five percent of the surface.
6. Paint a Golden Autumn Birch Aisle to Warm a North-Facing Wall
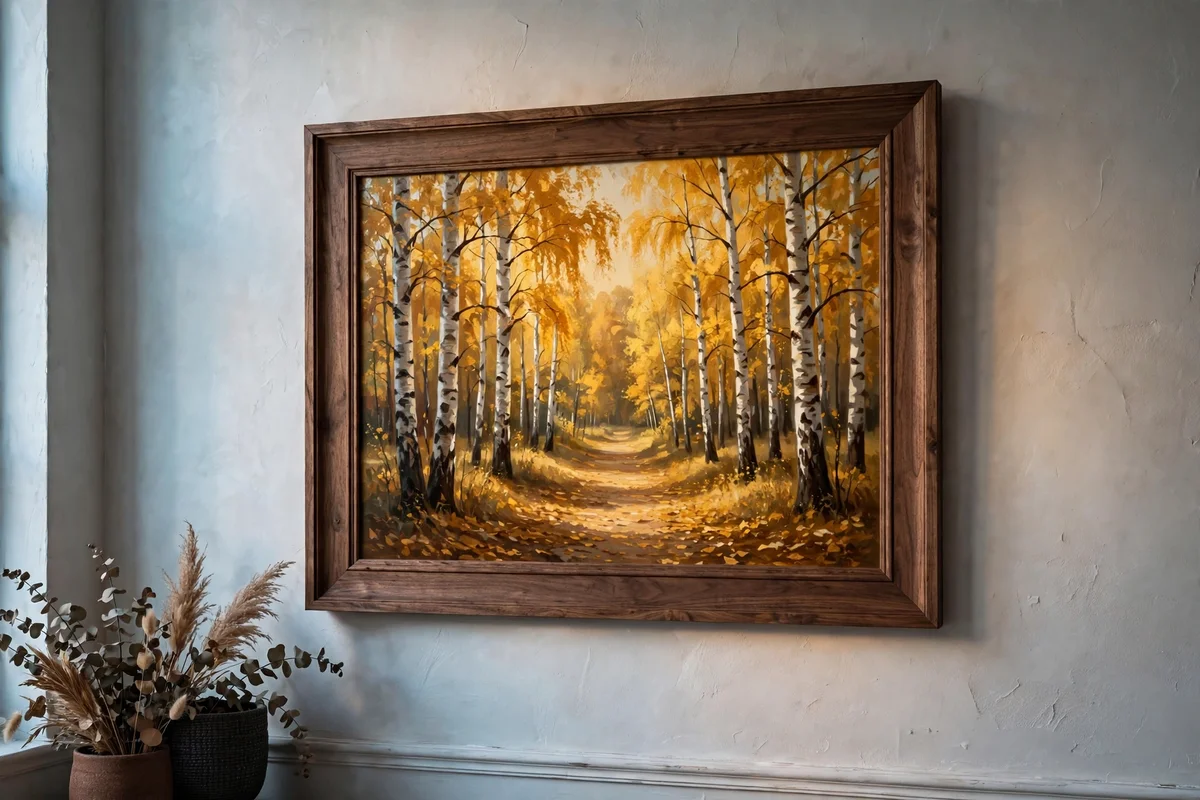
North-facing walls get cool, flat light, and a golden autumn birch painting answers it beautifully. On a 45 by 60 cm canvas, paint pale trunks with thin charcoal bark marks, then crown them with canopies of cadmium yellow, gold ochre and burnt sienna. Let small dabs of warm colour fall onto the path below as scattered leaves, which carries the gold through the whole composition instead of trapping it at the top.
This painting works hardest where daylight is weakest, so hang it on the north wall itself rather than opposite the window. A walnut frame adds richness that suits autumn tones. The mistake to avoid is making the gold too even; real autumn canopies hold patches of remaining green and bare branch, and those contrasts keep the painting believable. Budget tip: ochre and sienna are among the cheapest pigments, so this warm look costs very little.
7. Try a Snowy Winter Pinescape in Muted Greys for a Quiet Entryway
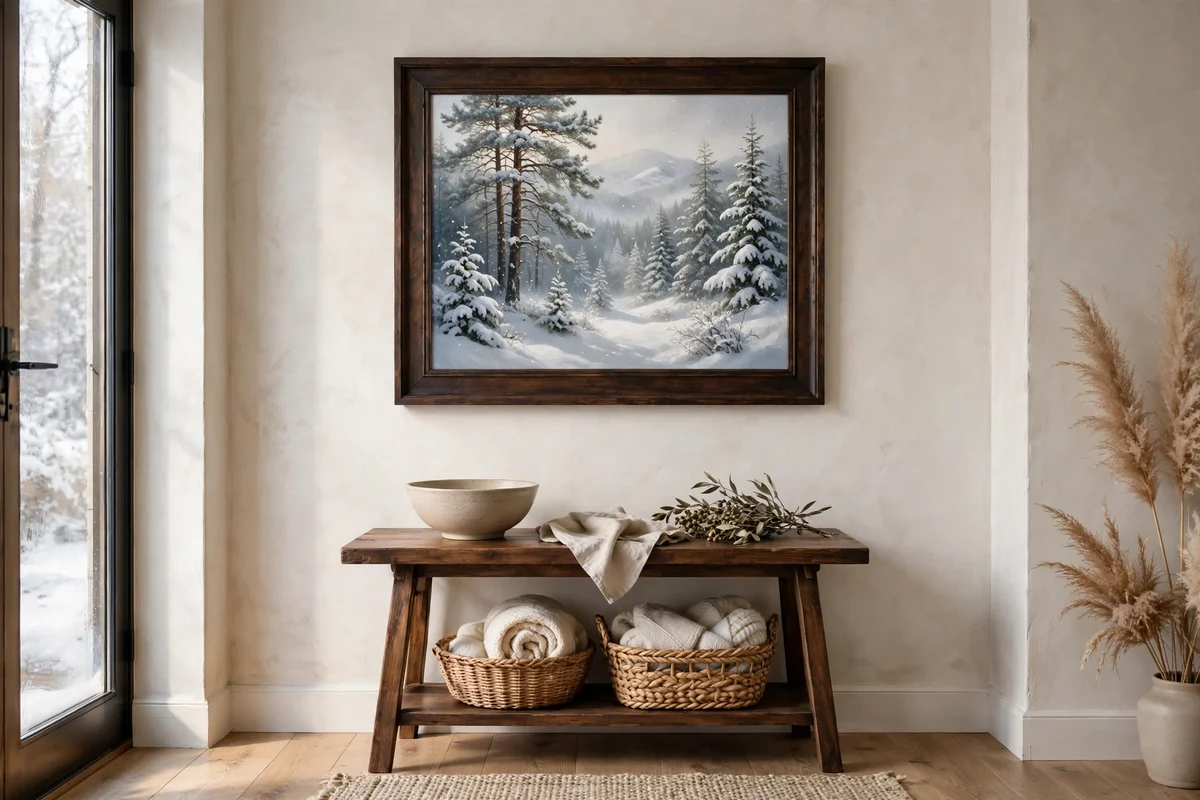
A winter pinescape in muted greys gives an entryway a hush that suits the threshold of a home. Paint on a 35 by 45 cm board, laying a pale blue-grey sky first, then a middle band of soft grey-green pines, then a near-black foreground row dusted with titanium white along the top edges for snow. Keep the snow thin; a whisper of white over dark green reads colder and truer than thick white blobs.
Hang it beside the coat hooks or above a small console, where guests pause and the quiet scene sets the tone. A simple black or dark-stained frame sharpens the greys. The mistake to avoid is a pure white sky; skies in winter are rarely white, and a faint blue-grey keeps the snow looking luminous by contrast. This limited palette needs only four tubes, making it a genuinely cheap weekend project with a refined result.
8. Paint a Summer Meadow Edge With Tall Pines for a Sunlit Kitchen Corner
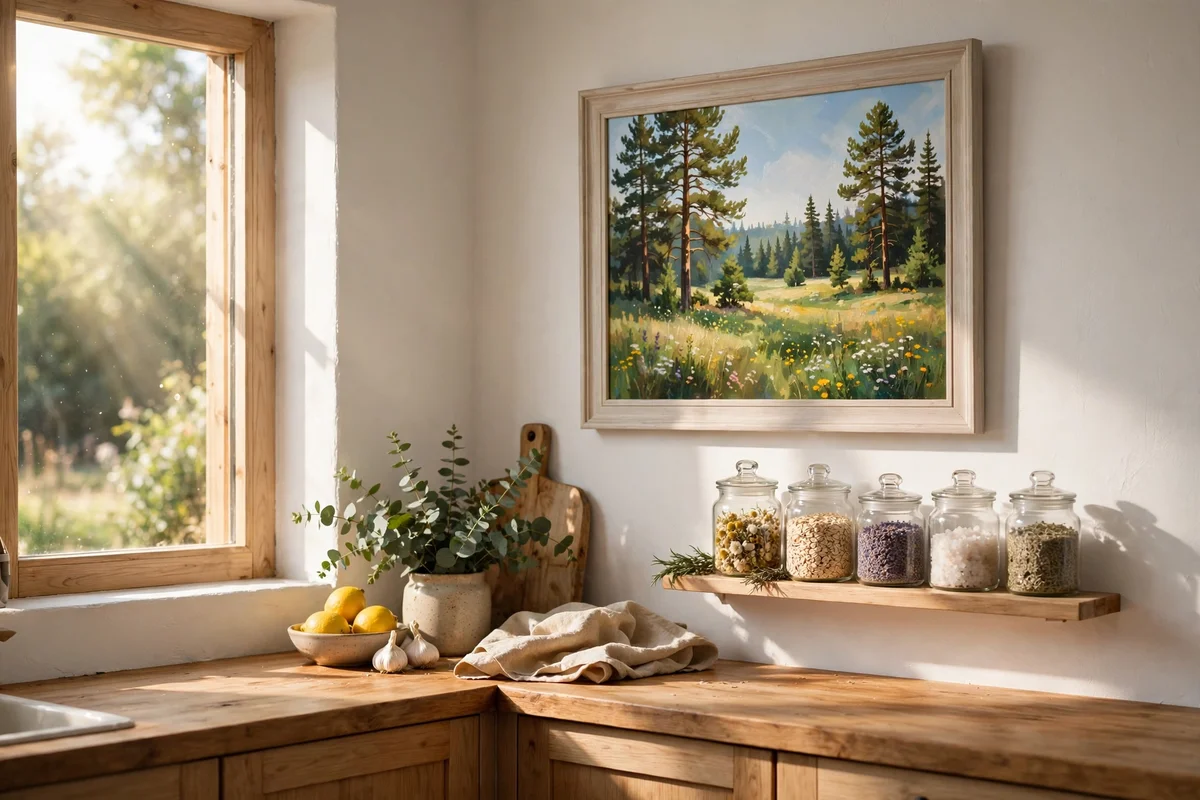
A summer meadow edge brings the outside into a bright kitchen corner without a single real plant to water. On a 40 by 40 cm canvas, paint a band of warm meadow grasses along the bottom third in yellow-green and straw tones, then rise into tall dark pines that fill the top two thirds. Leave a slice of pale warm sky between two trunks so the scene breathes and the kitchen light seems to continue into the painting.
Hang it where morning sun hits, about 30 cm from the corner so it shares the wall with a small shelf of jars. A light ash frame keeps it fresh. The mistake to avoid is painting the meadow too dark; kitchens are bright rooms, and a meadow in midday tones of warm green and gold feels right, while a dusk meadow would fight the room. Seal watercolour or gouache versions behind glass if they hang near cooking steam.
9. Use a Limited Palette of Sage, Moss, Stone and Mist on a Beginner Canvas
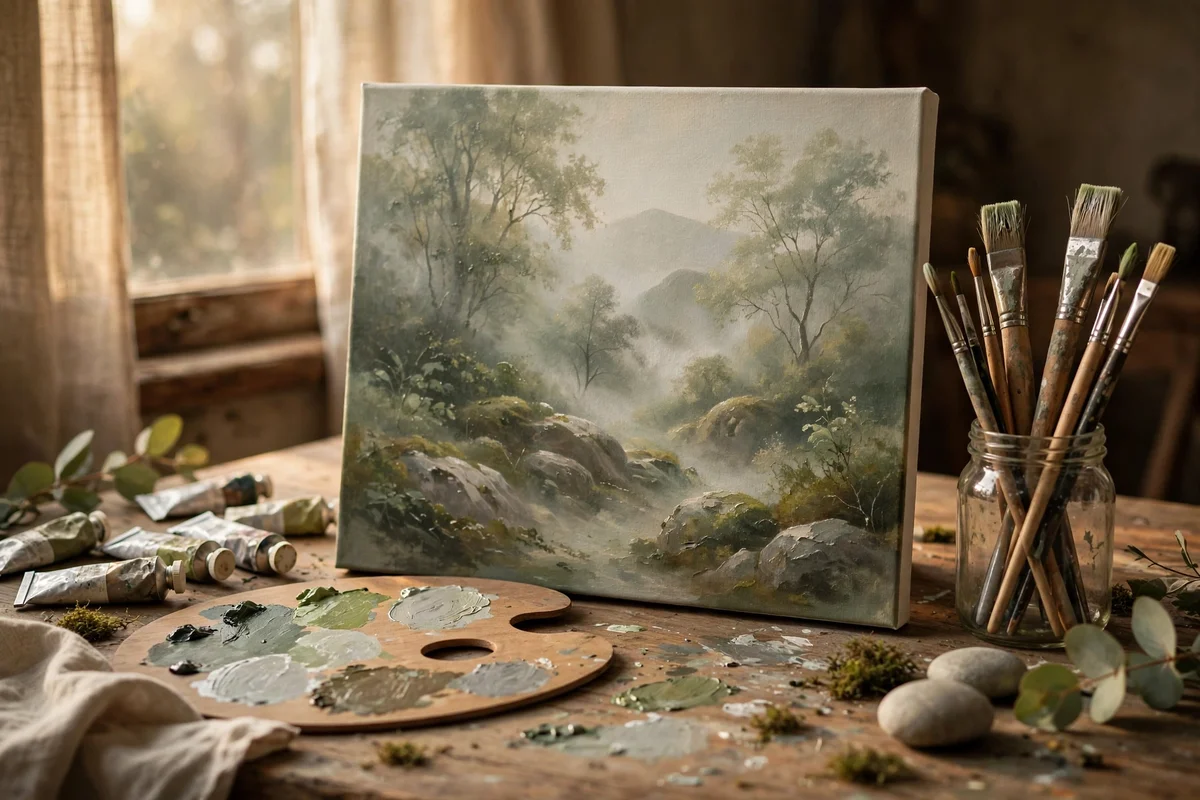
Beginners do their best work with four colours instead of forty. Choose sage green, moss green, warm stone grey and a misty blue-grey, all mixed from just three tubes plus white. On a 30 by 40 cm canvas, these four carry an entire woodland: sage for distant canopy, moss for middle trees, stone for trunks and rocks, mist for the foggy gaps. Restricting the palette forces the value shifts that create depth.
Mix generous piles on a large palette so colours stay consistent across the painting, and clean the brush between families of colour to keep the sage from turning muddy. The mistake to avoid is adding black for shadows; mix the complement, a little burnt sienna into the greens, for shadows that stay alive. Budget tip: three tubes and white cost less than a pre-mixed set of twenty, and teach far more about colour.
10. Paint a Three Layer Forest for Depth: Dark Foreground, Mid Trunks, Pale Back
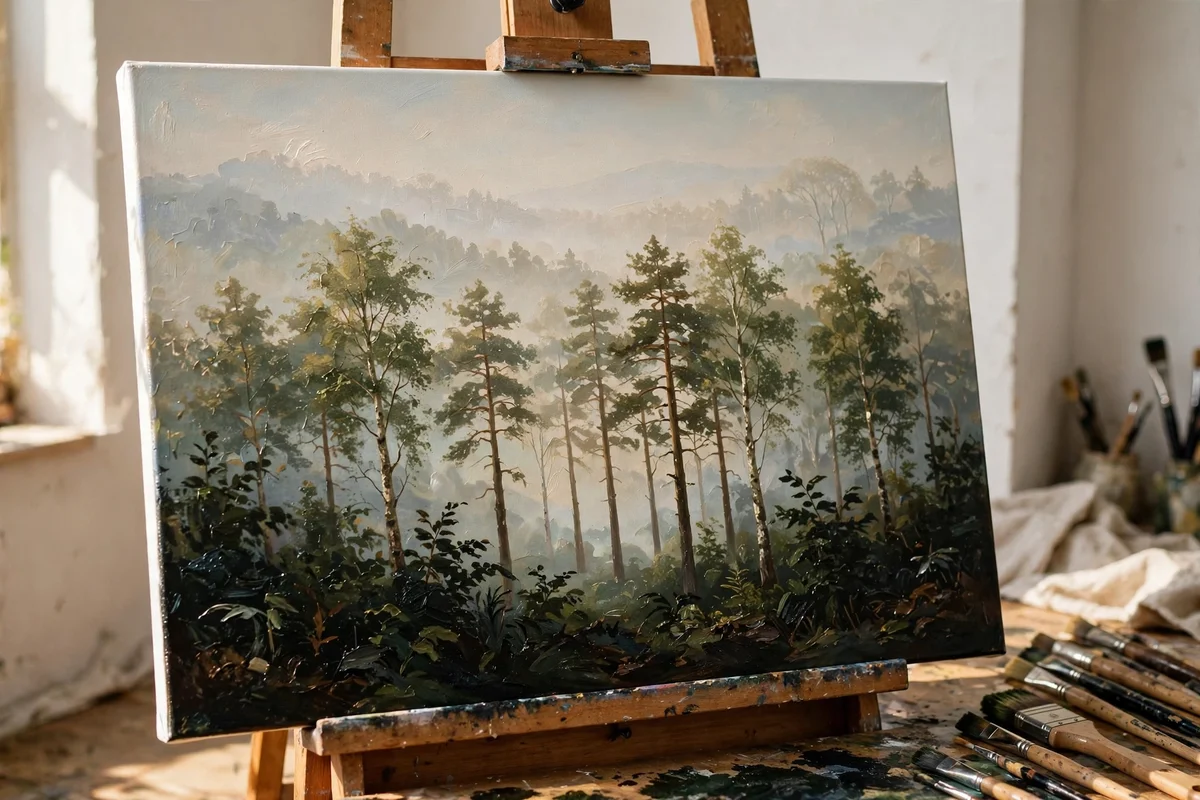
Depth is the difference between a flat green wall and a forest you could walk into, and three layers build it reliably. On a 40 by 50 cm canvas, paint the far layer first in pale misty green-grey, then a middle band of clear trunks in mid olive, then a dark foreground of near-black green shapes along the bottom corners that frame the view. Each layer should overlap the one behind by a finger’s width so the edges read as distance.
Let each layer dry for at least an hour before adding the next, or the wet paint will drag and the layers will merge into murk. A hairdryer on cool held 30 cm away speeds this safely. The mistake to avoid is equal spacing between layers; the far layer should be the widest band and the foreground just a sliver at the edges, because depth lives in proportion. This method suits acrylics best, since they dry fast and layer cleanly.
11. Brush a Simple Fern and Sapling Understory on a 24 by 30 cm Board
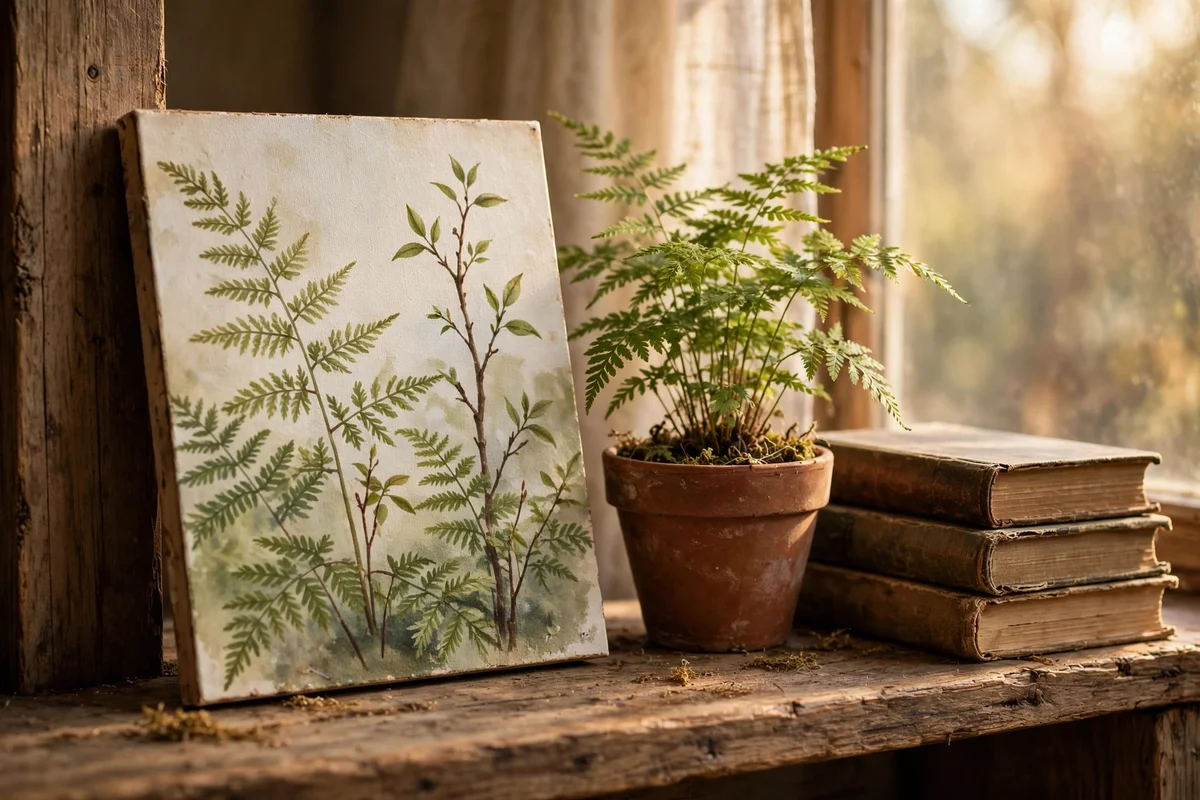
The forest floor deserves its own small painting, and a 24 by 30 cm board is the perfect modest scale. Wash a soft green-brown ground, then paint three young saplings as thin verticals rising out of frame. Between them, brush fern fronds with a single confident stroke each, starting at the stem base and flicking outward so the frond tapers naturally. Five to seven fronds fill the board without crowding.
This small scale suits a bathroom shelf, a bedside table lean, or a narrow gap between larger frames. Seal the board with two thin coats of matte varnish so humidity and handling do not mark it. The mistake to avoid is painting every fern identical; tilt each frond a few degrees and vary its length, because nature never repeats exactly. Boards are cheaper than stretched canvas and need no frame to look finished.
12. Paint a Misty Forest Reflected in Still Water for a Bathroom Wall
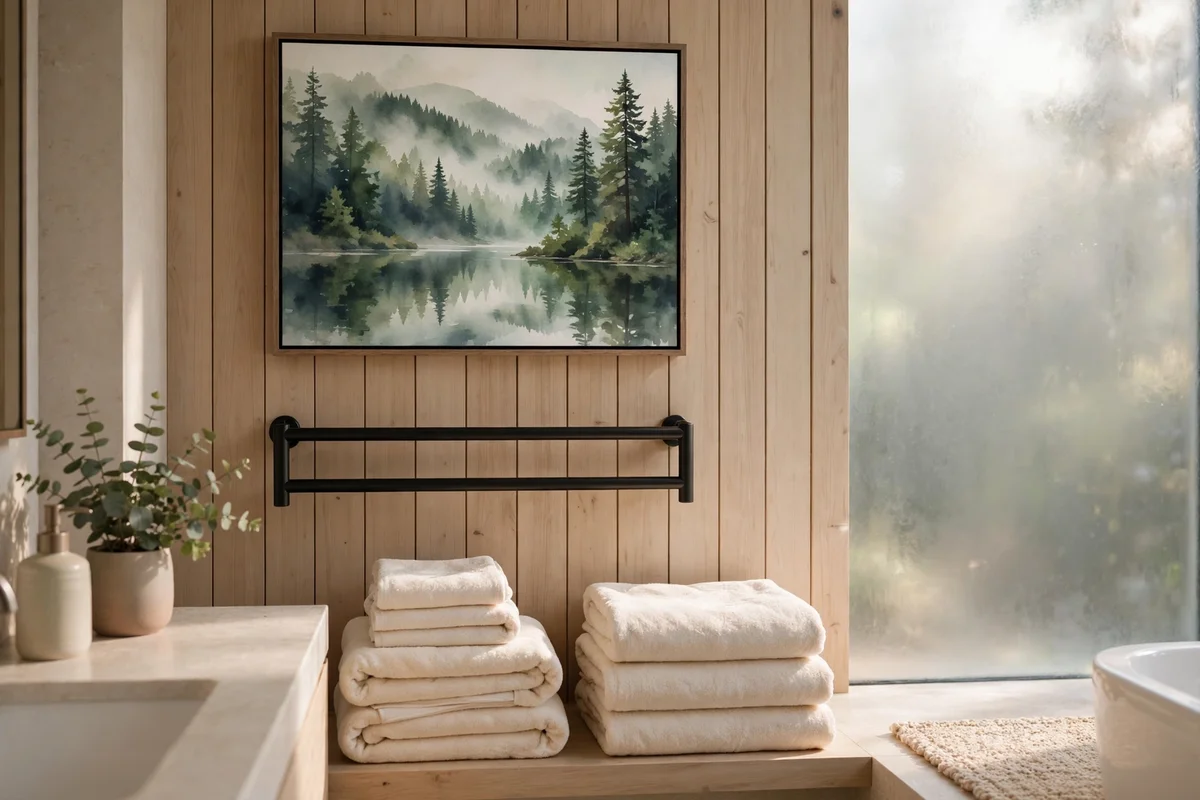
Bathrooms love water scenes, and a misty forest mirrored in a still lake doubles the calm. On a 35 by 50 cm canvas, paint the forest in the top half with soft grey-green pines fading into fog, then mirror it below the centre line in slightly darker, slightly blurred strokes. Drag a horizontal dry brush across the reflection once, lightly, to suggest the faintest ripple without breaking the mirror.
Hang it above the towel rail or opposite the mirror so the reflection theme repeats around the room. Choose a moisture-resistant frame or seal the canvas edges with varnish, since steam is the enemy of raw canvas. The mistake to avoid is a perfectly symmetrical mirror; shift the waterline a touch below centre so the forest dominates and the painting does not feel like a Rorschach test. Two hours of painting yields a spa-like result.
13. Frame a Set of Three Small 20 by 20 cm Forest Studies in Natural Pine
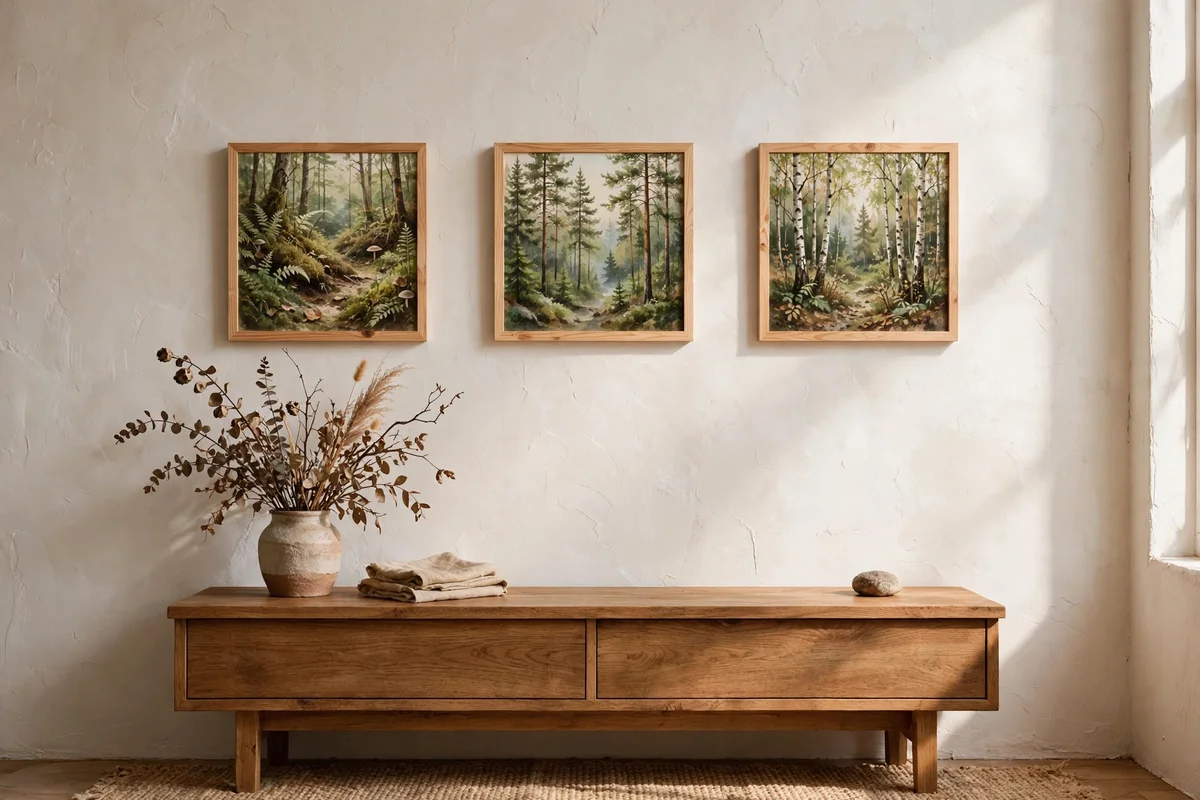
A trio of small studies makes a gallery moment from modest skills. Paint three 20 by 20 cm canvases as one series: the first a misty treeline, the second a single birch trunk close up, the third a fern detail. Use the same four-colour palette across all three so they read as a set even though each scene differs. Keep brushwork loose; at this size, suggestion beats detail.
Hang them in a horizontal row with 7 to 8 cm gaps, centred over a console or desk at 150 cm to the middle. Identical thin natural pine frames unify the trio. The mistake to avoid is varying the horizon lines wildly; keep them roughly aligned across the three so the row feels composed. Budget tip: packs of three small canvases cost very little, and the set looks far more considered than one larger uncertain painting.
14. Hang a Large 60 by 90 cm Statement Forest Canvas Above the Bed
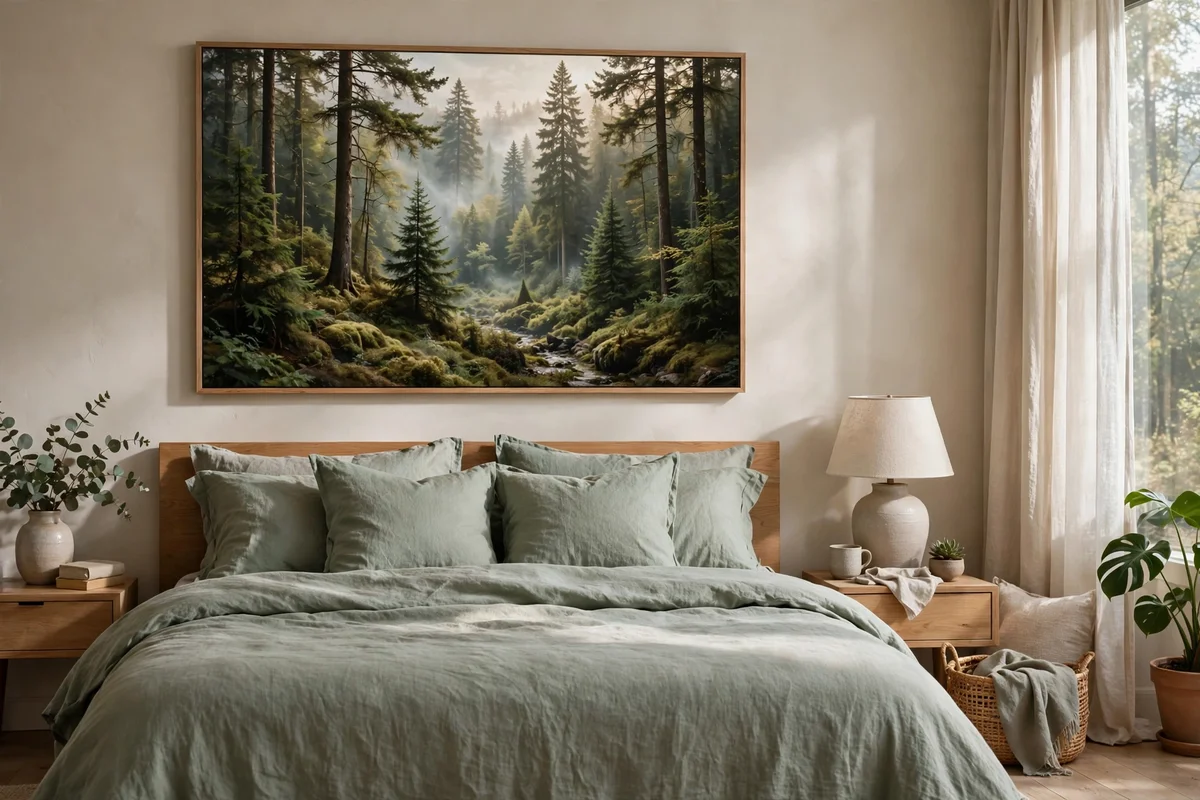
A 60 by 90 cm canvas above the bed turns the whole bedroom into a forest clearing. Paint a wide panoramic treeline with a soft misty centre that glows slightly lighter, drawing the eye to rest there. Keep the palette restrained, deep moss and sage with stone-grey trunks, so the large scale feels serene rather than loud. Two sittings of about ninety minutes each complete it without rushing.
Centre the canvas with its bottom edge 20 to 25 cm above the headboard, and check it is level with a small spirit level since large pieces show tilt cruelly. Use two wall hooks rated for the weight, not a single nail. The mistake to avoid is hanging it too high, which disconnects it from the bed; it should feel like a headboard extension. A large canvas is an investment piece, so buy the deeper 38 mm profile for a gallery look.
15. Paint With a Palette Knife for Textured Bark on a Rustic Den Wall
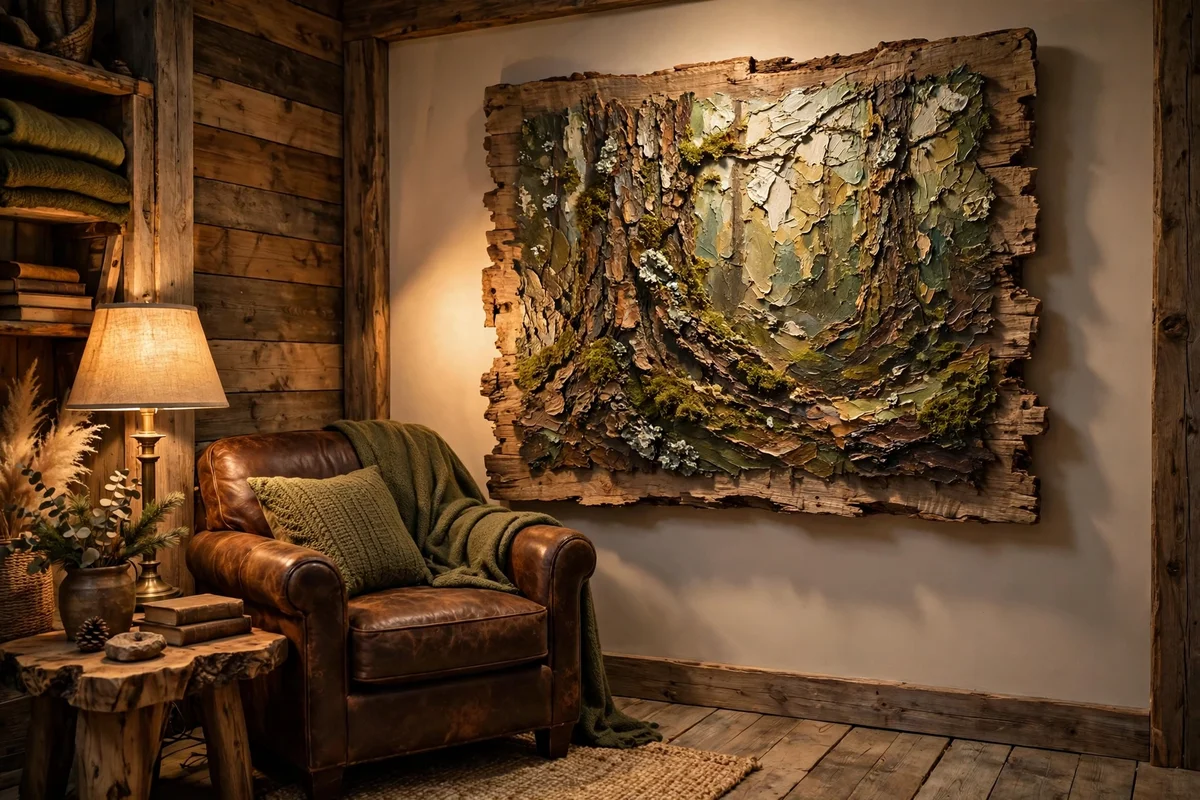
A palette knife turns ordinary bark into something you want to touch, perfect for a rustic den. On a 40 by 50 cm canvas, lay the trunk shapes in mid brown, then drag thick strokes of dark umber and pale stone along the verticals with the knife edge, letting the paint ridge and skip. The broken texture catches real light in the room, so the bark shifts as you move past it.
Hang it where a side lamp rakes across the surface, since texture needs angled light to show. A rough-sawn wood frame suits the tactile mood. The mistake to avoid is overloading the knife; a pea-sized amount of paint per stroke gives crisp ridges, while a loaded knife smears into mud. Budget tip: one inexpensive metal knife outlasts dozens of brushes for this technique and cleans with a single wipe.
16. Try Wet on Wet Watercolour Washes for Soft Fog Between Tree Rows
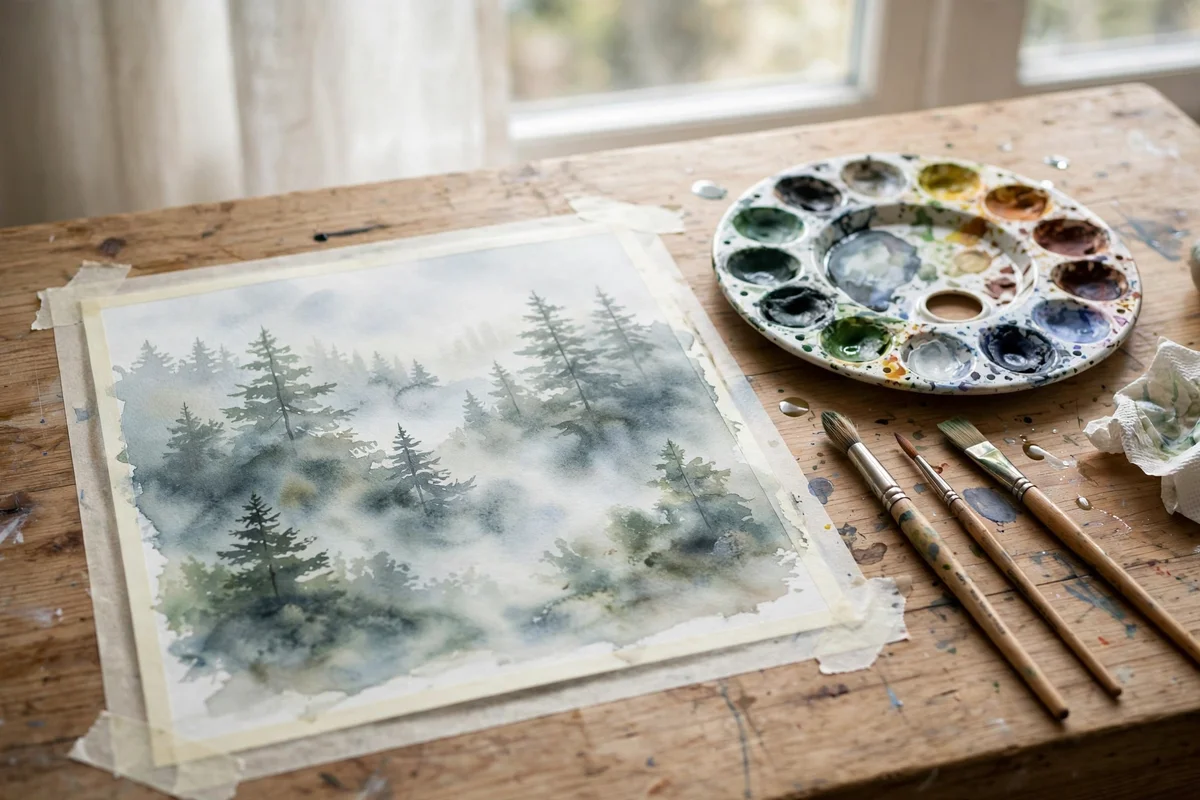
Wet on wet watercolour is fog in a brushstroke, and it suits misty forests perfectly. Soak a 30 by 40 cm sheet of 300 gsm paper, then drop in horizontal bands of grey-green and blue-grey, tilting the board slightly so the colours drift into each other. While still damp, paint the tree rows with a thirsty brush, letting the edges soften into the mist on their own. The paper does half the work.
Work quickly, since the magic window lasts about ten minutes before the paper dries, and keep a hairdryer off; forced drying kills the soft blooms. Frame behind glass with a mount to protect the delicate surface. The mistake to avoid is fiddling with a drying wash; every extra stroke hardens an edge that should have stayed soft. Tape the paper edges to a board first so the finished sheet lies perfectly flat.
17. Paint a Night Forest in Deep Teal and Charcoal for a Cosy Library
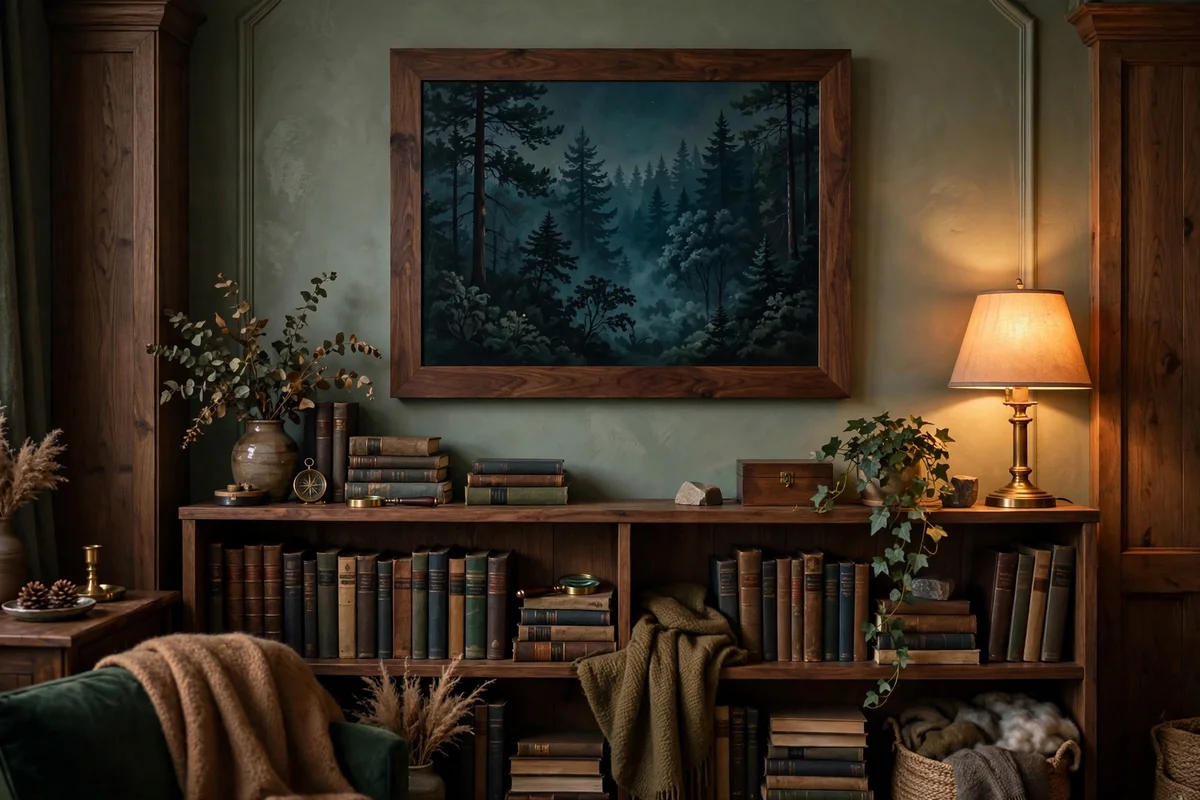
A night forest brings a library the hush that matches its books. On a 45 by 55 cm canvas, build the scene from deep teal and charcoal, reserving the darkest tone for the foreground and a slightly lifted blue-green for the far treeline. Add a small moon as a pale disc with a soft halo, and scatter ten to fifteen tiny star dots with the tip of a dry brush, keeping them sparse so the dark stays dominant.
Hang it in the dimmest corner, where lamplight will warm the teal rather than fight it, about 150 cm to centre. A dark walnut frame disappears into the mood. The mistake to avoid is adding too many stars; a night sky with restraint feels vast, while a crowded one feels like wallpaper. This painting suits acrylics, since the dark layers need the opacity that watercolour struggles to give.
18. Add a Distant Cabin Glow of Warm Ochre to a Cool Forest Painting
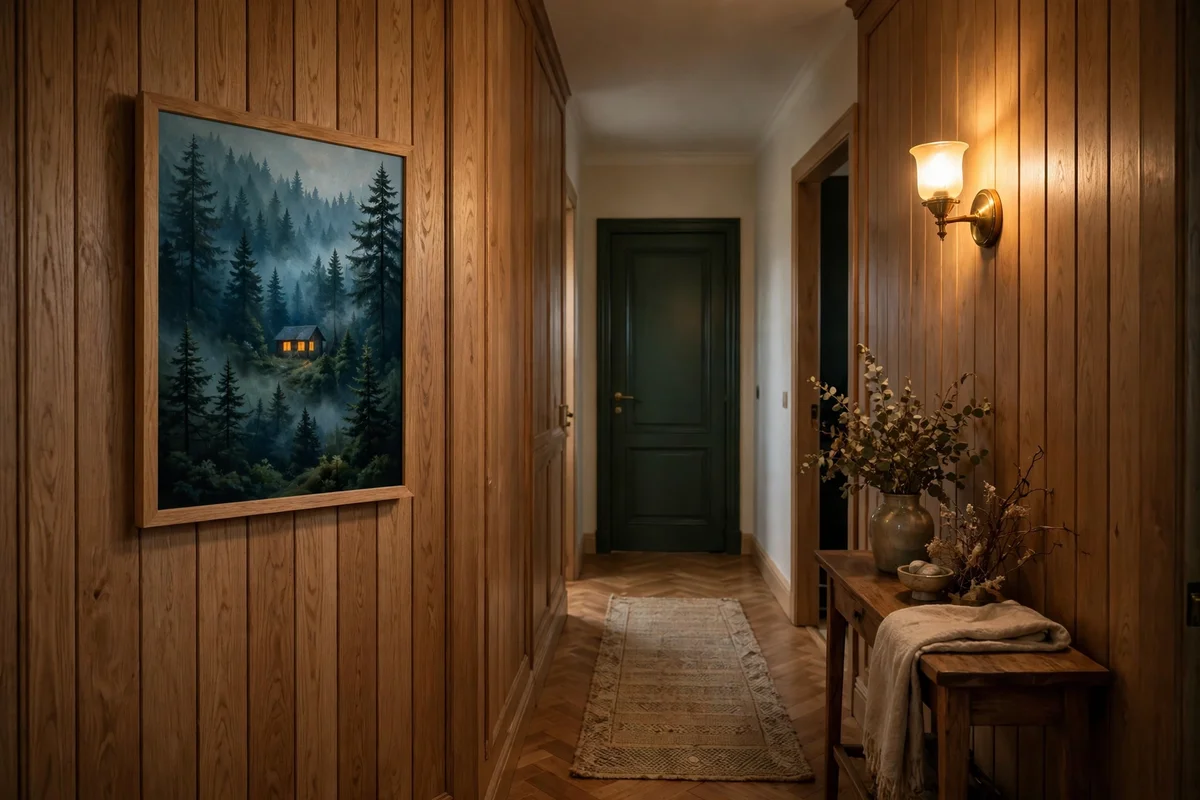
One warm window in a cool forest tells a whole story and gives the eye a destination. Paint the forest first in cool blue-greens on a 40 by 50 cm canvas, then place a small cabin shape in the middle distance, no larger than a thumbprint, with two or three tiny ochre rectangles for lit windows. Surround the glow with a faint warm halo brushed thinly into the surrounding trees so the light feels real.
This single warm accent suits a hallway or stairwell, where the glowing windows reward a passing glance. Keep the rest of the room’s lighting warm white to echo it. The mistake to avoid is enlarging the cabin; at postcard scale the glow reads as distant and dreamy, while a big cabin turns the painting into real estate. Mix the ochre with a touch of cadmium orange so the windows glow against the cool greens.
19. Hang Unframed Canvases With Painted Edges on a Picture Rail for a Casual Nook
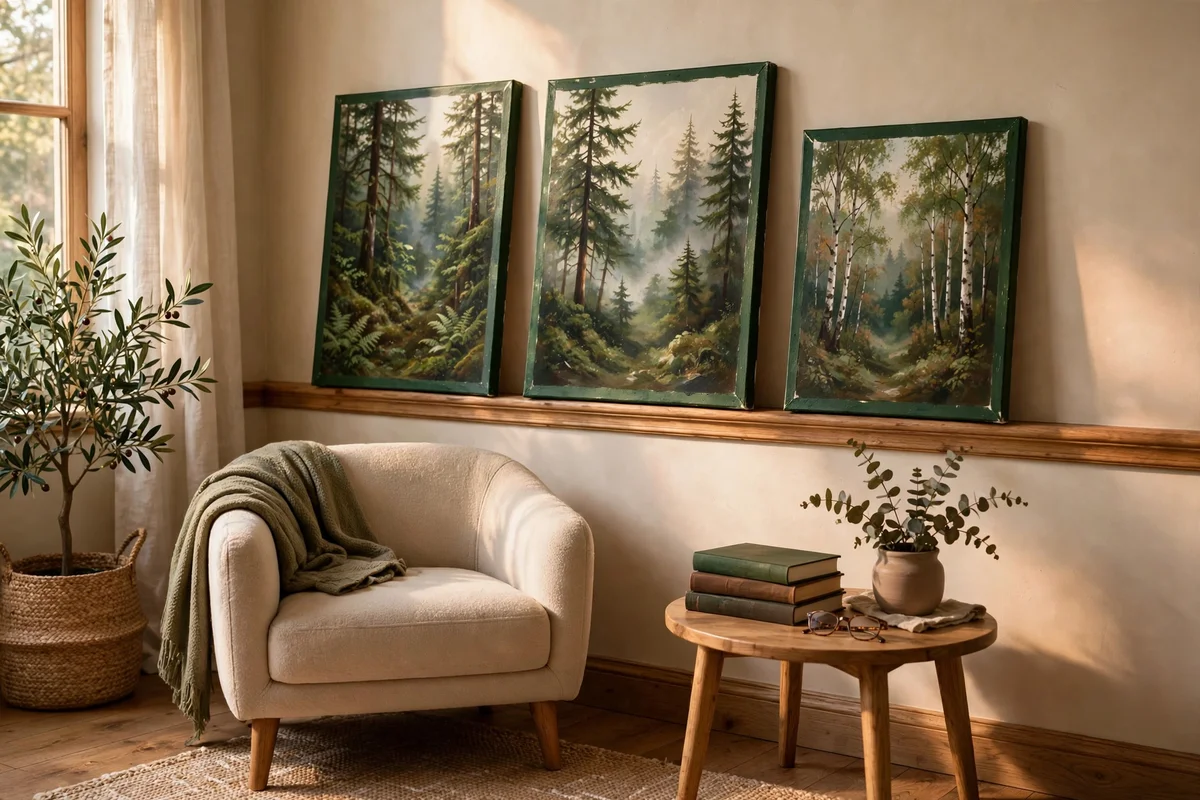
Unframed canvases with painted edges give a reading nook a relaxed, studio-like ease. Choose deep 38 mm profile canvases and carry the forest colours around all four edges as you paint, so the sides look intentional rather than unfinished. A picture rail or narrow ledge lets you lean three or four pieces and swap them with the seasons, which suits painters who keep producing.
Mount the rail at about 170 cm and lean the canvases with a slight backward tilt, the largest at the back. Overlap the edges by a few centimetres for a collected, gallery-casual feel. The mistake to avoid is leaving the edges raw white; unpainted edges shout unfinished from across the room. Budget tip: skipping frames saves a third of the cost of a wall display and looks deliberately modern rather than cheap.
20. Paint a Rolling Fog Horizon Behind Bare Winter Branches in Sienna
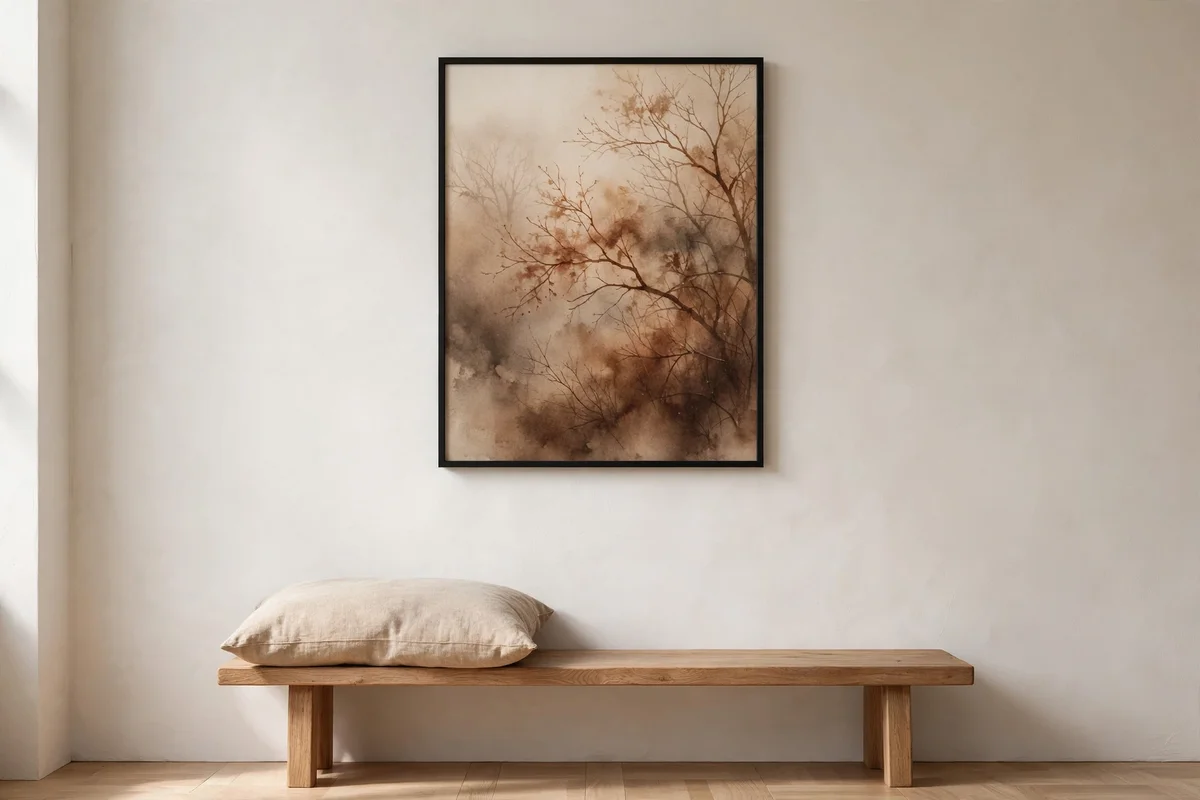
Bare branches against rolling fog have a spare, poetic beauty that suits minimal rooms. On a 40 by 60 cm canvas, wash the whole background in layered greys, pale at the horizon deepening toward the top, to build the fog. Then paint five to seven bare branch structures in burnt sienna rising from the bottom edge, letting their fine twigs thin to a single brush hair at the tips for delicacy.
Hang it where the room is simplest, perhaps above a low bench with one cushion, so the spare composition has space around it. A thin black frame gives the foggy greys definition. The mistake to avoid is symmetrical branches; lean each tree a few degrees and vary their heights, since even spacing reads as fence posts. Sienna against grey is a classic pairing that needs no other colour to feel complete.
21. Mount a Long 30 by 90 cm Forest Panorama Above a Low Sideboard
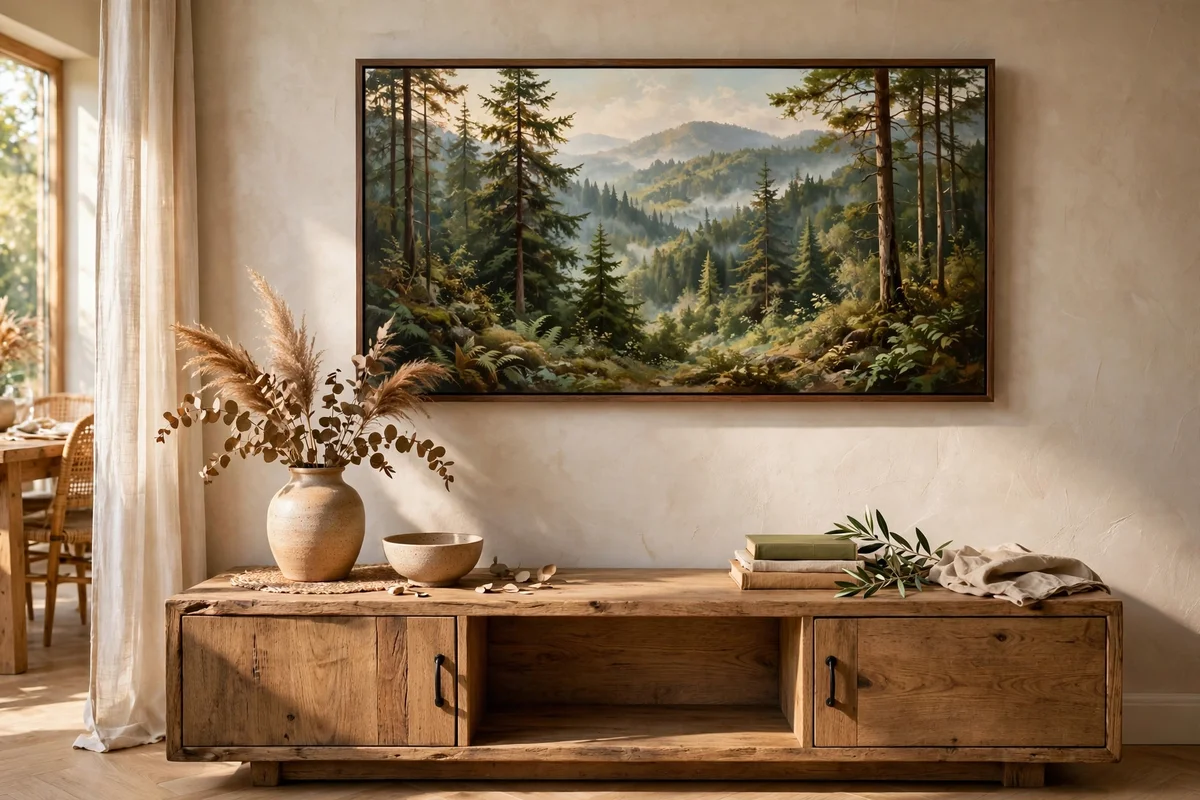
A 30 by 90 cm panorama matches the long, low line of a sideboard beautifully. Paint a continuous treeline that drifts from darker pines at the left through a misty open centre to softer birches at the right, so the eye travels the full width. Keep the horizon steady at the same height across all 90 cm; a wandering horizon breaks the panoramic illusion instantly.
Centre the painting over the sideboard with 15 to 20 cm of wall showing above the furniture, and keep the sideboard top styling low so the panorama stays the horizon line of the room. Two D-rings and wire share the long span’s weight safely. The mistake to avoid is painting three separate scenes side by side; blend the transitions across the joins so it reads as one unbroken forest. Panoramic canvases cost more, so plan the composition in pencil first.
22. Paint Your Own Seasonal Quartet of 25 by 25 cm Forest Canvases
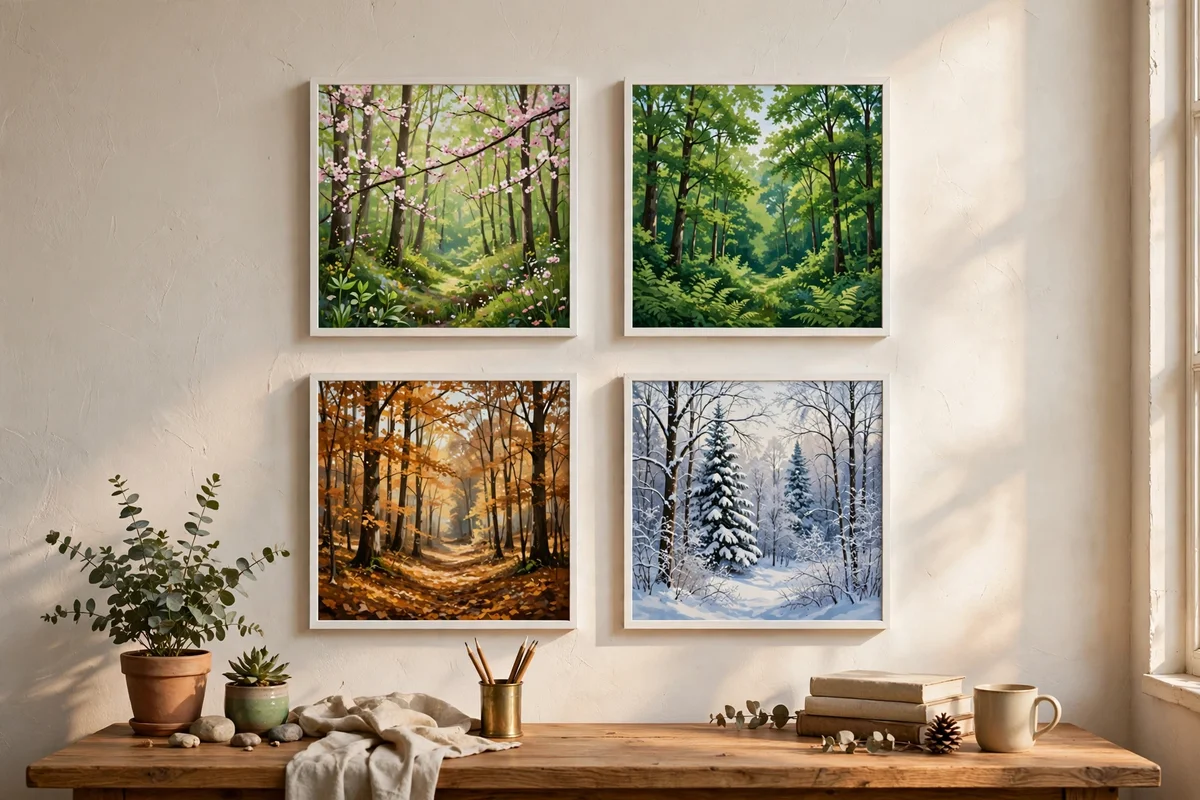
A seasonal quartet turns one painting session into a year of forests. Take four 25 by 25 cm canvases and paint the same simple treeline four times: spring in fresh yellow-green, summer in deep full green, autumn in gold and sienna, winter in blue-grey with white snow lines. Keeping the composition identical across all four makes the colour changes sing and teaches how palette alone shifts mood.
Hang them in a two by two grid with 5 cm gaps in a hallway or above a desk, ordering them spring, summer, autumn, winter clockwise from top left. Identical thin white frames keep the grid crisp. The mistake to avoid is changing the treeline shape between seasons; the quartet works because only colour changes. Budget tip: four small canvases and a basic palette cost less than one large canvas and frame.
Across these 22 ideas, one thread holds steady: calm comes from restraint. A limited palette, a simple treeline, mist instead of detail, and a frame that honours the painting without shouting. Whether you choose the slim hallway pines, the glowing cabin scene or the full seasonal quartet, the forest you paint will return that quiet to your room every single day you see it.
Start this week with the easiest win on the list: the beginner canvas in sage, moss, stone and mist. One 30 by 40 cm canvas, three tubes of paint plus white, and an unhurried afternoon are all it takes. Hang it where you will see it daily, live with it for a week, and let that small woodland teach you what your next painting wants to be.
Frequently Asked Questions
What size canvas suits a forest painting above a mantel?
A 40 by 50 cm canvas is the reliable choice, wide enough to read across the room yet light enough to lean safely. For wider mantels, a 50 by 70 cm piece fills the space without crowding. Keep the bottom edge resting just in front of the mantel lip and style the sides low so the painting stays the tallest element.
How much does it cost to start painting forest scenes at home?
A beginner setup runs about 30 to 60 in most currencies: three to five tubes of acrylic, a small set of brushes, and two or three modest canvases. Student-grade paint is perfectly fine for learning. Buy larger canvases only after a few small studies, since the learning pieces teach the most.
Which paints work best for misty forest effects?
Acrylics suit beginners because they dry fast and layer cleanly for fog and depth. Watercolours give the softest mist through wet on wet washes but demand quicker, more confident handling. For your first misty scene, choose acrylics; graduate to watercolour once you trust your brush.
How do I keep my forest painting from looking flat?
Build three distinct layers: a pale misty back, a mid-tone trunk layer, and a dark foreground framing the edges. Let each layer dry before adding the next, and keep the far layer widest with the foreground as a sliver. Varying tree heights by a few centimetres also breaks the flat, wallpaper-like line.
What frame suits a forest painting best?
Natural wood frames in oak, pine or walnut suit woodland scenes and keep the organic mood. Thin profiles work for small studies, while deeper 38 mm canvases can hang unframed with painted edges. Avoid ornate gilt frames, which fight the quiet natural subject rather than supporting it.