Crafts
22 Pumpkin Decorating Ideas With Timeless Harvest Charm
By Anna Wells · · 19 min read
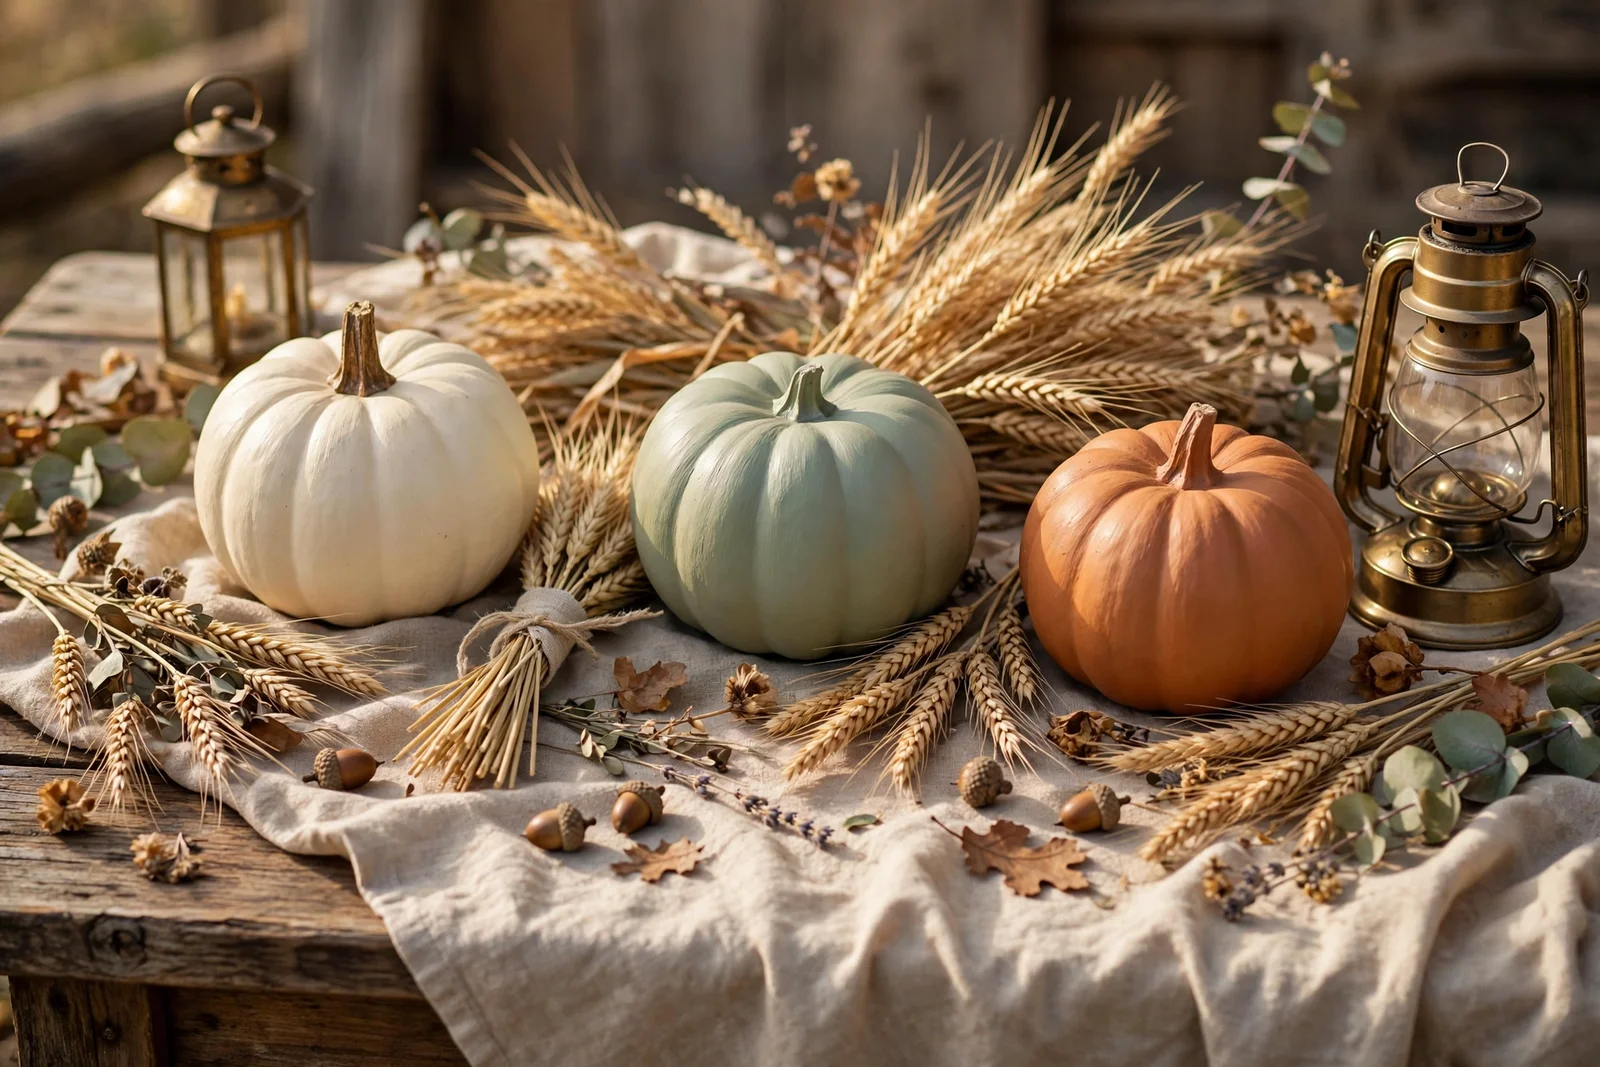
Cream, sage and muted clay pumpkins bring a calm harvest glow to any home. Here are 22 timeless pumpkin decorating ideas, from hand-painted patterns to fabric wraps and porch styling, with simple preserving tips included.
On the first cool evening of October, the porch light comes on a little earlier and the dining table starts asking for something seasonal. A painted pumpkin in warm cream, a cluster of dried grasses in a tall jug and one glowing lantern can change the whole mood of a room without a single plastic decoration in sight.
These ideas keep the harvest spirit gentle and timeless. There are no carved faces here and nothing loud or garish, only soft paint colours, natural fabrics, brass and beeswax, and the quiet textures of the season. Everything suits a family home and reads as elegant from September right through late November.
You will find 22 concrete ideas below, each with the materials, sizes and timings you need to do it in an afternoon. Some are five-minute styling touches and others are small craft projects, and the final sections cover how to keep real pumpkins looking their best for weeks.
Pick one idea to start with, perhaps the cream chalk-painted pumpkin, and let the rest follow naturally as the season unfolds.
1. Paint Foam Pumpkins in Warm Cream Chalk Paint for a Soft Harvest Base
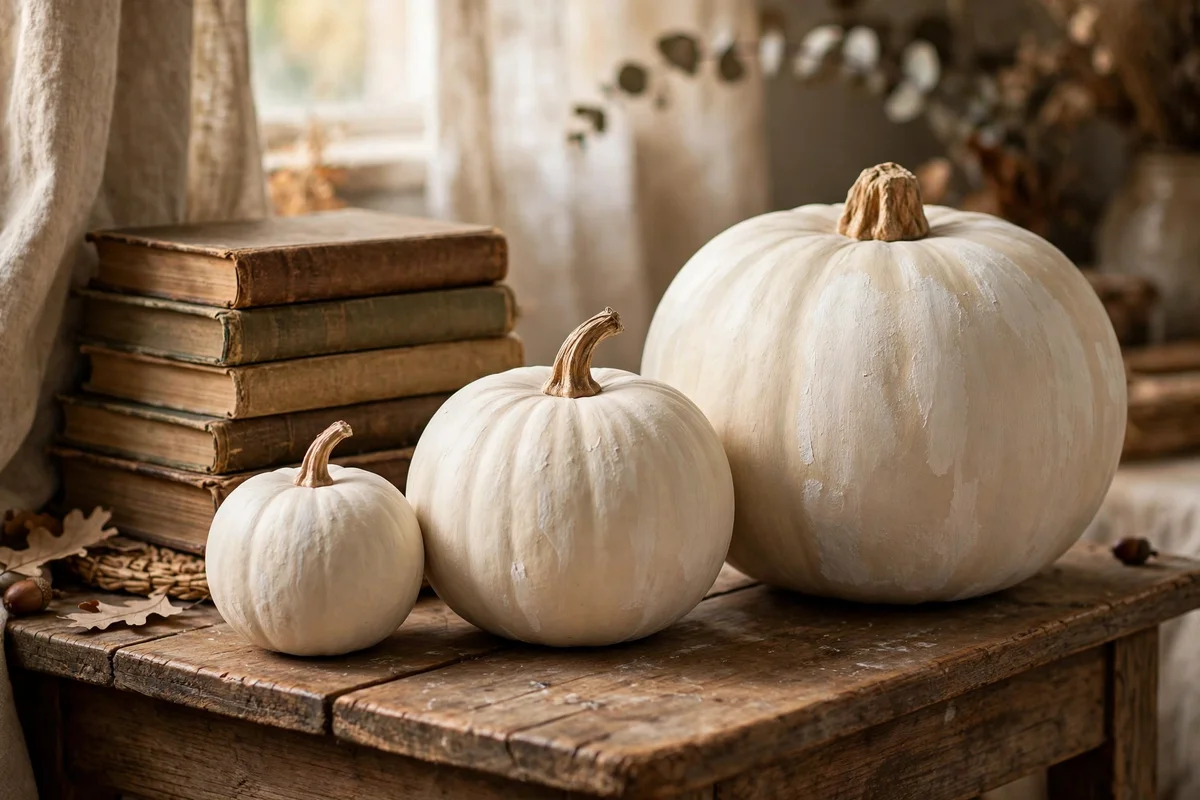
Choose two or three foam pumpkins between 15 and 25 cm tall, a size that suits shelves and side tables without crowding them. Wipe each one with a dry cloth, then brush on warm cream chalk paint in long strokes that follow the ribs. Apply two thin coats, waiting one hour between them, and leave the pumpkins untouched for two hours after the second. One 240 ml tin covers four to five medium pumpkins. Avoid a loaded brush, since thick paint pools in the rib grooves and flattens the pumpkin’s shape.
Place one finished pumpkin beside a small potted herb or a stack of two old books to give it context on a shelf. Cream is a forgiving base that pairs with sage green, muted clay, aged brass and natural linen, so almost anything you already own will sit beside it happily. Budget tip: a multipack of foam pumpkins from a craft store plus one tin of paint usually costs less than 20 pounds or dollars and covers a whole room.
2. Layer Sage Green Over Cream With Simple Hand-Brushed Stripes
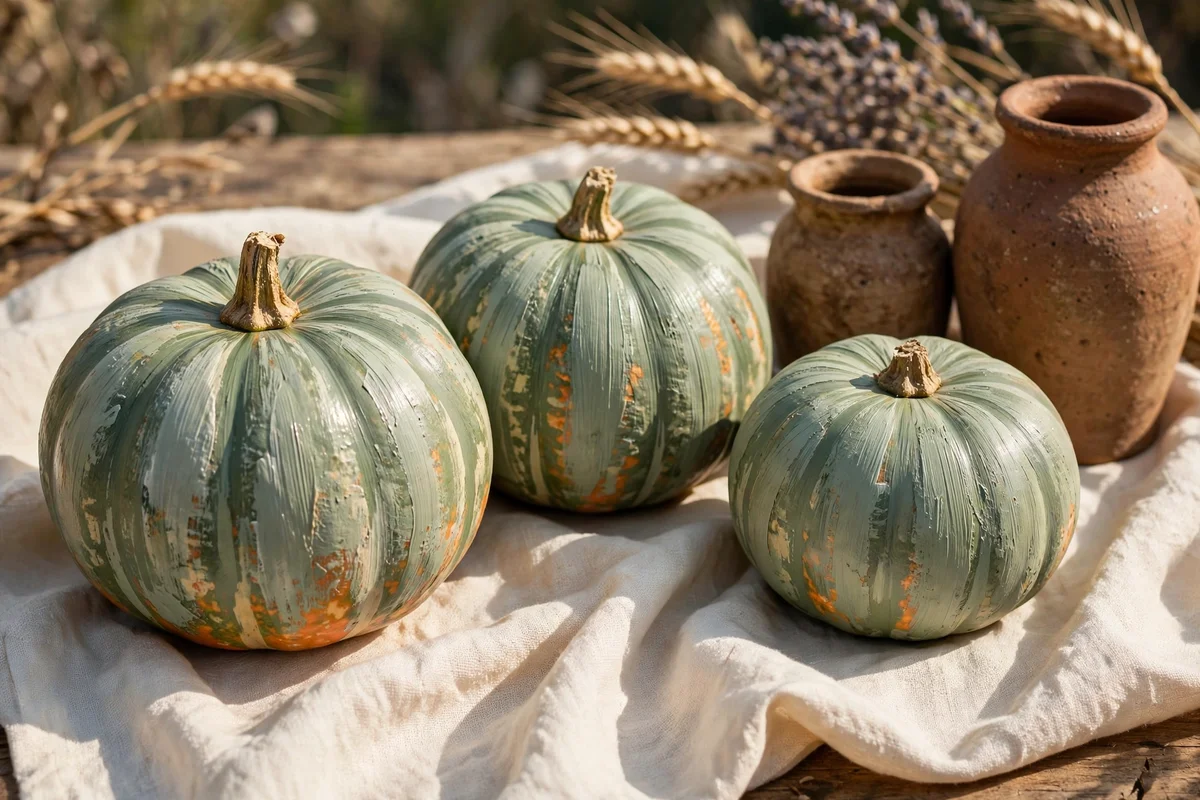
Paint the pumpkin cream first, using the method from the previous idea, and let it dry for a full two hours. Then mix a soft sage green from chalk paint and thin it with a teaspoon of water so the brush leaves visible strokes. Paint three to five wide stripes from stem to base, following the ribs, and do not worry about perfect edges since a hand-brushed line is the charm. Two stripes on each visible rib is plenty.
Step back across the room before adding more stripes, because stripes that look sparse up close often look balanced from three metres away. If one stripe goes crooked, wipe it off with a damp cloth within five minutes and repaint the section. Pair sage pumpkins with cream and clay companions in groups of three for a calm harvest palette. This project suits foam and resin pumpkins best, since real pumpkins prefer a single wash of paint.
3. Wash Craft Pumpkins in Muted Clay for a Sun-Baked Terracotta Tone
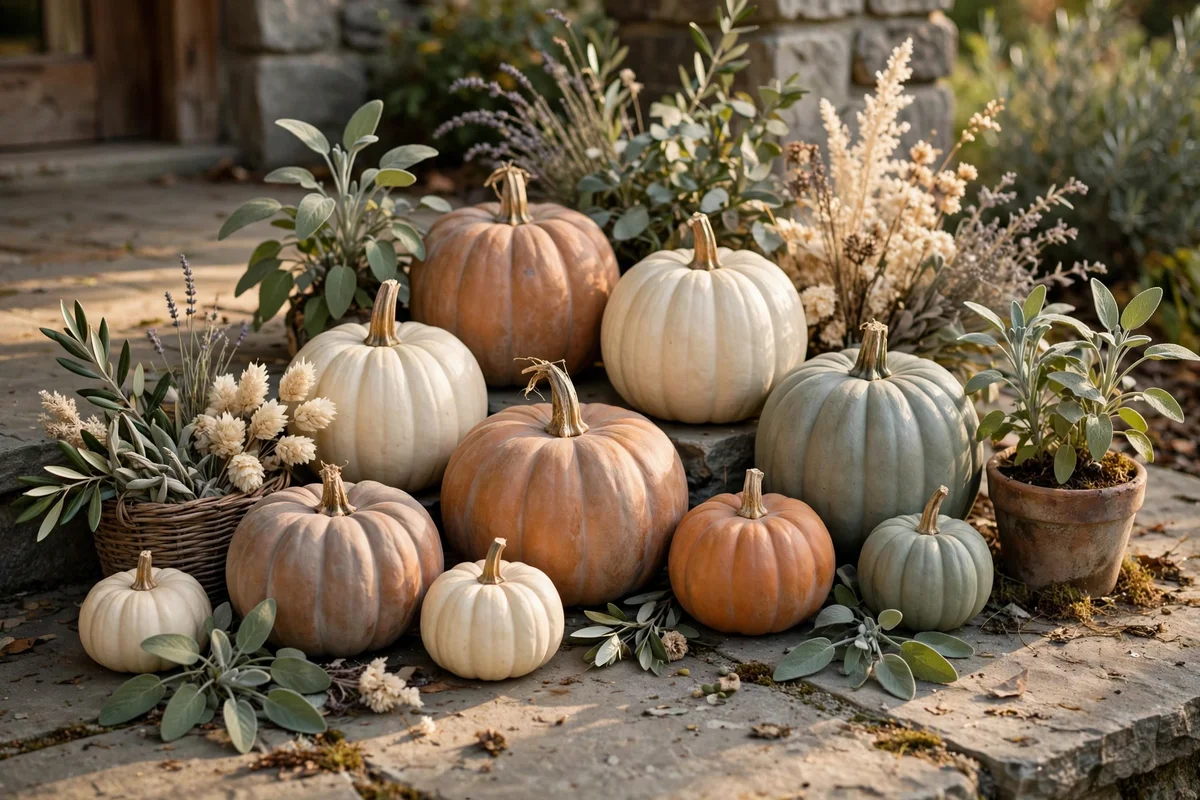
A colour wash gives craft pumpkins a sun-baked terracotta look without hiding their shape. Mix one part muted clay paint with three parts water in a small bowl, brush the wash over the whole pumpkin, then wipe it back lightly with a soft cloth while it is still damp. The ribs catch slightly more colour and the raised ridges stay lighter, which creates gentle natural shading. Let it dry for 90 minutes before touching.
This technique shines on a porch, where daylight deepens the clay tone against stone or wood. Group two clay-washed pumpkins with one cream and one sage companion for a balanced harvest set, keeping heights within 10 cm of each other so no single pumpkin dominates. The mistake to avoid is using undiluted paint straight from the tin, which reads flat orange instead of muted clay.
4. Gild Real Pumpkin Stems With a Touch of Brass Paint

The twisted stem is a real pumpkin’s best feature, and a touch of brass paint turns it into quiet jewellery. Dab a small craft brush in water-based metallic brass paint, blot most of it onto a paper towel, and lightly dry-brush the stem so the brown bark shows through between strokes. One pumpkin takes under five minutes, and the paint dries in about 30 minutes. Work outdoors or over newspaper to keep dust off wet paint.
Resist the urge to paint the whole stem solid gold, since full coverage looks artificial and chips easily at the base. The half-dry, brushed effect reads as aged metal and lasts the whole season indoors. Pair gilded stems with cream or natural pumpkins rather than bright paint, so the brass stays the quiet detail. This detail also lifts the cheapest pumpkins from the farm shop into something worth placing on a table.
5. Wrap Small Pumpkins in Linen Fabric With a Hand-Stitched Seam
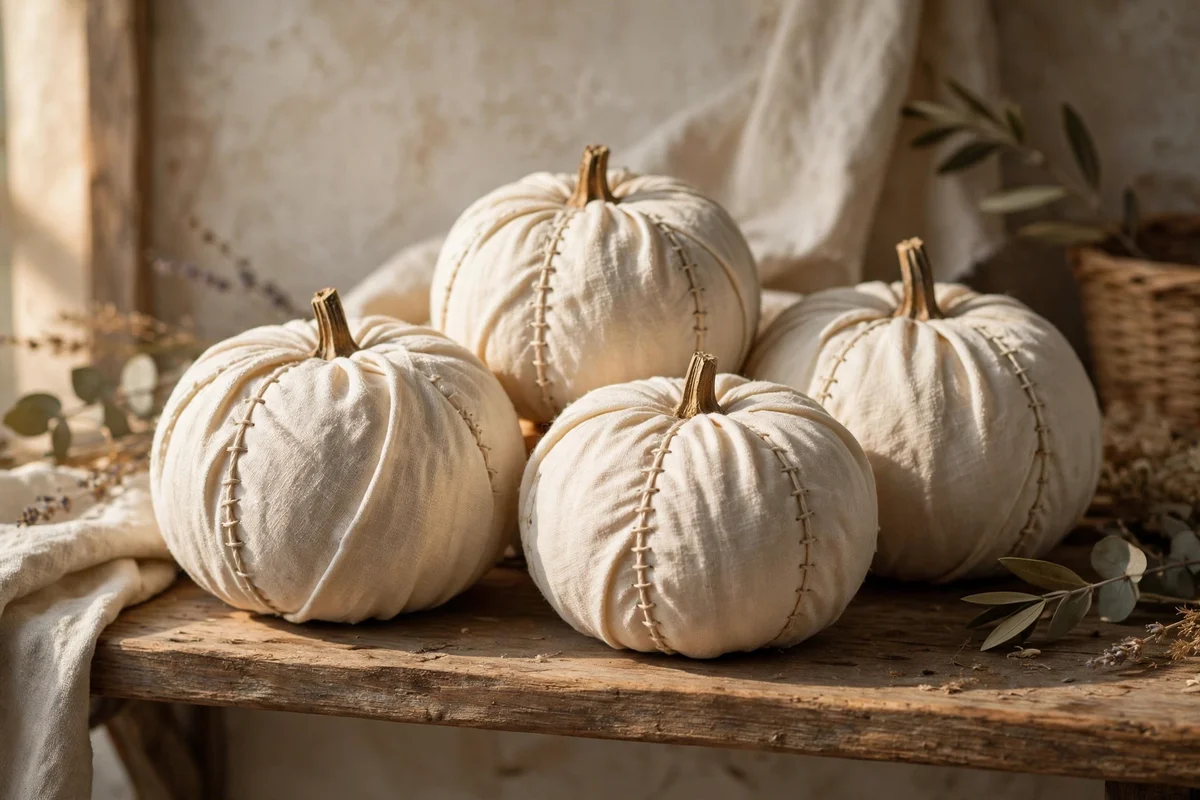
Choose linen or cotton in cream, oatmeal or soft sage and cut a square twice the height of your pumpkin plus 5 cm for the seam. Wrap the fabric around the pumpkin, pin the overlap at the back, and stitch it closed with a simple running stitch in matching thread. Tuck the raw edge under itself as you sew for a clean finish. A small pumpkin takes about 20 minutes, and the seam can sit against the back of a shelf.
Fabric-wrapped pumpkins soften a room in a way paint cannot, and the texture catches lamplight beautifully. The mistake to avoid is pulling the fabric too tight, which flattens the ribs and makes the pumpkin look like a wrapped ball. Leave the linen relaxed so the pumpkin’s own curves shape it. Pair one linen pumpkin with two painted ones, since all-fabric displays can feel one-note.
6. Cinch Fabric Pumpkins With Twine in a Soft Gathered Waist
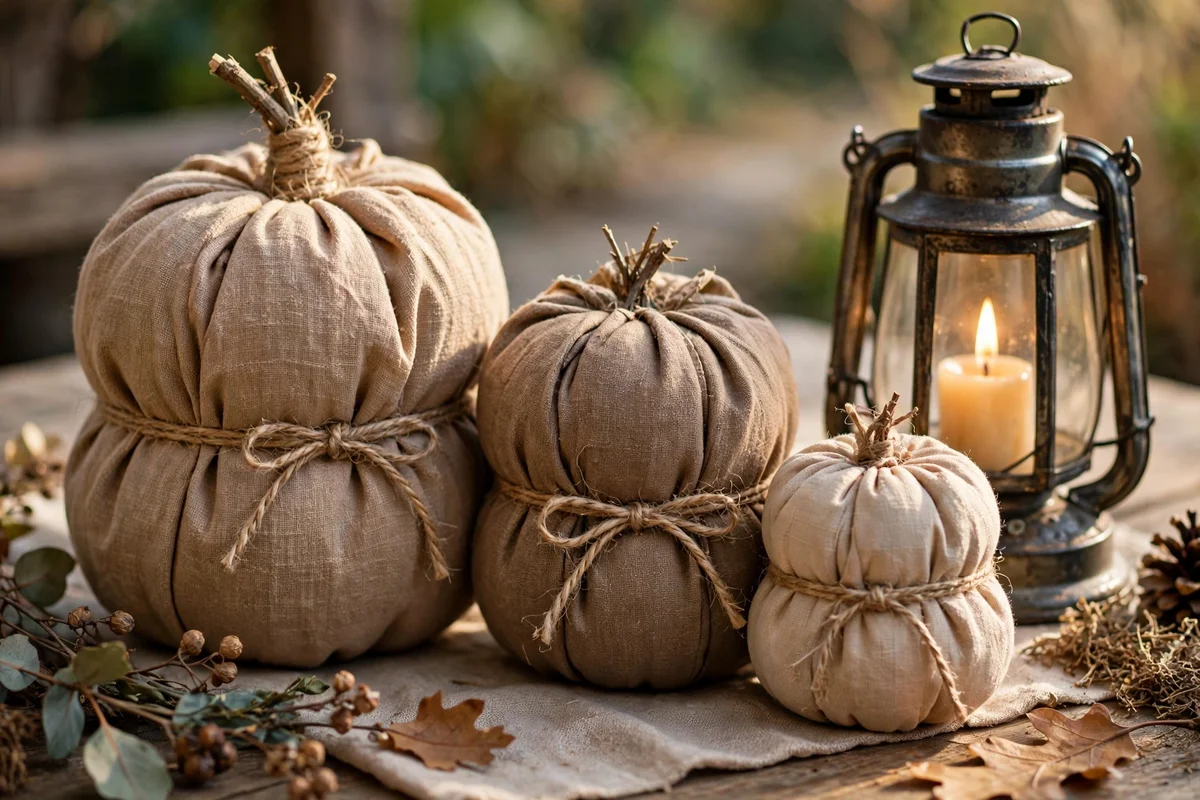
After wrapping a pumpkin in fabric, tie natural jute twine once around its middle and knot it at the back. Then use your fingers to gather the fabric gently above and below the twine, pushing small folds up toward the stem and down toward the base. The pumpkin takes on a soft, plump silhouette like a tied harvest bundle. Secure the twine with a tiny dab of hot glue behind the knot so it never slips.
Finish the look with a short twine bow or a single sprig of dried wheat tucked into the knot. Keep the twine in a natural undyed tone, since bright or patterned ribbon fights the calm harvest palette. Two of these gathered pumpkins flanking a candle lantern make a finished entry display in under 30 minutes. This is the easiest of all the fabric ideas and the most forgiving for beginners.
7. Group Three Painted Pumpkins With Dried Grasses on the Console Table
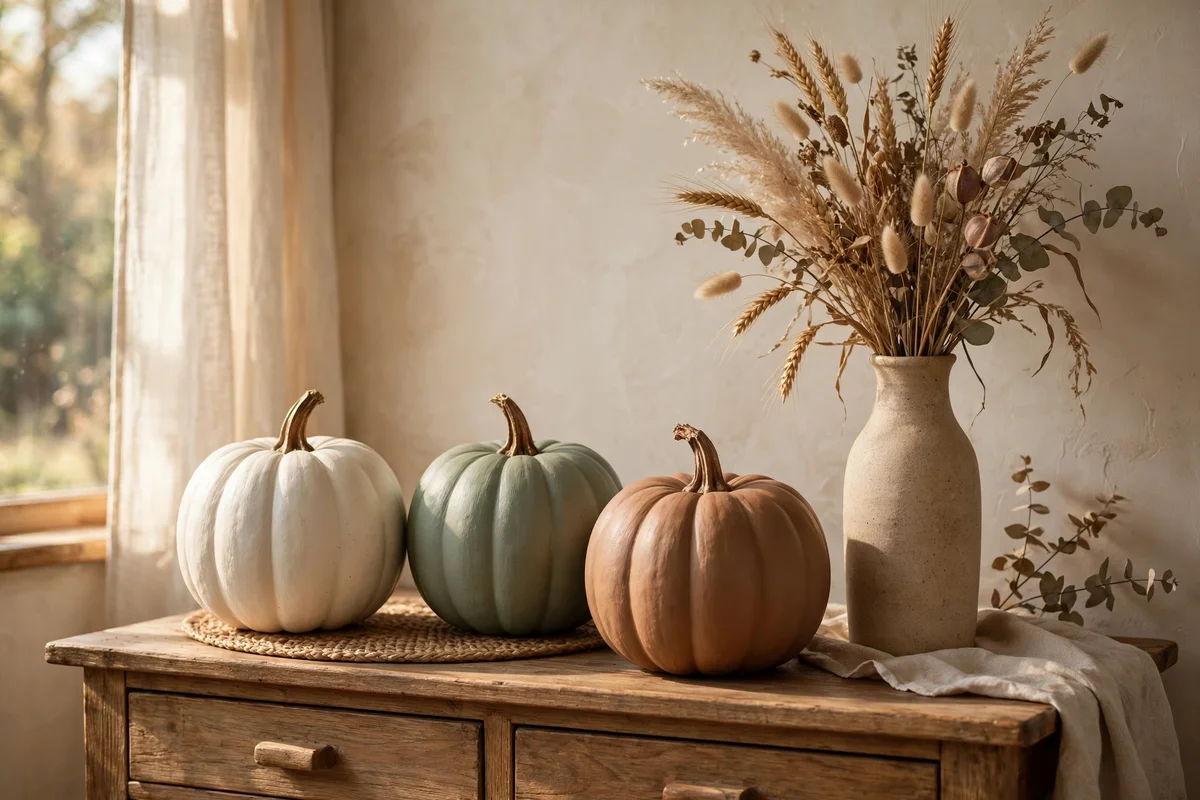
Place a console table runner first, then set three painted pumpkins in cream, sage and muted clay along its centre, spacing them 10 to 15 cm apart. Behind them, stand a tall ceramic jug or stoneware bottle filled with dried wheat, pampas plumes or oat stems cut to about 60 cm. The grasses rise above the pumpkins and give the grouping height without blocking a mirror or artwork hung behind.
Keep the trio odd and the heights varied by at least 8 cm between the tallest and shortest pumpkin, since even groupings look stiff. Shake the dried stems outdoors first to release loose seed heads, and keep them away from direct radiator heat, which makes them brittle in days. This display suits a hallway console 100 to 140 cm wide and costs little beyond paint and one bunch of dried grasses.
8. Style Porch Steps With Lanterns and Painted Pumpkins of Mixed Sizes
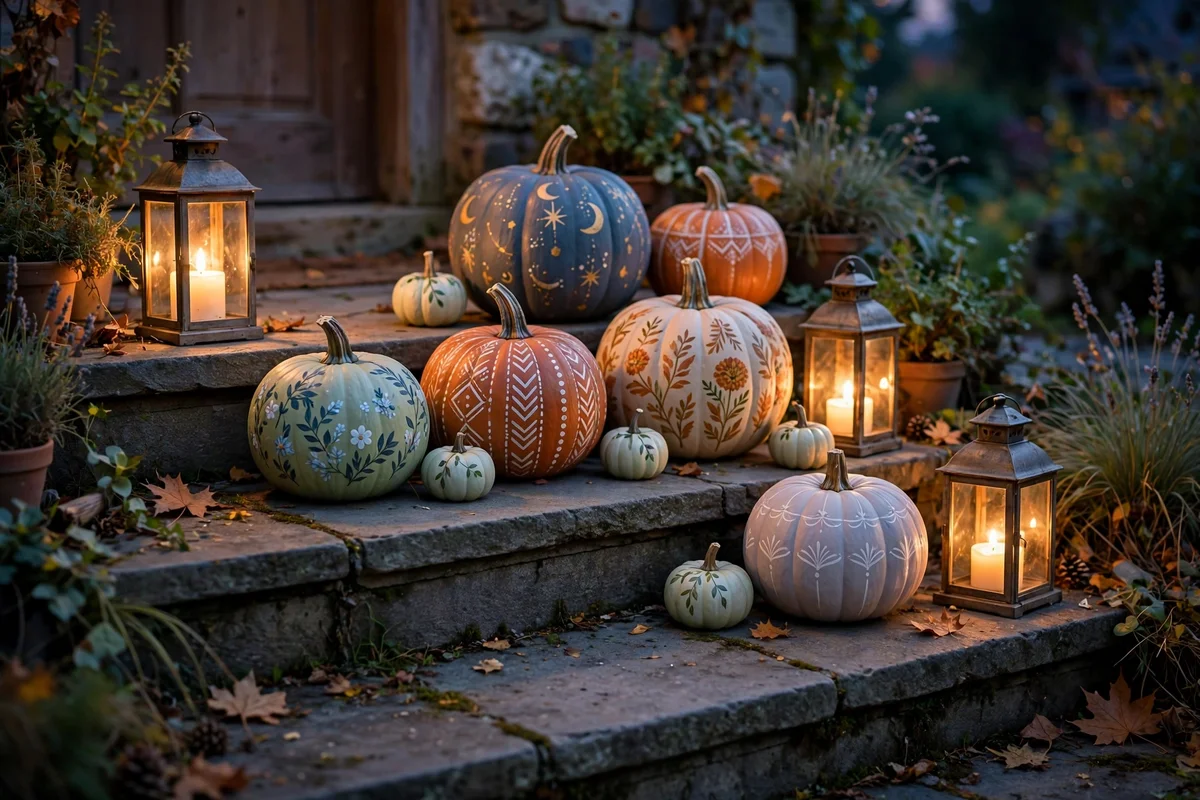
Start with two black or bronze lanterns, one about 35 cm tall and one about 25 cm, placed on opposite sides of the top step. Nestle three painted pumpkins between them in sizes from 12 to 28 cm, tucking the smallest one slightly forward so the eye reads a zigzag line down the steps. Battery candles inside the lanterns give a warm glow from dusk without any fire risk near dried leaves.
Choose pumpkins painted in weather-resistant exterior paint or sealed craft pumpkins for a porch, since plain chalk paint softens in autumn rain. Raise pumpkins off bare stone with small cork pads or a thin wooden tray so water never pools under them. The mistake to avoid is symmetry: matching pairs on each side of the door look formal, while a flowing cluster of mixed sizes looks welcoming and harvest-like.
9. Build a Pumpkin Topiary in a Weathered Stone Urn
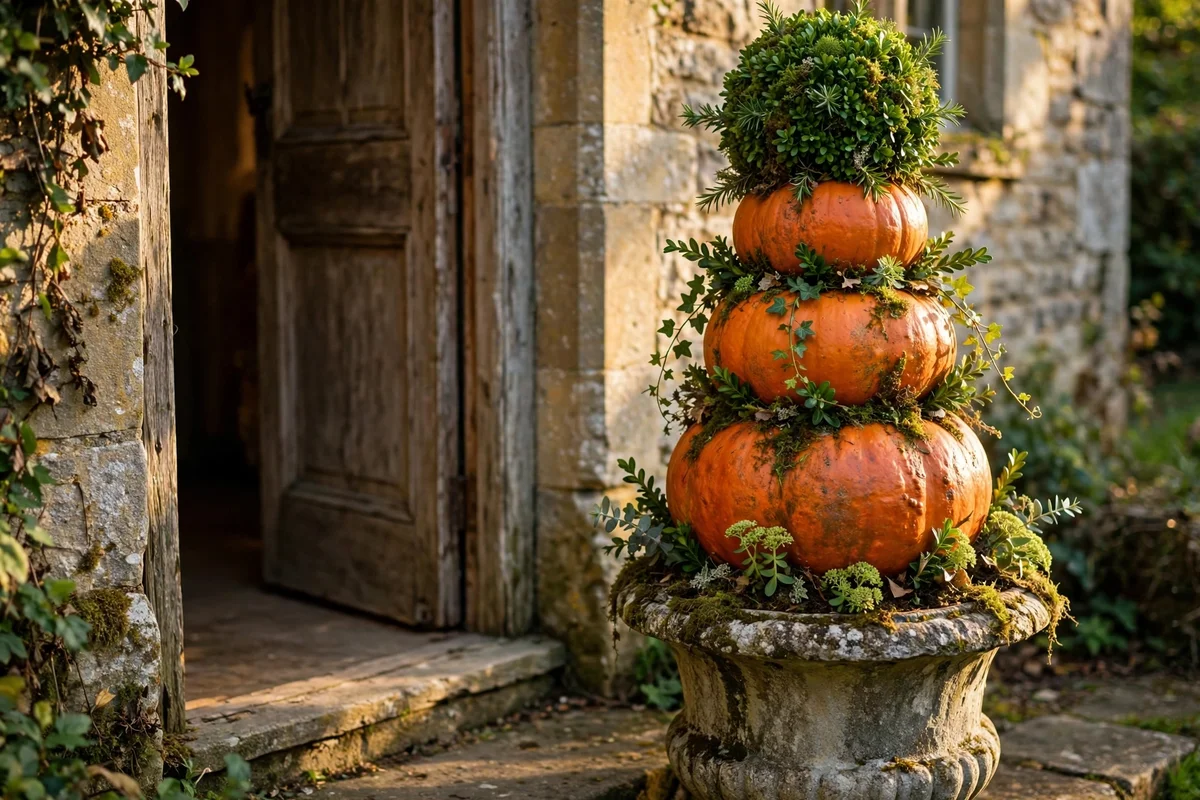
Choose a weathered stone or concrete urn about 40 to 50 cm tall and fill the lower two thirds with packed soil or a block of dry floral foam. Push a sturdy wooden dowel 60 cm long into the centre, then stack three pumpkins on it from largest at the base (about 25 cm wide) to smallest at the top (about 12 cm), threading the dowel through each. Firm moss around the base hides the foam and gives a finished look.
Use foam or resin pumpkins in cream, sage and clay for an outdoor topiary, since real pumpkins soften within two weeks of stacking. Tuck small sprigs of dried grasses between the layers for texture, and place the urn where it cannot blow over, ideally against a wall. A topiary like this draws the eye to the doorway and takes about 40 minutes to assemble once the urn is ready.
10. Nestle Mini Pumpkins Into a Low Wooden Tray With Pinecones
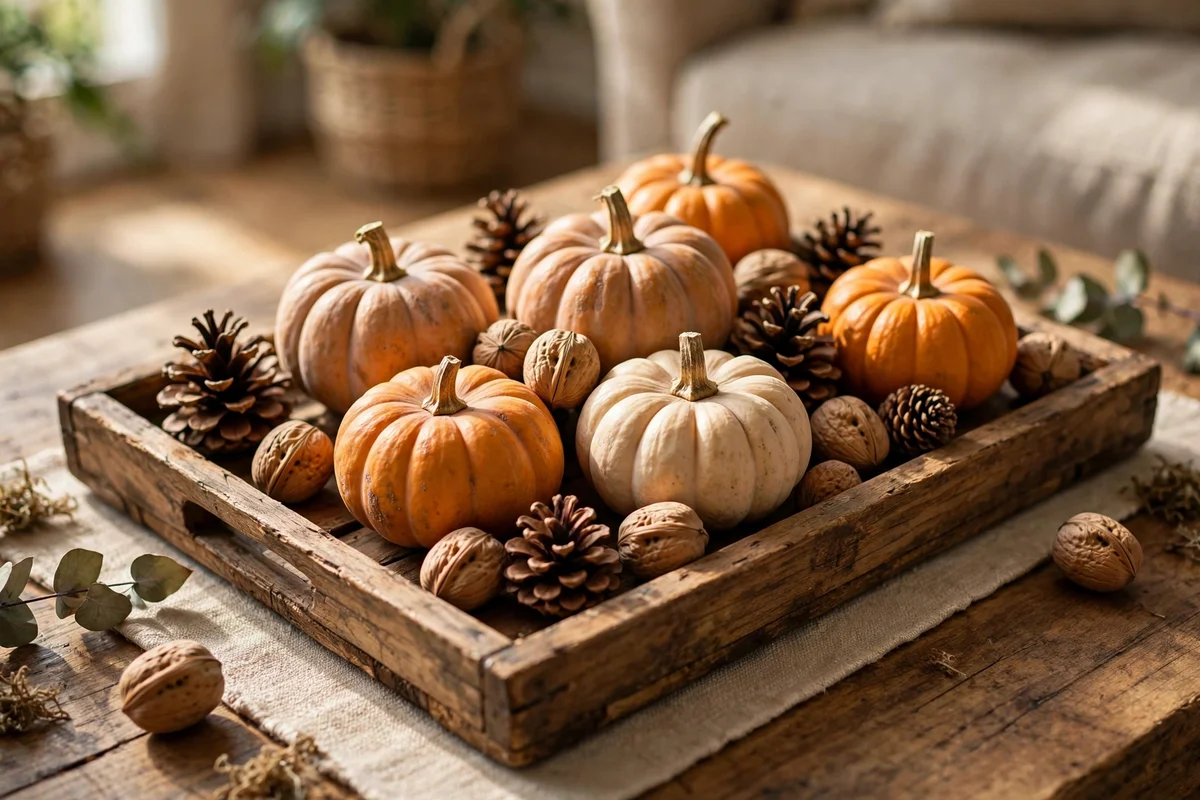
Find a low wooden tray about 40 cm long and 25 cm wide, the kind with short handles that suits a coffee table or sideboard. Line it with a folded piece of natural linen, then arrange five to seven mini pumpkins 6 to 10 cm across among a handful of pinecones, dried seed heads and a few whole walnuts. Work from the centre outward so the smallest pumpkins sit near the tray edges.
Mini pumpkins last longer than large ones because their skins are dense, so a real-versus-craft mix works well here. Roll each mini pumpkin in your palm before placing it to find its steadiest side, since wobbly pumpkins topple at the slightest touch. Keep the tray in the middle of the coffee table rather than the edge, and refresh any shrivelling mini pumpkin every two weeks through autumn.
11. Dot Painted Pumpkins Along a Deep Window Sill With Pillar Candles
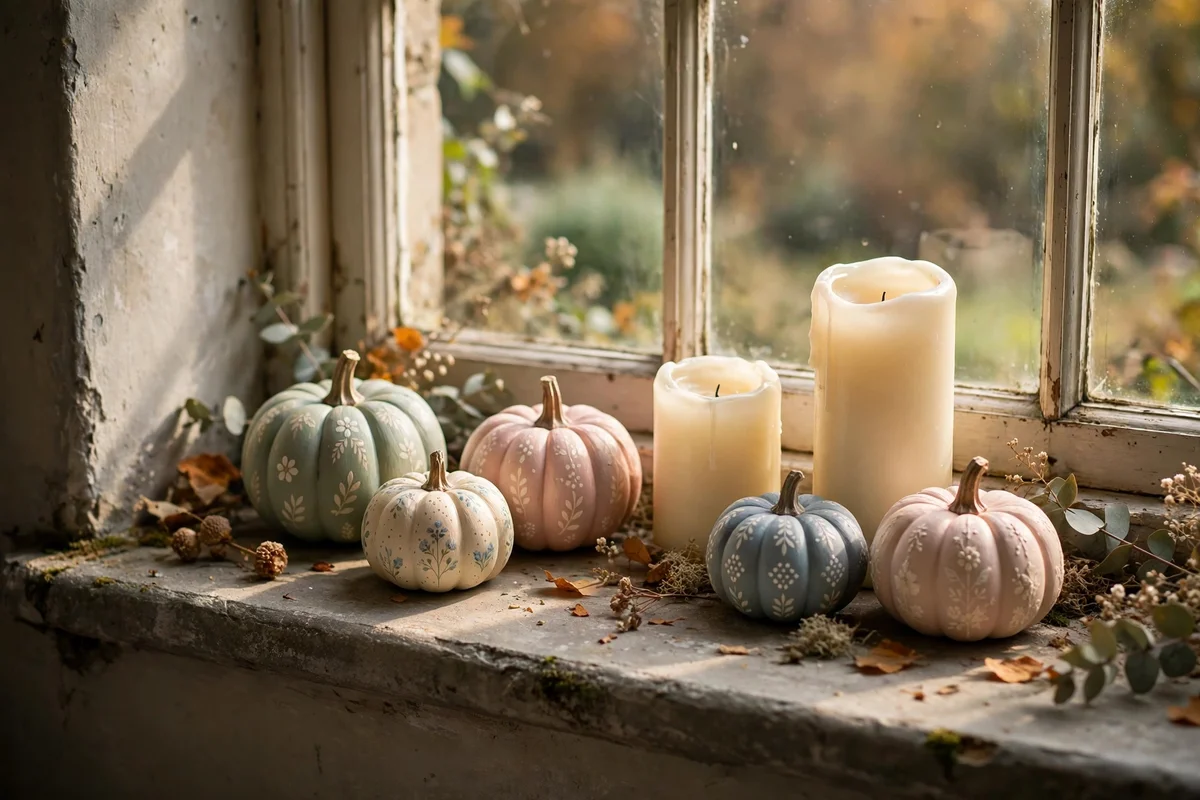
A deep window sill 15 cm or wider becomes a glowing autumn shelf with almost no effort. Alternate small painted pumpkins in cream and muted clay with cream pillar candles of different heights, 10, 15 and 20 cm, leaving 8 to 10 cm between each object. Battery pillar candles with a warm 2700K glow are safest here, since curtains often hang nearby and real flames should never sit that close to fabric.
In daylight the pumpkins catch the sun, and at night the sill glows softly against the dark glass. Dust the pumpkins and wipe the candle tops weekly, because sills gather grime faster than shelves. The mistake to avoid is lining everything up in a straight row with equal spacing, which looks like a shop display. Shift one pumpkin slightly forward and another slightly back for a natural rhythm.
12. Set a Tall Lantern Behind Cream Pumpkins on the Mantel
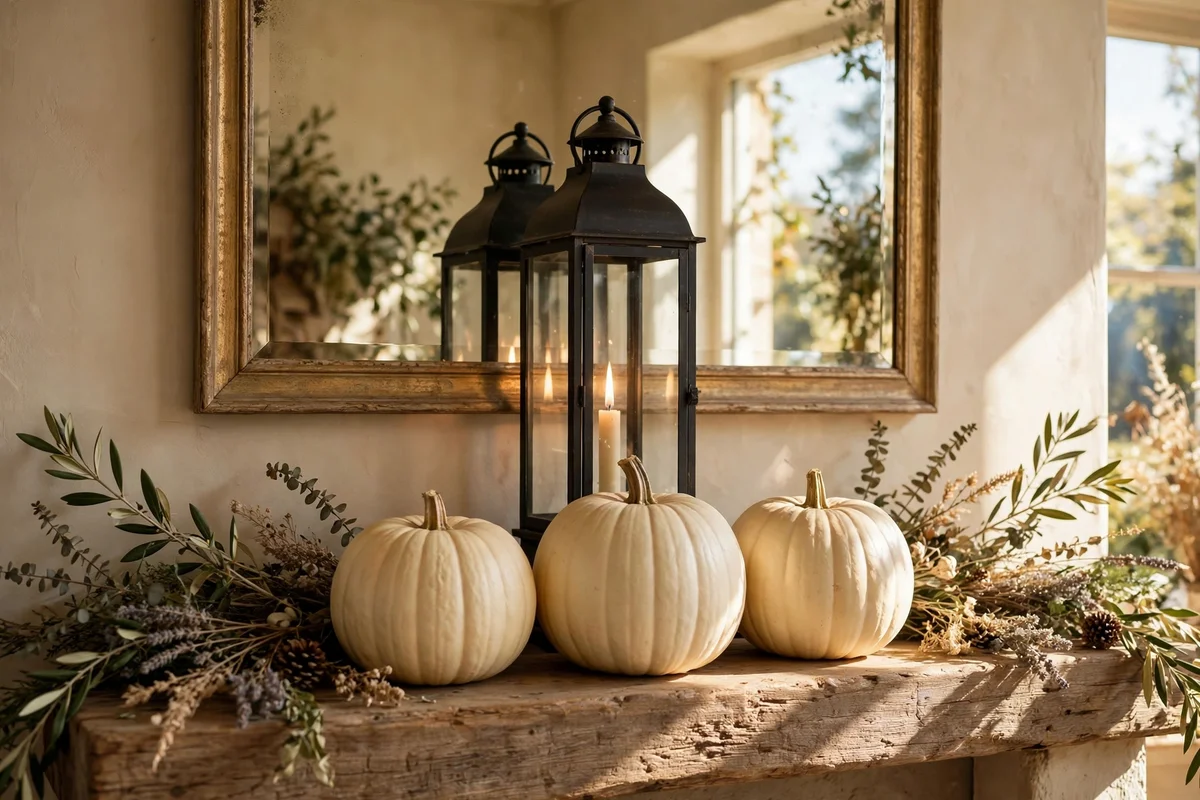
Place one tall lantern about 45 cm high at the centre or slightly off-centre of the mantel, then arrange three cream pumpkins of graduating sizes in front of it, largest about 20 cm wide. The lantern’s height anchors the display while the pumpkins soften its lines, and a single dried branch or wheat stem inside the lantern adds harvest texture. A mirror or framed print behind completes the layered look without extra objects.
Check the mantel depth first, since most mantels are only 20 to 25 cm deep and tall lanterns need a stable base. Set the lantern at least 10 cm from the wall and keep pumpkins 5 cm from the mantel edge so nothing topples. Light the lantern’s candle at dusk for a flickering backdrop behind the pale pumpkins, then enjoy how the whole room warms up around it.
13. Mix Real and Craft Pumpkins So the Display Lasts All Season
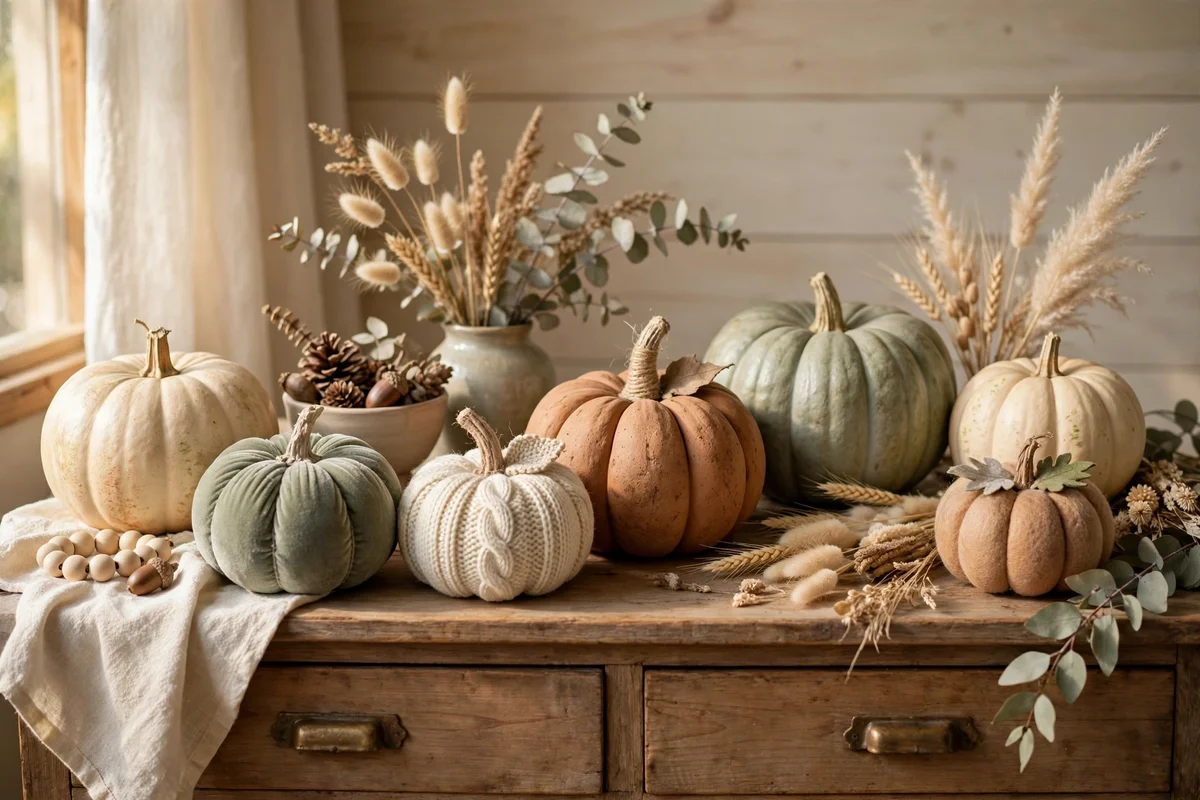
Place real pumpkins at the front of a display and craft ones behind or beneath them, so when a real pumpkin softens in four to six weeks you can swap it without rebuilding the arrangement. Keep the colour palette identical across both, using the same cream, sage and clay tones, because a matching palette makes the swap invisible. This trick stretches one display from early September through late November with only one or two replacements.
Choose real pumpkins with firm skins, no soft patches and intact stems, and give them the vinegar wash described later in this article before placing them. Craft pumpkins in foam or resin work best in the background roles, since painted wood or paper ones fade in strong sunlight. The mistake to avoid is buying all-real displays in early September, which almost always need full replacement by mid-October.
14. Rub Beeswax Onto Painted Pumpkins for a Gentle Aged Sheen
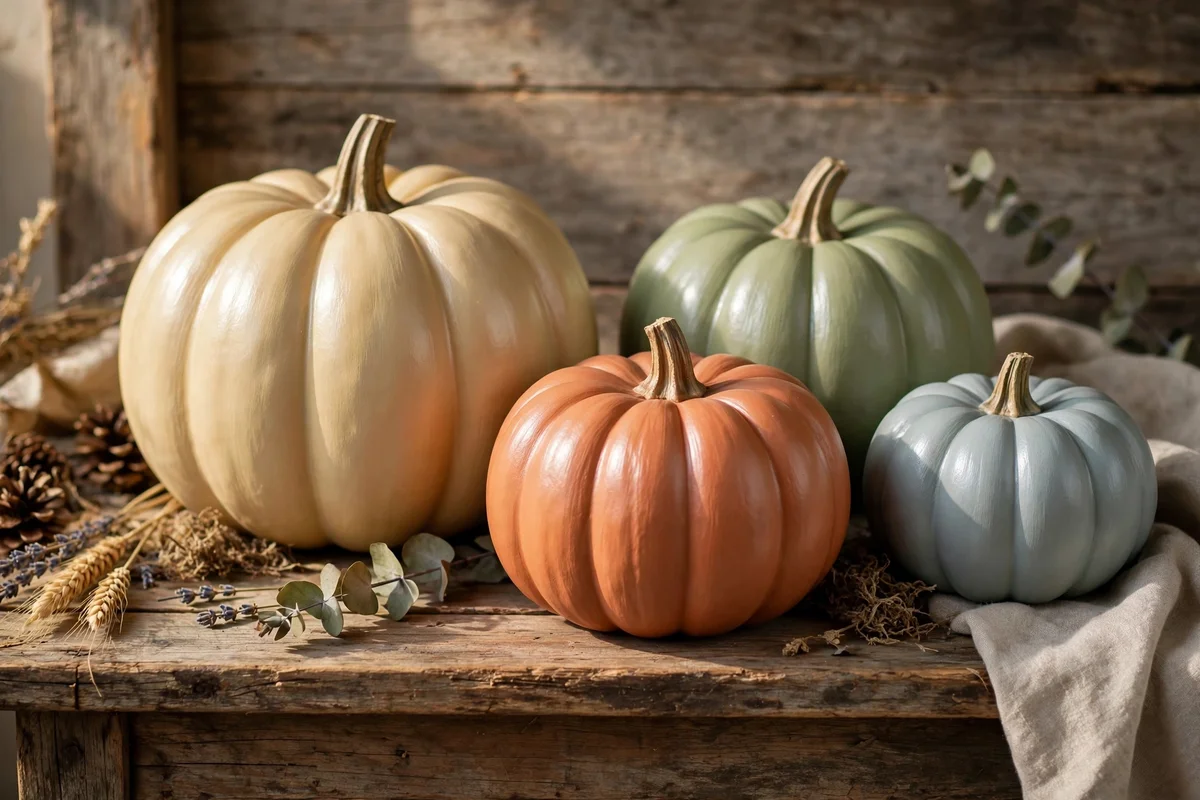
Warm a small block of natural beeswax until it is soft enough to smear, either in your hands or 10 seconds in the microwave. Rub a thin layer over a painted craft pumpkin with a soft cloth, working it into the ribs, then buff gently after 10 minutes. The wax settles into the paint and gives an aged, hand-rubbed sheen that catches lamplight beautifully. One block of wax treats six to eight medium pumpkins.
Beeswax also seals the paint against dust and light handling, which matters for pumpkins on low tables or entry benches. Avoid silicone-based furniture polishes, which leave a plastic shine and can yellow cream paint over time. Use this finish on foam, resin and wood pumpkins only, never on real ones, since wax traps moisture against the living skin and speeds up decay.
15. Stagger Pumpkin Heights Along the Dining Table on a Linen Runner
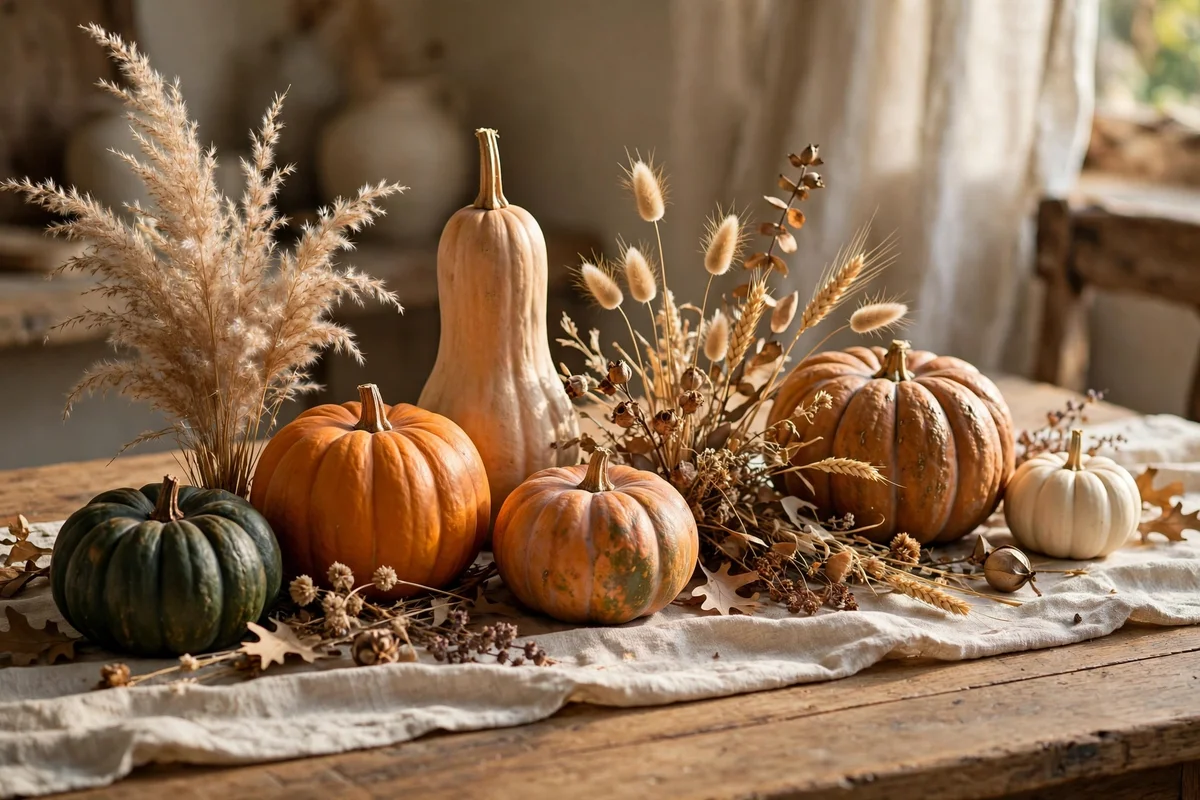
Lay a natural linen runner down the centre of the dining table, then place pumpkins in a loose line from one end to the other, varying heights between 12 and 30 cm. Tuck dried grasses, eucalyptus stems or wheat into low jars between them, and add one small lantern or candle at the middle point. Keep each end of the table clear by at least 25 cm so plates and serving dishes fit comfortably.
Step back and check the line from both ends before calling it done, since a table display is seen from every seat. The mistake to avoid is a single-file row of identical pumpkins, which reads as a parade rather than a gathering. Group two small pumpkins close together here and there, then leave a little breathing room, so the eye travels along the runner with interest.
16. Place One Statement Pumpkin by the Front Door With a Wicker Basket
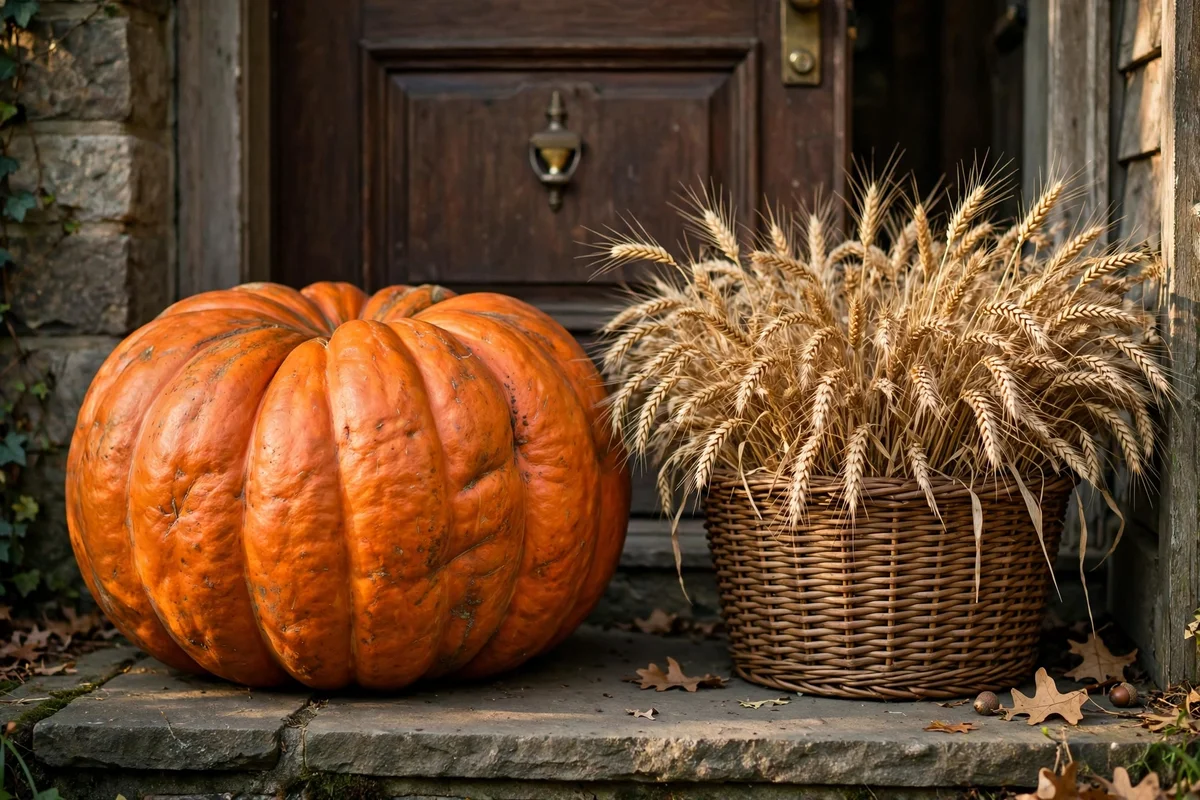
A single large pumpkin of 30 to 40 cm wide beside the front door makes a calmer statement than a crowded cluster. Set it on a low wooden stool or directly on the step, and lean a round wicker basket against the wall nearby filled with dried wheat stems, pinecones or a folded plaid throw. The basket gives the pumpkin a partner and a purpose, like a gathered harvest waiting to come inside.
Choose a real pumpkin here if the spot is sheltered from rain, since nothing beats the natural skin texture at this scale, or a well-painted craft pumpkin for exposed steps. Sweep the step first and place a cork mat underneath so grit never scratches a painted surface. This one-pumpkin vignette takes five minutes and greets every visitor with quiet autumn warmth.
17. Refresh Faded Craft Pumpkins With a Light Sand and Repaint
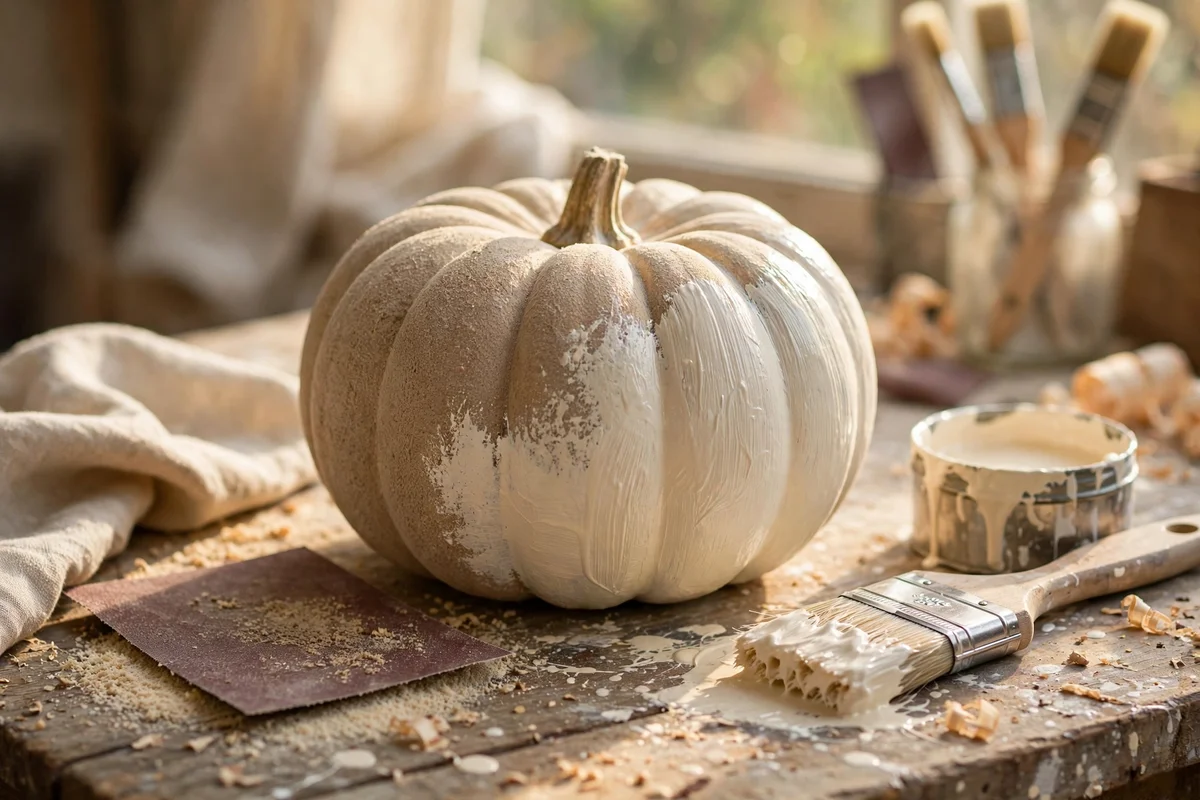
Craft pumpkins from last season often come out of storage with faded or chipped paint, but they rarely need replacing. Rub the whole surface lightly with fine 220-grit sandpaper, just enough to remove loose paint and give the new coat something to grip, then wipe away the dust with a damp cloth. One fresh coat of cream, sage or clay paint restores the colour, and a second coat covers stubborn patches.
Do this refresh in daylight so you can see thin spots as you work, and let the pumpkins dry overnight before displaying them. This small job, about 15 minutes of sanding and painting per pumpkin, keeps decorations out of the bin year after year. The mistake to avoid is skipping the sanding, since new paint peels off last year’s glossy finish within weeks of display.
18. Wash Real Pumpkins in Diluted Vinegar to Slow Soft Spots
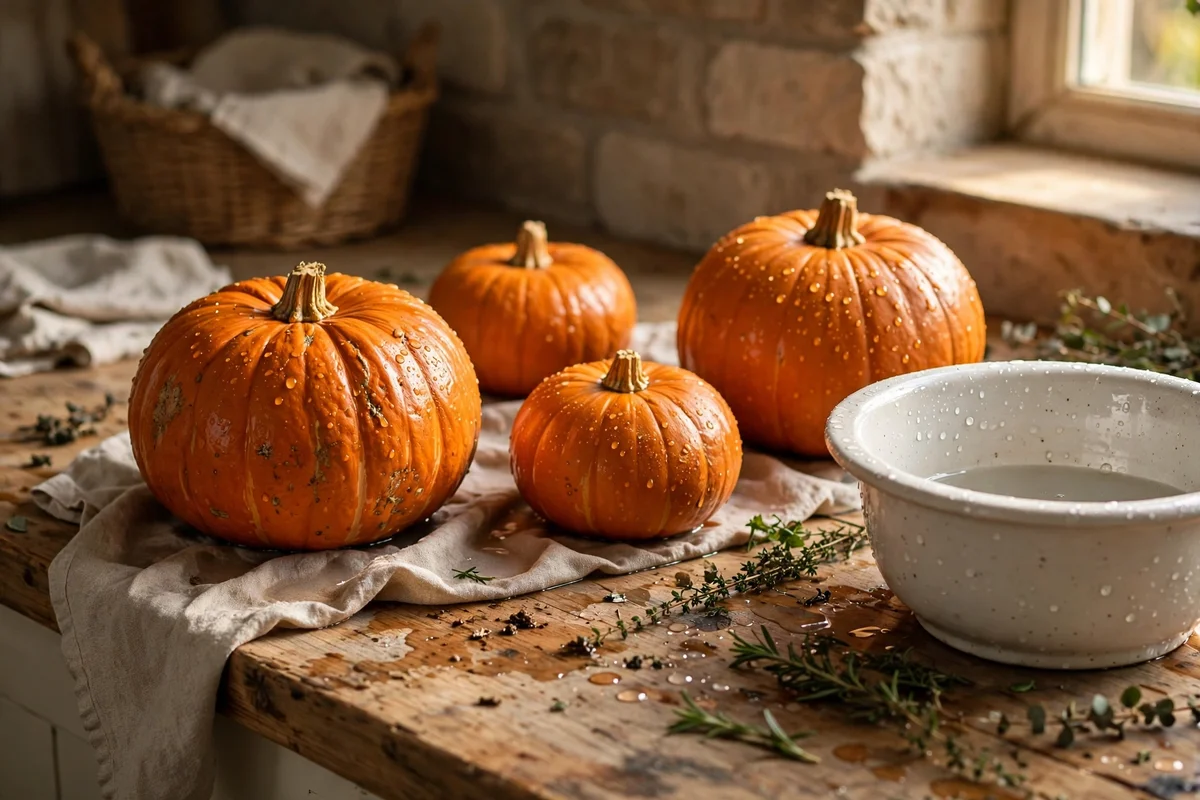
Mix one part plain white vinegar with four parts water in a basin and wipe each real pumpkin all over with a cloth dipped in the solution, or dip small pumpkins for two to three minutes. The vinegar wash cleans the skin and slows the mould and bacteria that cause soft spots, buying an extra week or two of display life. Dry each pumpkin thoroughly with a clean towel and let it air for an hour before placing it.
Repeat the wipe-down every ten days for pumpkins displayed indoors, and always after a pumpkin has sat in damp weather on a porch. Avoid bleach-based recipes found online, which can damage the skin and leave marks on surrounding decor. This simple wash, plus keeping pumpkins dry, is the single most effective preserving habit for a long harvest season.
19. Keep Real Pumpkins Dry and Off Cold Floors to Prevent Early Rot
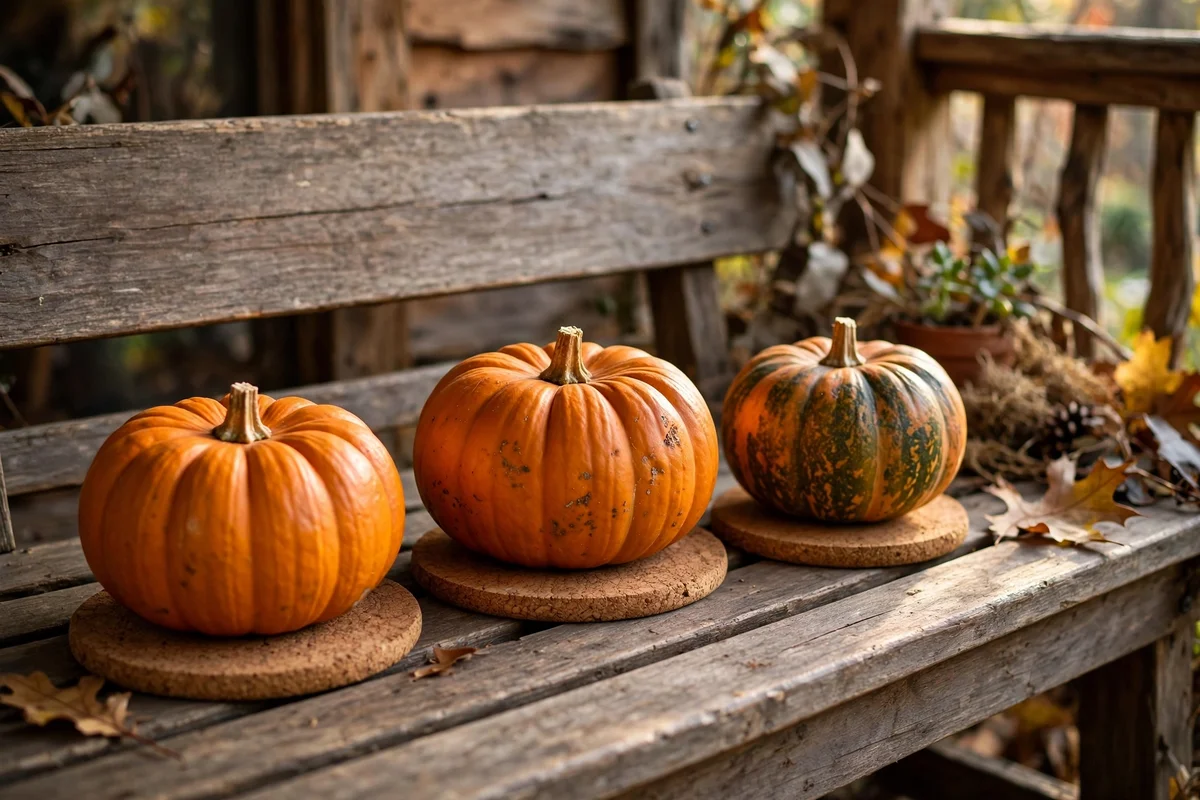
The underside of a pumpkin is where rot almost always begins, because trapped moisture softens the skin within days. Place each real pumpkin on a small cork coaster, a folded piece of burlap or a wooden board so air reaches the base, and keep pumpkins off cold stone or tiled floors where condensation gathers overnight. On a porch, tuck a thin wooden plank under the whole display as a dry platform.
Bring rain-exposed pumpkins under cover during heavy storms and wipe their skins dry before returning them. Indoors, the driest spots are shelves and mantels, while the floor beside a drafty door is the riskiest place in the house. One quick check each week for damp patches under the base catches problems early, when moving the pumpkin to a drier spot still saves it.
20. Rotate Pumpkin Displays Weekly So Damp Never Settles In
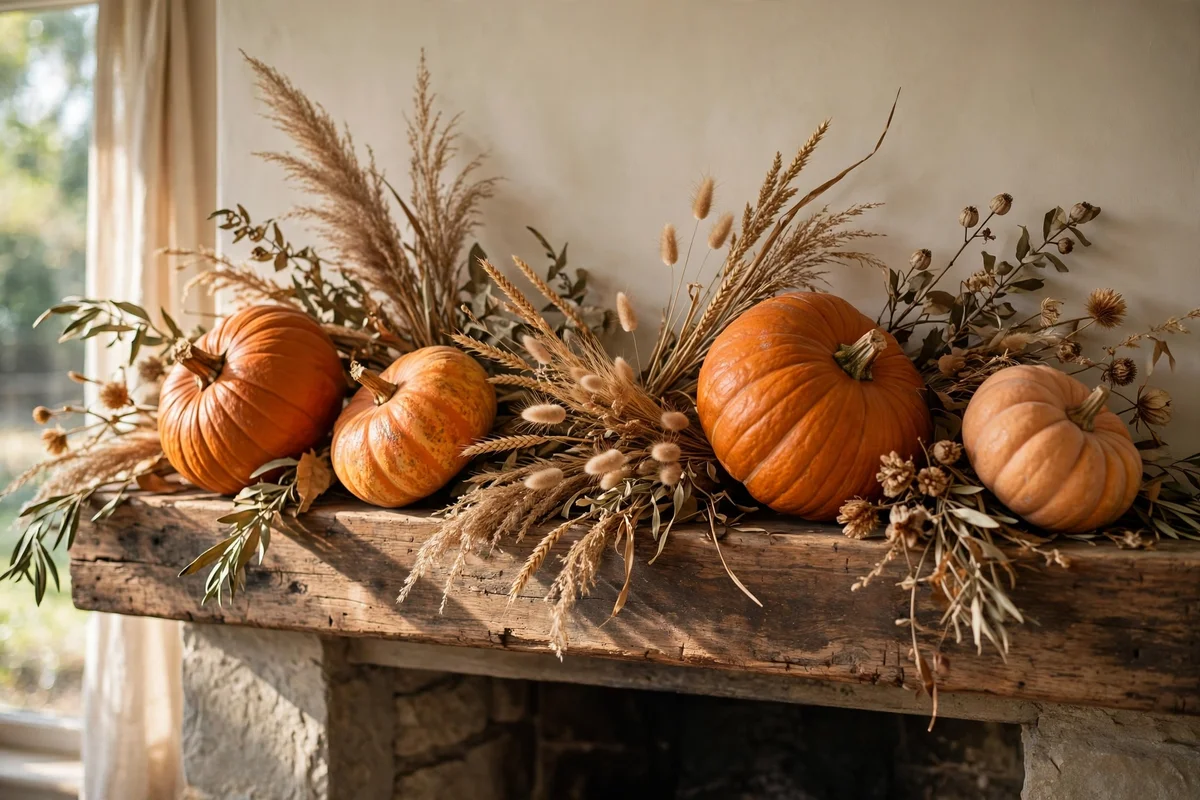
Once a week, lift every real pumpkin in the display and turn it a quarter turn, checking the base for dark damp spots as you go. This tiny habit moves the pressure point, lets each side breathe, and reveals early softening long before it becomes visible from the front. If one pumpkin feels lighter or smells faintly sweet, move it to a cooler spot or retire it to the compost.
Pair the weekly rotation with a quick dusting of the surrounding objects, so the whole display stays fresh rather than gathering autumn grime. Mark the routine on a calendar or phone reminder for the first two weeks until it becomes habit. Displays that are rotated weekly routinely last three to four weeks longer than untouched ones, which is the difference between a September display surviving into November.
21. Store Craft Pumpkins in Tissue-Lined Boxes Between Seasons
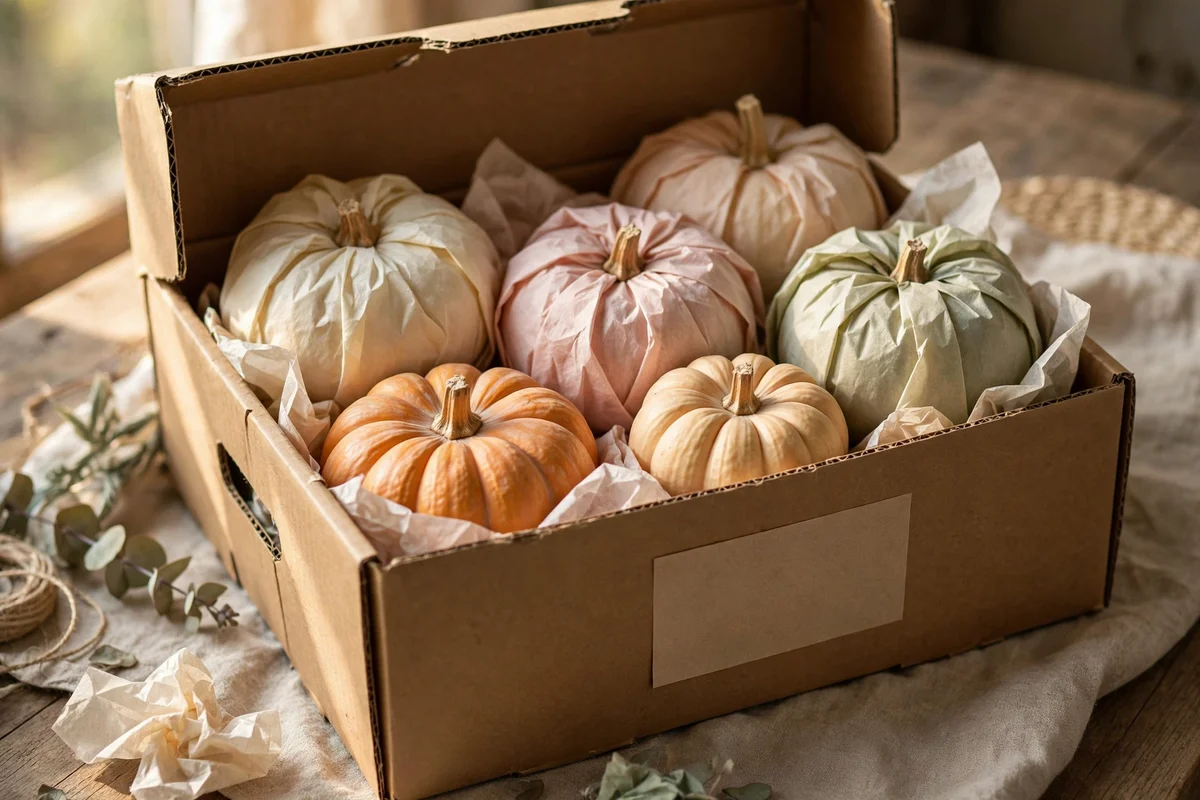
Wrap each craft pumpkin in a sheet of plain white tissue paper, which cushions the paint and absorbs any moisture in storage. Place them in a sturdy cardboard box or plastic crate with crumpled tissue filling the gaps, keeping heavier pumpkins on the bottom and delicate striped ones on top. Store the box in a cool, dry cupboard or under the bed, never in a damp garage where paint blisters.
Label the box with the contents and the year, and add a small note of what needs refreshing, such as one pumpkin with a chipped stripe. Next autumn you will open the box, sand the chipped spot, repaint, and be display-ready in an afternoon. The mistake to avoid is stacking unwrapped pumpkins in a bag, where they knock paint off each other and emerge looking tired.
22. Gift a Painted Pumpkin Trio Wrapped in Muslin With Dried Wheat
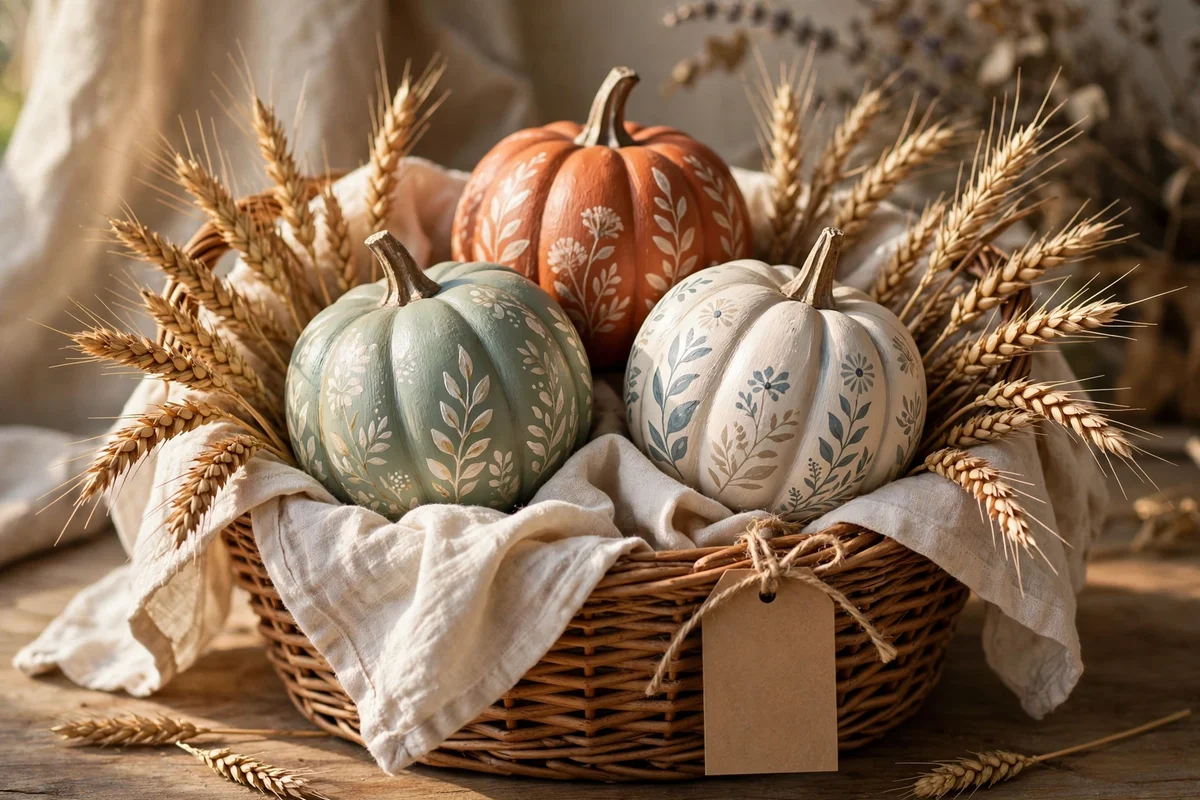
Choose three small painted pumpkins in cream, sage and clay, each 10 to 15 cm tall, and nestle them in a shallow basket lined with natural muslin cloth. Tuck two or three dried wheat stems between them and tie the muslin corners loosely with twine, leaving the pumpkin tops visible like a harvest parcel. The whole gift takes about 15 minutes to assemble and costs little beyond the paint you already own.
This handmade gift suits autumn hosts, neighbours and family visits far better than a shop-bought bouquet, and it keeps its charm for weeks after giving. Attach a small kraft-paper tag with a handwritten note for a personal touch. The mistake to avoid is wrapping the muslin tightly over the stems, which crushes the paint, so keep the fabric loose and let everything breathe.
The thread running through all 22 ideas is restraint: soft paint colours, natural fabrics and simple groupings that let the pumpkin itself be the beauty. Nothing here needs a special skill or a big budget, only an afternoon and the willingness to look at your rooms with fresh eyes. Each painted stem, stitched seam and dried grass is a small act of care for your home.
This week, start with the easiest win: paint one foam pumpkin in warm cream chalk paint and set it on the console table or window sill. Once that single pumpkin is in place, the next idea suggests itself naturally, and by the end of the month your home will carry a calm, timeless harvest glow that lasts all season long.
Frequently Asked Questions
How long do real pumpkins last as indoor decoration?
A healthy real pumpkin lasts four to six weeks indoors with basic care. Keep it dry, off cold floors, and wipe it with diluted vinegar every ten days to slow soft spots. Turn it weekly so damp never settles on one side. Pumpkins in cool rooms last longer than those near radiators or sunny windows.
What paint works best on foam and craft pumpkins?
Chalk paint or matte acrylic paint both work well on foam, resin and wood pumpkins. Chalk paint gives a soft, velvety finish that suits the harvest palette, while acrylic offers brighter coverage. Always apply two thin coats rather than one thick one, and seal chalk paint with beeswax for a gentle aged sheen.
How much does it cost to decorate pumpkins for the season?
A full set of painted pumpkins costs very little. Foam pumpkins run a few pounds or dollars each, and one tin of chalk paint covers four to five medium pumpkins. With dried grasses and twine added, a complete porch or mantel display usually totals under 30, especially if you reuse craft pumpkins from last year.
Can I use painted pumpkins outdoors in autumn rain?
Yes, if you choose the right materials. Use foam or resin pumpkins painted with exterior or acrylic paint, and seal them with a clear outdoor sealer. Raise them off wet stone on cork pads or wooden boards, and bring them under cover during heavy storms. Plain chalk-painted pumpkins are best kept under a sheltered porch.
How do I keep the display looking fresh through November?
Mix real and craft pumpkins so you can swap softening real ones without rebuilding. Rotate real pumpkins weekly, dust the display, and replace any shrivelling mini pumpkins every two weeks. Keep everything dry and out of direct heat, and refresh chipped craft pumpkins with a light sand and a fresh coat of paint.