Crafts
23 Sunset Painting Ideas That Hold the Last Warm Light of the Day on Your Walls
By Anna Wells · · 22 min read
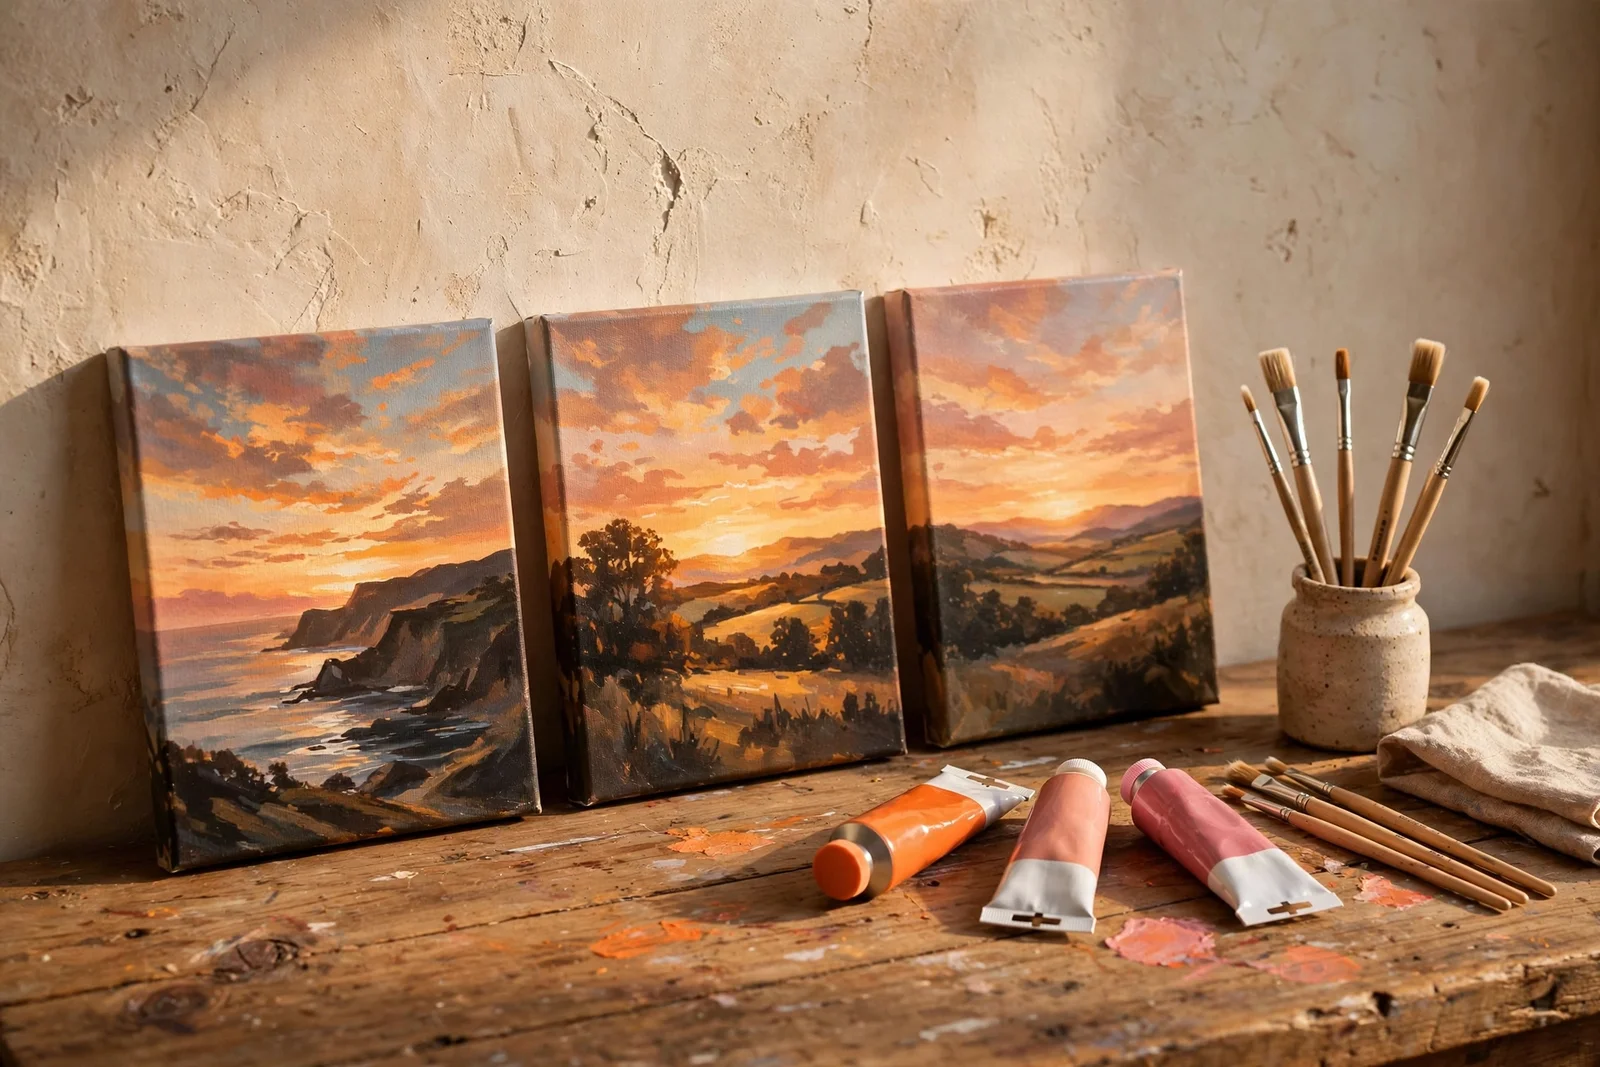
Hold the day's last warm light on your wall: 23 beginner-friendly sunset painting ideas, from golden fields to quiet lakes, with simple steps, paint tips and framing advice.
Late afternoon light comes in low and turns the kitchen table gold. The tea cups catch it, the wooden chairs lean a little brighter, and for ten quiet minutes the whole room feels held. That is the feeling this article chases: the day’s last warm light, saved on canvas.
You do not need years of practice to paint a sunset. A simple gradient sky, a dark tree line and one glowing sun can fill a canvas with more warmth than any photograph. This collection gives you 23 concrete ideas, each one broken into materials, paint order and placement advice, so a first painting can hang proudly by next weekend.
We move from fields and lakes to rooftops and hills, then into technique: the order to layer acrylics, how to blend orange into rose and plum, and how to add a sun glow with one dry brush. The final ideas cover framing and where sunset paintings glow best in the home, so your work finds its right wall. Gather your brushes and let the last light in.
1. Paint a Gradient Sky Melting Into a Golden Wheat Field
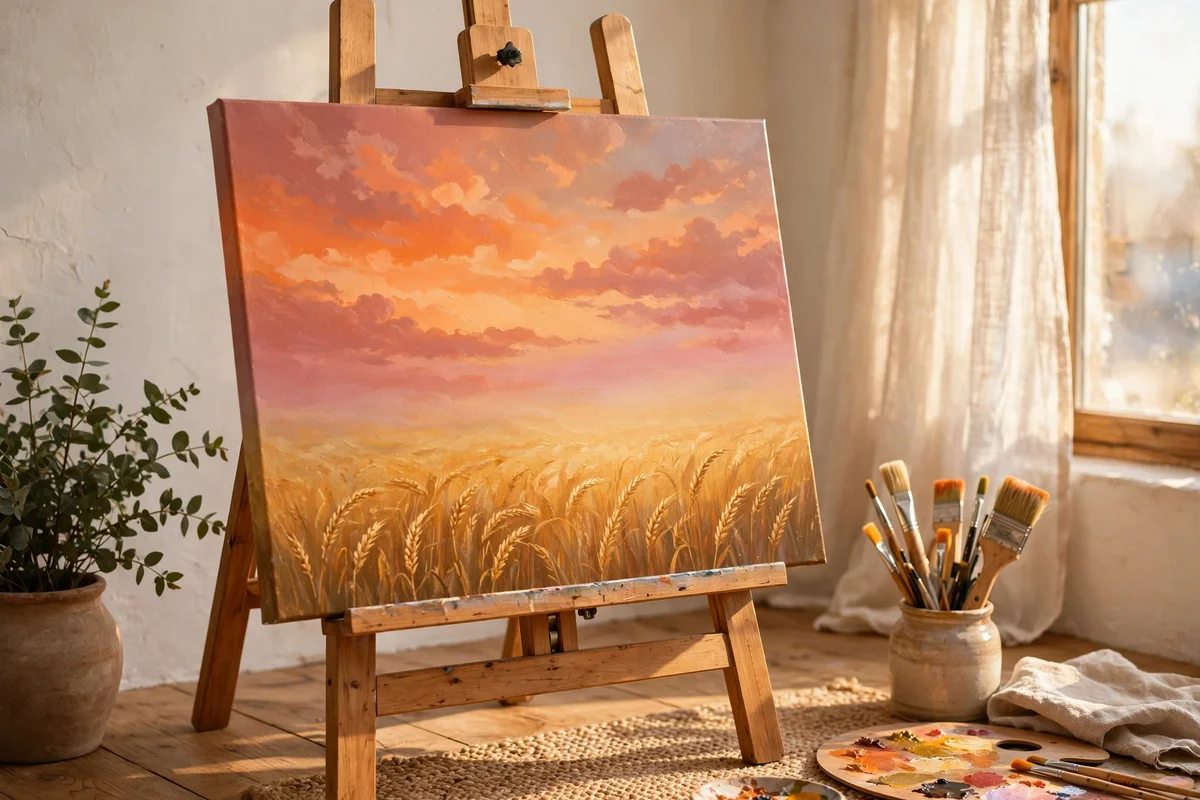
Start with a canvas 30 by 40 cm so the sky has room to breathe above the field. Wet the upper third with clean water, then brush horizontal bands: warm yellow near the horizon, tangerine in the middle, rose near the top, blending each edge while damp. Work in thin acrylic washes thinned with about one part paint to two parts water so the layers stay luminous. The common mistake is painting stripes and letting them dry before blending, which leaves hard lines.
Below the horizon band, paint the wheat field in warm gold with short upward strokes using a flat 12 mm brush. Add darker ochre strokes at the front edge to pull the viewer in, and keep the far field paler so distance reads correctly. Paints cost little: a student set of six tubes runs about 8 to 12 pounds or dollars and covers three canvases this size. Let each layer dry 20 minutes before adding the next so the colours stay clean.
2. Let the Sun Drop Behind a Lone Oak Tree
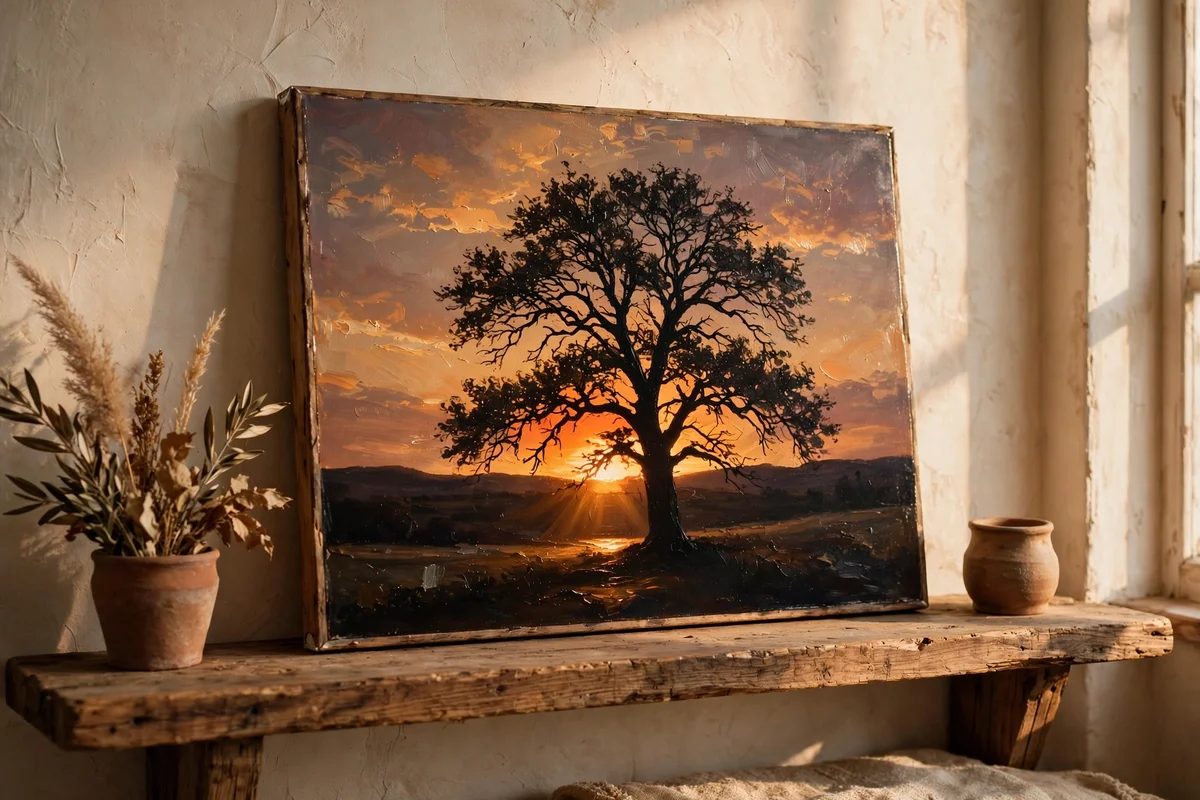
Choose a 30 by 40 cm canvas and mark the horizon one third up from the bottom. Paint the sky first in warm bands, yellow low, orange mid, soft rose above, blending wet into wet. While the sky is still tacky, shape a single oak: a thick trunk, three or four main branches and a rounded crown painted nearly black with a hint of dark brown. Leave a small glowing gap where the sun sits just behind the leaves.
Keep the tree a true silhouette, no bark texture or leaf detail, because detail fights the glow. Set the sun as a pale yellow circle about 3 cm wide, painted over the sky while it is wet so the edges melt. A round number 8 brush handles both sun and trunk. The mistake to avoid is painting the tree before the sky, which muddies both. This simple scene suits a 20 pound or dollar frame budget and looks rich in oak.
3. Run a Wooden Fence Toward the Horizon
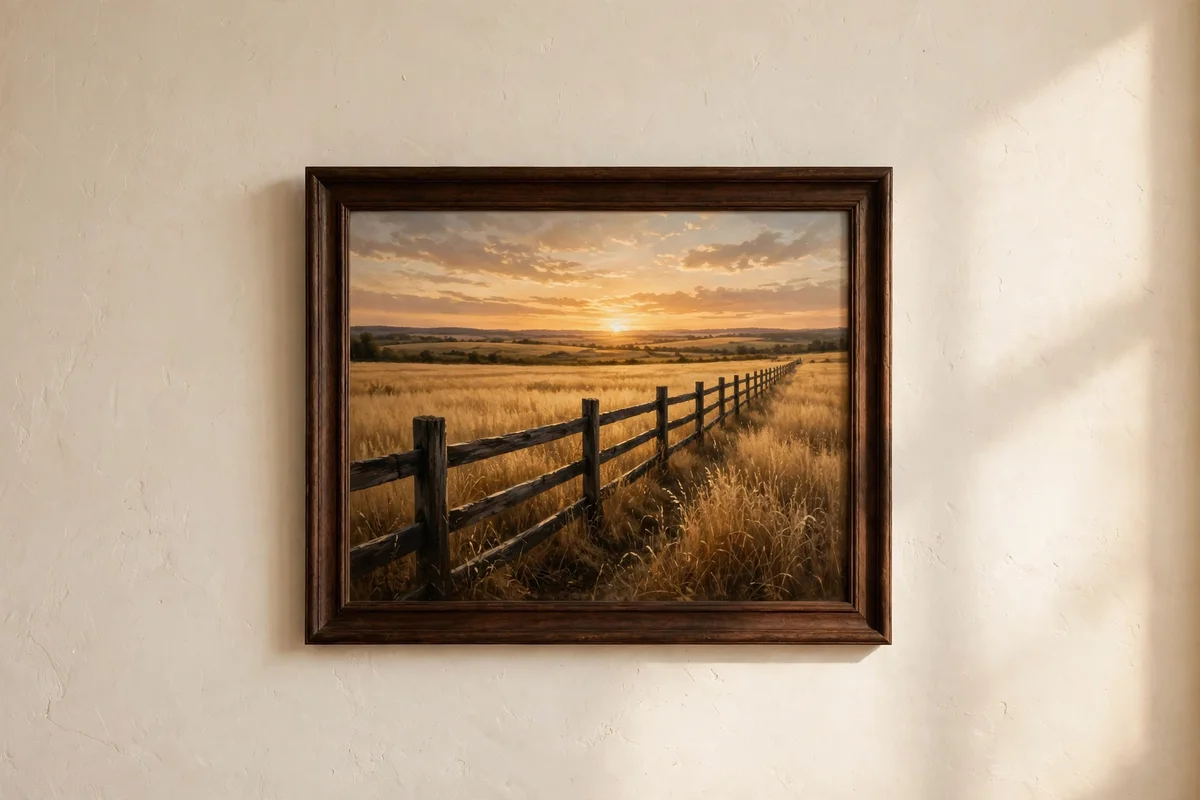
A fence line pulls the eye deep into a sunset scene and is easy to paint. Draw the horizon line across the lower third of a 25 by 30 cm board. Paint the sky in orange and rose, then block in the field in golden green while the sky dries. Paint the fence posts as simple dark rectangles, larger in front at about 4 cm tall, shrinking toward the horizon, with two rails connecting them at a gentle angle.
Keep posts almost black with a touch of dark brown so they read as silhouettes against the bright field. Add a soft shadow under each post, dragged slightly to the left as if the low sun casts it. Use a small flat brush for straight edges. The common mistake is making every post the same size, which flattens the depth. Let the fence run off the canvas edge so the field feels bigger than the frame.
4. Catch the Sun’s Path Across a Quiet Lake
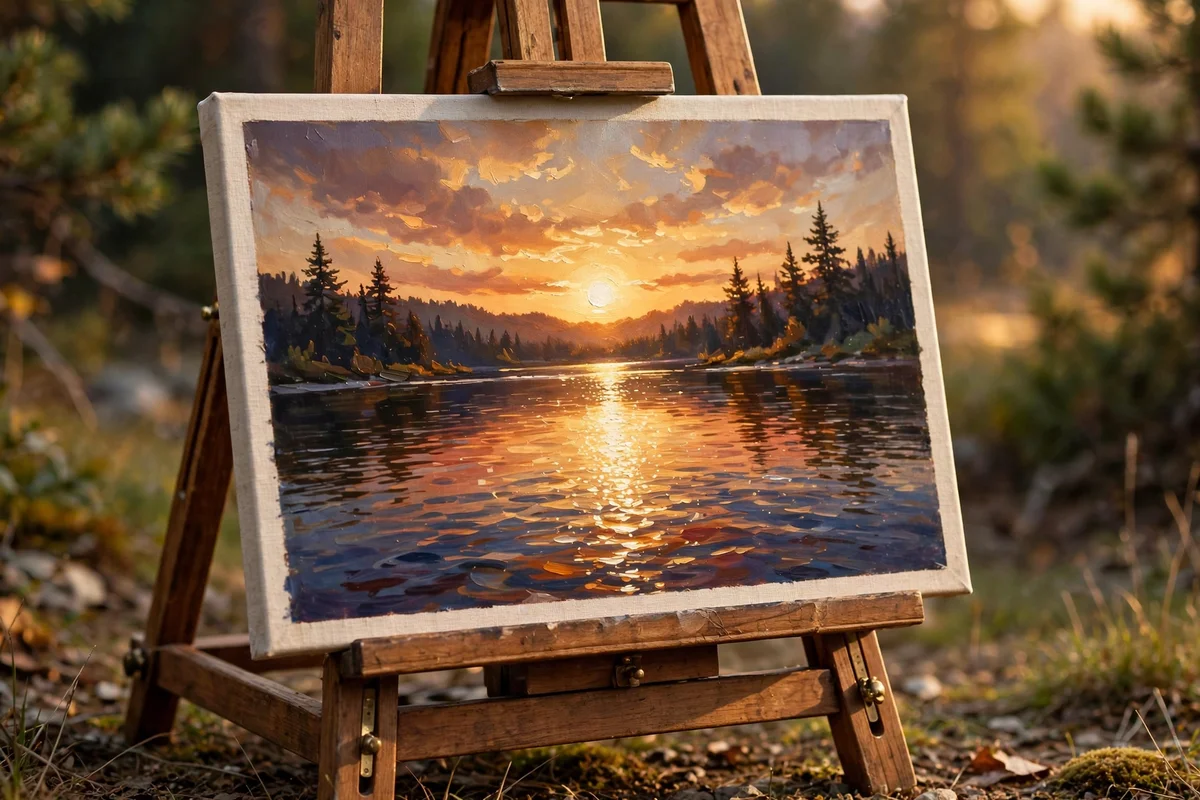
Reflections double the drama of a sunset with half the effort. On a 30 by 30 cm canvas, paint the sky in a full gradient from lemon at the horizon to plum at the top. Paint the lake as a mirror of the same colours but slightly darker, dragging a wide flat brush horizontally. Leave a bright vertical band of warm yellow straight under the sun, broken by three or four thin dark ripples to suggest gentle water.
Paint the far shore as one dark strip, no detail, sitting exactly on the horizon line. A strip 1 to 2 cm tall is enough on this size. Add a few pale dots on the dark water for distant light on waves. Work quickly while the lake paint is wet so ripples blend instead of sitting on top. The mistake to avoid is overworking the reflection with many strokes, which turns glassy water into mud.
5. Layer Distant Hills From Plum to Pale Lilac
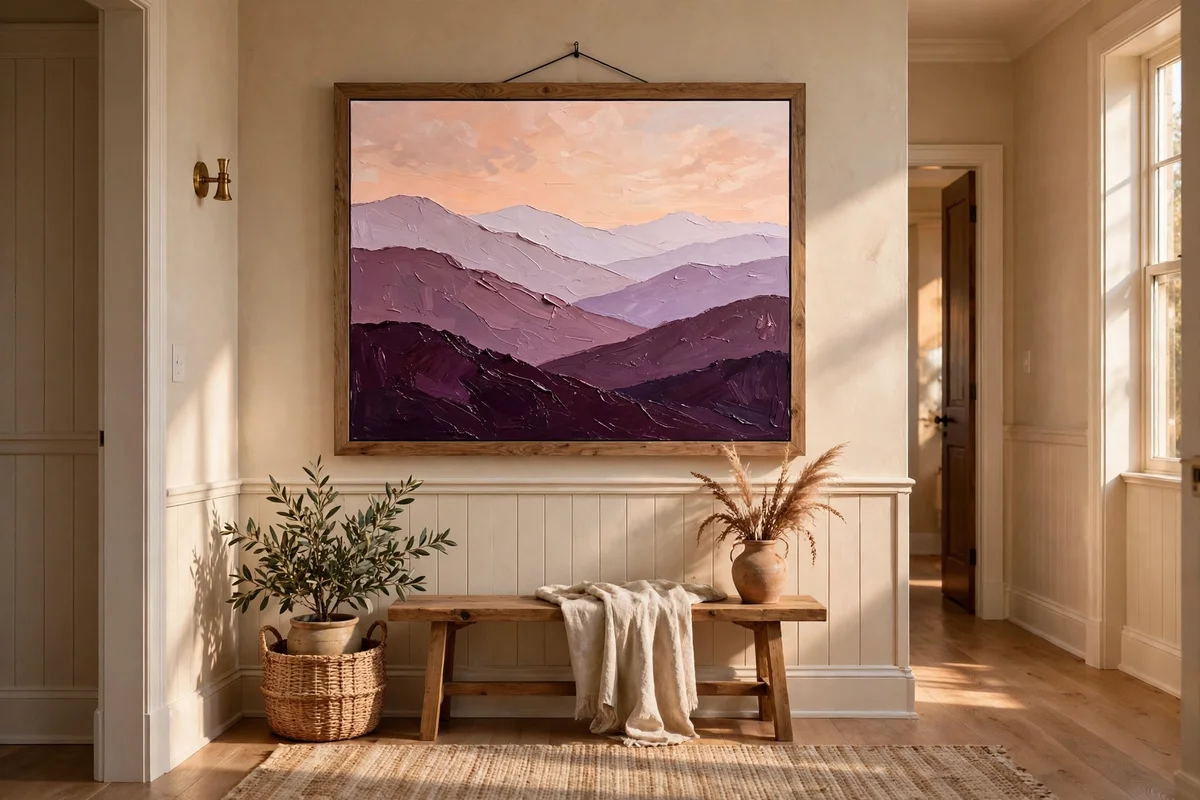
Hills teach the best colour lesson in painting: distance turns everything cooler and paler. On a 25 by 35 cm canvas, paint the sky in peach and apricot. Then lay in three hill layers, back to front: pale lilac mixed from white and a touch of purple, mid mauve, and a warm dark plum in the foreground. Each ridge should dip and rise gently, with the palest layer highest and the darkest layer sitting lowest.
Overlap each ridge by at least 2 cm so the layers read as separate distances, and keep edges soft where hill meets sky. Use a large flat brush and long sideways strokes for smooth ridges. Between layers, let the paint dry 15 minutes or the colours will mix into one flat purple. The common mistake is painting all hills the same tone, which flattens the whole scene. Add one small dark tree on the nearest ridge for scale.
6. Float a Big Sun Half Below the Horizon
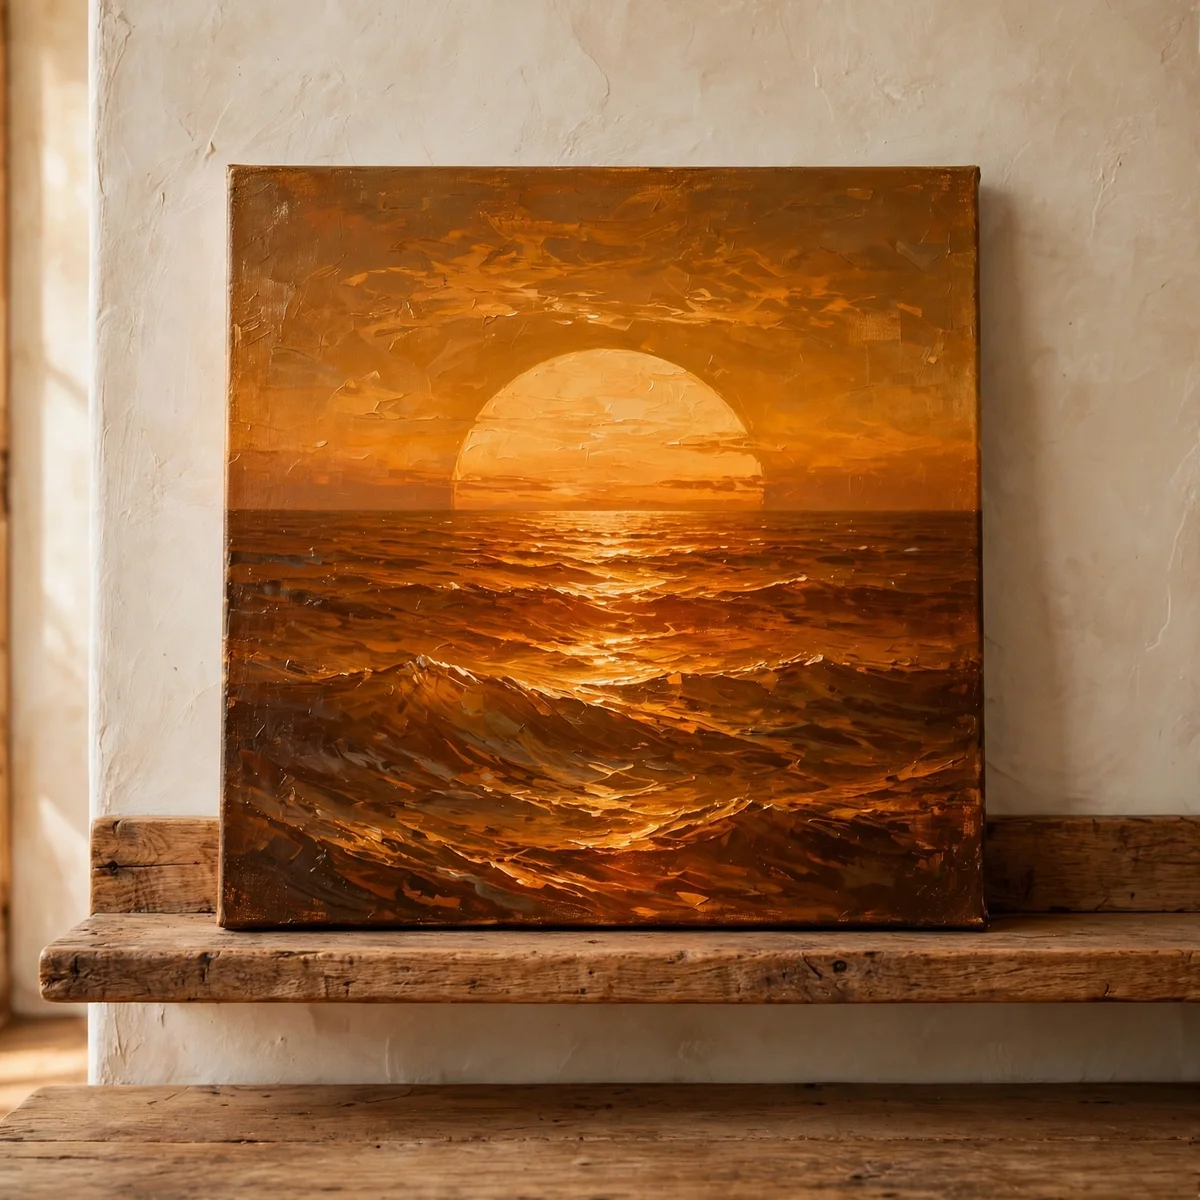
A large low sun makes a bold, simple painting that suits beginners. Take a 40 by 40 cm square canvas and wash the whole surface in bands of gold, tangerine and soft rose. While the wash is damp, paint a circle 10 to 12 cm wide sitting exactly on the horizon line, in pale warm yellow lightened with white. Scumble a little white around its lower edge where it dips into the sea or field below.
Keep everything else minimal: one horizon line, one colour field below in deep amber, and the sky above. A square format suits this composition because the sun can sit dead centre without looking static. Paint the sun last so it stays the brightest shape on the canvas. The mistake to avoid is outlining the sun in a dark line, which kills the glow. Hang this one where lamplight can catch it in the evening.
7. Draw Silhouetted Rooftops and Chimney Pots
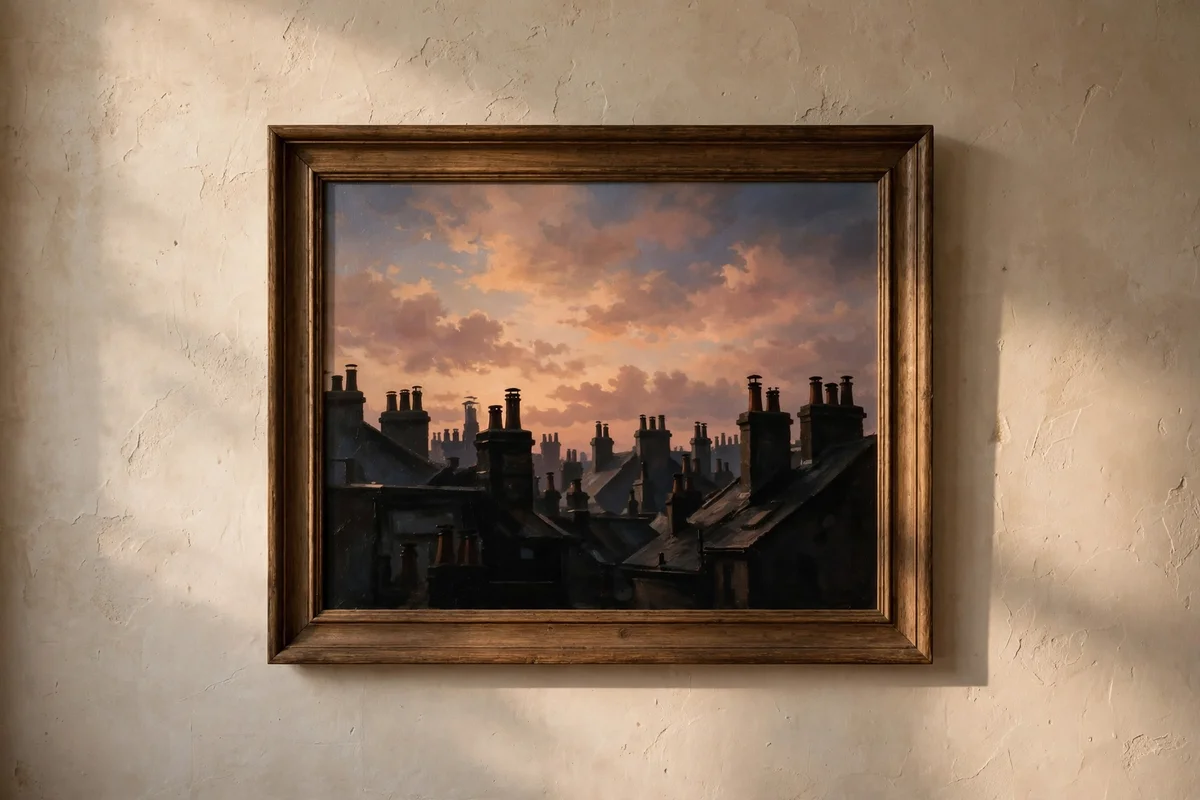
Rooftops at dusk give a sunset painting a quiet, lived-in feeling. On a 30 by 45 cm canvas, paint a wide sky in apricot fading to dusty rose. Then block the lower third in deep brown-black shapes: angled rooflines, two or three chimney pots and one small dormer window. Keep the shapes flat and simple, with no brick lines or texture, so the warm sky does all the talking above them.
Add one tiny warm rectangle on the darkest roof to suggest a lit window, using cadmium yellow with a touch of white. Place it off-centre so it feels like a real home. Paint the roofline with a flat brush in one steady pass, resting your wrist on a mahlstick or book edge for a clean line. The common mistake is adding too many tiny details, which shrinks the glow. This scene suits a narrow hallway wall.
8. Brush Rose-Edged Clouds Above a Harvest Field
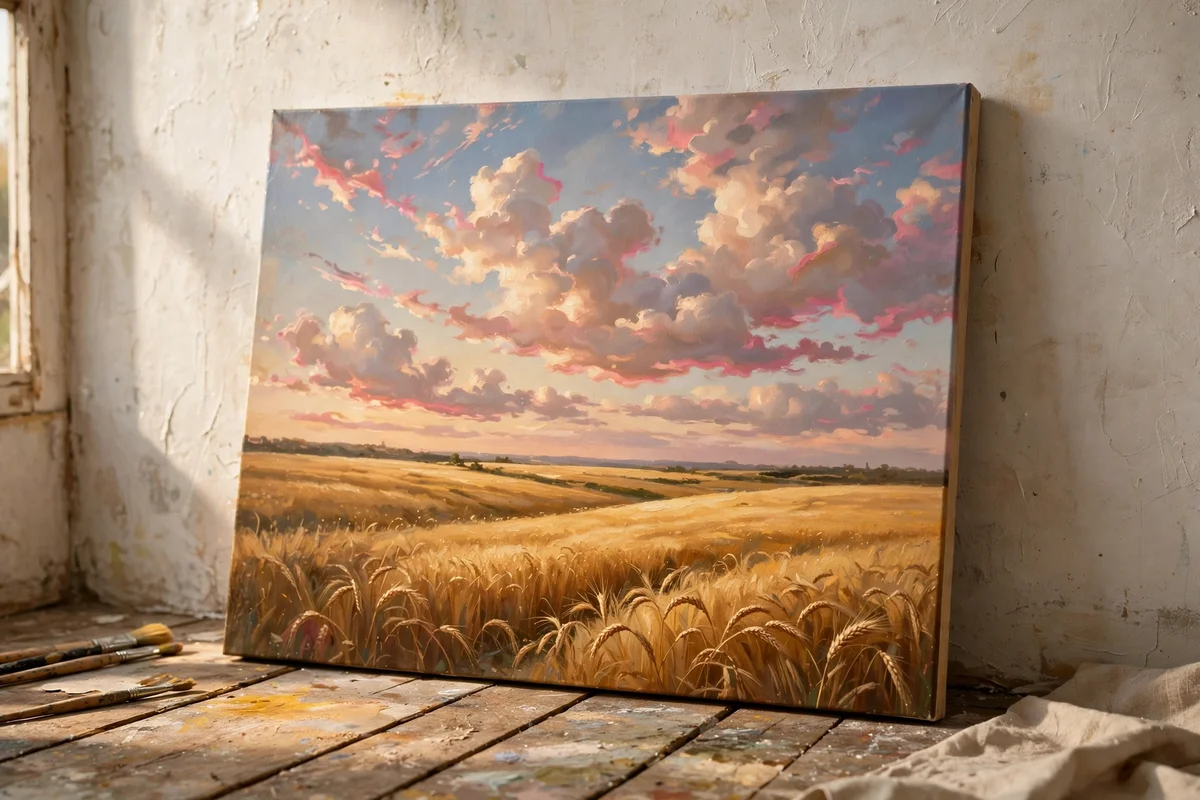
Clouds carry a sunset’s colour further than any other shape. Paint the sky on a 30 by 40 cm canvas in soft peach, then load a flat brush with rose and dab five or six long cloud shapes across the upper half. Pull the brush lightly so each cloud has a bright rose edge on top and a softer mauve underside. Keep clouds horizontal and let them thin out toward the edges of the canvas.
Below, paint the harvest field in warm gold with rows of short vertical strokes to suggest stubble. The contrast between horizontal clouds and vertical stubble keeps the eye moving. Use a fan brush if you have one; if not, the corner of a flat brush works. The mistake to avoid is making clouds too white, which breaks the sunset mood. Tint every cloud with the sky’s colours so the whole painting glows as one.
9. Guide a River Bend Through the Warm Glow
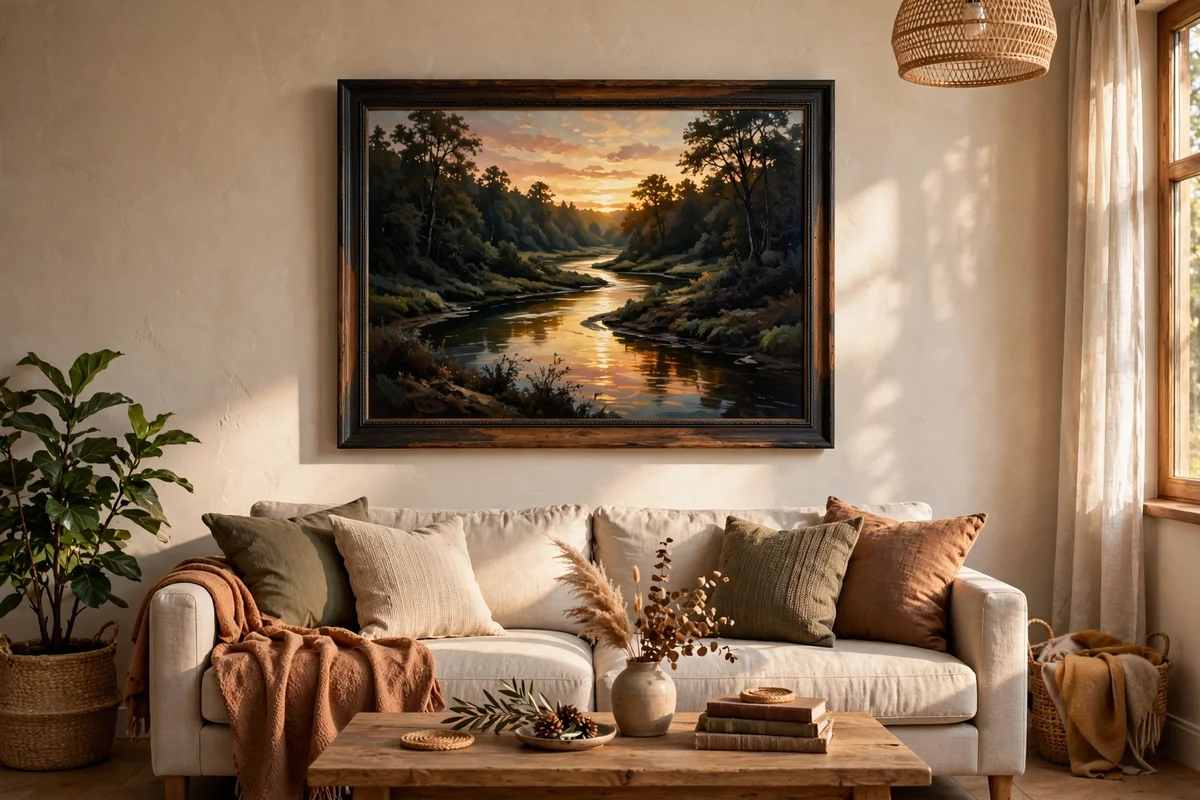
A curving river leads the eye like a ribbon through a painting. On a 25 by 35 cm canvas, paint the sky in gold and tangerine, then sketch a gentle S-shaped river from the bottom corner to the horizon. Fill the river with the sky’s colours but one tone darker, and add horizontal ripple strokes in pale yellow where the sun’s path would fall. Keep the riverbanks as dark green-brown strips about 2 cm wide.
The S-curve matters more than perfect water: draw it in pencil first and adjust until the bend feels natural. Paint the banks before the water so the river sits cleanly between them. Add two small dark bushes on one bank for balance. The common mistake is a river that runs straight down the middle, which splits the painting in two. A budget set of three brushes, flat, round and liner, handles this whole scene.
10. Rest the Sun Between Two Soft Green Hills
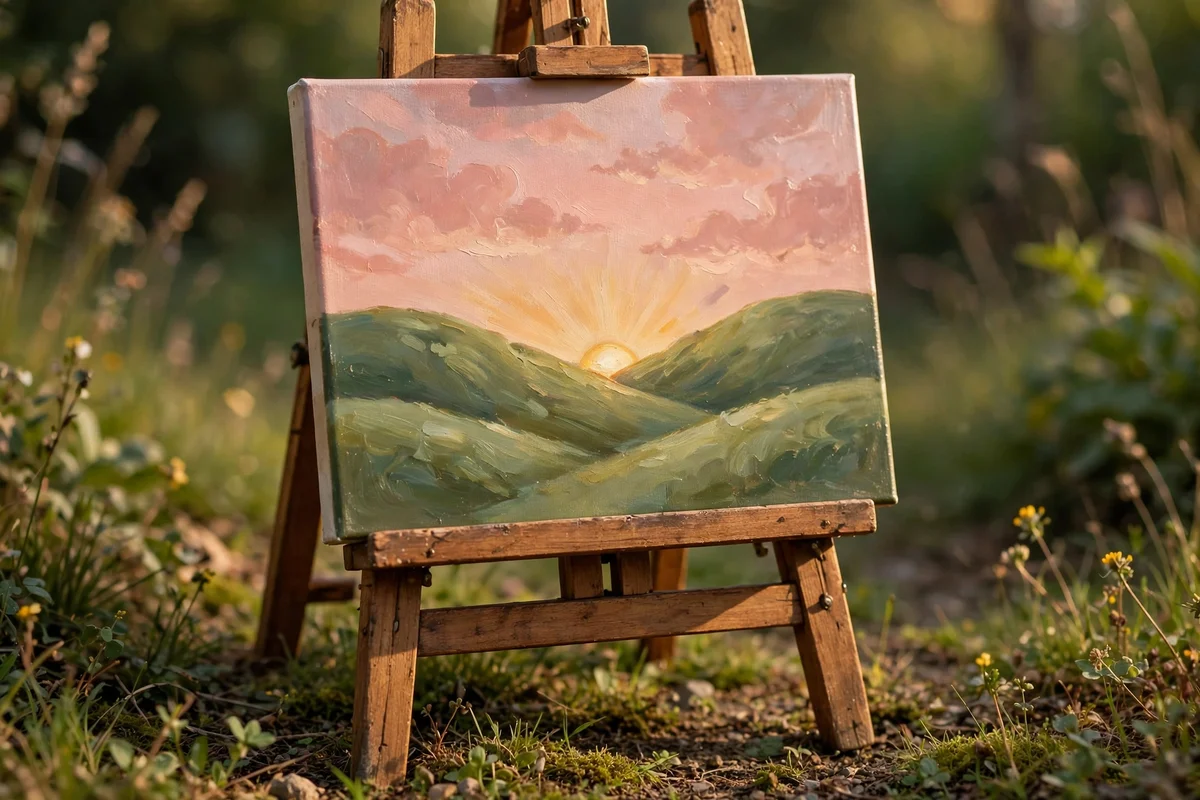
Two hills make a natural cradle for a setting sun. On a 30 by 40 cm canvas, paint the sky in soft apricot and rose. Shape the left hill rising from the lower left and the right hill from the lower right, leaving a V-shaped gap at the centre. Paint the hills in muted olive green darkened toward the bottom. Set a small warm sun, about 4 cm wide, nestled exactly in the gap where the hills meet.
Keep the hills simple curves with no trees or texture so the sun stays the star. Lighten the hill edges nearest the sun with a thin line of warm gold to show the glow touching the land. A round number 6 brush paints both the sun and the thin highlight. The mistake to avoid is placing the sun too high above the gap, which breaks the cradled effect. This gentle scene suits a bedroom wall in a slim frame.
11. Wash Gentle Waves Onto a Quiet Beach
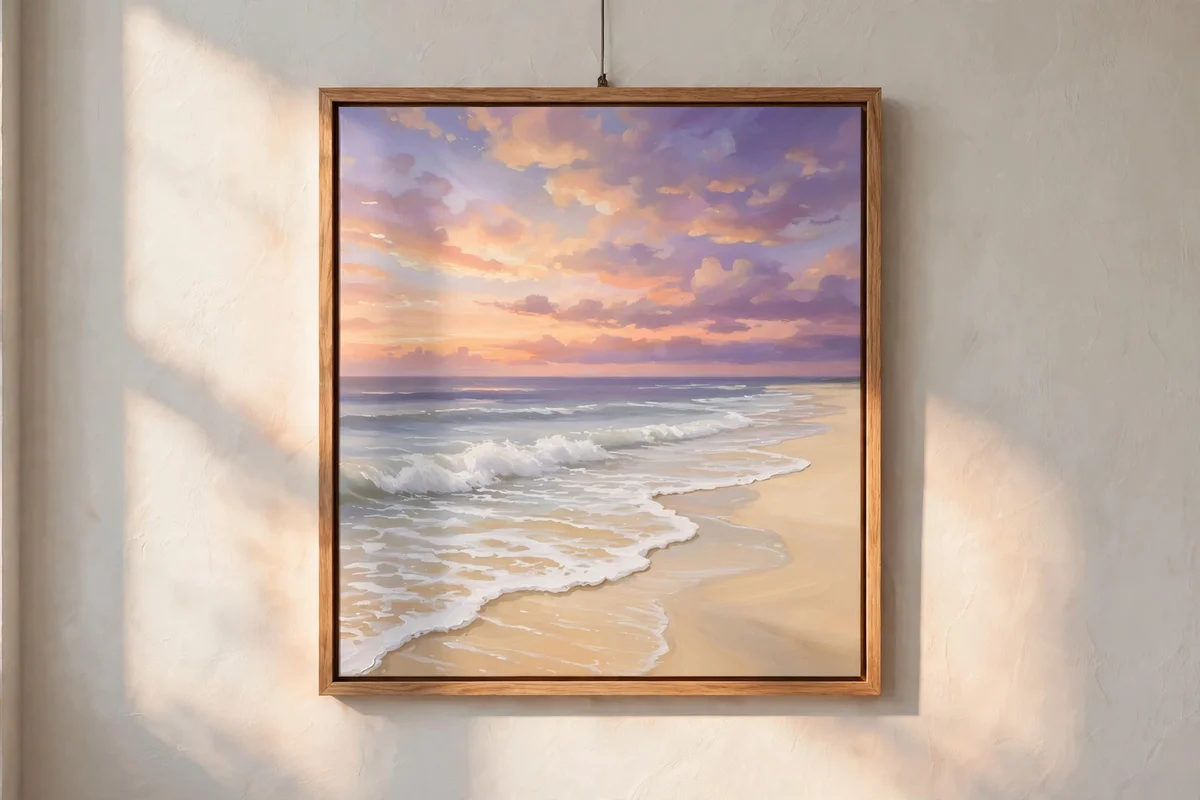
A beach sunset needs only three bands: sky, sea and sand. On a 25 by 30 cm board, paint the sky in peach fading to soft violet. Paint the sea as a horizontal band in slightly deeper versions of the same colours, then the sand in warm pale gold. Add wave lines in white, three or four curved strokes parallel to the shore, thinning as they reach the sand. Keep the lines broken rather than solid for a natural look.
Tilt the shoreline slightly so the composition feels relaxed instead of rigid. Add a soft wet-sand sheen by brushing a thin glaze of pale orange along the water’s edge. A glaze is one part paint to four parts water and dries in minutes. The common mistake is painting the sea bright blue, which clashes with the sunset palette; keep every colour warm. This calm piece works well in a bathroom with a moisture-proof frame.
12. Scatter Birds Across a Peach-Coloured Sky
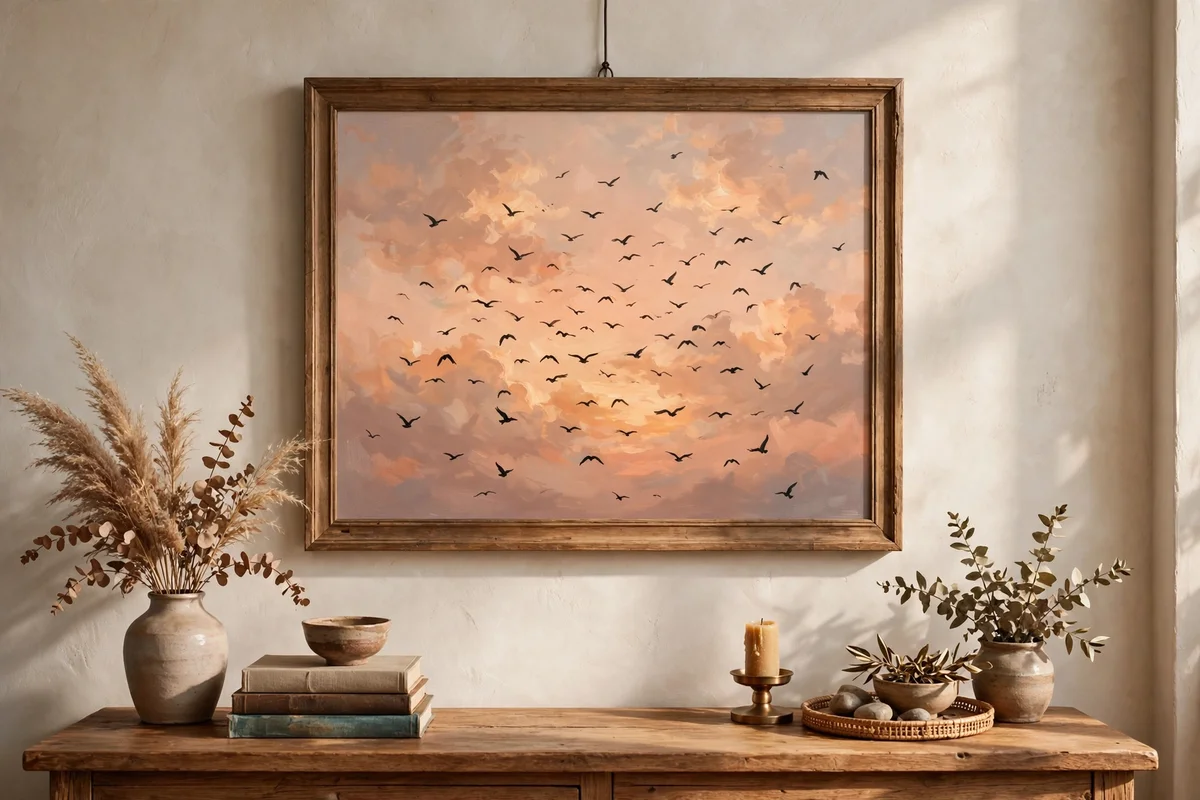
Birds add life to a sunset without any faces or figures. Paint the sky on a 25 by 35 cm canvas in peach with a soft gold band at the horizon. While the sky is still slightly damp, paint small bird shapes in dark brown-black: each bird is two short curved strokes meeting in the middle, like a wide letter M. Vary the sizes from 1 to 3 cm and scatter seven to nine birds across the upper half.
Use a small round brush and paint the birds last, with one confident stroke each. Wobbly lines look fine at this scale; perfect birds are not the goal. Keep the birds above the horizon line so they read as flying, not sitting. The mistake to avoid is adding too many birds, which turns a calm sky into a busy one. Nine is plenty. This idea also works as a narrow vertical canvas for a slim wall space.
13. Stand Meadow Flowers in Silhouette Against Amber
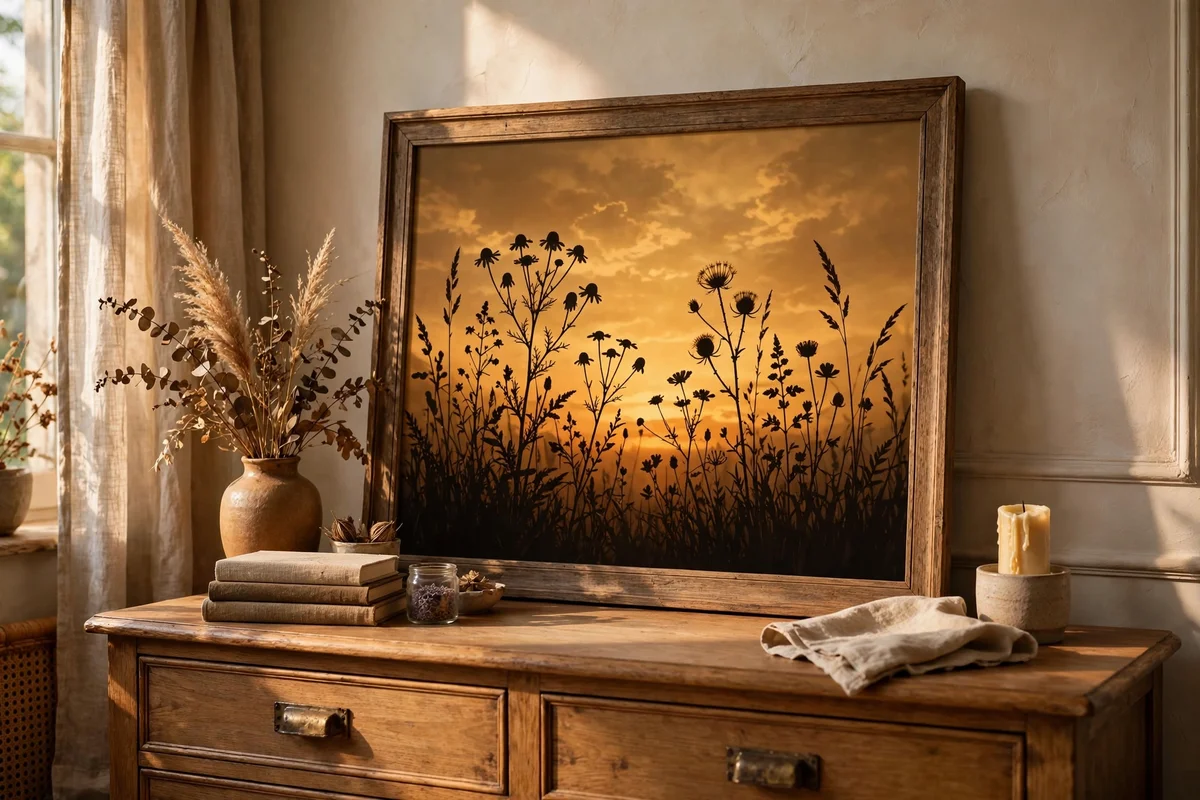
Wildflowers in silhouette look delicate against a glowing sky. Paint the sky on a 30 by 40 cm canvas in warm amber fading upward into soft rose. Paint the lower quarter in a darker amber meadow. Then, with dark brown-black paint, add simple flower stems: thin vertical lines with a small circle or star of petals on top. Vary the heights between 5 and 12 cm so the meadow feels natural.
A liner brush or the tip of a round brush gives the thinnest stems. Add a few seed heads as simple dots on tall stalks for variety. Keep every flower dark with no coloured petals, because colour would fight the amber glow. The common mistake is drawing flowers first and the sky second, which leaves pale halos around each stem. Paint sky, then meadow, then flowers, and let each layer dry 20 minutes.
14. Turn a Windmill Into a Dark Shape at Dusk
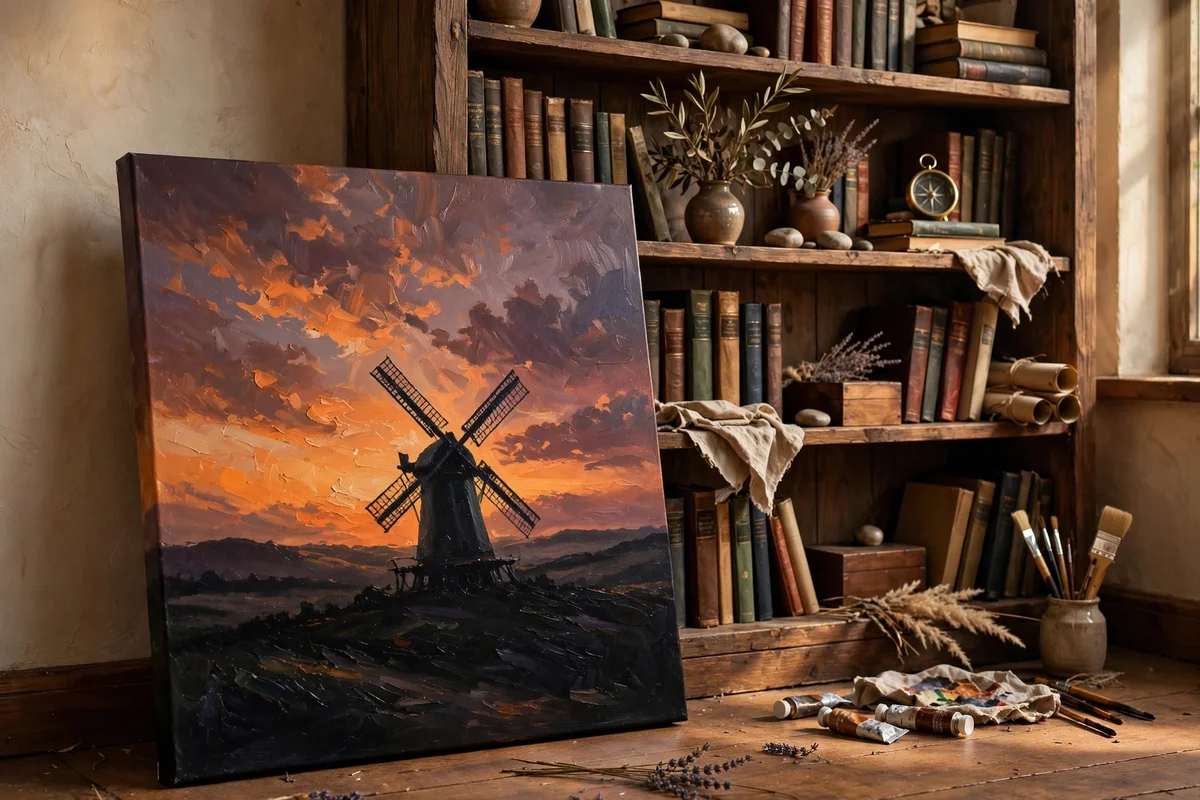
A windmill silhouette brings old-world charm to a sunset painting. On a 30 by 40 cm canvas, paint the sky in tangerine with soft plum at the top. Shape the windmill as a simple tapered tower with four long blades, all in dark brown-black, standing in the middle distance. Keep the blades as plain tapered rectangles; lattice detail disappears at silhouette scale and only adds fuss.
Place the windmill slightly off-centre, about one third from the edge, for a balanced composition. Add a low hedge line and a small path in the foreground using muted greens and warm browns. The path should curve gently toward the mill to lead the eye. The mistake to avoid is centring the mill exactly, which makes the painting feel stiff. This heritage scene hangs beautifully in a dining room with wooden furniture.
15. Let One Rain Cloud Break Into Orange Light
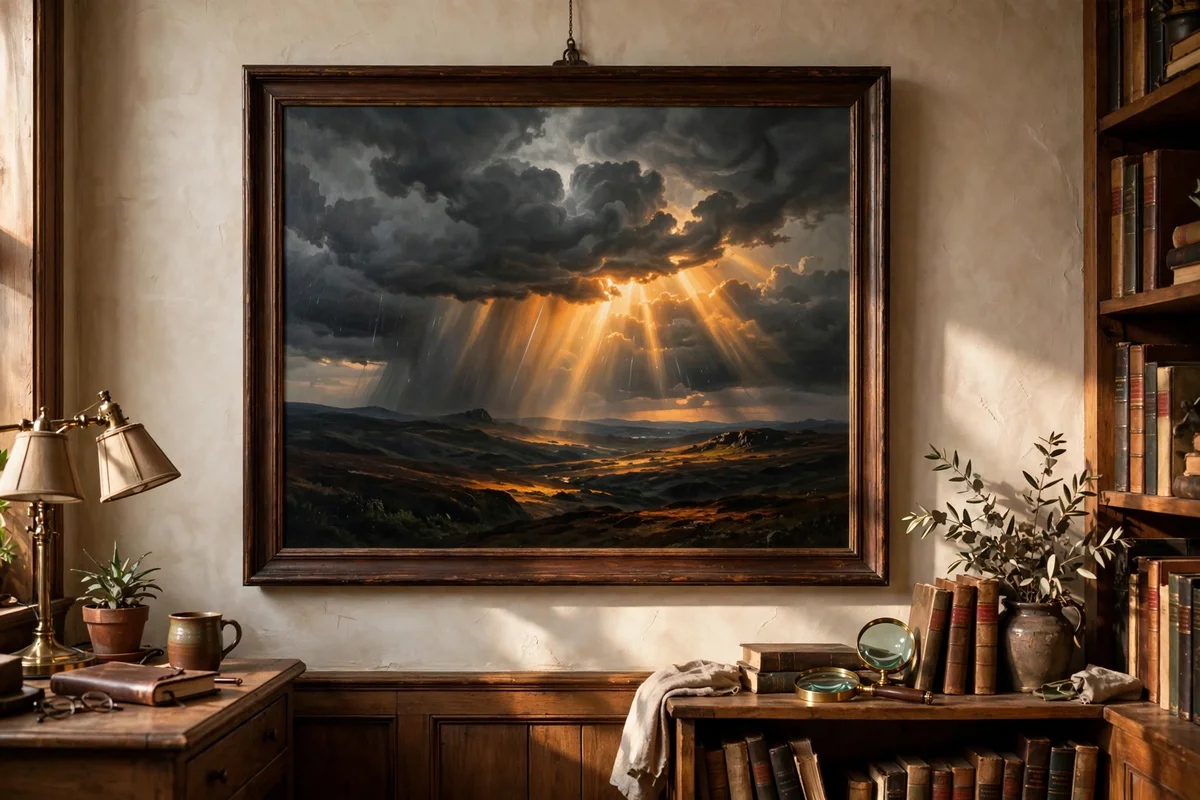
A single dark cloud makes the sunset light feel more precious. Paint the sky on a 30 by 40 cm canvas in soft gold. Then shape one large cloud across the upper third in deep grey-purple, keeping its edges soft with a dry brush. Leave a gap at the cloud’s lower edge where brilliant orange light breaks through, and paint radiating streaks of light falling from that gap toward the horizon.
The light streaks should widen as they fall, like soft rays, and fade before reaching the horizon. Use a fan brush dragged downward with very little paint for the softest rays. Paint the land below in deep warm shadow so the light feels earned. The common mistake is making the cloud pure black, which looks harsh; mix brown into the grey to keep it warm. This dramatic piece suits a study or reading corner.
16. Blend Orange Into Rose and Plum With Three Colours
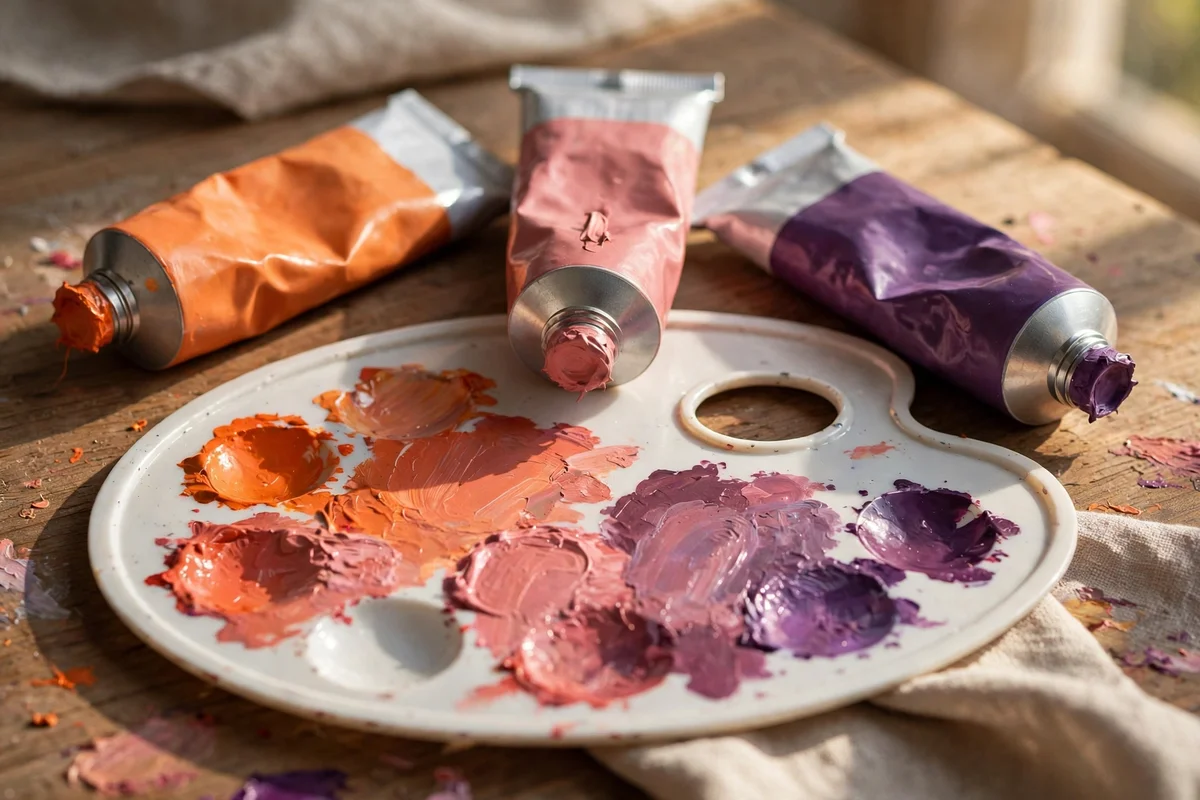
You only need three tubes to mix a full sunset: cadmium orange, rose madder and a deep purple like dioxazine. Squeeze a walnut-sized blob of each onto a white palette. Blend orange into rose at a one-to-one ratio for the mid sky, then add a pea-sized amount of purple to that mix for the upper sky. Keeping the palette to three colours guarantees the whole painting stays in one harmonious family.
Mix more than you think you need; a 30 by 40 cm sky uses about two tablespoons of blended paint. Blend on the palette, not the canvas, for the smoothest transitions, then carry the colour to the canvas in horizontal bands. The mistake to avoid is adding white to lighten, which chalks the warmth; add yellow instead for light. This three-colour rule keeps the paint bill under 10 pounds or dollars.
17. Follow the Acrylic Layering Order: Sky First, Then Land

Acrylics dry fast, so painting in the right order saves every sunset. Always paint the sky first, from top to bottom, in thin washes. Let it dry 20 to 30 minutes until it no longer feels cool to the touch. Then paint the land, hills or water over the dry sky, working from the horizon downward. Dark silhouettes go on last, when everything beneath is fully dry, so their edges stay crisp.
Thin each sky wash with a little water, about one part water to three parts paint, so later layers sit smoothly. Keep a hairdryer on its cool setting nearby; two minutes of cool air dries a thin wash completely. The common mistake is painting the land first and the sky around it, which leaves a pale halo along the horizon. Sky first, land second, silhouettes last: this order never fails.
18. Add the Sun’s Glow With a Dry Brush Halo
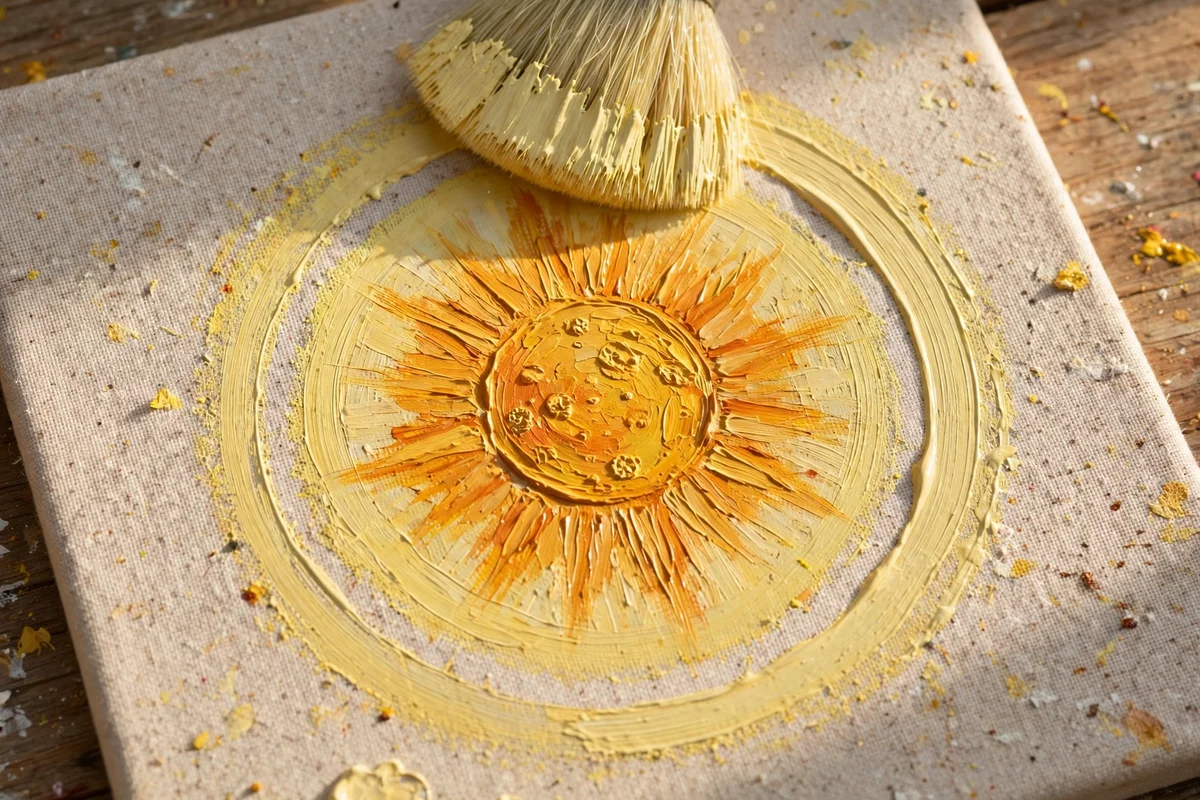
A glowing sun is made after the painting is dry, with almost no paint on the brush. Load a soft round brush with pale yellow, then wipe most of it off on a paper towel until the brush feels nearly dry. Lightly circle the brush around the sun’s edge in soft rings, building three or four passes. The colour should fade outward like warmth radiating, brightest at the rim and disappearing into the sky.
Practise the circling motion on scrap paper first; the touch should feel like dusting, not painting. If the halo looks too strong, soften it by circling once more with a clean dry brush. This technique also warms the edges of clouds near the sun. The mistake to avoid is using a wet brush, which leaves hard rings instead of a soft glow. One dry brush, kept only for this job, costs about 3 pounds or dollars.
19. Finish the Edges With a Warm Vignette
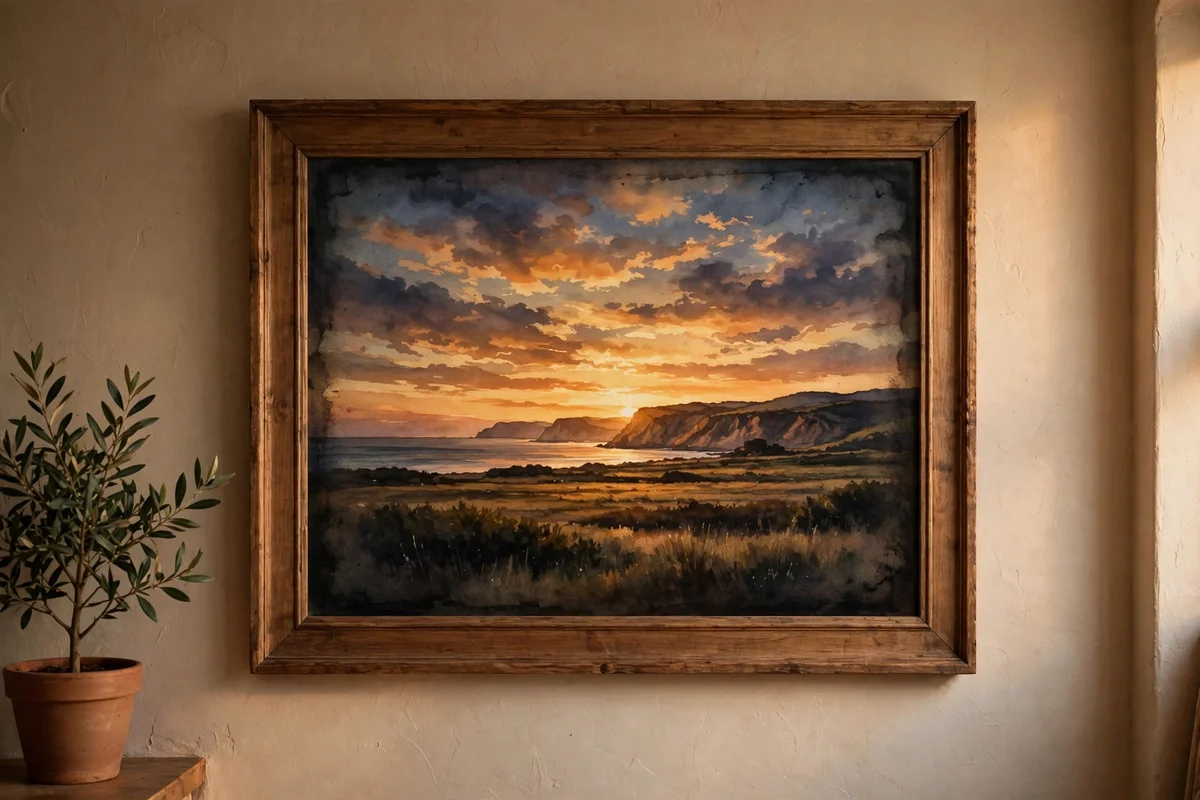
A vignette, a soft darkening at the canvas edges, pulls all attention to the glowing centre. Wait until the painting is fully dry. Mix a glaze of burnt umber with water at one part paint to five parts water. With a wide soft brush, sweep this glaze along the outer 3 cm of each edge, then blend inward with a clean damp brush so no hard line remains. The corners can go slightly darker than the edges.
Step back three metres after each pass to judge the effect; up close every vignette looks too strong. Two light passes beat one heavy one, and each pass dries in about ten minutes. The common mistake is vignetting a bright sky painting too heavily, which turns dusk into night. Keep it gentle, just a whisper of shadow at the edges, and the sunset stays luminous at the heart of the canvas.
20. Choose an Oak Frame That Keeps the Warmth
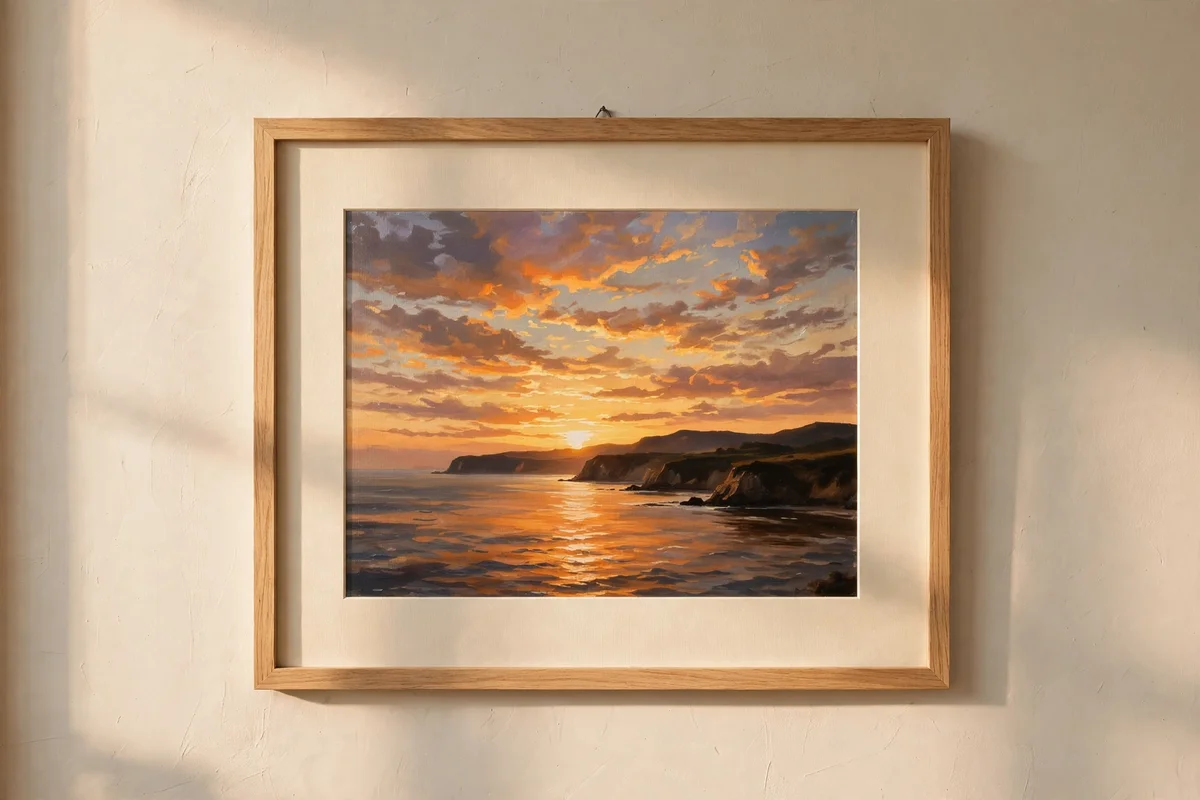
The right frame keeps a sunset painting glowing instead of fighting it. Choose a simple oak or light walnut frame with a flat profile 3 to 5 cm wide; pale wood echoes the warm sky while dark ornate frames can swallow it. For a 30 by 40 cm canvas, a frame with a 5 cm mount in warm cream adds breathing room. Buy ready-made frames from craft stores, usually 12 to 20 pounds or dollars at this size.
Hang the frame with a sawtooth hanger for canvases under 1 kg, or D-rings and wire for anything heavier. Avoid glossy black or silver metal frames, which cool down warm art and suit offices more than homes. The mistake to avoid is a frame wider than 6 cm on a small canvas, which makes the art look like a postage stamp. Let the wood tone repeat somewhere in the room, a shelf or a side table, for a settled look.
21. Hang the Canvas on a West-Facing Wall
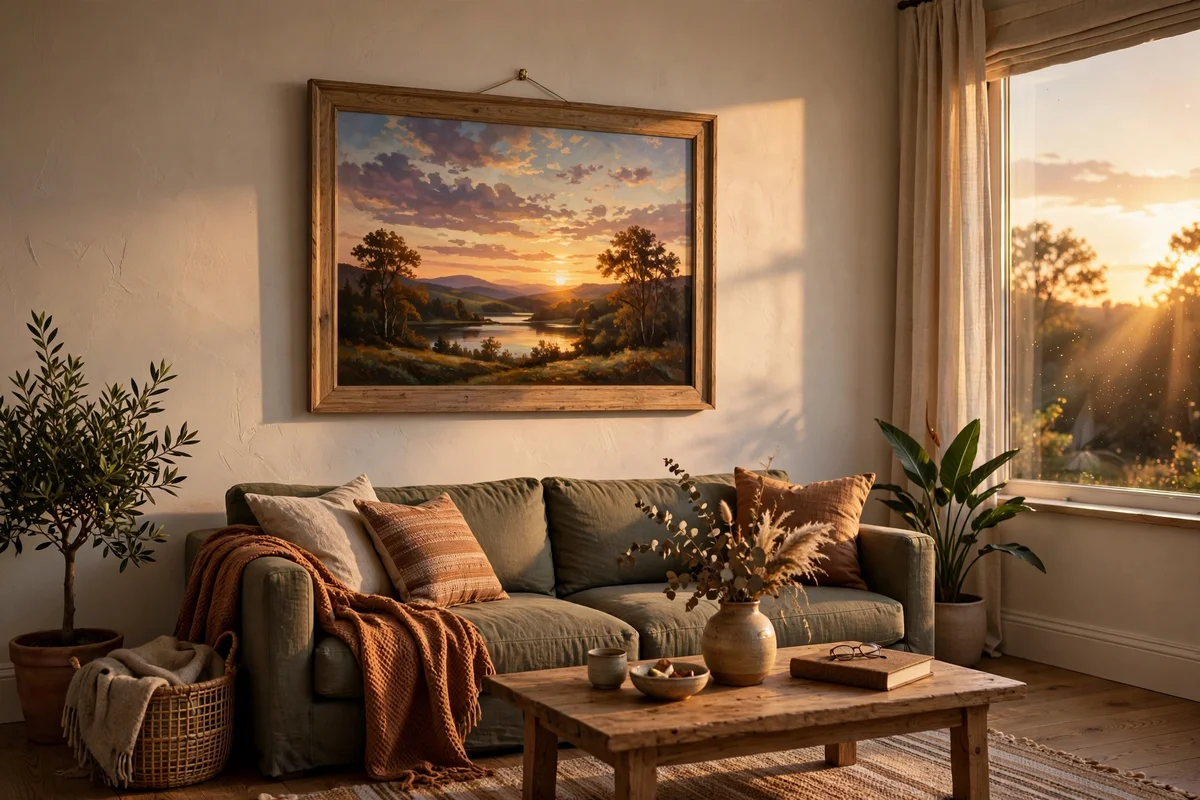
Sunset paintings glow brightest where real evening light can reach them. A west-facing wall catches the last direct sun of the day, and your painted sun will seem to answer it. Hang the canvas so its centre sits 145 to 155 cm from the floor, the standard gallery height, where lamplight and daylight both fall kindly. In a living room, the wall opposite the main window often works best.
Avoid hanging warm art where harsh midday sun strikes it directly; ultraviolet light fades oranges and reds faster than cooler colours. A UV-protective varnish adds years to the glow and costs about 8 pounds or dollars for a spray can that covers six canvases. The common mistake is hanging the painting too high, above a tall bookcase, where nobody’s eye naturally rests. Keep it at eye level and let the evening light do the rest.
22. Welcome Guests With Sunset Art in the Entry
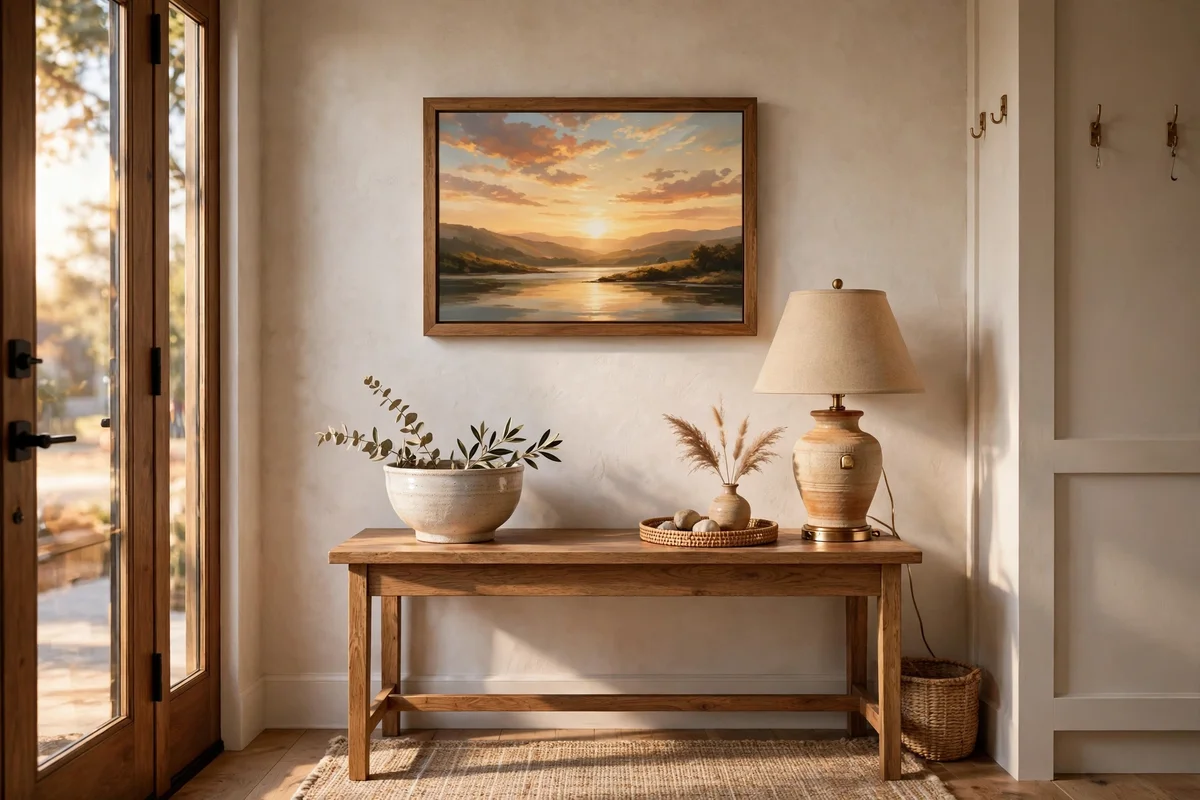
The entry is the first room guests see, and a sunset painting sets a warm tone immediately. Hang one 30 by 40 cm canvas on the wall opposite the front door so it greets everyone who steps in. Pair it with a small console table below, 90 to 120 cm wide, holding a ceramic bowl and a low lamp with a 2700K bulb. The lamplight will pick up the painting’s oranges each evening.
Keep the entry palette calm so the painting stays the brightest thing in the space: cream walls, natural wood and one woven basket work well. Avoid crowding the wall with other art; a single sunset canvas reads as a deliberate welcome. The mistake to avoid is hanging art where the door swings open against it. Leave at least 60 cm of clearance from the door’s arc, and the painting will greet guests safely for years.
23. Warm the Dining Room With Two Sunset Canvases
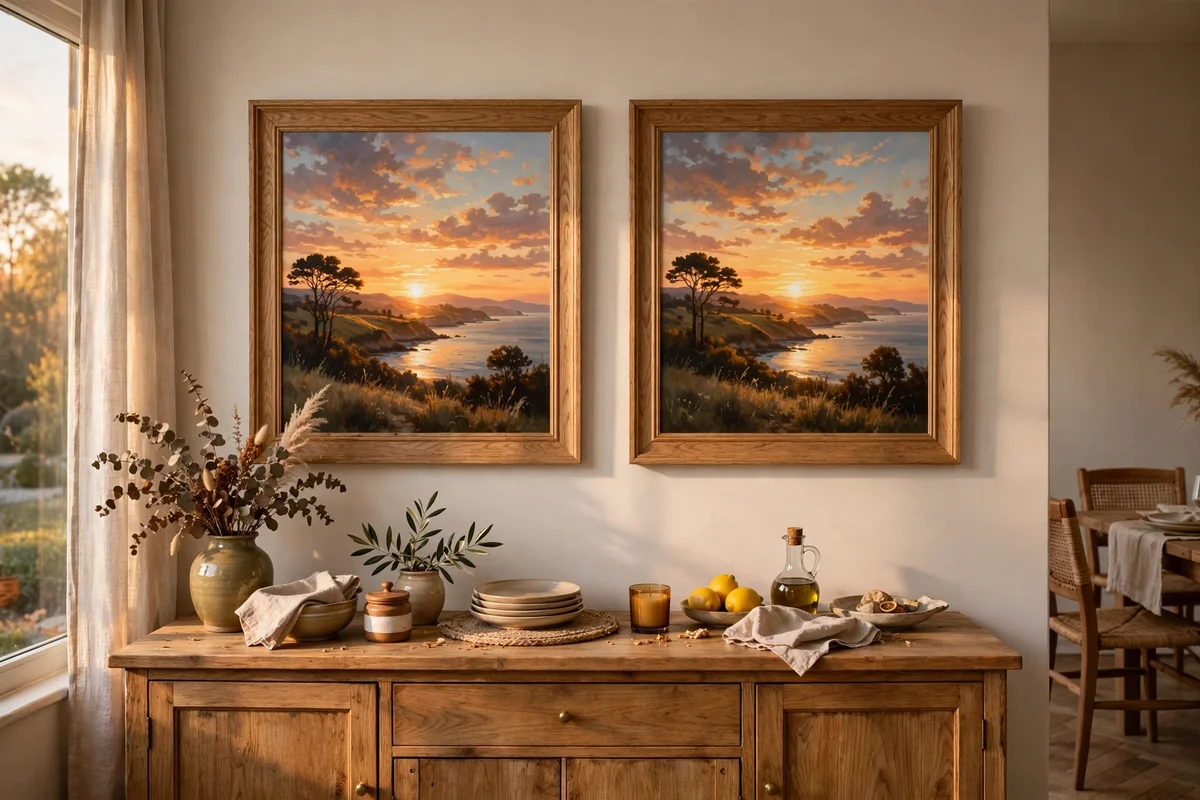
Two sunset canvases side by side turn a dining room golden at supper time. Choose two paintings in the same palette, one a field scene and one a lake reflection, both 30 by 40 cm. Hang them 5 to 8 cm apart above a sideboard or on the wall facing the table, with their centres 150 cm from the floor. The pair reads as one wide horizon and doubles the warmth without doubling the effort of finding art.
Keep the frames identical so the pair looks intentional, and align the horizon lines of both paintings at the same height. A warm dimmer switch on the dining light, set low in the evening, makes the painted skies glow like a real sunset. The mistake to avoid is hanging the pair above a radiator, where heat and dry air age the canvas. Leave 30 cm above any heat source, and the colours will stay rich.
Sunset paintings ask very little of you and give back a great deal. Three tubes of paint, one flat brush, a quiet evening and the patience to let layers dry: that is the whole recipe behind every glowing sky in this collection. The ideas here were chosen because each one teaches a small skill, a gradient, a silhouette, a reflection, while leaving you with art worth framing. Warm light on a wall changes how a room feels at dusk, and a painting you made yourself changes it more.
Start this week with the simplest idea of all: a gradient sky over a golden field, painted on a small 20 by 25 cm board. It needs only yellow, orange and one brown, and it dries in an evening. Hang the finished piece where the real setting sun can catch it, and let that small warm square remind you that the day’s best light is always worth keeping.
Frequently Asked Questions
What acrylic paints do I need to start painting sunsets?
Three tubes cover every idea here: cadmium orange, a rose like rose madder, and a deep purple such as dioxazine violet, plus white and a dark brown for silhouettes. A student-grade set of six to ten tubes costs about 8 to 15 pounds or dollars and paints at least three 30 by 40 cm canvases. Add one flat 12 mm brush, one round number 8 and a small liner, and you are fully equipped.
How long should I wait between acrylic layers on a sunset painting?
Thin washes dry in 20 to 30 minutes at room temperature, and most sunset skies need just one waiting break between sky and land. Touch the paint lightly; if it feels cool, it is still wet. A hairdryer on its cool setting dries a wash in about two minutes if you are impatient. Never rush with heat, since hot air can crack thick acrylic. Silhouettes painted over fully dry layers stay crisp and clean.
What size canvas is best for a first sunset painting?
A 30 by 40 cm canvas is the sweet spot for beginners: large enough for smooth gradient skies, small enough to finish in one or two evenings. Smaller boards, 20 by 25 cm, suit quick practice pieces and cost less than 2 pounds or dollars each. Go bigger, 40 by 50 cm, only when you can blend a gradient confidently, since large skies show every hesitation. Square 30 by 30 cm canvases flatter single-sun compositions.
Where should I hang a sunset painting so it looks its best?
West-facing walls are ideal because real evening light makes the painted sun feel alive. Hang the canvas centre 145 to 155 cm from the floor, away from direct midday sun which fades oranges and reds. Entries, dining rooms and bedrooms all suit warm art; pair it with a warm 2700K lamp nearby for evening glow. Keep paintings at least 30 cm above radiators so heat never ages the canvas.
How do I stop my sunset colours turning muddy when I blend?
Mud comes from mixing too many colours on a wet canvas. Limit yourself to three sunset colours plus white, and mix each blend on the palette before it touches the canvas. Clean the brush in water between colours, and let each layer dry 20 minutes before glazing over it. Lighten with yellow, never white, which chalks warm mixes. Work in horizontal bands and blend edges while damp for the smoothest transitions.