DIY Projects
24 Chalk Paint Furniture Ideas That Give Old Pieces a Soft Vintage Soul
By Anna Wells · · 23 min read
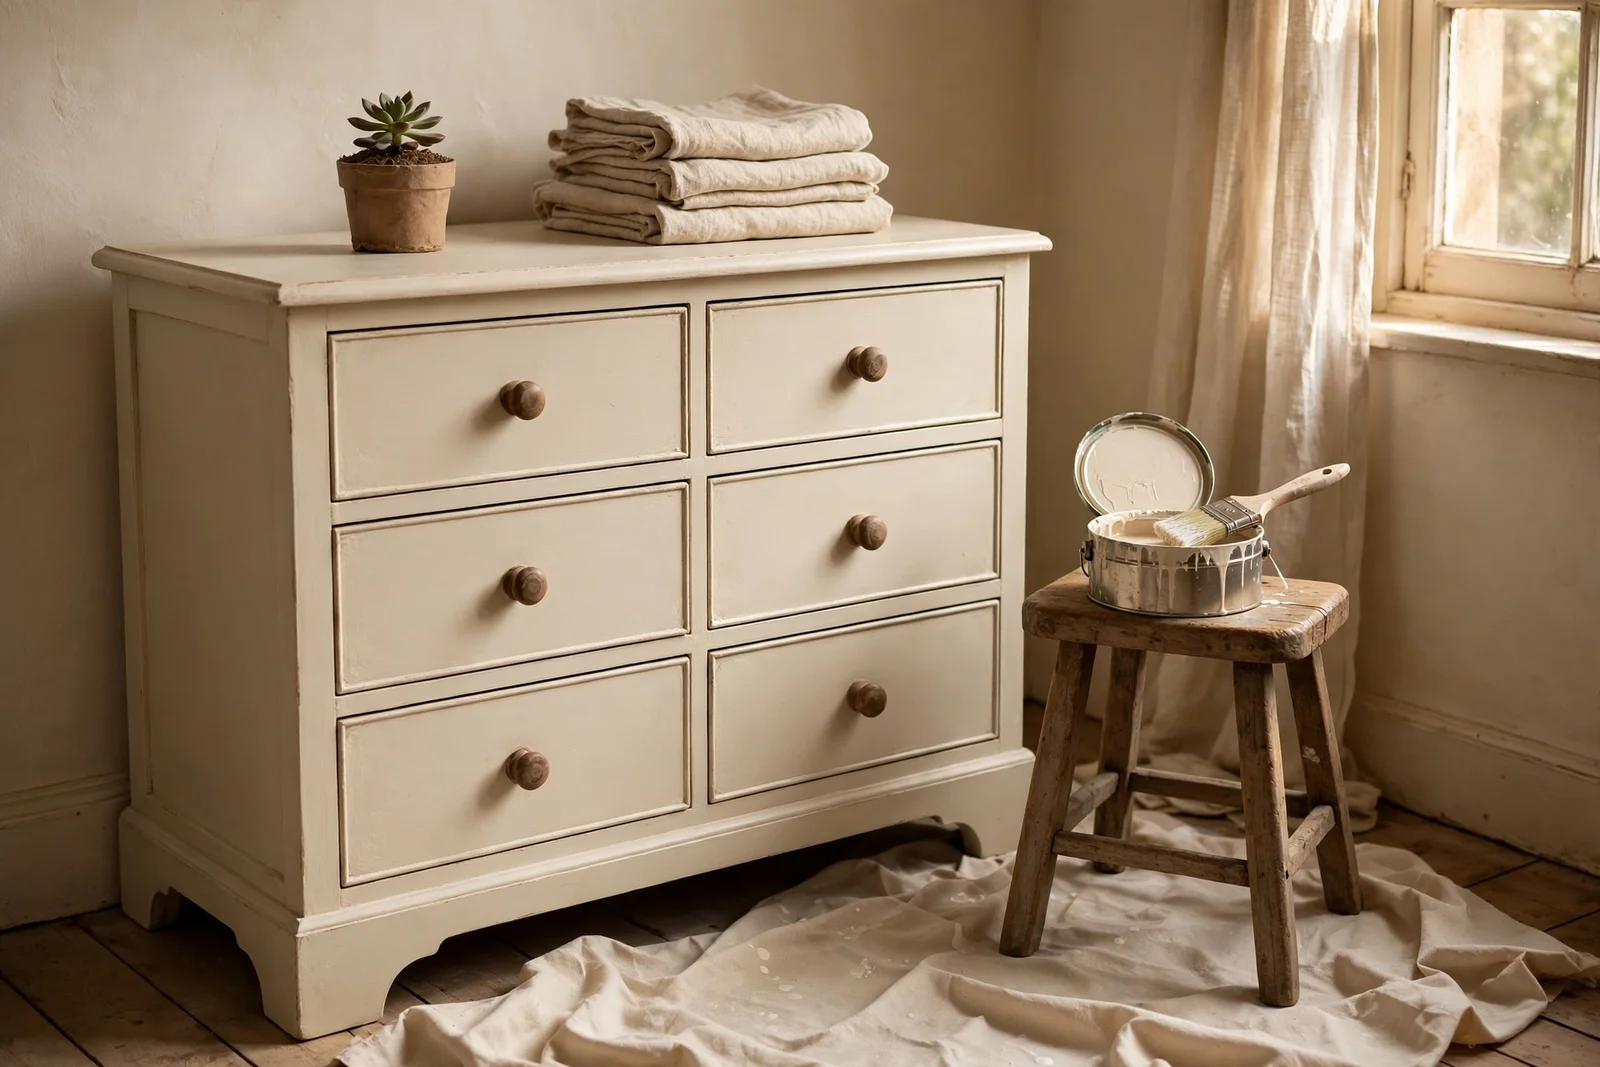
Chalk paint turns tired dressers, chairs and cabinets into soft matte vintage pieces: 24 practical ideas on colours, two tone distressing, clear and dark wax, and honest prep.
The dresser on the charity shop floor had good bones and terrible varnish, orange toned and scratched at every corner, priced at less than a family dinner out. You walked past it twice before the thought landed: this is exactly the kind of tired, solid furniture that chalk paint was made to rescue.
Chalk paint asks little of you and gives a great deal back. No stripping, no long priming sessions, just clean wood, a decent brush and two thin coats of soft matte colour. In return it turns dated pine and scuffed veneer into pieces with a quiet vintage soul, the sort that look collected over decades rather than bought last weekend.
Below you will find twenty four ideas that cover the whole journey, from choosing between cream, sage, dusty blue, charcoal and blush to waxing, distressing and lining drawers. Each one is practical and budget honest, with the common mistakes included so you can skip the ones that make chalk paint look chalky instead of velvety.
Set aside a weekend, open the windows for ventilation and gather your supplies before you begin. By Sunday evening that sad dresser, those mismatched chairs or that plain flat pack cabinet can stand in your home looking as though it always belonged there.
1. Paint a Six Drawer Dresser in Warm Cream With Dark Wax in the Recesses
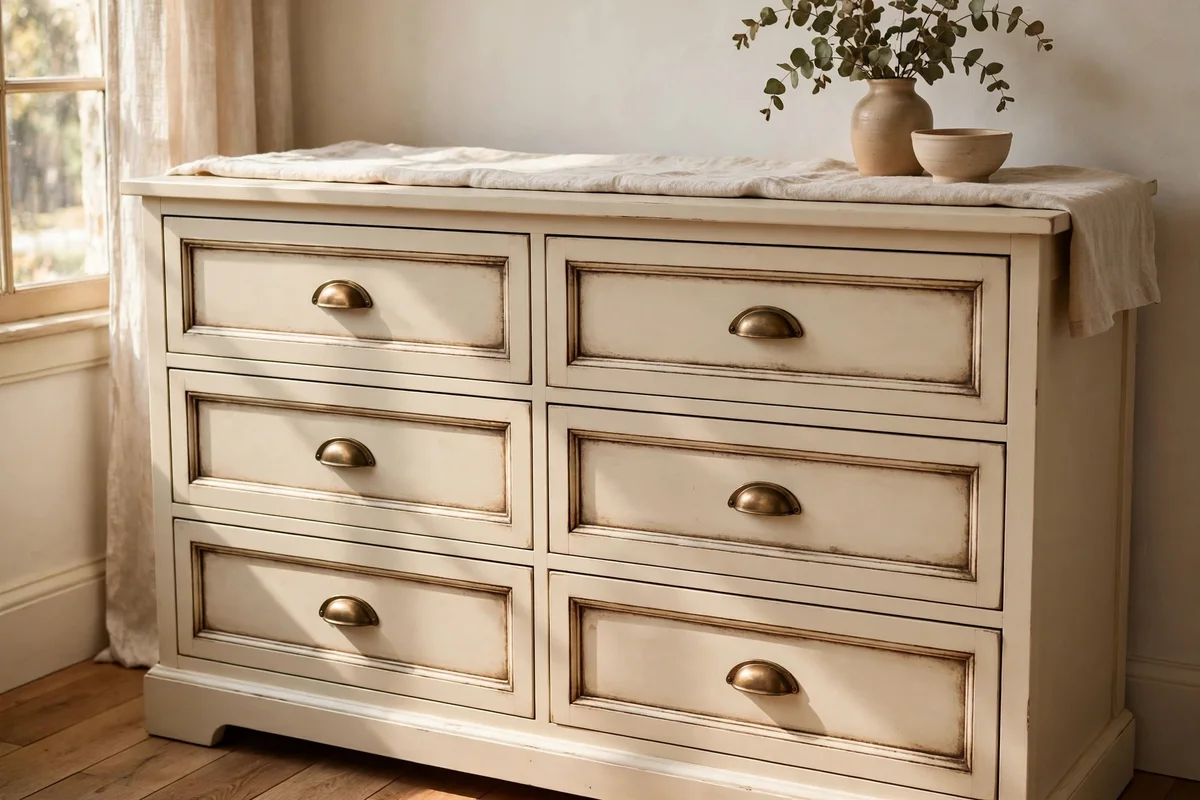
A six drawer dresser is the classic first chalk paint project because its flat fronts forgive beginner brushwork while its frame shows off the soft matte finish. Choose a warm cream with yellow undertones rather than a stark white, which can look cold against wooden floors. Two thin coats usually cover a mid brown dresser of about 120 cm wide, and a 750 ml tin leaves paint to spare. Remove the drawers and hardware before you start so no paint pools around the handles.
After the cream coats dry, rub dark wax into the recessed panels and corners with a small wax brush, then buff the raised areas clean with a lint free cloth. The dark wax settles into the grooves and gives the piece an aged depth that flat paint alone cannot achieve. Work one drawer front at a time so the wax never dries before you buff it. The mistake to avoid is flooding the whole surface with dark wax, which turns cream muddy; keep it in the low spots and the finish stays crisp and velvety.
2. Give a Pine Side Table a Sage Green Finish Sealed With Clear Wax
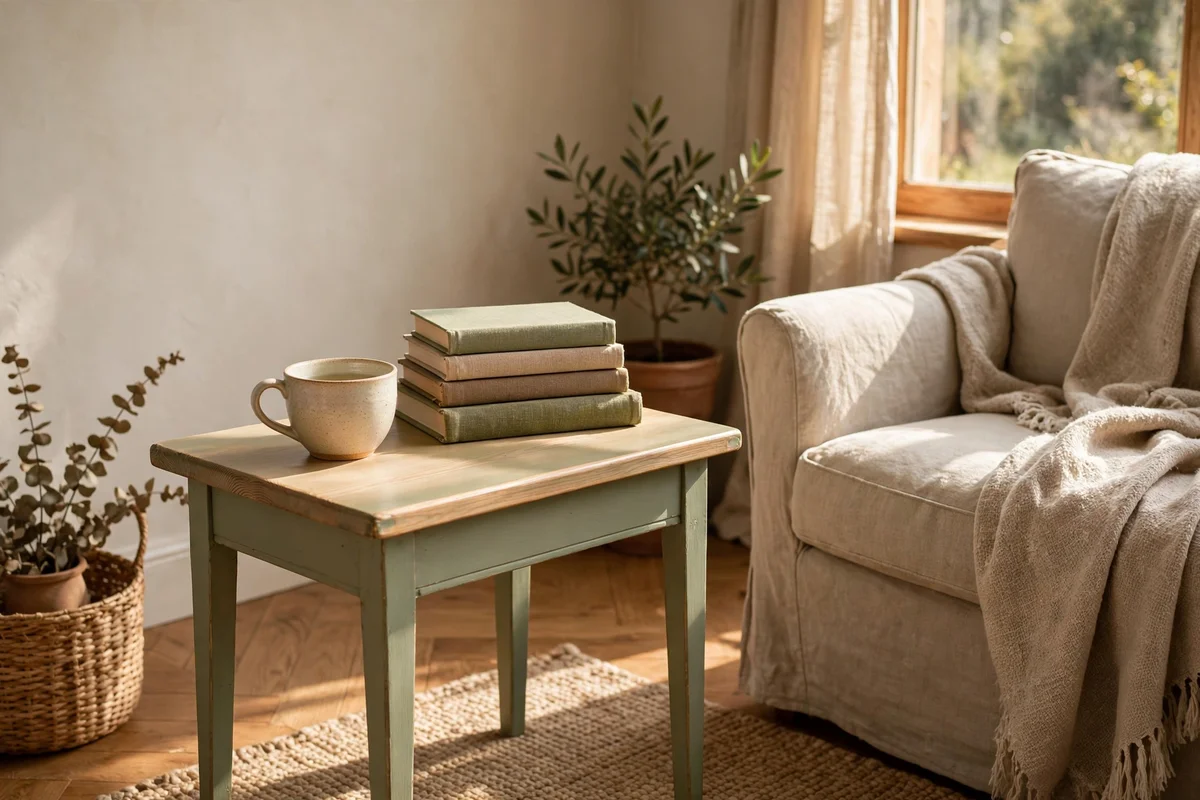
Pine side tables take sage chalk paint beautifully because the pale green cools the wood’s yellow tones without hiding the grain. Wipe the table with sugar soap, let it dry for an hour, then apply the first coat with a 50 mm flat brush, following the grain along the top. Two coats are usually enough over raw or previously varnished pine, with two hours of drying between them in a ventilated room. A 40 cm square table needs only about 250 ml of paint.
Once the paint feels hard to the touch, press clear wax into the surface with a wax brush in small circular motions, then buff after 15 minutes with a soft cloth. Clear wax adds almost no colour but deepens the sage slightly and protects the top from teacups and books. A side table gets light use, so one or two wax coats are plenty. Rewax once a year, and keep the table out of direct afternoon sun, which fades green paint faster than any other colour.
3. Revive Kitchen Chairs in Dusty Blue With Lightly Distressed Edges
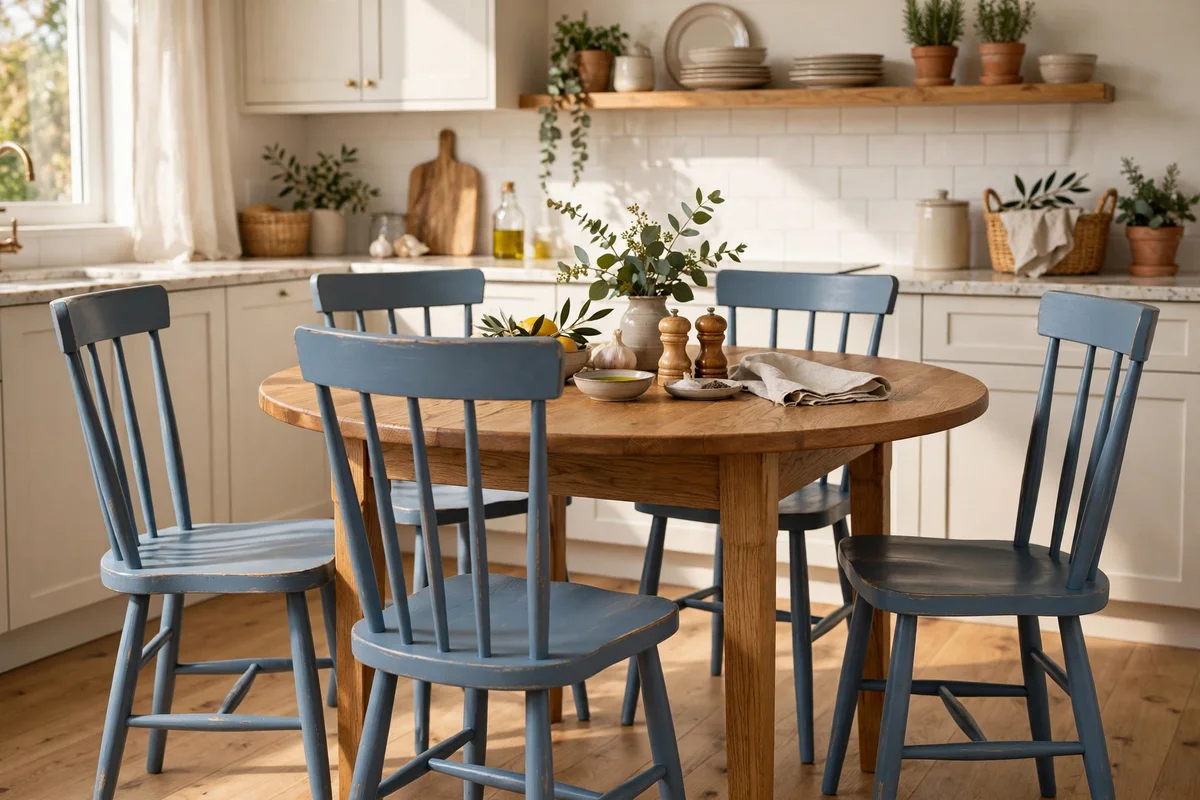
Kitchen chairs are ideal for dusty blue because the soft grey blue hides the small scuffs of daily use and sits happily beside cream or white kitchens. Flip each chair and paint the underside of the seat first, then work up the legs and spindles while the paint is still wet on the brush. Chalk paint grips turned spindles well, and a 25 mm round brush reaches between them without drips. Plan on two coats and about 500 ml of paint for a set of four chairs.
When the paint is fully dry, wrap 220 grit paper around a sanding sponge and touch only the front edge of the seat and the highest points of the spindles. This reveals pinpoints of the old wood beneath and suggests years of gentle wear. Seal with clear wax because chairs take constant handling, waxing the seat and back rest twice. The mistake to avoid is distressing every edge, which reads as damage rather than age; restraint keeps the chairs graceful.
4. Turn Plain Flat Pack Cabinets Cottage Style With Charcoal Chalk Paint
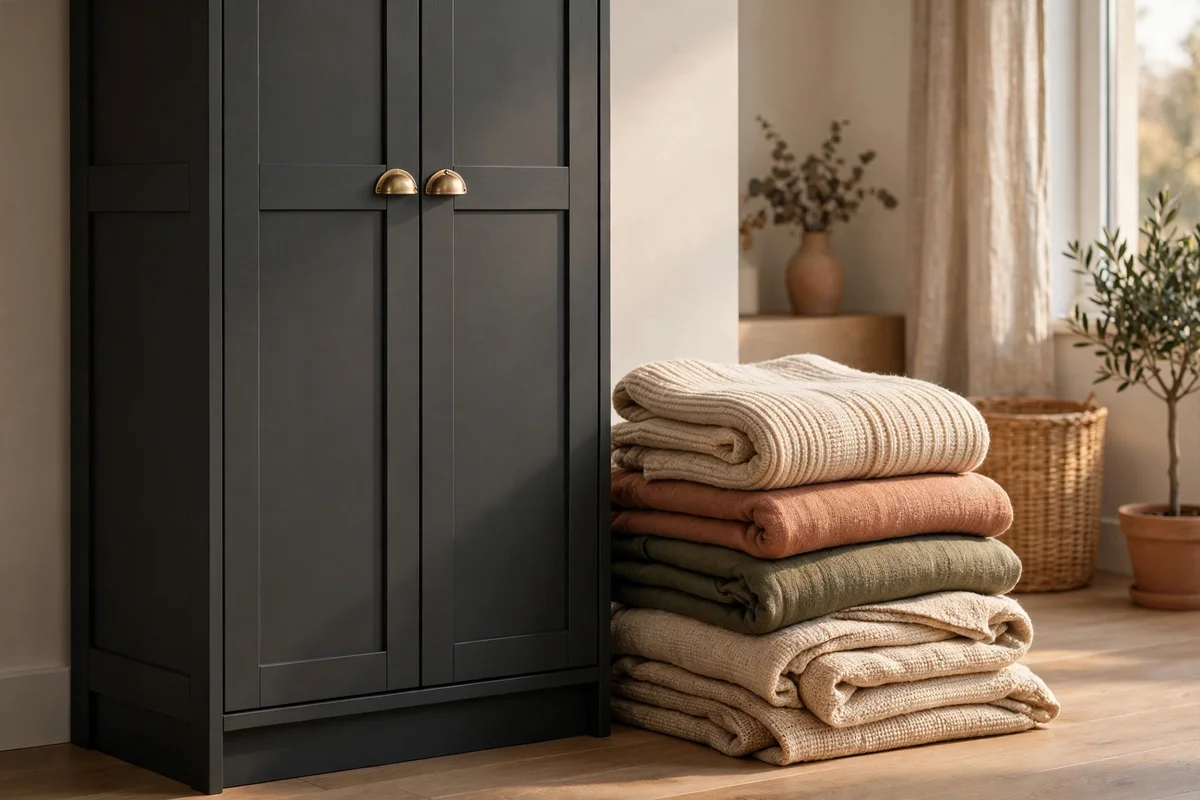
Flat pack cabinets with plain slab doors respond well to charcoal chalk paint, which turns budget furniture into something that looks quietly bespoke. Clean every panel with a degreasing spray, since packing oils and fingerprints make paint bead on the surface. A small foam roller lays the first coat quickly over large flat doors, followed by a brush to smooth the rolled texture. Two coats cover melamine style surfaces when each coat dries for three hours, and 750 ml covers a tall cabinet of about 180 cm.
Charcoal shows dust, so wipe finished cabinets with a dry microfibre cloth weekly and keep a small tin of matching paint for touch ups on the door corners. Seal the outside with clear wax and skip wax inside the cabinet where stored items might stick. The common mistake is painting in a cold room, which leaves the matte surface streaky and uneven; paint between 15 and 25 degrees Celsius. Charcoal pairs beautifully with brass cup pulls, which lift the dark finish.
5. Paint a Bedside Cabinet Blush With Cream Inside the Drawer
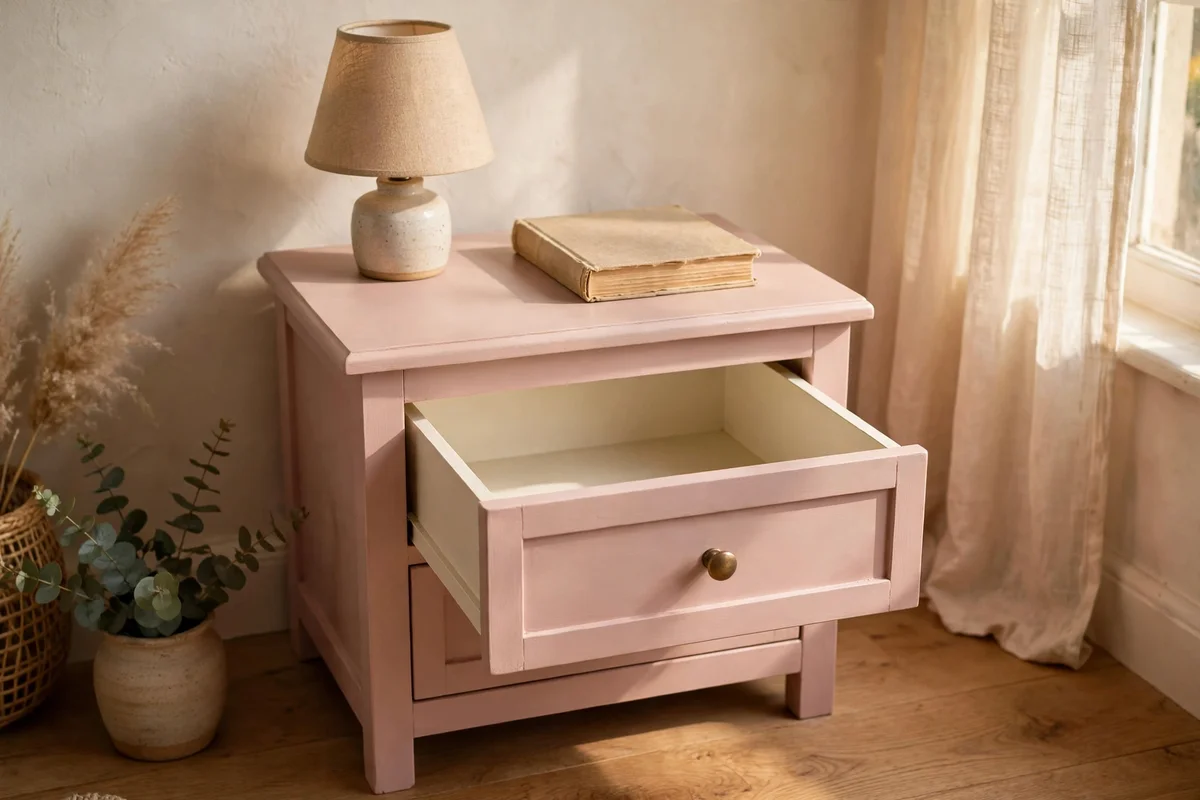
Blush chalk paint gives a bedside cabinet a soft tone that still reads calm in a grown up bedroom. Choose a muted blush with grey undertones rather than a bright pink, which fights the vintage mood. Sand the top lightly with 180 grit paper if it is varnished, then apply two thin coats, waiting two hours between them. A cabinet of 45 cm square needs about 300 ml of paint, and painting the sides before the front keeps the edges neat.
For a quiet surprise, paint the inside of the drawer warm cream and line it with pretty paper once the paint has cured for three days. Wax the cabinet body with clear wax but leave the drawer interior unwaxed so stored items never pick up wax residue. The mistake to avoid is pairing blush with glossy modern handles; turned wooden knobs or small brass pulls keep the old world feeling. This is a gentle weekend project, usually finished in one afternoon.
6. Layer Charcoal Under Cream for Two Colour Distressing on a Dresser
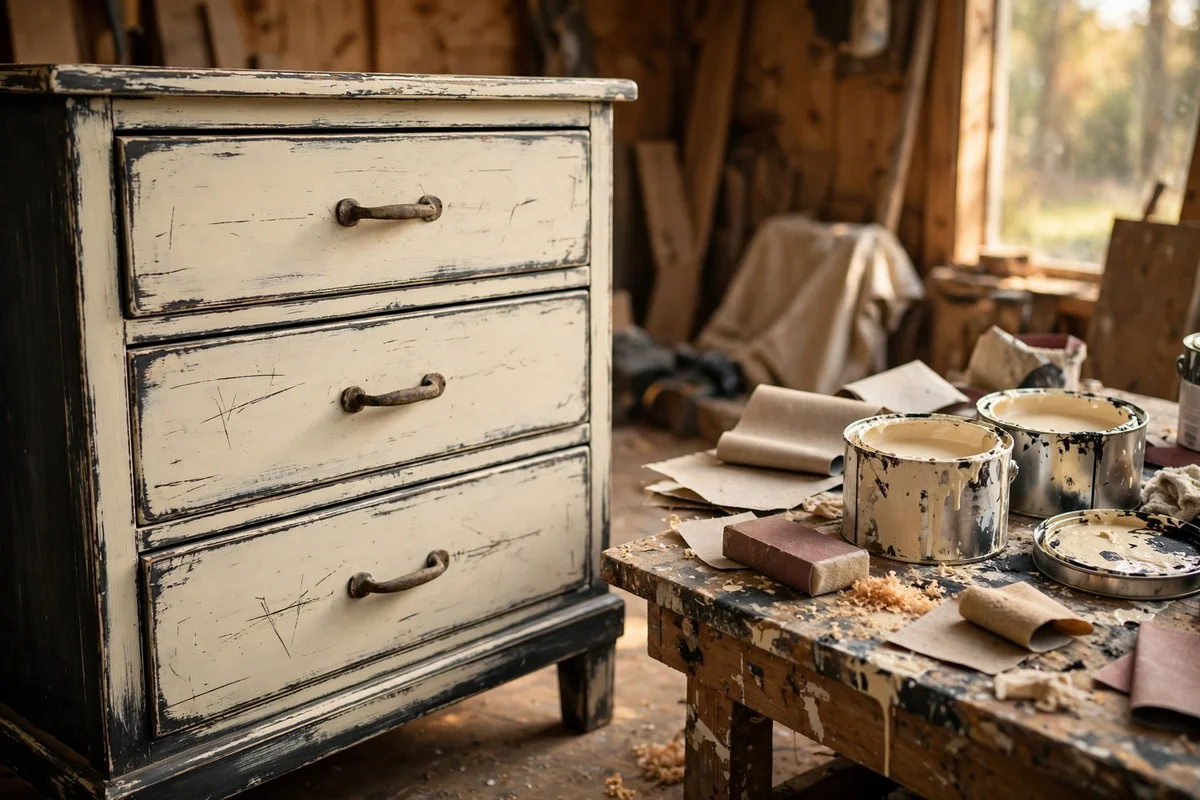
Two colour distressing starts with a full base coat of charcoal, dried overnight, followed by two coats of warm cream over the top. The dark layer waits underneath like a shadow, ready to show through wherever you sand. Apply the cream slightly thinner than usual, because heavy topcoats resist distressing and force you to sand too hard. A dresser of 120 cm wide needs roughly 400 ml of charcoal and 500 ml of cream.
After the cream cures for 24 hours, distress the edges, corners and raised mouldings with 220 grit paper until charcoal peeks through in thin worn lines. The contrast of dark under light reads as genuine age, especially on drawer edges where daily handling would naturally wear the finish. Seal with clear wax to lock both layers, buffing lightly so the wax does not fill the distressed lines. Avoid sanding the flat centres of drawers, where honest wear would never appear.
7. Buff Clear Wax Over Sage Paint for a Velvety Low Sheen Finish
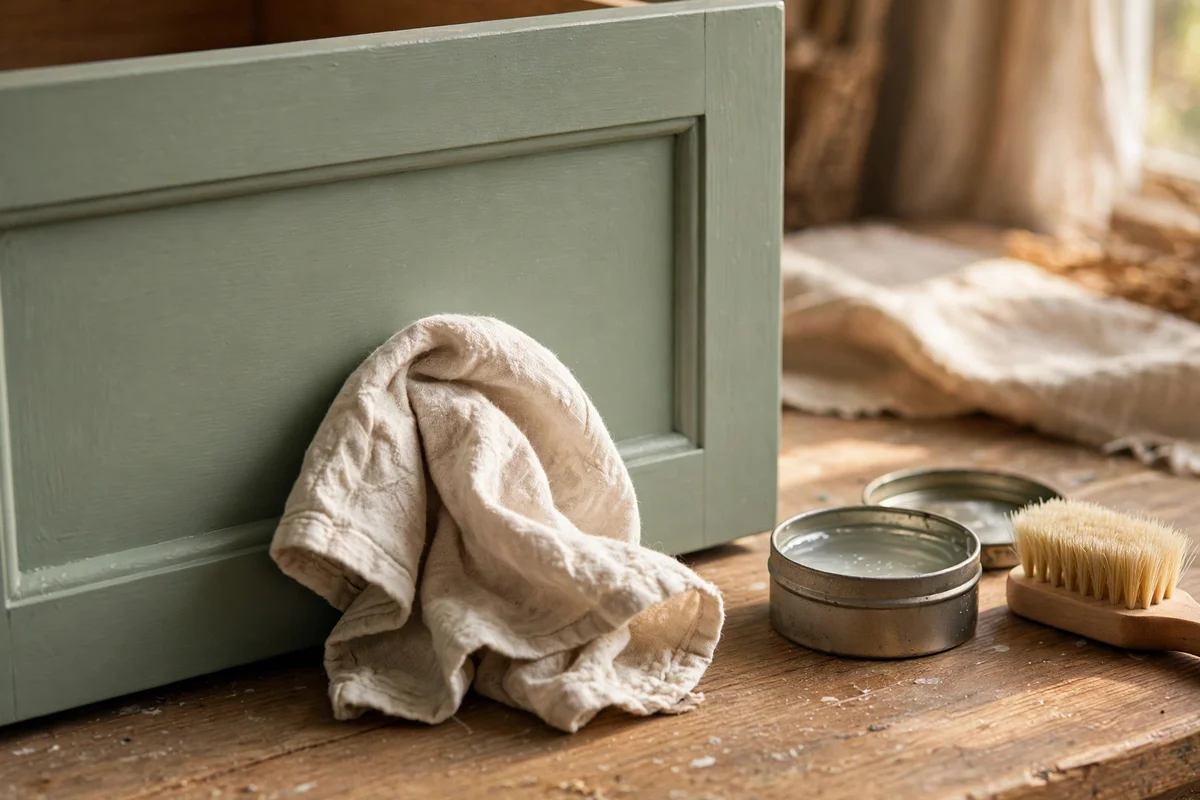
Clear wax is what turns flat chalk paint from dusty to velvety, and sage shows the change clearly. Scoop a small amount of wax with a dedicated wax brush and work it into the painted surface in circles the size of a coin. The paint will look darker and slightly uneven at first, which is normal before buffing. Leave the wax for 10 to 15 minutes, then buff firmly with a clean cotton cloth until the surface feels smooth and looks even.
One coat of clear wax suits decorative pieces, while drawer fronts and table edges benefit from a second coat applied the next day. Buffing is the step most beginners rush, and under buffed wax leaves sticky patches that attract dust for weeks. Test by pressing a fingertip to the surface; it should glide without any drag. Sage pairs with cream walls and oak floors, and the waxed finish wipes clean with a damp cloth for years.
8. Work Dark Wax Into Carvings to Give a Bookcase Old World Depth
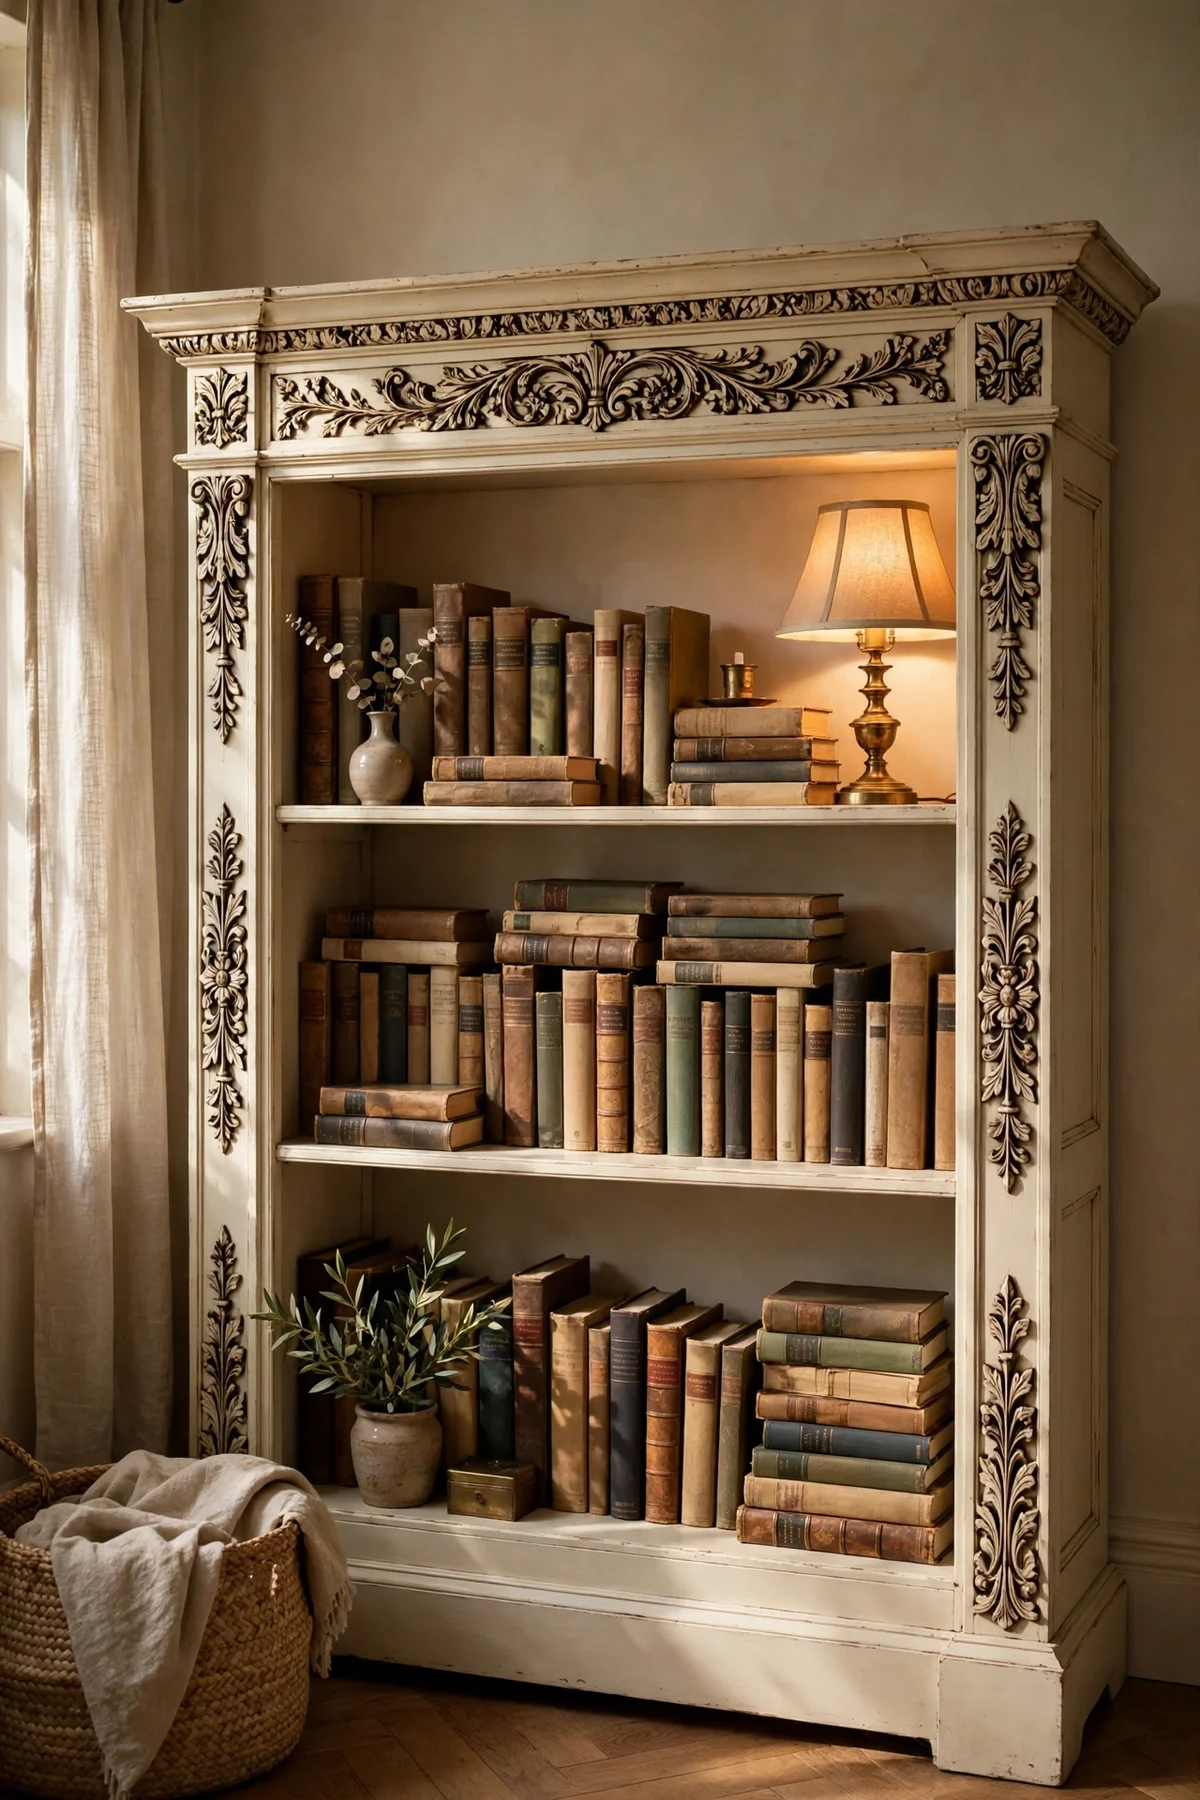
Carved bookcases and furniture with moulded details were made for dark wax, which pools in the low points and mimics decades of gentle handling. Paint the piece first in cream, sage or dusty blue, then seal it with a thin coat of clear wax, which gives you a forgiving safety layer. Push dark wax into the carvings with a small stiff brush, working one shelf section at a time so nothing dries before you wipe it back.
Immediately wipe the raised surfaces with a lint free cloth carrying a little clear wax, lifting the dark colour from the high points while it stays in the grooves. This selective removal creates the aged contrast that makes carved furniture look inherited rather than newly painted. The mistake to avoid is applying dark wax straight onto unsealed paint, where it stains permanently and blotches. Dark wax on the inner shelves is unnecessary; keep it on the frame and details.
9. Wash and Degrease Thrifted Furniture Before the First Brushstroke
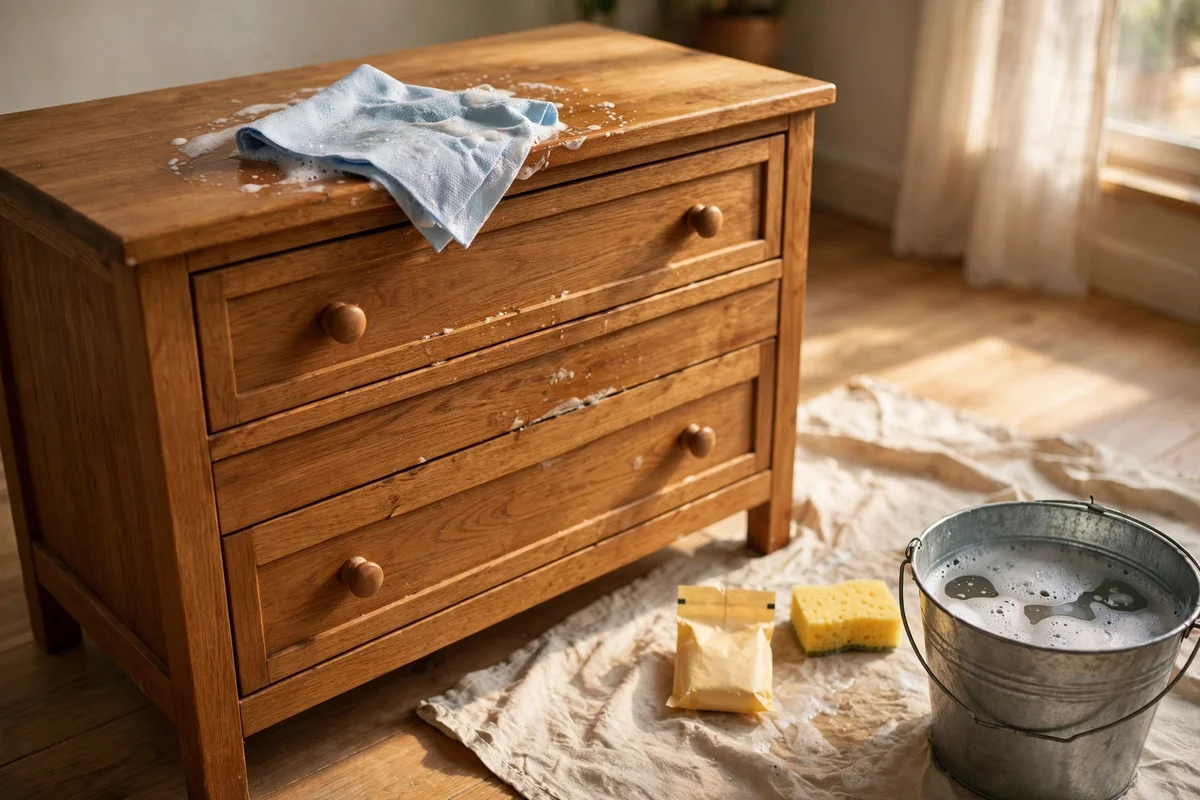
Thrifted furniture carries years of furniture polish, cooking grease and skin oils that stop chalk paint from bonding, so cleaning is the step that decides whether the finish lasts. Mix a capful of sugar soap or a teaspoon of degreasing dish soap into a bucket of warm water and wipe every surface, including the back legs and drawer undersides where grime hides. Rinse with a clean damp cloth and let the piece dry completely for at least two hours.
After washing, run your palm over the surface; any remaining slippery spots need a second wipe with white spirit on a cloth, followed by another rinse. Kitchen dressers and sideboards near cookers are the worst offenders and sometimes need three passes. Skipping this step is the most common cause of paint that peels off in sheets weeks later. A clean surface also means you use less paint, because the first coat spreads evenly instead of beading.
10. Lightly Sand Glossy Veneer So Chalk Paint Grips the Surface
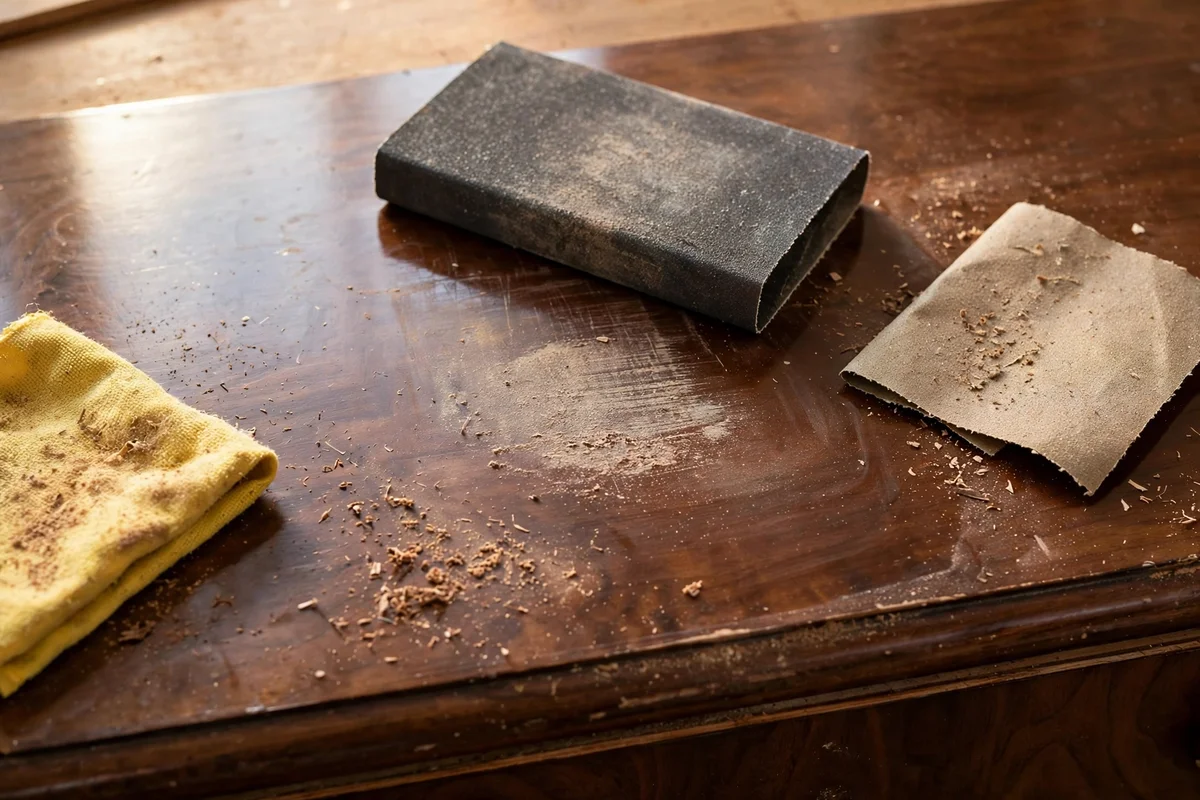
Glossy veneer and lacquered surfaces are too slick for chalk paint to grip, even though the paint is sold as needing no prep. A light scuff with 180 to 220 grit paper breaks the shine without cutting through the thin veneer layer. Sand in the direction of the grain using a flat sanding block, applying only the weight of your hand, then wipe the dust away with a tack cloth. The surface should look dull and feel slightly rough.
Veneer is often less than a millimetre thick, so stop the moment the gloss is gone; sanding through to the chipboard beneath ruins the piece beyond simple repair. This light scuff takes about 20 minutes on a standard dresser and saves hours of repainting later. Raw wood and already matte painted surfaces do not need this step at all. The mistake to avoid is pressing hard with coarse paper, which burns through edges; gentle and even wins every time.
11. Choose a Natural Bristle Brush for Texture or Synthetic for Smooth Coats
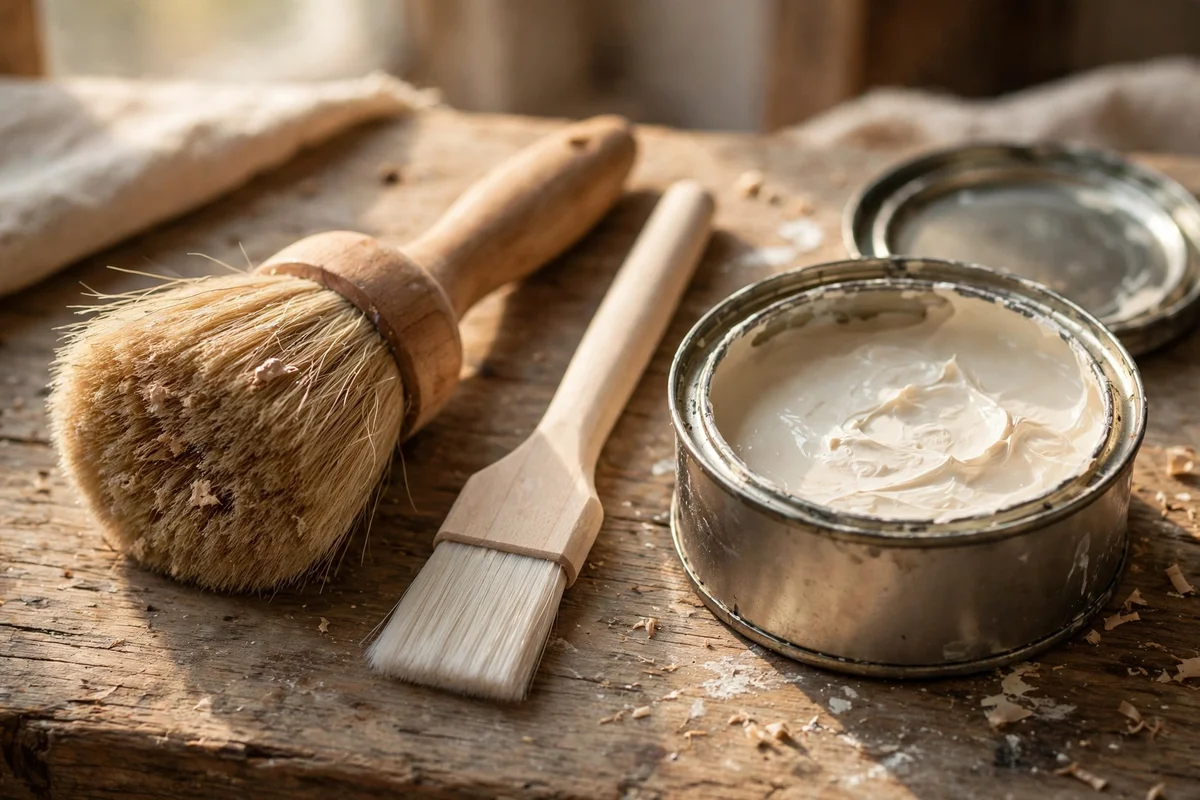
Brush choice shapes the finish as much as the paint does. A natural bristle chalk paint brush, usually round or oval with dense hairs, holds plenty of paint and leaves a soft stippled texture that suits vintage styles. It is the right tool for dressers, wardrobes and anywhere you want visible hand crafted character. Clean it in warm soapy water immediately after use, since dried chalk paint ruins bristles quickly.
A good quality synthetic flat brush lays smoother coats with fewer visible strokes, which suits table tops and modern pieces painted in charcoal or dusty blue. Synthetic bristles also suit water thinned paint for the second coat. Budget brushes shed hairs into the finish, so spend on one decent brush rather than five cheap ones; a mid range brush costs about 12 to 18 pounds or dollars and lasts dozens of projects. Never use the same brush for paint and wax.
12. Crosshatch Brushstrokes on Tabletops to Hide the Direction
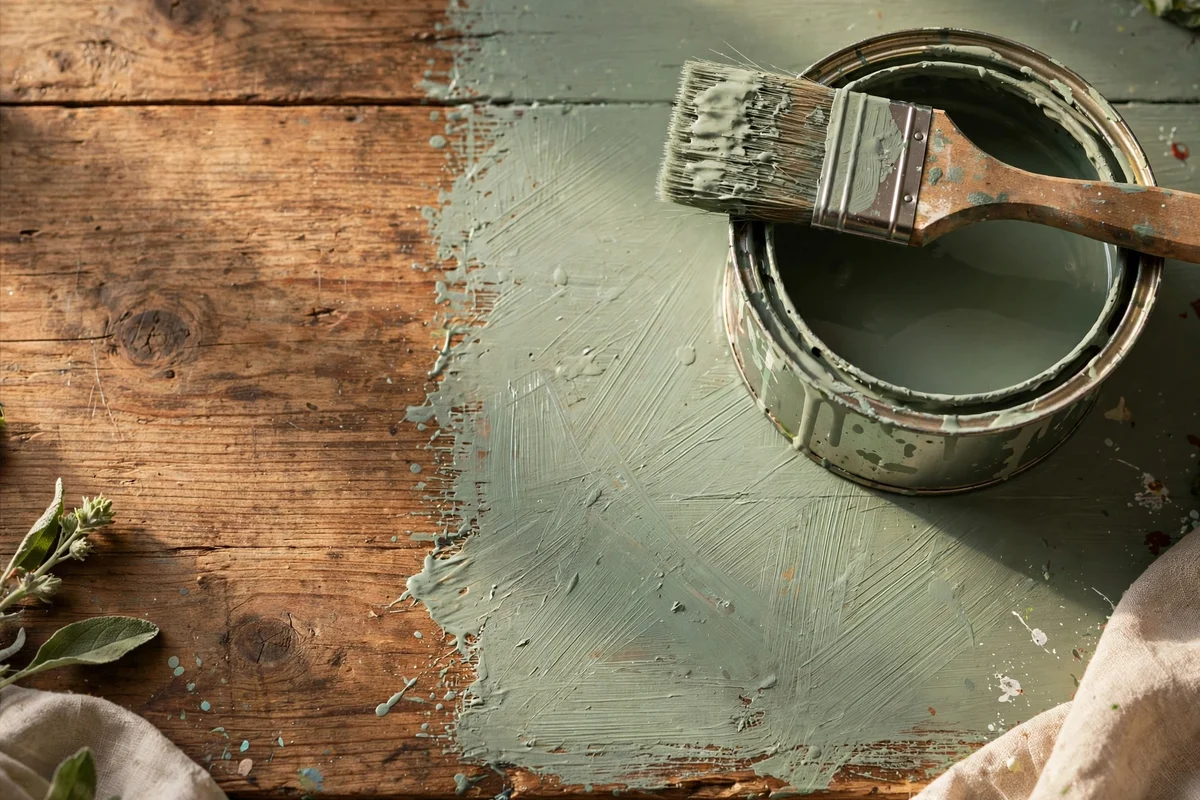
Visible brushstrokes bother beginners most on table tops, where light rakes across the surface. The crosshatch method solves this: lay the first coat with strokes running one way, then the second coat with strokes running across, at right angles to the first. Each layer fills the ridges of the previous one, leaving a subtle woven texture instead of obvious lines. Keep a wet edge and work in sections of about 30 cm so the paint does not dry mid stroke.
Load the brush moderately and resist the urge to overwork the paint; three confident strokes beat ten fussy ones. If a drip forms at an edge, tip it off at once with the dry tip of the brush rather than brushing back into drying paint. Two thin coats always look smoother than one thick coat. The mistake to avoid is painting in direct sun or near a heater, which dries the surface before the strokes can level out.
13. Seal High Use Tabletops With Three Thin Coats of Clear Wax
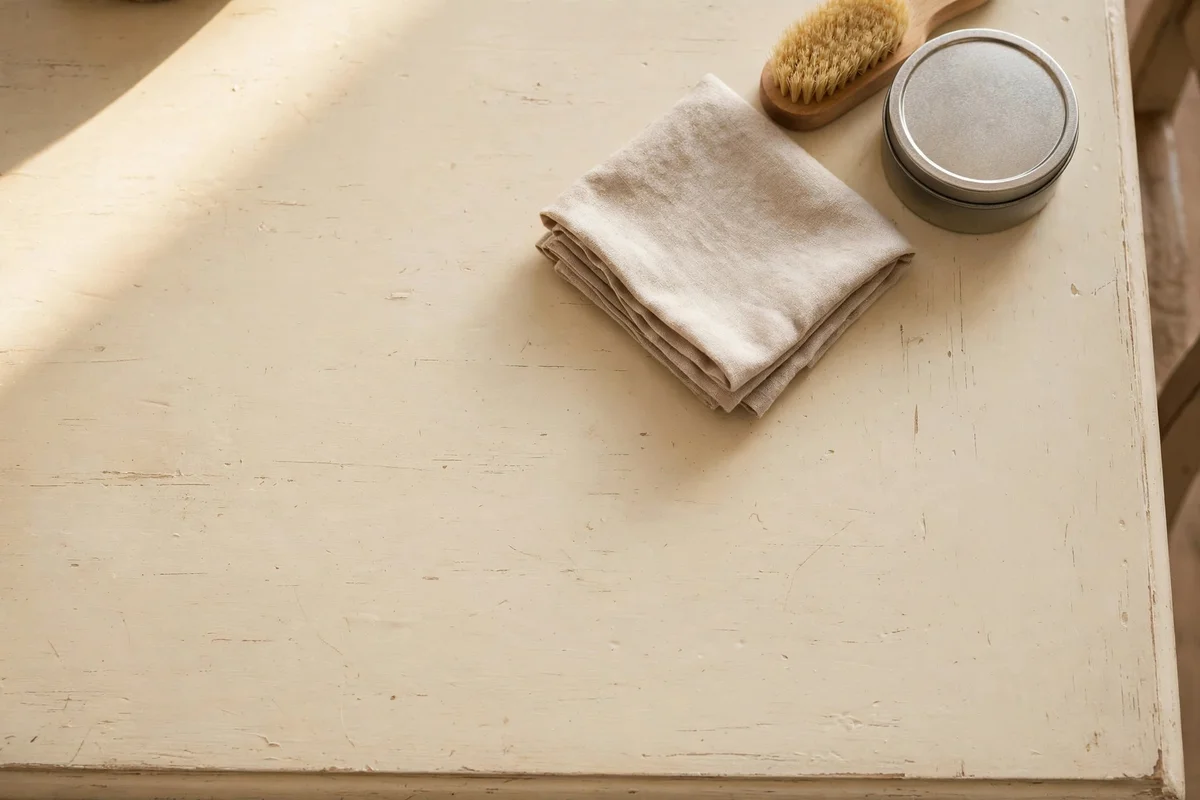
Dining and kitchen table tops take hot cups, dragged plates and daily wiping, so they need the strongest wax protection you can give them. After the paint cures for 48 hours, apply clear wax in thin coats with a wax brush, letting each coat rest for 24 hours before the next. Three thin coats build a harder, more even shield than one thick coat, which stays soft and attracts dust. A 120 cm round table top needs only a small tin of wax.
Buff each coat before the next, and after the final coat wait a full week before placing hot dishes directly on the surface; use mats and coasters in the meantime. Even with wax, chalk paint is not as hard as polyurethane, so treat the top with respect and it will serve for years. Rewax the centre of the table once a year. The mistake to avoid is using the table normally two days after painting, which leaves permanent rings in soft wax.
14. Line Painted Drawers With Scented Paper After the Paint Cures
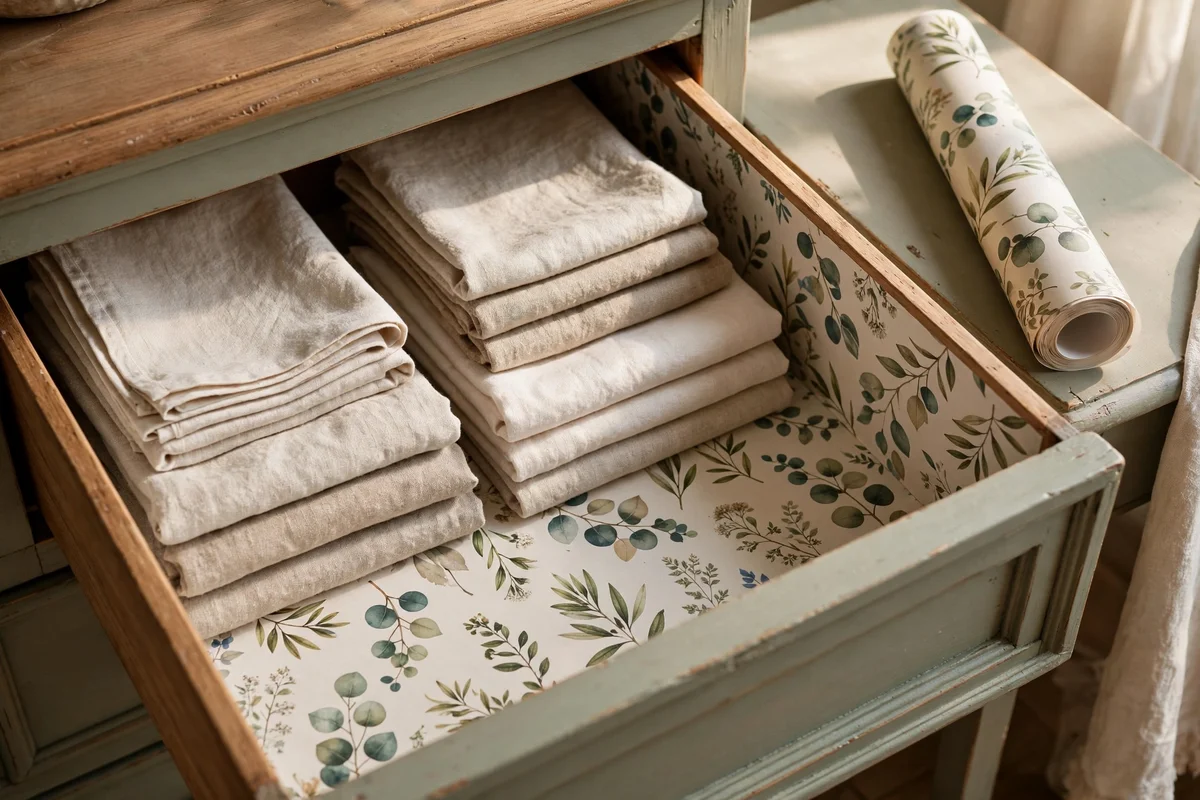
Lining drawers is the finishing touch that makes a painted dresser feel like a gift. Wait until the paint and wax have cured for at least three days, then measure each drawer base and cut the lining paper 5 mm smaller on every side so it lies flat without buckling. A light spray of repositionable adhesive on the drawer base holds the paper without permanent glue, and the paper protects the fresh paint from keys and jewellery.
Choose paper patterns that echo the paint colour: botanical prints suit sage and cream, while simple stripes suit charcoal. Avoid heavy perfume in bedroom drawers, which can irritate sensitive noses; lightly scented or unscented paper is the safer choice. Replace the paper yearly for lasting freshness. The mistake to avoid is lining before the paint cures, which traps moisture and can lift the paint clean off the drawer base.
15. Paint Only the Legs of a Dining Table in Dusty Blue for a Two Tone Base
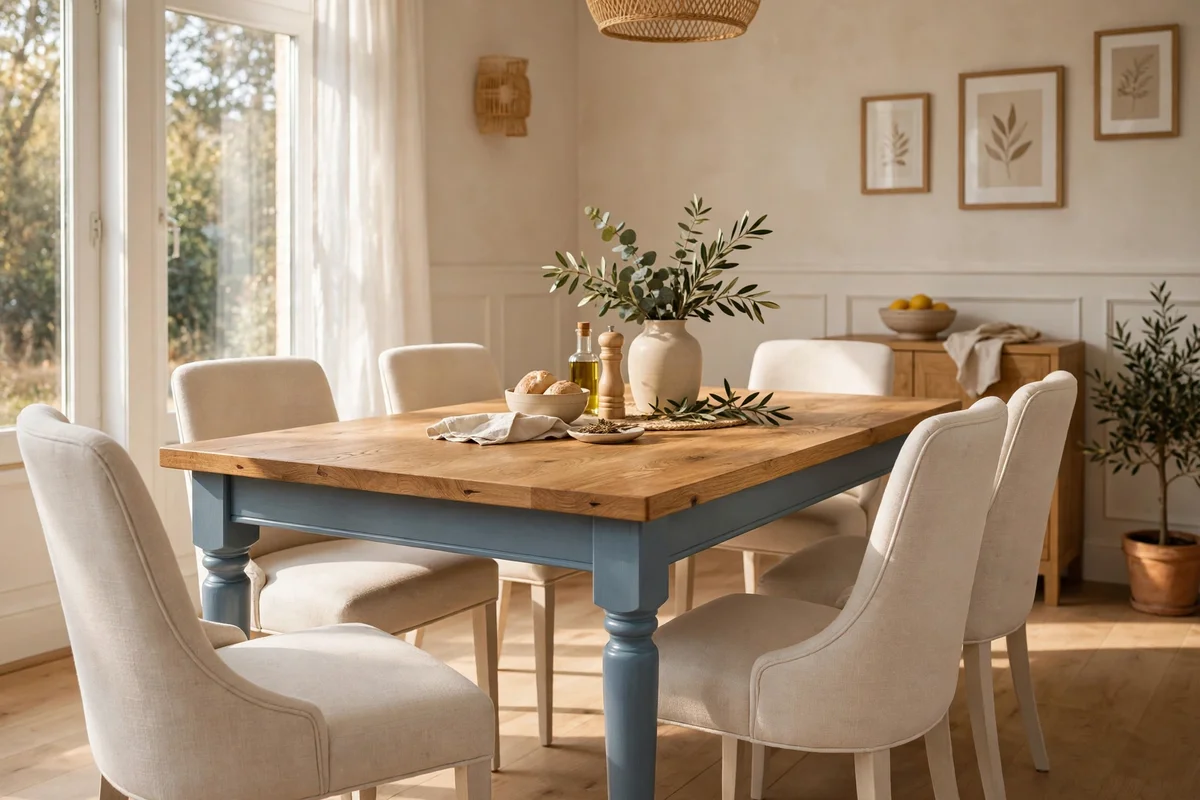
Painting just the legs of a dining table in dusty blue gives the two tone look with half the work and half the wear risk. The top keeps its natural wood or a darker stain, while the coloured legs add personality at floor level where scuffs matter less. Mask the top with painter’s tape and newspaper, then brush two coats onto the legs with a small round brush that reaches into the turnings. Four legs take about 250 ml of paint.
Distress the leg edges very lightly so the colour feels settled, then wax with clear wax for protection against vacuum bumps and shoes. This approach suits tables with a good quality top that does not need rescuing. The mistake to avoid is leaving a hard tape line; peel the tape while the second coat is still slightly tacky and tidy the edge with a fine brush. Dusty blue legs pair beautifully with oak tops and cream dining chairs.
16. Distress With 220 Grit Paper on Edges Instead of Sanding Whole Panels
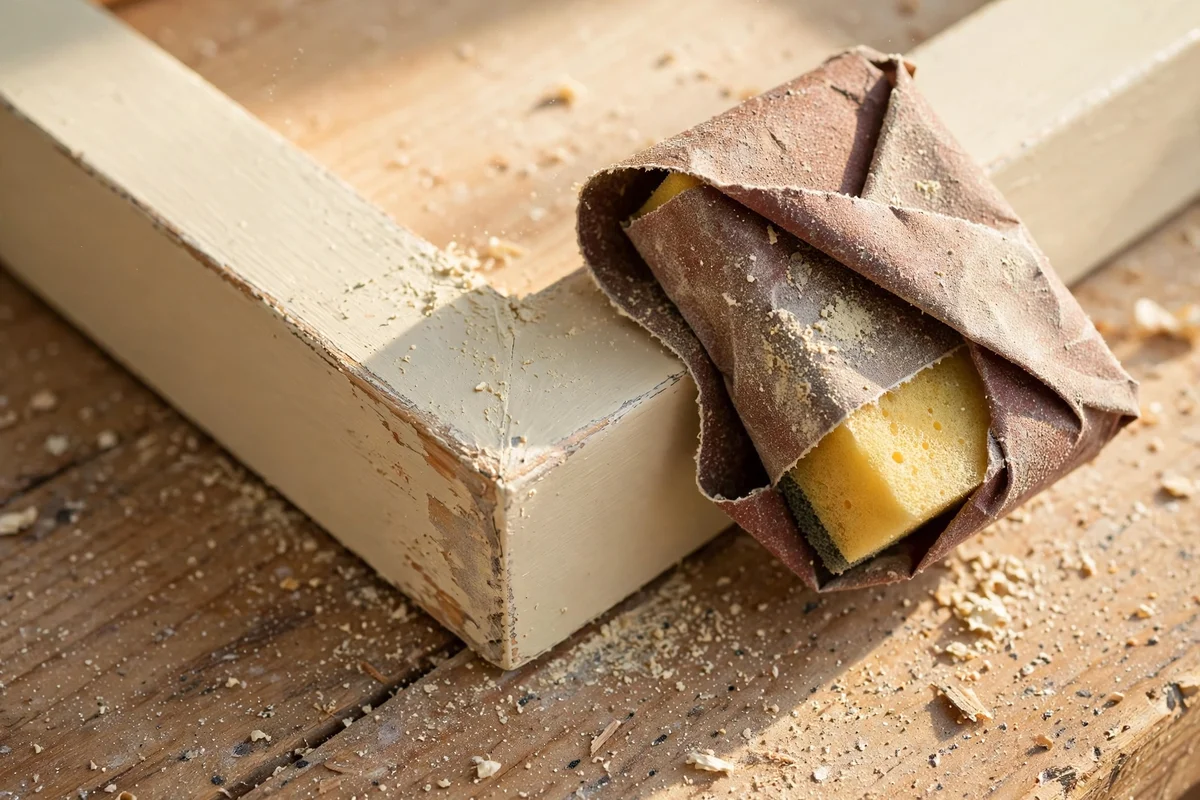
Over distressing is the fastest way to make a painted piece look damaged rather than vintage. Restrict sanding to edges, corners and raised mouldings, the places where real furniture wears first, and use 220 grit paper for gentle control. Fold the paper around a small sponge so it follows curves without digging in. On a dresser, distress the drawer edges, the top front edge and the feet, then stop and step back.
Check your work from two metres away before sanding any more; up close every mark looks bigger than it really is. If you layered two colours, stop when the undercoat appears, and if you want bare wood, sand only until colour shows. Seal with clear wax straight after distressing so the exposed spots cannot absorb stains. The mistake to avoid is distressing the flat centres of panels, which no honest wear pattern would ever touch.
17. Refresh a Wardrobe in Cream Chalk Paint With Waxed Wooden Knobs
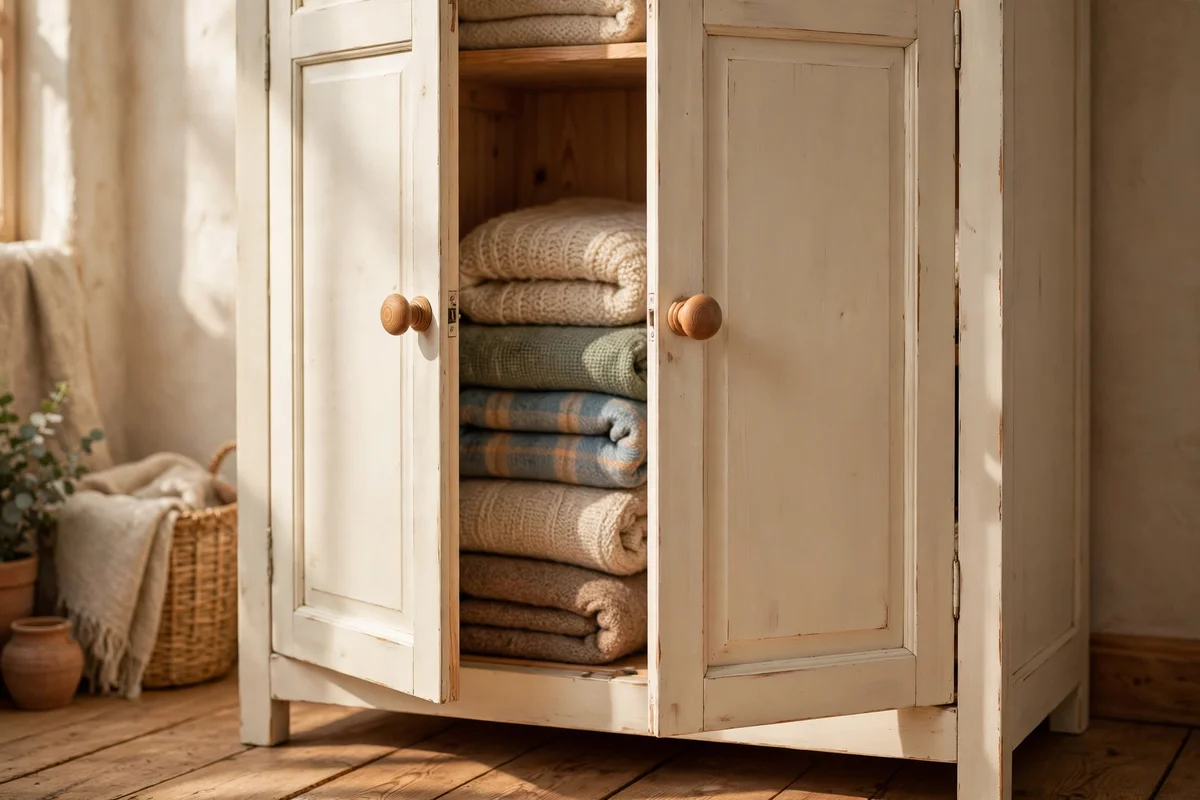
A dated pine or laminate wardrobe becomes a calm bedroom anchor in warm cream chalk paint. Remove the doors if you can, since painting them flat avoids drips and gives a smoother finish; label each door and its hinges with masking tape so rehanging is simple. Two thin coats cover most wardrobes, with a 750 ml tin enough for a two door piece about 120 cm wide. Paint the frame first, then the doors.
Replace dated metal handles with turned wooden knobs, then wax the knobs with clear wax so they match the sheen of the painted doors. Wooden knobs cost little at craft stores and suit the soft vintage mood better than chrome. Wax the door fronts twice since wardrobe doors are touched every day. The mistake to avoid is rehanging doors before the paint cures; wait 48 hours or the hinges will imprint the soft paint.
18. Wash Blush Over Sage for a Soft Botanical Tone on a Small Cabinet
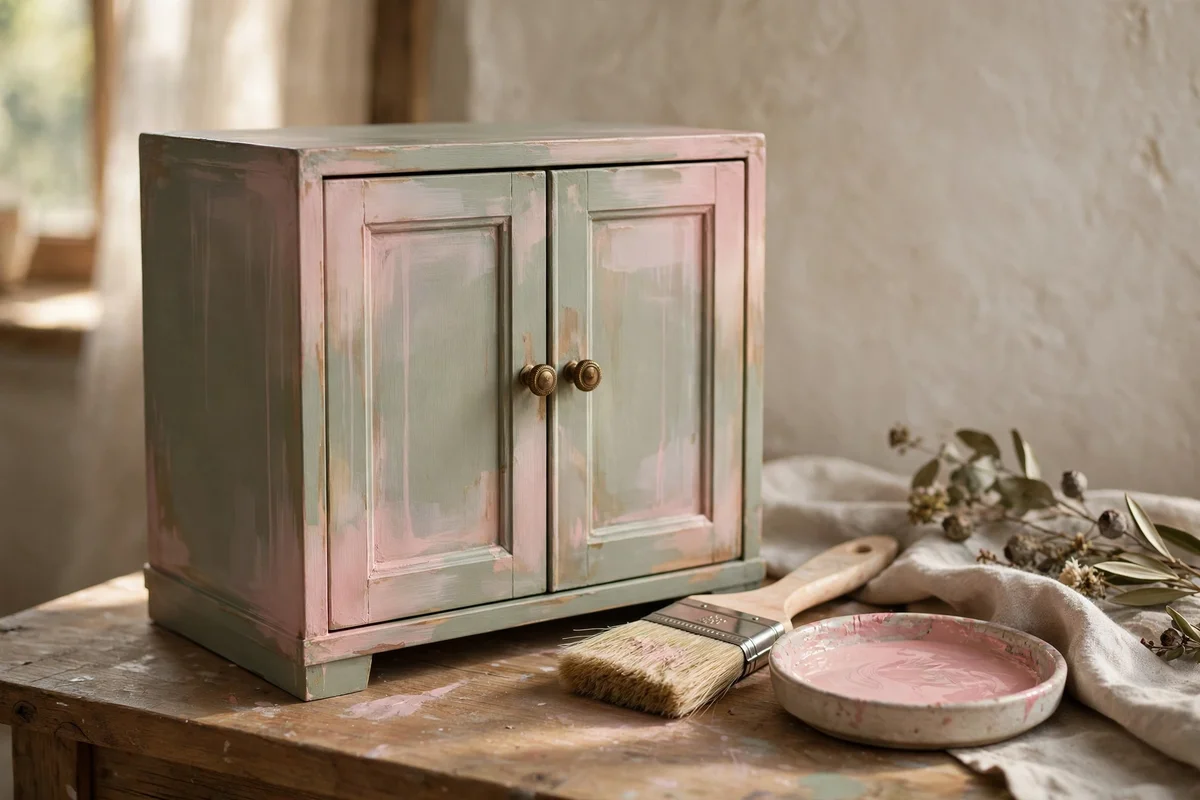
Layering blush over sage creates a complex muted tone that neither colour achieves alone, like dried roses resting against leaves. Paint the base coat in sage and let it dry overnight, then thin blush paint with about 10 percent water and wash it over the top with a wide soft brush. The thinned coat lets sage show through unevenly, which is exactly the effect you want. A small cabinet of 60 cm needs about 400 ml of paint in total.
While the wash is still slightly damp, soften any streaks with a dry brush, barely touching the surface. This technique suits small cabinets and bedside tables that you view up close. Seal with clear wax to even the tone and protect the layered finish. The mistake to avoid is mixing the two colours in the tin instead of layering them; premixed paint gives a flat single tone and loses the botanical depth entirely.
19. Rescue Chalky Looking Paint by Misting the Second Coat With Water
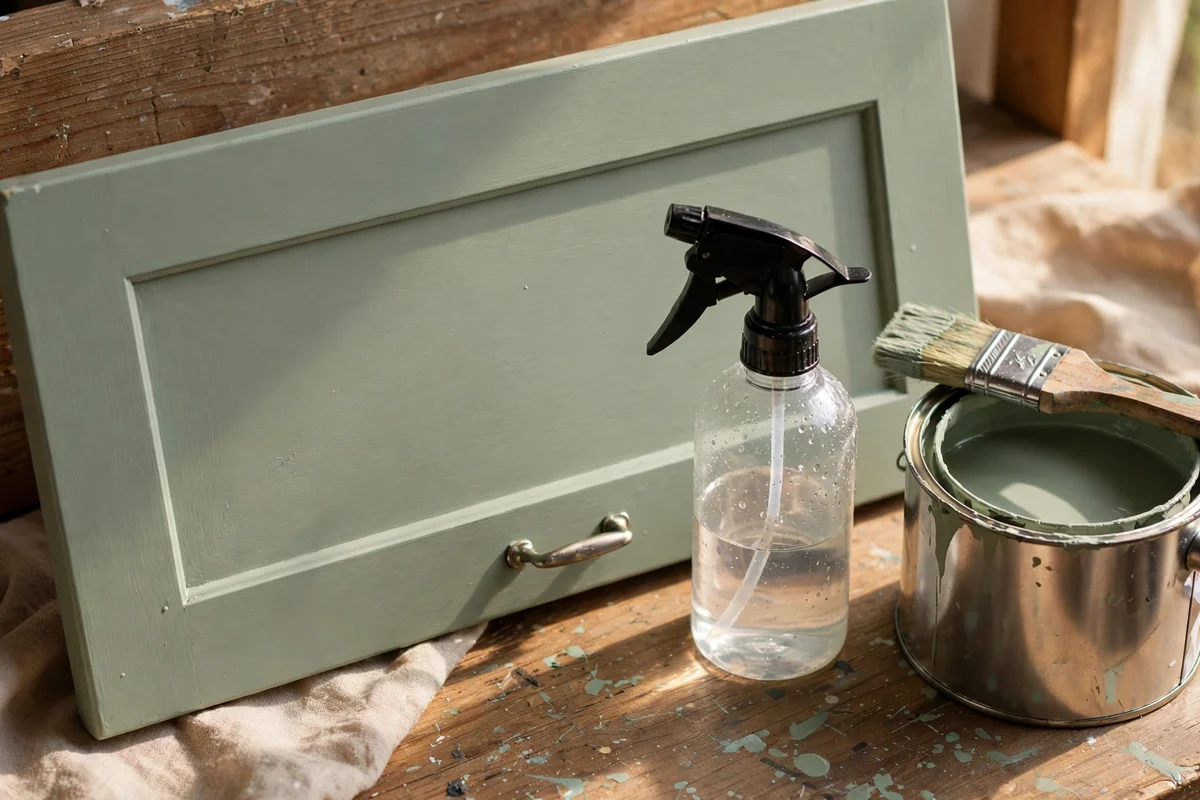
Chalk paint turns chalky rather than velvety when coats go on too thick or dry too fast, leaving a dry draggy surface that catches the light harshly. The fix is simple: keep a spray bottle of clean water nearby and mist the piece lightly before brushing on the second coat. The water keeps the paint workable for a few extra minutes so the brush glides instead of dragging. Use only a fine mist, never enough to drip.
Thin the paint itself with a tablespoon of water per 250 ml if it feels like custard rather than double cream. Apply the second coat with long smooth strokes and never go back over drying areas, which is what causes the rough texture. When this coat dries, the surface should feel smooth to the fingertips. Finish with well buffed clear wax, the final step that transforms a plain matte coat into that sought after velvety hand feel.
20. Paint the Back Panel of a Glass Cabinet in Dusty Blue for Display Contrast
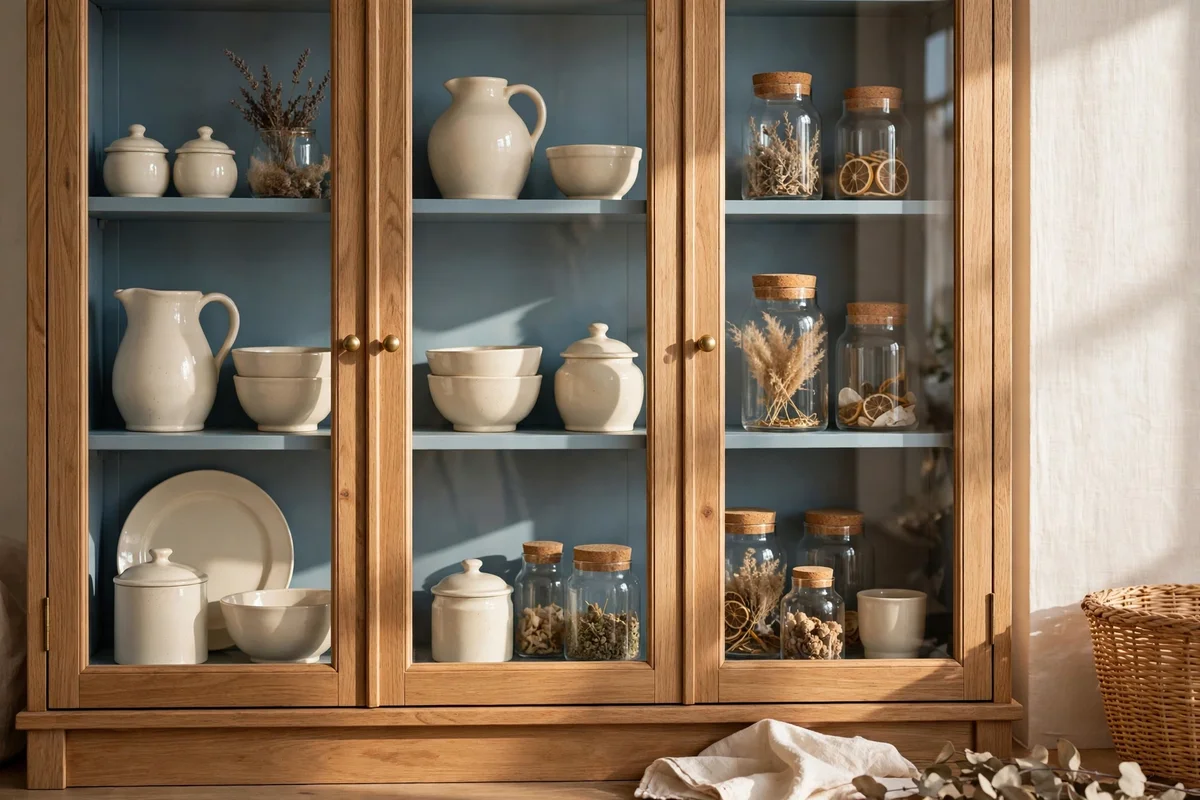
The back panel of a glass fronted cabinet is a small canvas that transforms everything displayed in front of it. Paint it dusty blue and cream ceramics, glass jars and brass objects will stand out with gallery like contrast. Remove the panel if it lifts out, or mask the glass carefully with painter’s tape and newspaper. Two thin coats are enough since the panel faces no wear, and 250 ml of paint covers most cabinet backs.
Skip wax on the interior back panel, because stored items can stick to wax in warm rooms; the paint alone is durable enough behind glass. This idea suits kitchen dressers, bookcases and bathroom cabinets equally well. The mistake to avoid is choosing a colour so dark that it swallows small objects; dusty blue is mid toned, so both light and dark pieces show against it. Step back and check the contrast before sealing the glass back in place.
21. Dry Brush Plain Drawer Fronts for Soft Sheen Free Texture
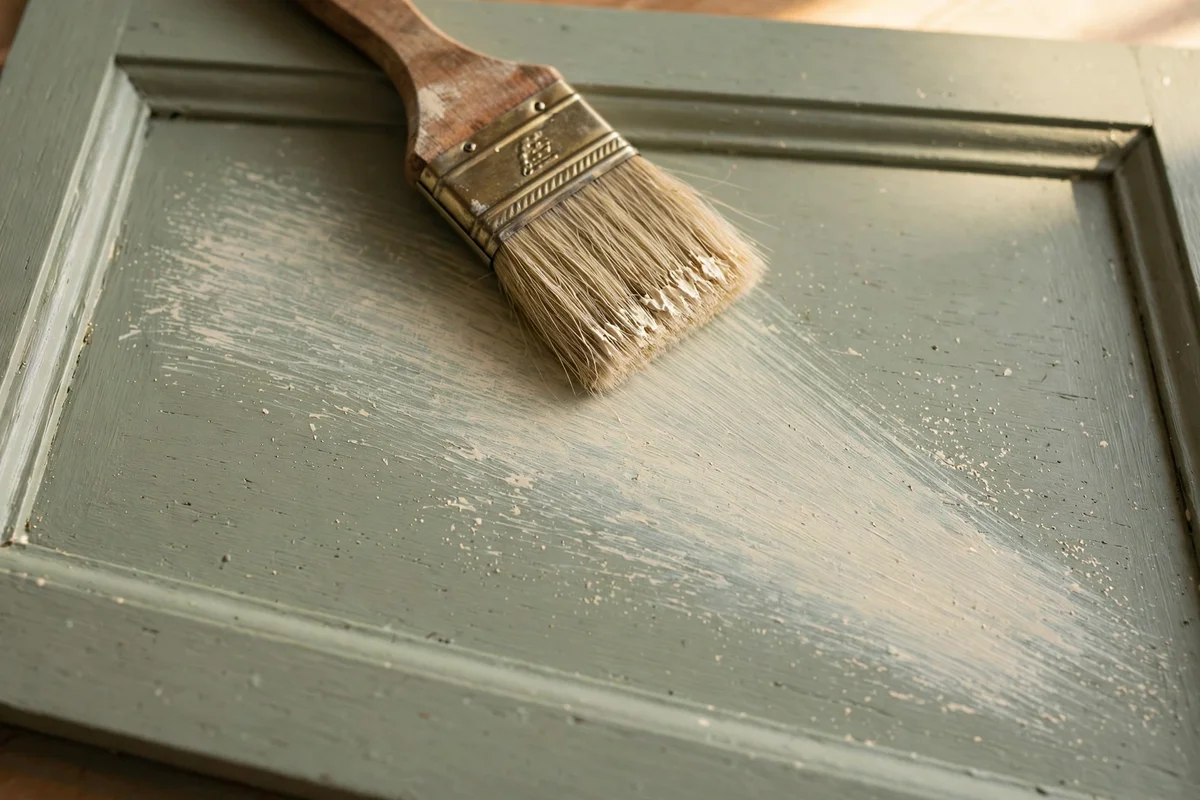
Dry brushing adds a whisper of texture to plain drawer fronts without any sheen or heavy paint build up. Dip only the tips of a dry natural bristle brush into the paint, then wipe most of it off on a paper towel until the brush feels almost dry. Sweep the brush lightly across the drawer front so paint catches only the high points of the grain and any subtle texture. Build the effect in two or three passes.
This technique suits a second colour over a base coat, for example cream dry brushed over sage, or the same colour over itself for a linen like finish. Because so little paint lands, drying takes minutes and distressing is rarely needed. Seal with a single thin coat of clear wax to protect the delicate layer. The mistake to avoid is loading the brush like a normal coat, which defeats the dry effect and leaves streaks.
22. Protect a Painted Dresser Top With a Runner and Felt Pads Under Decor
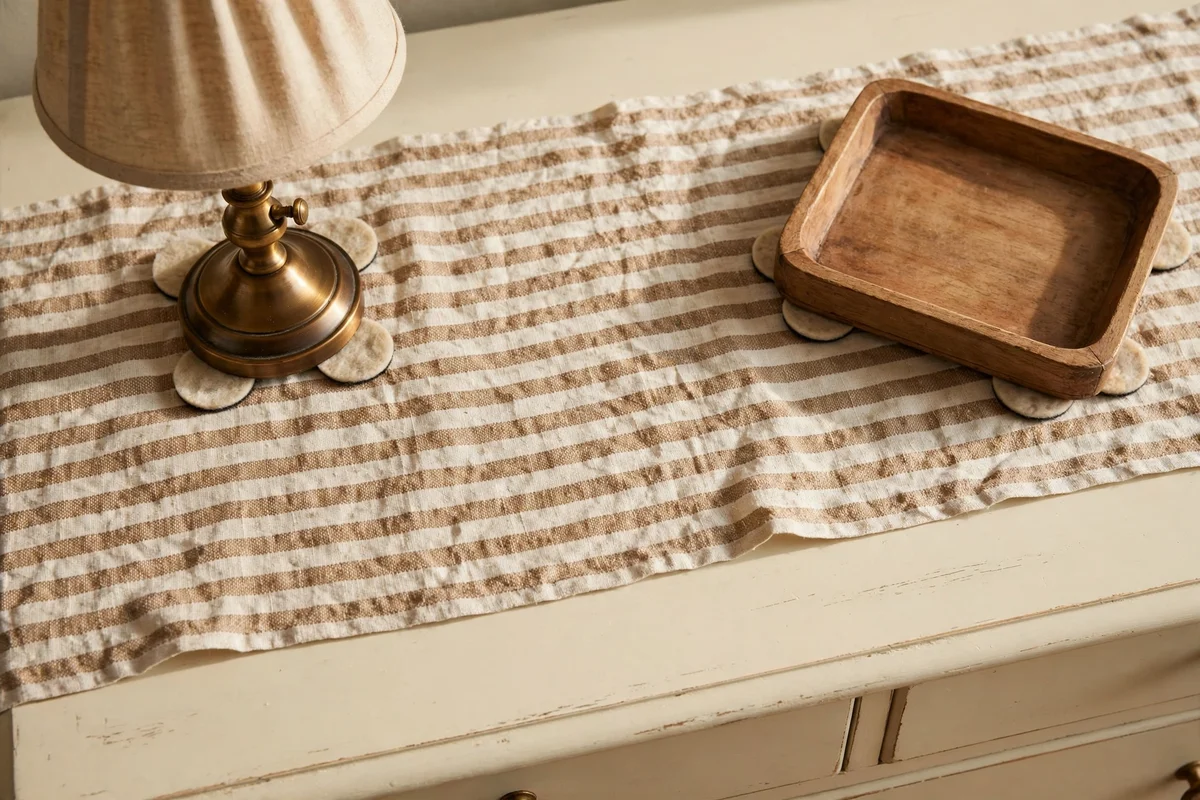
A painted dresser top stays beautiful for years when it never meets hard or hot objects directly. Lay a fabric runner down the centre of the top, about 30 cm wide for a standard 45 cm deep dresser, leaving painted borders visible at the front and back. Stick felt pads under lamps, trays and decorative boxes so daily dusting does not grind grit into the waxed surface. This simple layering protects better than extra wax alone.
Choose runners in natural linen or cotton that complement the paint colour; a striped runner suits cream dressers, while plain oatmeal linen suits sage or dusty blue. Wash the runner regularly, since dust trapped beneath it can dull the wax over time. The mistake to avoid is placing a hot hair tool or a steaming cup directly on the paint, which melts wax instantly; keep heat off painted tops entirely. Prevention beats repair every time.
23. Paint Mismatched Kitchen Chairs One Warm Cream for a Unified Set
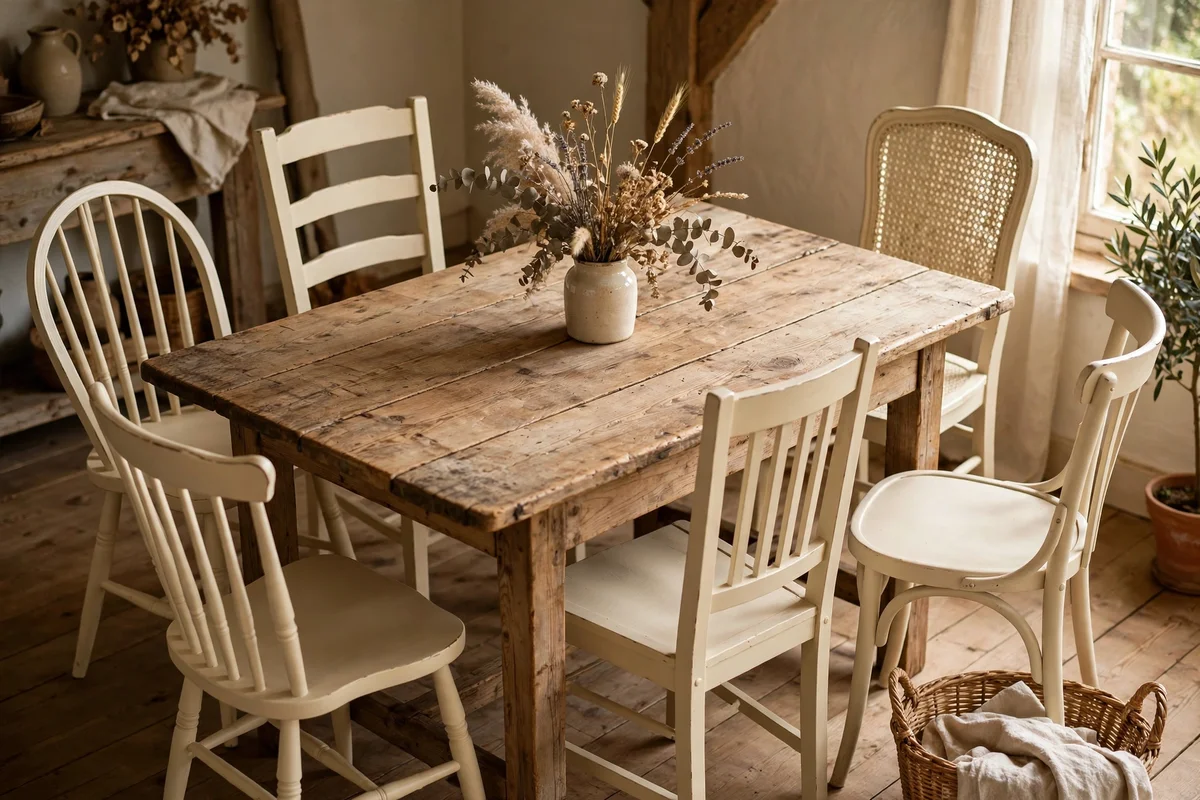
Mismatched thrifted chairs become a deliberate set when they share one warm cream finish. Gather chairs with similar seat heights, between 44 and 48 cm, so the table feels even, and ignore differences in back styles; the paint unifies them. Clean and lightly sand each chair, then apply two coats, painting spindles and legs first and the seat last so drips fall onto unpainted areas. Six chairs need about 750 ml of paint.
Wax every chair with clear wax, giving seats and top rails two coats since hands and clothes touch them constantly. Vary the distressing slightly from chair to chair so the set looks collected over time rather than bought as one. The mistake to avoid is painting chairs with wobbly joints; tighten screws and glue loose rungs first, because paint cannot hide structural weakness. A unified cream set around a wooden table looks effortlessly charming.
24. Rest Painted Furniture Seven Days Before Daily Use So the Wax Cures
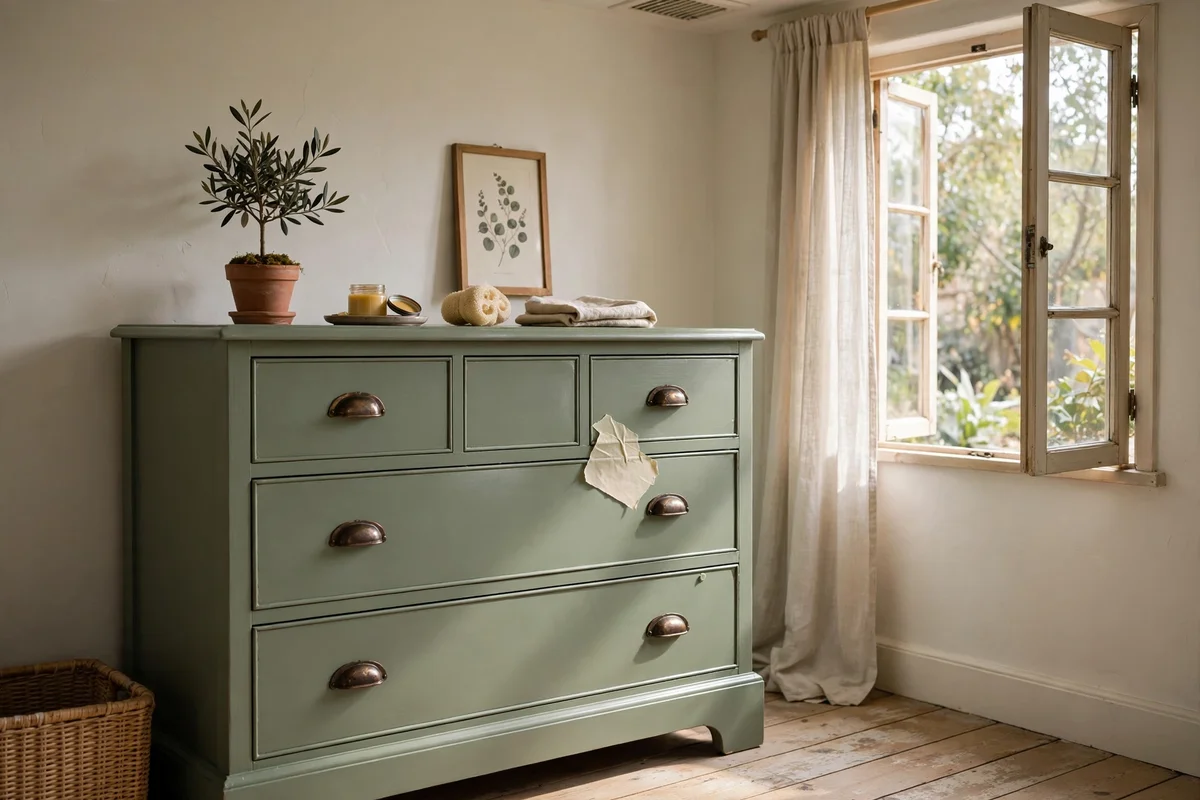
The hardest part of a chalk paint project is the waiting. Clear and dark wax feel dry to the touch within hours, but they need about seven days to harden fully into a durable protective layer. During this week, keep the piece in a ventilated room at normal room temperature and resist stacking books, leaning frames or sitting on the chairs. Light dusting with a soft cloth is fine, but hold off on cleaning sprays.
Mark the cure date on a piece of masking tape stuck underneath the furniture so you do not rely on memory. After seven days the wax resists water rings, fingerprints and daily bumps far better than on day two. Rushing this step is the single biggest cause of disappointing durability, and it costs nothing to avoid. Plan your project calendar backwards from when you need the piece, and the finish will reward your patience with years of velvety service.
Chalk paint rewards the patient and the gentle: thin coats, a soft brush, wax buffed until a fingertip glides easily across the surface, and a full week of curing before daily life resumes. The velvety finish everyone admires is never an accident; it is the sum of small careful steps, each one simple on its own and quietly powerful when they are all done together.
Start this week with the easiest win on the list, perhaps the lined drawers or the lightly distressed chair edges, and let your confidence build from there. One rescued piece changes how a whole room feels, and the second project always comes easier than the first. Keep your brush clean, your coats thin and your expectations kind, and that soft vintage soul will follow.
Frequently Asked Questions
Do I really need to sand before using chalk paint?
Not always, but glossy varnish and slick veneer need a light scuff with 180 to 220 grit paper or the paint can peel later. Raw wood, old matte paint and most clean surfaces take chalk paint directly. Test with a fingernail scratch on your first coat once dry; if it lifts easily, scuff and recoat. Five minutes of sanding saves a full repaint.
How do I stop my chalk paint looking chalky instead of velvety?
Chalky texture comes from coats that are too thick or dry too fast. Mist the piece with water before the second coat, thin the paint slightly, and use long smooth strokes without reworking drying areas. Then buff clear wax firmly into the surface, since wax creates the soft velvety hand feel. Thick paint plus skipped wax is the classic chalky combination.
Can I use chalk paint on kitchen chairs and table tops?
Yes, with proper sealing. Paint chairs and table tops as normal, then apply two to three thin coats of clear wax, buffing between coats. Let the wax cure for a full seven days before daily use, and use mats under hot dishes. Wax is tough but not as hard as polyurethane, so treat painted dining surfaces kindly and rewax high wear areas once a year.
How much chalk paint do I need for a dresser?
A six drawer dresser about 120 cm wide needs roughly 750 ml for two thin coats, with some left for touch ups. Chalk paint covers around 13 square metres per litre, and thin coats cover better than thick ones. Buy small tester pots only for colour trials; for a full piece the standard tin is better value and guarantees one consistent batch of colour.
Clear wax or dark wax, which should I choose?
Use clear wax everywhere as your protective base; it deepens the colour slightly and adds no tint. Add dark wax only over clear wax, worked into carvings, grooves and edges where you want an aged look, then wipe the high points clean. Never apply dark wax straight onto bare paint, where it stains unevenly. One tin of clear wax outlasts several tins of paint.