Living Room
24 Dining Room Wall Decor Ideas That Give Dinner a Beautiful Backdrop
By Anna Wells · · 22 min read
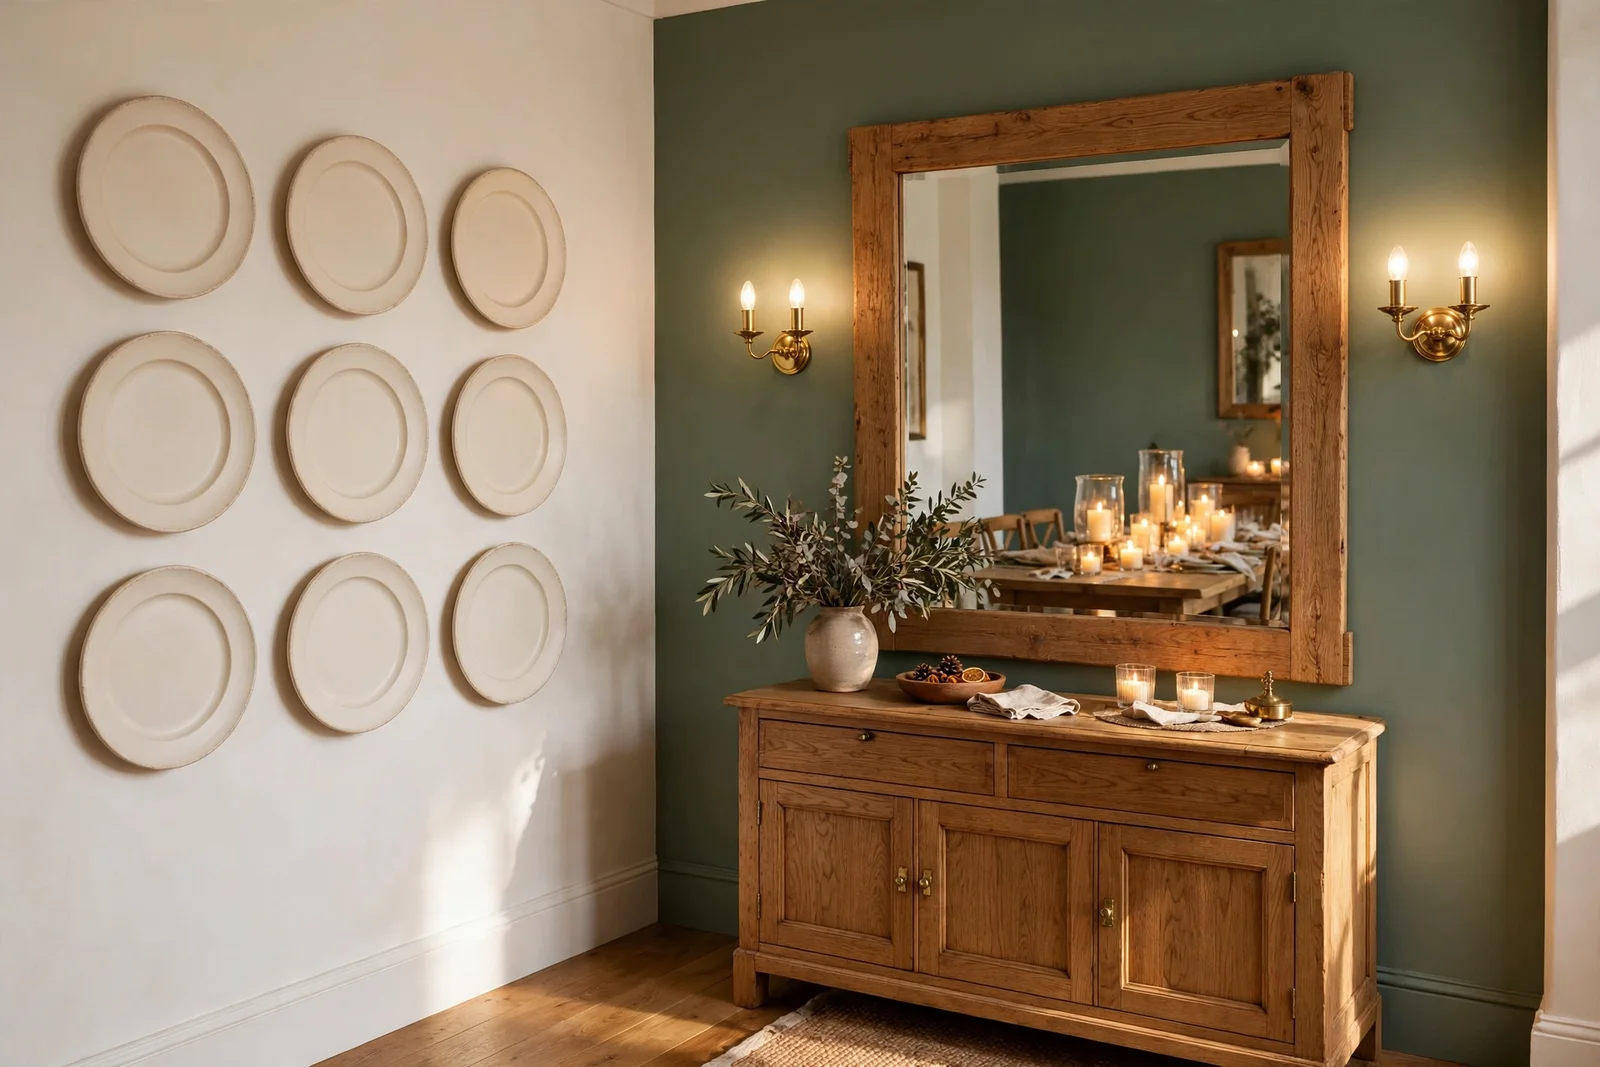
Plates, mirrors, sconces and heritage paint: 24 measured ideas for dining room walls that give every dinner a beautiful backdrop.
Lamplight pools on the tablecloth, the mirror catches the glow and throws it back across the room, and every plate on the wall seems to lean in toward the conversation. A dining room does its quietest work after dark, when the walls themselves become part of the evening, and the right decor turns an ordinary dinner into a small occasion.
This collection gathers 24 concrete ideas for dressing dining room walls, from plate grids and mirrors to panelling, sconces and woven textiles. Every idea names real sizes, spacing rules and materials, so you can measure, shop and hang with confidence rather than guessing.
Whether your dining corner is a grand separate room or a table tucked beside the kitchen, these ideas work at every scale and budget. Plain plates from a second-hand shop shine as brightly as a commissioned mirror once the spacing is right, and a single tin of heritage paint can transform the whole mood of the table.
Start with one wall, the one you face while eating, and let these 24 ideas guide you from the first plate hook to the final sconce. Dinner deserves a beautiful backdrop, and it is closer than you think.
1. Arrange Nine Plain Ceramic Plates in a Symmetrical Grid
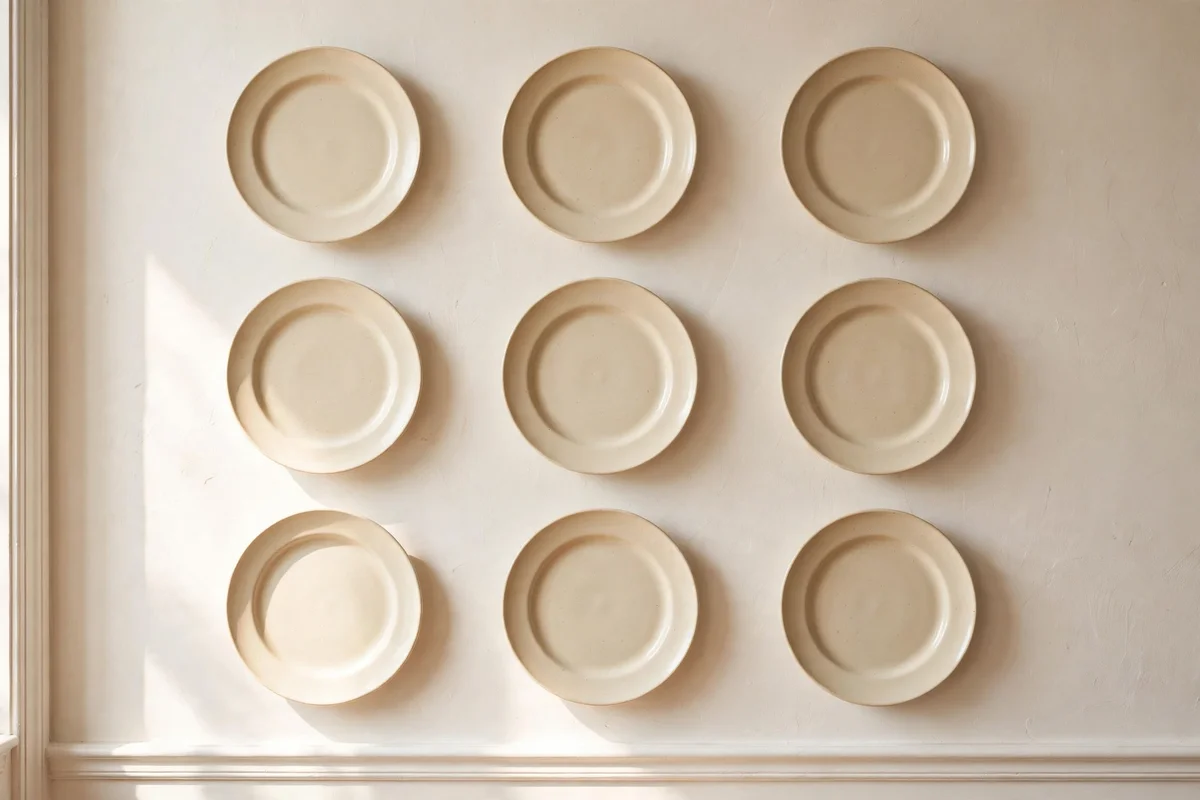
A three by three grid of nine plain ceramic plates turns a bare dining wall into a calm, handcrafted display without spending much. Choose plates between 20 and 27 cm across in a single finish, such as matte cream, soft white or pale sage, so the collection reads as one set. Mark the centre of the wall with painter’s tape first, then build outward row by row, checking each plate with a small spirit level before you fix its hook.
Hang plates on small disc hangers or wire plate holders rated for the plate weight, usually 30 to 50 cm discs for dinner plates, and fix each hook into a wall plug rather than a picture pin for safety. Second-hand shops often sell plain plates for one to three pounds or dollars each, so nine plates usually cost under 25. The mistake to avoid is mixing patterned plates into the grid, because one busy design breaks the quiet rhythm that makes this arrangement work.
2. Space Plate Edges 7 cm Apart for a Calm Measured Rhythm
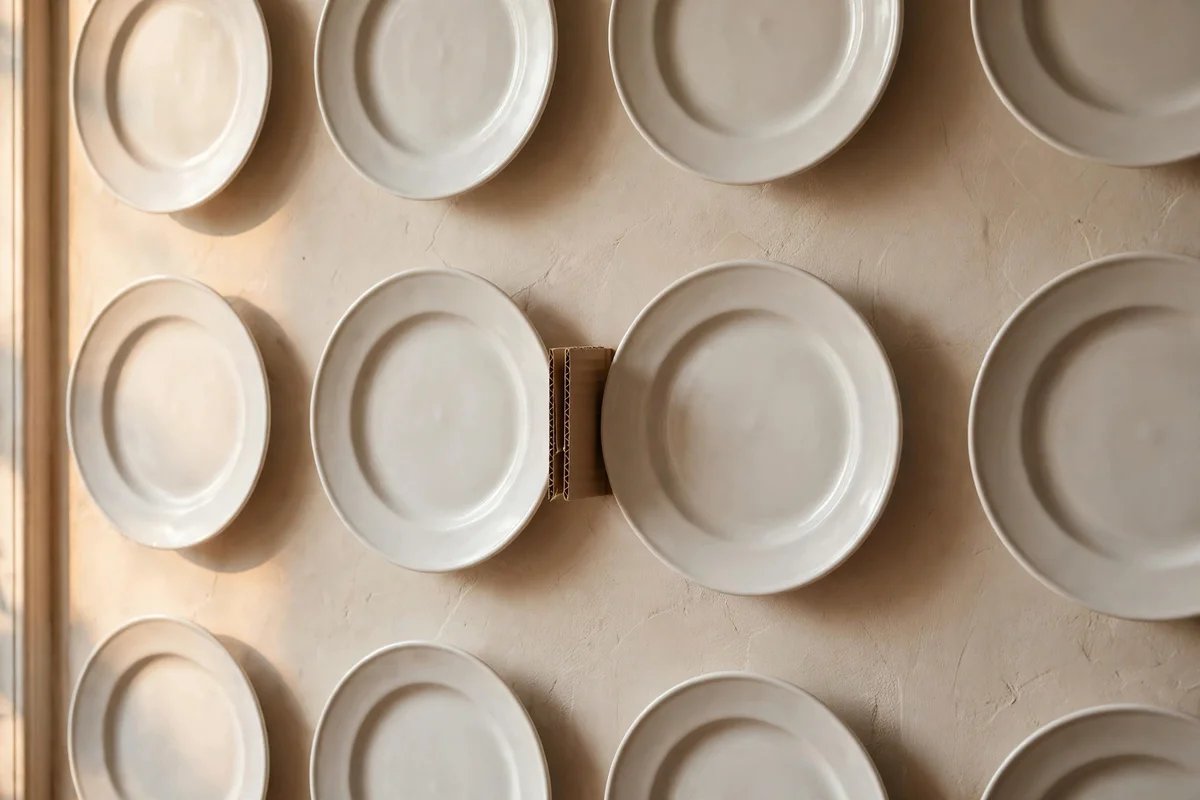
Even spacing is what separates a collected look from a cluttered one, so keep a fixed gap of 5 to 7 cm between every plate edge in the grid. Cut a cardboard spacer the size of the gap and hold it between plates while you mark each position, which keeps rows straight even if your eye tires. Work from the centre outward rather than starting in a corner, because any drift accumulates at the far edge where it shows most.
For round plates, measure the gap edge to edge rather than centre to centre, since equal centres on mixed plate sizes create uneven visual gaps. A roll of low-tack painter’s tape and a pencil cost almost nothing and let you sketch the whole grid on the wall first. The common mistake is eyeballing the spacing, which leaves one row drifting by a centimetre or two; stepped back across the room, even small drift is visible.
3. Hang One Large Mirror Opposite the Dining Table
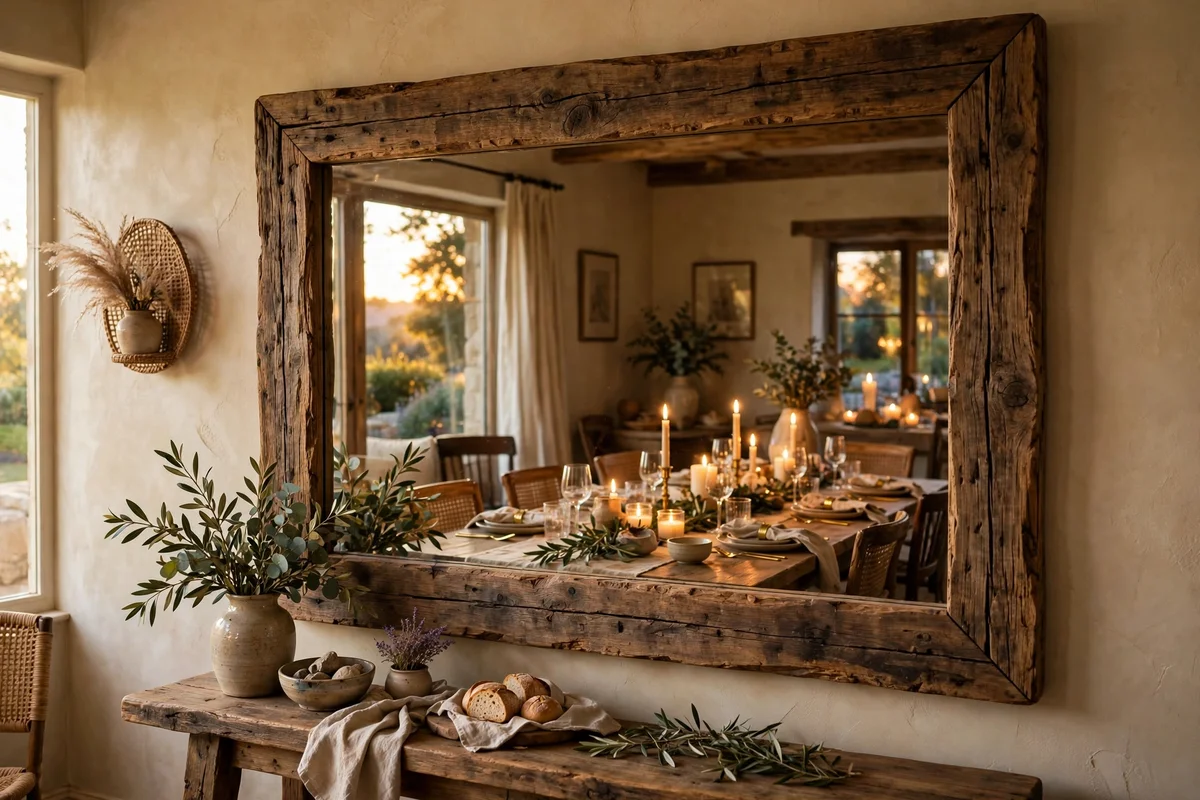
One large mirror on the wall opposite the dining table doubles the sense of light at every meal. Choose a mirror at least 90 cm wide and 70 cm tall for a six-seat table, in a timber, brass or black frame that suits the room, and hang its centre at seated eye level, around 140 to 150 cm from the floor. Keep it on the wall facing the table rather than above it, so it reflects faces, food and candlelight instead of the ceiling.
Use two D-ring fixings and a doubled wire rated for at least twice the mirror’s weight, and find a stud or use proper plaster anchors, because large mirrors are heavier than they look. A quality 90 cm mirror costs 80 to 200 pounds or dollars new, or under 40 second-hand with a fresh coat of frame paint. The mistake to avoid is a mirror smaller than the furniture below it, which reads as a shy afterthought next to a full-sized table.
4. Set Flameless Candles on the Table for a Safe Candlelit Glow
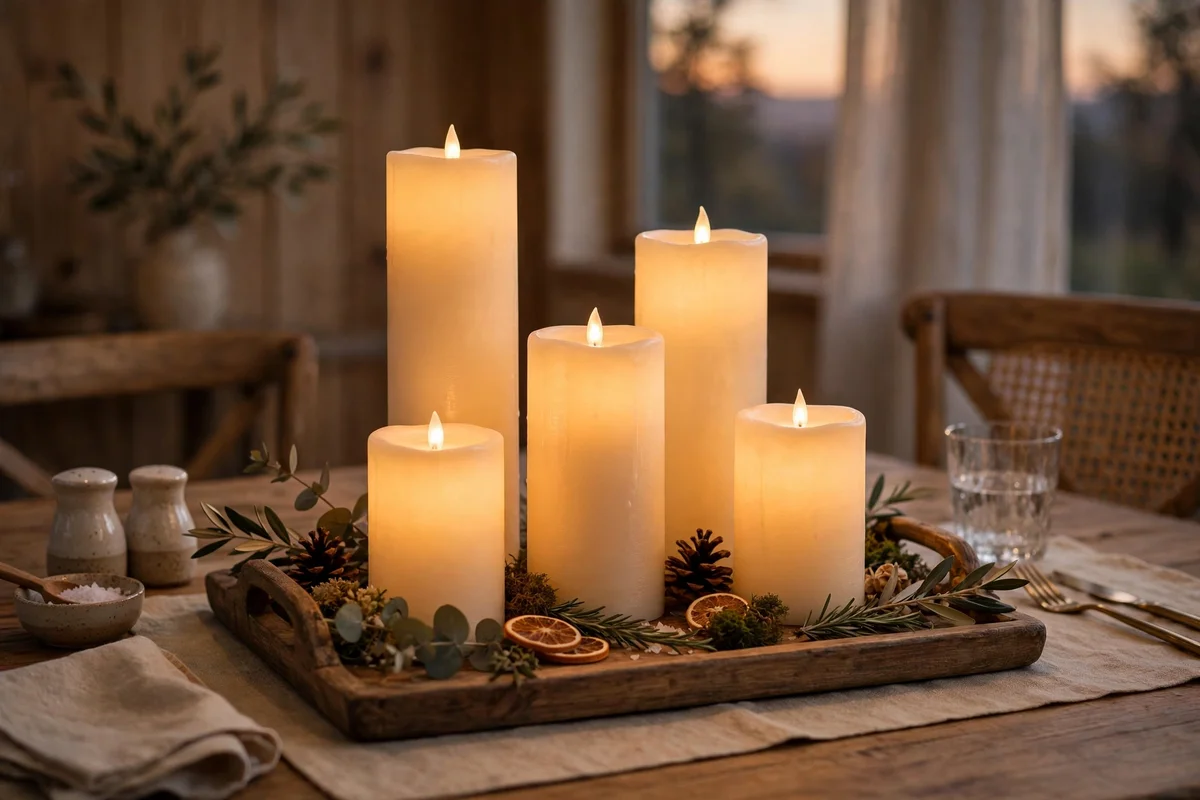
Flameless candles on the table give the dining room a candlelit glow that the wall mirror can reflect, with no heat and no wax. Choose warm-white LED pillars in two or three heights, for example 10, 15 and 20 cm, grouped on a wooden or marble tray in the table centre. Timer models switch on by themselves each evening, usually for five hours, so the table is already lit when the family sits down to eat.
Pick flickering LED flames over steady ones, because a gentle flicker reads as real candlelight in the mirror reflection. A set of three quality pillars costs 15 to 35 pounds or dollars and the batteries last months on timer mode. The mistake to avoid is scattering single candles along the whole table, which looks restless; one centred group of three to five reads as deliberate and keeps the table clear for dishes.
5. Frame Botanical Prints in a Measured Three by Two Grid
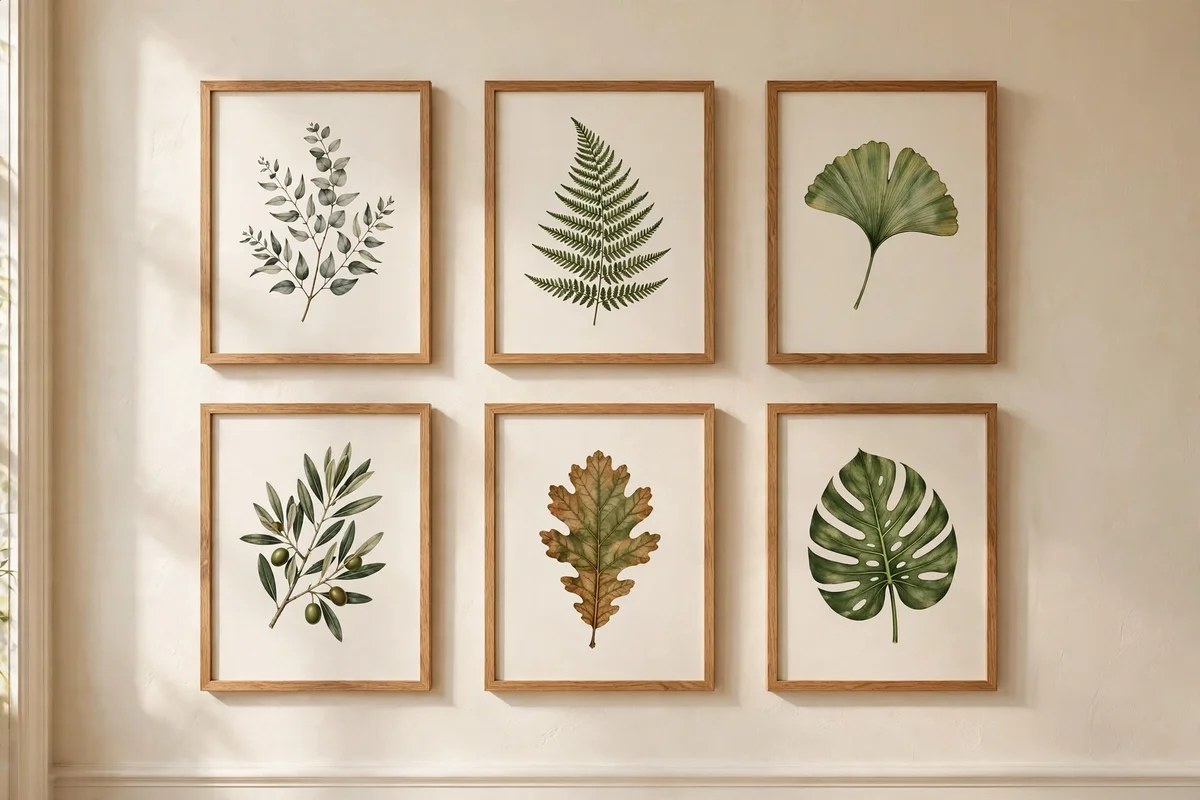
Six botanical prints in a three by two grid bring greenery to the wall that never needs watering. Choose simple line or vintage-style leaf studies in one colour, such as olive green ink on cream paper, and frame them identically in thin oak or black frames of 30 by 40 cm. Hang the grid so its centre sits at standing eye level, around 150 to 160 cm from the floor, with 6 to 8 cm gaps between every frame.
Printable botanical artwork from reputable print shops costs 5 to 15 pounds or dollars per print, and six identical frames from a high street store often total under 60. Cut the mats to a 5 cm border so each print breathes inside its frame. The mistake to avoid is mixing frame colours or print styles in the grid, because a botanical grid only calms the room when every frame matches and every print speaks the same visual language.
6. Pair Landscape Prints With Botanicals in Matching Frames
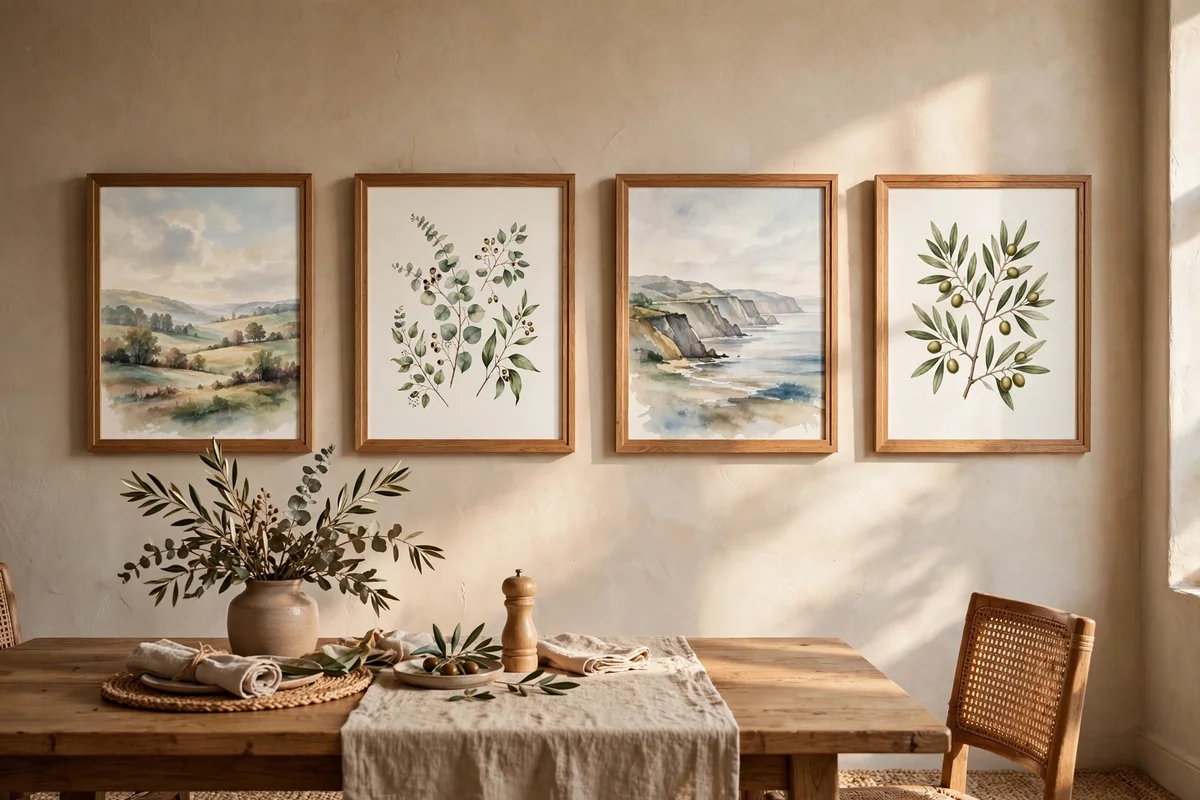
Landscapes and botanicals share the same calm mood when the frames and mounts match, so a mixed row feels collected rather than random. Hang four prints in one horizontal line, alternating a soft landscape with a botanical study, each in the same 40 by 50 cm frame with a 6 cm mount. Keep the bottom edges perfectly level at about 145 cm from the floor, and leave 8 to 10 cm between frames.
Choose landscapes with gentle horizons, such as misty fields or quiet coastlines, and botanicals in a similar muted palette so the colours agree. Four framed prints usually cost 80 to 160 pounds or dollars ready-made, or half that with printable art and shop-bought frames. The mistake to avoid is hanging a dramatic mountain scene among soft leaves, because one loud image pulls the eye and unbalances the whole row.
7. Fit Half Height Panelling Topped With a Wooden Plate Rail
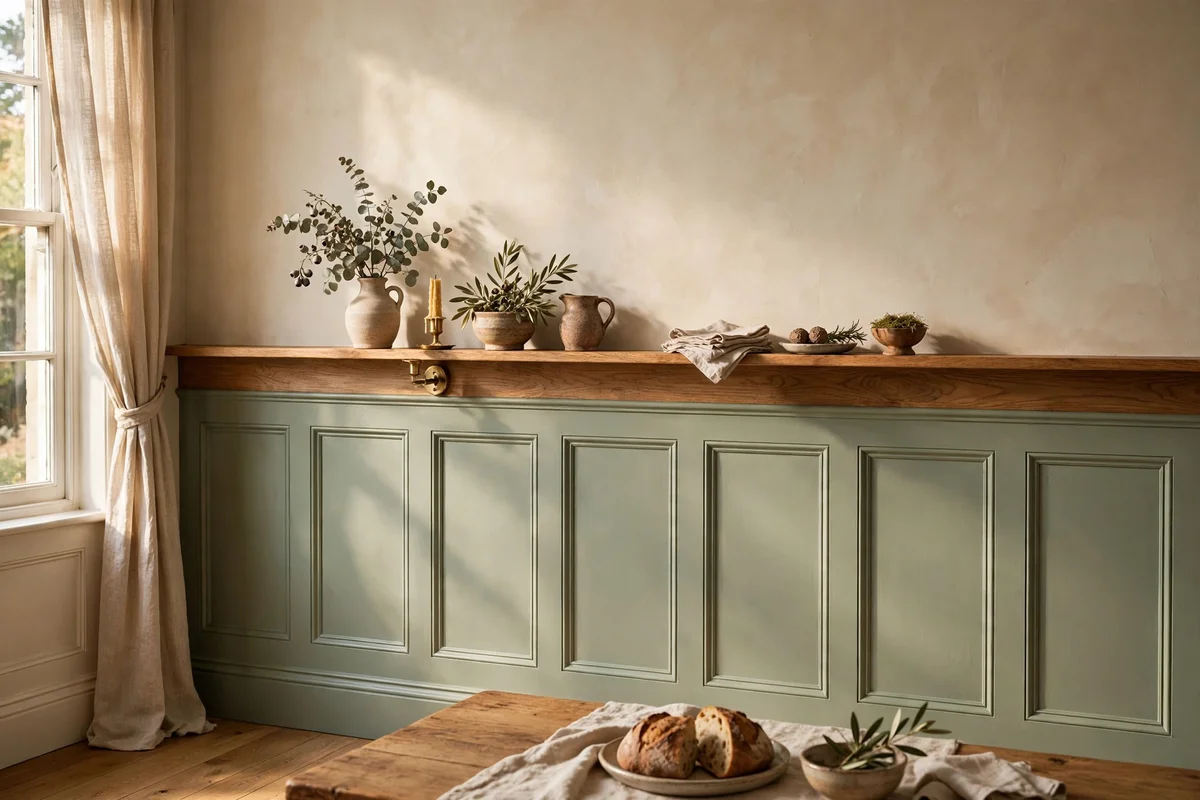
Half height panelling with a plate rail adds architecture to a plain dining wall and gives you a ledge for display. Fit the panelling to 100 to 120 cm high, with a protruding rail shelf of 8 to 10 cm depth on top, in painted timber or MDF that matches the room’s trim. Paint the panelling in a satin finish two shades deeper than the upper wall, so the two tones create a gentle horizontal rhythm around the room.
MDF tongue and groove style panels cost 15 to 30 pounds or dollars per square metre, and a single 3 metre wall usually takes a weekend to fit with basic tools. Fill every nail hole and caulk the joints before painting, since satin paint shows every gap. The mistake to avoid is running the rail shelf too deep, because a 15 cm ledge collects dust and pushes plates too far forward, where they catch sleeves.
8. Rest Spare Plates and Small Jugs Along the Plate Rail
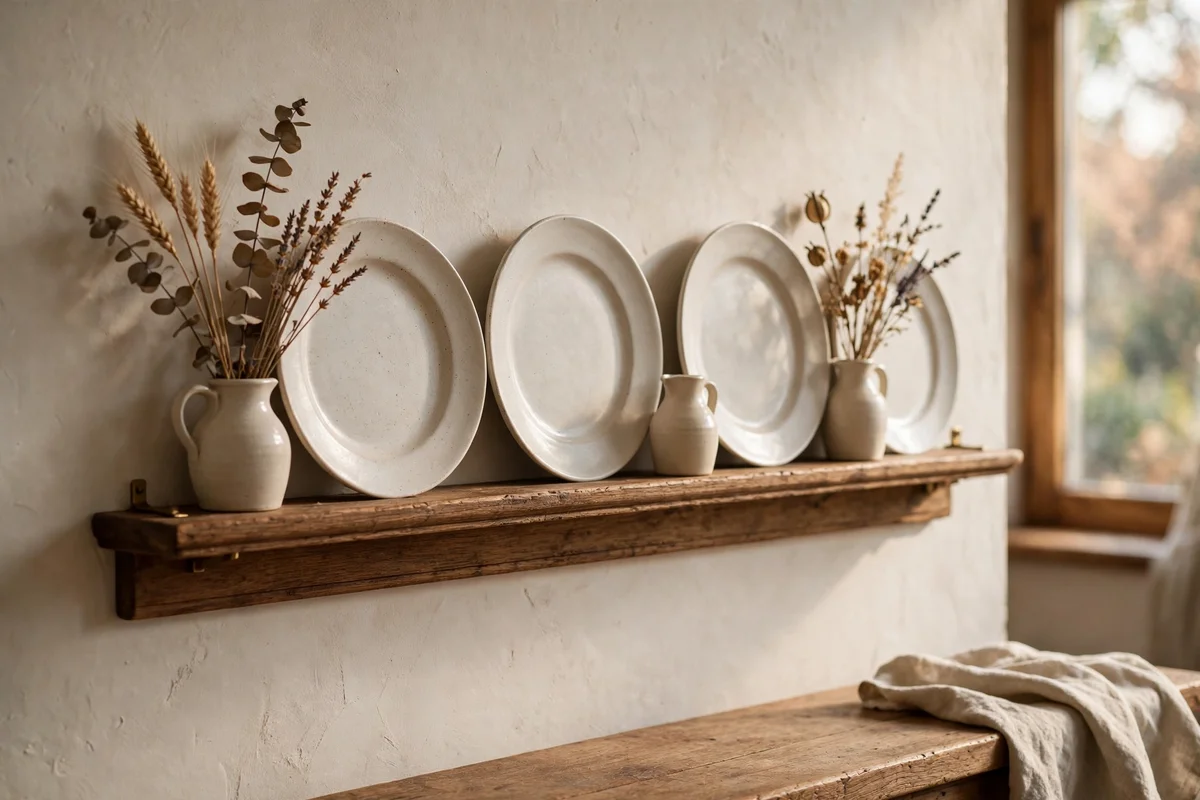
The plate rail is made for living with, so rest spare plain plates and small jugs along it where they can be reached. Lean dinner plates upright against the wall at a slight angle, spaced 10 to 15 cm apart, and set a small ceramic jug or a tiny vase of dried stems every 60 to 80 cm to break the line. Keep heavier serving plates in the middle of each run, where the rail fixings are strongest.
Choose items in the same plain finish as the wall plates so the rail display feels like one family. Everything here should be wipeable, because dining rooms gather dust faster than other rooms, so dust the rail weekly with a damp cloth. The mistake to avoid is overloading the rail until it looks like a shop shelf; leave one third of its length empty so the eye rests and the plates you do show get noticed.
9. Mount a Pair of Wall Sconces Either Side of the Sideboard
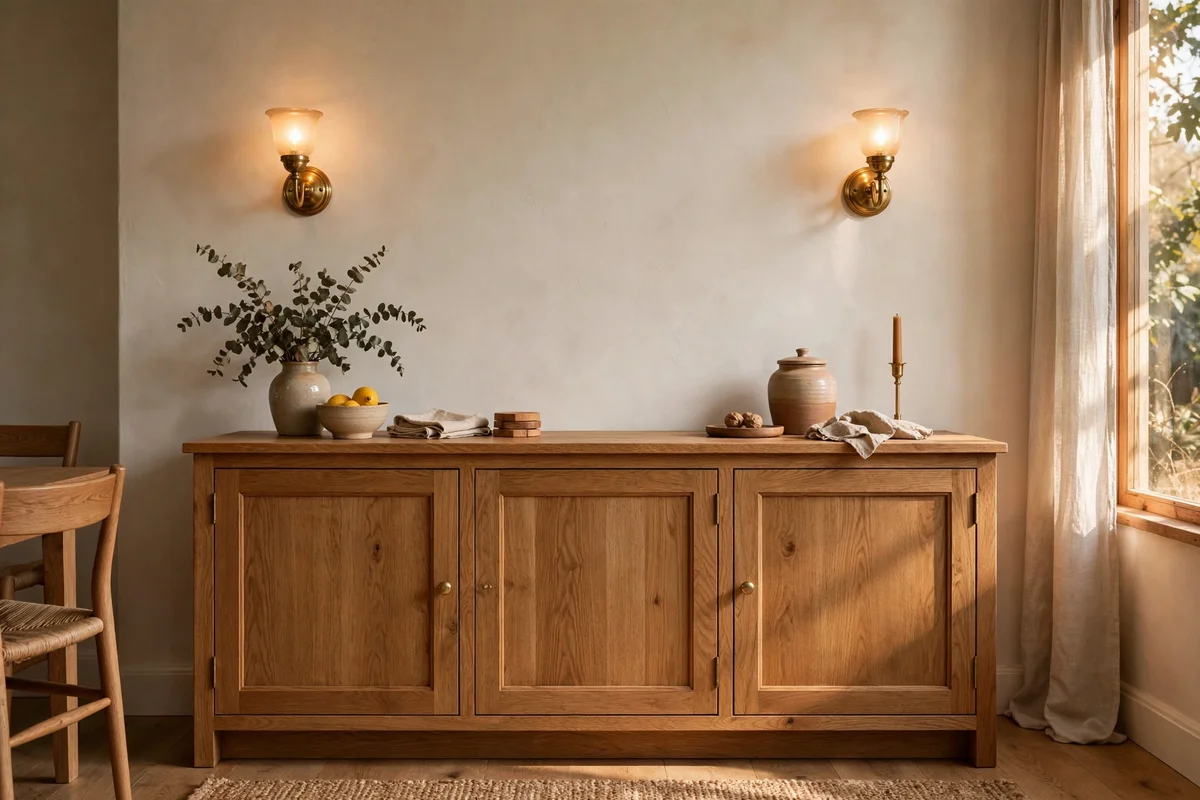
A pair of wall sconces flanking the sideboard frames the furniture and washes the wall with warm light at dinner. Mount them symmetrically, each 60 to 80 cm from the sideboard’s side edges, with the light source around 160 to 170 cm from the floor. Choose shaded sconces in brass, bronze or ceramic that match the sideboard hardware, so metal and timber echo each other across the wall.
Plug-in sconces with fabric-covered cords are a renter-friendly choice at 30 to 70 pounds or dollars each, while hardwired versions suit a renovation and cost more with electrician time. Use warm 2700K bulbs of 40 watt equivalent so the glow stays soft. The mistake to avoid is placing sconces level with the mirror centre, because the reflection then doubles the glare; keep them clearly above or below any mirror edge.
10. Hang Sconces 40 to 45 cm Above the Sideboard Top
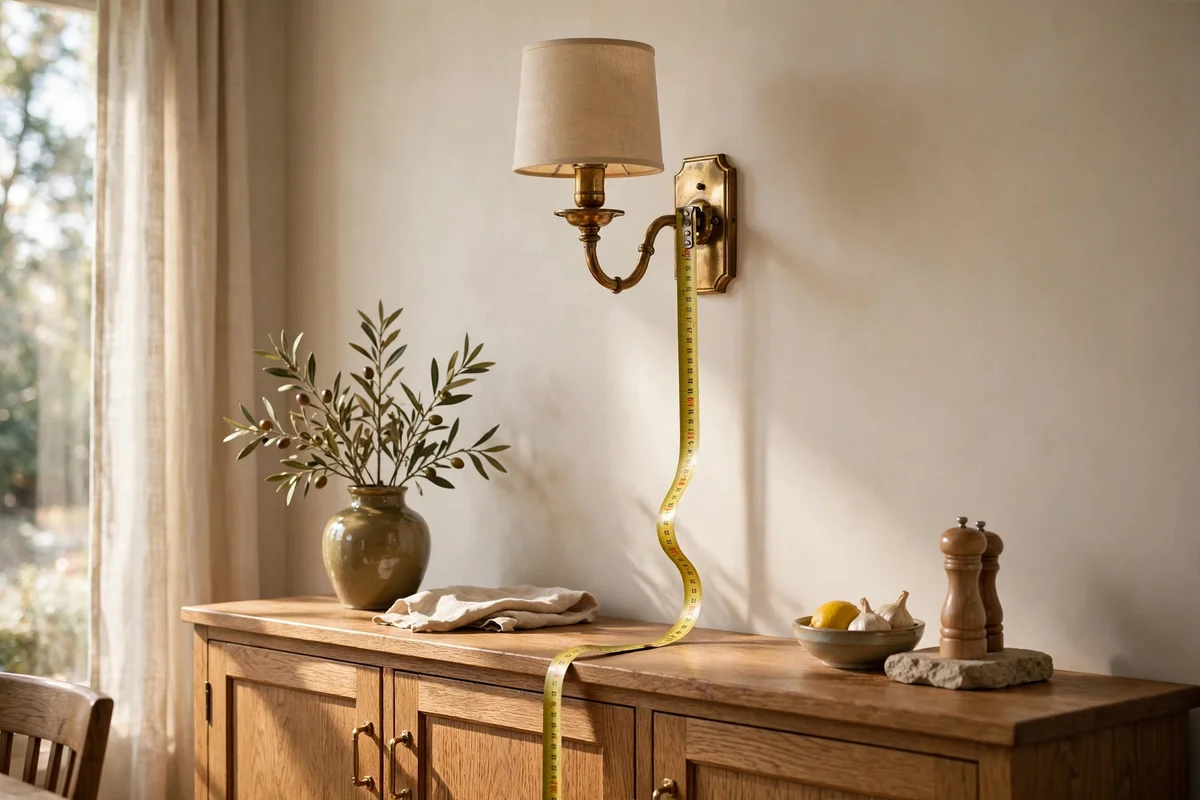
Sconce height decides whether the light is useful or merely decorative, so mount the base of each shade 40 to 45 cm above the sideboard top. This places the glow just above any table lamps or serving dishes while keeping the shades clear of elbows during serving. Measure from the sideboard surface, not the floor, because sideboard heights vary from 75 to 95 cm and floor measurements mislead.
Use a tape measure and painter’s tape to mark both sconce positions before drilling, and stand back to check they sit level with each other. Adjustable arm sconces add flexibility for under 80 pounds or dollars, letting you aim light at the wall or the table. The mistake to avoid is hanging one sconce higher than the other by even a few centimetres, because paired lights read as one unit and any mismatch shows at once.
11. Leave 25 cm of Clear Wall Between the Sconces and the Mirror
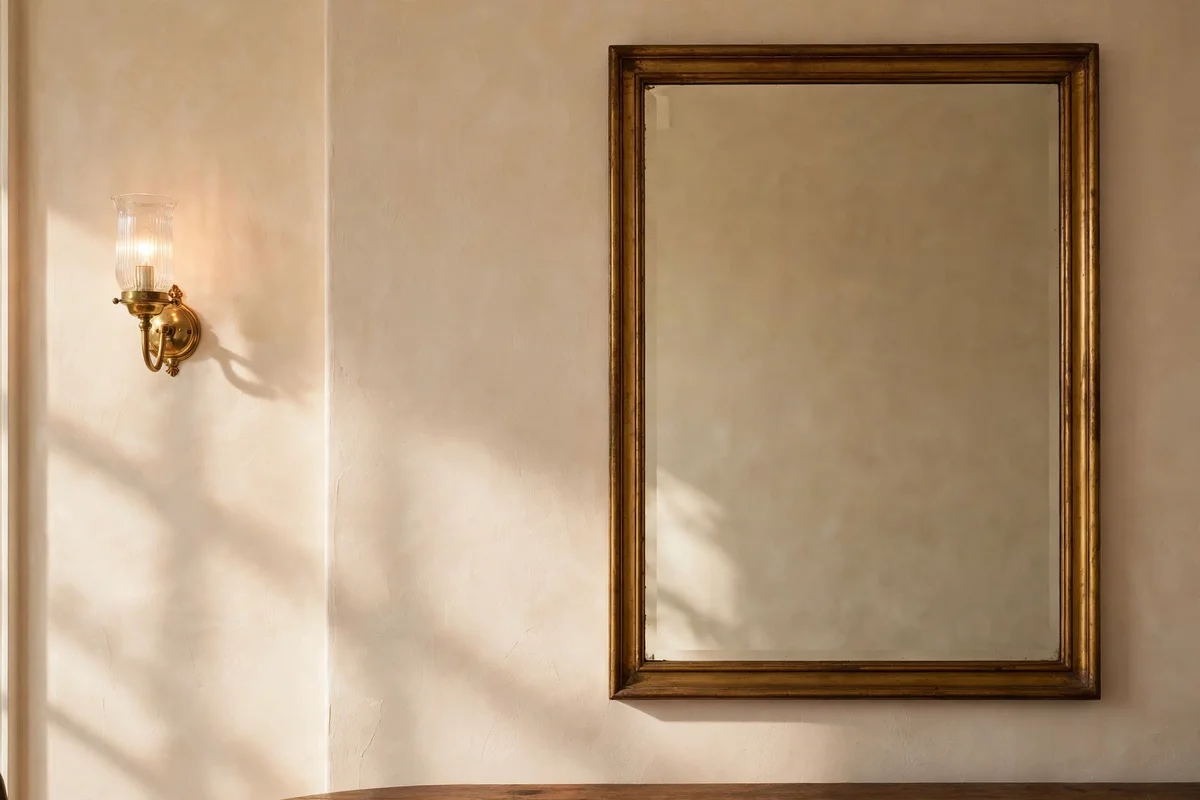
When sconces and a mirror share a wall, breathing room keeps each one looking intentional. Leave at least 25 cm of clear painted wall between the edge of each sconce and the edge of the mirror, measured from the widest point of the shade to the frame. This gap stops the mirror reflecting the sconce at an awkward angle and gives the eye a quiet band of colour between two bright objects.
Sketch the whole arrangement on the wall with low-tack tape before you fix anything, and live with it for an evening to check reflections after dark. If the wall is too short for the 25 cm rule, drop the mirror to another wall rather than squeezing the gap. The mistake to avoid is crowding three bright objects together, because sconces plus mirror plus art on one short wall competes with the table instead of flattering it.
12. Hang a Plain Weave Textile on the Longest Dining Wall
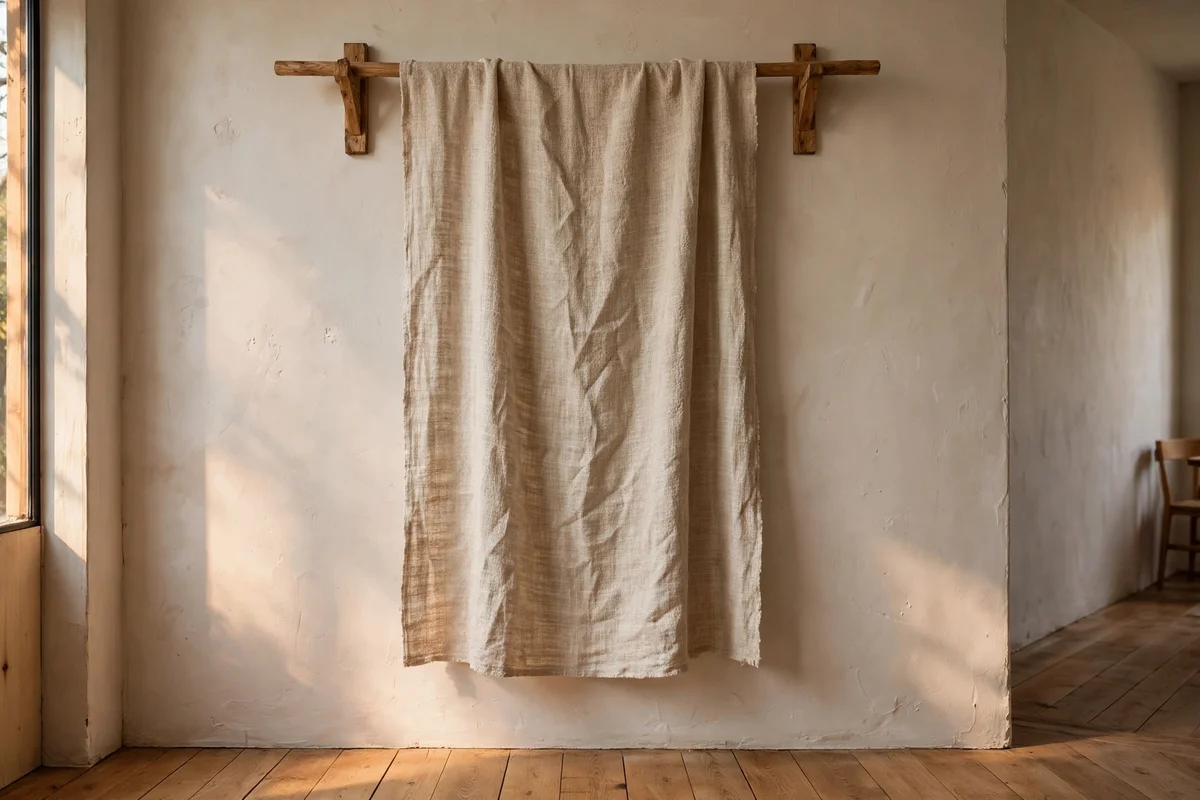
A plain weave textile softens a dining room the way curtains soften a window, adding texture without pattern noise. Choose a handwoven cotton, linen or wool hanging in a single natural tone, such as oatmeal, undyed cream or warm grey, with a simple rod pocket at the top. Hang it on the longest bare wall, centred at standing eye level, with the bottom edge at least 15 cm above the skirting so it hangs freely.
Use a slim wooden dowel or a black metal rod 10 to 15 cm wider than the textile, fixed into studs so the weight holds safely. Handwoven hangings of 120 by 150 cm cost 60 to 180 pounds or dollars depending on fibre and maker. The mistake to avoid is choosing a textile with printed words or slogans, because lettering dates fast and breaks the timeless calm a plain weave creates.
13. Size the Textile to Two Thirds of the Wall Width
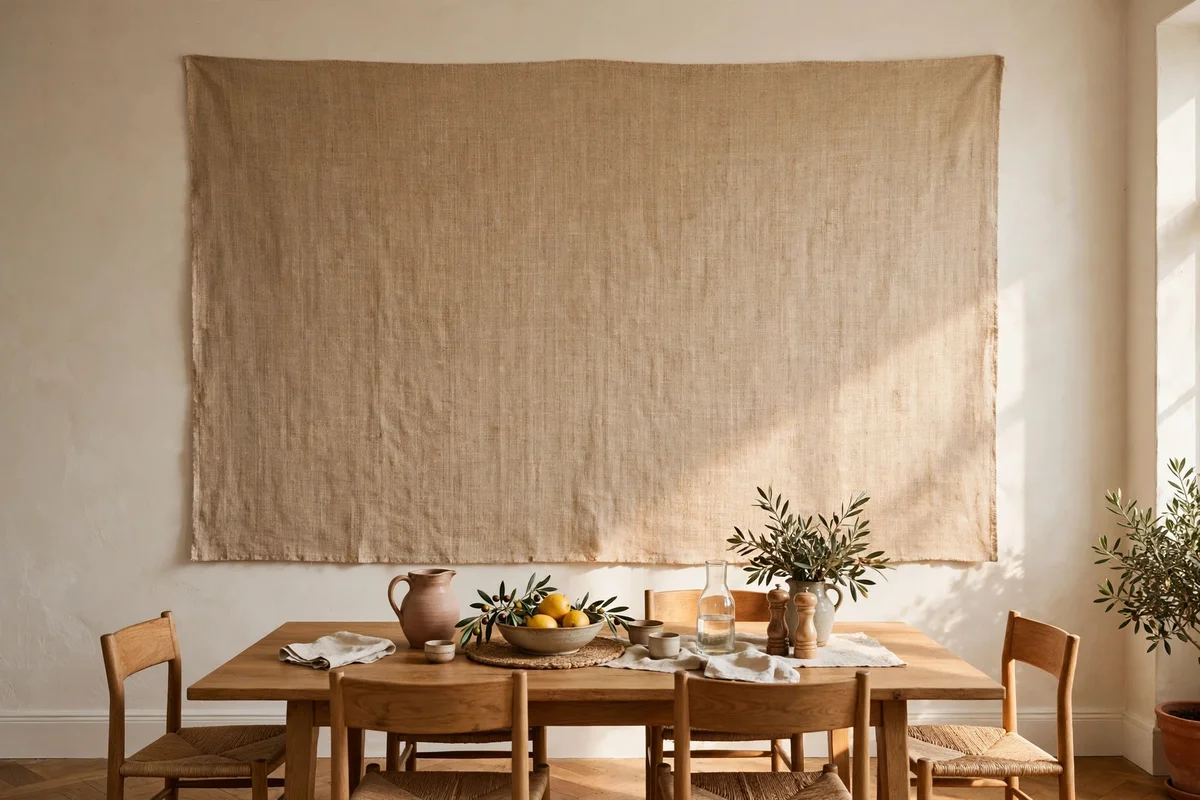
A textile that covers about two thirds of the wall width anchors the space without swallowing it. For a 360 cm wall, aim for a hanging around 220 to 240 cm wide, leaving roughly 60 cm of painted wall on each side as a breathing frame. Keep the textile at least 30 cm narrower than the table beneath it where possible, so the hanging and the table read as two calm, separate layers.
Measure the wall first and cut a paper template to tape up, because textiles cannot be returned easily once unwrapped. If one large weaving costs too much, two matching panels of half the width hung side by side with a 5 cm gap give the same effect. The mistake to avoid is a tiny hanging lost in the middle of a big wall, which reads as an afterthought rather than an anchor.
14. Build Shallow Cabinetry Along One Wall for Tableware
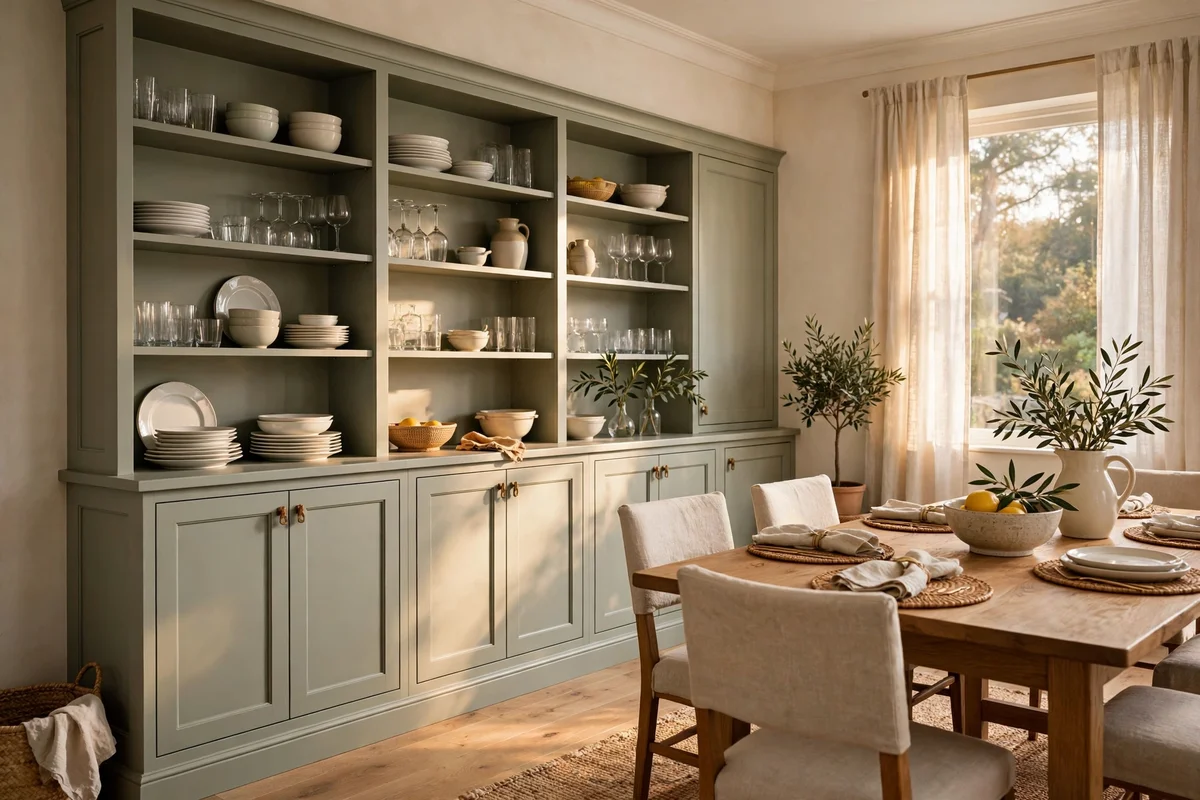
Built in cabinetry along one dining wall turns storage into part of the room’s decor. Build units 35 to 40 cm deep so they hold plates and glassware without eating into the walking space, and run them to ceiling height for a fitted look or stop at 120 cm to keep the wall feeling open. Paint the cabinetry the same colour as the wall for a seamless line, or one shade deeper for quiet definition.
Ready-made wall units with trimmed infill panels cost 300 to 800 pounds or dollars per 120 cm run, while a carpenter-built run costs more but fits around radiators and doorways exactly. Leave 90 to 100 cm between the cabinetry and the table edge for comfortable chair movement. The mistake to avoid is building deeper than 45 cm, because deep units make the room feel like a kitchen rather than a dining room.
15. Leave Open Shelf Gaps in the Cabinetry for Daily Plates
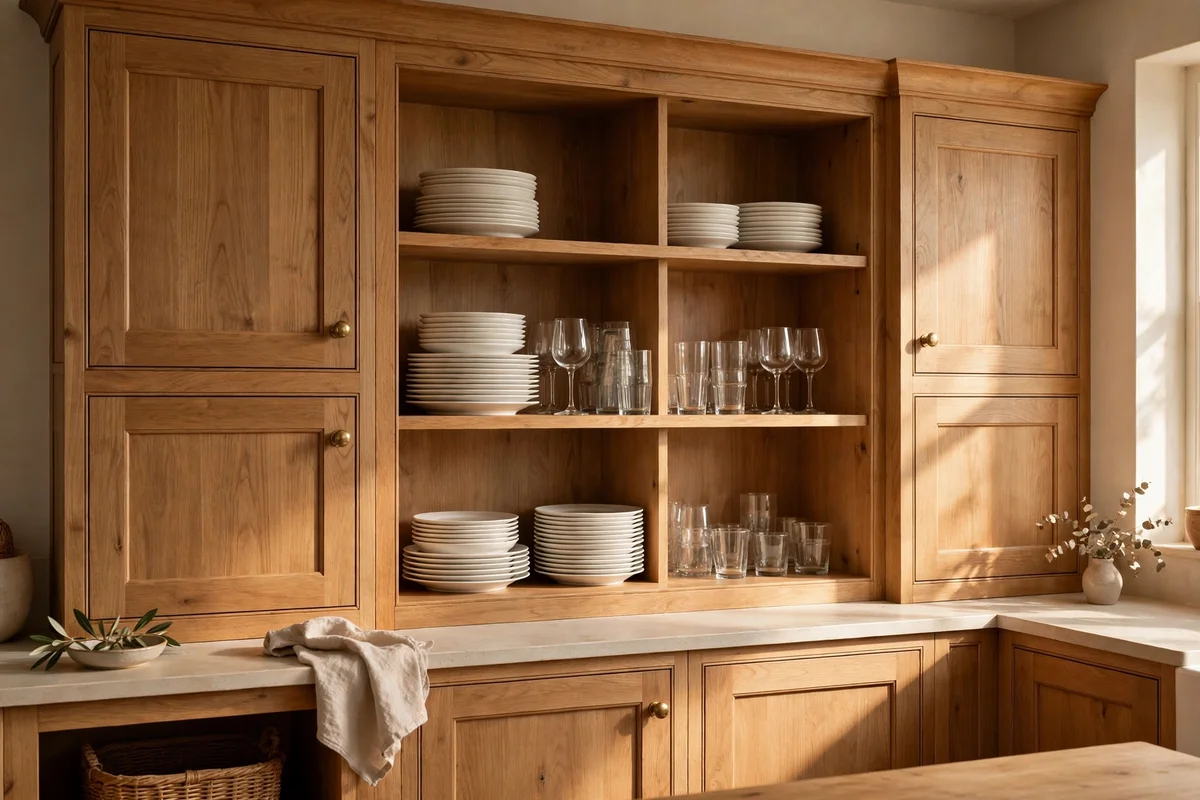
Open shelf gaps within built in cabinetry give everyday plates a display home that doubles as storage. Leave two or three open bays of 60 to 80 cm wide between closed cupboards, with shelves spaced 28 to 32 cm apart to fit dinner plates upright. Stack plates in piles of four to six with the plain finish facing outward, and keep the stacks shallow enough to lift with one hand.
Paint the back of open bays one shade deeper than the cabinet fronts so the plates stand out in soft contrast. Open shelving needs a quick weekly dust, since plates here collect kitchen grease, so keep a microfibre cloth nearby. The mistake to avoid is cramming every shelf full, because open storage only looks calm with breathing room; aim to fill two thirds and leave one shelf partly empty.
16. Paint the Wall Behind the Table a Deeper Heritage Shade
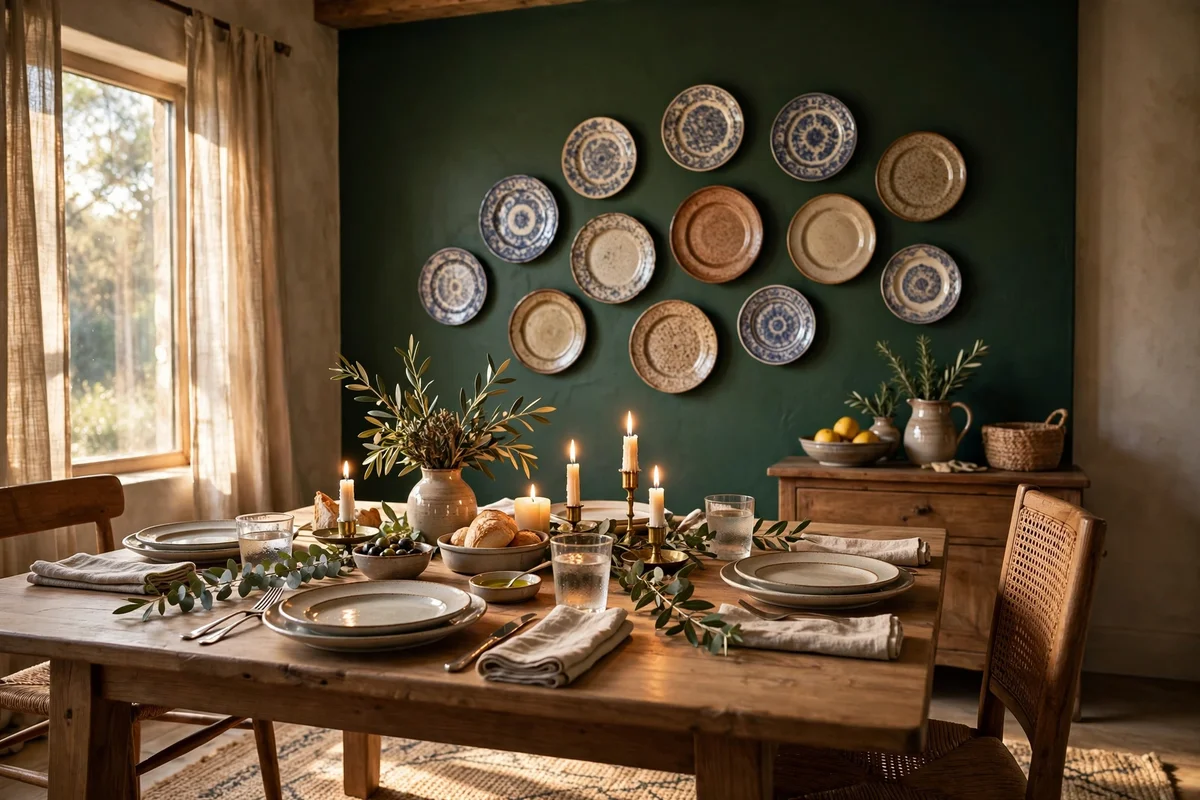
Painting the wall behind the table a deeper heritage colour gives dinner a rich backdrop that flatters food and faces. Choose a shade two to three tones deeper than the room’s main colour, such as a deep olive where the room is sage, so the change feels related rather than random. Paint the full wall from corner to corner in a washable matt emulsion, because dining walls collect small marks.
Two coats over a tinted primer usually cover in one weekend, and a 2.5 litre tin of quality emulsion paints about 30 square metres, enough for one accent wall twice over. Test a large A3 swatch on the wall for two days to watch it in daylight and lamplight. The mistake to avoid is stopping the colour at an inside corner without a clean line, because a wavy edge shows most on deep colours.
17. Choose Heritage Green or Deep Russet for the Accent Wall
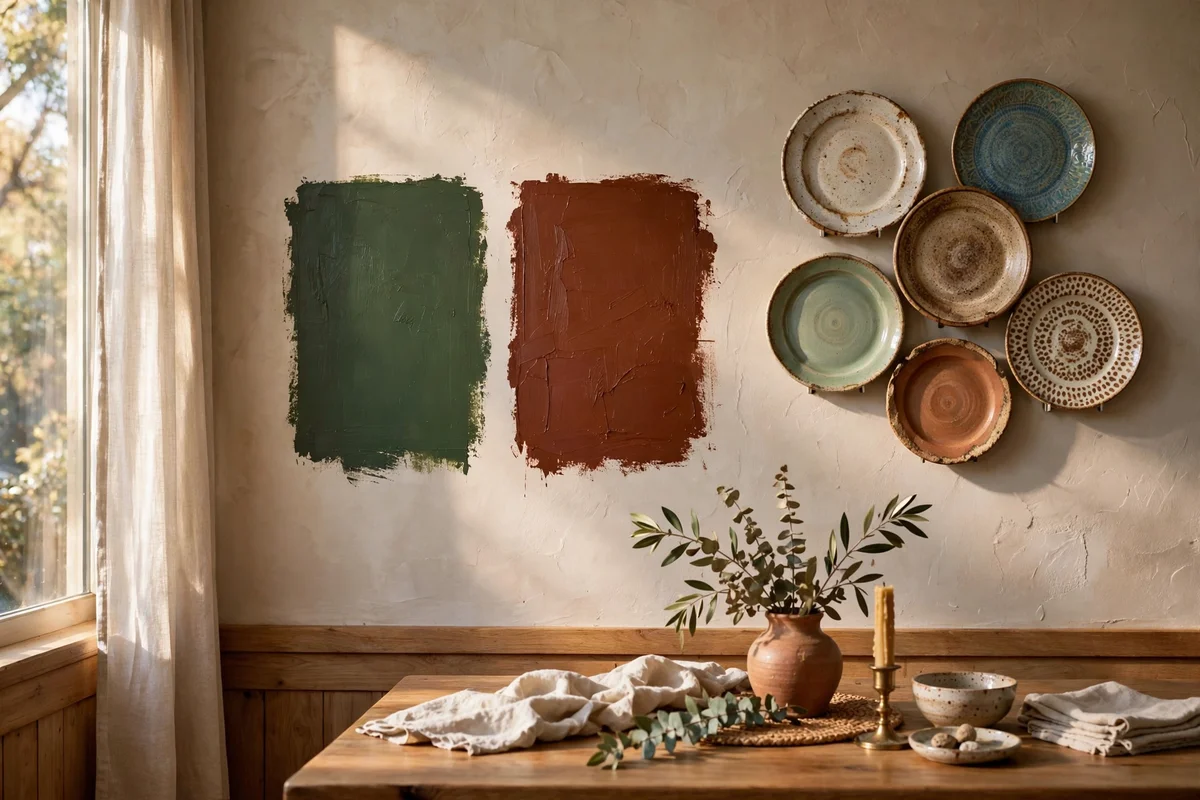
Heritage green and deep russet are the two accent colours that suit dining rooms year after year. A deep bottle green with grey undertones pairs beautifully with oak furniture and brass sconces, while a russet clay red warms north-facing rooms that get little sun. Both sit comfortably beside plain cream plates and natural linen, so the rest of your wall decor needs no changes.
Order sample pots of three close shades and paint metre-wide swatches, because small chips lie about deep colours. Green leans classic with walnut and brass, while russet leans warm with terracotta and woven textiles. The mistake to avoid is choosing a trendy near-black, which swallows the plates and prints; a mid-deep heritage tone keeps contrast gentle enough for everything else on the wall.
18. Hang One Wide Landscape Canvas Centred Over the Sideboard
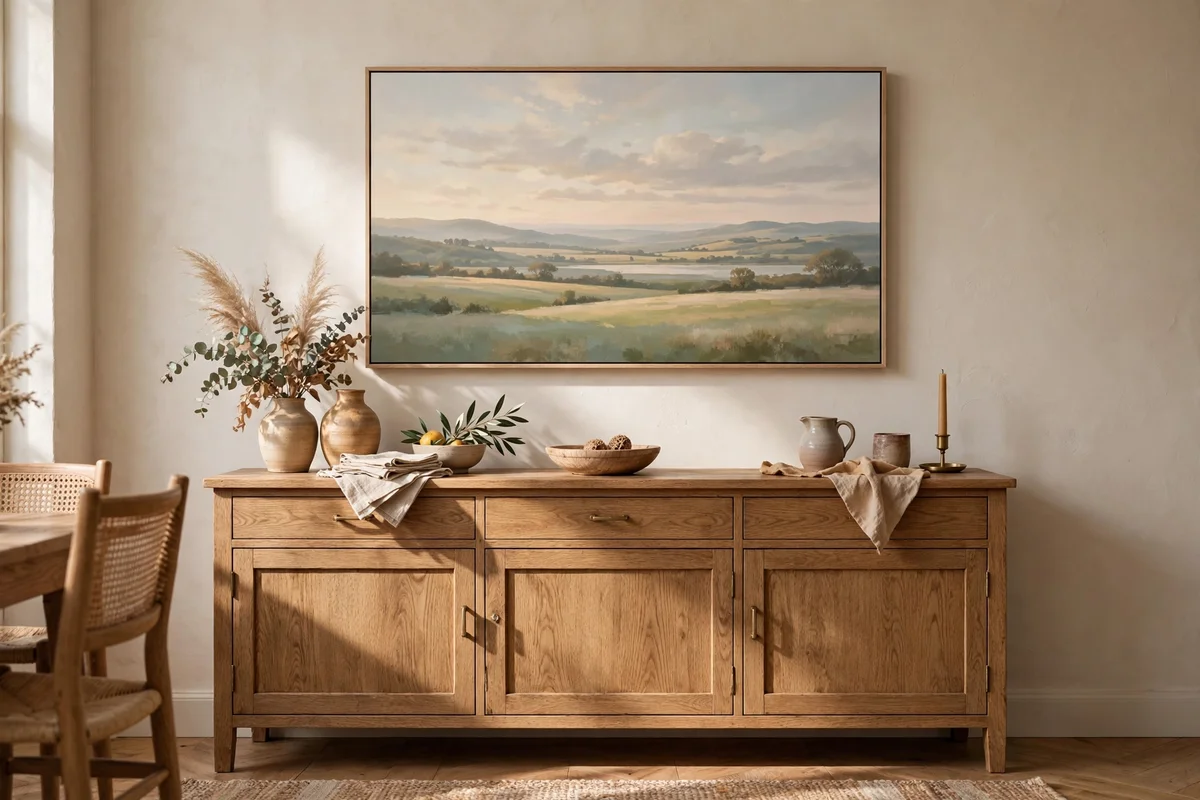
One wide landscape canvas over the sideboard creates a calm focal point that pulls the whole wall together. Choose a canvas about two thirds the width of the sideboard, for example 120 cm of art over a 180 cm sideboard, in a soft scene with gentle horizons. Centre it exactly over the furniture, aligning the middle of the frame with the middle of the sideboard below.
Ready-made landscape canvases of 100 to 130 cm cost 60 to 150 pounds or dollars, or stretch your own with a printed canvas and stretcher bars for half that. Hang on two hooks rather than one so the canvas never tilts, and check level from across the room. The mistake to avoid is a canvas wider than the sideboard, because art that overhangs its furniture looks unbalanced and top-heavy.
19. Hang Artwork 15 to 20 cm Above the Sideboard Surface
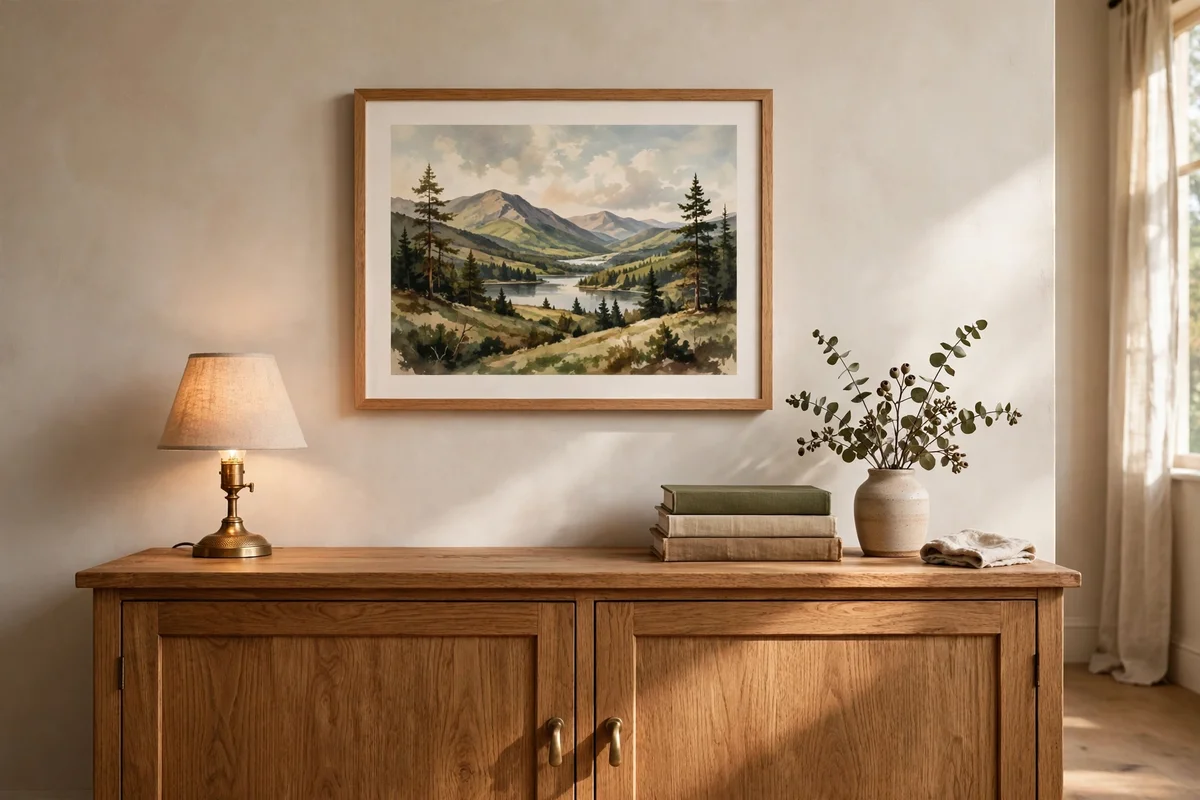
Art hung too high floats away from the furniture, so keep the gap between the sideboard top and the bottom of the frame at 15 to 20 cm. This distance links the art to the sideboard as one vignette while leaving room for the tallest items you style on top, such as a 40 cm lamp or a stacked pair of books. Measure the gap after styling the surface, not before, so nothing overlaps the frame.
Hold the frame up with a friend and step back before marking, because 5 cm makes more difference than you expect at this scale. For very tall art over a low sideboard, stretch the gap to 25 cm so the frame does not crowd the surface. The mistake to avoid is hanging at standing eye level regardless of furniture, which leaves a lonely gap that makes the sideboard look disconnected from its art.
20. Limit the Room to Two Frame Finishes for a Quiet Look
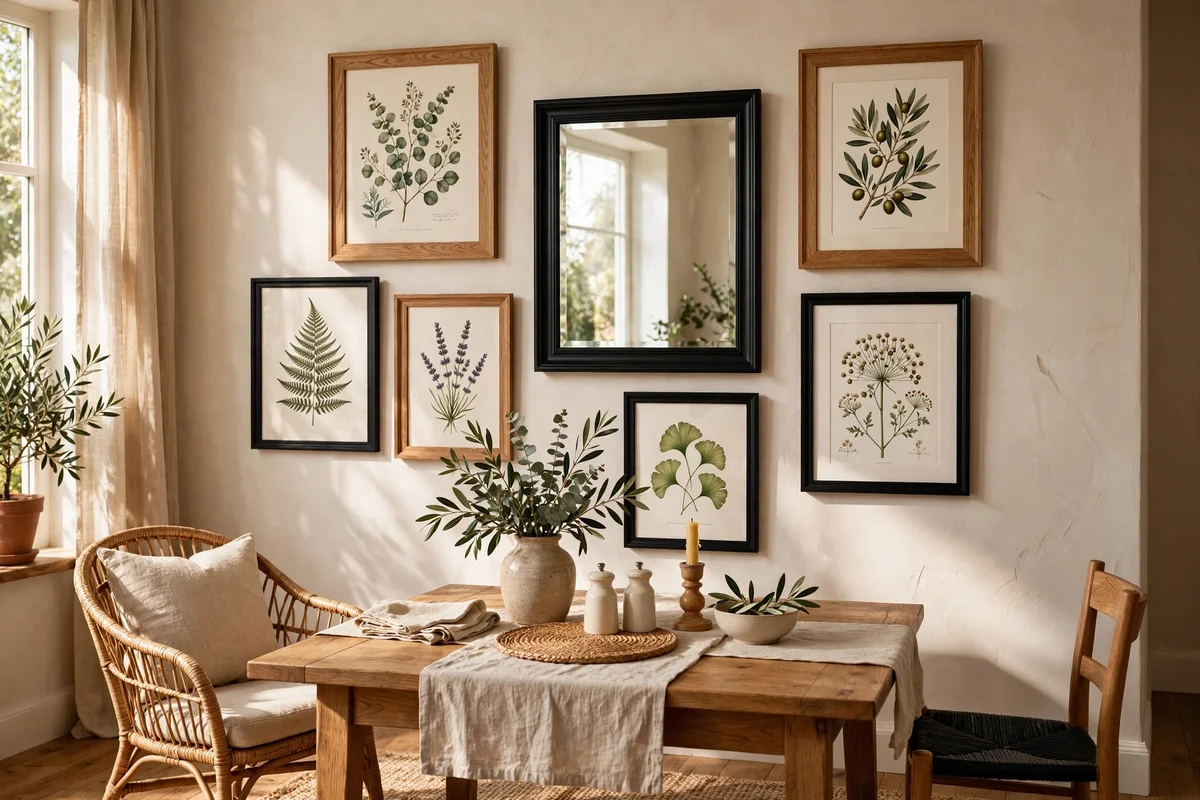
Two frame finishes across the whole dining room keep every wall arrangement feeling related. Pick one warm finish, such as natural oak or aged brass, and one dark finish, such as black or espresso, then repeat only those two on botanical grids, landscapes and the mirror. This restraint lets plates, textiles and paint carry the variety while the frames provide a steady rhythm.
When buying new frames, take one existing frame to the shop to match tones exactly, because online photos lie about wood colour. Over time, replace odd frames one by one rather than all at once, spreading the cost. The mistake to avoid is adding a third metallic finish for one small print, because three metals on one wall argue with each other and undo the calm the pairing creates.
21. Fit a Narrow Picture Ledge for Seasonal Print Swaps
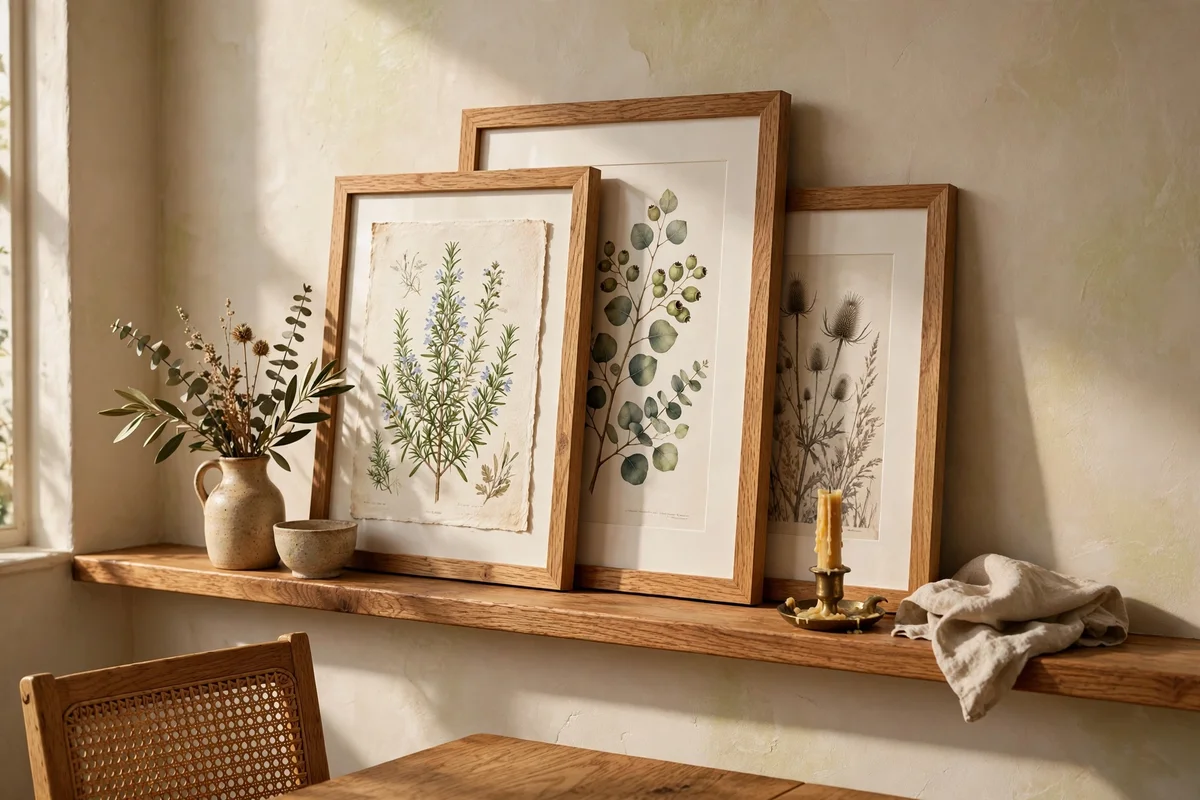
A narrow picture ledge lets you refresh the dining wall with the seasons without drilling new holes. Fit one or two oak or painted ledges, each 8 to 10 cm deep and 120 to 180 cm long, at about 150 cm from the floor. Lean framed prints against the wall on the ledge, overlapping the front frame slightly over the back one for depth, and swap the art in spring and autumn.
Fix the ledge into studs or with proper anchors, because leaning frames still push weight forward. A 120 cm pine ledge costs under 25 pounds or dollars ready-made and paints to match the wall. The mistake to avoid is lining up every frame in a stiff row on the ledge, because the charm of a ledge is its relaxed layering; let sizes and heights vary naturally.
22. Frame One Oversized Botanical Study Beside the Doorway
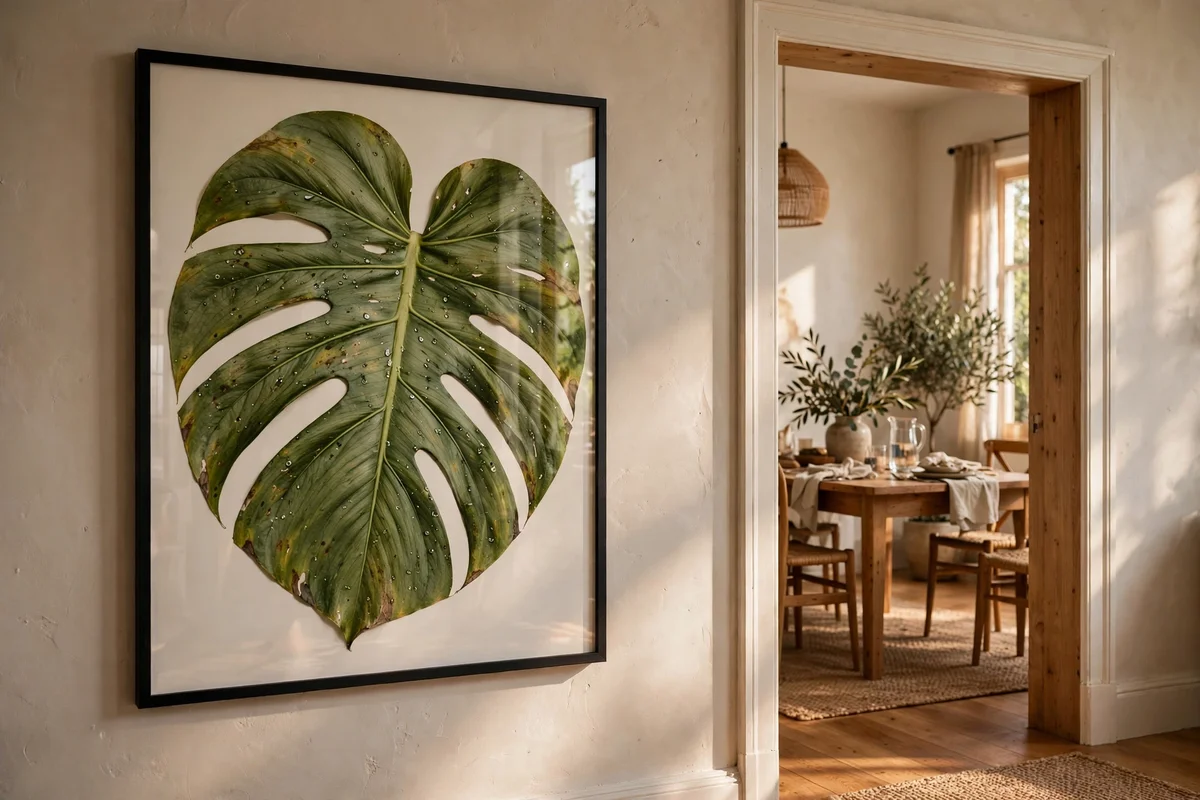
One oversized botanical study beside the doorway gives the dining room a generous, gallery-like moment. Choose a print of 70 by 100 cm or larger showing a single stem or leaf at grand scale, framed simply in thin black or oak with a wide 8 cm mount. Hang it so its centre sits at standing eye level, around 155 cm from the floor, where it greets everyone entering.
Large botanical prints cost 20 to 50 pounds or dollars from print shops, and a ready frame of this size runs 40 to 90. Keep the wall beside it clear for at least 40 cm on each side so the scale can breathe. The mistake to avoid is pairing the oversized print with other art on the same wall, because one big statement needs empty space around it to feel grand.
23. Echo the Plate Collection With a Single Round Charger Hung Flat
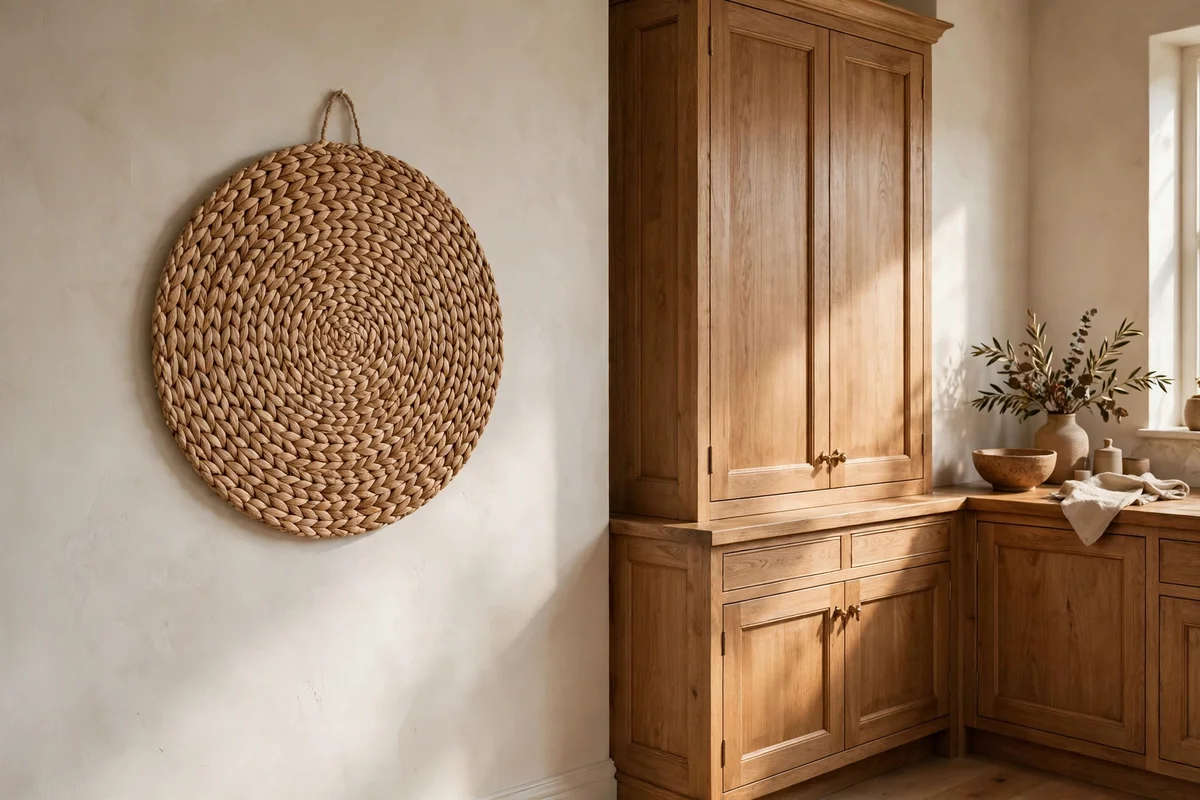
A single round charger hung flat on a quiet stretch of wall echoes the plate collection without repeating it. Choose a woven seagrass or plain ceramic charger of 33 to 38 cm across, in a tone that matches the table linen, and hang it with a discreet disc hanger. Place it on the narrow wall beside the cabinetry or above the doorway, where a small round shape balances the room’s rectangles.
Woven chargers cost 8 to 20 pounds or dollars each and add natural texture beside framed art. Hang it level with the centre of the nearest picture grouping so it reads as part of the plan. The mistake to avoid is hanging several chargers in a scatter, because one deliberate round shape punctuates the room while many of them compete with the main plate grid.
24. Rotate Plates and Prints Each Season Without Drilling Again
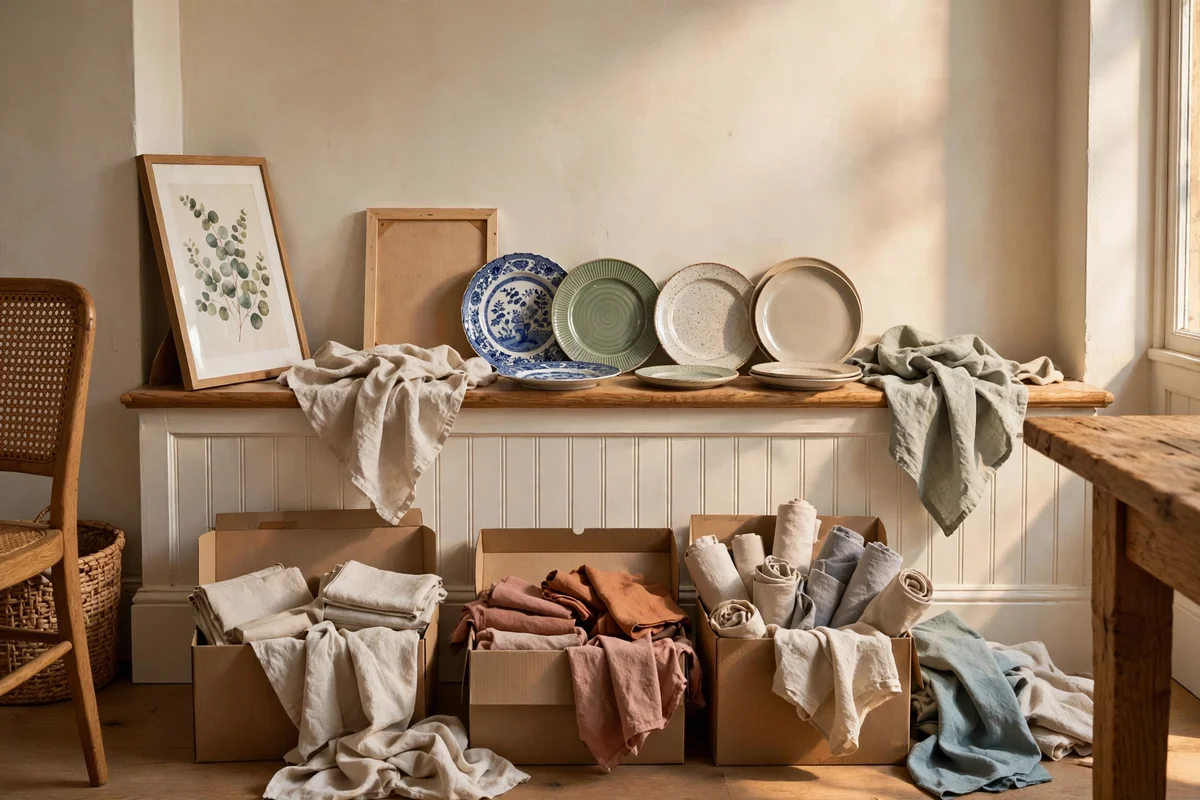
Rotating plates and prints with the seasons keeps the dining walls feeling fresh without new holes or new spending. Swap the plate rail display each season, moving summer’s pale plates aside for warmer amber or russet pieces in autumn, and exchange two ledge prints for seasonal botanicals. Keep the wall hooks and ledges in place, and store the off-season pieces wrapped in cloth in the cabinetry.
Two short refreshes a year, in spring and autumn, are enough; more often and the room never settles. Photograph each arrangement before you change it, so you can return to a favourite without guessing. The mistake to avoid is buying new decor for every season, because the point of rotation is rediscovery; a 40 cm jug you forgot you owned feels new again on the rail.
Dining room walls reward a measured hand more than a full one. A grid of plain plates, one generous mirror, a pair of steady sconces and a deeper painted wall behind the table will carry more quiet beauty than a crowded gallery ever could. Keep your finishes to two, your gaps even and your textile plain, and the room settles into itself. Begin this week with the simplest move of all: mark out your plate grid with painter’s tape and live with it for two evenings before you drill.
Once the first wall feels right, the rest of the room will tell you what it needs next. Maybe the sconces want a friend in the mirror, or the plate rail asks for one more jug. Trust the spacing rules you have learned here and change one thing at a time, because small, certain steps build the calmest rooms. Then light the flameless candles, sit down together, and enjoy dinner against its new backdrop.
Frequently Asked Questions
How high should I hang pictures above a dining room sideboard?
Keep the bottom of the frame 15 to 20 cm above the sideboard surface, so the art and furniture read as one vignette. This leaves room for lamps and serving dishes you style on top. If your art is very tall, stretch the gap to 25 cm. Hanging at standing eye level regardless of the furniture below is the common mistake, because it strands the sideboard visually.
What is the best spacing for a plate wall arrangement?
Leave 5 to 7 cm between plate edges, measured edge to edge rather than centre to centre, so mixed plate sizes still look even. A cardboard spacer cut to the gap size keeps rows straight while you mark positions. Work outward from the centre of the wall rather than starting in a corner, because any drift accumulates at the far edge where it shows most.
Can I mix botanical prints and landscape art on one wall?
Yes, when the frames and mounts match. Use identical frames with the same mount width for every print, and keep the colour palette muted across both subjects so they agree. Four prints in one horizontal line, alternating landscape and botanical, usually costs 80 to 160 pounds or dollars ready-made. Avoid pairing one dramatic mountain scene with soft leaf studies, because the loud image unbalances the row.
Are flameless candles worth using on the dining table?
They are worth it for households that want candlelight every evening without supervision. Warm-white LED pillars with a flickering flame read as real candles in a mirror reflection, and timer models switch themselves on for about five hours each night. A set of three costs 15 to 35 pounds or dollars, and batteries last for months. Group them on one tray rather than scattering singles along the table.
How much does a dining room wall refresh realistically cost?
Between 60 and 400 pounds or dollars depending on how far you go. A plate grid from second-hand shops and one tin of heritage paint cover the basics for under 100. Add a pair of plug-in sconces for 60 to 140 more. Spend the most on the mirror and the textile, the pieces you see daily. Refresh one wall at a time so you can judge the effect before buying more.