DIY Projects
24 DIY Wall Panel Ideas That Look Surprisingly Expensive
By Anna Wells · · 21 min read
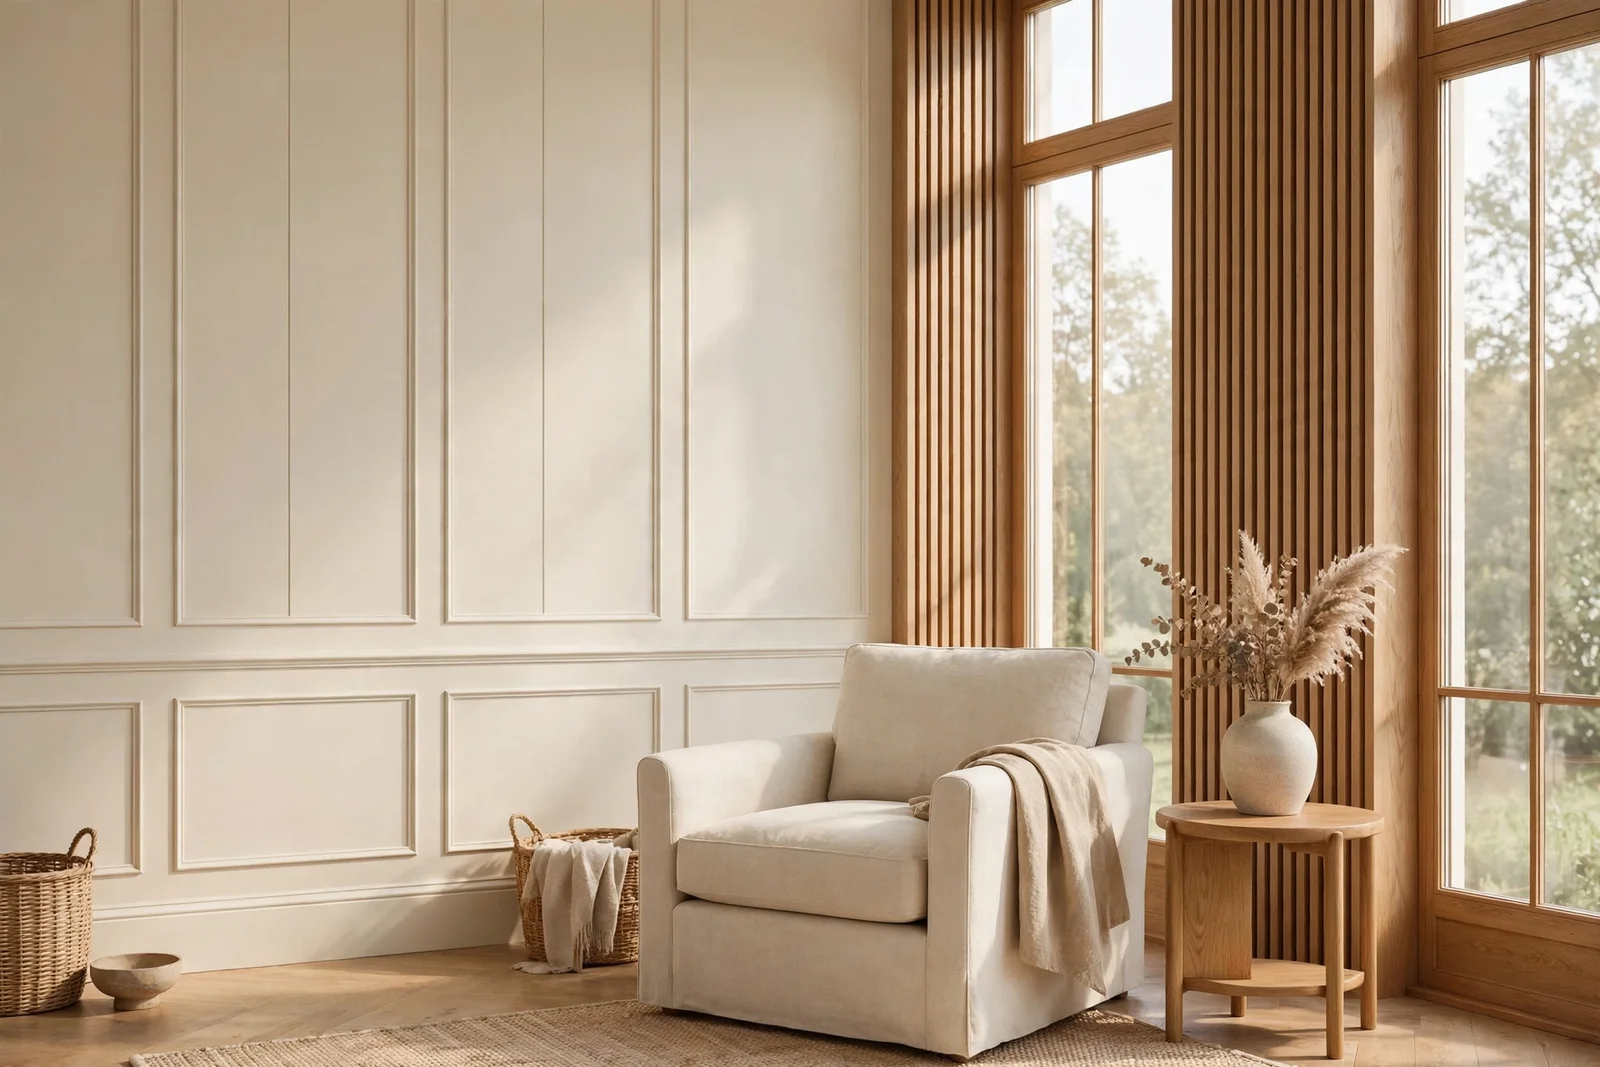
A plain wall is a promise waiting to be kept: twenty-four practical panel projects with spacing maths, fixing methods and per-wall budgets that bring timeless craft into any room.
There is a particular flatness to a plain painted wall, the kind that no rearranged furniture ever quite fixes. It sits behind the sofa like an unfinished sentence, and every time the light changes, the room reminds you that something is missing. For most homes, what is missing is texture: a line, a shadow, a rhythm that gives the eye somewhere gentle to rest.
Wall panelling is the oldest answer to that flatness, and it remains the cheapest way to make a room feel crafted. A few lengths of primed timber, a saw, some adhesive and a weekend are enough to build joinery that reads as far dearer than it cost. The trick is not expensive materials but honest maths: even spacing, true mitres and finishes maintained with care.
This collection gathers twenty-four practical panel ideas, from board and batten with correct spacing maths to oak slats on sound-softening felt, plus tool lists, adhesive versus nail guidance, safe socket cutting and a per-wall budget for every project. Each idea is sized, costed and honest about the one mistake most people make.
Start where the flatness bothers you most, perhaps the wall behind the sofa or the hallway you hurry through. Measure twice, cut once, and enjoy the quiet satisfaction of joinery built with your own hands.
1. Map Board and Batten Spacing With the Thirds Rule for Even Boxes
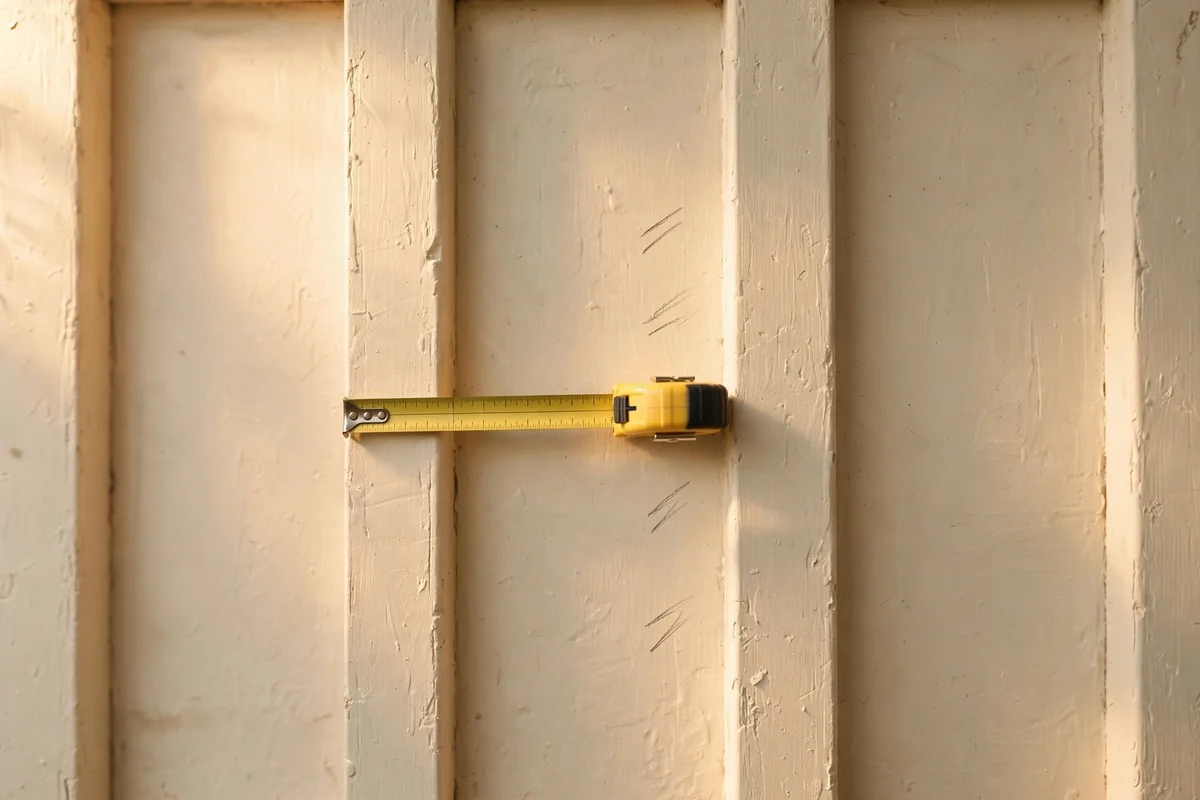
The thirds rule divides the wall into equal panels so every box reads the same width. Measure the wall, subtract the width of one vertical batten, then divide the remainder by your chosen number of boxes; a 360 cm wall with 10 cm battens and four boxes gives four panels of about 87 cm each. Keep battens at 60 to 90 cm apart for classic proportions, and set the top rail at picture rail height, roughly 150 to 180 cm, for rooms with standard ceilings.
Cut vertical battens a few millimetres short of the ceiling so seasonal movement never pushes joints apart, and caulk the gap before painting. The common mistake is measuring from the skirting without accounting for battens of different widths at corners; always dry-lay every piece with tape before fixing. Budget: primed MDF battens at about 3 pounds per 2.4 m length keep a single wall under 90 pounds including paint and filler.
2. Mitre Picture Frame Moulding Corners at True 45 Degrees for Seamless Joints
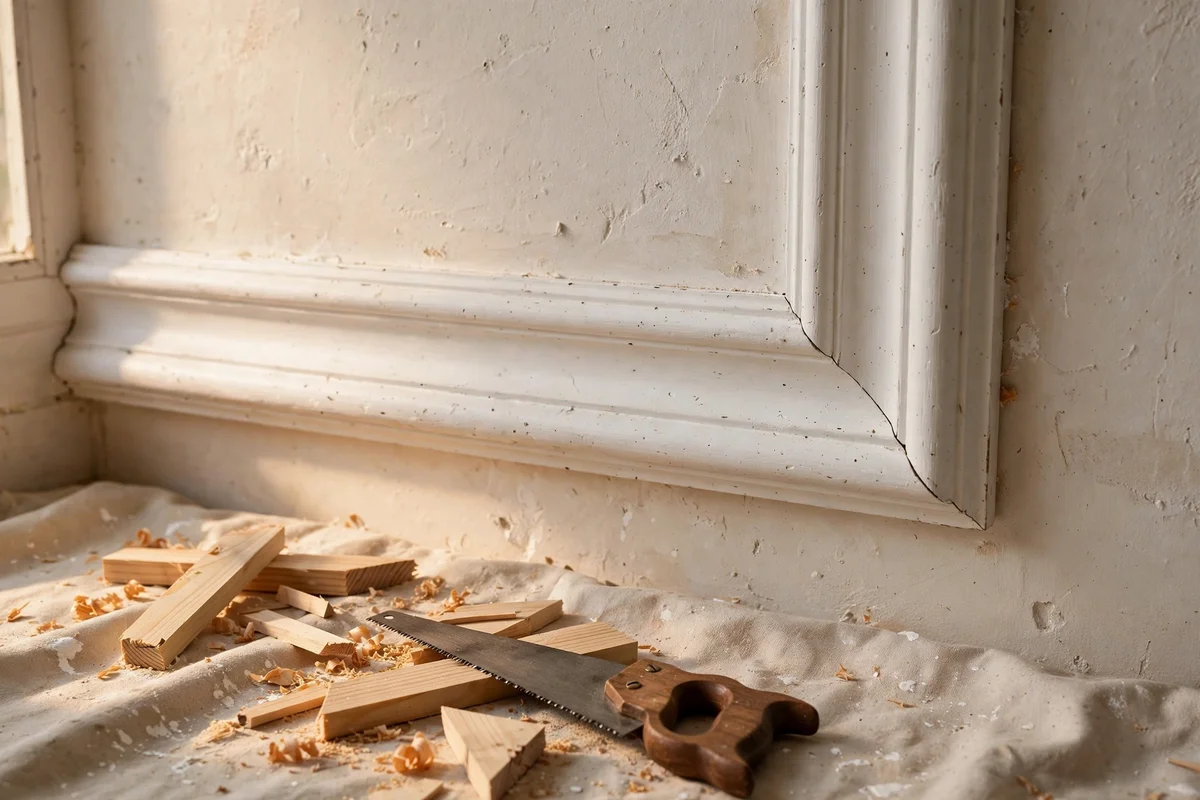
Measure each rectangle from the wall corner to the first moulding edge, then mark the mitre cuts so the long point of the 45 degree angle sits at the outer corner. A power mitre saw set with a fine-tooth blade gives cleaner corners than a hand mitre box, and cutting each pair slightly long then shaving to fit saves wasted lengths. Test-fit every frame dry on the floor first, because a 2 mm gap at one corner multiplies across a full wall of rectangles.
Glue mitred corners with wood glue and pin them with 18 gauge brads so the joint stays tight while it cures overnight. The mistake to avoid is trusting the saw’s factory angle; check it with a square on scrap timber, since half a degree off shows as a visible shadow line once painted. A single box of 200 brads, one tube of wood glue and a bag of fine sandpaper usually costs under 25 pounds.
3. Mount Oak Slats Over Acoustic Felt for a Softer, Quieter Feature Wall
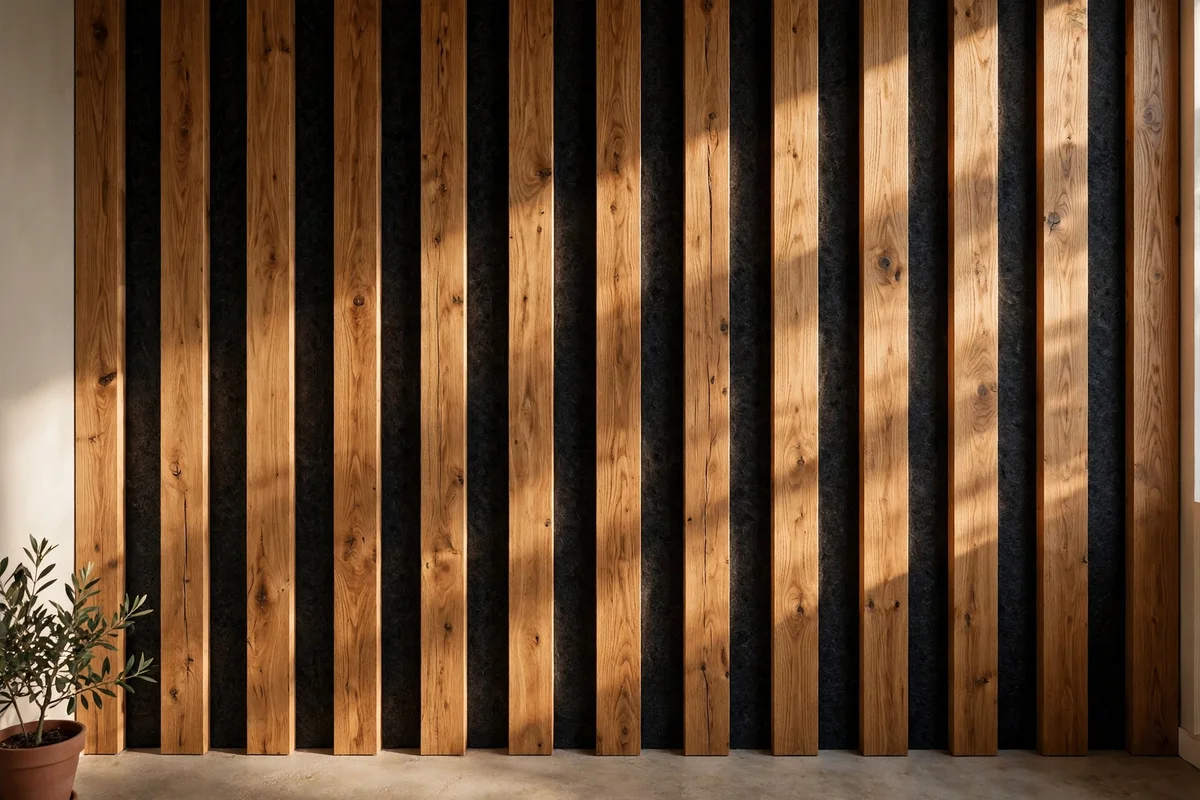
Fix a 3 mm acoustic felt sheet to the wall first, then mount oak slats 25 to 40 mm wide with 8 to 12 mm shadow gaps over it. The felt damps echo in hard-floored rooms and the dark gap colour makes each slat stand out like joinery. Cut slats with a fine circular saw blade and sand edges to 180 grit so fingertips glide along the wall; pre-oil slats with hardwax oil before mounting to protect every face.
Use construction adhesive for slats under 2 kg per metre on sound plaster, but choose brad nails or screws into studs for heavy hardwood lengths. The mistake is starting slats from the middle; always begin at the most visible corner and let the final slat land behind a door or curtain. A 3 m wide wall needs roughly 60 slats at 40 mm pitch, and felt plus timber usually totals 180 to 260 pounds.
4. Fit a Beadboard Half Wall With a Deep Ledge Cap for Everyday Display
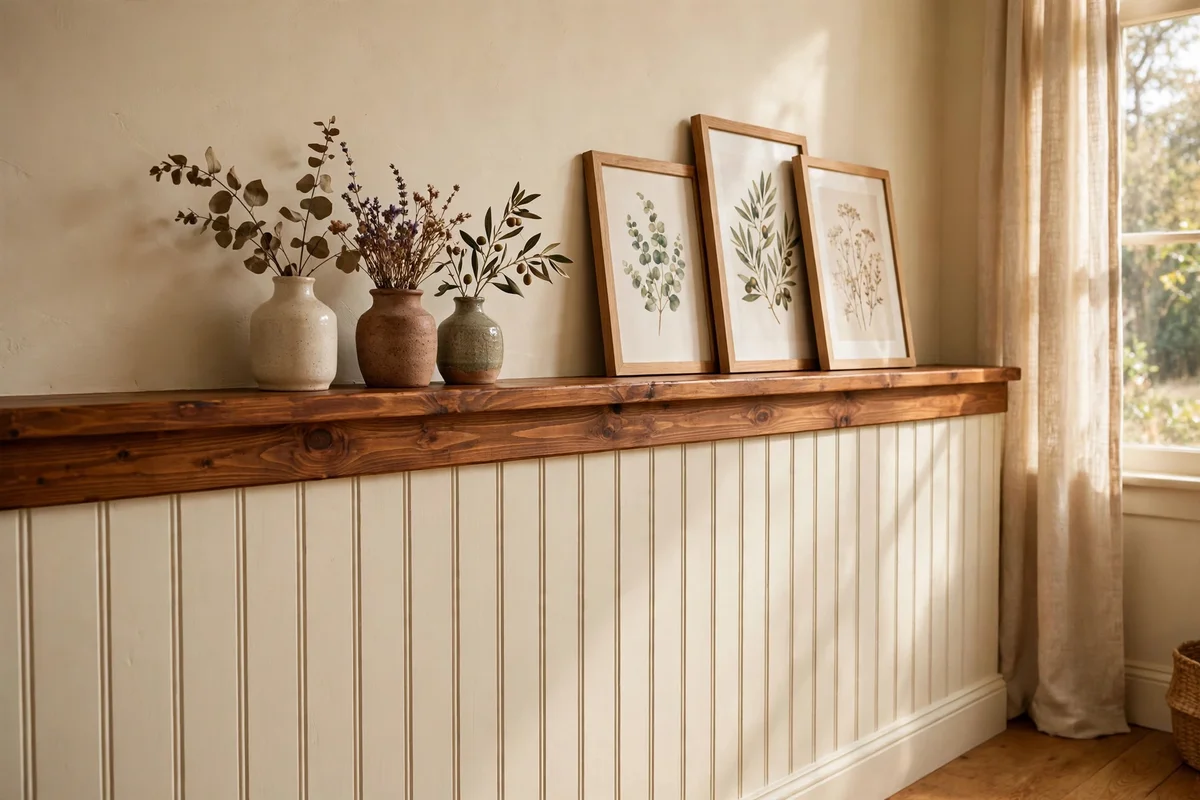
Beadboard panels 8 mm thick run to a height of 90 to 110 cm, capped with a 15 cm deep pine ledge that doubles as a shelf for small vases and framed prints. Fix panels with panel adhesive plus brads into studs every 40 cm, and scribe the back of the first panel to fit uneven skirting. The ledge cap is screwed down from above through the beadboard top edge so no fixings show on the display surface.
Paint the beadboard in a satin eggshell that wipes clean, since hallway half walls collect scuffs at hand height. The mistake to avoid is gluing the ledge cap directly to bare plaster without mechanical fixings; loaded with books and ceramics it can creep forward over months. A single 3 m run of beadboard plus the ledge, paint and filler typically costs 70 to 110 pounds.
5. Brush Limewash Onto Flat Panels for a Soft Plaster-Like Finish
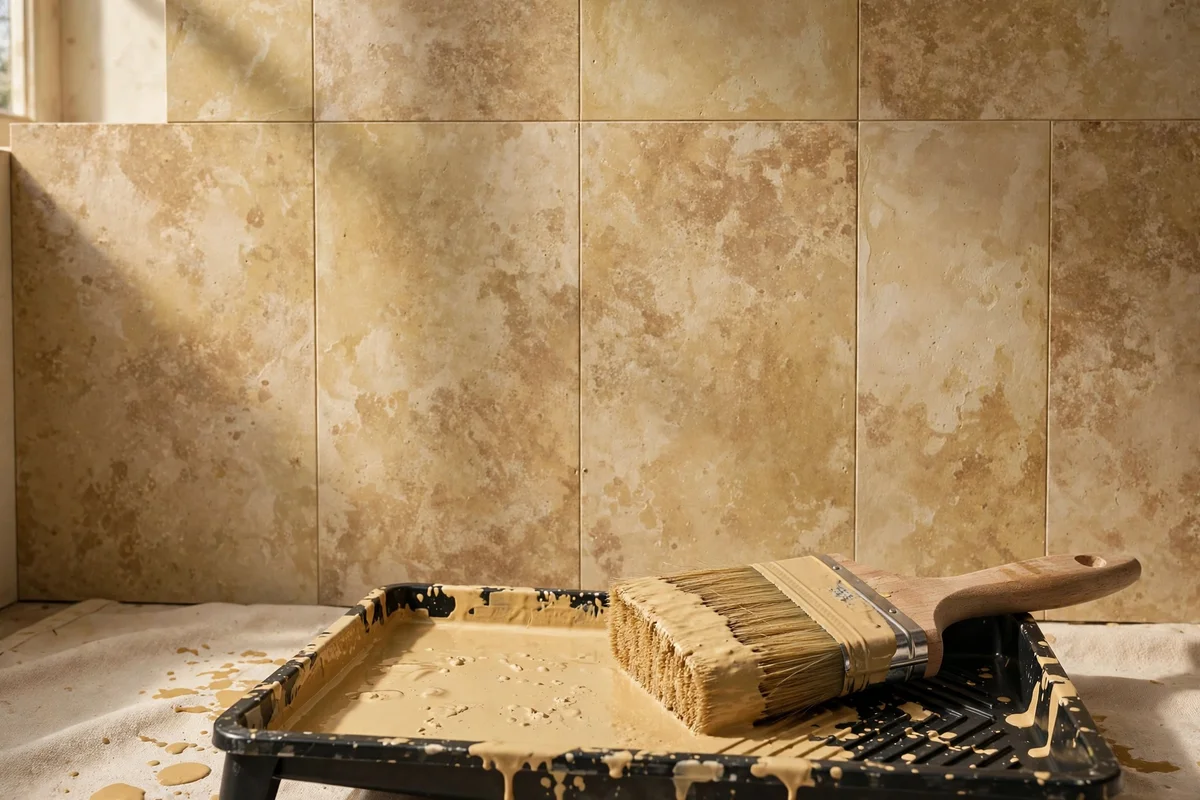
Apply limewash in crisscross strokes with a large block brush over a misted surface, building two to four thin coats about four hours apart. Flat MDF or plaster panels take the wash evenly when primed with a mineral primer first; the mottled cloud effect is what reads as expensive plaster rather than flat paint. Work one panel at a time and keep a damp edge, because limewash dries visibly where strokes overlap too late.
Seal finished limewash with a breathable mineral sealer rather than standard varnish, which traps moisture and yellows. The common mistake is choosing a dark colour for the first attempt; start with warm white or stone, where patchiness looks intentional and calm. A litre of limewash covers roughly 6 square metres, so one feature wall usually needs two tins at about 45 pounds each.
6. Paint Panels, Wall and Skirting the Same Colour for a Built-In Look
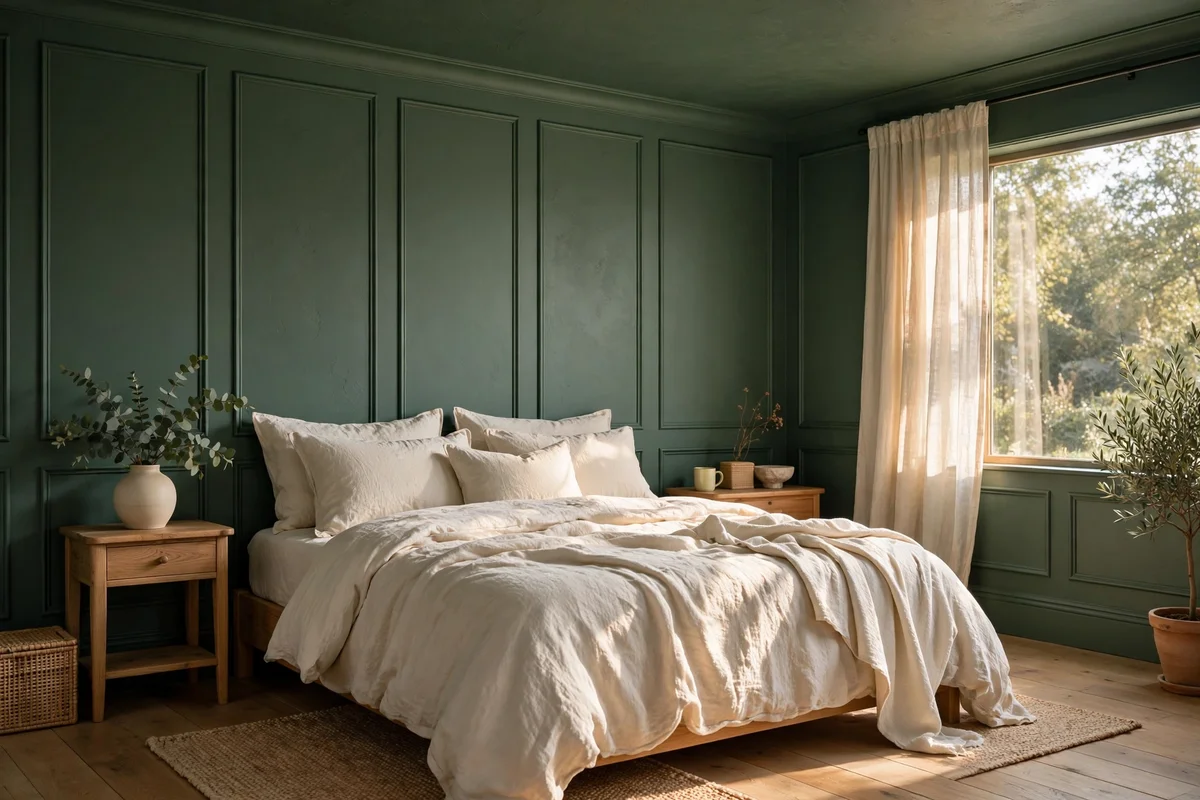
Colour drenching hides the joins between moulding and plaster, which is exactly how joinery looks in heritage homes. Choose one warm neutral or soft colour and carry it across battens, wall, skirting, ceiling and even the radiator; eggshell on woodwork and matt emulsion on walls keeps the sheen calm and even. Two coats of each with a light 220 grit sand between coats gives the furniture-grade surface that sells the built-in illusion.
Test the colour on one batten first, because a single tone on every surface reads darker than the same swatch on a white wall. The mistake is leaving the ceiling white; the pale strip breaks the enveloping effect and makes the panels look applied rather than structural. A colour-drenched wall needs about 5 litres of wall paint and 2.5 litres of eggshell, usually 60 to 90 pounds in mid-range brands.
7. Assemble the Essential Tool Kit Before the First Cut
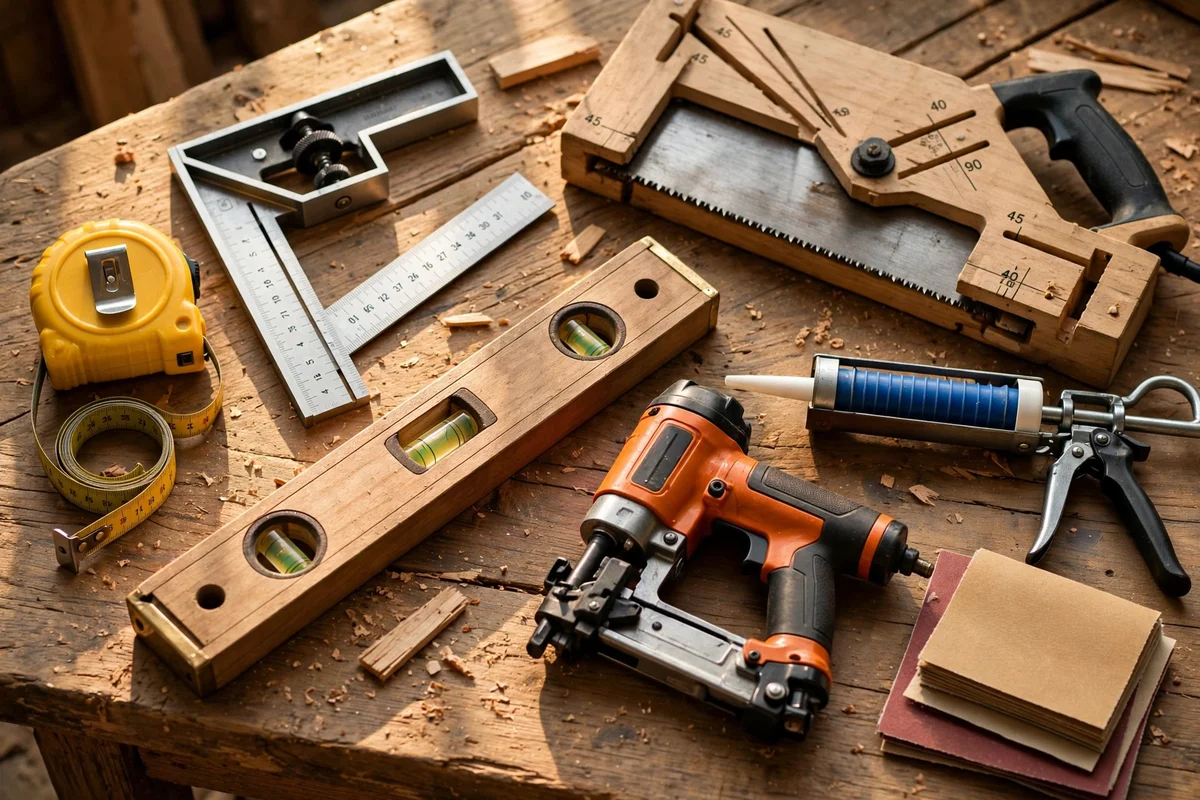
Every panelling project starts with the same core kit: a tape measure, a combination square, a spirit level at least 60 cm long, a sharp pencil, a mitre saw, a brad nailer or hammer, a caulking gun and 120 grit sandpaper. Add a stud finder and a multitool with a plunge blade for cutting around sockets and pipes. Buying the kit once costs about 120 to 180 pounds if you already own the saw, and hiring a brad nailer for a weekend costs around 30 pounds.
Keep a small tub of wood filler, decorators caulk and touch-up paint on the bench, because filling nail holes and sealing edges is what separates amateur work from professional joinery. The mistake is starting cuts with a dull blade; a fresh 60-tooth blade on the mitre saw halves tear-out on MDF edges. Safety gear is non-negotiable: dust mask, goggles and ear defenders for every cutting session.
8. Choose Construction Adhesive or Brad Nails for Each Panel Material
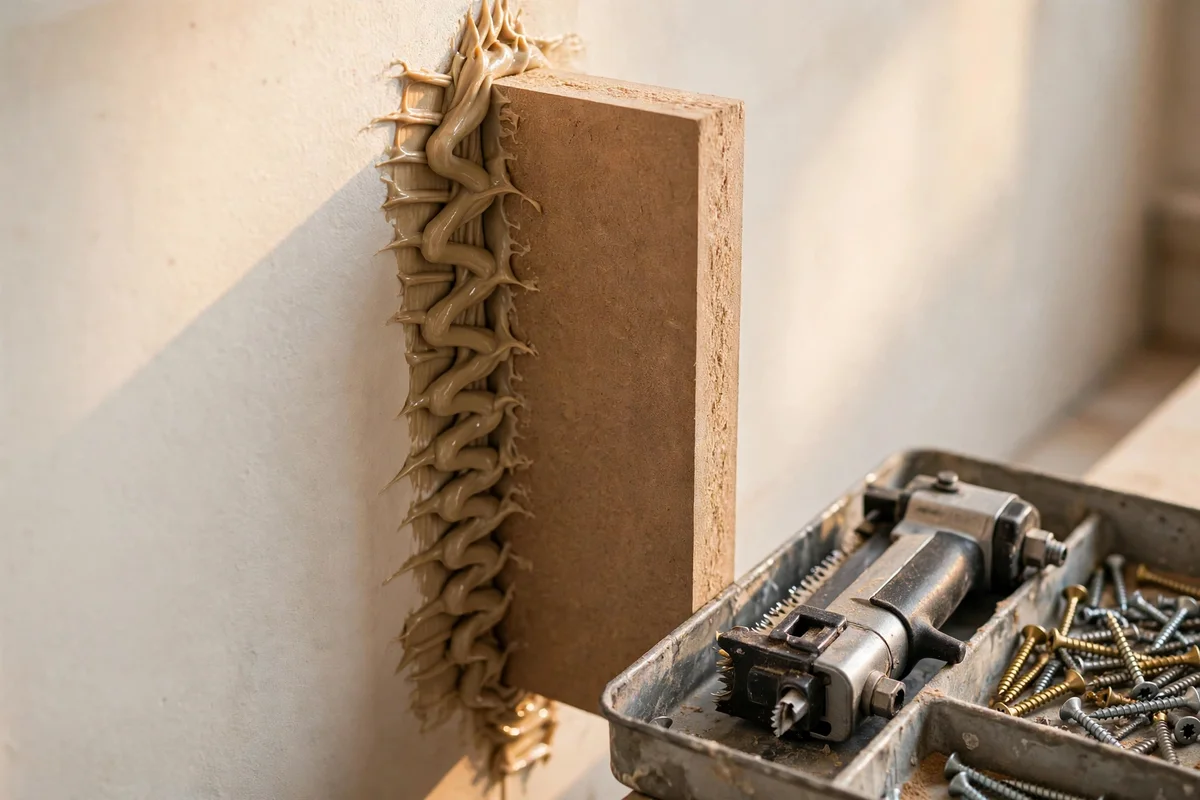
Lightweight MDF battens under 9 mm thick bond well with a single zigzag of construction adhesive on sound, primed plaster; press each piece for 60 seconds and support long lengths with painter’s tape overnight. Hardwood slats, oak panels and anything over 15 mm thick need 18 gauge brad nails into studs or solid masonry plugs every 30 cm. Beadboard sheets sit happiest with both: adhesive across the back plus brads along the top and bottom edges.
Never rely on adhesive alone over wallpaper or flaking paint; strip the paper and prime the wall first or the whole panel can peel away in a season. The mistake is nailing into plasterboard with no stud behind it; use proper hollow-wall anchors or locate studs with a finder, spacing fixings every 40 cm. One 310 ml tube of adhesive covers about 4 linear metres of batten, so a typical wall needs two tubes at roughly 6 pounds each.
9. Isolate Power and Mark Safe Zones Before Cutting Around Sockets
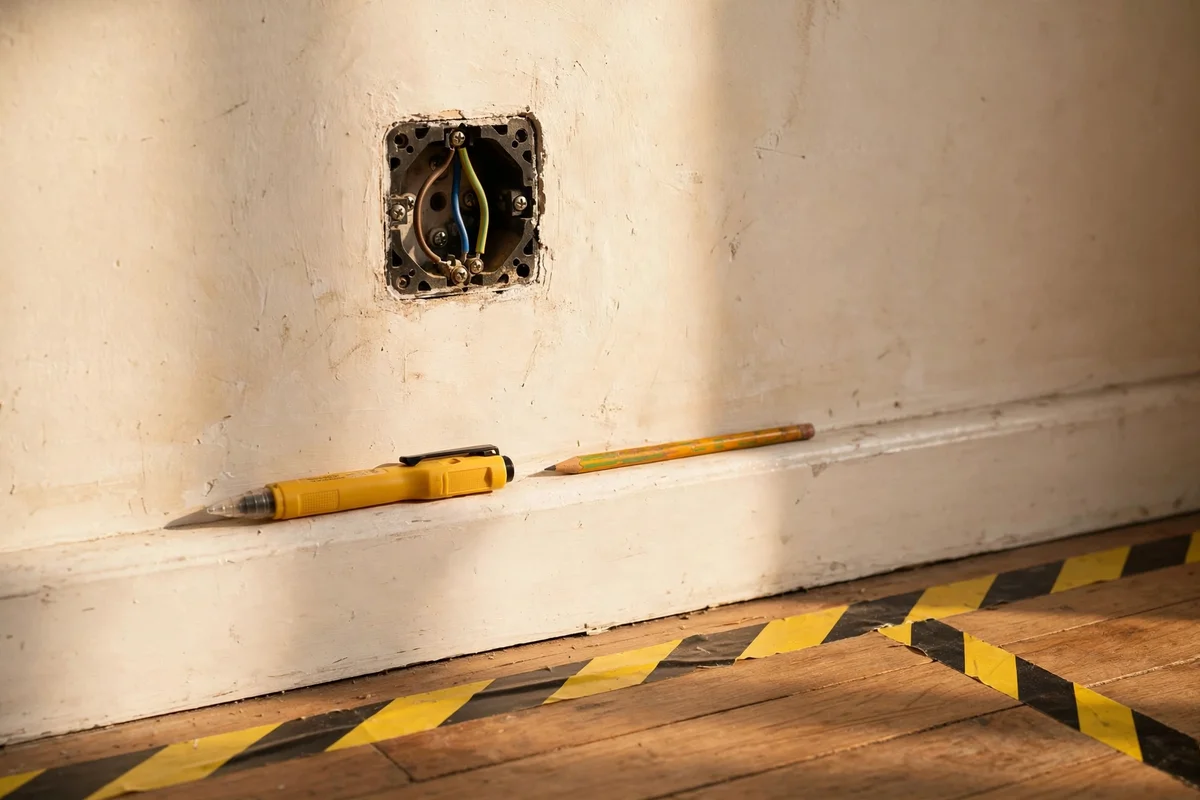
Switch off the circuit at the consumer unit and confirm dead with a voltage tester before cutting anywhere near a socket or switch. Remove the socket faceplate and note the cable routes, which usually run vertically above and horizontally below each outlet; mark a 15 cm exclusion zone around every box. If cables sit closer than planned, stop and call a qualified electrician rather than improvising, since one nicked cable is never worth the risk.
Cut socket openings in battens with a jigsaw or multitool, leaving a 3 mm expansion gap that the refitted faceplate will hide. The mistake is refitting the faceplate over unfinished timber; seal the cut edges with primer first so moisture never swells the panel. After refitting, restore power and test every socket before declaring the wall finished, and keep the electrician’s number saved for any future rewiring behind panels.
10. Budget Each Wall at 60 to 120 Pounds With a Per-Wall Spending Plan
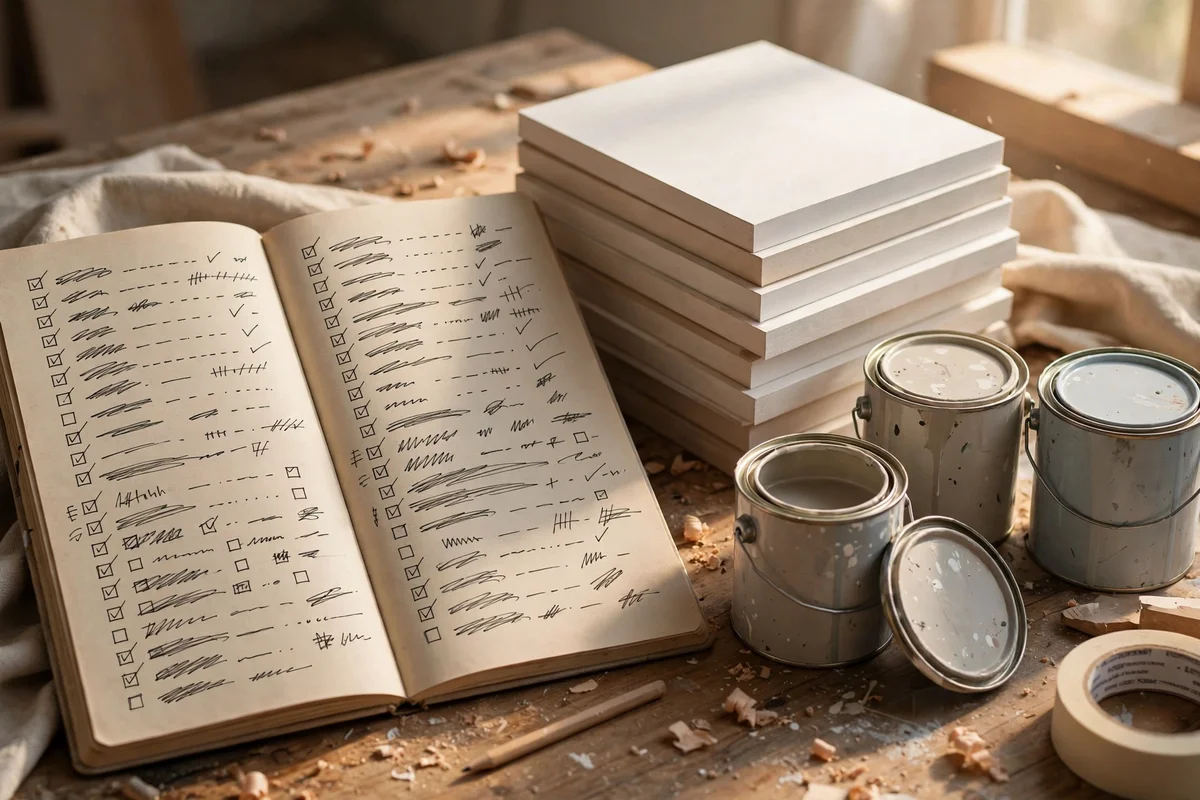
A realistic per-wall budget splits into materials, fixings and finish: primed MDF battens for one 3.5 m wall cost about 45 to 60 pounds, adhesive and brads add 15 pounds, and paint plus filler adds 20 to 30 pounds. Writing the list before shopping stops impulse buys of extra trims that never get fitted. Photograph the receipt totals per wall, since comparing real costs across rooms shows which panel style gives the richest look for the money.
Save money by painting panels with leftover wall paint instead of buying dedicated woodwork tints, and buy battens in contractor packs of ten for roughly 20 percent less. The mistake is budgeting for timber only and discovering fixings, primer and sandpaper add another 40 pounds; always add a 20 percent contingency. Track each wall in a notebook, because three finished walls at 80 pounds each still beat one professionally panelled wall at 600 pounds.
11. Run Full-Height Vertical Battens to Make Low Ceilings Feel Taller
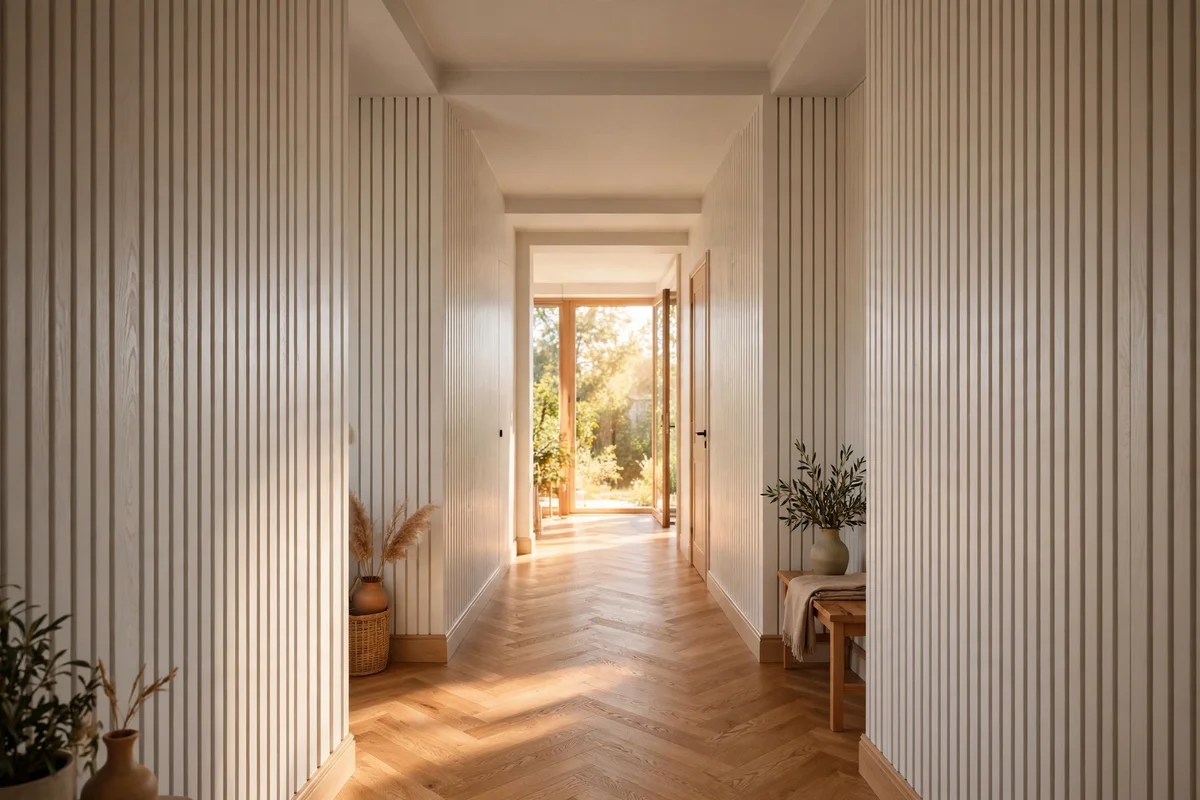
Vertical battens from skirting to ceiling draw the eye upward and can make a 240 cm ceiling feel closer to 270 cm. Space slim 60 mm battens every 30 to 40 cm across the wall, keeping gaps tight so the eye reads one tall rhythm rather than separate stripes. Paint the wall behind in the same colour first, so any shadow gaps disappear and the battens look carved from the wall itself.
Finish batten tops with a slim 40 mm cornice strip so the eye meets a clean line at the ceiling instead of raw ends. The mistake is stopping battens 20 cm below the ceiling; the gap reads as a design error and flattens the height gain. One wall of full-height battens uses about 12 lengths of 2.4 m batten and costs 55 to 85 pounds finished.
12. Build a Shaker-Style Accent Wall With Flat-Stock Frames
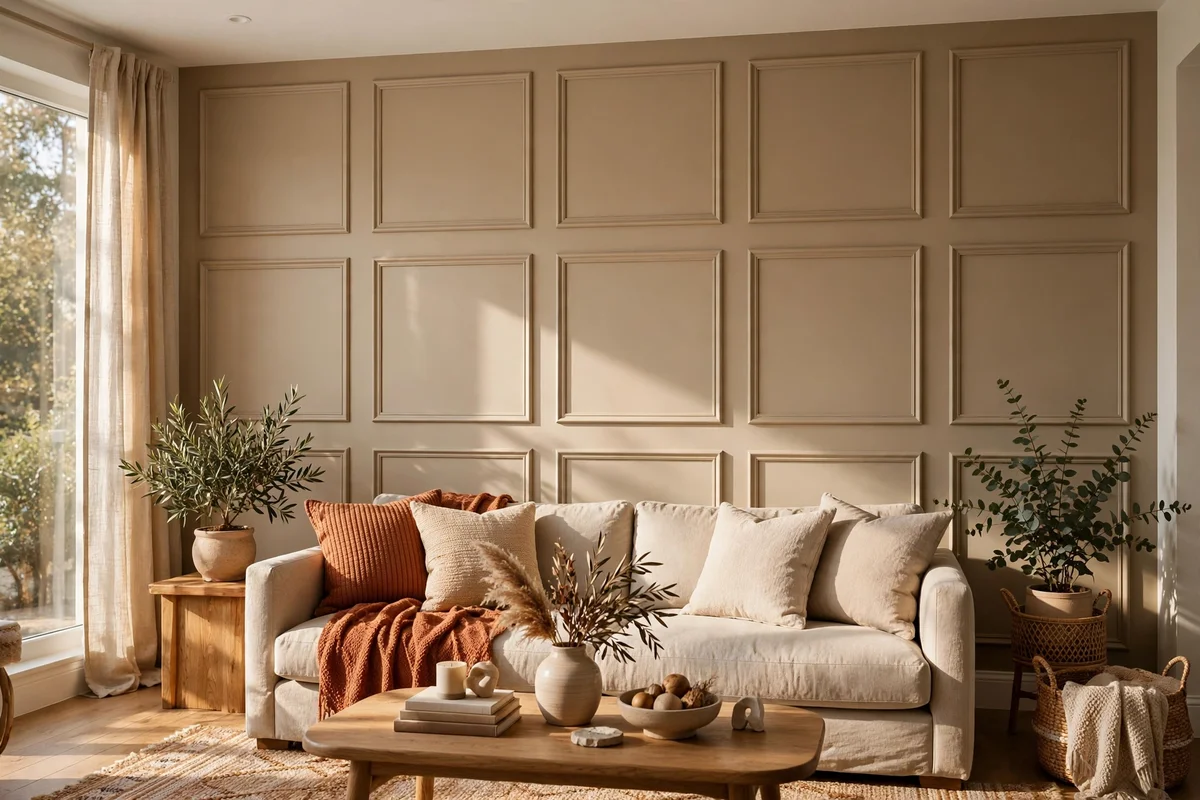
Shaker-style frames use flat 90 mm wide boards rather than raised moulding, giving a calm craftsman look that suits modern and heritage rooms alike. Build each rectangle by butting four boards together with wood glue and brads, then fix the frame to the wall as one unit; a 240 cm wall holds three frames of 70 cm wide each with 15 cm stiles between. Sand every edge to 180 grit before priming so the paint lies perfectly flat.
Prime the backs of frames before fixing, because unsealed MDF swells if a damp wall breathes behind it. The mistake is building frames directly on a wall that bows; check flatness with a 2 m straightedge and pack low spots with thin shims first. Three frames need about six 2.4 m boards at 4 pounds each, keeping the whole accent wall under 60 pounds.
13. Frame the Headboard Wall With Double-Picture Moulding Rectangles
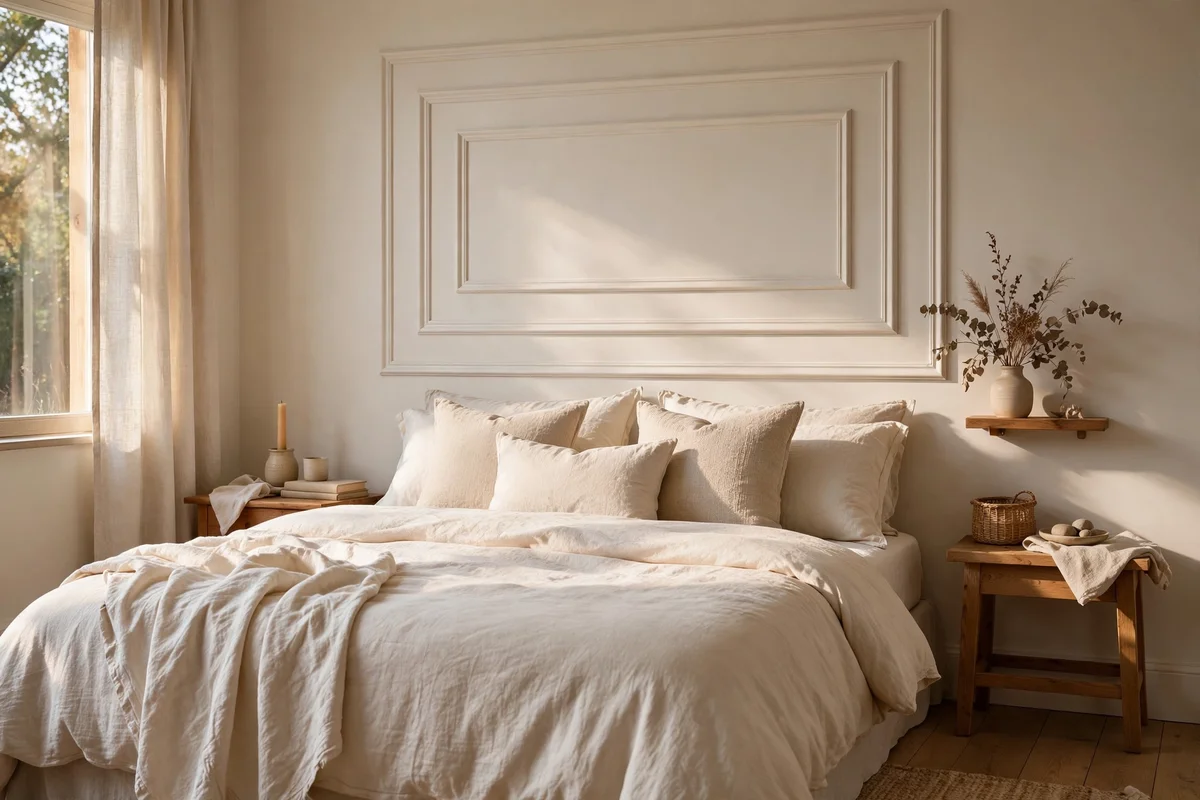
Two nested rectangles of picture moulding behind the bed create a framed canvas that costs a fraction of upholstered panels. Keep the outer rectangle 20 cm wider than the bed on each side and the inner one 10 cm inside it, both centred on the bed’s middle; a 160 cm double bed suits an outer frame of 220 by 150 cm. Mount a small shelf or a slim picture ledge across the bottom of the inner frame for a vase of dried stems.
Paint the rectangles in a colour two tones deeper than the wall so the headboard zone feels intentional without shouting. The mistake is hanging frames off-centre to the room rather than the bed; the bed is the anchor, so centre everything on its middle. Two rectangles of moulding plus paint and fixings usually total 50 to 75 pounds, and the whole project fits into one weekend afternoon.
14. Add a Dado Rail and Lower Beadboard to a Narrow Hallway
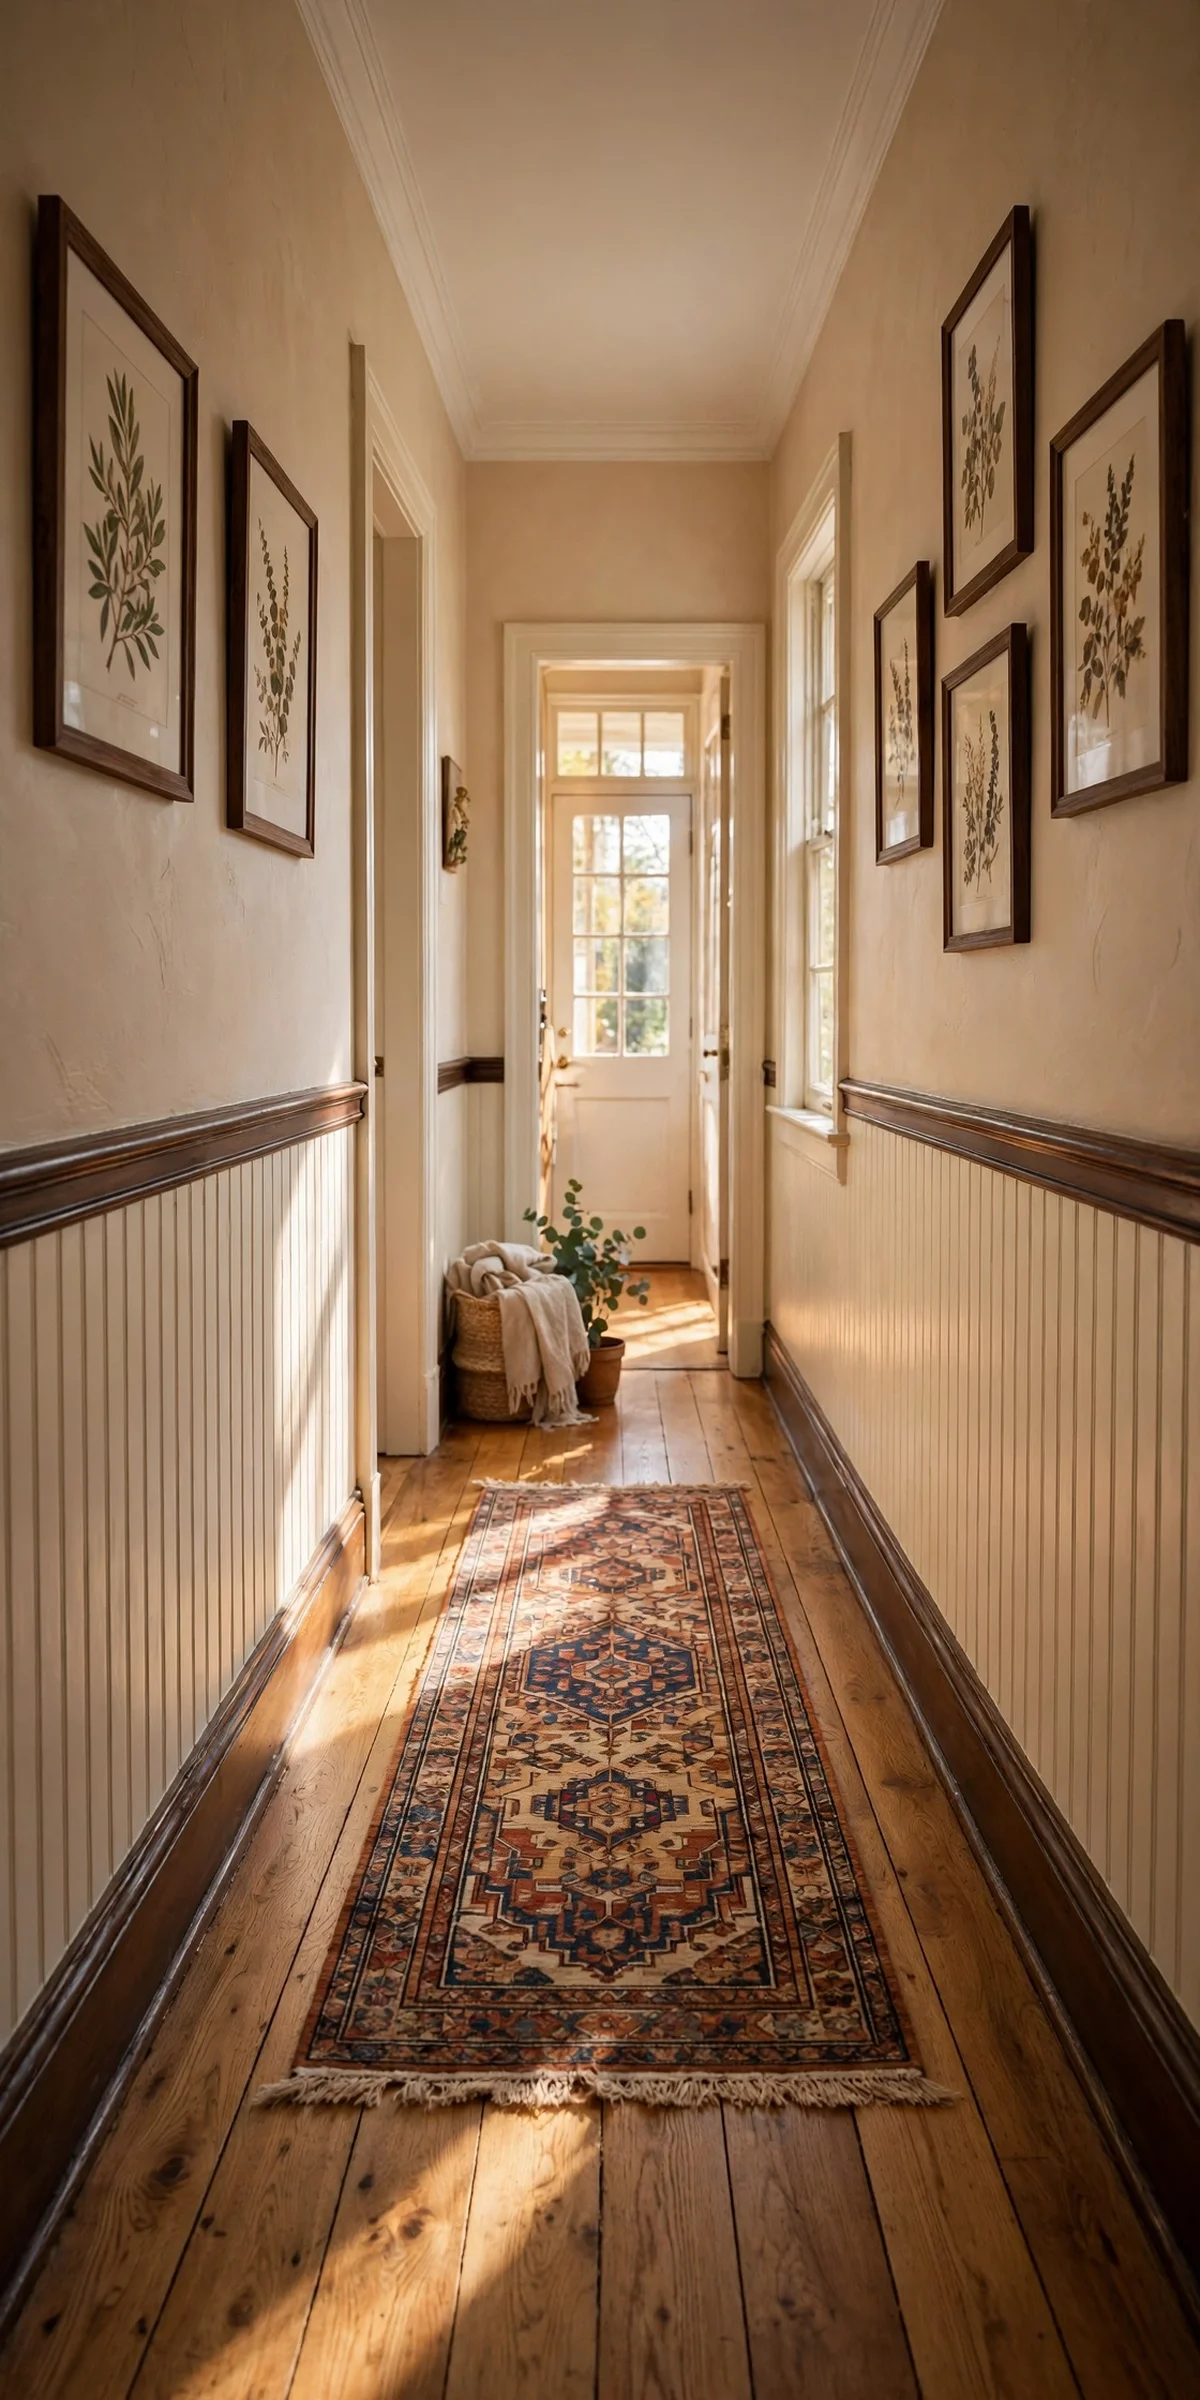
A dado rail at 90 cm with beadboard below shortens the visual length of a long narrow hallway and protects the lower wall from scuffs. Run one continuous rail the full length, mitring corners where walls meet, and butt beadboard sheets tightly underneath with the tongues facing the light so joints stay invisible. Paint the lower section in washable satin and keep the upper wall in a pale matt for contrast.
Leave a 5 mm shadow gap between the beadboard top and the dado rail rather than butting them hard, because timber shrinks and the gap prevents a cracked paint line. The mistake is fixing the rail at different heights on each wall; measure from the finished floor with a laser level, not by eye. A 4 m hallway in beadboard and one rail typically costs 90 to 130 pounds finished.
15. Trowel Textured Plaster Effect Over Smooth MDF Panels
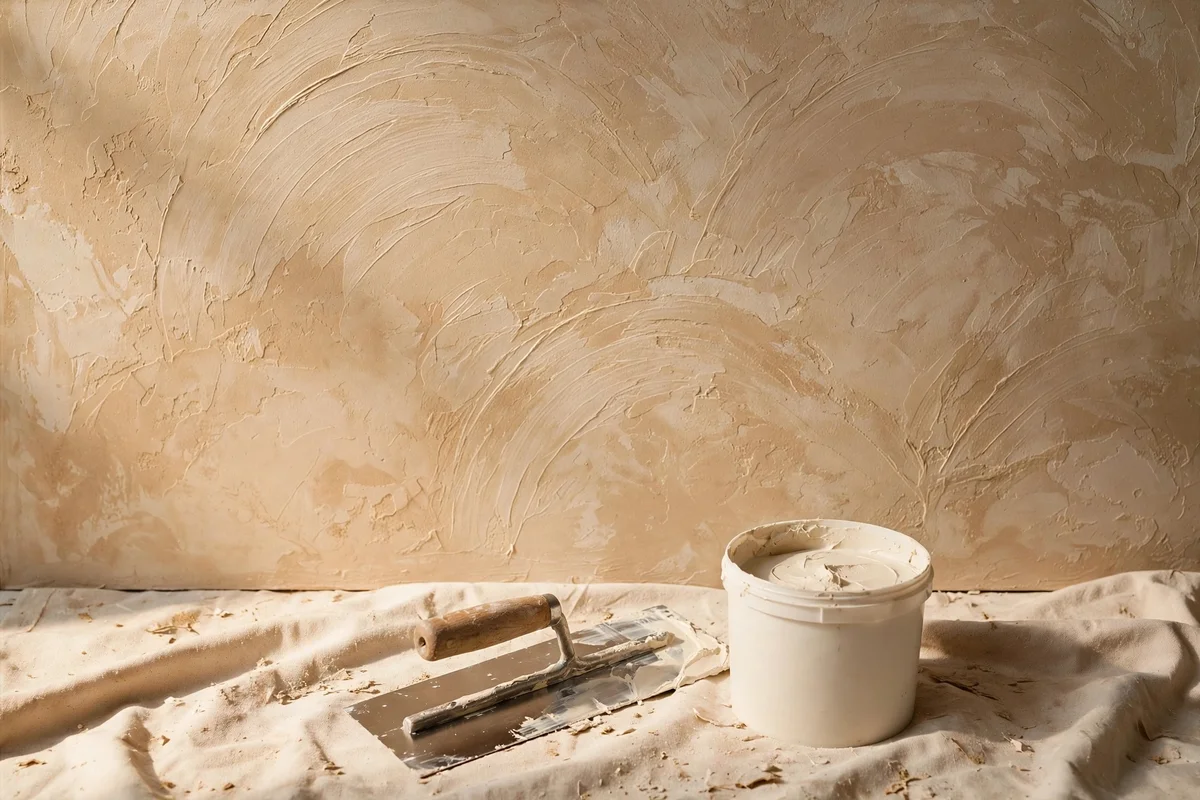
A 2 mm skim of ready-mixed joint compound troweled in arcs over primed MDF gives a hand-plastered texture that paint alone cannot fake. Work in 60 cm square sections, overlapping arcs while the compound stays wet, and knock the peaks back lightly with a damp trowel after 20 minutes. One 5 kg tub covers about 4 square metres at this thickness, so a single wall usually needs two tubs at 12 pounds each.
Let the texture cure for a full 48 hours before priming, because sealing wet compound traps moisture and causes bubbles. The mistake is troweling over unprimed MDF; the board drinks the water from the compound and the skim cracks as it dries. Finish with two coats of matt emulsion in a warm plaster tone, keeping the whole project to roughly 50 to 70 pounds per wall.
16. Colour Drench a Home Office in Deep Green Panels for Focus
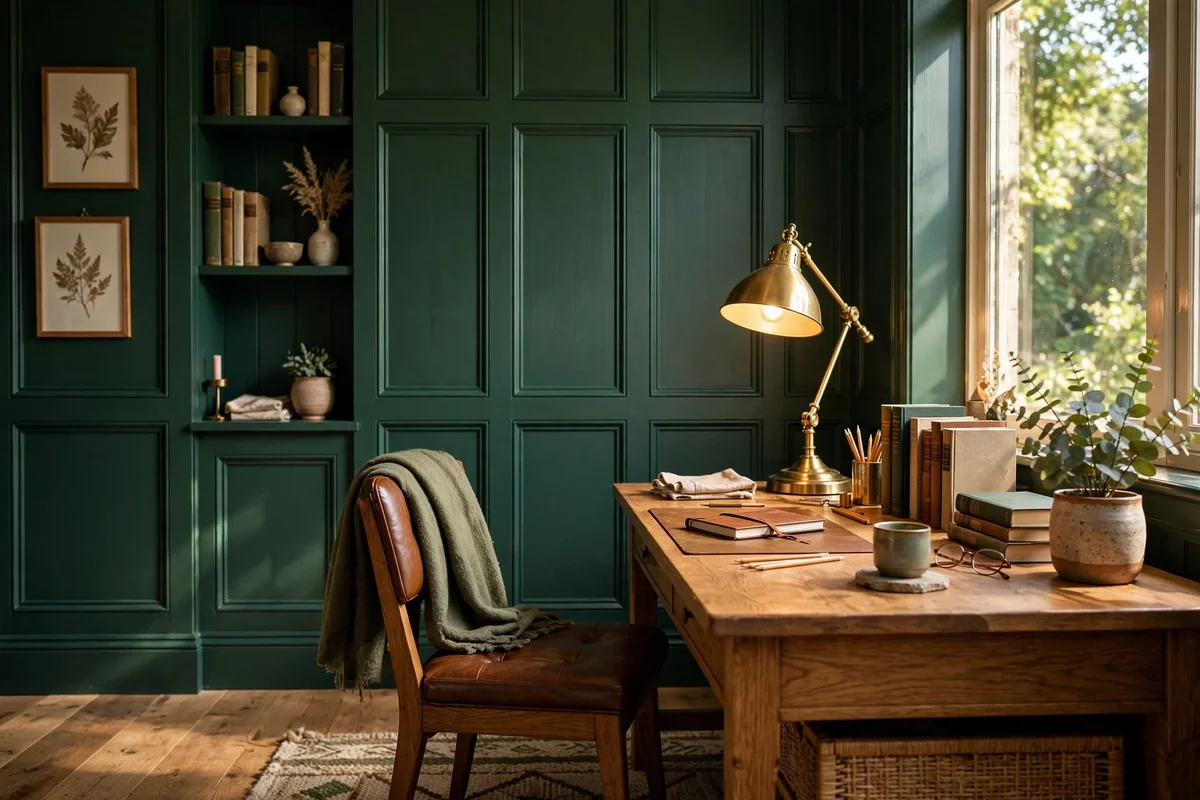
Deep green panelling around a desk creates a calm, enclosed feeling that helps concentration during long workdays. Panel the wall behind the desk and carry the same green across the skirting, door architrave and one adjacent wall; a desaturated forest tone keeps the room serene rather than dark. Position the desk 10 cm off the panelled wall so cables drop neatly behind it and the panels stay scuff-free.
Use a matt finish on the wall panels and a matching eggshell on woodwork so both read as one surface under desk lighting. The mistake is panelling every wall in a small office; leave the wall with the window plain so daylight keeps the room balanced. A 2.5 m desk wall in board and batten, fully colour drenched, usually costs 70 to 100 pounds.
17. Run Beadboard Up a Staircase Wall With Angled Bottom Rails
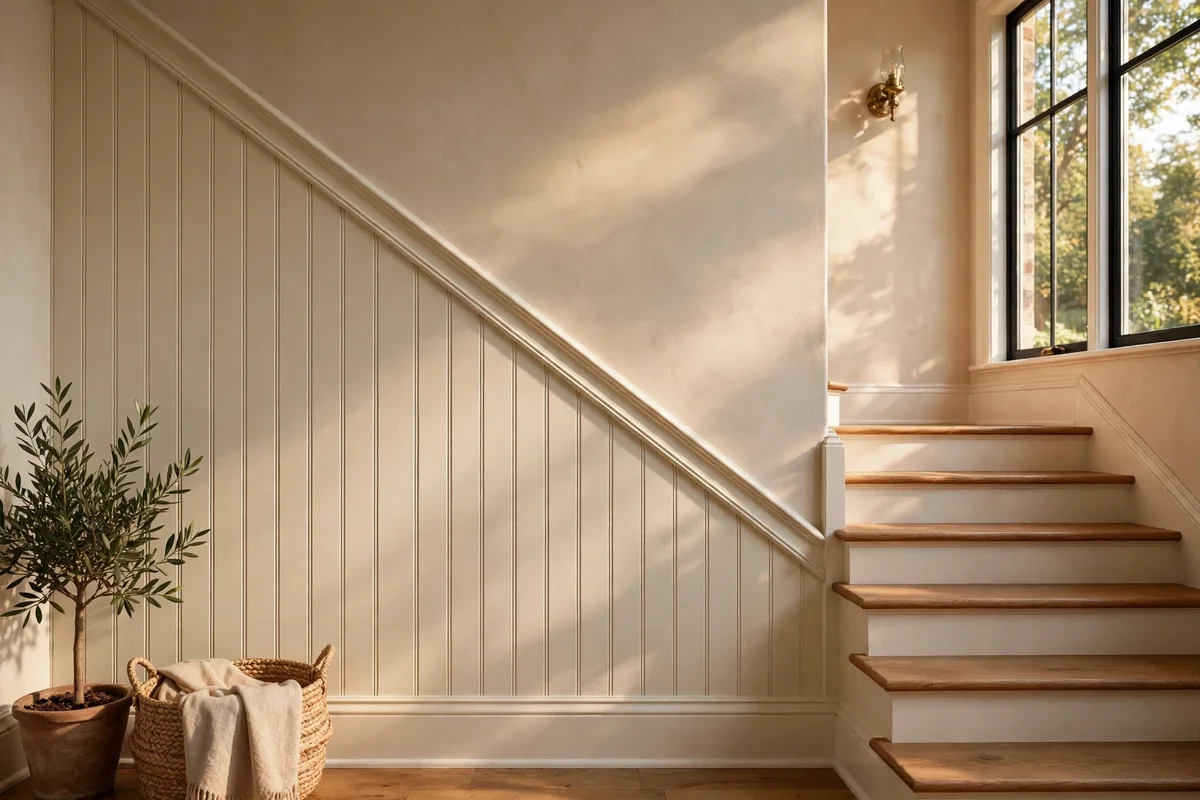
Staircase walls need beadboard cut to follow the stair angle, usually between 30 and 38 degrees, measured with a digital angle finder at the stringer. Cut the bottom rail to the same angle and let the beadboard tongues drop into it, so the panel tops step down cleanly with each tread. Mark each board’s length on the wall with a pencil before cutting, because no two staircases keep a perfectly constant angle.
Fix a chair rail along the top of the staircase beadboard to cap the angled cuts, mitring the ends where it meets the landing. The mistake is cutting every board to the first measured angle; recheck the angle every metre, since stringers often drift by a degree or two. A straight 4 m staircase run typically costs 100 to 140 pounds in beadboard, rails and paint.
18. Fix Lightweight Foam Panels With Adhesive for Renter-Friendly Rooms
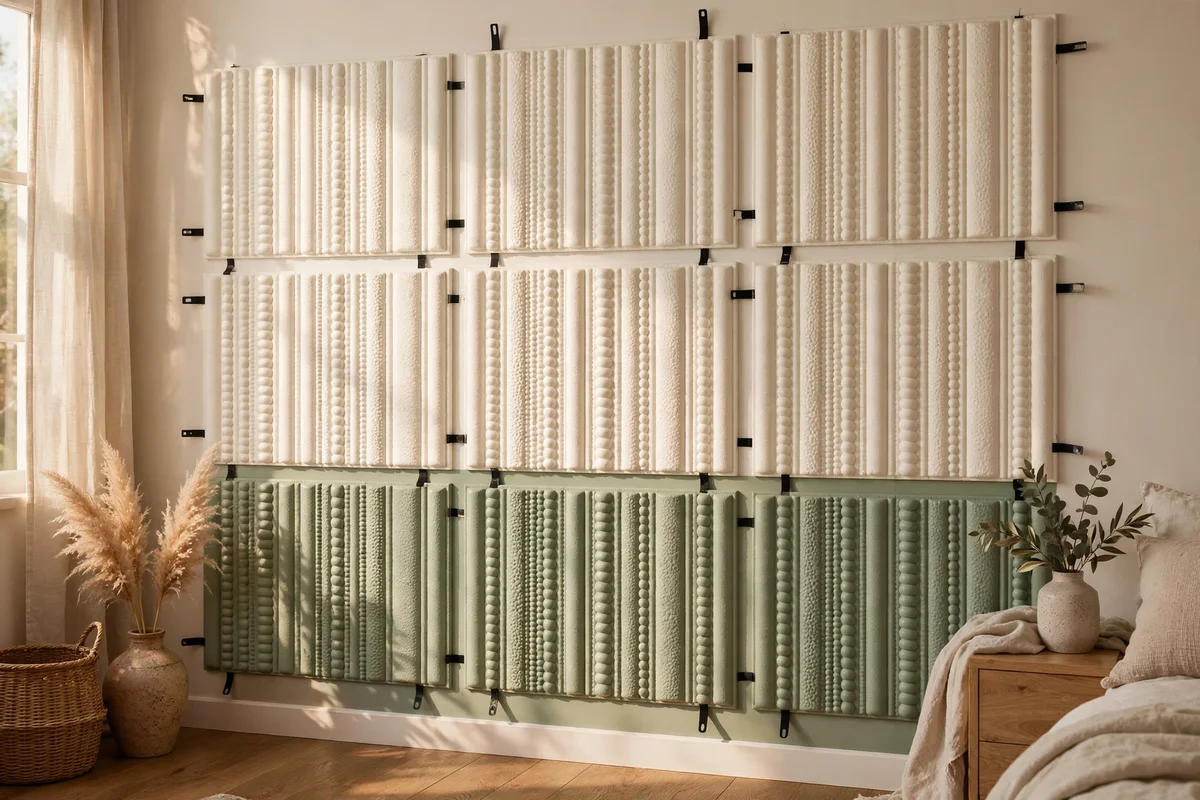
High-density foam panels weighing under 500 g each fix with removable mounting strips, so renters get panelled walls with no holes at all. Choose panels 50 by 50 cm with moulded beading patterns, press them onto clean painted walls, and line the grid with a spirit level so seams stay invisible. The panels accept water-based paint, which means one wall can change colour with every tenancy without replacing anything.
Test one mounting strip behind furniture first, because some paints peel when strips come off; a hairdryer on low heat softens the adhesive for clean removal. The mistake is hanging foam panels in a steamy bathroom, where humidity loosens the strips within weeks. Twenty panels cover a 2.5 m square wall at about 3 pounds each, so a full renter-friendly feature wall costs roughly 70 pounds.
19. Cap a Panelled Wall With a Picture Ledge for Seasonal Styling
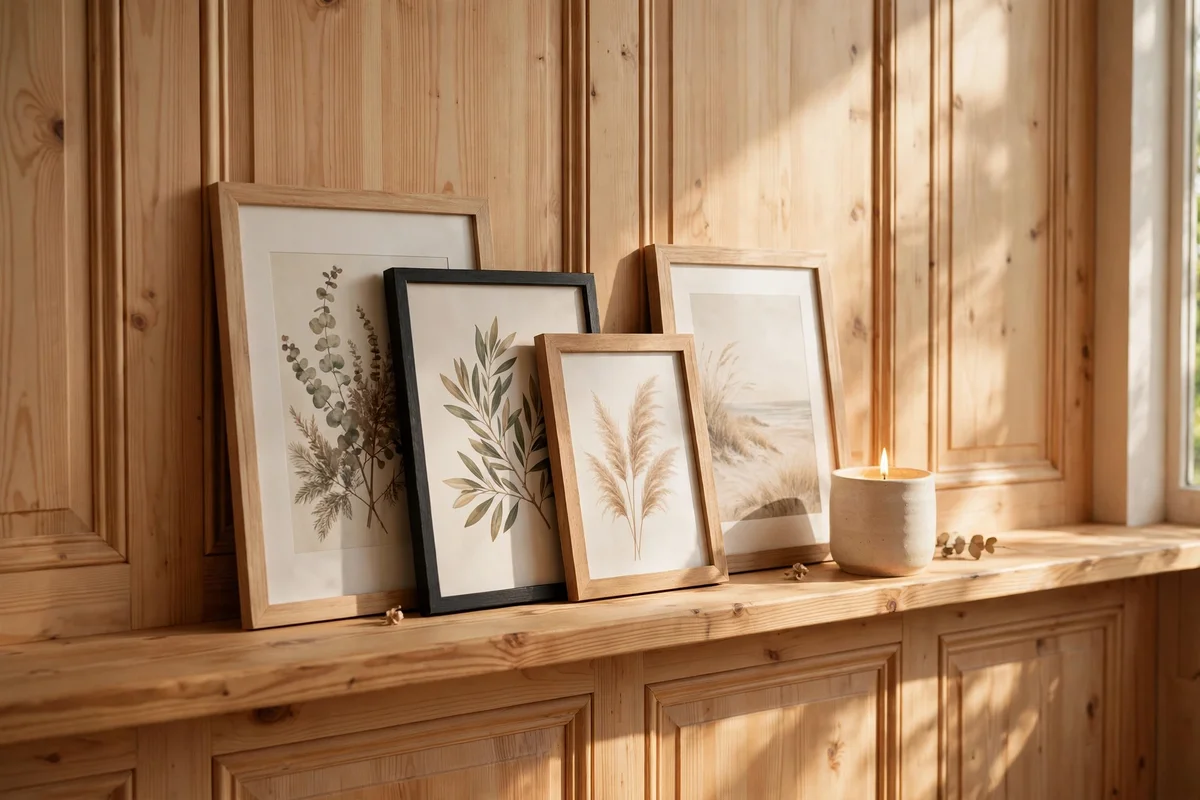
A 10 cm deep picture ledge fixed along the top of panelling turns the wall into a rotating gallery for small framed prints and seasonal branches. Fix the ledge through the battens into studs with 60 mm screws every 45 cm, since a loaded ledge can carry several kilograms. Keep the ledge front edge flush with the panel faces so frames lean back at a stable angle instead of sliding forward.
Style the ledge in three layers: tall branches at the back, medium frames in the middle and a small ceramic or candle at the front. The mistake is overloading the ledge until the wall looks like a shelf of clutter; leave 20 cm of breathing space between groupings. A 2 m pine ledge plus brackets and paint costs about 25 to 40 pounds and takes an afternoon to fit.
20. Paint a Herringbone-Look Wall Using Angled Slim Battens
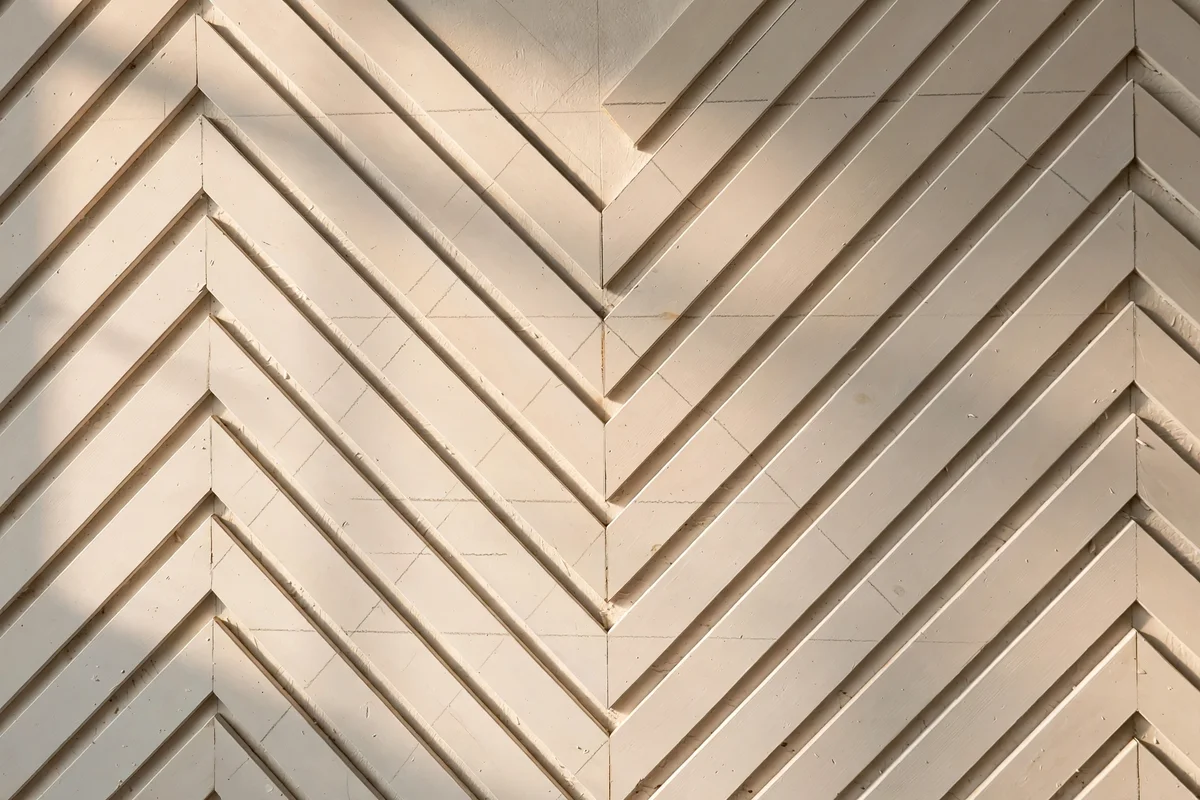
Slim 40 mm battens set at 45 degrees in alternating directions fake an expensive herringbone panel without a single piece of parquet. Draw the full pattern on the wall first with a chalk line and a 45 degree set square, working from a centre spine outward so both halves mirror. Cut each batten with the mitre saw at 45 degrees and number the back of every piece, because the pieces look identical once cut.
Glue every batten with adhesive and pin with brads, since angled pieces are harder to clamp than vertical ones. The mistake is starting at the wall edge; always begin at the centre spine and work outward, or the pattern will drift by centimetres at the far end. A 3 m herringbone wall uses about 30 battens and costs 60 to 90 pounds, roughly half the price of real timber herringbone panels.
21. Panel the Inside of a Deep Window Recess for Cottage Charm
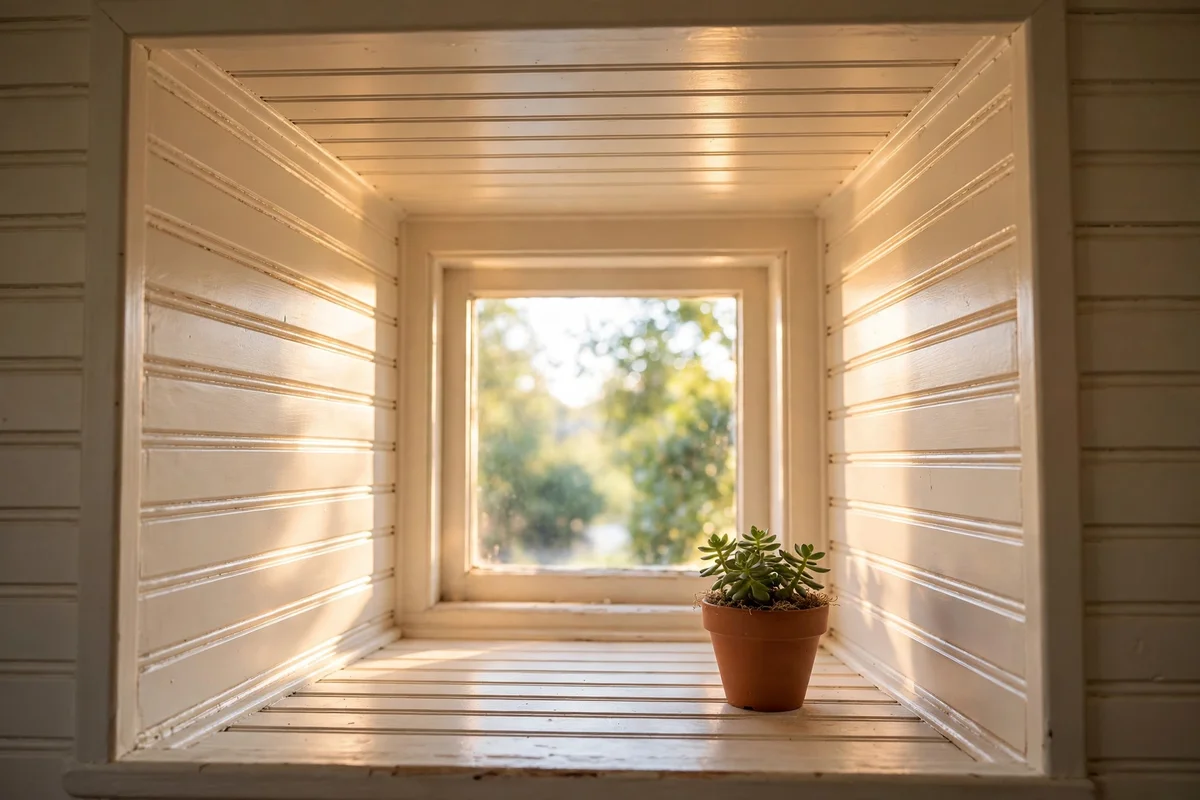
Deep window reveals of 20 cm or more take beadboard or tongue-and-groove lining beautifully, turning a plain opening into a cottage-style feature. Cut boards to the reveal depth minus 5 mm, fix with adhesive, and cap the front edge with a slim architrave that overlaps the wall face by 15 mm. The lining catches daylight along the grooves and makes the whole window feel crafted rather than builder-standard.
Prime all six sides of each board before fitting, because condensation gathers in window reveals and unsealed timber warps fast. The mistake is gluing boards flush against a single-glazed window frame; leave a 10 mm ventilation gap or moisture will stain the lining within a year. One average window recess needs about 2 square metres of boards and costs 25 to 45 pounds finished.
22. Combine Slats and Painted Panels in a Two-Zone Living Room Wall
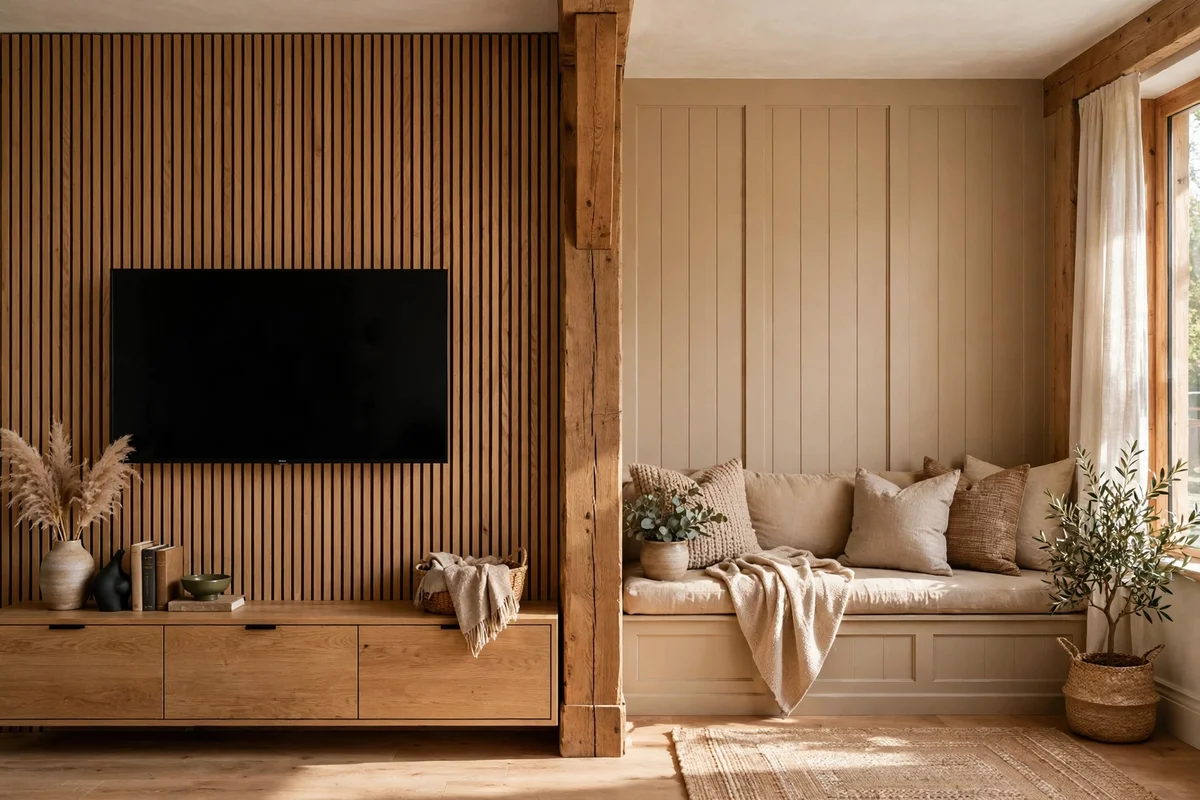
A living room wall reads richer when oak slats cover the television zone while painted board and batten frames the seating end. Split the wall at a natural break, such as a doorway or a change in furniture, and run a full-height timber divider batten down the join so the two textures meet cleanly. Keep both zones in the same tonal family, for example warm oak beside warm greige paint, so the wall feels designed rather than divided.
Mount the television bracket into studs through the slats, not just into the slat timber, because a 10 kg screen needs structural fixing. The mistake is using clashing undertones, like orange oak beside cool grey paint; test samples together in evening light before committing. A 4 m two-zone wall usually costs 200 to 300 pounds, which still undercuts a bespoke joinery quote by thousands.
23. Fit Slat Panels Behind a Reading Corner With a Floating Shelf
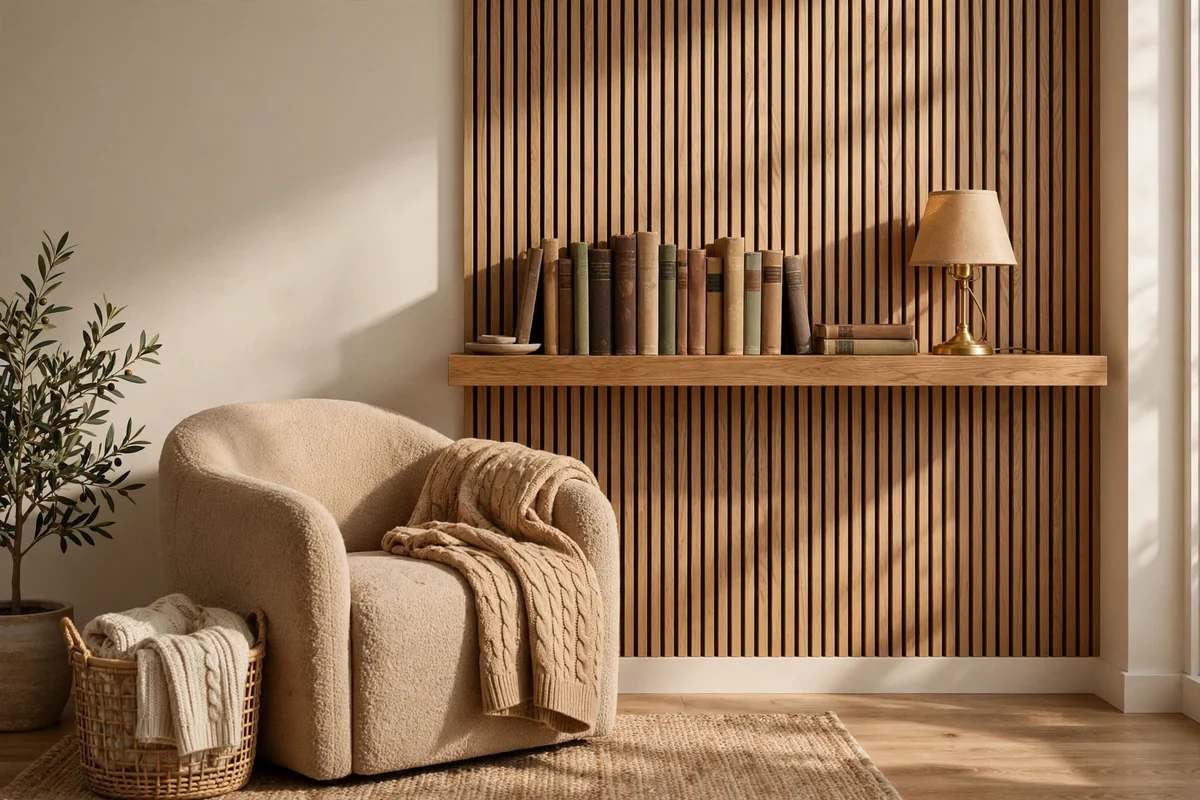
A quiet reading corner gains warmth from a 1.5 m wide slat panel behind the chair, softening sound for long chapters. Mount the slats on felt from skirting to 180 cm, then fix a 25 cm deep floating shelf at 120 cm height for the current book and a small lamp. Keep the shelf brackets hidden inside the slat gaps where possible, or use a concealed steel rod system rated for 15 kg.
Choose a warm white paint for the felt behind so the shadow gaps glow softly instead of looking heavy. The mistake is floating the shelf too high; 110 to 120 cm from the floor keeps books within easy reach of a seated reader. A reading corner panel, felt and shelf usually totals 90 to 140 pounds and transforms an unused alcove into the most loved seat in the house.
24. Seal and Maintain Panelled Walls So the Finish Lasts a Decade
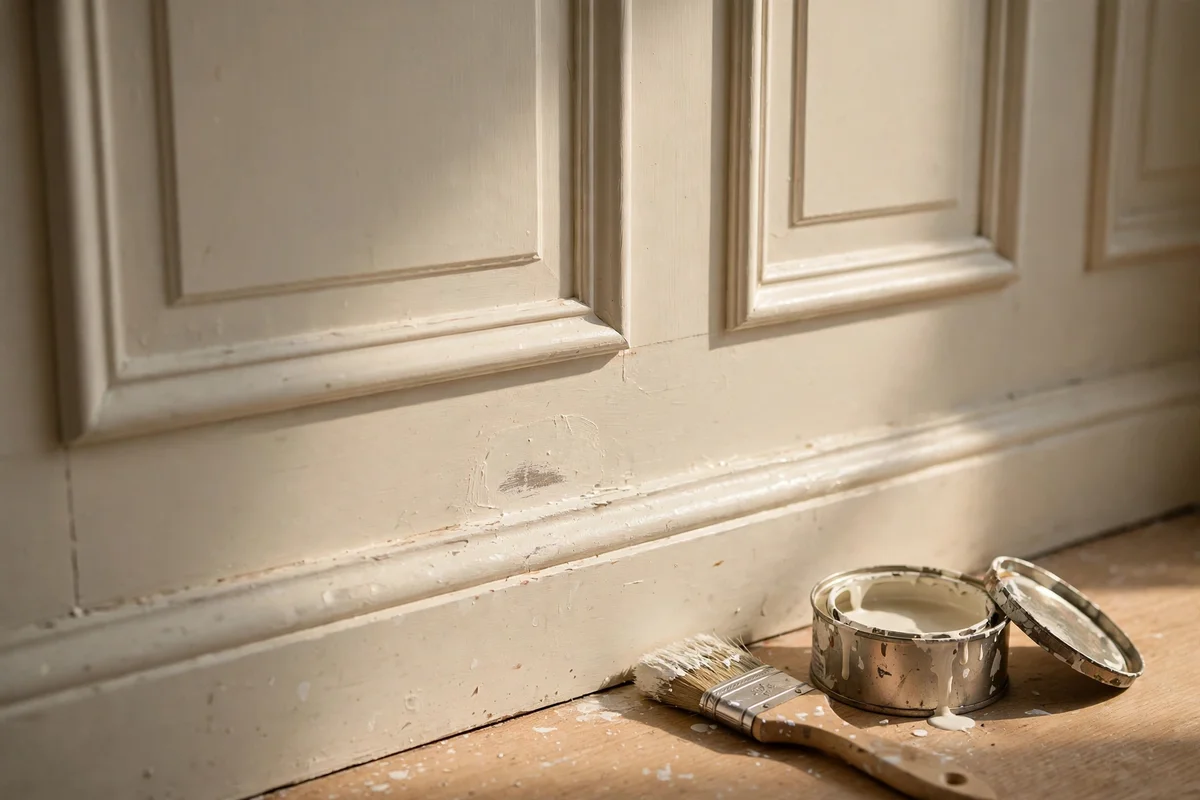
Two coats of quality eggshell or satin over a stain-blocking primer protect panels from knocks, cooking grease and sunlight for ten years or more. Touch up scuffs twice a year with a small artist’s brush kept in the same paint tin, working in the direction of the grain or groove. Keep spare filler and a damp cloth handy after moving furniture, since catching chips early stops them spreading.
Recaulk the joints between panels and skirting every two to three years, because seasonal movement opens hairline cracks that collect dust. The mistake is scrubbing panels with harsh cleaners; a soft cloth with diluted washing-up liquid lifts marks without dulling the sheen. Annual maintenance costs almost nothing, yet it is the difference between panelling that looks tired in three years and panelling that still looks crafted in ten.
Panelled walls earn their charm slowly, through straight lines, honest timber and paint that is touched up before it ever looks tired. The ideas above all share one belief: a room feels expensive when every joint is planned, every batten is measured twice and the finish is maintained year after year. Start with the wall you see first each morning, because living with one finished panelled wall teaches more than reading about twenty.
This week, choose one small wall, a hallway side or the alcove beside the fireplace, and plan its spacing on paper with the thirds rule. Buy the battens, borrow or hire the saw, and cut the first length on Saturday morning; by Sunday evening the paint will be drying on joinery that looks far dearer than it cost. That single finished wall will quietly persuade you to panel the next one.
Frequently Asked Questions
How much does it cost to panel one wall myself?
Most walls cost 60 to 140 pounds finished, depending on the style. Simple board and batten with primed MDF runs cheapest, while oak slats over acoustic felt sit at the top end. Always add fixings, primer, paint and a 20 percent contingency to the timber price, since those extras often surprise first-time panellers.
Should I use adhesive or nails for wall panelling?
Use construction adhesive for lightweight MDF battens on sound plaster, brad nails into studs for hardwood and heavy panels, and both for beadboard sheets. Never glue over wallpaper or flaking paint, and never nail into plasterboard without a stud or proper anchor behind it. Two 310 ml tubes of adhesive usually cover one average wall.
How do I cut panels safely around plug sockets?
Switch off the circuit at the consumer unit and confirm it is dead with a voltage tester. Remove the faceplate, mark a 15 cm exclusion zone around the box, and cut the opening with a jigsaw or multitool, leaving a 3 mm gap the faceplate will hide. If cables run closer than expected, stop and call a qualified electrician.
What spacing looks best for board and batten?
Divide the wall width minus one batten width by your chosen number of boxes, keeping battens 60 to 90 cm apart for classic proportions. Set the top rail at 150 to 180 cm in standard rooms, or run battens full height to the ceiling to make low rooms feel taller. Always dry-lay every piece with tape before fixing anything.
Can renters install wall panelling without damaging the walls?
Yes. High-density foam panels fix with removable mounting strips and peel off cleanly with gentle heat, covering a 2.5 m wall for about 70 pounds. Lightweight MDF can also go up with removable strips if the paint beneath is sound. Avoid steamy bathrooms, where humidity loosens adhesive strips within weeks.