Living Room
24 Electric Fireplace Ideas That Bring Real Warmth Without a Chimney
By Anna Wells · · 24 min read
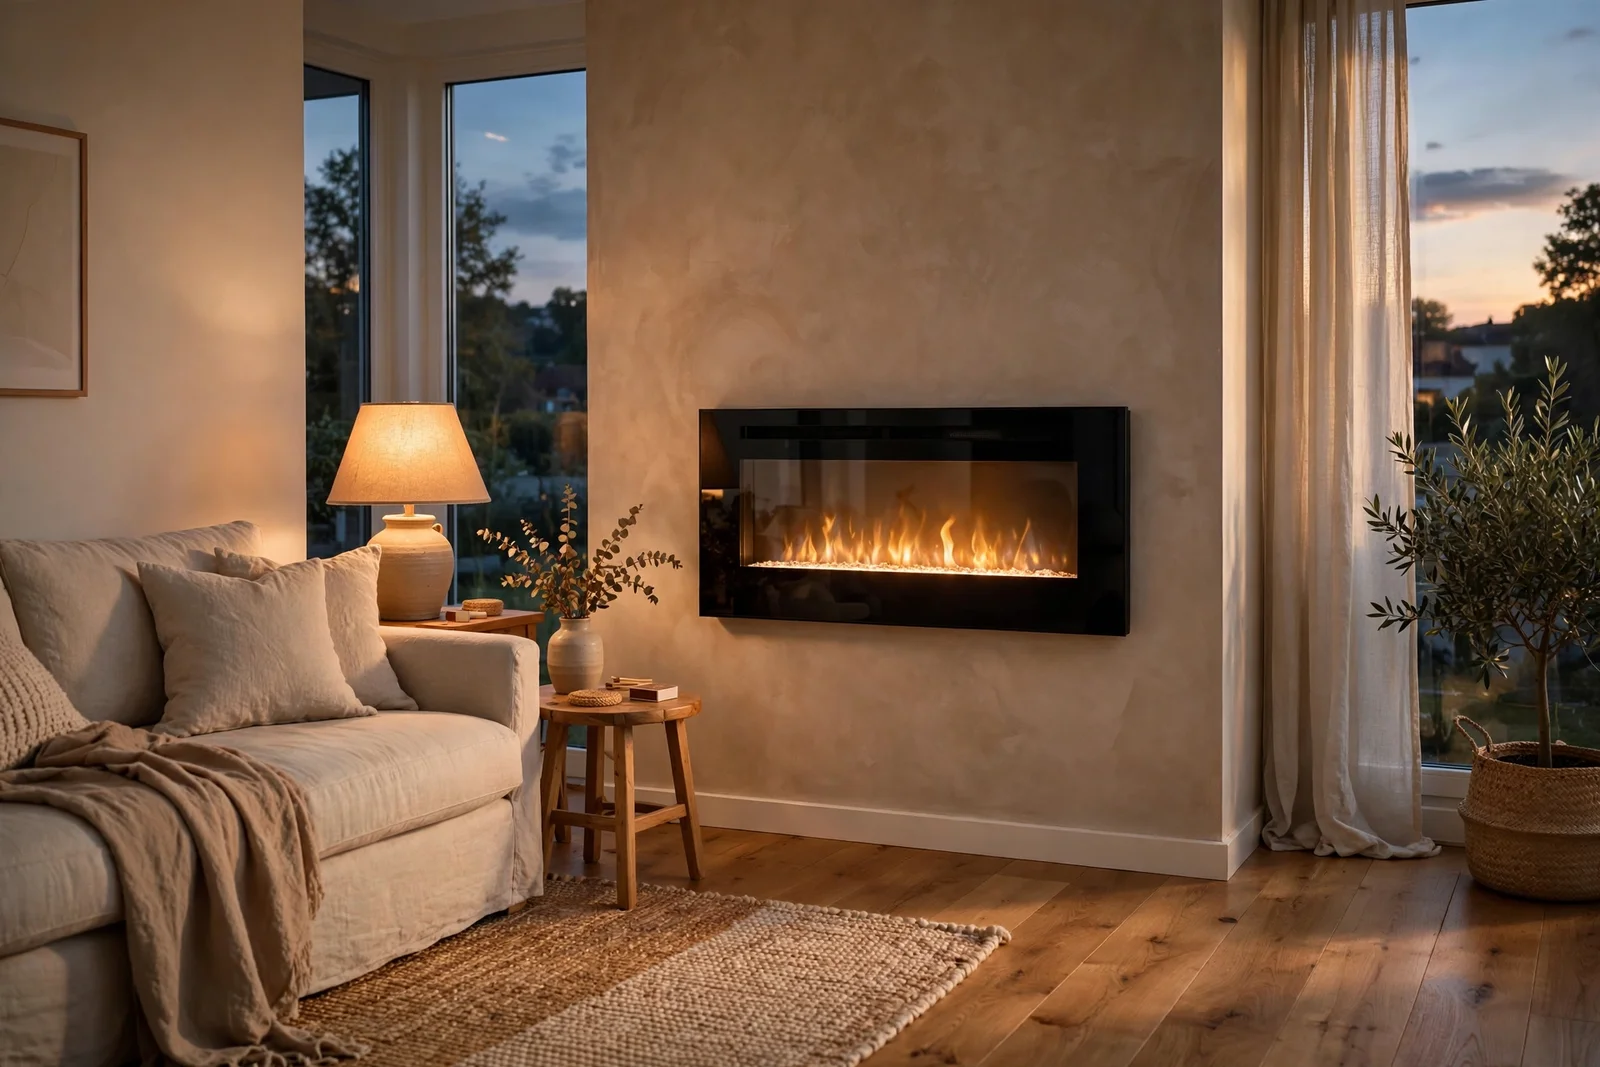
A chimney free living room can still hold the quiet heart of a real hearth. These 24 electric fireplace ideas cover wall hung fires, inserts, stove style units, mantel suites and media walls, with honest guidance on heat, running costs and safety.
There is a particular hush that settles over a room when a fire is lit, even one that runs on electricity. The light moves softly across the wall, the rug looks warmer underfoot, and the sofa becomes the obvious place to sit. A chimney was once the price of that feeling, but a modern electric fireplace brings the same calm to flats, new builds and any home where a flue was never built.
An electric fire asks very little of a room. No chimney sweep, no ash, no logs stacked by the door. It needs a socket, a sensible position and a little styling so it reads as a hearth rather than an appliance. Done well, guests notice the atmosphere first and the technology second, which is exactly the balance to aim for.
The ideas below walk through every common type: slim wall hung units, inset fires for empty fireplace openings, freestanding stove styles, full mantel suites and media wall builds with the television above. Along the way you will find plain numbers on heat output, honest running costs, clearances, cable tidiness and when to call an electrician.
Read the set in order or dip into the ideas that fit your room. Each one names materials, sizes and a mistake to avoid, so you can plan with confidence rather than guesswork.
1. Mount a Slim Wall Hung Fire at Sofa Sightline Height
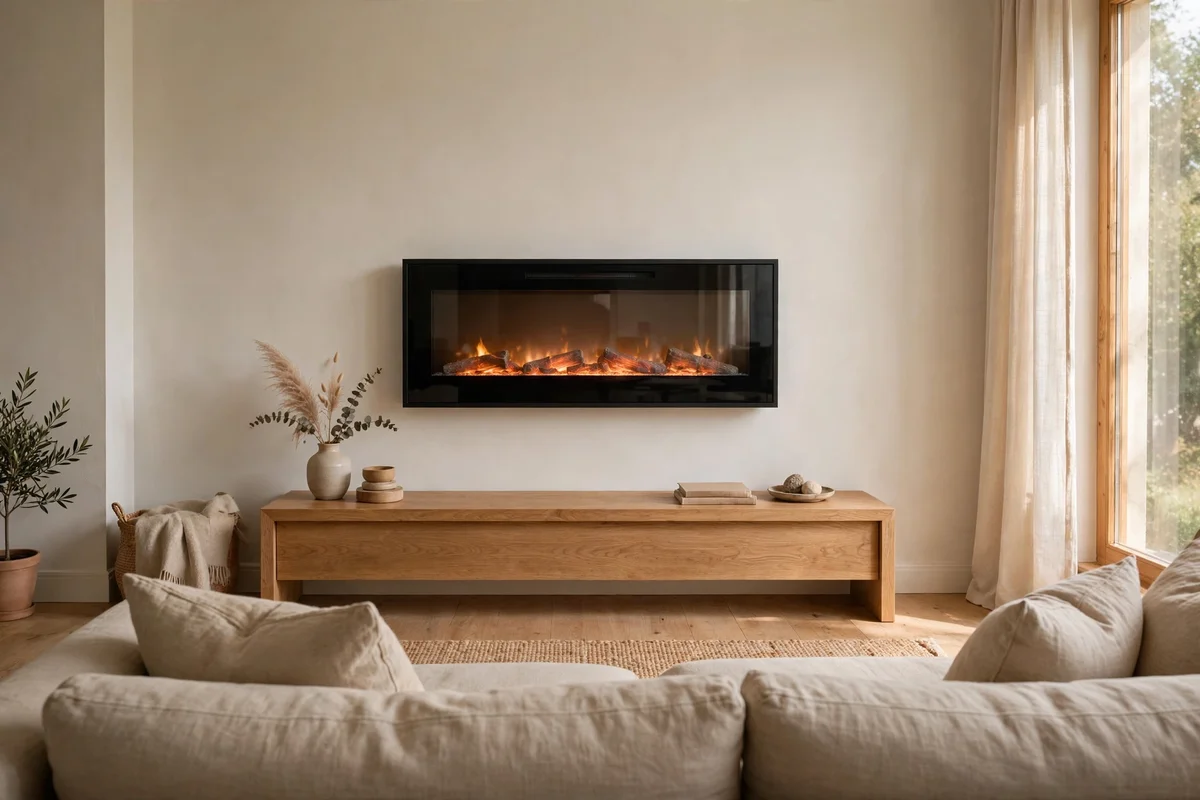
A wall hung electric fire looks most natural when the flame sits at seated eye level, roughly 100 to 120 cm from the floor to the centre of the glass. Measure from your sofa seat, usually about 45 cm high, and aim the flame line 55 to 75 cm above the cushion. Most slim units are 8 to 12 cm deep, so they read like a framed picture on the wall. Fix into timber studs, or use heavy duty plaster anchors rated above 25 kg, since the glass front adds weight. Leave 5 cm of air behind the casing.
Choose a width that relates to the furniture below it: a 120 to 150 cm fire suits a standard three seat sofa, while a 90 cm model fits a snug reading corner. Run the power cable down behind the unit into a socket at skirting level so no wire shows. The common mistake is hanging the fire too high, near picture height, which makes the flames feel detached from the seating. Budget units start around 150 pounds or dollars; mid range models with better flame depth cost 300 to 600.
2. Slot an Inset Fire Into an Existing Empty Fireplace
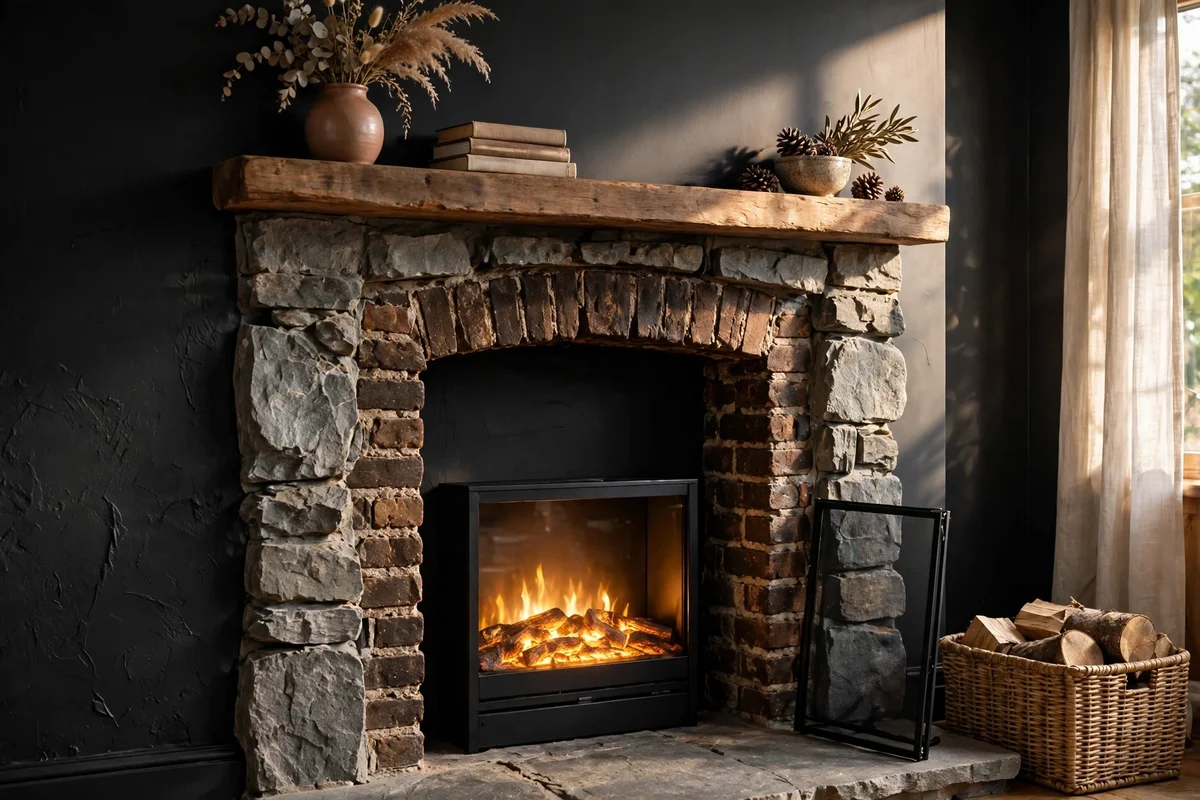
Many older homes still have the opening of a former fireplace, a brick or stone arch with nothing inside it. An inset electric fire, usually 40 to 55 cm wide, slides straight into that space and turns a dusty recess into the warm centre of the room. Measure the opening height, width and depth before buying, and allow 10 cm of clearance around the unit for airflow. If the old flue is open, cap it or fit a chimney balloon to stop cold draughts from fighting your new heater.
Paint the inside of the recess in a heat resistant matt black or deep charcoal so the unit sits against a shadowed backdrop, which makes the flames read deeper. A short run of cable trunking painted to match the surround hides the flex neatly. The mistake to avoid is pushing the unit hard against the back wall of a shallow opening; blocked rear vents cause overheating cutouts. Expect to pay 120 to 350 pounds or dollars for a good inset unit.
3. Place a Freestanding Stove Style Unit on a Stone Hearth
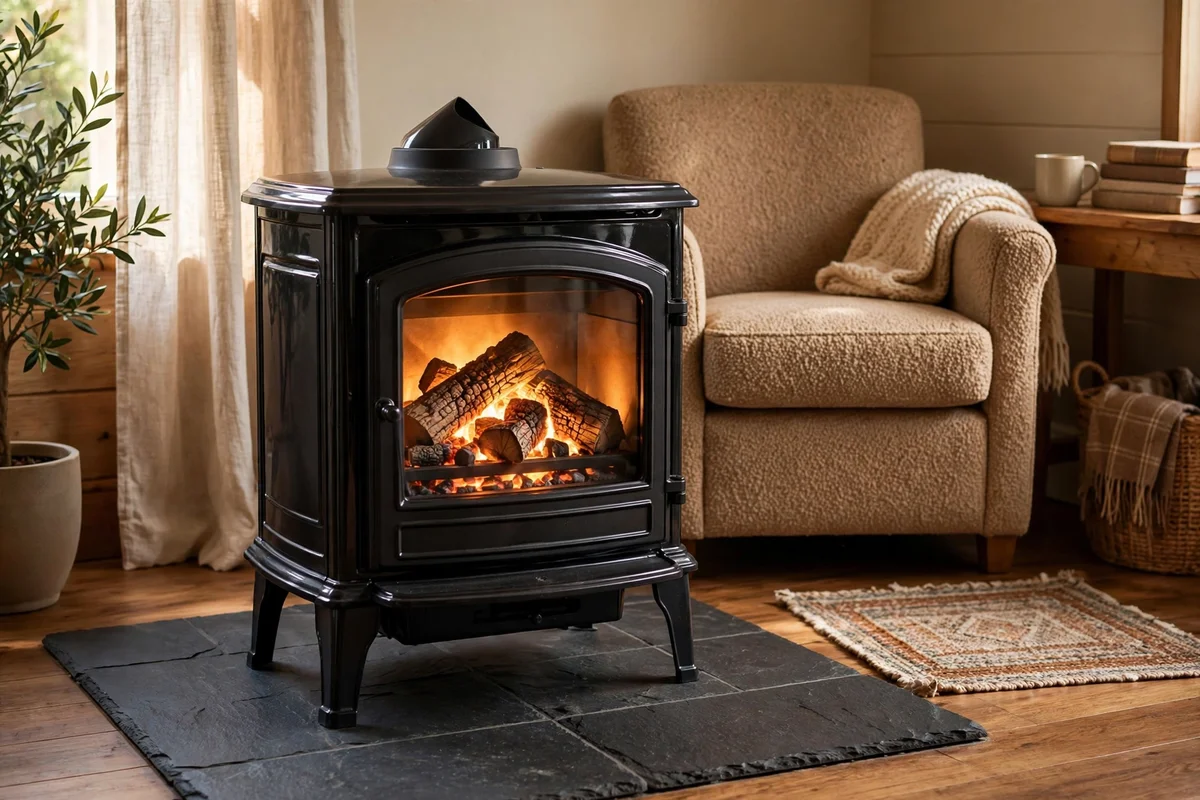
A freestanding stove style electric heater copies the shape of a traditional wood burner, complete with a little door and a fuel bed of glowing logs, but it simply plugs into a 13 amp socket. It suits rooms with no fireplace at all: set it 15 to 30 cm out from the wall on a flat, heat resistant base. The classic look benefits from a proper stance, so keep the unit centred on a rug or hearth pad rather than pushed into a corner where its charm is lost.
Look for models around 1.5 to 2 kW of heat output, which warms a 15 to 20 square metre room gently. The flame and heat run independently, so you can enjoy the glow in spring without the warmth. A common mistake is buying an oversized stove for a small room; a unit wider than 60 cm can dominate a snug space. Prices range from 100 pounds or dollars for simple models to 400 for ones with convincing log effects.
4. Assemble a Full Mantel Suite Around a Plug In Fire
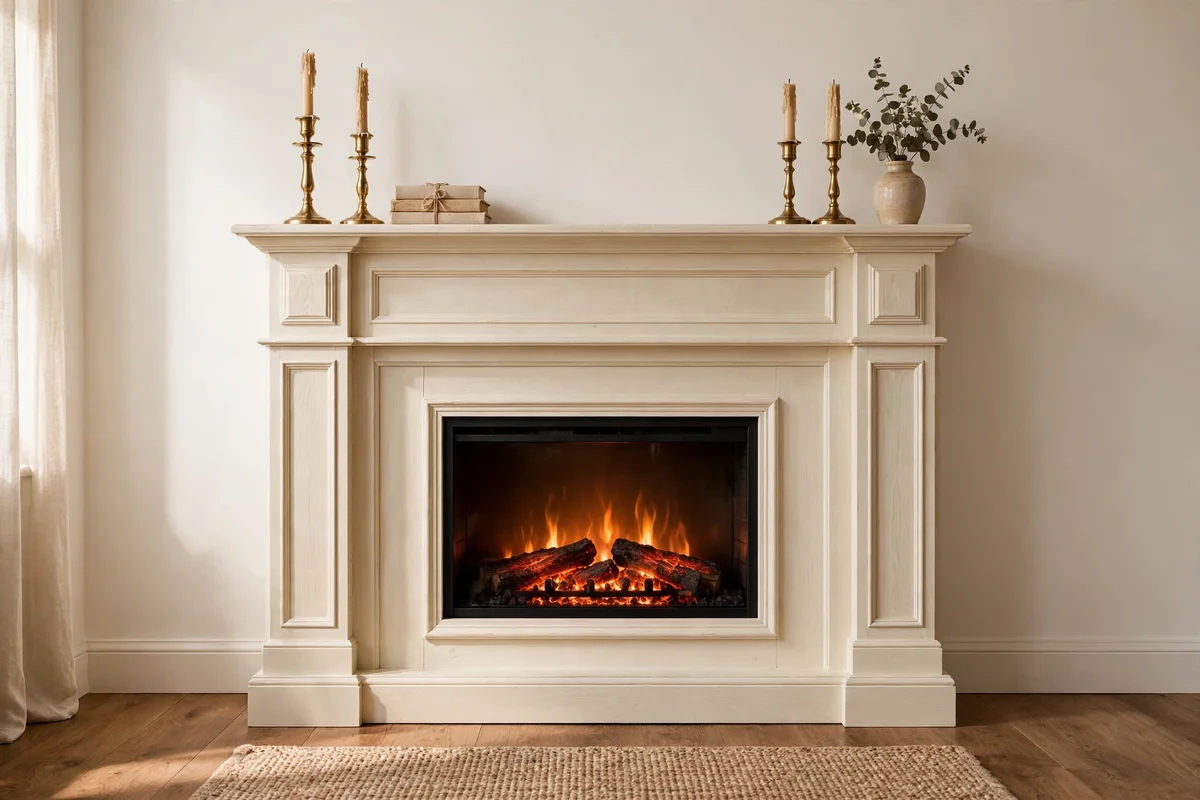
A mantel suite is a surround plus hearth plus inset fire sold as one piece, and it gives a chimney free room the architecture of a real fireplace in an afternoon. Most suites are 110 to 140 cm wide and arrive flat packed; two people can assemble one in under two hours with basic tools. Position it against a plain wall first, centre it on the room, and only then tighten every fixing so the whole piece sits square. A level check across the mantel shelf takes thirty seconds and saves a visibly crooked result.
Finish the surround in painted timber for a cottage feel or stone effect for something weightier. The mantel shelf, usually 15 to 20 cm deep, is ideal for a pair of candlesticks and a small clock. Keep the heater outlet at the front completely clear of the hearth rug. The mistake to avoid is buying a suite deeper than your room allows; measure walkway space, leaving at least 90 cm in front. Suites typically cost 250 to 700 pounds or dollars.
5. Build a Media Wall With Safe Clearance Below the Television
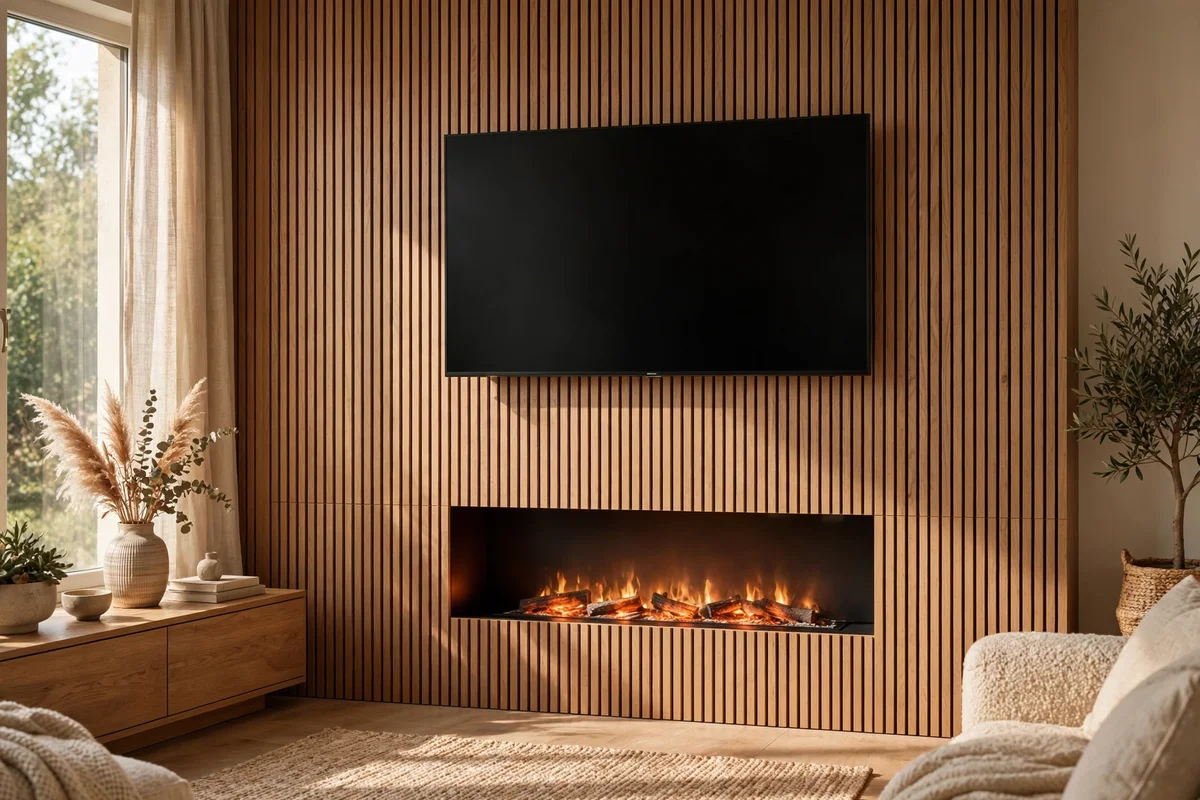
A media wall builds the fire and the television into one panelled feature, usually a stud frame clad in MDF or plasterboard, with the fire recessed near the floor and the TV mounted above. Plan at least 30 to 40 cm of vertical gap between the top of the fire and the bottom of the screen, and check your fire’s manual for its stated clearance, since models vary. Route HDMI and power cables inside the stud cavity before the cladding goes on, so the finished wall shows nothing but clean lines.
Keep the fire’s heater outlet at the front or base, never blowing upward toward the television. Most builders allow 10 cm of side clearance inside the recess for airflow. The mistake to avoid is sealing the fire into a tight box with no ventilation gap; heat buildup shortens the life of the electronics. A simple DIY media wall costs 300 to 800 pounds or dollars in materials; a joiner built version runs higher.
6. Match Heat Output in Kilowatts to Your Room Size
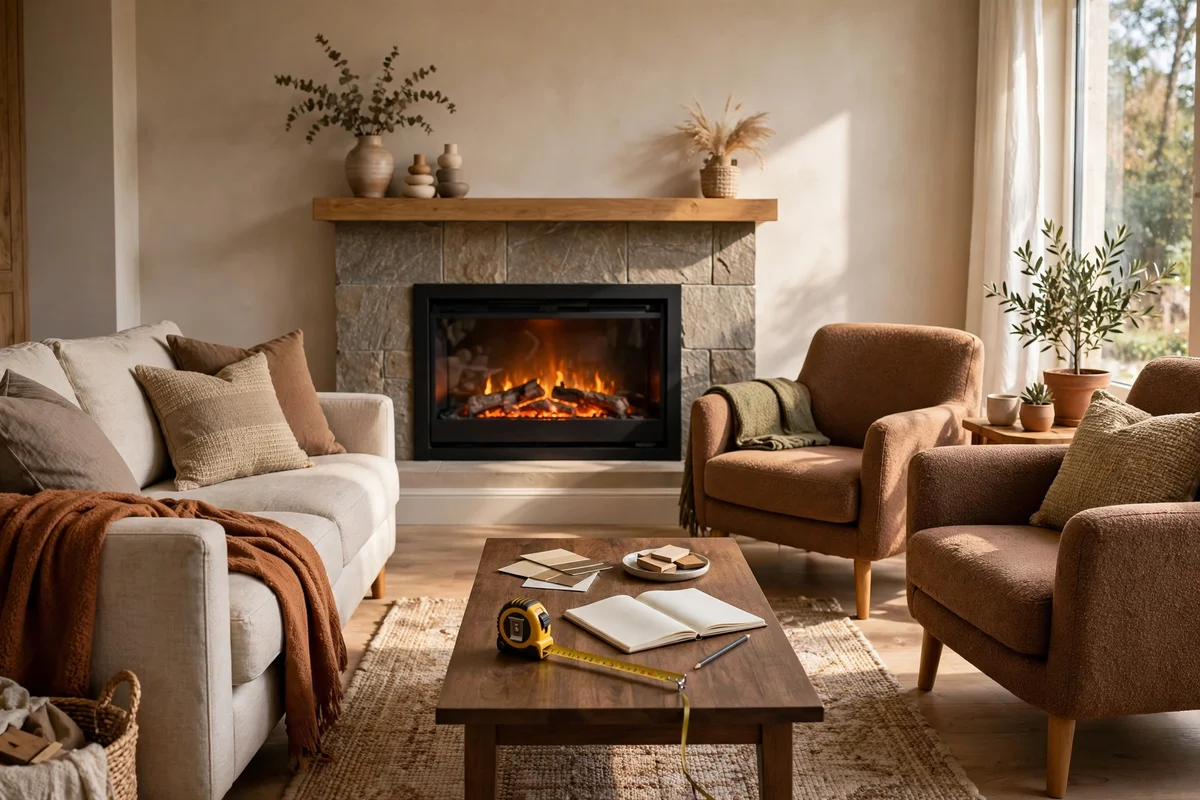
Electric fires usually offer 1 to 2 kW of heat, and matching that to your room stops you buying warmth you cannot use. As a rough guide, allow about 100 watts per square metre for a reasonably insulated living room: a 15 square metre room needs around 1.5 kW, while a draughty 25 square metre space may need the full 2 kW plus your main heating. Measure the room’s length and width, multiply for the area, and choose a fire whose maximum output meets or slightly exceeds the figure.
Remember that most electric fires are supplementary heaters, meant to warm the seating zone rather than replace central heating in winter. Check the product plate for the true wattage, since flame only mode uses under 50 watts and barely warms at all. The mistake to avoid is expecting a 2 kW fire to heat an open plan 40 square metre space alone; it will take the chill off one corner at best. Buy for the zone you sit in.
7. Work Out the Honest Running Cost Before Daily Use
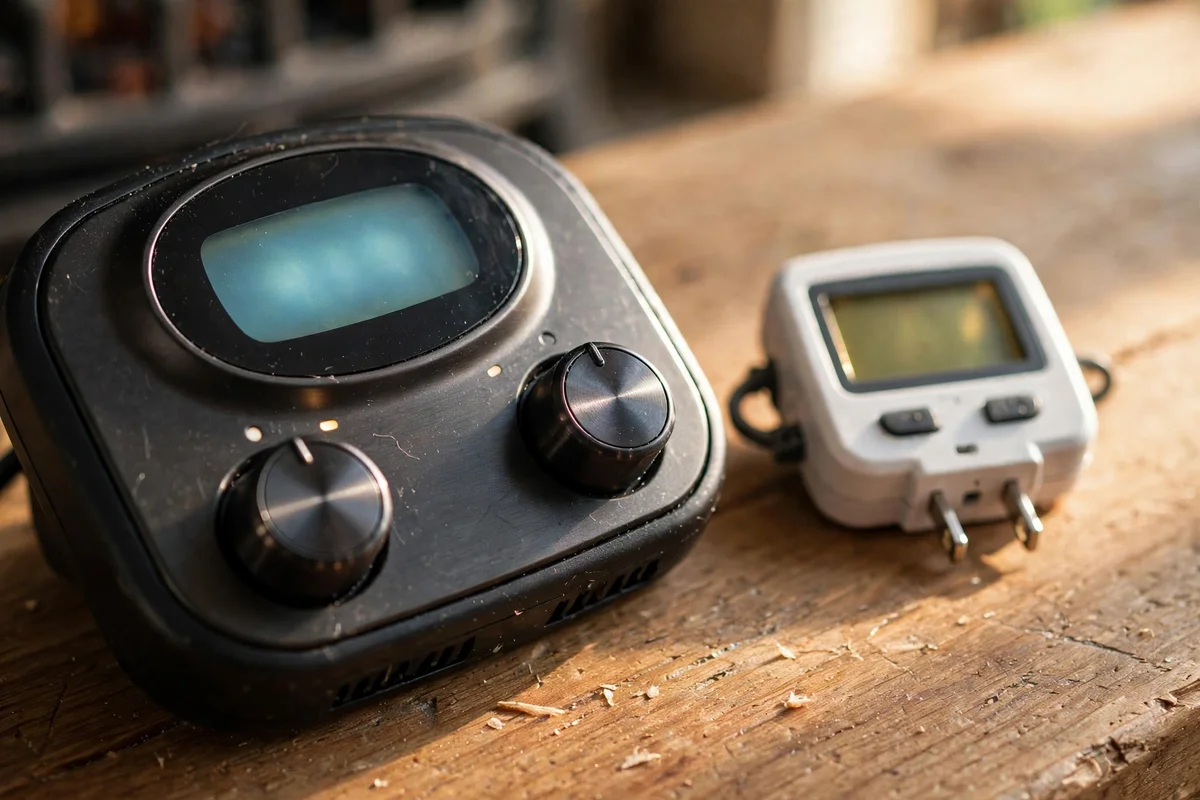
Running costs are simple arithmetic, and honesty here prevents bill shock. A fire on full heat at 2 kW uses 2 units of electricity per hour, so multiply 2 by your tariff: at 25 pence per unit that is 50 pence an hour, or about 2 pounds for a four hour evening. Most people do not run full heat all evening; once the room is warm, the thermostat cycles the element on and off, often halving the real cost. Keep a note of your tariff before autumn so the maths stays current.
Flame only mode, with no heat, draws under 50 watts, which costs less than 2 pence an hour at the same tariff. That makes the glow affordable as everyday ambience from October to March. The mistake to avoid is leaving the fire on full heat in an empty room all day; a timer or thermostat does the same job for a fraction of the cost. Compare running costs before you buy, since cheaper units are no cheaper to run.
8. Let the Thermostat Do the Heating, Not the Flame Setting
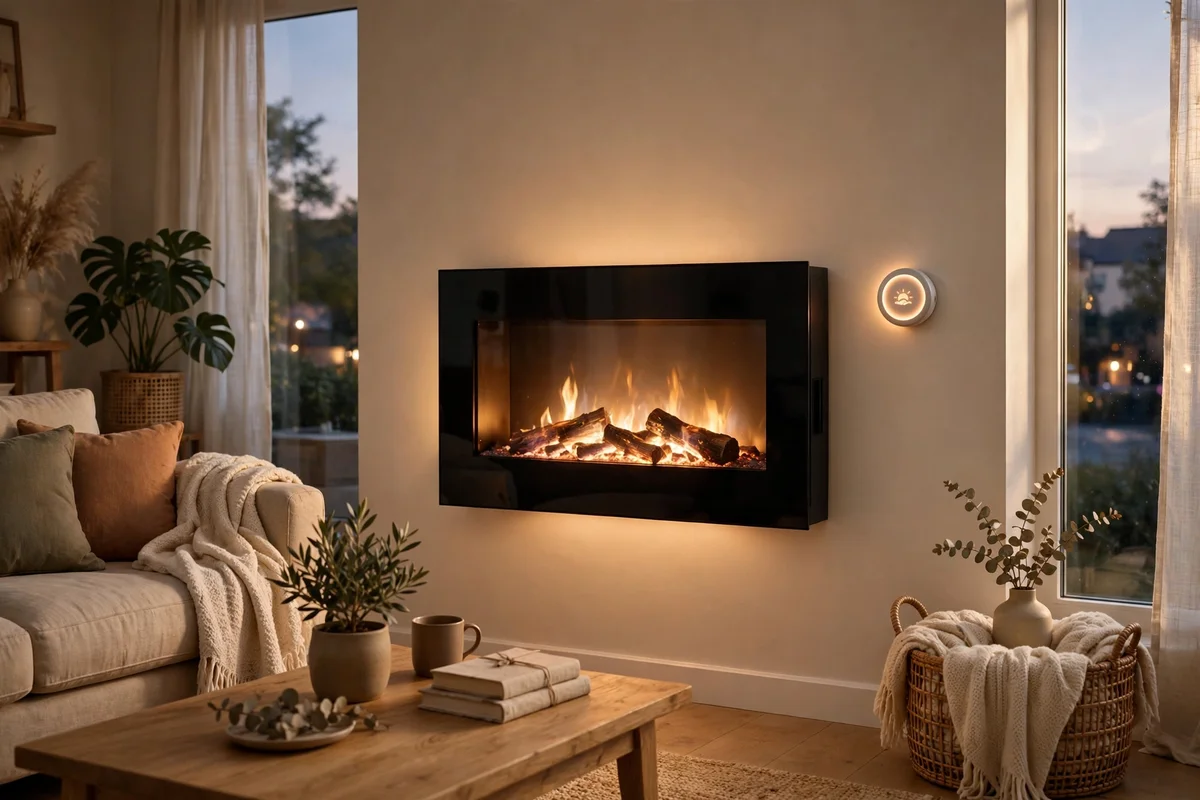
Most electric fires let you set a target room temperature, and using it well is the difference between gentle background warmth and a costly blast of heat. Set the thermostat to 19 or 20 degrees for a lived in living room; the fire then warms the space to that point and idles, topping up only as the room cools. This cycling is far cheaper than running a manual heat setting for hours. Place the fire where air can circulate around it so its sensor reads the room, not a pocket of trapped heat.
If your model has separate flame and heat controls, treat them as independent tools: flame for atmosphere, thermostat for comfort. Some remotes include an eco mode that trims output by 20 to 30 percent. The mistake to avoid is setting the thermostat to its maximum and leaving it; the room overheats, the fire never cycles off, and the running cost doubles. Start at 19 degrees and adjust in single degree steps over a week.
9. Set a Timer So the Room Is Warm When You Arrive
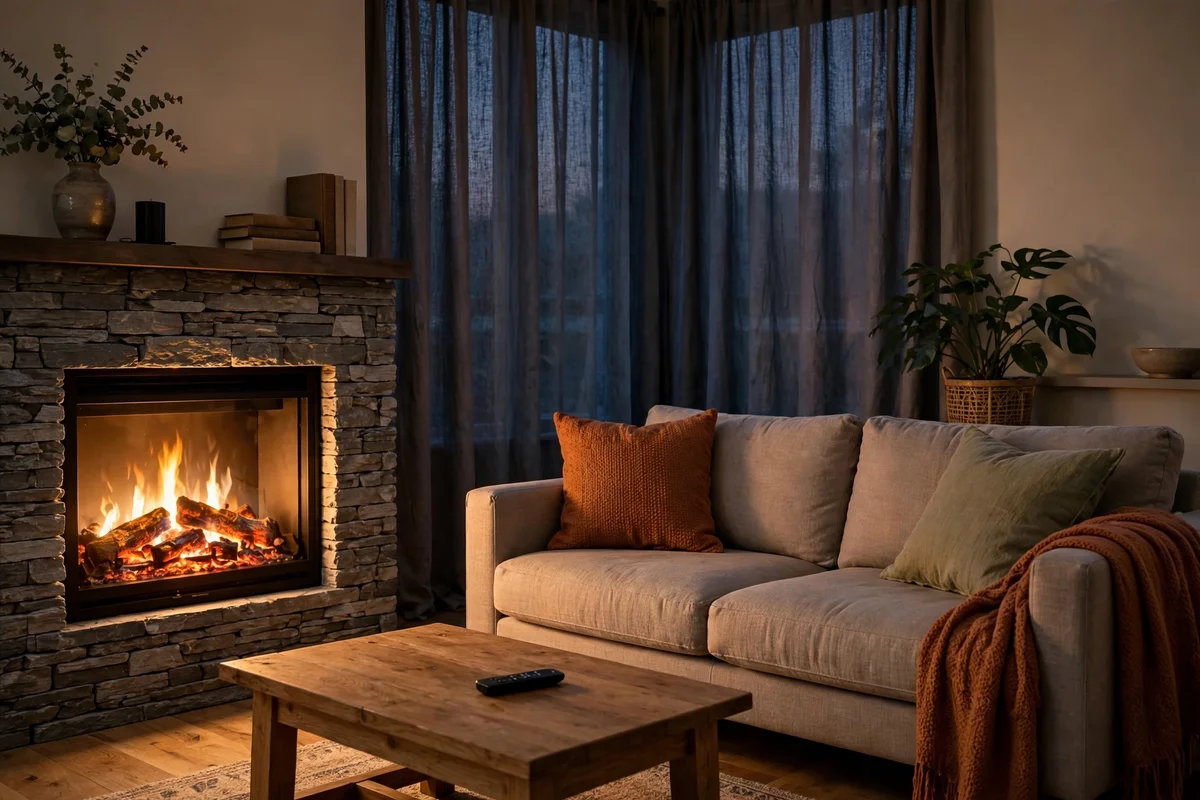
A built in timer or a simple plug in timer switch turns your fire into a quiet routine: on at half past five, off at ten, the room already warm when the family gathers. Programme the heat to start 30 to 45 minutes before you need the room, since a 2 kW fire raises a 15 square metre room by a few comfortable degrees in that time. Pair the timer with the thermostat so the fire switches off entirely once the target temperature holds.
Use the weekly programme if your model has one: lower evening settings on weekdays, longer gentle warmth on weekend afternoons. Always keep the area in front of the heater clear when timers are active, since nobody may be watching when it starts. The mistake to avoid is setting a timer without checking the fire’s position first; a laundry basket left against the outlet for hours is a genuine hazard. Review timer settings when the clocks change.
10. Choose a Flame Effect That Suits Your Viewing Distance
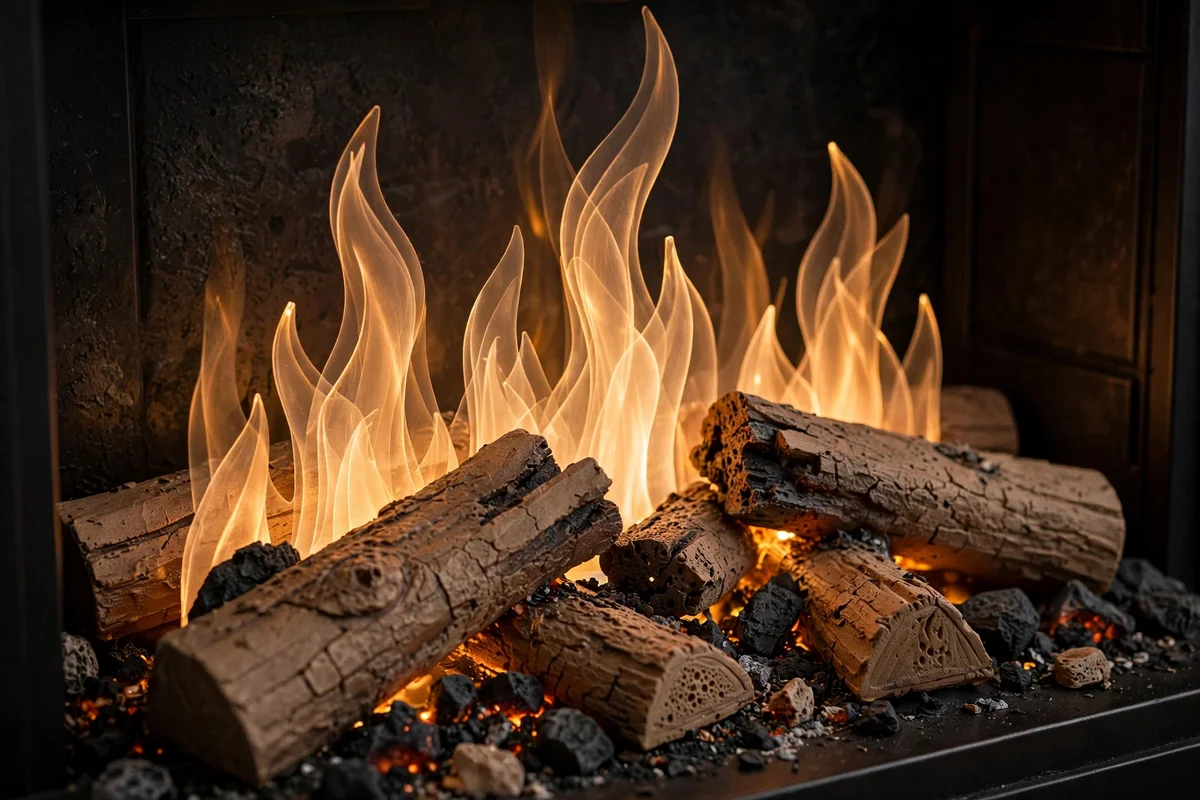
Flame effects range from simple orange LED ribbons behind a printed back panel to layered projections and fine water vapour mist lit from below. Each type suits a different viewing distance. From a sofa three metres away, a decent LED ribbon with a dark interior and depth layers looks genuinely warm. Up close, around one metre, only the better layered or vapour systems hold the illusion; budget prints reveal themselves as flat patterns. View honest video reviews filmed in daylight and in dim rooms before deciding.
Choose the effect for your actual seating distance, not the showroom. Vapour systems give the softest, most three dimensional flame but need occasional water top ups and cost more to run and buy. The mistake to avoid is believing glossy marketing stills; no electric flame fools a close inspection, and expecting it to breeds disappointment. Judge realism at your sofa’s distance, in your lighting, and you will choose well.
11. Dress the Fuel Bed With Logs, Crystals or Pebbles
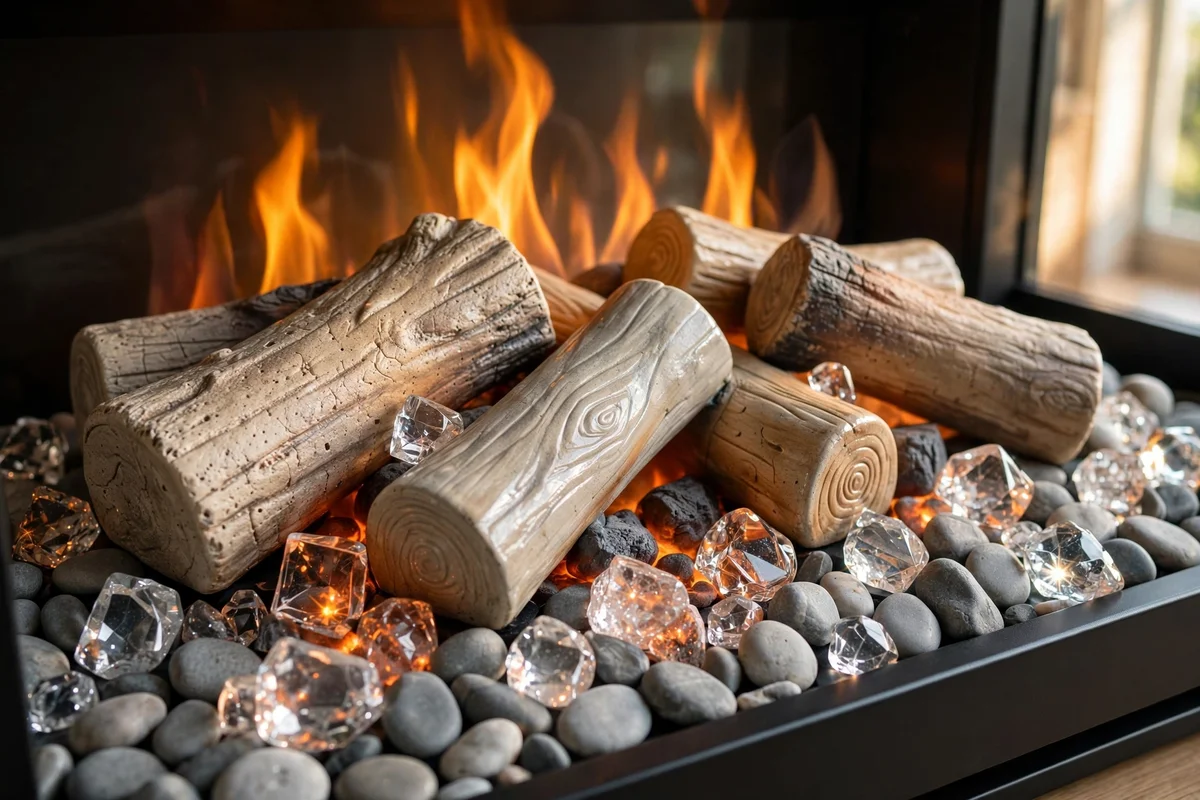
The fuel bed is the pile of material the flames appear to rise from, and restyling it transforms a generic unit. Ceramic logs with charred detailing suit traditional rooms; scattered glass crystals catch the LED light in modern settings; smooth grey pebbles give a calm, coastal feel. Most beds lift out, so mix materials in a ratio of about two thirds logs to one third accent pieces. Keep every piece at least 3 cm below the top of the glass so nothing touches the casing.
Clean the bed twice a year with a soft dry brush; dust dulls the reflective surfaces that make the effect work. Spare crystals and pebbles cost 10 to 25 pounds or dollars a bag at home stores. The mistake to avoid is piling extra material above the manufacturer’s fill line; overfilling blocks the light channels and flattens the flame. Less is more here: a sparse bed with visible depth beats a crowded one every time.
12. Hide Cables in Trunking That Matches the Wall
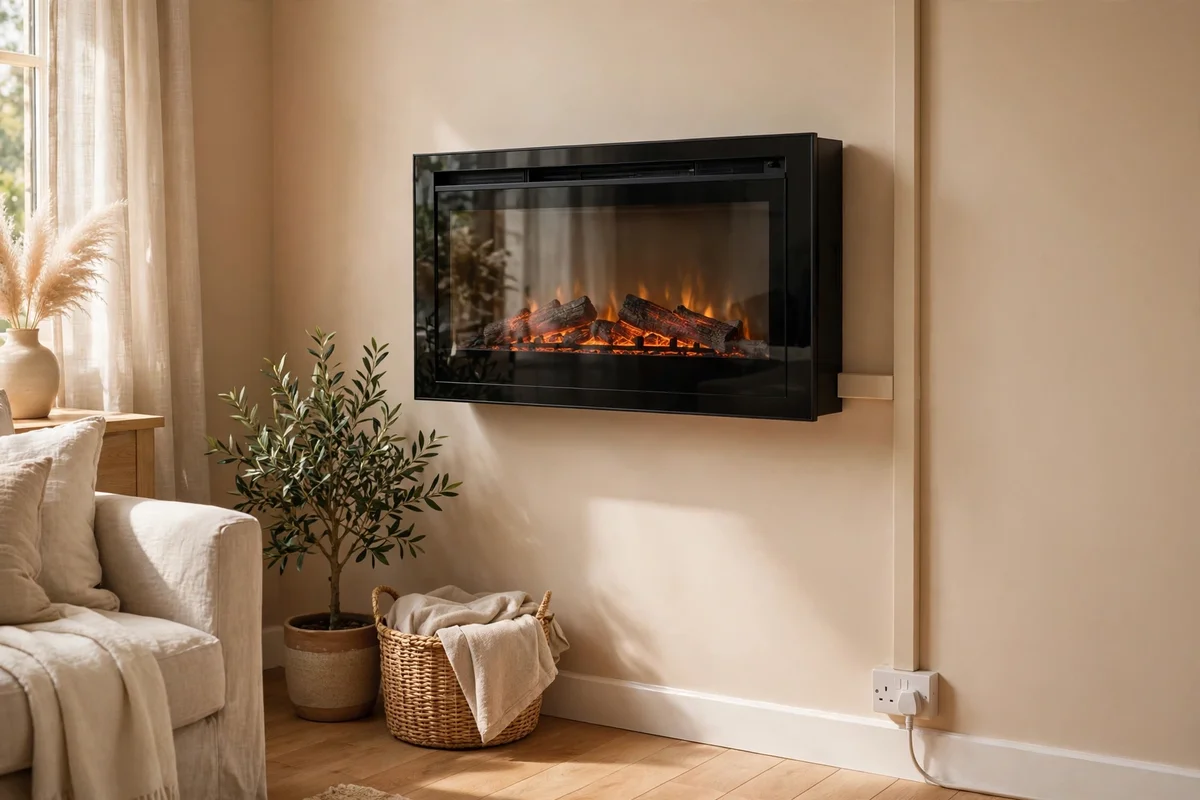
A visible black cable dangling from a wall hung fire ruins the illusion of a built in hearth, so plan the route before you hang the unit. Adhesive cable trunking, 16 to 25 mm wide, painted to match the wall, carries the flex down to the socket almost invisibly. Run it vertically behind the fire’s edge where possible, then along the skirting to the outlet. For media walls, feed cables inside the stud cavity during the build; retrofitting trunking afterwards is still far tidier than loose wire.
Choose trunking with a clip on lid so you can add an HDMI cable later without prying the whole run off. Keep mains cable and signal cables in separate runs where they travel far, to avoid interference lines on the TV. The mistake to avoid is drilling the trunking fixings without checking for hidden pipes or cables; a 20 pound detector saves an expensive accident. Total trunking cost is usually under 15 pounds or dollars.
13. Call a Qualified Electrician for Any Hardwired Circuit
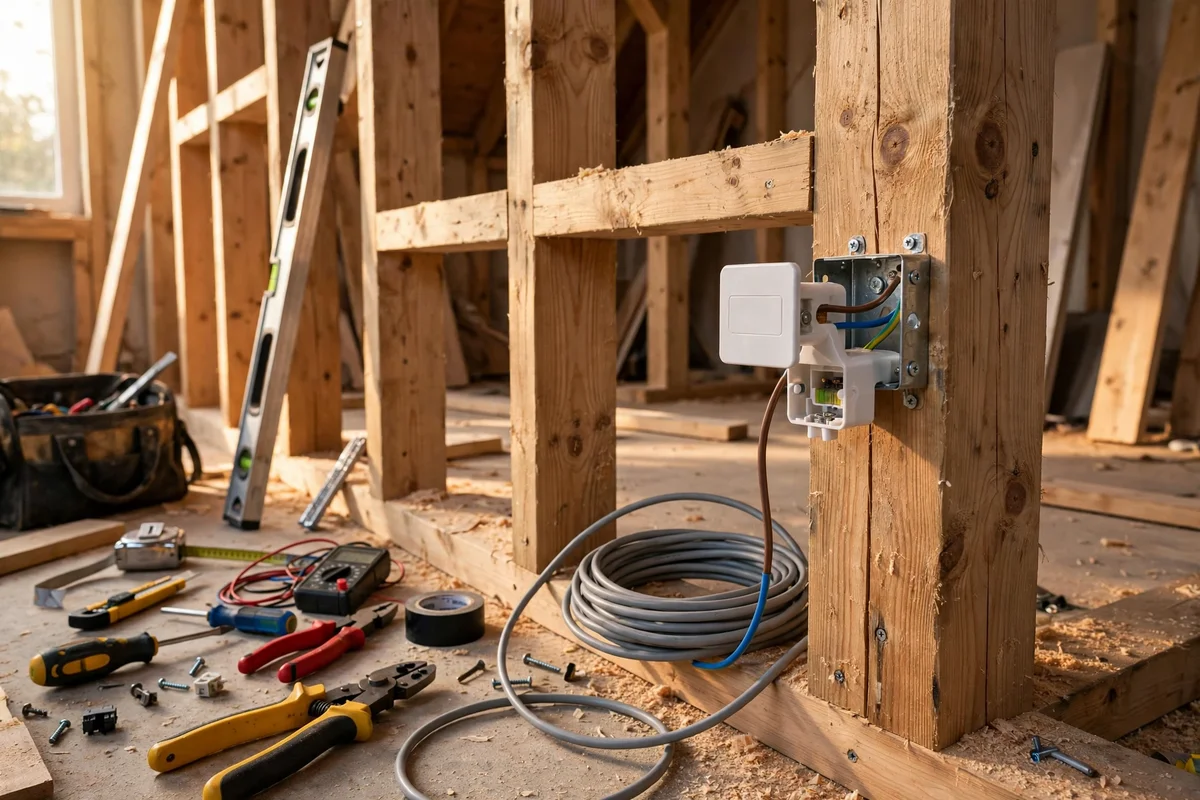
Plug in electric fires need no electrician; a standard 13 amp socket and the supplied flex is the whole installation. The line is crossed when you want the fire hardwired: a fused spur outlet behind a media wall, a new socket chased into plaster, or a dedicated circuit for a large 3 kW unit. All of these are notifiable or skilled work in most regions, and a qualified electrician will also confirm the existing circuit can carry the load. Book one before the wall is clad, not after.
Ask the electrician to fit a switched fused spur with a 13 amp fuse, positioned where you can reach it without moving furniture. Keep the certificate of the work with your house documents; it matters for insurance and for a future sale. The mistake to avoid is extending wiring yourself with a junction box hidden in the wall; it is unsafe and illegal in many places. An hour of professional time usually costs 60 to 120 pounds or dollars.
14. Keep Fabrics and Furniture at the Stated Clearances
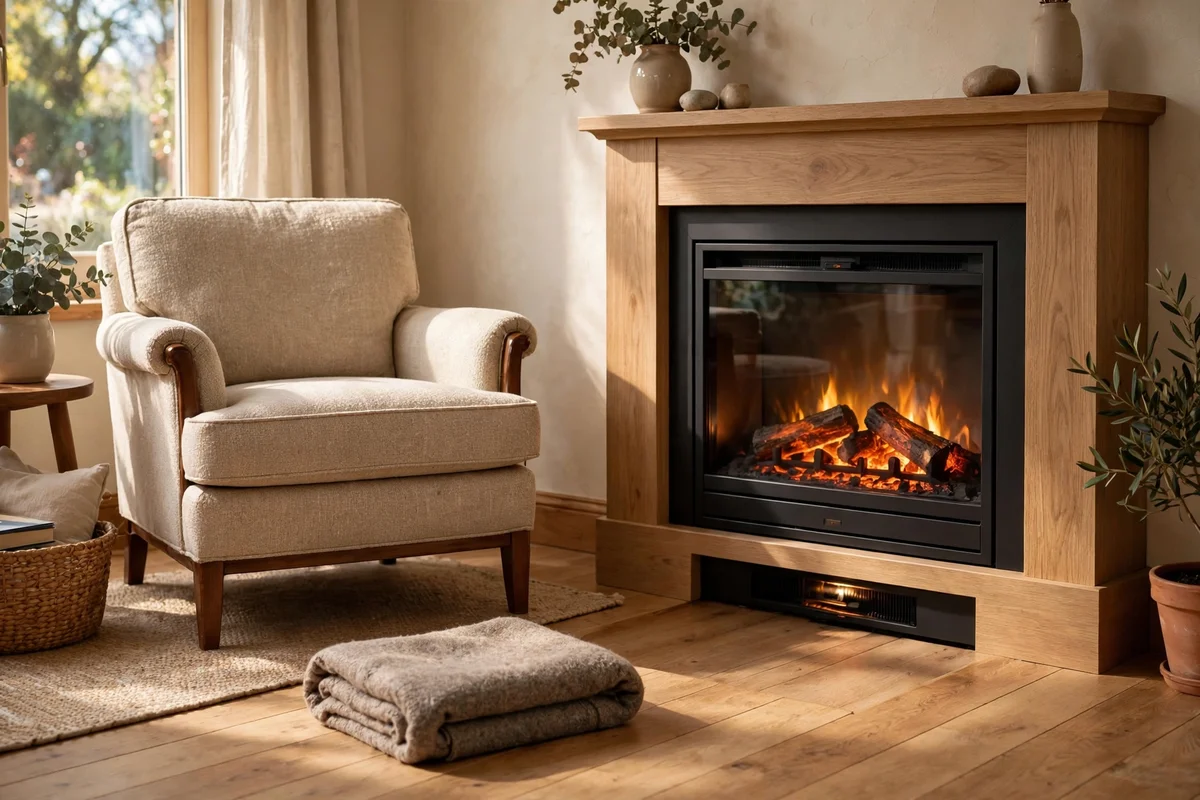
Every electric fire ships with stated clearances, and they are the single most important numbers in the manual. Typical figures are 30 to 50 cm of clear space in front of the heater outlet, 10 to 20 cm at the sides, and fabrics kept well away from the top if the outlet faces upward. Measure these zones with a tape before you arrange the rug, the armchair and the throw basket. Curtains near a wall hung unit need particular care on windy days when fabric can lift.
Keep the clearance zone free even when guests visit; a cushion tossed against the outlet during a gathering is the most common real world slip. Choose a fire guard style mindset from real hearths: nothing flammable within the marked distance, ever. The mistake to avoid is trusting memory over the manual; clearances differ between models, so check the booklet for your exact unit. Write the numbers on a card inside a nearby drawer.
15. Never Cover the Vents or the Heater Outlet
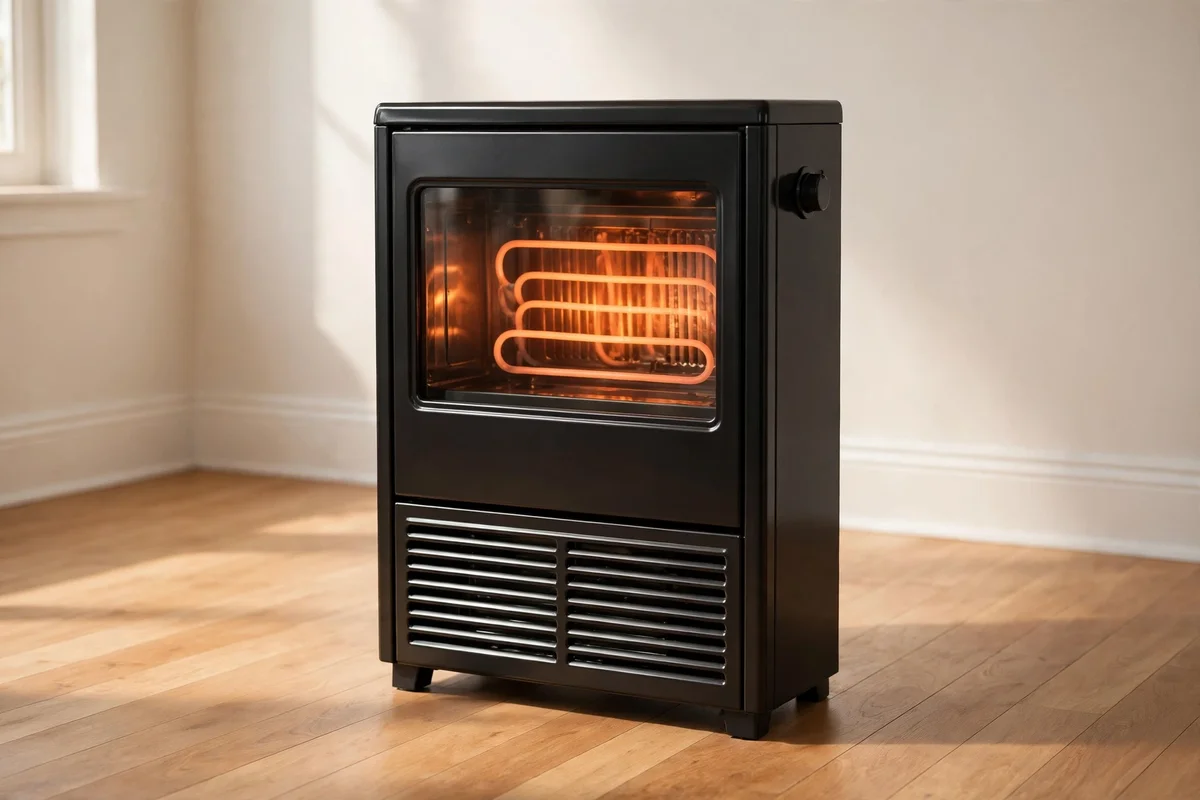
Electric fires breathe through their vents: cool air enters at the base or rear, warm air leaves through the heater outlet, and blocking either side forces the unit to overheat and trip its safety cutout. Never drape a throw over the top, never push the unit hard against curtains, and never let a rug creep over the base vents. Vacuum the vents every couple of months; household dust is the quietest cause of restricted airflow and repeated cutouts that owners mistake for faults.
Teach the household that the fire is not a shelf: no books stacked on top, no laundry airing across the front, no pet bed tucked against the warm side. If the safety cutout trips, switch off at the socket, let the unit cool for 30 minutes, clear the obstruction and restart. The mistake to avoid is resetting a repeatedly tripping cutout without finding the cause; persistent tripping means something is blocked or the unit needs servicing.
16. Layer the Surround Like a Real Hearth
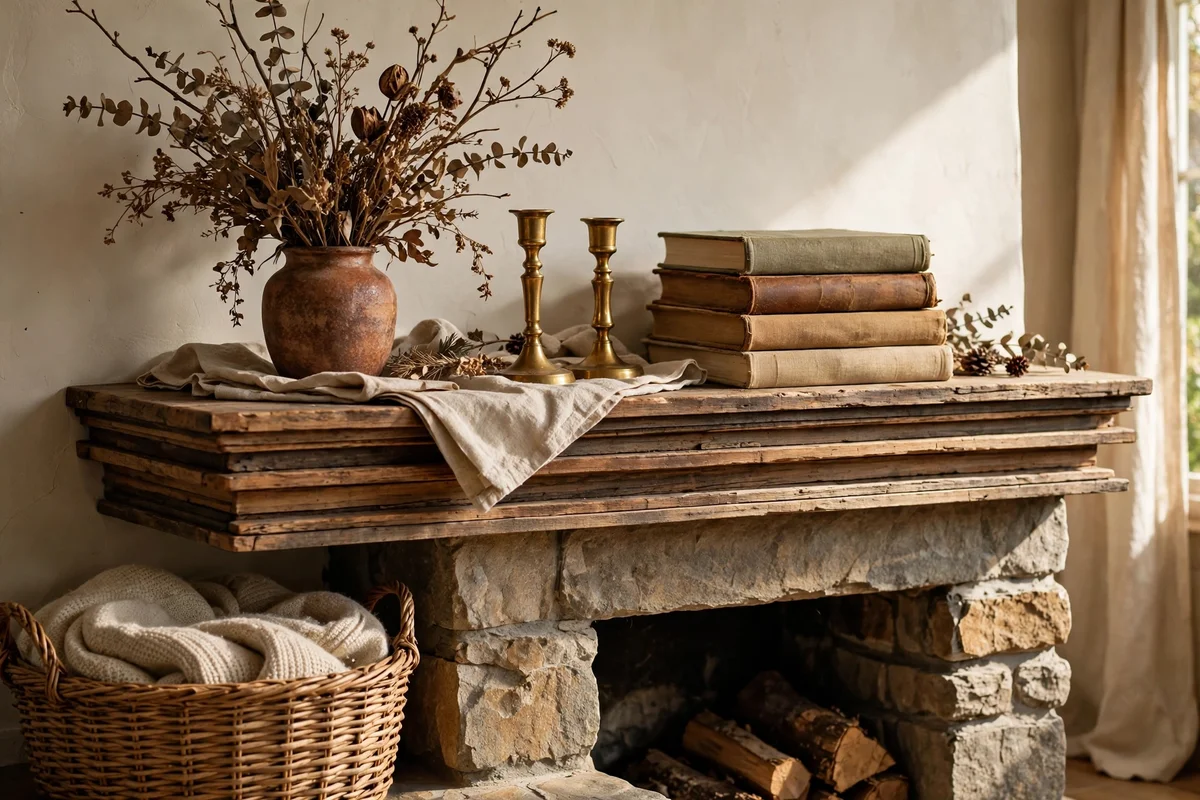
A convincing electric hearth is styled exactly like a real one: in layers, with height at the back and smaller pieces toward the front. Start with the mantel shelf: a pair of candlesticks or a low stack of books at each end, a small clock or framed print in the centre. Below, on the hearth, place a basket or a low plant pot to one side; asymmetry reads more natural than perfect symmetry. Keep every object at least 30 cm from the heater outlet, and choose stable pieces that cannot topple onto the glass.
Change one layer with the seasons: dried branches and pinecones in winter, a small vase of garden stems in spring. This rotation keeps the hearth feeling alive for almost no cost. The mistake to avoid is crowding the surround with a dozen small ornaments; three heights and three materials are enough, and clutter fights the calm a fire is meant to bring. A charity shop vase and two candlesticks often cost under 20 pounds or dollars.
17. Lay a Slate Hearth Pad Under a Freestanding Unit
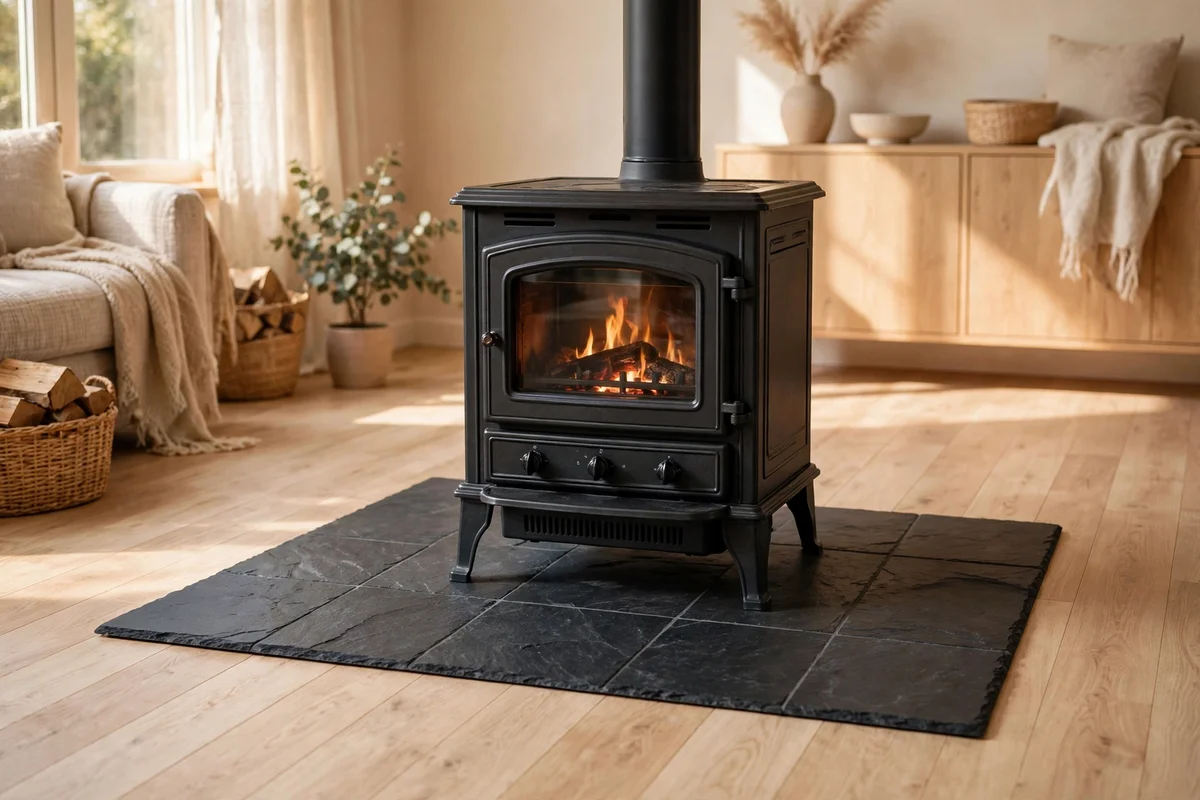
A hearth pad gives a freestanding stove style unit the grounded presence of a real fireplace. Choose slate, honed granite or large format porcelain tiles, cut or bought as a pad 80 to 100 cm wide and 60 to 80 cm deep, which comfortably holds a stove up to 60 cm wide with margin at the front. Lay the pad on a thin non slip underlay so it does not creep on hard floors, and keep its top surface level; a rocking stove is both annoying and unsafe.
Match the pad to your floor rather than the stove: dark slate over pale oak boards, warm limestone tones over grey tile. Seal natural stone once a year with a stone sealer to resist marks. The mistake to avoid is using a thin decorative mat that bunches under the unit’s feet; a proper rigid pad spreads the weight and stays put. Ready made pads cost 40 to 120 pounds or dollars; cut tiles are often cheaper.
18. Dress the Mantel Shelf With Candles and Winter Greenery
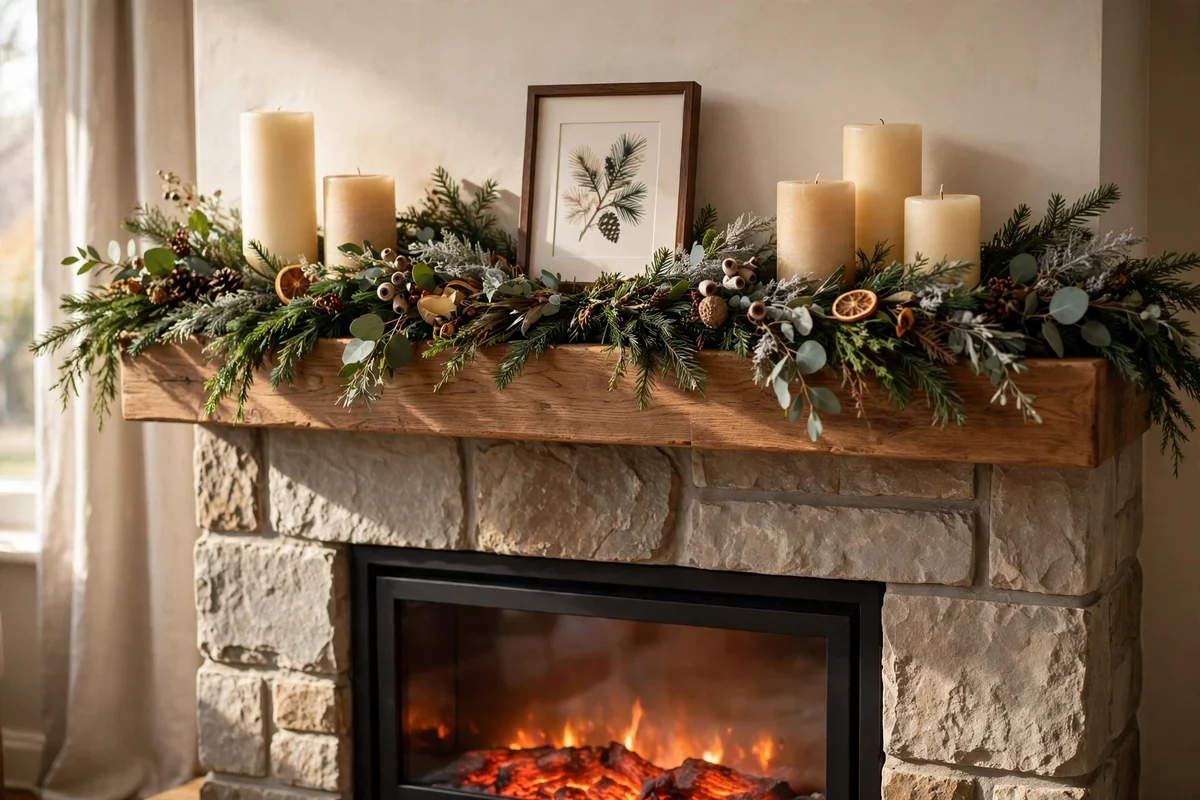
The mantel shelf above an electric fire is the room’s natural focal point, so dress it with the same care as a real chimney breast. A row of three pillar candles in mixed heights, 10 to 25 cm, gives warm vertical rhythm; add a low garland of eucalyptus or fir in winter, or a trailing potted plant in summer. Battery operated candles with a warm 2700K glow are the safe choice directly above a heater outlet, and they cost little to run for evening after evening.
Anchor the arrangement with one heavier piece at the centre, such as a small mirror or a framed botanical print, then step heights down toward the edges. Keep all greenery and fabric at least 30 cm above the outlet, and never place real lit candles near the heater. The mistake to avoid is a single lonely object centred on a wide shelf; odd numbers and grouped heights always look more settled. A full seasonal refresh costs 15 to 40 pounds or dollars.
19. Add Recessed Downlights to Echo the Firelight
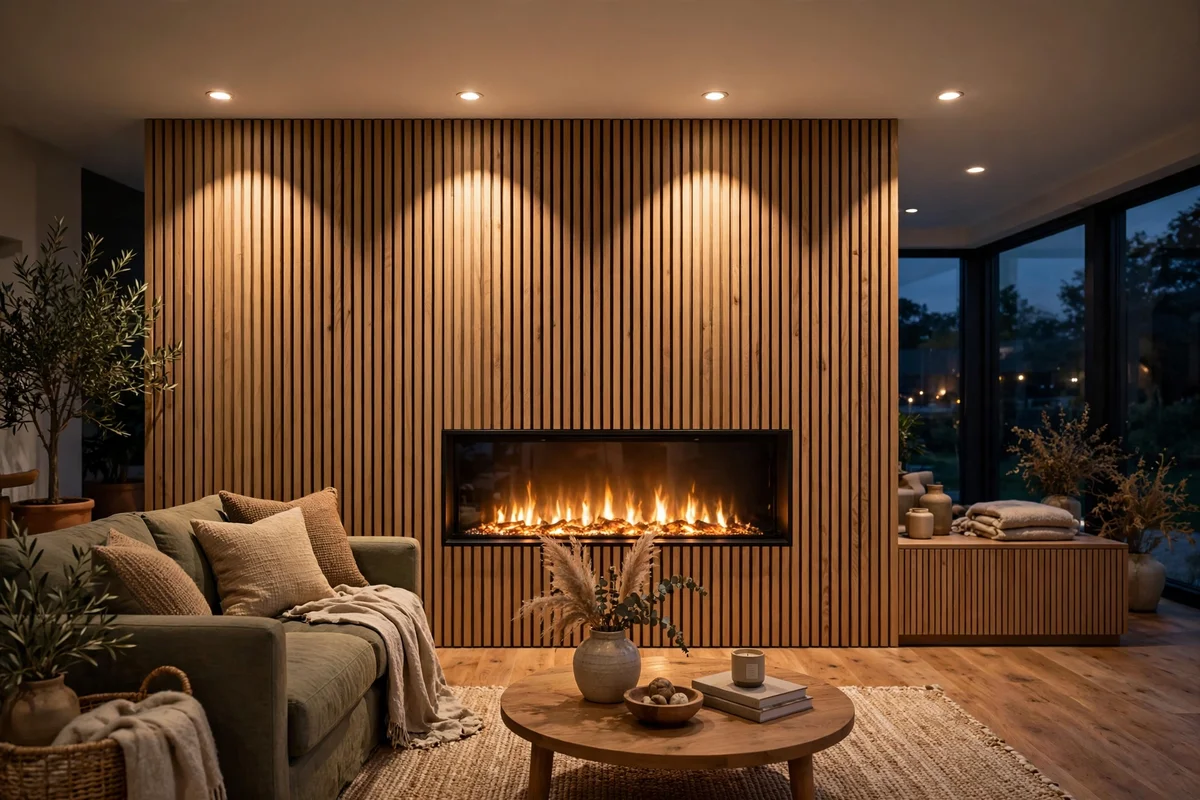
Recessed downlights set into the ceiling above or around the fireplace echo the firelight and make the whole corner feel considered. Fit two or three 5 to 7 watt LED downlights, 2700K warm white, about 60 to 90 cm out from the wall so their pools of light wash the surround rather than glaring into eyes. Put them on a separate dimmer switch from the main room lights; a low 20 percent glow in the evening lets the flame remain the star.
If cutting into the ceiling is too much work, surface mounted spotlights on a track give a similar effect and need only a screwdriver. Aim one spot at the mantel art and one at the hearth for gentle layering. The mistake to avoid is using cool 4000K bulbs near a fire; the blue tone fights the flame’s warmth and makes the whole wall look clinical. Warm dimmable LEDs cost 8 to 20 pounds or dollars each.
20. Use Warm 2700K Lamps Nearby So Flames Read Naturally
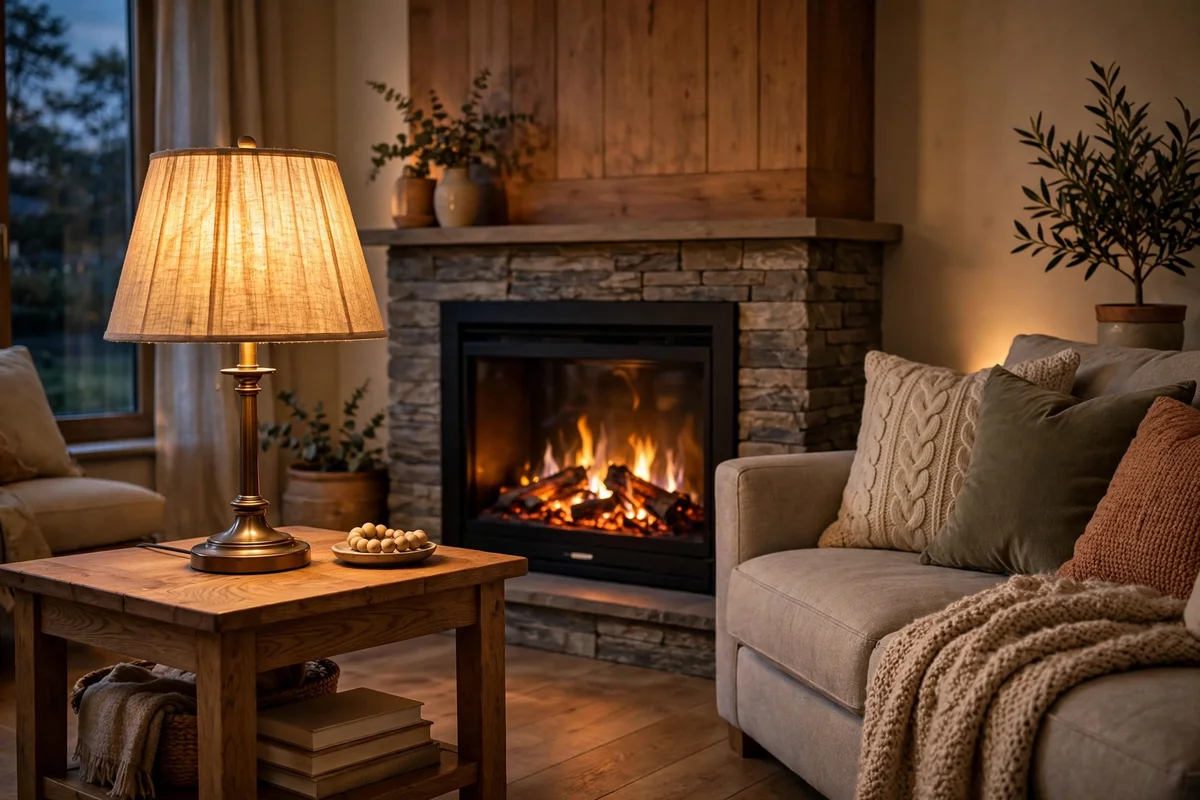
The light around an electric fire decides whether the flame looks natural or artificial. Cool white room lighting makes LED flames look flat and bluish, while warm 2700K lamps nearby blend with the fire’s glow and sell the illusion. Place a table lamp with a fabric shade 1 to 2 metres to the side of the fire, and choose bulbs labelled warm white, never daylight. Two low light sources beat one bright ceiling light for evening atmosphere every time.
Dim the overheads to a third or switch them off entirely and let the fire plus one lamp carry the room. Smart bulbs set to 2200 to 2700K let you tune the mood from your phone. The mistake to avoid is mixing colour temperatures: a 2700K fire beside a 5000K ceiling panel creates an odd, restless room. Check every bulb in the seating zone and replace outliers; a four pack of warm LEDs costs under 10 pounds or dollars.
21. Hang Art or a Mirror Above the Unit at a Safe Height
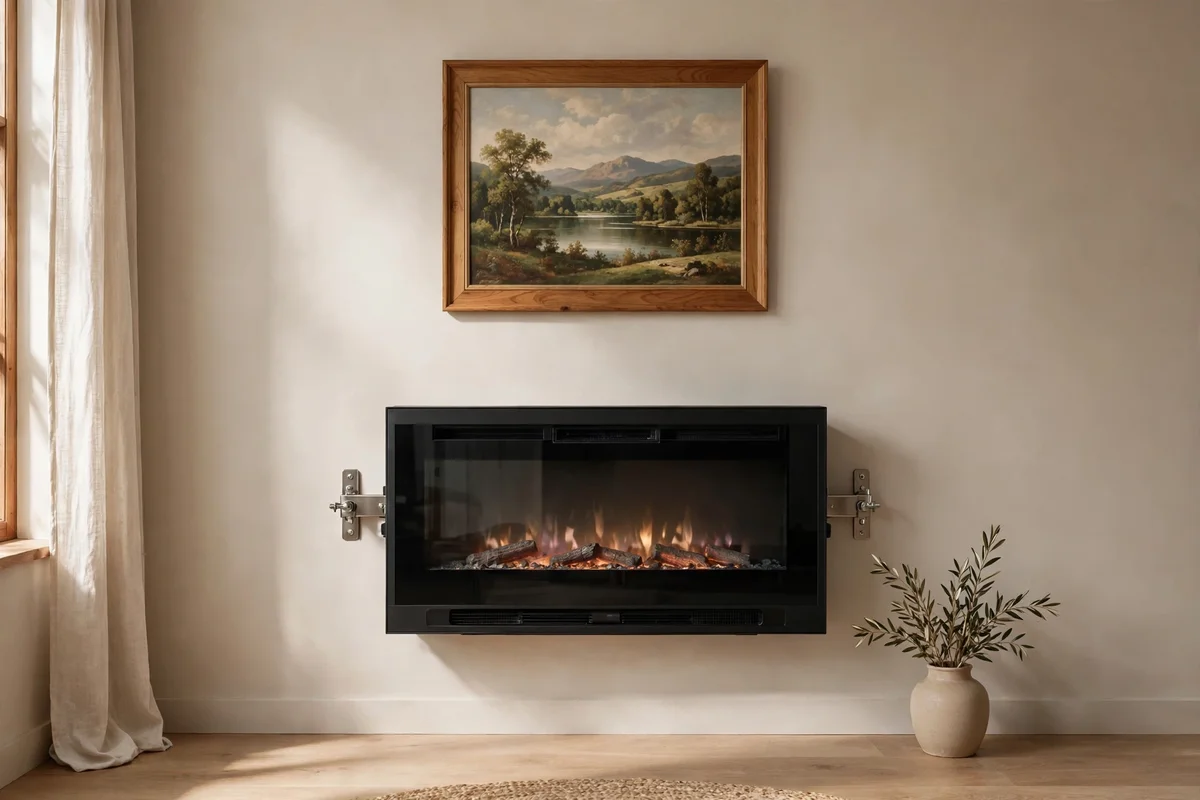
The wall above an electric fire begs for art or a mirror, and it is perfectly safe provided you respect the heat path. Hang the piece at least 30 cm above the top of the unit, more if your model’s outlet directs warmth upward. Use two fixings rather than one wire so the frame cannot swing forward onto the glass, and choose fixings rated for twice the frame’s weight. A mirror above the fire doubles the glow beautifully, bouncing flame light around a small room.
Keep canvas and paper prints away from direct upward heat; glass framed pieces tolerate warmth better. If the wall feels hot to the touch after an hour of heating, the art is too close. The mistake to avoid is hanging a heavy mirror on a single plasterboard plug above a heater; heat cycling loosens weak fixings over time. Proper spring toggle fixings cost a few pounds and hold securely for years.
22. Paint the Chimney Breast Zone a Deep Calm Colour
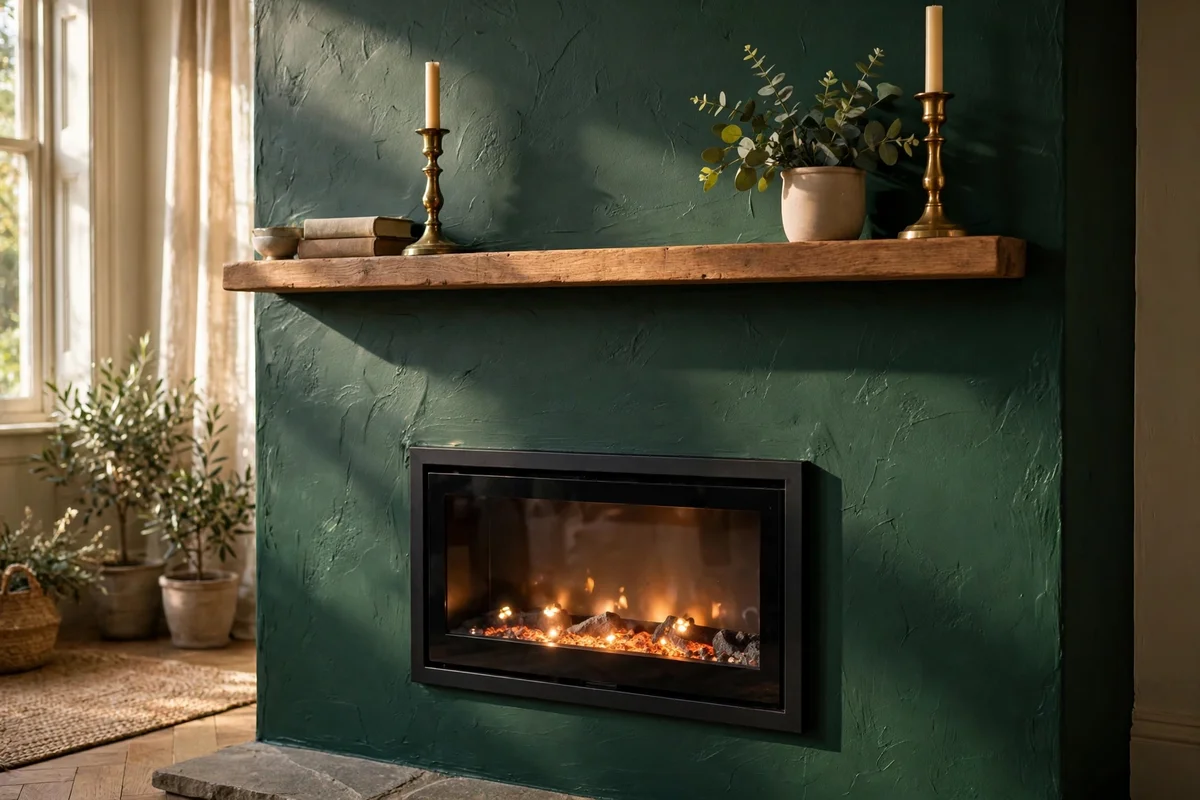
Painting the wall or chimney breast zone behind the fire a deep calm colour turns the whole hearth into a deliberate feature. Deep forest green, ink navy or warm charcoal make orange flames appear richer by contrast, and a matt finish absorbs light so the fire reads as the brightest point. Paint the full breast from floor to ceiling rather than a floating rectangle; a half painted patch looks like an afterthought. Allow 48 hours of drying before running the heater at full output.
Test the colour on a large A3 card held against the wall in evening light before committing, since deep colours shift dramatically under warm bulbs. Pair green walls with brass candlesticks and oak; navy suits brushed steel and grey linen. The mistake to avoid is painting with standard emulsion directly behind a heat outlet; use a heat resistant or kitchen grade paint in the warmest zone. A 2.5 litre tin covers the breast for 30 to 50 pounds or dollars.
23. Add a Decorative Log Basket for the Traditional Look
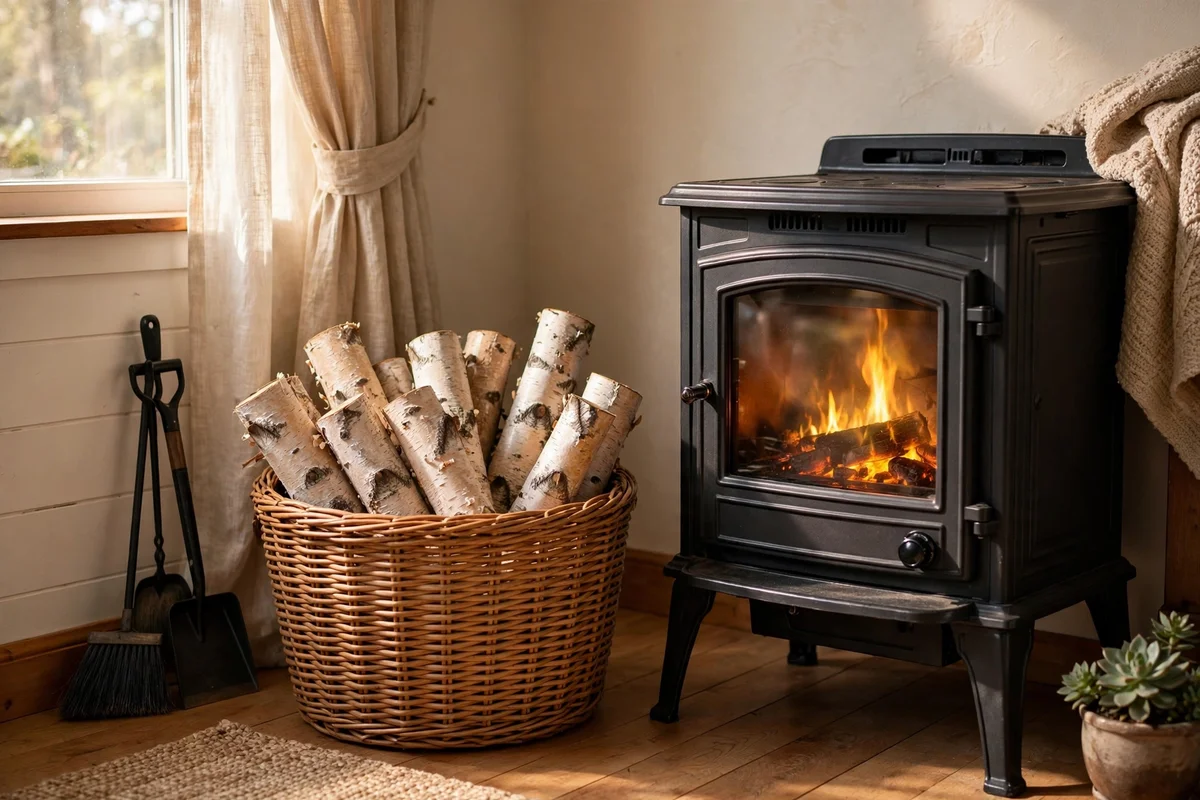
A wicker log basket filled with decorative birch logs beside an electric stove completes the traditional picture, even though nothing will ever burn. Choose a basket 40 to 50 cm tall, fill it with short birch or oak rounds cut to 25 to 30 cm, and set it 30 to 40 cm to the side of the unit, clear of the heater outlet. The pale bark and the basket weave add texture that electric units cannot provide on their own, and the whole arrangement costs very little.
Add a small companion set, a brush and poker in a stand, leaning at the basket’s side for the full hearth tableau; purely decorative, but visually convincing. Keep everything well clear of the vents and never place logs where they could roll against the unit. The mistake to avoid is buying real firewood that sheds bark and insects indoors; kiln dried decorative rounds are clean and stable. Basket and logs together cost 25 to 60 pounds or dollars.
24. Choose a Renter Friendly Unit That Needs No Fixings
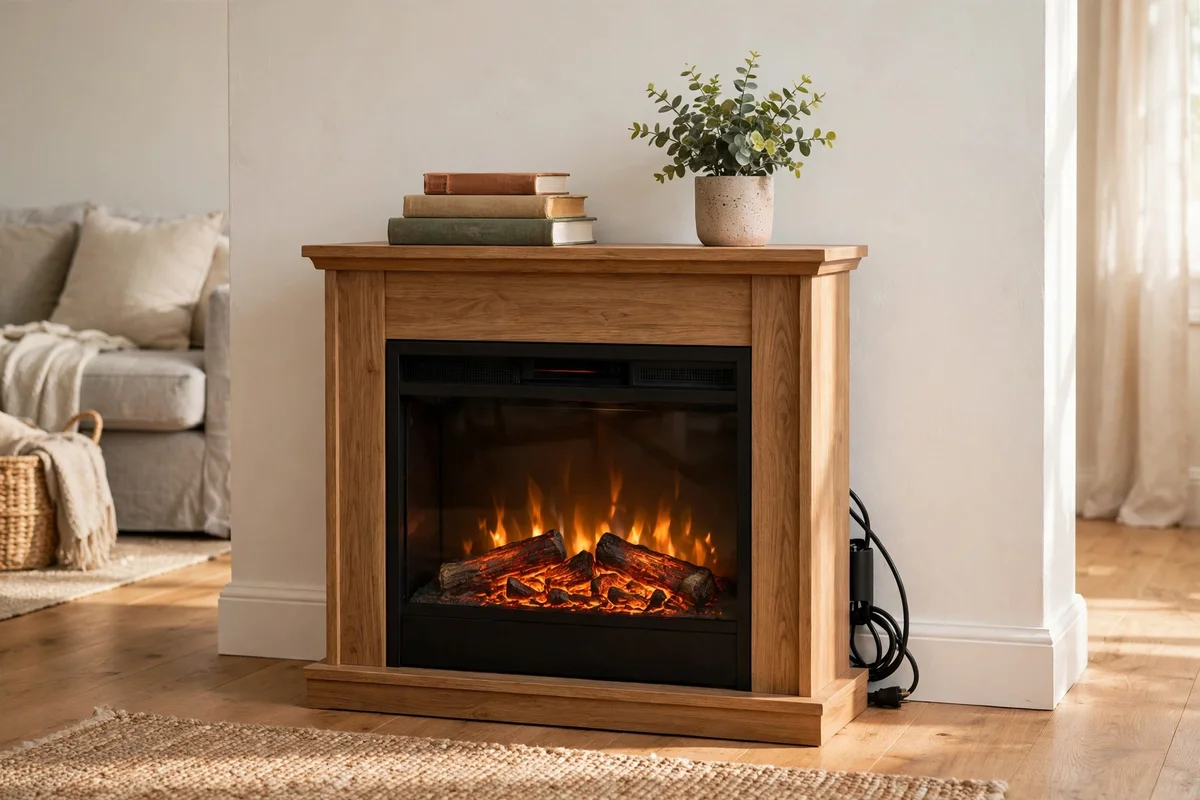
Renters can have the full hearth look with zero fixings and zero damage. A freestanding electric suite or stove style unit needs only a socket: position it against the feature wall, plug it in, and style the mantel shelf exactly as an owner would. Choose a unit under 70 kg so two people can lift it out on moving day, and keep the original packaging in the loft for a safe move. Command style adhesive hooks hold lightweight art above, with no holes to fill later.
Check the tenancy agreement for any clause about heaters; most allow plug in electric fires, but written confirmation avoids disputes. Keep the manual and receipt together so the unit’s value is clear at inventory. The mistake to avoid is screwing a wall hung unit into plaster you do not own; the repair bill at checkout exceeds any saving. Freestanding renter friendly units start around 180 pounds or dollars.
These twenty four ideas share one spirit: a hearth is a feeling before it is a fixture. Whether you choose a slim wall hung panel, a stove style unit on slate, or a full media wall with the television above, the same principles hold. Size the heat to the room, keep the clearances honest, tidy the cables, and style the surround with the layered care you would give a real fire. The glow will do the rest.
Start this week with the easiest step of all: measure your chosen wall and find the nearest socket. A tape measure, a note of the room’s length and width, and five minutes with the manual’s clearance diagram turn a vague wish into a real plan. From there, one choice at a time, the fire, the finish, the styling, and your living room will hold its warm centre long before the coldest nights arrive.
Frequently Asked Questions
How much does it cost to run an electric fireplace per hour?
A 2 kW fire on full heat uses 2 units of electricity per hour, so multiply 2 by your tariff rate. At 25 pence per unit that is 50 pence an hour. Flame only mode uses under 50 watts and costs almost nothing. Using the thermostat to cycle the heat keeps real costs well below continuous full power.
What size electric fire do I need for my room?
Allow roughly 100 watts per square metre for a reasonably insulated room. A 15 square metre living room needs about 1.5 kW, which most standard fires provide. Measure length times width first, then check the fire’s rated output. For large open plan spaces, treat the fire as a zone heater for the seating area rather than whole room heating.
Can I put a television above an electric fireplace?
Yes, with sensible clearances. Keep at least 30 to 40 cm between the top of the fire and the bottom of the screen, and confirm your model’s stated clearance in its manual. Choose a fire whose heater outlet faces forward or downward, never upward at the TV. Route cables inside the wall for a clean finish.
Do electric fireplaces need to be installed by an electrician?
Plug in models need no electrician at all; a standard 13 amp socket is enough. Call a qualified electrician if you want the fire hardwired into a fused spur, a new socket added behind a media wall, or any cable run buried in the wall. Never extend ring mains or chase walls yourself without proper certification.
Are electric fireplace flames realistic?
Modern LED and water vapour effects look convincing from normal seating distance, especially in a dimmed room. They will not fool anyone up close the way marketing photos suggest. Choose deeper units with layered flame ribbons and a dark interior for the best effect, and view them in person or in honest video reviews before buying.