Living Room
24 Large Wall Decor Ideas That Fill Empty Spaces Beautifully
By Anna Wells · · 24 min read
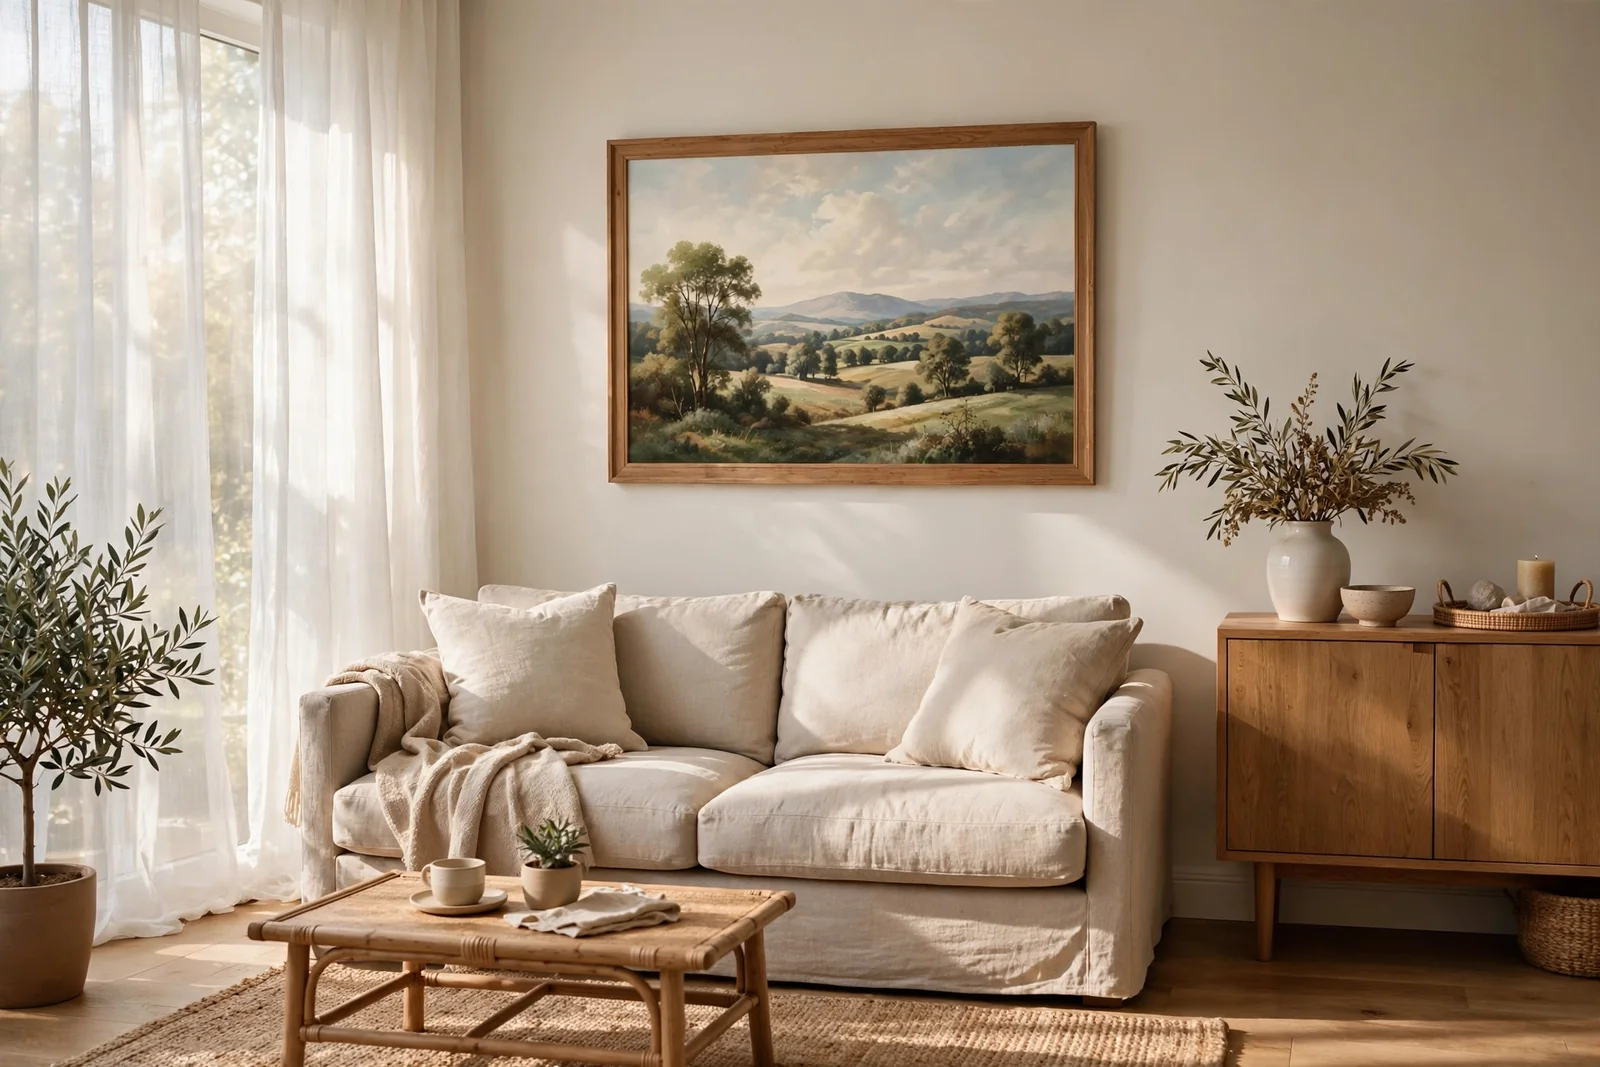
A big empty wall can make a whole room feel unfinished. These 24 large-scale ideas fill blank walls beautifully, with exact sizing rules, hanging heights and budget tips for each.
Morning light slides across a bare wall above the sofa and the room feels quieter than it should, as if something is still missing. That stretch of empty plaster is the single biggest difference between a room that feels finished and one that feels temporary, no matter how lovely the furniture beneath it happens to be.
The answer is rarely more small things. One generous piece, hung at the right height and scaled to the furniture below it, settles a wall far faster than a dozen little frames scattered hopefully across the space. Large wall decor works because it matches the scale of the room itself rather than competing with it.
Below you will find 24 concrete ideas for filling empty walls beautifully: oversized prints, plain woven textiles, round and arched mirrors, gathered baskets, long picture ledges, wall panelling and a calm oversized clock. Every idea includes real sizes, the two-thirds scale rule, hanging heights, materials, budget guidance and one common mistake to avoid, so you can choose with confidence and hang once.
1. Centre One Oversized Framed Print Over the Main Sofa
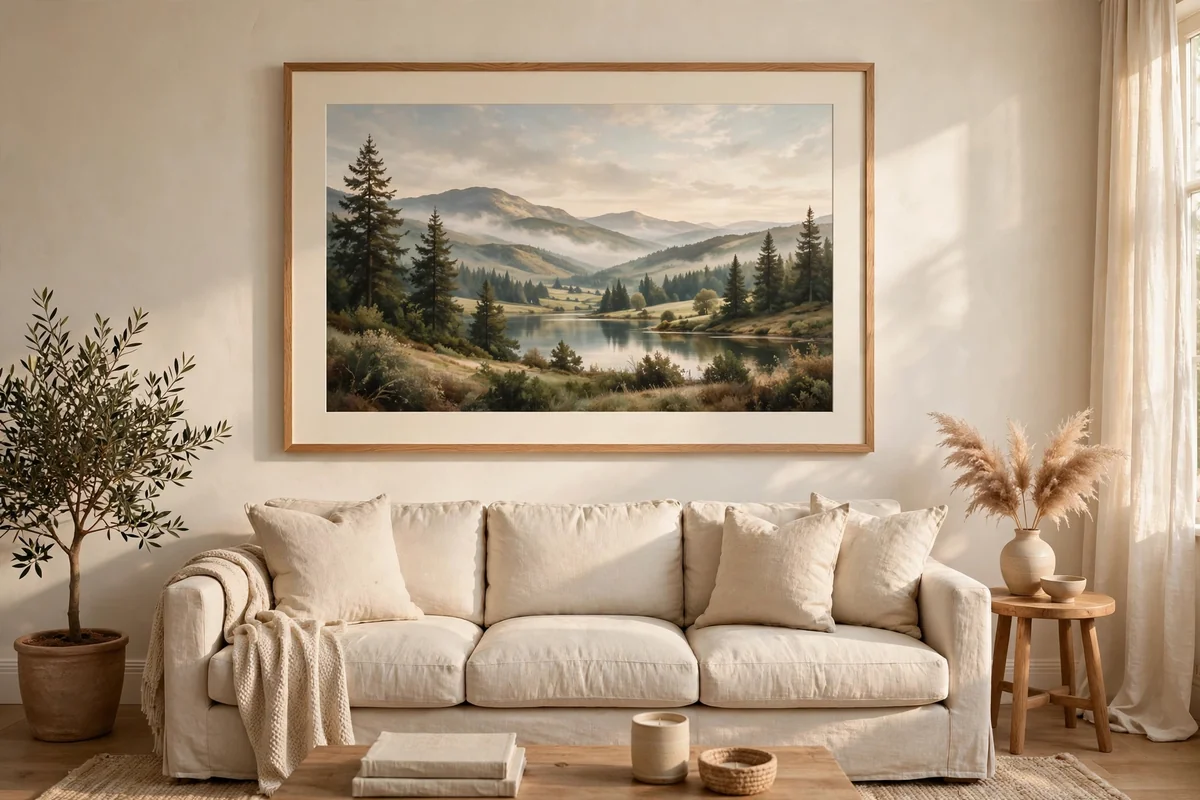
An oversized framed print between 90 and 120 cm wide settles the space above a three-seat sofa. Measure the sofa and choose art spanning two thirds of its width, so a 210 cm sofa pairs well with a print around 140 cm wide including its frame. Hang it so the centre sits about 145 cm from the floor, which suits most sightlines. A slim oak or black frame with a wide cream mount gives a calm gallery feel, and two D-ring hangers into studs or rated anchors are essential, since a large glazed frame can weigh over 8 kg.
The common mistake is hanging the frame too high, often because people centre it between the sofa top and the ceiling instead of on the room. Keep 15 to 25 cm of breathing room between the sofa back and the bottom of the frame. For budget shoppers, a quality art print in a ready-made frame costs a fraction of original art; look for print sizes at least A1 (59 by 84 cm) before framing. Choose muted landscapes, vintage botanical plates or soft abstract washes, since bold graphic prints dominate small living rooms and tire quickly.
2. Lean a Giant Canvas Frame Against the Wall at the Floor
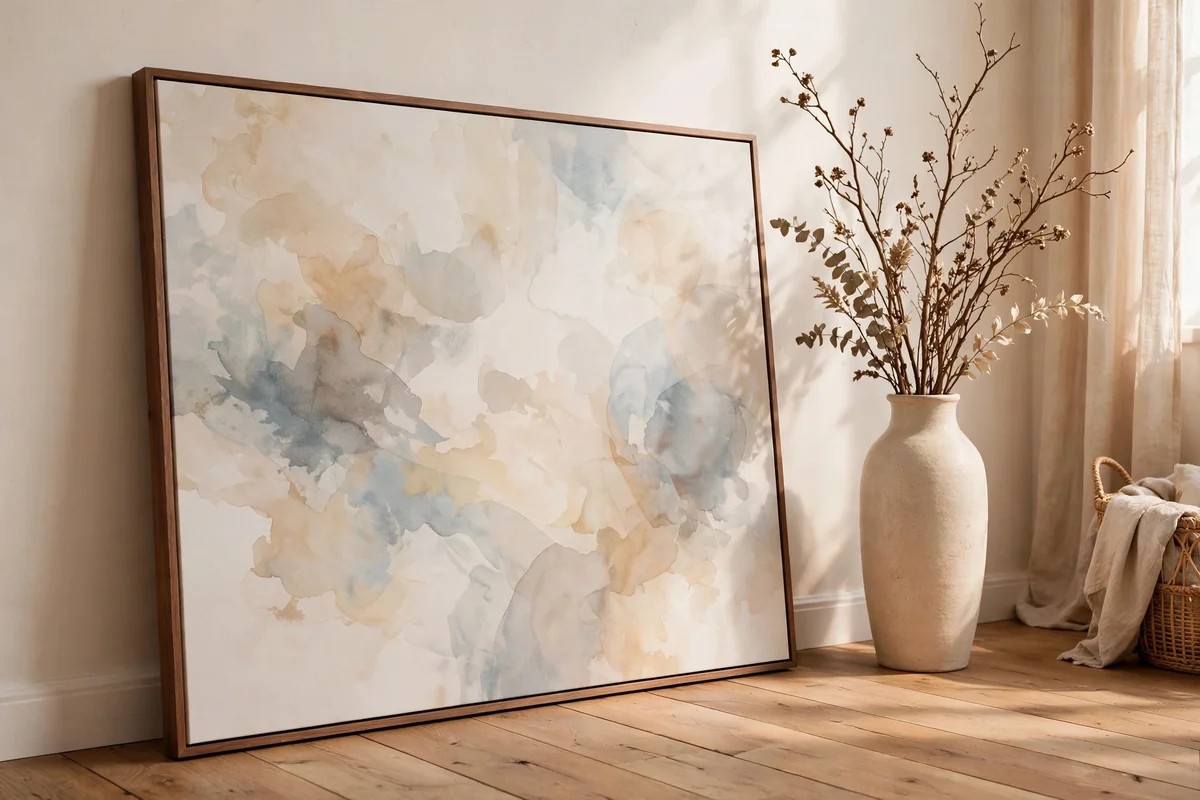
A giant unframed or float-framed canvas between 100 and 130 cm tall, leaned against the wall at the floor, brings relaxed gallery energy to an empty corner. Let the bottom edge rest on the skirting with a thin felt pad behind it, and tilt the top against the wall at a gentle angle so it cannot slide forward. This trick suits wide, empty walls beside sofas or flanking a fireplace where hanging hardware feels like too much commitment. Because the canvas sits low, its centre lands naturally near eye level when you are seated nearby.
Balance is everything: pair the leaning canvas with a tall floor vase or a slim ladder shelf on the opposite side so the composition reads as one intentional zone. The mistake to avoid is leaning a narrow canvas, which reads as accidental rather than styled; aim for a width of at least 70 cm. Budget tip: stretch your own canvas over a 60 by 90 cm frame kit, then paint simple washes in cream, clay and sage, which costs far less than a finished oversized piece and looks genuinely handcrafted.
3. Hang a Plain Woven Tapestry With a Softly Frayed Edge
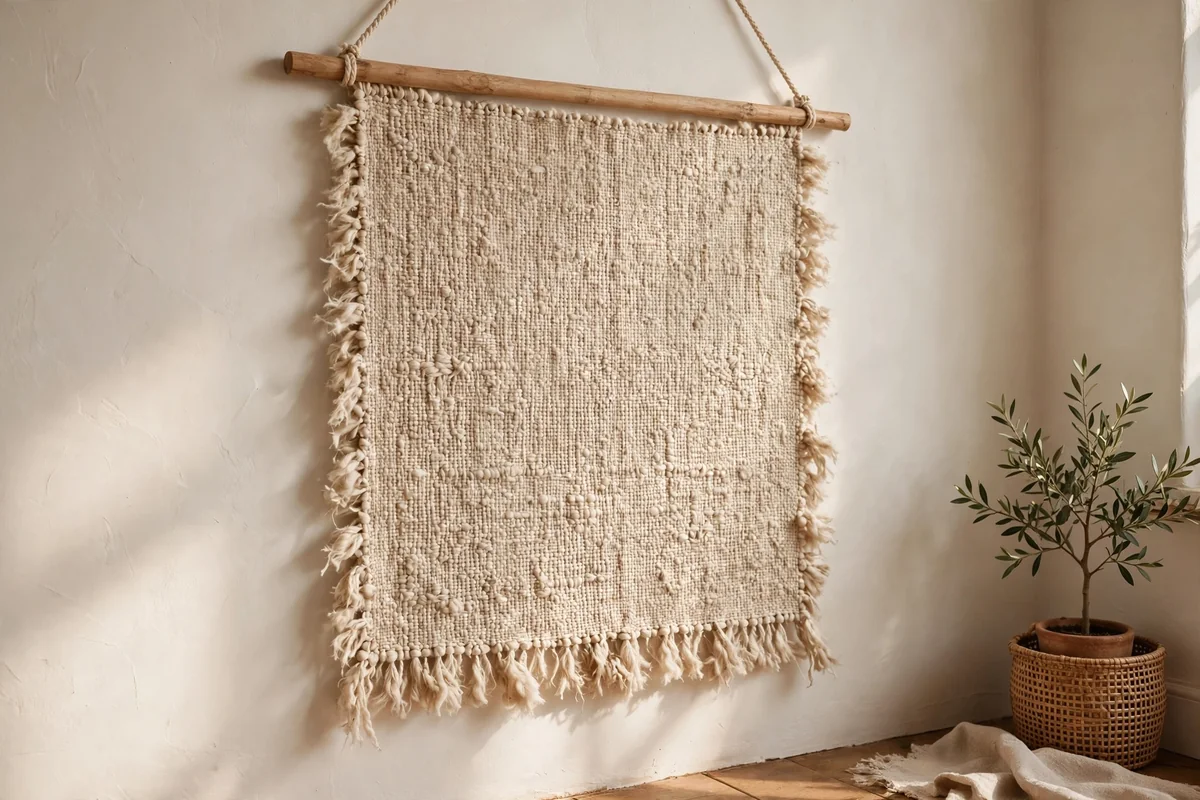
A plain woven tapestry around 120 to 150 cm wide softens a big wall in a way framed art cannot, adding texture and warmth instead of sharp edges. Hang it from a wooden dowel or a slender brass rod threaded through a folded sleeve at the back, with the rod extending 5 to 8 cm beyond each side of the cloth. Mount the rod about 20 cm above the tapestry’s resting height so the weave hangs with a gentle drape. Solid weaves in undyed wool, oatmeal linen or warm clay cotton suit heritage and calm interiors beautifully.
Steaming the tapestry before hanging removes packing creases that otherwise show for weeks. The mistake to avoid is choosing a busy printed tapestry, which fights the room; plain or subtly striped weaves let the texture speak. Budget shoppers will find handwoven pieces at craft markets for less than printed mass-market versions, and a simple woven panel doubles as sound softening in rooms with hard floors. Keep it out of direct sun, which fades natural fibres faster than framed prints.
4. Stretch a Long Linen Textile Panel on Two Wooden Dowels
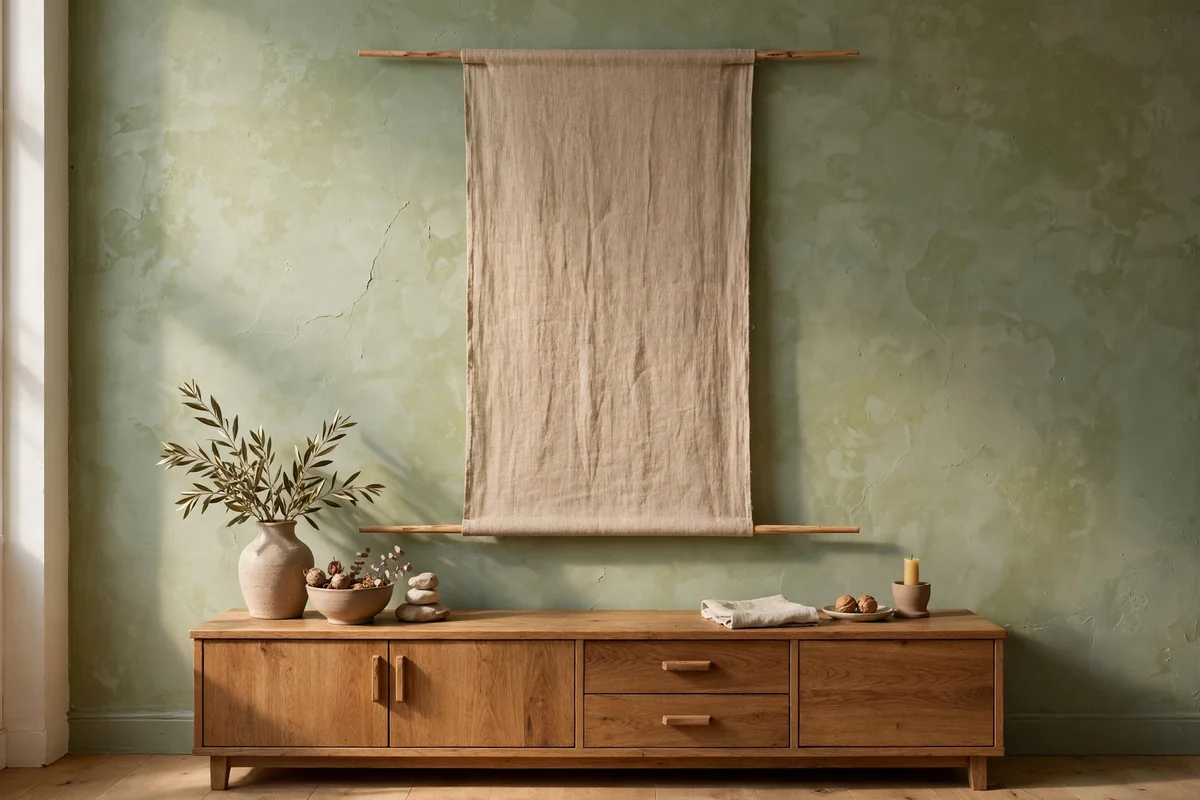
A long linen textile panel, roughly 180 cm wide and 90 cm tall, covers the awkward wide wall above a sideboard in one calm sweep. Thread the top and bottom hems over two slender wooden dowels, which pull the fabric taut and keep the bottom edge perfectly straight. Use simple leather or linen loops to hang the top dowel from two brass hooks, spaced about 120 cm apart and fixed with proper wall anchors. Natural linen in flax, stone or soft charcoal brings quiet texture that complements both pale and moody walls.
Press the linen with steam before mounting so the weave sits flat and even. The mistake to avoid is hanging the panel flush against a radiator or in a sunny window wall, where heat and light degrade the fibres. Mid-budget tip: buy linen by the metre from a fabric shop and hem the edges yourself, which costs far less than a ready-made wall hanging of the same size. A plain panel this size also absorbs a surprising amount of echo in open-plan rooms.
5. Mount a Large Round Mirror Above the Fireplace Mantel
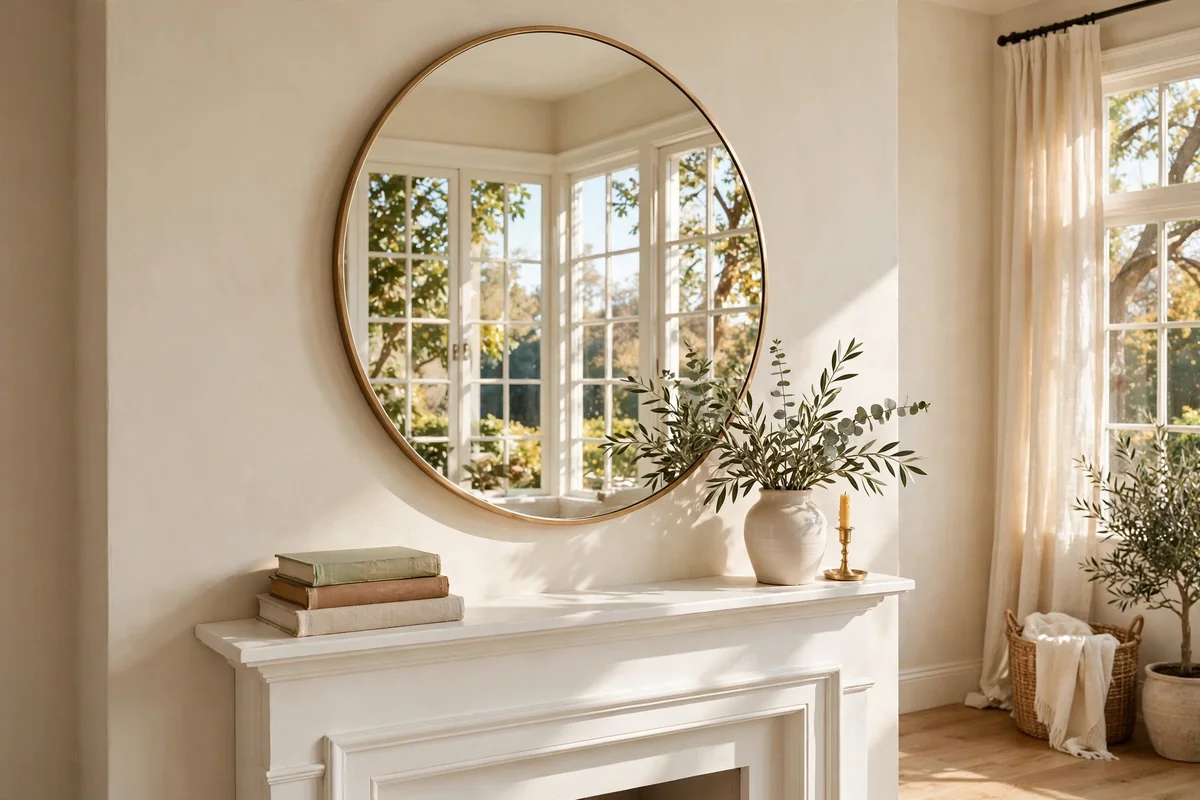
A large round mirror between 80 and 100 cm in diameter above the mantel doubles the light in a living room and makes a modest fireplace feel grand. Centre the mirror on the chimney breast and hang it so the bottom edge clears the mantel shelf by 10 to 15 cm, which keeps mantel styling from colliding with the glass. A thin brass, aged oak or black metal frame reads timeless, while ornate gilt suits heritage rooms. Fix heavy mirrors into studs or masonry with a mirror plate, since a 90 cm mirror can weigh 10 kg or more.
Before drilling, hold the mirror in place and check what it will reflect; a mirror facing a blank ceiling or a messy shelf doubles the wrong thing. Aim it to catch a window or a calm stretch of wall instead. The common mistake is choosing a mirror smaller than 60 cm over a full-size mantel, which looks timid and disconnected. Budget tip: a plain round mirror with a slim frame costs little and the scale does all the work.
6. Stand an Arched Full-Length Mirror in an Empty Corner
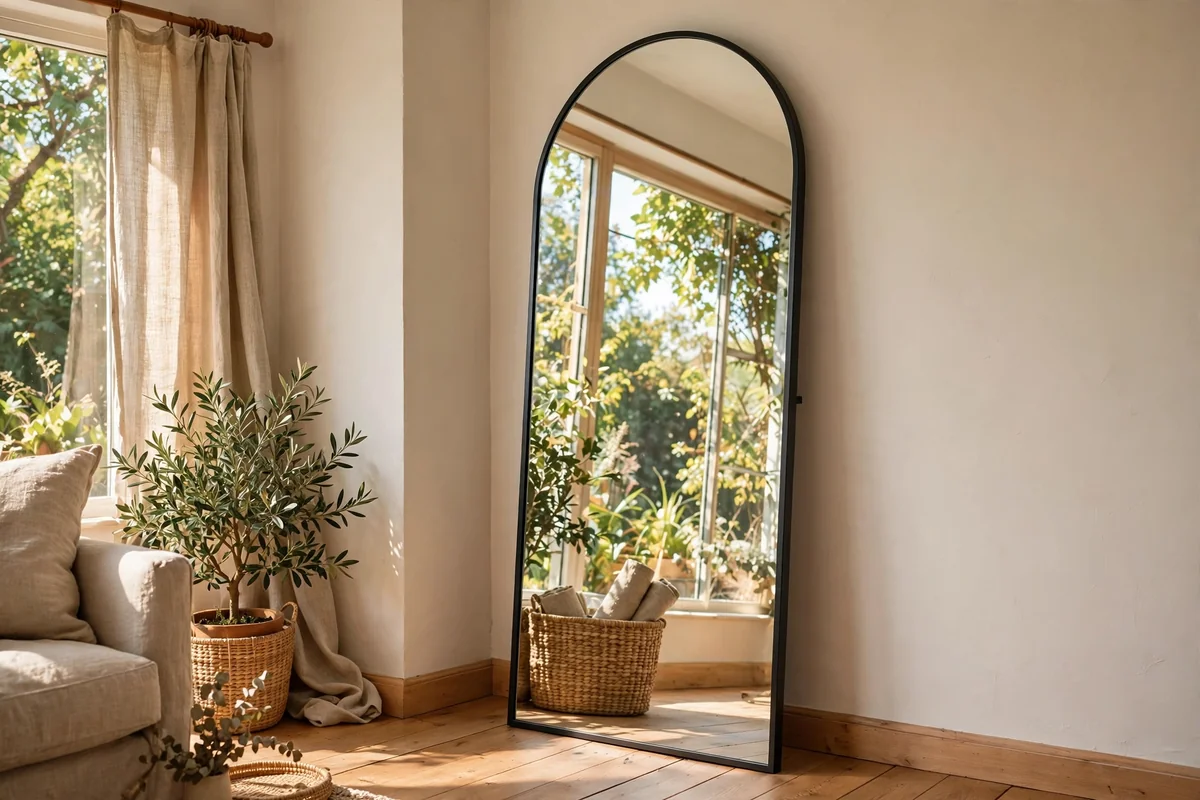
An arched full-length mirror between 150 and 180 cm tall turns a dead corner into a quiet architectural moment. The arch softens boxy rooms and its height draws the eye upward, which makes low ceilings feel taller. Lean it against the wall at a slight angle with the base at least 30 cm out from the skirting, or fix it with two concealed wall brackets if the household has small children. A slim oak or black steel frame keeps the shape elegant rather than fussy, and the reflection should catch a window or greenery for the best effect.
Style around it simply: one tall floor vase with dried branches or a slim woven basket nearby is enough, since clutter at the base breaks the clean line. The mistake to avoid is wedging the mirror exactly into the corner where it reflects two walls of skirting and nothing else. Mid-range arched mirrors offer the best value; budget versions often warp the reflection. Dust the glass weekly with a microfibre cloth and the room keeps its airy feeling.
7. Build a Sunburst Cluster of Seven Woven Wall Baskets
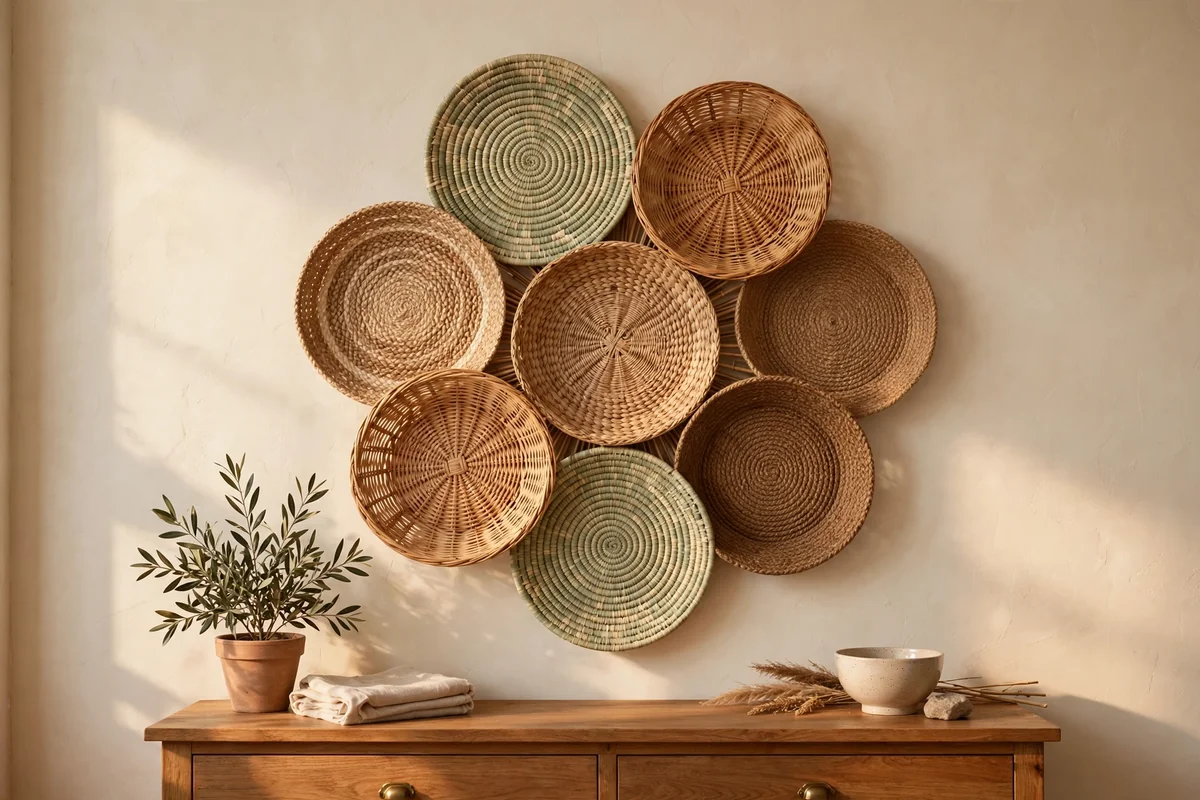
Seven flat woven baskets in graduated sizes, arranged in a loose sunburst, fill a large wall with handmade warmth for very little money. Use one large centre basket around 45 cm across, surrounded by six smaller ones between 20 and 30 cm, mixing seagrass, rattan and jute tones for depth. Trace the layout on paper first, then fix each basket with a single small nail or a removable hook rated for under 1 kg, which keeps renting households happy. A cluster spanning 120 to 150 cm across suits the wall above a console or a dining sideboard.
Step back after every two baskets to check the spacing, aiming for 5 to 8 cm gaps that stay consistent. The mistake to avoid is a rigid symmetrical grid, which flattens the organic charm; let one or two baskets sit slightly off the circle. Budget tip: charity shops and market stalls yield baskets for a few pounds or dollars each, so the whole cluster often costs less than one framed print. Dust the weave monthly with a soft brush.
8. Arrange Flat Seagrass Bowls in a Loose Asymmetrical Grid
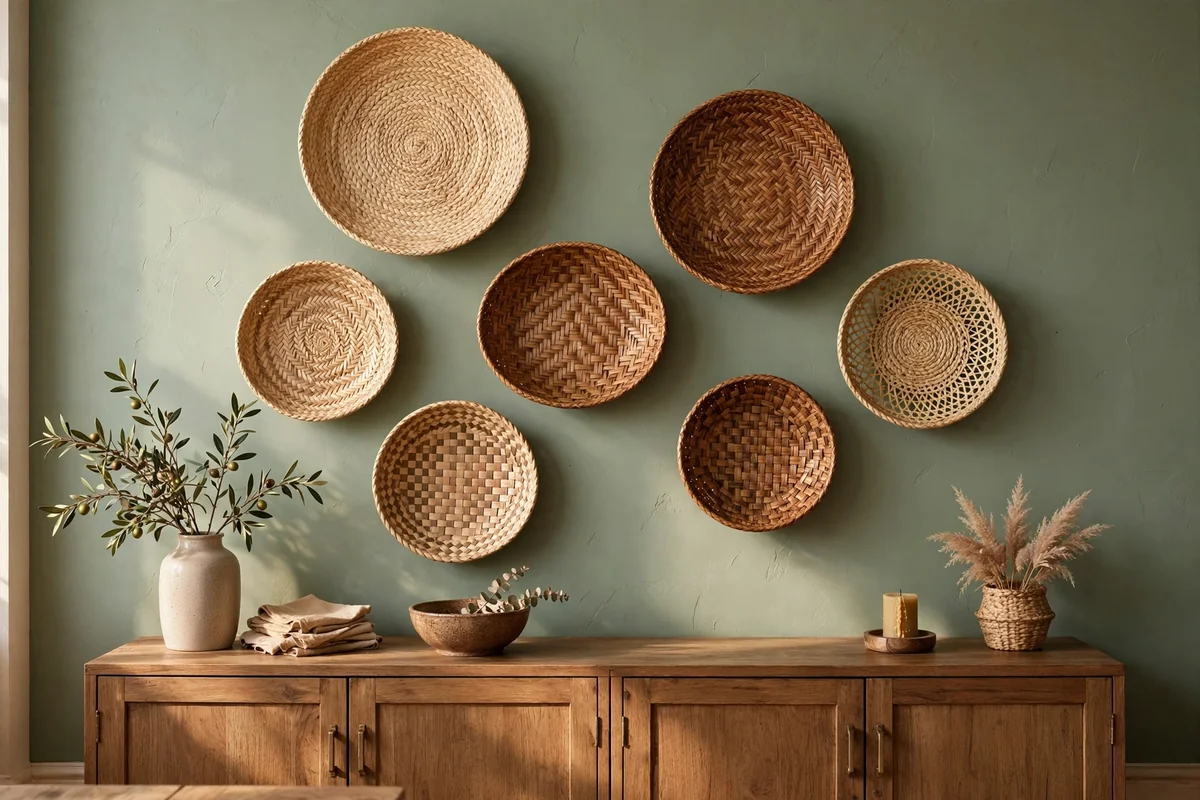
Flat seagrass bowls between 25 and 40 cm across, arranged in a loose asymmetrical grid, bring calm pattern and texture to an empty dining or hallway wall. Plan a rectangle roughly 130 cm wide and 100 cm tall, then place five to seven bowls with uneven gaps of 8 to 12 cm so the arrangement feels collected rather than stamped out. Hang each on a single slim nail, checking the level only for the outer edges, since perfect alignment kills the relaxed effect. Natural and tea-stained tones layer beautifully against warm white or sage paint.
Vary the weave patterns: mix open twill, coiled rope and chevron designs for visual rhythm. The mistake to avoid is clustering all the bowls in the middle of a large wall, leaving awkward empty margins; the grid should span about two thirds of the wall’s width. Budget tip: buy bowls in multipacks and gift the extras. Keep them away from steam and splashes, as moisture darkens seagrass unevenly over time.
9. Run a Single Long Picture Ledge With Layered Art Frames
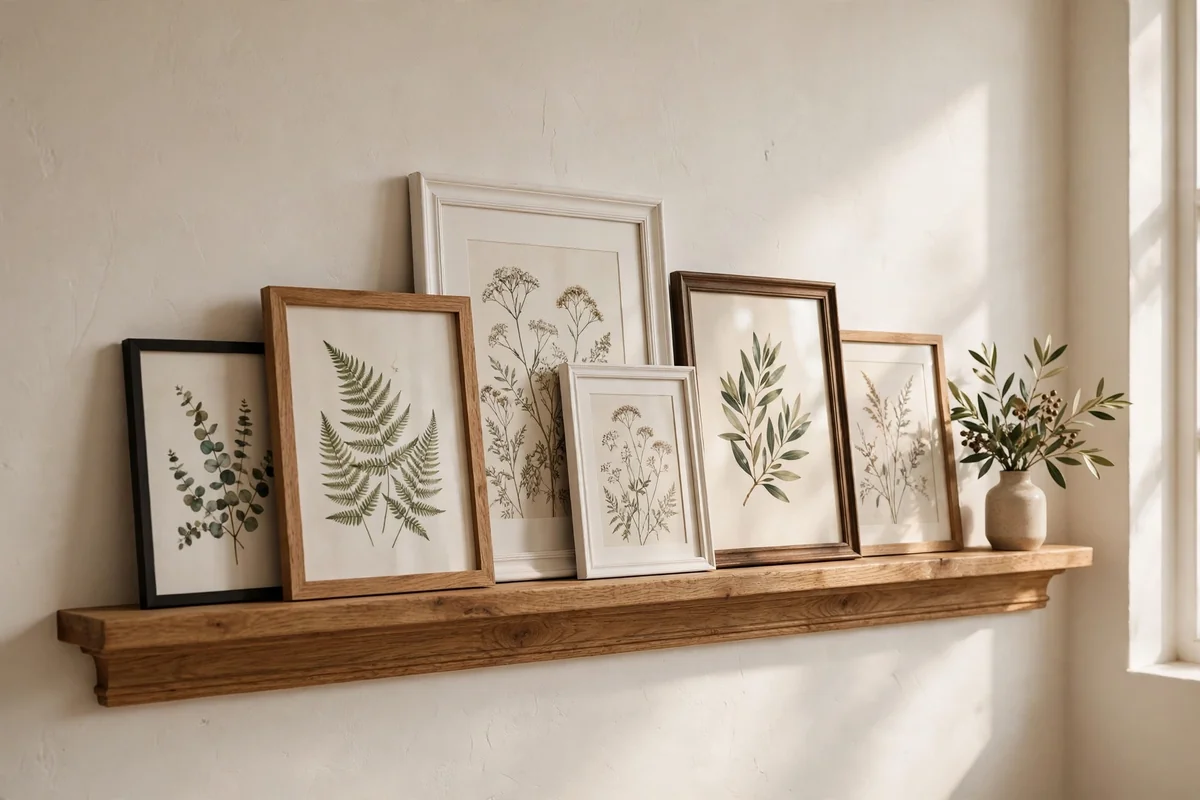
A picture ledge 150 to 200 cm long at eye level turns an empty wall into an ever-changing gallery without new holes each time you restyle. Fix the ledge with its top edge about 150 cm from the floor, driving screws into studs or using anchors rated for at least 20 kg, since layered frames add up. Choose a ledge with a 9 to 12 cm deep shelf and a small front lip so frames lean safely. Layer three to five frames in mixed sizes, overlapping slightly, with one tall anchor piece around 50 cm high at one end.
Restyle seasonally by swapping one or two frames rather than the whole row, which keeps the wall feeling fresh for free. The mistake to avoid is lining frames up in a perfect row like books; vary heights and depths so the silhouettes overlap. Budget tip: second-hand frames painted in one unifying colour look far more expensive than matching new sets. Keep the shelf dusted, since ledges show dust faster than hung frames.
10. Stack Two Parallel Picture Ledges for a Double Display Row
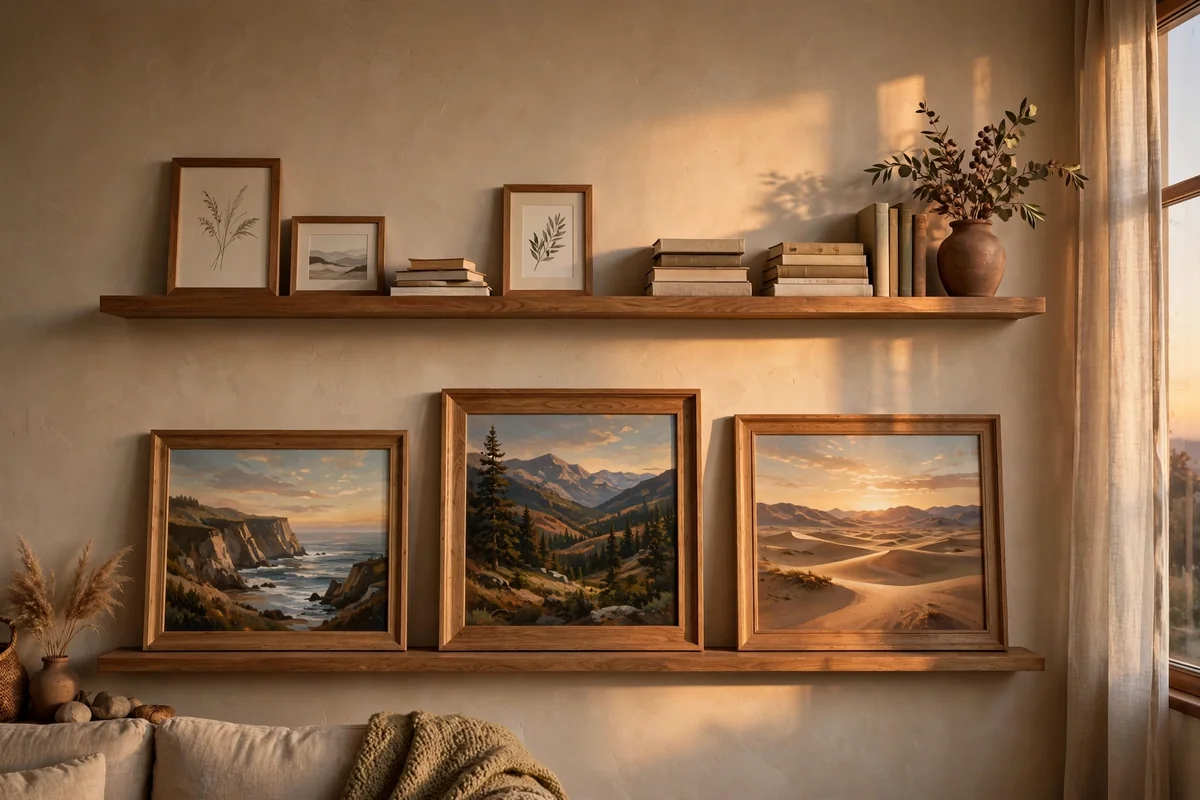
Two parallel picture ledges, each 140 to 180 cm long, stacked 35 to 45 cm apart, fill a tall blank wall from sofa to ceiling with easy elegance. Mount the lower ledge around 140 cm and the upper around 180 cm from the floor, checking both with a spirit level before fixing. Style the lower row with larger frames of 40 to 50 cm and reserve the upper row for smaller pieces, books and tiny objects, so the weight sits low and the composition feels stable. Consistent frame finishes across both rows tie the double display together.
Leave 15 to 20 cm of empty shelf at one end of each ledge so the arrangement breathes. The mistake to avoid is filling every centimetre, which turns a gallery into clutter at a glance. Budget tip: install both ledges in one afternoon with a helper holding the level, since two-person mounting halves the time and error. Rotate a small vase of dried stems or a folded textile between the rows for softness.
11. Add Box Moulding Squares to Give the Wall Its Own Architecture
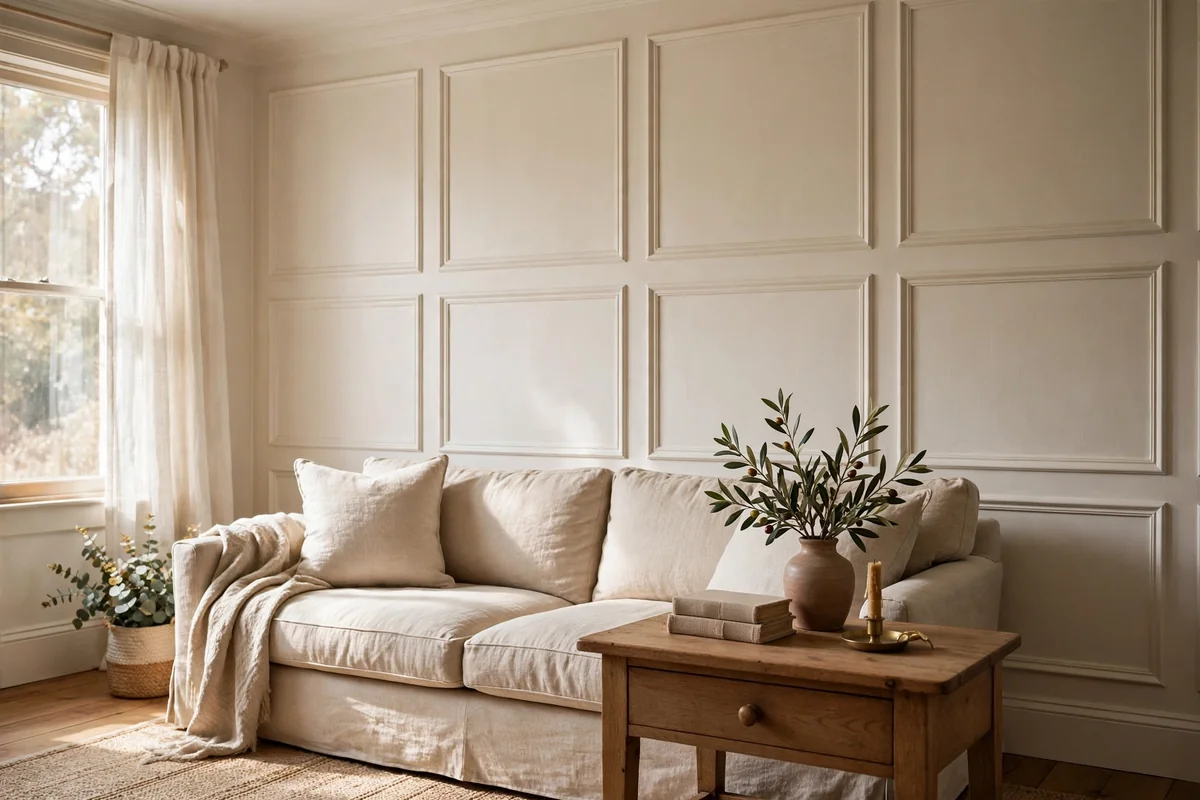
Box moulding squares turn a flat plaster wall into quiet architecture for the cost of timber trim and paint. Plan rectangles 60 to 90 cm wide in a grid across the wall, keeping 10 to 15 cm margins at the edges and 8 to 10 cm gaps between boxes. Cut 4 to 6 cm wide primed pine moulding with mitred corners, fix with adhesive and panel pins, then fill, sand and paint everything the same colour as the wall for a seamless panelled look. The result reads as heritage character rather than applied decoration.
Painting wall and moulding one colour keeps the effect refined; contrasting the boxes with a deeper tone is bolder and suits confident schemes. The mistake to avoid is sizing boxes by guesswork on the wall itself, which leads to lopsided rows; draw the full grid on paper first. Mid-budget tip: a single 3 by 2.4 m wall needs about 20 metres of trim and one weekend. Let the adhesive cure fully before painting.
12. Fit Vertical Timber Slats Behind the Console Table
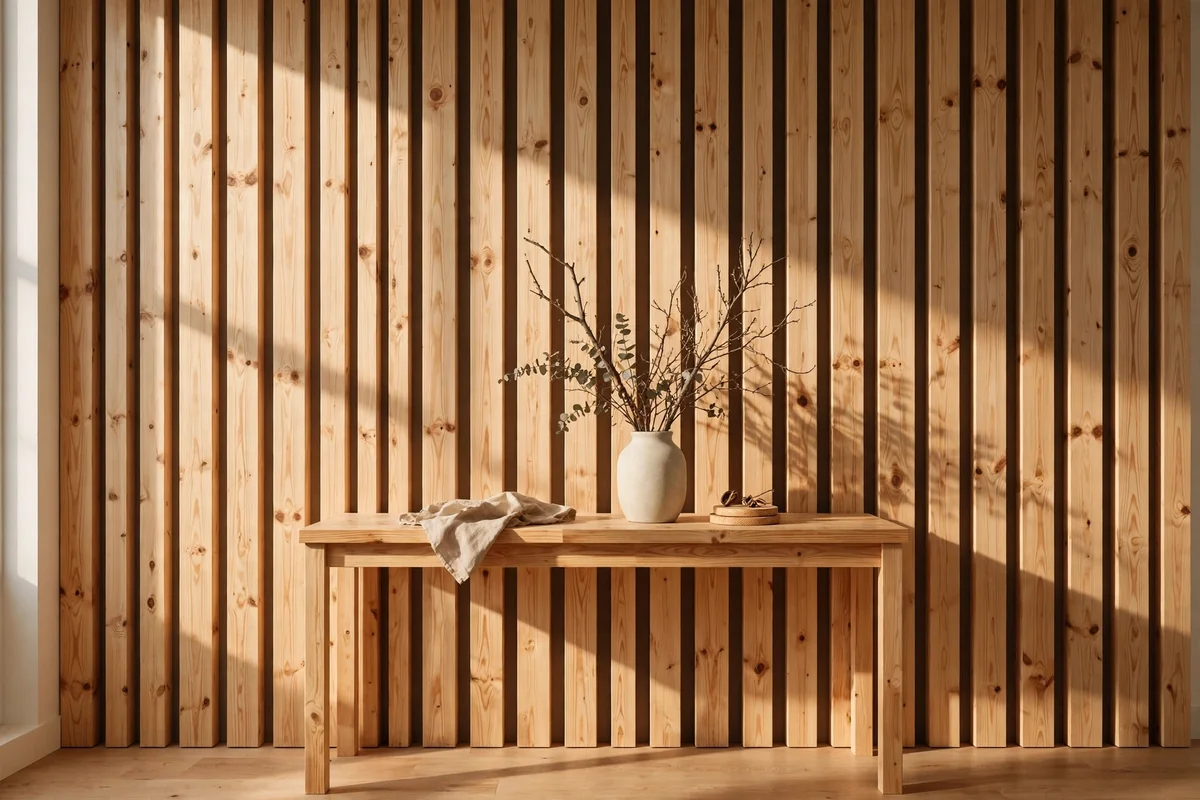
Vertical timber slats, each 3 to 5 cm wide with 1 to 2 cm shadow gaps, bring rhythm and height to the wall behind a console table. Cut slats to run from skirting to ceiling or from the console top upward for a framed panel effect about 150 cm wide. Fix them to horizontal battens with pins and wood glue, then finish in a clear oil or paint them the wall colour for subtlety. The shadow gaps create gentle lines of depth that make flat walls feel considered and crafted.
Back the slats with a dark felt or painted panel if you want the gaps to read as crisp lines rather than plaster. The mistake to avoid is uneven spacing, which the eye catches instantly; use a spacer block between every slat. Budget tip: pine slats oiled with a natural finish cost far less than oak and look warm and honest. Keep the styling in front simple, since the slats are the decoration.
13. Panel the Full Height of an Alcove in Painted Shaker Style
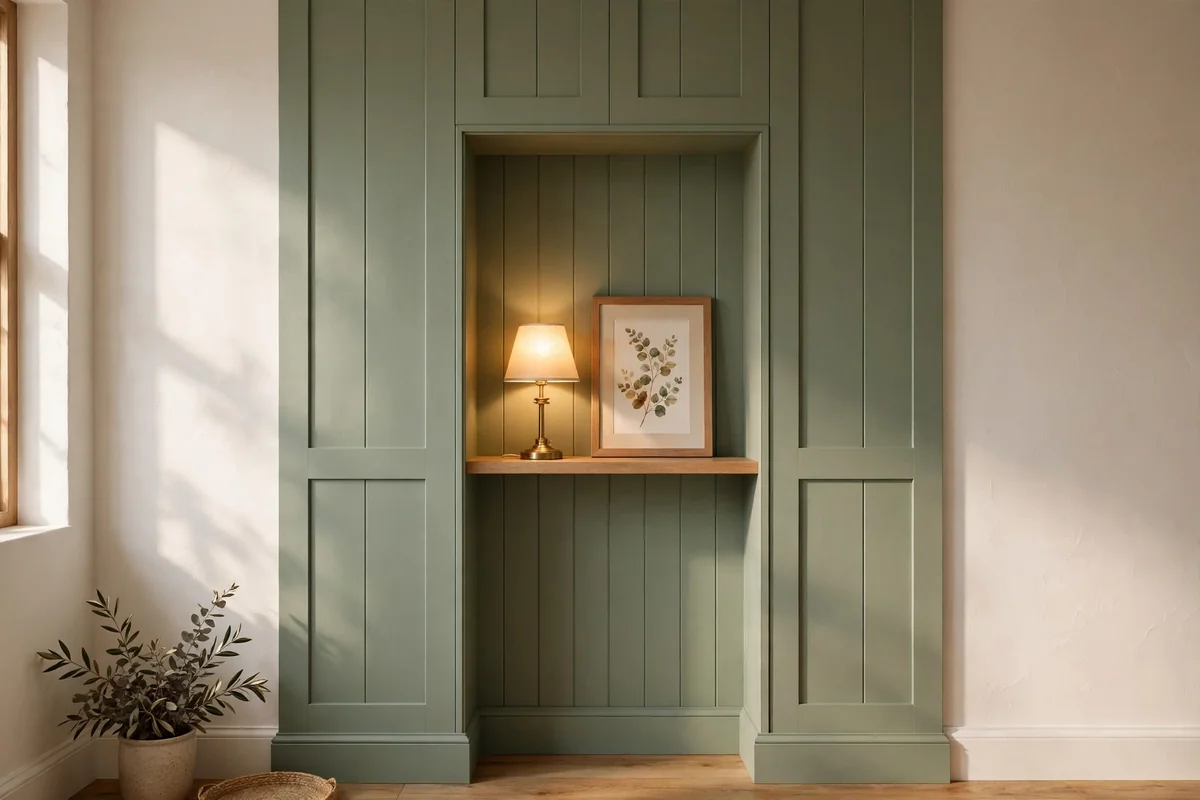
An alcove panelled full height in painted shaker style turns an awkward recess into the most charming part of the room. Build simple rectangular frames from 8 to 10 cm wide MDF or pine strips, spacing uprights 40 to 60 cm apart from skirting to ceiling. Paint the panelling a soft heritage colour like warm white, sage or muted clay, and carry the same colour onto the skirting and ceiling cornice inside the alcove for a fitted feel. Alcoves around 90 to 120 cm wide panel in a single day once materials are cut.
The mistake to avoid is leaving the top of the panelling raw against a textured ceiling; run a simple cornice or picture rail across the top edge for a finished line. Budget tip: MDF strips cost little and paint beautifully with two coats of eggshell. Dress the finished alcove with a small lamp, one framed print and a stack of books, which completes the built-in look without clutter.
14. Hang an Oversized Round Clock With a Plain Numberless Face
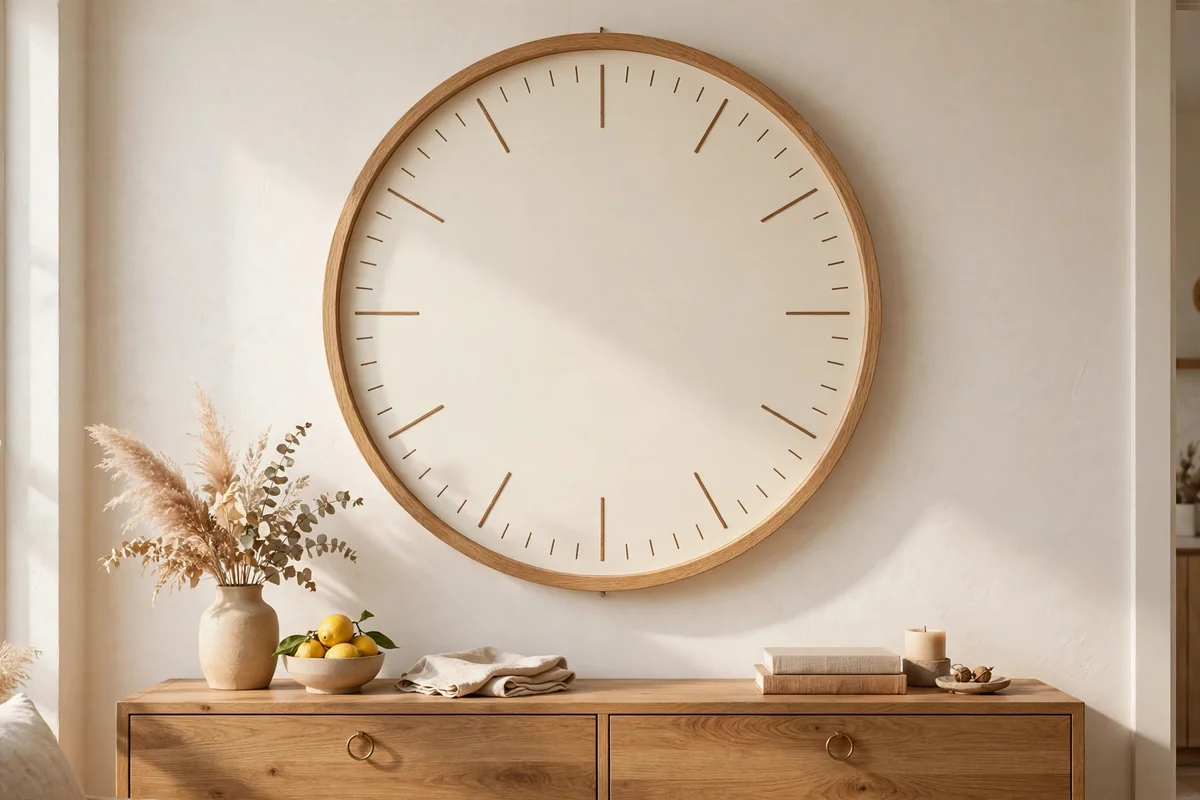
An oversized round clock between 60 and 80 cm across anchors an empty wall with quiet function, needing no numerals to look refined. A plain cream, stone or soft black face with simple baton markers suits calm interiors, while a slim oak or iron rim keeps the silhouette clean. Hang it so the centre sits about 160 cm from the floor, which reads naturally above a sideboard or in a hallway. Check the movement is silent sweep rather than ticking, since an audible tick dominates a quiet living room within days.
Use a sturdy hook rated for 5 kg or more, as oversized clocks are heavier than they look. The mistake to avoid is hanging the clock where glare from a window wipes out the face for half the day; test the reflection at midday before drilling. Budget tip: large plain-faced clocks are widely available at sensible prices, so spend the saving on a quality movement. Change batteries yearly on a fixed date to keep it reliable.
15. Group Three Matching Botanical Prints Into One Statement
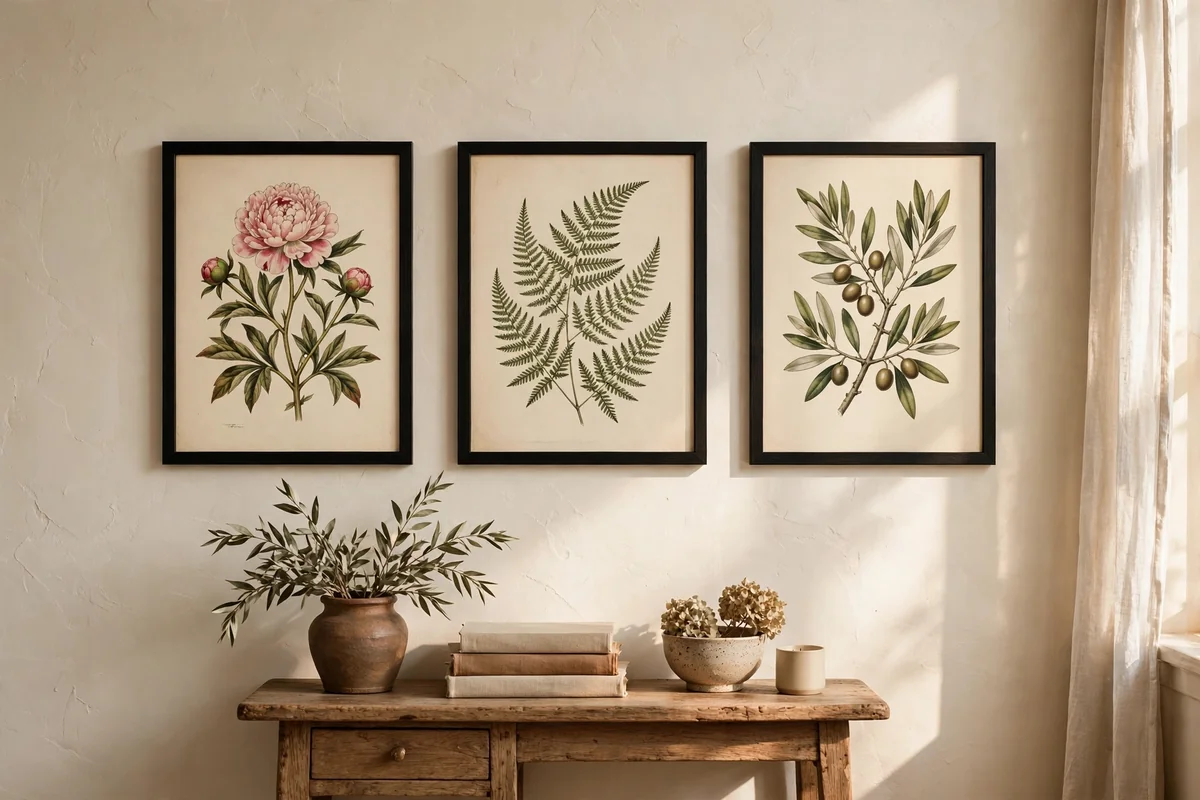
Three matching botanical prints in identical frames, hung as one horizontal statement, fill a wall with calm symmetry for modest cost. Choose prints 30 by 40 cm each and space them 5 to 8 cm apart, so the trio spans roughly 105 to 115 cm, which suits the wall above a loveseat or a narrow console. Identical slim frames in oak, black or white make the group read as a single deliberate piece. Hang the centre of the row at 145 to 150 cm from the floor for comfortable viewing.
Align the tops with a spirit level and a single pencil line before fixing, since three separate frames magnify any tilt. The mistake to avoid is mixing three different frame styles, which turns a statement into a jumble. Budget tip: vintage-style botanical plates print beautifully at home or a copy shop, and three matching charity-shop frames painted one colour cost very little. Pressed foliage, herbs or seed heads suit kitchens and hallways equally well.
16. Hang a Salon Row of Five Graded Frames Above the Sideboard
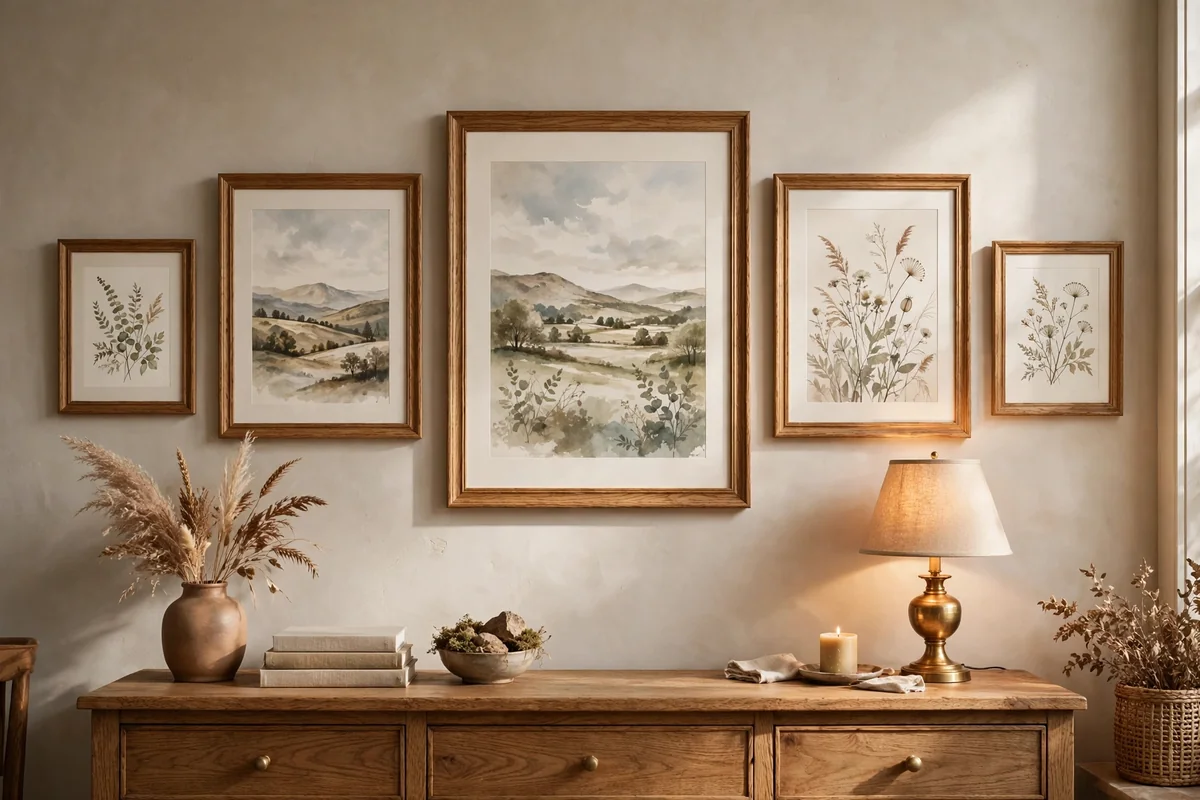
Five frames in graded sizes, hung in a salon row above a sideboard, create a collected gallery feel that fills a wide wall completely. Arrange them so the largest frame, around 50 by 70 cm, sits at the centre or slightly off-centre, flanked by pairs stepping down to 30 by 40 cm. Keep gaps of 6 to 10 cm and a consistent bottom line about 20 cm above the sideboard top. Mixed artwork in one unifying frame colour, such as all black or all oak, keeps the variety calm rather than chaotic.
Lay the arrangement on the floor first and photograph it, which reveals imbalances before any holes are drilled. The mistake to avoid is hanging the row too wide for the sideboard; keep the total span to about two thirds of the furniture width below. Budget tip: combine charity-shop frames with printed art and one or two family sketches or pressed leaves for a personal, handcrafted gallery.
17. Centre a Nine-Frame Gallery Grid on the Dining Wall
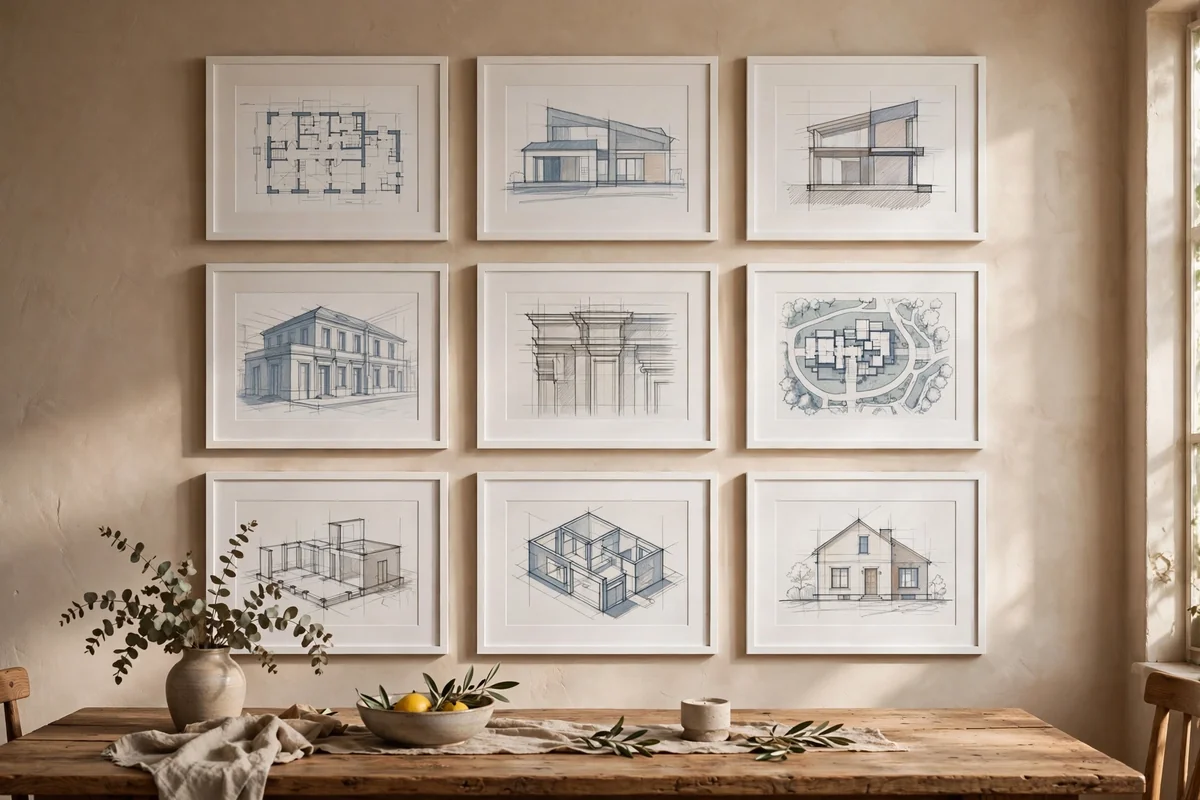
A nine-frame grid, three by three, in identical frames centres a dining wall with quiet authority. Use 30 by 30 cm or 30 by 40 cm frames with 5 to 7 cm gaps, so the full grid spans roughly 100 to 135 cm, a generous but controlled statement. Identical frames and matching mounts are non-negotiable for a grid; any variation breaks the geometry. Hang the centre of the whole grid at 145 cm from the floor, and mark every position on paper templates taped to the wall before drilling a single hole.
Choose a loose theme for the artwork, such as landscapes, architectural sketches or pressed botanicals, in a shared palette of two or three colours. The mistake to avoid is mixing glossy and matte finishes, which catches light unevenly across the grid. Budget tip: buy one multipack of identical frames rather than nine singles, which is far cheaper. A grid this disciplined suits formal dining rooms and calm hallways especially well.
18. Mount One Large Round Carved Wood Wall Sculpture
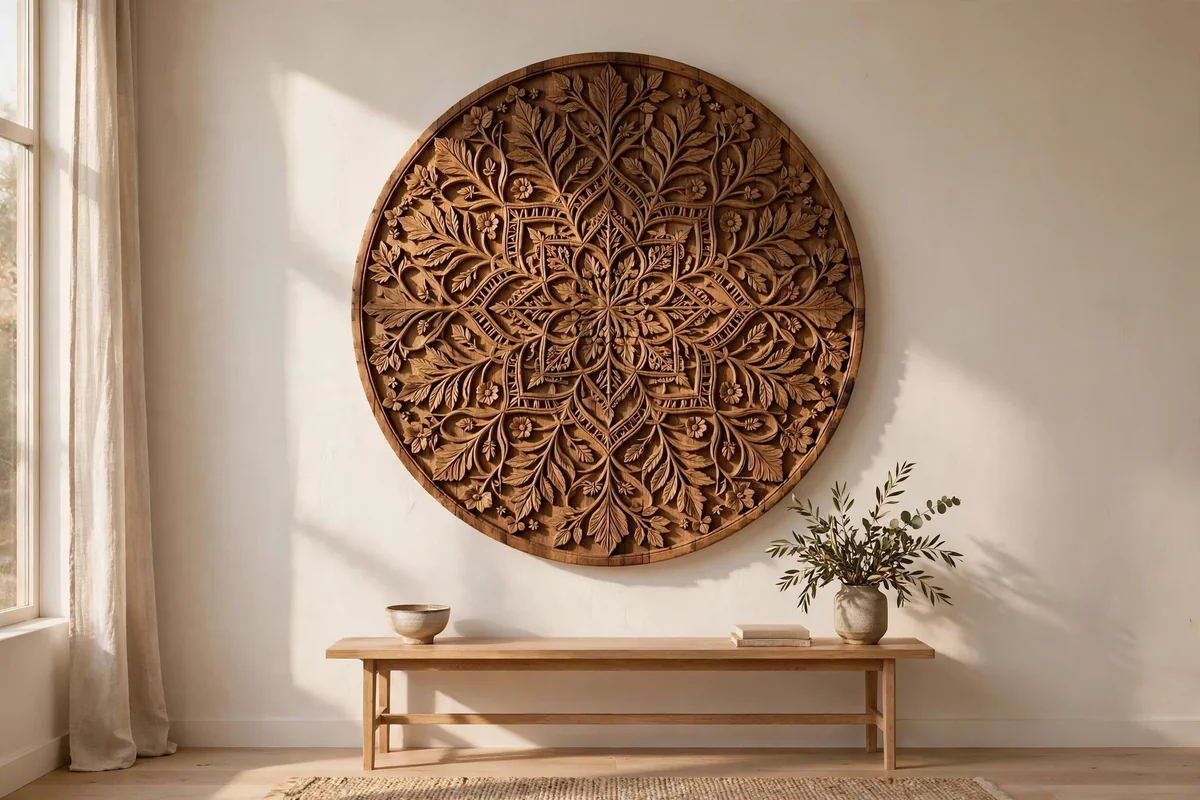
One large round carved wood sculpture, 70 to 90 cm across, gives a big wall a handcrafted focal point that flat art cannot match. The relief catches light and shadow through the day, so the piece changes character from morning to evening. Centre it at 150 cm from the floor on the main empty wall, and give it generous clear space of at least 40 cm on every side so nothing competes. Fix into studs or masonry with heavy-duty anchors, since carved pieces can weigh 6 to 9 kg.
Pair it with simple surroundings: a plain wall colour and minimal furniture nearby let the craftsmanship lead. The mistake to avoid is flanking a carved sculpture with busy patterned curtains or artwork, which drowns its quiet detail. Mid-budget tip: carved panels from craft fairs and artisan markets offer genuine handmade character at fair prices, far below gallery pieces. Dust the carving monthly with a soft dry brush to keep the relief crisp.
19. Dress a Tall Open Bookshelf as a Wall of Living Art
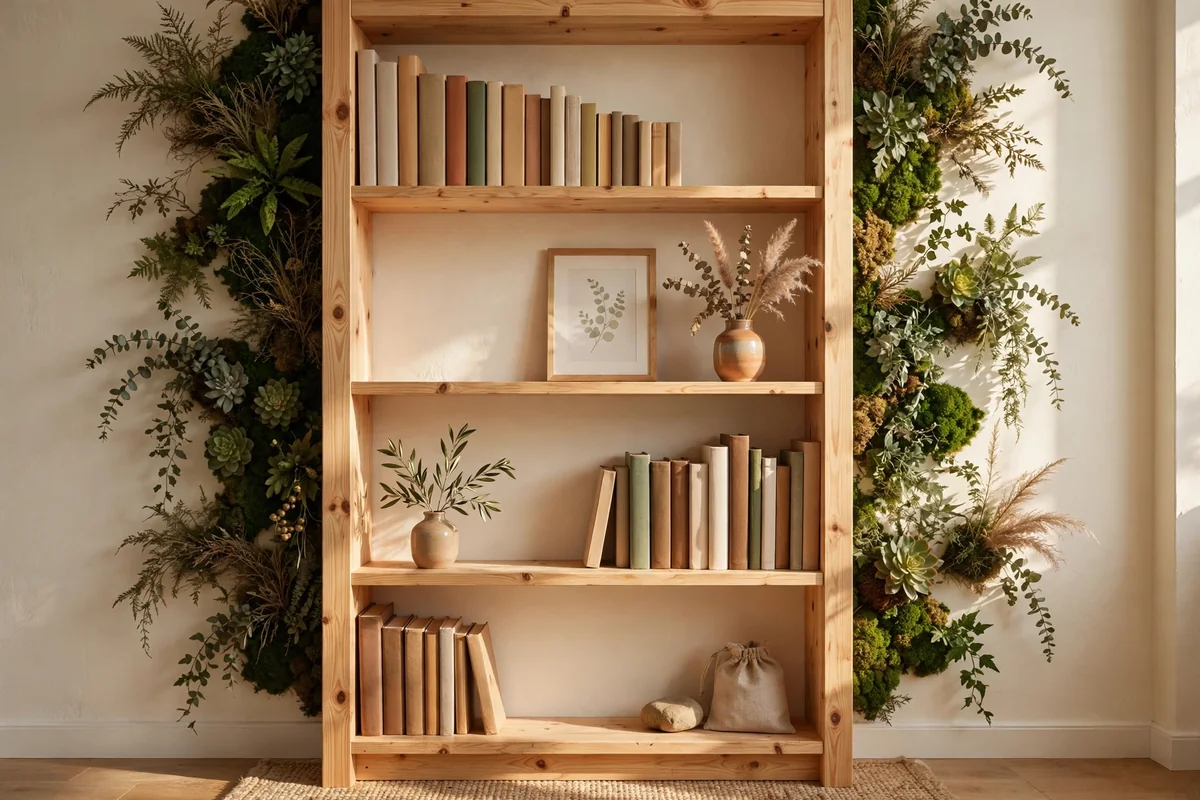
A tall open bookshelf, 180 to 200 cm high and 80 to 100 cm wide, placed against an empty wall becomes living art when styled with intention. Fill shelves with books grouped by height and colour, then leave one shelf in three deliberately sparse with a single vase, a small framed print or a folded textile. Lean artwork against the back of a shelf and layer a tiny object in front, which creates the depth of a gallery wall in three dimensions. Anchor the bookcase to the wall with anti-tip straps, which is essential in family homes.
The mistake to avoid is cramming every shelf edge to edge with books, which reads as storage rather than decor; breathing room is what makes it art. Budget tip: a simple pine bookcase painted the wall colour looks built in for the price of a tin of paint. Rotate one shelf seasonally with dried stems, a lantern or a small woven basket to keep the wall feeling alive.
20. Hang a Large Framed Vintage-Style Map of the Region
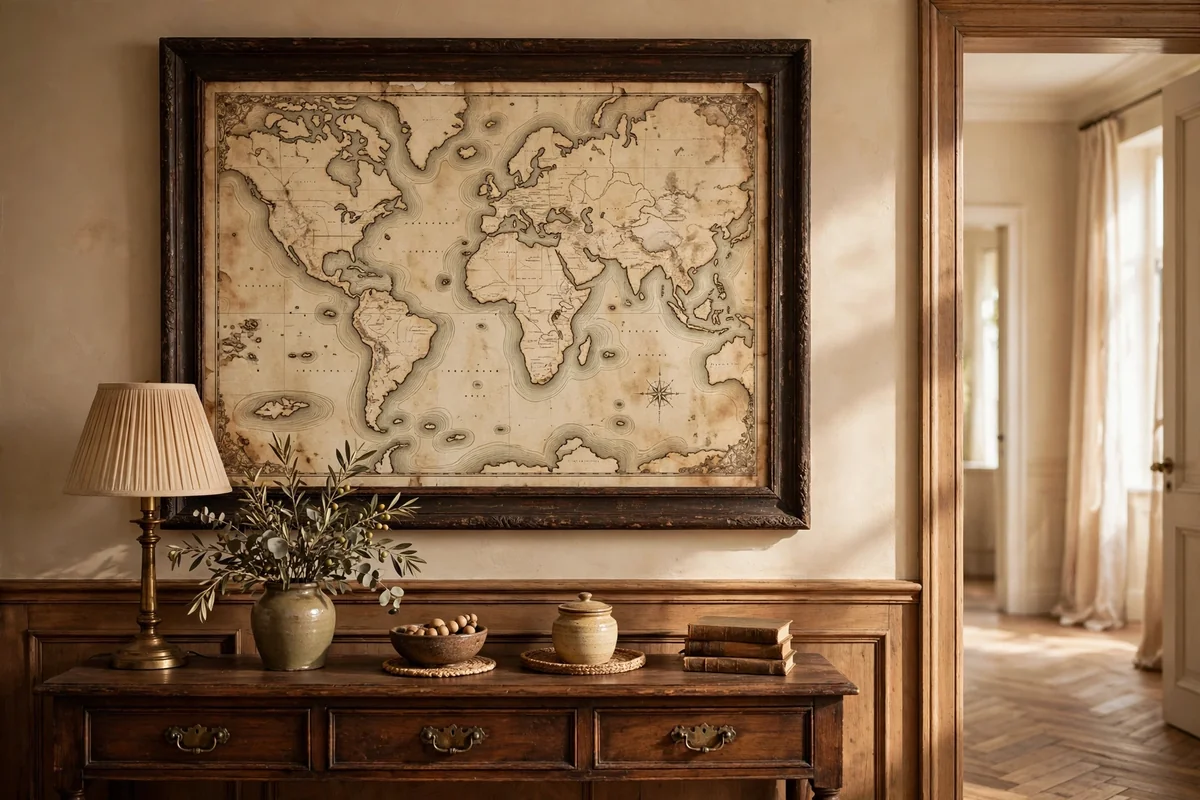
A large framed vintage-style map, around 80 by 100 cm, fills an empty study or hallway wall with heritage charm and quiet conversation. Choose maps of your own region or a beloved coastline, printed in aged parchment tones with soft sepia coastlines. Frame it in dark wood or aged brass with a plain mount, and hang the centre at 145 to 150 cm from the floor. A map this size spans two thirds of a standard console table, which makes it a natural partner for hallway styling.
The mistake to avoid is a glossy modern road map, which reads as office rather than home; seek reproductions of antique cartography with decorative borders. Budget tip: public archives and museum shops sell high-resolution map prints affordably, and a standard large frame keeps costs down. Keep maps out of direct sun, since the aged tones fade quickly under strong light, and wipe the glass with a dry cloth.
21. Stretch a Wide Textured Wall Hanging on a Brass Rod
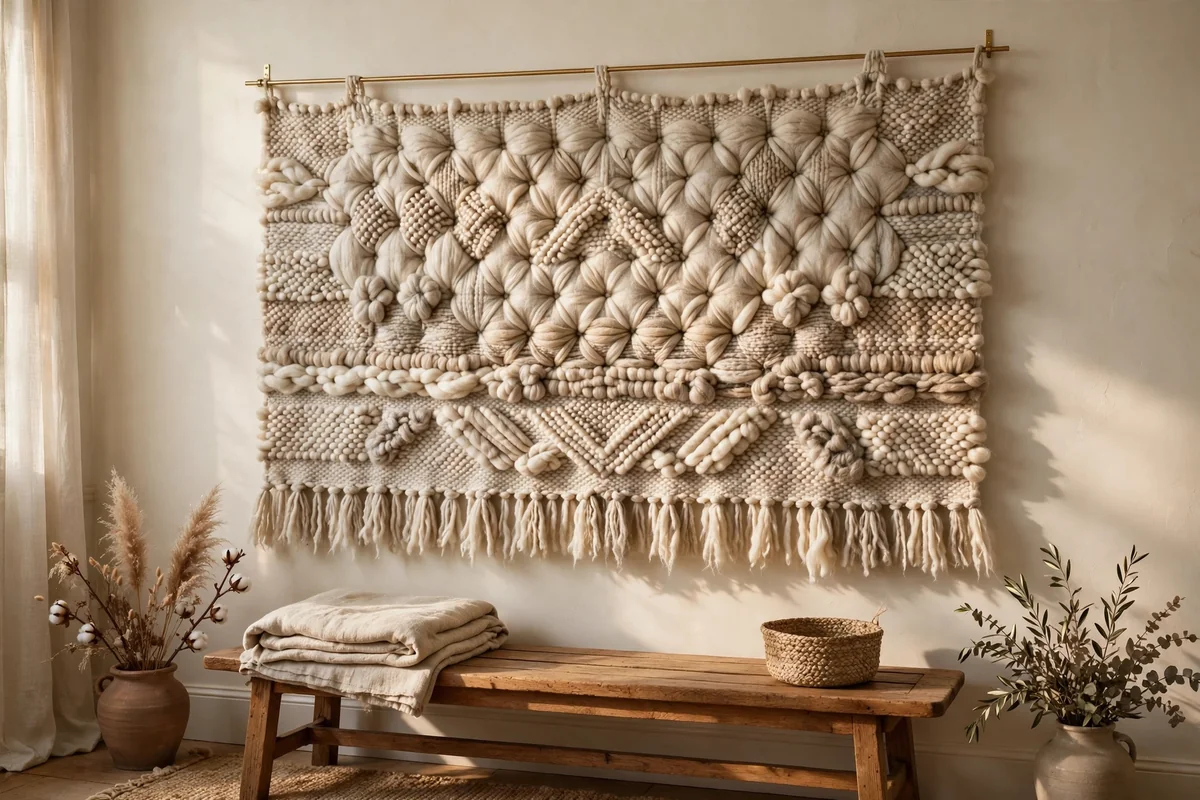
A wide textured wall hanging, roughly 140 cm across and 100 cm deep, on a slender brass rod brings tailored softness to a bedroom or sitting-room wall. Choose macrame, tufted wool or chunky woven cotton in undyed neutrals, and let the bottom edge fall in points, fringe or a gentle scallop. Mount the rod 15 cm wider than the hanging on two sturdy brackets, with the top of the piece about 25 cm above the furniture below. The brass adds a quiet gleam that lifts the natural fibres.
Comb the fringe gently after hanging and trim any stray threads with sharp scissors for a tidy edge. The mistake to avoid is choosing a hanging deeper than the space allows; check the bottom clears bedside tables or radiators by at least 15 cm. Mid-budget tip: handmade fibre pieces from independent makers cost more than mass-market versions but last decades and hold their texture. Shake outdoors twice a year to release dust.
22. Mount an Arched Wood-Framed Mirror Between Two Windows
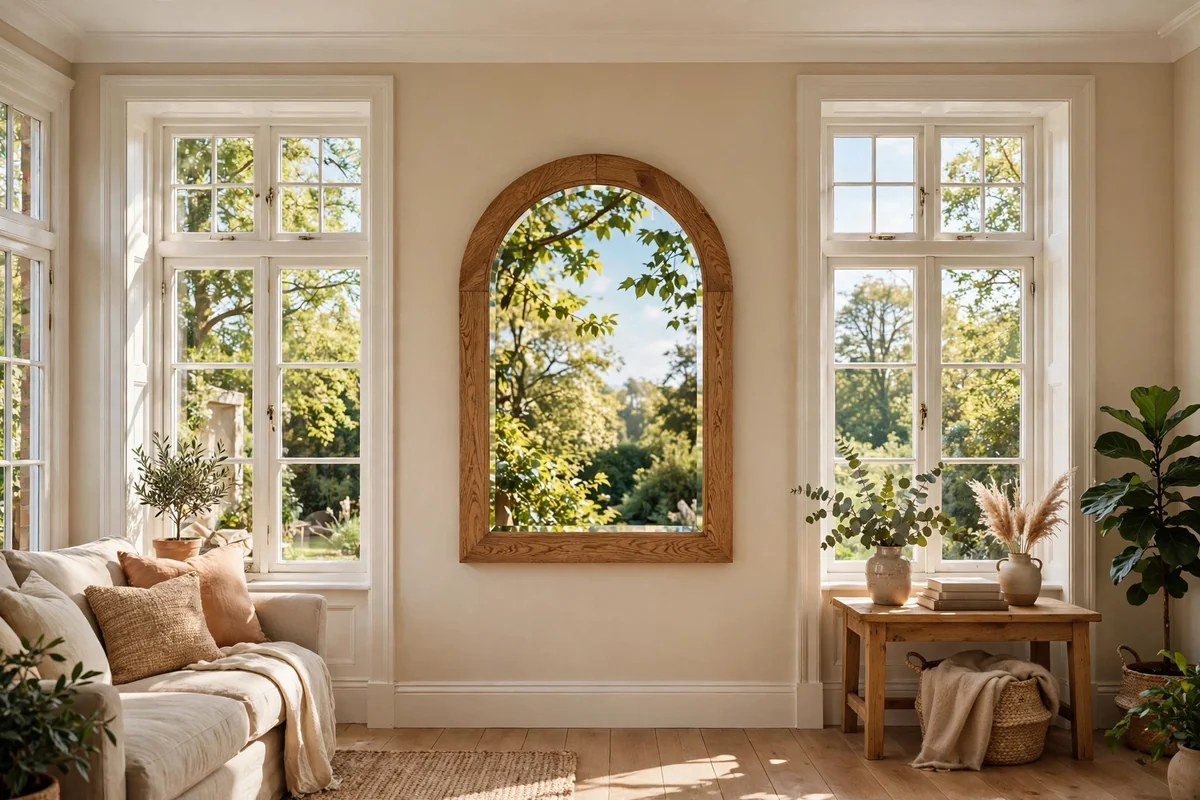
An arched wood-framed mirror, about 70 cm wide and 110 cm tall, mounted between two windows borrows light from both and fills an otherwise dead strip of wall. The arch echoes the window shapes and adds gentle architecture where there is none. Hang it so the centre sits at 150 cm from the floor, aligning the top of the arch with the window heads for a tailored look. A warm oak or walnut frame suits most rooms, while painted sage or cream frames blend into lighter schemes.
Check the mirror reflects greenery or sky rather than a blank fence or wall, which doubles dullness instead of light. The mistake to avoid is a mirror too narrow for the gap; aim for at least half the width of the wall strip so it reads as intentional. Budget tip: arched mirrors in standard sizes are widely available, so measure the gap first and buy to fit rather than adapting an awkward size.
23. Run a Rising Staircase of Framed Art Up the Stairwell
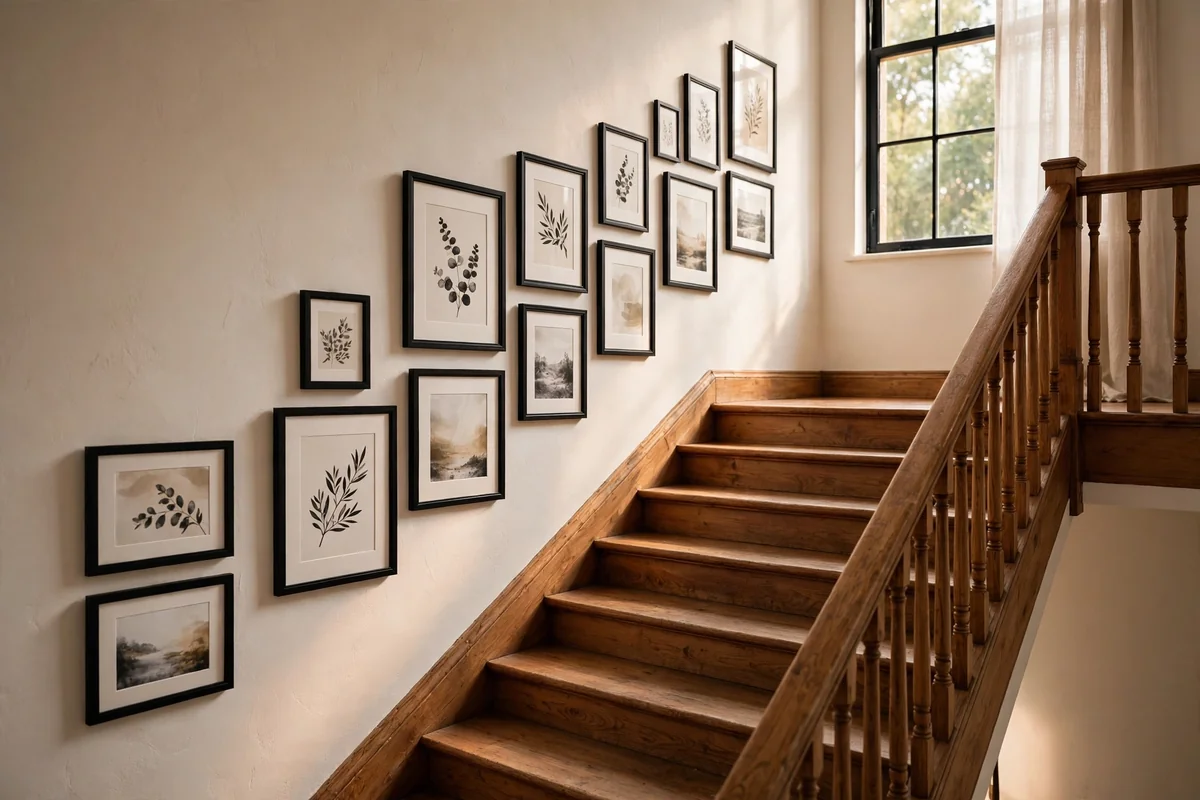
A rising staircase of framed art turns the long blank stairwell wall into a gallery that climbs with you. Hang six to eight frames following the stair angle, keeping the centre of each frame about 150 cm above its own tread, which creates a smooth diagonal line. Mix sizes from 30 by 40 cm to 50 by 70 cm, spacing them 10 to 15 cm apart, and keep one frame finish throughout for calm. Paper templates taped along the stair slope make positioning easy before any drilling begins.
The mistake to avoid is hanging every frame at the same absolute height, which fights the stair slope and looks wrong from the hallway. Budget tip: this is the perfect home for charity-shop frames unified with one paint colour, plus printed art and pressed leaves. Fix heavier frames into studs where possible, since stairwell walls take knocks, and check each frame sits level relative to its neighbours rather than the floor.
24. Finish a Plain Wall With a Full-Width Painted Picture Rail Band
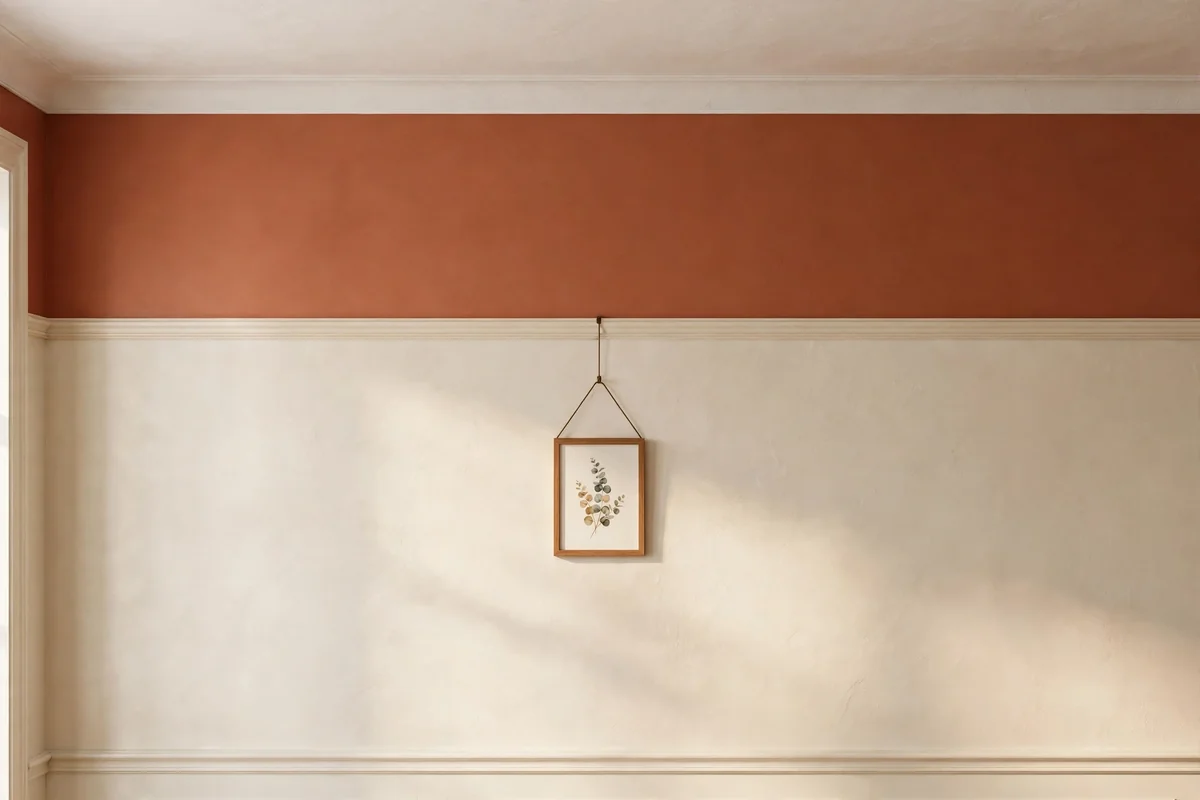
A full-width painted band with a picture rail, run 40 to 60 cm below the ceiling, gives a plain wall instant architecture for the cost of paint and one length of trim. Paint the band in a deeper tone than the wall below, such as warm clay, deep sage or soft charcoal, keeping a crisp horizontal line with low-tack tape. Fix a slim picture rail moulding along the top edge and paint it the band colour for a tailored finish. The two-tone divide draws the eye across the whole wall and makes the room feel designed rather than decorated.
The mistake to avoid is a wavy hand-painted line, which ruins the effect; a laser level or a chalk line snapped across the wall keeps it true. Budget tip: this is the cheapest transformation on this list, needing only sample pots of paint and basic trim for a standard wall. Hang one or two small frames from the rail on picture wire later, which completes the heritage look without drilling the plaster.
The thread running through all 24 ideas is scale and simplicity: choose one generous gesture for each wall, size it to about two thirds of the furniture beneath it, and hang it at a true viewing height rather than wherever feels safe. Whether you lean toward a woven tapestry, a round mirror or quiet box moulding, restraint beats accumulation every time.
This week, try the easiest win first: measure your main wall, cut a paper template to the size of the piece you are considering, and tape it up for a day. Living with the outline shows instantly whether the scale is right, and it costs nothing. One confident piece, well placed, will change how the whole room feels by the weekend.
Frequently Asked Questions
How wide should wall art be above a sofa?
Aim for artwork spanning roughly two thirds of the sofa’s width. Above a 210 cm three-seat sofa, choose a piece around 140 cm wide including its frame. One generous print at the right scale settles the wall far better than several small frames, which tend to look scattered and timid against large furniture.
What is the correct height for hanging large wall decor?
Hang the centre of the piece about 145 to 150 cm from the floor, which suits most standing and seated sightlines. Above furniture, leave 15 to 25 cm of breathing room between the furniture top and the bottom of the frame. Hanging too high is the most common mistake and makes even beautiful pieces feel disconnected.
What is the cheapest way to fill a large blank wall?
A painted two-tone band with a picture rail costs little more than sample pots of paint and one length of trim. Next cheapest are gathered woven baskets from charity shops and a long linen panel hemmed from fabric-shop cloth. Both fill a wide wall for a fraction of the price of one large framed print.
Can renters hang large wall decor without damage?
Yes. Use removable adhesive hooks rated for the exact weight, checking the rating includes the frame and glass. Picture ledges fixed with minimal screws need only two or three small holes to fill later. Leaned canvases, standing arched mirrors and freestanding bookshelves need no wall fixing at all and move with you.
How do I keep a big wall feeling cosy instead of bare?
Add texture alongside scale: a woven tapestry, timber slats or a basket cluster warms a wall that flat art leaves cold. Keep furniture pulled slightly away from the wall with a lamp or plant bridging the gap. Warm white bulbs at 2700K and soft textiles nearby complete the cosy feeling that bare plaster lacks.