Living Room
24 Rental Friendly Apartment Makeover Ideas That Transform Rooms Without a Single Drill Hole
By Anna Wells · · 19 min read
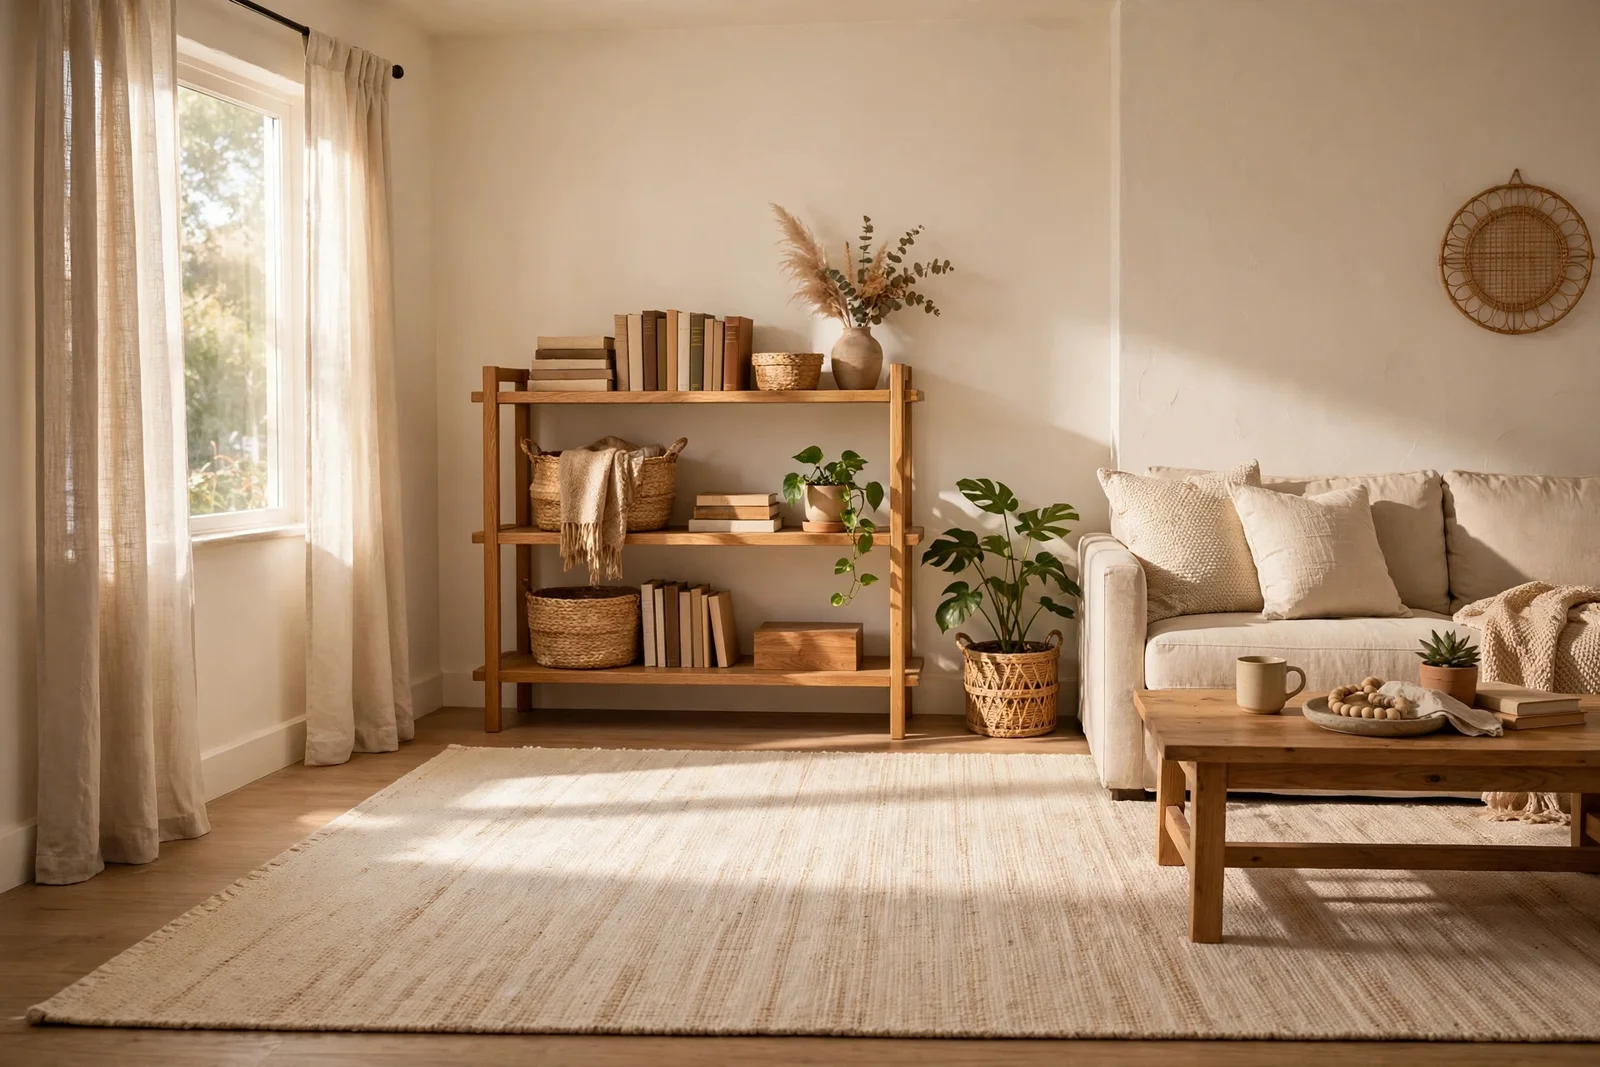
Transform your rented flat with 24 reversible, no drill makeover ideas, from peel and stick tiles to warm lighting, all designed to protect your deposit.
There is a particular quiet that settles over a rented flat on the first evening, when the boxes are stacked and the walls still carry someone else’s choice of magnolia. You want the rooms to feel like home, but the tenancy agreement in your bag says no drilling, no painting and no permanent changes.
This is where renter friendly decorating earns its reputation. Every idea in this guide works with the rules instead of against them: peel and stick surfaces, tension rods, adhesive hooks used within their weight limits, and furniture that stands on its own two feet.
You will find 24 concrete ideas here, each one reversible in a single afternoon, each one protecting your deposit while making the rooms feel genuinely yours. From photographing the walls before you start to the final move out check, the whole journey is covered step by step.
Walk through your rooms with fresh eyes, notice what the light does at different hours, and then pick the easiest idea first. Small reversible changes add up faster than you expect, and by the end of this guide your flat will feel like a home you chose.
1. Photograph Every Room Corner Before Moving a Single Box
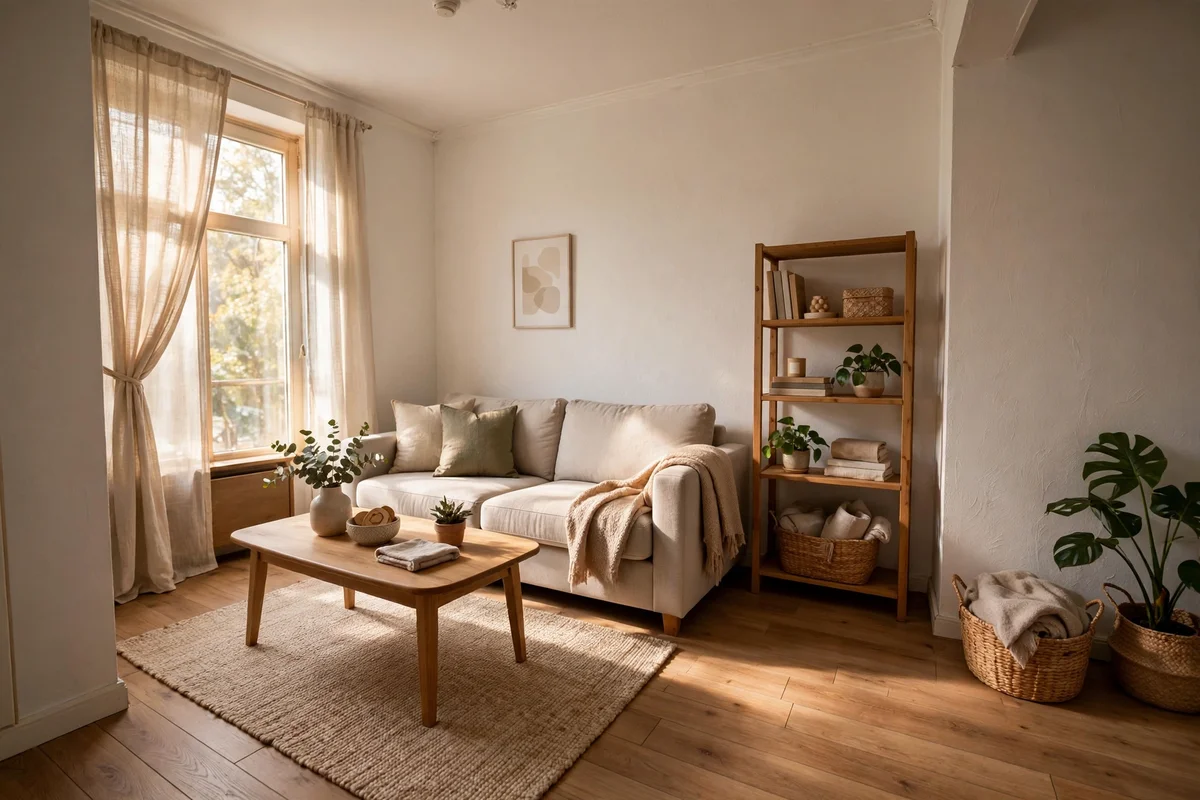
Before unpacking a single box, walk through each room with your phone camera and photograph every wall, floor corner and ceiling edge in daylight. Capture close ups of scuffs, nail holes, chipped paint, cracked tiles and carpet stains so the record is honest. Leave location and time stamps switched on, then back the photos up to cloud storage the same evening.
Send the full set to your landlord or agent by email within the first week, and keep a copy in a folder marked with your address and move in date. This simple email is your deposit insurance, because it proves which marks were already there. The common mistake is photographing only the pretty corners, so include the ugly ones too, especially behind doors and under windows.
2. Get Written Landlord Permission for Peel and Stick Upgrades

Read your tenancy agreement first and highlight every clause about alterations, even temporary ones. Then write your landlord a short email naming exactly what you plan to do, for example peel and stick splashback tiles in the kitchen and removable wallpaper on one bedroom wall. Ask for a written yes, not a verbal nod, because only written permission protects your deposit.
Most landlords agree quickly when you explain that every change reverses without residue, and sharing photos of the finished room builds trust. This step costs nothing but ten minutes of writing, so there is no reason to skip it. The mistake to avoid is starting work on a verbal maybe, then learning at inspection that your landlord classes removable wallpaper as a permanent alteration.
3. Lay a Large Low Pile Rug to Reset the Floor in One Move
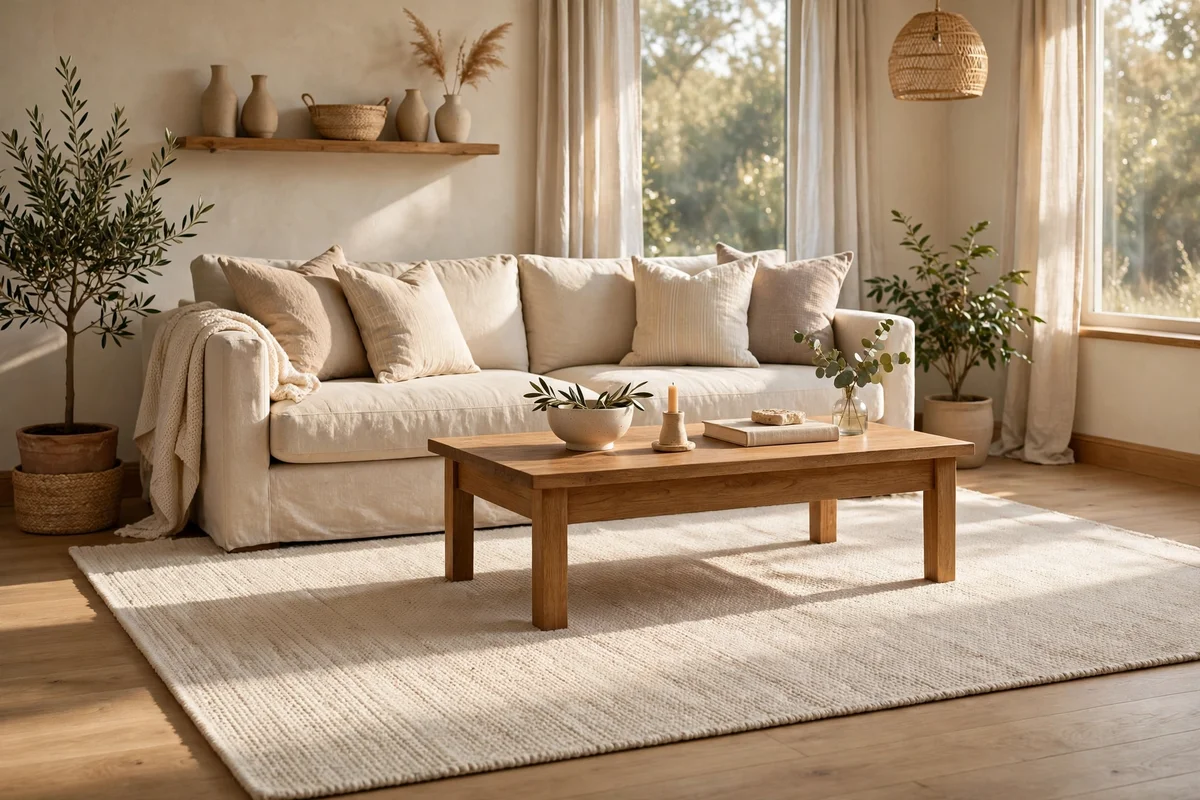
A rug of 200 by 300 cm covers most of a rented living room floor and instantly hides worn carpet or scuffed vinyl. Choose a low pile flatweave so doors still swing freely and furniture sits steadily without rocking. Anchor the front legs of the sofa on the rug, leaving 20 to 30 cm of rug visible beyond the sofa edges for a generous framed look.
Wool and cotton flatweaves cost 120 to 250 dollars for this size, while synthetic versions start near 60. In hallways or by the kitchen door, pick a washable rug you can machine wash monthly. The mistake to avoid is buying a rug that stops halfway under the sofa, which makes the room look smaller; measure the full seating zone before you order.
4. Cover a Tired Splashback With Peel and Stick Tiles
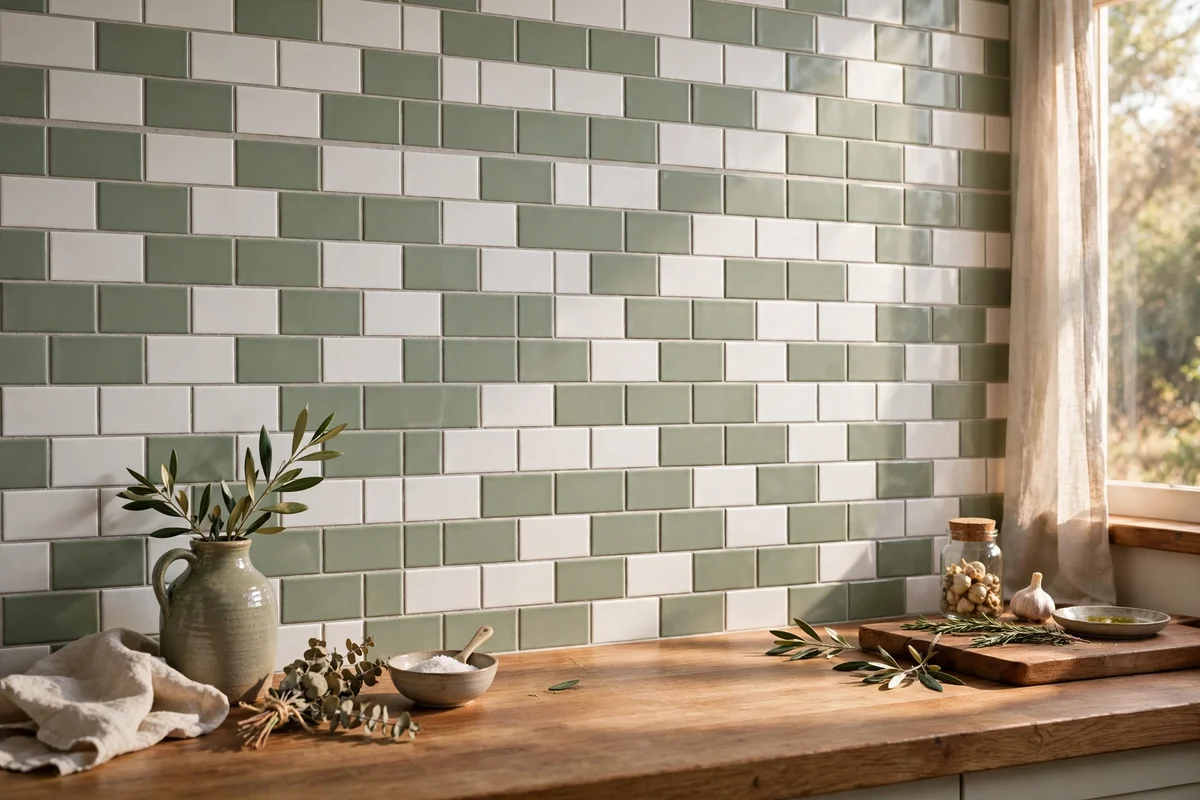
Peel and stick tiles transform a dated kitchen wall in under two hours with nothing more than a tape measure, a craft knife and a smoothing cloth. Measure the splashback in centimetres and buy about 10 percent extra, since cutting around sockets uses more tiles than you expect. Start at the most visible corner and press each tile from the centre outwards so no air bubbles form.
Expect to pay 30 to 60 dollars per square metre, so a typical rental splashback stays a budget project. On move out day, warm the tile edges with a hairdryer and peel slowly at a low angle, which leaves the paint intact. The mistake to avoid is sticking tiles over greasy walls, so wash the surface with sugar soap and let it dry fully first.
5. Wrap One Accent Wall in Removable Peel and Stick Wallpaper
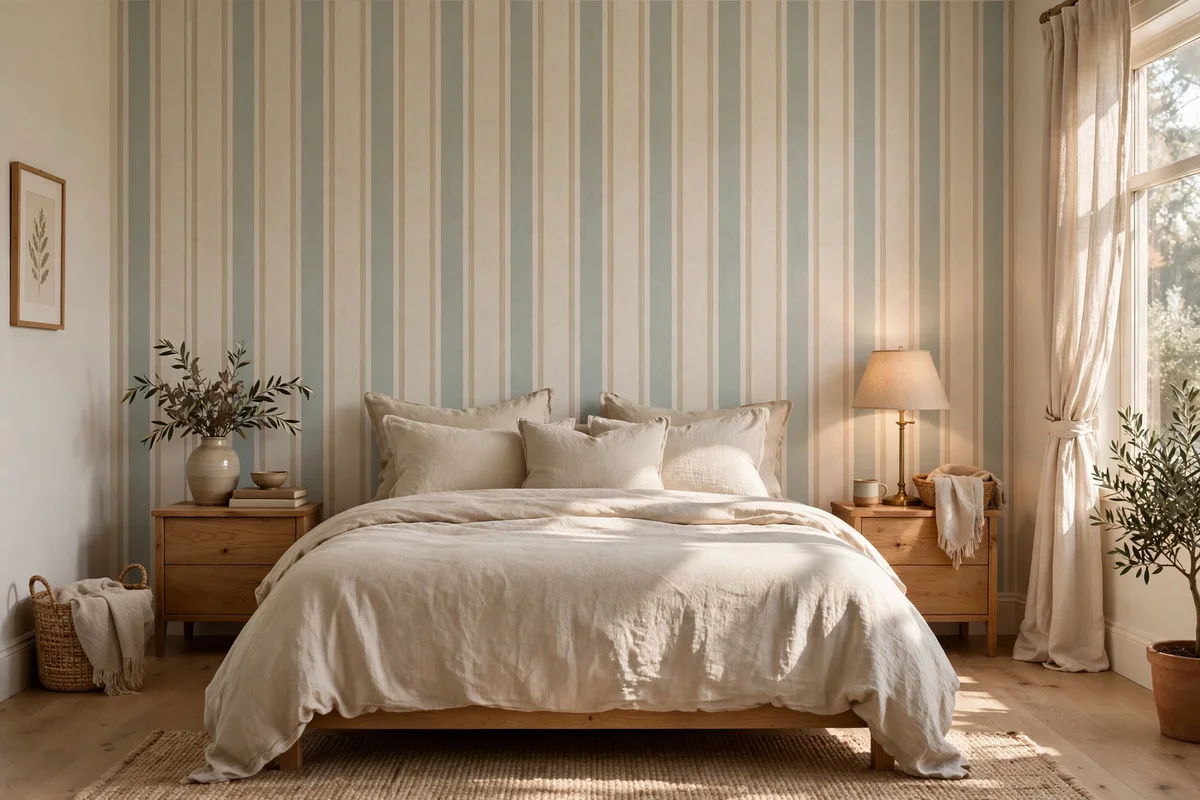
One wallpapered wall behind the sofa or bed gives a rented room a designer feel without painting anything. Measure the wall height and order panels 5 cm longer than needed so the pattern meets the ceiling cleanly, then trim with a sharp knife. Work from the top down with a helper holding the panel, smoothing in long vertical strokes to keep seams invisible.
Budget 25 to 50 dollars per roll, with most rental walls needing three to five rolls. Choose paste free peel and stick designs in heritage stripes, block prints or soft florals that suit your furniture. The mistake to avoid is wallpapering every wall, which overwhelms small rooms and doubles removal time; one wall makes the statement while the rest stay calm.
6. Dress Windows With Tension Rods and Linen Curtains
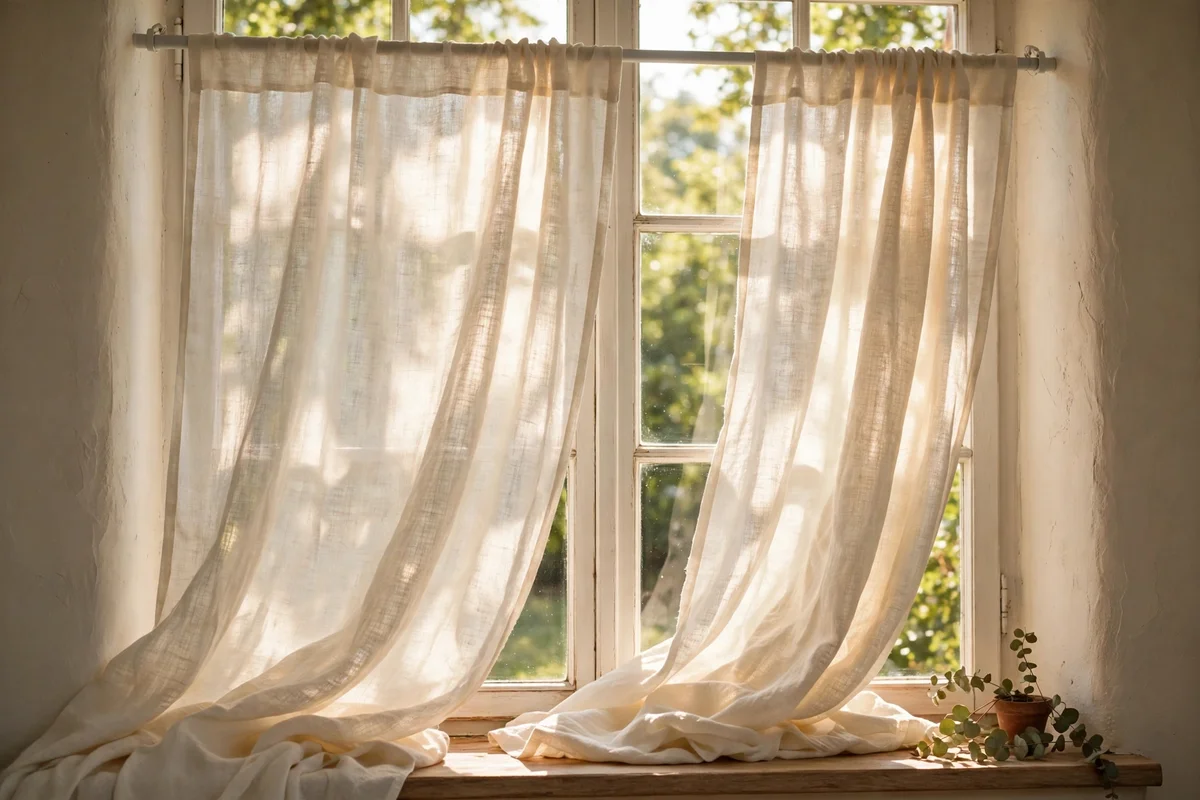
Tension rods fit inside the window recess with no screws, and a 60 to 90 cm rod holds light linen curtains perfectly. Twist the rod to extend it until it presses snugly, then give it a firm tug to confirm it holds before you hang fabric. Linen panels with a 130 cm drop soften daylight and give privacy while letting warm light filter through the weave.
Two panels plus a rod usually costs 40 to 80 dollars, far less than custom blinds. Store the original blinds flat under the bed so you can refit them in minutes. The mistake to avoid is choosing heavy blackout fabric on a tension rod, since the weight slowly slides the rod down; keep heavier curtains for freestanding solutions instead.
7. Stretch a Wide Tension Rod Across an Alcove as a Soft Divider
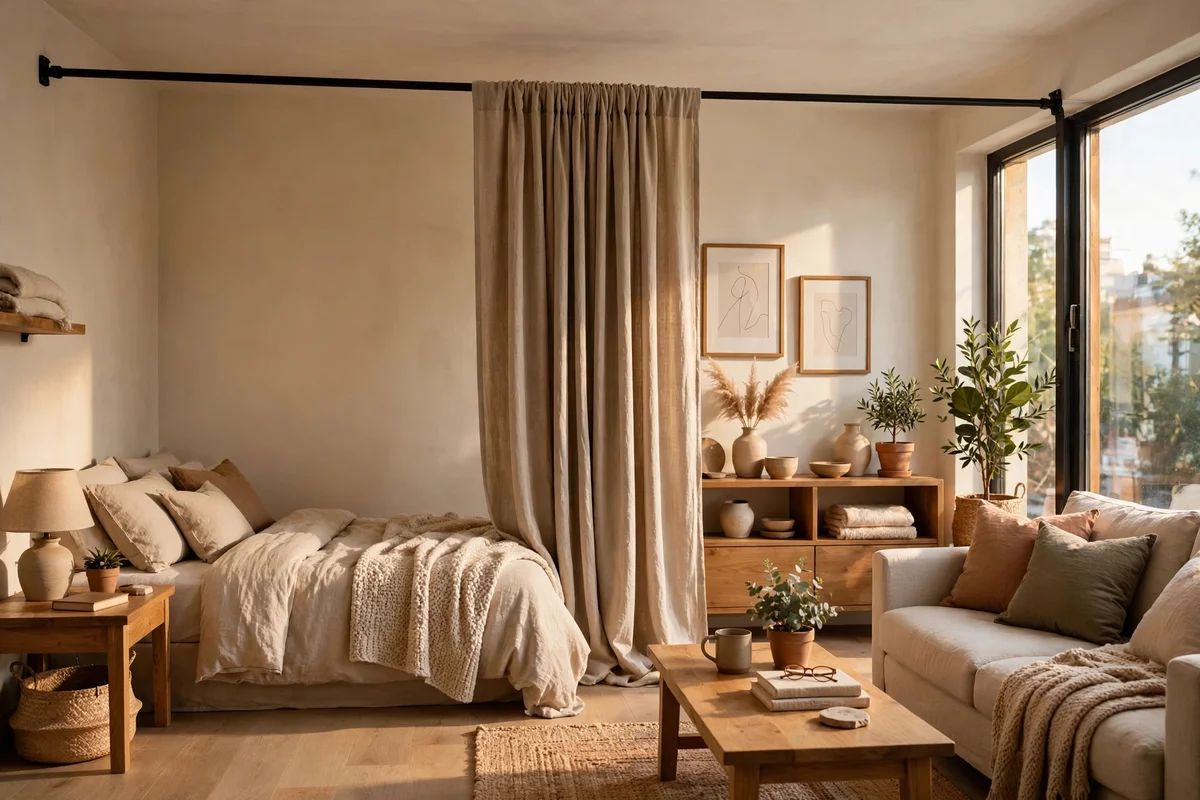
In a studio or open plan flat, a tension rod spanning 120 to 180 cm across a doorway or alcove turns a curtain into a gentle room divider. Hang a cotton voile or a flat sheet hemmed at the top to separate the sleeping corner from the living area, giving the space two distinct moods. Check the rod twice a week for the first month, since wider spans can creep.
This divider costs 25 to 50 dollars in total, fabric included, and lifts away in seconds. Choose a calm neutral like sand or ivory so both sides of the room stay light. The mistake to avoid is hanging the divider where it blocks your only walkway; keep at least 70 cm of clear passage so daily life flows easily around the fabric.
8. Add Over the Door Hooks for Coats, Bags and Robes
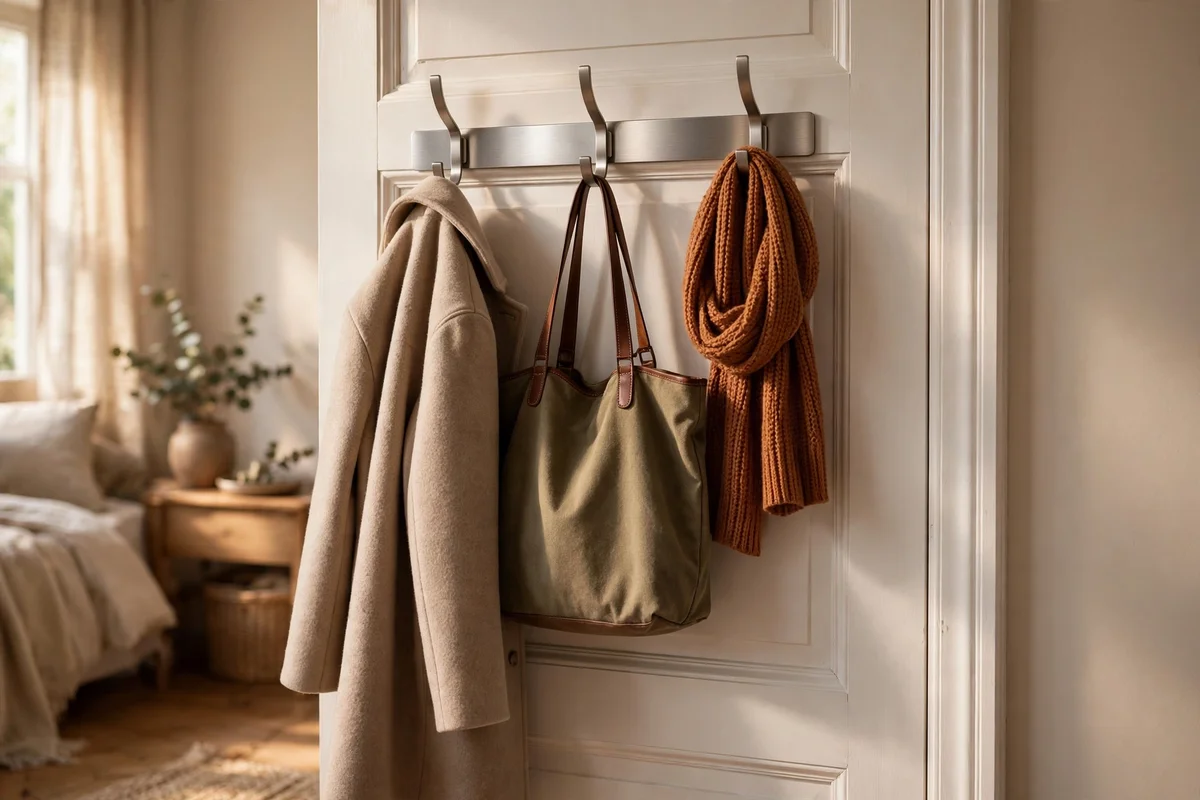
Over the door hooks hang from the top edge of any standard interior door, adding five or six hooks with zero drilling. Use them on the bedroom door for tomorrow’s clothes and on the bathroom door for towels and robes, spreading the weight evenly so the door still closes smoothly. Felt pads on the bracket protect the paint from rubbing over time.
A sturdy metal rack costs 15 to 30 dollars and moves with you to the next flat. In a family home, assign each person one hook to stop the morning pile up of coats on chairs. The mistake to avoid is overloading one side with heavy winter coats, which can warp a hollow door; keep the total under the maker’s stated limit, usually around 10 kg.
9. Fit Over the Door Racks Inside Wardrobe and Cupboard Doors
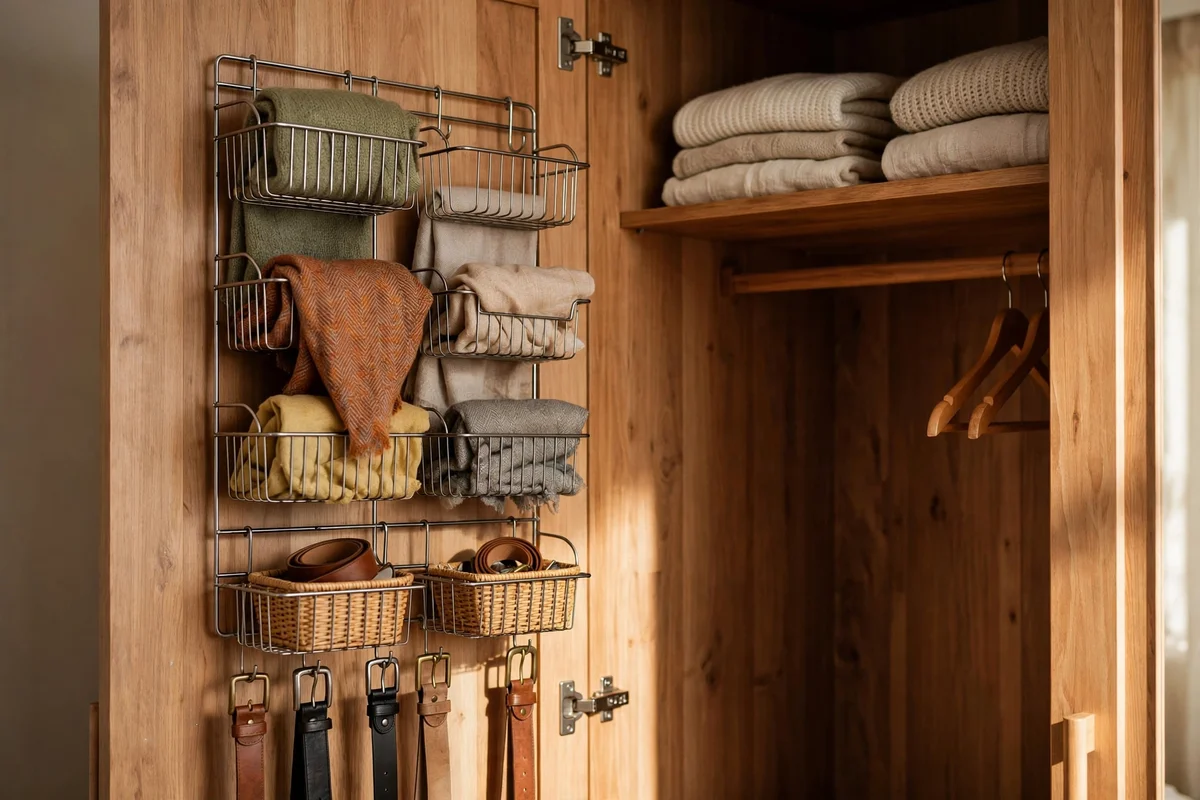
Narrow over the door racks fitted inside wardrobe doors turn dead space into organised storage for scarves, belts and cleaning sprays. Measure the door thickness first, because most racks suit doors of 3.5 to 4.5 cm, and add small foam bumpers so the rack never knocks the frame when the door shuts. No tools are needed for fitting.
Prices run 20 to 40 dollars, and installation takes five minutes. In the kitchen, one rack inside a cupboard door holds cling film, foil and small spice jars at eye level. The mistake to avoid is fitting racks on doors that already scrape their frames, since the extra millimetres will jam them; test the swing before you buy.
10. Mount Pictures and Frames With Command Strips Inside Their Weight Limit
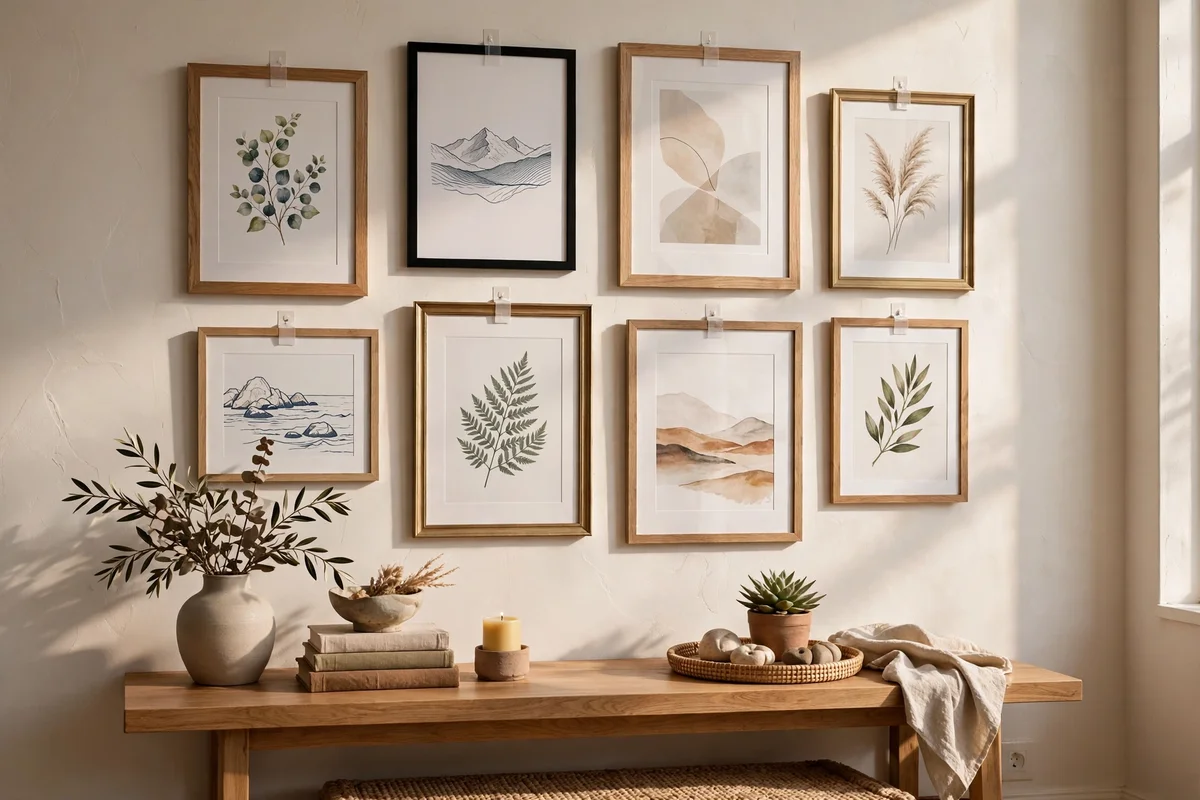
Adhesive picture hanging strips hold frames cleanly on painted walls when you respect the weight rating printed on the packet. Use small strips for frames under 1.8 kg and large strips for pieces up to 7 kg, pressing each strip pair together for 30 seconds and waiting one full hour before hanging. Clean the wall spot with rubbing alcohol first for the strongest bond.
A pack of large strips costs about 8 to 12 dollars and hangs a whole gallery wall. Arrange the frames on the floor first and photograph the layout, so wall placement is decided in one confident go. The mistake to avoid is hanging a heavy mirror on strips rated for posters; when the rating says 1.8 kg it means it, and a fallen frame cracks both glass and deposit.
11. Line the Entryway With Adhesive Hooks for Keys, Hats and Leashes
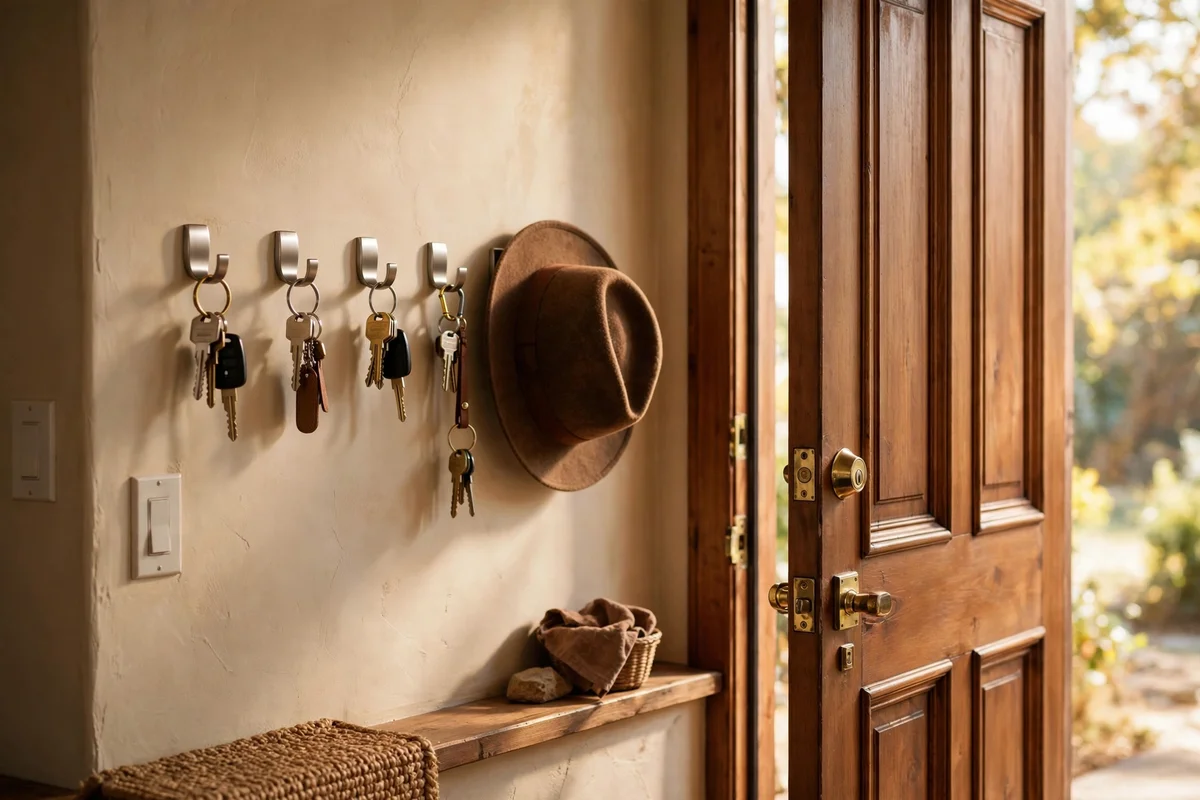
A row of small adhesive hooks beside the front door keeps keys, hats and dog leashes visible and off the console table. Space the hooks 15 cm apart at a height of 150 to 160 cm, and press each one firmly for a full 30 seconds before the one hour curing wait. One hook per item stops the tangle that makes busy mornings slower.
Six hooks cost under 15 dollars, and they lift off cleanly with the pull tab when you leave. Choose brushed metal or white finishes that blend with the wall colour. The mistake to avoid is sticking hooks on textured or freshly painted walls, where the bond fails within days; wait 28 days after any fresh paint before applying adhesive.
12. Swap Dull Lampshades for Fabric Drums and Keep the Originals
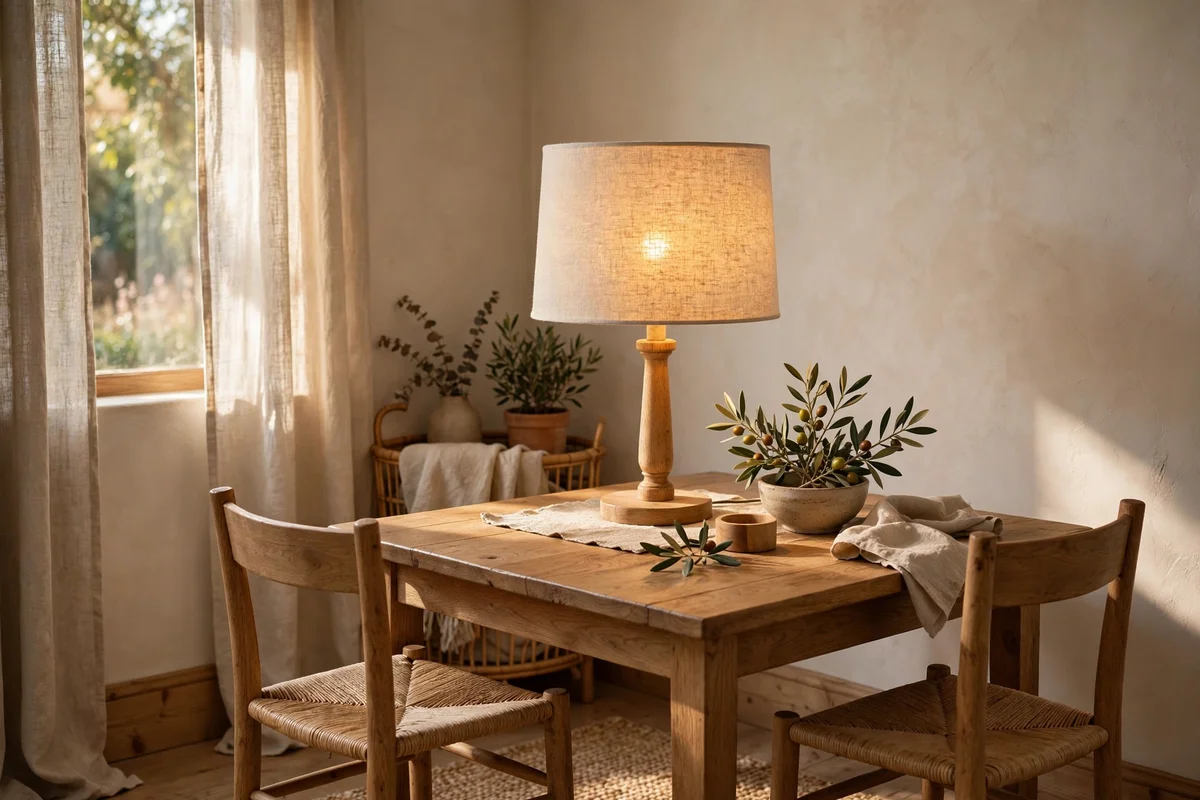
Replacing a dull landlord lampshade with a fabric drum in linen or cotton instantly warms the light a room gives off. Measure the old shade’s top and bottom diameters and buy the same fitting type, usually a spider or uno fitter, so the swap takes two minutes. Store the original shade in a dust bag on top of a wardrobe, labelled with the room it came from.
Good fabric drums cost 20 to 45 dollars each, and one statement shade over a dining table changes the whole evening mood. Match the shade colour to your cushions for a pulled together look. The mistake to avoid is choosing a shade wider than the table beneath it, which knocks drinks over in the dark; keep the shade diameter at least 10 cm narrower than the table.
13. Trade Harsh Bulbs for Warm Dimmable LEDs and Store the Old Ones
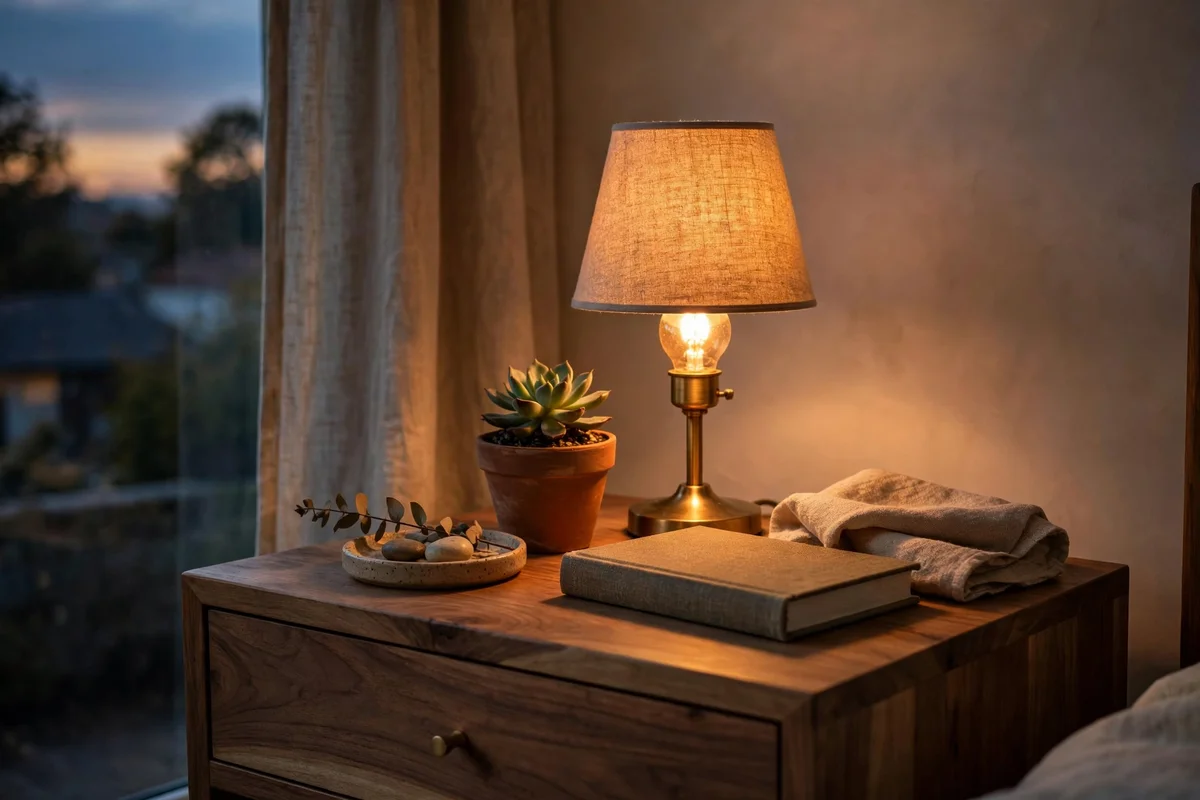
Many rentals come with cold 5000K bulbs that make evenings feel like an office. Swap them for warm 2700K dimmable LEDs, which use about 8 watts to match the brightness of an old 60 watt bulb and last around 15,000 hours. Put the original bulbs straight into a labelled box marked with each room, because landlords count them at inspection.
LED bulbs cost 3 to 6 dollars each, so a whole flat stays under 40 dollars. In the bedroom, a dimmable bulb plus a 15 dollar plug in dimmer creates soft wind down light. The mistake to avoid is putting a non dimmable bulb on a dimmer switch, which causes flickering and buzzing; check both the bulb packet and the switch before you buy.
14. Build Real Storage With a Freestanding Oak Shelf Unit
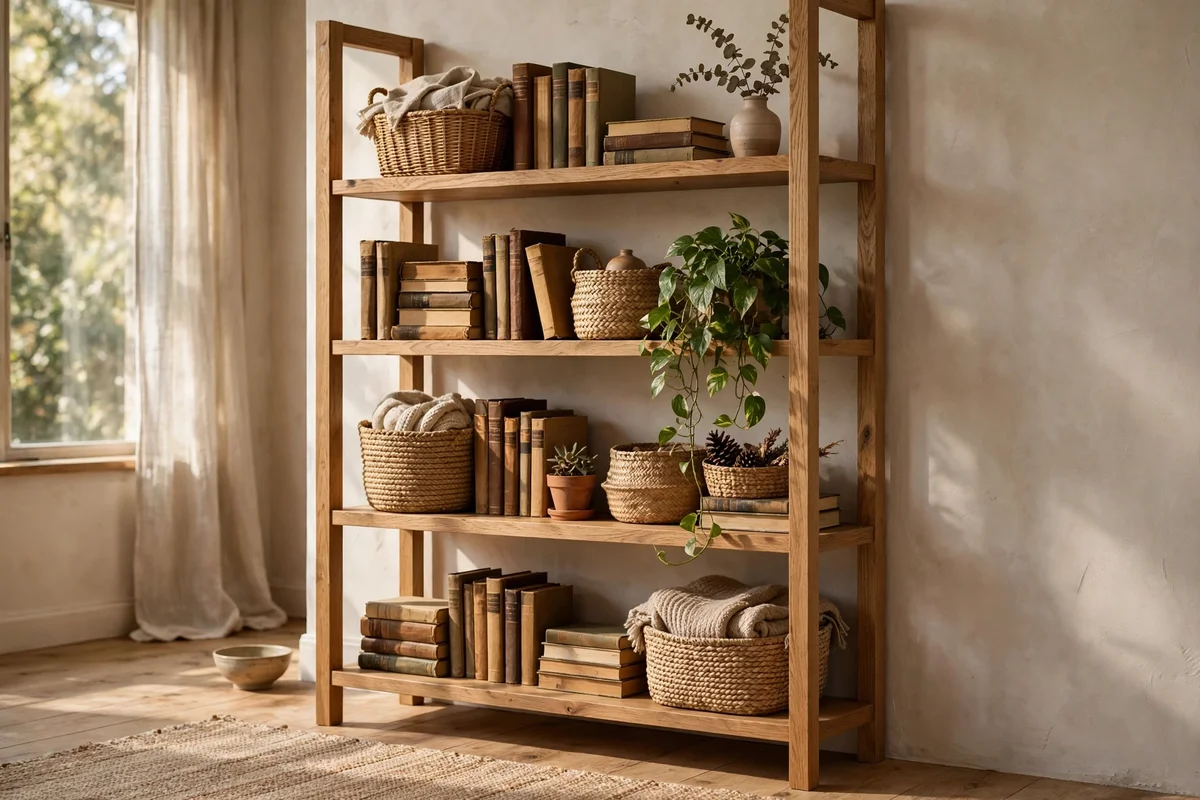
A freestanding shelf unit of 80 cm wide and 180 cm tall holds books, baskets and kitchen jars with no wall fixings at all. Choose solid oak or sturdy pine with a back brace, since tall units wobble without one, and load the heaviest items on the bottom two shelves for stability. Leave a 5 cm gap behind the unit for air flow against the wall.
Expect 90 to 180 dollars for a solid unit that survives several moves. In the living room, style it with a row of books, two woven baskets and one trailing plant on the top shelf. The mistake to avoid is pushing the unit flush against the wall and forgetting it; slide it out twice a year to dust behind it and check the wall paint stays clean.
15. Divide a Studio With a Fabric Screen on a Freestanding Frame
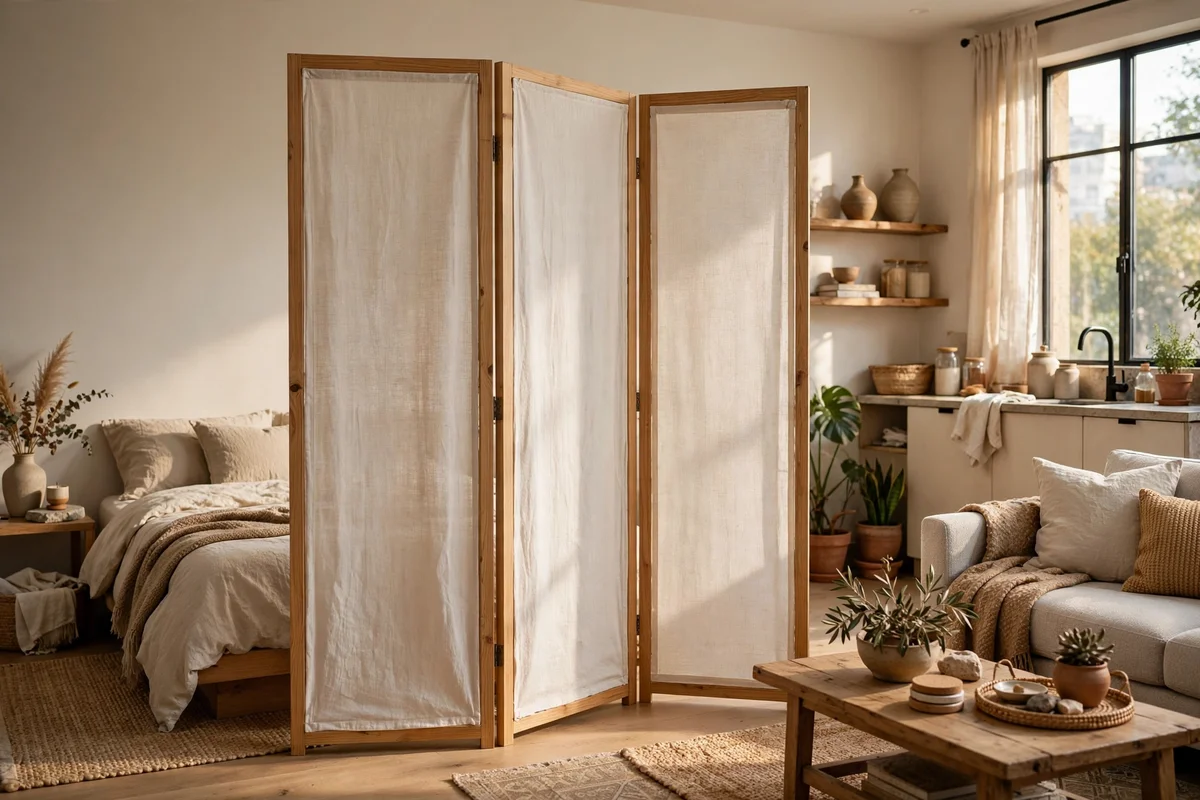
A three panel folding screen in cotton or canvas creates a private sleeping corner in a studio flat without touching the walls. Open it to about 160 cm wide and angle the outer panels slightly forward so it stands rock steady on its own feet. A screen 170 to 180 cm tall hides the bed from the front door view completely.
Folding screens cost 60 to 140 dollars, with natural cotton designs suiting calm interiors best. Use the bedroom side for hooks and a small mirror, and the living side for one framed print. The mistake to avoid is buying a screen shorter than 150 cm, which fails to hide anything and just looks like clutter; height is what makes the trick work.
16. Layer Throw Blankets Over the Sofa for Instant Colour
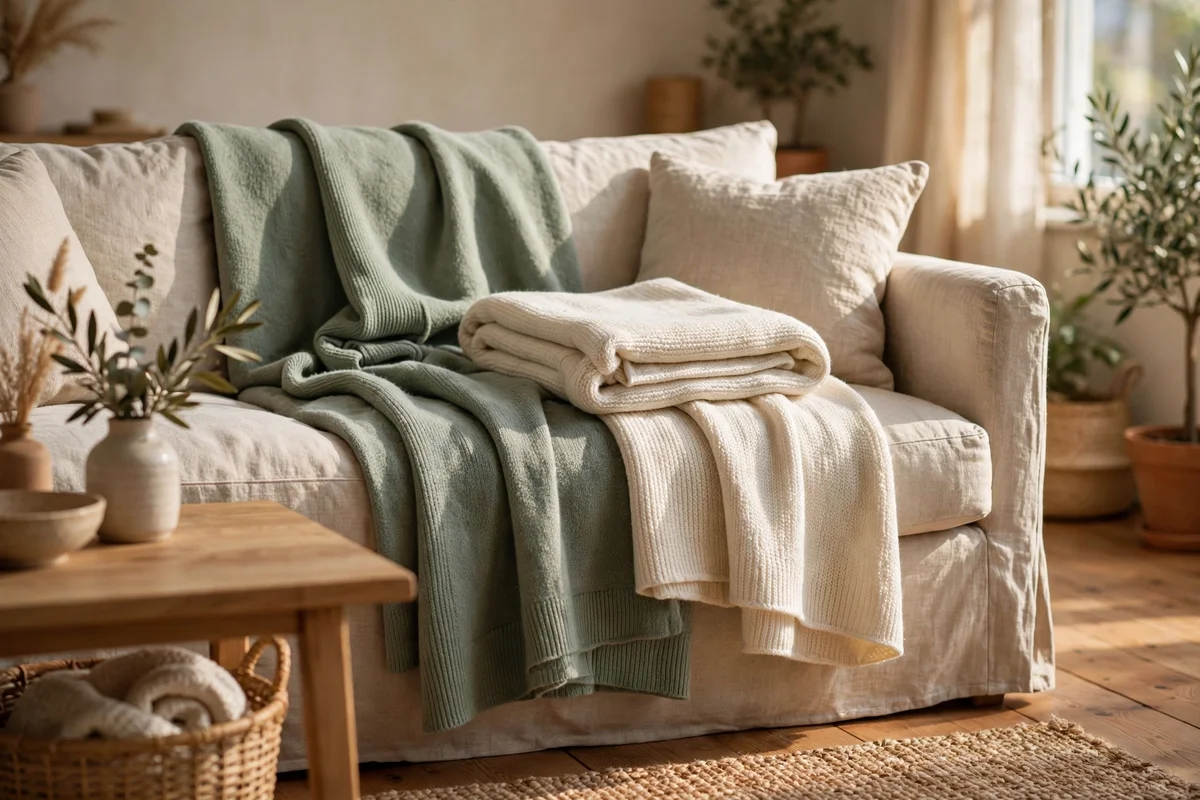
Two throws in complementary tones, for example sage and cream or rust and sand, draped over a sofa arm give a rented living room instant personality. Fold one throw in thirds lengthways for a neat tailored line over the back, and let the second fall casually across one arm for contrast. Washable cotton or acrylic throws survive daily family use.
Decent throws cost 25 to 50 dollars each, so 60 to 100 dollars transforms the biggest piece of furniture you own. Rotate them seasonally, heavier wool in winter and light cotton in summer. The mistake to avoid is draping throws over the same worn patch every day, which speeds up fabric wear; shift them weekly so the sofa ages evenly underneath.
17. Stack Cushions in Mixed Textures on Beds and Sofas
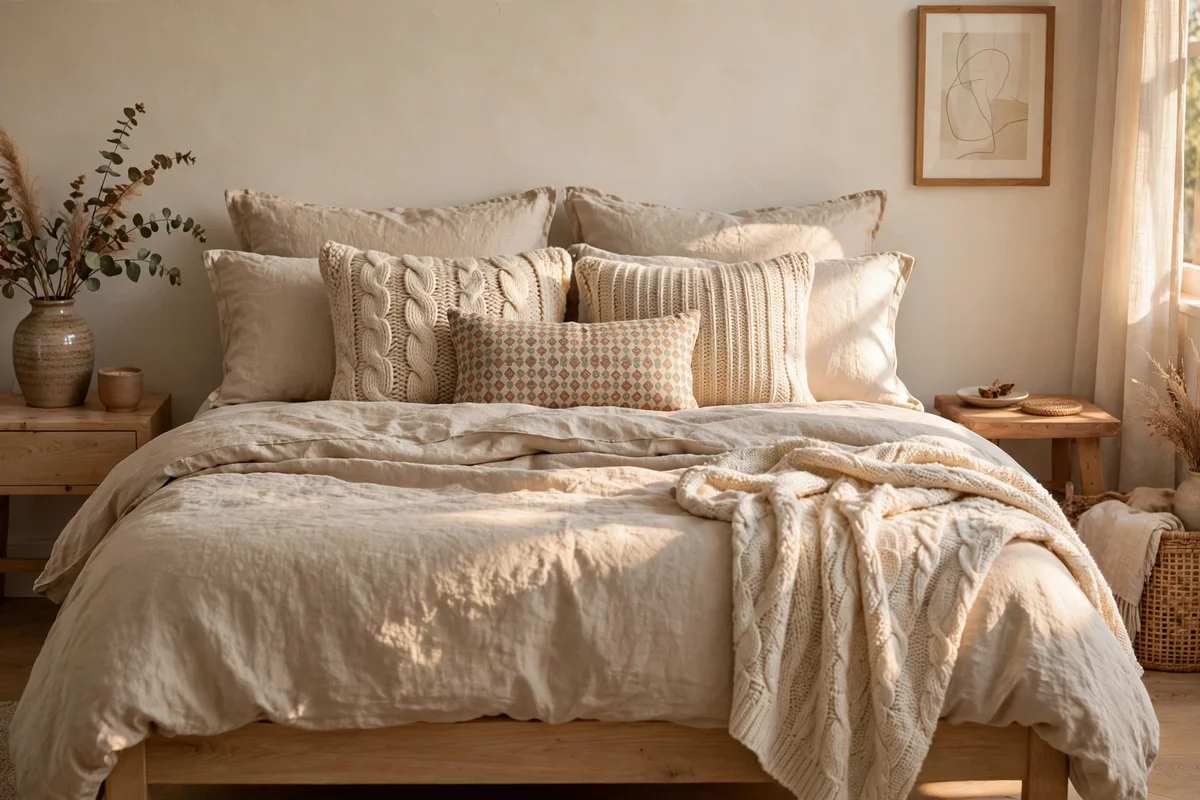
Five cushions on a sofa, two large squares in linen, two medium in velvet or knit, and one small lumbar in a pattern, create a layered look that hides a tired rental sofa completely. On a double bed, four sleeping pillows plus three decorative cushions in one colour family give a boutique feel. Stick to washable covers with hidden zips.
Budget 10 to 25 dollars per cover, and buy feather free inserts once, reusing them under new covers each season. Keep the palette to three colours drawn from your rug or curtains. The mistake to avoid is buying cushions smaller than 40 cm square, which look lost on a full size sofa; generous 50 cm cushions fill the space properly.
18. Lean a Full Length Mirror Against the Wall for Light and Space
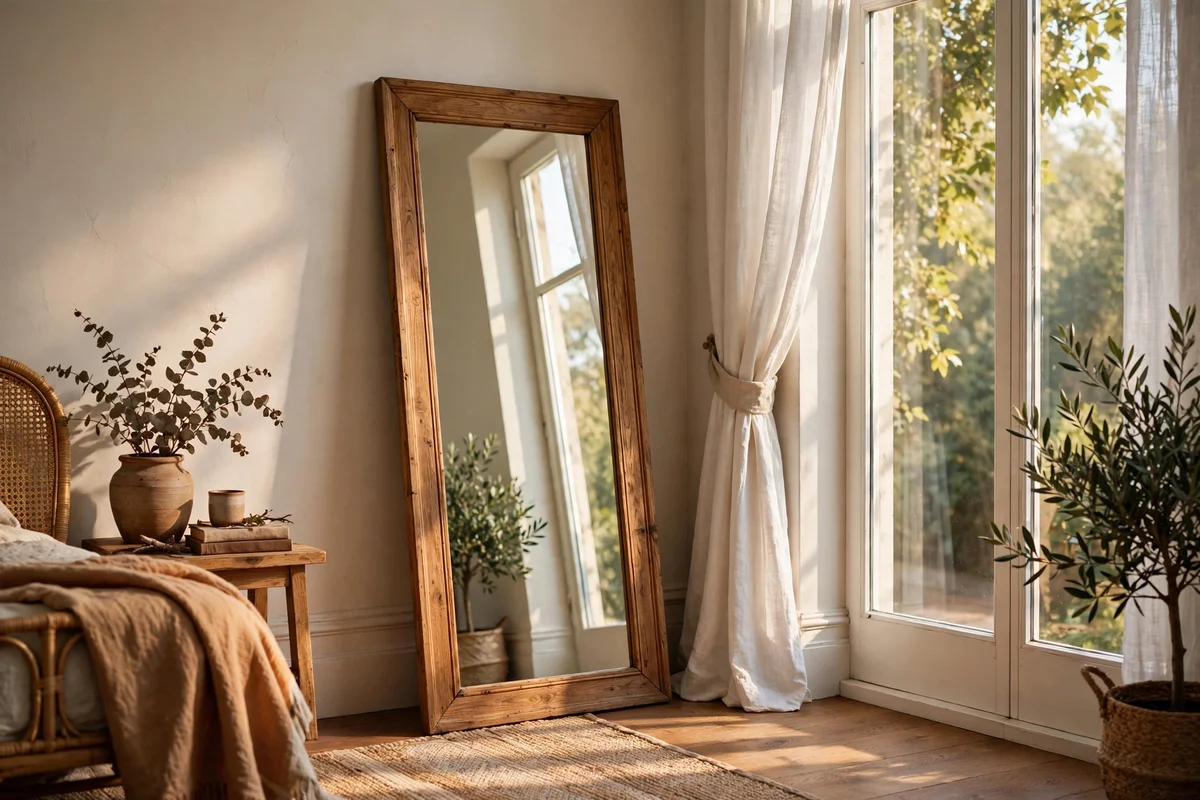
A freestanding full length mirror of 160 by 50 cm leaned at a slight angle against the bedroom wall bounces daylight around the room and needs no fixings. Place it opposite or beside a window, never facing the bed directly if bright morning light would wake you too early. Add small rubber pads behind the top corners to protect the paint.
Expect 70 to 150 dollars for a wood framed mirror that suits calm interiors. The lean angle should be about 5 degrees, enough to feel secure without sliding. The mistake to avoid is placing the mirror on an uneven rug edge, which rocks the frame; set both feet on hard floor or the flat centre of the rug instead.
19. Set a Freestanding Bookcase as a Room Anchor
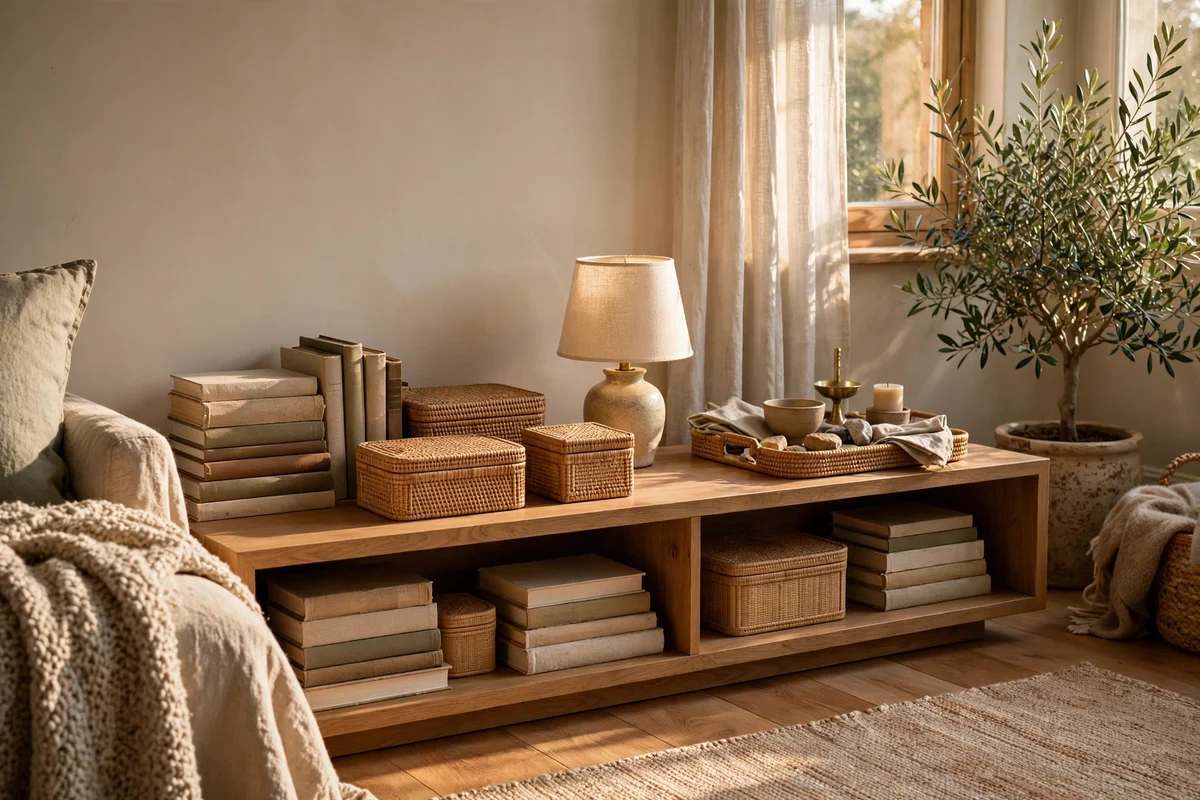
A low wide bookcase of 120 cm by 80 cm works as a room divider, a TV stand or a hallway console, all without a single screw. In the living room, fill the lower shelves with lidded boxes and the top with books arranged both upright and in short horizontal stacks for a styled look. Keep 30 cm of clear wall above it for one framed print.
Solid bookcases start around 80 dollars second hand and 150 new. Anchor the look with a small lamp and a tray on the top surface so it reads as furniture, not storage. The mistake to avoid is overfilling every shelf, which makes the room feel cramped; leave one shelf one third empty so the eye has somewhere to rest.
20. Refresh Kitchen Counters With Removable Contact Paper
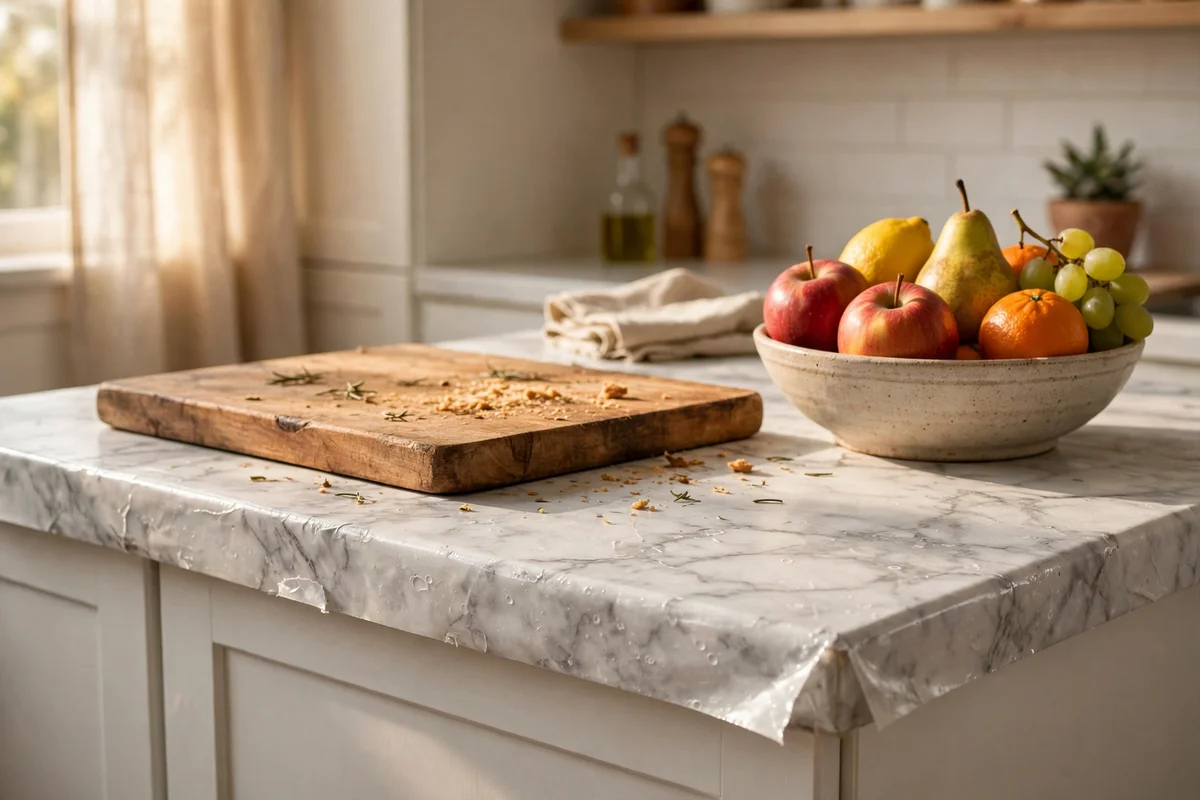
Marble effect or warm wood grain contact paper over a worn rental worktop costs little and peels away cleanly at move out. Measure the worktop, cut the paper 3 cm oversize, and smooth it down with a credit card wrapped in cloth, working from the centre to push out bubbles. Overlap seams by 2 mm where two lengths meet.
A roll of 5 metres by 60 cm costs 15 to 30 dollars and covers most rental galley counters. Seal the cut edges near the sink with a thin line of clear silicone so water cannot creep underneath. The mistake to avoid is placing hot pans directly on the vinyl, which melts the pattern; always use a trivet or wooden board as a heat shield.
21. Hide an Ugly Radiator Behind a Freestanding Cover
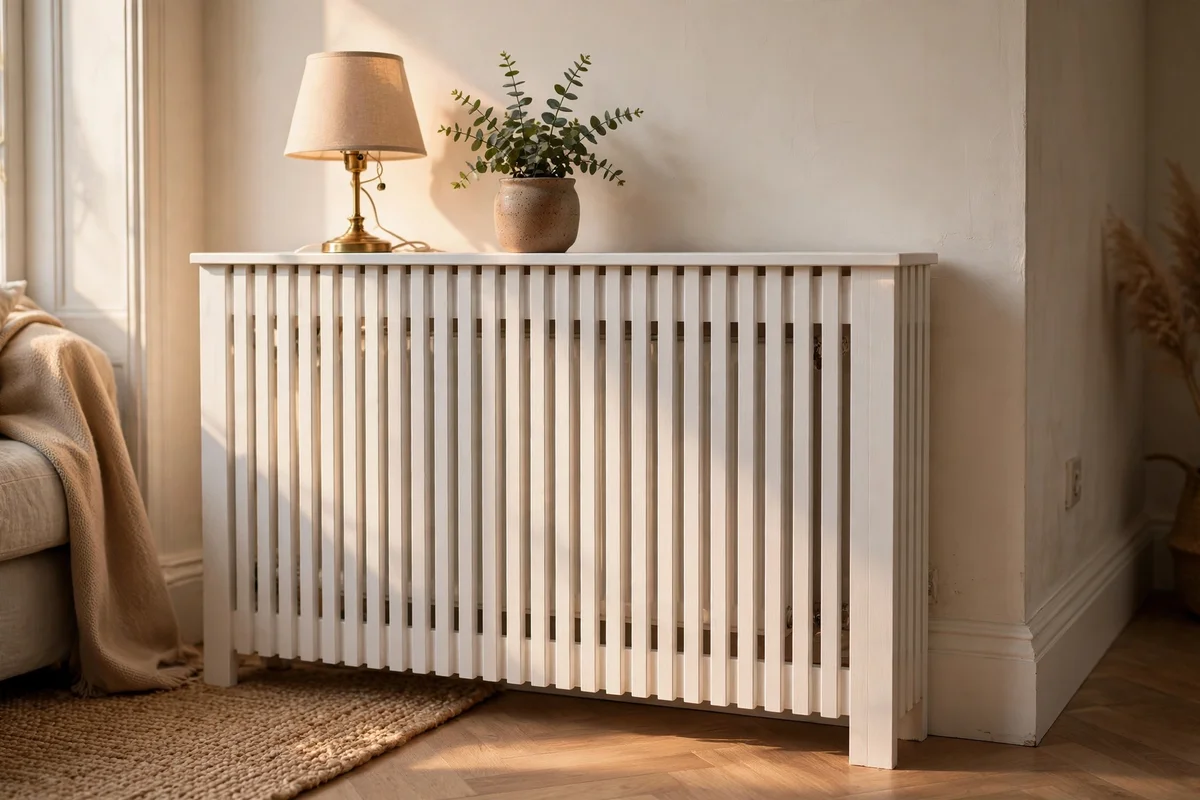
Many rentals have battered radiators that no amount of cleaning improves. A freestanding radiator cover with a slatted front hides the metal while letting heat flow through gaps of at least 5 cm at the top and front. Choose one 10 cm wider than the radiator on each side so the cover frames it neatly.
Covers cost 60 to 120 dollars in pine or MDF, and the top becomes a useful shelf for a lamp or small plant. Never block the thermostatic valve, which must stay accessible to control the heat. The mistake to avoid is using a solid fronted cover, which traps heat and raises bills; slats or mesh keep the room warm and the cover safe.
22. Dress the Bathroom With a Tension Rod Shelf and Adhesive Caddies
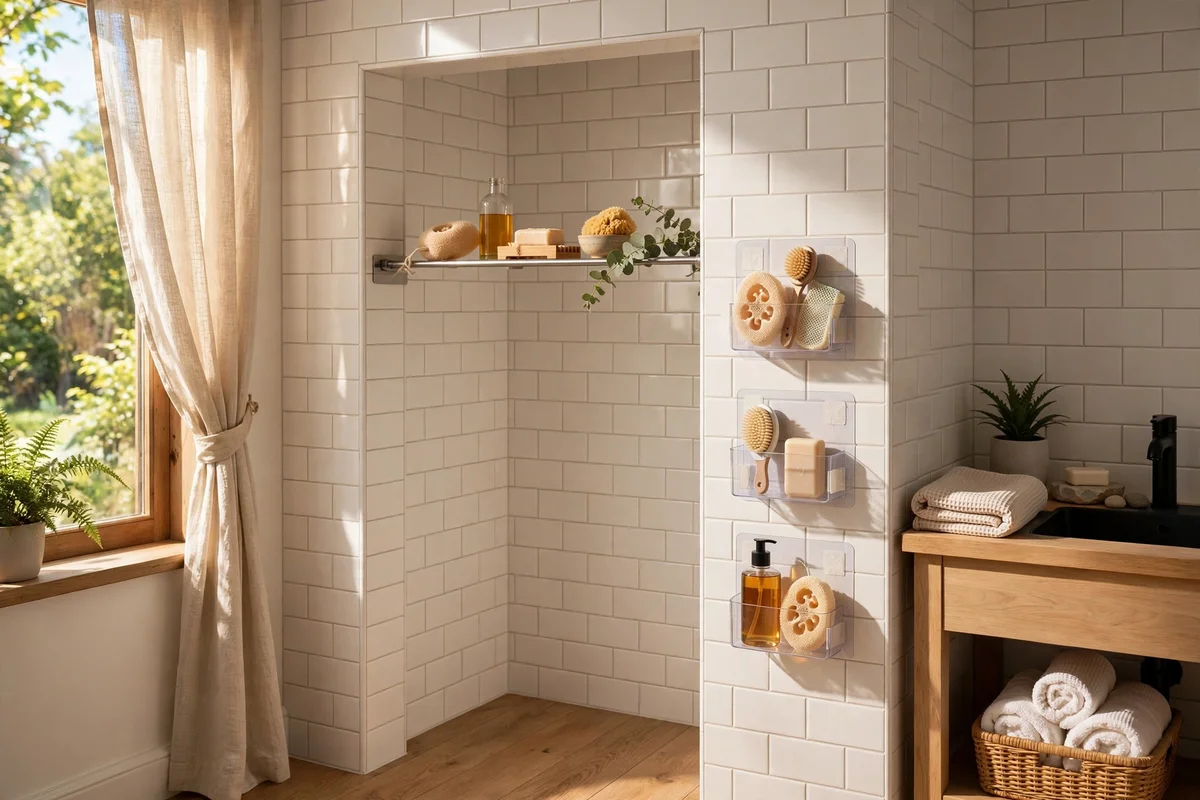
A tension rod fitted across a shower recess holds a hanging fabric shelf for shampoo bottles with no drilling into tiles. Add adhesive caddies rated for wet areas beside the basin for soap and toothbrushes, pressing them on for 30 seconds and waiting 24 hours before loading them. Choose rust proof aluminium or plastic finishes.
The rod and shelf together cost 25 to 45 dollars, and caddies add about 10 dollars each. Keep bottles under the stated weight limit, usually 2 to 3 kg per caddy, so nothing slides off mid shower. The mistake to avoid is sticking caddies on grout lines, where the uneven surface breaks the seal; place them on the flat centre of tiles only.
23. Keep Every Original Fitting in One Labelled Storage Box
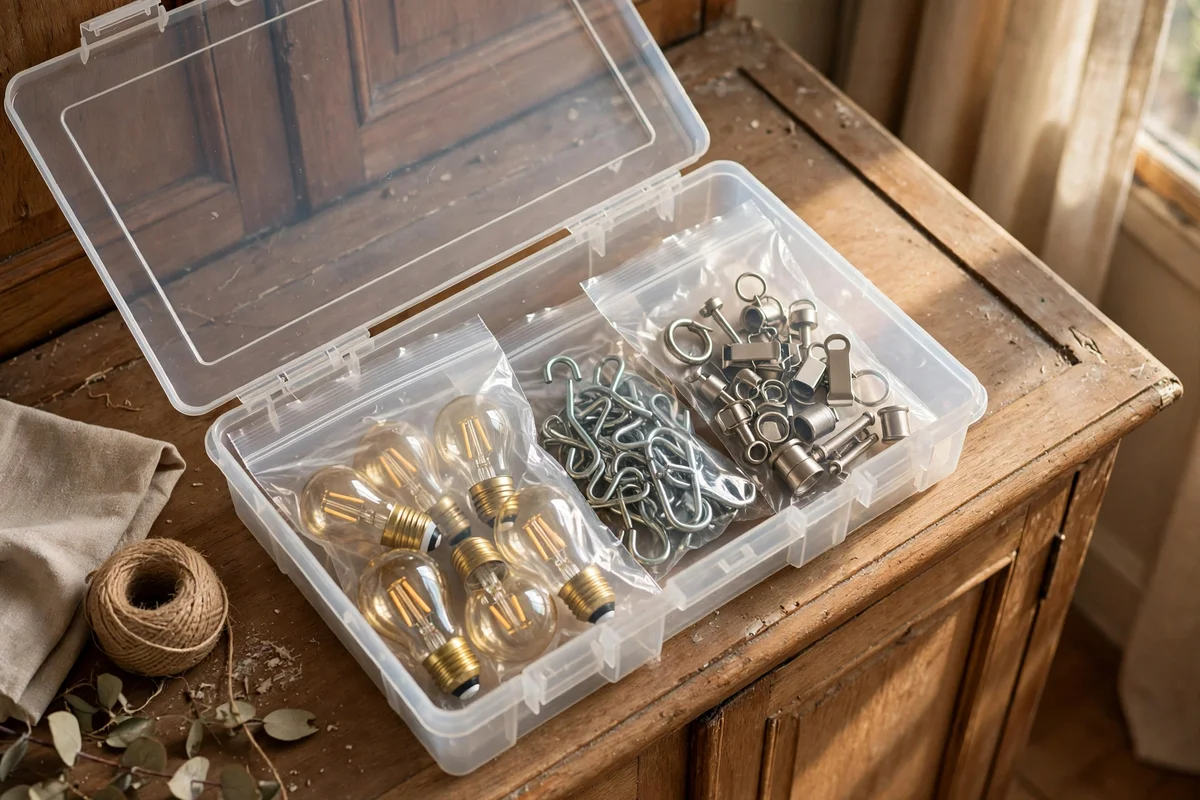
Every shade, bulb, hook, curtain and handle you remove deserves a labelled zip bag inside one sturdy box marked with your flat number and move out date. Photograph each fitting in place before removal, then tape the bag shut and note the room on the label. Store the box on top of a wardrobe where it stays dry and undisturbed.
A large plastic crate costs about 15 dollars and saves hundreds in deposit disputes. When the tenancy ends, refit everything in one afternoon using your photographs as a guide. The mistake to avoid is tossing originals into random cupboards, which guarantees a lost screw or a cracked shade at inspection; one box, one place, no exceptions.
24. Do a Final Damage Check and Deep Clean Before Move Out
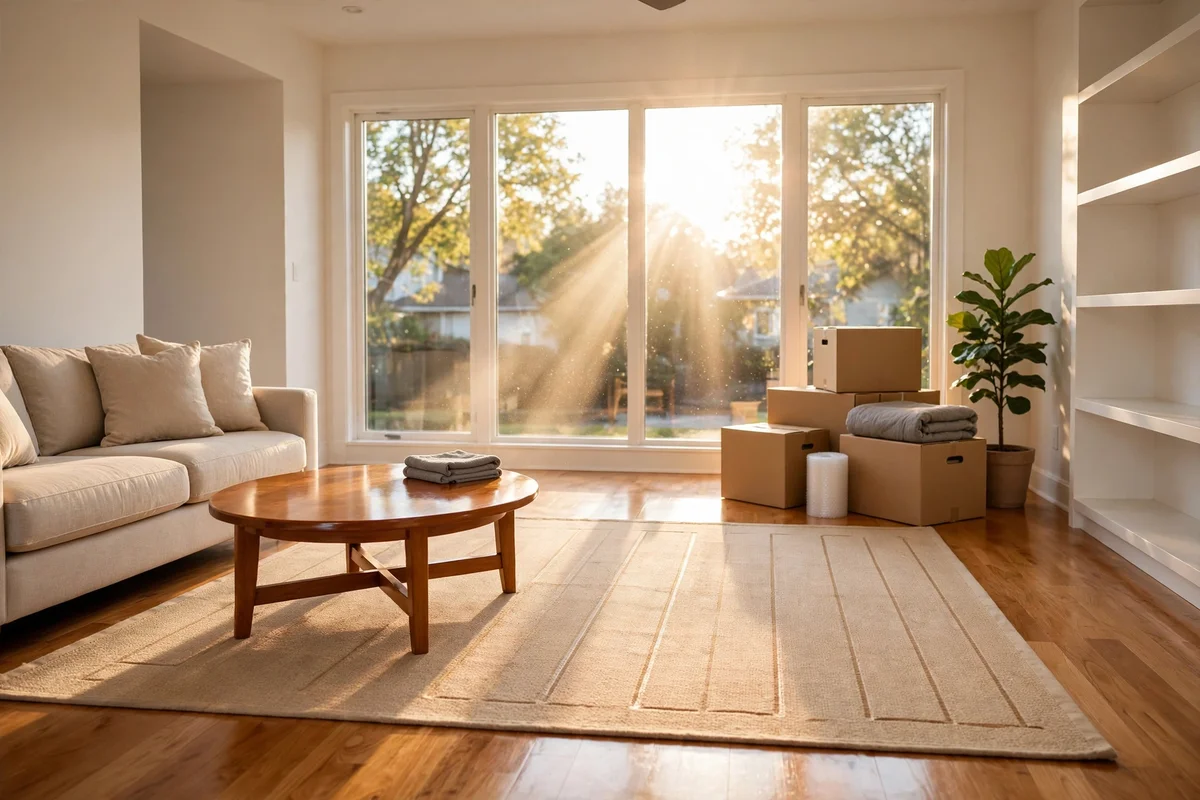
Two weeks before the tenancy ends, walk every room with your move in photographs and a notepad, comparing each wall, floor and fitting. Peel off all removable tiles, wallpaper and hooks, warming adhesive edges with a hairdryer for clean removal, then touch up any marks with leftover paint the landlord provided. Work slowly and methodically through one room at a time.
Book a full day for deep cleaning, including inside the oven, behind the fridge and along skirting boards, since professional level cleanliness decides many deposit outcomes. Photograph everything again after cleaning and email the set to your landlord. The mistake to avoid is leaving removal to the final morning, when rushed peeling tears paint; slow removal the week before protects both the walls and your money.
A rented flat becomes truly yours through layers you can lift away, not holes you have to fill. Peel and stick surfaces, honest rugs, warm bulbs and freestanding furniture give you colour, comfort and storage while every original fitting waits safely in its box. Start this week with the easiest win, photographing each room, then pick one idea that changes how your evenings feel.
When move out day comes, you will reverse every change in a single afternoon and hand back a flat that looks untouched. That is the quiet power of renter friendly decorating: full personality now, full deposit later. Keep your landlord’s written permission with your photos, enjoy the home you have shaped, and carry every piece you bought into your next home.
Frequently Asked Questions
Will peel and stick tiles damage my rental walls or splashback?
Not when you buy true removable vinyl and prepare the surface properly. Wash walls with sugar soap, let them dry fully, and press tiles from the centre outward. On move out, warm the edges with a hairdryer and peel slowly at a low angle. Most paint survives untouched, and any faint residue wipes off with warm soapy water.
How much does a full rental friendly makeover cost?
Between 300 and 800 dollars for a one bedroom flat, depending on rug size and furniture choices. A large rug, peel and stick tiles, tension rods with curtains, adhesive hooks and warm bulbs cover the basics for around 350. Add a freestanding shelf or folding screen for 100 to 180 when the budget allows.
Do I really need landlord permission for removable decor?
Yes, get it in writing for anything that touches walls, floors or fixtures, even peel and stick products. Most landlords agree within days when you explain the changes reverse cleanly. A short email thread protects your deposit and avoids disputes at inspection, so treat written permission as step one of the makeover.
What weight can command strips and adhesive hooks actually hold?
Always follow the number printed on the packet. Small strips hold frames under 1.8 kg, large strips hold up to 7 kg, and most adhesive hooks hold 1 to 3 kg. Weigh heavier frames on kitchen scales first, clean the wall with rubbing alcohol, and wait the full curing time before hanging anything.
How do I make a small rental bedroom feel bigger without drilling?
Lean a full length mirror beside the window to bounce light, lay a light coloured rug that reaches under the bed, and use one pale wallpapered accent wall instead of dark paint. A fabric room divider separates sleeping from dressing zones, and warm 2700K bulbs make the small space feel calm rather than cramped.