Crafts
24 Spider Handprint Craft Ideas That Make Bug Week Extra Delightful
By Anna Wells · · 18 min read
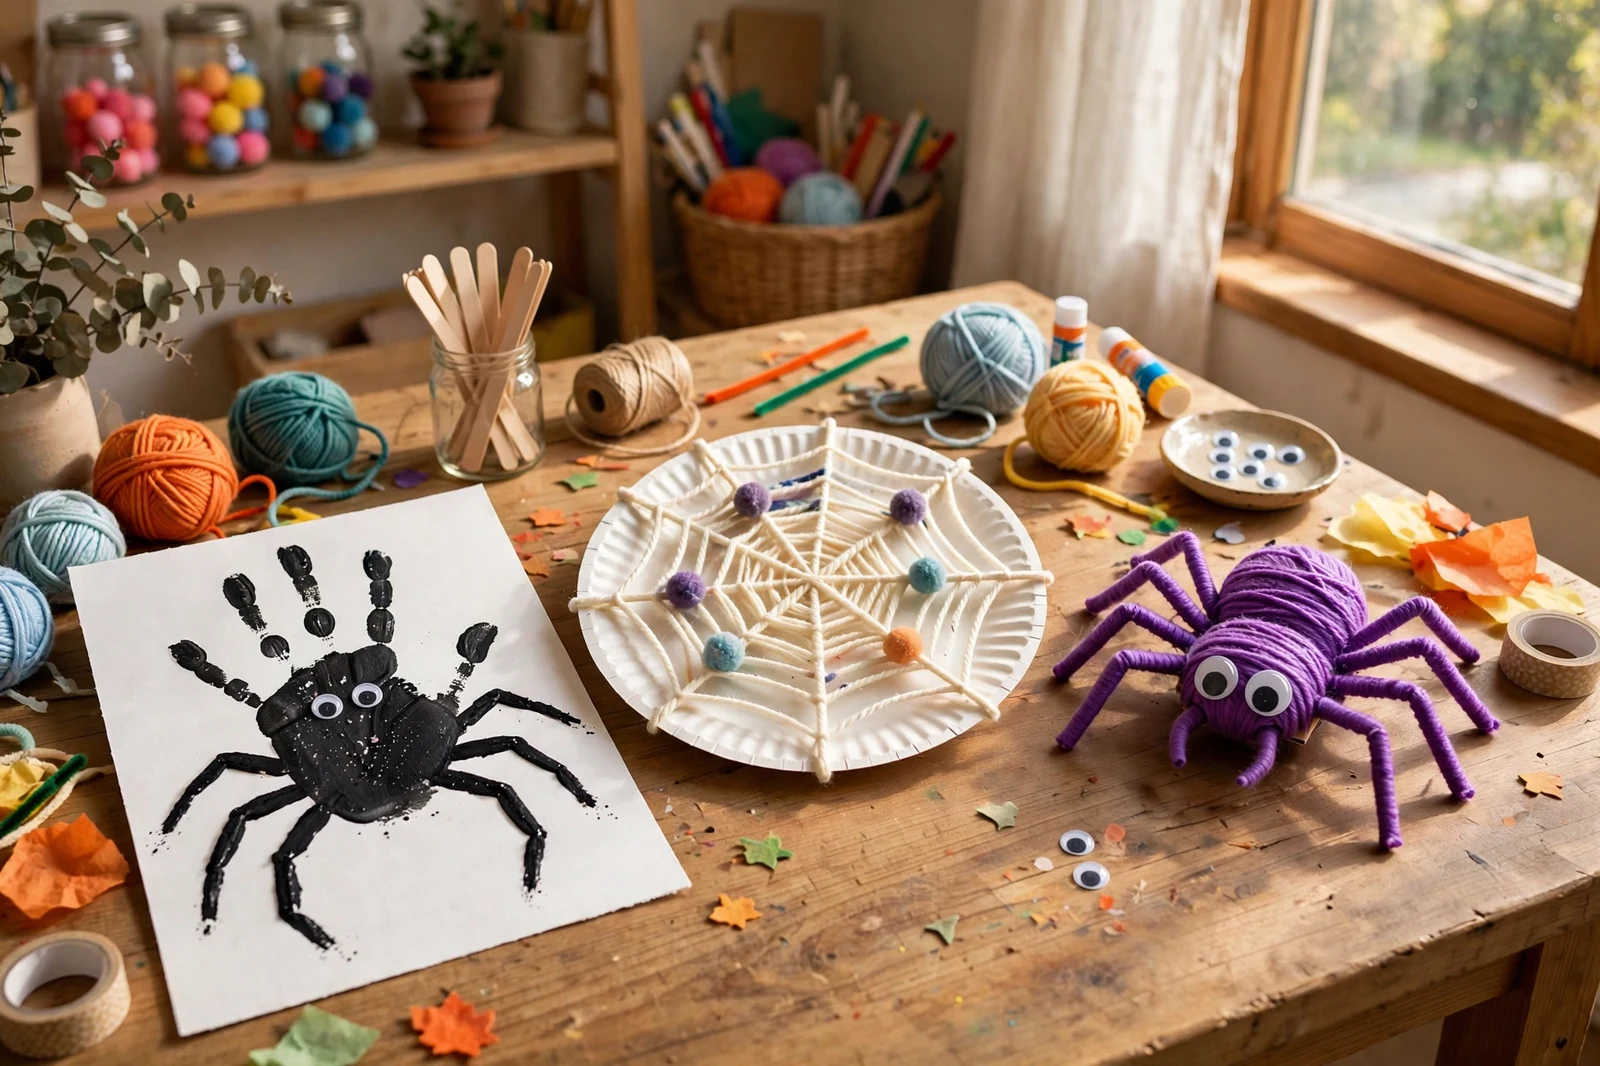
A little handprint captures a moment in time, and turning it into a spider is one of the easiest crafts around, since the fingers naturally become eight wiggly legs. These 24 original ideas go far beyond the classic black spider, with painting, paper cutting, yarn wrapping, puppets, garlands and keepsakes for every age. Grab some washable paint and let the creativity crawl.
Handprint crafts have a special magic: they freeze a tiny moment of childhood that you can hold onto forever. Spiders are a natural fit for little hands, because four fingers on each of two prints give you exactly eight legs with no drawing required. The result is always charmingly imperfect in the best possible way.
This collection of 24 ideas stretches from the simplest painted print to puppets, mobiles, garlands and framed keepsakes. Many need nothing more than paper, washable paint and glue, while others build fine motor skills through cutting, weaving and folding. Pick the ones that suit your child’s age, and remember that crooked legs and mismatched eyes are part of the fun.
1. Classic Painted Handprint Spider
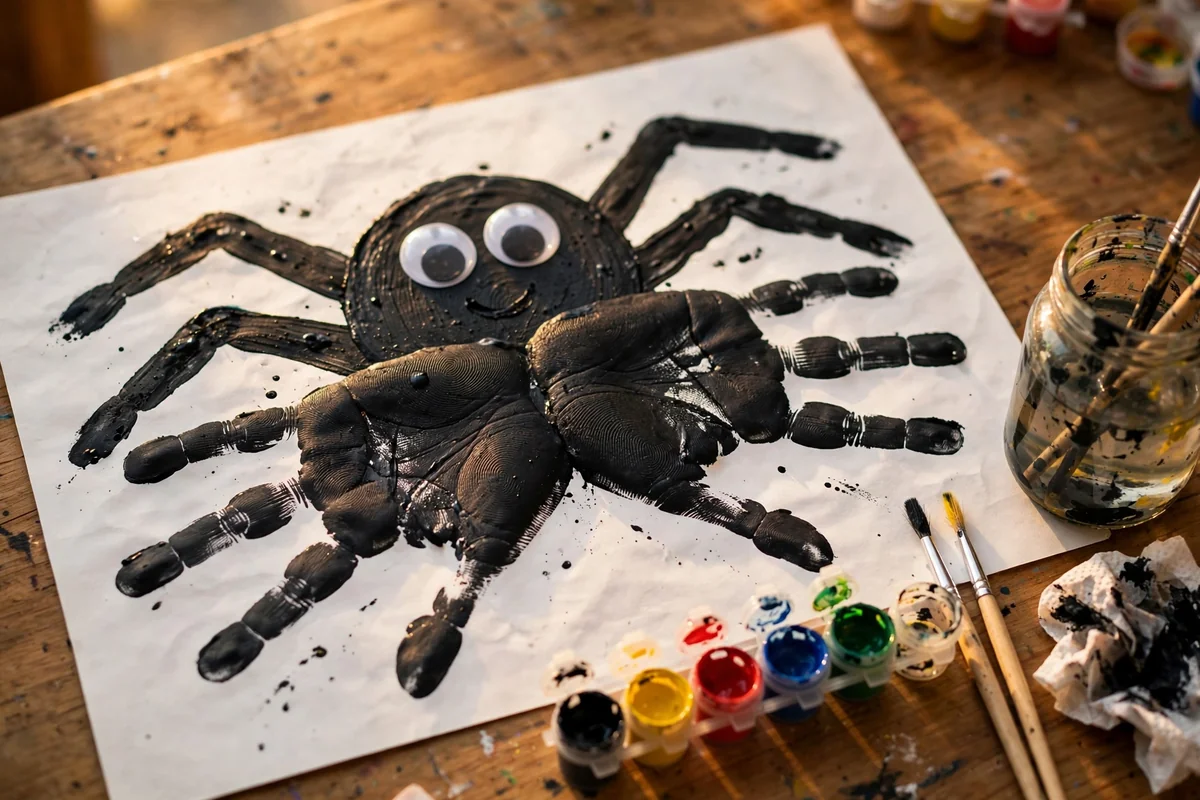
Brush washable black paint over one palm and four fingers, leaving the thumb clean, then press firmly onto sturdy white paper. Turn the paper and make a second print facing the opposite direction so the palm areas overlap. Four fingers on each side create the spider’s eight legs with nothing to draw. Use sturdy paper or light cardstock so the wet paint never warps the page.
Once dry, let the child add the personality: big paper eyes, painted eyes, or a small smile. A slightly crooked leg or a tiny smudge only adds handmade charm, so resist fixing every imperfection. Write the child’s name and date discreetly at the bottom. Even this simplest afternoon project becomes a keepsake worth saving when you capture the details.
2. Rainbow Bright Handprint Spider
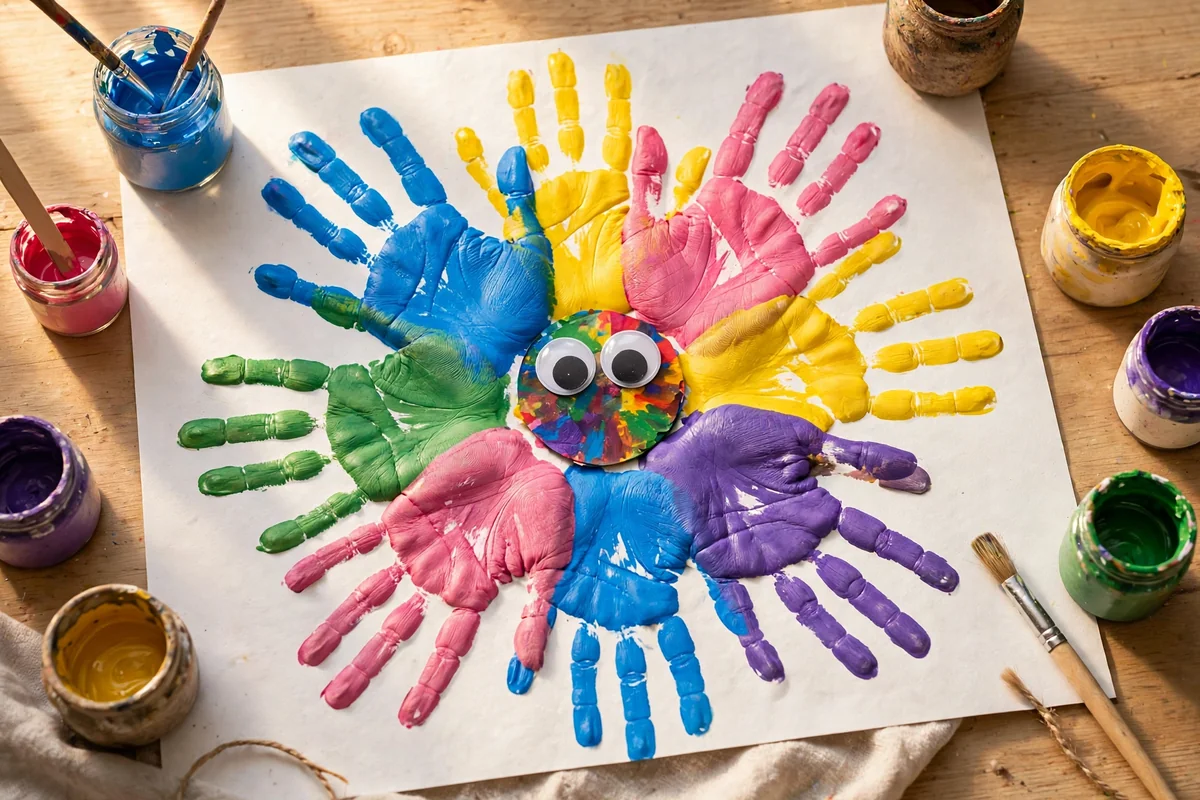
There is no rule saying a spider must be black. Paint sections of the hand in different washable colors before printing: blue on two fingers, pink on another, yellow on another, with purple across the palm. Make the second print in the same arrangement or totally different colors. When the prints overlap, you get a wonderfully bright spider with eight multicolored legs that looks pure joy.
Set out a limited palette and let children decide which colors sit next to each other. Older kids can build repeating patterns across the legs, while little ones simply pick favorites. A plain white background works best, since the colors already supply plenty of interest. This cheerful version suits spring craft tables and bright playroom walls perfectly.
3. No-Paint Traced Paper Spider
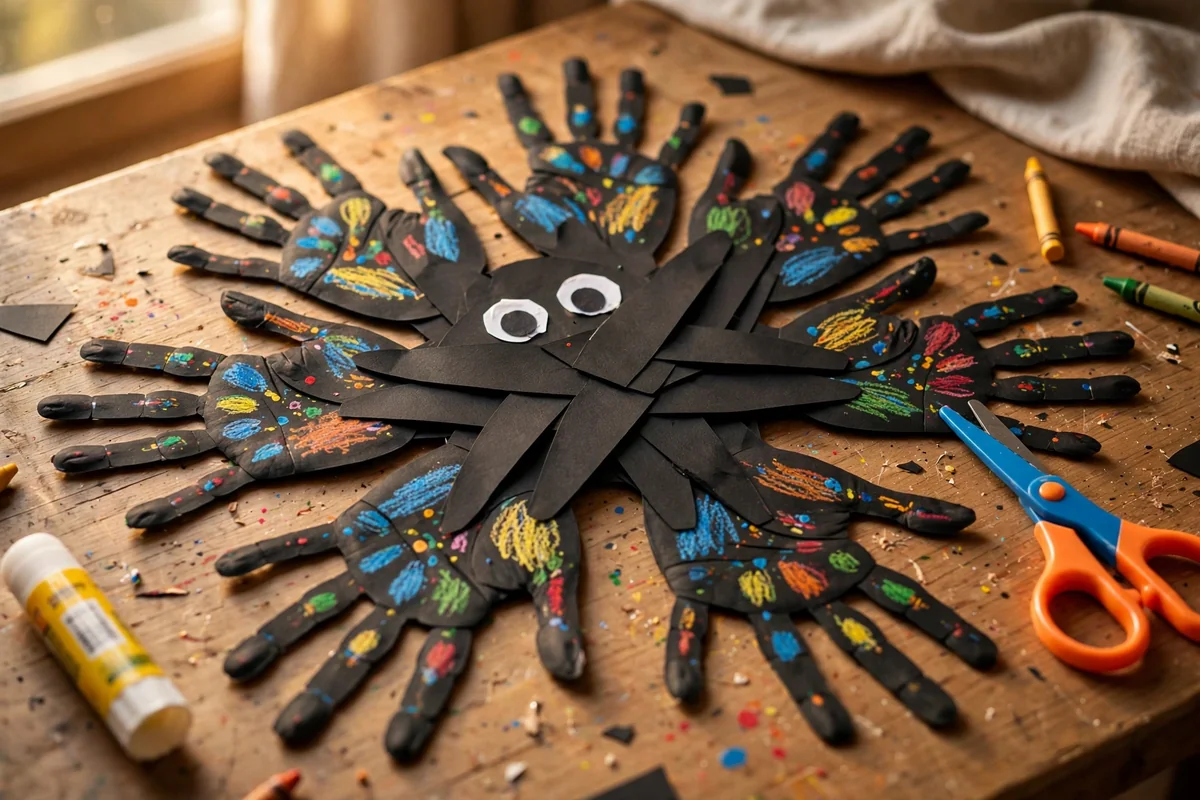
Skip the mess entirely by tracing both hands onto black or colored construction paper with a pencil. Cut out the hand shapes, snip off the thumbs for exactly four finger-legs per side, then overlap the palms and glue them together. The result is a clean, crisp spider with no drying time. This method is ideal for classrooms or days when paint feels like too much.
Children can decorate before or after assembly using markers, crayons, stickers, or patterned paper scraps. For extra life, gently curl each paper finger around a pencil so the legs lift off the page. That small adjustment makes the spider look like it is crawling. Everything about this project is calm, controlled, and wonderfully tidy.
4. Watercolor Web Backdrop Spider
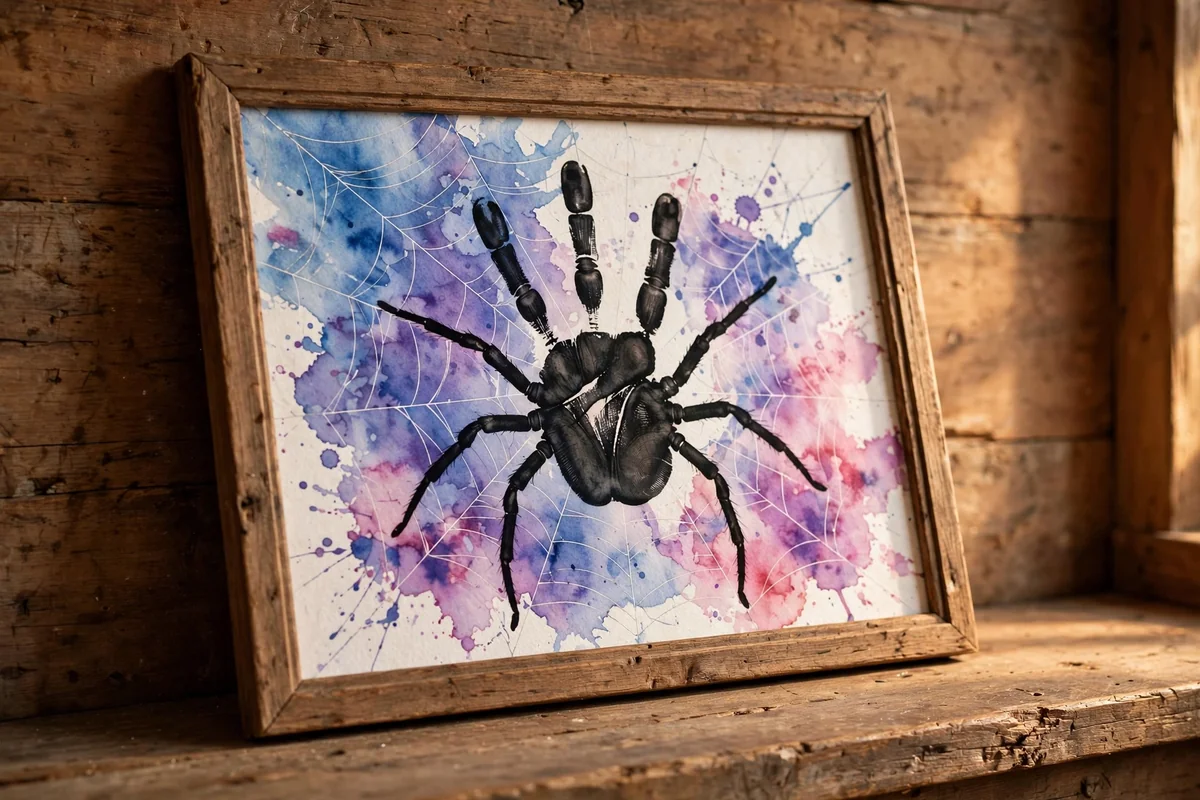
Give the spider a dreamy setting with a watercolor wash background. Let children brush loose blue, purple, pink, or turquoise washes across heavy watercolor paper, leaving light patches and letting colors mingle naturally. Once completely dry, draw a web with a white paint marker. Then press a black handprint spider near the middle or a corner for striking contrast.
The dark silhouette against soft color gives this piece real depth, and it looks genuinely frame-worthy while remaining unmistakably child-made. Use thick paper so it never buckles. This makes a truly lovely gift for grandparents, since it pairs a precious handprint with something beautiful enough to hang in a hallway.
5. Paper Plate Web with Spider
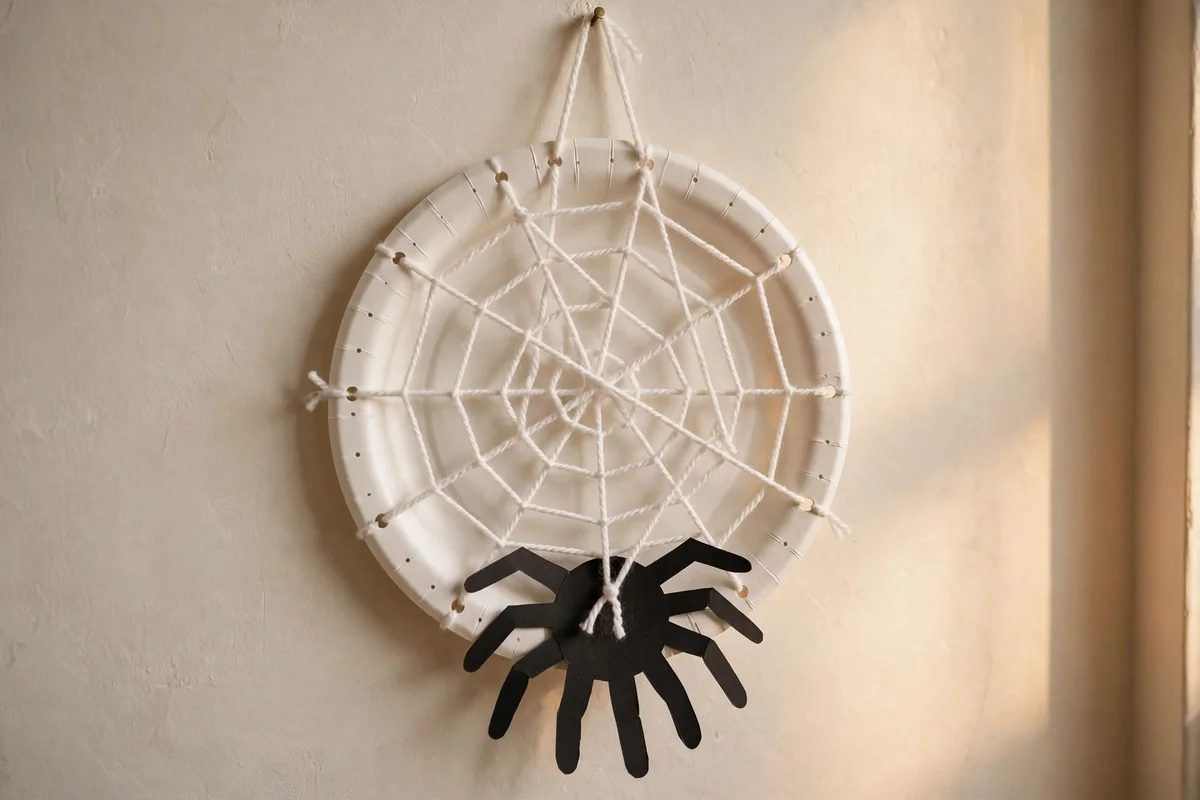
A paper plate becomes a surprisingly sturdy web frame. Cut the center from a white plate and punch holes around the remaining rim. Children thread white yarn back and forth between the holes, crossing through the middle until it looks web-like. Irregular strands are easier for young hands and look perfectly convincing, so skip any pressure for symmetry.
Make the spider from two traced paper handprints on black cardstock, then glue or tape it to one of the yarn strands. This project bundles tracing, cutting, threading, and gluing into one satisfying session. The finished web is strong enough to hang on a door or wall, where it sways gently and shows off real crafting skill.
6. Craft Stick Spider Puppet
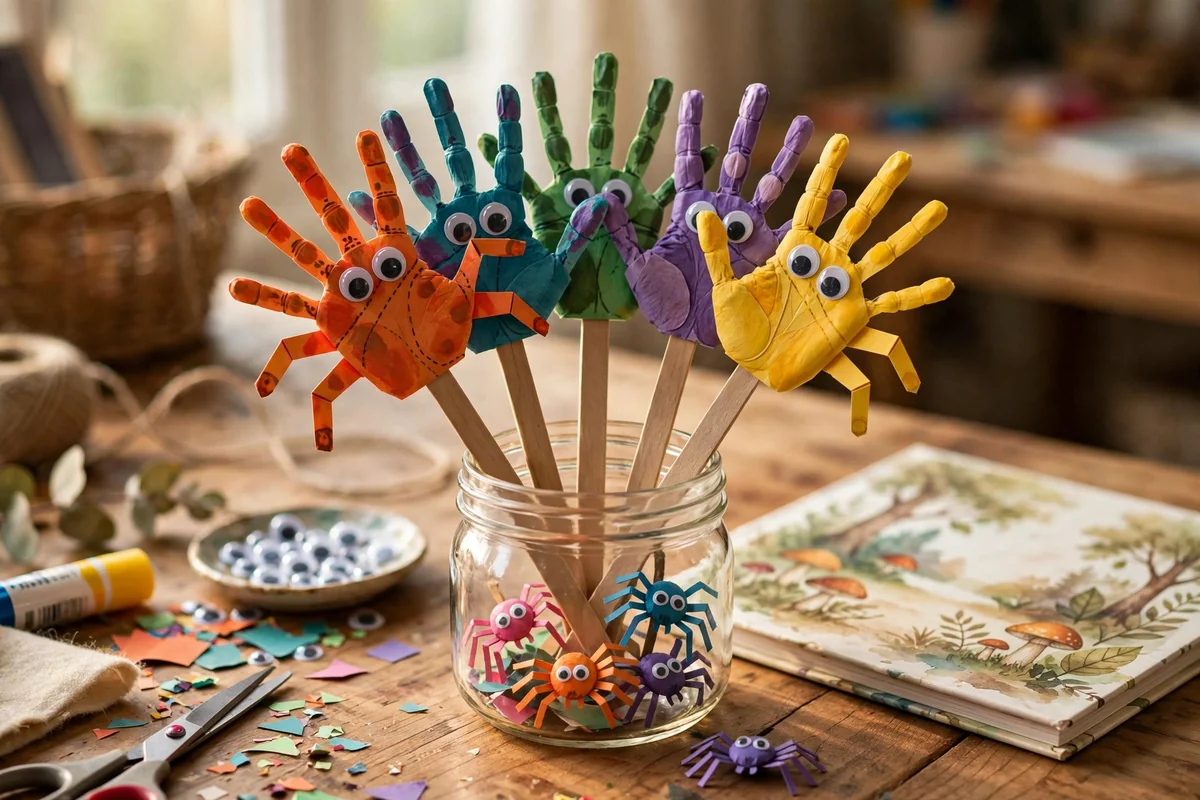
Turn the spider into a puppet and the fun continues long after the glue dries. Assemble the spider from two overlapping paper handprints, then glue it to a wide wooden craft stick. Paper eyes are lightest, though children can also draw a face directly on the palm. Make several in different colors so each puppet has its own character.
Then let the show begin: puppets can crawl across tables, hide behind cushions, or star in a homemade spider story. Pair them with a bug-themed picture book for storytime. A craft that becomes imaginative play without any extra setup is always a winner, and these puppets get reached for again and again.
7. Bouncy Accordion-Leg Spider
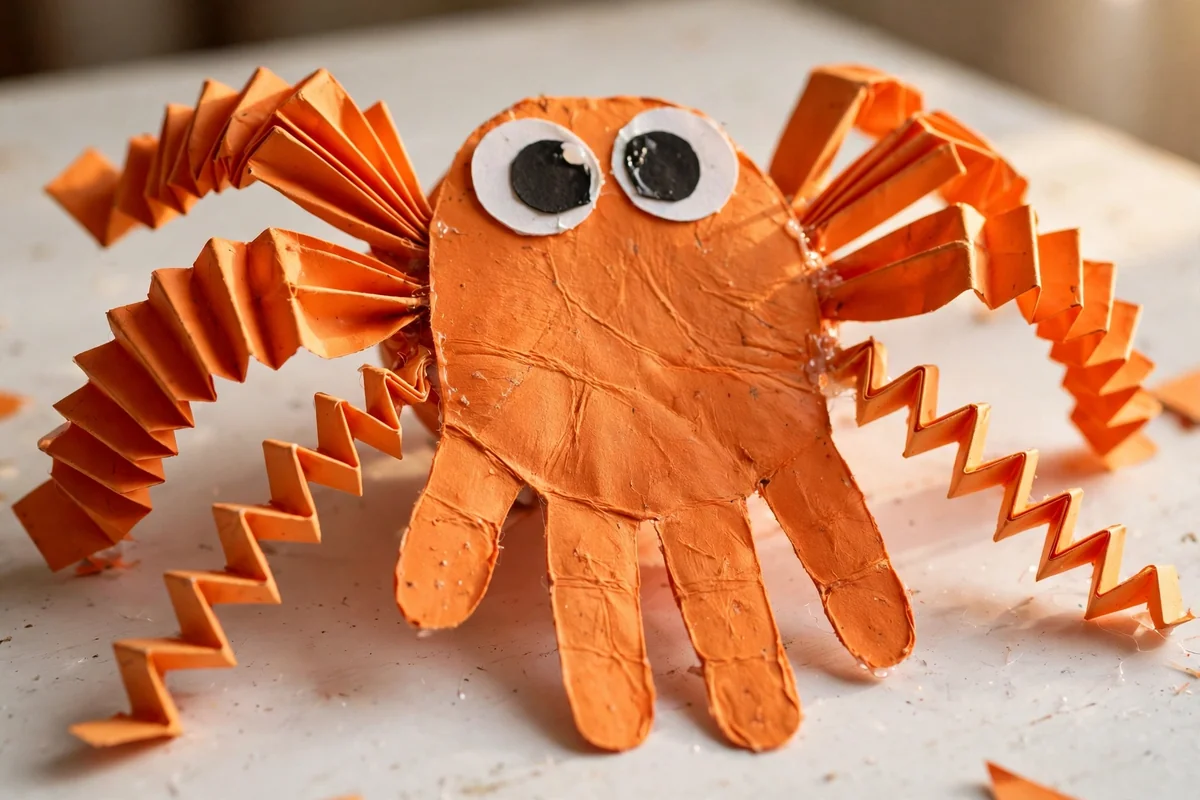
Use the handprint for the body but build the legs separately for extra bounce. Trace or print just the palm onto cardstock and cut out the central shape. Then cut eight narrow paper strips and fold each back and forth like an accordion. Glue four folded legs along each side of the body and add big paper eyes.
The folded legs give the spider wonderful springy movement, especially when you tap the paper gently. Folding the strips also sneaks in repetitive fine-motor practice without feeling like a lesson. The finished spider looks completely different from a flat print, even though it starts from the same familiar hand shape.
8. Fingerprint Spot Spider
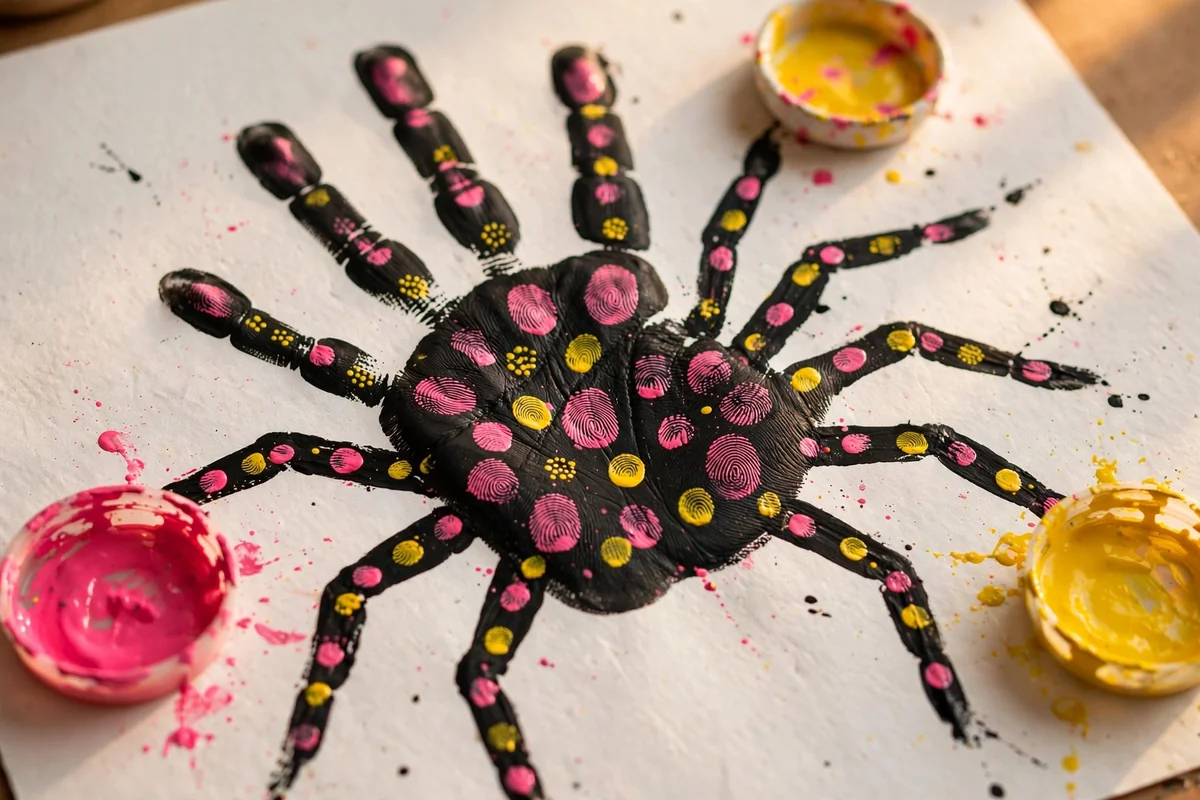
Combine handprints and fingerprints in one joyful painting. Start with a dark spider made from two overlapping handprints and let it dry fully. Then dip fingertips into contrasting washable paint and dot spots across the palm and legs. Bright pink on black, yellow on purple, or blue on orange all look wonderfully playful and give younger children an easy way to keep participating.
Set out just two or three paint colors on small plates so the project never turns muddy. Kids can make orderly rows, alternate colors, or scatter dots randomly. Fingerprinting is easy to control and deeply satisfying, which makes this a perfect follow-up step after an adult helps with the main handprint. The spotted spider always looks delightfully unique.
9. Cozy Yarn-Wrapped Spider
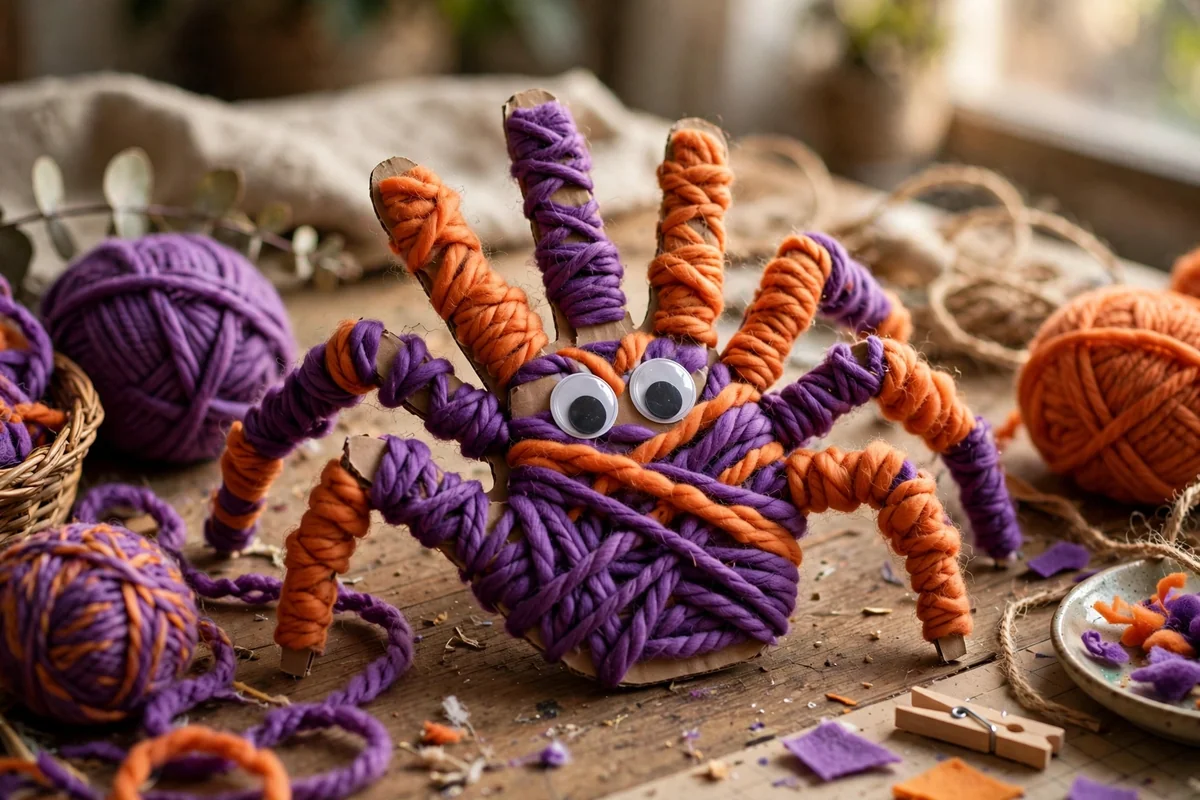
Give the spider a fuzzy, touchable texture with yarn wrapping. Trace two hands onto thin recycled cardboard, cut them out, snip the thumbs, and glue the palms together for a sturdy base. Then let children wind yarn around the body and parts of the legs. Chunky yarn builds texture quickly, and purple, orange, or multicolored yarn feels much more playful than plain black.
Do not aim for full coverage; a little cardboard showing through is fine, and keeping the wrapping loose matters more than a perfect finish. This project builds hand strength and patience while producing a spider that begs to be touched. It also puts recycled cardboard and yarn scraps to good use.
10. Window Sun Catcher Spider
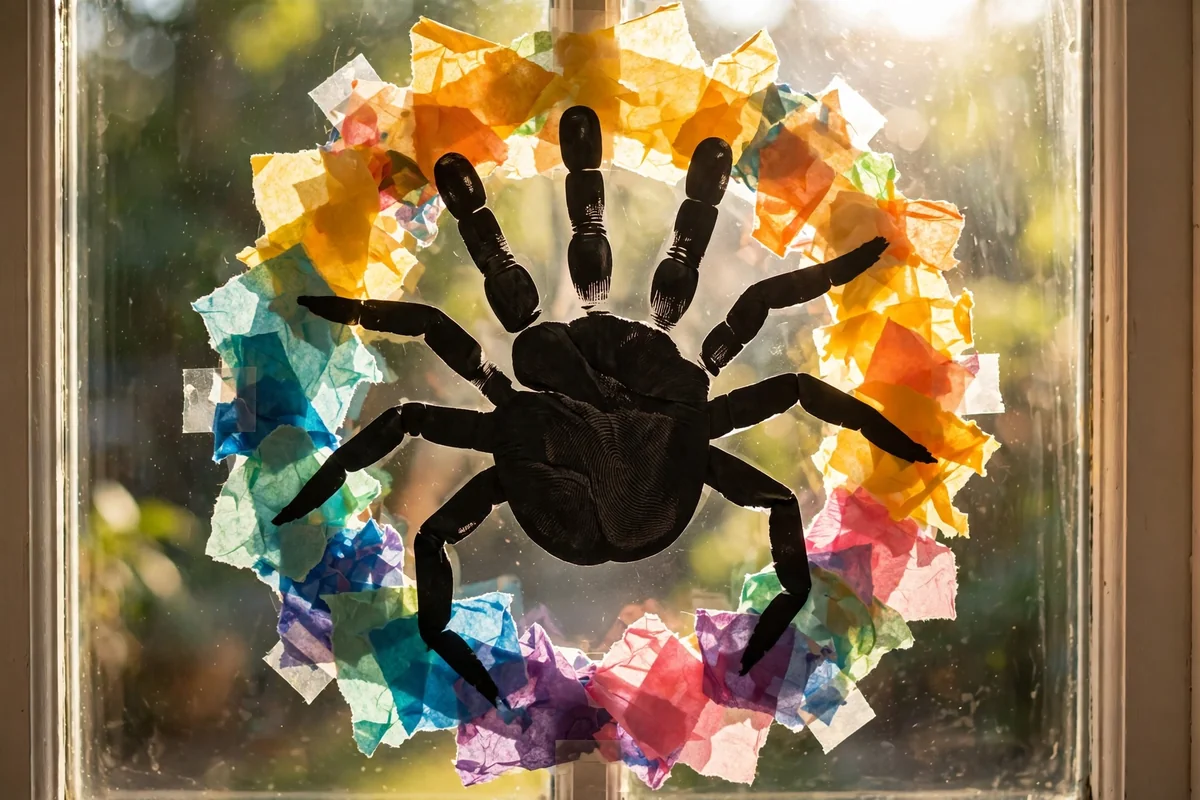
Create a stained-glass effect for a sunny window using clear contact paper. Cut a black cardstock spider from overlapping hand silhouettes and press it onto the sticky side of the contact paper. Let children fill the surrounding space with small torn pieces of colorful tissue paper, then seal with a second sheet and trim around the outside.
Tape the finished piece to a bright window and watch the tissue glow around the dark spider. Tearing tissue instead of cutting lets even very young children participate fully, and the overlapping pieces blend into new shades in the sunlight. This is a magical rainy-day project with a result that lights up the whole room.
11. Puffy Texture Paint Spider
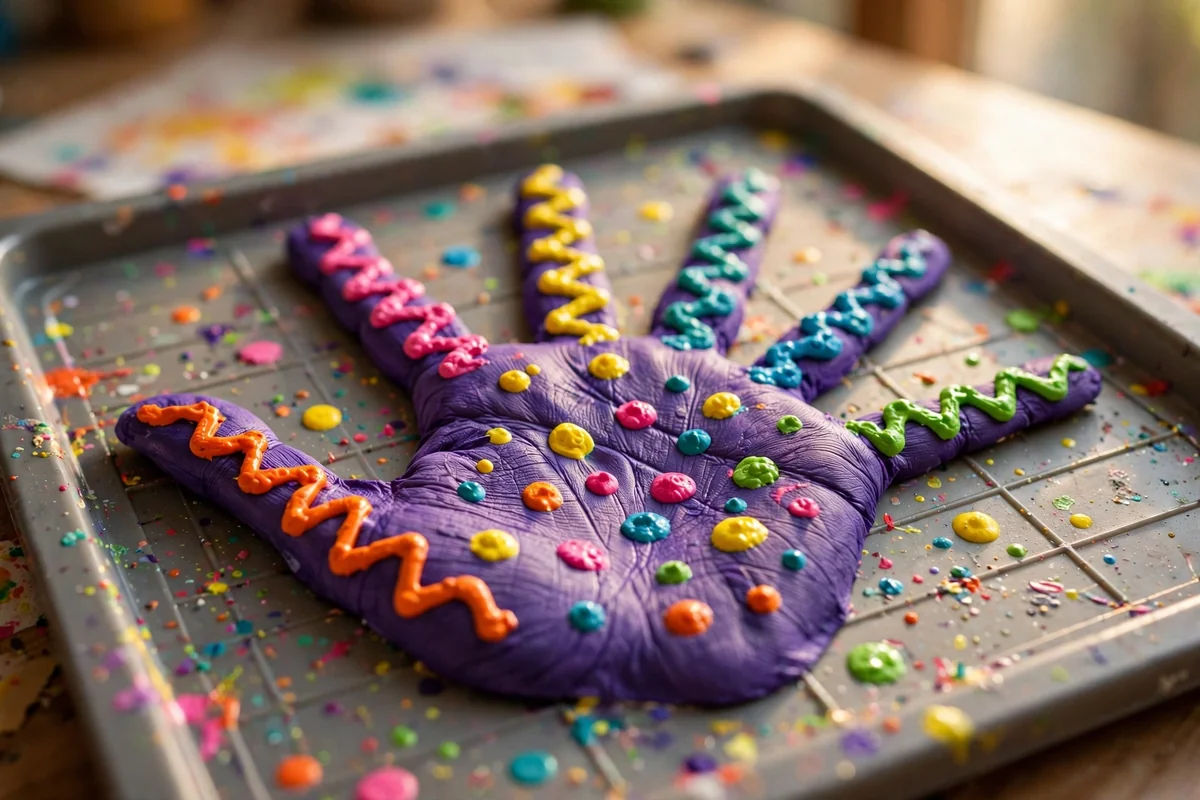
Add irresistible texture with dimensional puffy paint. Make the spider base from painted or traced hands and let it dry completely first. Then children can squeeze raised lines, dots, zigzags, and tiny circles across the body and legs. Set the artwork on a tray before decorating so you can move it without touching the wet paint.
Give the puffy paint generous undisturbed drying time, since touching it too soon ruins the raised effect. Once dry, the bumpy patterns are genuinely fun to trace with a fingertip, which adds a sensory element. This is a great next step for kids who have already made plain handprint pictures and want something with more detail.
12. Sparkling Salt Web Spider
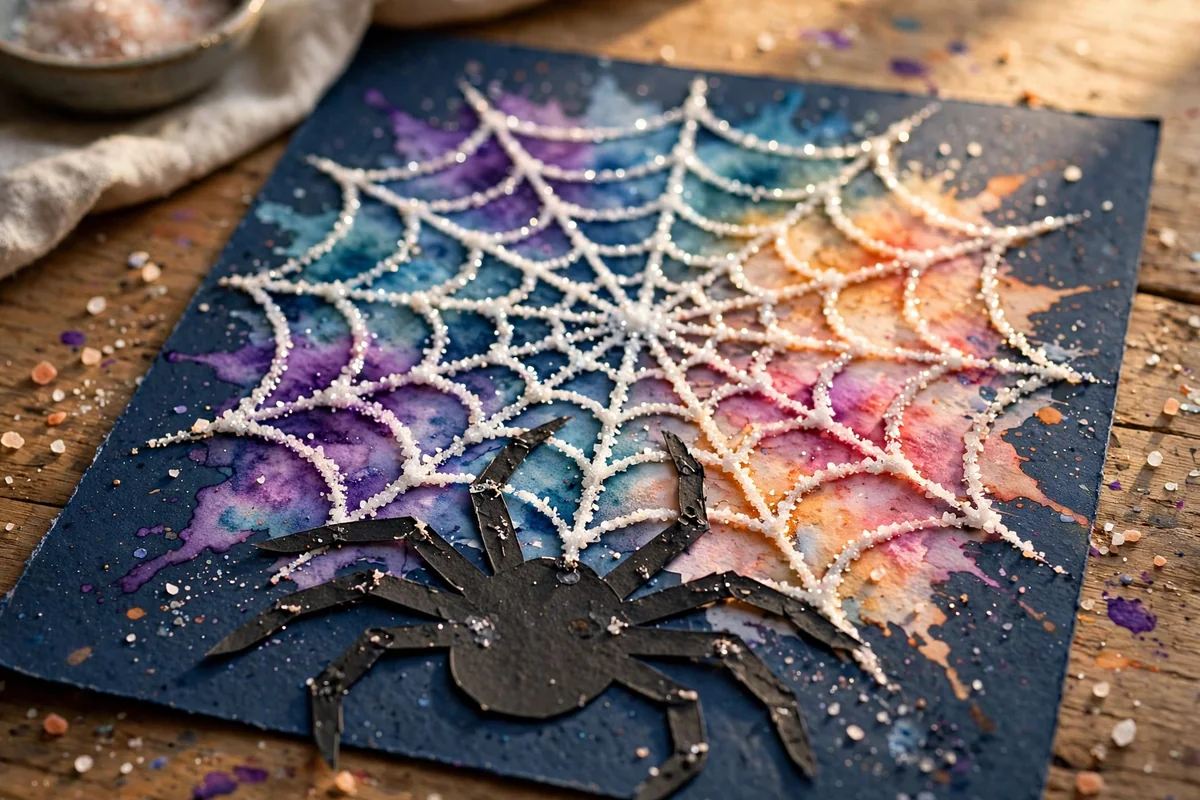
Make the web the star with a salt painting technique. On dark cardstock, draw a large web with white school glue, pour table salt generously over the wet lines, and shake off the excess. Once settled, children lightly touch diluted watercolor to the salt and watch the color race along the crystals. The result has a raised, sparkling quality that plain painted lines cannot match.
Build the spider separately from black paper handprints and glue it on after the web dries, keeping wet paint away from the delicate salt texture. Encourage kids to touch the brush tip lightly rather than scrubbing. The science-like magic of color spreading through salt fascinates every age, from toddlers to grandparents.
13. Dangling Spider Garland
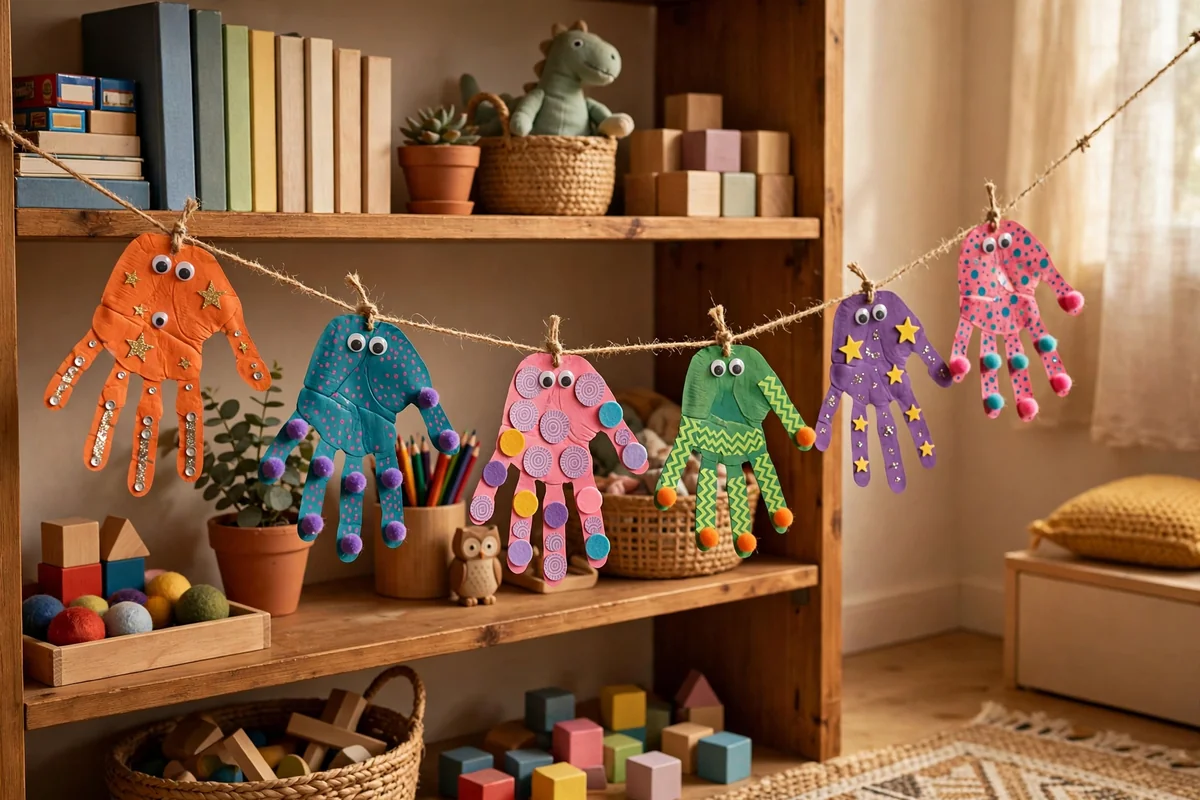
One spider is fun, but a whole row becomes cheerful handmade decor. Trace handprints onto several colors of cardstock and assemble each pair into a spider, giving every one a different look: stripes on one, dots on another, giant eyes on the next. Punch a hole near the top of each and string them along yarn or twine with space between them.
This is a wonderful group activity because every child contributes one spider to a shared garland. Hang the finished row across a bookshelf, playroom window, or classroom display. The mix of colors and personalities makes it far more interesting than matching store-bought decorations, and it celebrates each child’s individual style.
14. Twirling Paper Mobile Spiders
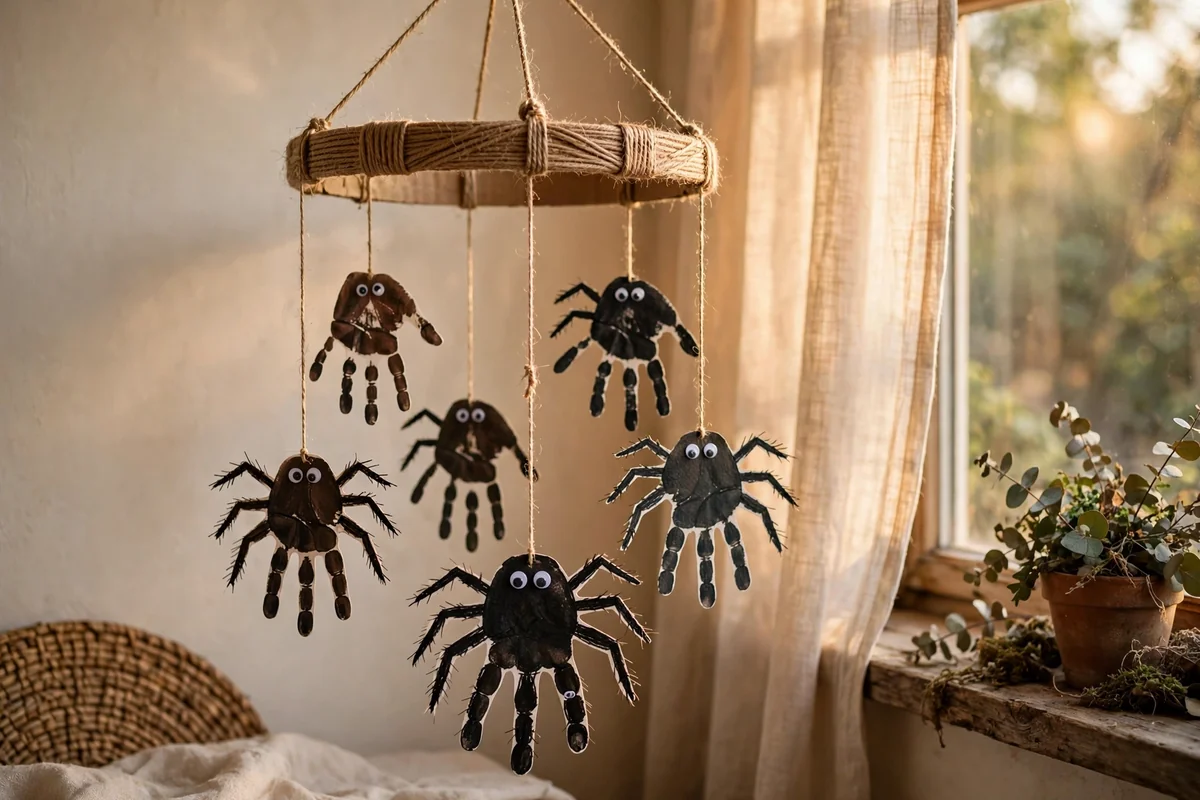
Add movement with a hanging mobile that makes spiders look like they are dangling through the air. Start with a simple lightweight cardboard or paper-plate ring wrapped in a little yarn. Create several small spiders from traced handprints on sturdy paper, keeping decorations lightweight so the ring never tilts awkwardly.
Tie each spider to the ring with a different string length so they hang at several levels. When the mobile catches a gentle draft, the spiders slowly turn and sway. It transforms flat paper crafts into something children can watch move, and it looks lovely hanging in a bedroom corner or above a craft table.
15. Wobbly Rocking Plate Spider
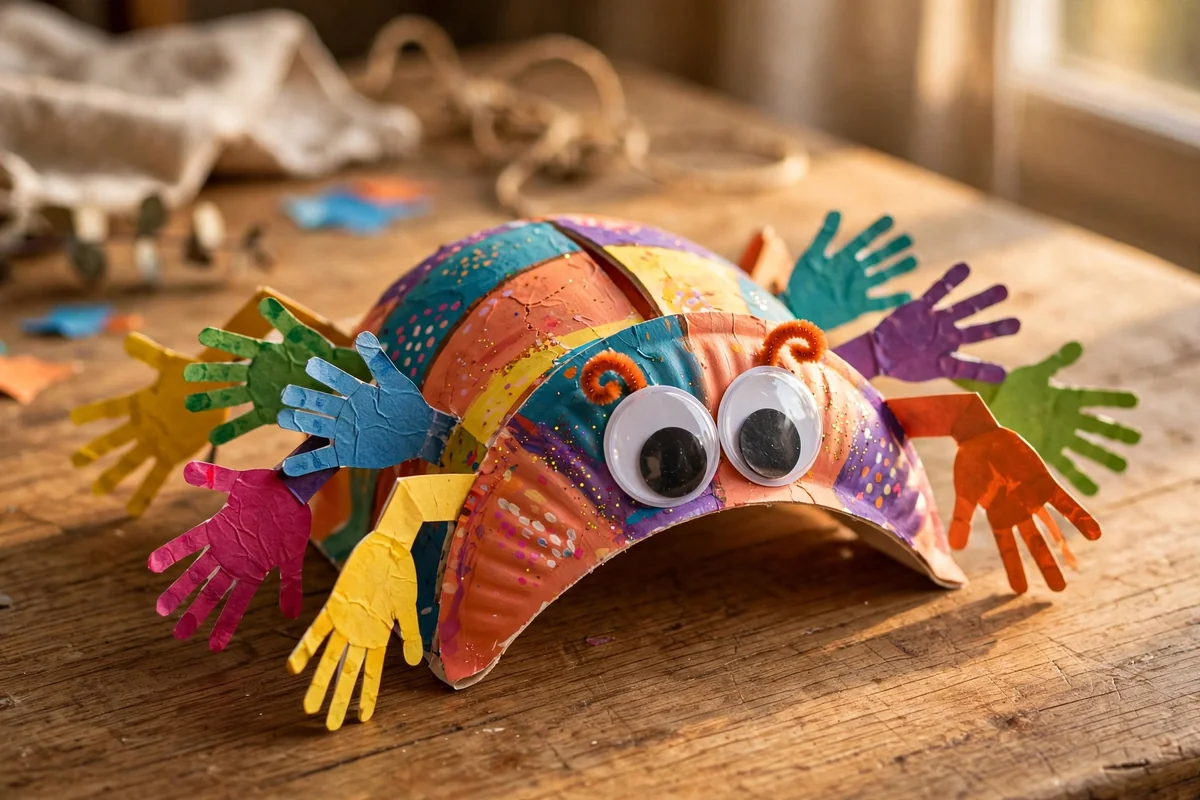
Fold a sturdy paper plate in half and paint the outside in the child’s chosen color for a rocking toy base. Once dry, glue paper handprint legs along both sides, arranging four finger-legs to extend outward on each side, and add eyes on top. Because the plate rests on its curved edge, the finished spider rocks when gently pushed.
Keep the eyes and decorations lightweight so the toy stays balanced. Children love experimenting with how hard to tap it to make it wobble without tipping over, which sneaks a little problem-solving into craft time. This is a craft with a purpose beyond the page, and it survives plenty of enthusiastic play.
16. Wearable Spider Headband Crown
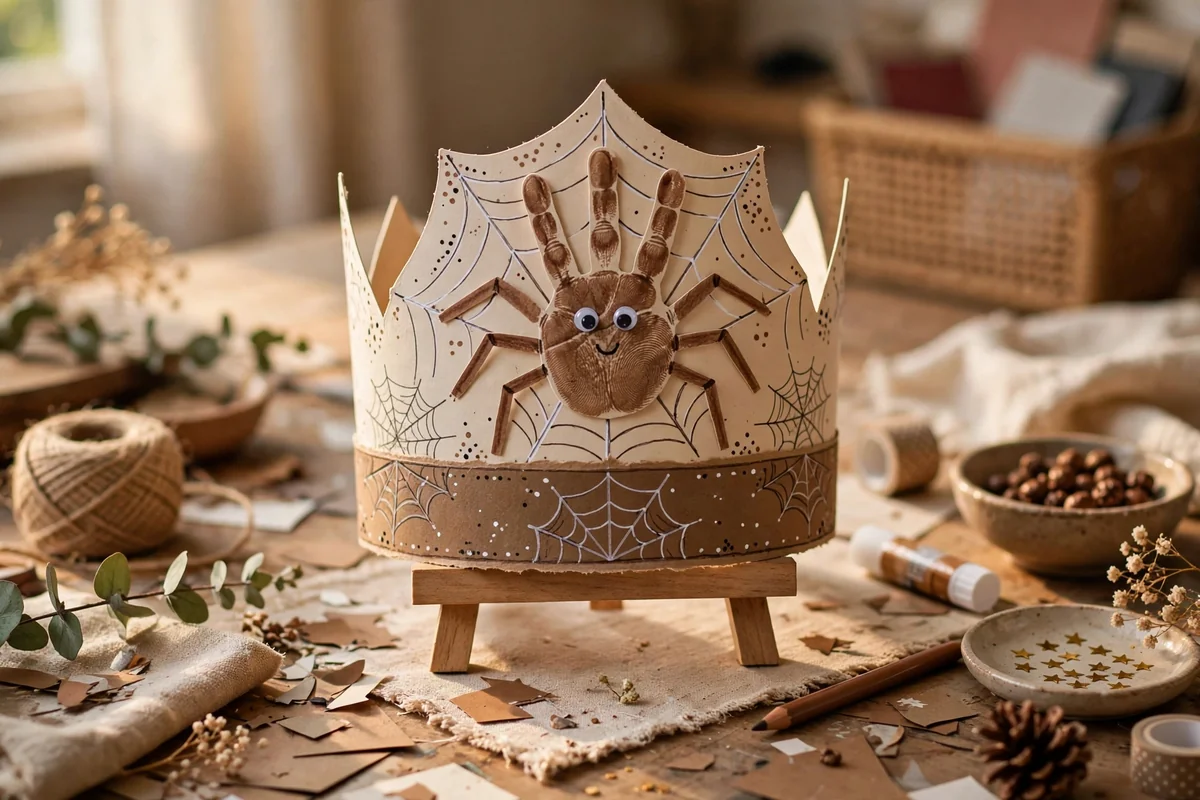
Some children would rather wear their artwork than display it. Cut a long strip of cardstock into a comfortable headband, but do not join the ends yet. Make a small paper handprint spider and glue it to the center of the band. Let children decorate the rest with drawn webs, colorful dots, and tiny spider pictures.
Measure the band around the child’s head before taping or stapling it closed. Paper eyes work best here because they are light and stay put during play. Once finished, the crown often joins dress-up games long after craft time ends, giving the project a wonderful second life in imaginative play.
17. Page-Marker Spider Bookmark
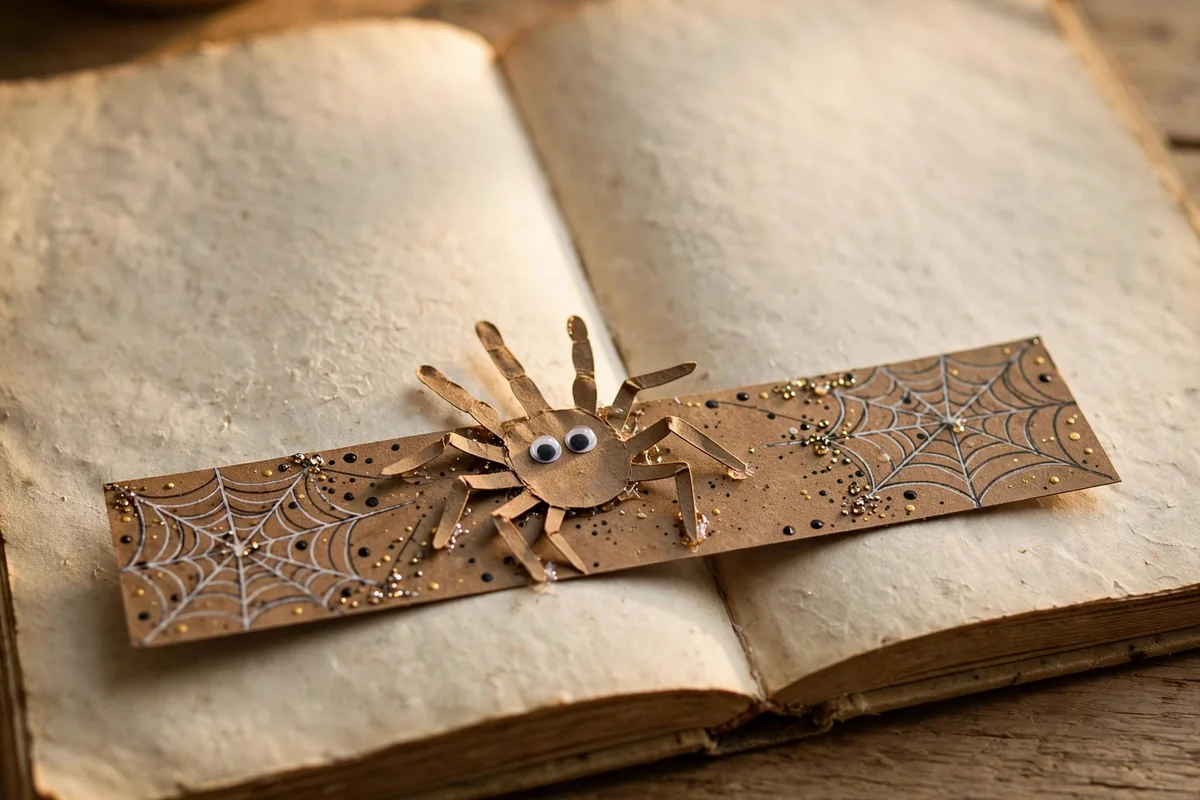
Make a useful little project for young readers. Trace a hand onto cardstock and trim the shape so it is not wider than a book page. Glue the spider to the top of a sturdy rectangular strip so its legs peek out when the bookmark sits inside a book. Decorate the strip with drawn webs, dots, or the child’s name.
Laminate the finished bookmark or cover it with clear packing tape so it survives daily use. This practical craft genuinely encourages reading, since children love spotting their spider’s legs peeking from the pages. It also makes a truly sweet handmade gift to tuck into a birthday book for a friend.
18. Storytime Spider Puppets Set
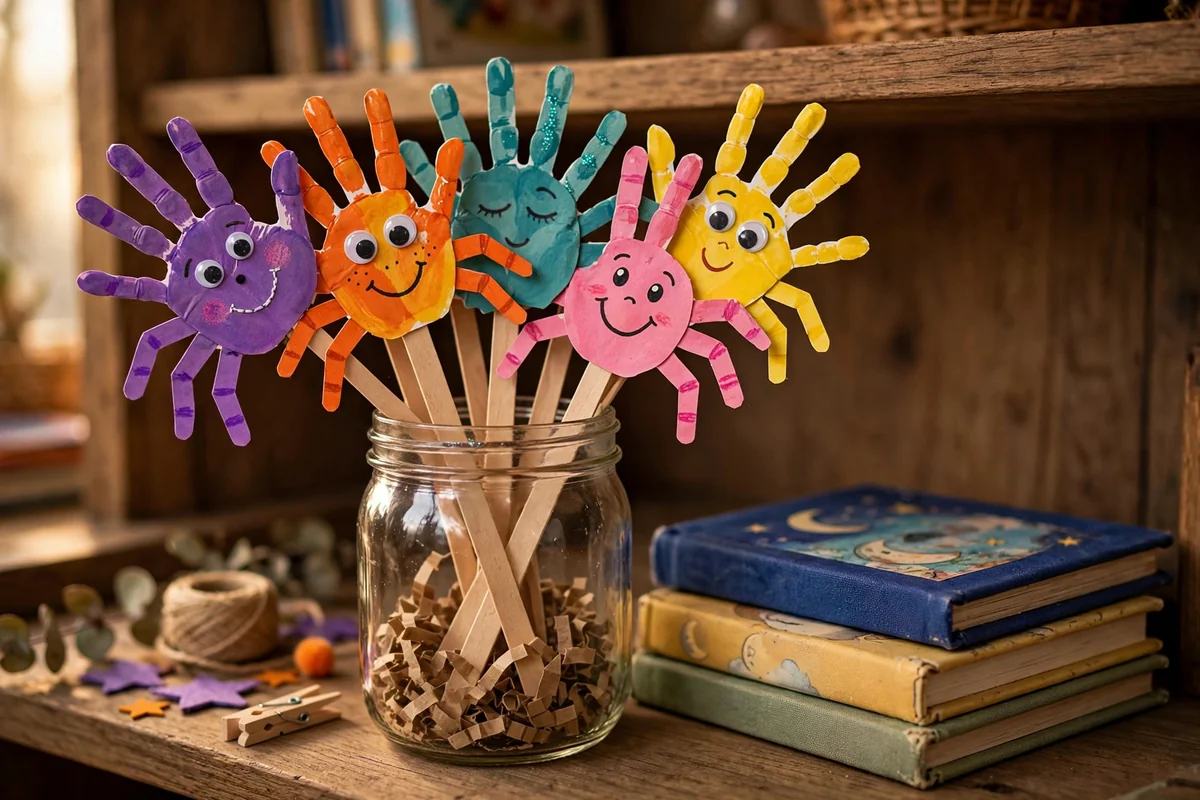
Build a whole cast of characters for storytime. Make several spider puppets on craft sticks, giving each one a different face: happy, sleepy, surprised, or silly. Vary the colors too, so the puppets feel like distinct personalities. Store them upright in a jar or cup so they are always ready for a performance.
Use the puppets to act out bug-themed picture books or invent original spider adventures. Taking turns with silly voices and storylines builds language skills and confidence. A set of puppets also works beautifully for siblings or playdates, since everyone gets a character and nobody has to wait. Rotate the storyteller role so every child gets a turn leading the tale.
19. Mixed-Texture Collage Spider
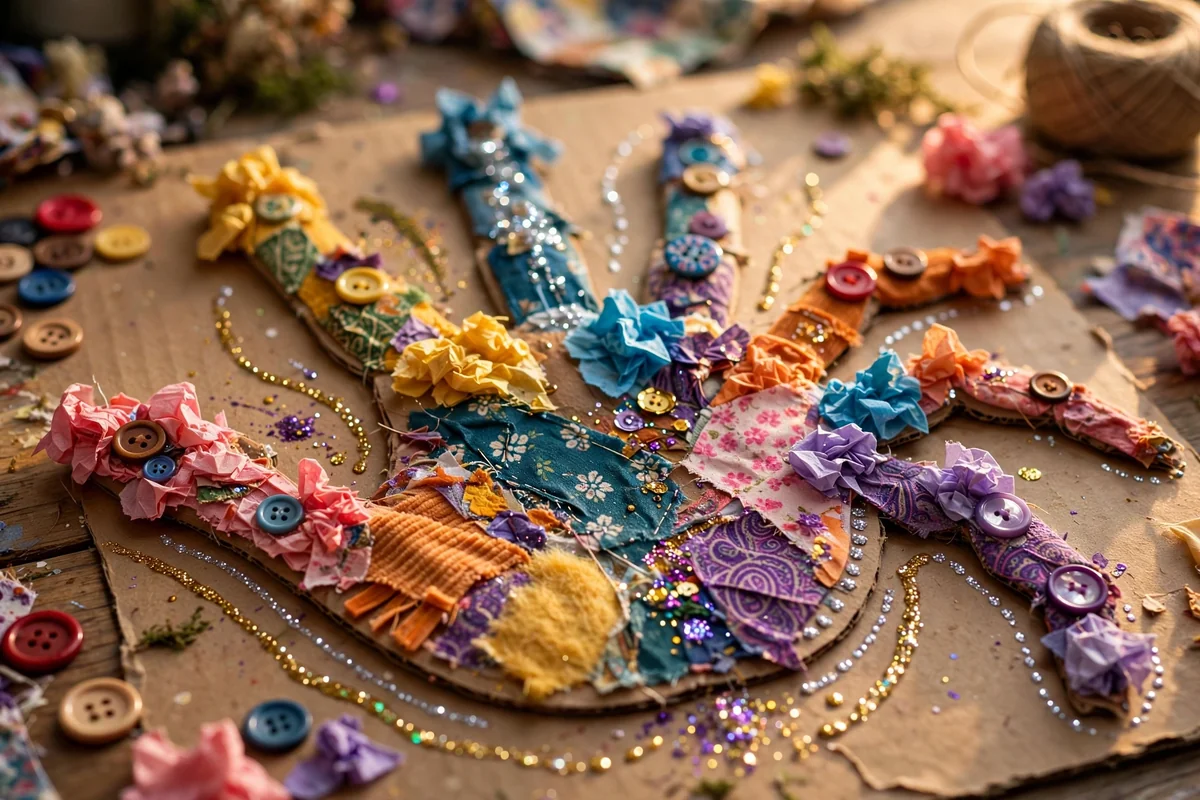
Turn the spider into a sensory collage with mixed materials. Start with a handprint spider shape on sturdy cardboard, then cover it with fabric scraps, buttons, torn tissue paper, ribbon bits, and glitter glue. There are no rules here; the goal is interesting texture and joyful color rather than realism.
This open-ended project is absolutely perfect for using up a craft stash and letting children make truly independent choices. The finished collage has a rich, tactile quality that flat paintings cannot match. Frame the very best ones, since the layered materials look wonderful behind glass and catch the light beautifully.
20. Standing Cardboard Spider
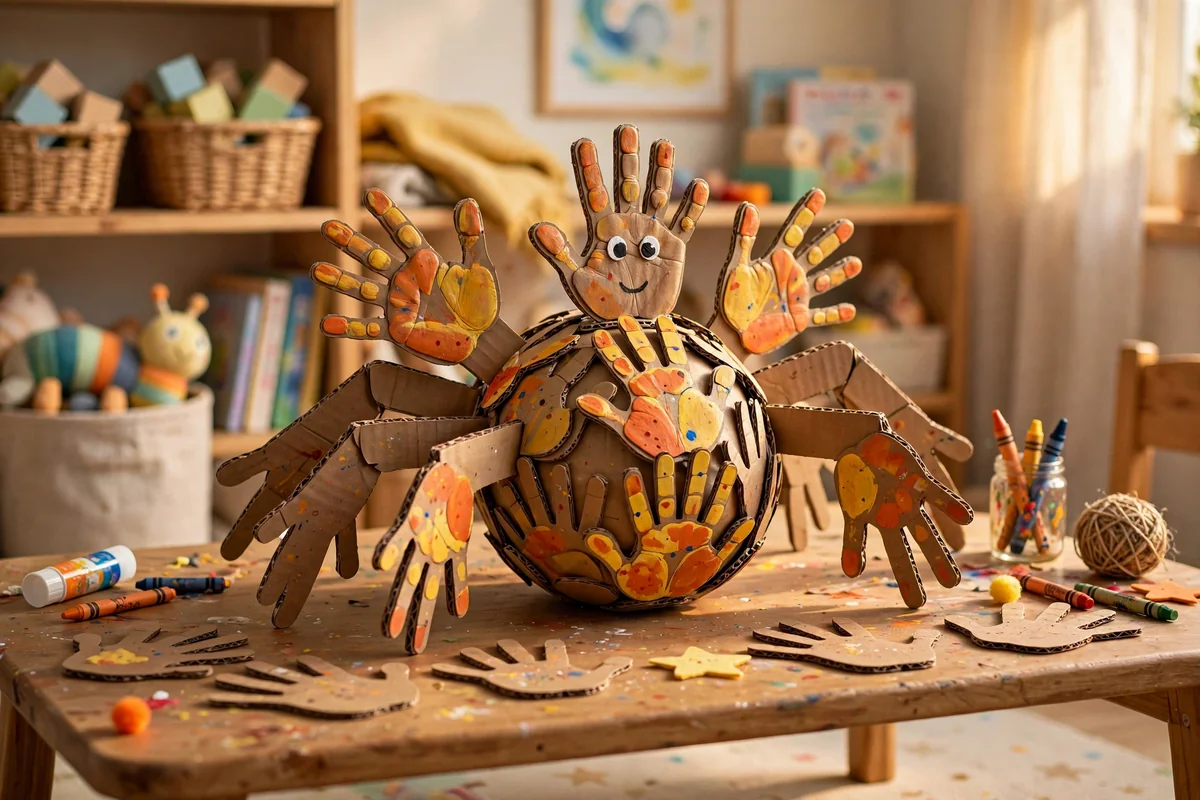
Build a spider that stands up on its own with layered cardboard. Cut two matching handprint spider shapes from sturdy recycled cardboard and glue them together for thickness. Add a folded cardboard stand or slot-together legs at the base so it balances upright. Paint the details once the structure is solid.
A freestanding spider becomes a playroom decoration or a toy for imaginative games rather than another flat picture. Let children test and carefully adjust the balance, which adds a gentle engineering challenge. Use a strong craft glue and allow a full day of drying time so the sculpture survives enthusiastic handling.
21. Nature Walk Twig Web Spider
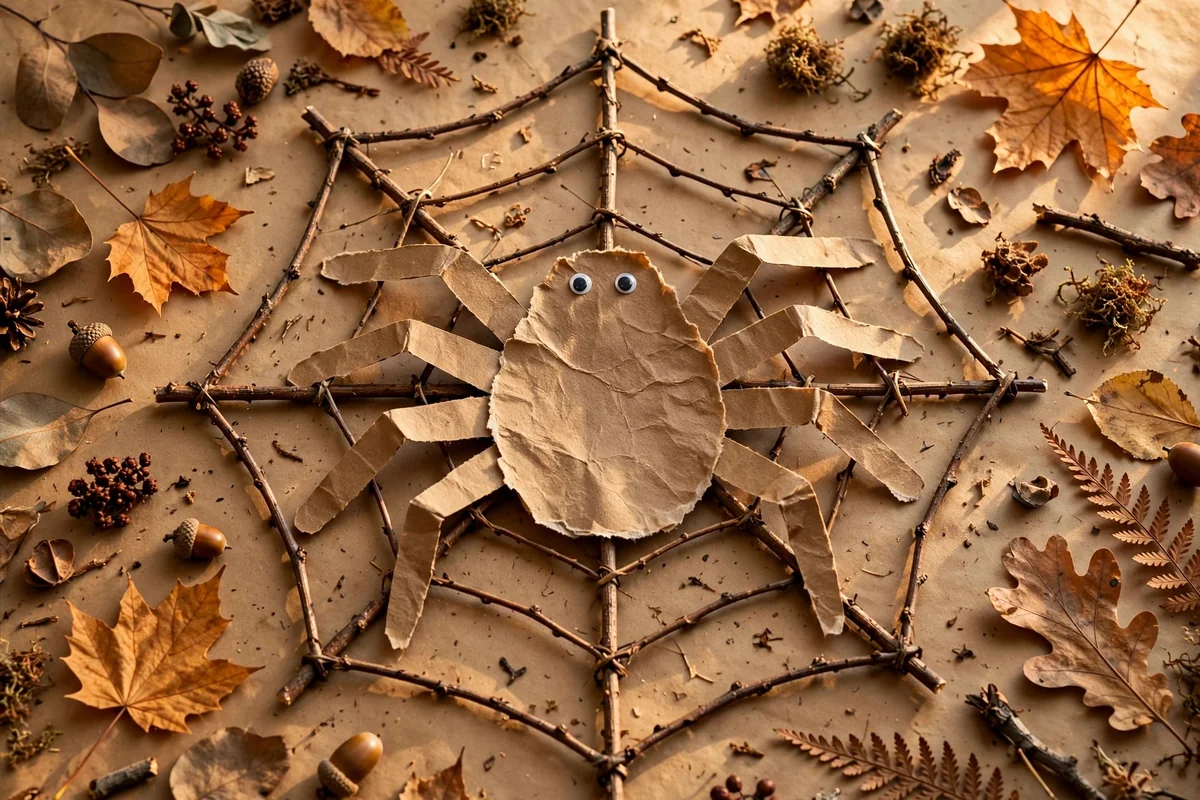
Combine a nature walk with craft time for an earthy project. Collect small twigs, dried leaves, and seed pods outdoors, then arrange the twigs as web strands on brown craft paper. Add a paper handprint spider to the center and scatter the leaves around it. The natural materials give the piece an autumn woodland feeling.
This project connects children with the outdoors and shows how wonderful art materials can come from anywhere. Press the leaves flat for a full day first so they glue down neatly. The finished piece suits cozy fall decor and makes a thoughtful seasonal gift, full of texture and natural color.
22. Name Practice Spider Activity
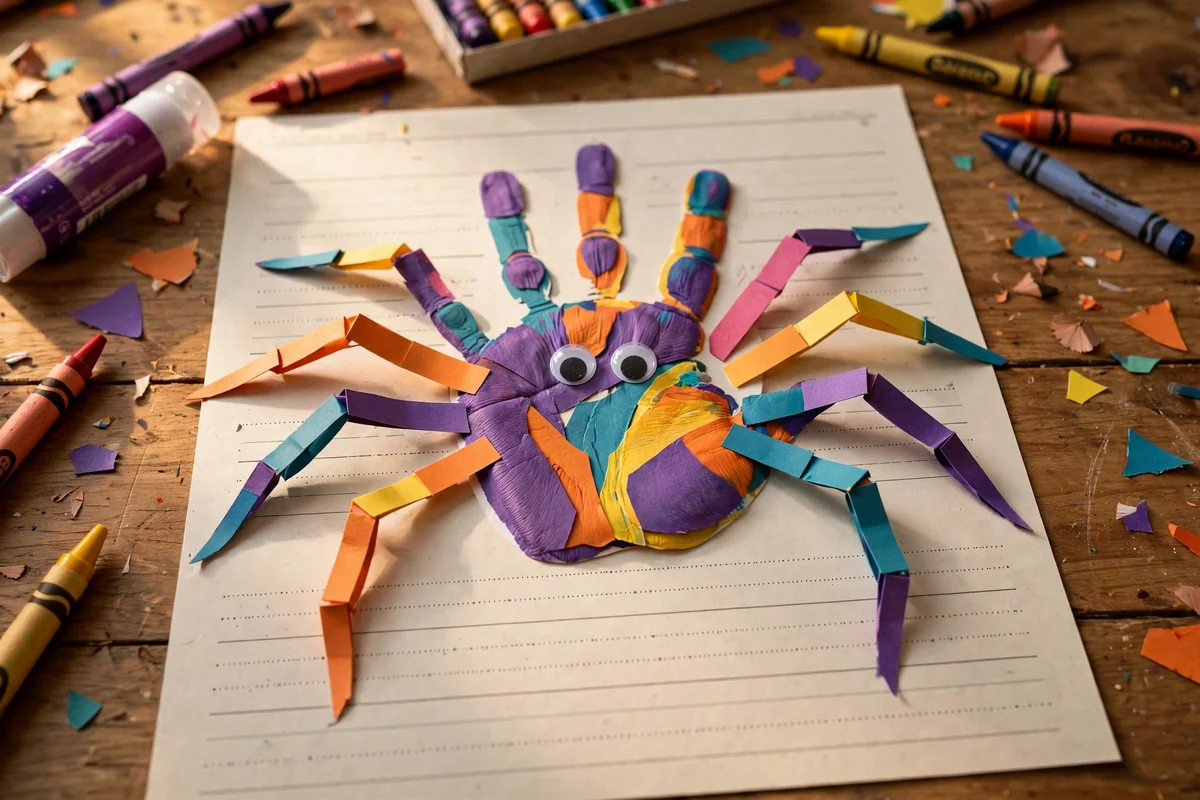
Blend craft time with early writing practice. Make a cheerful paper handprint spider on a card, then add dotted handwriting guide lines beneath it. Children can trace and then write their own name under their spider, connecting the artwork to the letters. Use a thick marker for the dots so little hands can follow them easily.
This gentle learning activity works well for preschoolers and kindergartners who are proud of writing their names. Keep the mood playful and relaxed rather than pressured, and celebrate every attempt. The finished card doubles as a precious keepsake that shows both the child’s handprint and their developing handwriting side by side.
23. Handmade Spider Greeting Card
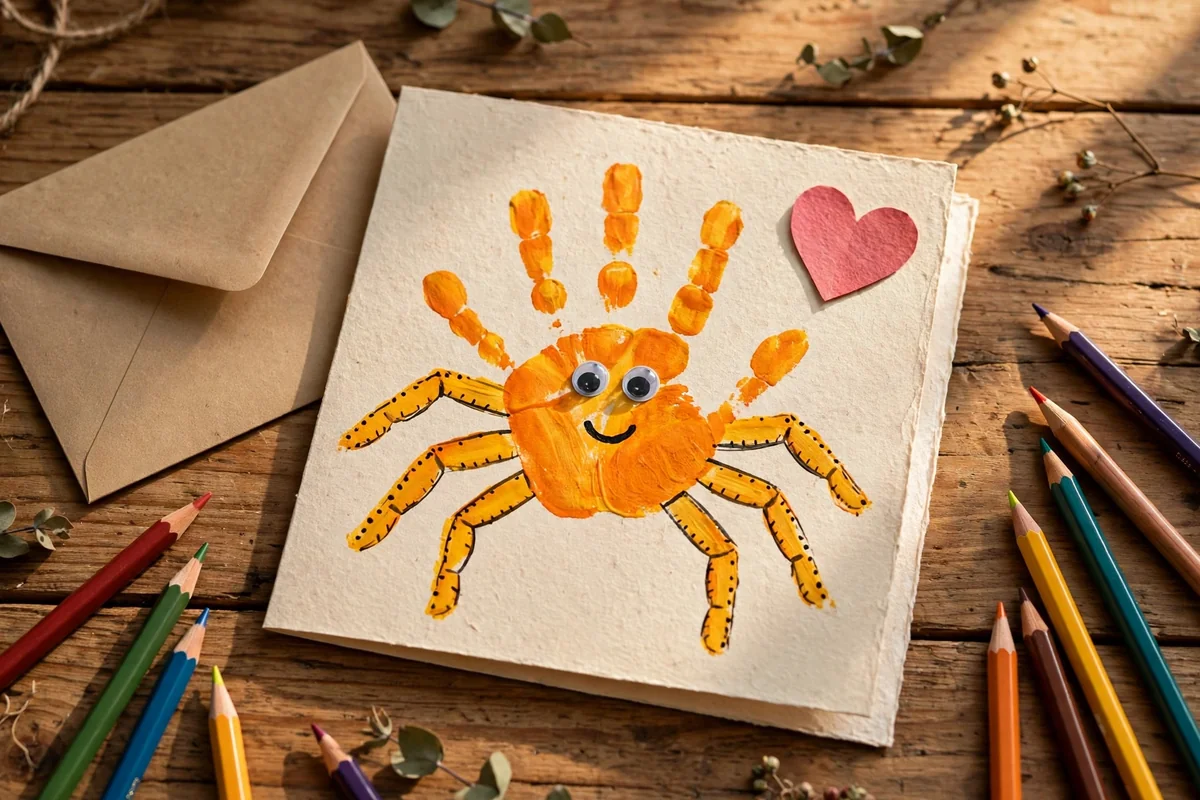
Fold a card and put a cheerful painted handprint spider on the front for a greeting nobody expects. Add a paper heart or a simple drawn web around it, and write the message inside in bright marker. The handmade spider makes birthdays, thank-you notes, and just-because cards feel personal in a way store-bought cards never can.
Let children choose the recipient and the colors themselves for full ownership of the gift. A handprint on the front turns the card into a keepsake the recipient will want to save. Make a small stack of blanks in one session so there is always a special card ready when an occasion pops up.
24. Family Keepsake Spider Frame
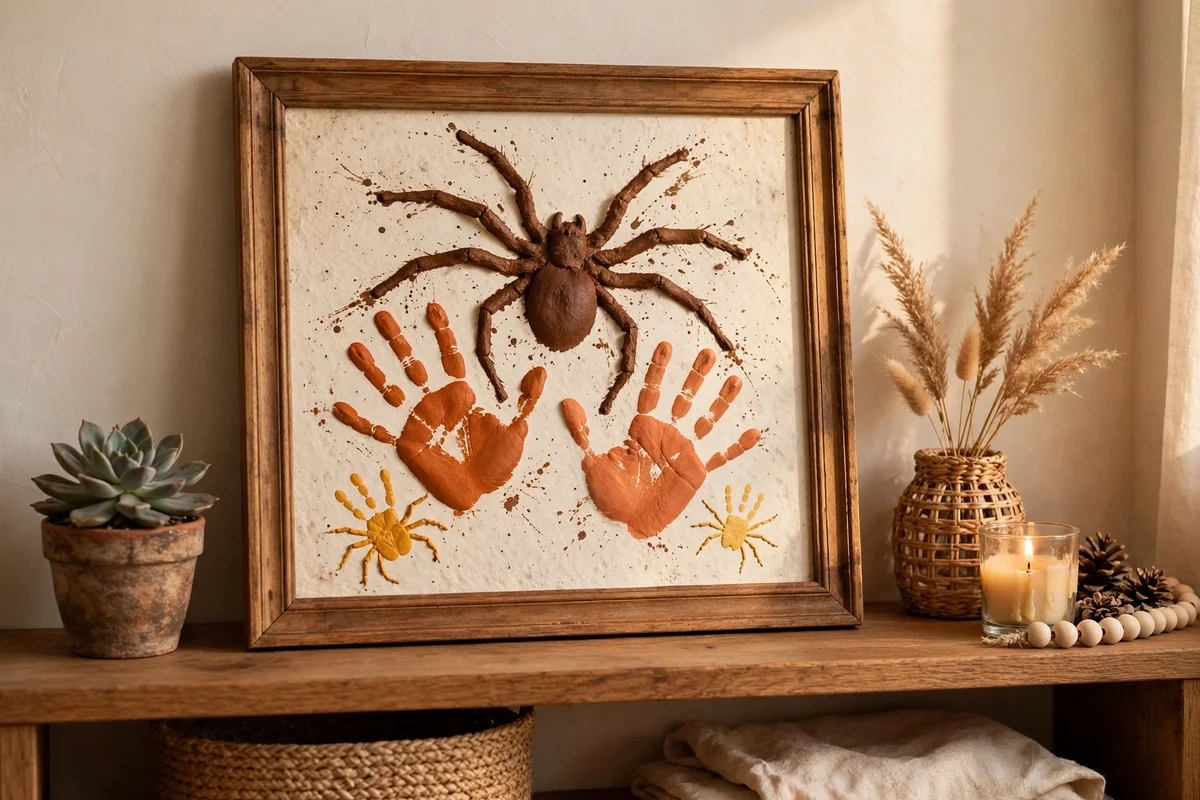
Gather the whole family for a spider made of many hands. Paint each person’s handprint in a different size and color, arranging them as a spider family on one large sheet, with the smallest hands as the babies. Write every name and the date beneath the prints, then frame the finished piece behind glass.
This collaborative keepsake captures everyone at one moment in time, and it becomes more precious every year. Use washable paint and protect the table well, since many hands mean many chances for smudges. Hang it proudly where the family gathers; it always starts happy conversations and smiles. Future you will be so glad this moment was captured.
Closing Thoughts
Spider handprint crafts remind us that the best art supplies are often the ones children were born with. A little paint, some paper, and a small hand can produce keepsakes that no store could ever match.
Whether you frame a single classic print or build a whole puppet theater, the real treasure is the time spent creating together. Date everything, save the favorites, and enjoy watching those handprints grow year after year.
Frequently Asked Questions
What age is best for spider handprint crafts?
Toddlers can enjoy them with close adult help, since the grown-up handles the paint and pressing. Preschoolers love choosing colors and adding eyes, while school-age kids can manage cutting, weaving and detailed decorating themselves. Simply match the complexity to the child: painted prints for little ones, puppets and mobiles for older kids.
What paint is safe for children’s handprints?
Use washable, non-toxic tempera or finger paint labeled safe for children, and check the label for the appropriate age range. Apply a thin, even coat with a brush rather than dipping hands into the pot. Wash hands with soap and water right after printing. Avoid acrylics and craft paints not marked washable, since they stain skin and clothes.
How do I get a clean, clear handprint?
Brush a thin, even layer of paint over the palm and fingers, then press the hand down firmly without wiggling and lift it straight up. Too much paint causes blobs, while too little leaves gaps. Keep a damp cloth nearby for quick cleanups, and let the child practice the pressing motion once before the real print.
How can I preserve handprint crafts as keepsakes?
Let prints dry completely flat, then write the child’s name and date discreetly in a corner. Slip paper crafts into sheet protectors, laminate them, or frame the best ones behind glass. Store flat in a portfolio folder away from sunlight. Dated handprints become treasured time capsules that show just how small those hands once were.
Do spider crafts have to be just for Halloween?
Not at all. Spiders fit beautifully into bug and nature themes, rainy afternoon crafts, storytime activities, birthday craft tables and classroom science units any time of year. Use bright colors, friendly faces and playful settings to keep them cheerful. A rainbow spider in spring is just as fun as a black one in autumn.