Crafts
24 Textured Painting Ideas That Look Like Gallery Art
By Anna Wells · · 21 min read
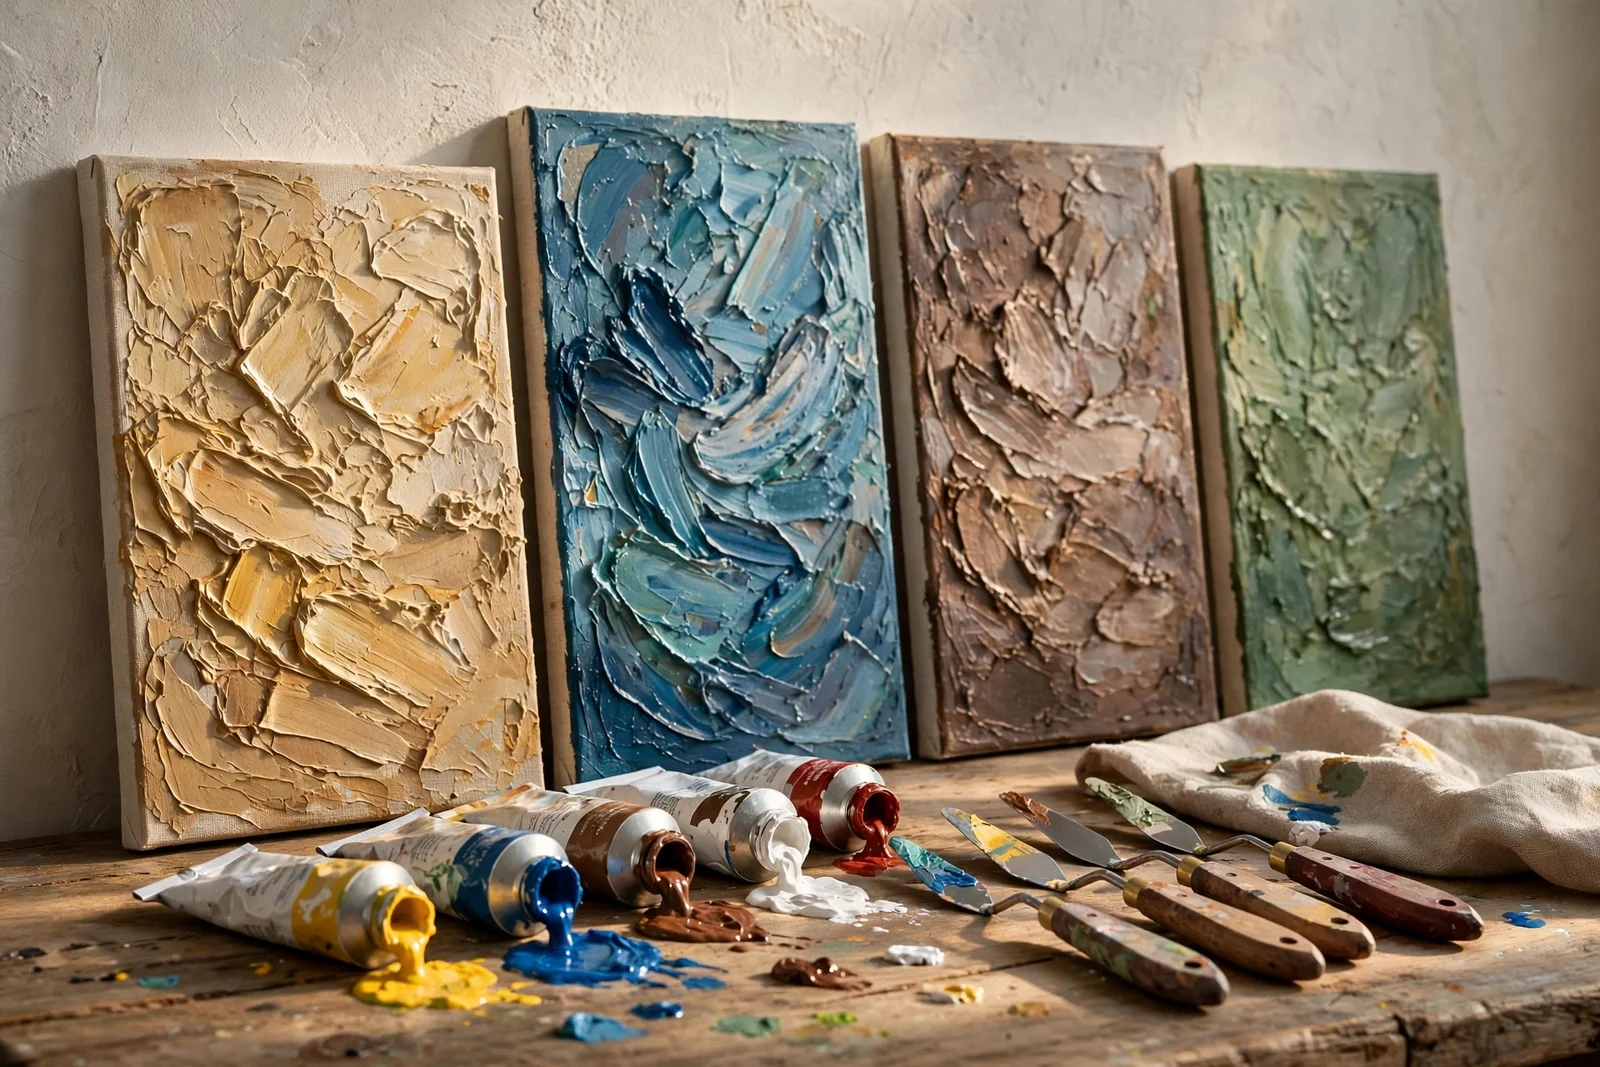
Textured paintings bring a quiet, gallery like depth to plain walls. Here are 24 original ideas for palette knife impasto, modelling paste reliefs, combed grounds and calm abstracts in heritage colours, with practical canvas sizes, drying times, sealing and framing notes.
Afternoon light moves across a thickly painted canvas and the ridges throw small shadows that change by the hour. That play of light is the whole secret of gallery style textured art, and it needs no professional training to achieve. A palette knife, a jar of modelling paste and one steady hour at the kitchen table can produce work that looks thoughtful and completely finished.
The ideas below keep the palette calm and the compositions heritage minded: warm creams, sage, terracotta, ochre, indigo and charcoal. Alongside each idea you will find practical guidance, including canvas sizes that suit sofas and consoles, drying times between layers, and how to seal and float frame the finished piece so it hangs with confidence.
Beginners can start with combed grounds and modelling paste, which forgive almost everything, while confident painters can layer heavy impasto skies or scrape through colour to reveal underdrawings. Every technique uses affordable acrylic materials, and most projects cost less than a ready made print of the same size.
Set aside a dust free corner for drying, keep a box of clean knives within reach, and let each layer cure properly before the next one goes on. Work through the list in any order, and hang what you love exactly where the light finds it.
1. Layer a Sunset Sky in Thick Impasto on an 80 by 100 cm Canvas
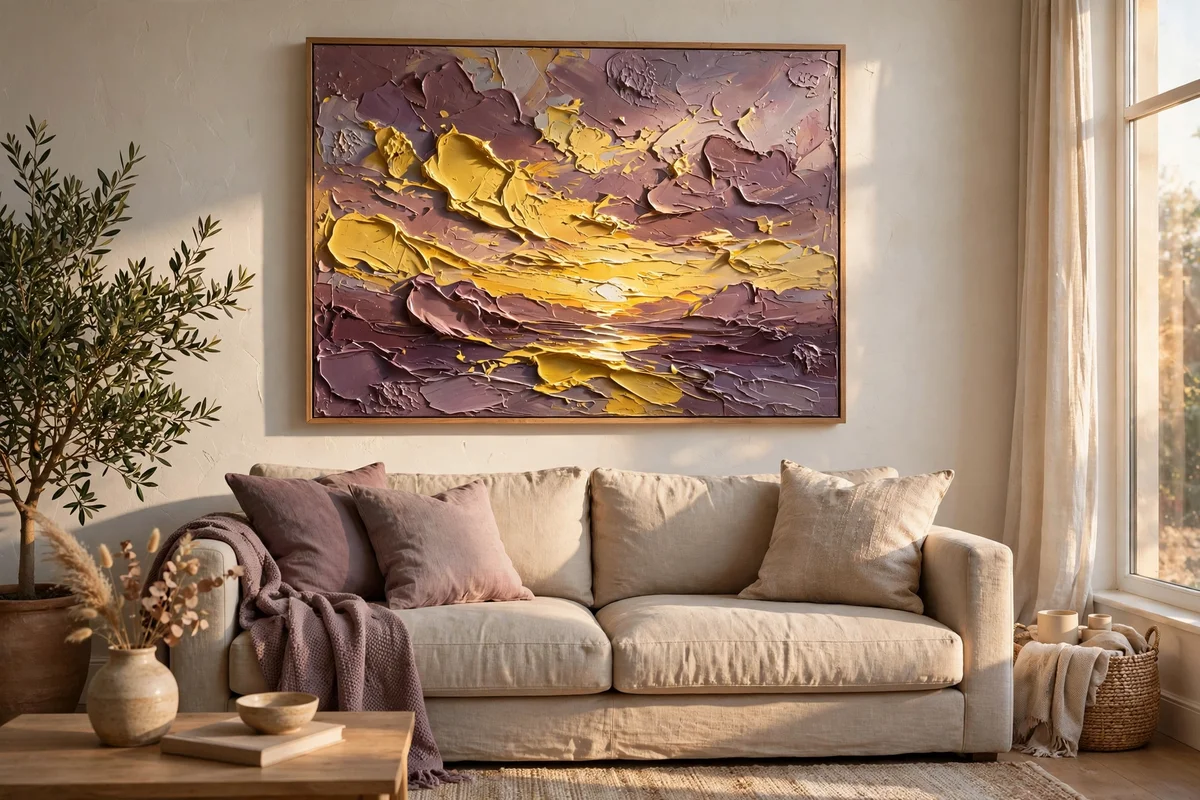
A canvas 80 by 100 cm suits a three seater sofa of about 210 cm, leaving roughly 60 cm of breathing space on each side. Choose heavy body acrylic mixed one to one with impasto medium so the peaks stand proud without slumping. Load a 7 cm diamond knife with cadmium yellow, burnt sienna and dusky mauve, then drag the colours across the canvas in horizontal strokes, overlapping the edges so they melt together. Finish in a single 90 minute session before the surface skins over.
Thicker areas need two to three days to dry through, so rest the canvas flat on battens rather than leaning it against a wall. The common mistake is judging dryness by the skin: impasto can feel dry on top while staying soft underneath for a week. Budget wise, a 500 ml jar of impasto medium covers about four canvases this size and costs little more than two tubes of paint. Once cured, seal with one coat of satin acrylic varnish applied with a wide soft brush in one direction.
2. Build Cream Geometric Blocks With Modelling Paste on a Square Board
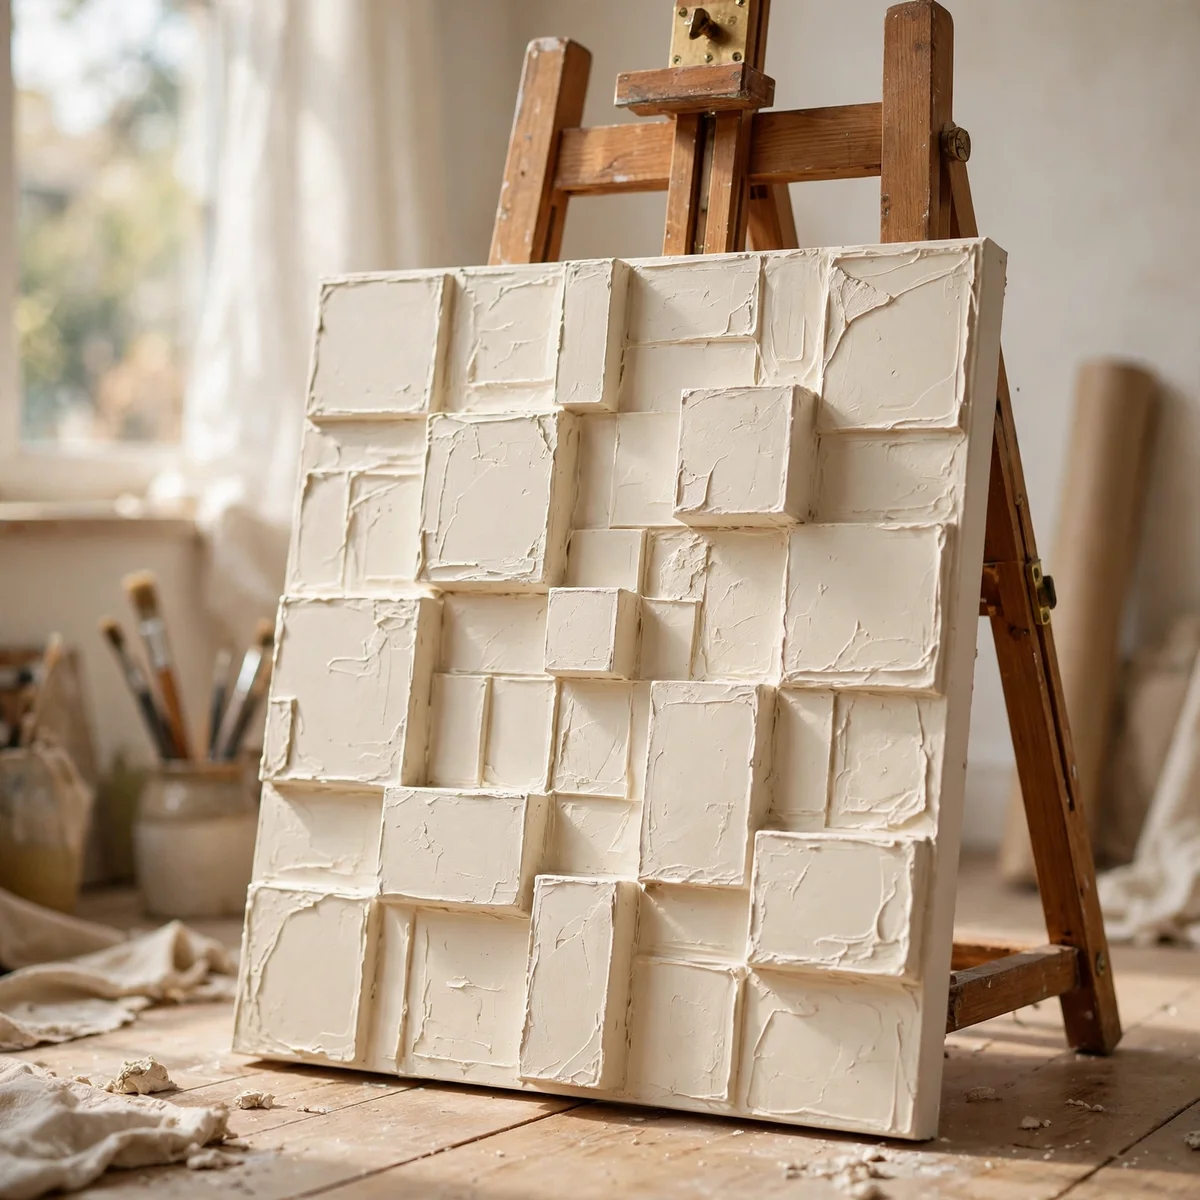
A 60 by 60 cm cradled wood panel makes an ideal ground for a geometric relief, and it needs no frame afterwards. Trowel modelling paste 3 to 5 mm thick across the whole surface, then press a ruler edge into the wet paste to divide it into blocks of 15 cm. Fill alternate blocks with a second layer of paste for a stepped, architectural effect. Tint the paste with cream and ochre acrylic, roughly one part paint to four parts paste, so colour runs through the relief.
Let the paste dry a full 48 hours before touching it, since damp centres shrink and crack under a second coat. Sand the high points lightly with 220 grit paper for a stone like finish, then dust off the powder. The mistake to avoid is mixing the paste too wet, which causes slumping at the edges. Hang the panel above a hallway console where side light rakes across the blocks and throws soft shadows.
3. Mix Sand Into Gesso for a Gritty Base Under Calm Neutral Waves
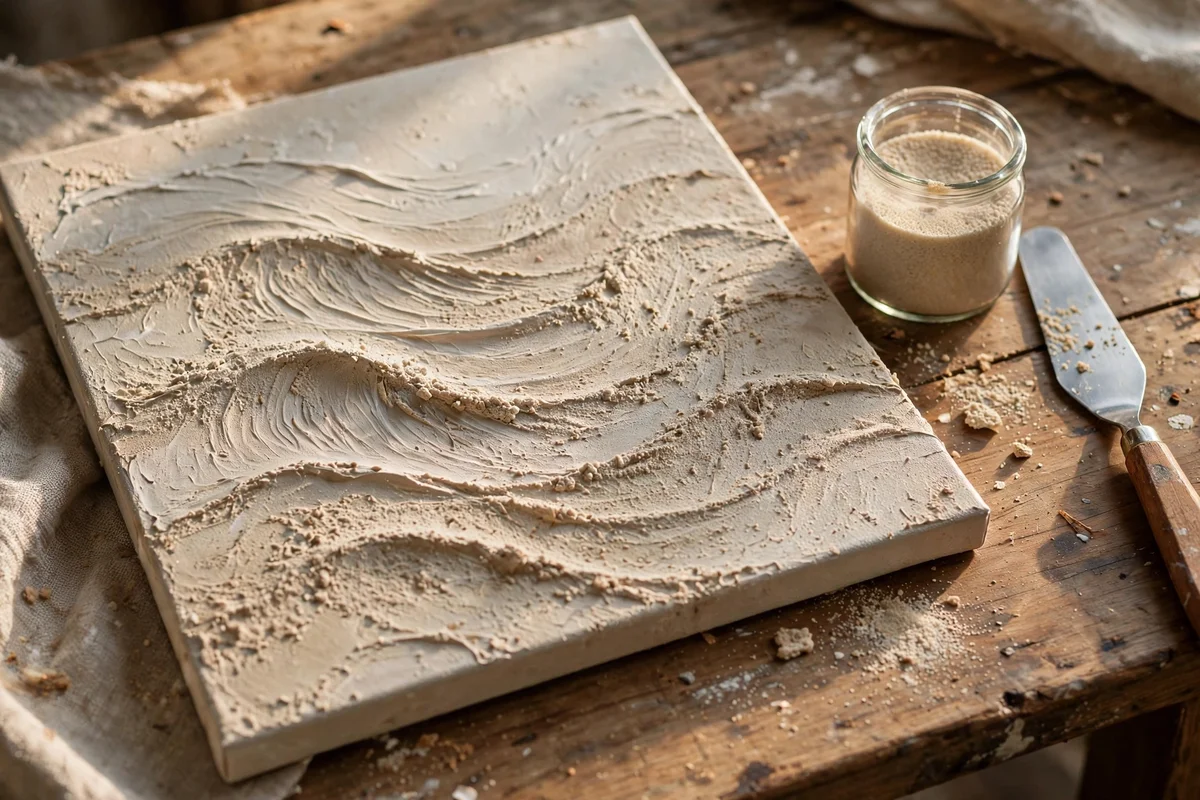
Stir fine craft sand into white gesso at about one part sand to three parts gesso, then brush it onto a 70 by 90 cm canvas in loose horizontal bands. The gritty ground catches the knife beautifully in the next layer. Once dry, drag thin washes of warm grey, stone and soft taupe across the surface with a wide knife, letting the sand peaks break the colour into natural speckles. Keep the palette to three quiet neutrals for a calm, coastal feeling.
Allow the gesso ground 24 hours to cure before painting over it, or the sand can lift into your colour layers. Work with the canvas flat so washes settle evenly. The common mistake is using coarse building sand, which sheds grains onto the floor for months; fine art sand or pumice gel stays put. This treatment suits a bedroom beautifully, where its quiet texture reads as calm rather than decoration.
4. Comb Fine Parallel Lines Into Wet Paste for a Linen Look
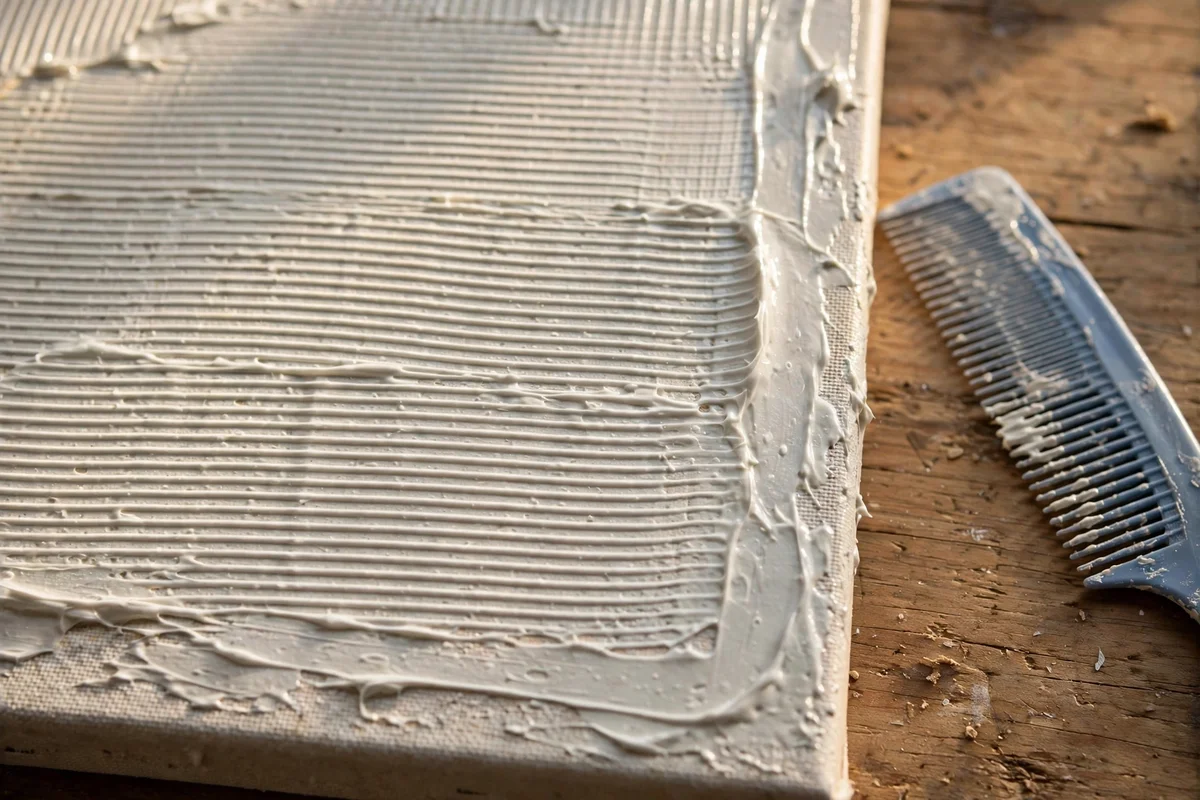
Spread modelling paste 2 to 3 mm thick over a 50 by 70 cm canvas with a wide knife, keeping the layer even. Draw a plastic hair comb or a notched trowel through the wet paste in slow, straight passes, overlapping each pass by about 1 cm so no gaps appear. The fine parallel ridges mimic woven linen once painted. Tint the surface with a thin wash of sage or warm white once dry, brushing lightly so colour sits on the ridges.
This is the fastest idea on the list: the whole panel takes under an hour, plus 24 hours of drying. Rinse the comb immediately, since dried paste ruins the teeth. The mistake to avoid is pressing too hard, which drags the paste back to bare canvas. Two combed panels side by side make a serene pair above a bed, especially in sage and cream with matching slim frames.
5. Scratch Sage Botanical Stems Through Dark Paint With a Knife Tip
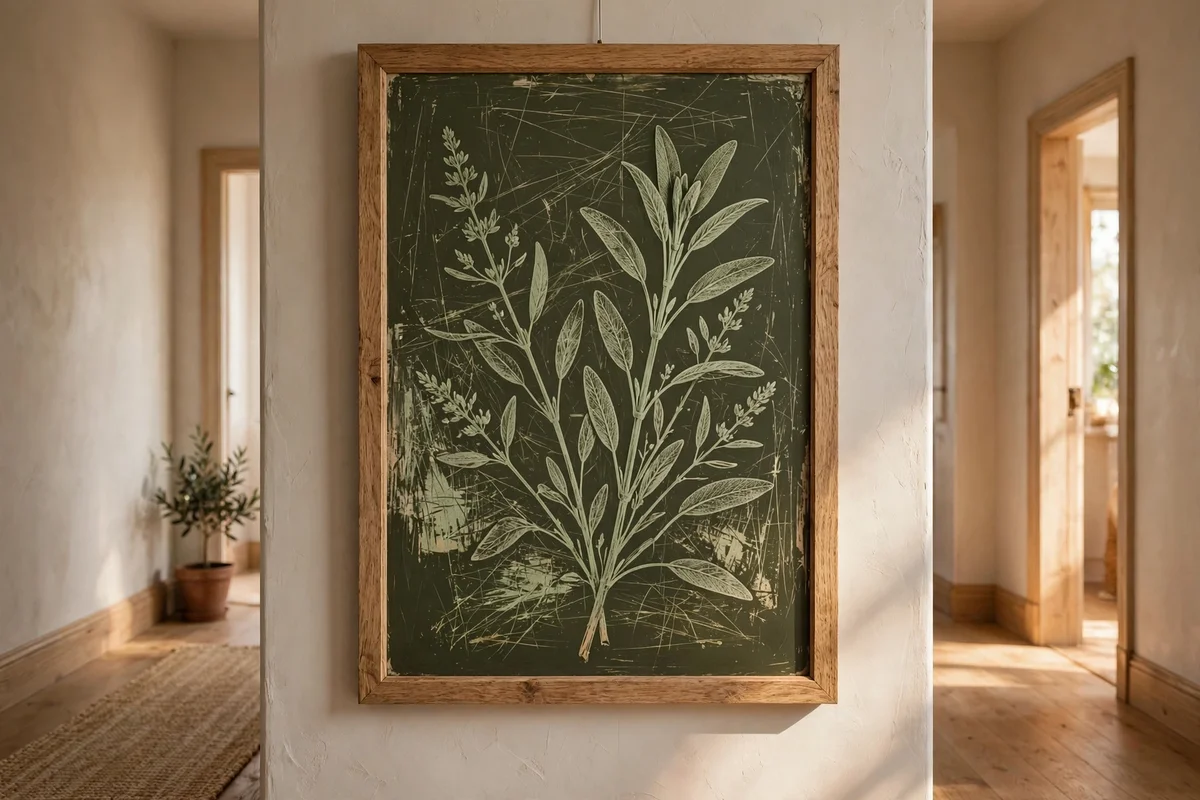
Paint a 40 by 60 cm canvas in deep olive or charcoal and let it dry completely, which takes about six hours for a thin acrylic layer. Mix a lighter sage paint with a little impasto medium, then lay it over the dark ground in a smooth 2 mm coat. While it is still wet, draw simple stem and leaf shapes through the light layer with the tip of a palette knife, letting the dark ground show through as fine botanical lines.
This sgraffito technique rewards planning: sketch the stems lightly in pencil on the dry dark ground first. Work one stem at a time and wipe the knife tip clean between strokes so lines stay crisp. The mistake to avoid is scratching after the top coat skins over, which tears rather than reveals. Frame the result in natural oak and hang it in a hallway or study for a quiet botanical note.
6. Paint a Soft Cloud Study and Hang It Above a Console Table
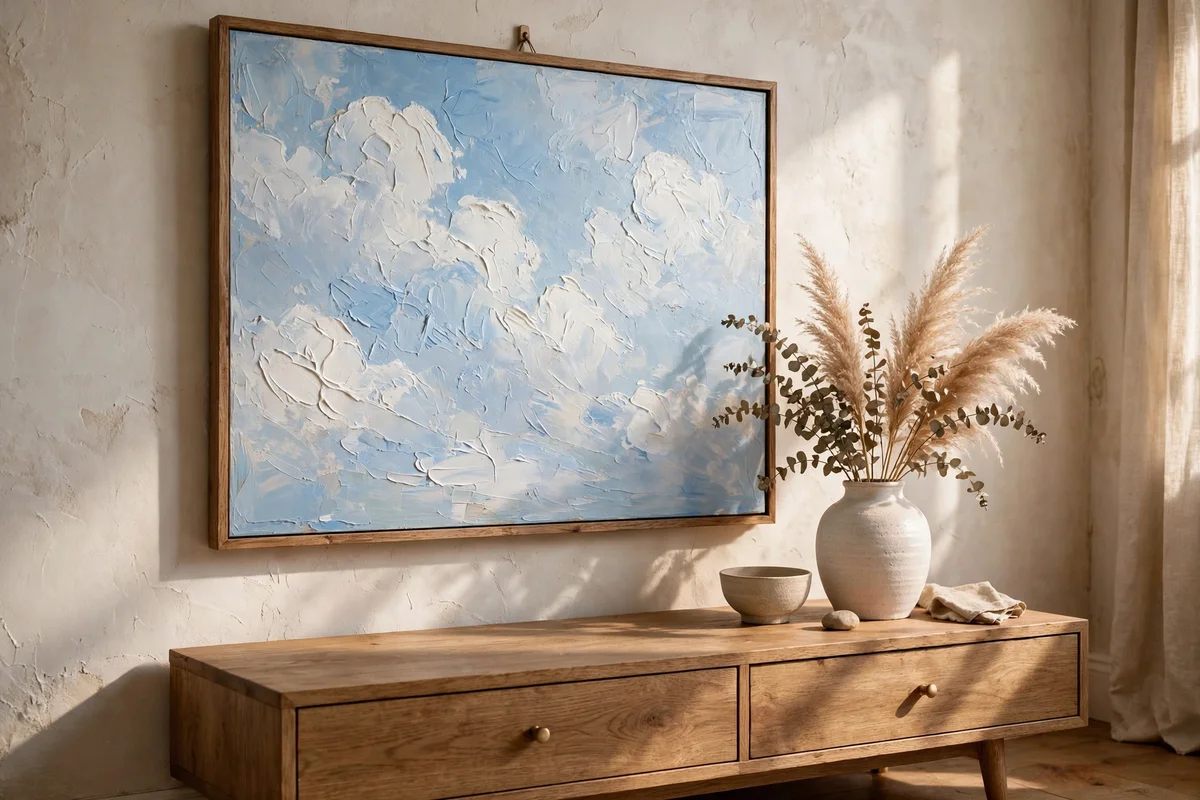
A 60 by 80 cm canvas suits a console table 120 to 140 cm wide, centred with about 20 cm of wall showing on each side. Block in a pale sky with a large brush, then build clouds with a small trowel knife using titanium white warmed with a touch of ochre. Pile the white 5 to 8 mm thick on cloud tops and feather the edges thin, so the forms glow against a calm blue grey sky.
Hang the finished study so its centre sits about 150 cm from the floor, roughly 25 cm above the console surface. Soft daylight from a nearby window will model the ridges gently through the day. The common mistake is overworking the clouds until they turn chalky; ten confident strokes beat fifty hesitant ones. Budget tip: one 200 ml tube of white covers three cloud studies this size.
7. Lean a Finished Textured Canvas by the Window for Casual Display
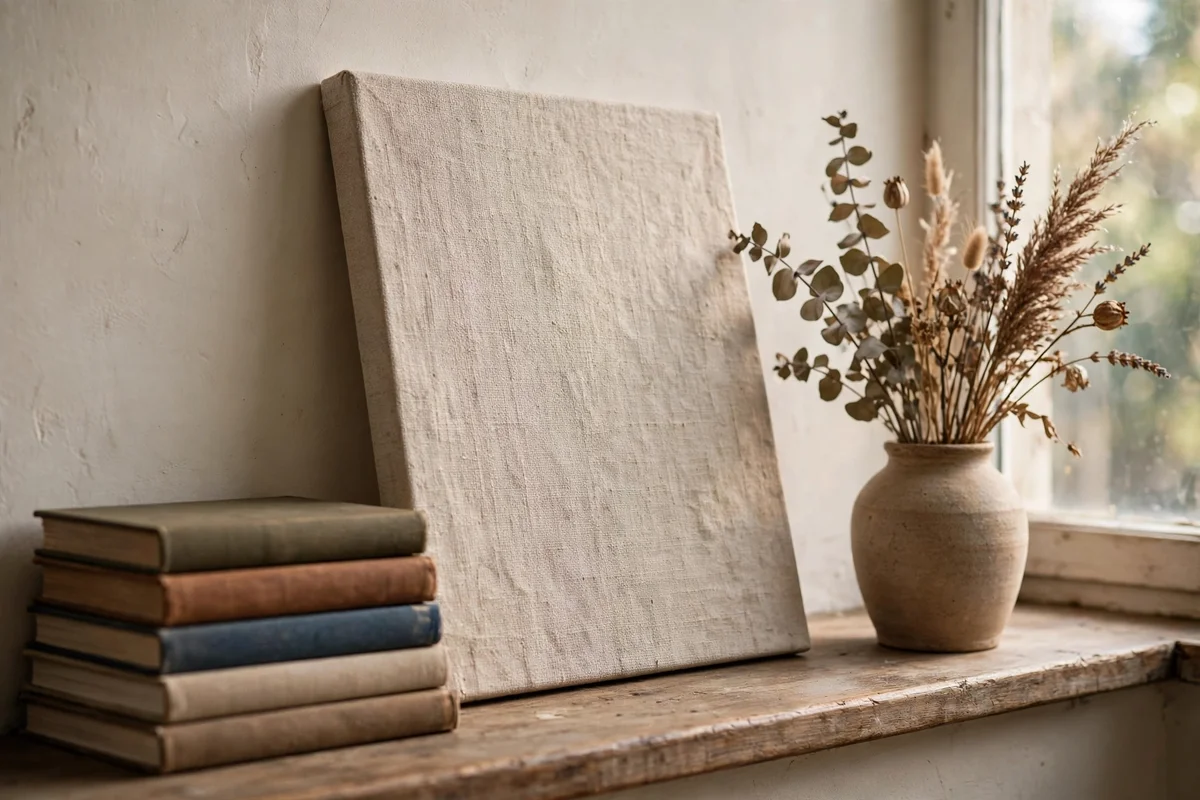
Not every painting needs a nail. A finished 70 by 90 cm textured canvas leans gracefully against the wall on a wide windowsill or a low shelf, resting at a slight angle of about 80 degrees. Place a small stack of art books beside it and a ceramic vase with dried stems on the other side, keeping the arrangement to three elements so the texture stays the hero. Side light from the window does the styling for you.
Protect the wall with two small felt pads behind the top edge and keep the canvas out of direct midday sun, which can fade pigments over the years. Rotate the leaning canvas seasonally, swapping in a fresh piece from your collection. The mistake to avoid is leaning heavy impasto on a narrow ledge, where vibration can topple it; a sill at least 15 cm deep keeps it safe.
8. Set Up a Table With Canvases, Knives and Tubes for Weekend Painting
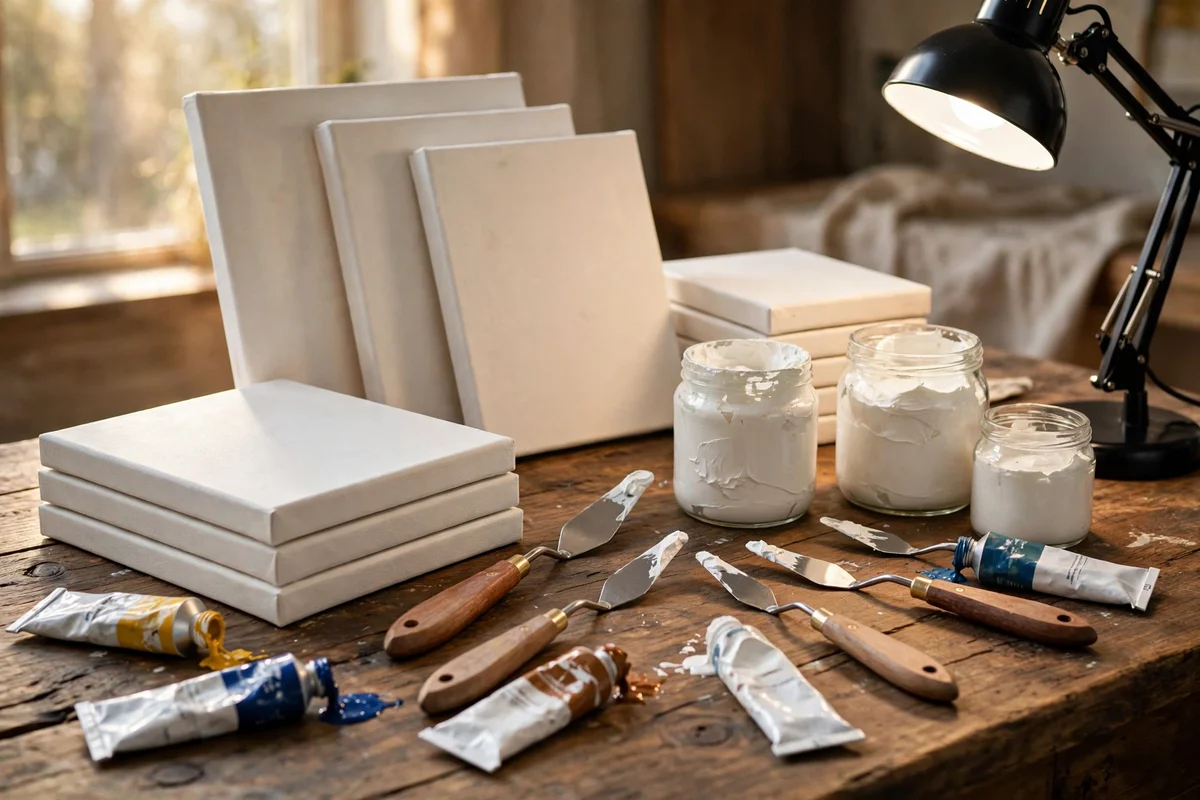
A dedicated painting table turns good intentions into finished canvases. Cover a 120 by 80 cm table with a washable cloth, then lay out three primed canvases, a set of five palette knives, tubes of heavy body acrylic in your chosen palette, one jar each of modelling paste and impasto medium, two water jars and a roll of paper towels. A daylight lamp on the left side removes shadows for right handed painters.
Keep a small bin under the table for used towels and a lidded jar for knife cleaning water, since acrylic never fully leaves drains safely. Work standing for big knife strokes and sitting for detail, and stop after 90 minutes to judge progress from across the room. The mistake to avoid is squeezing out more paint than one session needs; a 3 cm ribbon per colour is plenty.
9. Hang a Row of Six Small Textured Squares as a Mini Gallery
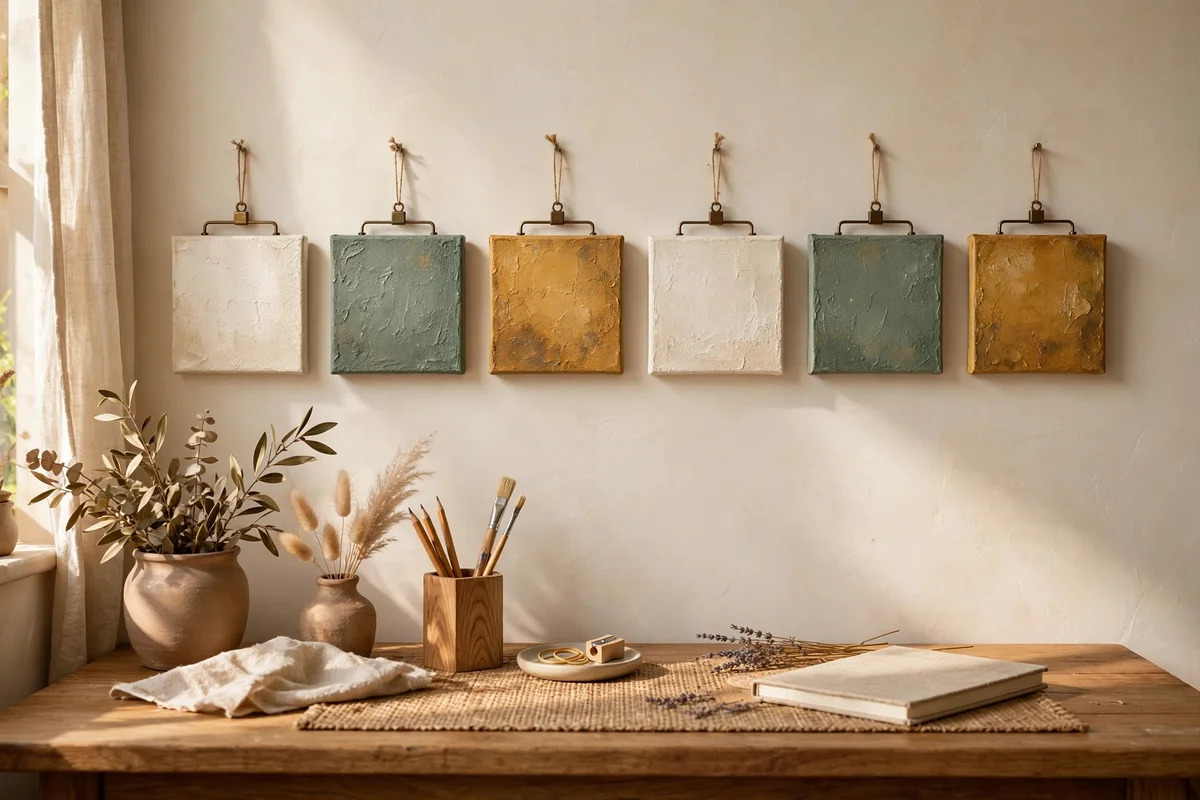
Six 25 by 25 cm canvases in a single row make a gallery wall that fits above a desk or between windows. Give each square a different treatment from this list: one combed, one sanded gesso, one impasto swirl, one sgraffito stem, one paste block and one plain colour field. Keep all six in the same heritage palette of cream, sage and ochre so the variety feels curated rather than scattered.
Space the squares 5 cm apart and hang the row centre at about 150 cm from the floor. Paint the canvas edges in a matching dark tone so the row reads as finished from the side. The common mistake is hanging them at slightly different heights, which the eye catches instantly; use a spirit level and a paper template. Small canvases dry in a day, so the whole set can be finished in a weekend.
10. Sweep Heritage Indigo and Cream Into a Calm Abstract Diptych
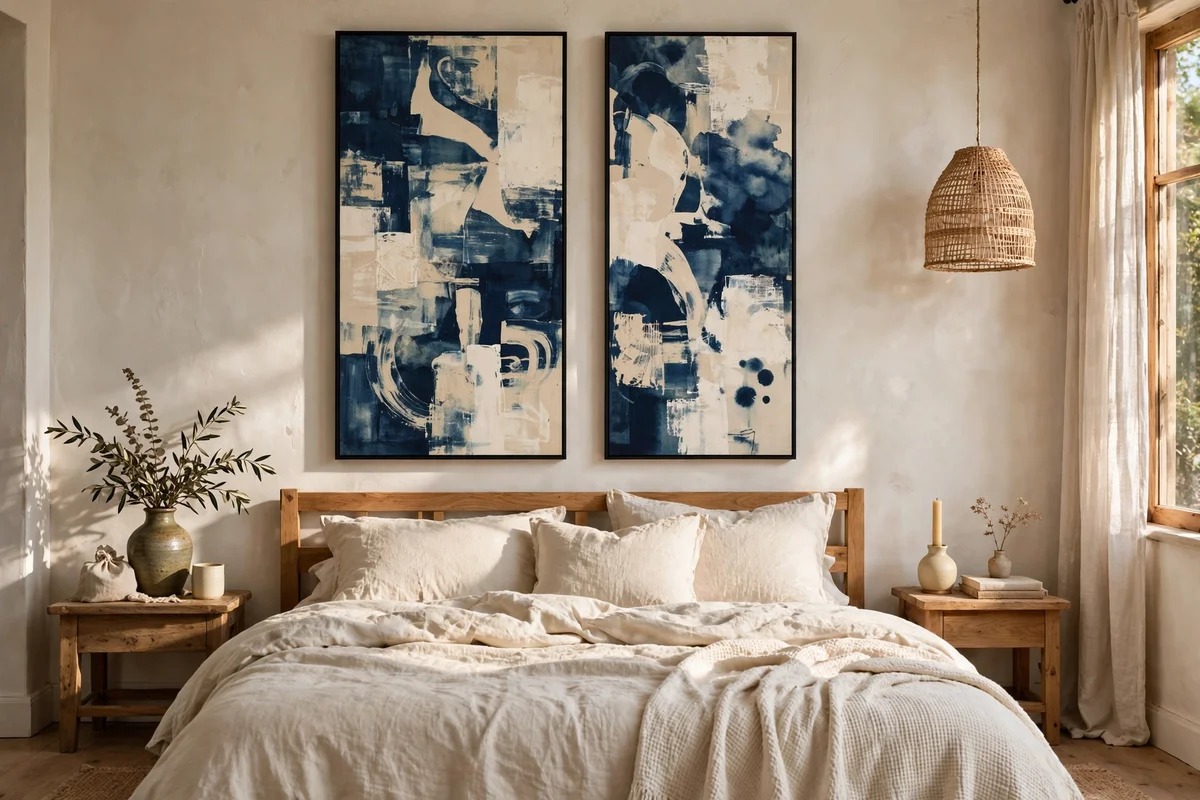
A diptych of two 60 by 90 cm canvases hung 4 cm apart brings a calm, heritage feeling to a bedroom or reading corner. Mix indigo with a little ultramarine for depth, and sweep it across the lower third of each canvas with a wide knife, blending upward into warm cream. Keep the horizon line continuous across both panels so the pair reads as one wide landscape of colour.
Match the texture weight on both panels, since uneven relief makes one canvas look heavier than the other. Allow three days of drying before hanging, and float frame both in the same slim oak moulding. The mistake to avoid is varnishing one panel in a different sheen; use the same satin varnish batch for both. This pairing suits rooms with natural linen and walnut furniture especially well.
11. Shape a Terracotta Arch in Relief on an Arched Canvas
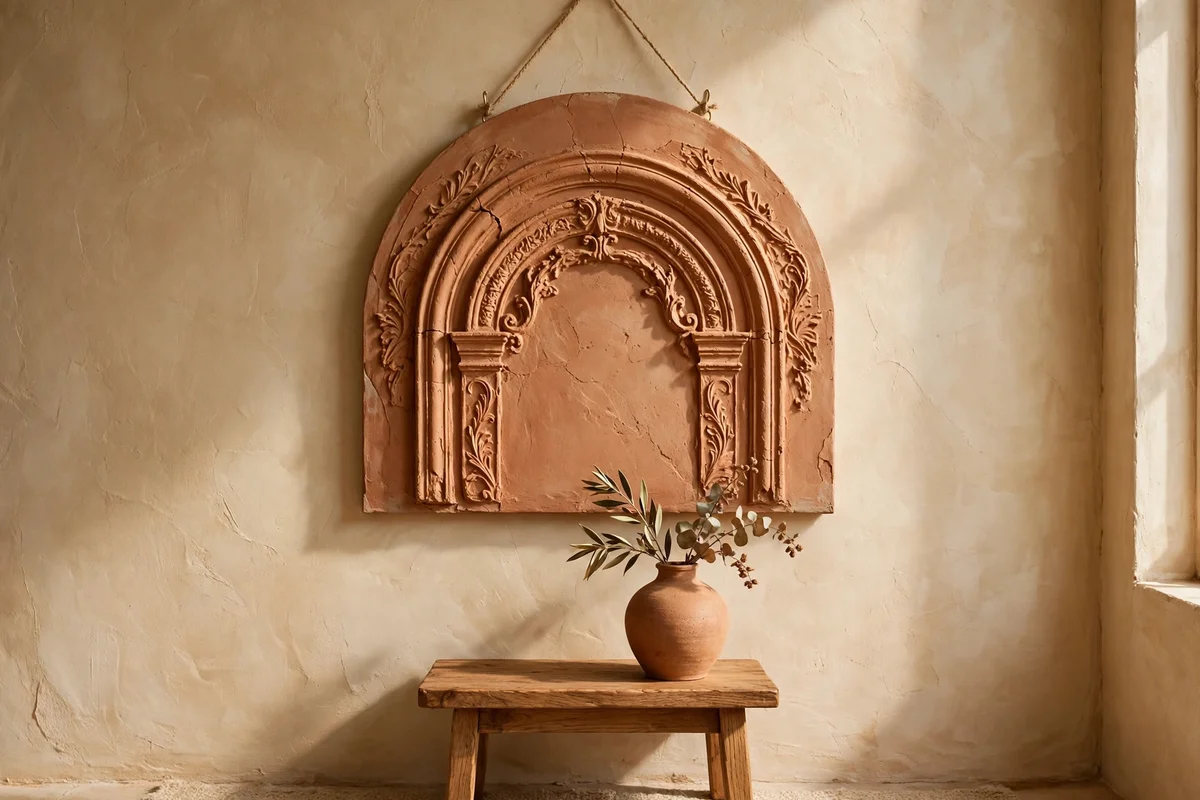
Arched canvases, roughly 60 by 90 cm, echo classic doorways and suit heritage interiors beautifully. Trowel modelling paste 4 to 6 mm thick inside a taped arch shape, then remove the tape while the paste is wet for a crisp edge. Tint the relief with terracotta mixed one part paint to three parts paste, and leave the surrounding canvas in warm white. The raised arch catches light like carved plaster.
Let the paste cure 48 hours, then seal with matte varnish so the plaster effect stays soft. Hang the arch alone above a small side table with a single ceramic vase, keeping everything else quiet. The mistake to avoid is painting the arch in a glossy finish, which cheapens the plaster look. One arched canvas plus a jar of paste is a modest project under 30 pounds or dollars.
12. Trowel a Muted Horizon Line for a Narrow Hallway Wall
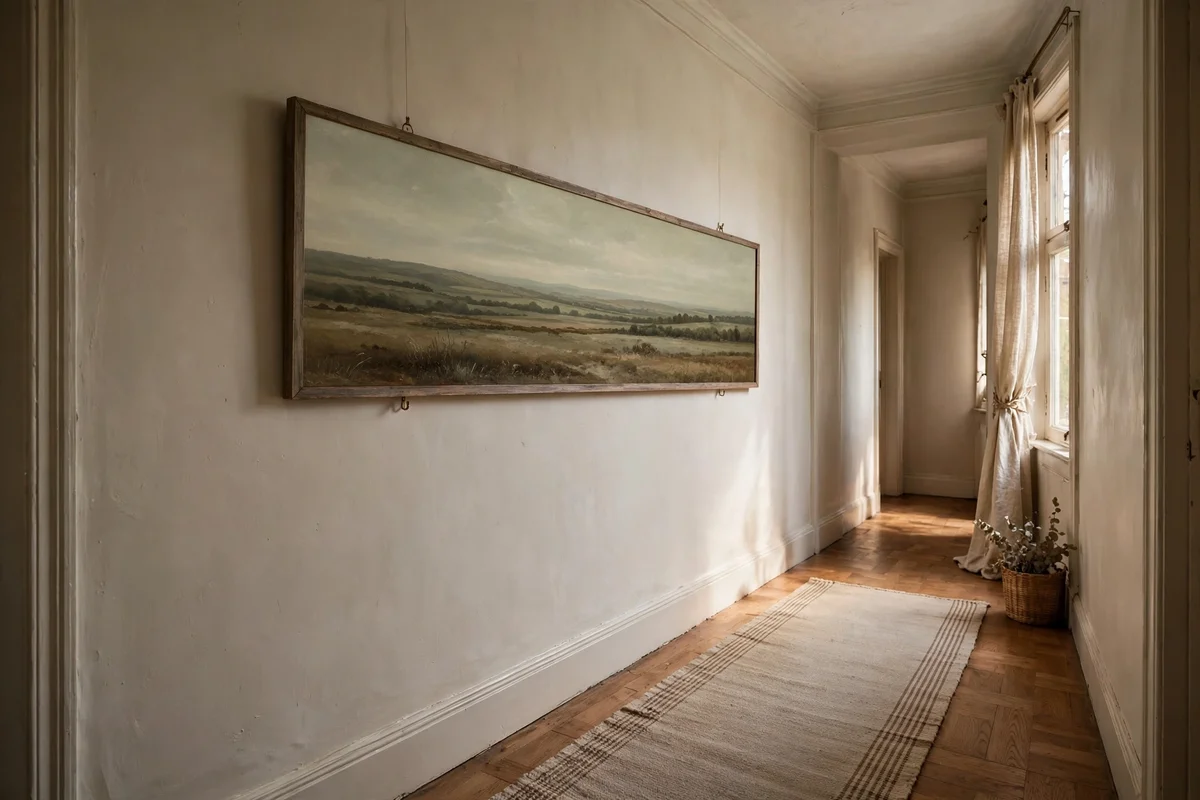
Hallways suit long, low paintings: a 40 by 120 cm canvas fills the wall without crowding it. Divide the surface into three soft bands with a trowel knife: a pale sky, a muted sage middle distance and a warm umber foreground. Drag the knife horizontally so the bands melt into each other, then scratch a thin horizon line through the wet paint with a knife edge for definition.
Hang the painting at eye level along the longest hallway wall, where walking past lets the texture shift in the light. Keep the hallway palette quiet so the painting leads rather than shouts. The mistake to avoid is hanging it opposite a bright window, where glare washes out the subtle bands; an adjacent wall works better. Two thin coats of paint dry overnight, so this is a one evening project.
13. Pipe Modelling Paste Rosettes for a Gentle Floral Relief
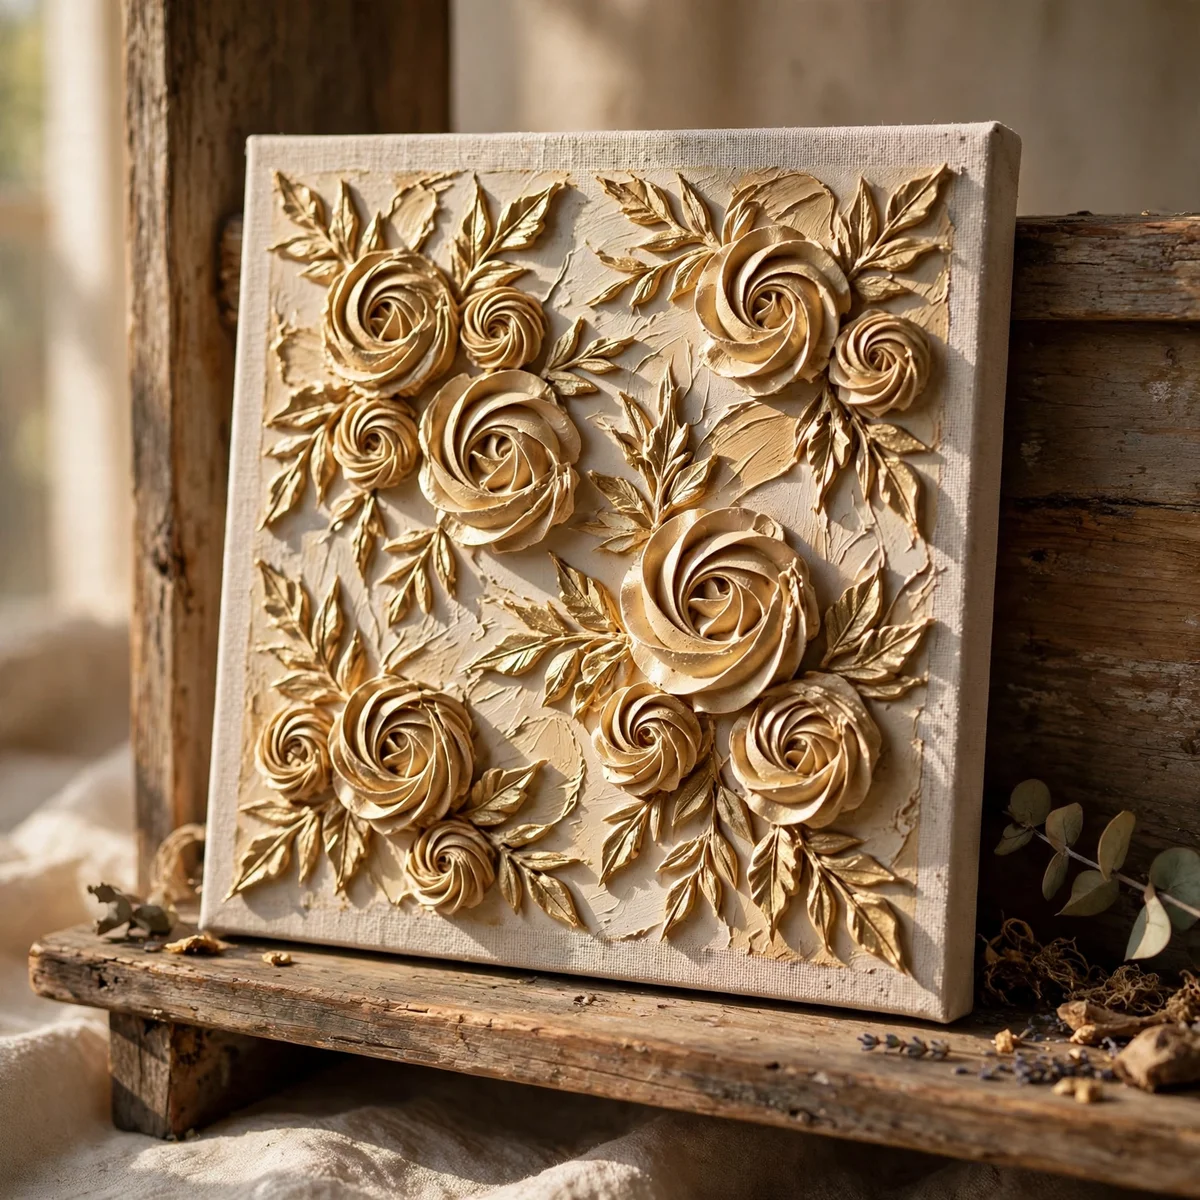
Fill a piping bag or a large syringe with modelling paste and pipe simple rosette and leaf shapes onto a 50 by 50 cm canvas primed in warm cream. Keep each motif 6 to 8 cm wide and space them in a loose grid with 4 cm gaps, so the design breathes. Once dry, dry brush the relief with soft gold or sage acrylic, letting the cream show in the hollows.
The paste needs a full two days to harden before dry brushing, or the brush will dent the motifs. Work from the centre outward so your sleeve never drags across wet paste. The mistake to avoid is piping too close to the canvas edge, where relief can chip during framing; leave a 5 cm quiet border. Float frame in white wood for a fresh, handcrafted finish.
14. Scrape Back Layers to Reveal Charcoal Underdrawing
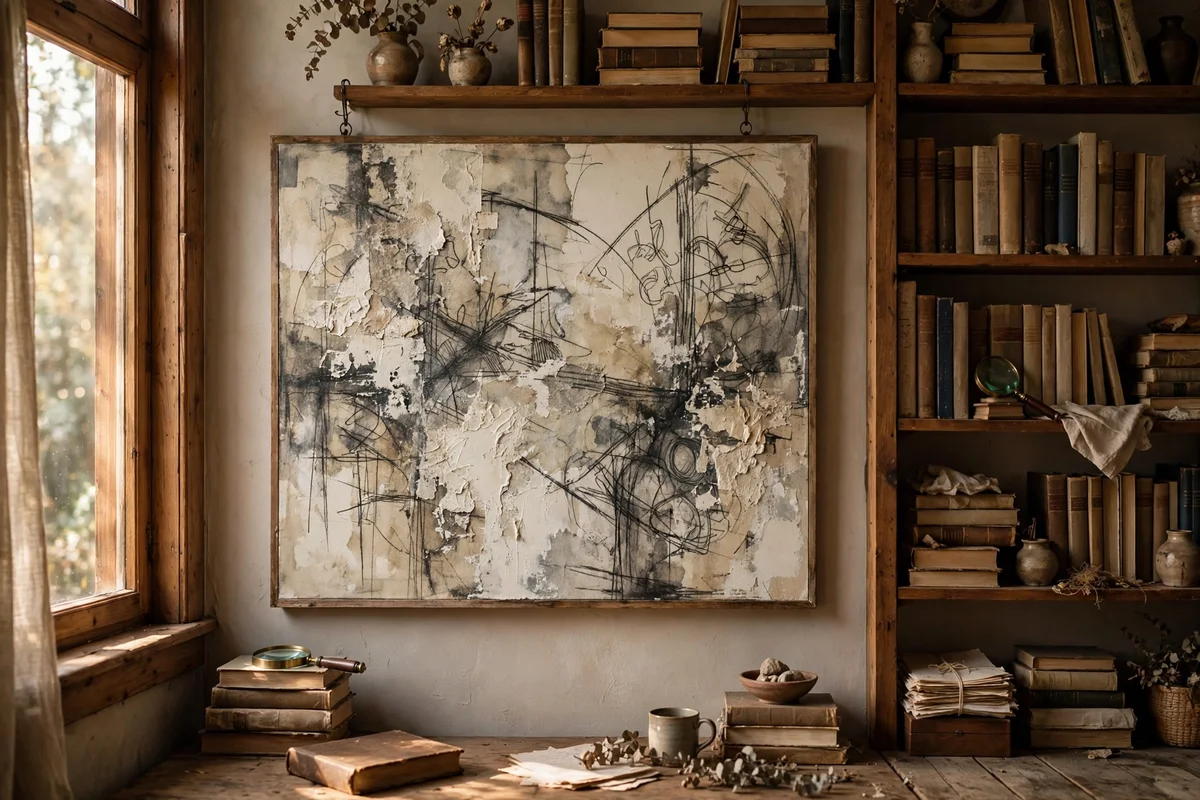
Begin with bold charcoal gestures on a 70 by 70 cm canvas: arcs, grids or simple hills drawn with a chunky willow stick. Fix the drawing lightly with workable fixative, then lay thin acrylic washes of cream, stone and pale ochre over the top. Once the wash is touch dry, scrape selected areas back with a clean knife edge to reveal the dark drawing beneath like a memory surfacing.
Seal the charcoal before painting over it, or it will muddy every colour it touches. Scrape with the flat of the knife rather than the tip to lift broad, soft edged passages. The mistake to avoid is scraping back to bare canvas everywhere, which loses the layered depth; leave two thirds of the wash intact. This technique suits studies, libraries and quiet sitting rooms.
15. Knife on Ochre and Wheat Tones for a Golden Field Study
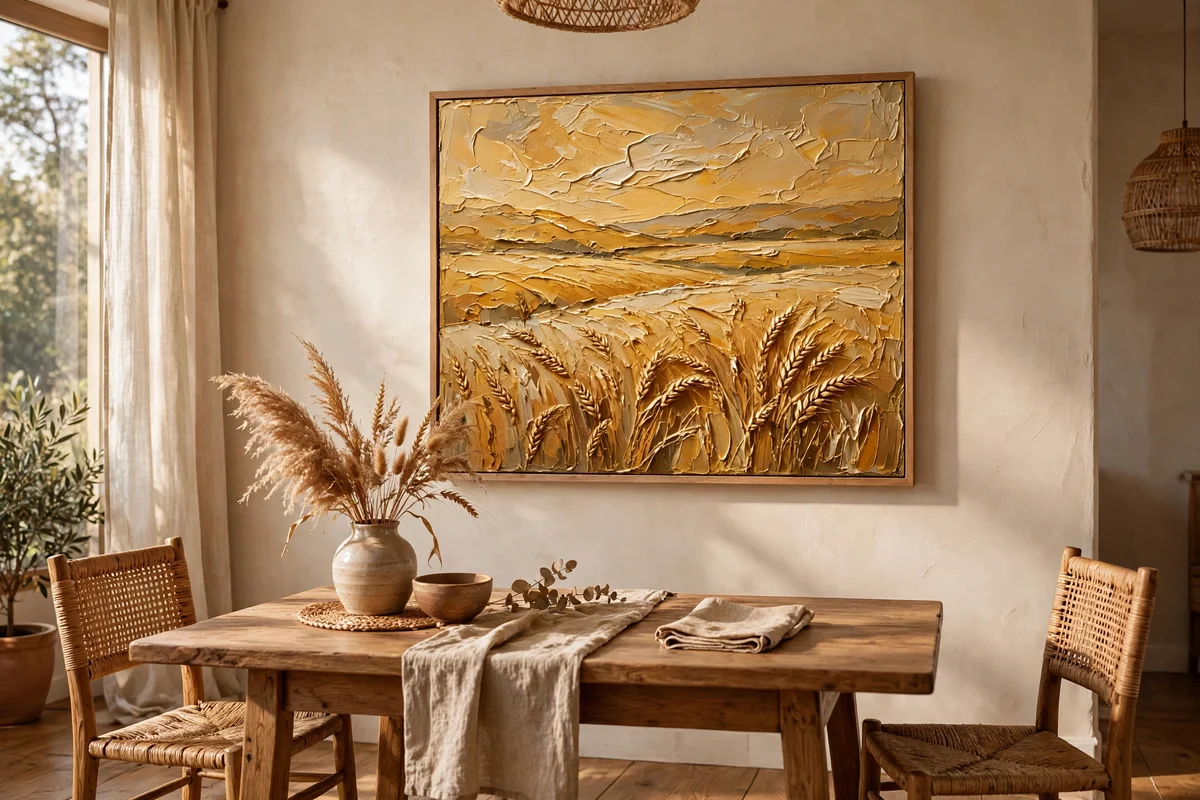
A 60 by 80 cm canvas in ochre, wheat and soft gold brings harvest warmth to a dining room. Load a wide trowel knife with yellow ochre lightened with titanium white, and lay short vertical strokes for the field, varying the pressure so some strokes stand 6 mm proud. Add a thin band of pale sky at the top third and a distant line of olive trees with the knife tip.
Work the field in one session so the strokes stay lively and the edges stay wet enough to blend. Rest the canvas flat for three days since the raised strokes hold moisture underneath. The mistake to avoid is using pure yellow straight from the tube, which looks harsh; always mute it with a touch of white or raw umber. Hang where morning light warms the golds.
16. Centre a Round Textured Medallion Above the Dining Sideboard
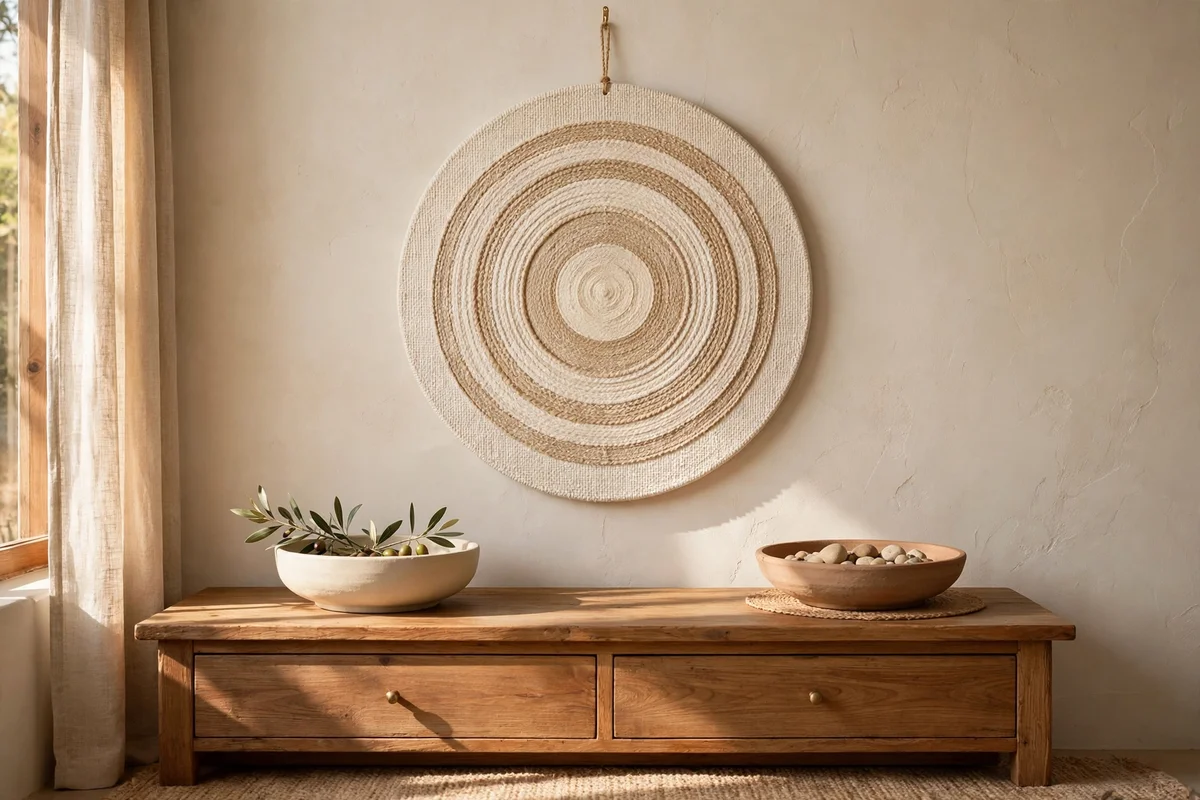
A round canvas 80 cm in diameter makes a striking medallion above a 160 cm sideboard, centred with equal wall space on both sides. Build concentric rings of modelling paste with a notched trowel, then tint the rings in alternating cream and warm sand. The circular form softens rooms full of rectangular furniture and draws the eye like a quiet sun.
Round canvases need a hanging wire rated for the extra paste weight, which can add nearly a kilogram. Hang the centre about 155 cm from the floor, roughly 30 cm above the sideboard top. The mistake to avoid is placing it so low that serving dishes knock the frame; leave clear space for everyday use. Style the sideboard with two low bowls to keep the medallion dominant.
17. Hang Three Layered Gesso Panels as a Bedroom Triptych
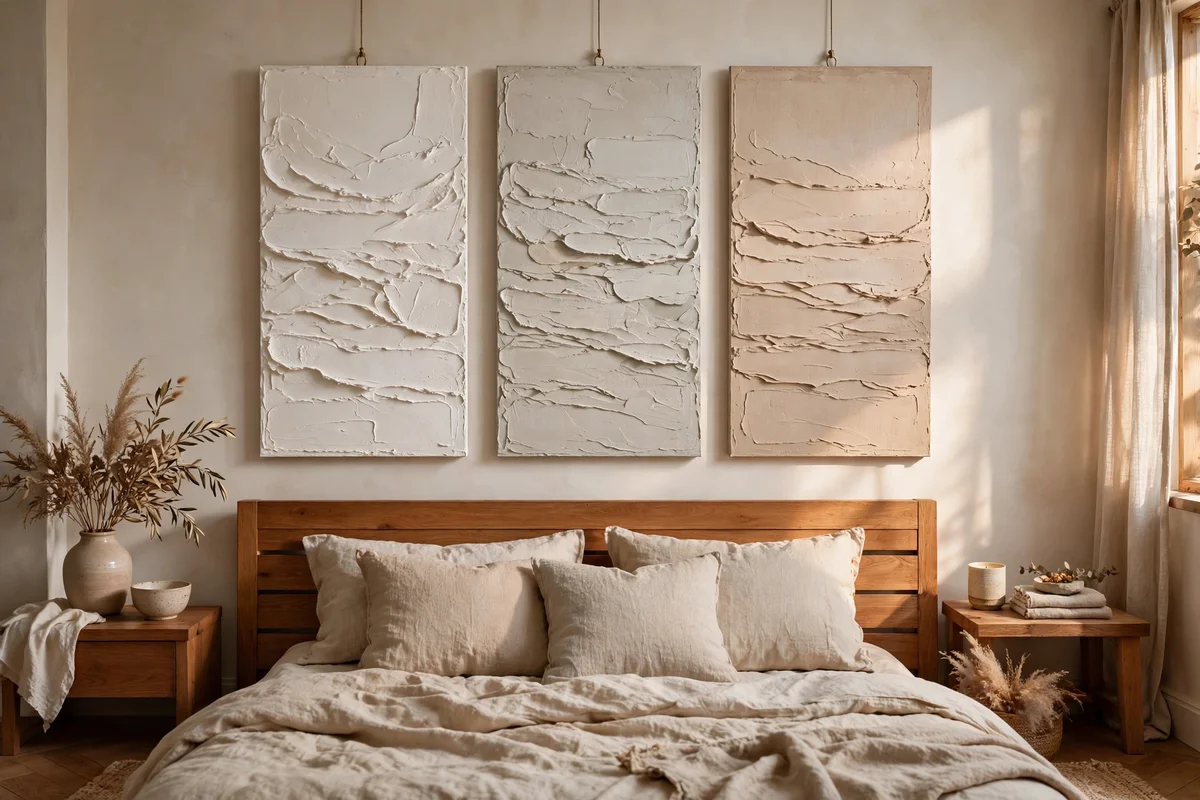
Three 40 by 100 cm panels hung 5 cm apart create a calm vertical rhythm above a bed. Brush each panel with three layers of gesso, sanding lightly between coats with 220 grit paper, so the surface feels like smooth plaster. Wash the panels in barely different tones: warm white, pale stone and soft flax. The subtle gradation reads as serene rather than plain.
Hang the triptych so its bottom edge sits 20 to 25 cm above the headboard, and centre the middle panel on the bed. Because the texture is quiet, lighting matters: a pair of wall sconces at the outer edges will graze the surface beautifully. The mistake to avoid is skipping the sanding between gesso coats, which leaves visible brush ridges that fight the calm effect.
18. Drag Muted Blues Into a Quiet Coastal Scene With a Palette Knife
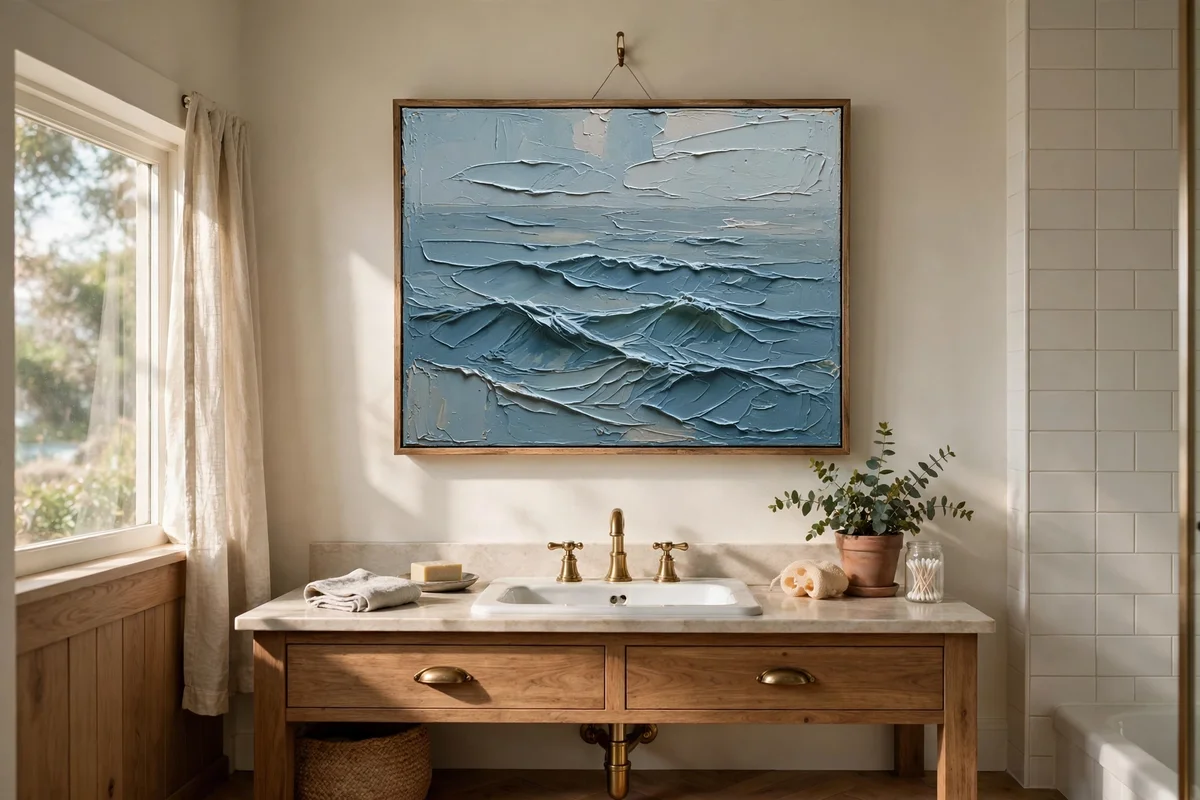
Mix muted blues from ultramarine, a touch of phthalo and plenty of titanium white on a 70 by 100 cm canvas. Drag the paint horizontally with a 10 cm trowel knife for the sea, leaving 4 mm ridges, then soften the sky with a dry brush so it sits back. A thin pale line of distant shore, scratched in with a knife tip, gives the composition a quiet horizon.
Keep the whole painting to four blues plus white for a restful, gallery calm. Let it dry three days flat, since the sea ridges are the thickest passages. The mistake to avoid is adding a bright turquoise accent, which breaks the muted heritage mood instantly. This scene suits bathrooms and bedrooms, where cool quiet colour helps the room feel like a retreat.
19. Seal Finished Paintings With a Soft Varnish in a Dust Free Corner
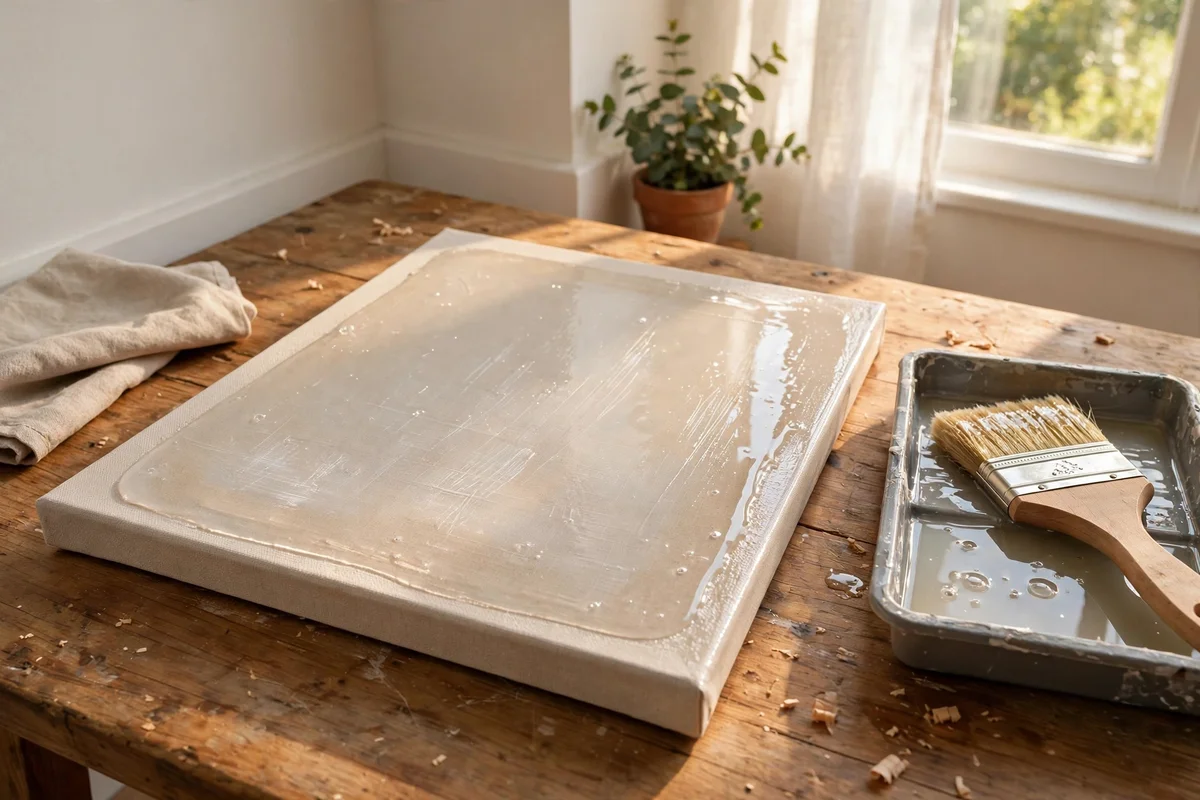
Varnishing protects texture from dust and gives the painting a finished, gallery quality surface. Wait at least a week after the last thick passage, then dust the canvas with a soft dry brush. Pour a small pool of satin acrylic varnish into a clean tray and apply it with a wide flat brush in long, single direction strokes, reloading the brush often so the coat stays thin and even.
Choose a dust free corner away from open windows, and lay the canvas flat while varnishing so the varnish cannot run into the texture valleys. One thin coat is usually enough for satin; add a second only after 24 hours. The mistake to avoid is varnishing over paint that is merely touch dry, which traps moisture and can cloud the finish permanently.
20. Float Frame a Textured Canvas and Style It Over a Dark Console
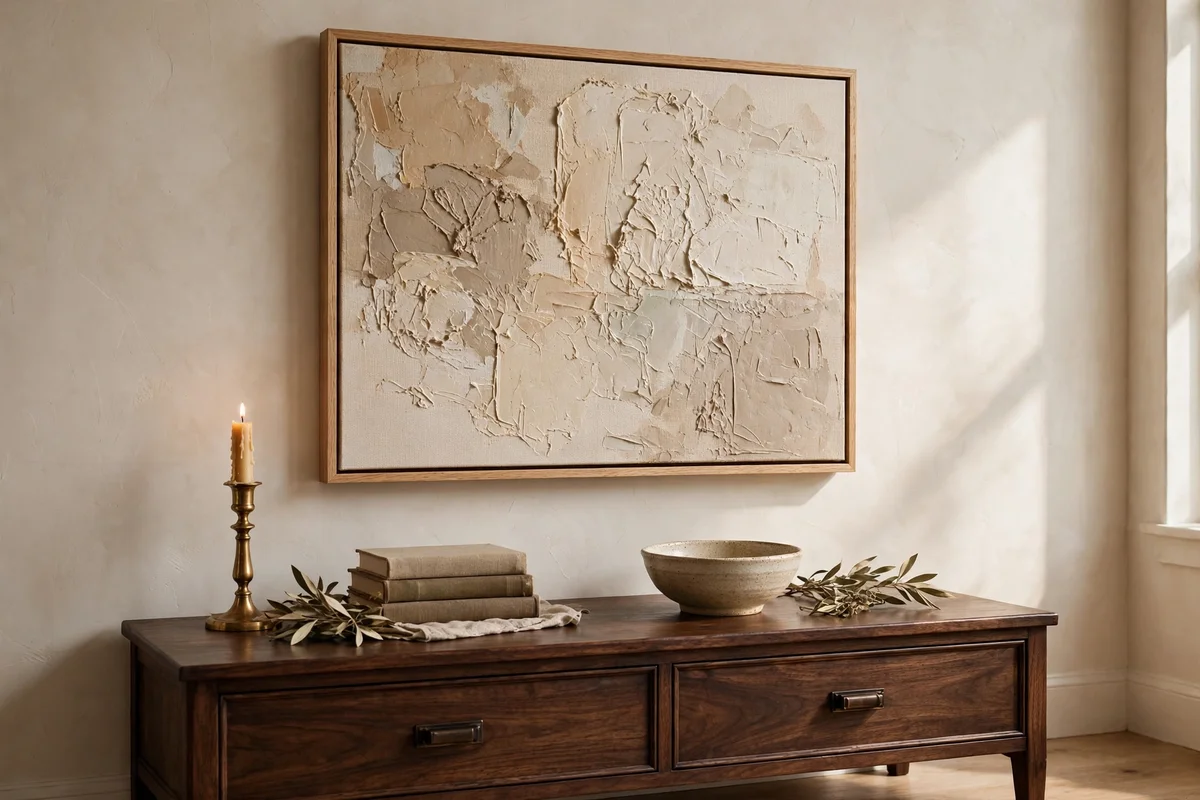
A float frame holds the canvas about 6 mm inside a slim moulding, leaving a shadow gap that makes texture look museum quality. Choose a 4 cm deep oak or black float frame for a 60 by 80 cm painting, and secure the canvas with screws through the back of the frame into the stretcher bars. Hang it centred over a dark walnut console for a striking light against dark contrast.
Keep the console styling minimal so the painting leads: one brass candlestick, a small stack of two books and a low ceramic bowl. The shadow gap needs a gentle dusting twice a year with a soft brush. The mistake to avoid is choosing a frame deeper than the texture, which swallows the relief in shadow; match the frame depth to the thickest passage.
21. Scale Up to a 120 by 150 cm Statement Piece for the Living Room
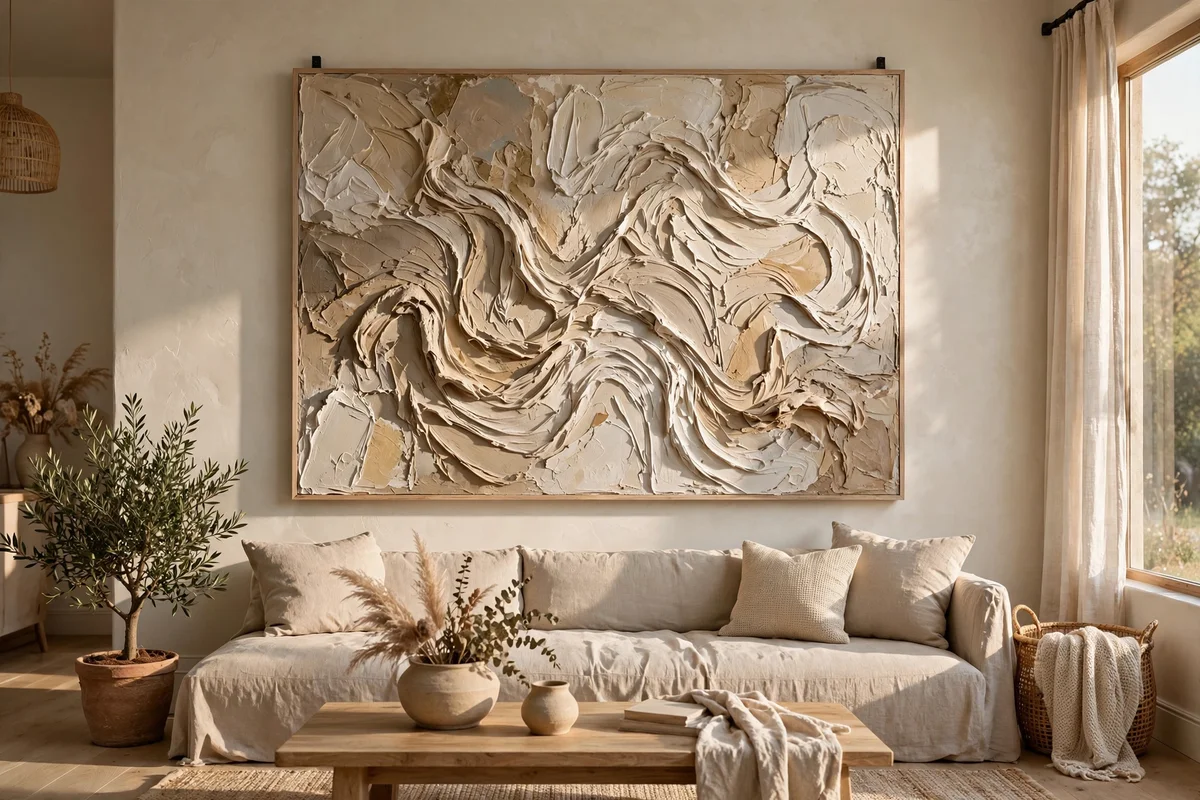
A 120 by 150 cm canvas commands a large living room wall and needs only one confident composition. Block in huge, simple shapes with a 15 cm trowel knife: two thirds calm background in warm white or pale sage, one third deeper tone in umber or indigo sweeping across a corner. Keep the texture bold, with ridges 8 to 12 mm high, so the surface reads clearly from three metres away.
A canvas this size needs a cross braced stretcher so it never warps, and two heavy duty D rings with wall anchors for safe hanging. Budget for about 1 litre of paint and 750 ml of modelling paste. The mistake to avoid is placing it where a door swings against it; measure a clear metre of swing space. Hang the centre at 150 cm from the floor.
22. Comb a Zigzag Pattern Through Thick White Paste on a Panel
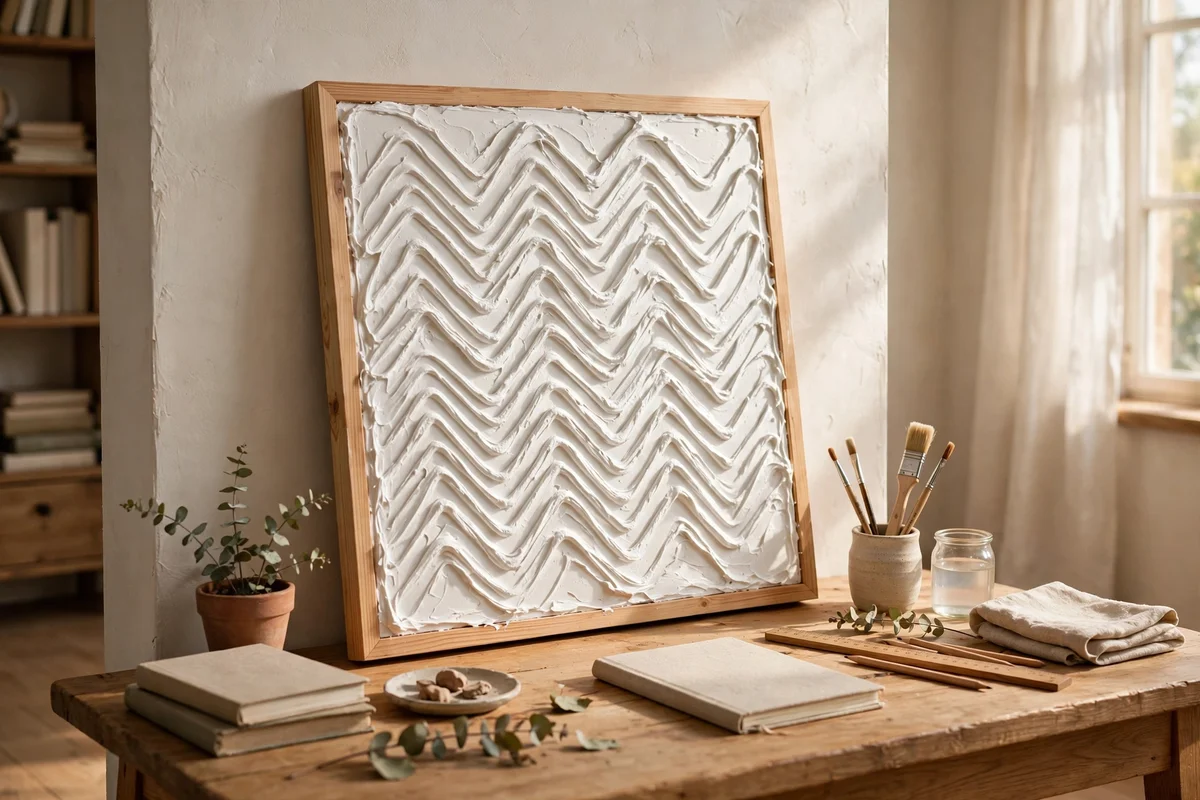
Spread modelling paste 4 mm thick on a 60 by 60 cm cradled panel, then drag a wide toothed comb through it in a continuous zigzag, keeping the rhythm steady. The chevron texture throws lively shadows and suits a study or a family room. Once fully dry, wash the surface with warm white acrylic thinned to the consistency of milk, so colour settles softly into the grooves.
Practise the zigzag on a paper plate first to find a comfortable hand speed; hesitation shows as wobbles. Rinse tools immediately and let the panel cure 48 hours before the wash. The mistake to avoid is combing the pattern at different depths across the panel, which looks accidental rather than designed. Pair it with a plain linen cushion palette nearby for balance.
23. Build an Ivory Monochrome Study With Ridges of Pure White
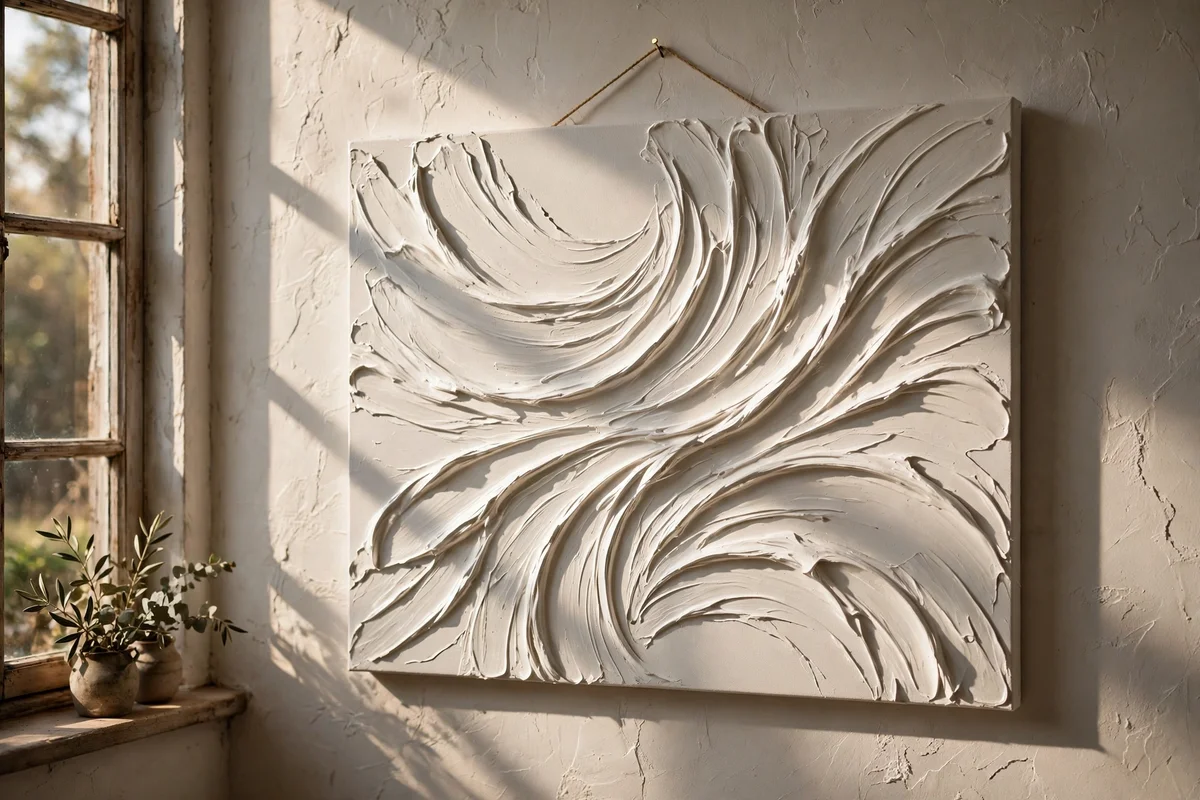
An all ivory painting proves that texture alone can carry a composition. On a 50 by 70 cm canvas, lay titanium white mixed with impasto medium in sweeping arcs with a diamond knife, building ridges 5 to 10 mm high. Add the faintest warm grey wash in the hollows with a dry brush so the forms separate. The result glows quietly against both light and dark walls.
Photograph the study in raking daylight to appreciate the shadows, and hang it where a nearby window gives it that light daily. One 200 ml tube of white plus medium completes this piece for very little cost. The mistake to avoid is tinting the white too warm, which turns ivory into cream and loses the crisp monochrome effect. Seal with matte varnish to keep the whites honest.
24. Arrange Textured Canvases on a Picture Ledge Above a Sideboard
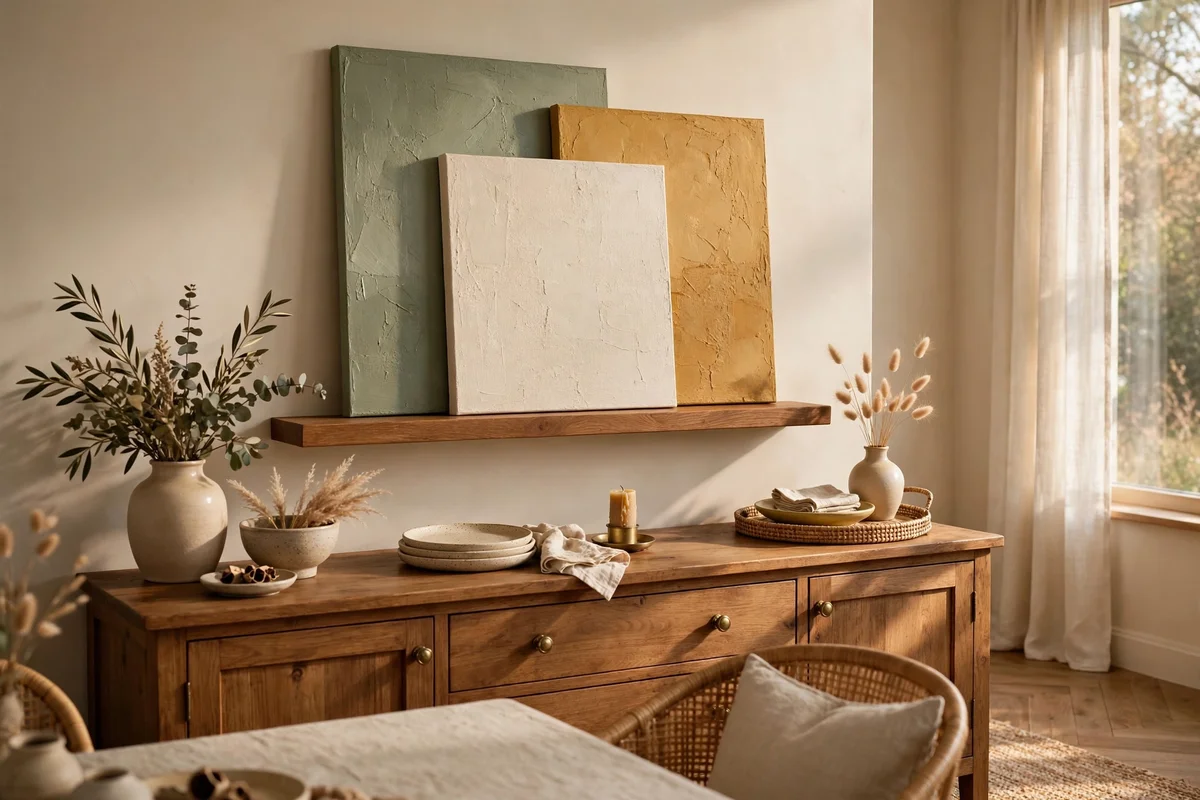
A 150 cm picture ledge above a sideboard lets you layer three or four finished canvases without a single nail. Overlap a large 60 by 80 cm impasto piece behind a smaller 40 by 50 cm combed panel, and tuck a 30 cm square study in front, varying the heights so each texture shows. Keep the palette unified in creams, sages and ochres so the layering feels deliberate.
Fix the ledge into wall studs, since four textured canvases with paste can weigh over 6 kg. Dust the ledge monthly and rotate the arrangement with the seasons. The mistake to avoid is pushing every canvas to the back of the ledge; pulling one forward by 5 cm creates depth and shadow. This display grows with your work, becoming a living gallery wall.
The ideas in this list share one belief: that texture turns paint into something you can almost touch, and that plain walls deserve that quiet richness. Whether you began with a combed ground, a palette knife sunset or a modelling paste relief, you now own pieces with real presence. Keep the colours calm, the compositions simple and the finishes consistent, and even a small collection will read like a considered gallery wall rather than a set of experiments.
This week, try the easiest first step: a small 30 by 40 cm canvas combed with modelling paste in warm white, hung above a side table or in the hallway. It needs only one jar of paste, a plastic comb and an hour of your time, plus two days of drying. If the effect pleases you, scale up to the sunset impasto or the triptych, and build your gallery one calm layer at a time.
Frequently Asked Questions
How much does it cost to start painting textured art?
A starter kit of three palette knives, two tubes of heavy body acrylic, a 500 ml jar of modelling paste and three canvases costs about 45 to 70 pounds or dollars. That covers most ideas on this list. Buy student grade acrylic for practice layers and reserve artist grade paint for the final coloured layer, which keeps quality high without waste.
How long does thick impasto take to dry?
Thin knife strokes dry in a few hours, while impasto peaks of 5 to 10 mm need two to four days, and very heavy relief can take a full week. Dry canvases flat on battens in a dust free room at normal indoor warmth. Test the thickest ridge with a clean fingertip; if it gives slightly, wait another day before varnishing.
How do I seal a textured painting?
Wait until the paint is fully cured, then apply one or two thin coats of acrylic varnish with a wide soft brush, following a single direction. Satin varnish suits most textured work because it protects without hiding the ridges. Avoid spray varnish on very deep texture, since it pools unevenly; brush application reaches the valleys more reliably.
What canvas size looks best above a sofa?
Choose a painting about two thirds the sofa width, so a 210 cm sofa takes a canvas or grouping of roughly 140 cm. A single 100 by 140 cm piece or a pair of 60 by 90 cm canvases both work well. Hang the centre about 150 to 160 cm from the floor, leaving 15 to 25 cm of clear wall between the sofa back and the frame.
Can beginners really make art that looks like gallery work?
Yes, because texture does much of the visual work. Combed grounds, modelling paste reliefs and simple colour blocking in heritage tones look refined even with modest painting skill. Limit each painting to three colours, keep compositions uncluttered, and float frame the finished canvas. Good presentation lifts beginner work more than any single technique.