DIY Projects
25 Furniture Flip Ideas That Turn Tired Pieces Into the Best Thing in the Room
By Anna Wells · · 21 min read
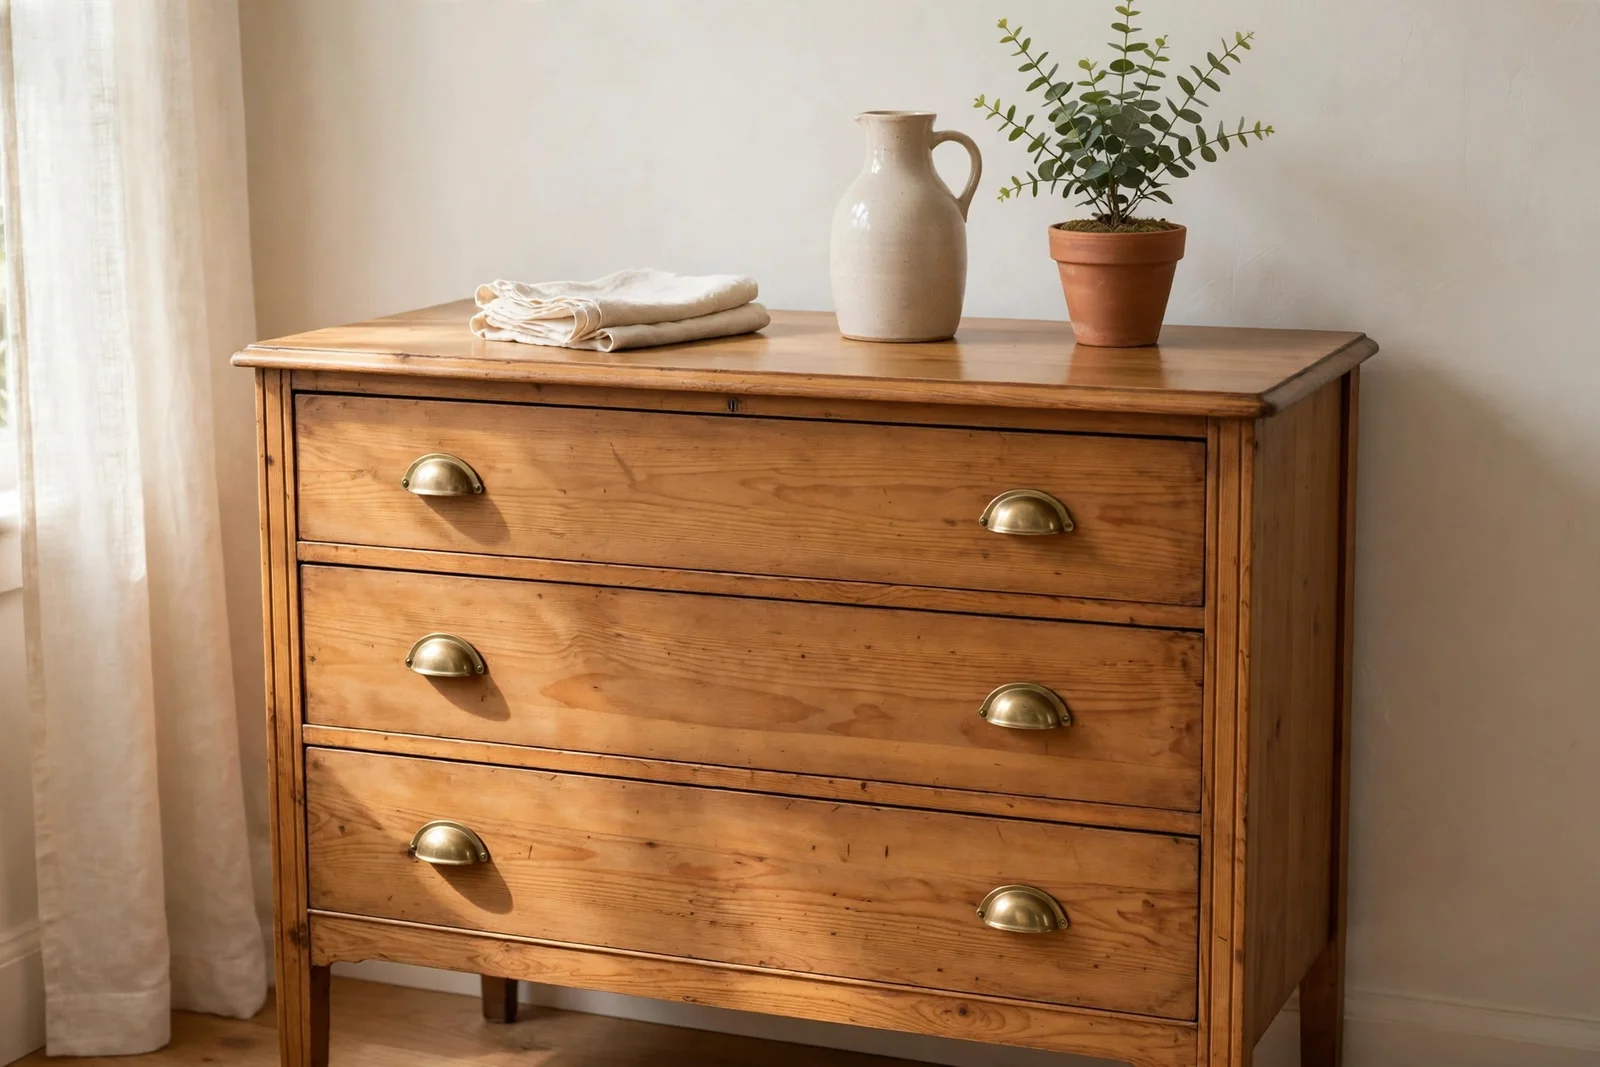
Thrifty, creative furniture flip ideas that turn tired dressers, cabinets and beds into heirloom pieces, with honest notes on paint, stain, hardware, time and budget.
The dresser at the back of the charity shop has stuck drawers, a water ring on top and a price tag of twenty dollars. Most shoppers walk straight past it, but you stop, because under the dust you can see dovetailed drawers and solid pine sides that no flat pack will ever offer. That small moment of recognition is where every great furniture flip begins.
Furniture flipping is simply the art of seeing what a tired piece could become: a dresser reborn as a sideboard, a dated cabinet rolling into service as a kitchen island, a spindle bed finding new life as an entryway bench. With paint, stain, new hardware and a free weekend, these makeover projects cost a fraction of buying new and end with something far more personal.
This guide collects 25 furniture flip ideas that turn tired pieces into the best thing in the room. Each one is concrete enough to start this weekend, with honest notes on materials, costs, timing and the mistakes worth avoiding. Some take an afternoon, like swapping handles or lining drawers with wallpaper; others, like the bench and the island, ask for two or three weekends and a few borrowed tools.
Work through the ideas in any order, pick the one that matches the piece waiting in your garage, and let the room decide the colour. Your future favourite piece of furniture is probably already sitting in someone else’s spare room.
1. Turn a Six Drawer Dresser Into a Dining Room Sideboard
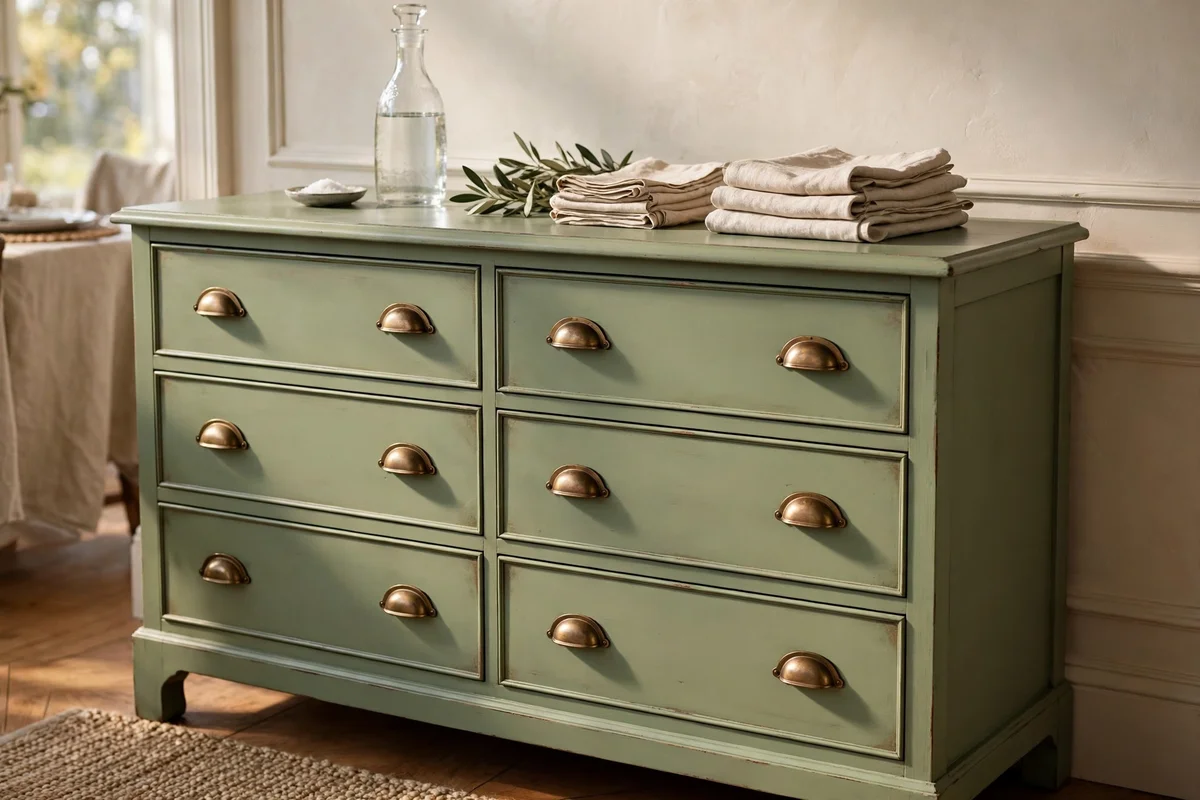
A standard six drawer dresser, roughly 130 to 160 cm wide and 80 to 100 cm tall, already has the proportions of a sideboard. Remove the mirror if there is one, then clean every joint and tighten the drawer runners so the drawers glide without sticking. Sand the top lightly and finish it with two coats of satin polyurethane, since a sideboard top must survive serving dishes, carafes and the occasional hot platter.
Paint the body in a calm, furniture grade colour such as warm greige or deep forest green, using two thin coats of enamel paint made for cabinets. Budget for 30 to 60 dollars in paint and primer for one dresser, and give each coat a full 24 hours to cure. The common mistake is skipping the degreasing step: kitchen sideboards often carry years of furniture polish that cause paint to peel within months.
2. Convert a Dated Cabinet Into Kitchen Island Storage With Deep Drawers
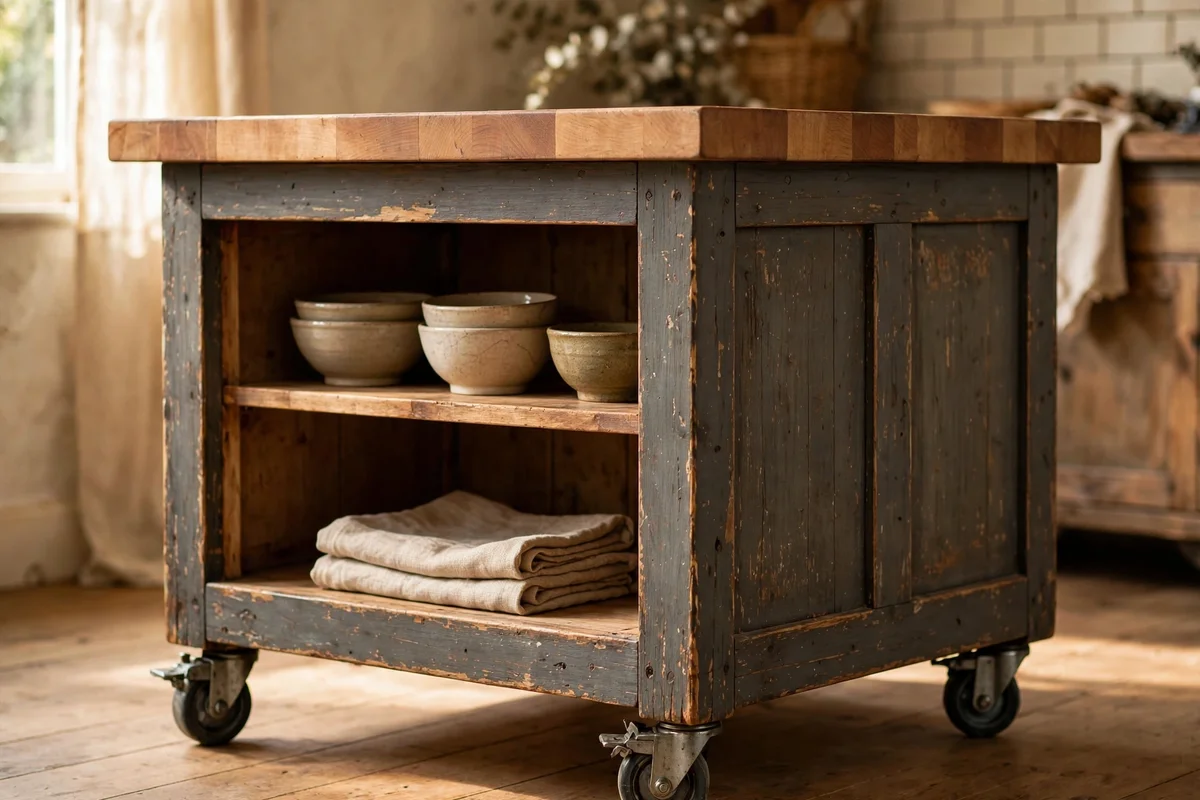
An old buffet or cabinet between 120 and 180 cm long can become a working island once it sits on lockable casters. Bolt four heavy duty casters, each rated for at least 40 kg, to the base so the unit rolls for cleaning and locks solidly while you chop. Paint the exterior in a wipeable satin enamel and add a 3 cm thick timber or butcher block top cut to overhang the cabinet by 2 cm on three sides.
Inside, fit one deep drawer with dividers for cutlery and linen napkins, and leave open shelves below for pots and serving bowls. This flip suits kitchens with at least 90 cm of clearance around the island so chairs and cupboard doors still open freely. The mistake to avoid is choosing an island top that is wider than the base by more than 5 cm, which tips under weight. Budget: 80 to 150 dollars including casters, top and paint.
3. Rebuild a Spindle Bed Into an Entryway Bench With a Solid Seat
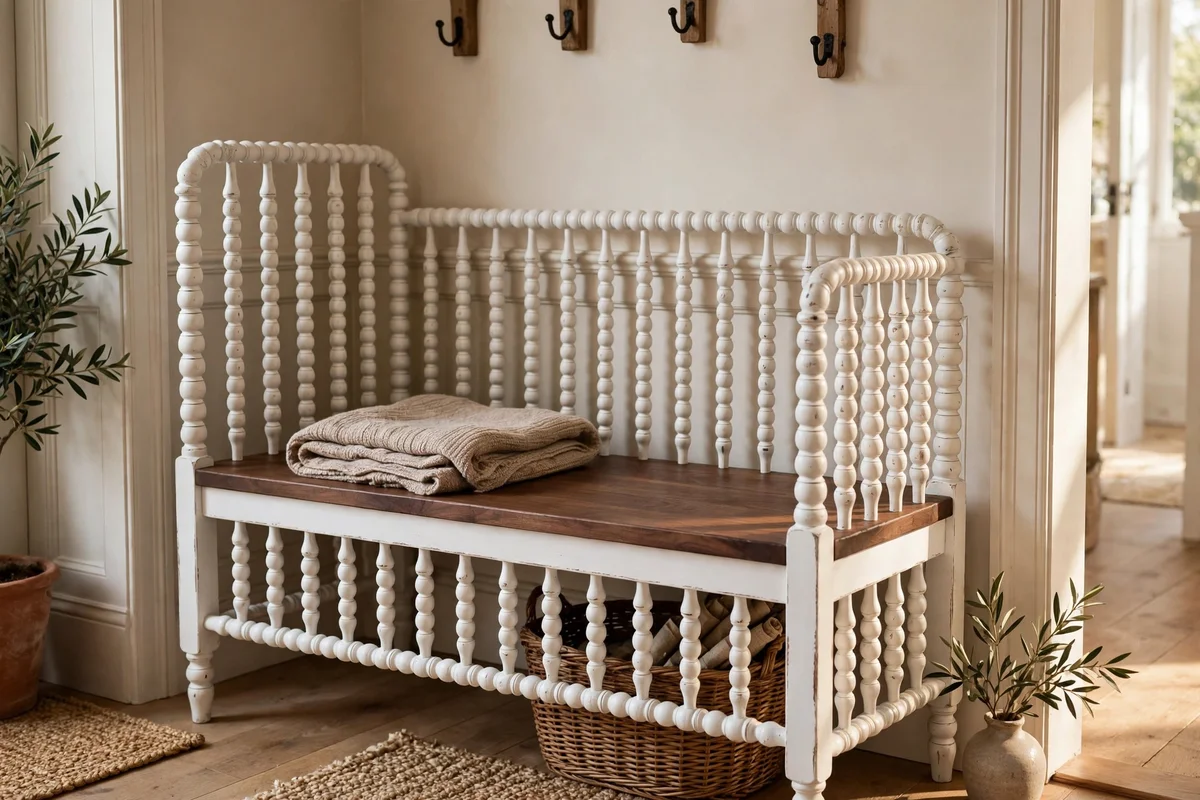
A spindle bed with turned headboard and footboard already holds the two ends of a charming bench. Cut the bed rails down to bench length, usually 120 to 150 cm, and join them between the headboard and footboard at seat height, about 45 cm from the floor. Build the seat from two planks of 5 cm thick pine, screwed from below so no fixings show, and sand every spindle smooth before assembly.
Stain the seat in a mid tone walnut and paint the spindles in warm white for a two finish look that suits entryways. The build takes one weekend and basic tools: a saw, a drill and a sander. Never skip measuring the doorways the bench must pass through, since a 150 cm bench rarely turns a tight hallway corner once assembled. Budget for timber and paint runs 50 to 90 dollars.
4. Paint the Lower Half and Stain the Top of a Pine Hutch
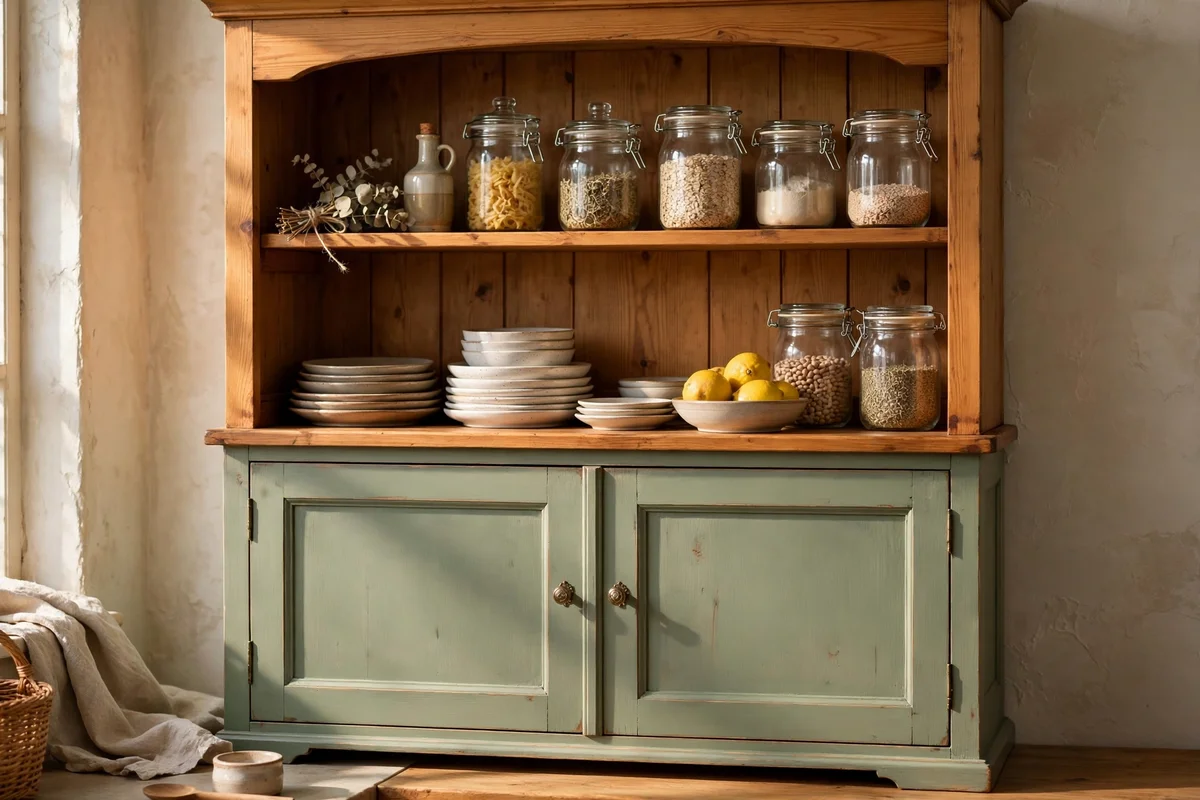
Two tone finishes hide the fact that old pine tops and bodies age differently. Paint the hutch body in a single colour such as sage or cream, using primer first because old varnish bleeds through pale paint. Sand the top back to bare wood with 80 grit then 120 grit paper, and stain it in a warm honey oak that complements the painted body rather than matching it exactly.
Seal the stained top with three thin coats of water based polyurethane, sanding lightly between coats for a smooth, wipeable surface. Keep the body paint in a satin or eggshell sheen so fingerprints wipe off. The mistake to avoid is staining before the painted body is fully dry, since stain drips onto tacky paint and leave permanent marks. Two weekends, including drying time, is a realistic schedule.
5. Swap Dated Plastic Handles for Solid Brass Cup Pulls
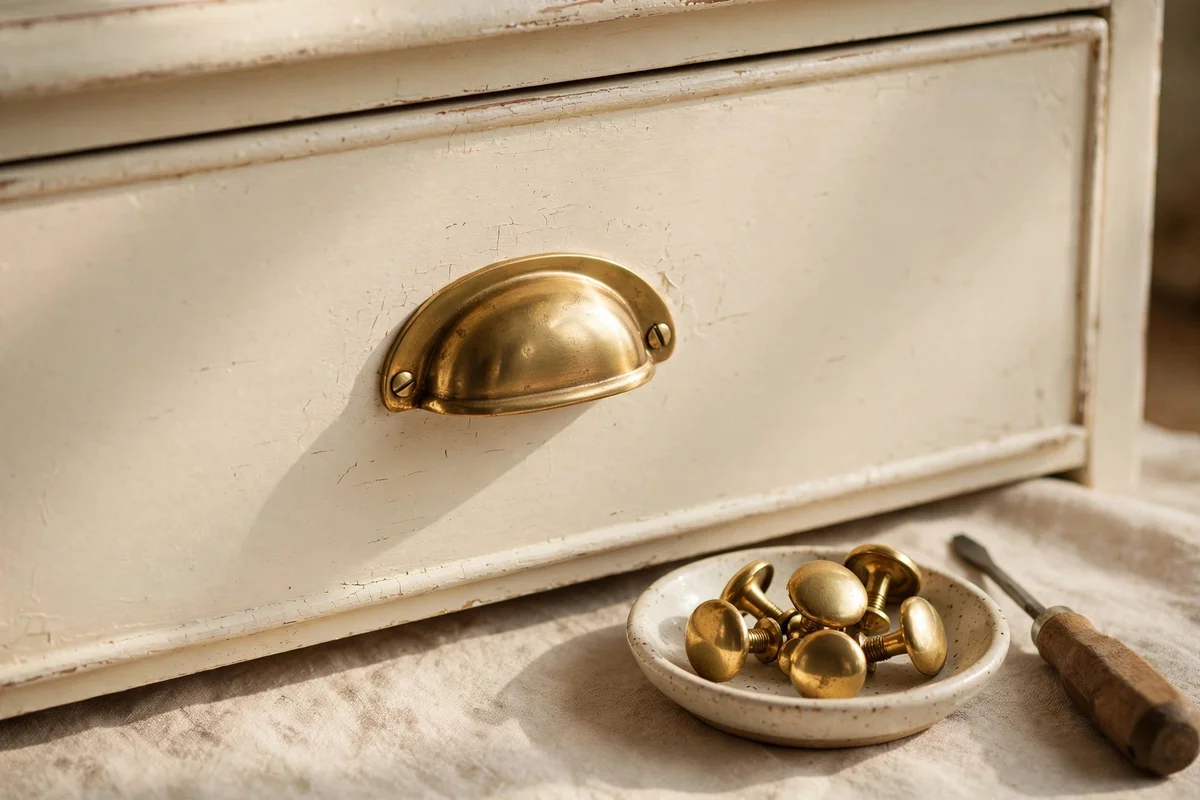
Hardware is the fastest flip in this list: ten drawers can be transformed in under two hours with only a screwdriver. Remove the old handles and measure the hole spacing, usually 76 or 96 mm, then buy cup pulls or knobs that match so you never drill new holes. Solid brass cup pulls on a cream dresser or deep green chest read instantly as quality and cost far less than a repaint.
Fill any stray holes with wood filler, sand flush, and touch up the paint before fitting the new brass. A full set of twelve solid brass pulls usually costs 30 to 50 dollars online, while antique shops sell single knobs for one to three dollars each. The mistake to avoid is mixing finishes: brass pulls with chrome knobs on the same piece look like an error, so choose one metal for the whole piece.
6. Raise a Low Dresser on Four Tapered Oak Legs
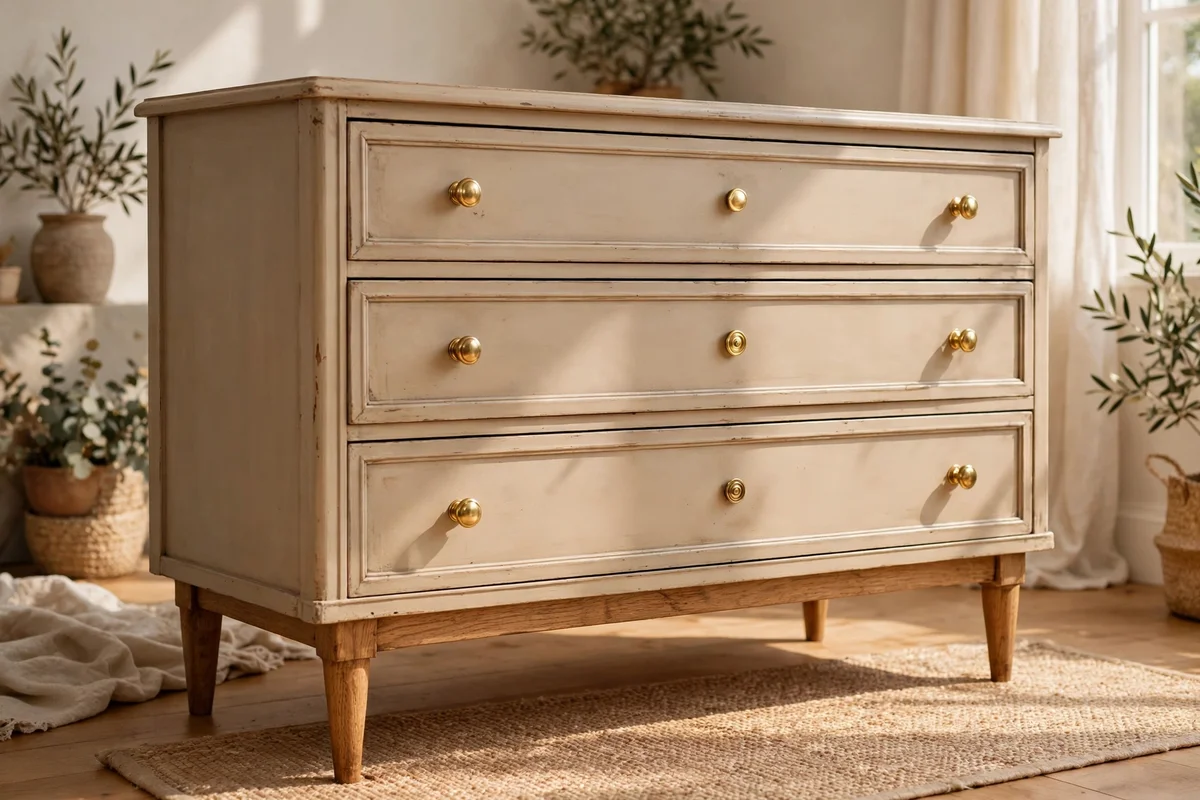
Low 1970s dressers sit so close to the floor that they look heavy and dated. Screw mounting plates to the underside corners and fit 15 to 20 cm tapered oak legs, which lift the piece into a graceful stance and make the room feel larger. Choose legs with a standard hanger bolt so they screw into the plates by hand, and add felt pads to protect timber floors.
Four solid oak legs cost 25 to 45 dollars, and the whole job takes under an hour with a drill. Make sure the dresser base is at least 3 cm thick where the plates attach, since thin backs and drawer bottoms will not hold screws. The mistake to avoid is using legs that are too tall: more than 20 cm under a wide dresser makes it wobble and look stilted rather than elegant.
7. Hide a Rough Carcass With a Simple Plinth Base
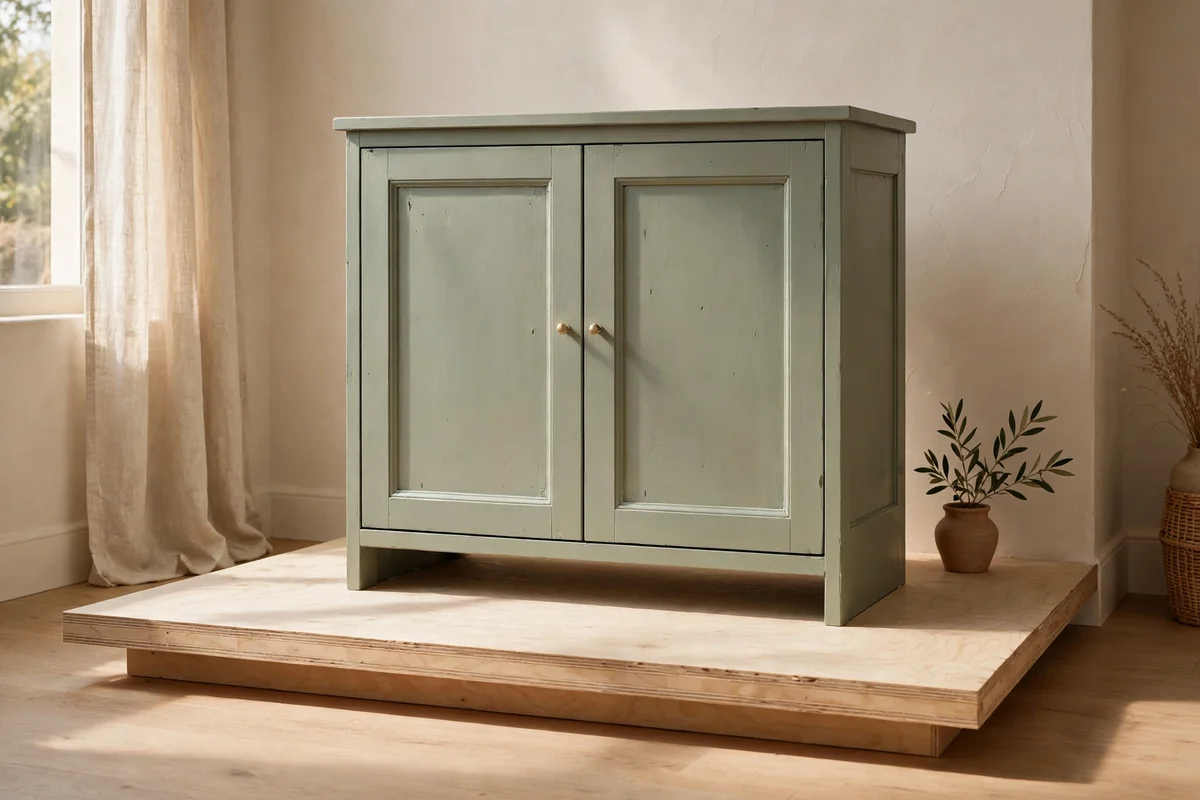
When the bottom of a cabinet is scuffed, uneven or chewed by a previous life in a garage, a plinth base hides every flaw in one step. Build a simple box from 12 mm plywood, 8 to 10 cm tall, set 2 cm back from the cabinet edges so the shadow line looks intentional. Glue and pin the plinth to the base, then paint it the same colour as the piece for a seamless, furniture grade finish.
A plinth also stops draughts of dust gathering under the piece and gives a crisp edge that makes budget furniture look custom made. Cut the plywood with a jigsaw or have the timber yard cut it, and fill the pin holes with filler before painting. The mistake to avoid is making the plinth flush with the carcass edges, which shows every uneven cut. Materials cost under 20 dollars.
8. Replace Plain Panels With Woven Cane Webbing
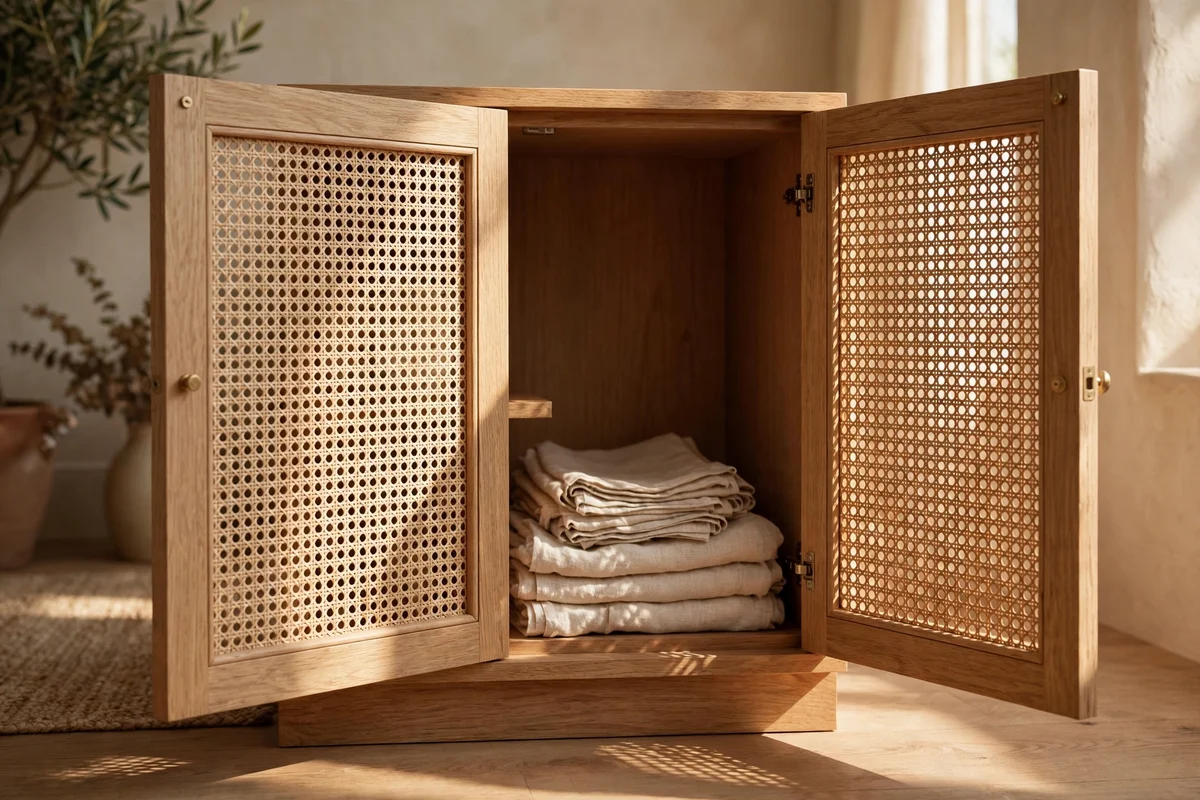
Cane webbing turns a plain panelled cabinet into a light, breathable piece in the style of classic French furniture. Remove the old panels or hardboard backs from the door frames and cut cane webbing to size, soaking it in warm water for 30 minutes first so it flexes without cracking. Staple the webbing to the back of the frame, trim the excess, and hide the staples with a thin beading strip.
A roll of cane webbing 60 cm wide costs about 25 to 40 dollars and covers four to six door panels. Finish the frames in paint or stain before fitting the cane, since finishing afterwards stains the webbing. The mistake to avoid is pulling the cane drum tight before stapling: it shrinks as it dries and will split if already stretched. Allow one full day of drying before rehanging the doors.
9. Line Drawer Interiors With Heirloom Pattern Wallpaper
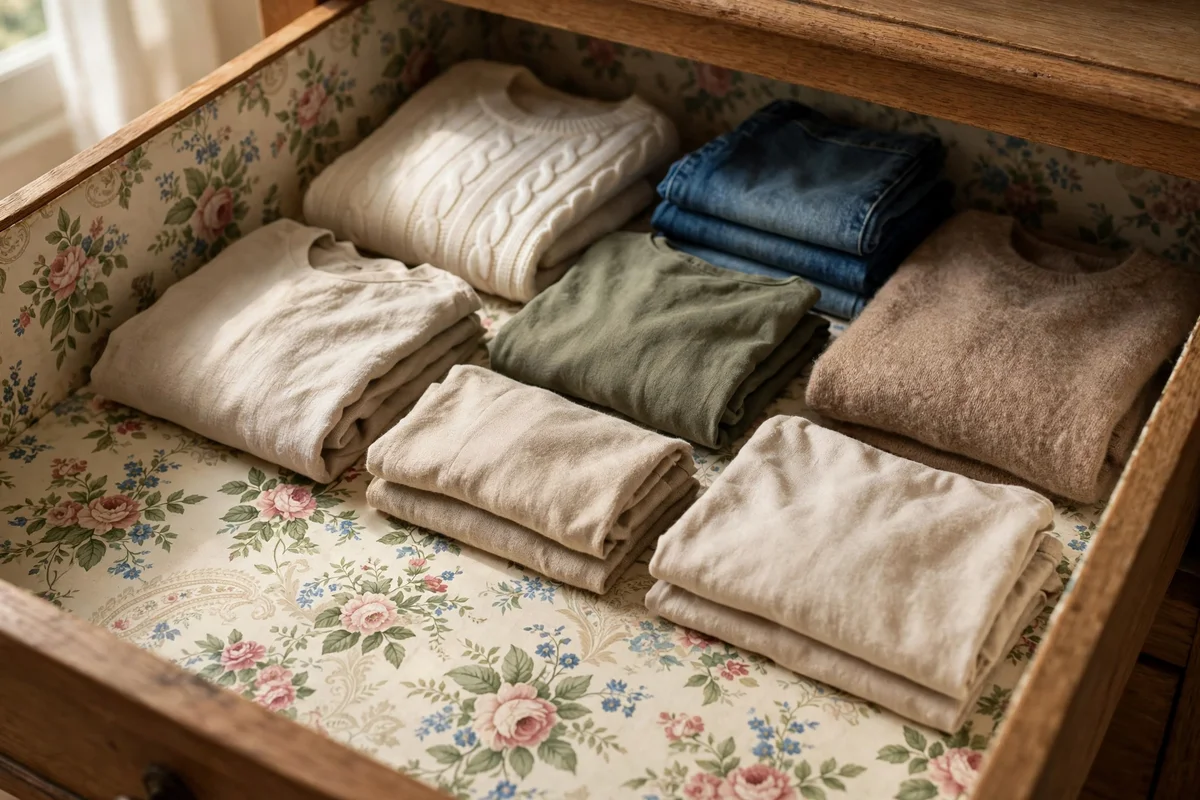
Opening a drawer to find a pretty pattern inside is a small luxury that costs almost nothing. Measure each drawer base, cut wallpaper 5 mm smaller on every side, and paste it down with wallpaper paste or a thin coat of PVA glue. Smooth from the centre outward with a dry cloth to push out bubbles, then seal the paper with one coat of clear matte varnish so it wipes clean.
One roll of wallpaper lines six to eight drawers, and offcuts from a larger project work perfectly for this. Choose patterns with small repeats, since large motifs get lost inside a 40 cm drawer. The mistake to avoid is skipping the seal coat: unsealed paper absorbs drawer damp and peels within a year. The whole job takes an afternoon and costs 10 to 25 dollars.
10. Distress the Edges of a Painted Pine Chest
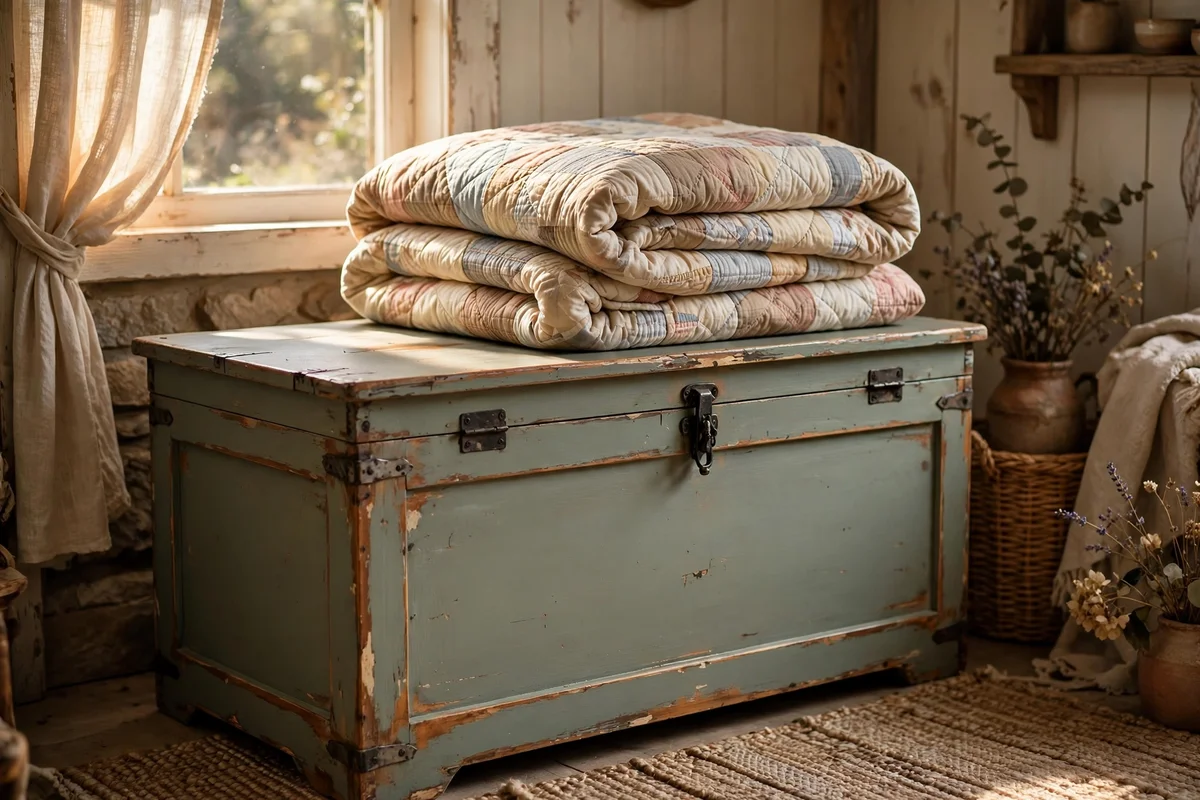
Gentle distressing suits pine chests because the soft wood wears naturally on edges and corners. After two coats of paint are fully dry, sand the edges, corners and raised mouldings lightly with 150 grit paper until a whisper of wood shows through. Work slowly: removing paint in thin layers looks like decades of honest use, while gouging to bare wood in seconds looks like damage.
Seal the distressed paint with clear furniture wax or matte polyurethane so the worn edges do not collect dirt. Distressing suits farmhouse and cottage rooms best and looks wrong on crisp modern pieces. The mistake to avoid is distressing flat middle areas of a door, where hands never touch; wear belongs on edges, handles and corners. This adds nothing to the budget beyond sandpaper and a free afternoon.
11. Bleach a Dark Oak Dresser and Restain in Pale Timber
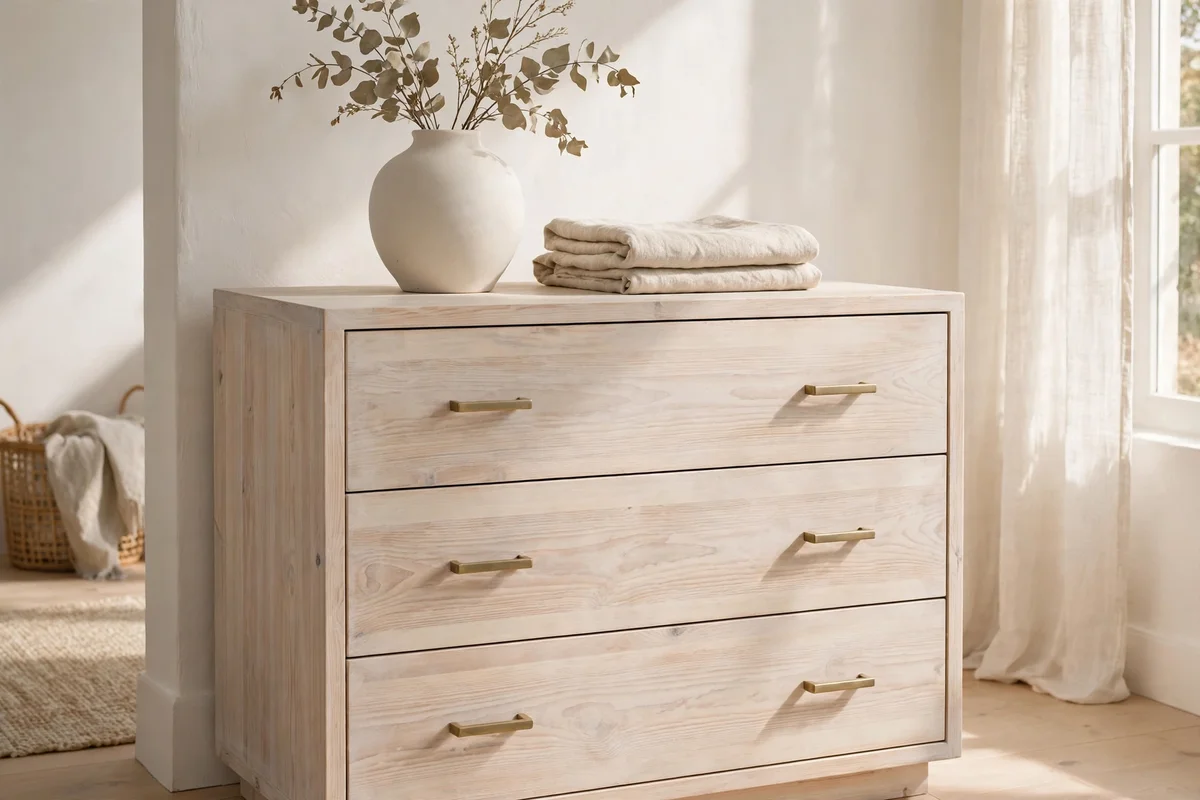
Two part wood bleach lifts decades of dark stain from oak and reveals the pale grain beneath, a trick that suits calm, light filled rooms. Apply the bleach outdoors with gloves, following the packet timing exactly, usually 20 to 40 minutes, then neutralise as directed and let the piece dry for two full days. Sand lightly and apply a pale natural stain, wiping back the excess for an even, light finish.
Seal with matte water based polyurethane to keep the pale tone from yellowing. Test the bleach on the back of the piece first, since veneer and solid wood react differently and veneer can burn through. The mistake to avoid is bleaching in damp weather: the wood must dry fully between stages or the finish turns blotchy. Budget 30 to 50 dollars for bleach, stain and sealer.
12. Mount Two Nightstands as Floating Bedside Shelves
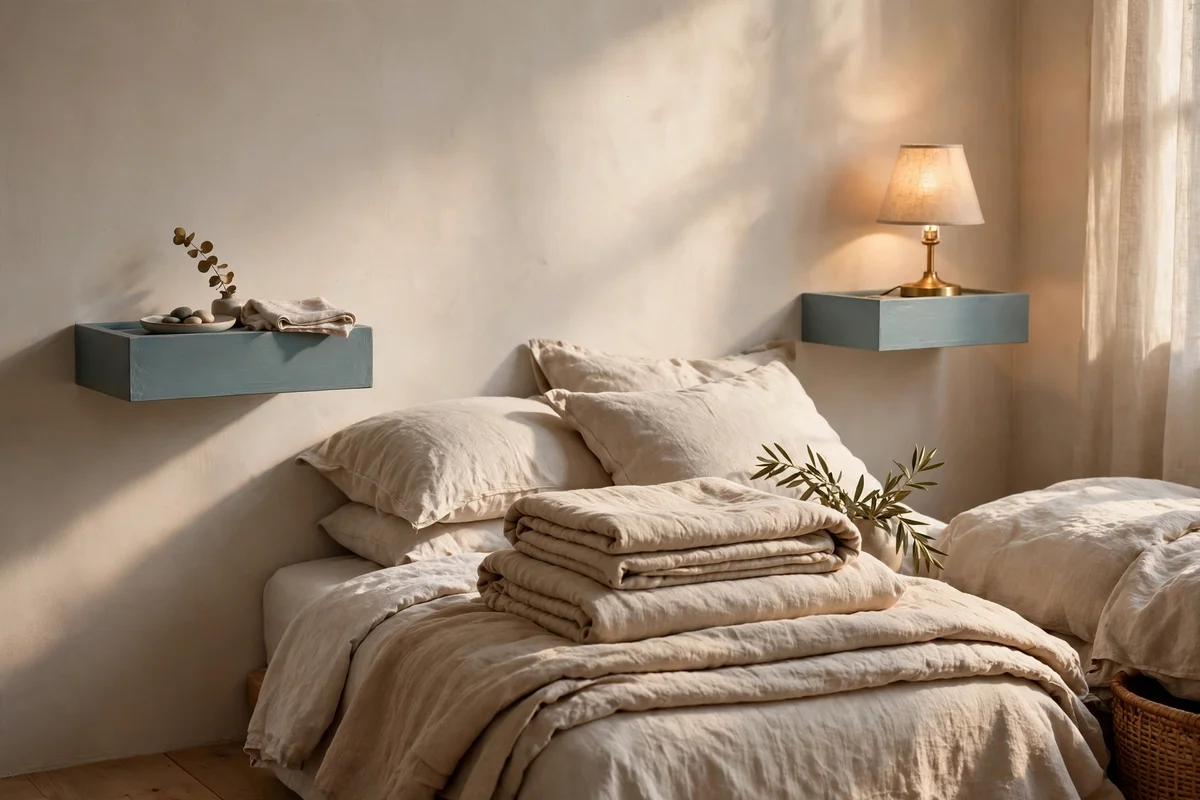
A pair of small nightstands can be cut down and hung as floating bedside shelves in a room where floor space is precious. Remove the legs and any back panels, keeping the drawer box intact, and fix each unit to the wall with two heavy duty concealed brackets rated for at least 20 kg. Hang them 65 to 70 cm from the floor so the drawer sits at a comfortable reach from the mattress top.
Paint both units the same colour as the wall or in a soft contrast like warm white against sage walls. Fill old leg holes with filler and sand smooth before painting. The mistake to avoid is fixing into plasterboard alone: always anchor at least one bracket into a stud or use toggle bolts rated for the load. Two shelves take one weekend and cost 20 to 40 dollars in brackets and paint.
13. Paint a Bookshelf Deep Green and Seal the Shelves With Wax

Deep green paint gives a plain pine bookshelf the weight and calm of a library piece. Clean the wood, apply one coat of shellac based primer to block knots, then two coats of furniture enamel in a rich forest or olive green. Let the paint cure for a full week before loading books, since books stick to paint that feels dry but has not hardened.
Seal only the shelf surfaces, where books slide and scratch, with two coats of clear furniture wax buffed to a soft sheen. Waxed shelves resist scuffing far better than paint alone and need only an annual rebuff. The mistake to avoid is waxing before the paint has cured: wax traps uncured paint and stays tacky for months. Budget 35 to 60 dollars for primer, paint and wax.
14. Narrow a Desk Into a Hallway Console Table
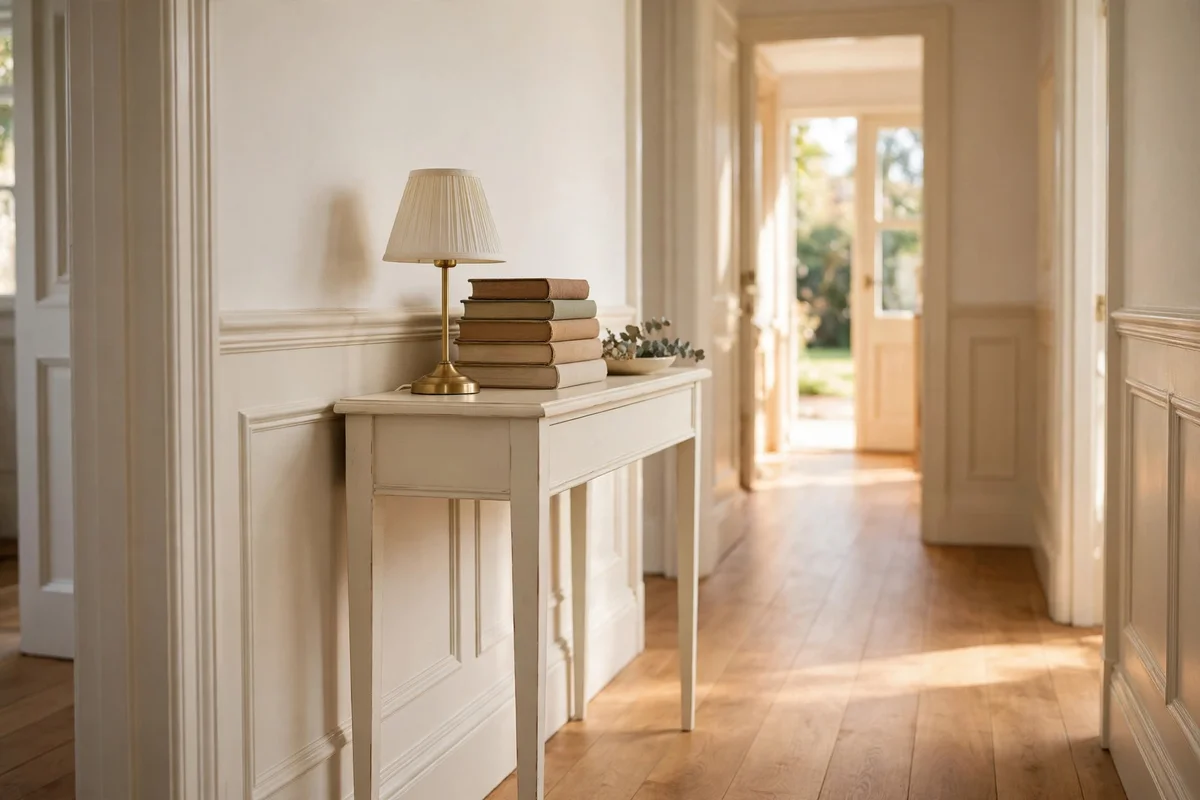
A desk that is too deep for modern rooms can lose 15 to 20 cm and become a slim hallway console. Mark a straight cut line, saw the top and sides down, then reattach the modesty panel or stretcher so the structure stays rigid. At 30 to 35 cm deep, the console fits behind a sofa or along a hallway wall without blocking the walkway.
Sand every cut edge smooth and finish the piece in one colour so the surgery disappears. Keep the desk drawer for keys and post, and style the top with a lamp no taller than 40 cm so it does not crowd the space. The mistake to avoid is cutting before checking the joinery: desks held together only by the cut parts will collapse, so add corner brackets first. Allow one weekend.
15. Back an Open Bookcase With Beadboard Panels
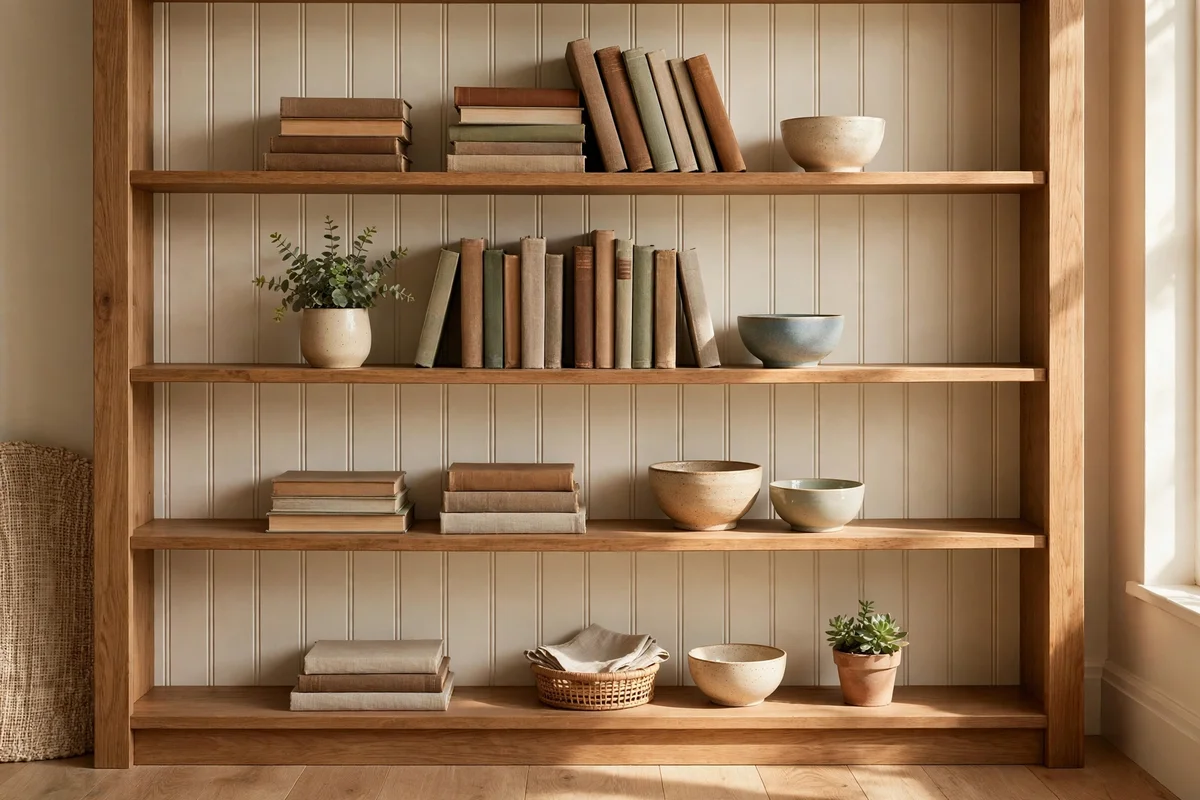
Thin beadboard panels screwed to the back of an open bookcase add texture and make styled shelves look far more finished. Cut 6 mm beadboard to fit each opening exactly, paint it in the shelf colour or a soft contrast like cream against green, and pin it from the back with panel pins every 20 cm. The panels also stop small objects from slipping through behind the shelves.
A standard 180 cm bookcase needs two or three beadboard sheets at 15 to 25 dollars each. Prime the cut edges before painting so they do not swell with damp. The mistake to avoid is nailing panels from the front through the visible face; always fix from behind so the beadboard face stays clean. This half day project suits renters too, since nothing structural changes.
16. Restain a Scratched Tabletop With Gel Stain and Polyurethane
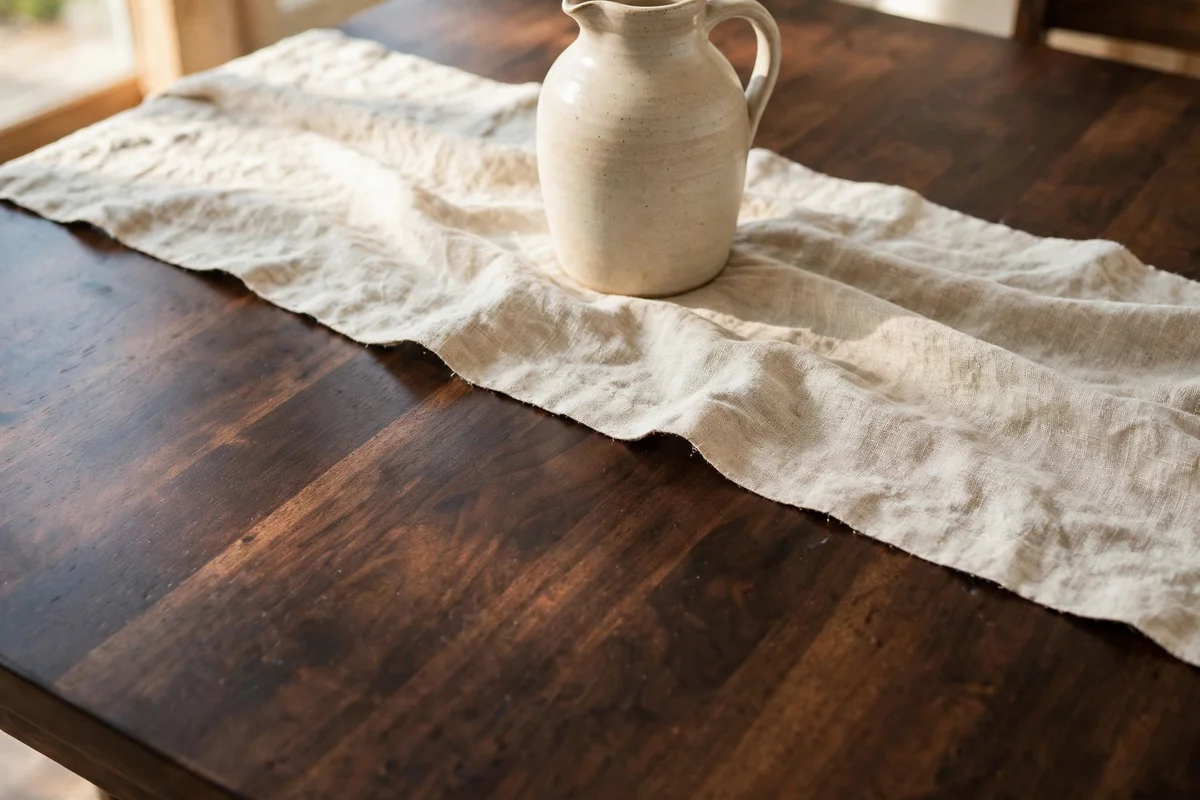
Gel stain is the forgiving choice for tabletops because it sits on the surface instead of soaking in, which means old varnish does not need full stripping. Clean the top, scuff it with 220 grit paper, and wipe on the gel stain in thin coats with a lint free cloth, building the colour over two or three passes. Dark walnut gel stain hides scratches and water rings in a single afternoon.
Let the final coat dry for 48 hours, then seal with three coats of oil based polyurethane for a dining surface that resists heat and spills. Sand lightly between coats with 320 grit paper. The mistake to avoid is applying gel stain thickly like paint: thick coats stay tacky and never harden properly. One tin of gel stain and one of polyurethane cost 30 to 45 dollars.
17. Layer Milk Paint Over Chalk Paint for an Aged Farmhouse Look
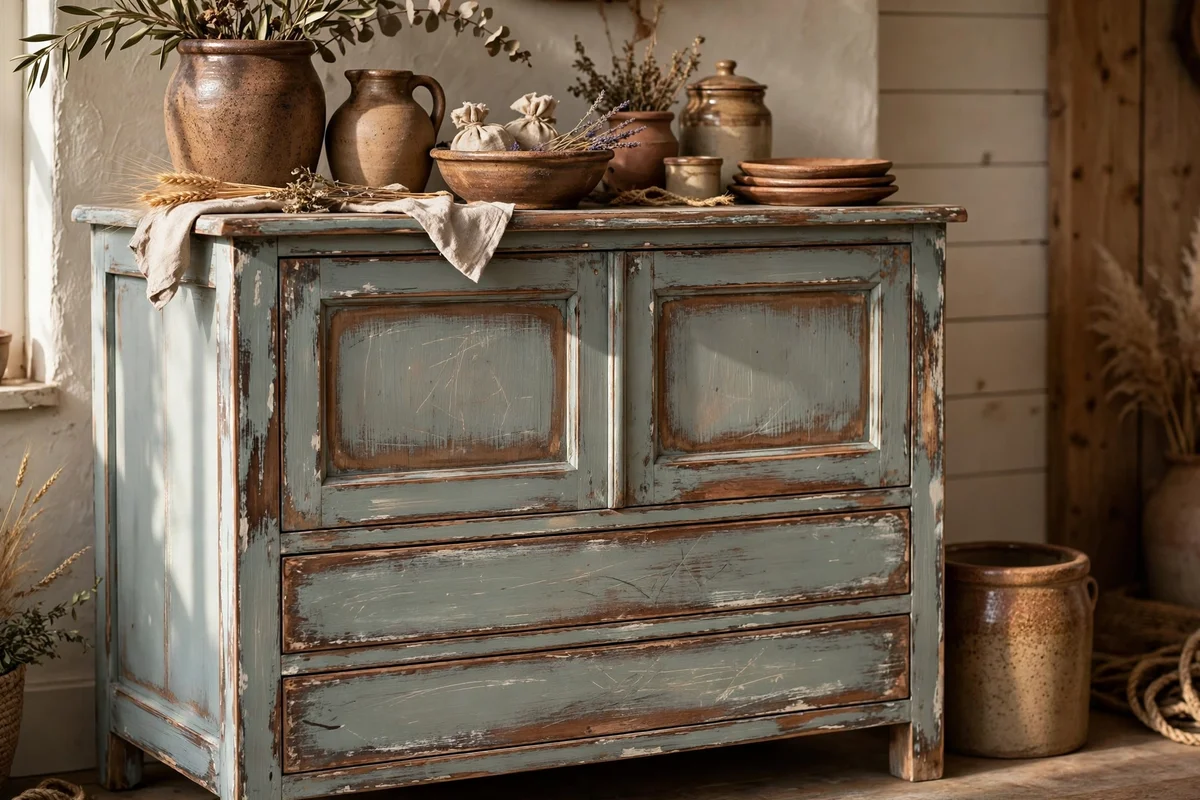
Layering two paint types creates the chipped, timeworn finish that single paints cannot imitate. Brush on one coat of chalk paint in a light base colour and let it dry fully. Then brush milk paint in a contrasting tone, such as sage over cream, and sand back gently once dry so the base colour shows through on edges and raised details.
The unpredictable way milk paint flakes gives an authentically aged look, but control it by sanding only the spots where wear would happen naturally. Seal the whole piece with furniture wax to protect the layers. The mistake to avoid is skipping the dry time between coats: wet sanding of milk paint turns to mud instead of fine chips. Budget 40 to 65 dollars for both paints and wax.
18. Swap Wobbly Casters for Turned Wooden Feet
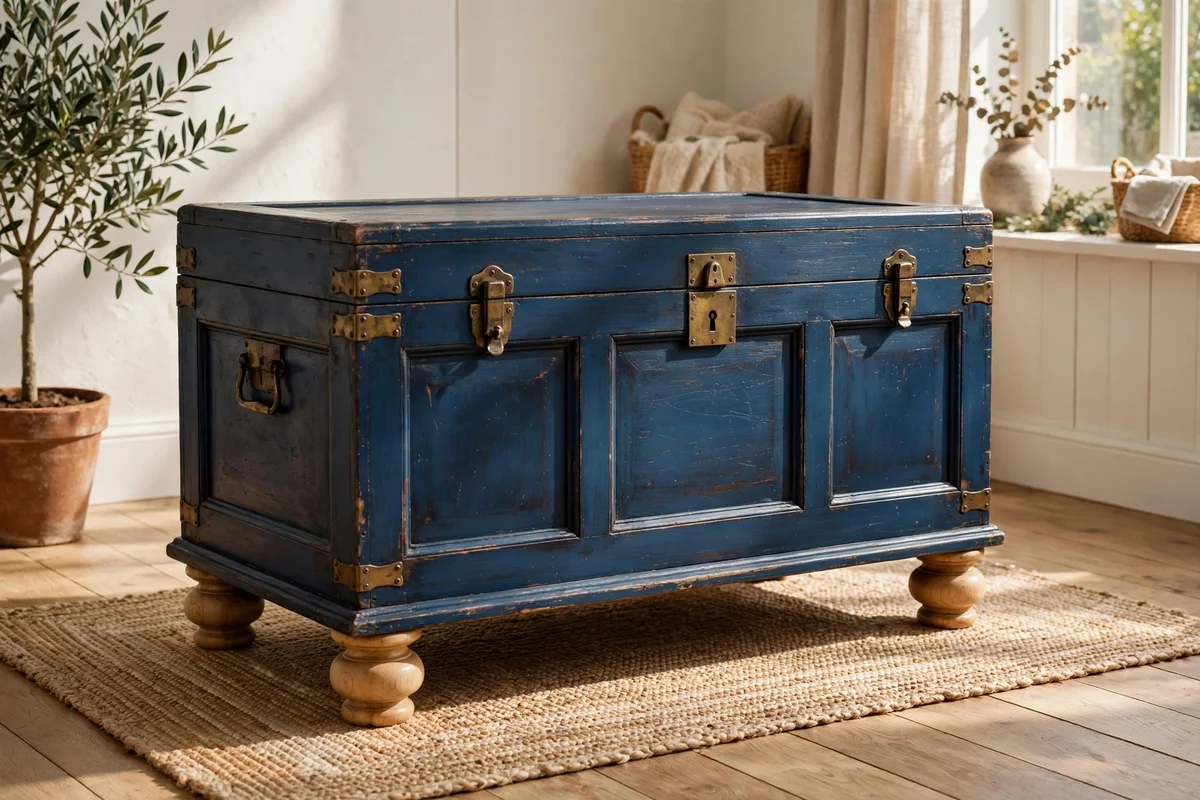
Old casters on chests and cabinets often wobble, squeak and mark floors, and they drag the style of the piece down with them. Unscrew the casters and fit turned wooden feet with hanger bolts, choosing bun or tapered styles to match the piece’s era. A chest that sat at 75 cm tall gains 8 to 10 cm of graceful height, which makes the room feel airier.
Four turned feet cost 15 to 35 dollars, and fitting them takes thirty minutes with a spanner. Check that the base is solid where the feet attach, adding a timber batten inside if the original base is thin. The mistake to avoid is choosing feet with the wrong thread size: take one old caster to the shop to match the bolt. Felt pads under each foot protect floors from day one.
19. Add Picture Frame Moulding to Flat Cabinet Doors
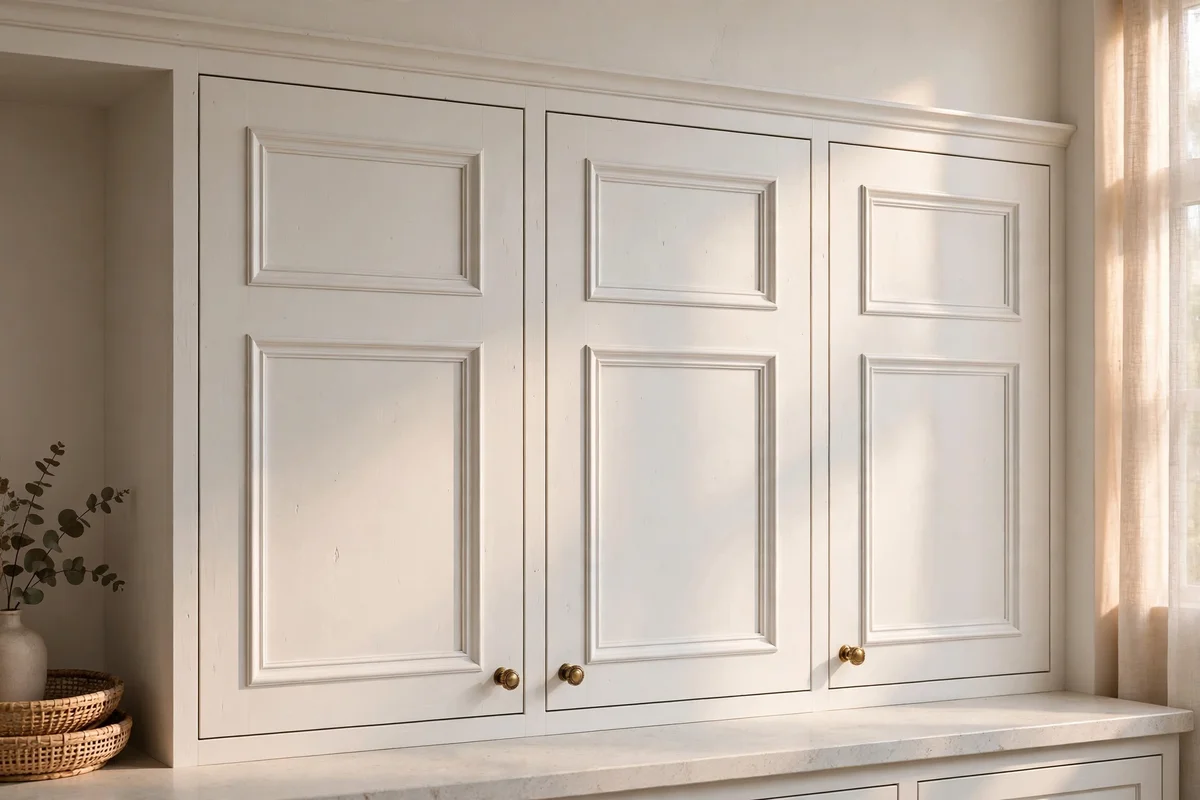
Flat, boring cabinet doors gain instant character from simple picture frame moulding glued to their faces. Cut slim pine moulding at 45 degree angles to form rectangles on each door, keeping a 5 cm margin from every edge. Glue the frames with wood glue, pin them with fine brads, fill the joints, and sand smooth before painting the whole door in one colour.
The trick is consistency: make every rectangle the same size and position so the run of doors reads as one designed piece. A mitre box and saw cost about 20 dollars and handle every future project too. The mistake to avoid is gluing moulding onto warped doors without clamping; the frames will pop off as the door moves. Moulding for four doors costs roughly 15 dollars.
20. Sand Paint Back to Bare Wood on Drawer Front Edges
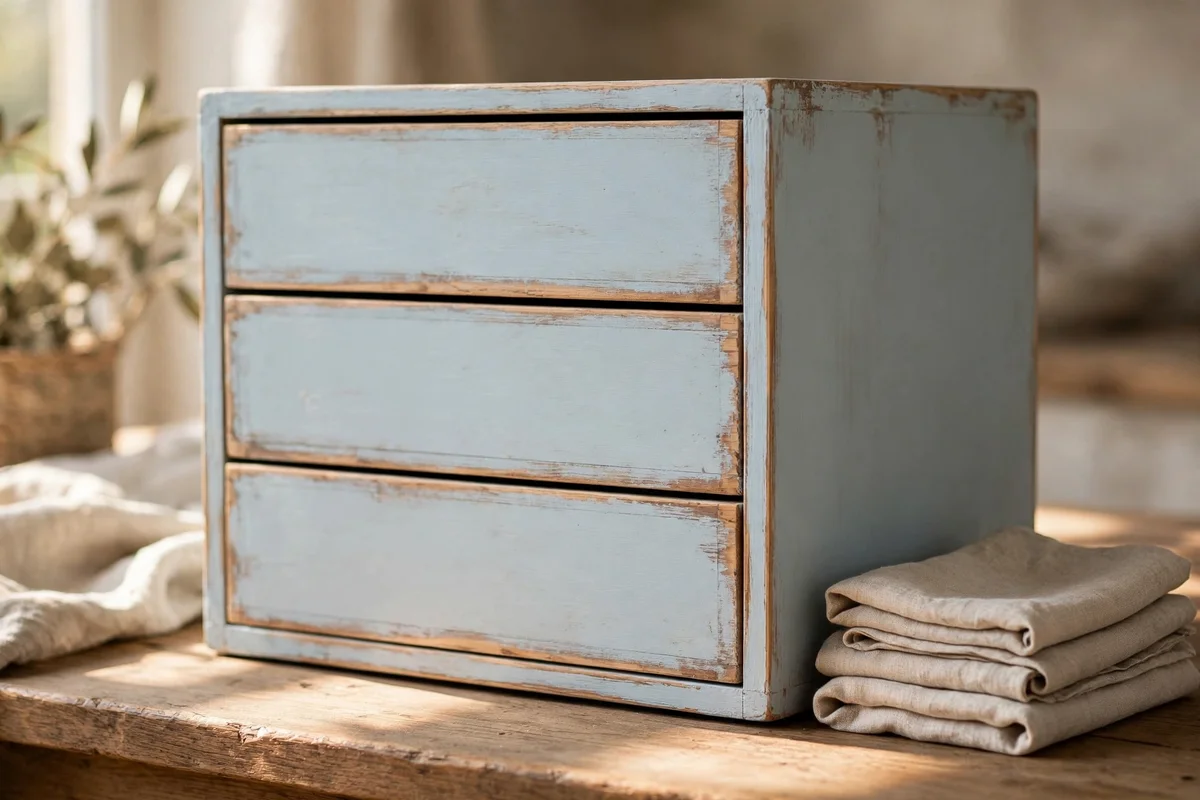
A two material finish, where painted drawer fronts wear back to bare wood along their edges, suits rustic and cottage rooms beautifully. Paint the whole piece in a soft colour such as putty or pale blue, let it cure for three days, then sand just the edges of each drawer front with 120 grit paper until clean timber shows in a line about 3 mm wide.
Seal the bare wood lines with clear wax so they do not darken with handling. Keep the effect subtle: edges only, never the middle of a panel. The mistake to avoid is sanding through to raw wood on the flat faces as well, which reads as damage rather than gentle wear. This technique needs nothing beyond sandpaper, wax and a steady hand, making it a free upgrade.
21. Refresh Dining Chair Seats With Woven Linen and New Foam
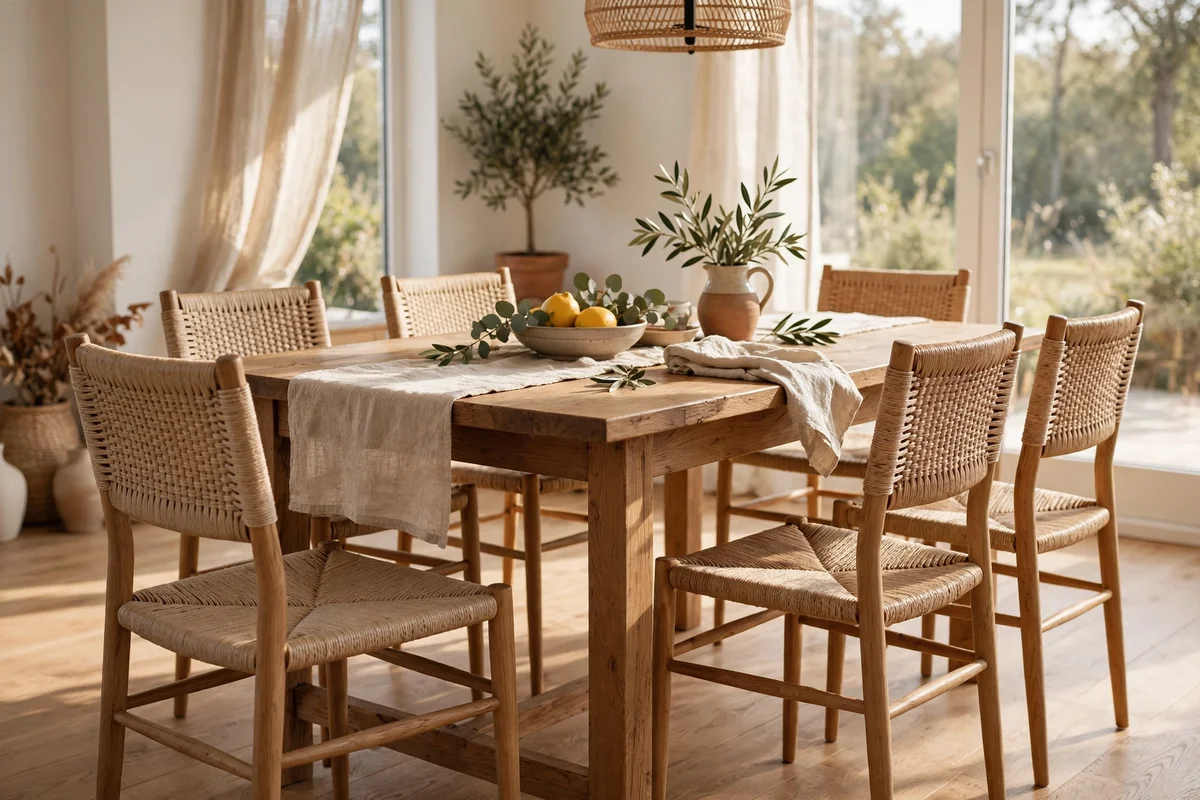
Tired dining chairs usually suffer at the seat, while the frames stay sound for decades. Unscrew the seat base, strip the old fabric and crumbling foam, and cut new high density foam 5 cm thick to the exact seat shape. Wrap the foam in woven linen, pulling the fabric taut and stapling it to the underside every 5 cm so the seat stays smooth and even.
Linen in natural flax or soft grey suits almost every dining room and washes far better than the stained fabric it replaces. Four chairs need about 1.5 metres of fabric and one sheet of foam, roughly 40 to 60 dollars total. The mistake to avoid is reusing flattened old foam under new fabric: the seat will look lumpy within weeks. Allow one afternoon for a set of four.
22. Shorten a Tall Bookcase Into a Window Seat Cabinet
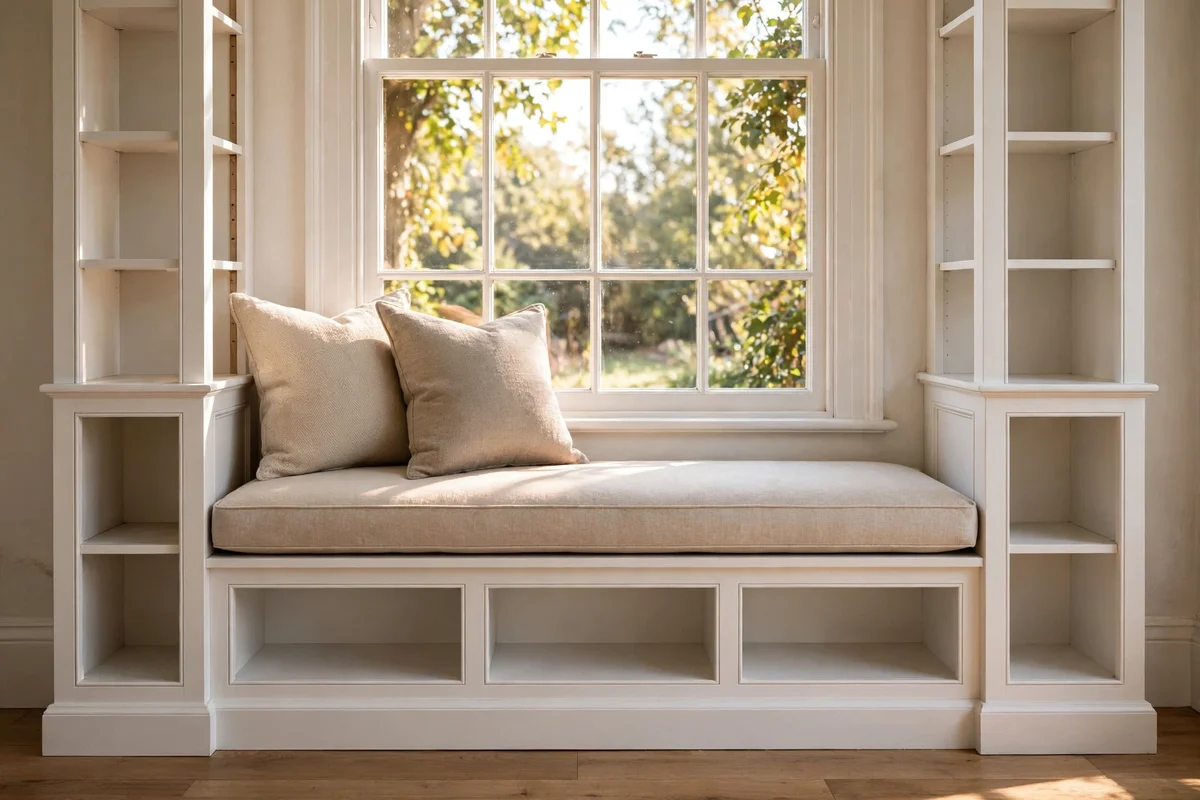
A tall bookcase that overwhelms a small room can be cut down to window sill height and reborn as a window seat cabinet. Mark the cut at 50 to 55 cm from the base, saw carefully along the line, and cap the top with a 4 cm thick timber seat board that overhangs by 3 cm. The lower shelves become perfect storage for books, throws and board games.
Paint the cabinet to match the window trim so it looks built in, and top the seat board with a made to measure cushion in a washable fabric. Always check what is behind the cut line: some bookcases hide the only structural joint at mid height, so add a back batten before sawing. The cushion is the main cost, 40 to 80 dollars, while the timber and paint add about 30.
23. Recognise the Pieces That Are Not Worth Flipping
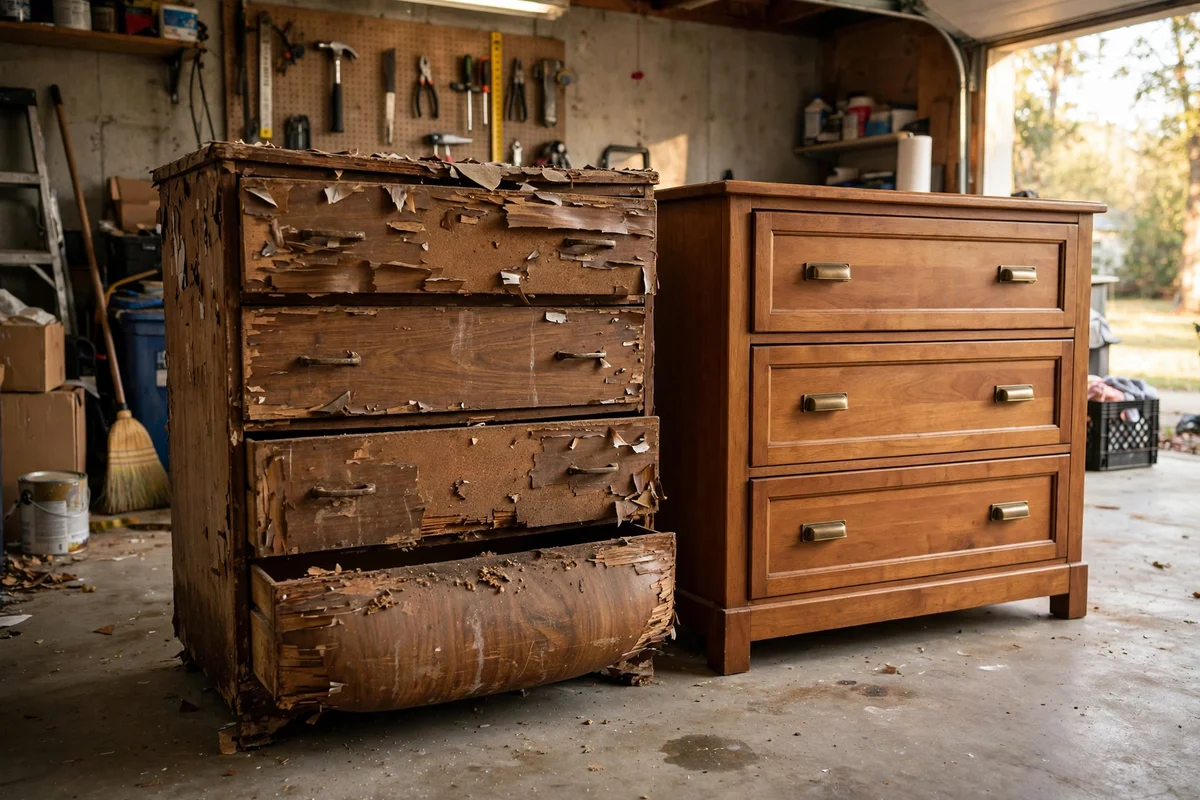
Honest flippers walk away from some pieces, and knowing which saves weeks of wasted effort. Reject anything with swollen chipboard, since no amount of paint hides crumbling edges, and reject pieces with a strong smell of damp or smoke that two weeks of airing cannot clear. Wobbly frames with cracked joints can be repaired, but a carcass eaten by woodworm needs professional treatment first.
Do a quick value test before buying: if the piece plus paint, hardware and new legs would cost more than a similar secondhand piece in good condition, leave it. The mistake to avoid is falling in love with a bargain price while ignoring a warped top that will never sit flat. Learning to say no is what keeps furniture flipping thrifty instead of expensive.
24. Plan an Honest Budget of Time, Tools and Money
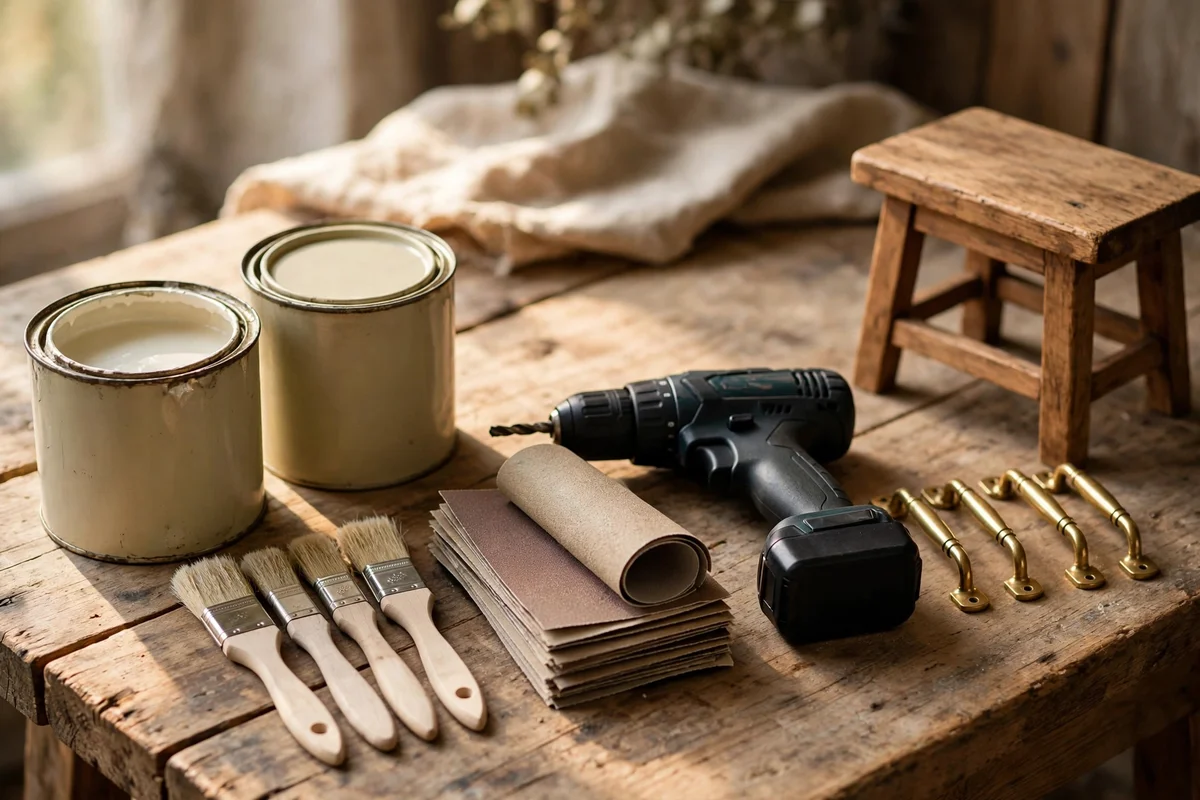
Every flip needs three honest numbers before it starts: the hours, the tools and the money. Most paint flips take two weekends including drying time, while structural flips like the bench or the island need three. The basic toolkit is a sander, a drill, a saw, clamps and a decent brush set, and borrowing the sander and saw for a first project keeps the startup cost near zero.
Write the budget on paper: the piece itself, paint and primer, hardware, and a 20 percent cushion for surprises like extra filler or a second tin of paint. Most flips in this list land between 30 and 150 dollars all in. The mistake to avoid is starting on a Sunday evening with wet paint due Monday morning: plan drying days, not just working days.
25. Style the Finished Flip for Its First Photograph
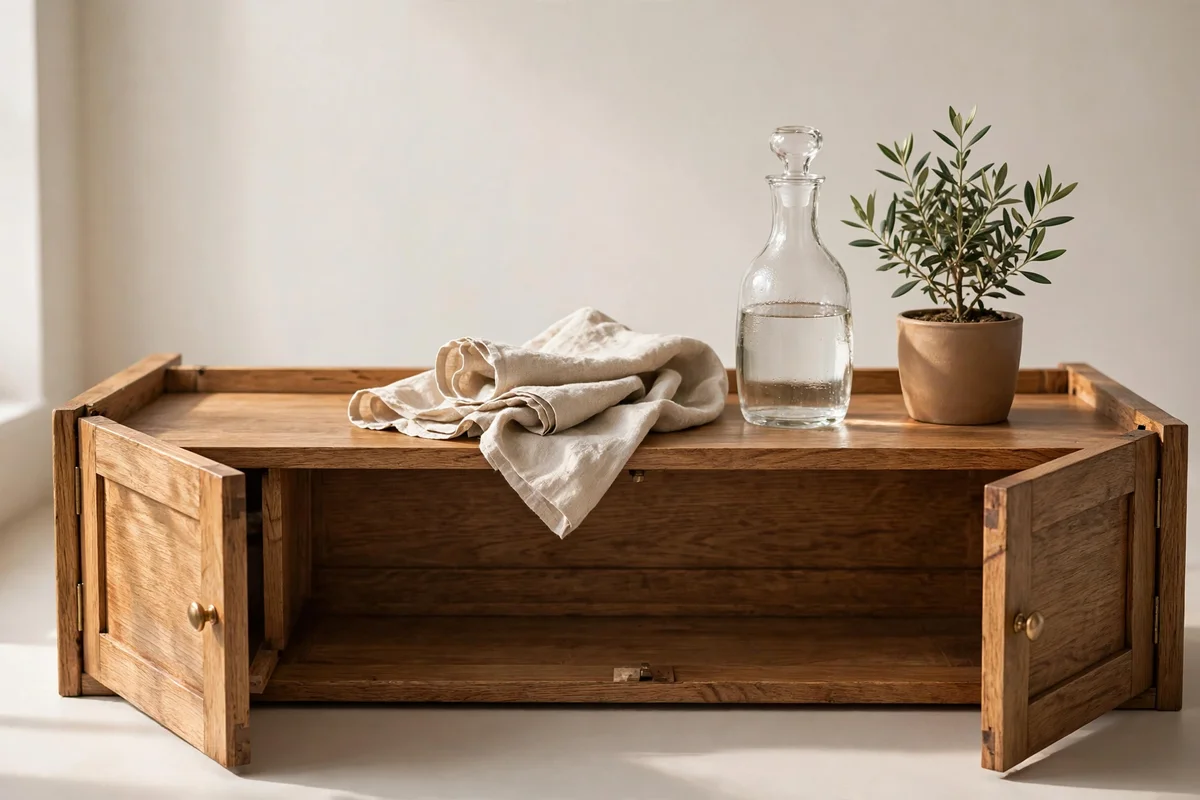
A finished flip deserves one good photograph, whether it is staying in your home or heading to a new owner. Photograph the piece in soft daylight near a window, styled with three or four objects that show its purpose: folded linen and a carafe for the sideboard, cookbooks and a small plant for the island. Keep the background clear so the furniture stays the hero of the frame.
Wipe the piece down first, since camera lenses find every speck of dust that eyes miss. Shoot from slightly above and straight on, and take one close up of the best detail, the cane panel or the new brass handles. The mistake to avoid is photographing under yellow ceiling light at night, which turns every paint colour muddy. Good photos also document your work for years.
Every idea in this list shares the same quiet promise: the best piece in the room does not have to be the newest or the most expensive. A dresser with dovetailed drawers, a cabinet with honest timber, a bed built before flat packs existed, these pieces were made to be kept. Your paint, your patience and your eye for what could be are simply the next chapter in their story.
This week, start with the smallest win: swap the handles on one tired piece, or line a single drawer with wallpaper you already own. One afternoon, one screwdriver, and you will see how a small change rewires the way you look at every secondhand shop you pass. When that first flip is finished, the bench, the island and the cane panels will be waiting for the next free weekend.
Frequently Asked Questions
How much does a typical furniture flip cost?
Most flips cost between 30 and 150 dollars all in. Paint, primer and brushes run 30 to 60 dollars, a set of brass handles 30 to 50, and cane webbing 25 to 40 per roll. The piece itself should be cheap or free, from charity shops, roadside finds or family spares. Always add a 20 percent cushion for surprises like extra filler or a second tin of paint.
What paint works best on old furniture?
Use furniture grade enamel or cabinet paint, not standard wall paint, since it hardens into a wipeable, chip resistant shell. Always degrease with sugar soap first and prime bare wood and old varnish with a shellac based primer to stop stains bleeding through. Two thin coats beat one thick coat every time, and leave a full week of curing before heavy daily use.
How long does a furniture flip take?
Simple flips like swapping handles or lining drawers take one afternoon. A painted dresser needs two weekends, because each coat needs 24 hours and the final cure needs a week before books or dishes go on top. Structural flips, the bench, the island or the window seat, take two to three weekends. Plan drying days on the calendar, not just working days, and never rush the final coat.
Can I flip furniture in a small flat with no workshop?
Yes, with planning. Choose flips that need only sanding, painting and screwing, and work on a balcony, in a hallway or in one corner with dust sheets down. Sand outdoors or near an open window, and pick low odour water based paints so the flat stays liveable. The bench and island builds need more room, so save those for a borrowed garage or a dry weekend outside.
How do I make painted furniture last?
Preparation decides everything: degrease, sand and prime before a single coat of paint goes on. Seal tops that take daily wear, dining tables and sideboards, with two to three coats of polyurethane, and wax shelf surfaces where objects slide. Add felt pads under legs and avoid dragging pieces across floors. A well prepped flip keeps its finish for ten years or more.