Kitchen
20 Kitchen Island Styling Ideas That Stay Practical
By Anna Wells · · 19 min read
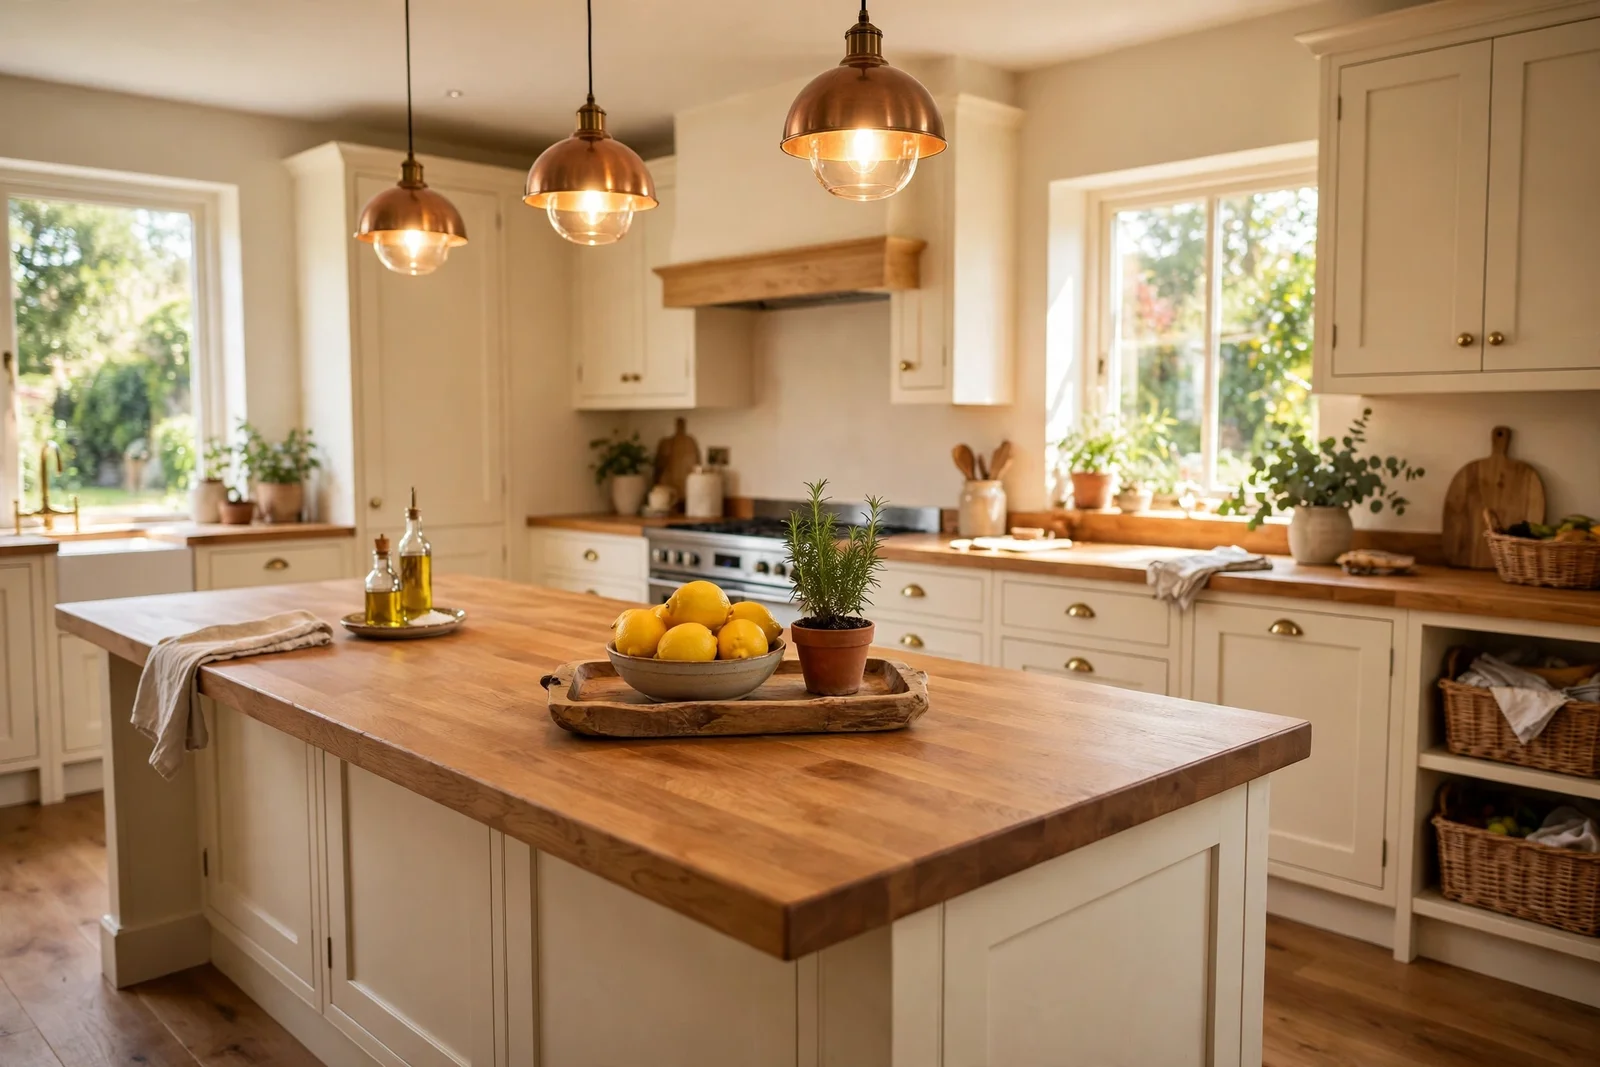
Styling a kitchen island that actually stays practical: one low tray, one calm centrepiece, clear work zones, exact pendant heights, and seasonal swaps that take minutes.
Morning light slides across the kitchen island, catching the edge of a wooden tray, a bowl of lemons and a small pot of basil. Breakfast plates come and go, school bags swing past, and the island keeps its calm. That quiet balance is the whole secret of island styling: the surface must work as hard as it looks good.
The kitchen island is the busiest square metre in a family home, which is why most styling advice fails here. Tall vases get knocked, candles gather flour dust, and pretty arrangements steal the chopping space. This article takes the opposite path, with styling that respects the island’s job first and decorates around it.
You will find 20 concrete ideas below, from the one-tray rule to exact pendant heights, all built for real kitchens where children eat breakfast and dinner gets cooked at six. Every idea keeps the surface practical, the sightlines open, and the swap to full cooking mode under two minutes.
Start with whichever idea fits your kitchen today. Most of them cost little or nothing, and each one leaves the island ready for its real work: feeding the people you love.
1. Designate One Low Wooden Tray as the Island’s Only Styling Zone
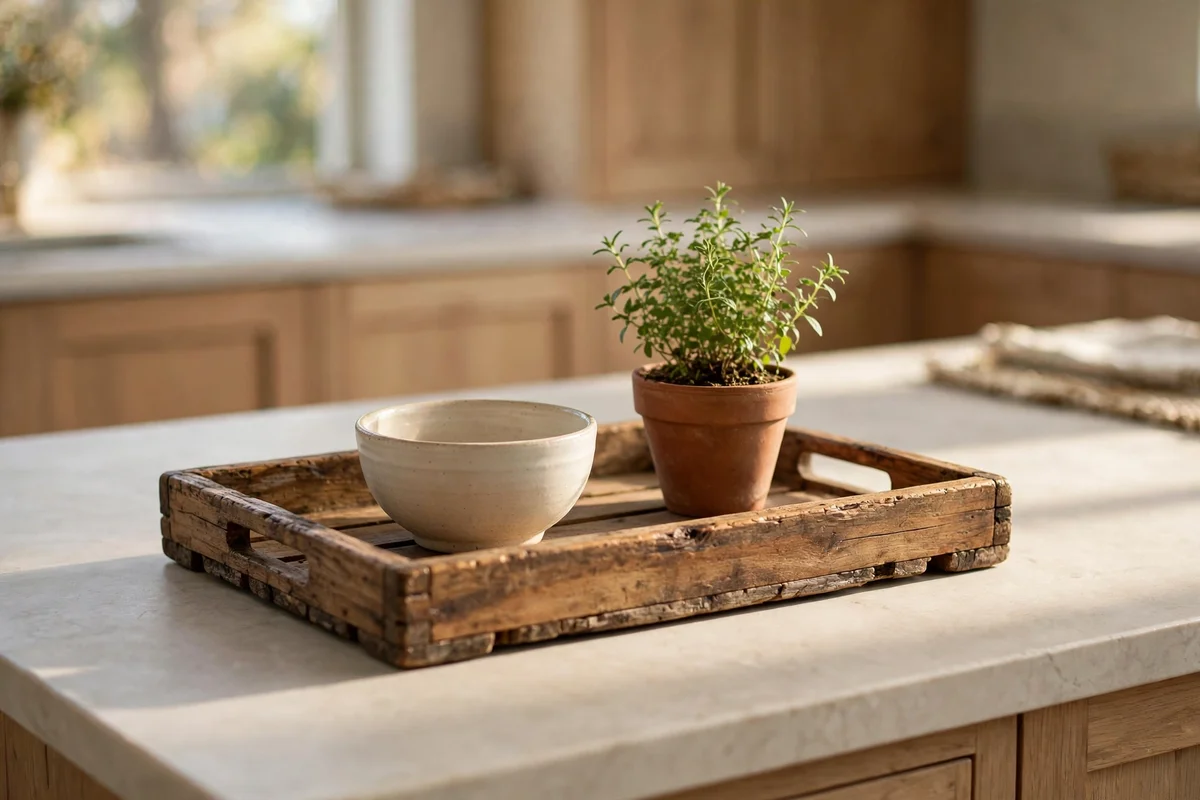
The island works best when decor occupies one defined spot and nowhere else. Choose a low wooden tray, roughly 40 to 50 cm long and under 5 cm tall, in oak, acacia or walnut, and make it the home for every decorative item on the surface. Set it slightly off centre, away from the hob and the sink, so two thirds of the worktop stays free. One tray keeps styling from spreading and turns cleaning into a single lift-and-wipe move.
Budget wise, a solid wooden tray costs 15 to 40 pounds or dollars new, or under 10 second hand. Avoid tall-sided or divided trays, which trap crumbs and look fussy, and skip patterned finishes that fight the kitchen’s existing palette. The mistake to avoid is adding a second tray for overflow; two trays always grow into three. If the tray fills up, remove something rather than expanding the zone.
2. Set a Single Bowl of Fresh Fruit as the Everyday Centrepiece
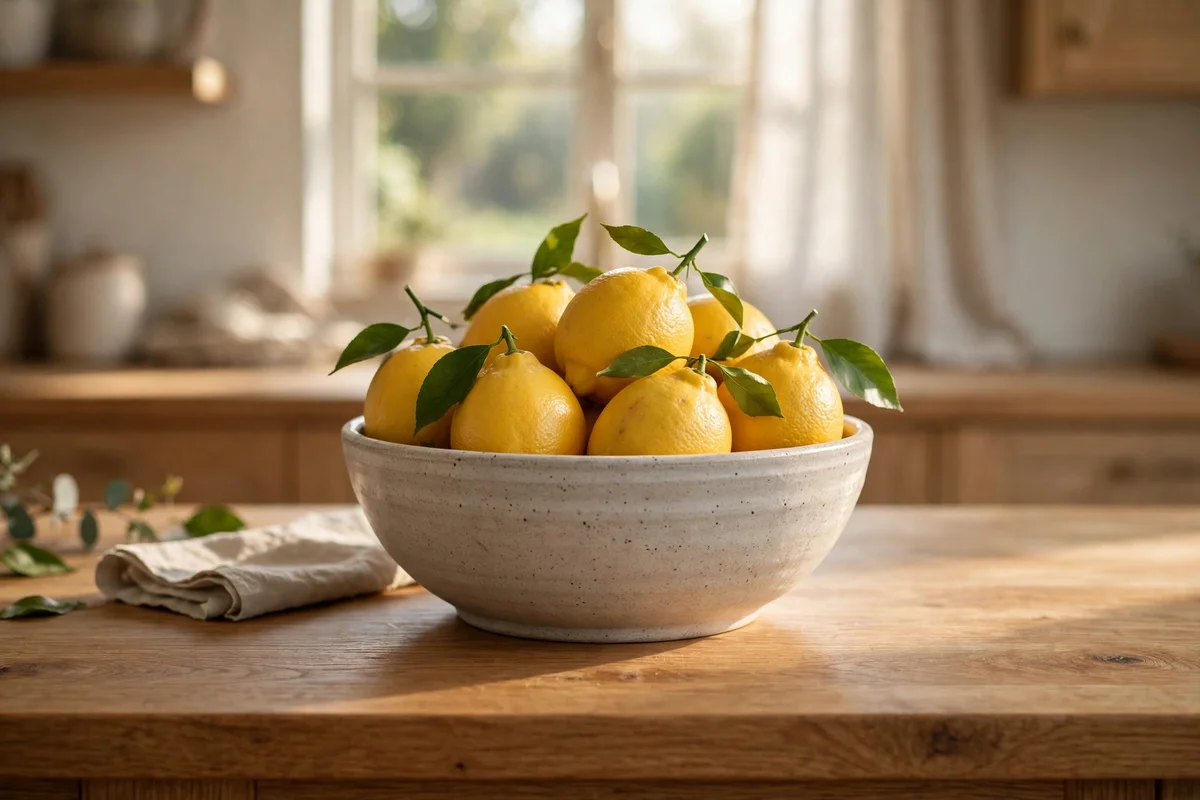
A bowl of fruit is the hardest working centrepiece a kitchen island can have, since it looks generous and needs no styling attention beyond the weekly shop. Choose a bowl 25 to 30 cm across in ceramic, glass or turned wood, low enough to see over comfortably. Fill it with just one or two fruits, such as lemons, apples or oranges, for a calm colour story, and keep the bowl on the tray so juice marks stay contained. The fruit doubles as a healthy grab for the family.
Keep the bowl modest: seven to ten pieces fill a 28 cm bowl without spilling over. A common mistake is mixing six different fruits, which turns the bowl into clutter and speeds spoilage, because ethylene from some fruits ripens the rest too fast. Budget wise, the bowl is a one-off 10 to 25 pounds or dollars, and the fruit is the grocery shop anyway. In warm months, move the bowl to the coolest end of the island to keep everything fresher for longer.
3. Choose a Small Potted Herb as the Living Focal Point
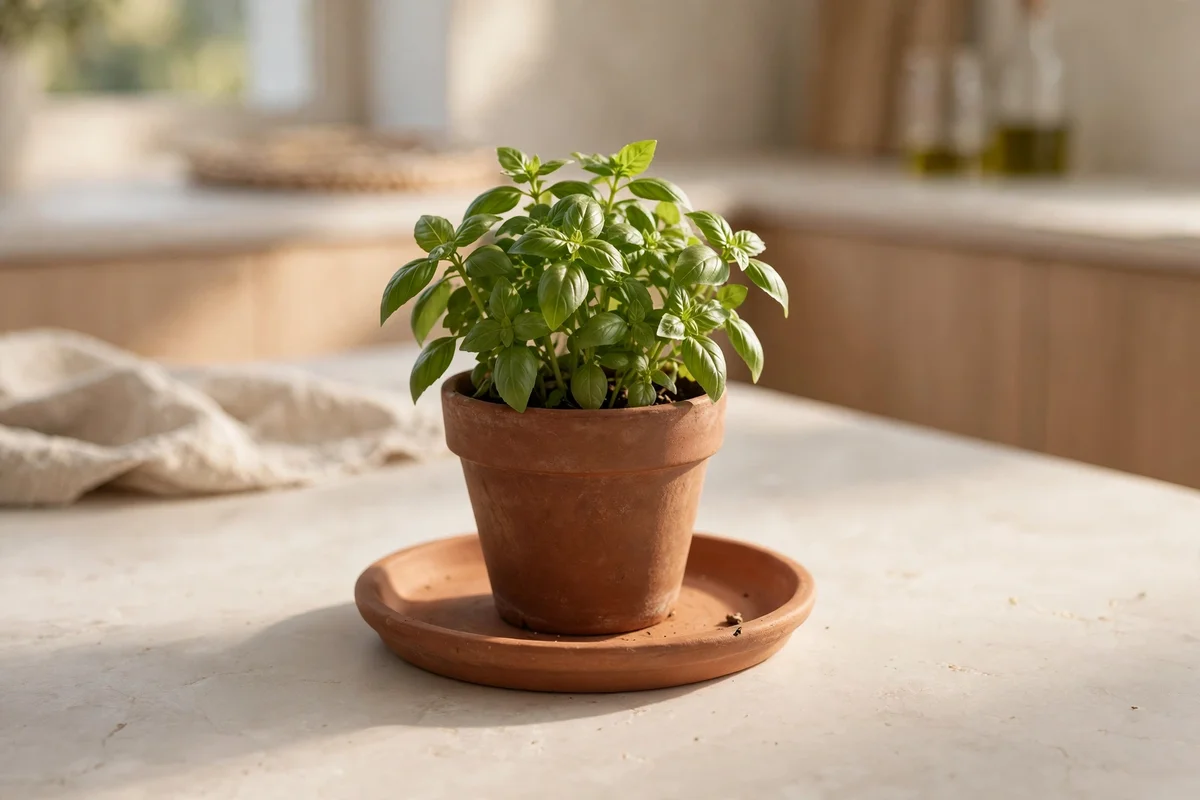
If fruit does not suit your habits, a small potted herb brings the same living colour in a footprint of barely 15 cm. Basil, rosemary or mint in a simple terracotta or glazed ceramic pot works as both decor and cooking ingredient. Stand the pot inside a small saucer to protect the worktop, and keep to a single pot rather than a row, so the island keeps its clean line. One healthy plant reads calmer than a crowd of small ones.
Water most herbs twice a week and pinch the growing tips to keep the shape full and compact. The mistake to avoid is choosing a delicate plant that needs daily attention; a kitchen centrepiece should survive a busy week. Budget wise, a potted herb costs 3 to 8 pounds or dollars from a garden centre or market stall. Refresh the top layer of soil once a season and wipe the rim, and the pot will look new for a year or more.
4. Hang Pendant Lights 75 to 90 cm Above the Island Surface
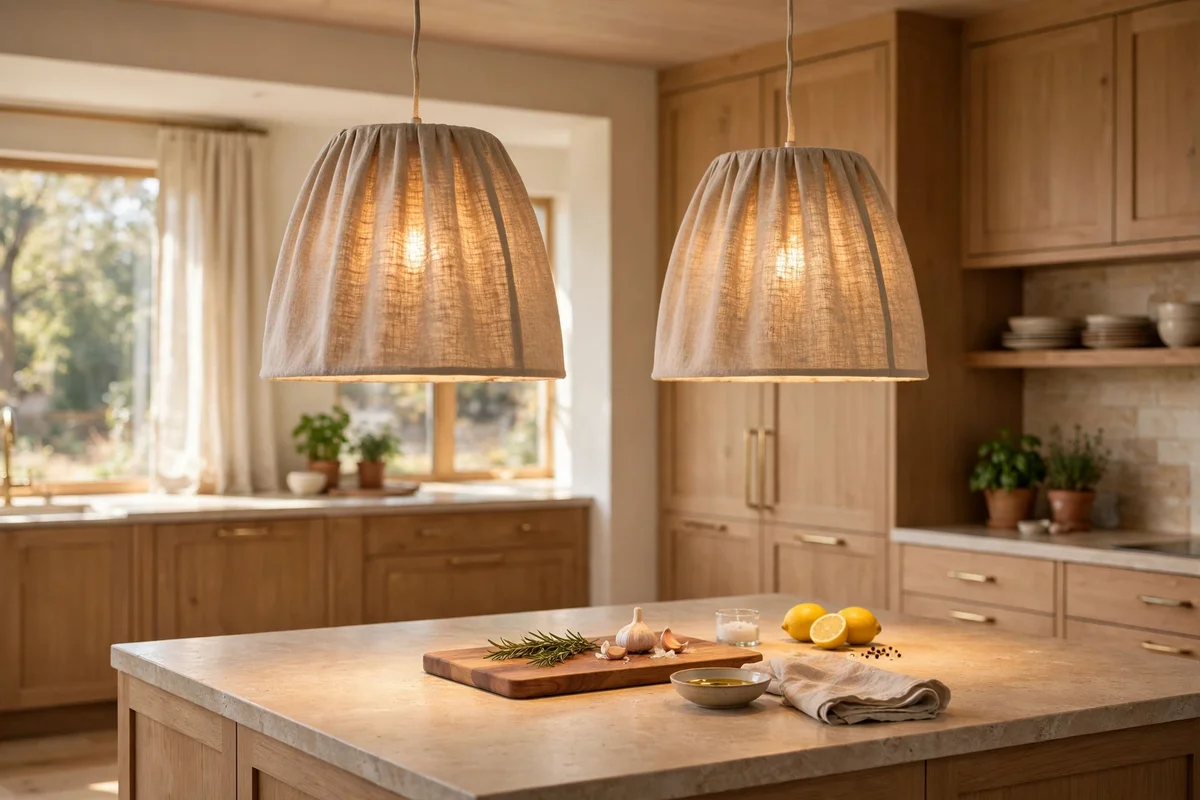
Pendant lights do more for island styling than any object on the surface, but only at the right height. Hang the bottom of each shade 75 to 90 cm above the worktop, which lights the task area brightly while keeping sightlines open across the kitchen. This height also stops taller family members from ducking or knocking their heads. Measure from the worktop, not the floor, since island heights vary, and set all pendants level with a simple string line during fitting.
For rooms with ceilings above 3 metres, raise the pendants slightly but keep them within 100 cm of the surface so the light stays useful. The mistake to avoid is hanging them by feel alone; a pendant hung 60 cm above the island blocks conversation across it. Budget wise, simple linen or metal shades cost 25 to 60 pounds or dollars each, with warm 2700K bulbs keeping the glow gentle. Get heights right on paper first, since the electrician’s fee is the main cost.
5. Space Island Pendants 60 to 75 cm Apart for Even Light
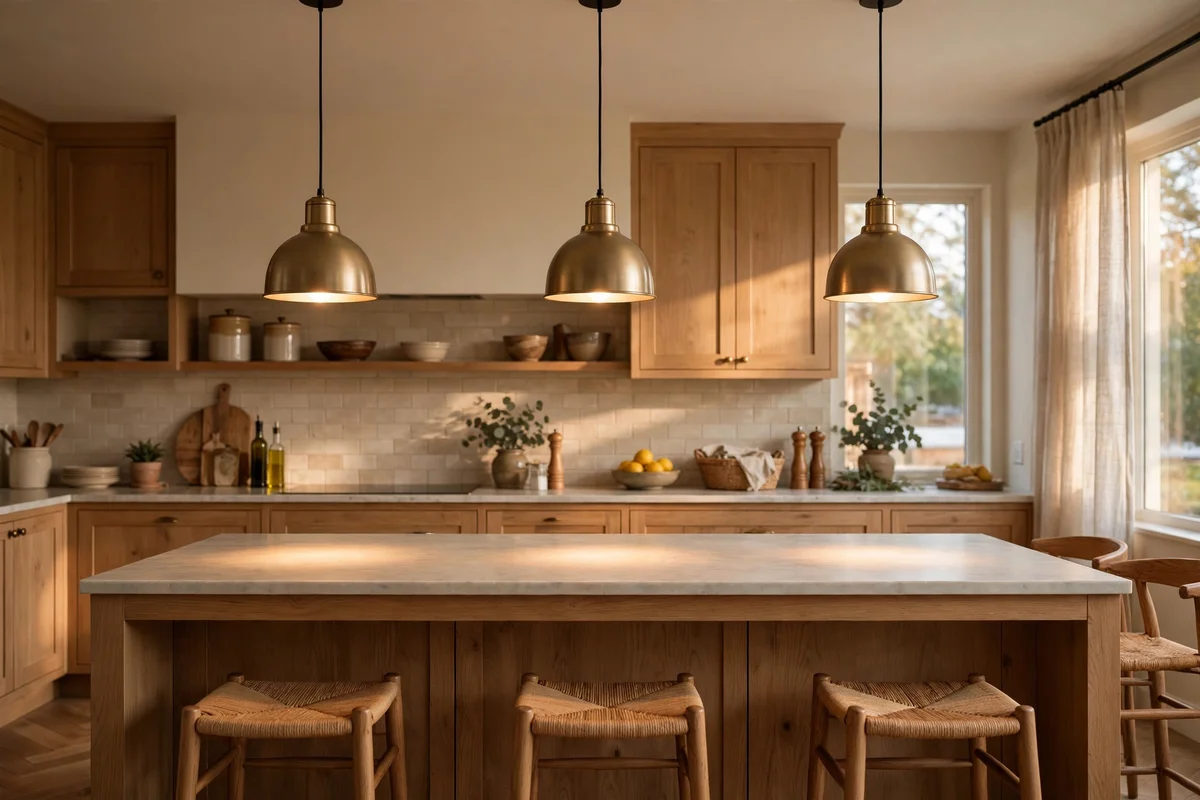
Pendant spacing decides whether the island glows evenly or falls into bright pools and dark gaps. For two or three pendants, leave 60 to 75 cm between the centres of the shades, and keep at least 30 cm of island beyond the outer pendants so the ends are lit too. Shades 25 to 35 cm wide suit most islands; wider shades need the wider spacing. Mark the positions with tape on the ceiling before drilling anything, then step back and check the rhythm.
A single statement pendant can work over a small island under 150 cm long, but larger islands almost always need two or three. The mistake to avoid is crowding three wide shades over a short island, which lowers the whole room visually. Budget tip: buying a matching set of two or three from one range usually costs less per shade than mixing singles. If unsure, two medium pendants beat three small ones for calm, even light.
6. Keep the Sink Side of the Island Clear of Ornaments
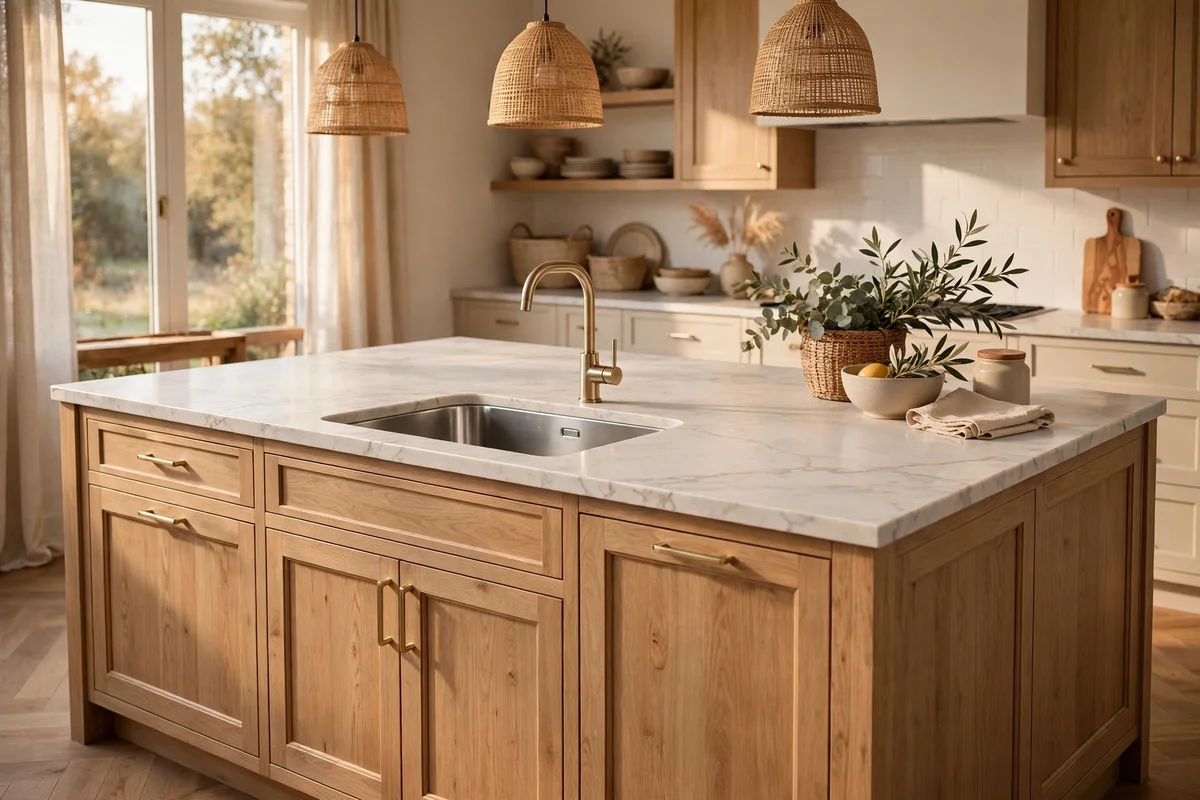
If your island holds a sink, treat the whole sink half as a working dock that never carries decor. Splashes, soapy water and wet hands will ruin anything decorative within 40 cm, so keep styling pieces at least that far from the basin. Use the sink side for the dish rack, hand soap and a folded tea towel only, arranged neatly in a row. This clear rule also protects wood trays and ceramic bowls from water damage over time.
The same rule covers water stains on stone: wipe the splash zone dry after heavy use, especially on marble or light quartz. The mistake to avoid is tucking a plant or candle beside the sink for looks; within a month it will show water spots or warped leaves. Budget wise, this idea costs nothing at all. Simply move every styled item to the opposite half of the island, and the whole surface will feel larger and calmer at once.
7. Leave the Hob Side Free for Safe Hot-Pan Movement
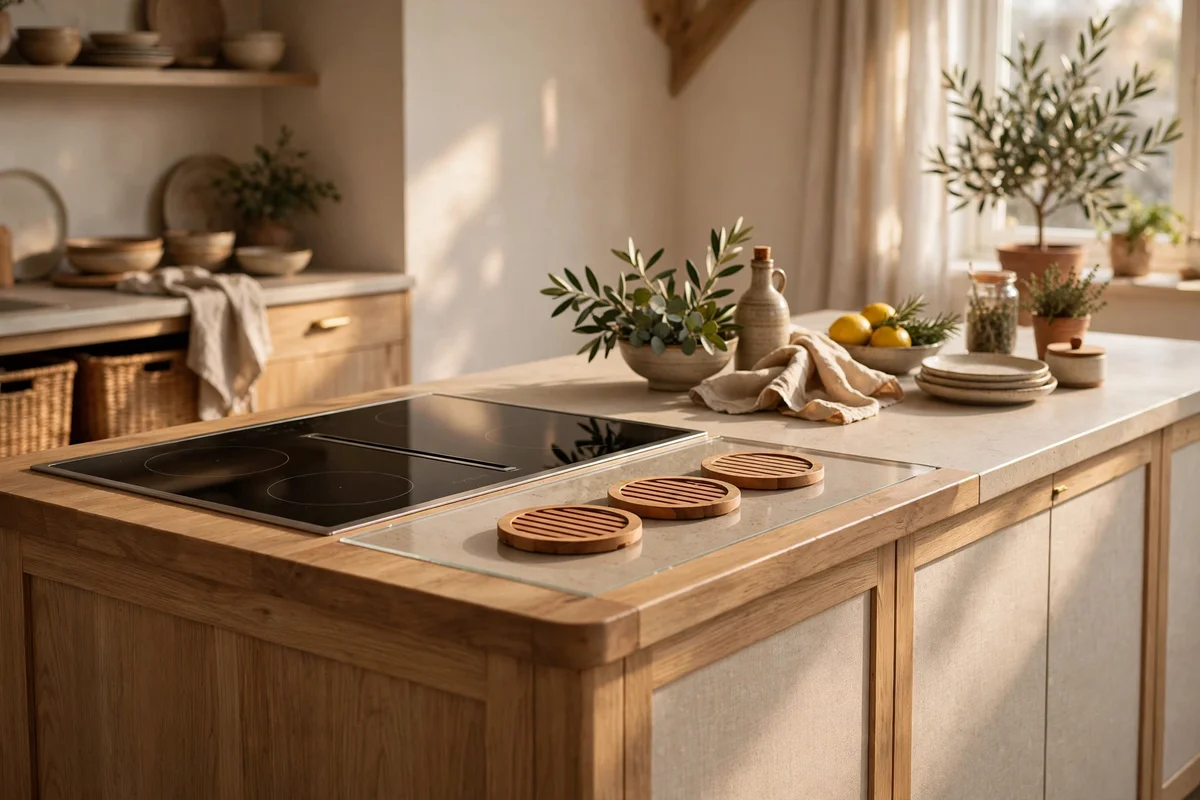
An island hob needs a clear landing strip of at least 40 cm on one side for hot pans, lids and trays. Decor here is not just impractical; a tray or cloth near open heat is a safety risk, so keep all styling well past that landing zone. Heat-proof trivets in wood or cork can live beside the hob permanently, since they are tools first and quietly decorative. Everything else stays on the far half of the island, out of the heat.
If the island seats family members opposite the hob, that side naturally becomes the styling side, which keeps things simple. The mistake to avoid is placing a decorative board too close to the heat, where steam and oil will stain it within weeks. Budget wise, two good cork or wooden trivets cost under 15 pounds or dollars. Mark the 40 cm landing zone with tape for a week until keeping it clear becomes automatic for everyone.
8. Style the Seating Side With Plain Washable Cushions
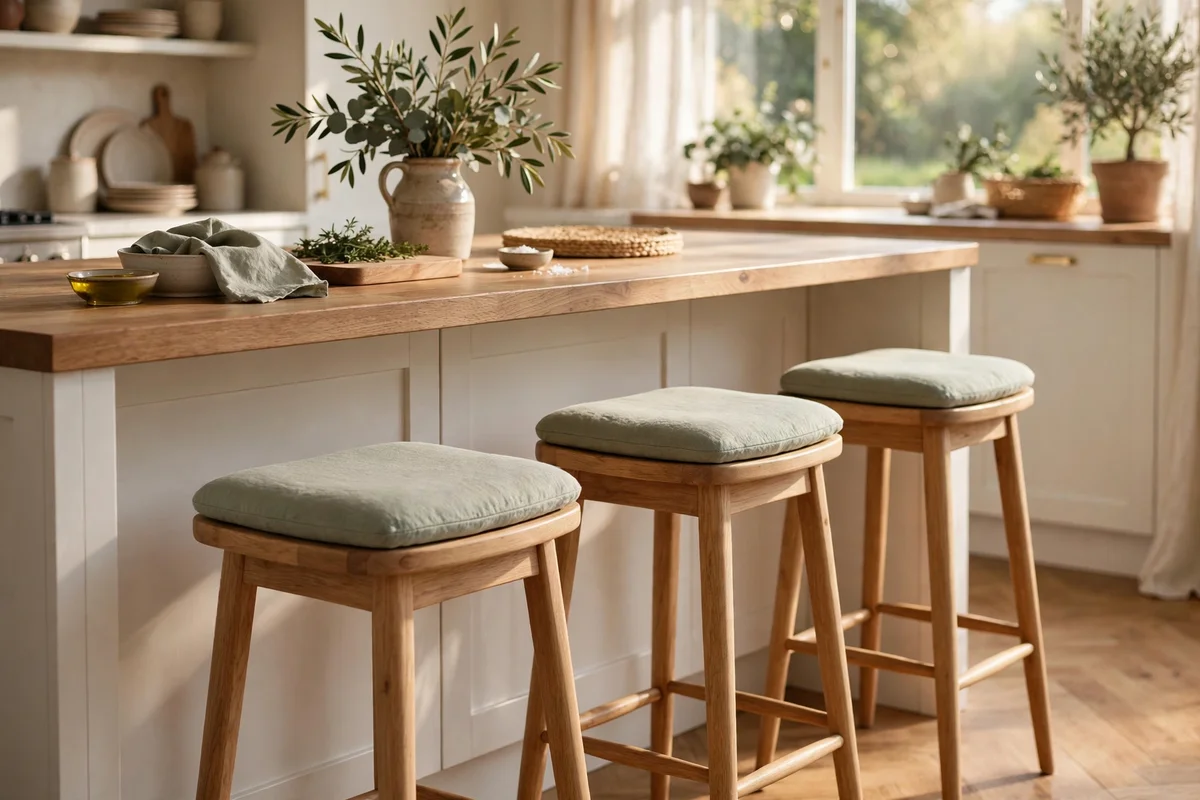
Island stools take the same beating as the worktop, so dress them in plain cushions that wash easily and skip anything beaded or embroidered. Choose cotton or linen-blend covers in one calm colour pulled from the kitchen, such as sage, oat or soft grey, with a zip so covers go straight in the machine. Round or square cushions 35 to 40 cm across suit most stool seats, tied on so they stay put through busy breakfasts.
Buy two covers per cushion so one set can wash while the other is in use. The mistake to avoid is choosing loose, non-removable pads, which collect crumbs in every crease and cannot be cleaned properly. Budget wise, washable seat pads cost 8 to 18 pounds or dollars each, with spare covers from 6. Tie-on strings wear out first, so check them yearly and replace the ties rather than buying whole new pads.
9. Swap the Centrepiece in Minutes for Seasonal Change
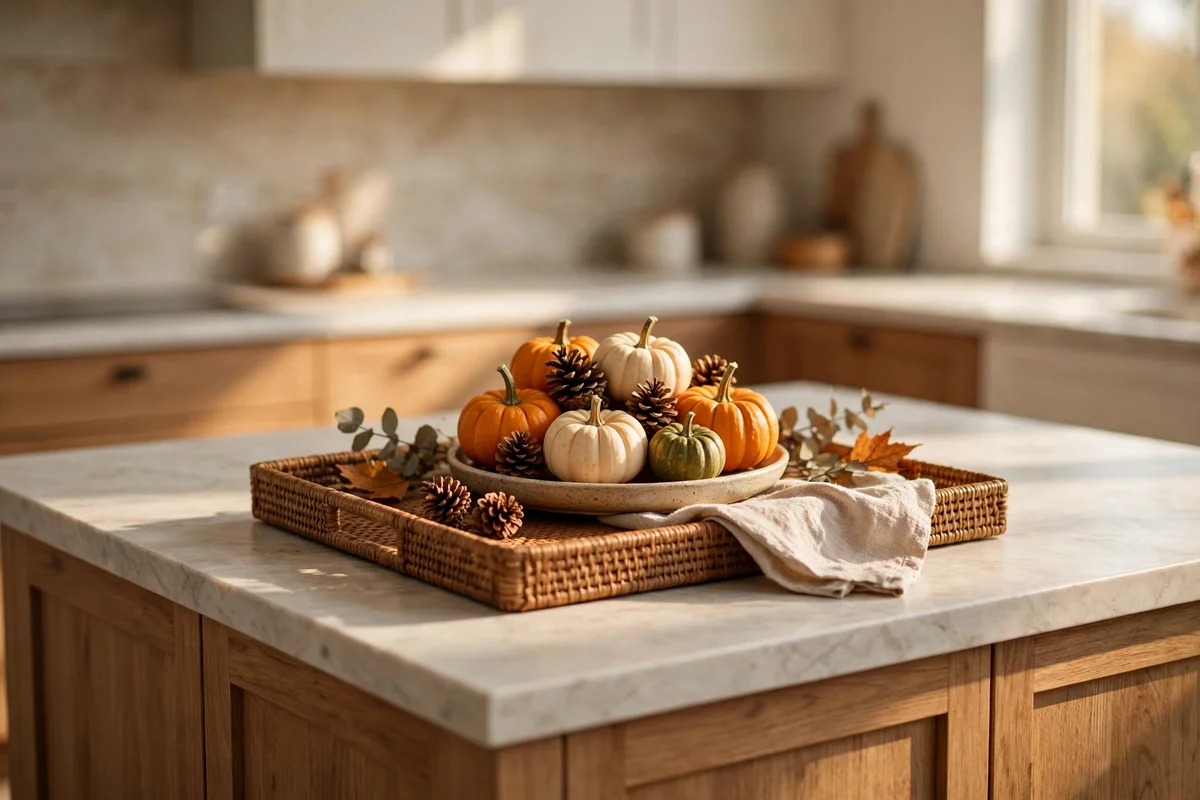
The island centrepiece should change with the seasons without any redesign. Keep one storage box in a nearby cupboard holding three or four small seasonal sets: spring blossom stems, summer citrus, autumn mini pumpkins, winter pinecones with a candle holder. Swapping the whole look takes under five minutes, since the tray and bowl stay put and only the contents change. This rhythm keeps the kitchen feeling fresh without buying new decor every season.
Keep seasonal items natural and modest: five or six stems, one candle in glass, a small dish of pinecones. The mistake to avoid is storing decorations on top of cupboards, where they gather dust; one lidded box per season keeps them clean. Budget wise, natural seasonal items cost almost nothing from markets or the garden. Photograph each finished arrangement once, so recreating it next year takes seconds rather than guesswork.
10. Clear the Surface Completely When Cooking for a Crowd
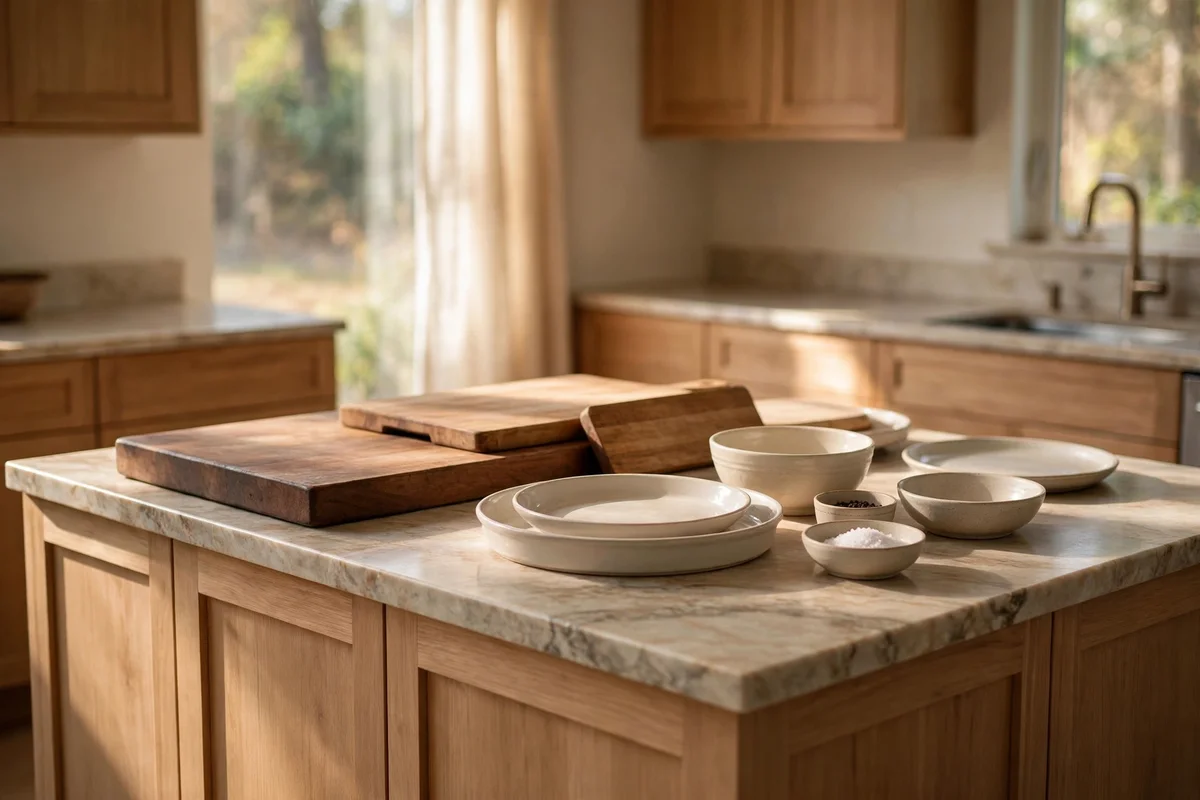
When the guest list grows, the island stops being styled and becomes the kitchen’s main workspace. Have a clear plan: the tray, bowl and all styling move to one designated spot, such as a dining table corner or a shelf in the pantry, before cooking starts. This takes two minutes and doubles the available prep space. Family gatherings run on chopping boards and serving dishes, so every centimetre of worktop matters more than any arrangement.
Build the habit by clearing the island first, before unpacking groceries or starting to cook. The mistake to avoid is pushing styling to the sink side, where it will be splashed and soaked within the hour. Budget wise, this costs nothing; it is pure habit. After the meal, restoring the styling takes another two minutes and brings the calm kitchen back, which guests notice even more than the empty surface did.
11. Use a Long Board as a Dual Styling and Serving Piece
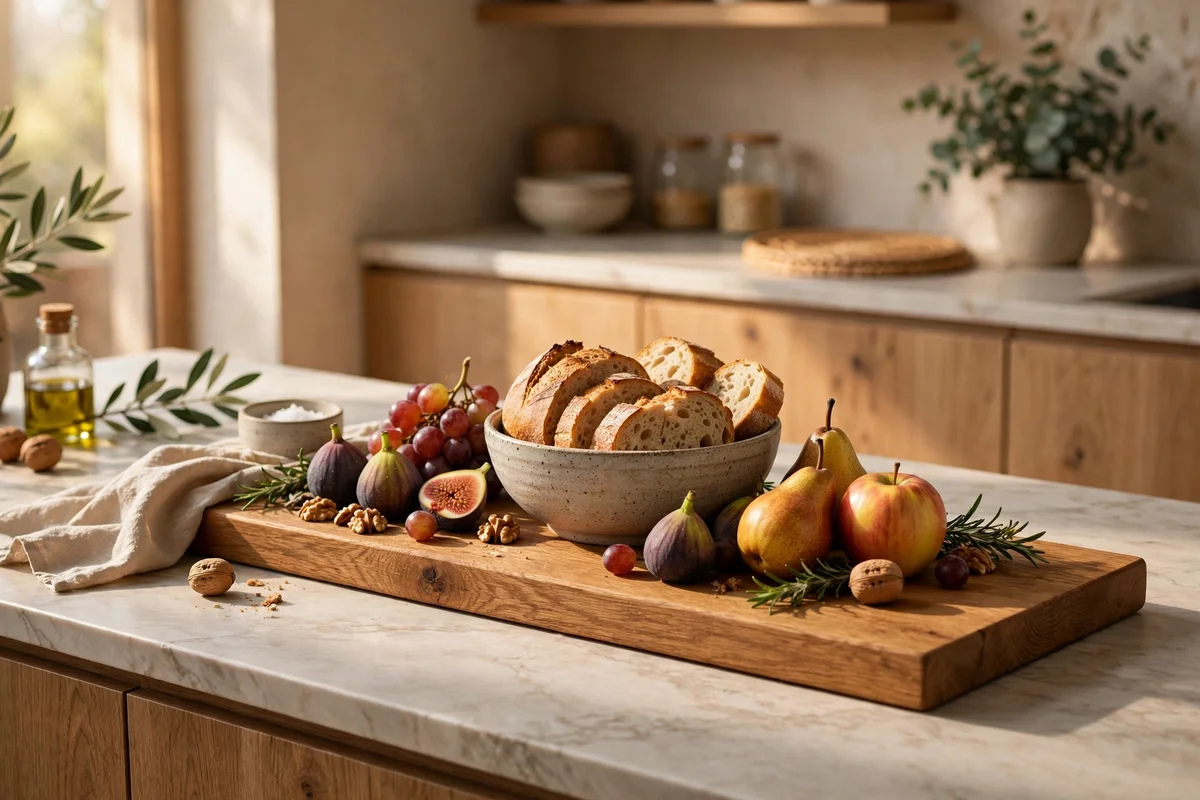
A long serving board, 50 to 70 cm, earns its place on the island by working as both decor base and daily server. In styling mode it carries the fruit bowl or plant; at mealtimes it becomes the cheese board, the bread station or the tea tray. Choose hardwood such as oak or olive wood with a food-safe oil finish, and wipe it with a damp cloth rather than soaking it. One piece doing two jobs is the definition of practical styling.
Keep the board off the hob and sink zones, and rest it on the tray when styled so crumbs land where they can be lifted away. The mistake to avoid is oiling the board with vegetable oil, which turns rancid; use mineral oil or a dedicated board oil once a month instead. Budget wise, a good hardwood board costs 20 to 45 pounds or dollars and lasts for years. A board with a small handle stores easily on a hook when the island needs clearing.
12. Keep Styling Under 25 cm Tall for Clear Sightlines
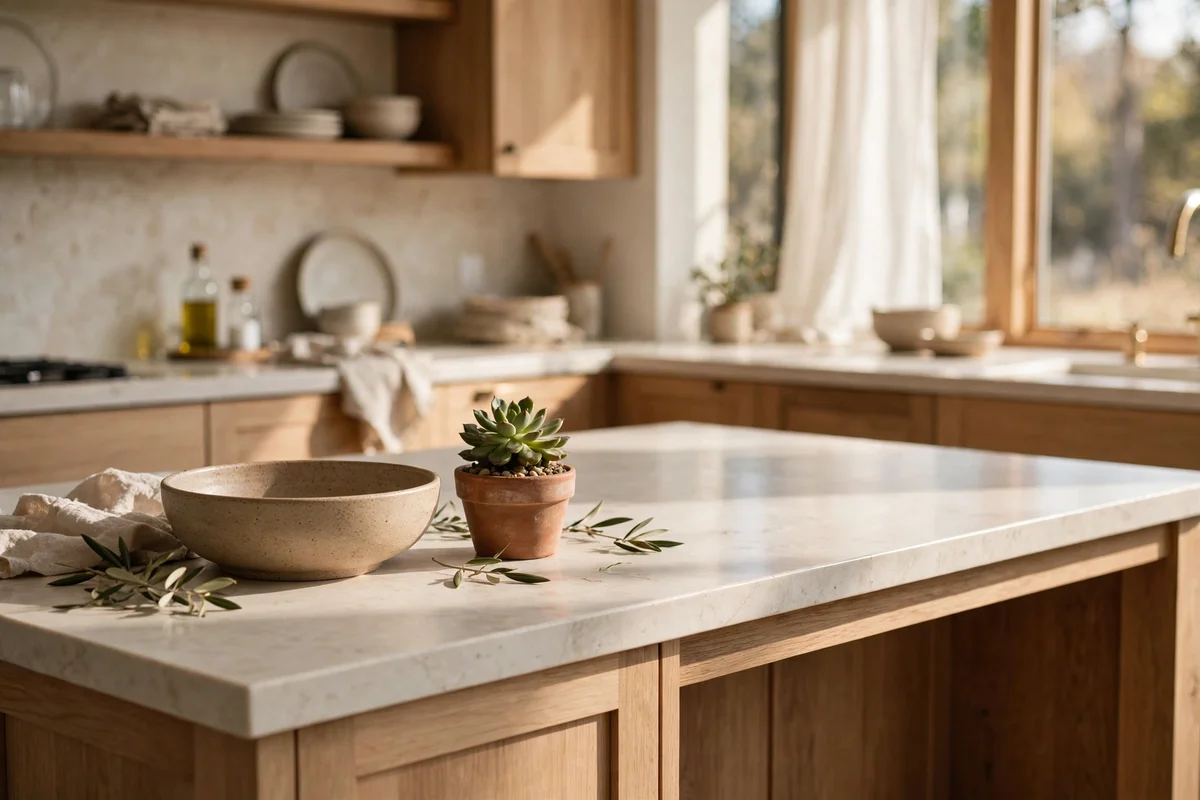
Low styling keeps conversation flowing across the island and lets light travel through the room. Keep every decorative item under 25 cm tall, roughly the height of a cereal box, so seated family members can see each other over it. This single rule removes most clutter instantly, since tall vases and candlesticks are the usual culprits. A fruit bowl, a small plant and a flat tray all sit comfortably under the limit.
When buying new pieces, measure them against the 25 cm rule in the shop rather than guessing at home. The mistake to avoid is placing one tall statement vase among low pieces; it breaks the calm line and becomes the only thing anyone notices. Budget wise, this rule saves money, since it rules out expensive large vases. If you love tall stems, trim them short for the island and let full-length arrangements live on the dining table.
13. Run a Narrow Runner Down the Island Centre, Not a Maze
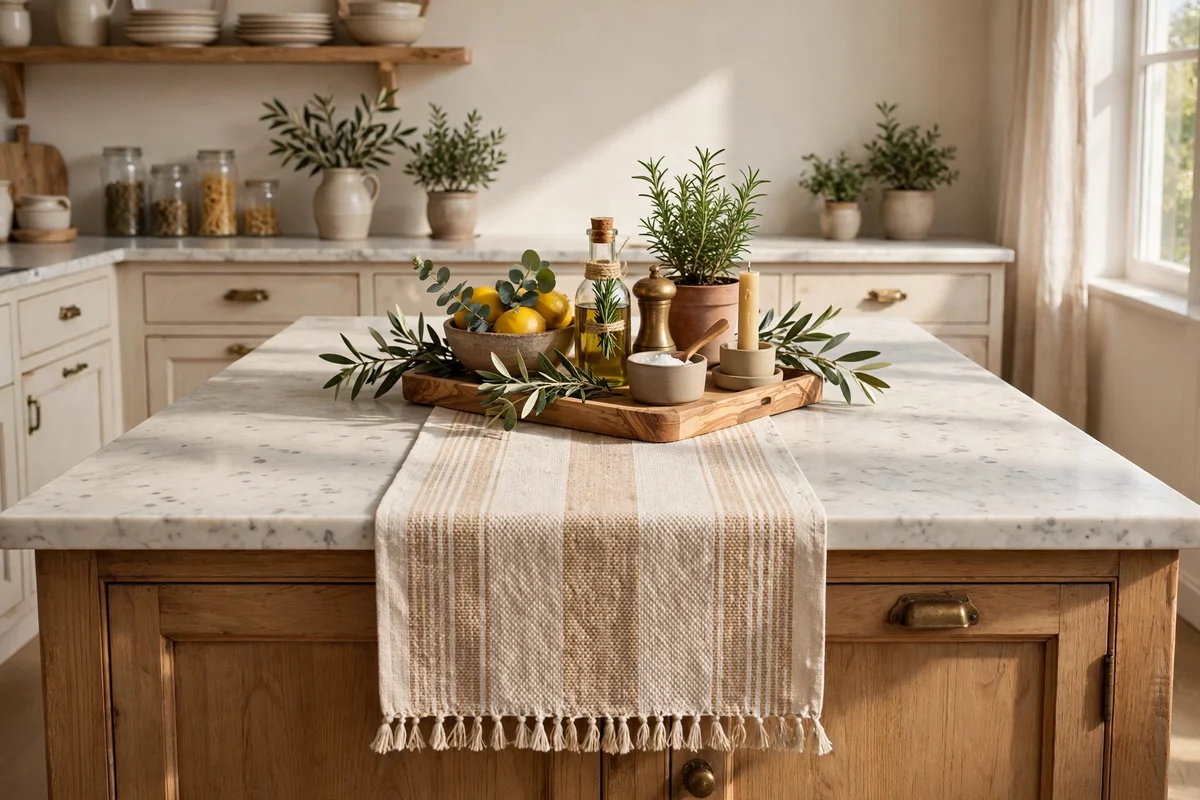
A single narrow runner, 25 to 35 cm wide, drawn down the centre of the island gives styling a soft anchor without crisscrossing the worktop. Choose a washable cotton or linen runner in a plain colour, cut or hemmed to stop 15 cm short of each island end. Styling pieces sit on the runner, which protects the surface from scratches and lifts away for washing. One line, not a scatter of mats, keeps the surface reading as one calm space.
Avoid runners with tassels or loose weave near food prep, since they trap crumbs and catch on passing trays. The mistake to avoid is layering two runners or adding placemats on top, which turns one calm line into visual noise. Budget wise, a plain cotton runner costs 10 to 25 pounds or dollars, or cut one from a length of washable fabric. Wash it monthly on a gentle cycle and it will outlast trendier kitchen textiles.
14. Corral Condiments on a Small Turntable Near the Seating End
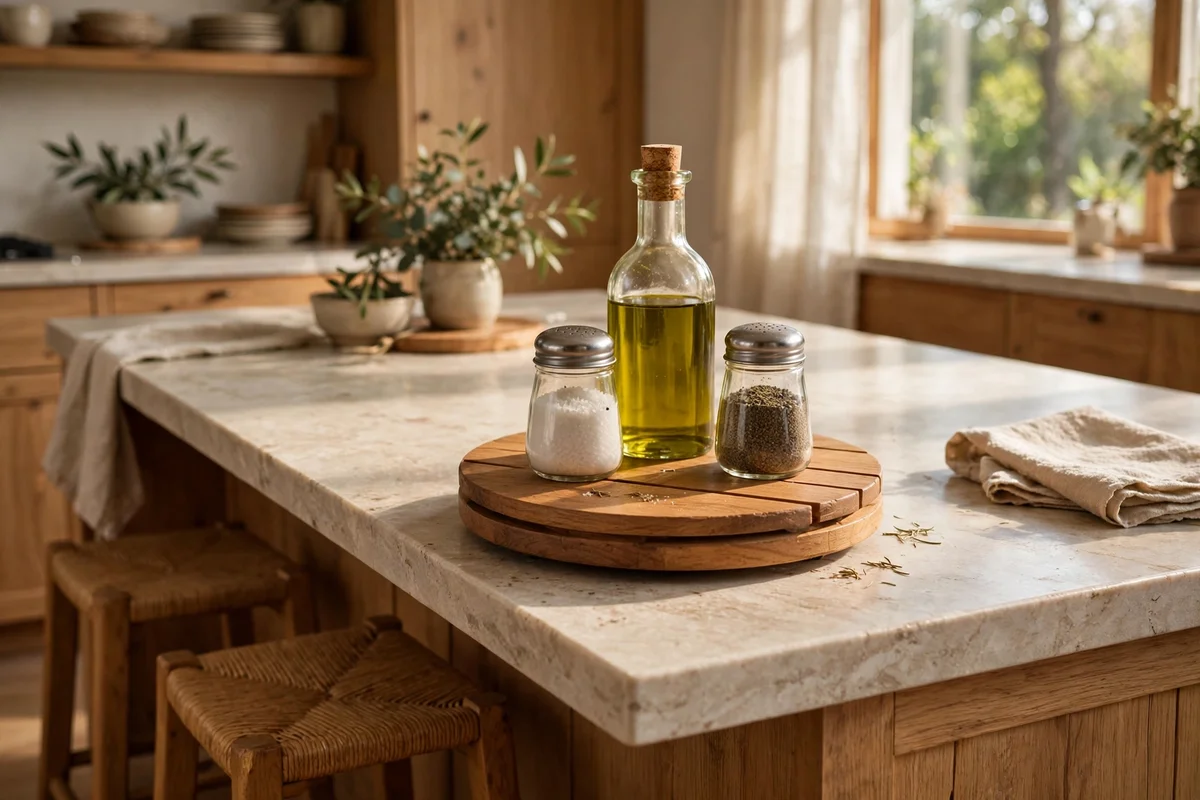
Families leave bottles and jars wandering across the island, so give them one home: a small turntable, 25 to 30 cm across, parked at the seating end. Salt, pepper, oil and the day’s sauces live on it, spinning round for easy reach, while the rest of the island stays clear. A wooden or bamboo turntable suits most kitchens and wipes clean in seconds. One corralled zone looks intentional; five stray bottles look like clutter.
Keep the turntable to five items or fewer and return extras to the cupboard after meals. The mistake to avoid is letting the turntable become a graveyard for half-used condiments; clear it weekly with the food shop. Budget wise, a bamboo lazy susan costs 12 to 25 pounds or dollars. For a no-cost version, rest a round wooden board on a cork mat, which slides just as easily on a smooth worktop.
15. Anchor the Island With a Low Stone or Ceramic Bowl
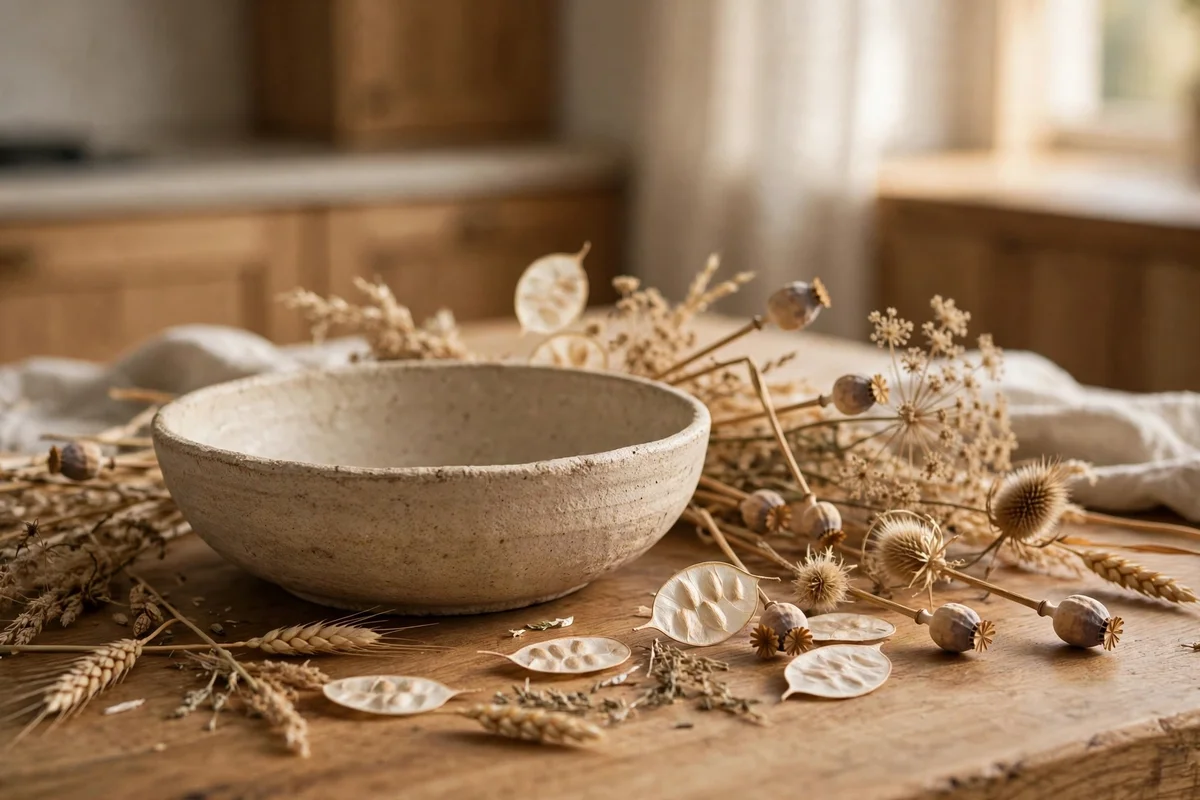
If fruit or plants do not suit you, a single low bowl in stone or glazed ceramic can anchor the styling zone with quiet weight. Choose a handmade-look bowl 20 to 30 cm across in a neutral tone, such as oatmeal, clay or soft charcoal, and leave it mostly empty or with three pinecones or dried seed heads. The bowl’s material does the decorating; nothing else needs adding. One solid piece reads calm where many small pieces read busy.
Place the bowl on the tray or board so it can be lifted as one piece for cleaning. The mistake to avoid is filling the bowl with potpourri, which sheds petals and scent across food surfaces. Budget wise, artisan-look stoneware bowls cost 15 to 35 pounds or dollars at craft markets or homeware stores. A bowl this simple lasts through every seasonal swap, since its contents change while the bowl stays, holding the island’s calm year after year.
16. Repeat One Kitchen Colour in the Styling Pieces
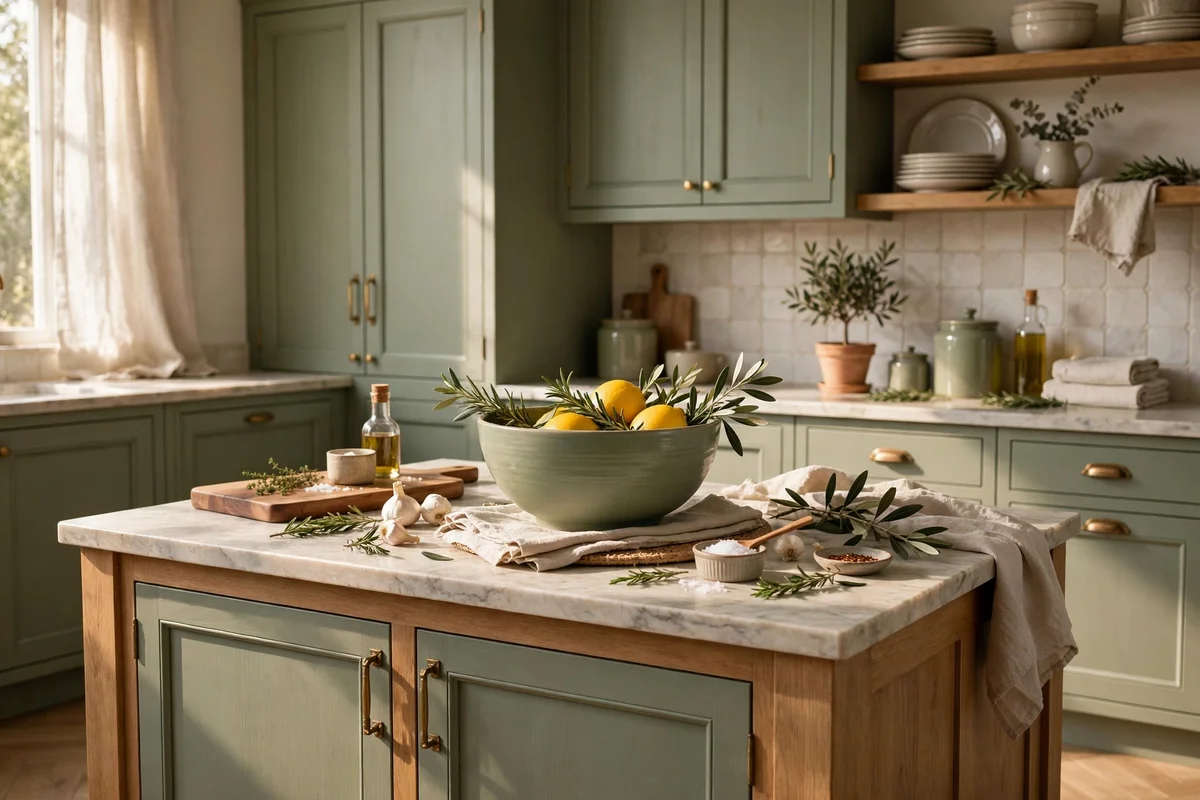
Island styling looks effortless when it borrows one colour already in the kitchen. If the cabinets are sage, choose a sage-green bowl or plant pot; if the splashback is warm terracotta, pick a tray with terracotta undertones. One repeated colour, used in just two pieces, ties the island to the room without a matching set. This quiet repetition is how calm, styled kitchens achieve their ease, and it costs nothing extra when you shop with the colour in mind.
Limit the echo to two items, since three or more drifts into theme territory. The mistake to avoid is introducing a brand-new accent colour on the island alone, which makes the styling look dropped in rather than belonging. Budget wise, paint a plain wooden tray with a tester pot of the cabinet colour for under 5 pounds or dollars. Hold a colour sample against candidates in the shop to avoid a near-miss shade that clashes.
17. Add a Folded Cloth to the Tray Only on Cooking Days
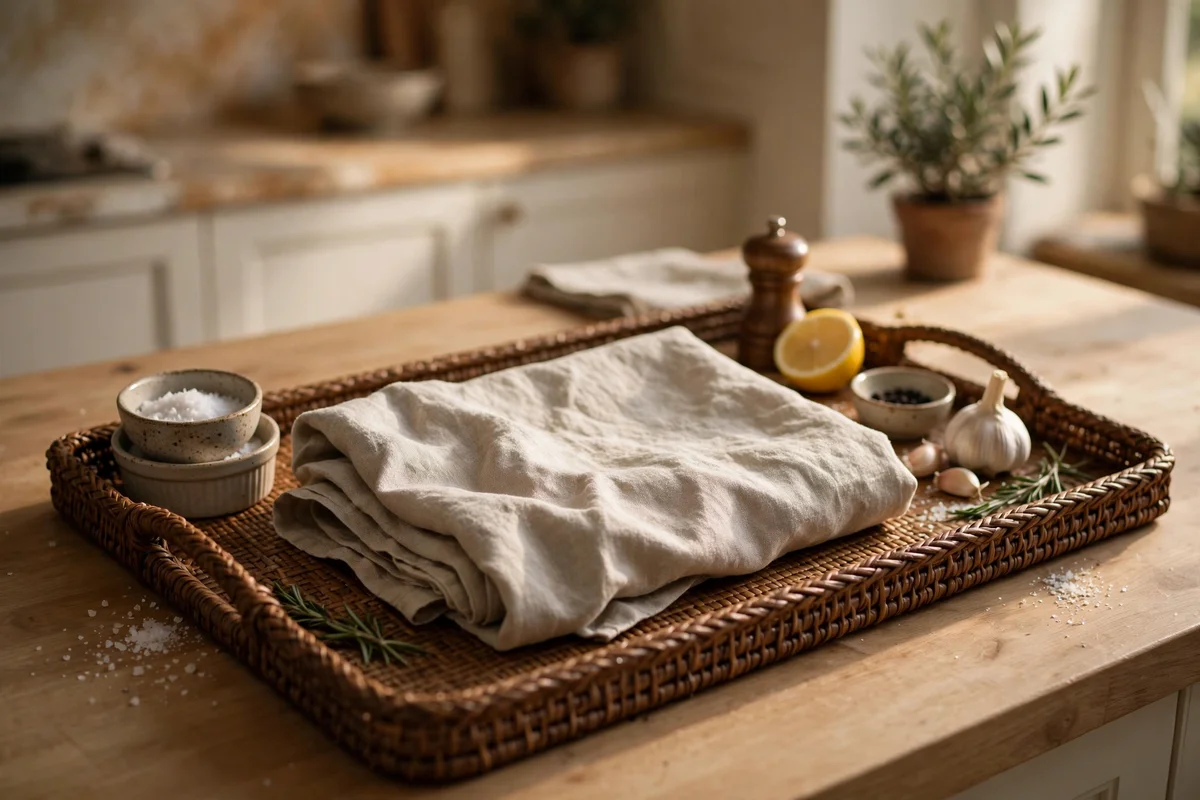
On heavy cooking days the island needs its styling armoured, not removed. Lay a clean folded tea cloth or linen napkin across the styling tray before cooking starts, which shields the wood from splashes and catches stray flour. When the meal is done, shake the cloth outside and the tray returns to its styled self. This keeps the arrangement in place while the kitchen works hard around it, and the cloth takes the beating instead.
Choose undyed cotton or linen cloths so they wash hot and come clean with a soak if needed. The mistake to avoid is draping the cloth loosely over plants or bowls, where it can trail into food; keep it folded flat under or beside the pieces. Budget wise, a pack of plain tea cloths costs 6 to 12 pounds or dollars. Keep two on the tray at all times so a fresh one is always ready when cooking starts.
18. Store Styling Pieces in a Dedicated Cupboard Slot
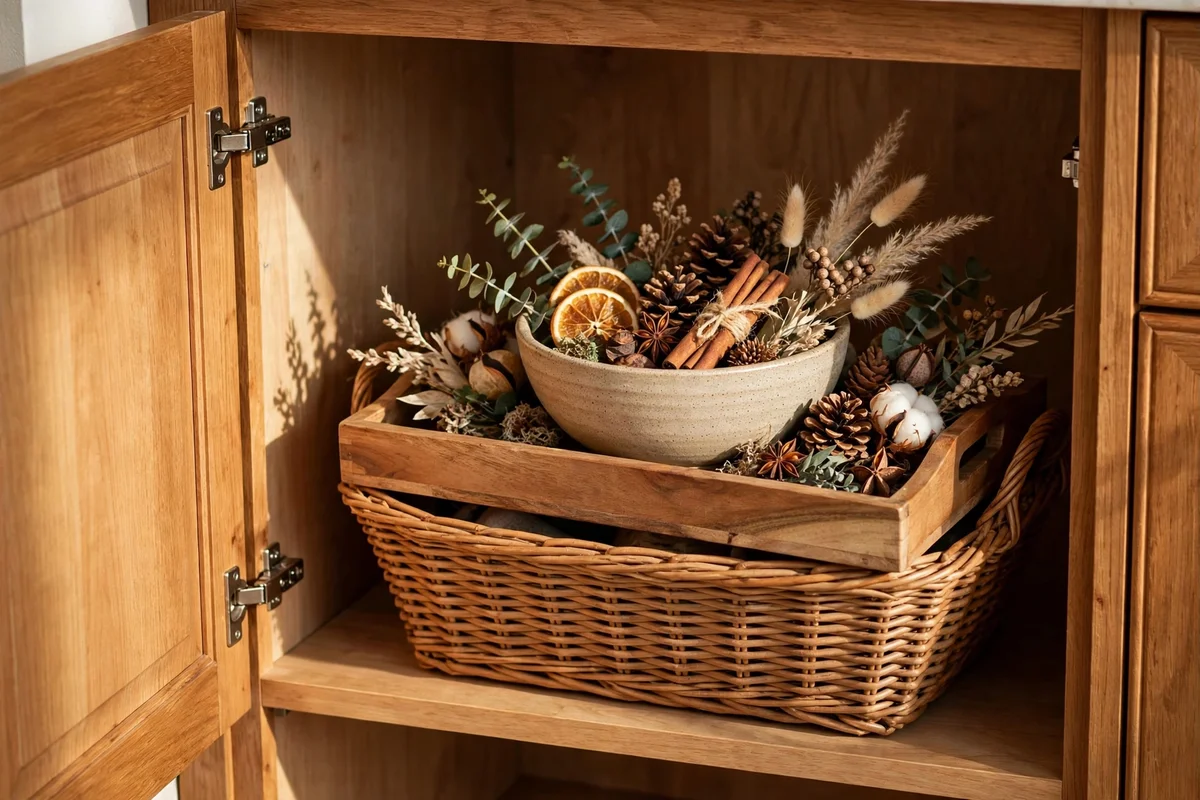
Styling pieces need a home off the island for the times the surface must clear. Reserve one shelf or a shallow basket in the nearest cupboard, and every piece lives there when not on display: the tray goes in first, then the bowl, the plant saucer and the seasonal sets, nested where possible. A known slot means clearing the island takes two minutes and restoring it takes one. Everything in one place keeps the routine fast.
Keep the slot close to the island, ideally the cupboard on the seating side, so the walk is short. The mistake to avoid is storing styling pieces across three different cupboards, which makes clearing a chore and restoring a treasure hunt. Budget wise, a simple woven basket to corral small pieces costs 8 to 15 pounds or dollars. Audit the slot twice a year and retire pieces you never use, so the styling stays a joy and not a storage burden.
19. Let the Pendant Glow Carry the Styling After Dark
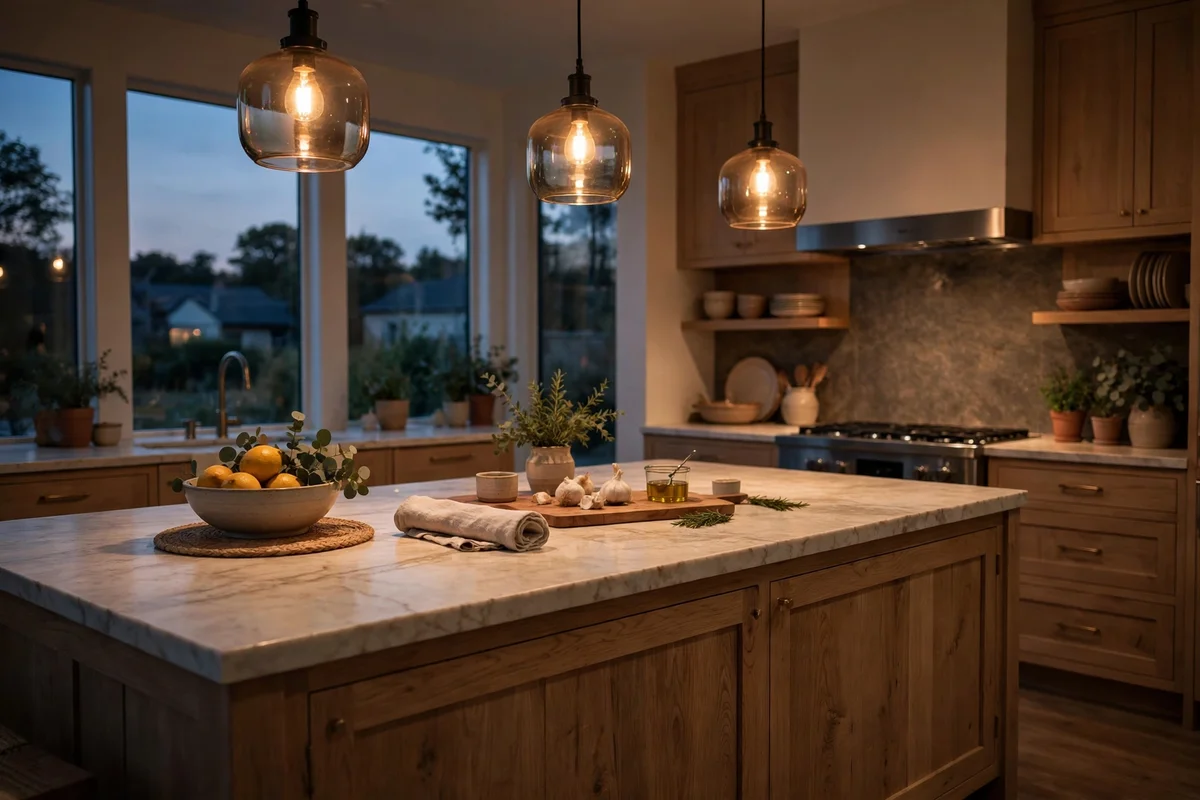
After sunset, the island’s styling shifts from objects to light. Choose pendant bulbs at 2700K for a warm glow that flatters wood, ceramic and fruit alike. If the pendants have dimmers, lower them to half strength for evening meals and keep full brightness for cooking. Warm under-cabinet lights can add a soft backlight behind the island. Evening light makes even a simple fruit bowl look considered and welcoming.
Avoid cool white bulbs above 3000K in the kitchen’s social zones, since they flatten warm materials and feel clinical. The mistake to avoid is lighting the island brilliantly while leaving the rest of the kitchen dark, which turns the surface into a stage. Budget wise, warm LED bulbs cost 4 to 9 pounds or dollars each, and a dimmer switch fitted by an electrician runs 40 to 80 including parts. Set one evening scene and one cooking scene, then switch between them daily.
20. Edit the Island Weekly With a Two-Minute Tidy Rule
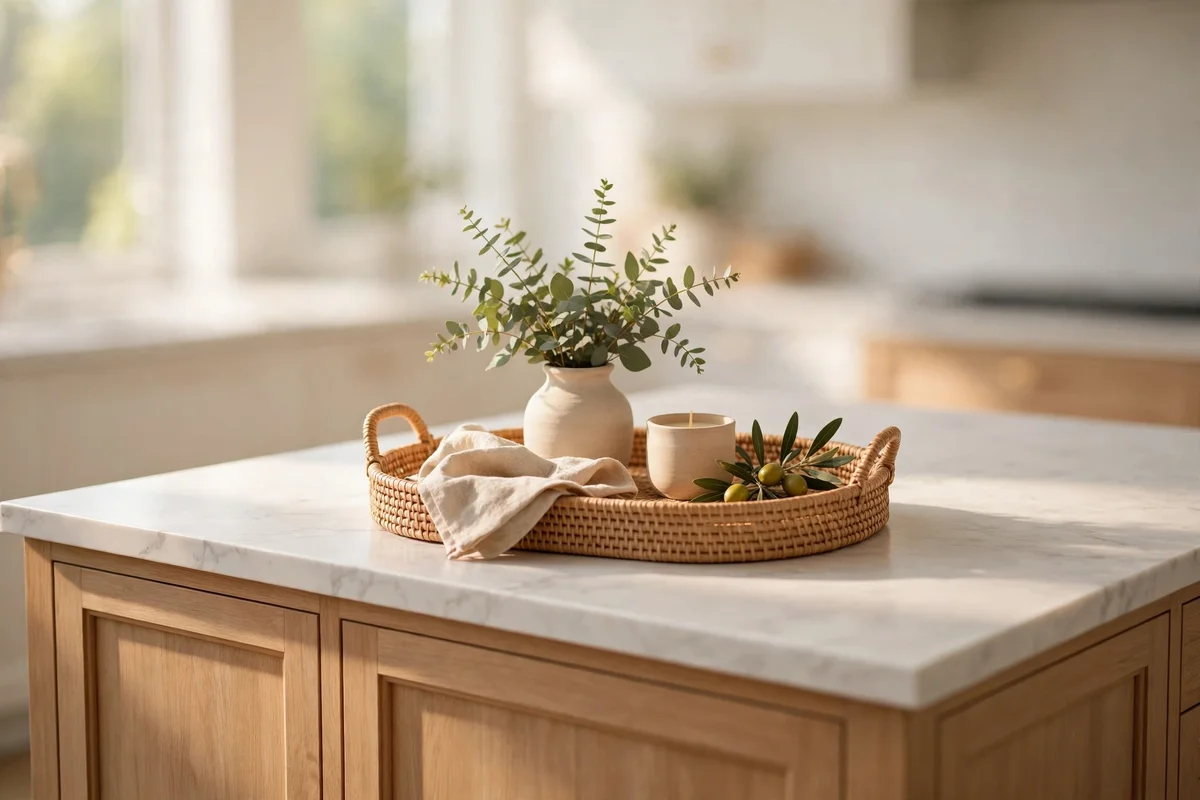
A two-minute weekly edit keeps the island styling from drifting into clutter. Every Friday, or whenever the food shop arrives, lift the tray, wipe the surface, remove anything that wandered onto the island during the week, and put back only the planned pieces. Check the fruit bowl, water the herb if you have one, and wipe the tray. This tiny ritual keeps the styling intentional and the worktop ready for the weekend’s cooking.
Involve the family by making the rule visible: the island holds only what fits on the tray, and everything else finds a home. The mistake to avoid is doing a big monthly declutter instead; small weekly edits take less time and feel effortless. Budget wise, this costs nothing but keeps every pound spent on styling working hard. A clear island invites cooking, gathering and calm, which is exactly what a family kitchen should offer.
The best-styled islands are the ones you barely notice: surfaces that stay calm while breakfast, homework and dinner all happen on them. Every idea here shares one habit, which is to give decor a small, defined home and leave the rest of the worktop free. Pick your one tray, choose your single centrepiece, set your pendants right, and the island will carry both beauty and busy days without complaint.
This week, start with the simplest change: clear everything off the island except one tray holding a bowl of fruit or a small plant. Live with it for seven days and notice how much calmer cooking feels. Once that habit holds, add the next idea, then the next, until the island styles itself almost by routine, practical first and lovely always.
Frequently Asked Questions
How much worktop should styling take up on a kitchen island?
Aim for styling to cover no more than one third of the surface, ideally a single tray or board about 40 to 50 cm long. The rest stays open for chopping, serving and school projects. Measure your island once and mark the zone mentally; if styling drifts beyond it, remove one item rather than expanding the space. Small islands need even tighter discipline.
What is the cheapest way to style a kitchen island?
Start with what the kitchen already has: a wooden chopping board as the base, a bowl of fruit from the weekly shop, and a potted herb from a market stall for 3 to 8 pounds or dollars. A washable runner cut from spare fabric finishes the look. Total outlay can stay under 20, and every piece earns its place by being useful.
How do I style an island that has both a sink and a hob?
Treat each appliance as the centre of a no-decor zone of at least 40 cm. Style only the remaining section, usually the seating side or one end, inside a single tray. Keep heat-proof trivets by the hob and a folded tea towel by the sink as the only permanent residents of the working zones, since they are tools first.
Are candles safe as kitchen island decor?
Use them with care. A single candle in a sturdy glass holder is fine when placed away from the hob and high-traffic edges, and only lit while someone is in the kitchen. Battery candles give the same warm glow with zero risk and cost 5 to 12 pounds or dollars each. Never leave real flames near paper towels, tea cloths or children’s reach.
How often should I refresh the island styling?
Give the centrepiece a weekly glance when the food shop arrives: replace tired fruit, water the herb and wipe the tray. Do a proper seasonal swap three or four times a year, which takes under five minutes with a stored box of seasonal pieces. A quick daily reset of returning bottles to their homes keeps everything calm between these bigger moments.