Kitchen
22 Garbage Disposal Cleaning Hacks That Leave the Sink Fresh, Quiet and Sweet Smelling
By Anna Wells · · 23 min read
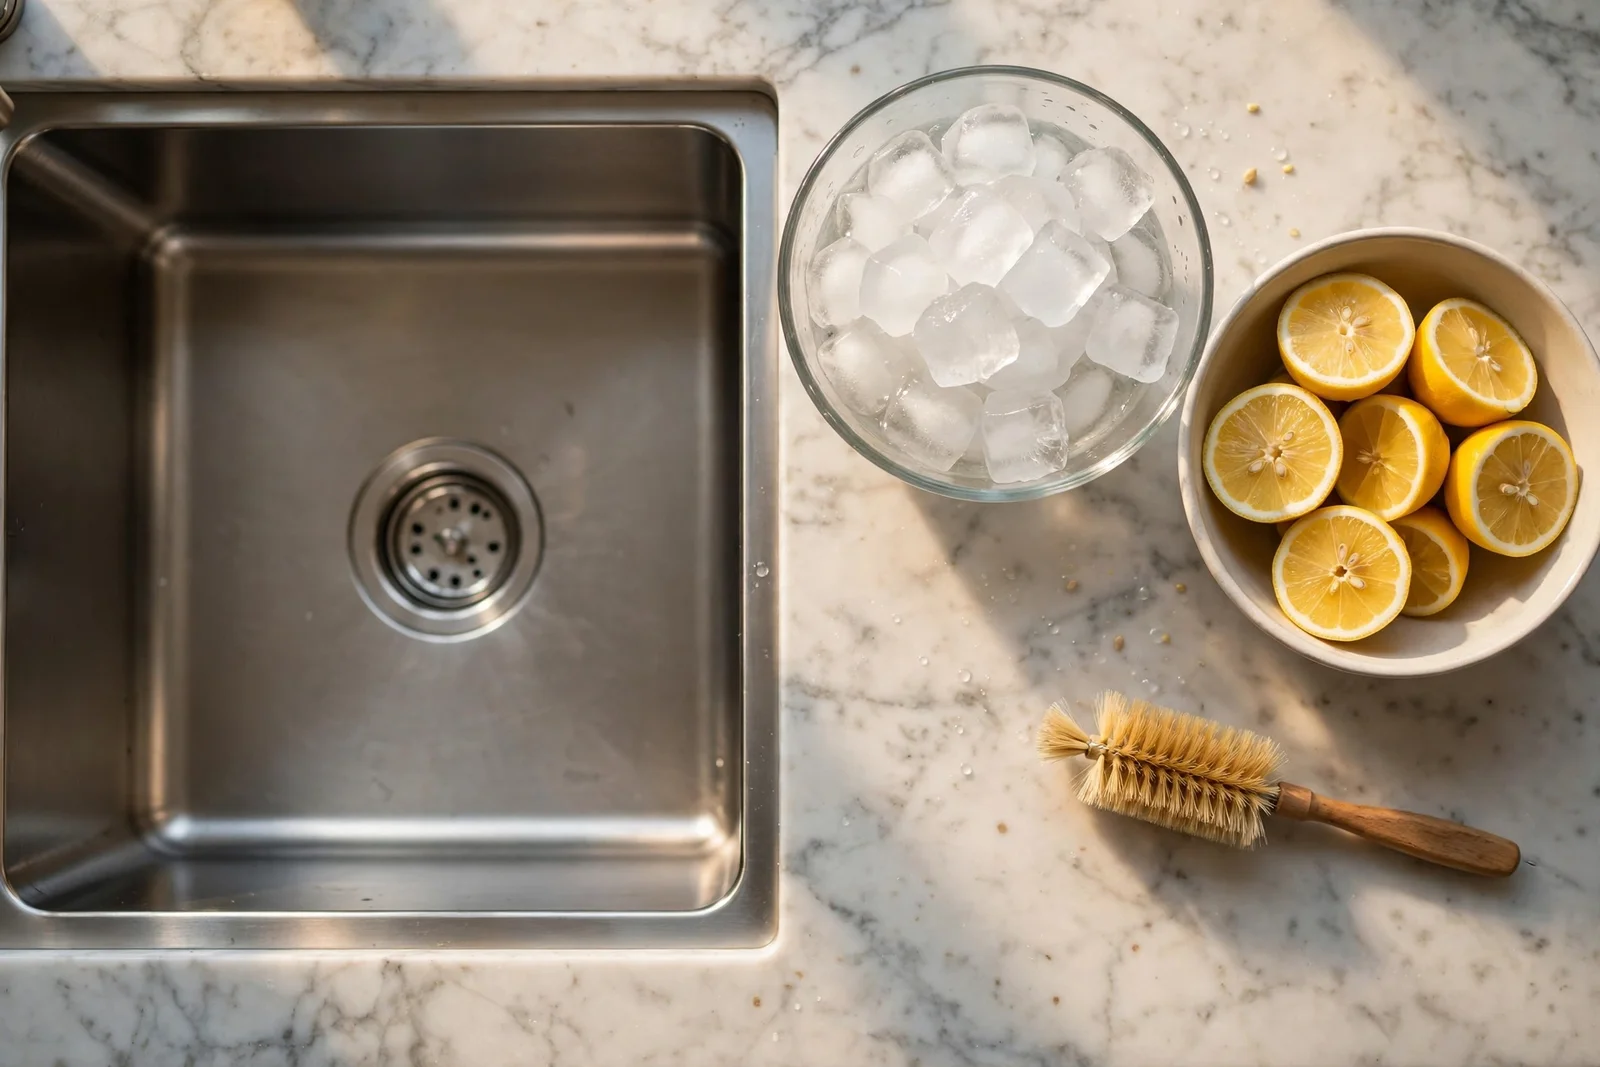
Twenty-two practical hacks to keep your garbage disposal fresh, quiet and sweet smelling, from ice and salt scrubs to the safety rules that matter most.
There is a particular smell that greets you when a garbage disposal needs attention, sour and heavy, rising from the drain the moment the kitchen warms up. It ruins the pleasure of a tidy sink and makes even a spotless counter feel neglected. The good news is that most disposal smells come from a thin film of old food, not a broken machine, and a few simple habits clear it completely.
This guide gathers 22 practical cleaning hacks for the kitchen sink disposal, each one tested in real family kitchens and built from ordinary supplies. You will find the ice and salt scrub, the honest truth about baking soda and vinegar, citrus routines that cost nothing, and the safety rules that matter more than any trick.
Every idea below uses supplies you already own or can buy for a few dollars, and none of them ask you to pour harsh chemicals down your drain. Work through the monthly routine first, then keep the daily habits, and your sink will stay fresh, quiet and sweet smelling with very little effort.
Let us start with the simplest deep clean of all: plain ice, coarse salt, and cold water.
1. Grind Two Trays of Ice With a Half Cup of Coarse Salt
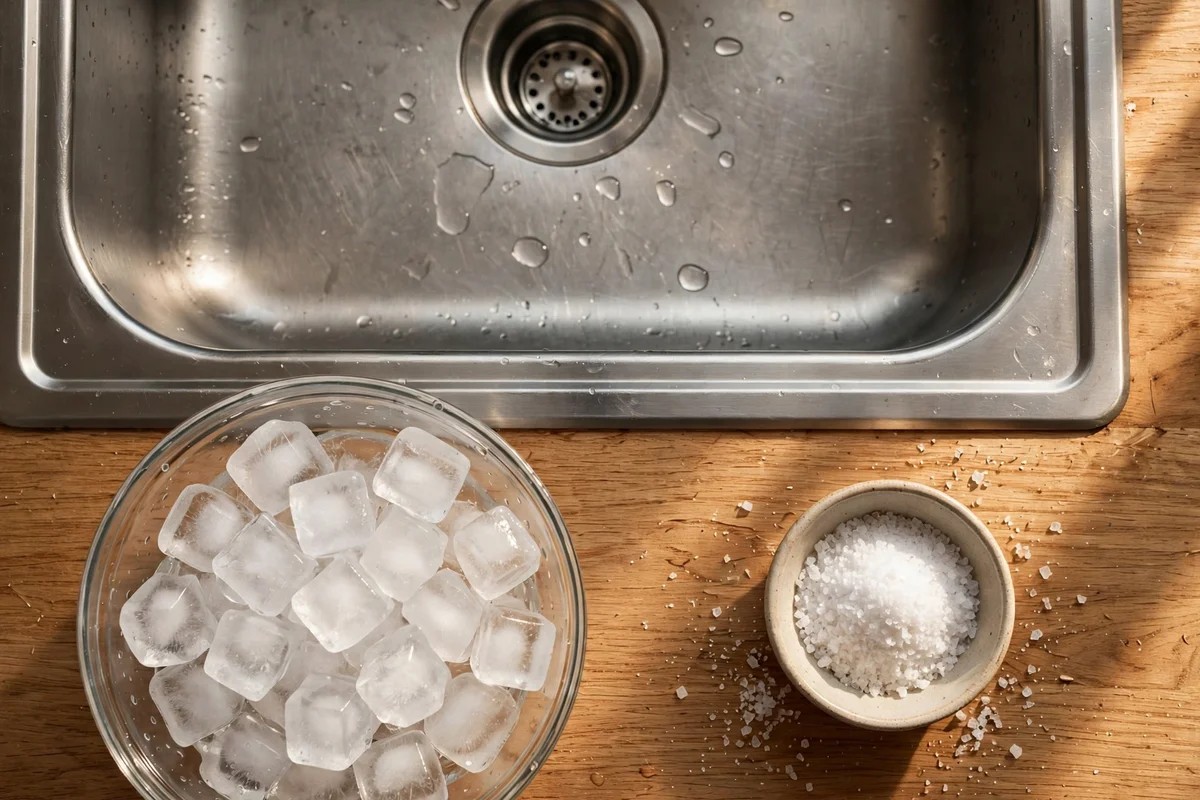
Ice cubes knocked loose from the tray make a simple abrasive cleaner for the grinding chamber. Tip two full trays, roughly 28 to 32 cubes, into the running disposal with the cold tap flowing at a medium stream. Add about half a cup of coarse kosher salt, which dissolves slowly and helps the ice knock food residue off the impeller plate and chamber walls. Let the unit grind for 30 to 45 seconds, then keep the water running for another 30 seconds to flush the loosened debris fully down the drain.
Use plain ice from your freezer, never crushed commercial ice with added flavorings, and keep each cube around the standard 3 cm size so the unit handles them evenly. The mistake to avoid is pouring the salt in before the water is running, since dry salt can sit in the drain and cake onto the chamber floor. This trick costs almost nothing, uses no chemicals, and suits a monthly routine or a quick refresh before guests arrive. For a quieter result, drop the cubes in a few at a time rather than all at once.
2. Feed Lemon Halves Through the Running Unit Weekly
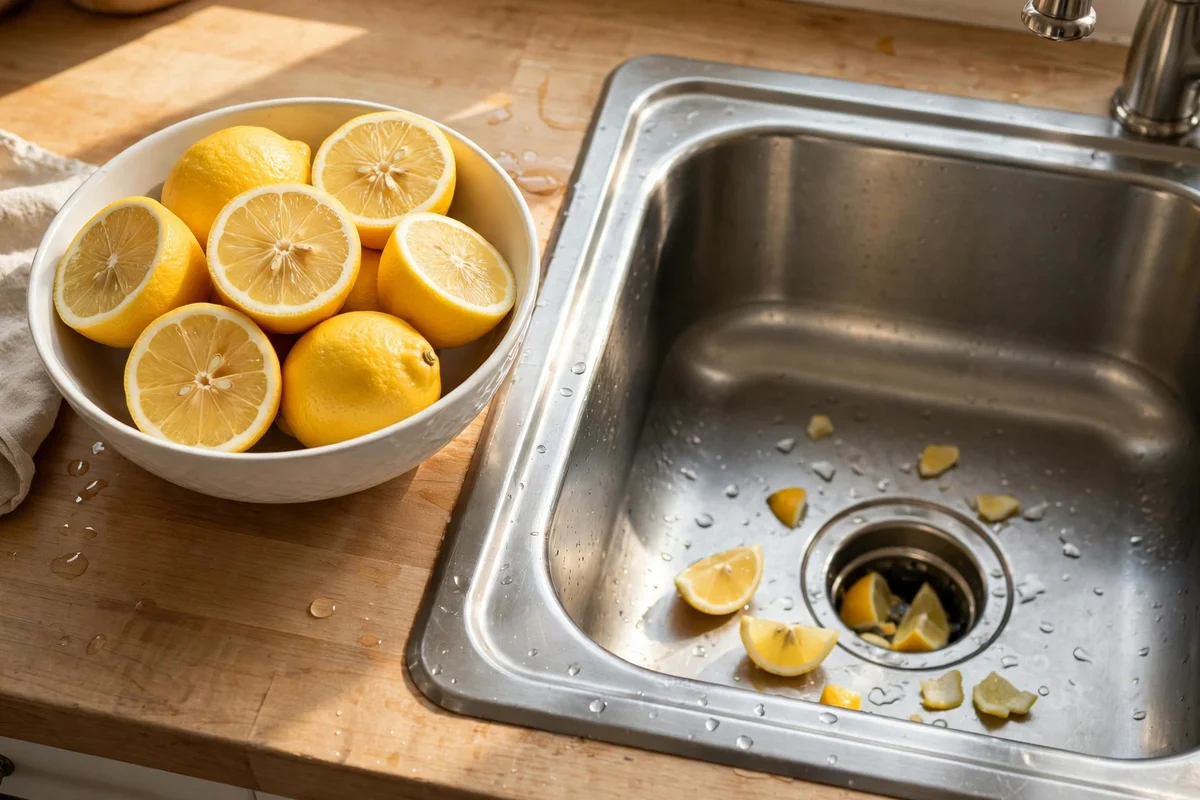
After juicing lemons for cooking, keep the squeezed halves and feed two or three into the disposal with cold water running. The rind grinds easily, releases natural citrus oils and leaves the drain smelling clean for days. Cut larger lemons into quarters first so each piece passes the splash guard without forcing, and drop them in one at a time with five seconds between pieces. This weekly habit turns kitchen waste into a free air freshener and costs nothing beyond the lemons you already use.
Use fresh lemon halves rather than dried or preserved rinds, which can be tougher on the grinding ring. A common mistake is grinding a whole lemon at once, which the unit may struggle to pull down and can cause a brief jam. If the smell is strong, add a tray of ice cubes after the lemon to scrub the chamber and carry the oils through. Limes and small orange halves work the same way, so rotate whichever citrus your kitchen already has on hand.
3. Toss Citrus Peels in After Dinner to Lift Odors
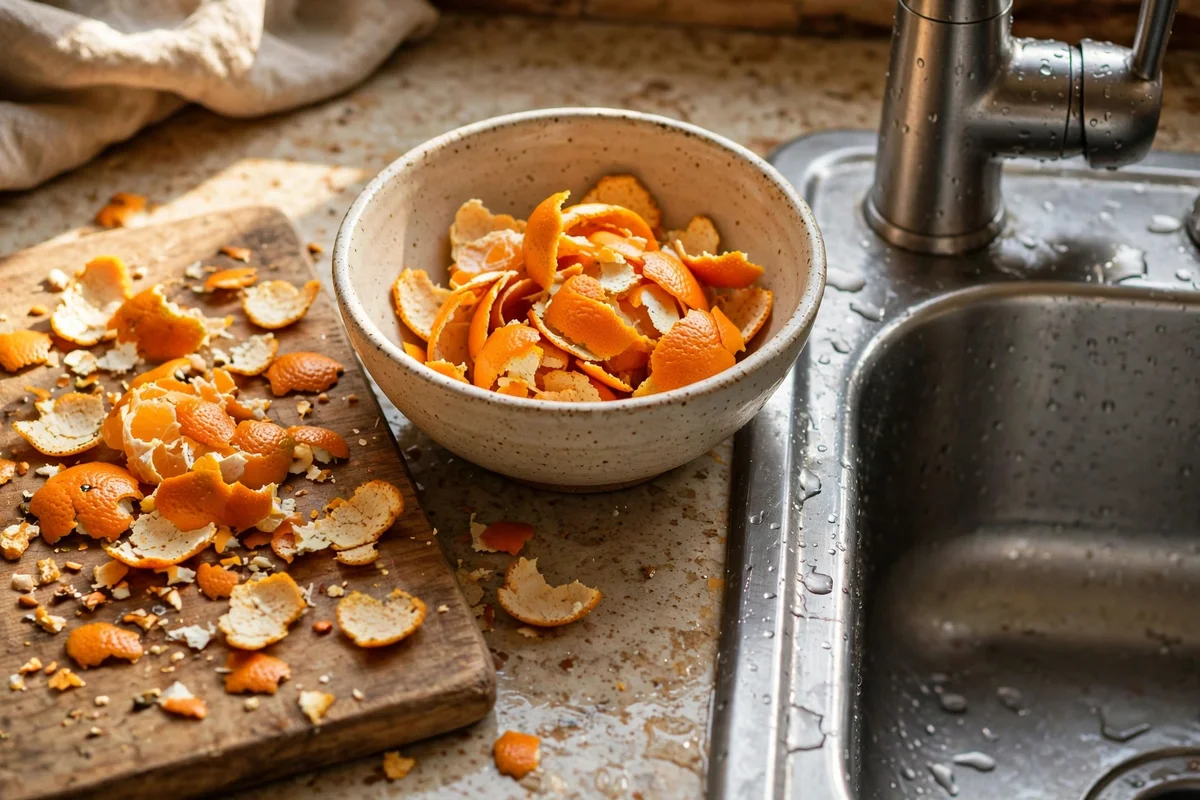
Save the peels from oranges, clementines and grapefruits after dinner and run a small handful through the disposal while the cold water flows. Thin peels break down quickly, and their oils mask the heavy smells left by proteins and sauces. Use about one orange worth of peel per session, torn into 5 cm pieces, so the unit never works harder than it should. This takes seconds, uses scraps you would bin anyway, and keeps the sink smelling light through the evening.
Thick peels such as grapefruit rind should be cut smaller than orange peel, since their white pith grinds more slowly. The mistake to avoid is stuffing a large ball of peels down at once, which can pack above the splash guard and sit rotting where water never reaches. Always finish with 20 seconds of cold water after the last peel disappears. This habit pairs well with the ice and salt scrub once a month for a drain that stays consistently sweet.
4. Dust Half a Cup of Baking Soda Down the Drain Overnight
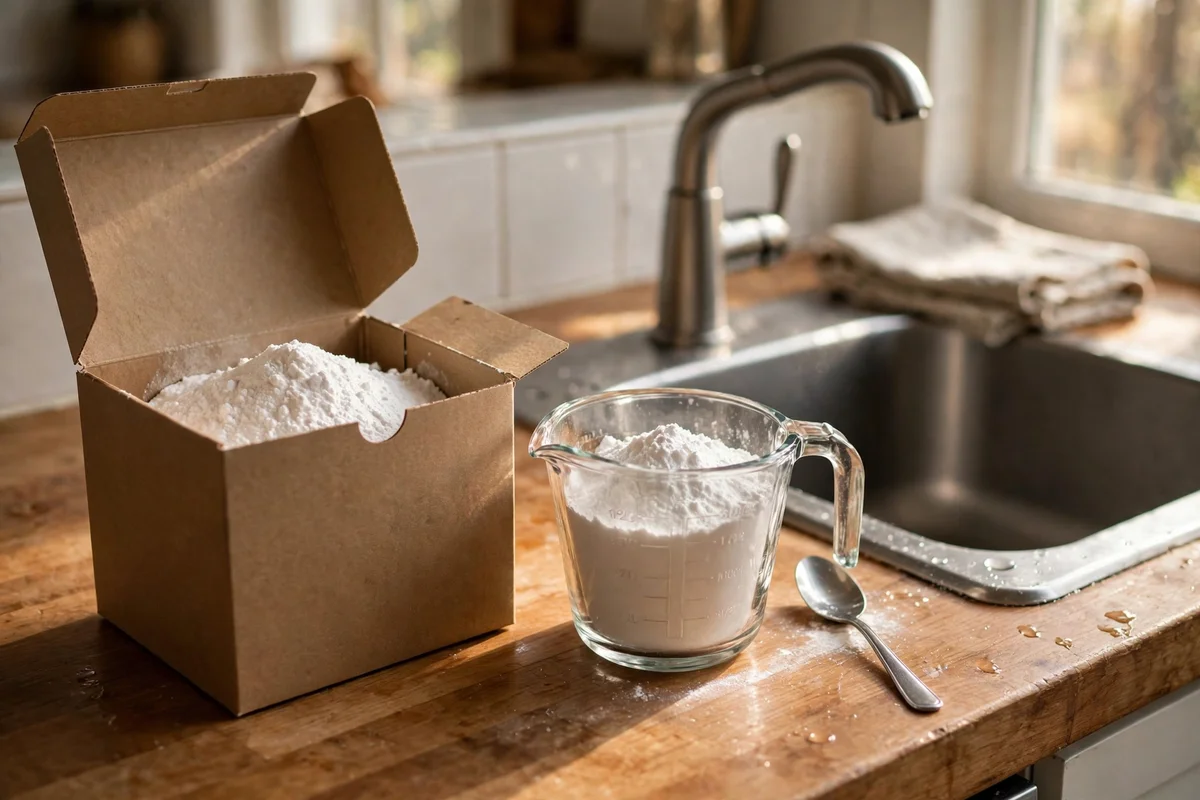
Baking soda, or sodium bicarbonate, neutralizes acidic odor molecules rather than pushing clogs through pipes. Pour half a cup, about 110 g, directly into the disposal drain before bed, making sure it settles past the splash guard and into the chamber. Leave it untouched overnight, at least eight hours, so it has time to absorb the smells clinging to the walls. In the morning, flush with cold water for a full minute. This costs pennies and uses a box most kitchens already stock.
Do not add water after the baking soda in the evening, since a dry powder coating the chamber walls works far better than a dissolved rinse that washes straight through. A common mistake is expecting this step to fix slow drainage; it only sweetens smells, and a slow drain needs a plumber or a proper mechanical clean. For best results, run the ice and salt scrub first, then apply baking soda as the final overnight treatment. One standard 500 g box covers about four treatments.
5. Pour Vinegar Over Baking Soda and Know It Only Deodorizes
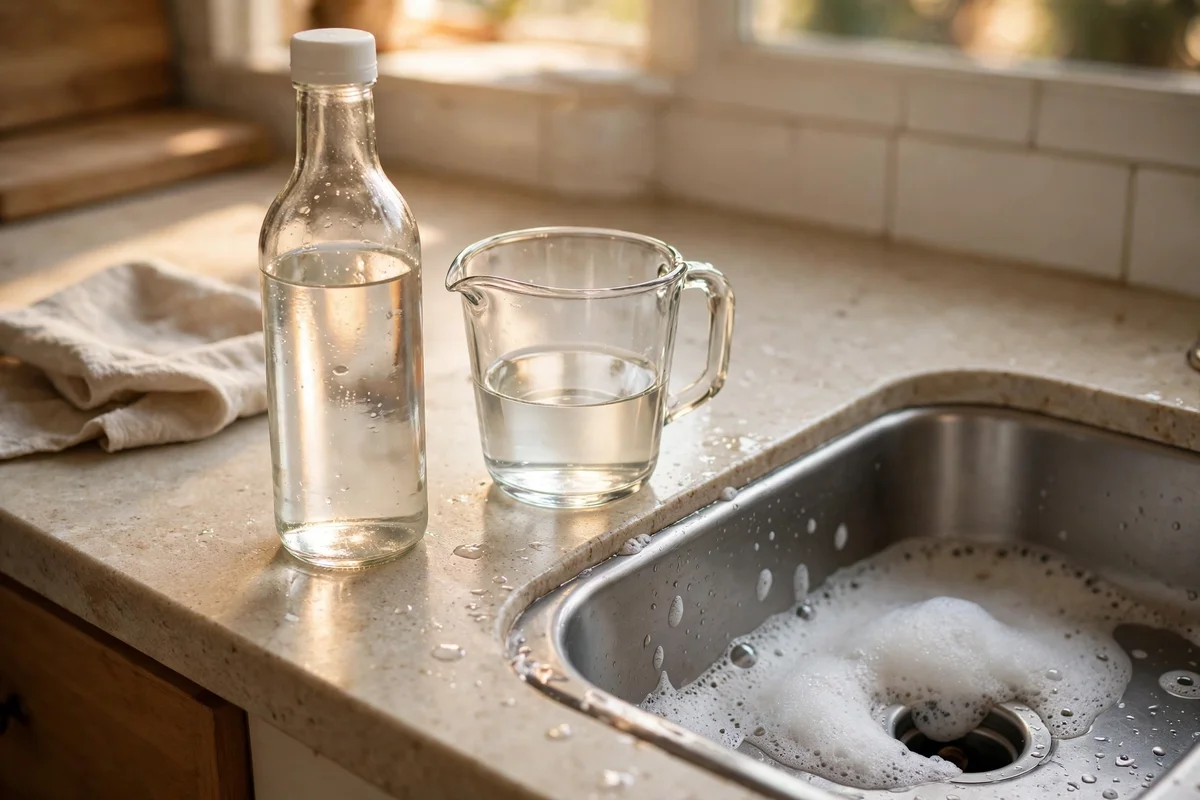
When vinegar meets baking soda, the fizz looks dramatic but the reaction simply makes water, carbon dioxide and a salty solution, so it deodorizes without opening any drain. Use half a cup of baking soda followed by half a cup of plain white vinegar, let the foam sit for 10 to 15 minutes, then flush with cold water. Honest advice matters here: this combination freshens smells and nothing more. Never rely on it for a genuine blockage, which needs mechanical clearing or a professional.
Pour the vinegar slowly so the foam rises gently instead of erupting over the sink rim. The mistake to avoid is sealing the drain with a plug during the fizz, a trick some guides suggest, because pressure has nowhere useful to go and the foam does not scour pipes anyway. Keep a 500 ml bottle of white vinegar under the sink for this and for general cleaning, and you will spend only a dollar or two a month. Finish every session with a full minute of cold water.
6. Work a Long Bottle Brush Under the Splash Guard Flaps
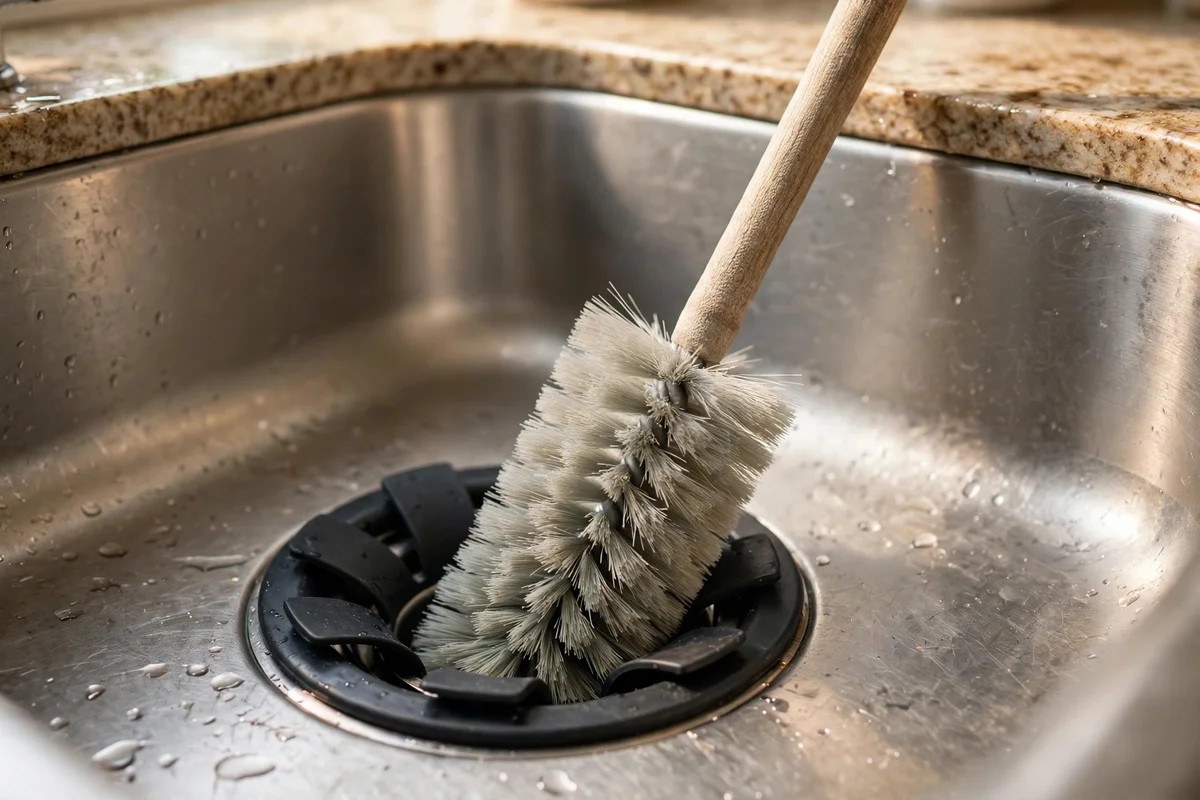
A long bottle brush with a slim 4 cm head reaches past the rubber splash guard into the upper chamber where ground food clings. First switch the power off at the wall switch or breaker, then push the brush gently through the flaps and rotate it to sweep the inner walls. Use warm water and a drop of dish soap on the bristles, and rinse the brush clean under the tap afterward. A 30 to 40 cm brush from any kitchen aisle costs a few dollars and lasts for years.
Never use a wire brush or anything metal here, since sharp bristles can tear the rubber flaps and score the chamber coating. The common mistake is skipping the power off step because the unit looks still; treat every cleaning like the motor could start. Work the brush around the full circle twice, spending about a minute total, then run cold water for 30 seconds with the power restored to flush what you loosened. Store the brush upright in a cup near the sink so the habit sticks.
7. Lift Each Splash Guard Flap and Scrub With Dish Soap
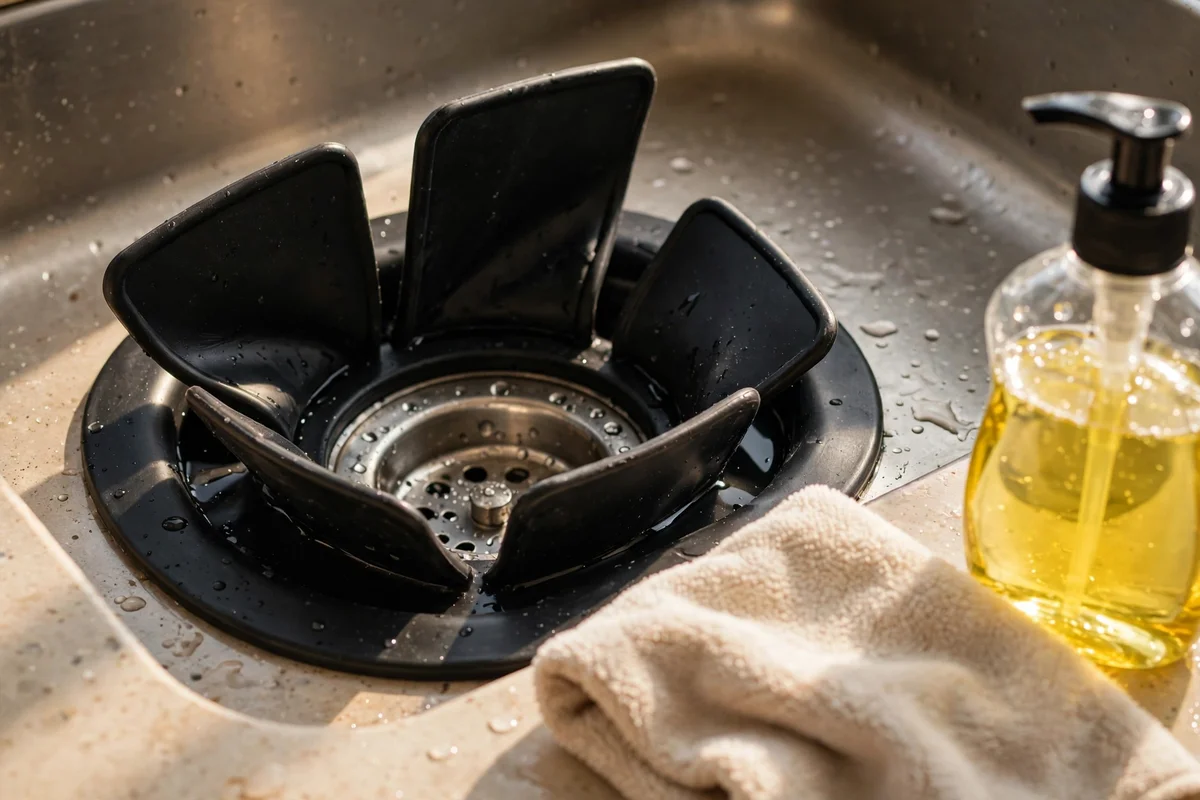
The rubber splash guard flaps trap a slimy film of ground food on their undersides, and that film is often the real source of a bad smell. With the power off, lift each flap with a wooden spoon handle and wipe both sides using a soft cloth dipped in warm soapy water. A few drops of dish soap on a microfiber cloth cut the grease without harsh chemicals. Spend 20 seconds per flap, working front to back, and rinse the cloth twice so you are not just spreading residue around.
Pull the flaps gently and never yank them, since overstretched rubber will not spring back flat and leaves gaps for splatter. The mistake to avoid is spraying a harsh oven cleaner or bleach onto the rubber, which dries and cracks it within months. After scrubbing, dry the flaps with a clean towel so no soapy film remains to attract new grime. Do this every two weeks in a busy kitchen, or monthly in a lightly used one, and the drain area stays noticeably fresher.
8. Scrub the Stainless Sink Flange Ring Each Week
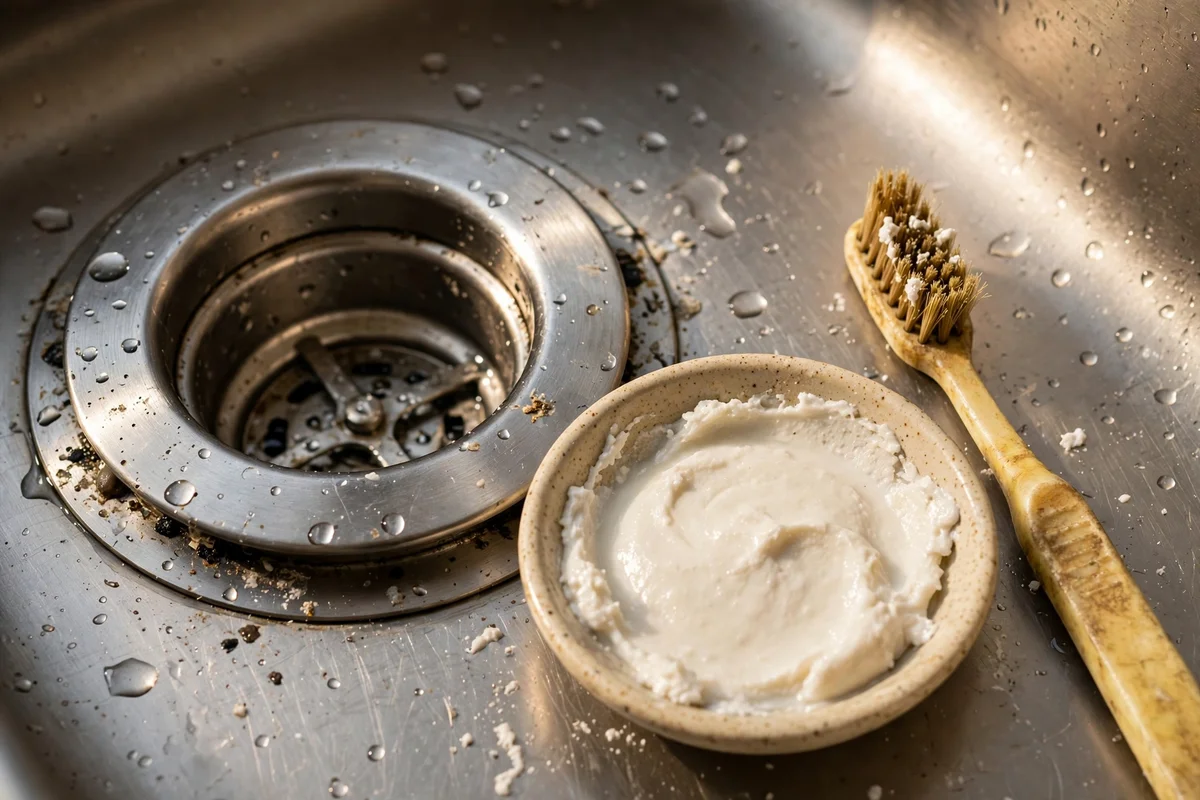
The metal flange ring where the sink meets the disposal collects dried food and hard water scale in its tiny groove. With the power off, scrub the visible ring with an old soft toothbrush and a paste of two parts baking soda to one part water. Work the bristles around the full circle for about a minute, paying attention to the seam where metal meets the sink basin. Wipe clean with a damp cloth, then dry with a towel to prevent new water spots.
In hard water areas, follow the baking soda paste with a cloth dampened in white vinegar, but rinse quickly so the acid never sits on stainless steel for more than a minute. The mistake to avoid is using a steel wool pad, which leaves fine scratches that trap more grime and dull the finish permanently. A weekly flange scrub takes under three minutes and stops the crusty ring that makes an otherwise clean sink look neglected. Pair it with the splash guard wipe for a complete drain mouth refresh.
9. Check and Clear the Dishwasher Drain Hose Connection
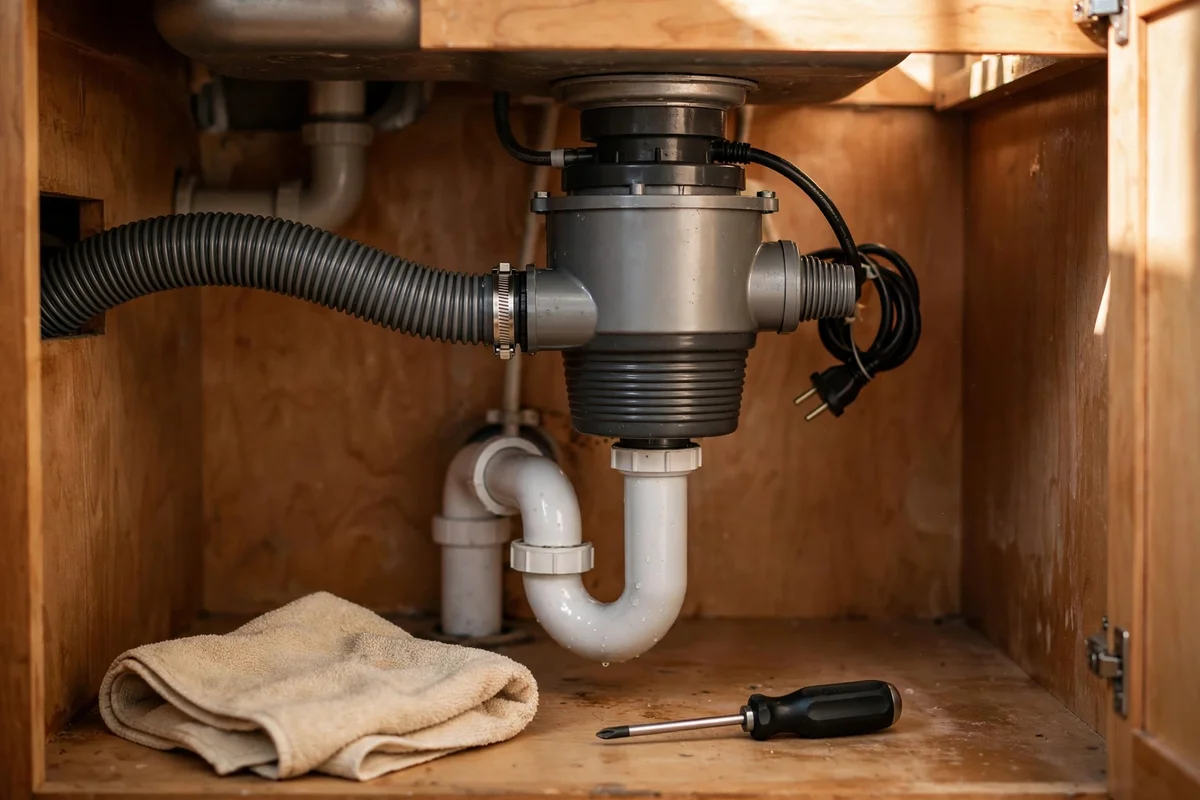
Many disposals share a drain line with the dishwasher, and a clogged connector nipple on the disposal side can push smelly water back into the sink. Switch the power off, then look under the sink for the ribbed hose running from the dishwasher to the side of the disposal unit. Loosen the hose clamp with a screwdriver, pull the hose free over a small bowl, and clear any trapped food from the inlet with a bottle brush. Reconnect firmly and tighten the clamp before restoring power.
Place old towels under the connection before loosening anything, since trapped water always spills out. The mistake to avoid is yanking the hose sideways, which can crack the plastic nipple on the disposal and cause a slow leak you will not notice for weeks. Check this connection every six months, or whenever the dishwasher leaves a sour smell in the sink. If the hose looks brittle or flattened, a replacement hose costs under 15 dollars and takes 20 minutes to fit with a single screwdriver.
10. Freeze Plain White Vinegar Into Slow Melting Cubes
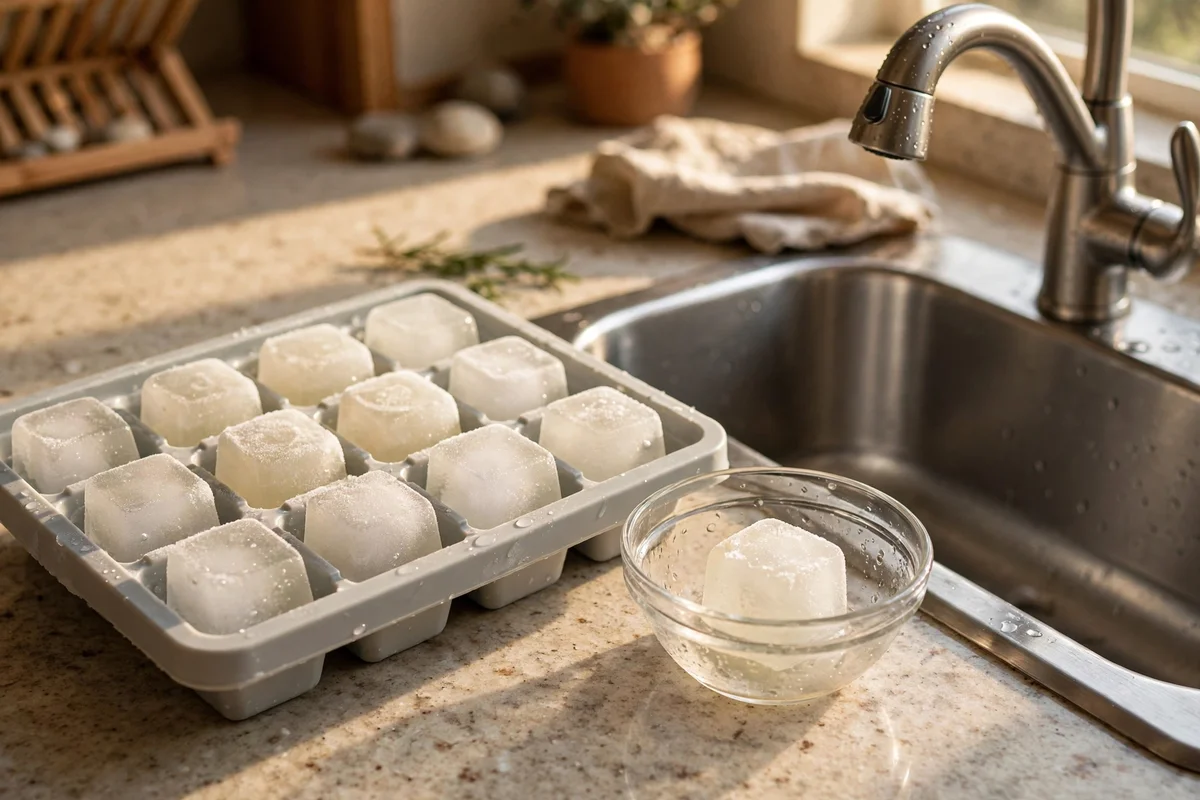
Frozen vinegar cubes combine the scrubbing action of ice with the mild cleaning power of vinegar, melting slowly so the acid works longer inside the chamber. Fill an ice tray three quarters full with plain white vinegar, about 15 ml per slot, and freeze overnight. Drop six to eight cubes into the running disposal with cold water flowing, and let them grind for 45 seconds. The gradual melt coats the walls as the ice scours them, giving you two cleaning actions in one simple step.
Label the tray clearly and store it on a freezer shelf away from food ice, since nobody wants vinegar in a drink. The mistake to avoid is freezing cleaning vinegar with added scents or colors, which can leave residue; plain white distilled vinegar is the only kind to use. A tray of 14 cubes gives you two full cleaning sessions and costs less than a dollar in vinegar. Use these cubes monthly, alternating with the plain ice and salt scrub for variety.
11. Collect Cooking Grease in a Jar and Keep It Out of the Drain
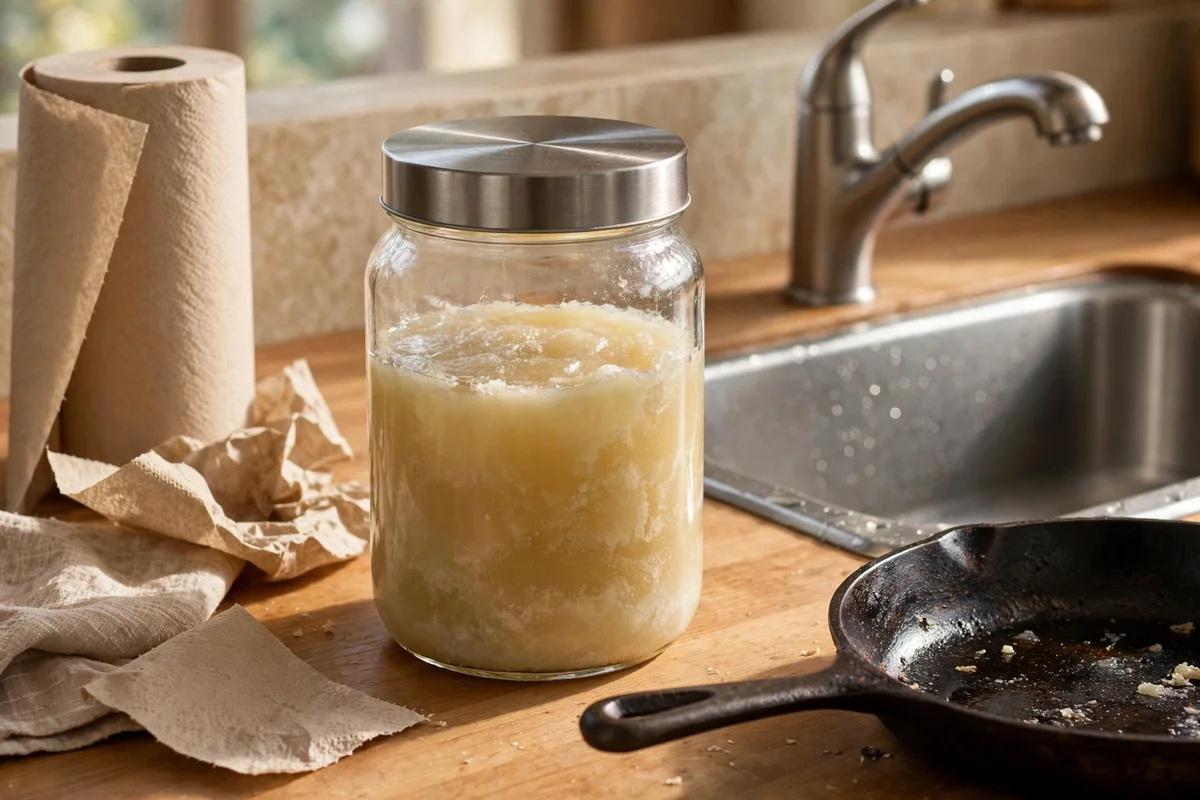
Hot grease looks harmless when liquid, but it cools and hardens inside the disposal chamber and the drain pipe, building a sticky layer that traps food and smells. Pour cooled pan grease into an old glass jar with a lid instead, and store it under the sink until the jar is full. Wipe the pan with a paper towel before washing so only a thin film ever reaches the drain. A full jar goes into the regular bin, and the disposal stays free of the worst clogging substance in any kitchen.
Keep the jar where you can reach it easily, since grease saved beside the stove gets used more often than grease saved in a far cupboard. The mistake to avoid is rinsing a greasy pan with hot water to melt the fat down the drain, because the grease simply resolidifies a metre or two further along the cold pipe. A 500 ml jam jar handles several weeks of normal cooking, and this single habit prevents most serious disposal and drain problems before they start.
12. Keep Bones, Pits and Shells Out of the Grinding Chamber
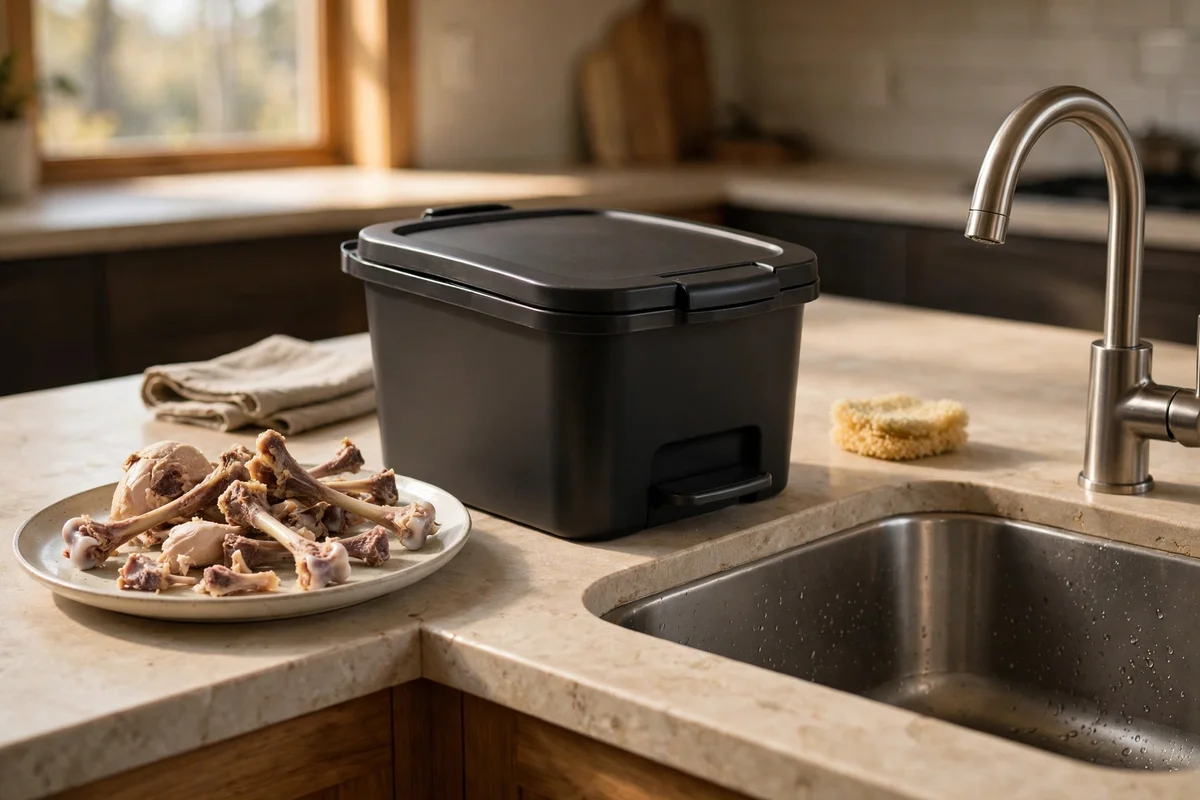
Chicken bones, peach pits, cherry stones and seafood shells are far harder than the stainless grinding ring was designed to handle. They dull the impeller edges, rattle loudly enough to loosen the mounting assembly, and can wedge between the plate and the wall until the motor stalls. Drop bones into the bin or a compost collection point instead, and keep fruit pits out of the sink strainer entirely. Teaching the whole household this rule protects the unit far better than any cleaning trick.
Small fish bones and soft corn cobs might seem safe, but repeated grinding still wears the chamber faster than normal food waste. The mistake to avoid is assuming a loud grinding noise means the unit is working well; rattling usually means something hard is damaging the mechanism. If a bone slips in by accident, switch the unit off, wait for full silence, then use long tongs to retrieve it before running the motor again. A sturdy kitchen bin with a lid beside the sink makes the right choice easy.
13. Keep Celery, Onion Skins and Corn Husks Out of the Unit
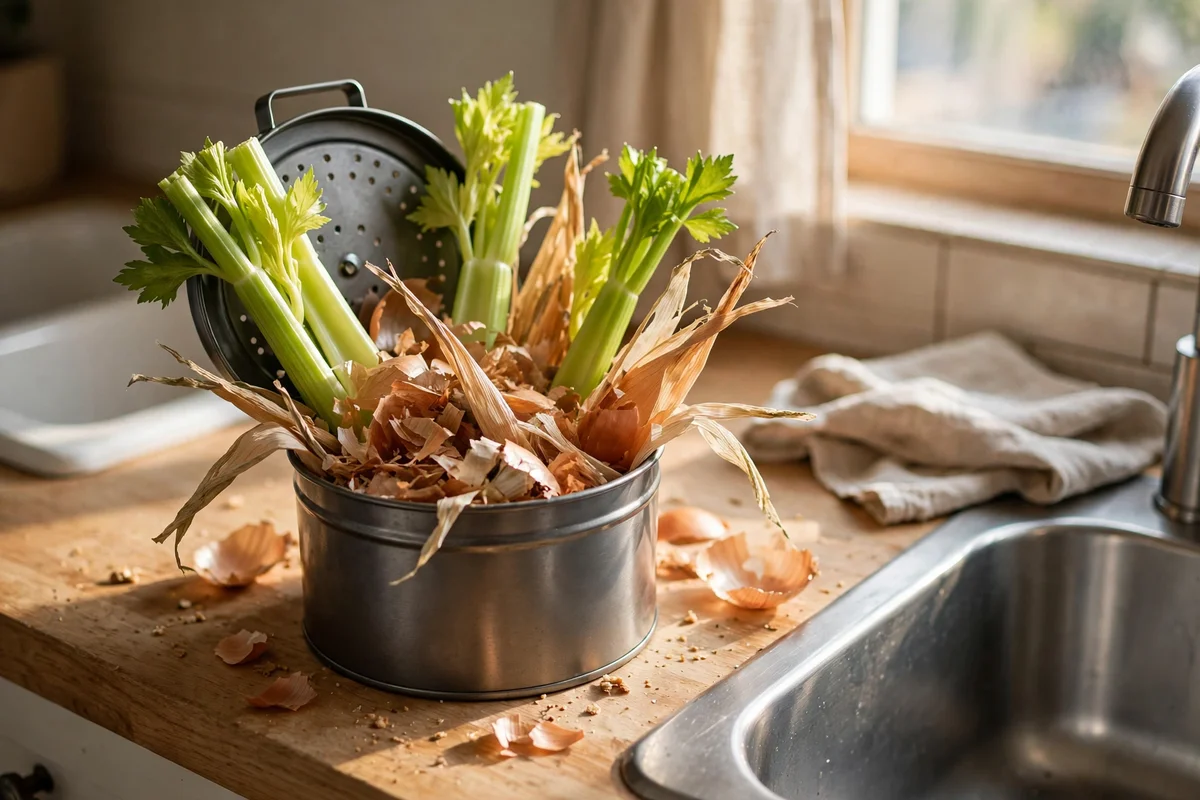
Long fibrous foods like celery stalks, onion skins, corn husks and asparagus ends wrap around the impellers instead of breaking apart. The strands tangle, slow the plate down, and form a mat that traps smaller food and starts to smell within a day. Chop nothing fibrous into the drain; send these scraps to the bin or compost, where they belong. This one rule eliminates the most common cause of sluggish, smelly disposals in busy family kitchens.
Potato peels deserve a special warning, since their starch turns to a thick paste when ground with a little water. The mistake to avoid is grinding a whole bowl of peelings at once, which is the classic recipe for a starchy blockage just past the trap. Peel potatoes over a newspaper or a bowl, then bin the skins. If fibrous waste does slip through, run cold water for two full minutes and grind a tray of ice to help break the strands apart.
14. Toss Coffee Grounds in the Bin Instead of the Drain
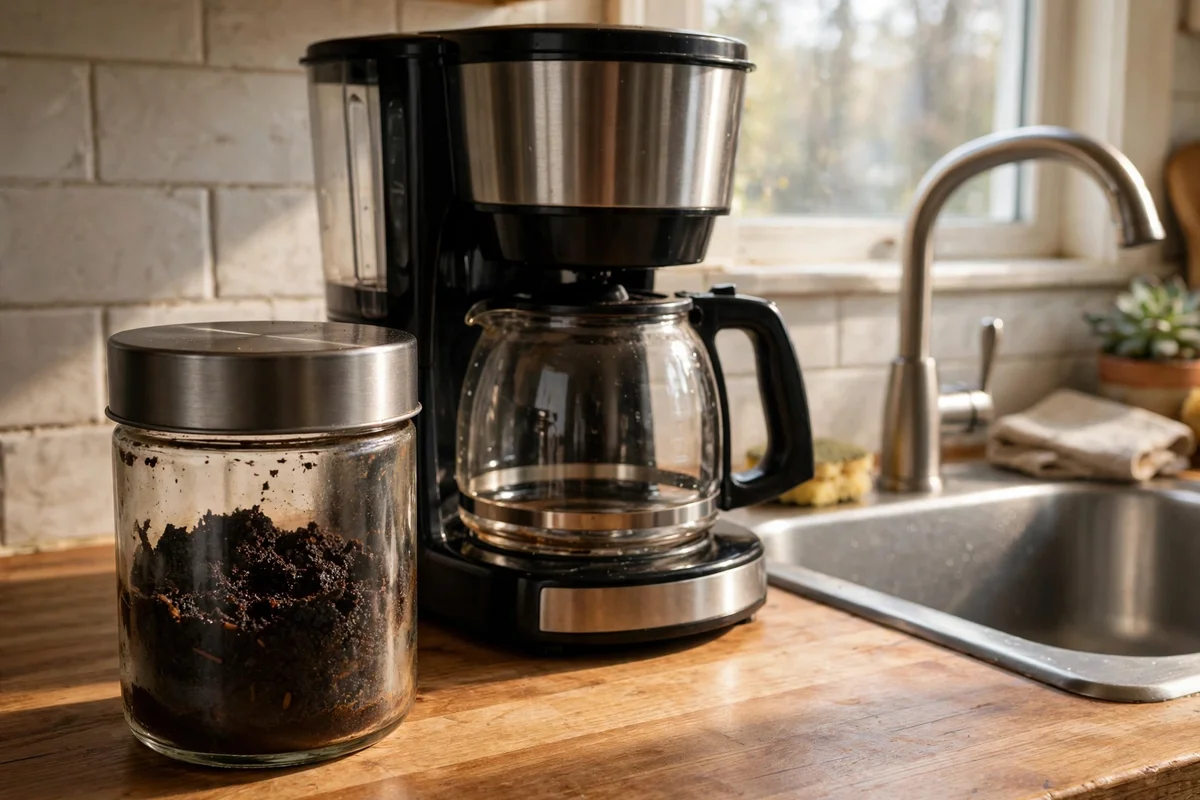
Coffee grounds behave like fine sand in a disposal, settling into the chamber and the drain trap where they pack into a dense, smelly sludge. A few grounds rinsed from a mug are harmless, but a full filter of grounds belongs in the bin or on the compost heap. Shake the filter into a small countertop container kept beside the coffee maker, and empty it daily. This keeps the drain clear and gives your garden or compost a useful, natural addition.
Wet grounds clump together, so never push a damp filter full of grounds down the drain with the tap running. The mistake to avoid is believing grounds scour the pipes clean; they do the opposite, building up exactly where water slows down. If your household brews several pots a day, a lidded 1 litre container by the machine fills in about two days. Rinse the container weekly with hot soapy water so the coffee smell never turns sour on the counter.
15. Switch Off Power at the Breaker Before Any Cleaning
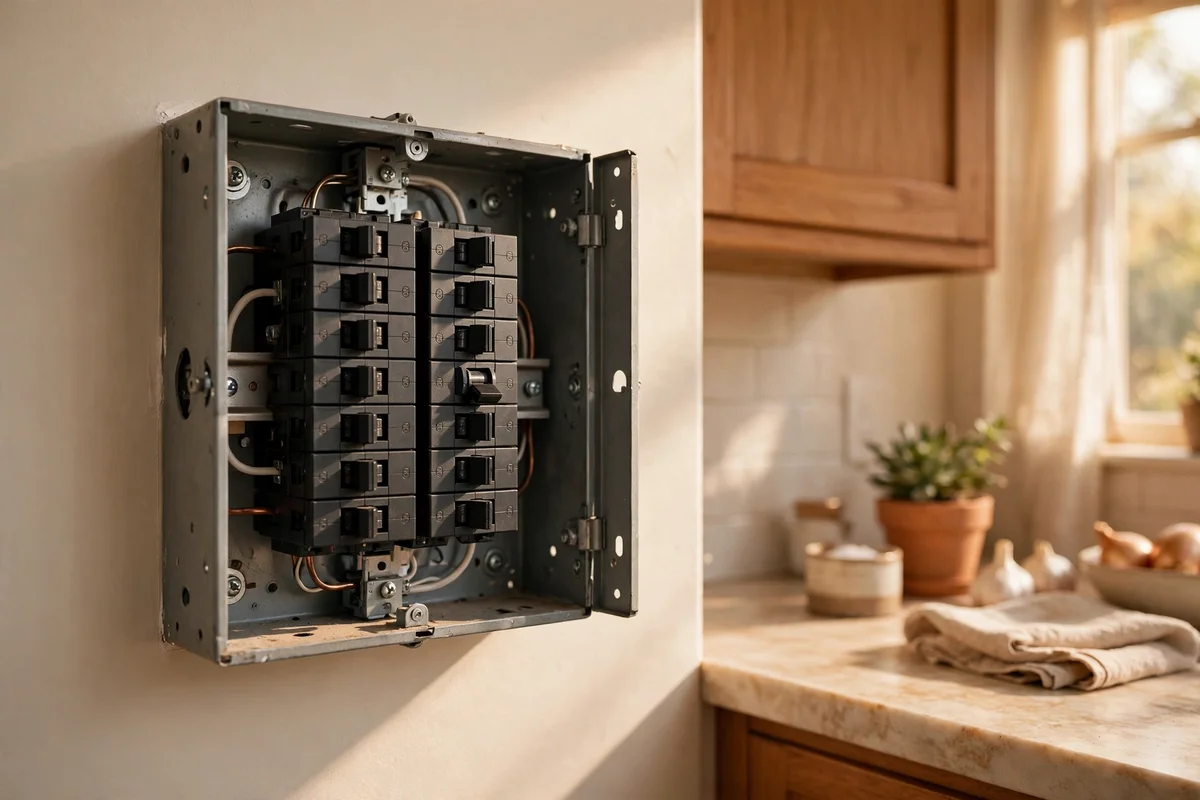
Every cleaning that involves fingers, tools or brushes near the drain mouth starts with the power fully off, not just the wall switch. Find the disposal breaker in your fuse box, switch it off, and test that the wall switch does nothing before you begin. This takes 60 seconds and removes the only real danger in disposal maintenance: a motor that starts while something is inside. Make it a non-negotiable household rule, taught to everyone who uses the kitchen.
Some units plug into a socket under the sink instead of being hardwired; in that case, pull the plug out completely rather than trusting the switch. The mistake to avoid is assuming a jammed, silent unit is safe, because a jammed motor can restart the moment the blockage shifts. Tape a small note to the wall switch while you work as a reminder for others in the house. Restore power only after every tool is out and the drain is clear.
16. Use Tongs and Brushes, Never Fingers, Inside the Unit
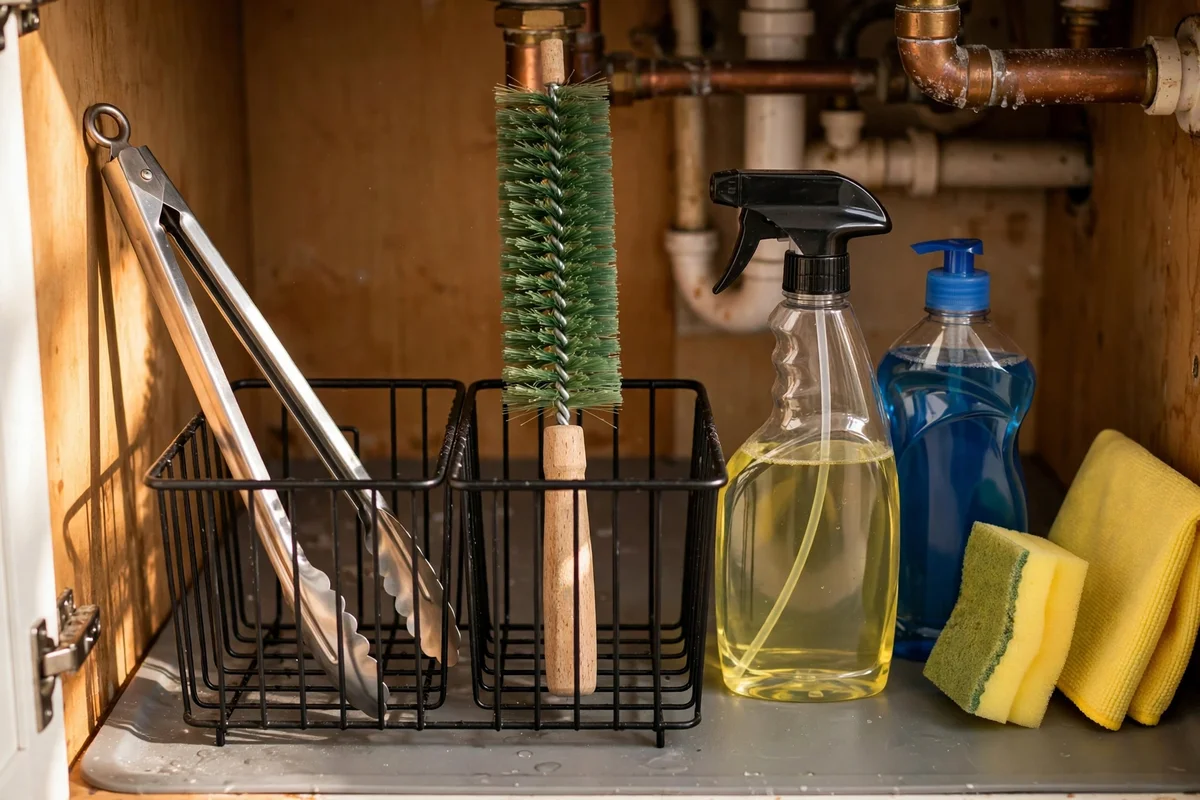
No matter how stopped the unit seems, fingers never go past the splash guard, not even for a quick check. Long kitchen tongs, at least 25 cm, give you a safe grip on anything lodged in the drain mouth, and a bottle brush handles everything deeper. Work slowly, with the power off at the breaker, and keep your free hand on the tap handle rather than near the drain. This single habit prevents nearly every serious disposal injury reported in home kitchens.
Keep a dedicated pair of long tongs in the under-sink caddy, marked with a colored band so they never migrate to food use. The mistake to avoid is reaching in with a spoon or fork while the power is still on, which puts metal near a motor that can start instantly. If tongs cannot grip the object, switch the approach: use the hex key method for jams or call a plumber rather than improvising. Safe tools cost little and last for years.
17. Run a Strong Stream of Cold Water While Grinding
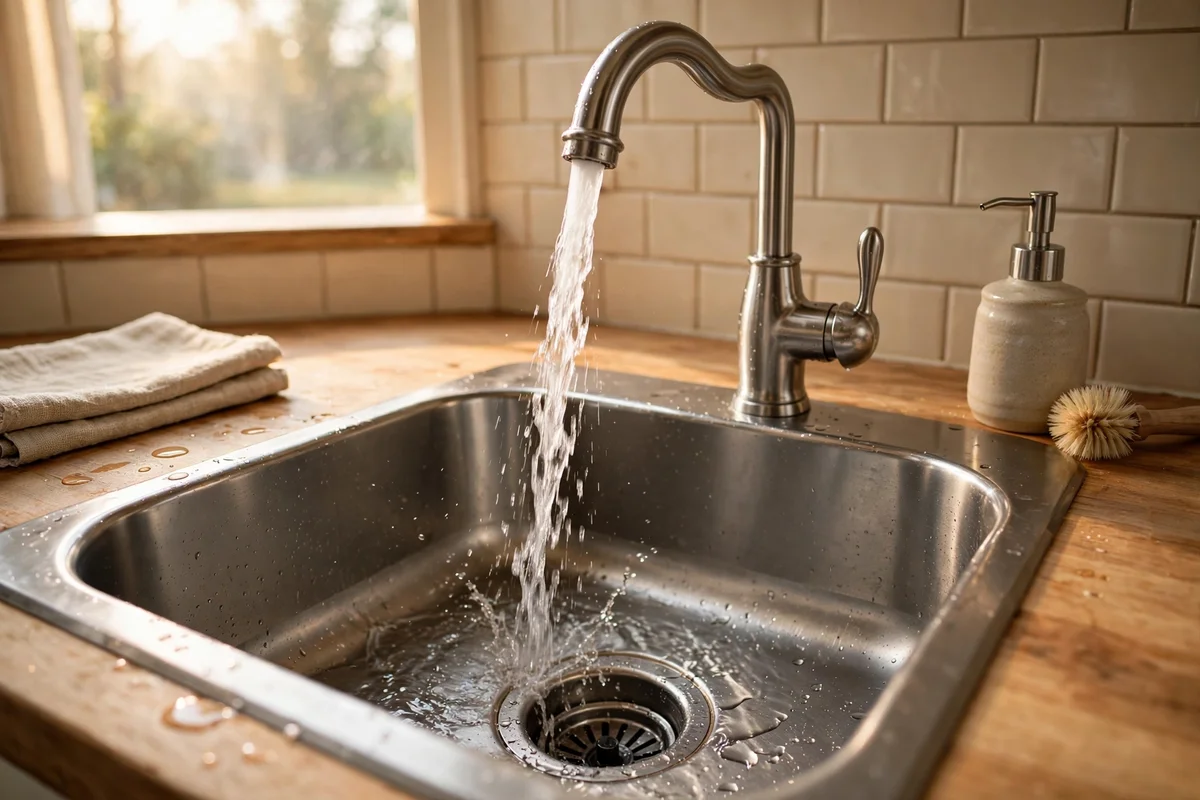
Cold water keeps fats solid so the impellers can break them into tiny pieces and flush them away, while hot water melts fat that later hardens further down the pipe. Turn the cold tap to a strong, steady stream before switching the unit on, and keep it running for at least 30 seconds after the grinding sound stops. This simple timing flushes every particle past the trap and into the wider drain, where it cannot settle and smell.
A weak trickle is not enough, since food needs real flow to travel the full pipe length. The mistake to avoid is running hot water because it feels like better cleaning; for grease, hot water is the enemy that moves the problem deeper. Teach everyone in the kitchen the same order: cold water on, disposal on, food in, grinding done, water runs 30 more seconds, then off. This sequence costs nothing and prevents most smell and clog complaints.
18. Skip Eggshells: the Blade Sharpening Myth Debunked
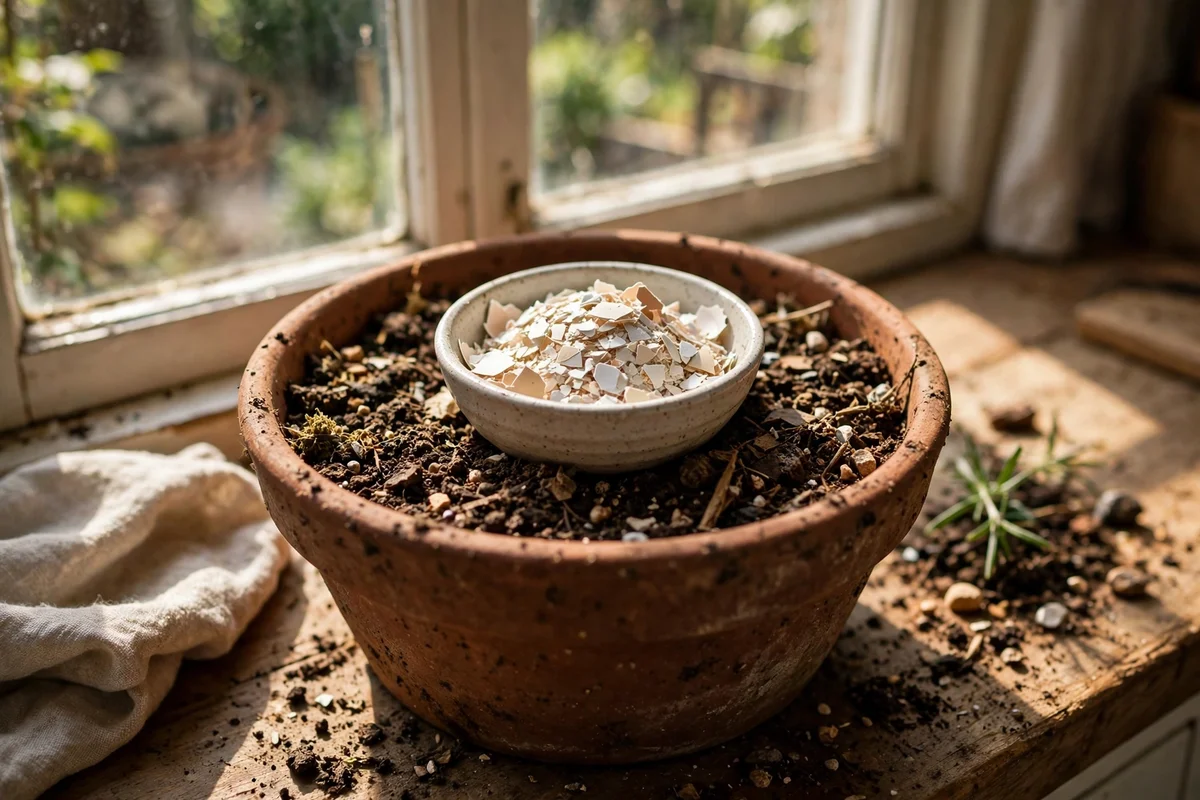
Here is the honest truth: garbage disposals have no blades to sharpen. They use blunt impellers on a spinning plate that smash food against a fixed grinding ring, so nothing inside needs honing. Eggshells do not sharpen anything; their gritty membrane simply adds to the sludge already in the chamber and can make smells worse. Spread crushed shells on garden soil or bin them, and skip the old advice entirely.
The myth survives because eggshells make a loud grinding noise that sounds productive. The mistake to avoid is grinding a dozen shells to fix a dull unit, which only packs the drain with membrane and calcium dust. If grinding seems weak, the real cause is usually a worn splash guard, a loose mounting, or food the unit was never meant to handle. Clean the chamber properly, feed only suitable scraps, and the unit will run as well as its design allows.
19. Clear Jams With the Hex Key Beneath the Unit
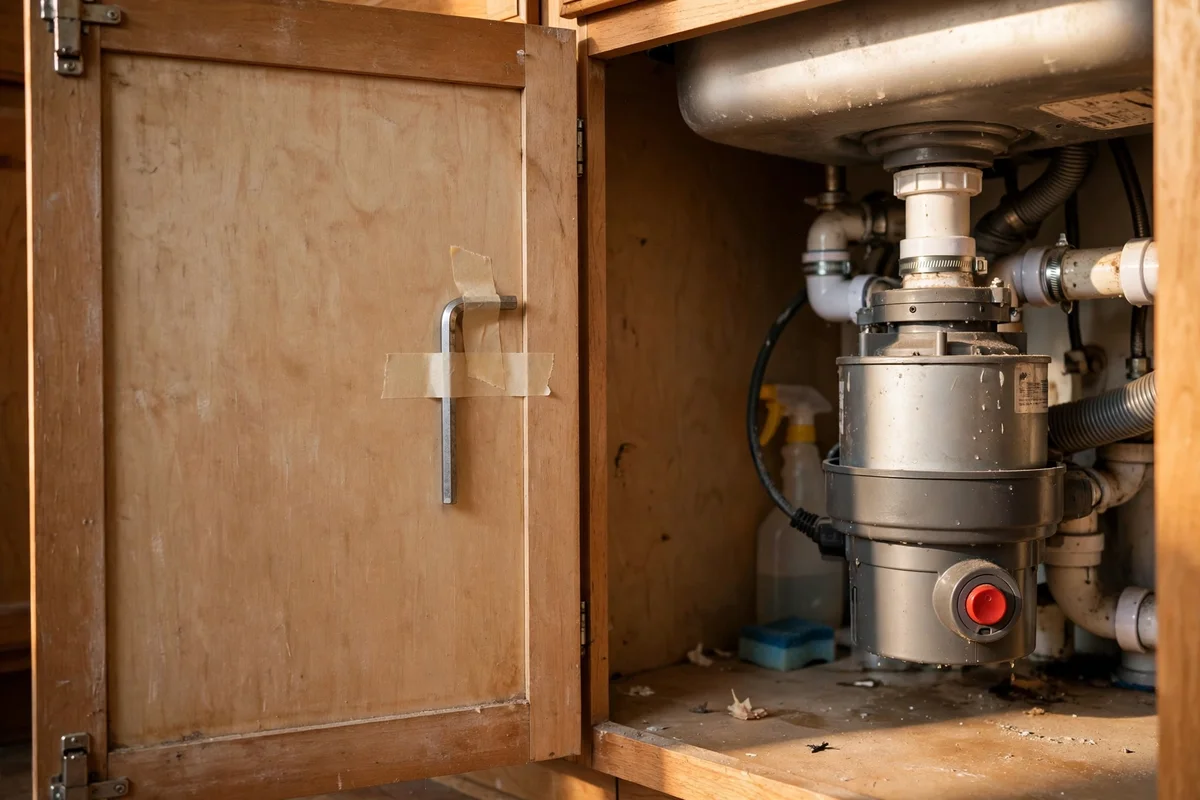
Most disposals include a small hex key, often called an Allen wrench, that fits a socket in the center of the unit’s underside. With the power off at the breaker, insert the key and work it back and forth to manually turn the impeller plate and free whatever wedged it. Then press the small red reset button on the bottom of the unit, restore power, and run cold water to test. This five minute fix resolves most jams without a plumber.
Store the hex key taped to the inside of the under-sink cabinet door so it is there when you need it. The mistake to avoid is pressing the reset button repeatedly while the jam is still in place, which overheats the motor and can burn it out. If the key will not turn the plate at all, stop and call a professional rather than forcing it. After any jam, grind a tray of ice cubes to clear loosened debris and confirm the unit runs smoothly again.
20. Set a Monthly Five Minute Deep Clean Routine
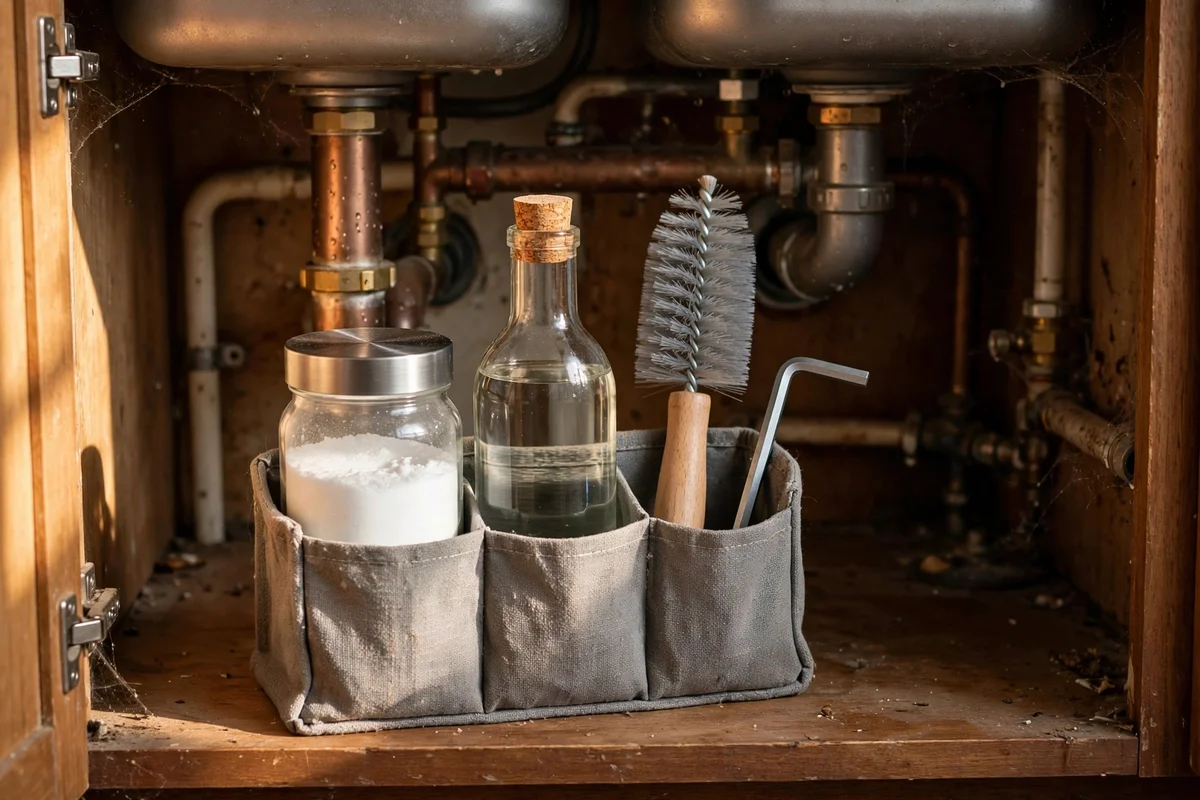
A short monthly routine keeps the disposal quiet and sweet smelling with almost no effort. Start with the power off: scrub the splash guard flaps and the flange ring with soapy water, then restore power and grind two trays of ice with half a cup of coarse salt. Follow with lemon halves or citrus peels, then finish with half a cup of baking soda left overnight. Five minutes of active work, spread across one evening, covers every surface that causes smells.
Pick a fixed date, like the first Sunday of the month, so the routine never slips. The mistake to avoid is doing the whole routine with hot water running, which undermines the ice scrub and melts grease deeper into the pipes. Keep a small caddy under the sink with baking soda, white vinegar, a bottle brush and the hex key, so everything is within reach. After three months of this routine, most owners report a noticeably quieter and fresher sink.
21. Scrape Plates Into the Bin Before Rinsing at the Sink
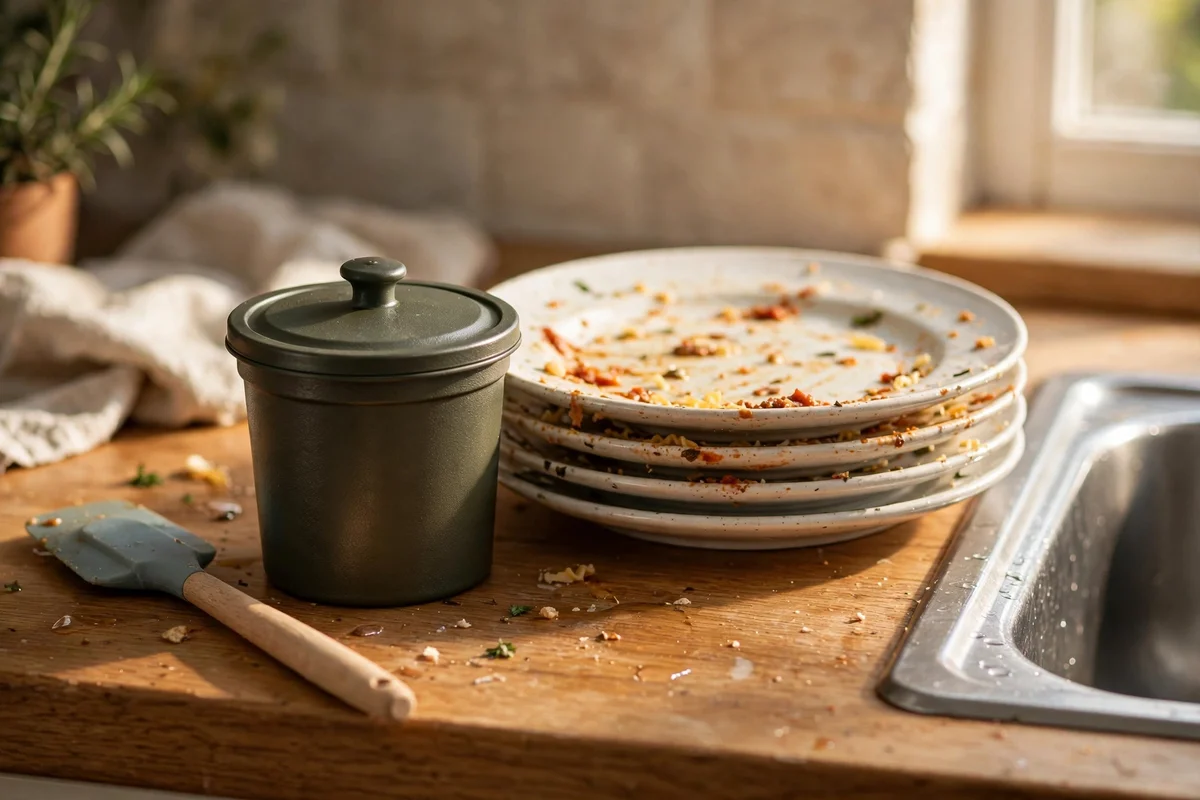
The easiest way to keep a disposal fresh is to send less food down it in the first place. Scrape every plate, bowl and pan into the bin or compost with a silicone spatula before anything touches the sink. The disposal then handles only the thin residue left after scraping, which grinds quickly and flushes clean. This habit cuts the food load by more than half and keeps the chamber from building the thick residue that causes most odors.
Keep a small lidded bin or compost caddy on the counter within arm’s reach of the sink, since convenience decides whether the habit survives. The mistake to avoid is rinsing a full plate of leftovers down the drain because it feels faster; that shortcut fills the chamber with the exact waste that rots and smells. A 5 litre countertop caddy empties into the main bin every day or two. Families that adopt this step often find the disposal needs deep cleaning far less often.
22. Wash the Sink Basin So the Whole Area Smells Fresh
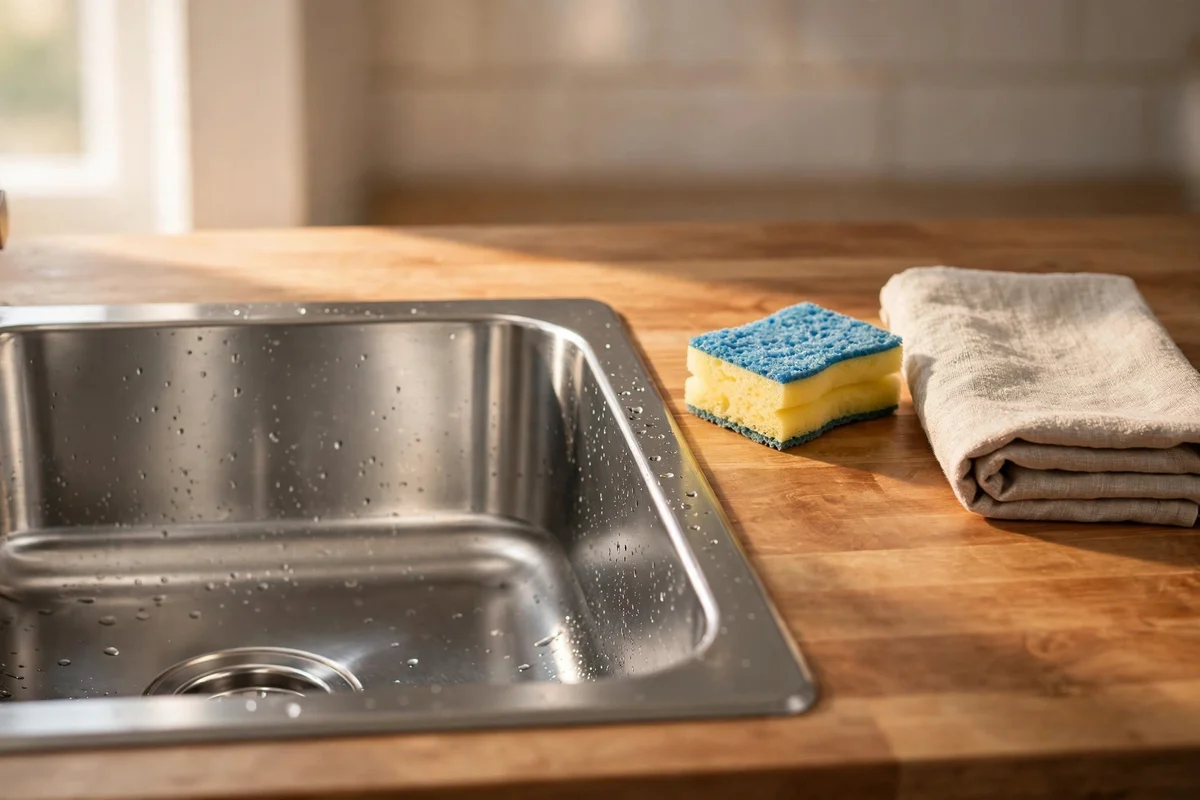
A spotless disposal still smells bad if the sink basin around it holds a film of dried soap, food splatter and hard water. Wash the whole basin weekly with warm water, dish soap and a non-scratch sponge, working from the far edges toward the drain. Rinse thoroughly, then dry with a clean towel to stop water spots and slow new buildup. This ten minute job makes the disposal area look cared for and keeps stray smells from settling back into the drain.
Stainless basins benefit from a wipe with a cloth dampened in white vinegar after washing, which lifts water spots and leaves a soft shine. The mistake to avoid is leaving the basin wet overnight, since standing droplets breed the same musty smell you just cleaned out of the drain. Shake excess water from the sponge and store it upright in a ventilated holder. A clean basin, a scrubbed flange and a fresh disposal together create a sink that smells sweet every time you walk past.
A fresh smelling disposal is mostly a matter of routine, not strong products. The ice and salt scrub clears the chamber, citrus peels keep the air light, and baking soda handles the smells that settle overnight. Keep grease, bones, fibrous scraps and coffee grounds out of the drain, run cold water every time you grind, and the unit will stay quiet and clean for years. Small habits, done regularly, beat one heroic deep clean every time.
If you do one thing this week, grind two trays of ice cubes with half a cup of coarse salt while the cold water runs. It takes two minutes, costs nothing, and you will hear the difference immediately as the chamber clears. Once that is done, set a monthly reminder for the full routine and keep the grease jar by the stove. Your sink will thank you every time you walk into the kitchen.
Frequently Asked Questions
How often should I clean my garbage disposal?
Give it a quick freshness check weekly and a proper deep clean monthly. Weekly, grind lemon halves or citrus peels with cold water running. Monthly, do the full routine: splash guard scrub, flange wipe, ice and salt grind, and an overnight baking soda treatment. Kitchens that cook daily may need the monthly routine every three weeks. Daily plate scraping and cold water flushing do most of the quiet maintenance between sessions.
Can I use bleach to clean my garbage disposal?
Skip the bleach. It dries out the rubber splash guard, corrodes metal parts over time, and its fumes linger in the kitchen. Baking soda, white vinegar, ice, salt and citrus handle smells safely and cost far less. If a smell survives all of those treatments, the problem is usually trapped food under the splash guard or in the dishwasher hose, which a brush and soapy water fix better than any chemical.
Why does my disposal smell even after I run it?
The smell usually lives above the grinding chamber, on the underside of the splash guard flaps or around the flange ring, where running water never reaches. Switch the power off and scrub those areas with a bottle brush and soapy water. Grease baked onto the chamber walls is another common culprit; the ice and salt scrub removes it. Check the dishwasher hose connection too, since trapped water there turns sour quickly.
Is it safe to put my hand in the disposal to remove something?
Never. Always switch the power off at the breaker first, then use long tongs or a bottle brush to retrieve the object. A jammed unit can restart the moment the blockage shifts, so a silent motor is not a safe motor. If tongs cannot reach it, use the hex key underneath to turn the plate manually, or call a plumber. Keep fingers out of the drain every single time.
What should I never put down the garbage disposal?
Keep out grease, bones, fruit pits, shells, fibrous foods like celery and corn husks, potato peels in quantity, coffee grounds, and anything non-food such as twist ties or glass. These either harden in the pipes, wrap around the impellers, or wear the grinding ring. Stick to small amounts of soft food scraps, always with cold water running, and scrape plates into the bin first.