Kitchen
22 Kitchen Counter Styling Ideas That Keep Worktops Beautiful and Ready to Cook On
By Anna Wells · · 18 min read
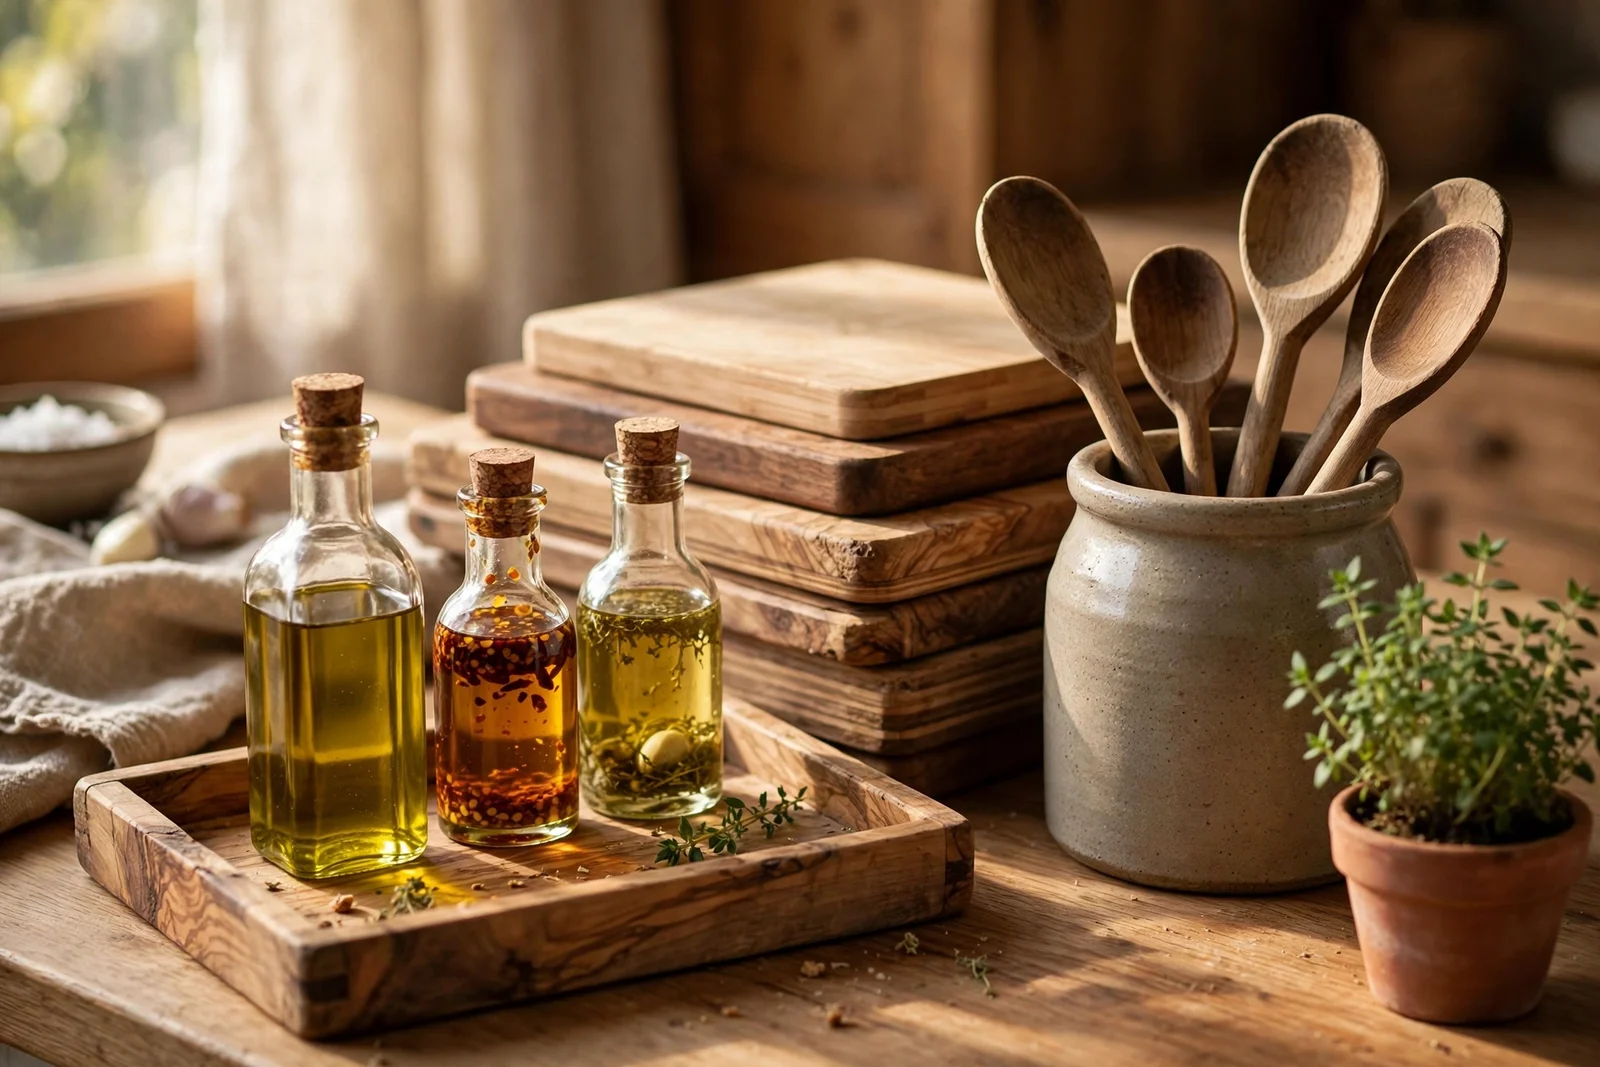
Discover 22 practical kitchen counter styling ideas that keep worktops beautiful, organised and ready to cook on, from trays and zones to the nightly reset.
Morning light slides across a clear worktop, catching the edge of a wooden board and the curve of a stoneware crock. The kettle is already warm, the oil tray waits by the hob, and there is space to actually cook. This is the quiet promise of a styled counter: beauty that comes from everything having a place.
Kitchen counter styling is not about filling every centimetre with pretty objects. It is about editing: keeping work zones clear, grouping daily tools on trays, and hiding the rest behind cupboard doors. The result looks calm and welcoming, and it makes cooking easier because nothing fights for space.
These 22 ideas cover the whole approach, from zoning the counter and setting up a tea corner to the nightly five minute reset that keeps it all in place. Every idea is practical, sized for real kitchens, and budget friendly, with small kitchen variations throughout.
1. Zone the Counter Into Cooking, Prep and Storage Areas
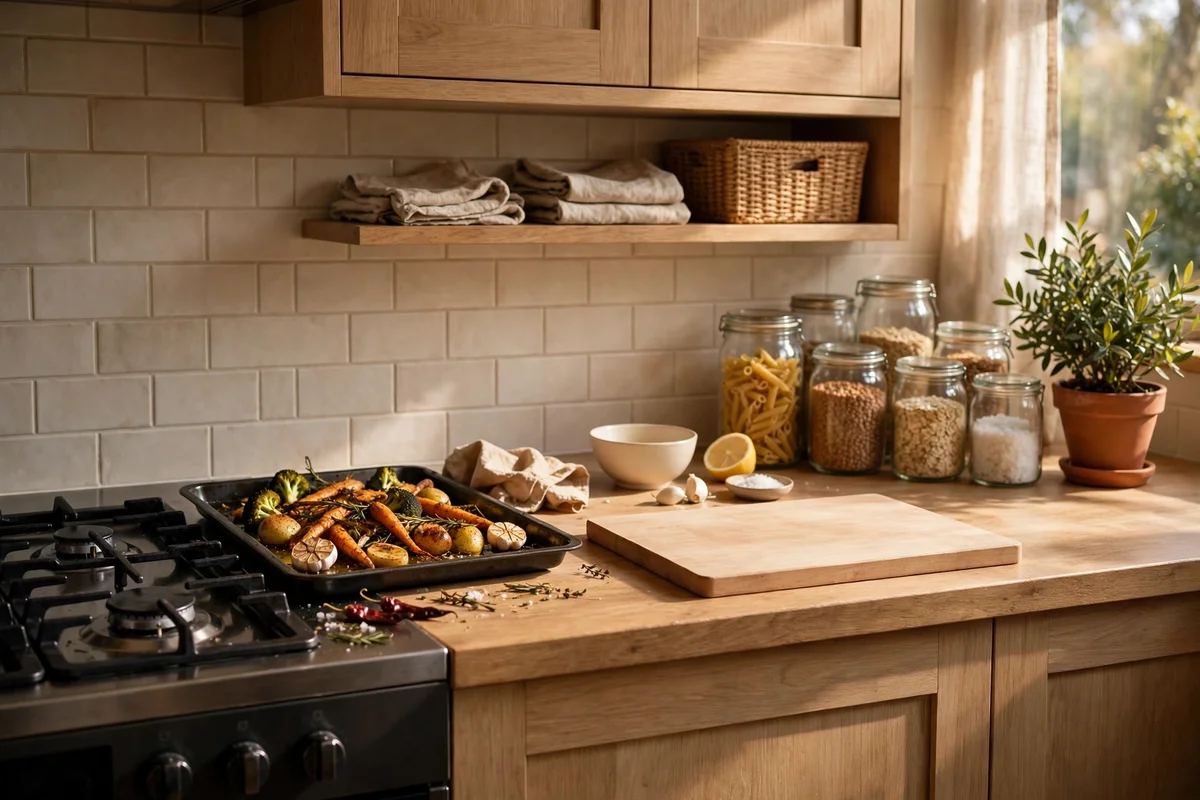
Start by deciding which stretch of counter does what, because a worktop without zones becomes a general dumping ground. Reserve the area beside the hob for cooking tools, the longest clear run for chopping and mixing, and the far end near the wall for storage pieces like jars and a plant. Mark these zones mentally rather than with physical dividers, and resist letting storage creep into the prep area. A clear mental map keeps cooking relaxed, and guests can find the tea things without asking where anything lives.
Measure each zone before buying anything, since a prep run shorter than 60 cm gets frustrating fast. If the cooking zone is tight, keep only the tray of oils there and shift everything else along. The common mistake is treating the whole counter as one flexible space, which means every job borrows from everywhere and nothing stays tidy. Return each item to its zone after use, and the counter practically styles itself between meals.
2. Keep a Clear Landing Strip Beside the Hob
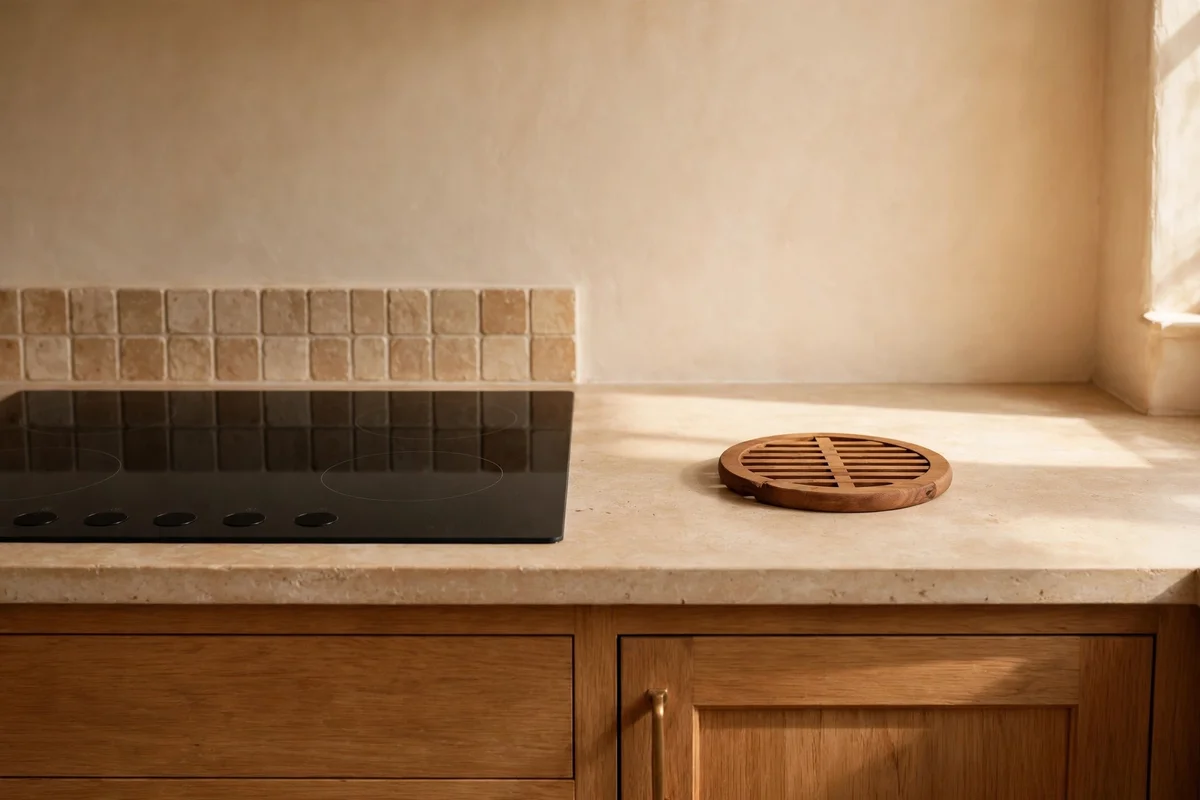
Leave a 40 to 50 cm strip of clear counter directly beside the hob for hot pans, lids and spoons in mid-cook moments. This landing strip is the most used real estate in the kitchen, so it should hold nothing decorative and nothing flammable. A heatproof trivet can live here permanently, chosen in wood or cast iron to suit the palette, but keep everything else off. When the strip stays clear, cooking feels calm instead of frantic.
Train the household that this strip is a tool zone, not a storage zone: no post, no fruit bowl, no charging cables. Wipe it down while the hob cools, since a quick 30 second wipe prevents grease building into a sticky film. The mistake to avoid is letting the strip collect spice jars, because reaching past hot pans to grab paprika is how accidents happen. Keep seasonings on their tray a little further along instead.
3. Set a Tray by the Hob for Oils, Salt and Everyday Seasonings
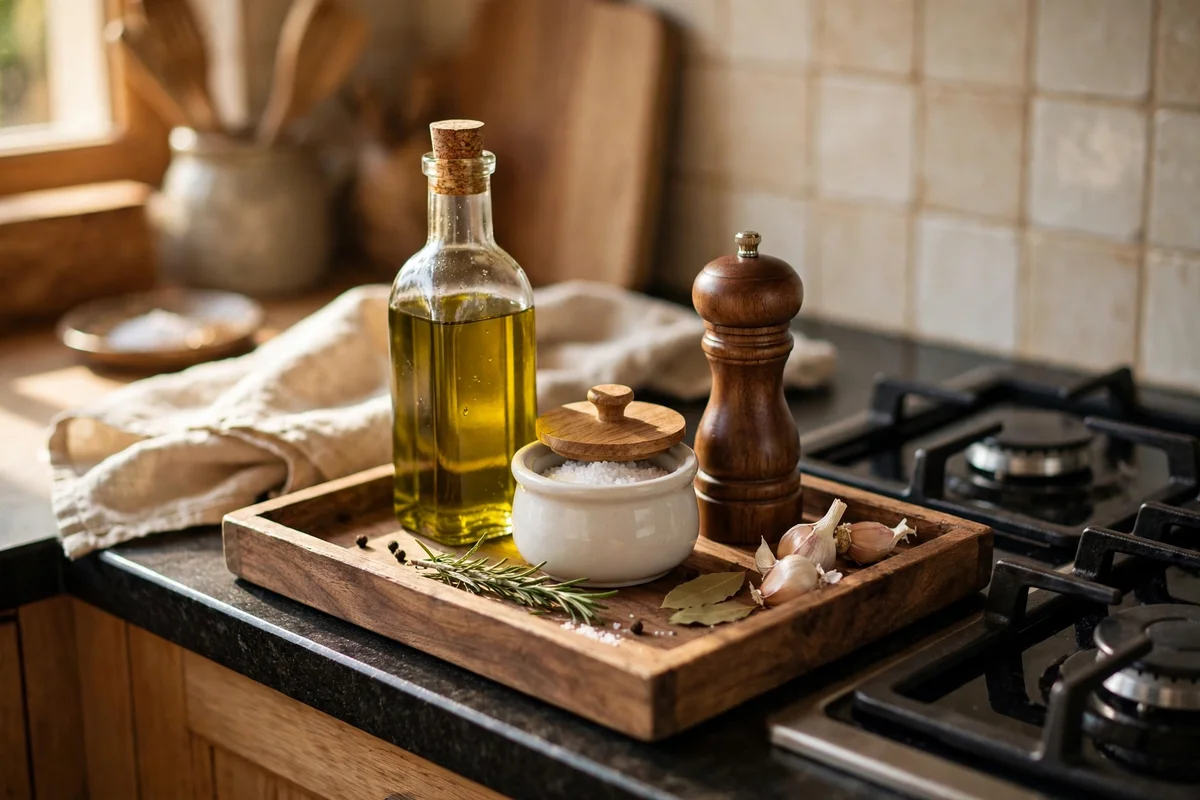
A small tray beside the hob gathers the everyday cooking essentials into one tidy group instead of a scattered row of bottles. Choose a tray 25 to 35 cm wide in wood, marble or enamel, and limit it to four or five items: olive oil, cooking oil, a salt cellar, pepper, and one spice you reach for daily. The tray contains drips, wipes clean in seconds, and moves to the table when you serve.
Keep bottle heights varied for a pleasing silhouette, and refill from bulk bottles stored in a cupboard so the tray never holds half empty clutter. The mistake is letting the tray grow into a second spice rack, so audit it monthly and retire anything unused for two weeks. Budget tip: a simple beech tray plus a small salt cellar costs under 15 pounds or dollars and looks far more considered than a row of mismatched bottles.
4. Fill a Stoneware Crock With Wooden Spoons and Spatulas
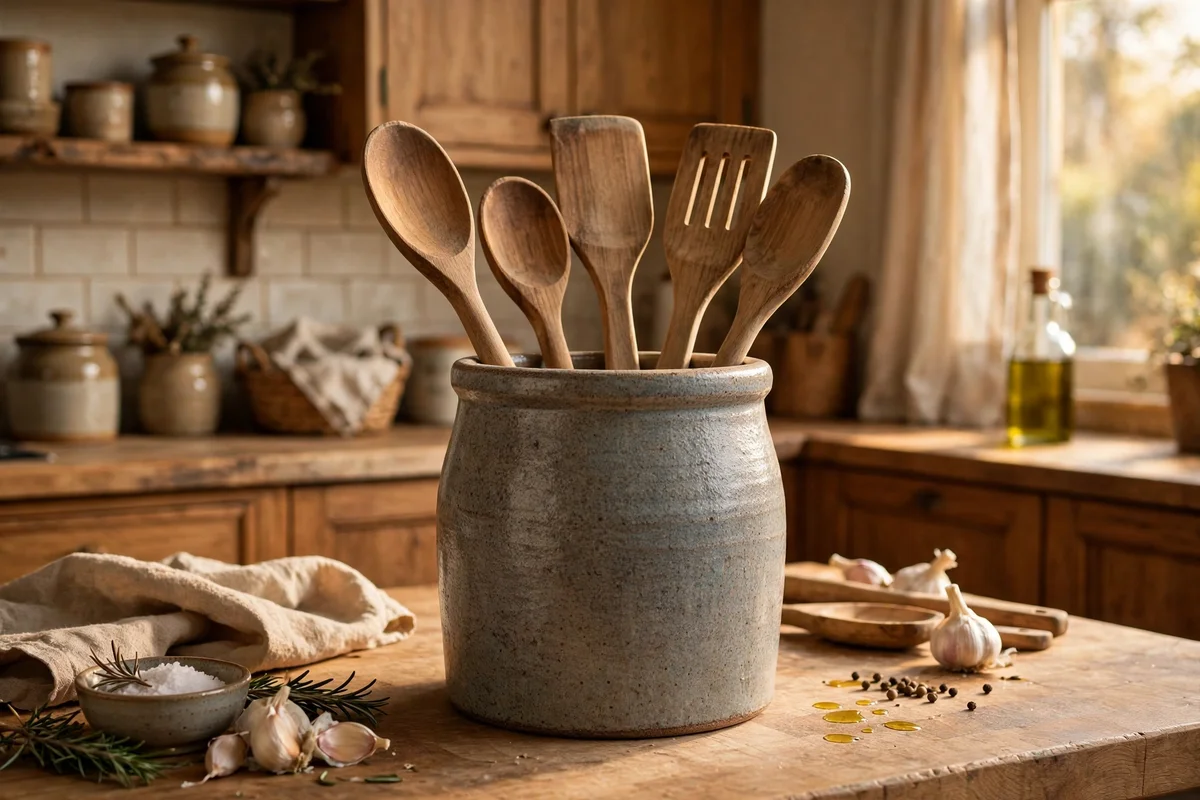
A stoneware crock turns essential cooking tools into a handsome display that keeps them within arm’s reach of the hob. Choose one 15 to 20 cm tall with a wide mouth so spoons fan out instead of tangling, and fill it with eight to ten tools you genuinely use: wooden spoons, a spatula, a ladle and tongs. Place it just behind the oil tray so the cooking cluster reads as one intentional arrangement.
Skip tools you never touch, because a crock stuffed with 20 implements looks cluttered and the middle ones go dusty. Wash wooden tools by hand and dry them standing up so moisture escapes, which keeps them from cracking. The common mistake is buying a crock too tall for short counters, where it crowds under wall cabinets; measure the gap first, leaving 5 cm clearance above. One good stoneware crock outlasts years of daily use.
5. Layer Two or Three Chopping Boards Against the Splashback
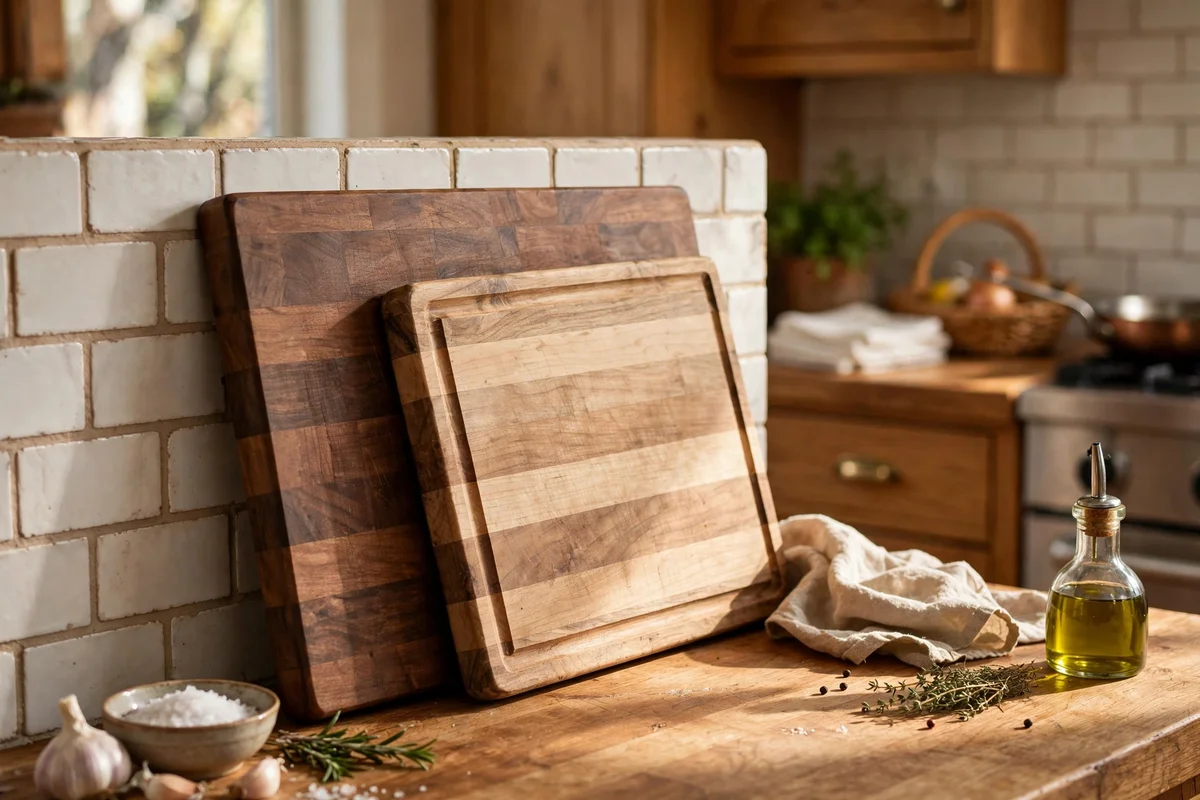
Lean two or three chopping boards against the splashback to create a warm wooden backdrop that doubles as ready to use prep tools. Vary the sizes, for example a large 45 cm board behind a medium 35 cm one, and mix tones like beech with darker walnut for depth. They should overlap slightly, not stand in a perfect row, and sit in the prep zone rather than beside the hob where grease lands.
Choose boards with handles or hanging holes for an easy lift, and keep them hand washed and oiled with food-safe mineral oil every few months so the wood stays rich. The mistake is using display only boards you never cut on, since they gather dust and waste a job opportunity; boards that work earn their place. If space is tight, one large board propped at a slight angle still gives the layered look.
6. Add One Living Plant to the Back Corner
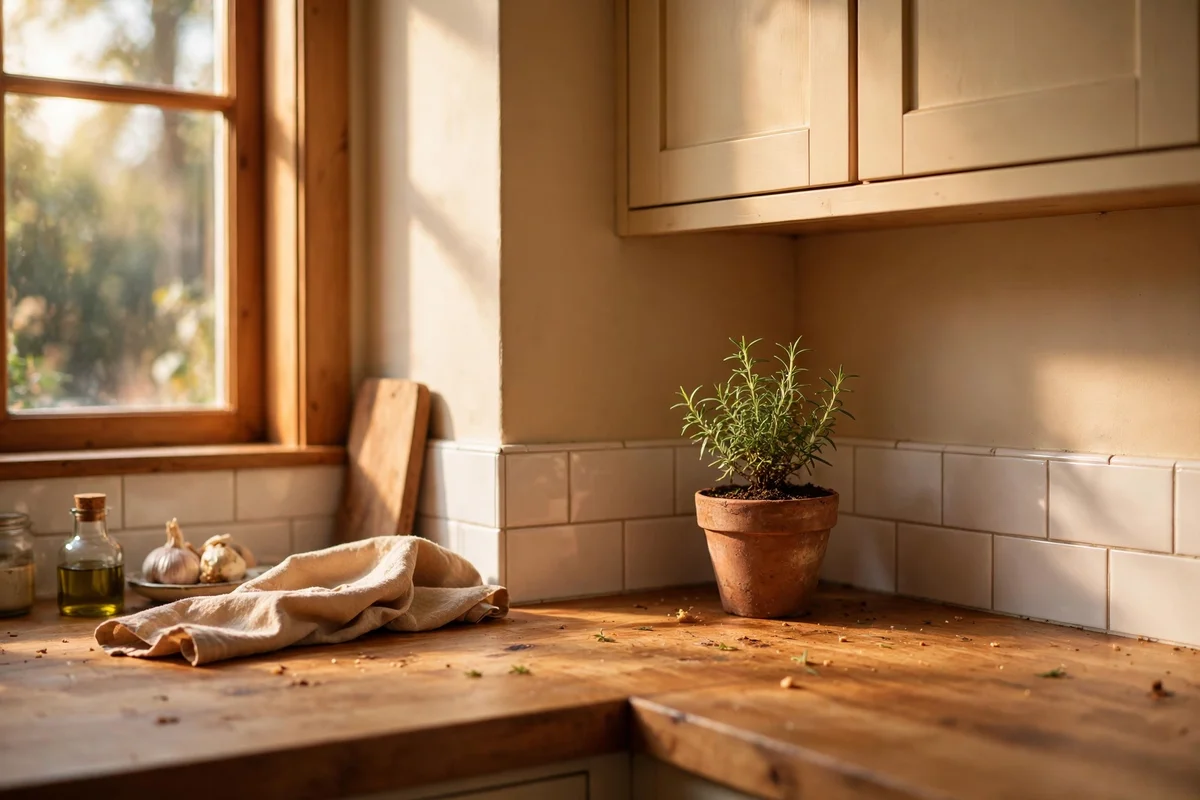
One living plant softens the hard edges of appliances and brings a touch of the garden to the worktop. A small potted herb like thyme or a compact trailing pothos suits the back corner where it gets light without blocking the prep run. Keep the pot 12 to 15 cm across so it reads as an accent, and choose a terracotta or simple ceramic pot that matches the kitchen palette.
Water only when the top 2 cm of soil feels dry, and rotate the pot weekly so it grows evenly. The mistake is adding three or four plants, which turns the counter into a nursery and steals prep space; one plant is the rule. In low light kitchens choose a hardy snake plant cutting in a small jar of water, refreshed weekly. A single green note makes the whole counter feel cared for.
7. Place a Small Lamp on a Wide Counter for Evening Warmth
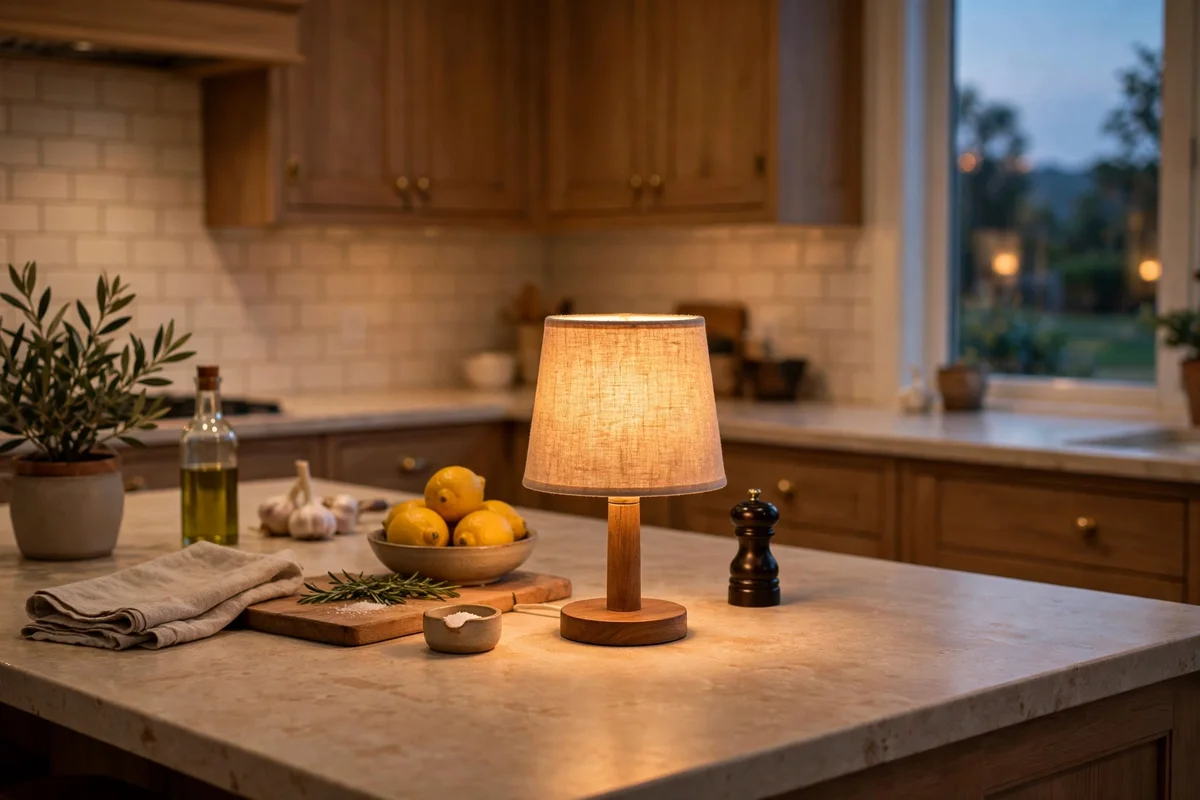
On counters 60 cm deep or wider, a small lamp at the far end turns evening kitchens warm and welcoming. Choose a lamp 25 to 35 cm tall with an opaque or linen shade that diffuses a 2700K bulb softly, and position it where the shade sits clear of wall cabinets. The pool of light makes late tea making and snack prep feel gentle, and it doubles as a night light for the room.
Run the cable neatly along the splashback with small adhesive clips so no wire trails across the work surface. The mistake is picking a lamp that is too tall or too bright, which glares off worktops and competes with cooking lights; dim and low is the goal. Budget tip: a small second hand lamp with a new warm bulb costs very little and transforms winter evenings completely.
8. Create a Tea and Coffee Corner With Everything in Reach
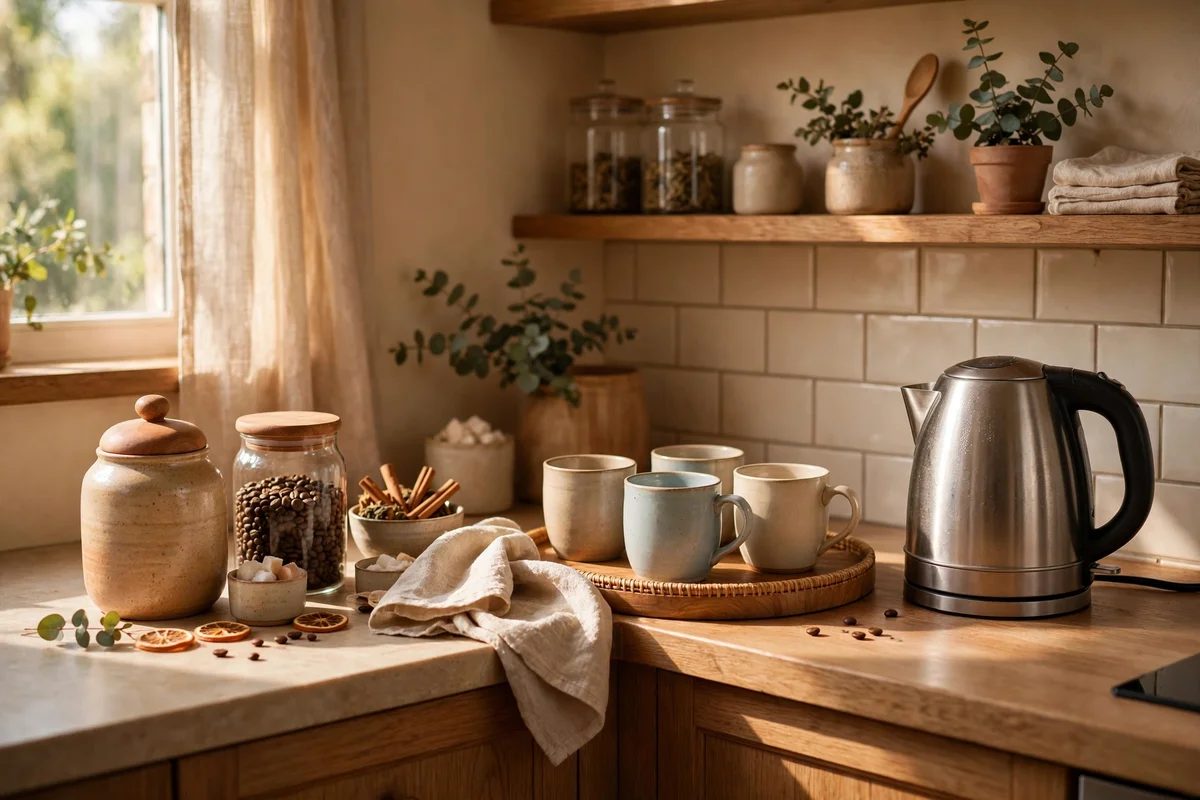
Group the kettle, a small tray of mugs, and a lidded jar of tea bags or coffee into one compact corner so morning drinks need no hunting. Keep the corner within one 60 cm square near the sink or a power point, with mugs on a tray and the kettle at the back. Limit it to four mugs on the counter; the rest belong in a cupboard.
Add a tiny sugar bowl or honey jar and one cloth for spills, then stop: this corner works because it is disciplined. The mistake is letting the coffee corner spread across the whole counter with extra gadgets, so keep milk and extras in the fridge door instead. A nightly wipe of this corner keeps morning starts calm, and guests can help themselves without opening cupboards.
9. Hide Small Appliances Inside a Deep Cupboard Shelf
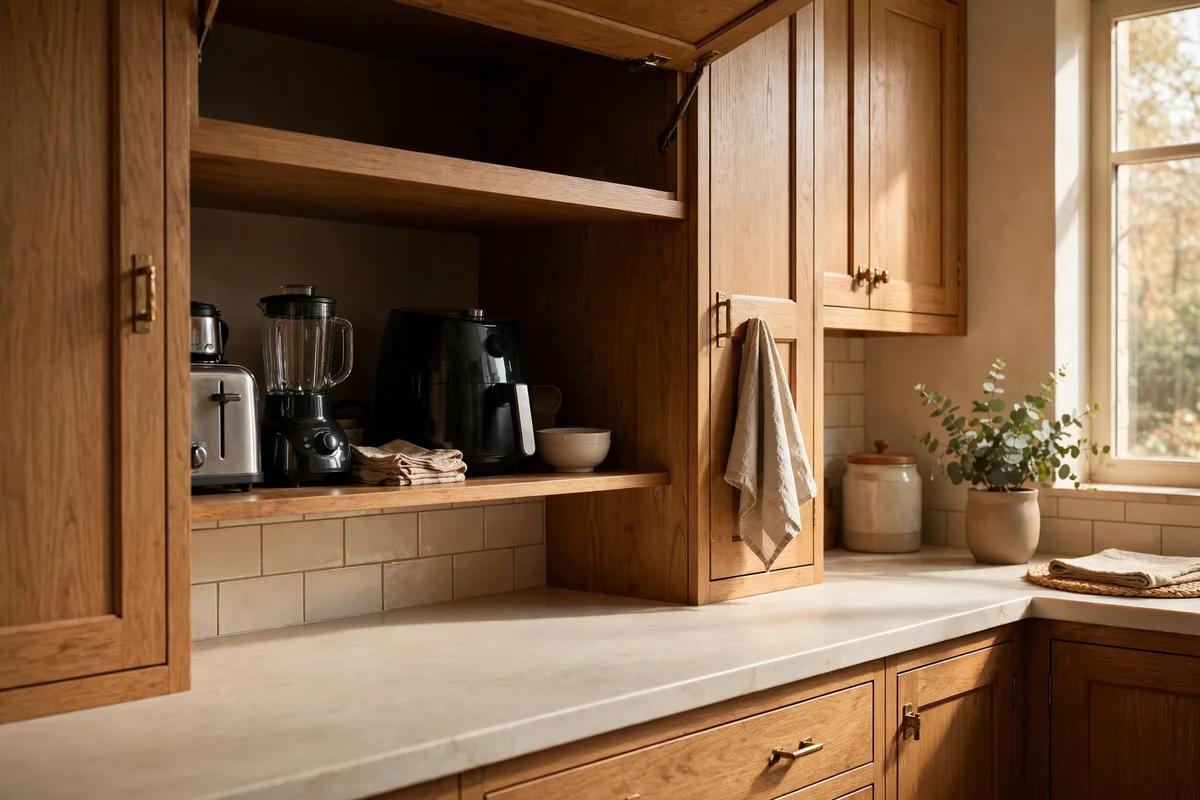
Toasters, blenders and mixers earn their keep weekly but look cluttered out daily, so give them a home inside a deep cupboard or a dedicated appliance shelf. Measure the tallest item plus its plug and cord, then clear one shelf 35 to 40 cm deep where each appliance slides straight out. Keep the daily kettle and one other out; everything else waits behind a door.
Store each appliance with its attachments together in a small box so nothing wanders. The mistake is keeping appliances you use twice a year on prime shelf space; move those to a high cupboard and free the easy reach zone. If cupboard space is short, a freestanding pantry cabinet beside the kitchen holds four to six appliances for a modest cost and keeps counters completely clear.
10. Corral Clutter Onto a Wooden Tray Near the Sink
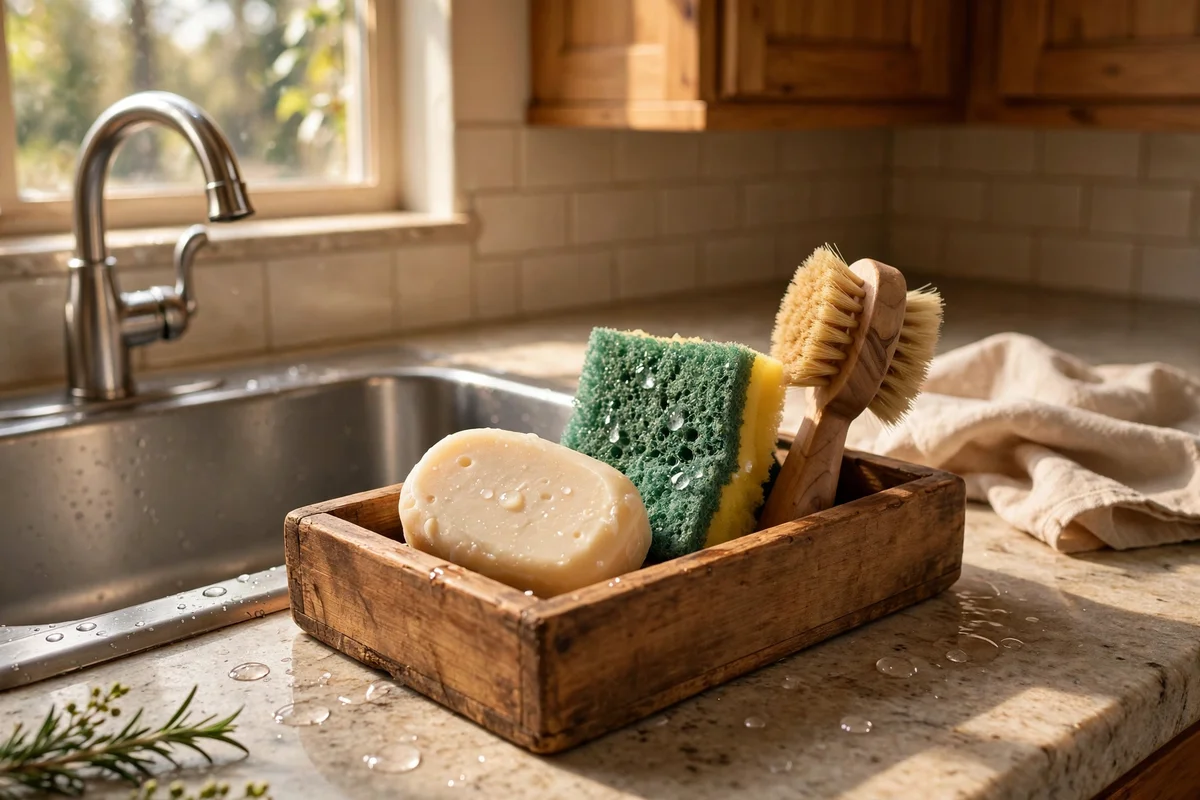
A wooden tray near the sink gathers the small essentials that otherwise sprawl: washing up liquid, a sponge, hand soap and a dish brush. Choose a tray 30 to 40 cm long with a raised edge so damp items stay contained, and wipe it dry weekly to protect the wood. The tray lifts off in one move when you need the whole sink surround for washing up.
Keep the tray to four items maximum and replace worn sponges before they look tired. The mistake is letting the tray collect rubber gloves, spare cloths and vitamin bottles; those belong in a drawer. Budget tip: an oiled beech tray costs little and lasts years, and matching the soap dispenser to the tray’s tone makes this hardworking corner look deliberately styled.
11. Keep Only the Kettle and One Other Item Out Overnight
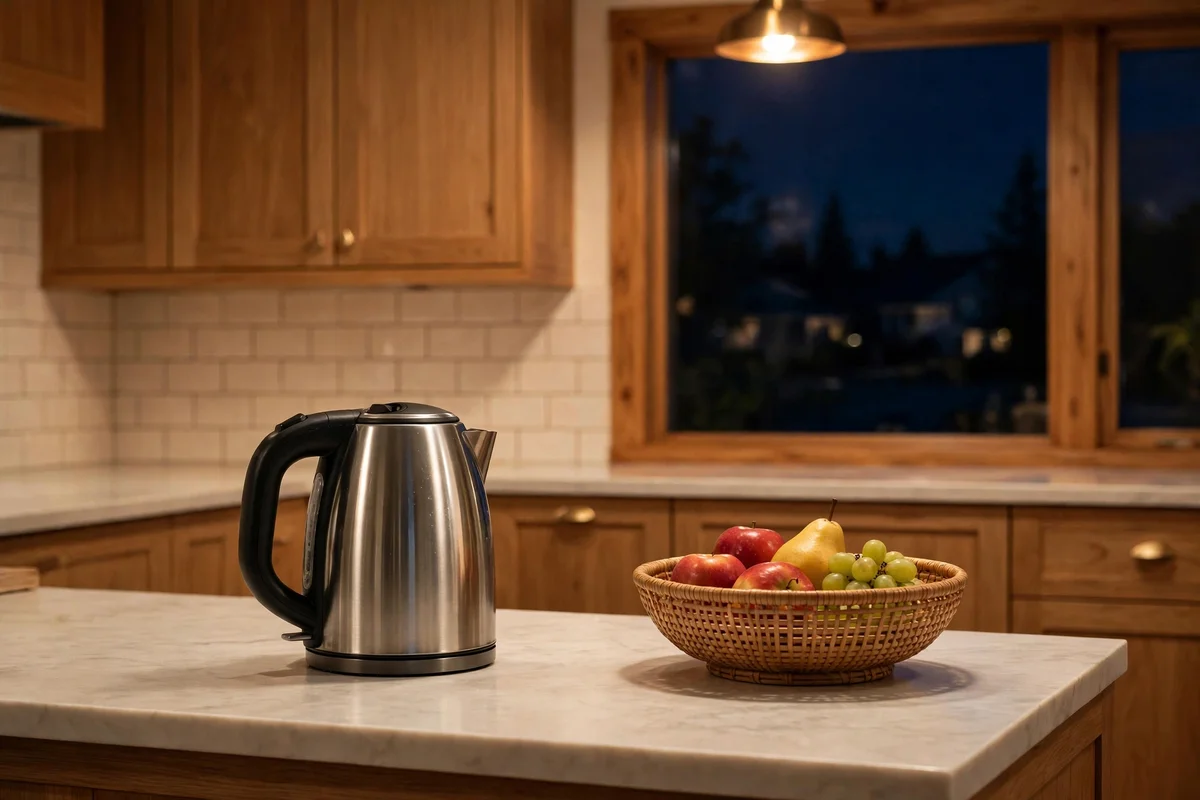
Make a rule that only the kettle and one chosen item, perhaps the fruit bowl or the utensil crock, stay out after the nightly reset. Everything else returns to its cupboard home each evening. This simple boundary prevents the slow creep of papers, gadgets and half read post that turns counters chaotic, and morning light on a mostly clear worktop sets a calm tone for the day.
Agree the rule with everyone who uses the kitchen so it holds; a rule one person ignores is just a suggestion. The mistake is choosing too generous a list, like five items, which quickly becomes eight; two items is the discipline that works. After a week the habit takes under a minute, and the clear counter starts inviting actual cooking again.
12. Decant Staple Ingredients Into Matching Glass Jars
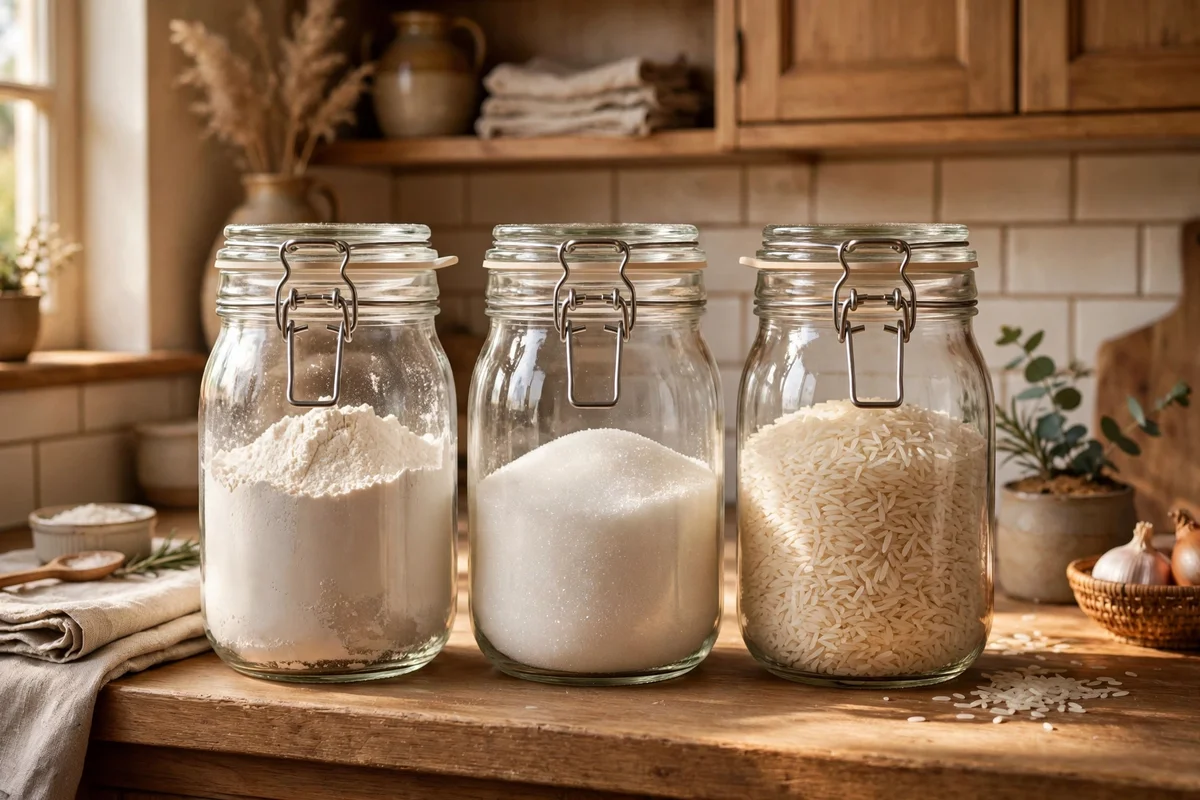
Decant flour, sugar, rice and lentils into matching glass jars with airtight lids for storage that doubles as quiet decor. Choose jars 500 ml to 1 litre depending on how much you use, and keep them to three or four on the counter; the rest go in the pantry. Line them along the back edge of the storage zone so the prep run stays open.
Label each jar with the contents and the date decanted, since even clear jars confuse at a glance. The mistake is decanting everything, including the spices you use twice a year, which eats space and means more washing; decant only daily staples. Budget tip: buy one set of matching jars rather than collecting singles, since uniform heights and lids read as calm while mismatches read as clutter.
13. Use a Two-Tier Stand for Fruit and Everyday Spices
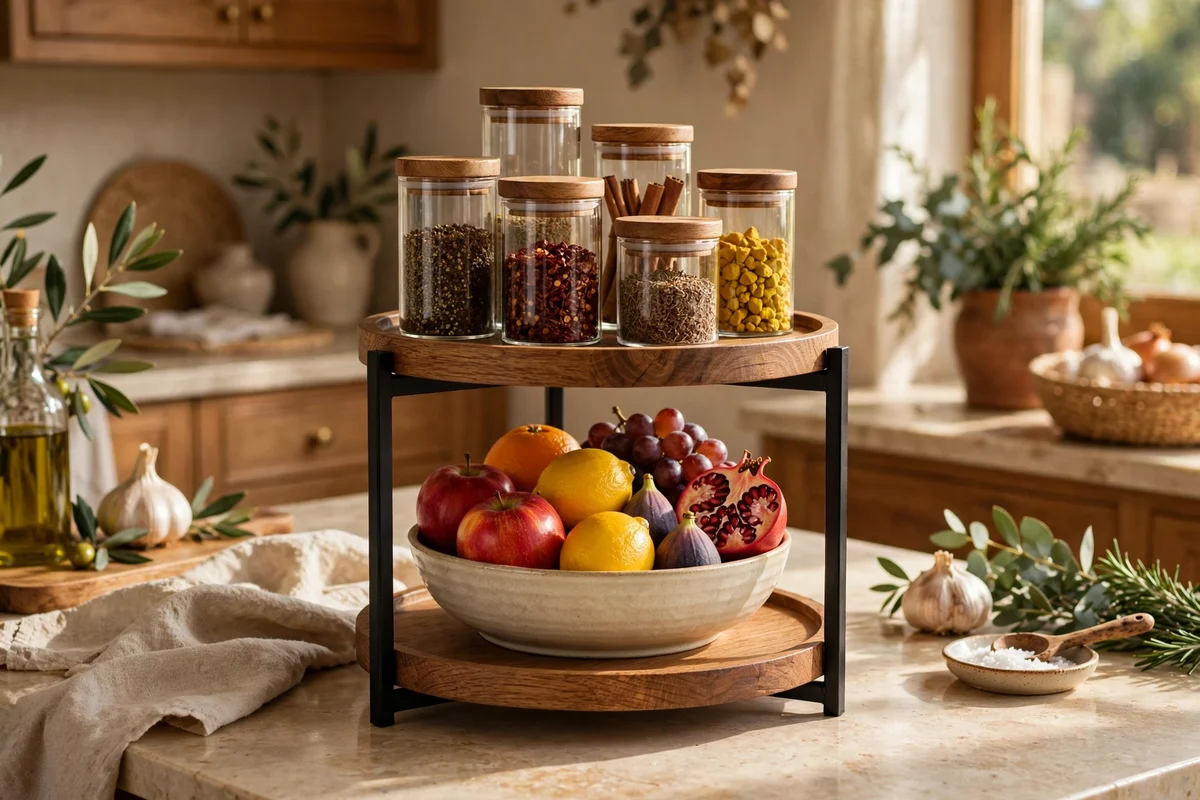
A two-tier stand lifts everyday items off the counter surface and displays them in a smaller footprint. Put a small bowl of fruit on the lower tier and three or four daily spice jars on the upper tier, keeping the total height under 40 cm so it fits beneath wall cabinets. Position it at the end of the counter where it marks the boundary of the storage zone.
Rotate fruit regularly and wipe the stand weekly, since fruit drips and spice dust accumulate fast. The mistake is overloading both tiers until the stand looks like a market stall; leave breathing room around each item. A simple metal or wooden stand costs little and frees roughly a third more usable surface than the same items spread flat.
14. Store Knives on a Magnetic Wall Strip to Free Counter Space
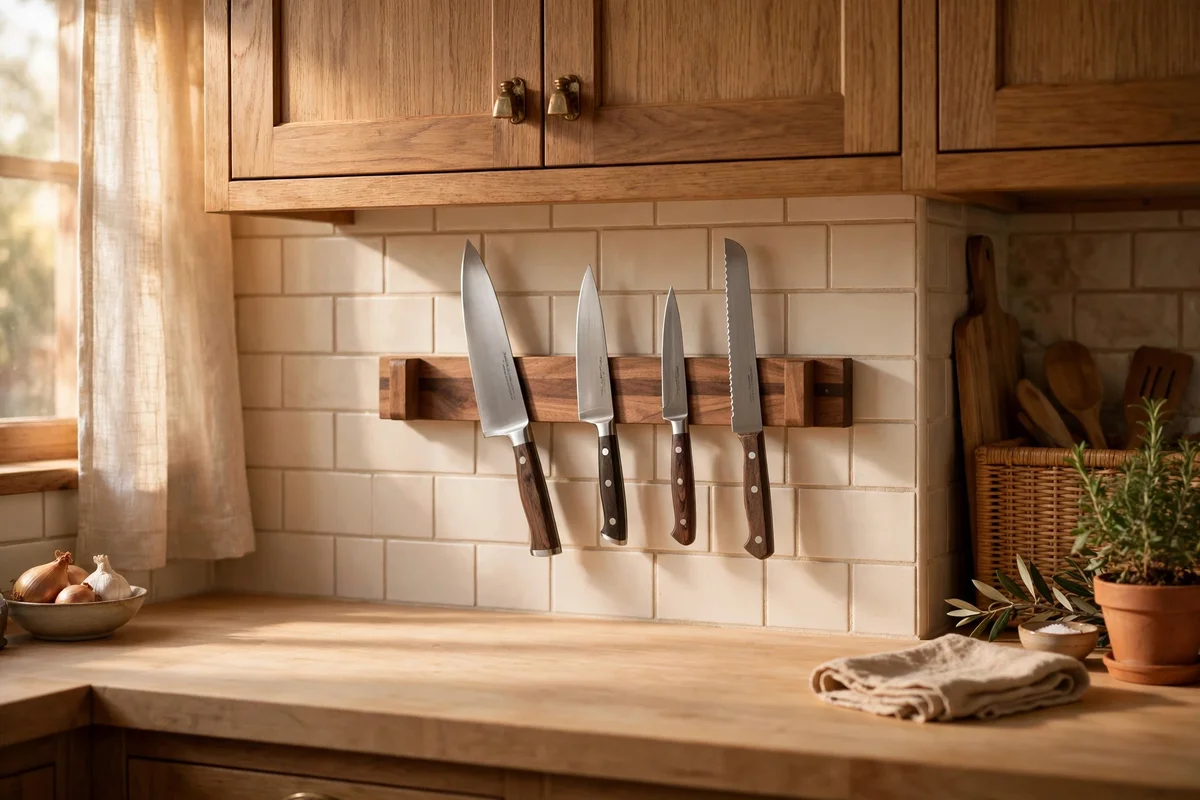
A magnetic knife strip on the wall above the prep zone removes a bulky knife block from the counter and keeps blades visible and easy to grab. Mount a 30 to 45 cm strip at comfortable reaching height, fixed into studs or solid anchors, and space knives so handles hang clear of each other. The freed counter space, often 20 cm square, becomes useful prep room again.
Wipe the strip and knife spines weekly to stop dust building behind the blades, and always place knives spine first for safety. The mistake is mounting the strip above the hob, where rising steam and grease coat the blades; the prep zone wall is the right home. A wooden magnetic strip suits warm kitchens and costs far less than a quality knife block.
15. Tuck Paper Towels and Soap Into a Dispenser Set
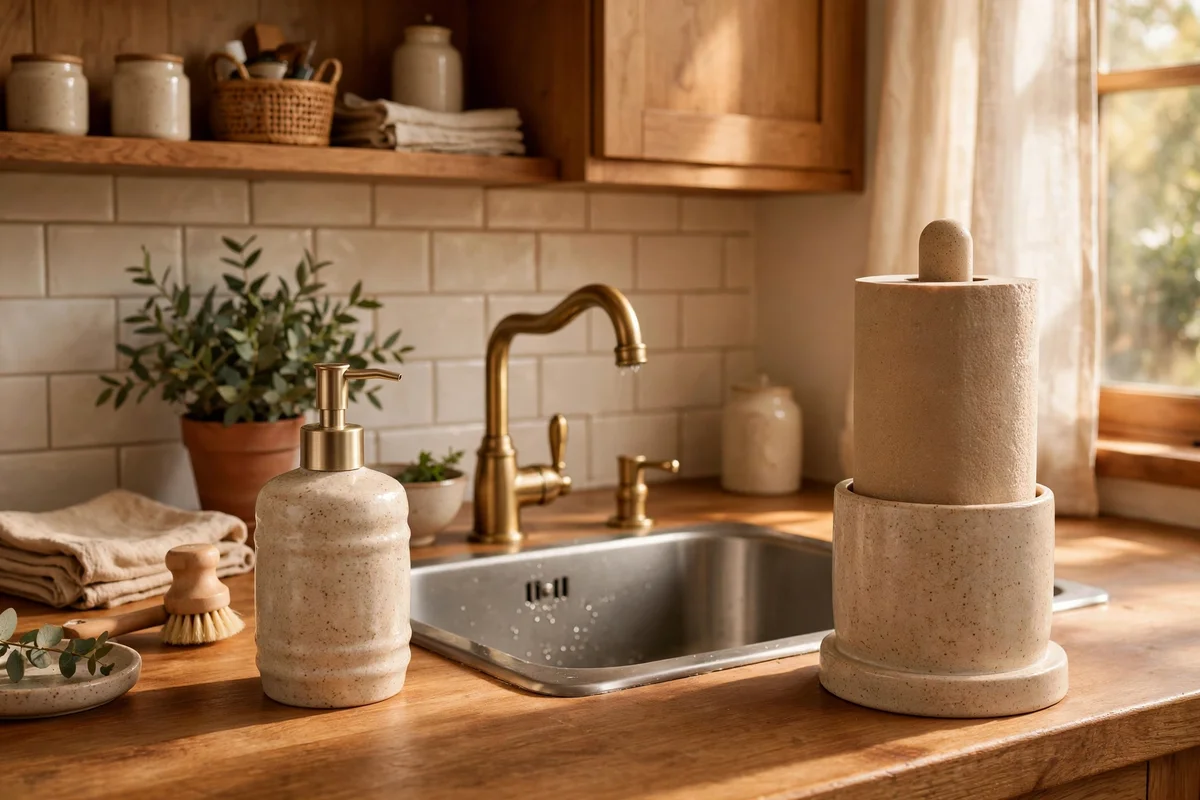
Replace the half torn plastic soap bottle and the leaning paper roll with a small matched dispenser set near the sink. A ceramic pump bottle for washing up liquid and a weighted holder for paper towels keep these daily tools looking intentional. Keep the set compact, within a 25 cm square, and refill from large bottles stored under the sink.
Choose pump bottles that rinse clean and resist limescale, and wipe them weekly to stop soap film building. The mistake is buying a dispenser that holds a whole litre, which tempts you to display bulk sizes on the counter; decant small amounts and keep the bulk hidden. A simple stoneware set costs modestly and makes the sink area feel finished.
16. Style the Counter End With a Stack of Cookbooks
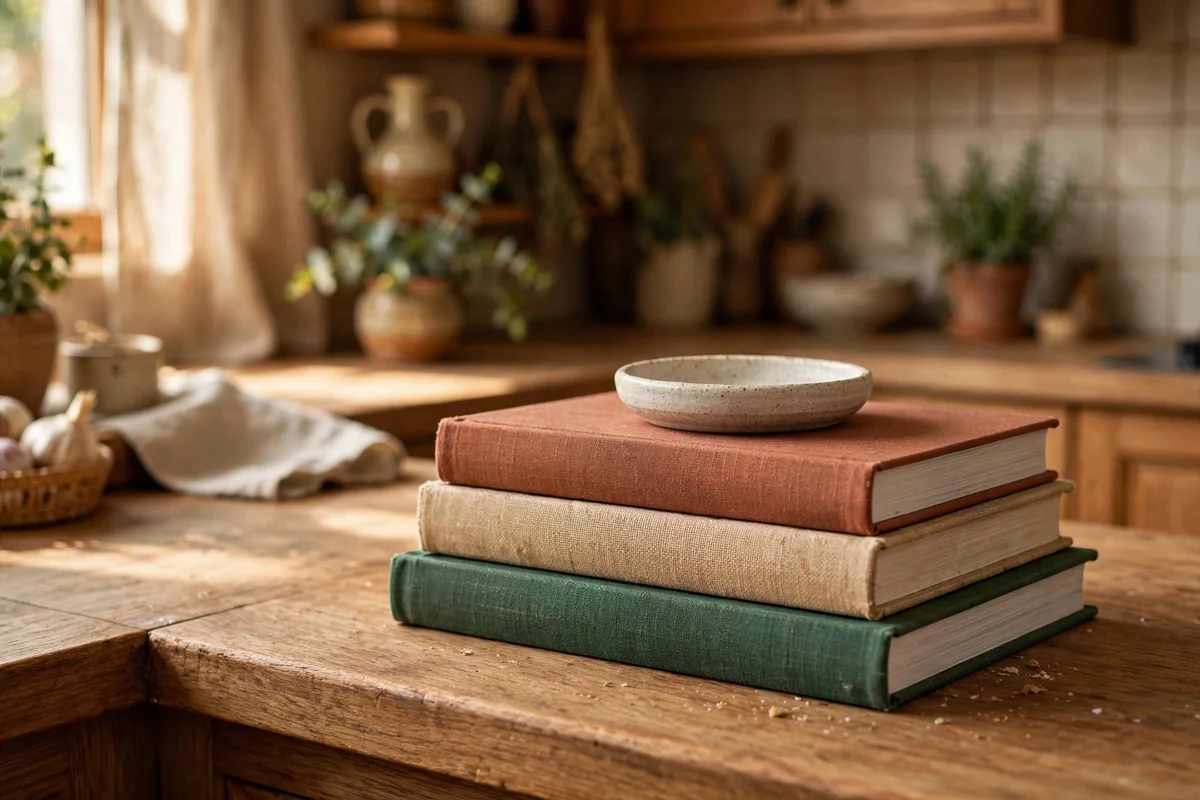
A stack of two or three cookbooks at the far end of the counter adds personality and height without clutter. Choose the books you actually cook from, place the largest at the bottom, and top the stack with a small object like a ceramic dish or a wooden spoon rest. Keep the stack within a 25 cm footprint so it anchors the end without spreading.
Dust the top book weekly and rotate which titles show, since kitchen steam settles on exposed covers. The mistake is stacking six or seven books into a tower that wobbles and blocks light; three is the calm limit. In small kitchens, two slim volumes plus the spoon rest still give the styled feel while leaving the prep run untouched.
17. Use a Foldable Shelf or Riser for Vertical Storage
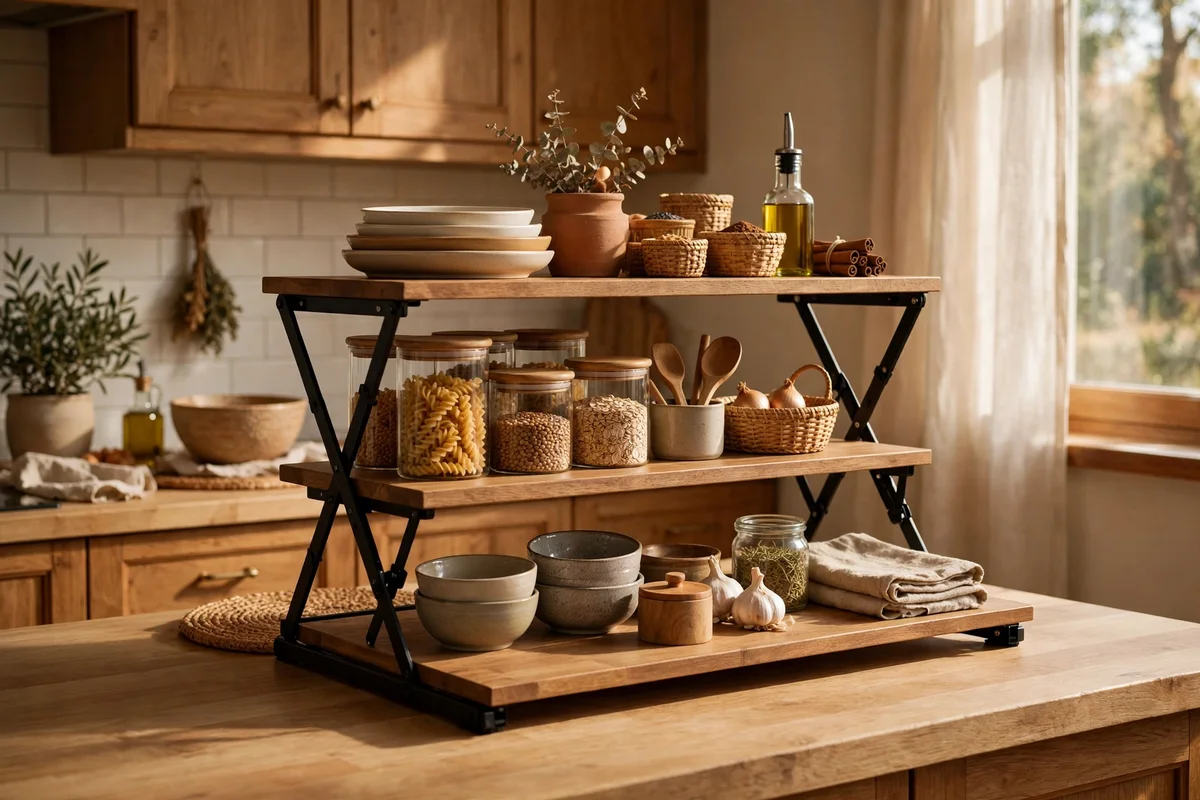
A small shelf riser or foldable two-level shelf adds vertical storage on counters where the wall above is bare. Place jars, a small plant or the tea things on the riser, keeping the footprint to about 30 by 20 cm. The second level holds items you use daily but want grouped, like salt, pepper and oil in a breakfast corner.
Check the riser is stable and rated for the weight of full jars before loading it. The mistake is using a riser as overflow for clutter, stacking items three deep on each level until it topples visually; one layer per level only. Foldable designs store flat when you need the full counter for a big cooking session, which keeps the plan flexible.
18. Line Up a Row of Uniform Canisters for Dry Goods
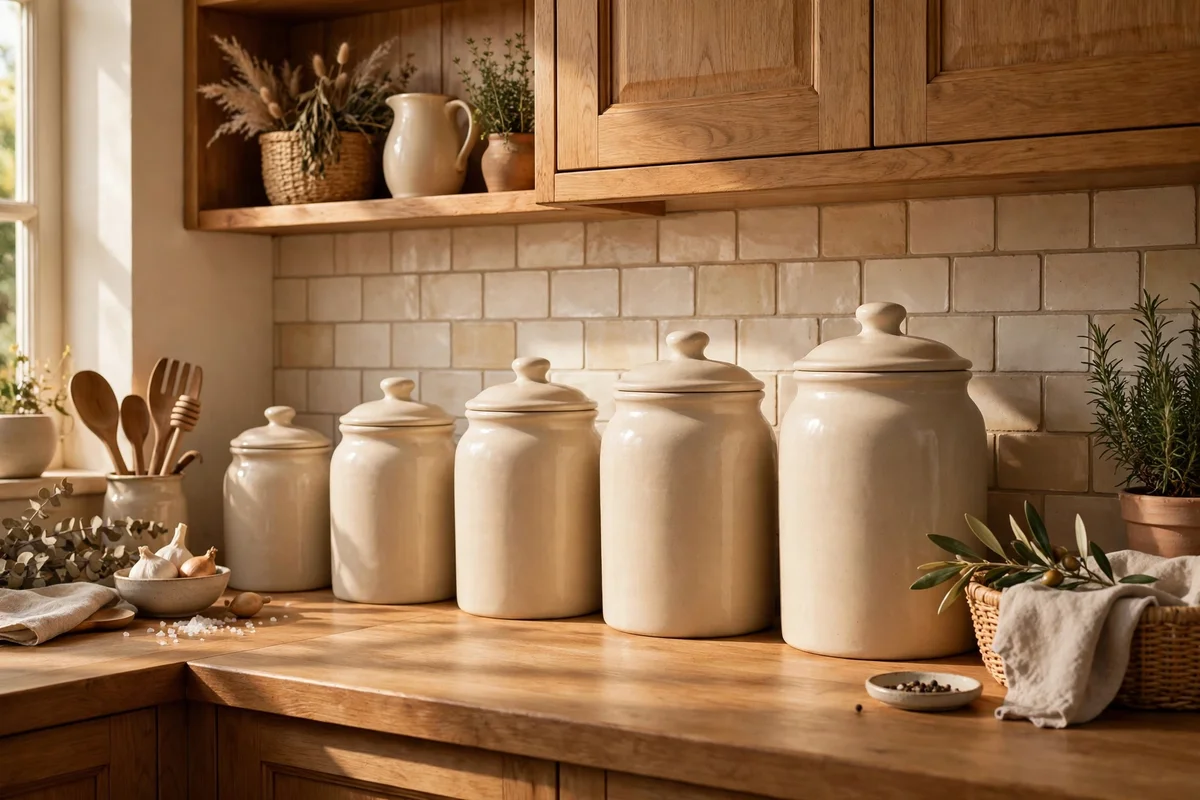
A row of three or four uniform canisters along the back of the counter gives dry goods a calm, rhythmic look. Match the material, whether ceramic, glass or enamel, and graduate the sizes so the tallest stands 20 to 25 cm. Keep them strictly to the back edge of the storage zone, and limit the row length to about 60 cm so the prep area stays open.
Store only what you use weekly inside, and keep backup supplies in the pantry to avoid constant refilling. The mistake is mixing canister styles, which breaks the rhythm and reads as clutter no matter how tidy; uniformity is the whole point. A set of four matching canisters is a modest investment that makes even a plain worktop look considered.
19. Keep the Window Sill Clear With a Single Herb Pot
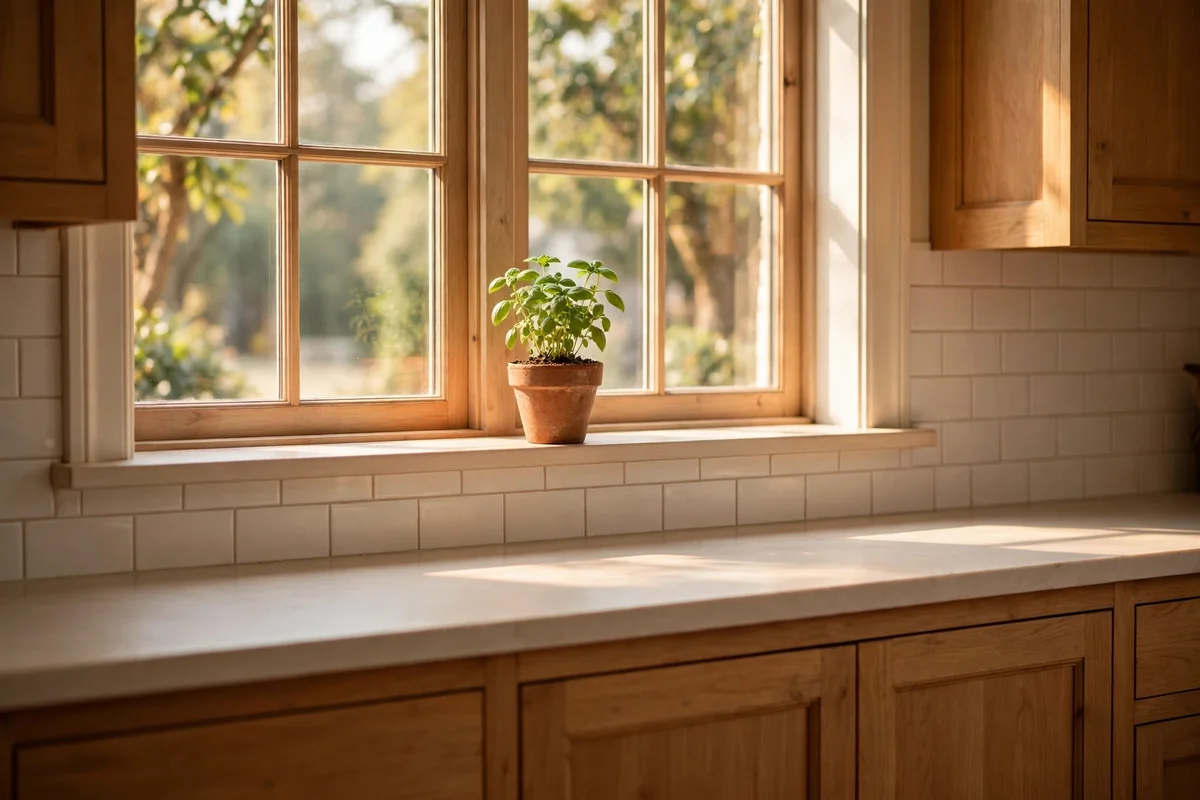
If the counter runs beneath a window, keep the sill nearly clear with a single small herb pot as the only resident. A 10 to 12 cm pot of basil, mint or chives gives you fresh flavour at arm’s reach and enjoys the light. Everything else, even pretty bottles, stays off the sill so daylight floods the prep area and the view stays open.
Pinch herbs regularly to keep the plant bushy, and stand the pot on a small saucer to protect the sill. The mistake is turning the sill into a second shelf for bottles and ornaments, which blocks light and collects dust; one pot is the limit. Rotate the pot every few days so it grows evenly toward the light.
20. Run the Nightly Five Minute Reset Before Bed
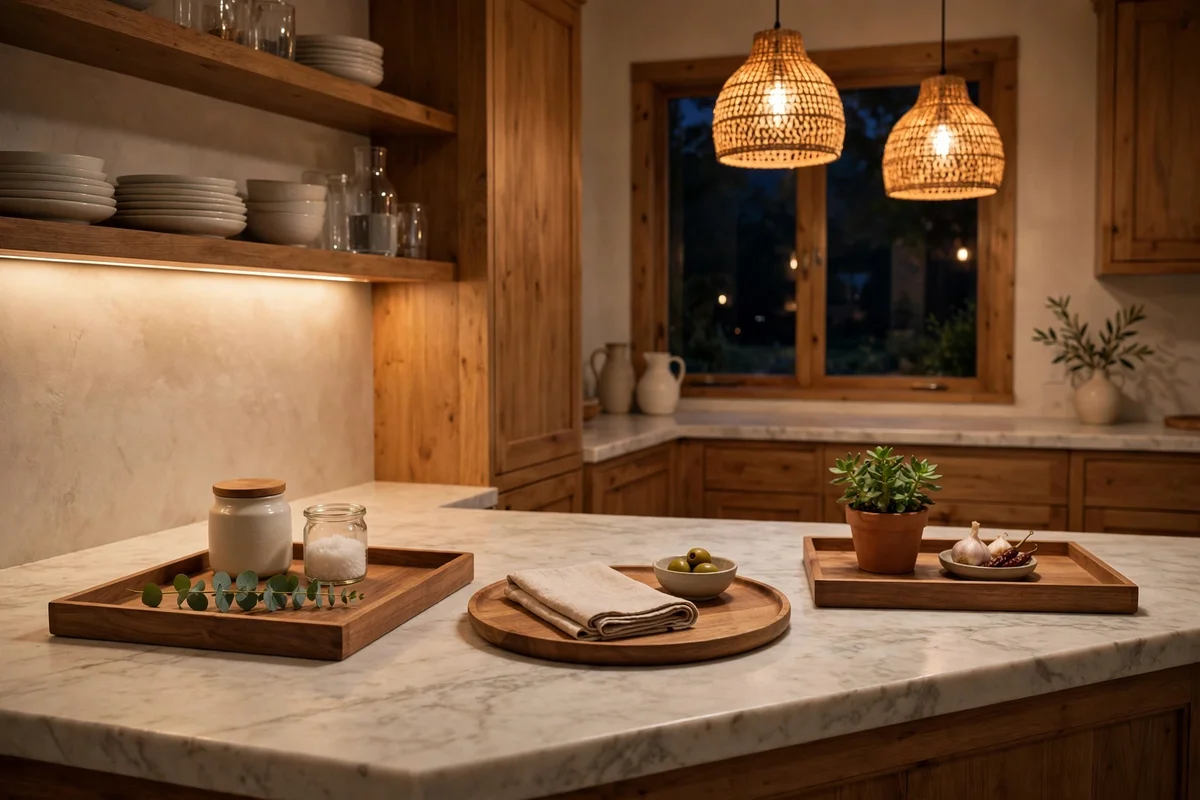
End each day with a five minute reset that returns the counter to its styled baseline. Set a timer if it helps: load the dishwasher, wipe the worktop and hob, return the tray items to their places, and clear anything that migrated during the day. Five minutes is genuinely enough once the zones exist, because everything already has a home.
Do the reset at the same time each night, ideally right after dinner, so it becomes habit rather than decision. The mistake is treating the reset as a deep clean; it is maintenance only, and big jobs wait for the weekend. A clear counter each morning makes breakfast calm and invites the next meal’s cooking instead of reminding you of last night’s mess.
21. Adapt the Plan for a Small Kitchen With One Worktop Run
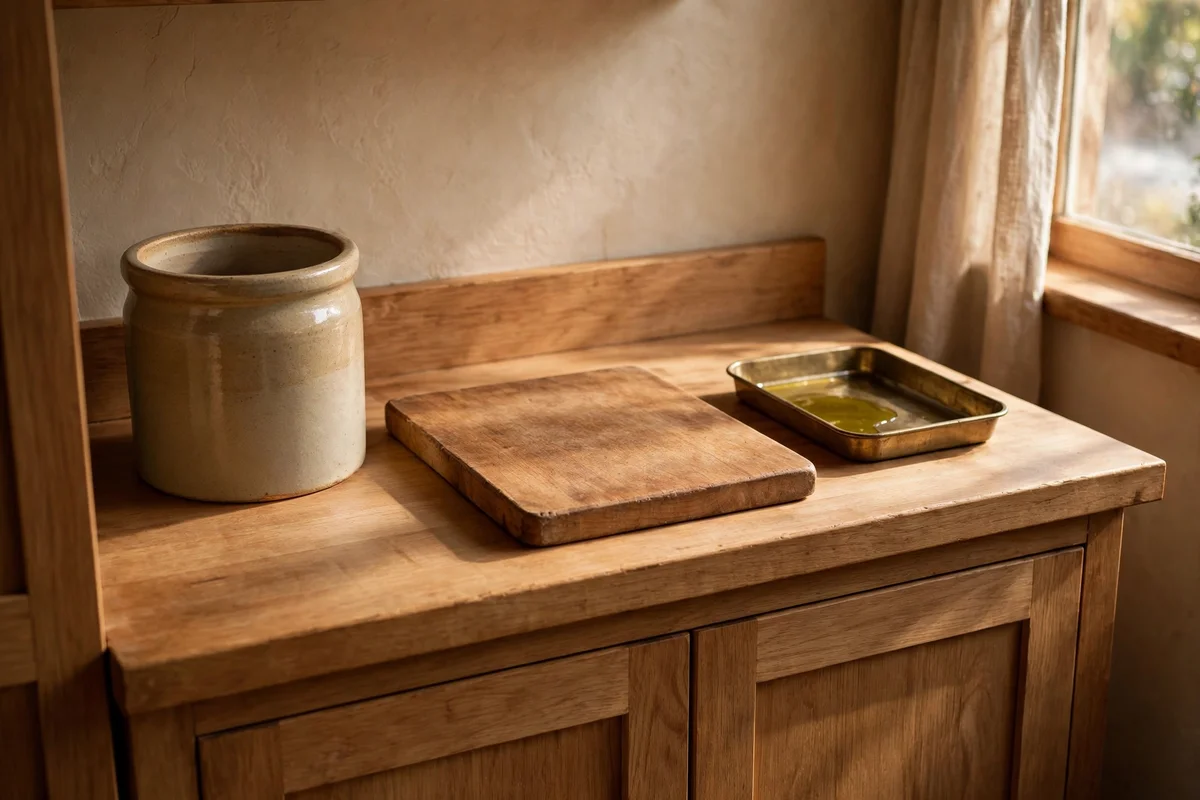
In a small kitchen with a single run of worktop, choose three display pieces maximum and keep everything else behind doors. A utensil crock, one chopping board backdrop and the oil tray give warmth without crowding a run under 2 metres. Measure the clear prep space you need, at least 60 cm, and defend it fiercely from storage creep.
Use wall storage aggressively: magnetic strips, a rail for utensils, and hooks inside cupboard doors. The mistake is shrinking a big kitchen plan instead of editing it, which leaves a small counter feeling stuffed; edit ruthlessly instead. One well chosen plant or lamp can still fit on a tiny counter if every other item earns its place.
22. Refresh the Counter With One Simple Swap Now and Then
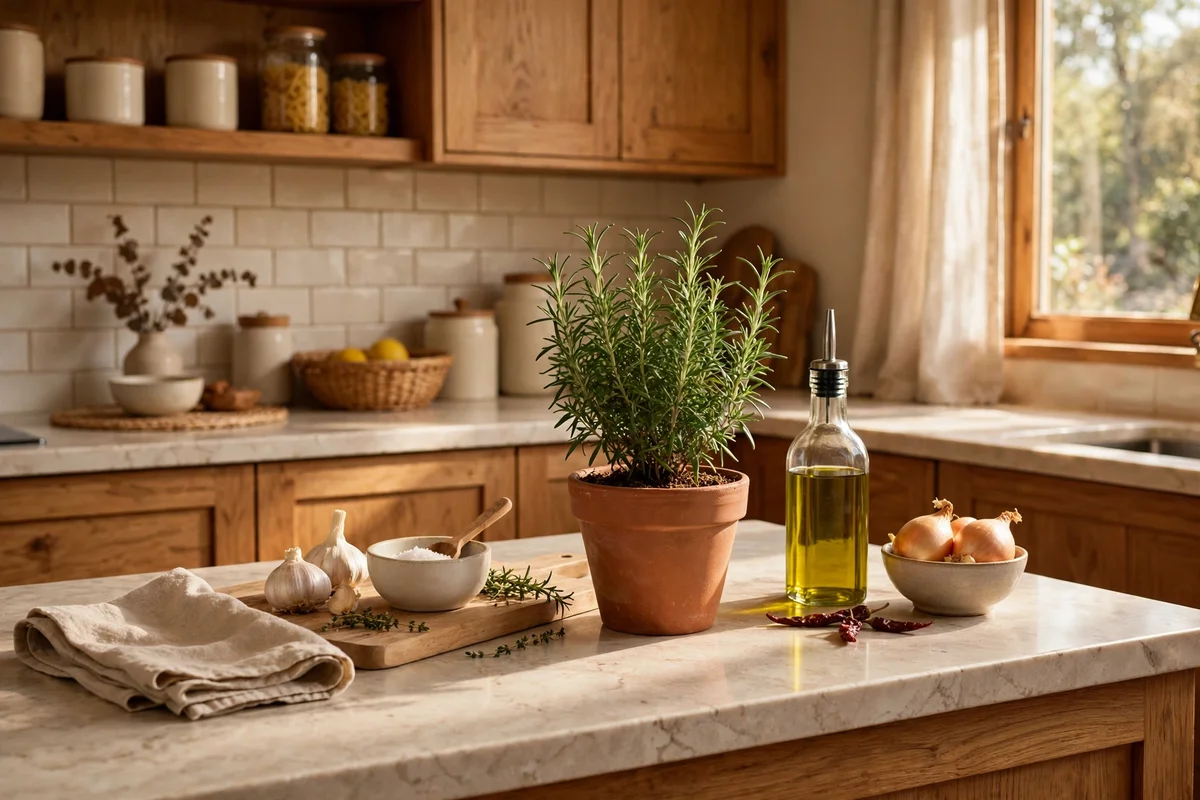
When the counter starts feeling stale, change one thing rather than restyling everything. Swap the plant for a different herb, change the tray to a different finish, or rotate which cookbooks show on the stack. One change renews the whole arrangement because the zones stay familiar, and it costs little or nothing.
Do this refresh quarterly or whenever the arrangement stops pleasing you, not on a rigid schedule. The mistake is buying new decor for every refresh, which accumulates clutter and cost; shop your own cupboards first. A single swap keeps the counter feeling alive and cared for, which is the quiet secret behind worktops that always look styled.
A beautiful counter is really an organised one. The zones, the trays, the single plant and the hidden appliances all work together so the worktop invites cooking instead of collecting clutter. Start with whichever idea feels easiest, perhaps the oil tray by the hob or the utensil crock, and let the nightly reset keep everything in place. Within a fortnight the clear surface will quietly change how the whole kitchen feels each day.
The real test comes on an ordinary Tuesday evening, when dinner is done and the counter could slide back into chaos. Give it the five minute reset, leave two items out and put the rest away, and wake to a worktop that greets the morning calmly. Try the landing strip beside the hob first this week; it is the smallest change with the biggest daily payoff, and every other idea can follow.
Frequently Asked Questions
How much does styling a kitchen counter cost?
Very little if you shop your own cupboards first. A tray, a utensil crock and a few matching jars cover most ideas for 30 to 60 pounds or dollars. Spend more only on pieces you touch daily, like a sturdy chopping board or a good lamp. Avoid buying a full set of decor at once; add one piece, live with it for a week, then decide what is missing.
How do I keep counters clear in a very small kitchen?
Limit yourself to three display pieces and move everything else behind doors. A utensil crock, one leaning board and an oil tray fit a run under 2 metres. Use wall storage for knives and utensils, keep at least 60 cm of prep space permanently clear, and run the nightly reset so clutter never gets a foothold.
What should I never leave out on the counter?
Anything you use less than weekly: the bread maker, the spare kettle, bulk packs and rarely used gadgets. Papers, post and charging cables should never live on the counter either. If an item has sat untouched for two weeks, move it to a cupboard. The counter earns its beauty by holding only daily tools.
Can renters style counters without permanent changes?
Yes, every idea here is renter friendly. Trays, crocks, jars, boards and lamps need no fixings at all. For knife storage choose a magnetic strip with strong adhesive mounts rated for the weight, and keep the original fixings in a bag for move-out day. Nothing in this plan touches walls, tiles or cabinetry permanently.
How do I stop the counter getting messy again?
Run the five minute nightly reset: wipe surfaces, return tray items to their zones, and clear anything that migrated. Give every item a fixed home so tidying needs no decisions. Limit what stays out overnight to the kettle and one other piece. Once the habit sticks, the counter stays styled with almost no effort.