Kitchen
22 Warm Harvest Kitchen Decor Ideas That Celebrate the Season of Plenty
By Anna Wells · · 21 min read
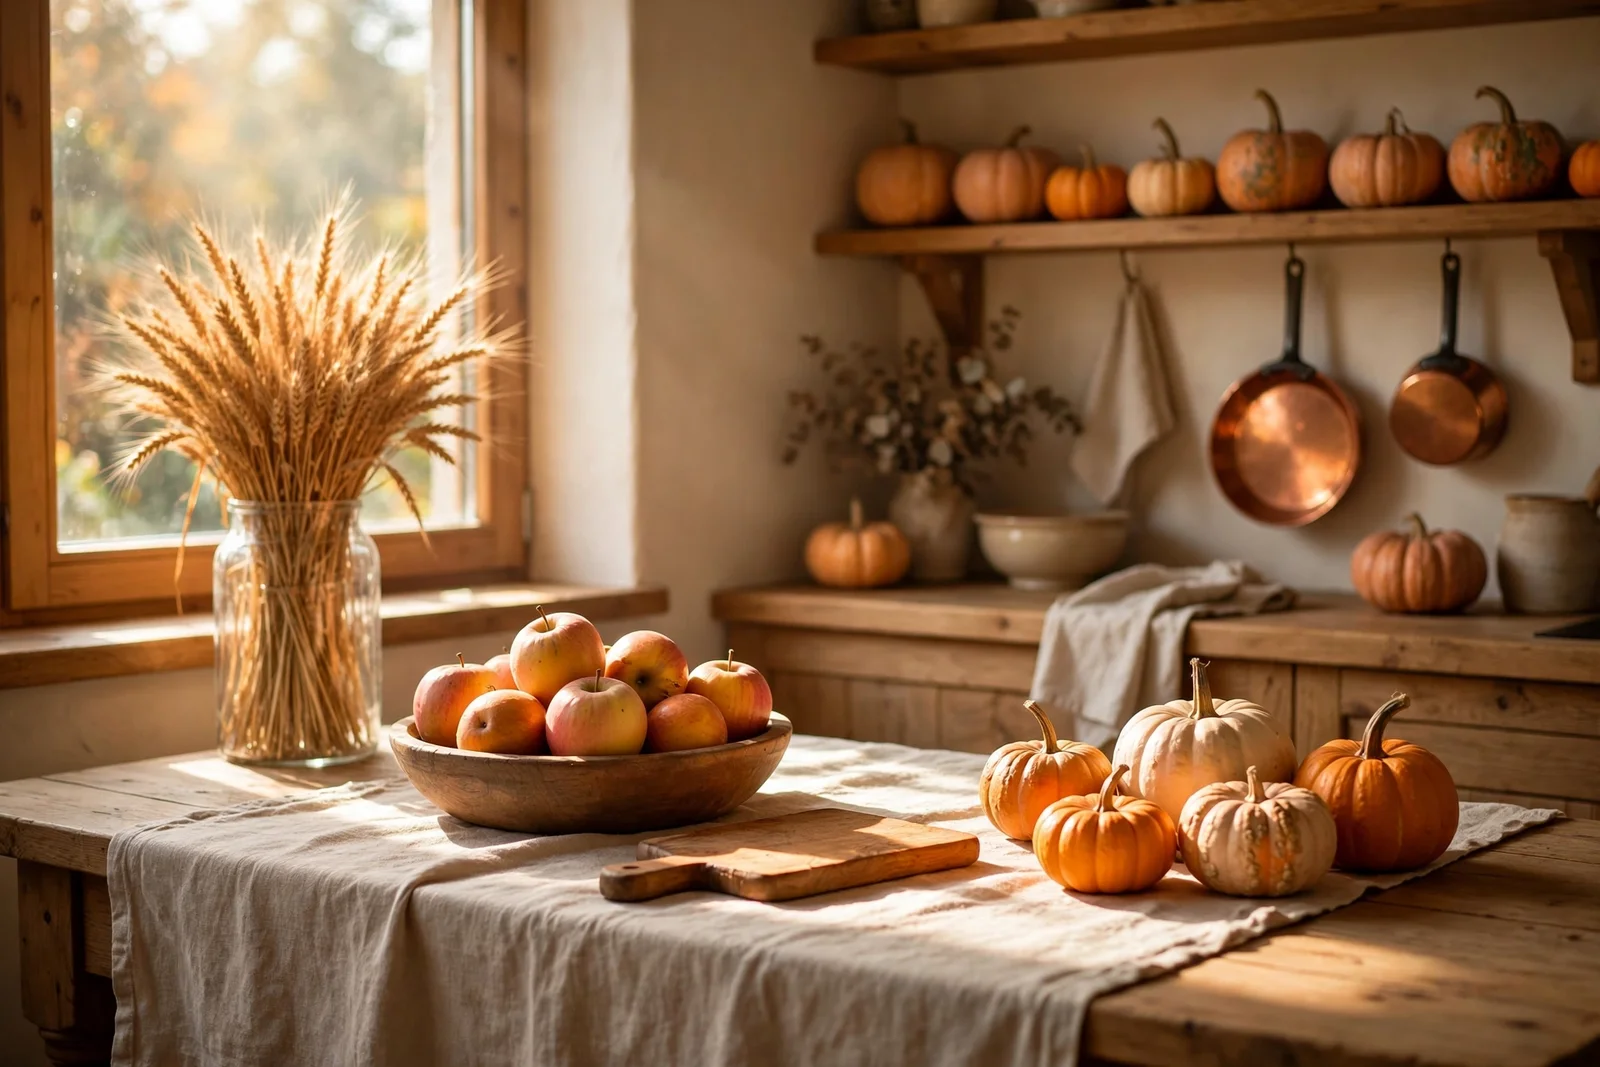
A harvest kitchen celebrates the season's plenty with wheat, apples, pumpkins and copper, all practical enough to eat, use and rearrange as autumn deepens.
Late October light slants across the counter at breakfast time, and the wheat sheaf in the tall jar catches it first, throwing long gold lines over the stoneware. Apples blush in their bowl, squash settle into a row along the shelf, and the kitchen smells faintly of cinnamon from the crock by the hob. Nothing in this room is purely for show; every display can be cooked, eaten or refilled.
A warm harvest kitchen is a kitchen that says thank you. It gathers the season’s produce, wheat, onions, nuts and preserved jars, and gives each one a visible home, so the room feels abundant without costing much. This approach suits family life because it is practical first: braided garlic by the stove gets used, the apple bowl gets refilled, and shelves of lentils and grains make weekday cooking easier.
Below you will find twenty two ideas that build this feeling step by step, from tall wheat jars and labelled storage to a table centrepiece you can eat your way through. Each idea includes sizes, materials, budget tips and one mistake to avoid, so you can start today with whatever you already own. Keep the room warm, honest and useful, and the beauty takes care of itself.
Before you begin, walk through your kitchen with a basket and gather what the season already gave you: apples, squash, a jar of honey, the braid of onions from the market. You will be surprised how little you need to buy. Now let us arrange it all, shelf by shelf, into a kitchen that celebrates plenty.
1. Stand Dried Wheat Sheaves in a Tall Glass Jar by the Window
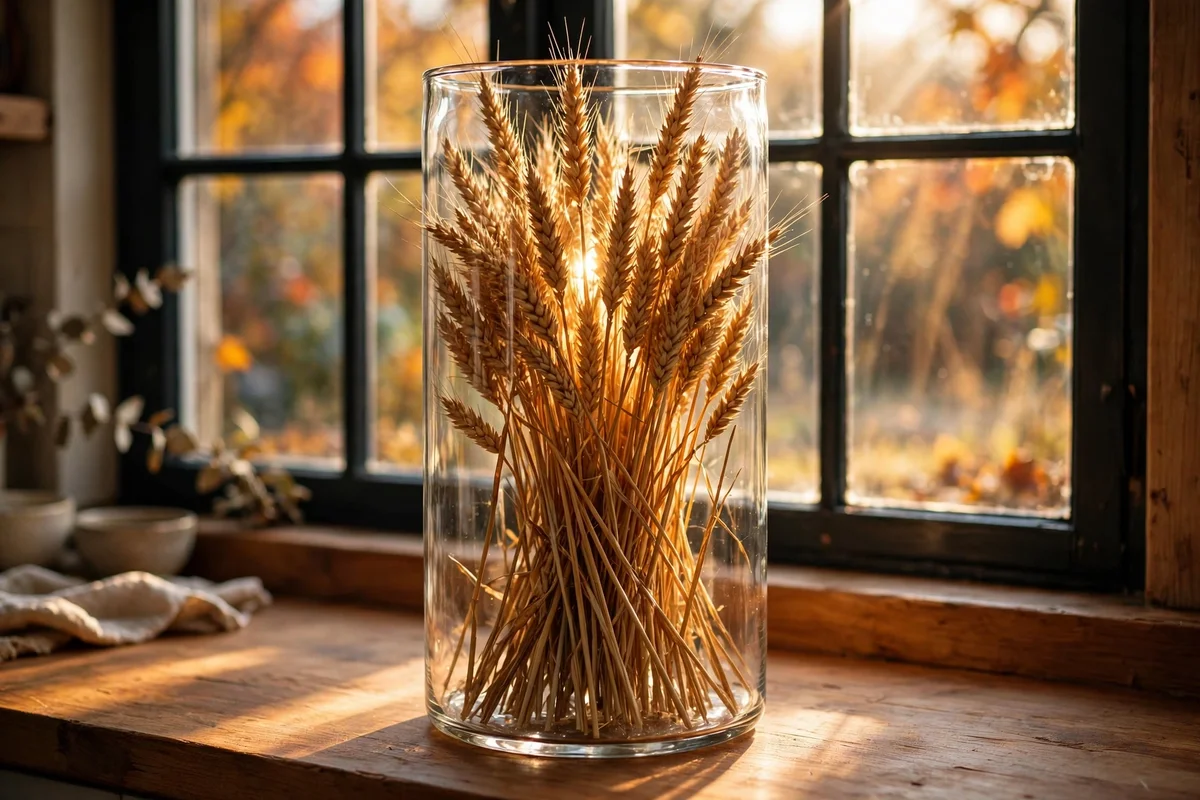
A bundle of twelve to fifteen dried wheat stems, about 60 to 70 cm long, fills a tall cylindrical jar of 25 to 30 cm height beautifully. Set the jar on the windowsill or the counter beside the window so the low autumn light shines through the golden heads. Clear glass suits every kitchen, while an amber or smoked jar deepens the colour for cosier rooms. A charity shop jar of one litre or more costs very little.
Trim the stems to staggered heights so the jar looks gathered rather than regimented, and keep wheat away from the hob and the kettle steam. The mistake to avoid is placing the jar where doors swing or elbows pass; dried stems snap easily and shed grains on the floor. Budget tip: buy wheat from a craft market or farm shop in autumn for a few pounds, and one bundle fills two jars if you split the stems.
2. Fill a Wide Wooden Bowl With Blush and Amber Apples
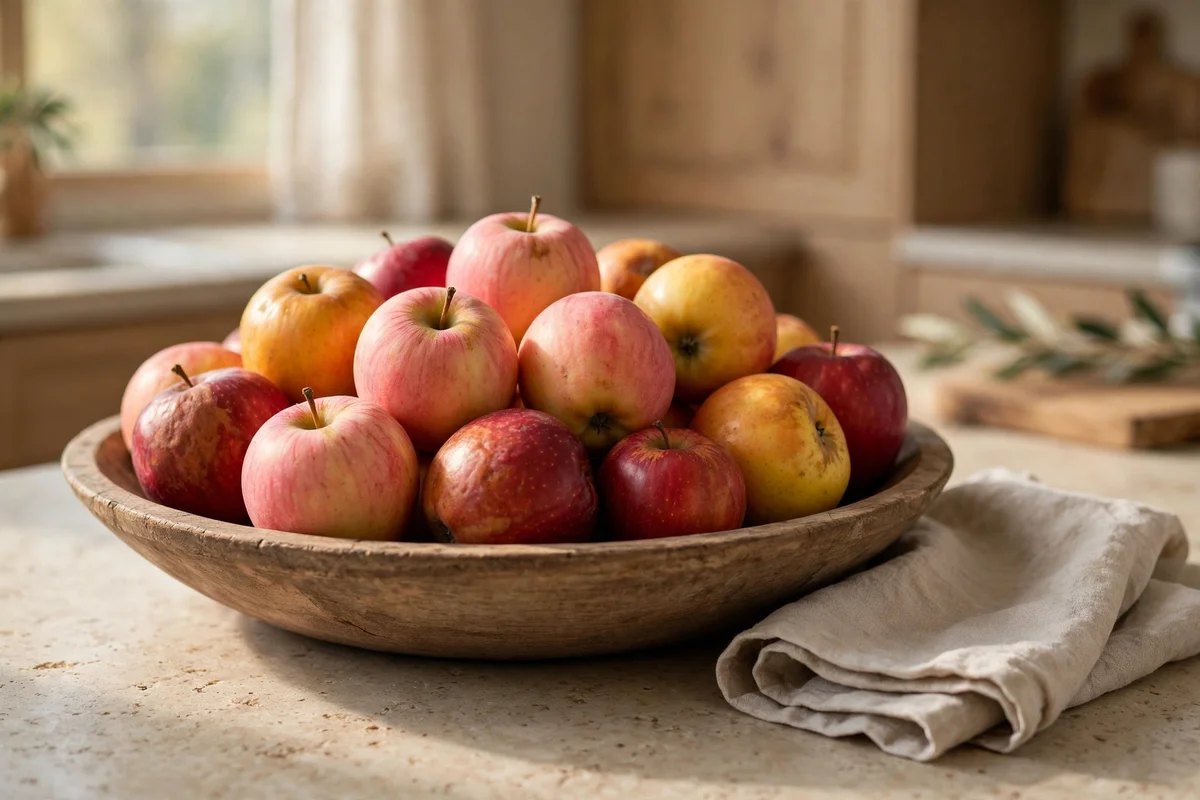
A shallow wooden bowl 28 to 35 cm across holds nine to twelve apples in a single generous layer, the perfect edible display for the counter or table. Mix blush pink varieties with amber and deep red ones for a colour range that looks picked rather than purchased. Acacia, olive wood or turned beech all warm the scene; avoid glossy lacquered bowls, which fight the natural feel. Keep the bowl near the kettle so the apples get eaten first.
Wash and dry the apples fully before arranging, since damp skins bruise and mark each other within days. Rotate the bowl every few days, eating the softest fruit first and refilling with two or three fresh ones, so the display never wastes food. The mistake to avoid is piling apples three deep; the hidden fruit rots quietly and stains the wood. Budget tip: market bags of cooking apples are cheap and just as pretty as dessert varieties.
3. Stack Mini Pumpkins and Squash Along the Open Shelf Edge
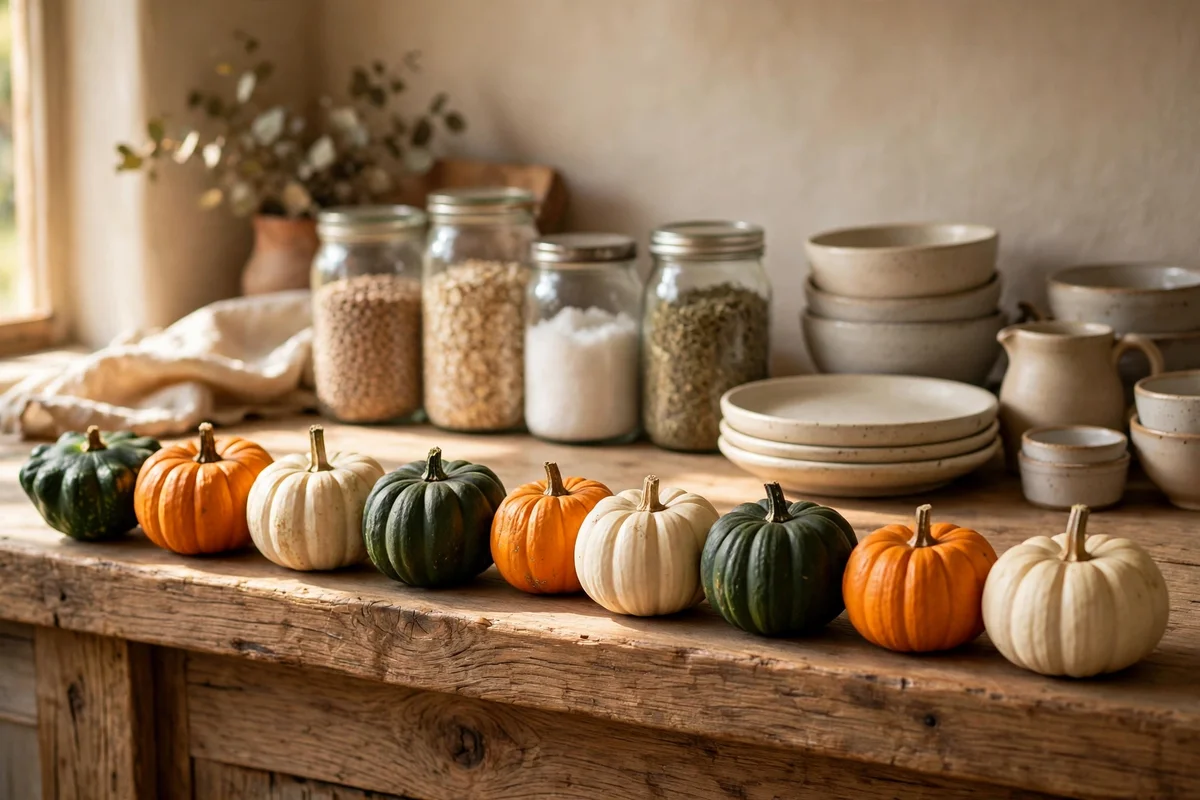
Line five to seven mini pumpkins and squash along the front edge of an open shelf, spacing them 8 to 10 cm apart so each one reads as a small sculpture. Choose a mix of orange, cream and deep green skins, no bigger than 12 cm across, so they sit safely behind the shelf lip. This edging turns a plain shelf into a harvest garland without any fixings. Keep heavier squash on the sturdier lower shelves.
Check the skins weekly and roast any that soften before they spoil; small pumpkins cook in about 25 minutes at 180 degrees. The mistake to avoid is placing squash directly above the hob or toaster, where rising heat dries and cracks the skins within days. Budget tip: buy a mixed net of mini squash at the market in October for less than a cafe lunch, and save the seeds to roast with salt as a snack.
4. Hang Braided Onions and Garlic on a Peg Rail Near the Stove
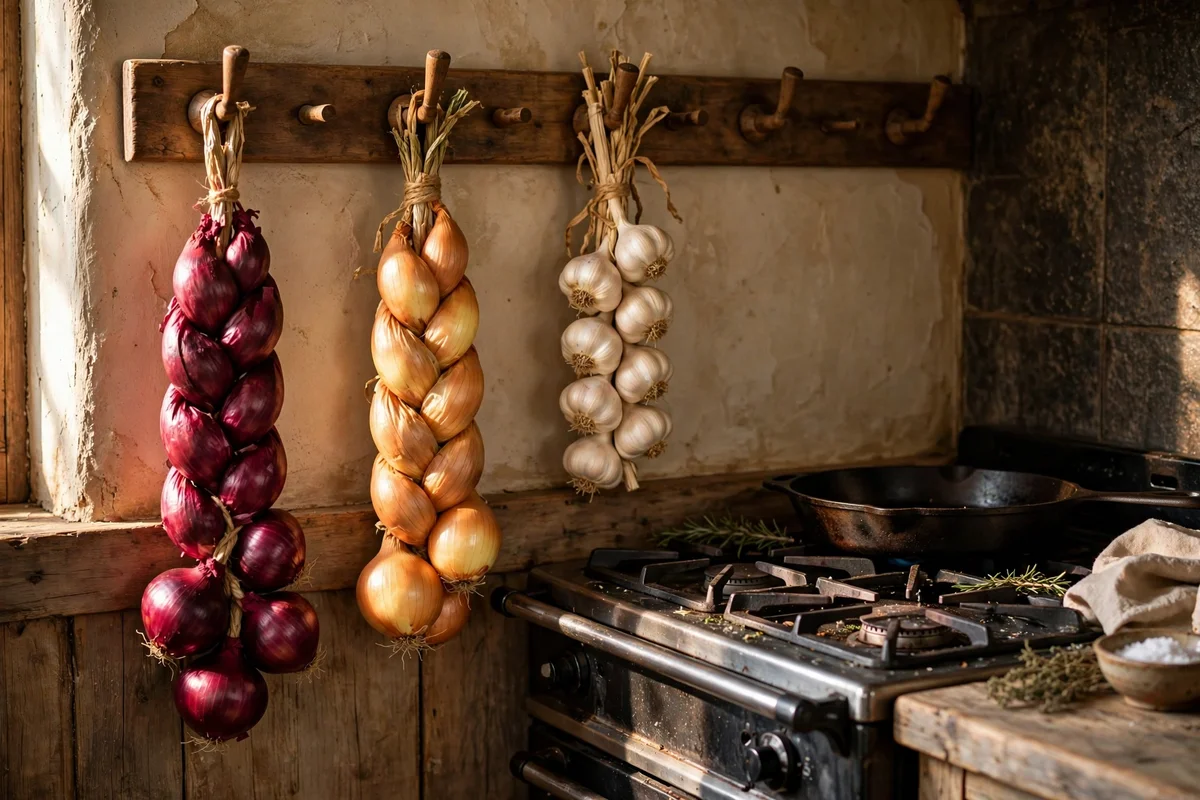
Fix a wooden peg rail 60 to 90 cm long on the wall beside the stove, at least 40 cm from the hob edge so the braids stay clear of steam. Hang two braids of onions and one of garlic, each braid about 45 cm long with eight to ten bulbs, from simple metal hooks. The braids look beautifully rustic and keep alliums dry, which extends their storage life by weeks. Choose red and yellow onions for colour contrast.
Cut bulbs from the bottom of the braid as you cook, so the hanging display shrinks gracefully instead of looking picked apart. The mistake to avoid is hanging braids directly over the kettle or a steaming pan, because moisture makes skins mouldy within a fortnight. Budget tip: braid your own from market onions using garden twine; a ten minute video teaches the technique, and homemade braids last just as long.
5. Line Glass Preserving Jars of Lentils and Grains on Open Shelves
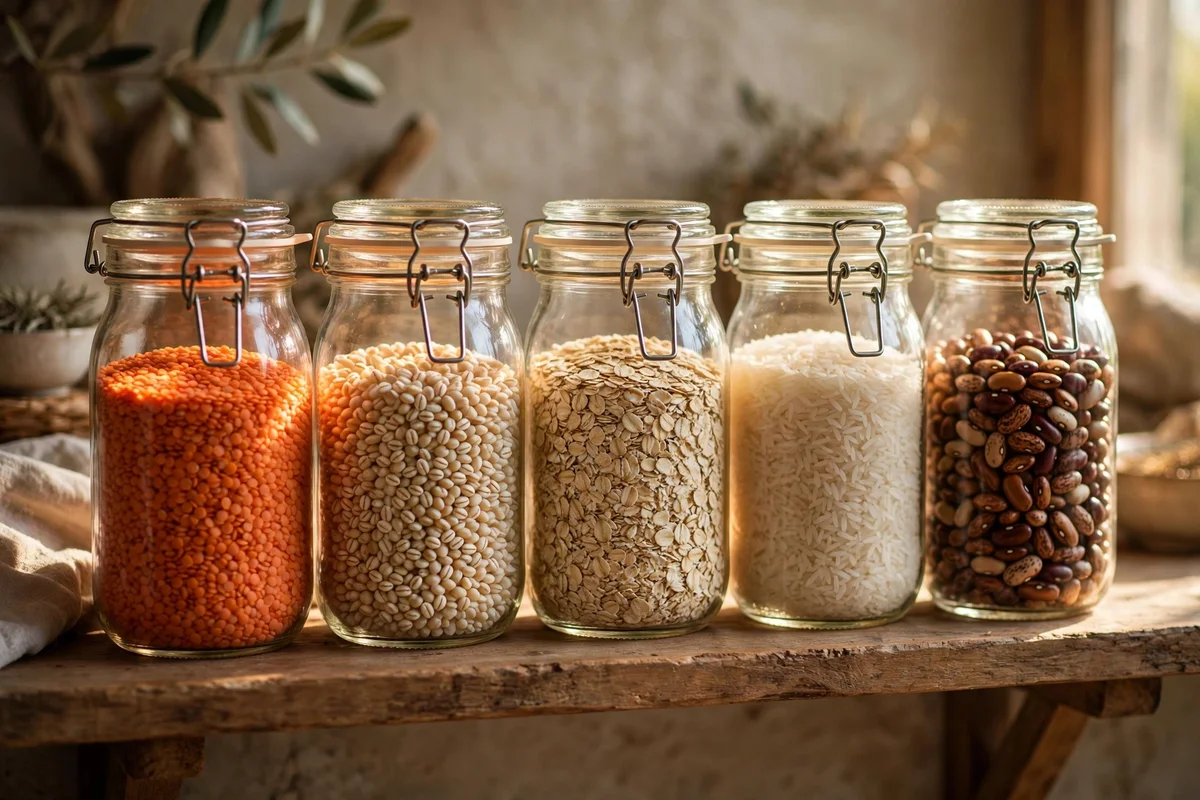
Arrange eight to twelve glass preserving jars, 500 ml to one litre, in a straight row on the open shelf, tallest at the back and smallest at the front. Fill them with red lentils, pearl barley, oats, rice and dried beans; the layered colours do the decorating for you. Clip-top jars seal well, while screw-top jars cost less and stack neatly. Keep everyday grains at arm height and rarer ones higher up.
Label each lid with the purchase month so you use the oldest stock first and nothing sits for a year. The mistake to avoid is buying decorative jars without airtight seals, because open lentils and flour attract pantry moths quickly. Budget tip: save pasta sauce jars and buy a single box of assorted lids; a shelf of twelve matched jars can cost under ten pounds this way, and looks just as handsome.
6. Warm Up the Scheme With Copper Pans and an Oak Chopping Board
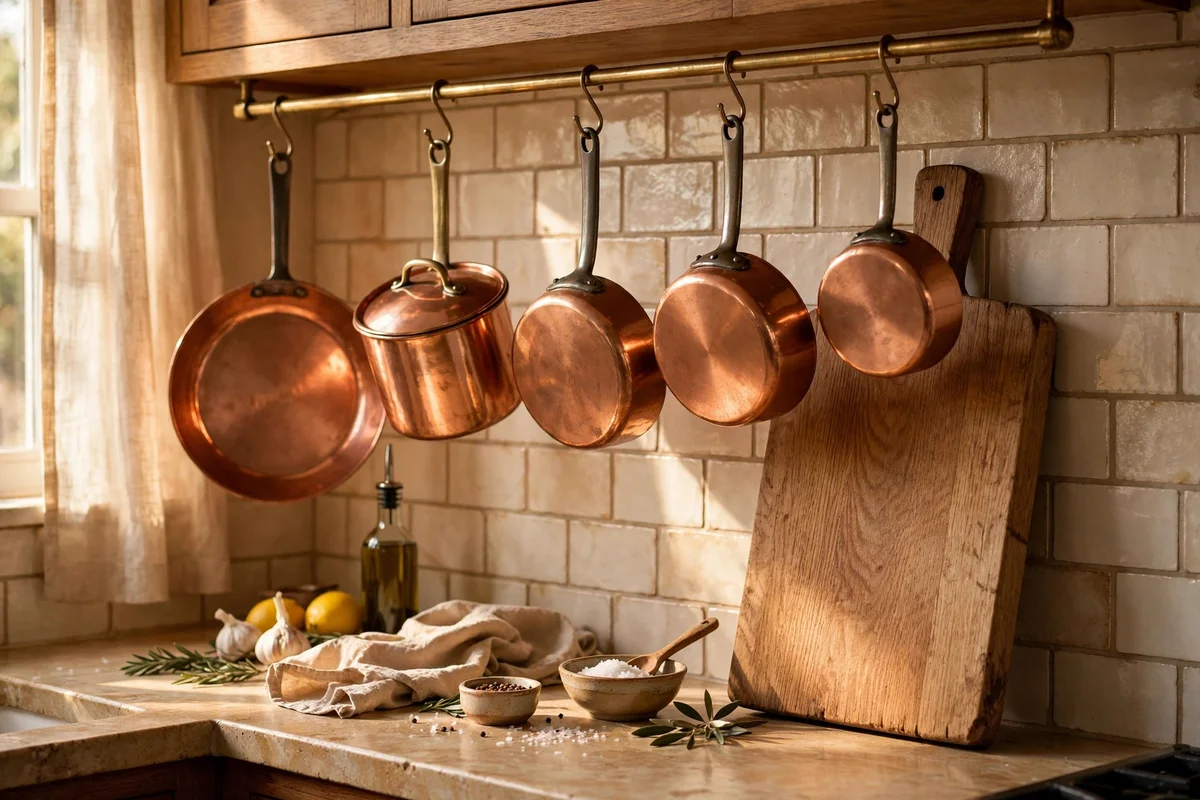
Hang three or four copper pans of 20 to 28 cm diameter on a rail above the counter, and lean a large oak chopping board of about 45 by 30 cm against the splashback. Copper’s warm shine echoes the harvest colours of squash and wheat, while oak keeps the look grounded and handcrafted. Polish copper monthly with lemon and salt for brightness, or leave it to develop a soft lived-in patina. The board doubles as a serving platter for cheese and fruit.
Fix the rail into studs or with proper anchors, since four copper pans can weigh over 3 kg and must never wobble. The mistake to avoid is storing the board flat under other items; standing it upright lets air circulate and stops warping. Budget tip: one good copper saucepan from a second-hand shop costs a fraction of a set and gives the same glow, while a solid oak board is an investment piece for twenty pounds or so.
7. Build a Low Harvest Centrepiece on a Wooden Tray for the Table
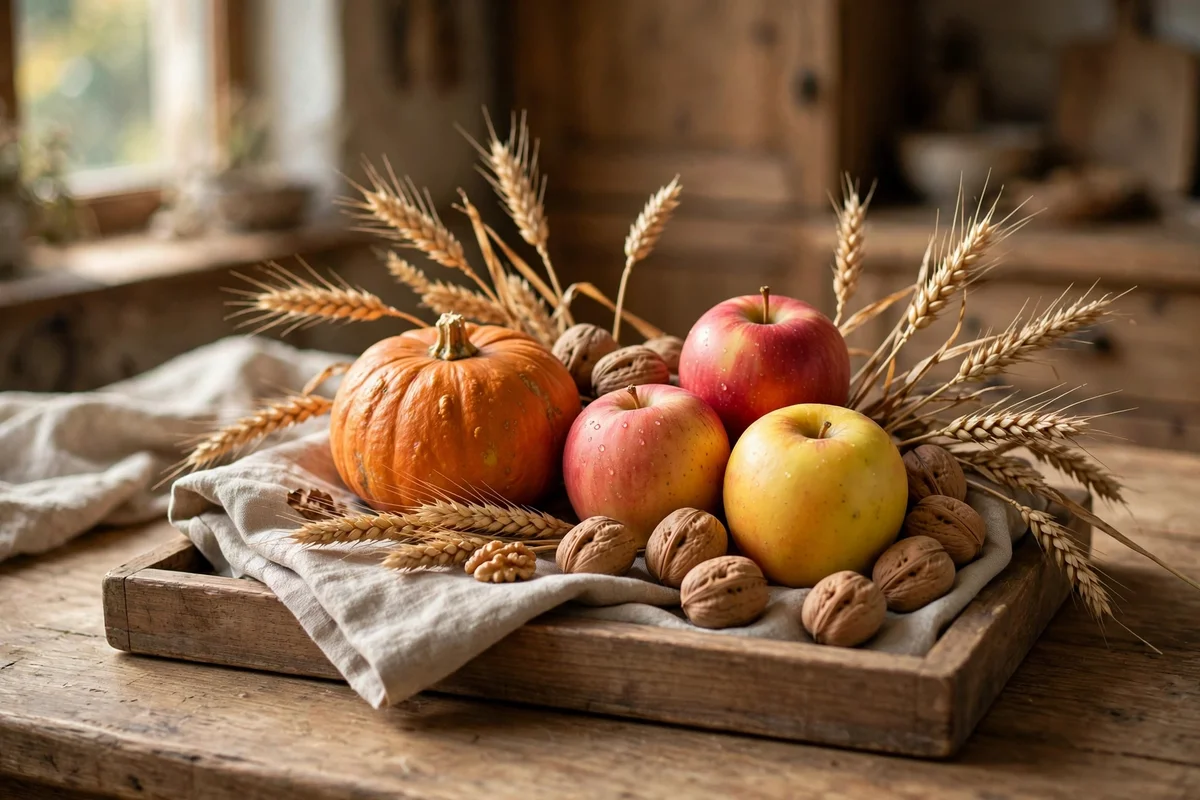
Set a rectangular wooden tray 40 to 50 cm long in the centre of the kitchen table and build the display low, nothing above 20 cm, so conversation flows across it. Layer a small pumpkin, three apples, a handful of walnuts in their shells and two sprigs of dried wheat on a bed of folded linen. The tray keeps everything contained and lets you lift the whole centrepiece away at mealtimes in seconds.
Eat your way through the centrepiece over the week, replacing the pumpkin and apples as they get used, so the display stays fresh and nothing wastes. The mistake to avoid is building it too tall; high arrangements block faces and get knocked over when serving dishes pass. Budget tip: reuse the tray year round with different seasonal contents, and buy one small pumpkin at the market rather than a bag of ornaments you will never cook.
8. Lay a Natural Linen Runner Down the Kitchen Table
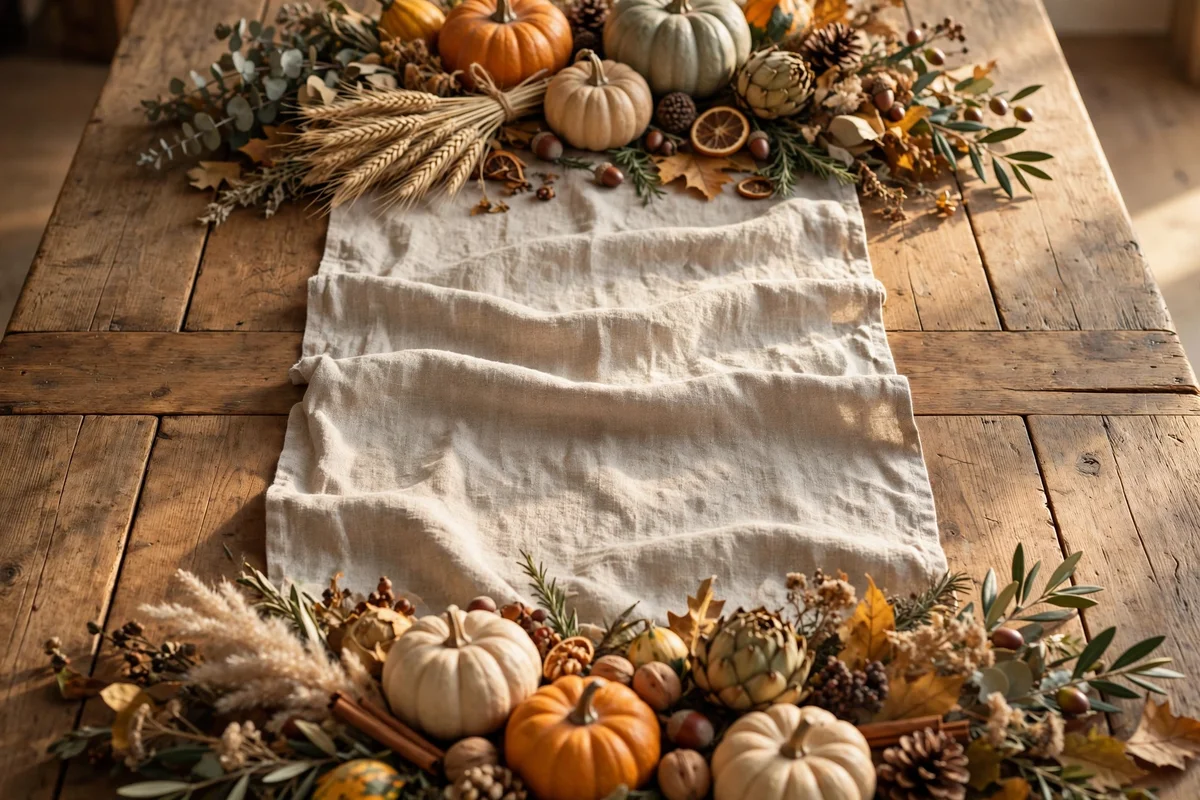
Choose a natural linen runner 35 to 40 cm wide and 30 cm longer than your table, so 15 cm hangs over each end. Undyed flax linen in oatmeal or sand tones sets off the oranges and golds of harvest displays without competing. Wash the runner before first use to soften it, then iron lightly while damp for a relaxed, not stiff, finish. The runner also protects the table from hot trays and pumpkin scratches.
Fold the runner in thirds and store it flat to avoid hard crease lines between seasons. The mistake to avoid is choosing a runner with a loose open weave for a kitchen table; crumbs and seeds fall through and the weave snags on rough squash skins. Budget tip: a metre of linen from a fabric shop, hemmed with iron-on tape, costs half the price of a finished runner and washes just as well.
9. Label Every Pantry Jar With Kraft Tags and Black Ink
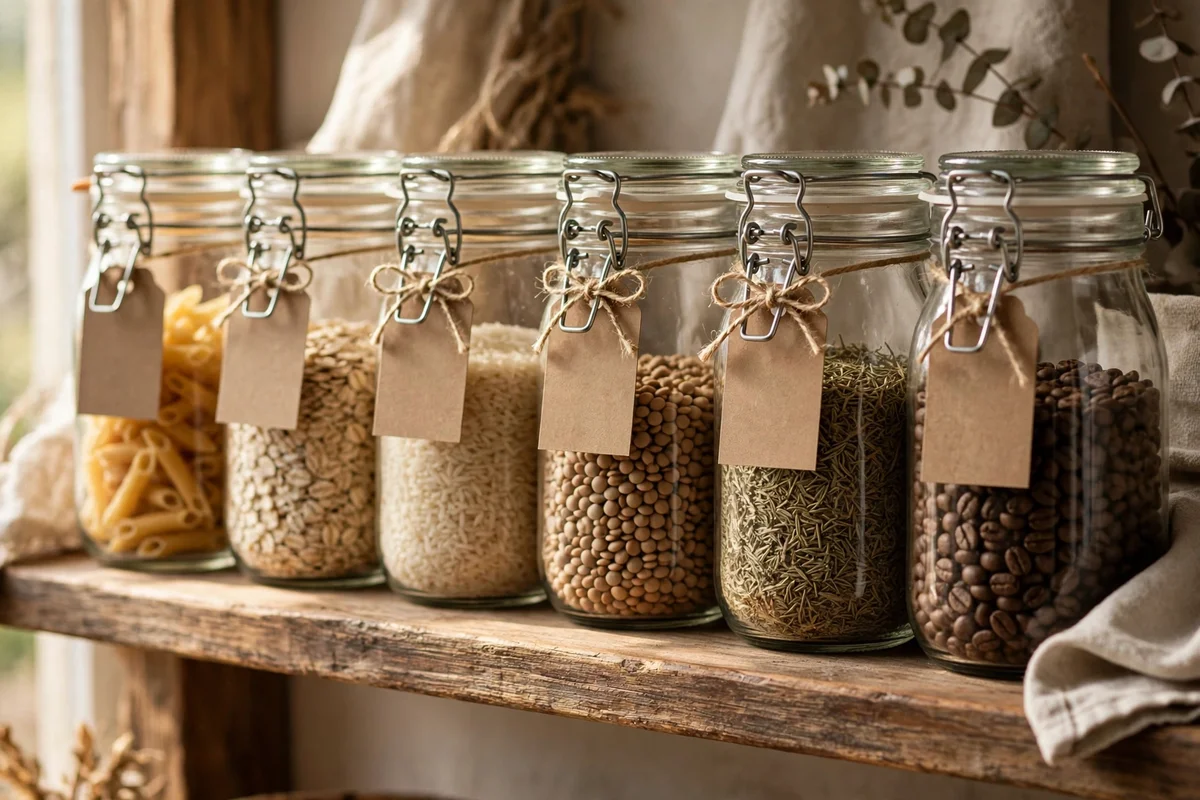
Tie a small kraft paper tag, about 6 by 3 cm, around the neck of every jar with natural twine, and write the contents in clear black ink with a date. Uniform tags turn a mixed collection of jars into a calm, intentional shelf, and the date stops you guessing which lentils are oldest. Use a fine liner pen so the writing stays legible for months. Keep a few blank tags and the pen in the drawer below for refills.
Write the month and year on every tag, not just the contents, because rotation is the whole point of visible storage. The mistake to avoid is using sticky labels on the glass; they peel in kitchen humidity and leave glue that never fully washes off. Budget tip: a pack of one hundred kraft tags and a ball of twine costs a few pounds and will label your whole pantry twice over, with change to spare.
10. Start a Rotate and Eat Ritual for Edible Displays Each Week
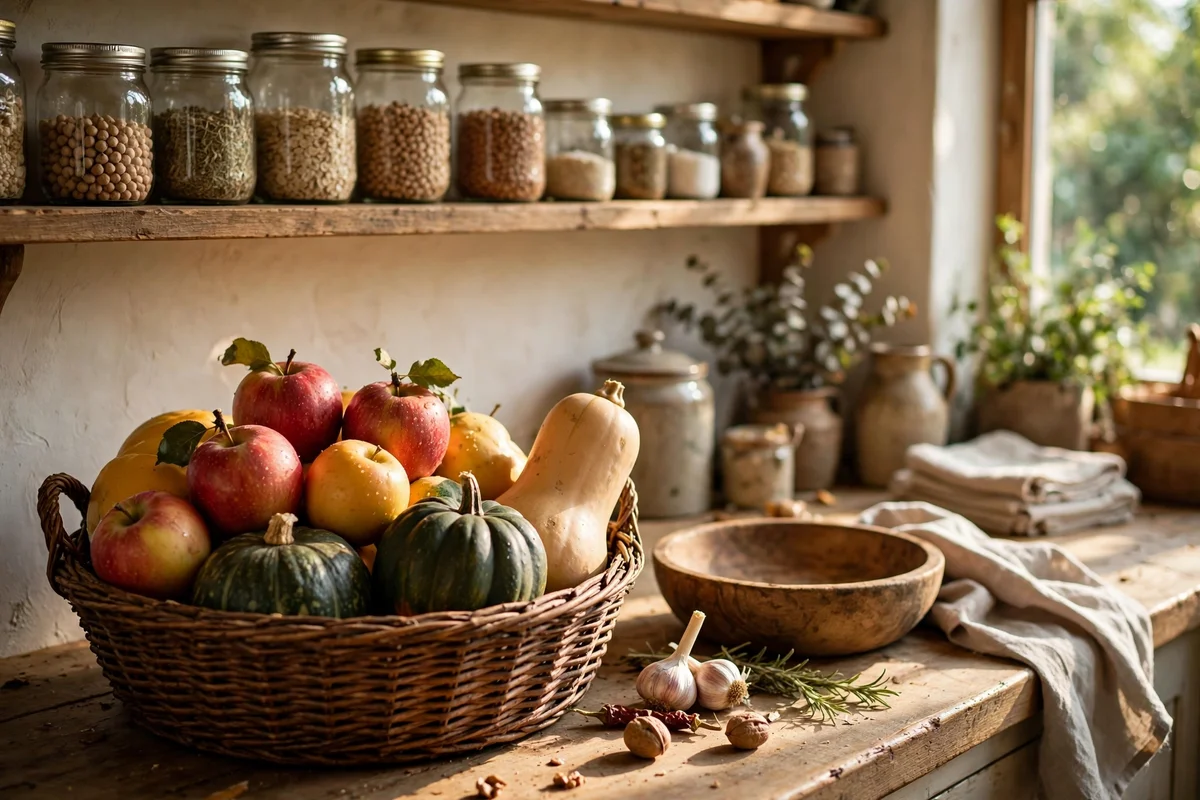
Set aside ten minutes every Sunday evening to walk through your edible displays with a basket, checking each apple, pumpkin and squash for soft spots. Move the ripest items to the front for the week’s cooking, compost anything past saving, and note what needs replacing on your shopping list. This small ritual keeps displays beautiful and food waste near zero. Involve the family so everyone learns which fruit is ready.
Plan one harvest meal a week, a soup, a roast or a crumble, built entirely from the display shelf so the decor literally feeds the family. The mistake to avoid is treating edible decor as decoration only; untouched displays rot and teach children that food is for looking at. Budget tip: this ritual saves money rather than costing it, since you buy produce once and it works twice, as decor and then as dinner.
11. Hang a Copper Rail Above the Counter for Dried Chillies and Herbs
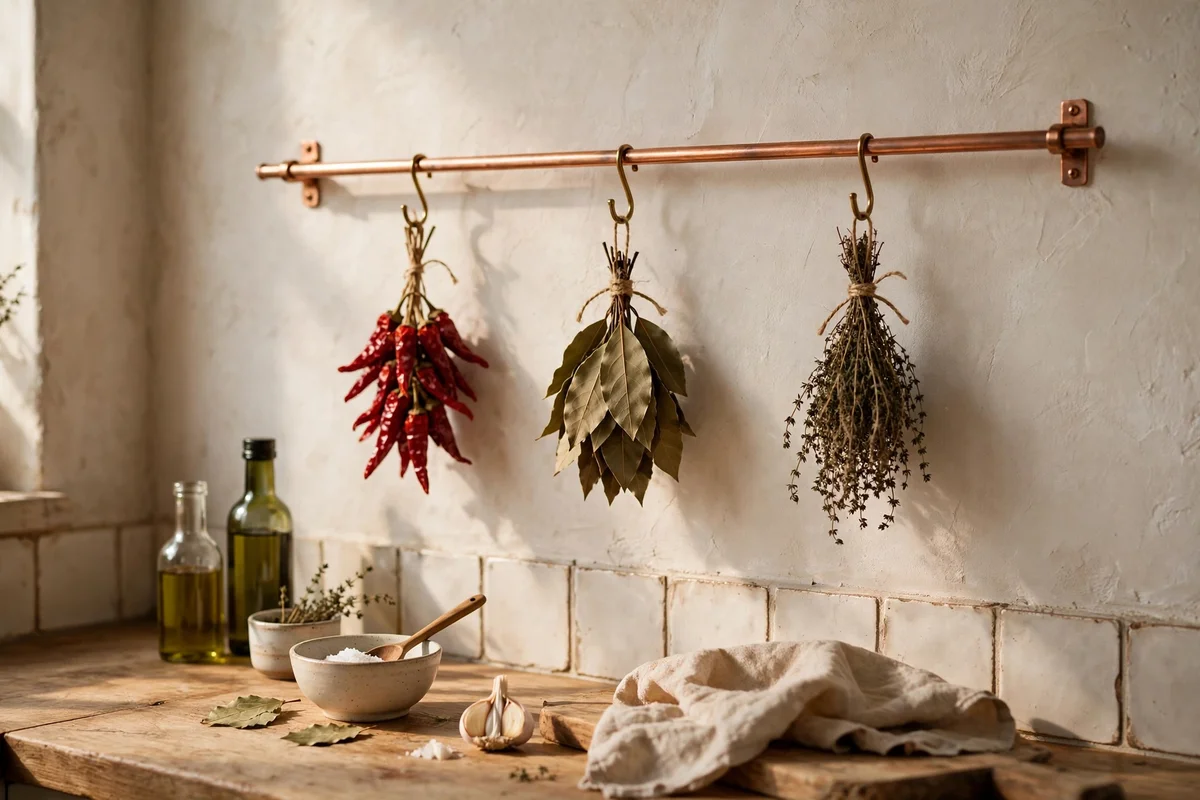
Fix a slim copper rail 60 to 80 cm long on the wall above the counter, 20 cm clear of the shelf below, and hang small bunches of dried chillies, bay leaves and thyme from S-hooks. Six to eight bunches make a rich harvest garland in deep reds and greens. Tie each bunch with twine and keep the chillies high enough that small hands cannot reach them. The rail adds warm metal to the scheme for little money.
Snip from the bunches as you cook, and replace each empty hook at the market so the rail never looks picked bare. The mistake to avoid is hanging fresh herbs here; they drip and wilt, while fully dried bunches keep their colour for months. Budget tip: dry your own chillies on a sunny windowsill for two weeks, turning daily, and a single market purchase becomes two rails’ worth of garland.
12. Tuck Squash Into the Spaces Between Cookbooks on the Shelf
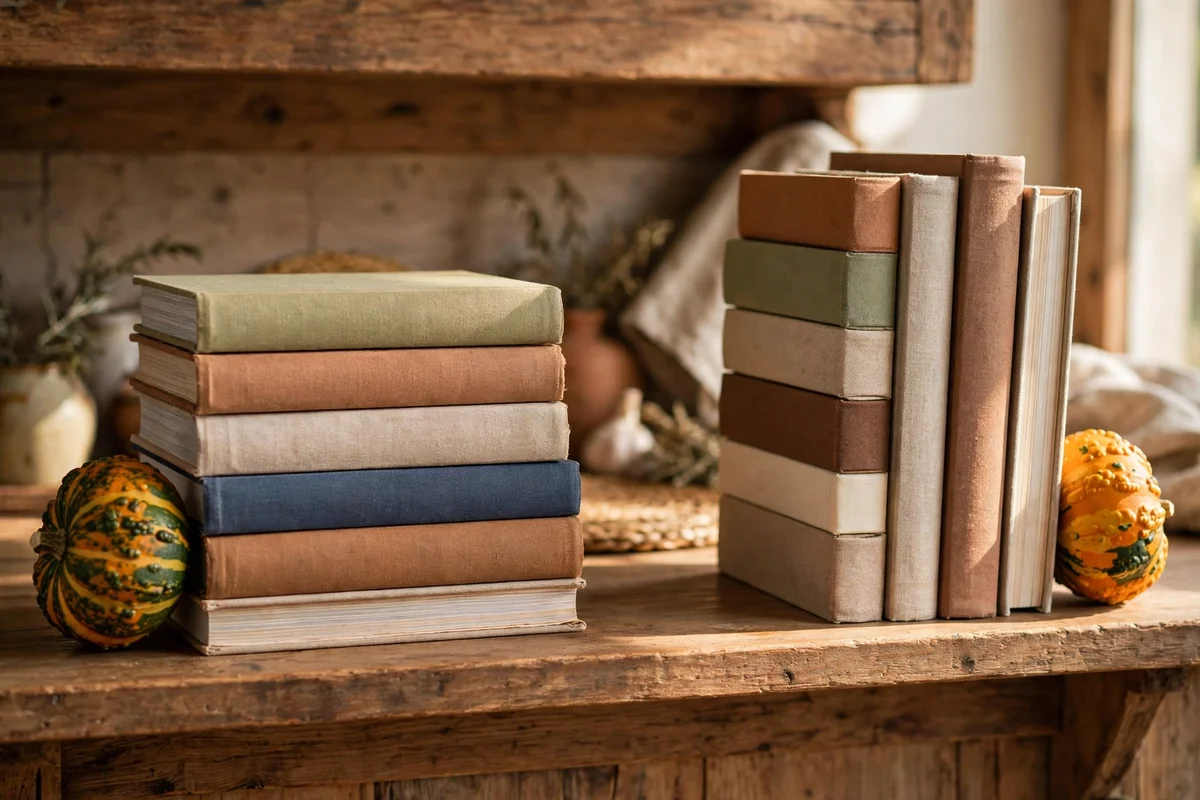
Use small squash as natural bookends on the kitchen shelf, placing one 8 to 10 cm squash in each gap between cookbook stacks. The rounded shapes soften the straight lines of book spines, and the orange and green skins repeat the harvest palette at eye level. Choose squash with flat bases so they sit steadily, and keep them 5 cm back from the shelf edge. Rotate them out before they soften.
Wipe the shelf first, since soil on squash skins can mark light wood and stain paper dust jackets. The mistake to avoid is wedging squash tightly between heavy books; growing moisture under the skin can mark the covers and the pressure bruises the flesh. Budget tip: this idea costs nothing if you already own the squash, and it fills awkward shelf gaps better than any ornament you could buy.
13. Fill a Wire Basket With Walnuts, Hazelnuts and Pine Cones
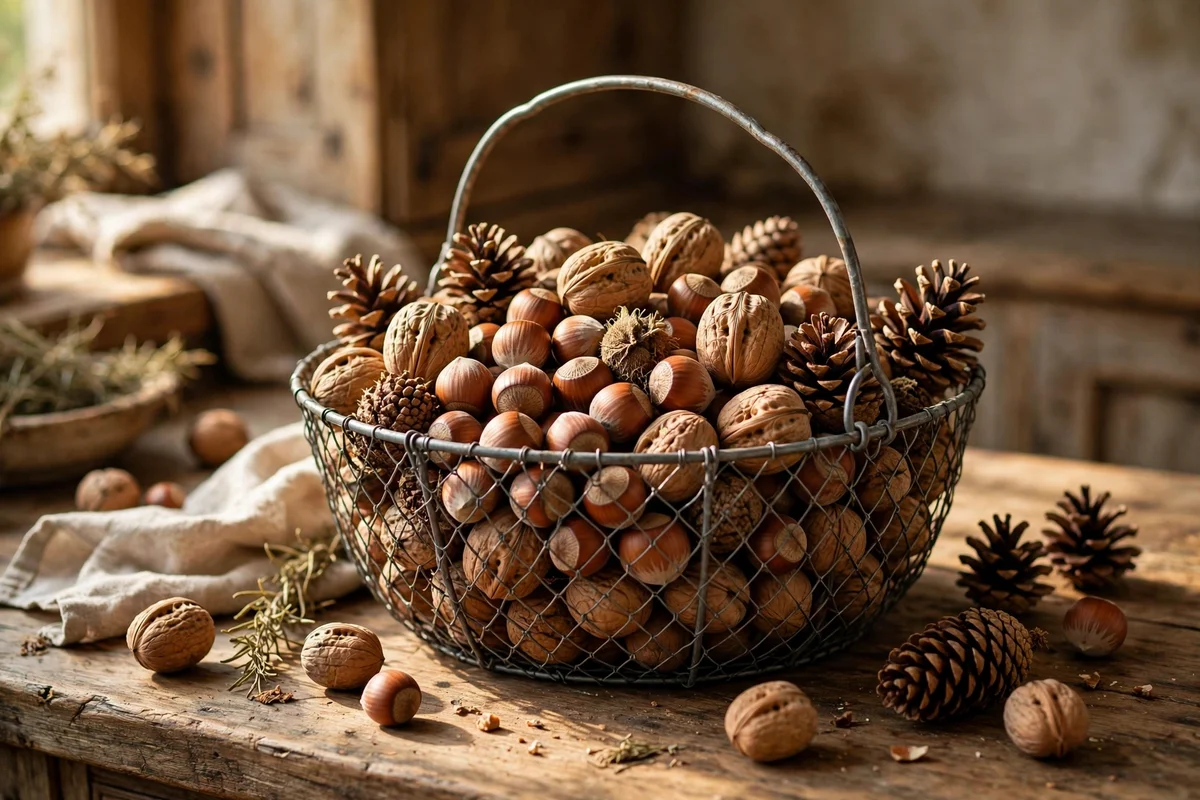
Choose a wire basket 25 to 30 cm across with a handle, and fill it with two kilos of mixed unshelled walnuts and hazelnuts plus a dozen pine cones for texture. The basket looks abundant and rustic, and the nuts stay fresh in their shells for months in a cool kitchen corner. Set it on the counter where guests can crack a few, with a small bowl for shells. Pine cones from a walk cost nothing.
Refill the basket as nuts get eaten, and check for any with holes or mould before topping up. The mistake to avoid is mixing salted or roasted nuts into the display basket; oils go rancid and stain the wire over time. Budget tip: buy unshelled nuts in bulk at the market in autumn when prices drop, and the basket doubles as your winter snack store for months.
14. Display Preserved Lemons and Pickles in Rows on the Counter
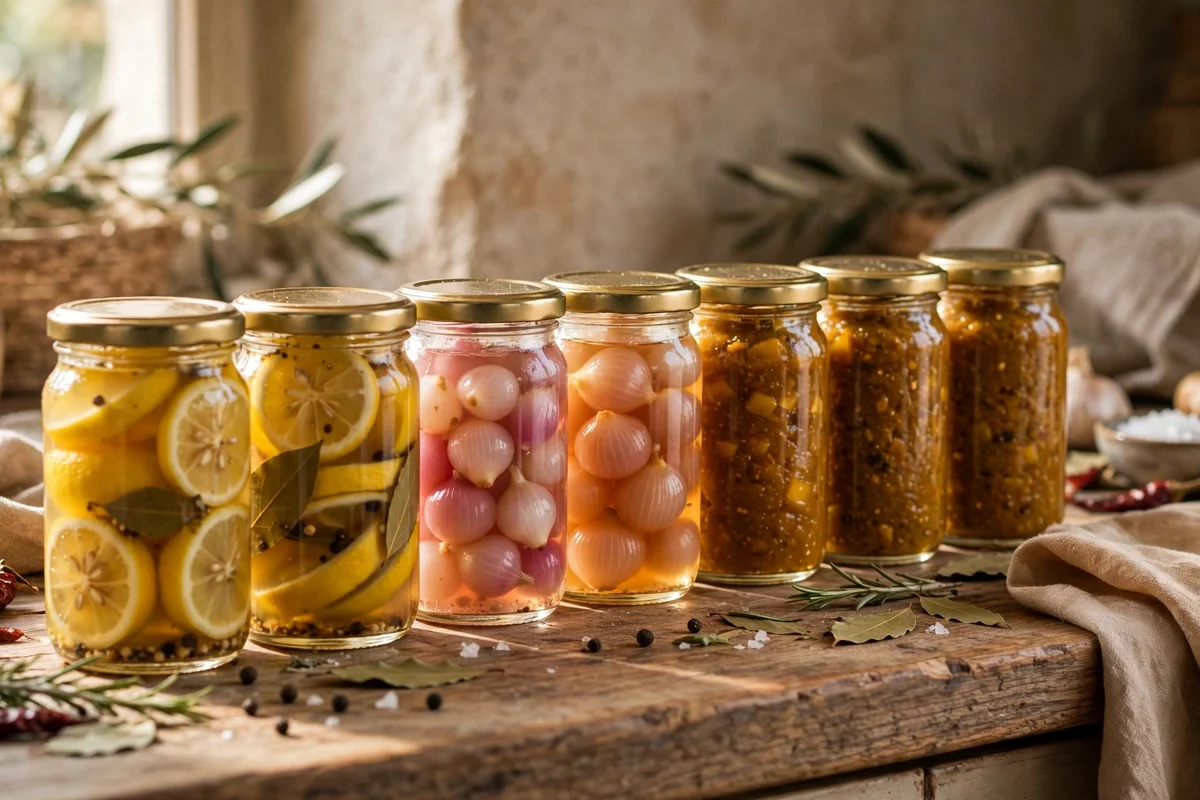
Line four to six small preserving jars of lemons, pickled onions and chutney along the back of the counter, tallest jars at the ends and shorter ones in the middle. The jewel colours of amber, gold and deep green glow against a plain splashback and advertise the pantry’s contents. Keep jars 10 cm from the hob so heat does not loosen the seals. A row like this turns preserving into the kitchen’s artwork.
Date every jar and keep a simple rule: open the oldest first, and never keep home preserves longer than twelve months. The mistake to avoid is displaying jars in direct sun; light fades the colours and warms the contents, shortening shelf life. Budget tip: preserving jars pay for themselves in one season if you pickle a glut of market vegetables, and the display costs nothing beyond the jars themselves.
15. Drape a Chunky Knit Throw Over the Corner Kitchen Chair
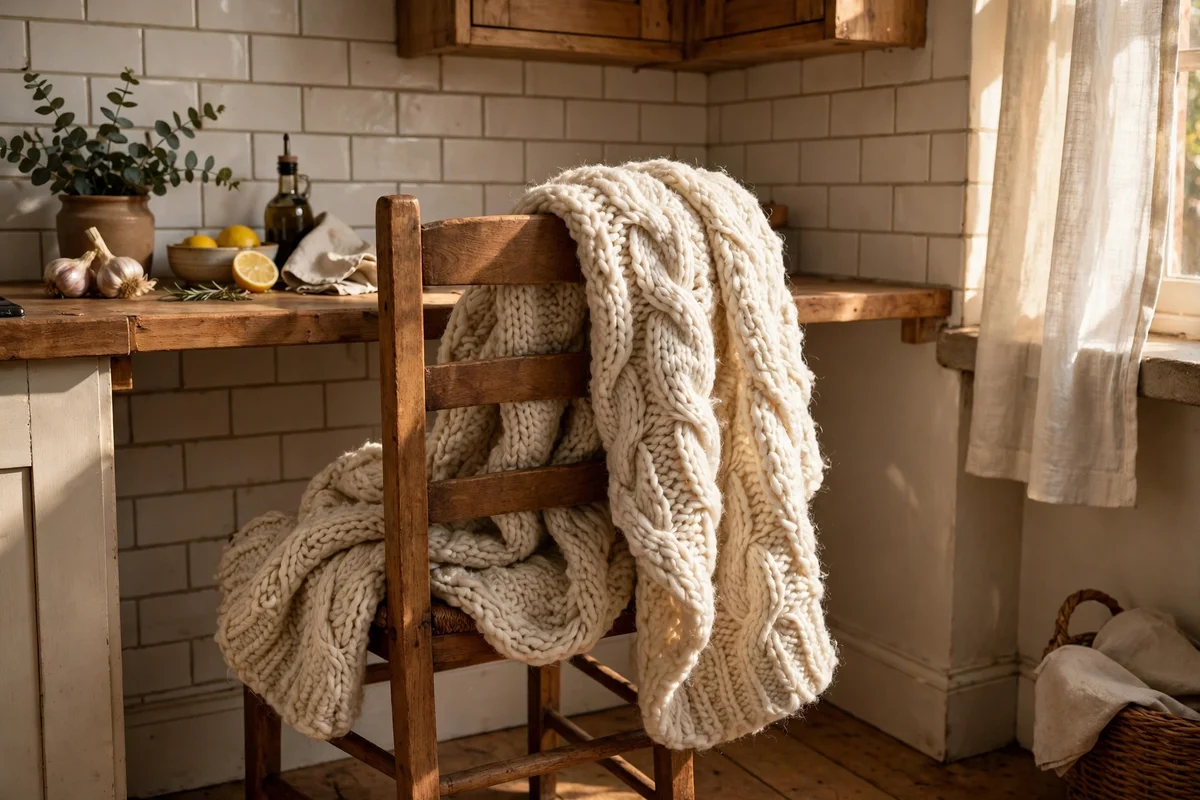
Fold a chunky knit throw in cream or oatmeal, about 130 by 170 cm, over the back of the corner kitchen chair so 40 cm hangs down each side. The soft wool texture balances the hard surfaces of a kitchen and invites long slow breakfasts. Choose a washable cotton or acrylic blend for a working kitchen, since pure wool picks up cooking smells. Drape it only on the chair farthest from the hob.
Shake the throw outside weekly to keep crumbs and flour dust out of the knit. The mistake to avoid is draping throws on every chair; one chair keeps the look intentional, while four looks like a laundry day. Budget tip: charity shops sell good knit throws for a few pounds, and a simple cream throw works in every season, so it is money well spent rather than an autumn-only purchase.
16. Place a Stoneware Crock of Cinnamon Sticks Beside the Hob
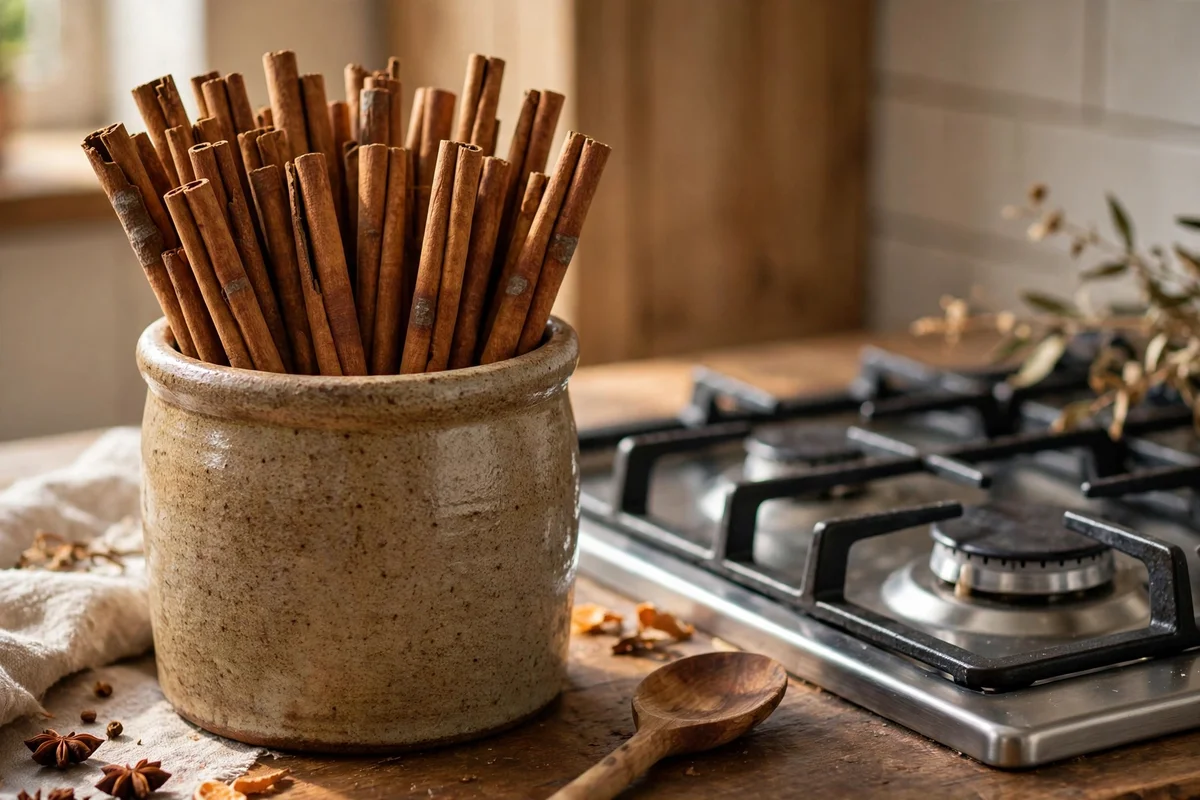
Set a stoneware crock 12 to 15 cm tall beside the hob, filled with twenty to thirty cinnamon sticks standing upright like a bundle of firewood. The warm spice scent drifts gently when the hob is warm, and the crock looks beautifully harvest-like next to copper and wood. Keep the crock at least 15 cm from the flame or hot ring. Refill the sticks once a year, when their scent fades.
Use the sticks for cooking too: drop one into porridge, hot milk or stewed apples, and replace it from a kitchen drawer stash. The mistake to avoid is using scented or artificial cinnamon bundles from a craft shop; they are not food safe and the perfume clashes with real cooking. Budget tip: buy cinnamon in long sticks from a spice market rather than a supermarket jar, where twenty sticks often cost less than a small tube.
17. Stack Copper Measuring Cups as Art on the Open Shelf
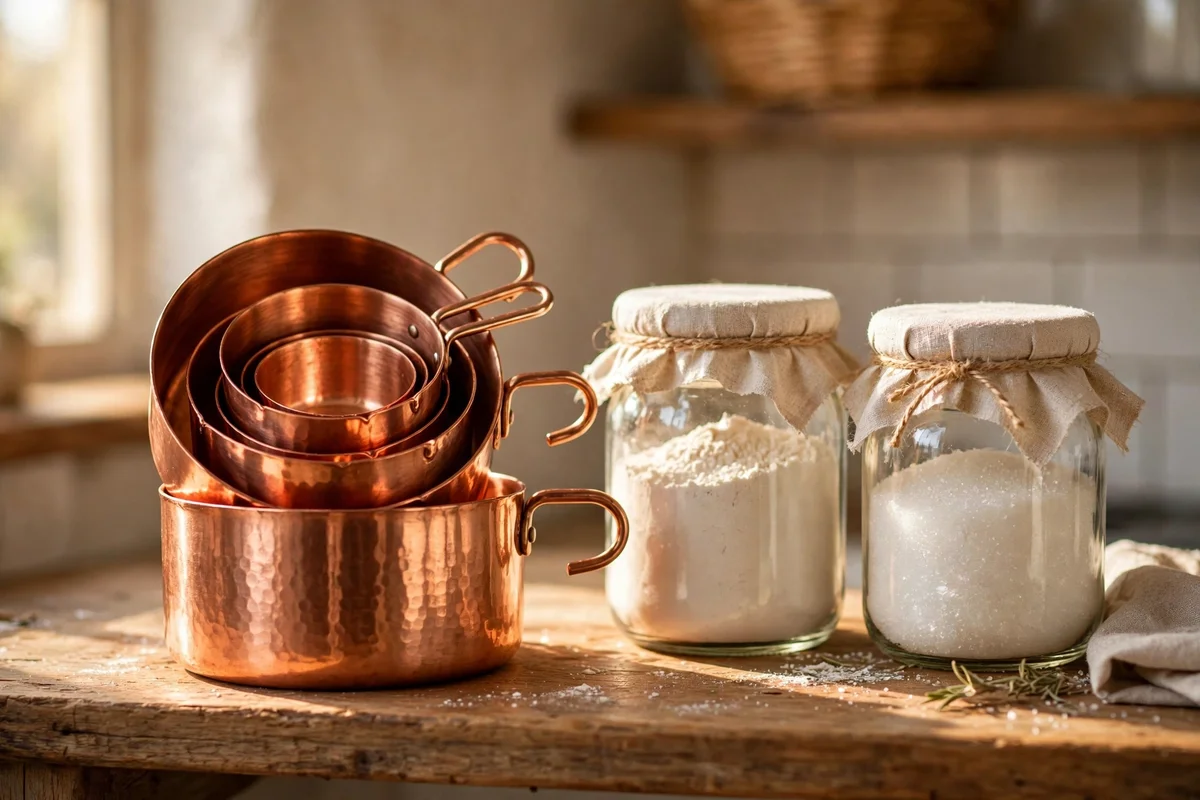
Nest a set of four copper measuring cups, from quarter cup to one cup, and display them upright on the open shelf like a small sculpture. The graduated sizes and warm metal catch the light and remind everyone that this kitchen cooks. Place them near the flour and sugar jars for a working corner that looks styled. A set costs little and lasts for decades with a monthly wipe.
Wash and dry the cups fully after each use so water never sits in the seams and dulls the shine. The mistake to avoid is displaying measuring cups you never use; dusty unused tools look like a prop, while worn ones tell a true story. Budget tip: copper-plated steel sets give the same glow for a few pounds, though solid copper keeps its shine longer and feels better in the hand.
18. Hang a Woven Trivet and Wooden Spoon Set by the Stove
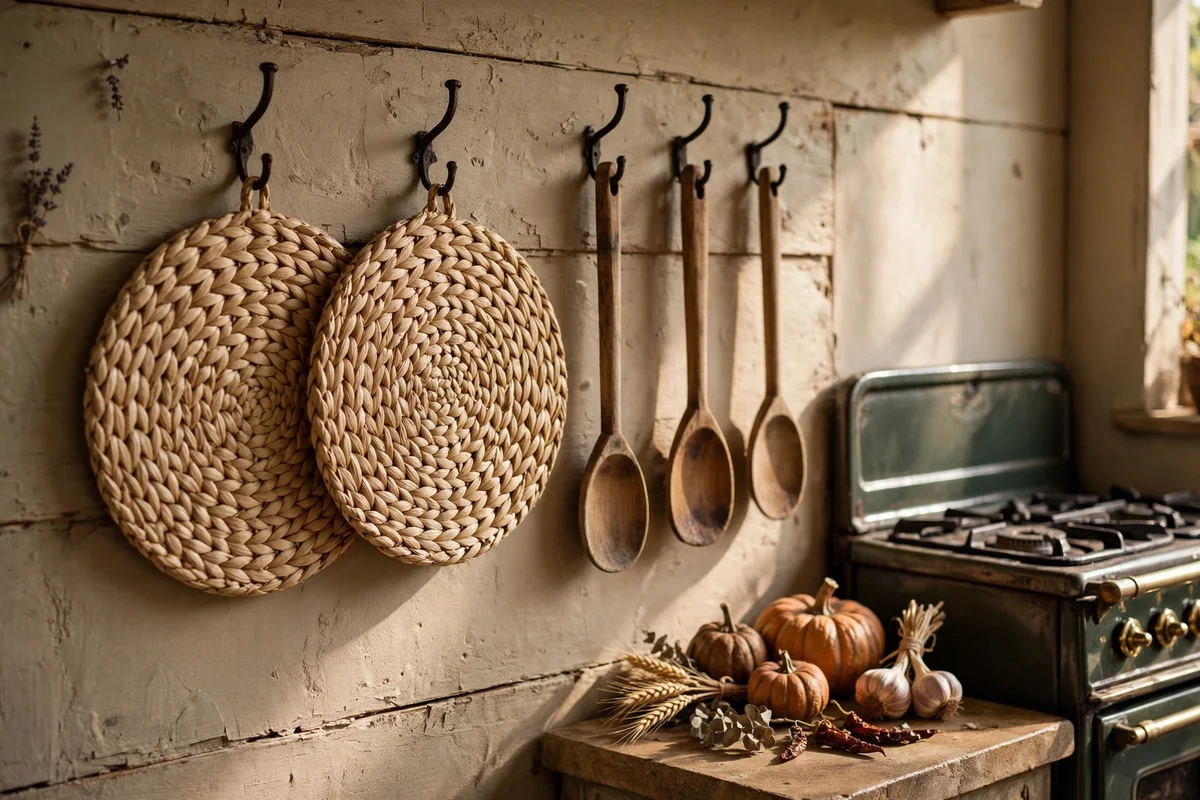
Hang two round woven trivets, 18 to 20 cm across, and a set of three wooden spoons on hooks on the wall beside the stove. The woven straw and warm beech echo the harvest palette while keeping useful tools within arm’s reach. Space the hooks 12 cm apart so each piece hangs flat and visible. Choose spoons with long handles, 30 cm or more, for safe stirring of deep pots.
Oil the spoons monthly with a teaspoon of food-safe mineral oil to stop them drying and cracking near the heat. The mistake to avoid is hanging the trivets where steam from the kettle rises; damp straw warps and grows musty within weeks. Budget tip: woven trivets from a market stall cost a pound or two each, and a good beech spoon set is under ten pounds and lasts for years.
19. Style the Windowsill With Small Pumpkins and a Beeswax Candle
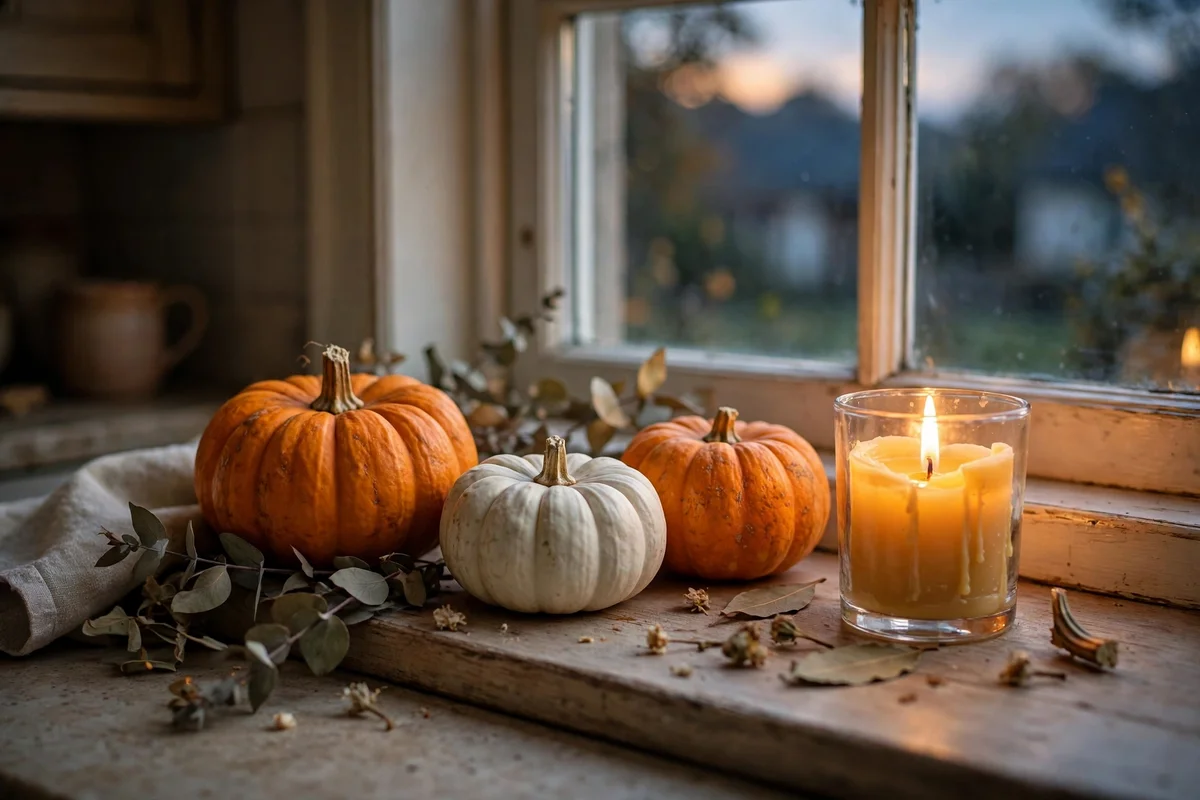
Arrange three small pumpkins, 8 to 12 cm across, along the windowsill with a short beeswax candle in a glass holder between them. The candle’s honeyed glow deepens the orange skins at dusk and makes the whole sill feel like a harvest altar. Keep the candle 15 cm from the pumpkins and never leave it burning unattended. A low sill arrangement also stays clear of the curtain fabric above.
Burn the candle for an hour or two in the evening rather than all day, so one candle lasts the whole season. The mistake to avoid is using tall taper candles on a narrow sill; they drip wax onto the paint and fall over in a draught. Budget tip: plain beeswax pillars from a market cost little, burn cleanly without smoke, and their warm scent suits a kitchen better than any perfumed candle.
20. Fill a Ceramic Pitcher With Dried Seed Heads and Barley
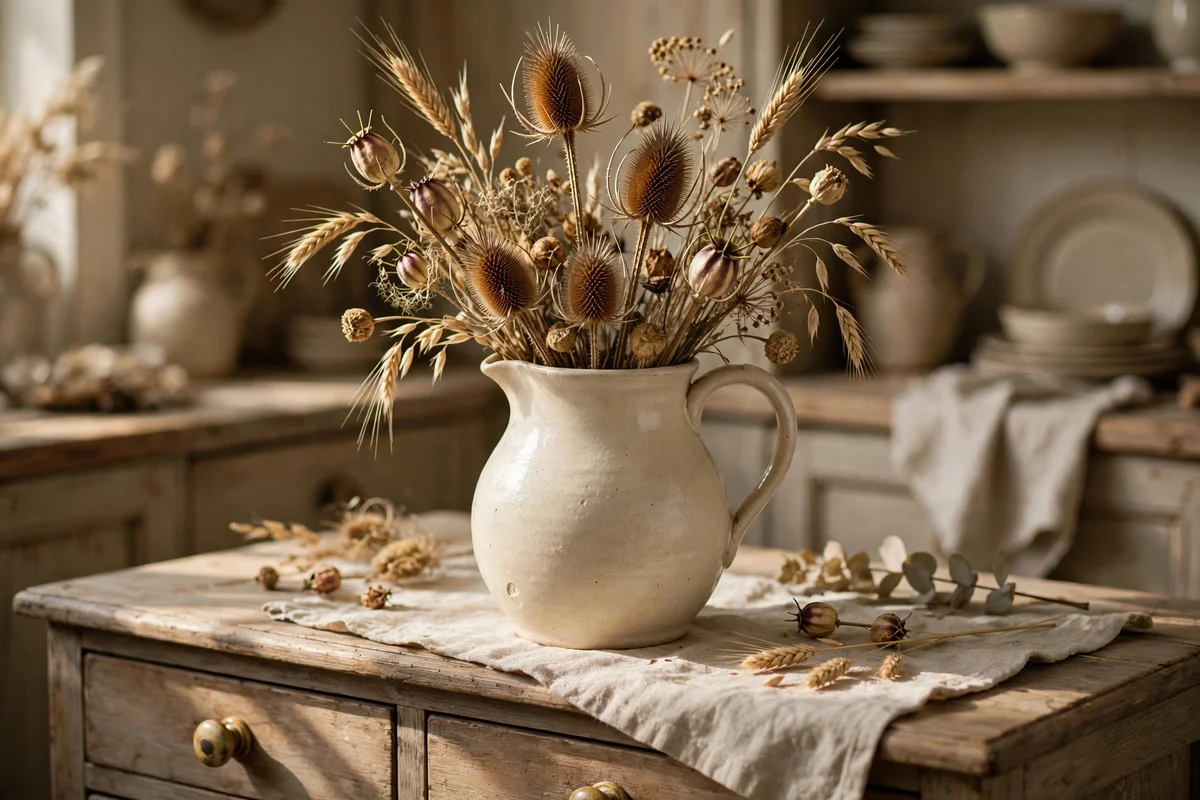
Stand a ceramic pitcher 25 to 30 cm tall on the dresser or counter and fill it with a loose bunch of dried seed heads, barley stems and teasels, about 50 cm tall overall. The muted golds and browns bring harvest texture into the kitchen without taking up counter space. Choose a pitcher in cream or warm grey so the stems do the talking. Cut stems at an angle so they sit at different heights.
Give the bunch a gentle shake outside every month to shed loose seeds before they scatter on the counter. The mistake to avoid is placing dried stems near the hob or toaster; they are flammable and must stay at least 50 cm from any heat. Budget tip: gather seed heads on an autumn walk for free, and one good pitcher from a charity shop becomes a permanent vase for every season’s finds.
21. Organise Dry Goods in Matching Amber Glass Canisters
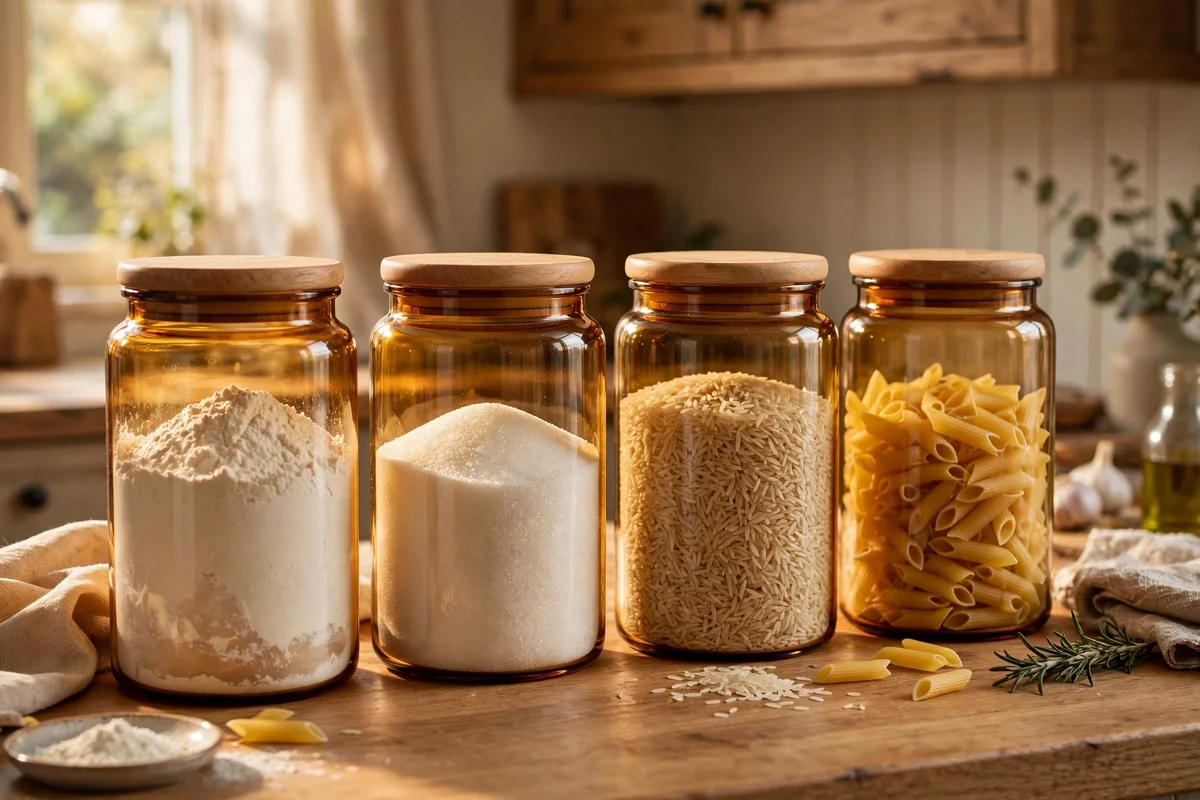
Decant flour, sugar, rice and pasta into four to six matching amber glass canisters of one to two litres, and line them along the counter or the lowest open shelf. The warm amber glass unifies mismatched packaging into one calm row and protects contents from light. Choose canisters with wooden lids for the warmest look, and keep the flour canister nearest the mixing area. The amber tone flatters every harvest colour around it.
Wash and fully dry each canister before decanting, and refill from the back so the oldest stock sits on top and gets used first. The mistake to avoid is buying canisters without checking the seal; a pretty jar that lets flour weevils in is worse than the ugly packet it replaced. Budget tip: buy the canisters one at a time as old packets run out, spreading the cost across the season.
22. Set Out a Gratitude Bowl of Seed Packets and Recipe Cards
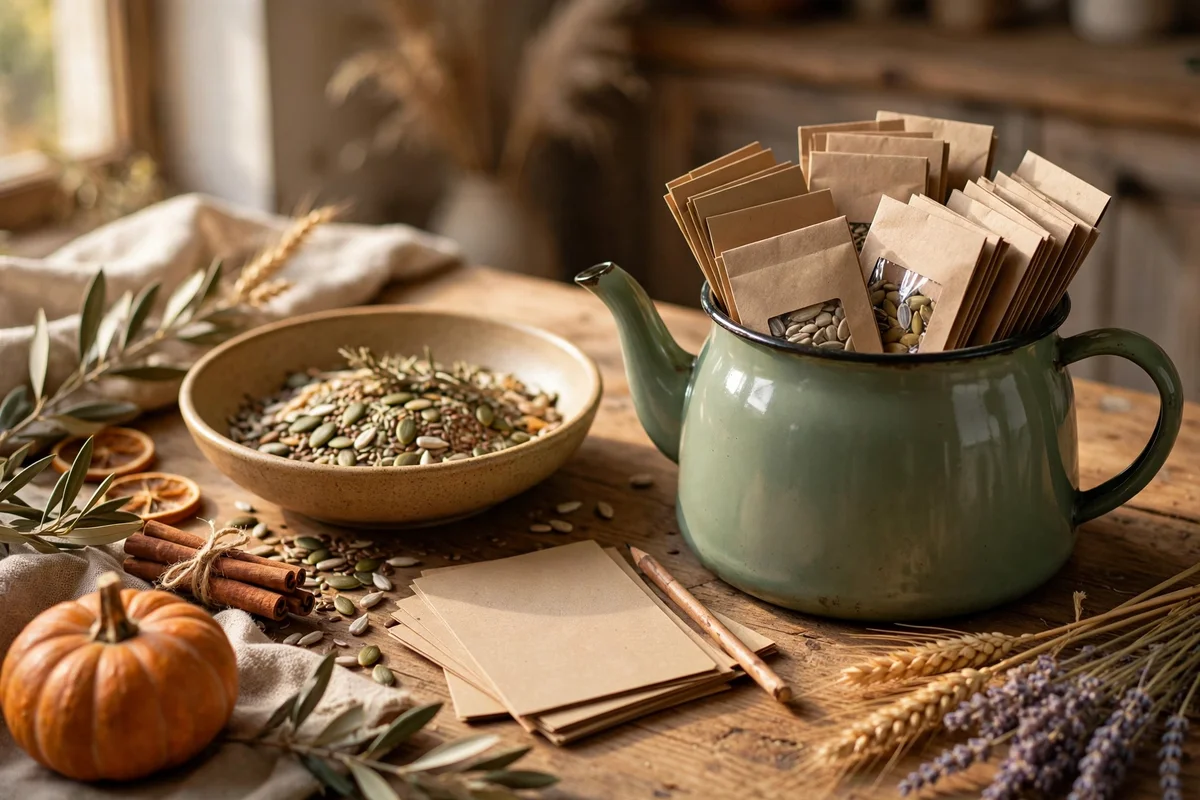
Place a shallow bowl 20 to 25 cm across near the kettle, filled with next season’s seed packets, handwritten recipe cards and a pencil. The bowl turns gratitude into a daily habit: family members jot down favourite autumn recipes or note which seeds to plant in spring. Use thick cards, 10 by 15 cm, so the writing lasts. The bowl costs nothing and becomes the kitchen’s warmest corner.
Read the cards together once a month and cook one recipe as a family, keeping the gratitude loop practical rather than sentimental. The mistake to avoid is letting the bowl become a junk drawer for batteries and keys; keep it strictly for seeds, recipes and notes, or it loses its meaning. Budget tip: cut recipe cards from last year’s Christmas cards or thick wrapping paper, and the whole project stays free.
A harvest kitchen is not built in a day; it grows the way a good pantry grows, one jar, one braid and one bowl of apples at a time. The twenty two ideas above share one spirit: celebrate plenty, waste nothing, and let the room work as hard as it glows. Copper, wood, linen and glass do the heavy lifting, while the season’s produce brings the colour. Gratitude, it turns out, looks a lot like a well-fed shelf.
This week, try the simplest idea first: fill a wide wooden bowl with apples and set it on the counter near the kettle. It costs the price of a market bag, takes five minutes, and you will eat your way through it by Sunday. Once the bowl habit sticks, add the wheat jar, then the labelled shelves, one layer at a time. Your kitchen will feel like autumn itself, generous, warm and quietly grateful.
Frequently Asked Questions
How do I keep edible harvest displays from going to waste?
Build a weekly rotate and eat habit. Every Sunday, check apples, pumpkins and squash for soft spots, move the ripest to the front for cooking, and compost anything past saving. Plan one meal a week from the display shelf, such as soup or a roast. Buy produce once and let it work twice, first as decor, then as dinner, and waste drops to almost nothing.
What size jar works best for dried wheat sheaves?
A tall cylindrical jar 25 to 30 cm high suits stems of 60 to 70 cm, letting the golden heads clear the rim by a good margin. A one litre jar holds twelve to fifteen stems comfortably. Keep the jar on a windowsill or a quiet counter corner, away from the hob, kettle steam and swinging doors, since dried stems snap easily and shed grains when knocked.
Can I hang braided onions in a small kitchen?
Yes, if you keep them at least 40 cm from the hob and away from the kettle’s steam path. A 60 cm peg rail beside the stove holds two onion braids and one garlic braid without crowding. In very small kitchens, hang a single short braid inside a cupboard door or on a pantry wall instead. Dry air is what matters most; moisture makes the skins mouldy within weeks.
What does a harvest kitchen refresh realistically cost?
Between 30 and 120 pounds or dollars, depending on what you already own. Apples, squash, wheat and pine cones from a market often total under 25, while kraft tags, twine and a linen runner add another 20 to 40. Spend more only on pieces you keep for years, like a copper pan or oak board. Start with produce, which is cheap and edible, then invest slowly.
How do I keep open shelves of preserving jars looking tidy?
Give every jar a matching kraft tag with the contents and date, and line jars tallest at the back, smallest at the front, in straight rows. Keep everyday grains at arm height and rarely used ones higher. Wipe shelves monthly, since flour dust settles fast. Only buy airtight jars, and decant one dry good at a time so the cost spreads across the season.