Kitchen
23 Kitchen Counter Decor Ideas That Add Charm Without Stealing Your Workspace
By Anna Wells · · 22 min read
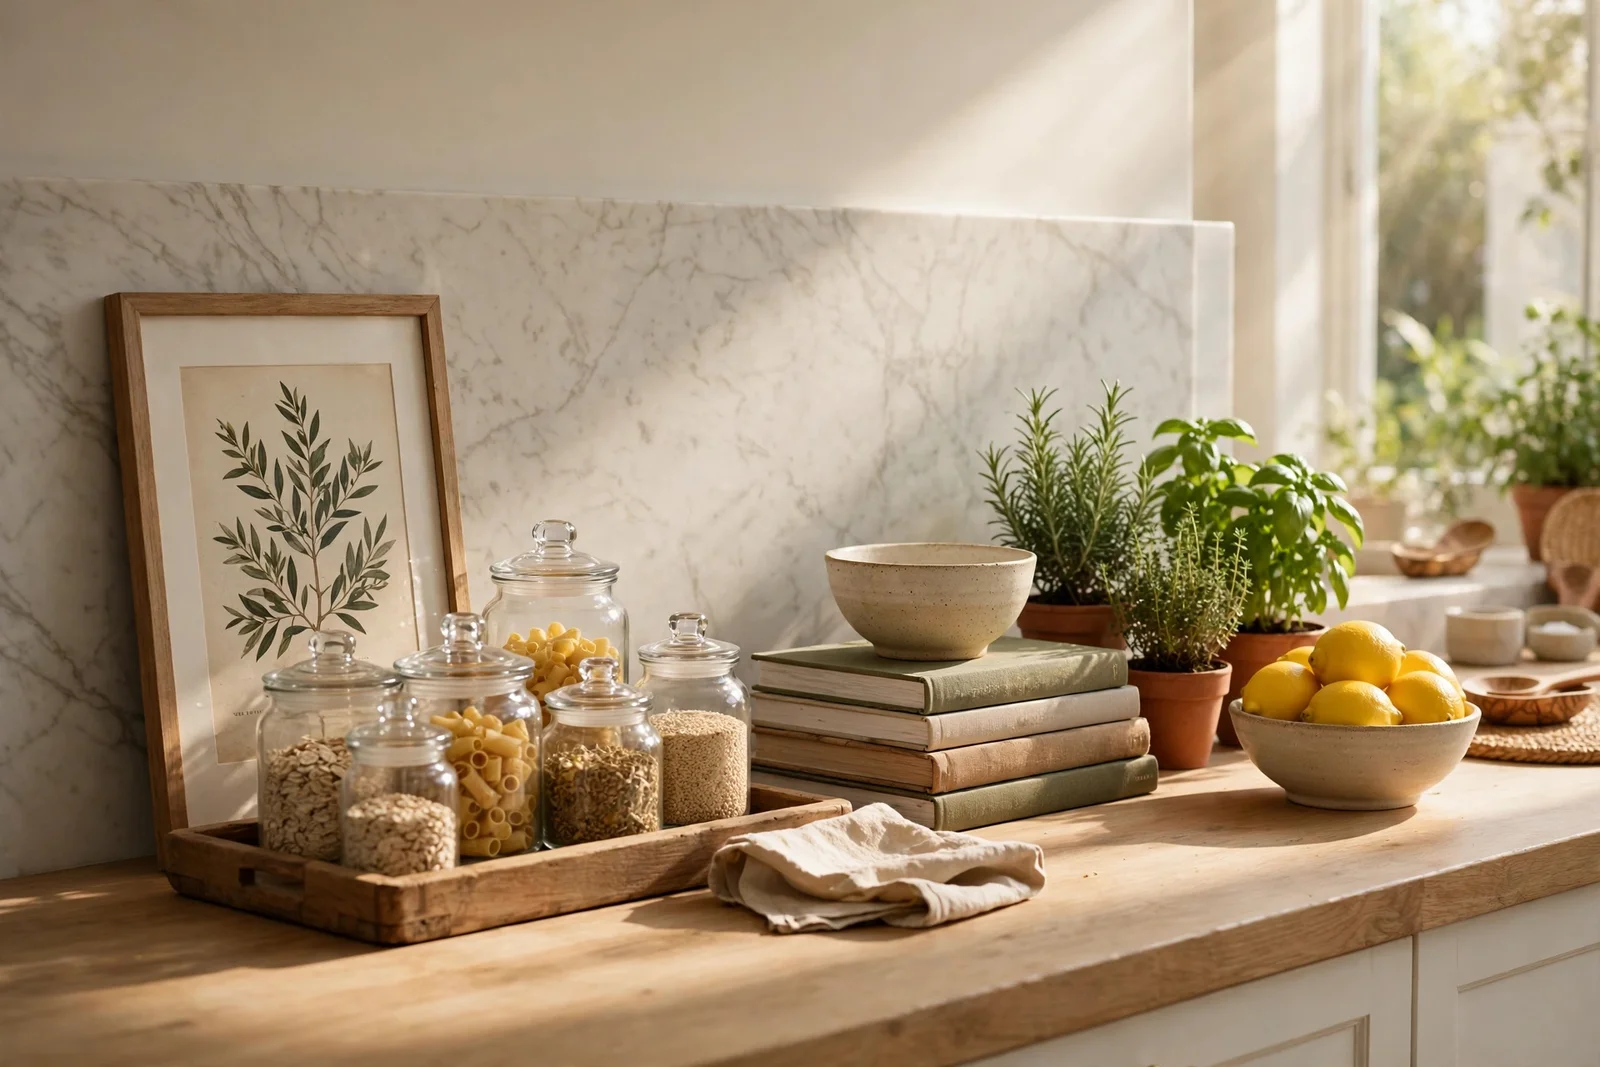
Twenty-three kitchen counter decor ideas that add warmth and charm while keeping room to cook: trays, cookbook stacks, herbs, island styling and smart seasonal touches.
Morning light stretches across the counter in a soft golden band, catching the rim of a stoneware jug and the leaves of a small potted herb. The kettle hums, the fruit bowl glows, and for a moment the kitchen feels less like a workroom and more like a place to linger. That quiet beauty is exactly what good counter decor creates. It does not ask for much space, just a little intention and a few pieces that love being looked at.
A counter that is beautiful but impossible to cook on is a failed counter. Flour dust, splashing oil and the daily rhythm of chopping and rinsing all fight against clutter, and anything fussy or fragile simply gets in the way. The secret is to decorate like a cook: keep the working heart of the counter clear, then let small vignettes live at the edges where they can be admired without being moved every single day.
These 23 ideas are built on that balance. Each one names exact pieces, sizes and placements: trays that corral jars, cookbook stacks that double as plinths, herbs in handsome pots, and a clear rule for how much counter must stay empty. You will find different guidance for the sink zone, the hob zone and the island, plus a simple monthly rotation for seasonal touches that keeps the whole kitchen feeling fresh.
Nothing here needs a big budget or a renovation. Most ideas cost less than a weekly shop and take under twenty minutes to set up, using pieces you may already own. Work through them slowly, one corner at a time, and let the counter tell you what it needs next. Start with the tray and the cookbooks, then add the smaller layers as they catch your eye.
1. Corral Pretty Jars and a Trailing Plant on One Wooden Tray
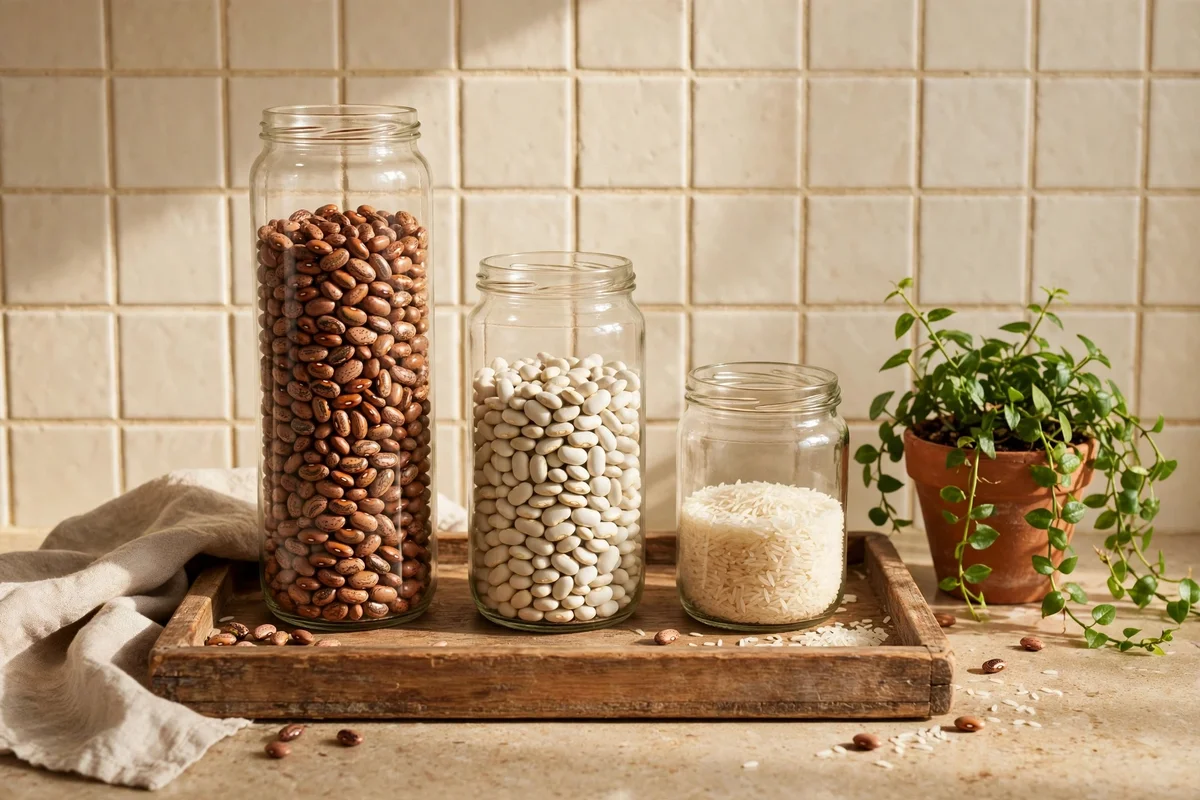
A tray is the single fastest way to make a counter look styled instead of scattered. Choose one in oak, walnut or mango wood, roughly 40 by 28 cm, with a low lip of 3 to 4 cm so items stay put when you slide it. Fill it with three glass jars of different heights, say 12, 16 and 20 cm, holding dried beans, rice or tea, then add one small trailing plant in a 10 cm pot. The tray reads as one tidy island, and you can lift the whole thing aside in seconds when you need the space.
The mistake to avoid is choosing a tray wider than 45 cm, which turns the corral back into clutter. Keep the palette tight: wood, clear glass and one green plant. Budget tip: charity shops and flea markets hold dozens of wooden trays under 15 pounds or dollars; sand and oil a worn one for a finish that looks bespoke. Wipe the tray weekly, since flour dust settles into corners fast.
2. Stack Three Cookbooks With a Small Ceramic Bowl on Top
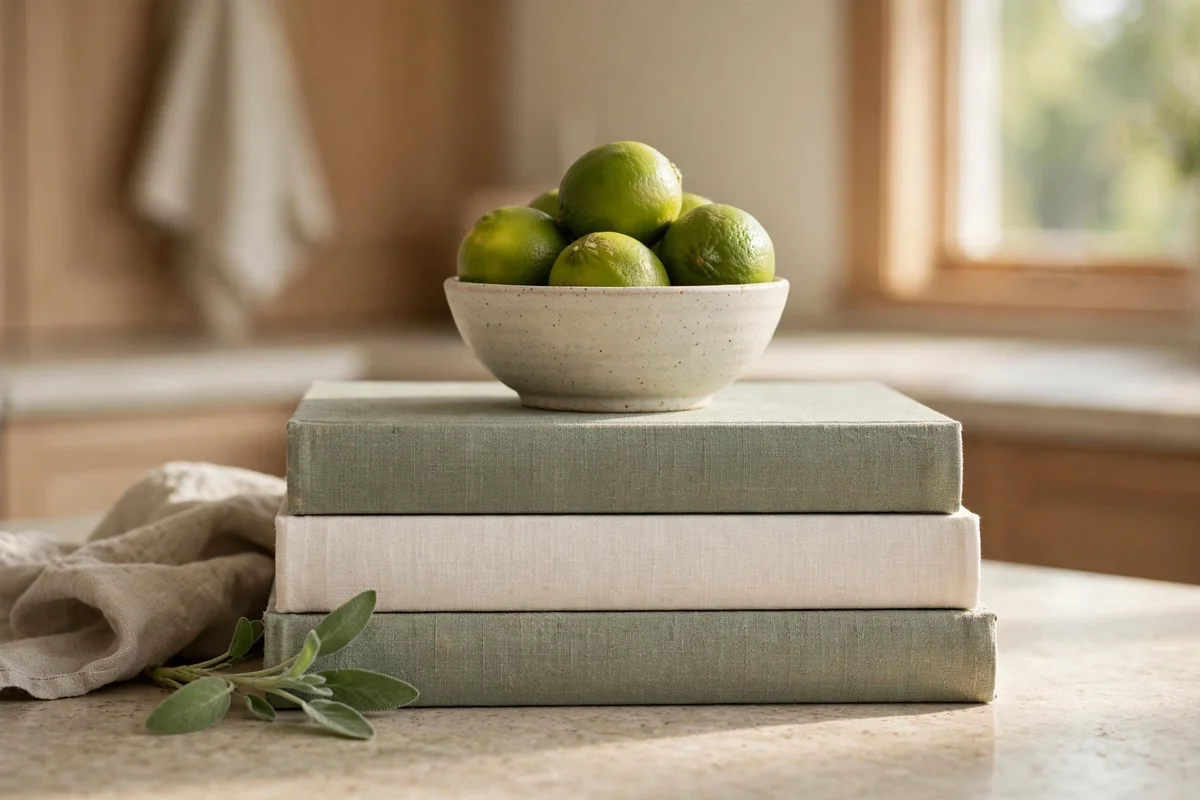
Cookbooks are decor that earns its keep. Stack three with the largest at the bottom, around 28 by 22 cm, choosing spines in one colour family such as cream, sage and clay. Turn the stack near the cooking zone but not beside the hob, about 60 cm away from any open flame or strong heat. Top the stack with a small ceramic bowl, 12 to 15 cm across, holding garlic, limes or a few wrapped sweets. The stack gains 18 cm of height, which draws the eye upward.
Avoid stacking more than three books, since taller towers wobble and invite toppling. Keep the bowl shallow so nothing hides inside it, and rotate the bowl contents weekly for a fresh look at no cost. Budget tip: second-hand bookshops sell handsome hardbacks for 2 to 4 pounds or dollars each. Dust the stack monthly; kitchen grease films build up on horizontal surfaces faster than you expect.
3. Lean a Framed Botanical Print Against the Splashback
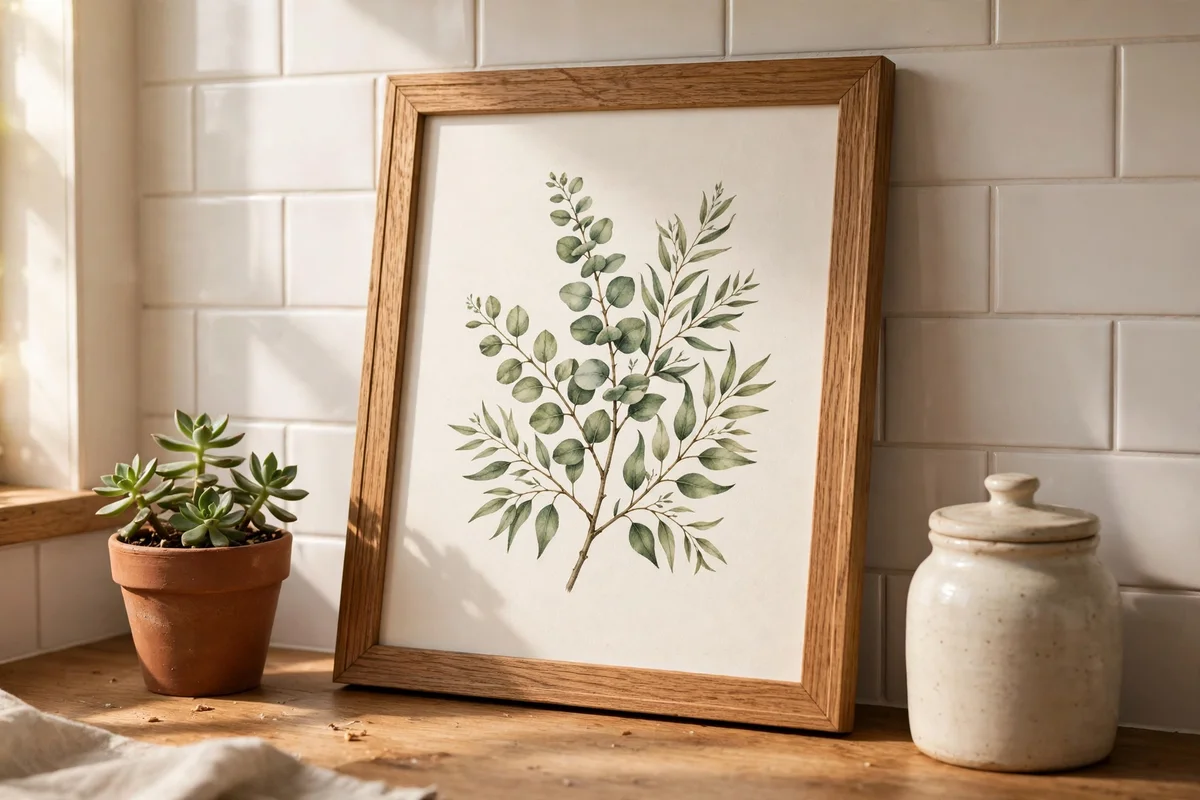
A framed print leaned against the splashback adds art without a single nail hole, which renters especially love. Pick a frame 25 by 30 cm or 30 by 40 cm in oak or thin black metal, and rest it at a slight tilt of about 75 degrees so it stands stable. Botanical subjects, pressed flowers or vintage seed packet designs suit kitchens best. Place it at the back of the counter, at least 10 cm from the wall edge, so it never sits in the splash zone of the sink.
The mistake to avoid is leaning paper prints unprotected near steam; choose a frame with glass or acrylic glazing. Wipe the glass weekly with a dry cloth, since cooking haze dulls artwork fast. Budget tip: printable botanical art costs little, and a simple frame from a discount store keeps the whole project under 20 pounds or dollars. Swap the print with the seasons for an instant refresh.
4. Rotate One Seasonal Corner With Monthly Mini Touches
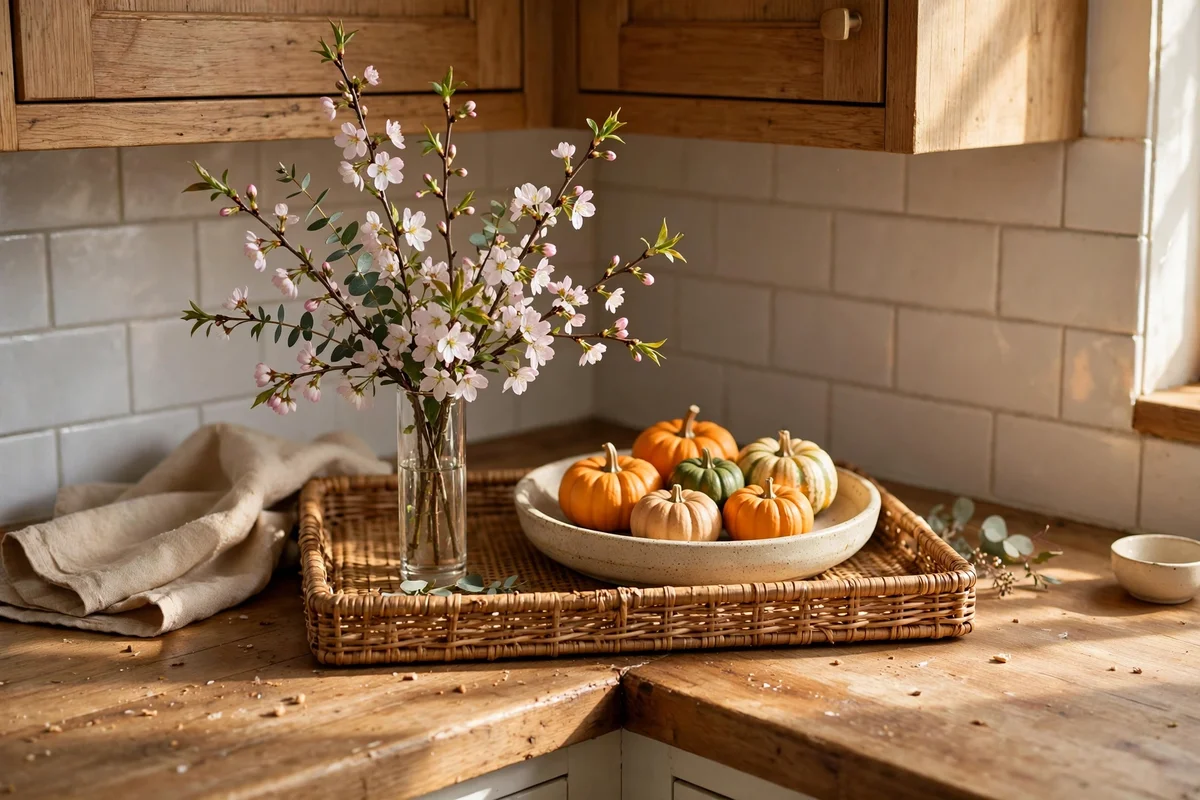
One small seasonal corner, about 30 cm square, keeps the kitchen feeling alive all year without redecorating the whole counter. In spring try a tiny jug of blossoms, in summer a bowl of lemons, in autumn a few miniature pumpkins, and in winter a sprig of pine in a narrow vase. Keep the base pieces the same: one tray, one vase, one small dish. Only the contents change, so the swap takes five minutes on the first day of each month.
The mistake to avoid is spreading seasonal decor across the whole counter, which quickly feels chaotic. Contain everything inside that one corner and leave the rest of the counter calm. Budget tip: nature provides most of it for free: pinecones, seed heads, blossoms and herbs. Store off-season pieces in one labelled box so the rotation stays easy year after year.
5. Turn a Footed Cake Stand Into a Decor Plinth for Jars
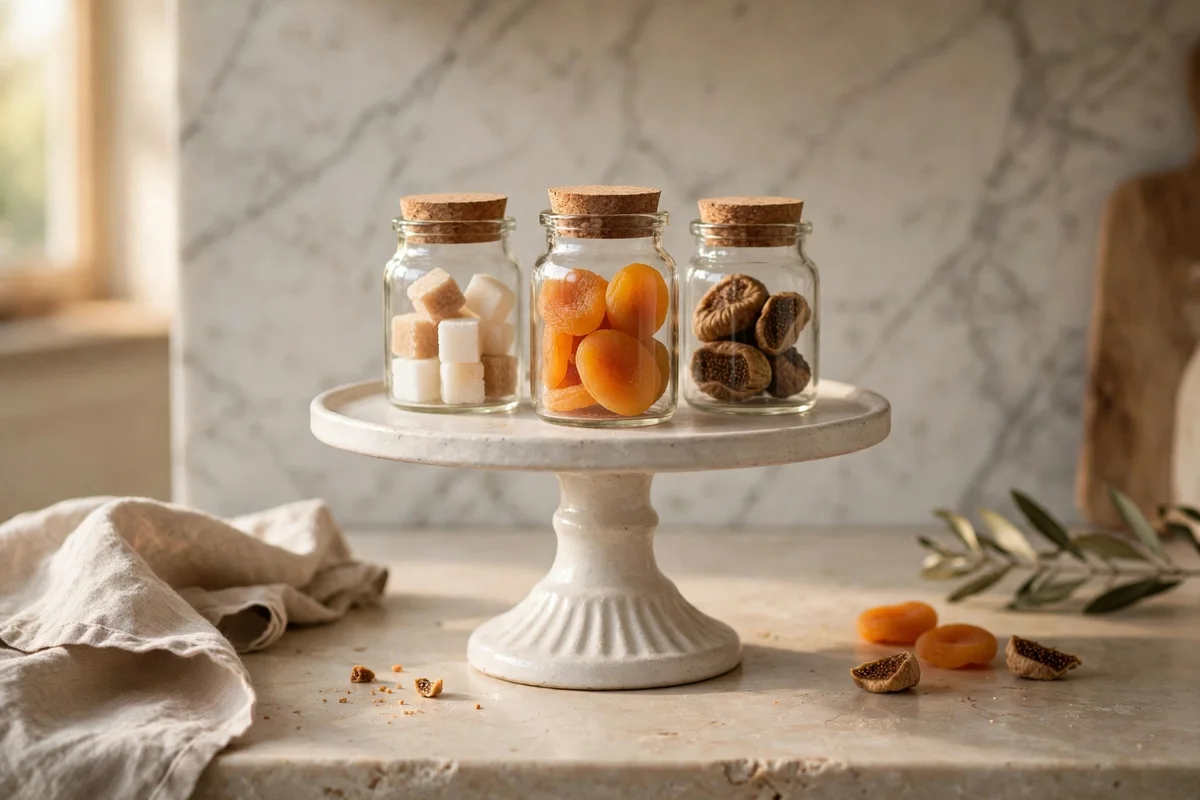
A footed cake stand, 28 to 32 cm across, makes an elegant plinth that lifts everyday jars out of the ordinary. Set it on the counter away from the main chopping zone and arrange two or three small glass jars on top: sugar cubes, dried fruit, or colourful lentils for texture. The 10 to 12 cm of height it adds creates a focal point the eye lands on naturally. Choose ceramic, marble or glass; all three wipe clean and suit both classic and modern kitchens.
Avoid placing the cake stand within arm’s reach of the hob, where heat can crack glass or scorch wood. Keep the jars light, since a loaded stand gets top heavy and tempting to grab by the foot. Budget tip: charity shops are full of cake stands for 8 to 15 pounds or dollars, and a coat of food-safe paint refreshes a dated one. A small stand also works beautifully on an island or a sideboard.
6. Line Three Herbs in Matching Terracotta Pots by the Window
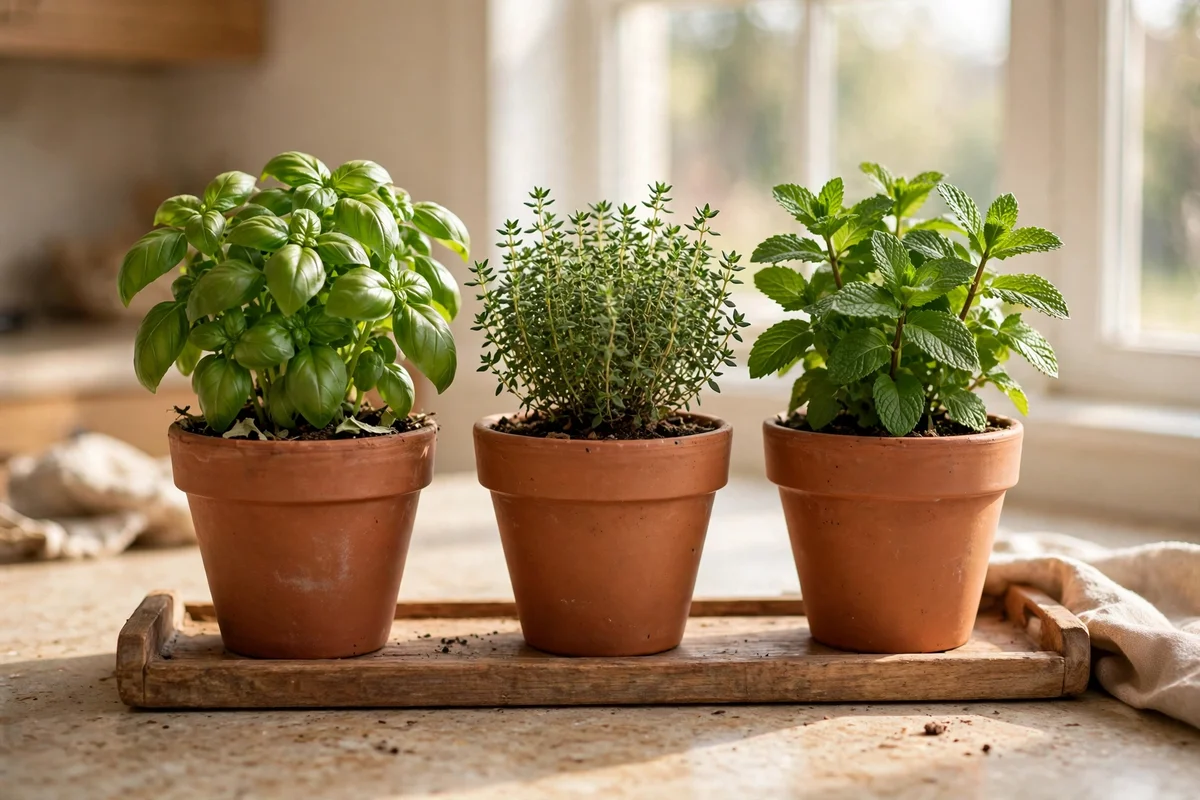
Fresh herbs are the hardest-working counter decor there is: green, fragrant and useful in cooking. Line up three pots of 11 to 13 cm diameter in matching terracotta by the brightest window, choosing basil, thyme and mint for a classic trio. Sit them on a narrow cork or wooden tray, about 45 cm long, to catch drips and protect the counter. Turn each pot a quarter turn every few days so the plants grow evenly toward the light.
The mistake to avoid is overwatering; herbs in small pots want the top 2 cm of soil dry between waterings. Snip from the top to keep plants bushy, and replace any struggling plant rather than nursing a sad one. Budget tip: supermarket herb pots cost 1 to 3 pounds or dollars each and split into two or three plants. Terracotta suits cream, white and sage kitchens, and its warm colour deepens beautifully with age.
7. Keep Two Thirds of the Counter Clear for Real Cooking
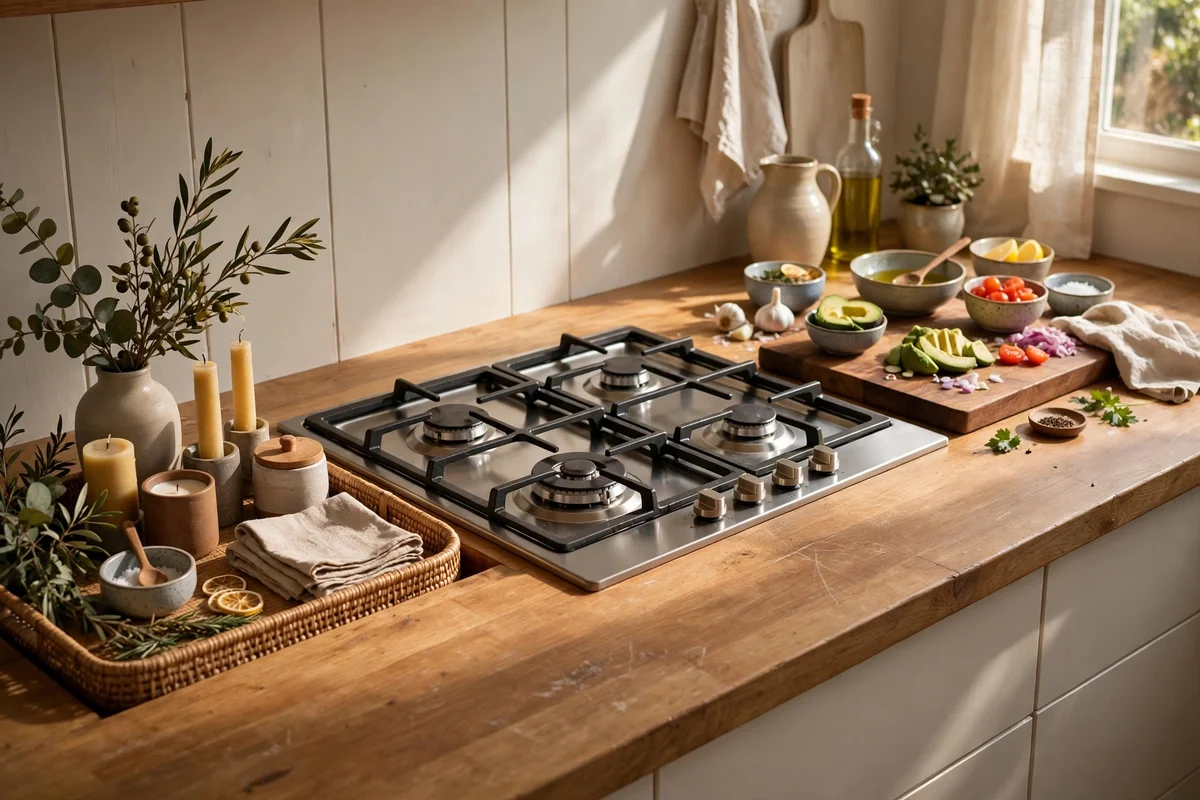
The golden rule of counter decor is the two-thirds rule: at least two thirds of your usable counter must stay empty for real cooking. Measure your run, mark the decor zone at one end with a tray or runner, and treat everything beyond it as sacred workspace. A standard 60 cm deep counter needs a clear run of about 90 cm in front of the hob and sink for boards, bowls and hot pans. Decor that migrates into this zone during cooking gets shoved aside and eventually resented.
The mistake to avoid is decorating first and cooking around it; plan the working zone first, then decorate what is left. If your kitchen is small, one well-styled tray may be all the decor it needs, and that is perfectly fine. Budget tip: this rule costs nothing and saves you from buying decor you cannot keep. Reassess monthly, because decor slowly spreads like ivy when nobody is watching.
8. Style a Slim Soap and Plant Tray Beside the Sink
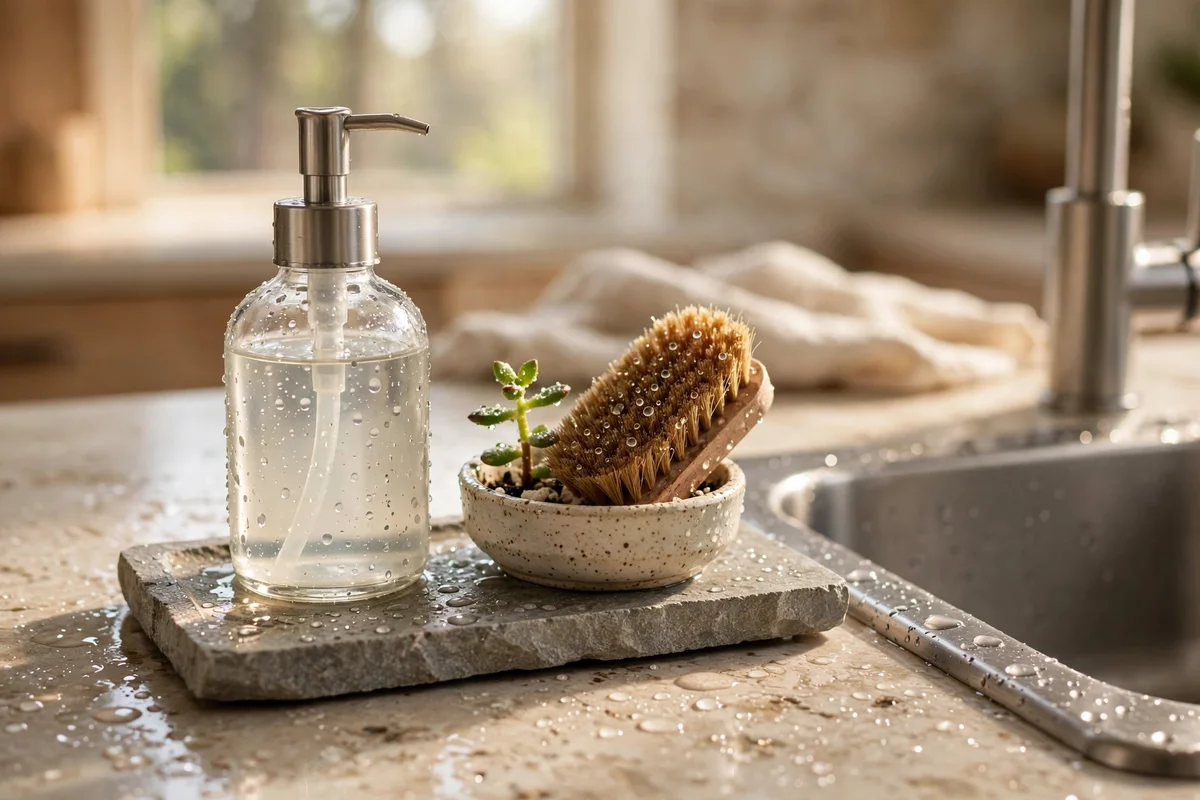
The sink zone loves a slim tray because water and clutter collect there faster than anywhere else. Choose a tray no deeper than 14 cm, in stone, ceramic or sealed wood, and place it 10 to 15 cm from the tap. On it: a soap dispenser in glass or ceramic, a small dish for a scrub brush, and one tiny plant like a succulent in a 7 cm pot. Everything stays corralled, water rings stay off the counter, and wiping underneath takes seconds.
Avoid unfinished wood here, since constant splashes warp and stain it within weeks. Choose pieces you can rinse: ceramic, glass and stone all handle daily water. Budget tip: a single matching soap dispenser and dish set costs 15 to 30 pounds or dollars and instantly calms the busiest spot in the kitchen. Keep the plant tiny so it never blocks your reach across the sink.
9. Keep Hob-Adjacent Decor Heatproof, Metal and Stone Only
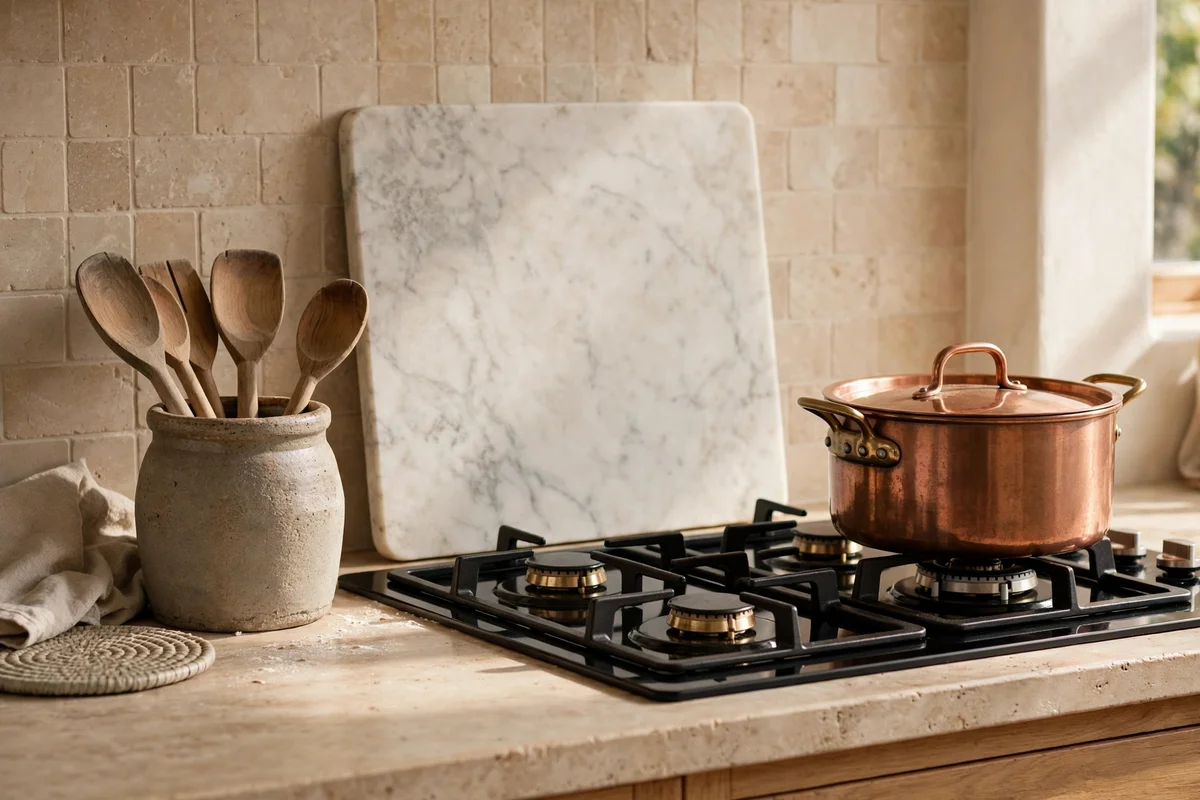
The hob zone is the most dangerous place for decor: heat, grease and steam destroy anything delicate. Within 45 cm of the hob, allow only heatproof materials: cast iron, stone, marble and thick ceramic. A marble pastry board propped at the back, a cast iron trivet, or a stoneware crock of wooden spoons all survive the daily blast. Keep the zone minimal, because every object here collects a film of grease that needs wiping.
The mistake to avoid is placing candles, dried flowers or paper prints near the hob, where one splash of oil becomes a fire risk. If you want warmth in this zone, choose a beautiful brass or copper pot that is already part of cooking. Budget tip: you probably own heatproof pieces already; styling them well costs nothing. Wipe the zone every evening while the hob is warm but not hot, and grease never builds up.
10. Build a Symmetrical Island Centrepiece on a Long Runner
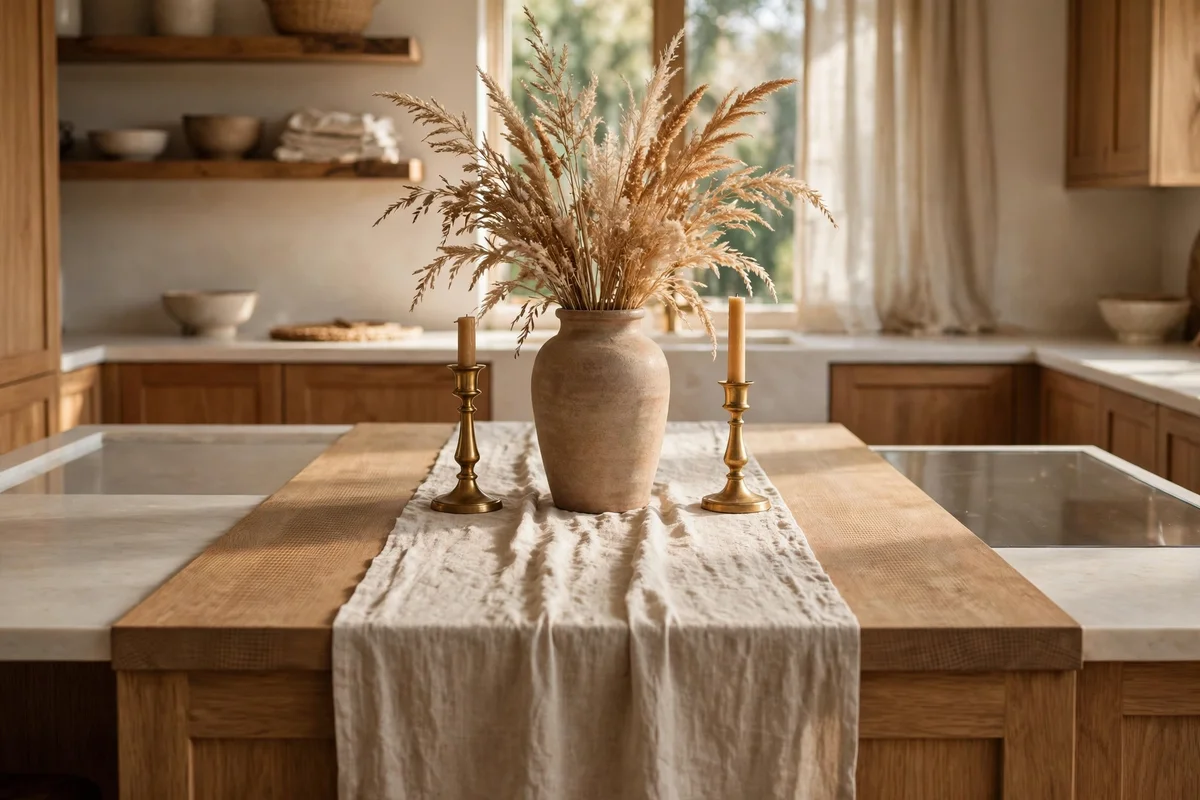
An island begs for a centrepiece, and symmetry keeps it calm in an open-plan room. Lay a runner 120 to 150 cm long and 35 cm wide down the middle of the island, in jute, linen or washed cotton. Build the centrepiece in three parts: a taller object in the middle, such as a 40 cm ceramic vase with dried grasses, flanked by two matching smaller pieces like candle holders or small bowls. Keep at least 60 cm of clear counter at each end for plating and prep.
The mistake to avoid is a centrepiece that blocks conversation across the island; keep it under 45 cm tall total. Choose a runner that washes easily, since islands collect crumbs and spills daily. Budget tip: a linen runner plus two thrifted candle holders and a bundle of dried grasses totals under 40 pounds or dollars. Refresh the runner seasonally and the whole island feels new.
11. Give Every Vignette a Job Beyond Looking Pretty
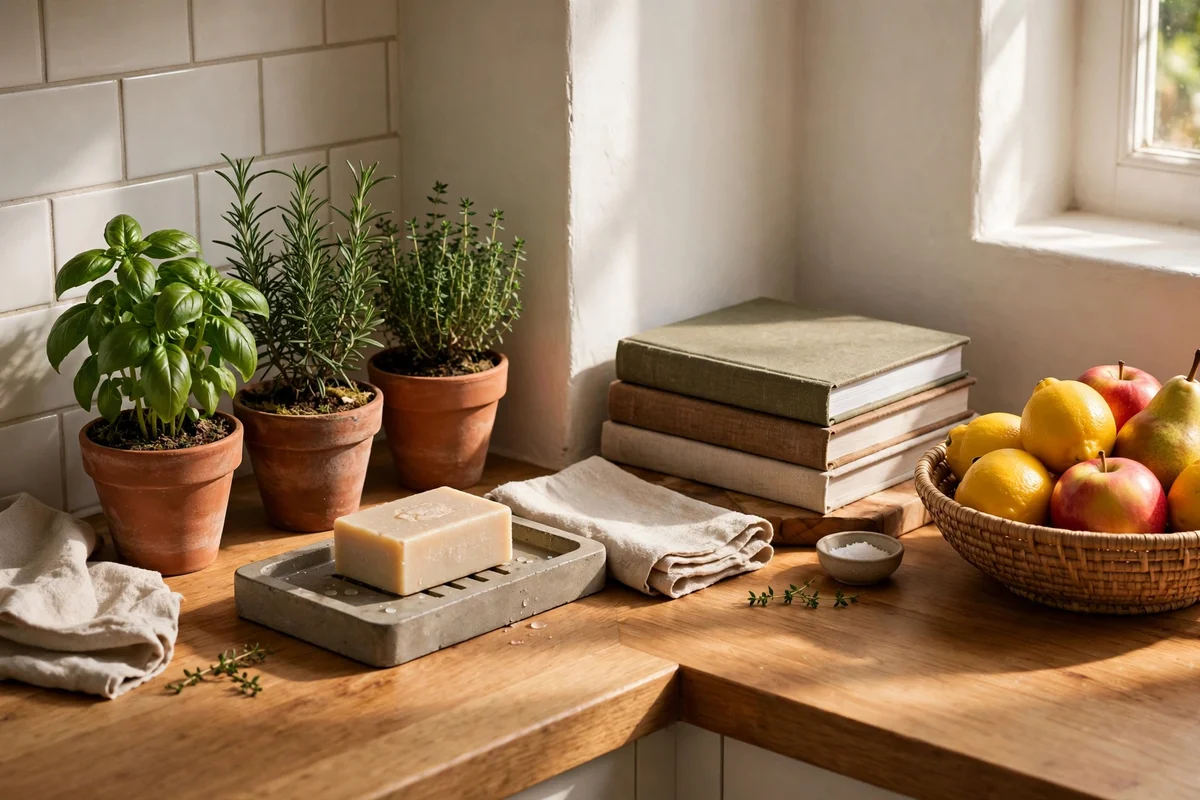
The difference between clutter and styling is purpose. Every counter vignette should do at least one job: hold the soap, store the garlic, house the herbs, display the cookbooks you actually use. A pretty jar that holds nothing is a candidate for removal. Before placing anything, ask what it does. If the answer is only that it looks nice, it needs to be truly beautiful to earn its 20 cm of counter. This single rule keeps decor intentional instead of accidental.
The mistake to avoid is buying decor for the counter first and finding it a job later; it rarely works. Start from your real routines: morning tea, daily chopping, the evening tidy. Then choose beautiful versions of the objects those routines need. Budget tip: this rule saves money, since half of all impulse decor buys fail the job test. Walk your kitchen once a month and remove anything that has gone jobless.
12. Anchor the Tea Corner With a Small Linen Runner
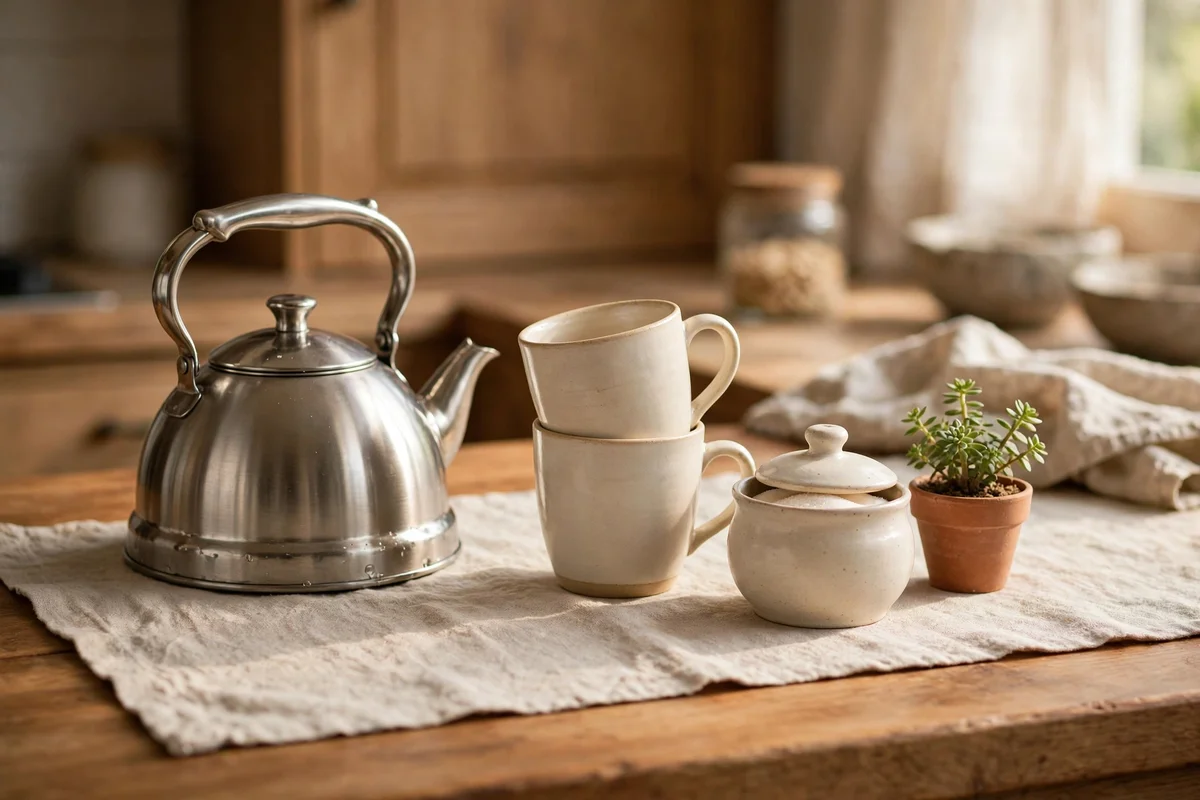
A tea or coffee corner deserves its own anchor, and a small linen runner does it beautifully. Choose a runner 60 to 80 cm long and 25 cm wide in natural linen or cotton, and lay it under the kettle and its companions. On it: the kettle, two mugs on a small stack, a sugar bowl and a tiny plant or a short candle. The runner defines the zone, catches drips, and signals that this corner is finished rather than accidental.
Wash the runner weekly, since tea drips and sugar dust stain linen fast. Choose a runner with a hemmed edge rather than fringe, which catches crumbs and frays in the wash. Budget tip: plain linen runners cost 12 to 25 pounds or dollars and last for years. Keep the whole corner within arm’s reach of the kettle plug, so no cable trails across the counter.
13. Display Olive Oil and Vinegar in Tinted Glass Bottles

Cooking oils are daily essentials, so make them beautiful instead of hiding them. Decant olive oil and vinegar into tinted glass bottles, 50 to 75 cl, in amber or green, which protect the oil from light. Group two or three bottles on a small tray or a round wooden board, 25 cm across, near the cooking zone but at least 30 cm from the hob. Add a tiny dish of flaky salt to complete the trio. Tinted glass glows in morning light and looks far richer than branded labels.
The mistake to avoid is storing oil in clear bottles on a sunny counter; light turns good oil rancid within weeks. Choose bottles with pourers or stoppers, and refill from the large bottle kept in a dark cupboard. Budget tip: tinted bottles cost 8 to 15 pounds or dollars for a set of three. Keep the board wiped, since oil drips migrate, and replace cork stoppers yearly.
14. Set a Marble Board Under a Cluster of Spice Jars
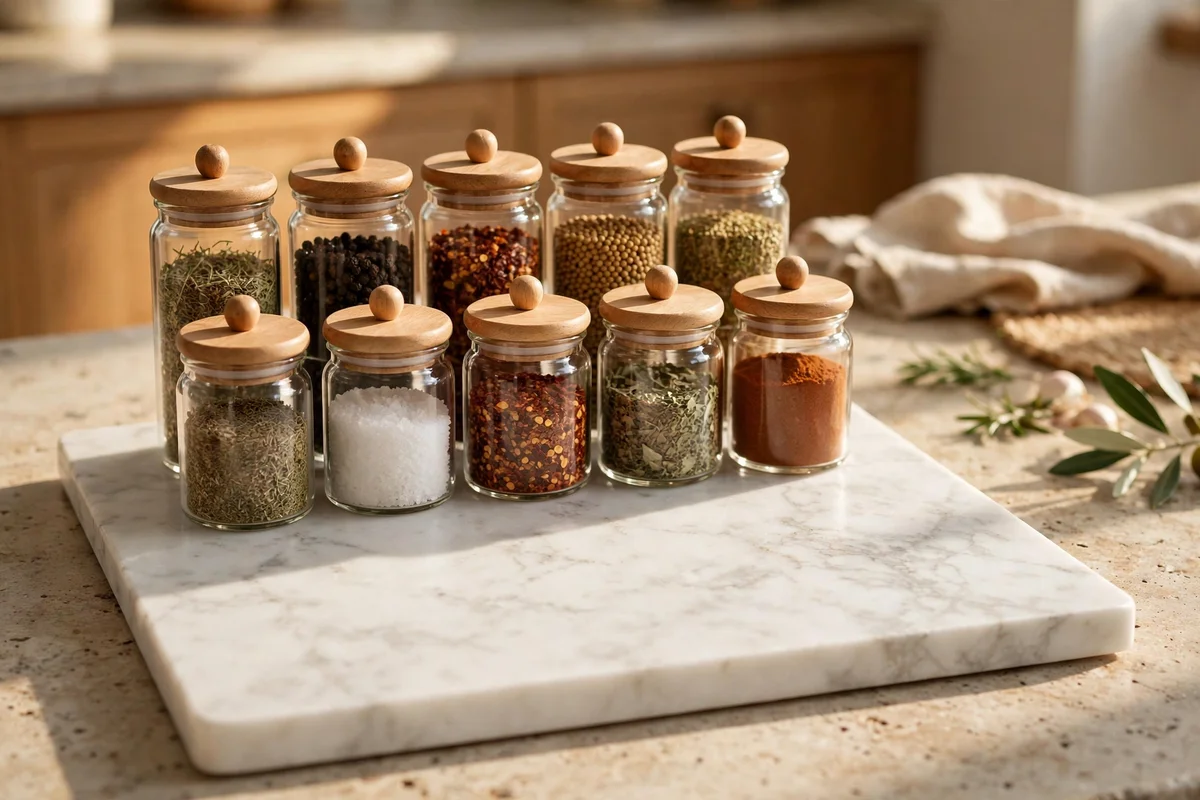
A marble pastry board, 40 by 30 cm and 2 cm thick, gives spice jars a cool, elegant stage. Choose matching glass jars, 10 to 12 cm tall, with wooden or bamboo lids, and fill five to seven with your most-used spices: paprika, cumin, turmeric, oregano and black pepper. Arrange them in two neat rows at the back of the board, leaving the front third of the marble clear. The board protects the counter from stains and turns a row of jars into a deliberate display.
The mistake to avoid is buying forty jars when you use six spices; empty jars are just glass clutter. Label each jar on the lid, not the side, so the front stays clean and minimal. Budget tip: a marble board costs 20 to 35 pounds or dollars, and matching jars are 2 to 4 each. Keep turmeric and paprika jars sealed tight, since their pigments stain marble if they spill.
15. Hang a Small Rail of Dried Herbs Under the Cabinet
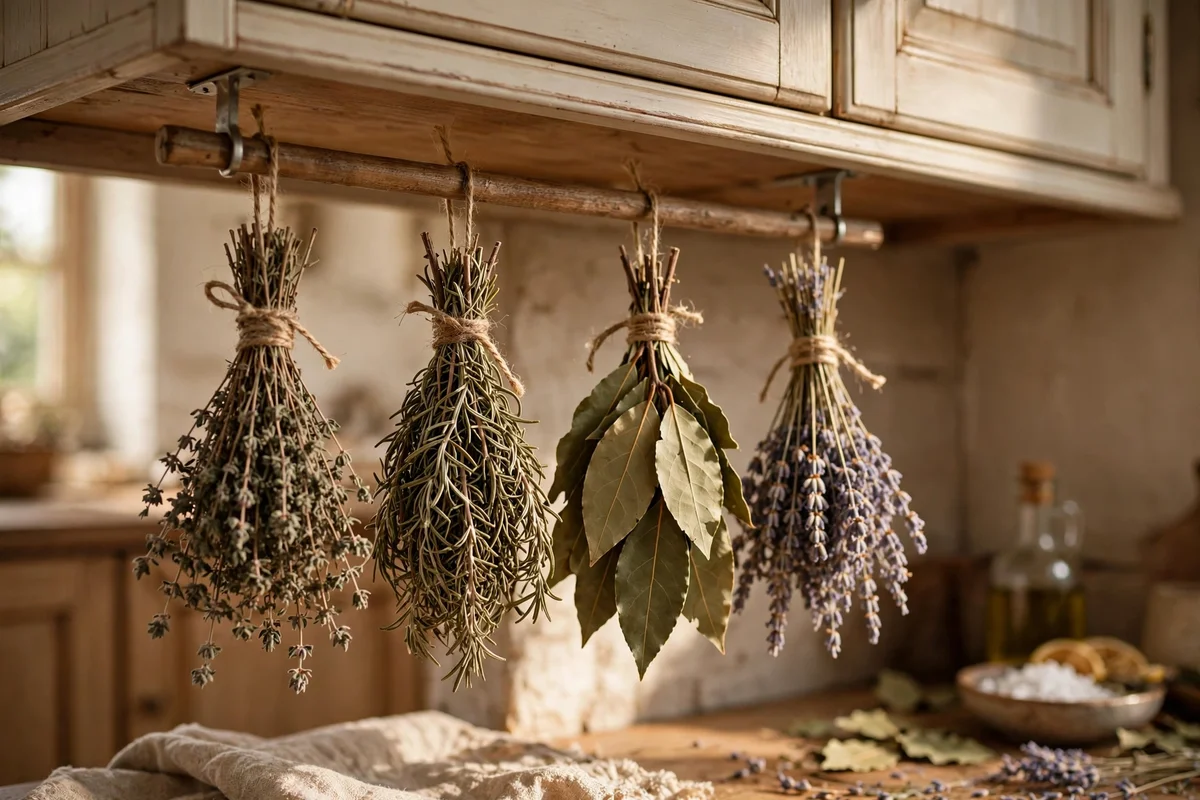
Dried herbs hanging under a wall cabinet add texture, scent and old-world charm without touching the counter at all. Fix a small wooden rail or a tension rod 30 to 40 cm long under the cabinet, about 15 cm above the counter. Tie bundles of thyme, rosemary, bay and lavender with cotton string, keeping each bundle 2 to 3 cm thick so they dry evenly. Five or six bundles spaced 5 cm apart look abundant without crowding.
The mistake to avoid is hanging fresh herbs in a steamy spot; they need airflow to dry, not the damp zone above the kettle. Snip bundles after two to three weeks for cooking, then hang fresh ones. Budget tip: grow or buy one bunch of each herb for a few pounds or dollars, and the display replenishes itself all year. Keep bundles away from the hob, where rising heat and grease spoil them fast.
16. Place a Stoneware Utensil Crock at the Cooking Corner
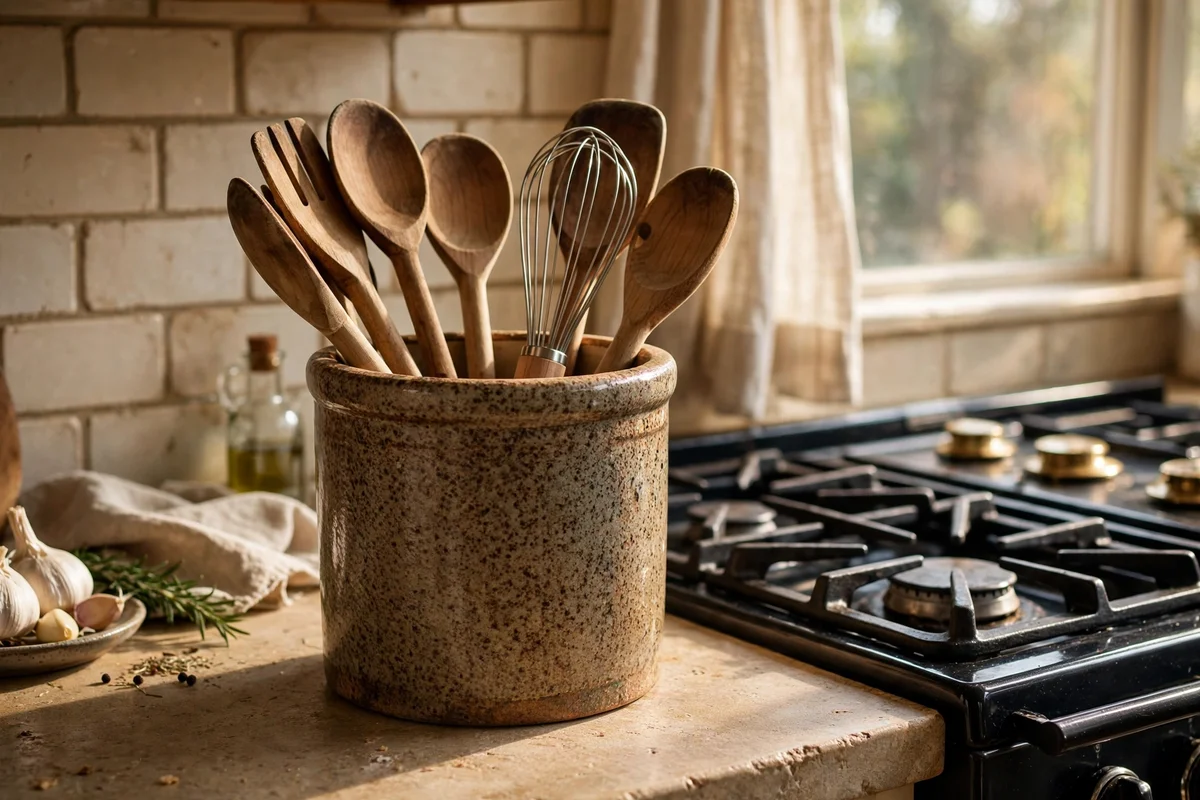
A stoneware crock of wooden spoons is decor that works as hard as you do. Choose a crock 15 to 18 cm tall and 12 to 14 cm across, in cream, charcoal or speckled stoneware, and place it 20 to 30 cm from the hob, within easy reach but safe from direct heat. Fill it with wooden spoons, a whisk and a spatula; keep it to six or seven tools so it never overflows. The crock adds height and warmth to the cooking corner at almost no cost.
The mistake to avoid is a crock stuffed with twenty gadgets, which looks messy and makes every tool hard to grab. Edit ruthlessly and store the rest in a drawer. Budget tip: stoneware crocks cost 15 to 30 pounds or dollars and last decades. Wash wooden spoons by hand and oil them monthly with food-safe mineral oil so they stay handsome instead of greying.
17. Add a Small Brass Timer or Clock to the Back Ledge
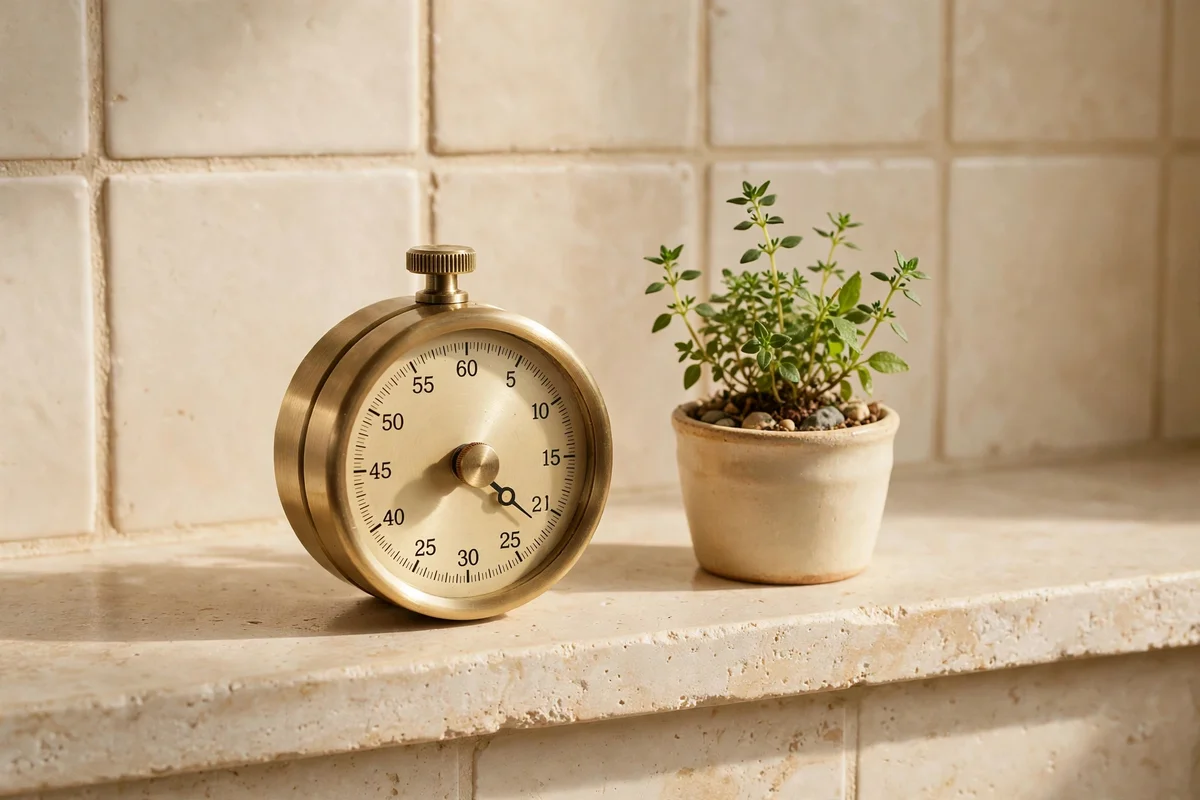
A small brass kitchen timer or a petite wall clock leaned on the back ledge brings a jewel-like gleam to the counter. Choose a mechanical timer 7 to 10 cm tall, or a clock 15 to 20 cm across, in brushed brass or aged bronze. Place it where you can see it from the hob, about a metre away, so it serves real timing duty while looking beautiful. Brass glows against cream, sage and walnut kitchens especially well.
The mistake to avoid is buying a novelty timer that does not actually work; test the ring before it earns counter space. Keep brass dry, since water spots dull the finish. Budget tip: vintage-style mechanical timers cost 12 to 25 pounds or dollars, far less than a real antique. Wind it weekly even when unused, since mechanical timers stiffen if left sitting for months.
18. Use a Woven Basket to Hide Clutter Near the Kettle
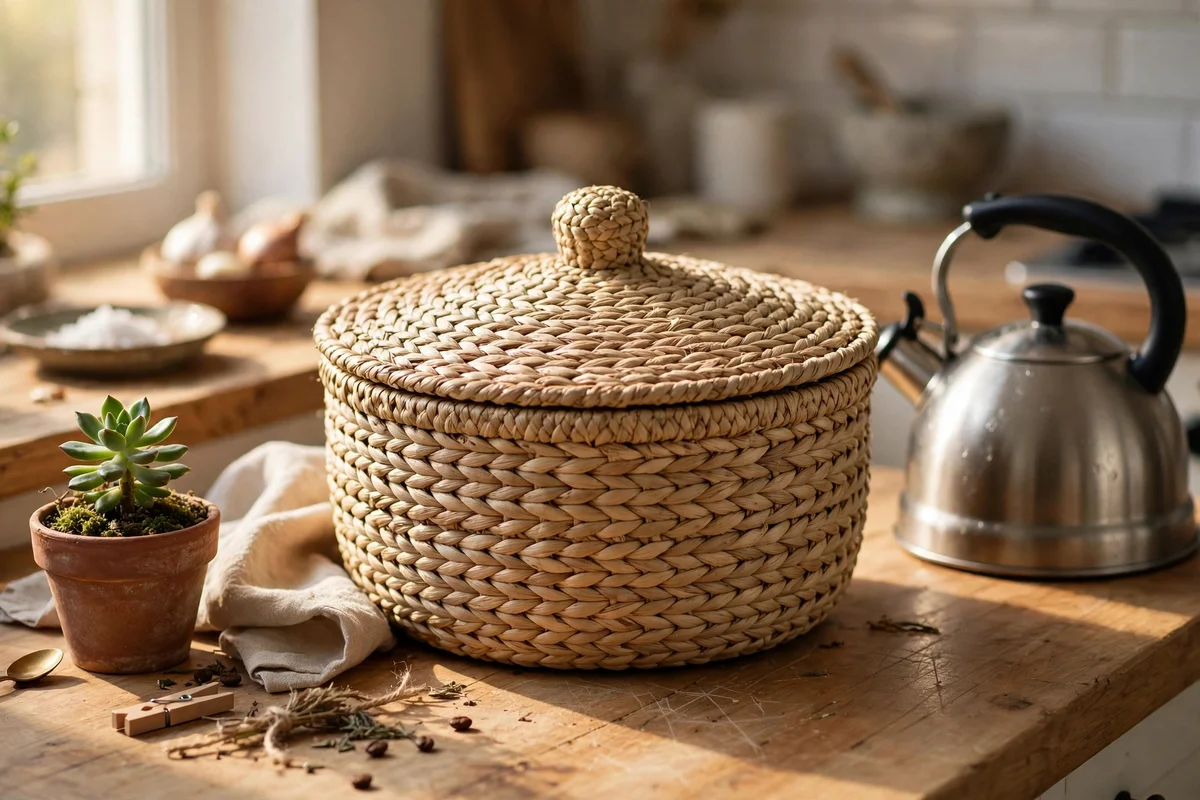
Every kitchen has ugly-but-essential small items: spare batteries, twist ties, the takeaway menus. A woven seagrass or rattan basket, about 25 by 18 cm and 12 cm tall, swallows them all near the kettle or the charging corner. Choose one with a lid so the contents stay invisible, and line it with a cotton cloth if the weave is loose. One handsome basket beats five small piles of clutter every time.
The mistake to avoid is letting the basket become a junk drawer without a drawer; empty and sort it monthly. Keep it to one basket per counter, since three baskets just relocate the mess. Budget tip: woven baskets cost 10 to 20 pounds or dollars and suit every kitchen style from farmhouse to modern. Dust the weave with a dry brush, since kitchen grease settles into fibres.
19. Pair a Ceramic Pitcher With Dried Grasses for Height
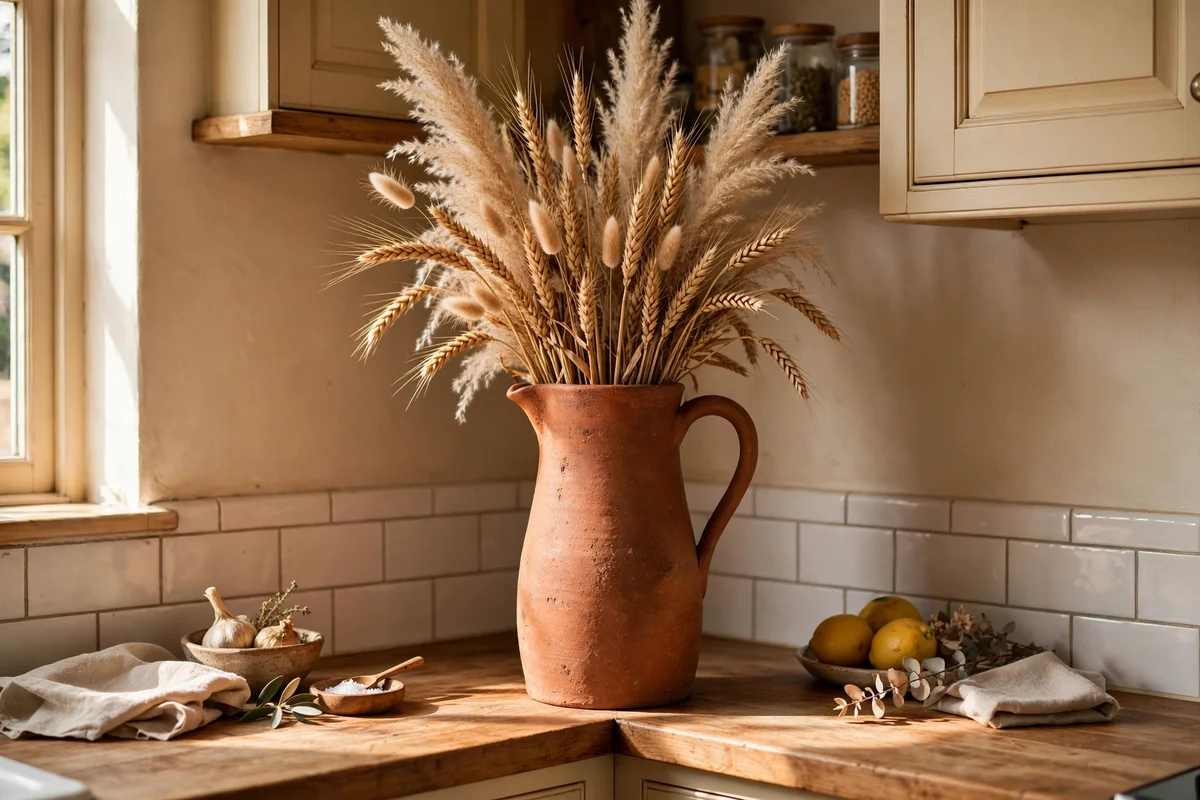
Tall dried grasses in a ceramic pitcher add vertical drama that small counters desperately need. Choose a pitcher 25 to 35 cm tall in stoneware, terracotta or glazed ceramic, and fill it with pampas plumes, dried wheat or bunny tails cut to 50 to 70 cm. Place it at the back corner of the counter, where its height frames the whole run. One tall arrangement beats five small objects, and it never needs watering.
The mistake to avoid is placing tall arrangements where they block the window or the view across an island. Keep them in corners and under cabinets, never in the middle of a sightline. Budget tip: a bundle of dried grasses costs 8 to 15 pounds or dollars and lasts a year or more. Shake the stems outside monthly, since dust settles deep into plumes.
20. Prop a Wooden Cutting Board as a Backdrop Layer
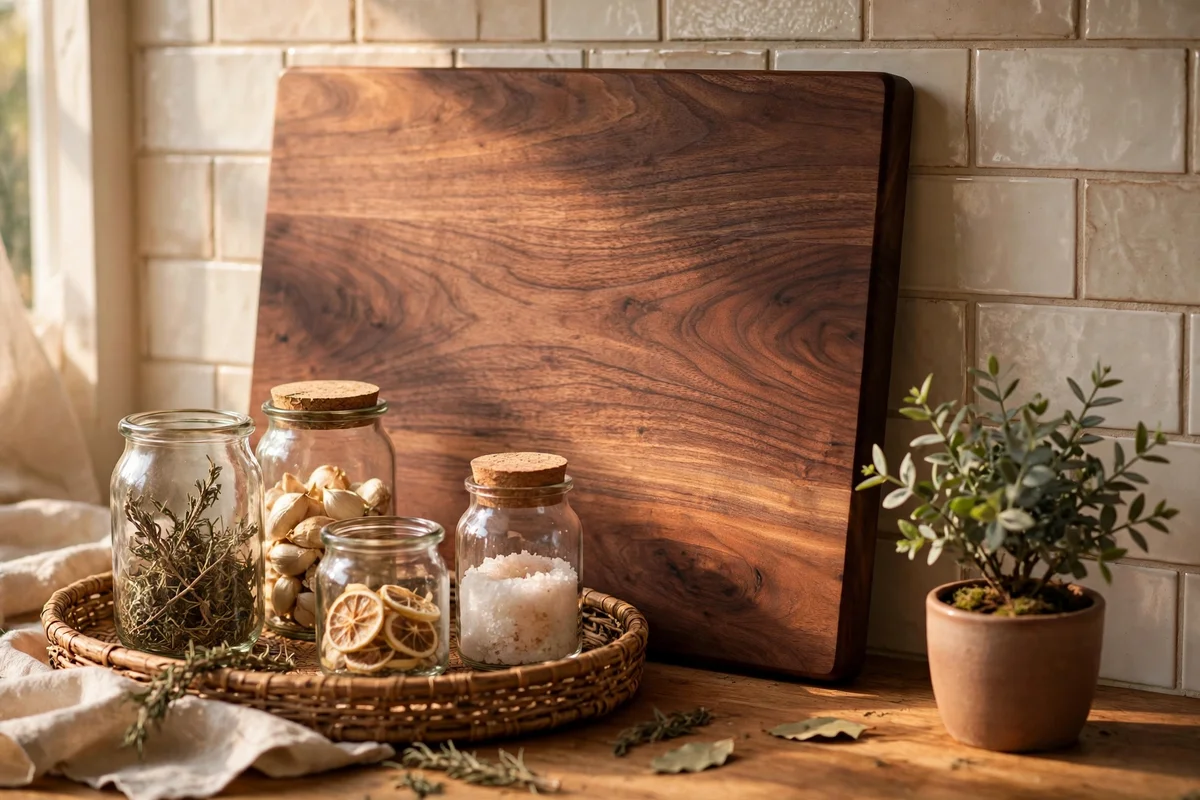
A beautiful wooden cutting board propped against the splashback is a backdrop that costs nothing if you already own it. Choose a board 40 to 50 cm long in acacia, walnut or olive wood, and lean it at a slight angle behind your tray or jars. The wood grain adds warmth and depth, making everything in front of it look more styled. Use a board you love looking at, since it will spend most of its life on display.
The mistake to avoid is propping a stained or warped board; oil it with food-safe mineral oil until the grain glows. Rotate two boards, one on display and one in use, so the display board stays pristine. Budget tip: a handsome acacia board costs 15 to 30 pounds or dollars. Keep the board dry behind the decor, and wipe it when you rearrange.
21. Style One Open Shelf With Matched Jars and a Tiny Plant
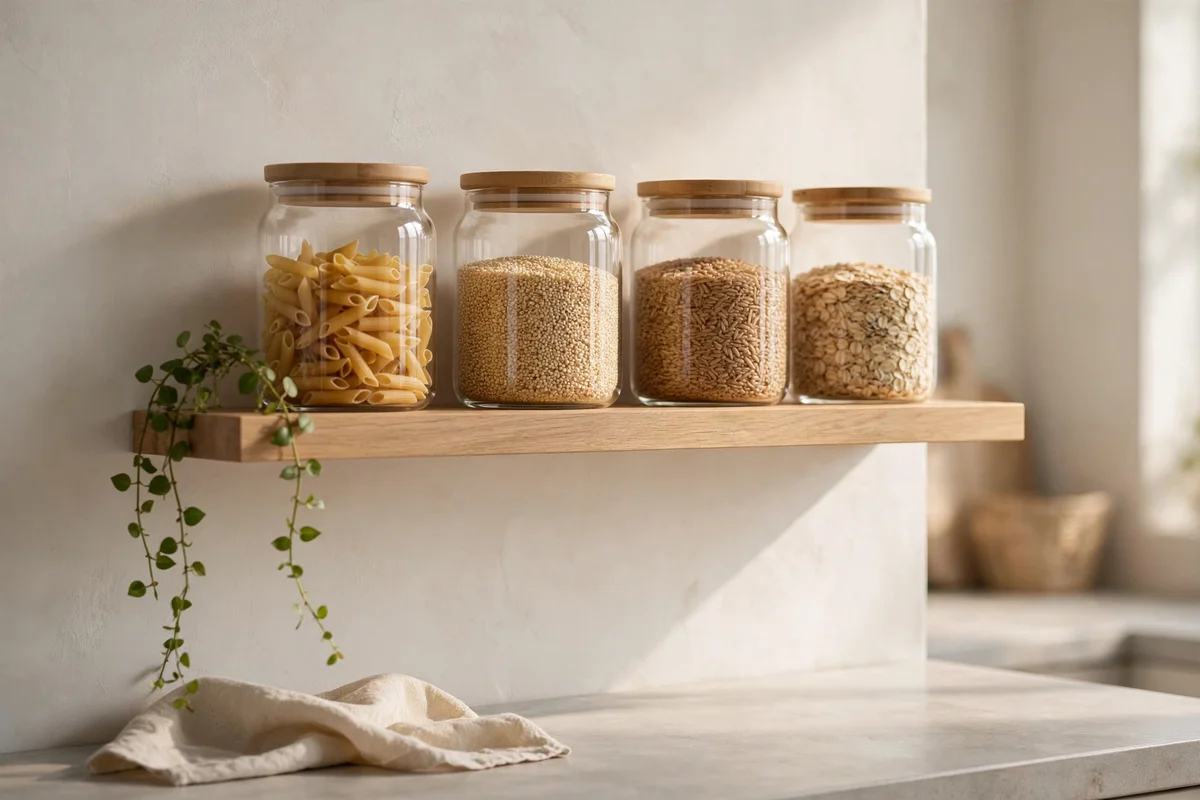
If your counter has one open shelf above it, style it as carefully as the counter itself. Line up four to six matching glass jars, 15 to 20 cm tall, filled with pasta, lentils, oats and flour, with simple wooden lids. Leave 10 cm of breathing room at one end for a tiny trailing plant in a 9 cm pot. Keep daily items at the front and backstock higher or deeper, so the shelf works as storage and display at once.
The mistake to avoid is cramming the shelf edge to edge; negative space is what makes it look styled. Leave at least 15 cm of empty shelf, and resist filling it. Budget tip: matching jars cost 2 to 5 pounds or dollars each, so a full shelf runs 20 to 40. Wipe jars monthly, since cooking grease films coat everything above the counter over time.
22. Tuck a Scented Candle and Tray at the Island End
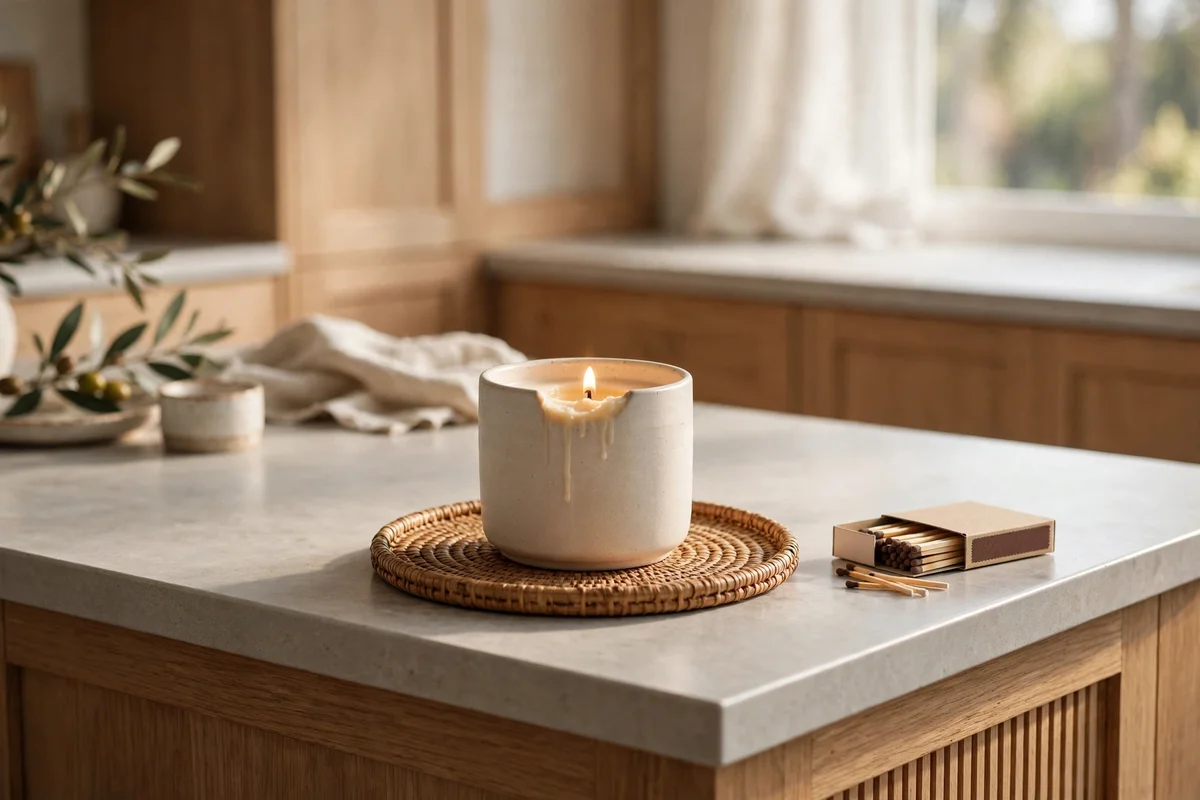
A scented candle at the island end turns the kitchen into a welcoming room, not just a workspace. Choose a candle in a ceramic or glass vessel, 8 to 10 cm across, in a food-friendly scent like vanilla, fig or baked spices; avoid heavy florals that fight cooking smells. Set it on a small round tray, 20 cm across, with a box of long matches beside it. The tray corrals wax drips and makes the candle look intentional.
The mistake to avoid is lighting candles while cooking; open flames and hot oil do not mix. Light the candle after the cooking is done, when the kitchen becomes a place to sit and talk. Budget tip: good candles cost 15 to 30 pounds or dollars and burn for 40 hours or more. Trim the wick to 5 mm before each burn for a clean, even flame.
23. Finish With a Small Bowl of Seasonal Fruit as the Anchor
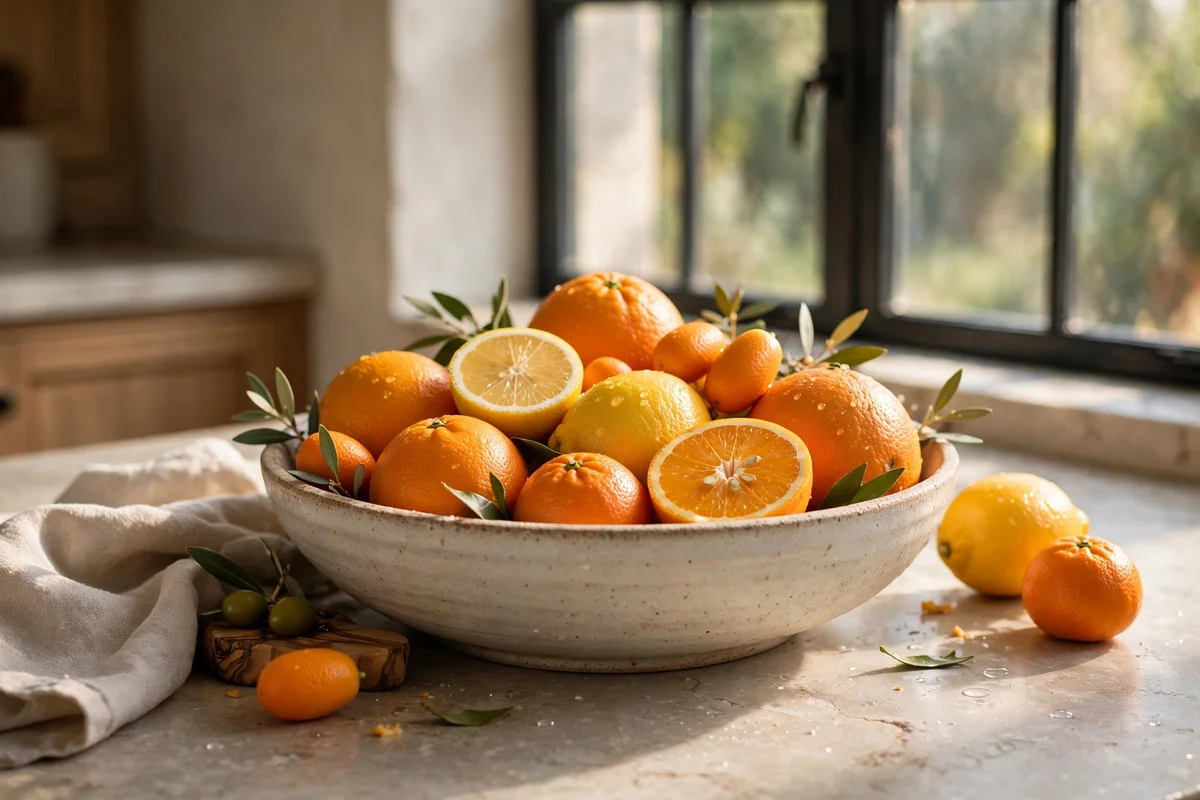
A bowl of seasonal fruit is the oldest counter decor trick, and it still works. Choose a shallow bowl 25 to 30 cm across in ceramic, wood or glass, and fill it with what is in season: citrus in winter, berries in a smaller bowl in summer, apples and pears in autumn. Place it where the family passes most, usually the island end or near the kettle, so the fruit gets eaten and refreshed. Colour, life and a healthy snack in one object.
The mistake to avoid is a fruit bowl that never gets eaten; rotting fruit is the opposite of decor. Buy only what your household eats in three to four days, and wash the bowl weekly. Budget tip: the bowl is the only cost, 15 to 30 pounds or dollars, since the fruit replaces itself through the weekly shop. A banana hanger beside the bowl keeps bananas bruise-free and adds height.
A well-styled counter is not about owning more things; it is about giving the right things a beautiful place to live. The tray by the kettle, the herbs by the window, the cookbook stack near the cooking zone: each one earns its centimetres by being useful, lovely or both. Keep the working heart of the counter clear, rotate one seasonal corner through the year, and let the rest of the kitchen breathe.
Start this week with the easiest win: clear everything off one end of the counter, then rebuild it with a single tray holding three jars and one small plant. It takes twenty minutes and costs almost nothing if you shop your own cupboards first. Once that corner feels calm, the rest of the ideas will follow naturally, one small vignette at a time.
Frequently Asked Questions
How much of my kitchen counter should stay empty for cooking?
Keep at least two thirds of your usable counter clear for real cooking. Mark a working zone of about 90 cm in front of the hob and sink for boards, bowls and hot pans, and confine decor to one end inside a tray or on a runner. If the kitchen is small, a single well-styled tray is enough decor. Decor that migrates into the working zone during cooking will only get in the way.
What can I safely put on the counter near the hob?
Within 45 cm of the hob, use only heatproof materials: cast iron, marble, stone and thick ceramic. A marble board, a stoneware utensil crock or a beautiful copper pot all survive heat, grease and steam. Never place candles, dried flowers, paper prints or plastic near the hob, since heat and oil splashes make them a fire risk. Keep this zone minimal, because every object here collects grease and needs regular wiping.
How do I decorate a kitchen counter in a rental without drilling?
Everything in this guide is renter friendly, since nothing needs a wall fixing. Lean framed prints against the splashback instead of hanging them, prop cutting boards as backdrops, and use trays to define zones. For the dried herb rail, choose a tension rod or a freestanding hook stand that wedges under the cabinet. When you move, the trays, jars and plants all pack into boxes in minutes.
What is the cheapest way to make my counters look styled?
Shop your own cupboards first: a wooden cutting board propped as a backdrop, cookbooks stacked as a plinth and a bowl of seasonal fruit cost nothing. Then add one tray from a charity shop, usually under 15 pounds or dollars, to corral jars you already own. A 25 cm potted herb from the supermarket, 1 to 3 pounds or dollars, adds life. Most counters need only these three moves to look deliberately styled.
How often should I change or refresh my counter decor?
Do a five-minute seasonal swap on the first day of each month: change the contents of one small corner, such as the fruit bowl, the herb pots or the vase stems. Do a deeper edit twice a year, removing anything that has lost its job and wiping every tray and jar. This rhythm keeps the kitchen feeling fresh without constant shopping, and it stops decor from slowly spreading across your workspace.