Kitchen
23 Laminate Countertop Refresh Ideas Without Replacing Them
By Anna Wells · · 23 min read
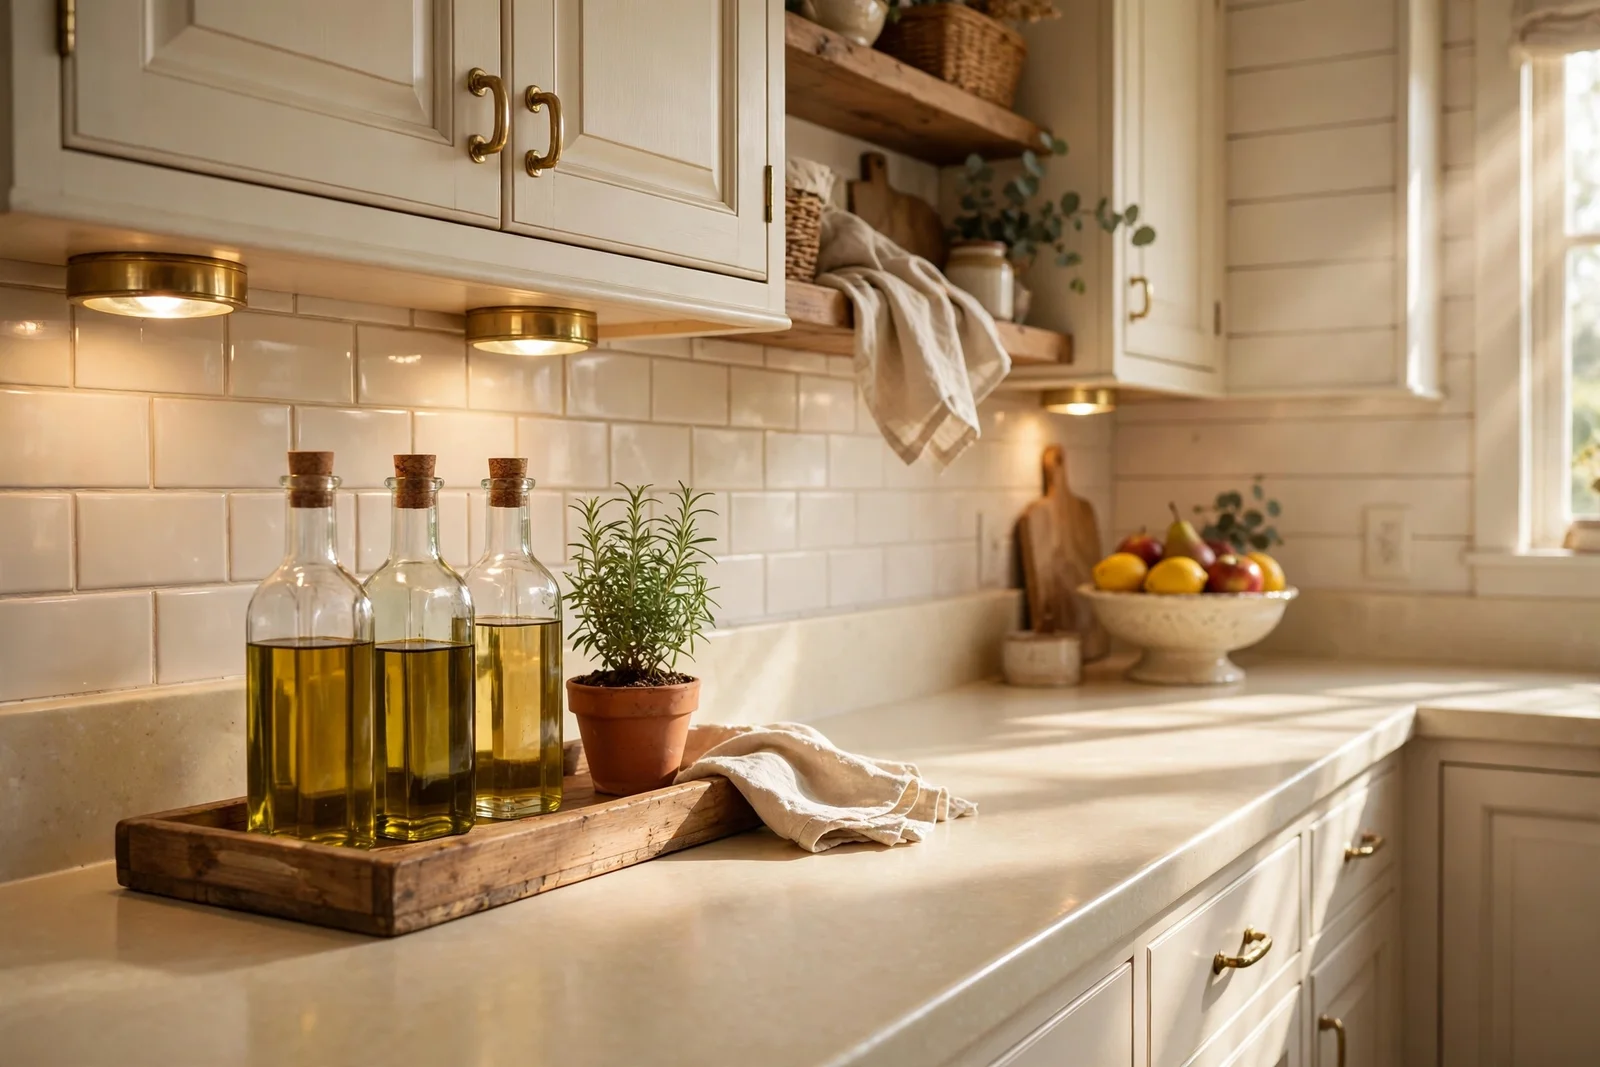
Tired laminate does not always mean a new countertop. Here are 23 honest, budget friendly ideas, from deep cleaning and repairs to safe painting and clever styling, that make laminate counters look better without replacing them.
Morning light slides across the worktop, and every dull patch on the old laminate seems to announce itself before the kettle boils. It is a small daily frustration, one that greets you at the busiest corner of the house. You do not need a full renovation to answer it, just a clear plan and a free weekend.
Most tired laminate is only tired on the surface. Beneath the grease and the small chips, the core is often perfectly sound, which means cleaning, repairing and one good finish step can buy you years of calm. This guide gives you 23 practical ideas in the order that actually works, from deep cleaning through honest repairs to paint, film and microcement, each with its real limits spelled out.
You will also find styling ideas that move the eye toward warm wood, glass and greenery, plus the safety notes that matter when coatings are involved. Everything uses ordinary tools and honest budgets, so pick the ideas that fit your kitchen and your week. Start with the cheapest one, and let the counter earn its refresh one step at a time.
1. Degrease the Whole Surface With a Warm Baking Soda Wash
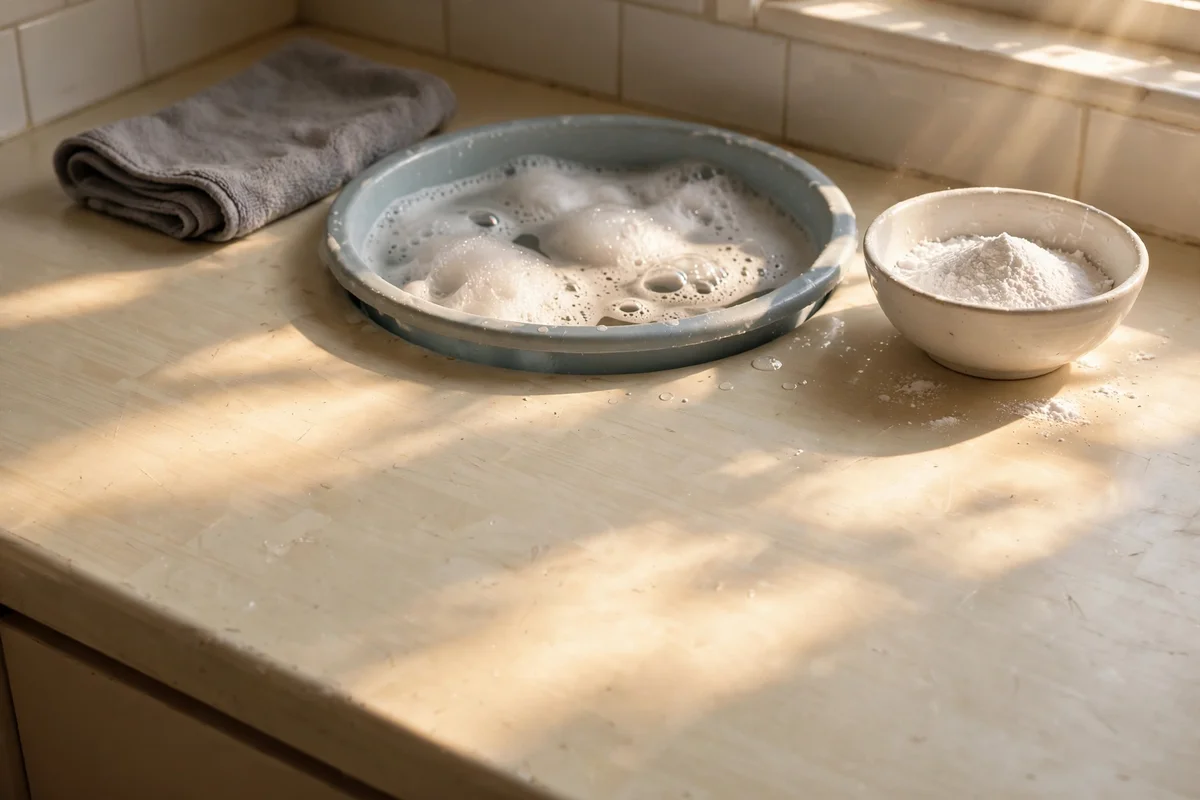
Start every refresh with a proper degreasing wash, because hidden grease is the reason paint, film and repairs lift within weeks. Mix four litres of hot tap water with one tablespoon of plain dish soap and three tablespoons of baking soda in a basin. Wipe the whole countertop in straight passes with a soft microfibre cloth, working from the splashback toward the front edge so grime runs off. Rinse the cloth often, wring it well, and dry with a second cloth so no soapy film stays behind to dull the sheen.
The classic mistake is reaching for a scouring pad, which scratches the laminate and gives grease more places to hide. Stay with soft cloths and let the warm solution rest for two minutes on sticky patches before wiping. If water beads up anywhere, wash that spot again, because beading means oil is still present. The whole job costs under ten dollars or pounds with supplies you already own, and a truly clean base makes every later idea work harder.
2. Break Through Old Grease With a Vinegar and Soap Soak
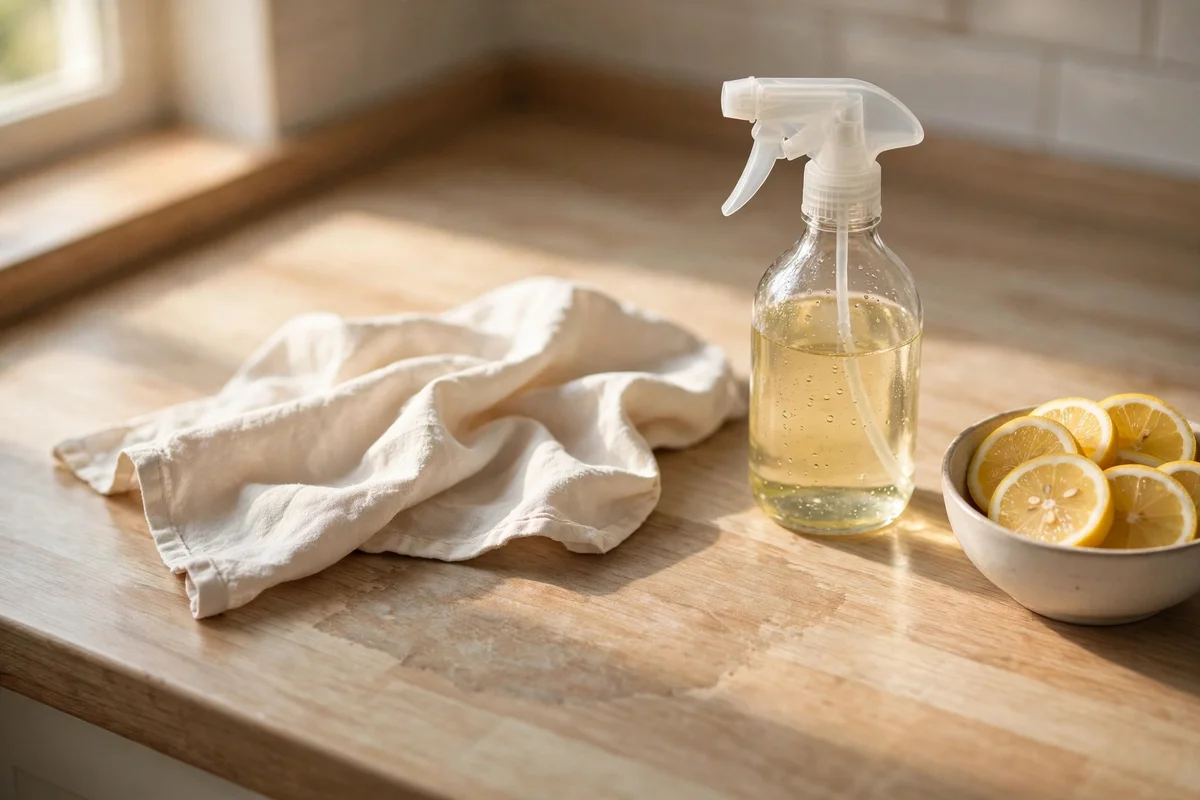
For years of cooking film, a vinegar soak cuts what the basic wash leaves behind. Mix equal parts white vinegar and warm water in a spray bottle, add a teaspoon of dish soap, and mist the dull areas until they are damp but not flooded. Lay a thin cotton cloth over the worst patches for fifteen minutes so the solution can soften the film. Wipe away in straight lines, rinse the cloth in clean water, and dry the counter so moisture never sits along the back joint.
Vinegar is honest about its limits. It restores sheen on laminate that is only dirty, but it cannot fix scratches or worn print, and those areas need the repair ideas below. Never mix vinegar with bleach based cleaners, since the fumes are harmful, and always ventilate the kitchen while you work. Do not flood the seams with any liquid, because the fibreboard core under old laminate swells when it soaks. One spray bottle of this mix covers a whole kitchen for pennies.
3. Glue Lifting Edges Back Down With Heat Resistant Contact Cement
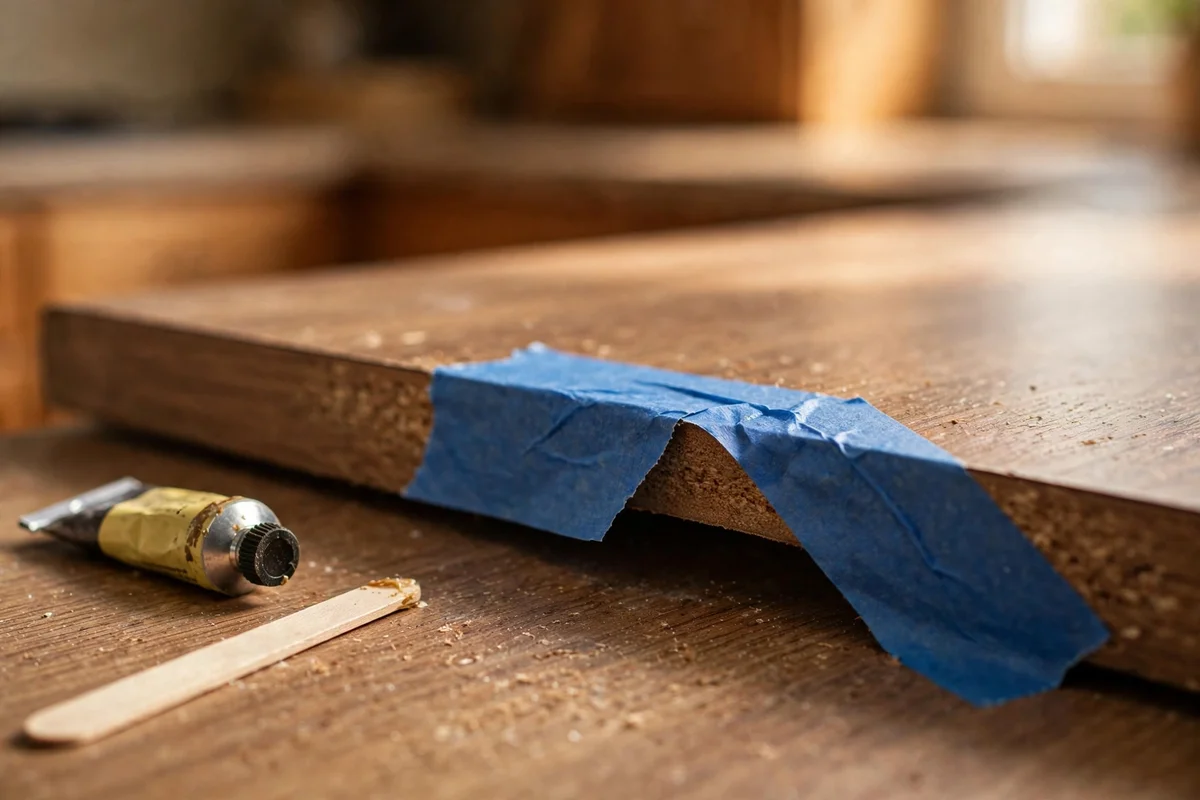
Lifting edges catch every cloth and crumb, so fix them before you decorate. Warm the curled laminate gently with a hair dryer on medium heat for about thirty seconds, then slip a thin bead of heat resistant contact cement under the flap with a craft stick. Press the edge down firmly, hold it for sixty seconds, and tape it with painter’s tape for two hours while the bond sets. Work in small sections of thirty centimetres so the cement does not skin over before you press.
Never use a heat gun or an open flame to soften old laminate, because the heat can scorch the surface and melt the glue in a dangerous way. Also skip flammable solvents for cleanup near the cooker; a damp cloth removes fresh cement cleanly if you act quickly. The common mistake is spreading too much glue, which squeezes out and leaves a visible ridge, so use a thin even layer. One small tube repairs several metres of edge for under fifteen dollars or pounds.
4. Fill Chips and Dents With Colour Matched Repair Paste
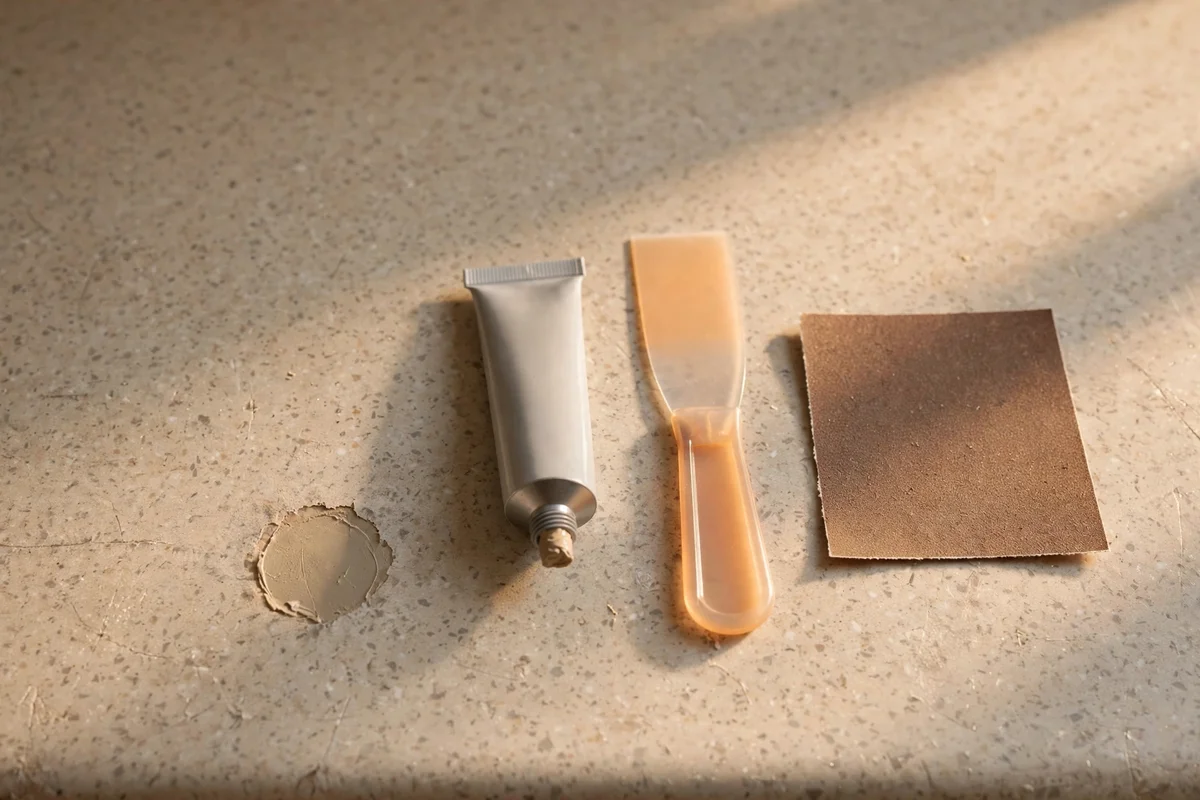
Small chips near the sink or front edge age a whole counter, yet they fill in minutes. Buy a laminate repair paste or colour matched seam filler close to your surface tone, cream, pale grey or wood grain, and press it into the chip with a plastic putty knife. Slightly overfill, let it cure for the time on the tube, usually two to four hours, then level it with 320 grit sandpaper used dry. Wipe away the dust and the spot nearly disappears at normal standing distance.
Colour matching is where most people rush. Test the paste on a hidden spot, like the side near the cooker, because shades shift as they dry. Avoid clear nail varnish or superglue as a filler, since both yellow and peel under kitchen moisture. If a chip is deeper than three millimetres, fill it in two thin layers instead of one thick plug, which shrinks and cracks. A single tube costs about eight to twelve dollars or pounds and covers dozens of small chips.
5. Smooth Rough Patches With Fine Grit Wet Sandpaper
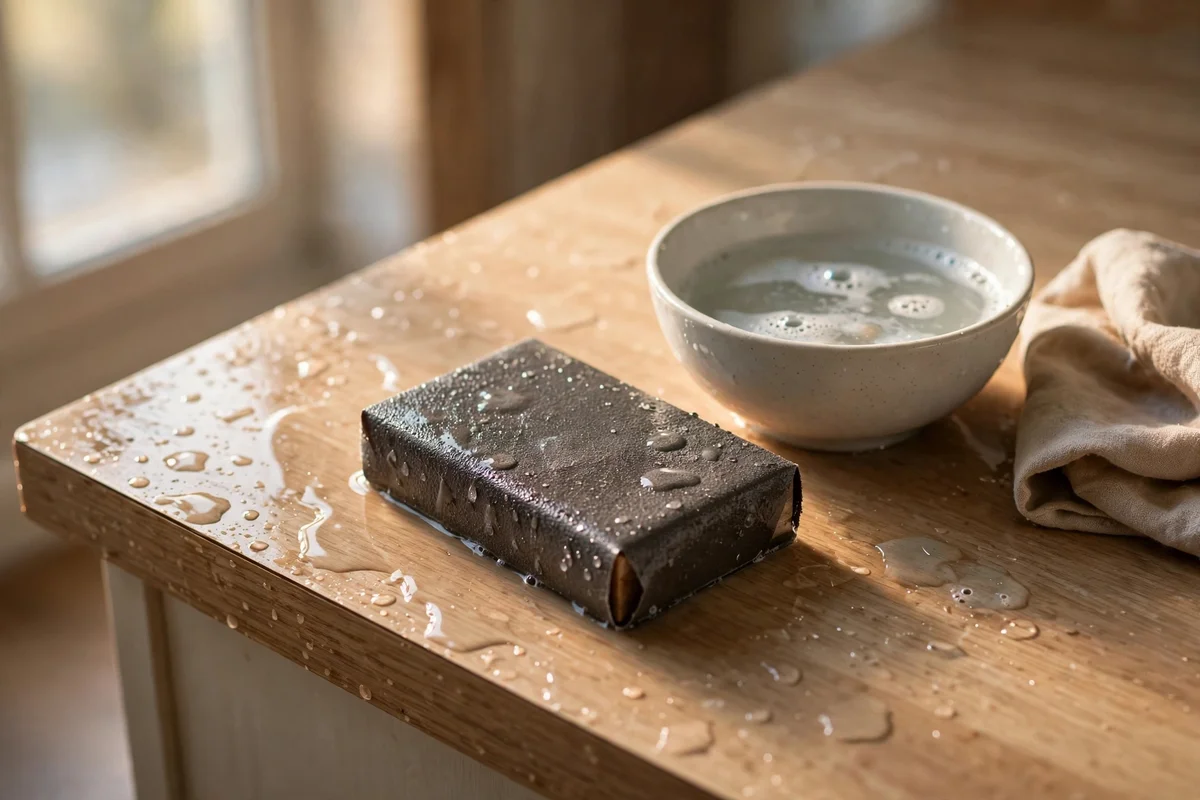
Rough, scratched areas feel older than they look, and a light wet sand levels them before paint or film. Use 400 grit wet and dry sandpaper with a bowl of water and a drop of dish soap, sanding in small circles with almost no pressure. Keep the surface wet so the paper glides and dust washes away instead of scratching further. Stop often, wipe the area dry and check it in raking light from a side window, since wet laminate hides remaining texture.
Never dry sand old laminate with coarse paper, because deep scratches show straight through paint and film. The mistake to avoid is sanding one spot too long, which breaks through the printed layer and leaves a pale patch that no finish can hide. A flat sanding block, about nine by six centimetres, keeps your pressure even across the surface. A few sheets of wet and dry paper cost under five dollars or pounds, making this the cheapest texture fix in the whole guide.
6. Paint the Laminate With a Bonding Primer and Acrylic System
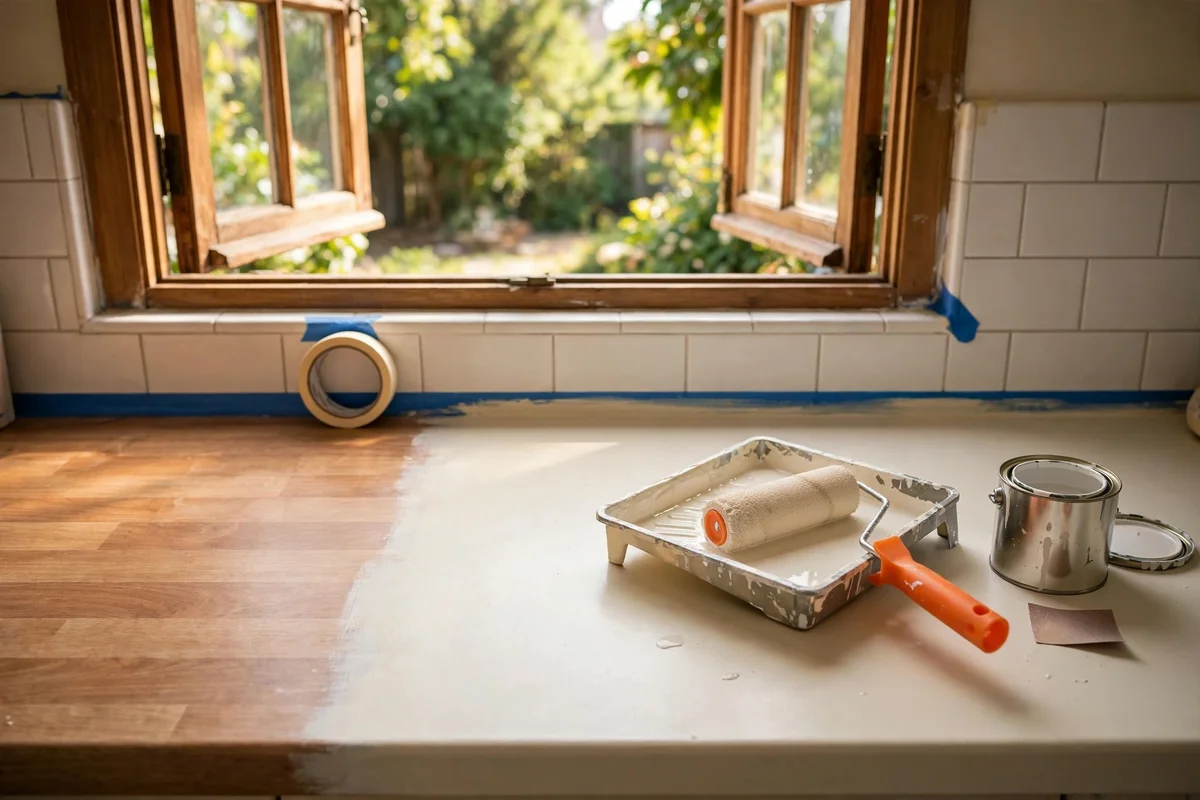
Painting laminate works only with the right system, so buy a dedicated bonding primer made for slick surfaces, not ordinary wall primer. Clean and lightly sand first, then roll on one thin coat of primer with a short pile roller and let it cure for the full time on the tin, often twenty four hours. Follow with two thin coats of durable water based acrylic enamel in a satin finish, sanding very lightly with 400 grit between coats for a smooth result.
Ventilation is non negotiable: open at least two windows for cross airflow and wear a respirator mask rated for paint fumes, keeping children and pets out of the kitchen until the smell clears. Let the topcoat cure seven to fourteen days before heavy use, since early scratches are permanent. On food safety, the cured surface is fine for everyday contact, but always chop on a board and rest hot pans on trivets. Primer, paint and a roller usually total fifty to ninety dollars or pounds.
7. Try a Two Coat Epoxy Style Kit for a Faux Stone Finish
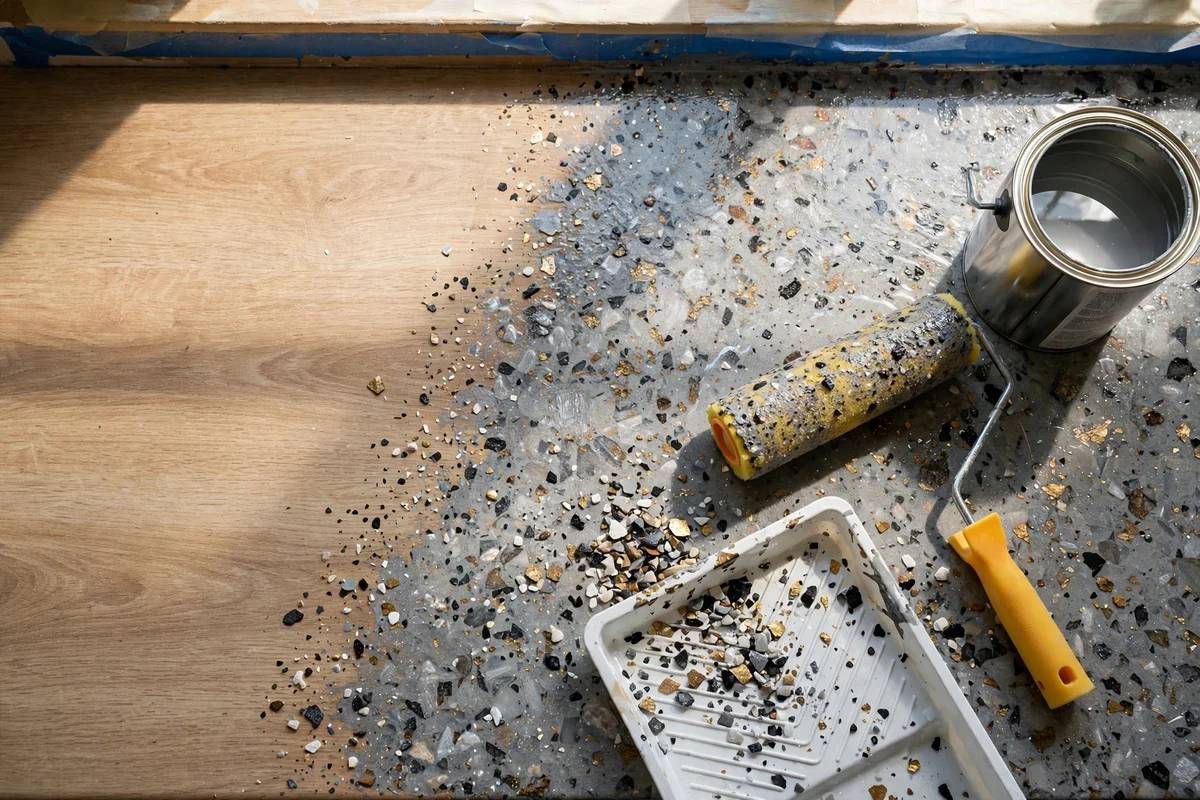
Countertop refinishing kits promise a stone look in a weekend, and they can deliver if you respect the process. The typical kit includes a bonding base coat, decorative mineral flecks, and a clear protective topcoat that you roll on in sequence. Work in sections of about one metre, scatter the flecks while the base is tacky, and keep a wet edge so no lap lines show. Read the full instructions the night before, because each coat has a working window of around thirty minutes.
Treat these kits with real caution. They contain strong chemicals, so open windows wide, run a fan pointing outward, wear gloves and a proper respirator, and keep the family out of the kitchen for the full cure, often seventy two hours. Never thin the products with flammable solvents or use them near a gas flame. A kit covering about three square metres costs roughly eighty to one hundred fifty dollars or pounds, far less than new stone, but the finish needs trivets and gentle cleaners to last.
8. Apply Butcher Block Style Contact Film for a Wood Look
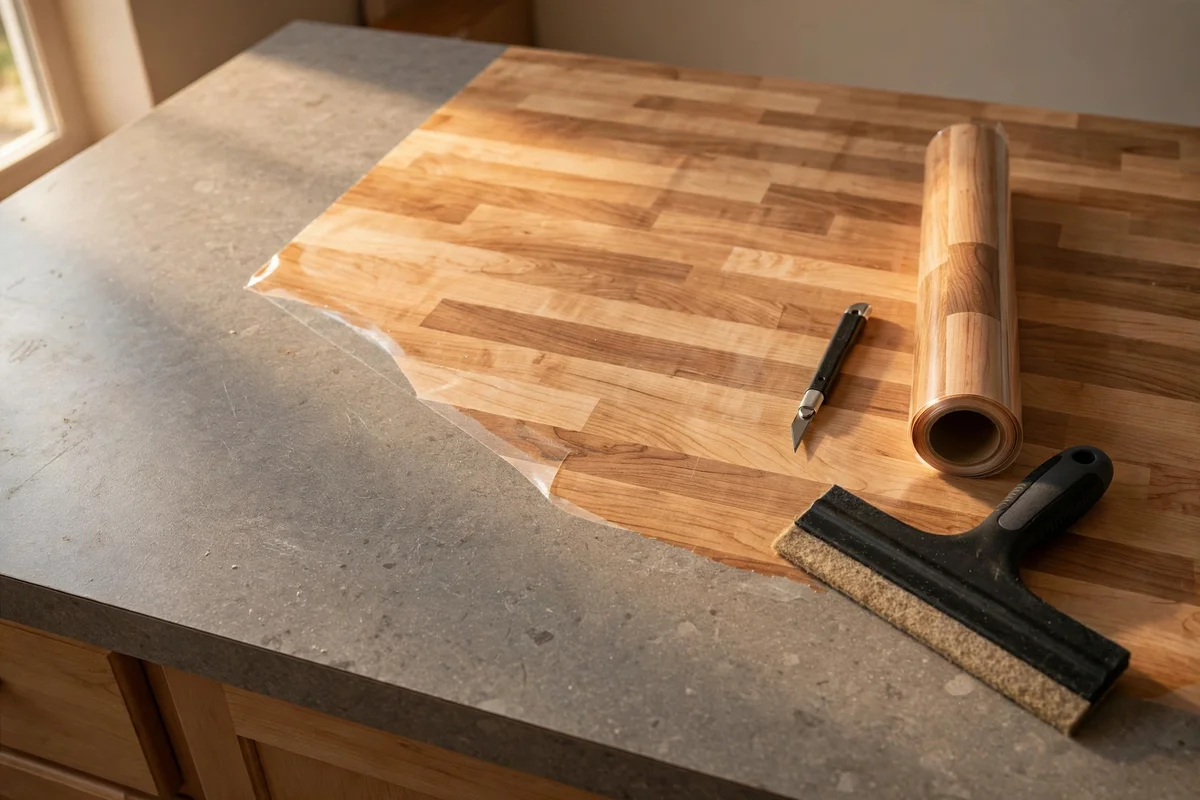
Self adhesive contact film in a butcher block print turns pale laminate into warm wood tones in an afternoon. Measure each run of counter, cut the film ten centimetres longer than needed, and peel back only five centimetres of backing to start. Smooth it down with a felt edged squeegee, pulling the backing away slowly while a helper holds the roll, and pop any air bubbles with a pin, then press them flat. Overlap seams by two millimetres on long runs and trim edges with a sharp craft knife.
Be honest about durability: film looks wonderful but it is a cover, not a new surface. It tolerates daily wiping and light chopping on a board, yet hot pans will melt it and standing water at the seams loosens it over time. Seal all edges with a thin line of clear silicone and expect three to five years in a busy kitchen. A wide roll covering several metres costs twenty to forty dollars or pounds, so replacing it later is cheap and simple.
9. Lay a Thin Microcement Overlay for a Honed Concrete Effect
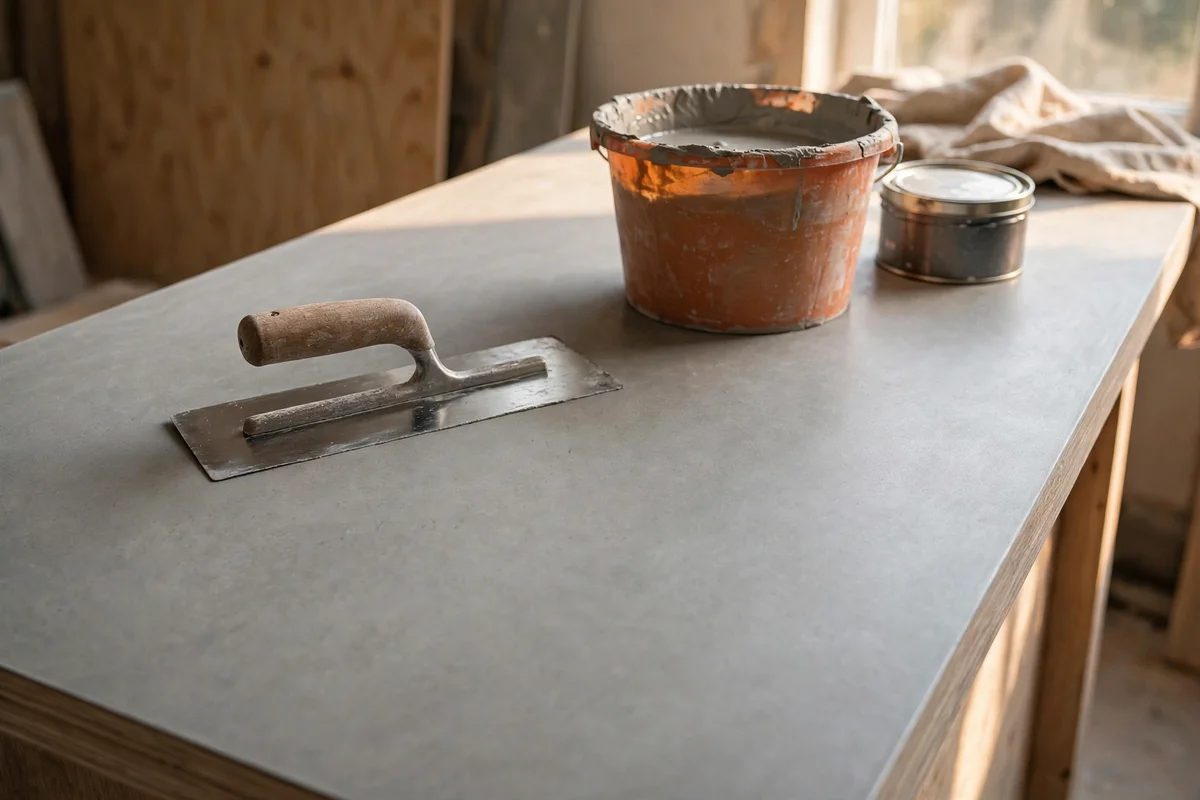
Microcement gives laminate a smooth, honed finish that reads like poured concrete at a fraction of the cost. After cleaning and priming with the manufacturer’s adhesion primer, trowel on two thin coats, each about one millimetre thick, letting the first dry for four to six hours. Work the trowel in overlapping arcs to avoid ridges, then seal with two coats of the recommended water based sealer. The whole system adds only two to three millimetres of height, so doors and appliances still clear it.
Microcement is beautiful but unforgiving of shortcuts. Mix only what you can use in twenty minutes, ventilate while the sealer cures, and keep the surface completely dry for the first forty eight hours. Do not skip the sealer, because unsealed microcement stains with turmeric and oil within days. A kit for an average kitchen costs one hundred fifty to two hundred fifty dollars or pounds, and the finish needs resealing every two to three years in hard working zones.
10. Reseal the Splashback Joint With Colour Matched Silicone
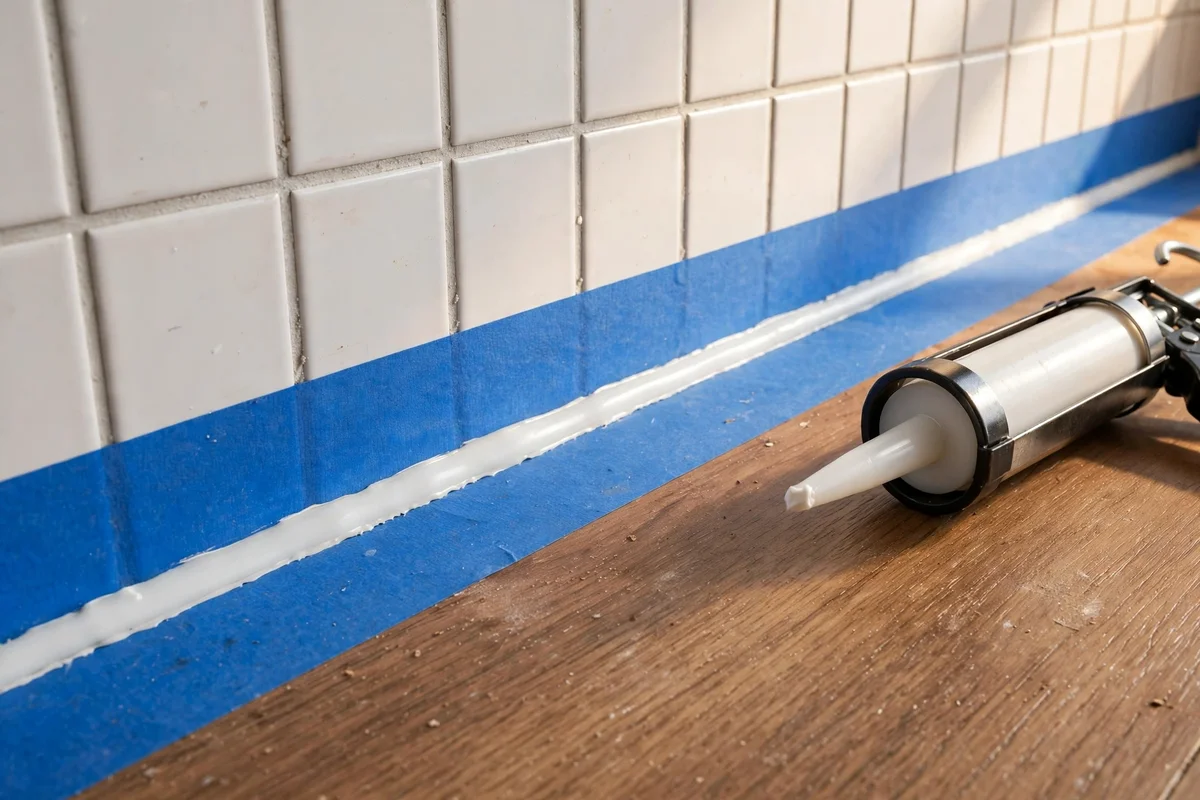
A cracked or yellowed bead of sealant along the splashback makes the whole counter look neglected, and replacing it takes under an hour. Cut out the old silicone with a sharp craft knife, pull it away in one strip, and clean the joint with rubbing alcohol on a cotton pad. Mask both sides of the joint with painter’s tape, leaving a four millimetre gap, then gun in a smooth bead of colour matched kitchen silicone. Smooth it with a wet fingertip in one pass and peel the tape while it is still wet.
The mistake to avoid is layering new silicone over old, because the fresh bead never grips and peels within months. Choose a mould resistant kitchen grade silicone, not basic bathroom filler, since cooking steam tests it daily. One 300 millilitre tube seals the full length of an average kitchen for about six to ten dollars or pounds. Let it cure for twenty four hours before the joint gets wet, and the crisp clean line instantly tidies the whole worktop.
11. Replace the Edge Strip With a Slim Brushed Metal Profile
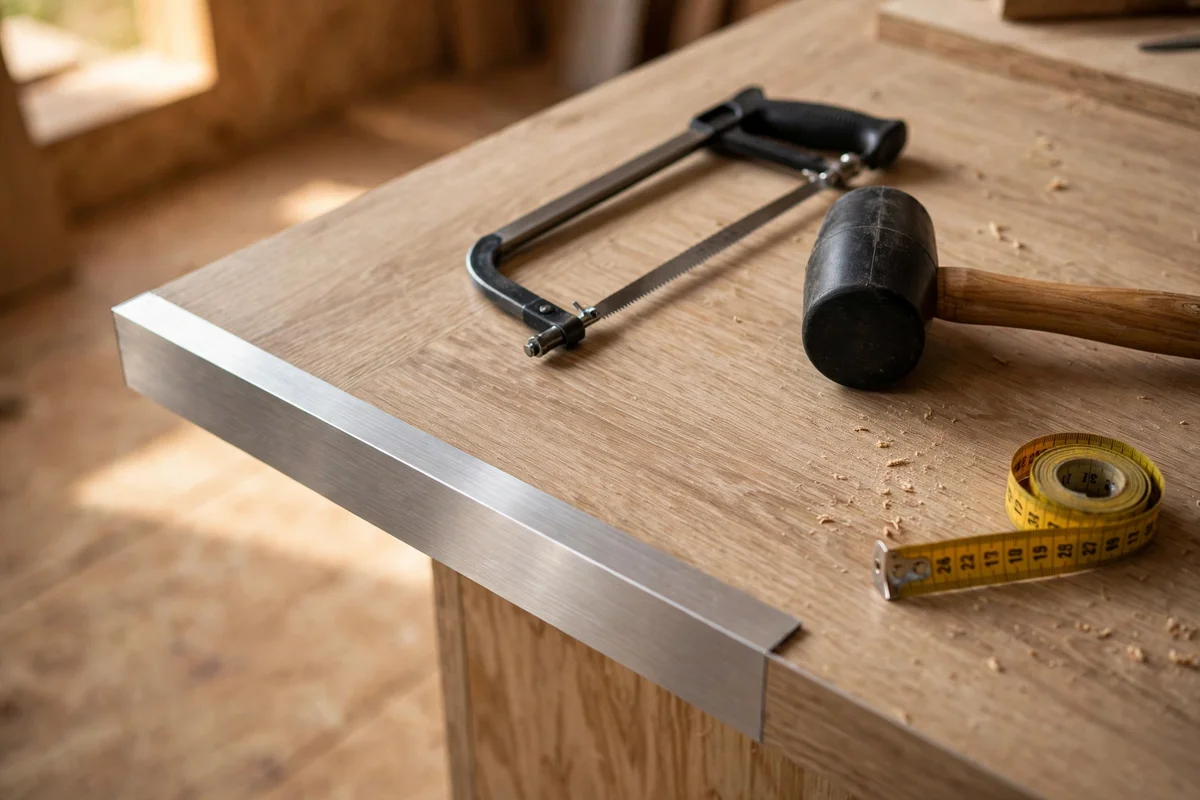
Dated edge strips shout old kitchen louder than the surface itself. Measure the thickness of your worktop, usually twenty eight or forty millimetres, and buy a brushed aluminium or stainless edge profile in the matching size. Pry off the old strip gently with a putty knife, clean the edge with a damp cloth, and press the new profile on with its adhesive backing, tapping it home with a rubber mallet. Mitre the corners with a fine hacksaw for a crisp factory style finish.
Metal edging suits modern and heritage kitchens alike, and it hides a multitude of small edge chips at the same time. The mistake to avoid is ordering before measuring, because a forty millimetre profile on a twenty eight millimetre top leaves an ugly lip. Buy ten percent extra length for corner cuts and mistakes. Profiles cost about fifteen to thirty dollars or pounds per two metre length, and one afternoon transforms every visible edge in the room.
12. Set a Custom Cut Chopping Board Over the Sink Cutout
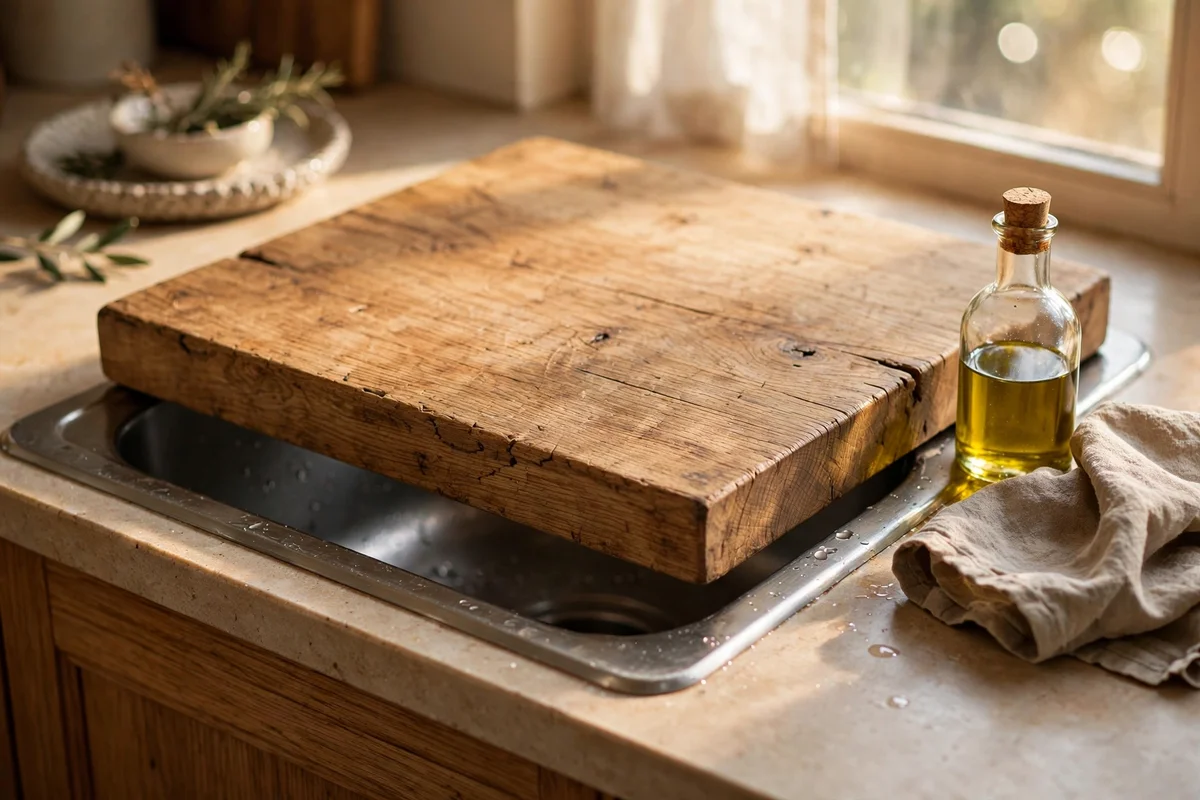
A thick wooden board cut to sit over the sink instantly adds prep space and covers a tired sink surround. Measure the inner rim of your sink, then have a timber merchant cut a forty millimetre thick oak or beech board to fit with a five millimetre clearance on each side. Sand the edges smooth with 180 grit paper and finish all faces with food safe mineral oil, three thin coats rubbed in with a cloth. The board doubles as a serving platter for family meals.
The mistake to avoid is trapping water under the board, so always lift it after washing up and stand it on its edge to dry. Reoil the board monthly with a teaspoon of mineral oil to stop it drying and cracking, which takes two minutes. A custom cut board costs thirty to sixty dollars or pounds from a local timber yard, far less than a new sink installation, and it turns the busiest wet zone into a warm styled surface.
13. Style a Wooden Tray With Oils and Herbs Beside the Cooker
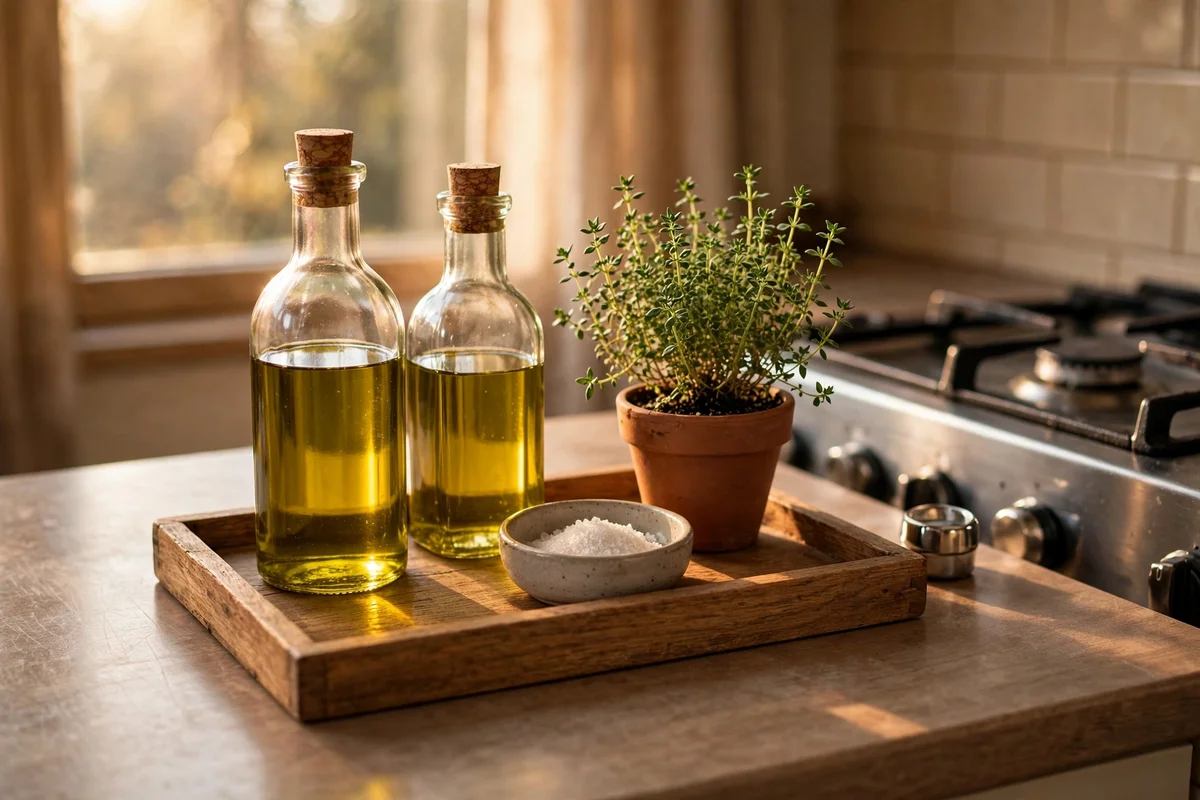
A styled tray turns a plain stretch of counter into a deliberate vignette that draws the eye away from surface wear. Choose a rectangular wooden tray about forty by twenty five centimetres and arrange two glass oil bottles, a small ceramic dish of salt, and a potted herb like thyme or mint at one end. Keep everything at least fifteen centimetres from the hob edge for safety, and wipe the bottles weekly so grease never builds into a sticky film.
The mistake to avoid is crowding the tray with seven or eight items until it looks like clutter. Three to five pieces in mixed heights read as styled, not stored. A wooden tray from a home store costs ten to twenty dollars or pounds, glass bottles are reusable, and a small herb pot costs two or three. Refresh the herb when it tires, rotate the oils seasonally, and this one corner keeps looking intentional while the rest of the counter simply fades into the background.
14. Run a Low Profile Runner Mat Along the Main Prep Zone
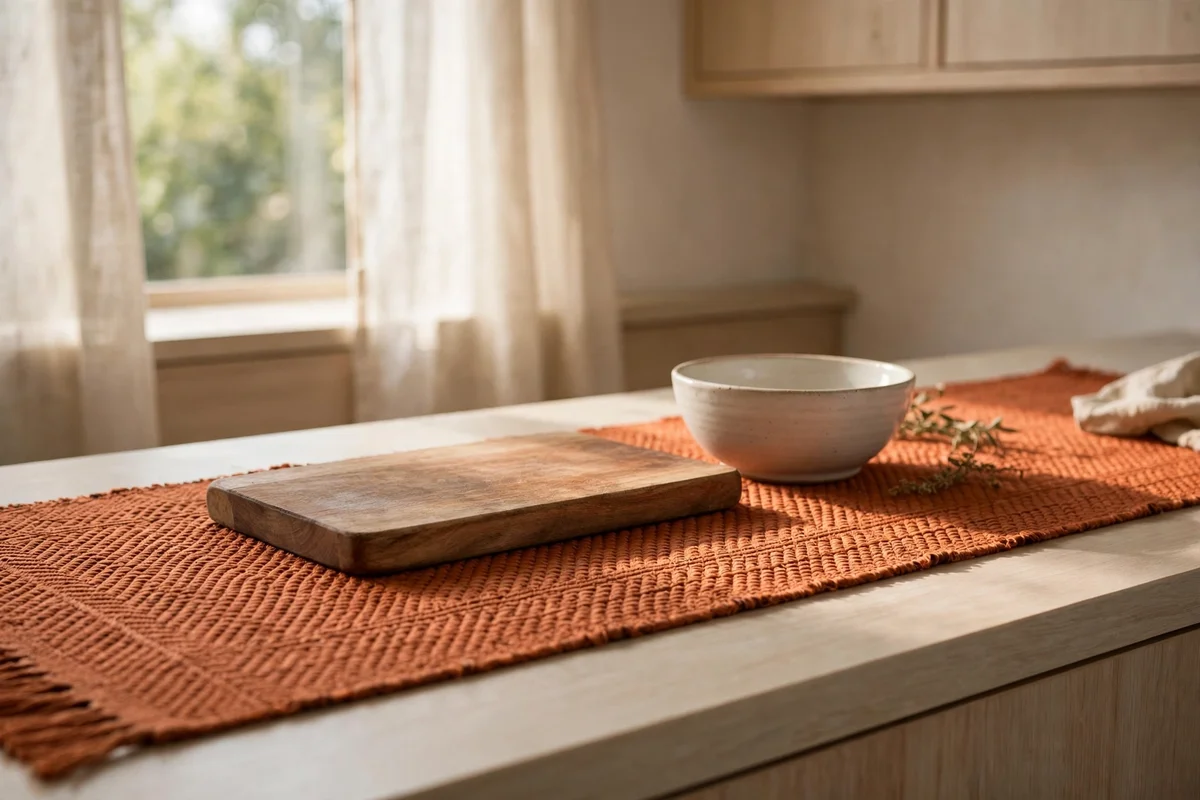
A runner mat in warm terracotta or soft sage covers the most worn stretch of counter with colour and pattern. Cut a silicone or washable cotton mat to fit between the splashback and the front edge, leaving about five centimetres of counter visible on each side so it reads as a layer, not a cover up. Choose a mat no thicker than five millimetres so plates and boards sit steady on it. Lift and wash it weekly in the sink with warm soapy water.
Avoid thick cushioned mats meant for standing comfort, because wobbling boards and tipping glasses follow. Silicone mats also double as trivets in a pinch, though a proper trivet is kinder to the surface long term. A good washable runner costs fifteen to thirty dollars or pounds and survives years of kitchen life. The mistake to avoid is buying one too wide, which overhangs the edge and catches on clothing; measure the depth of your counter before you order.
15. Fit Warm Under Cabinet Lights to Lift the Whole Worktop
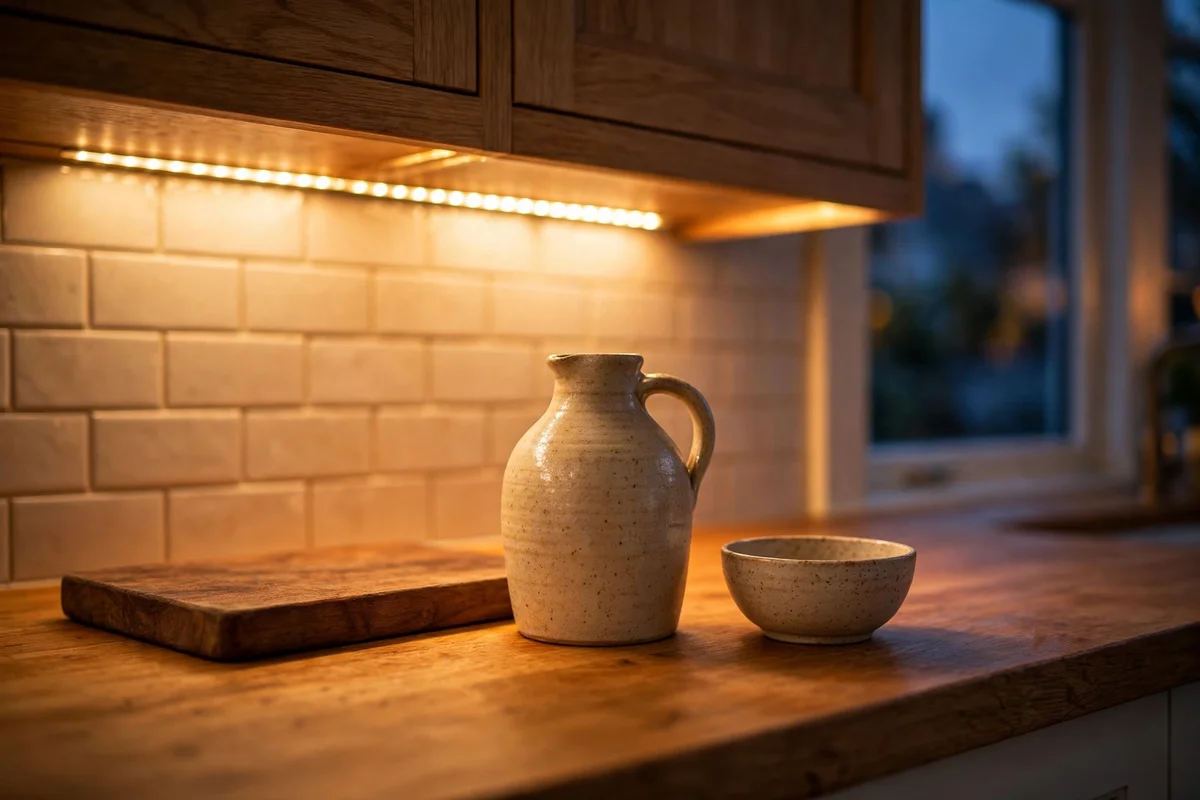
Light changes how every surface reads, and warm under cabinet lighting makes laminate glow instead of looking flat. Fit adhesive LED strips in 2700K warm white along the underside of the wall cabinets, about five centimetres back from the front edge so the diodes hide from view. A ten watt per metre strip gives plenty of task light without glare. Plug in versions with a simple switch avoid any electrical work, and most strips cut to length every five centimetres.
The mistake to avoid is choosing cool daylight bulbs, which make cream laminate look grey and tired. Warm 2700K flatters wood tones and stone prints alike, and a dimmer lets you soften the light for evenings. A three metre plug in kit costs twenty to forty dollars or pounds and fits in an hour. Wipe the strips monthly with a dry cloth, since cooking grease dims them, and suddenly the whole counter reads as refreshed without touching the surface.
16. Swap Old Handles for Brass Knobs That Pull the Eye Down
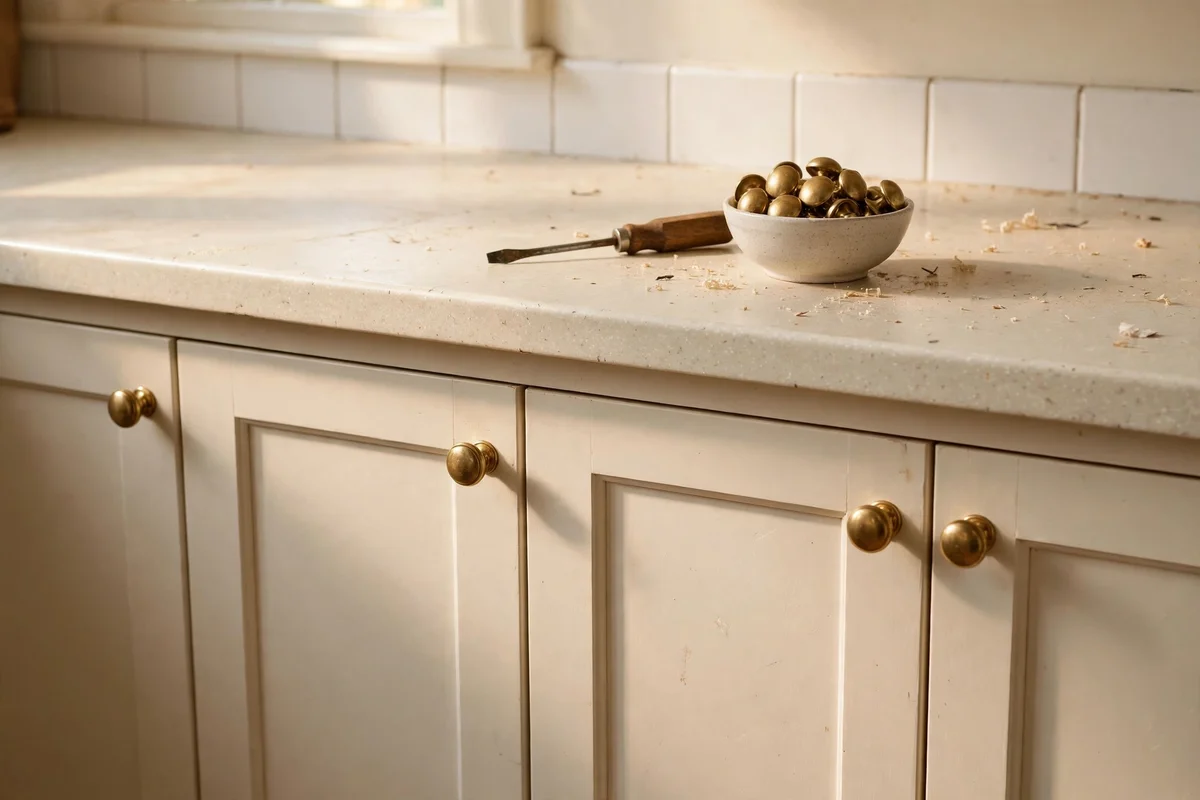
New cabinet hardware pulls attention down and away from the worktop, which is exactly the trick a tired counter needs. Replace dated handles with solid brass or aged bronze knobs, keeping the same hole spacing, usually ninety six or one hundred twenty eight millimetres, to avoid drilling. Choose a simple round or cup shape that suits your kitchen style. Clean the cabinet fronts with sugar soap before fitting so the new metal sits against a fresh surface.
The mistake to avoid is mixing three different finishes across one run of cabinets, which looks accidental rather than curated. Pick one metal and use it on every door and drawer for a calm rhythm. Ten to fifteen knobs usually cover an average kitchen and cost thirty to sixty dollars or pounds. Fit them with a hand screwdriver, not a drill, to avoid stripping the threads, and keep the old handles in a labelled bag in case you ever want to swap back.
17. Anchor the Far End With a Ceramic Bowl and a Stoneware Jug

A composed still life at the far end of the counter gives the eye a destination beyond the worn middle stretch. Place a wide shallow ceramic bowl, about thirty centimetres across, filled with lemons, apples or pomegranates, beside a stoneware jug of about one litre. Keep this arrangement at least sixty centimetres from the hob and sink splash zone so it stays clean. Choose cream, oatmeal or soft grey ceramics that flatter, rather than fight, your laminate pattern.
The mistake to avoid is filling the bowl with fake fruit, which reads as tired from across the room. Real fruit costs little, smells wonderful and gets eaten, so rotate it weekly. A handmade style bowl costs fifteen to thirty dollars or pounds from a craft market, and a simple jug adds ten more. Wash both monthly in warm soapy water, and this quiet corner will keep the whole kitchen feeling considered while the counter beneath simply does its job.
18. Keep a Thick Oak Board in Place as a Serving Station
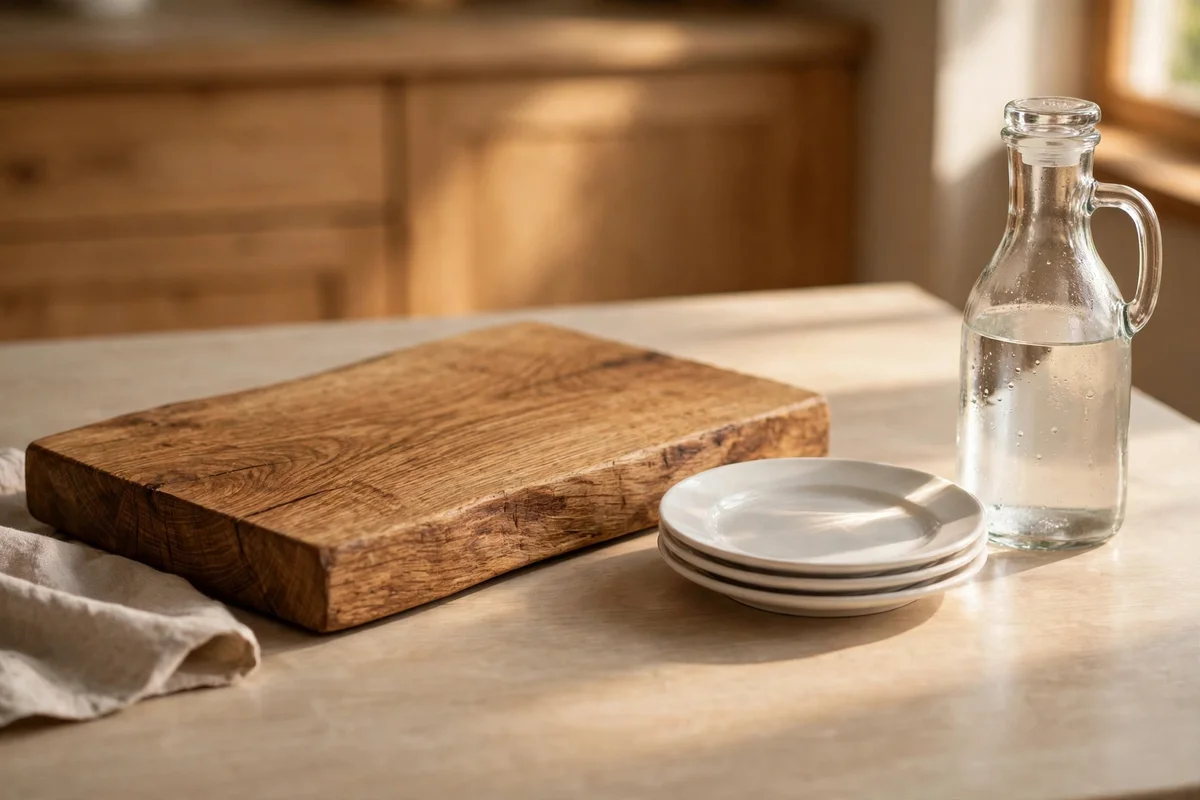
A permanent oak board, about forty five by thirty centimetres and at least two centimetres thick, turns a plain counter section into a serving station. Position it near the dining side of the kitchen with a small stack of plates at one end and a glass carafe of water or juice beside it. Oil the board monthly with food safe mineral oil to keep the grain rich. The warm wood draws the eye and makes the surrounding laminate feel like a deliberate backdrop.
The mistake to avoid is using the station board for heavy chopping, which scars it quickly. Keep a separate thin board for daily cutting and let this one serve, which keeps it handsome for years. A solid oak board of this size costs twenty five to forty five dollars or pounds. Wipe it down after each use, never soak it, and it will outlast several refresh cycles while quietly making the whole counter look better.
19. Hang a Brass Rail With Copper Pans Above the Counter

A brass rail mounted above the counter turns everyday pans into warm decor that steals attention from below. Fix a sixty to ninety centimetre rail into studs or solid wall plugs, about forty centimetres above the worktop and never directly over the hob. Hang two or three copper or copper toned pans on S hooks spaced ten centimetres apart, keeping the heaviest nearest the bracket. Brushed brass suits cream, sage and warm white kitchens especially well.
The mistake to avoid is overloading the rail, because four heavy pans can pull plugs from plasterboard. Check the rail monthly for looseness and wipe the brass with a dry cloth so it keeps its soft glow. A sixty centimetre rail plus six hooks costs twenty five to forty five dollars or pounds. With the pans lifted off the counter, the worktop gains both space and calm, and guests look at the gleaming metal, not the laminate.
20. Dress the Sink Edge With a Ceramic Dispenser and Brush Set
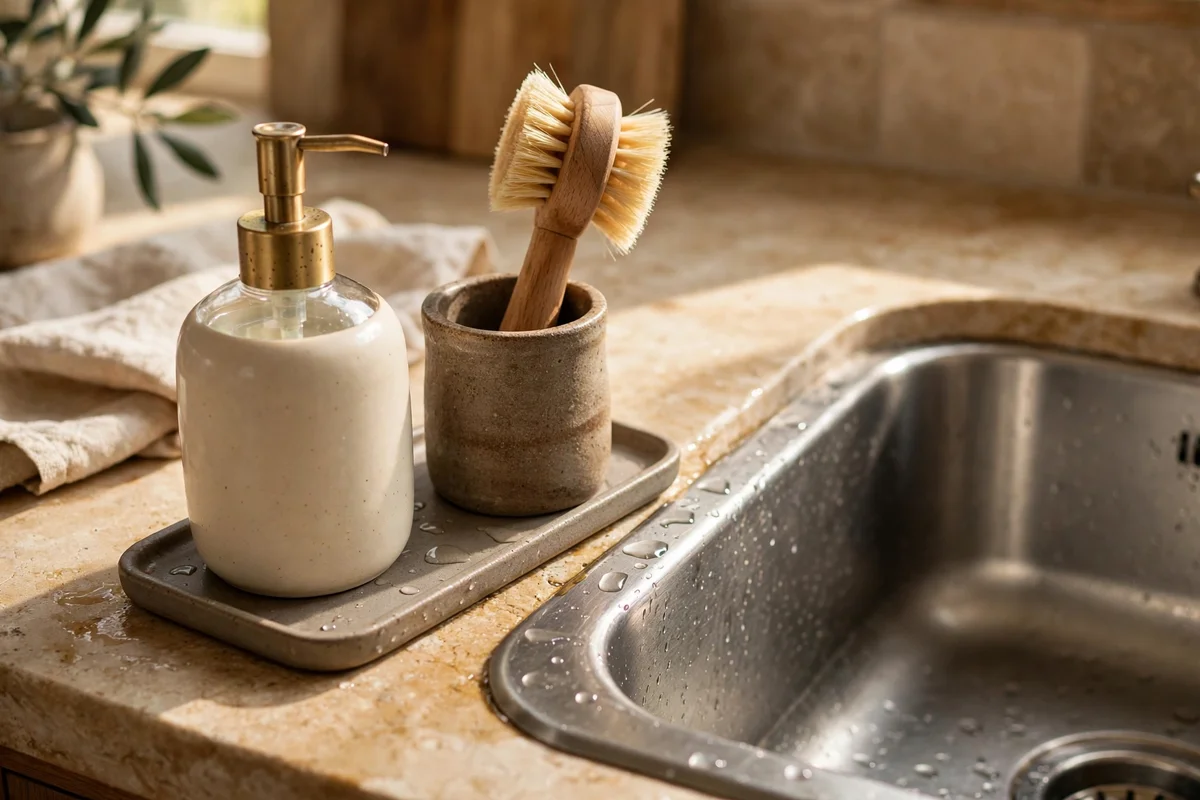
The sink edge is the most used spot in the kitchen, and mismatched plastic bottles make it look worse than it is. Replace them with a matching ceramic soap dispenser and a wooden dish brush in a small stoneware holder, set on a slim drip tray about thirty by twelve centimetres. Refill the dispenser from a large economy bottle kept under the sink. This one change costs little yet it tidies the wettest, most visible corner of the counter.
The mistake to avoid is letting water pool under the tray, which stains laminate and breeds mildew. Empty and wipe the tray twice a week, and choose a tray with a raised lip so suds stay contained. A dispenser, brush and holder set costs fifteen to twenty five dollars or pounds. Because the sink zone is where eyes land first, this small upgrade pays back every single day in a calmer looking kitchen.
21. Add a Short Open Shelf With Glass Jars Above One End
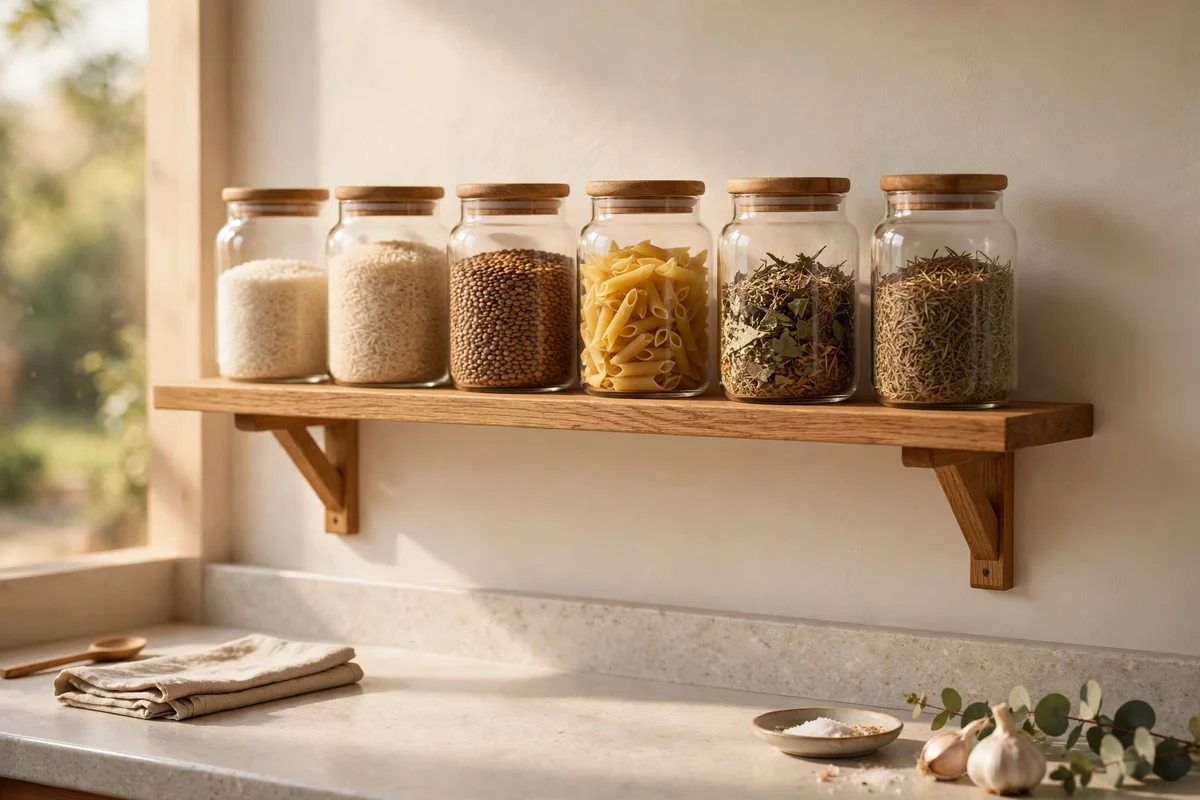
One short open shelf above the least used end of the counter adds storage and style in a single move. Fit a solid oak or pine shelf, about sixty centimetres long and twenty deep, twenty five centimetres above the worktop, fixed into studs or proper anchors. Arrange four or five glass jars of rice, lentils, pasta and dried herbs, decanted for a calm, uniform look. Keep the shelf away from the cooker so steam never clouds the glass.
The mistake to avoid is treating the shelf as extra storage for everything, because a crowded shelf reads as clutter. Limit it to the jars and perhaps one small plant, and dust it weekly with a damp cloth. A shelf, brackets and five jars cost thirty to fifty dollars or pounds. With the jars lifted into view, the counter below stays clearer, and the whole end of the kitchen gains a pantry style charm that distracts from any wear.
22. Guard Busy Spots With Silicone Trivets and Felt Pads
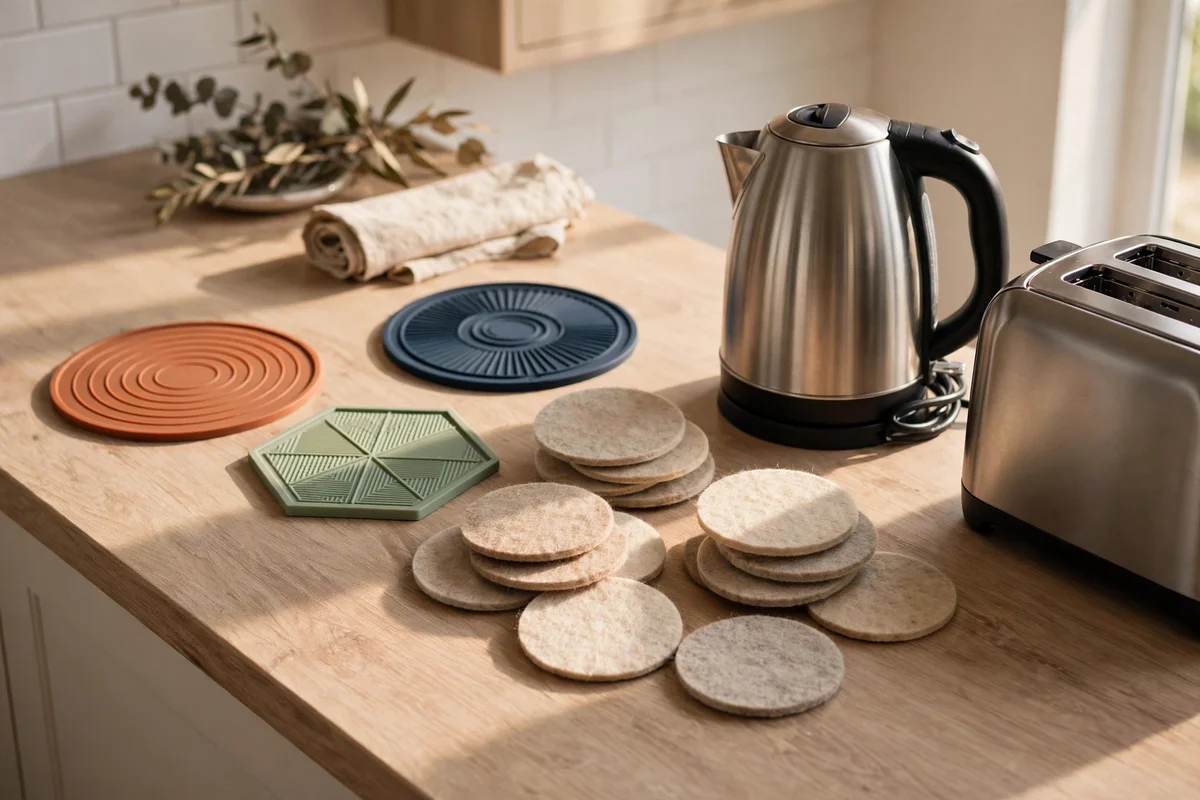
Protection is part of any refresh, because a new finish scuffed in a week feels like failure. Place heat resistant silicone trivets beside the cooker and near the kettle station, choosing ones that lie flat at under one centimetre thick. Stick felt pads under the toaster, the stand mixer and any appliance that gets dragged, and lift rather than slide small appliances. These small habits keep paint, film and original laminate looking newer for years.
The mistake to avoid is using cork trivets on a freshly painted surface, because cork can stick to a curing topcoat and peel it away. Wait until the full cure period passes before any trivet lives permanently on the counter. A set of four silicone trivets and a sheet of felt pads costs under fifteen dollars or pounds. It is the cheapest insurance in this guide, and it protects every other idea you have applied.
23. Decide Honestly When a New Worktop Is the Better Spend
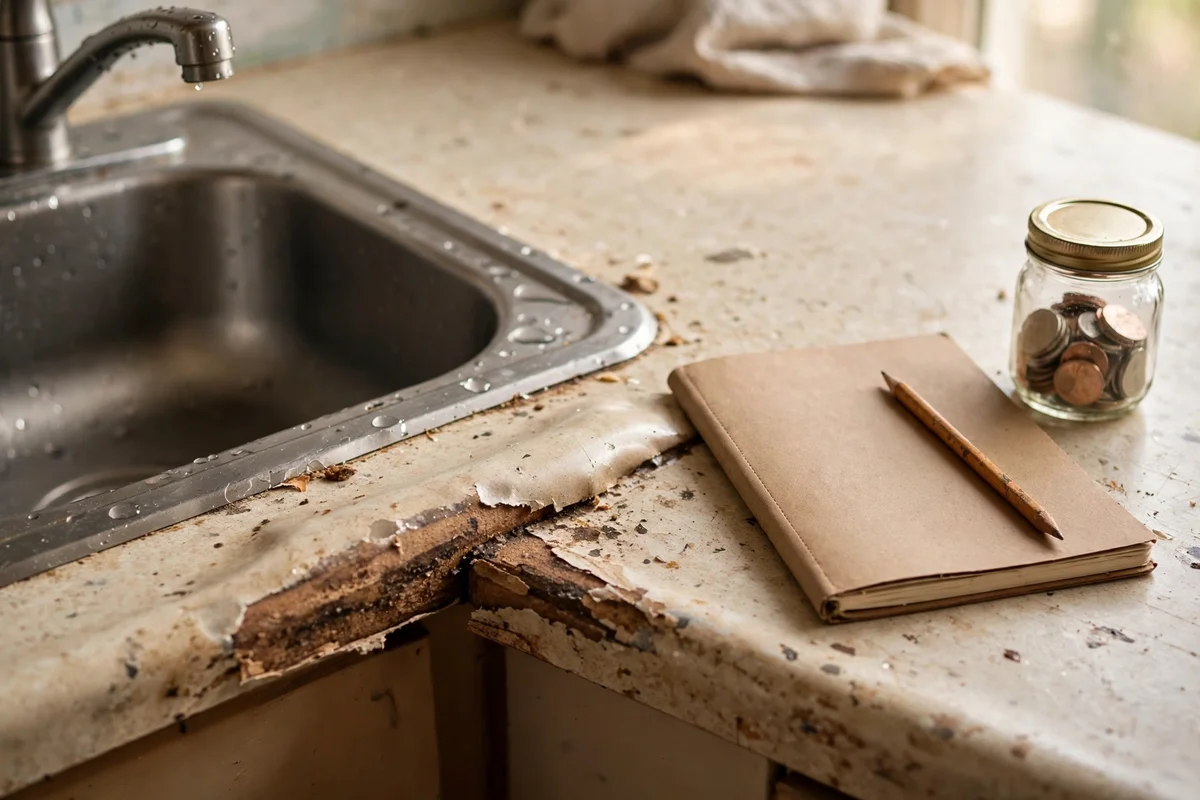
Every refresh has a limit, and knowing it saves you from spending good money twice. If the fibreboard core has swollen around the sink, if the laminate has bubbled across large areas, or if the printed pattern has worn through to brown board, no paint or film will last. Press the surface firmly: if it feels soft or spongy anywhere, the core is damaged and a cover up will fail within months. Honesty here is the kindest budget move you can make.
A replacement laminate worktop costs roughly three hundred to six hundred dollars or pounds fitted for a small kitchen, and it lasts fifteen years or more with basic care. Compare that with a refresh that fails in a year, and replacement is clearly cheaper per year of service. Start a small savings fund, keep the counters clean and styled meanwhile with the gentle ideas above, and plan the swap for a quiet month. You will enjoy the new worktop far more for having waited well.
A laminate refresh is really a sequence, not a single trick. Clean first so nothing lifts, repair the chips and lifting edges so the surface reads as cared for, then choose one finish step, paint, film or microcement, that matches how hard your kitchen works. Finish with styling that moves the eye toward warm wood, glass and green things, and the countertop stops being the thing you apologise for. Protection habits then keep the result looking new for years.
The easiest first move this week is the deep degreasing wash, because it costs almost nothing and tells you the truth about your counters. If the sheen returns and the damage is only surface deep, you are a perfect candidate for the weekend projects above. If the core feels soft or the pattern is worn through, treat this as a nudge to start saving for new worktops. Either way, you will know exactly where you stand.
Frequently Asked Questions
Can I paint a laminate countertop so it stays safe around food?
Yes, using a water based bonding primer plus a durable acrylic topcoat, with the windows open and a respirator on while you paint. Let the finish cure fully, usually seven to fourteen days, before heavy use. The cured surface is fine for everyday contact, but always chop on a board and keep hot pans on trivets, since blades and heat damage any painted finish quickly.
How much does a laminate countertop refresh cost without replacing?
Most single ideas in this guide cost between ten and eighty dollars or pounds. A deep clean plus chip repair usually stays under twenty, a full paint job lands around fifty to ninety in primer, paint and rollers, and contact film or a microcement kit runs eighty to two hundred fifty for an average kitchen. Full replacement starts near three hundred, which is why a refresh is such a kind first step.
Is contact film durable enough for everyday cooking?
It handles daily use well in low heat zones if you smooth out every bubble and seal the edges with silicone, but it is not heat proof. Always use trivets under hot pans and cutting boards for prep, and expect three to five years of good service in a busy kitchen. Near the cooker, choose a heat resistant film or a different finish, since direct heat will melt standard film.
How long must painted laminate cure before normal kitchen use?
Most systems are touch dry within hours and fine for light use after three days, but full hardness takes seven to thirty days depending on the product, so read the tin. Keep windows open or a fan running for the first two days, avoid dragging heavy pots across the surface for the first week, and never set a hot kettle directly on the new finish during the curing window.
When is replacing a laminate countertop the smarter choice?
Choose replacement when the fibreboard core has swollen from water, when the laminate has bubbled across large areas, or when the printed pattern is worn through to brown board. Paint and film hide surface wear but cannot fix a soft core, and you would spend the refresh budget again within a year. A new laminate worktop is one of the cheapest kitchen upgrades per year of service.